Nat


Here is another episode of my new series of mini-videos: “Rule of Three”. As we all know all good things come in three and these mini-tutorial-videos will show you all kinds of fun and practical things and techniques coming in three.
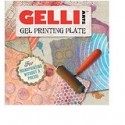
Rule of Three – #2 – Three Ways to Use Your Gelli Plate with Foam Stamps
Rule of Three – #2 – Three Ways to Use Foam Stamps with a Gelliplate/Monoprinting Plate from Nathalie Kalbach on Vimeo.
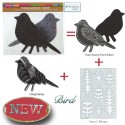
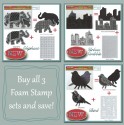
I hope you find these 3 ways to use the foam stamp sets in your mono printing process inspiring :) . Here is a full list of the supplies I used in my video:

I am looking forward to share more Rule of Three videos with you soon! Have a wonderful creative day!

Great ideas and video! Thanks Nat

Thank you Stephanie :)

Wow – you have just turned into such a pro on your videos Nat. What an amazing video tutorial this is. I so love listening to you talk and seeing you in creative mode! WONDERFUL WONDERFUL. Thank you soooo much. Big hugs. j.
LOL- Joi – thank you – is it the super fast talking? ;) I try to make those videos short- which as you know…I want to put so much stuff in there- it is a bit challenging for me to keep myself short ;) Glad you liked it- big hugs to you too and have a wonderful weekend!

Thank you for sharing.
<3 Kathy!
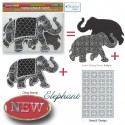
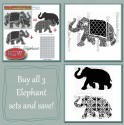
It’s Tuesday and time for my Creative Squad to share a project with you with this month’s theme: “Elephants Never Forget”. Throughout the month of May, the team will use my new Elephant Foam Stamp, Rubber Stamp and Stencil Set to interpret the theme. I asked them to draw from a childhood memory, and to use the elephant as a symbol of something that fascinated them as a child, inspired awe, or just got their little brain all wrapped up with wonder. And if you want to hear a little bit about my childhood, you can read about my personal connection to elephants here (just scroll down to “WHY an elephant…”)
Today we have a card design by Cheiron Brandon. She shares a very sweet memory and a wonderful card project with a fun inking method that I know you will all enjoy!
—————————————————————————————————
Ever since I was a little girl, I have been obsessed with pens and stationery. I remember going shopping with my dad at the office supply or card store, and getting to pick out special stationery to write letters to my great Grandmother on. We called her GaGa and I used to send letters back and forth with her. I sure wish I still had some of those letters today.
I fondly remember picking out one stationery set that came in a cardboard box with a lid that contained writing paper, matching envelopes and a special pen…all in my favorite color, rainbow! I did not let ANYONE touch that stationery box and the only person who got a special letter on it was my GaGa.
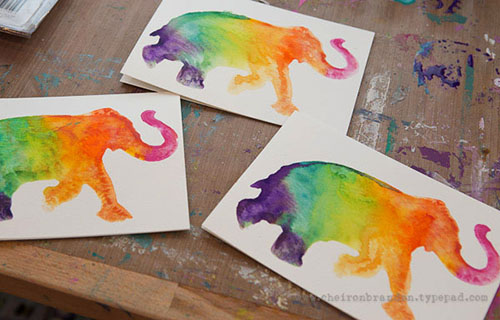
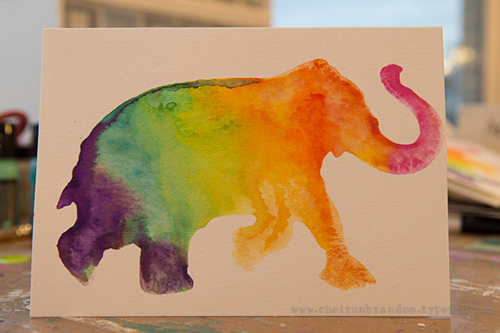
I still am fascinated with anything rainbow colored and love bright colors. This month I am restocking my stationery stash with some notecards featuring rainbow elephants. I am going to keep a bunch of these on hand, and I will definitely share them this time. I left them blank so I always have a card for any occasion and I can add a sentiment as I use them.
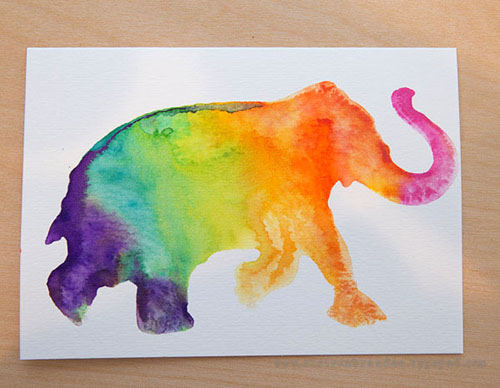
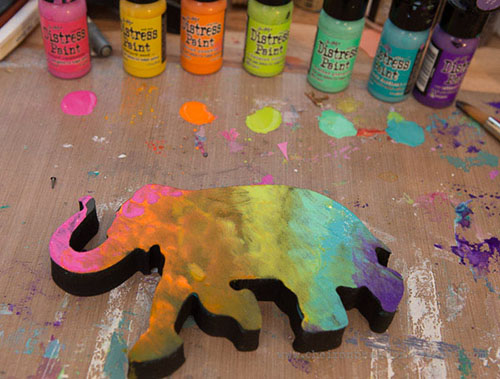
To make my card, I used the big elephant solid foam stamp from the Elephant Stamp & Stencil Set. I used a paint brush to paint Distress Paints onto the stamp, then sprayed it with water and stamped it onto a watercolor notecard. I got 2-3 stamped images for each time I painted the stamp.
I got so wrapped up making rainbow elephants, that I have a dozen of these. I can’t wait to send out happy elephant mail! Each one is a bit different, but so vibrant.
I hope you are inspired to make some stationery of your own. And please remember to share it :)
—————————————————————————————————
I love Cheiron’s herd of rainbow elephant cards and am so happy she shared the design with us! I think anyone on the receiving end of one of these will definitely be smiling.
See you next Tuesday for the another project from the Creative Squad, with the theme Elephants Never Forget.
Heheheheh – totally ADORE your rainbow elephants Cheiron. I am smiling big. You made my day!! j.

Your rainbow elephants are gorgeous Cheiron! Those vibrant colors are so happy-making! Now I want to go make some rainbow cards too!
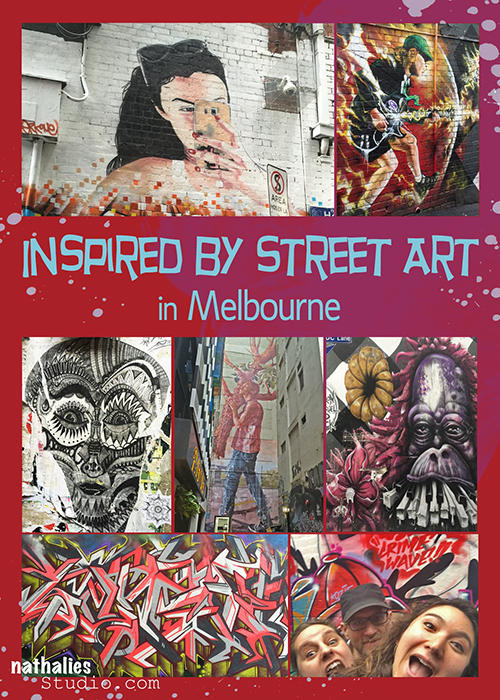
Now if you know me…you know I am crazy about street art – and so Melbourne is a pretty amazing place to be for street art. There was street art EVERYWHERE , best know for it’s street art is Hosier Lane right across from the National Gallery.
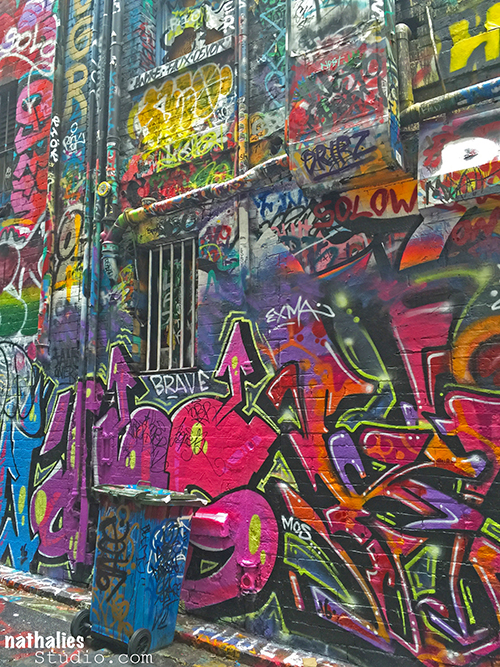
Nothing goes unpainted in this laneway :)
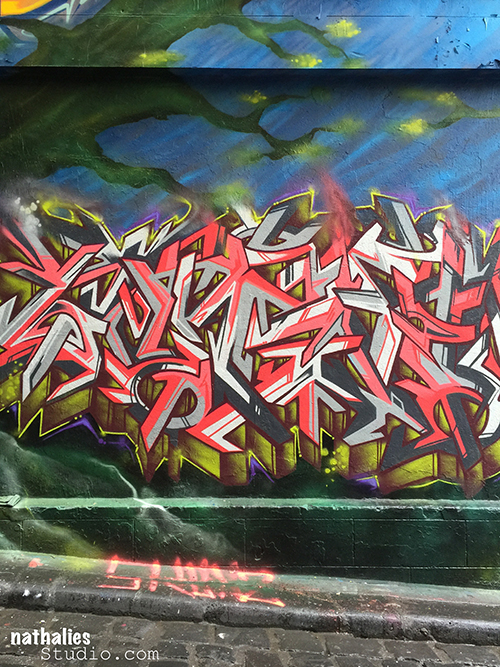
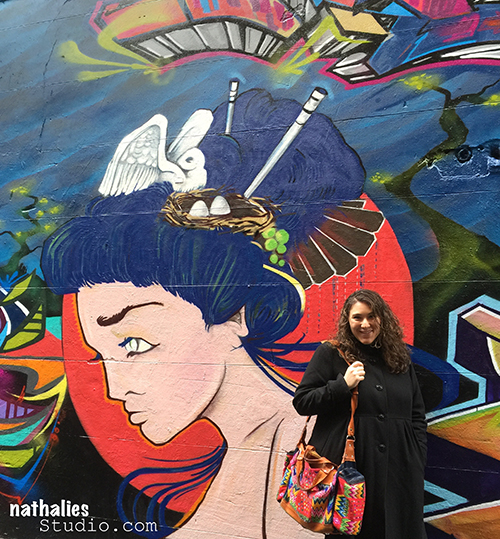
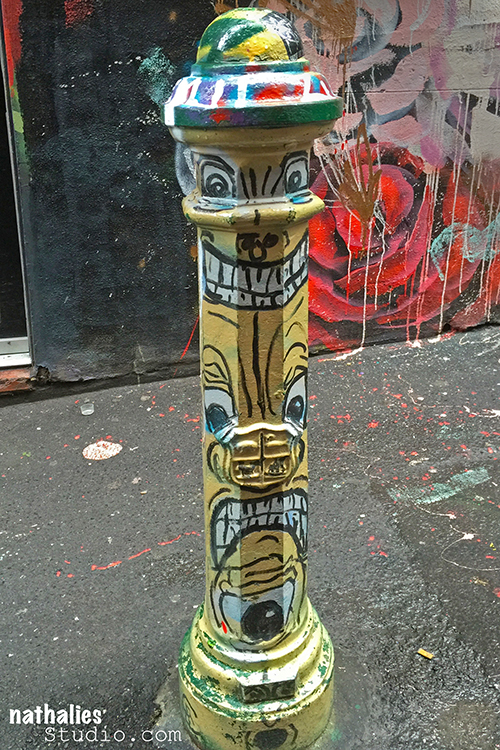
This one made me laugh!
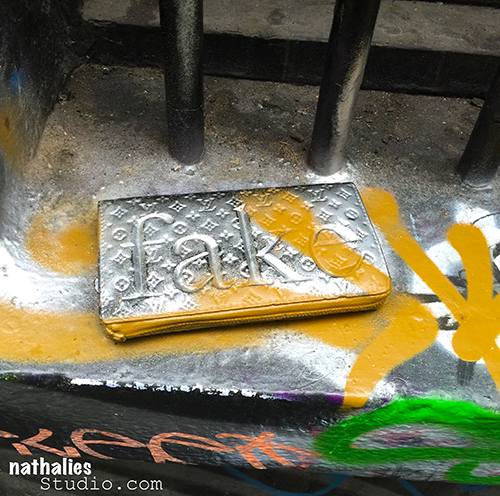
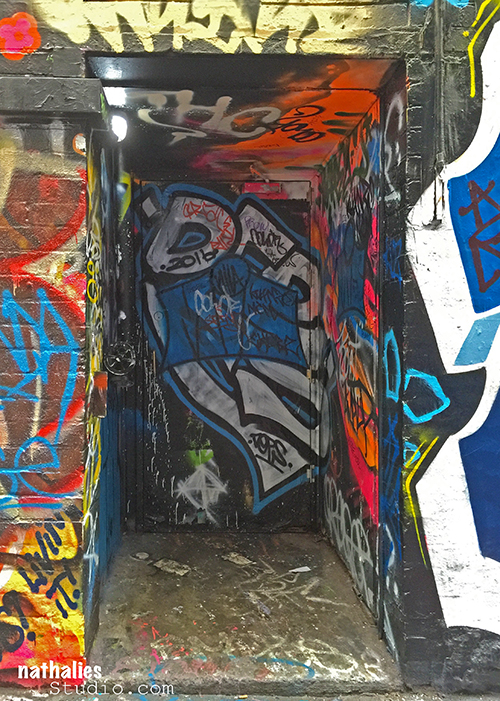
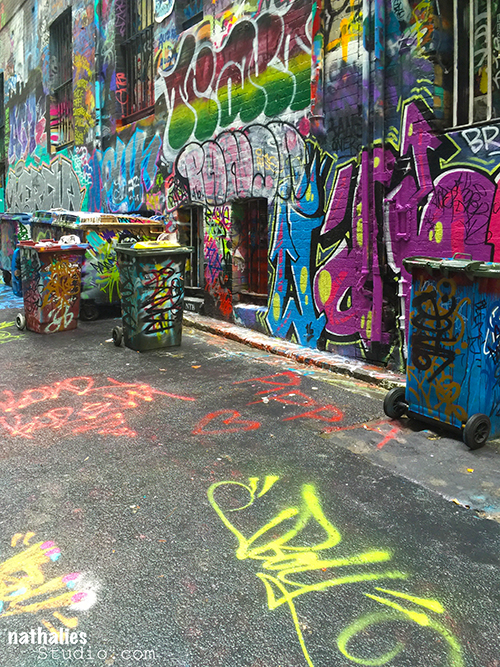
Even the garbage cans are spayed and add to the picture
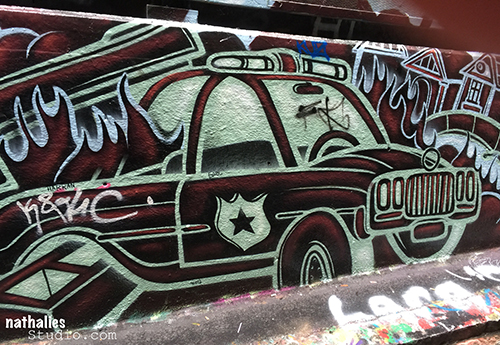
I really loved this one for it’s stencil work and because it was only two colored- it stuck out in the bright color-spray-paint abundance
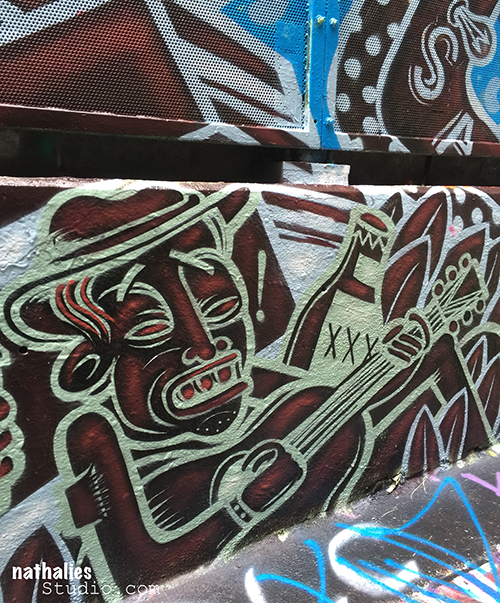
Wonder what is in there? mh mh
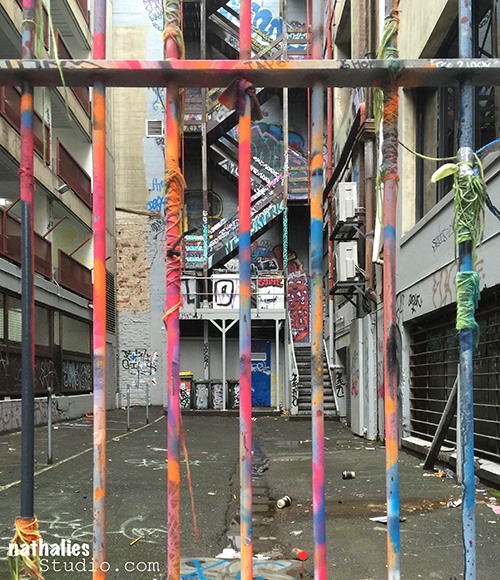
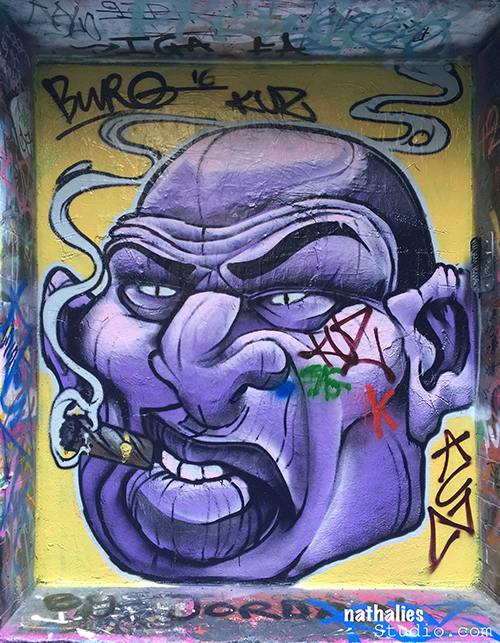
Lot’s of pasteups as well – which I really liked
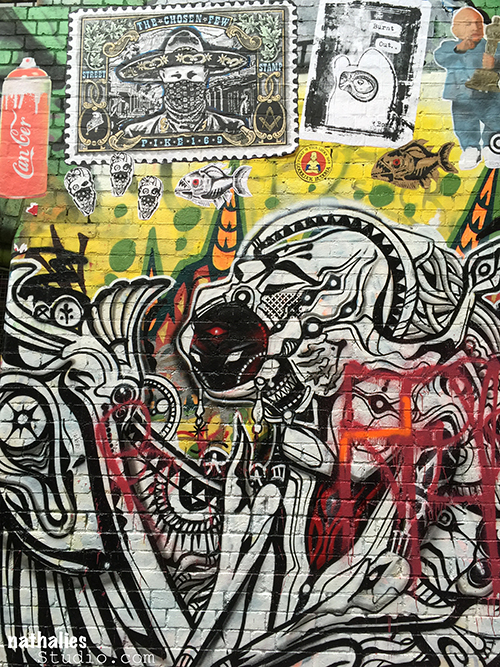
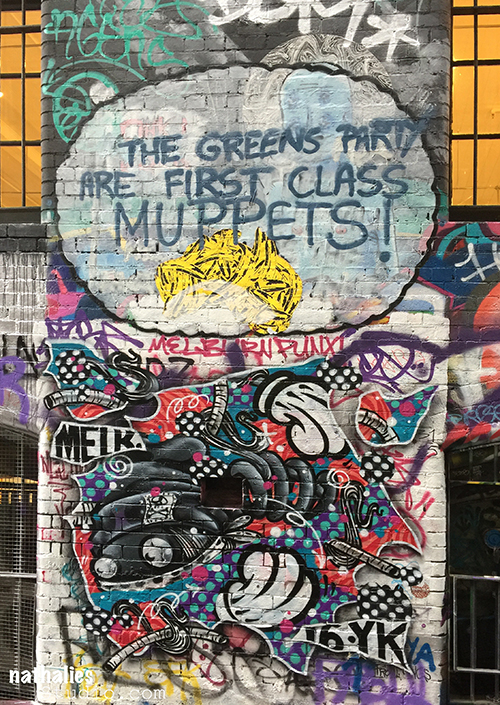
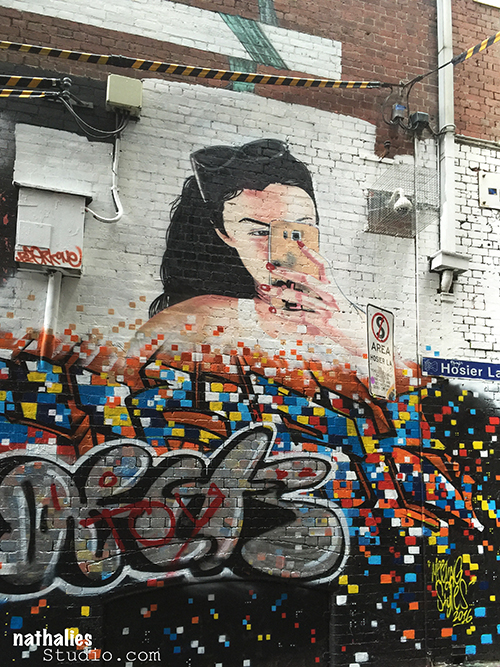
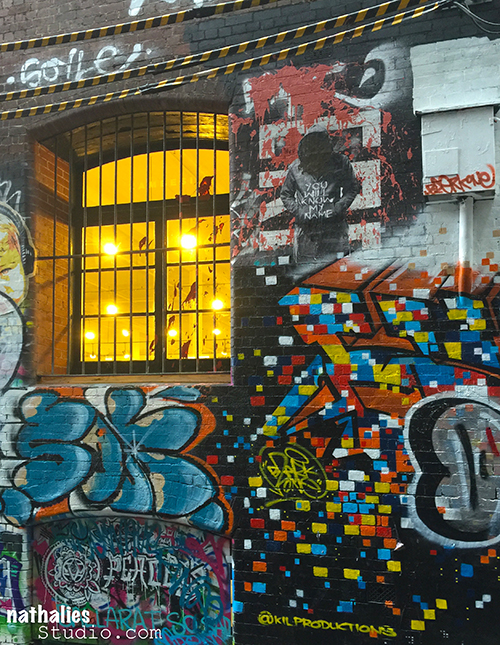
Here is AC/DC Lane …now I wonder why….
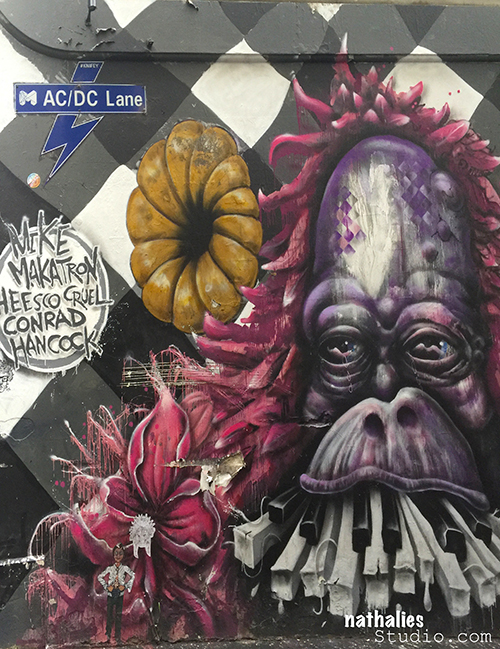
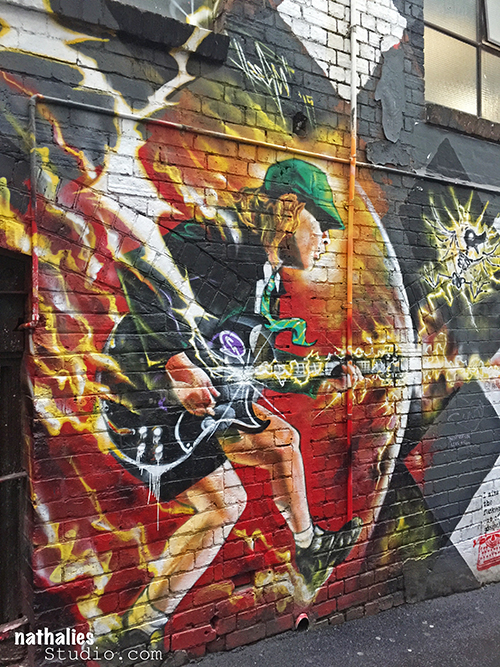
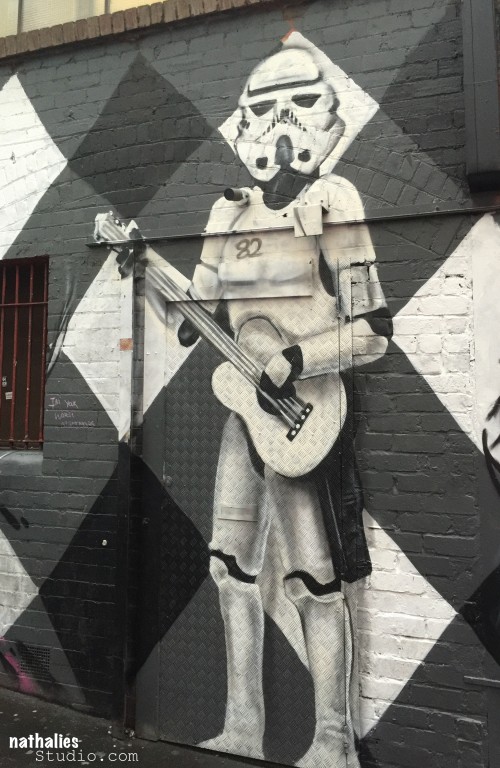
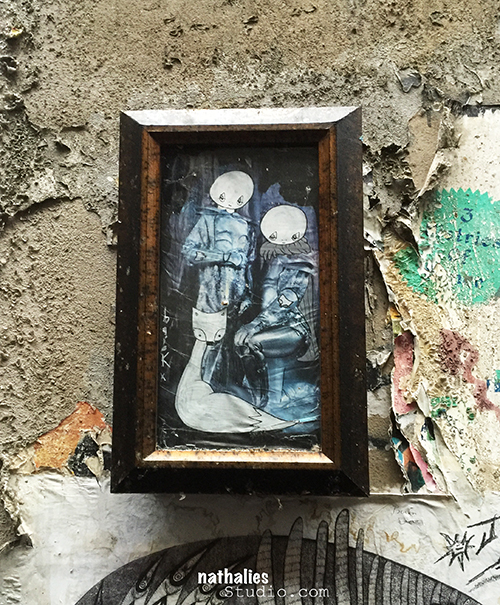
Love the texture and the framed piece on the wall.
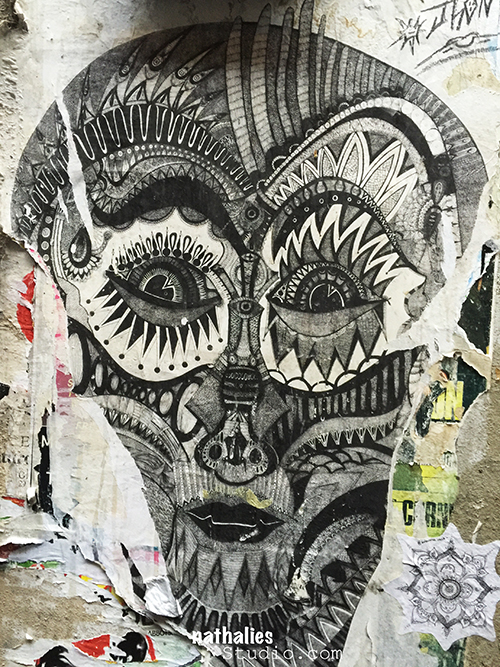
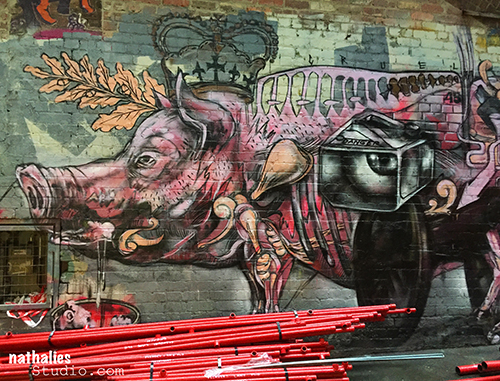
Massive mural
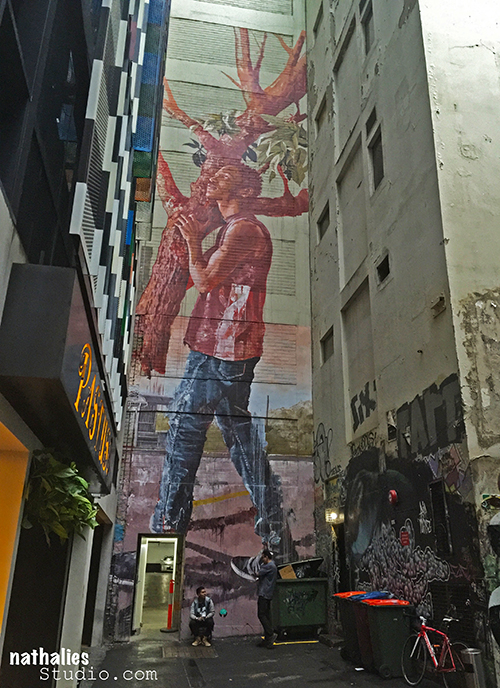
This is so cool too :
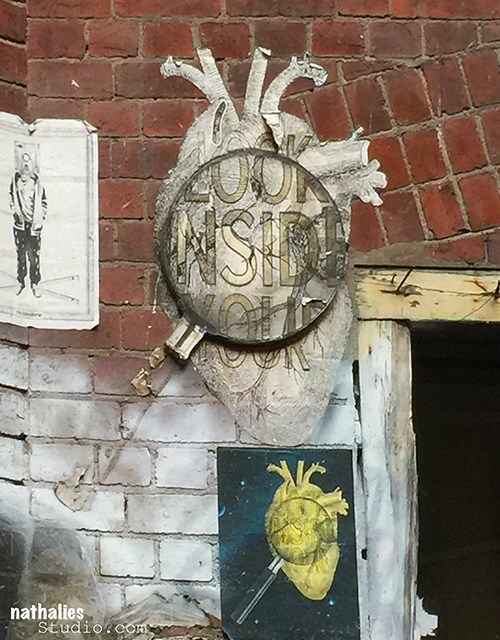
and funny stuff
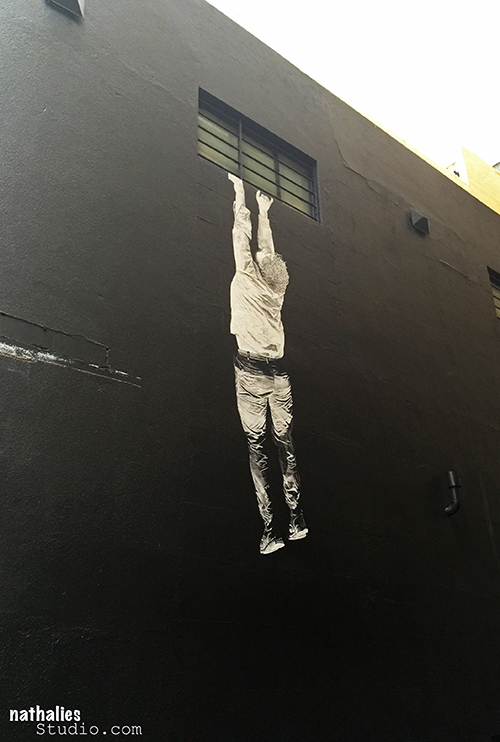
Can you tell the three of us had a good time? LOL- what a bunch of goofs we are ;)
This was a great first day after a 22 hour flight – since it was raining the color boost awakened us – we really needed that.
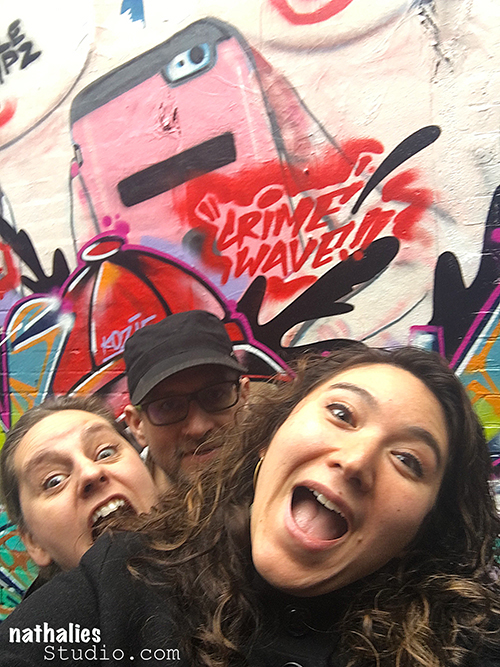
Hope you enjoyed this colorful journey through Melbourne- there is more to come :)
totally cool!
Glad you like it Stephanie!

I remember that alley way. It is as amazing as ever!!

I have been to these lanes in Melbourne since I was 15yo and now I am 51 ,and the artwork has evolved with the city,I would love to have taken photos from the different era’s it seems to get better and better everytime I go into the city . But you have done a great job showing the talent Melbourne has to offer.

Phenomenal Exhibit! Thank you Nathalie. Makes me wonder if the motivation behind street art may be a response to disenchantment with the world around them. These artists’ way of proclaiming: ” If you can’t fix it, paint it!”

That is some awesome graffiti and street art!!
you should go Natalya – I can see loads of amazing art by you with photos taken there!
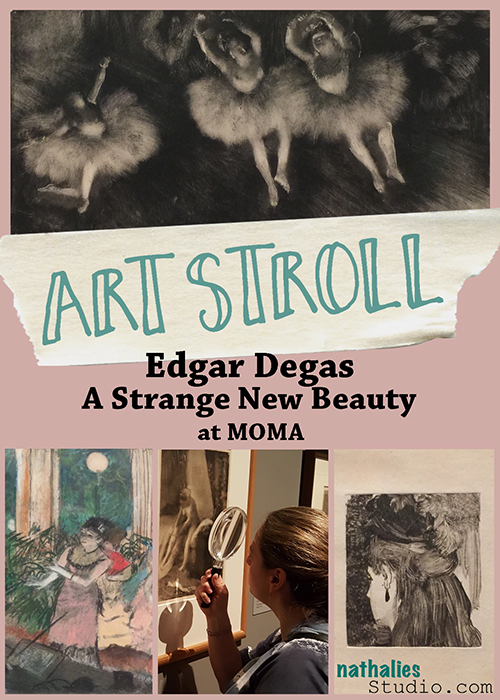
In March, I went to the opening of Edgar Degas – A Strange New Beauty at MoMA . Honestly I am not the biggest Degas fan – I mean – I like his paintings but not in a geeky “ohhhh I looooovveee” kinda-way. But …I was really surprised how much I loved the exhibition because it showed Degas experimenting phase with monotypes in the late 1870s and how that lead to his later so famous signature painting style.
A monotype is a hybrid between a drawing and a print. It is a drawing that is printed – Degas painted on copper plates with ink, or covered a copper plate with ink and painted into it, put paper on it and run it through a press.
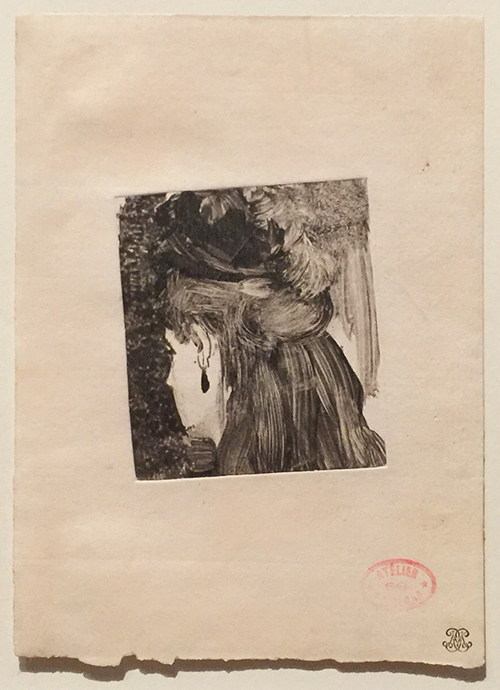
The Jet Earring – 1876-77 – Monotype on paper
But furthermore, Degas would often make a second pull – a so called ghost print and then enhance that one with pastel.
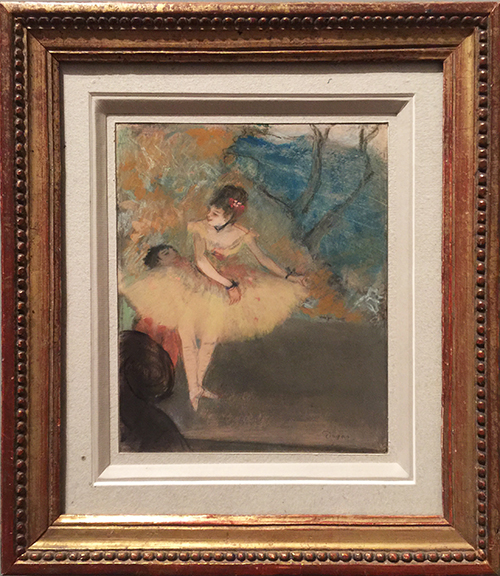
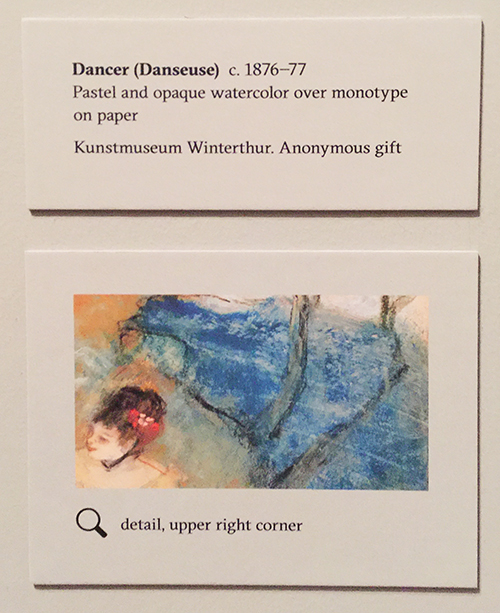
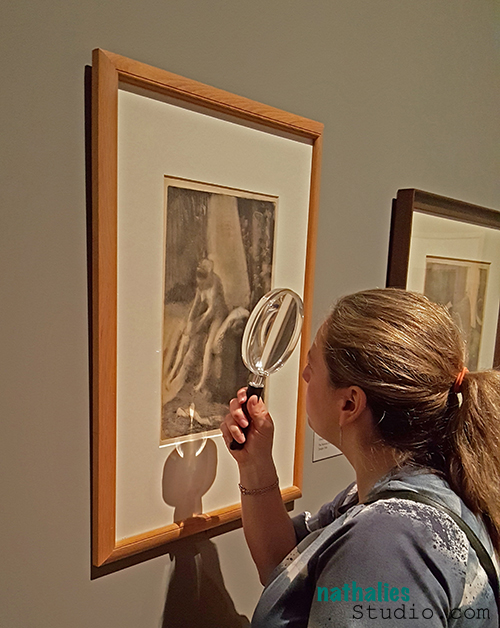
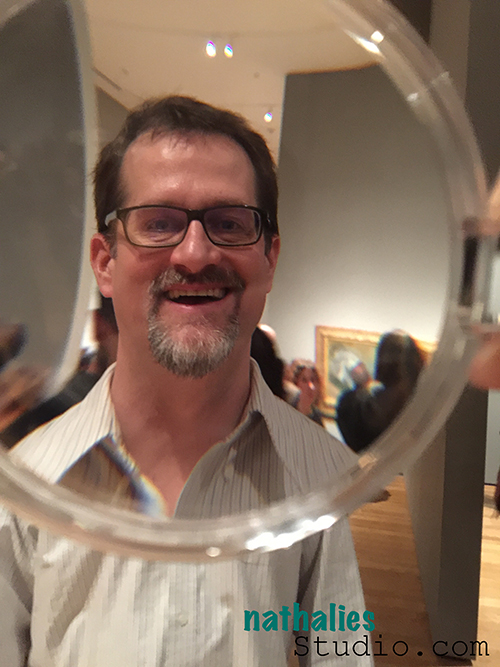
Now one of the coolest things of the exhibition was that the curators pointed out where to look even closer and provided a magnifying glass to do so.
“Make a drawing, begin it again, trace it, begin it again, and retrace it” – Edgar Degas
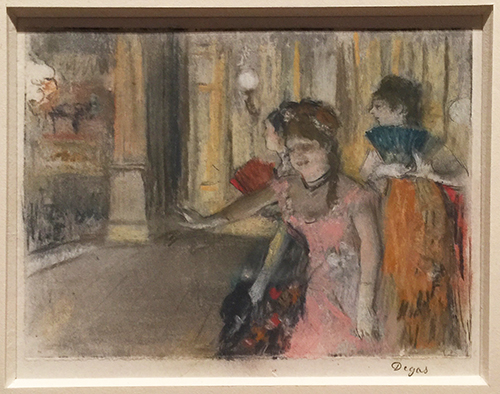
Degas also experimented using oil instead of ink for his monotypes and then enhancing again the ghost prints with pastels.
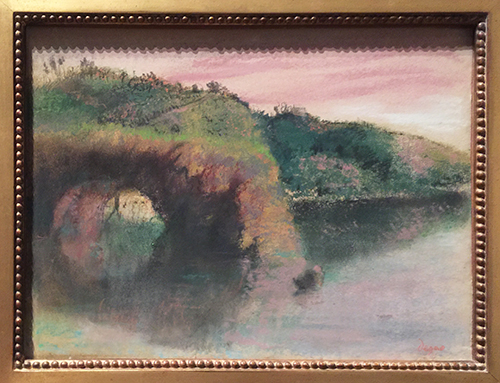
River Banks, 1890 – Pastel over monotype in oil in paper
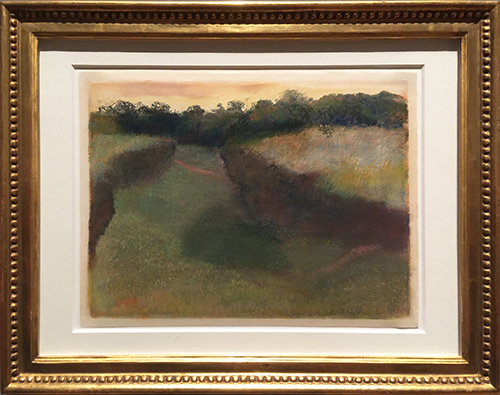
Wheatfield and Line of Trees, 1890 – Pastel over monotype in oil on paper
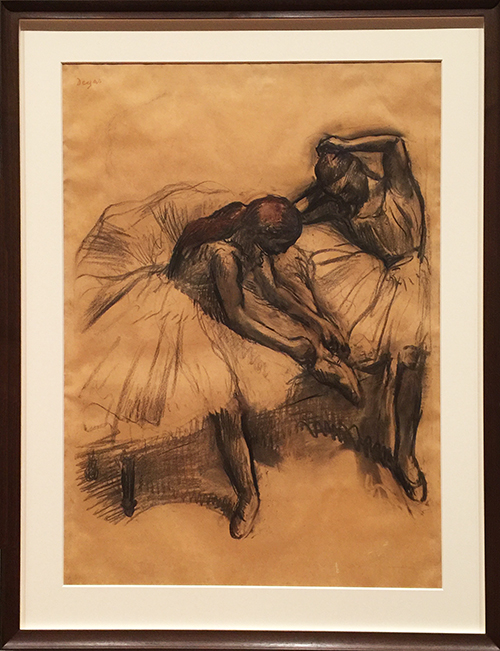
Two Dancers,1905 – Charcoal and pastel on tracing paper
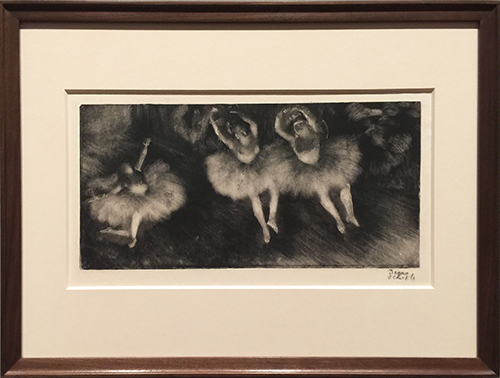
Here is the monotype – the first print .
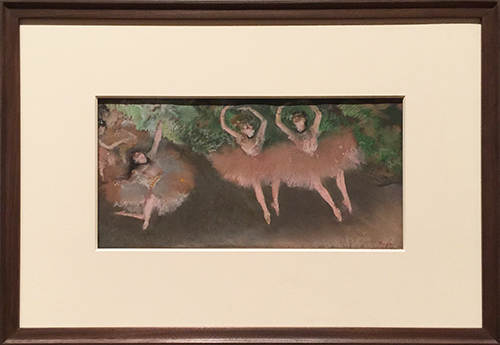
And the ghost print enhanced with pastels.
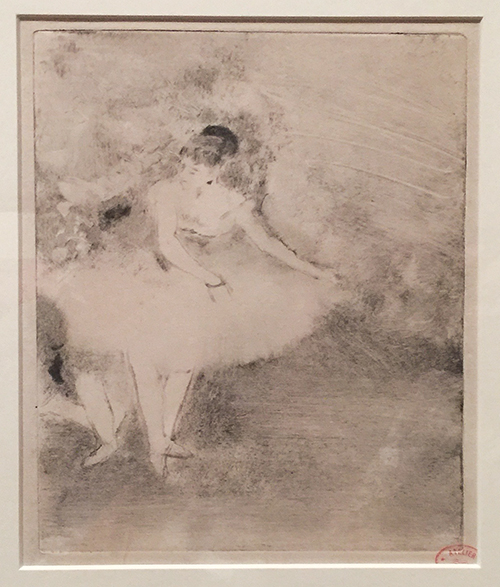
Three Ballet Dancers, c. 1878
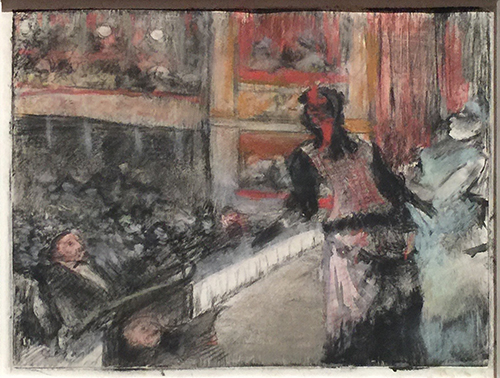
At the Theater: The Duet – 1877-79 – Pastel over monotype on paper
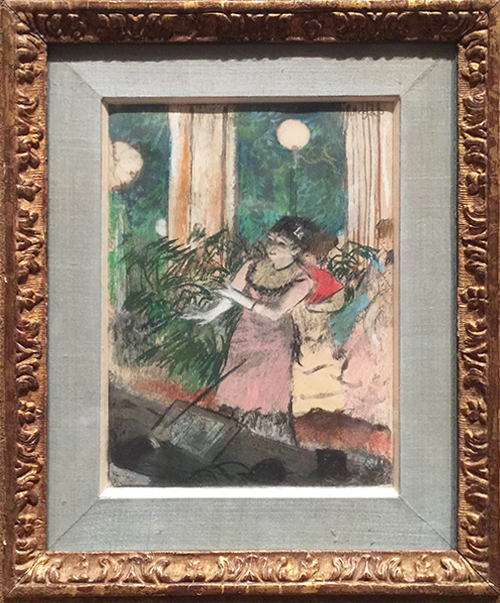
The Café-Concert Singer, c. 1876 – Pastel over monotype on paper
I was fascinated by Degas’ way of seeing the monotypes as a process opening up so many more possibilities – what a great exhibition to explore his process and his grab for the shiny object. If you are near NYC – go and visit it- it is still open until July 24th, 2016 and I will for sure stroll through it again before it closes.

Fascinating! Thanks for the exhibit tour and insights into the artist’s processes.
So glad you enjoyed it Carolyn! have a wonderful weekend!

Thank you for sharing – love being able to visit a museum through your eyes.
Hi JoAnn, happy you liked the art stroll :)
Thank you Nathalie for this informative museum tour – I didn’t know the extent to which Degas produced and modified his monotype prints. Whenever I saw the black and white works in articles about this artist, I presumed they were simply charcoal studies for his paintings. I’ve learned so much art history from reading your blogs and of course, can’t say enough about all your mixed media tutorials and info.- such a wonderful resource!
so glad you liked it Gayle! Thanks for coming by :)
Happy Tuesday! It’s time for my Creative Squad to share a project with you with this month’s new theme: “Elephants Never Forget”. Throughout the month of May, the team will use my new Elephant Foam Stamp, Rubber Stamp and Stencil Set to interpret the theme. I asked them to draw from a childhood memory, and to use the elephant as a symbol of something that fascinated them as a child, inspired awe, or just got their little brain all wrapped up with wonder. And if you want to hear a little bit about my childhood, you can read about my personal connection to elephants here (just scroll down to “WHY an elephant…”) :)
Today we have a super vibrant art journal page from Gwen Lafleur. As a travel enthusiast, her interpretation of the theme is definitely close to my heart.
—————————————————————————————————
With this month’s theme of working from a childhood memory that fascinated me, the Elephant Stamp & Stencil set couldn’t have been more perfect! In my art journal spread, the elephant represents this memory and the object of my childhood inspiration perfectly. The memory that jumped out at me was one of me laying on the floor of our living room on my stomach poring over a book. Not just any book, but “Lands and Peoples of the World.” I was obsessed with it, and this particular scenario played out many times. Looking back, the book probably wasn’t all that great – the cover was brown with a photo of a tribe of some kind, and most of the pages were black and white. I’m guessing it was printed in the 70s. But it enthralled me completely. I can’t remember precisely what it was that I loved about it, but I think just the idea of all of those places and cultures that were so different from what I knew, really captured my imagination. As an adult, I’ve been blessed to take that fascination and act on it, traveling all over the world and seeing many of those places and cultures first hand. I’ve since looked for it at my parents’ house on many trips home, and have finally accepted the fact that the book is gone, but the memory remains. As for that childhood fascination with exotic locales? Some things never change!
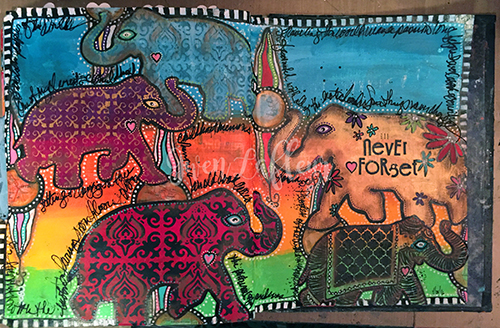
For my art journal pages, I decided I wanted to go really bright to represent all of the intense colors and patterns of many of the places I dreamed about visiting and have since gone to. I painted some stripes of paints in different shades of blue, yellow / orange, and green acrylic paint – all different brands, I just randomly grabbed what I had.
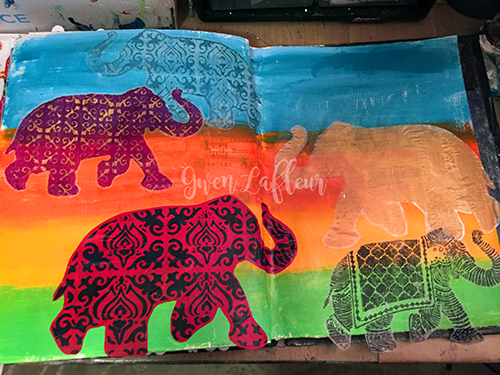
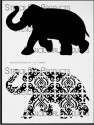
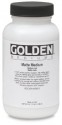
Then I used all three of the stamps in the set to stamp out elephants on to deli paper. I used paint with the foam stamps and black Archival Ink with the rubber cling stamp. I used the stencil from the kit on top of the plain stamped elephant to add some pattern with gold paint. Then I pulled out Nathalie’s Elephant Parade stencil that matches this set and stenciled the larger open elephant with Golden Gold Iridescent heavy body paint, and I stenciled the patterned version with black acrylic paint onto a red background. I cut out each elephant and adhered them onto the background with Golden Matte Medium.
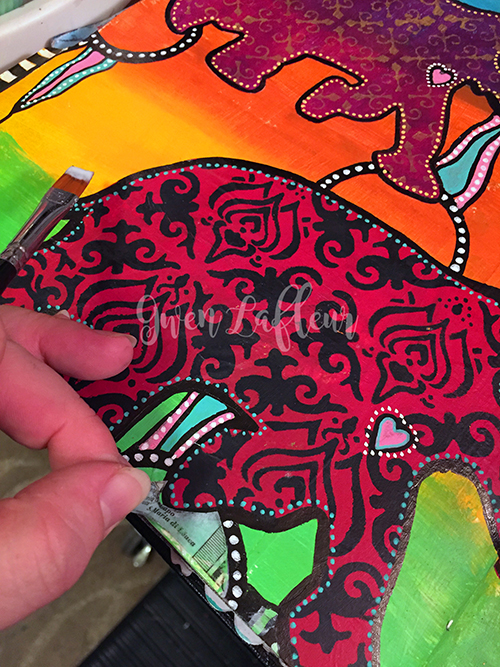
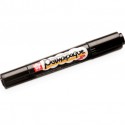
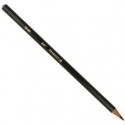
Next, I started adding details. I used a black PermaPaque marker to outline each elephant. I also added some embellished circles to connect and ground the images. I colored in the different sections with various paint markers and started adding dots. I knew I wanted to use maps on the page to reinforce the theme, and I wanted to put them in the middle of each of the circles. Since I needed to be able to see through and trace the area to cut out, I decided to do a quick packing tape transfer. I just put two strips of clear packing tape over a section of a map. Then I soaked it in warm water until the paper on the back started to pill when I rubbed it. I gently rubbed off all the paper leaving just the image on the tape. This made it pretty transparent, so I traced the shape of the circles onto the tape with a Stabilo All pencil and cut them out, then adhered with more matte medium.
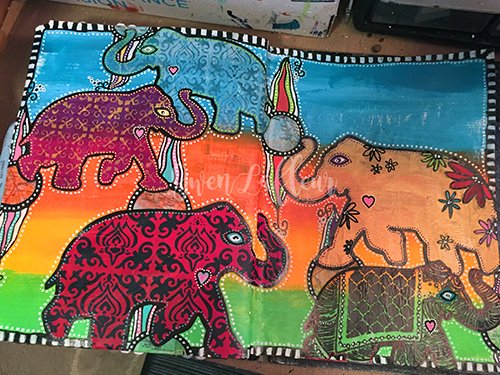
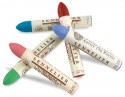
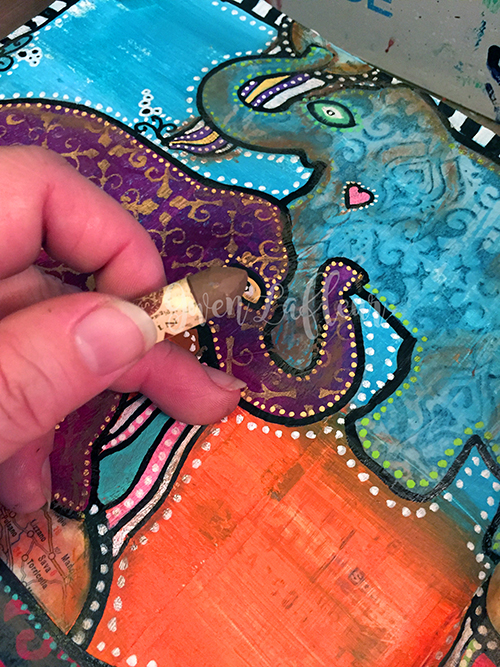
For the third phase, I added white dots around everything to create unity on the page, and went through and added a bit more detail here and there. To add depth to the piece, I used oil pastels to put in a bit of shading. I really like using these on top of acrylic paints; you just have to be careful not to put them where you want to add more layers or acrylic or do any writing – the paint won’t stick to it and the pens won’t write on it, so this needs to be one of the top layers.
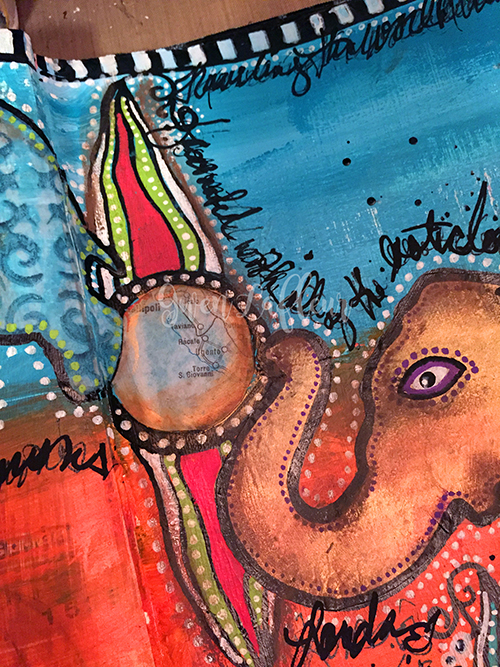
Finally, I used some old rubons to add a title to the page, then just went around randomly adding writing around the elephants and journaling about this memory.
I hope you enjoyed today’s project! I’m really looking forward to hearing about the rest of the team’s memories, and hopefully some of you will play along as well!
—————————————————————————————————
Oohhh this is so much fun! I love all the ways Gwen incorporated the Elephant stamp in her page and her use of pattern definitely suggests exotic far-off places. I hope she finds that book again!
Besides the supplies listed below, Gwen also used acrylic paint, markers, maps, clear tape, and old rubons:
See you next Tuesday for the another project from the Creative Squad, with the theme Elephants Never Forget.

I am so jealous. I collect elephants and would love
to have this one for my collection.
I have to get that stamp and make my own.
thanks for sharing.
Gwen your page is beautiful! I love the vibrant colors and all of your doodly details!

Gwen, such a little addition, but the white dots do pull it all together.

Thanks so much Sue! I really love my dots :D

Super excited to teach at Art Journaling Live in Arlington, Texas again June 16th. It is a whole day workshop teaching together with Jodi Ohl, Mary Beth Shaw and Gina Rossi Armfield.
Unique techniques using the best tools and supplies, and you’ll expand your art journaling to a whole new level! Check out all four class segments here.
PLUS! With a ticket to Art Journaling LIVE! you’ll receive an ALL ACCESS PASS to the Great American Scrapbook Convention!
Art Journaling LIVE! 2016
June 16, 2016
Arlington Convention Center
Arlington, TX
You can sign up here!
And …if you want to know more – Join us!
Date: Thursday, May 5th
Time: 4:00-5:00 PM ET
Where: Your Computer
Join artist instructors Mary Beth Shaw and Nathalie Kalbach in a live, one-hour webinar that offers a sneak peek of Art Journaling Live 2016, our one-day mixed-media workshop in Arlington, Texas June 16th that also features workshops by Jodi Ohl and Gina Rossi Armfield. They’ll reveal some of the dazzling art journaling techniques they’ll be showcasing; Mary Beth will talk about using stencils and acrylic paint to create art journal pages that pop, and Nathalie will discuss adding interest and an important spark to your art journal with textures and layers. They’ll also give a behind-the-scenes look at last year’s fun event, and you’ll learn about the great things in store for this year.
This webinar consists of a PowerPoint presentation, and you’ll get a chance to ask Mary Beth and Nathalie your questions in a live Q&A. Everyone who registers will receive a link to watch the recording, a video showing scenes from Art Journaling Live 2015, and discounts to use at the Interweave Mixed Media Store.
You can sign up for the webinar here.
Did you miss last year’s Art Journaling Live Event with Dina Wakley, MaryBeth Shaw, Julie Fei-Fan Balzer and me? No worries- we gotcha covered with a DVD or Download of Art Journaling Live 2. Or do you want to take a fun online class with me? Check out the DVD’s and Downloads below :)
Hope to see you on- or offline :) Have a gorgeous day
![BLOG TEMPLATE[20]](/app/uploads/2016/04/BLOG-TEMPLATE20-e1461258192673.jpg)
Woot Woot- so stoked that the Stampendous Design Team and my wonderful Creative Squad is doing a blog hop together this week. It always is my favorite thing to see how others use my stamp and stencil designs – makes me so happy. Loads of yummie projects – check it out!!!
Here are the links for today:
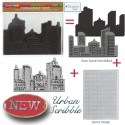
I thought I would play along with my awesome team’s theme this month “My City Speaks To Me” and I used the Urban Scribble Stamp Set as well
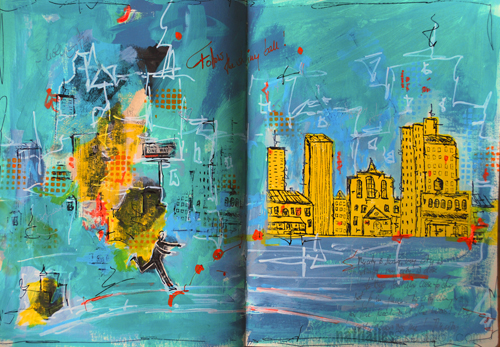
My city – Jersey City – is such a city of juxtapositions. Grungy – Spotless, Old – Modern, Artsy – Financial, Jersey – NYC, Loud – Calm ….and so much more. I love it – it is such an inspiring place to live.
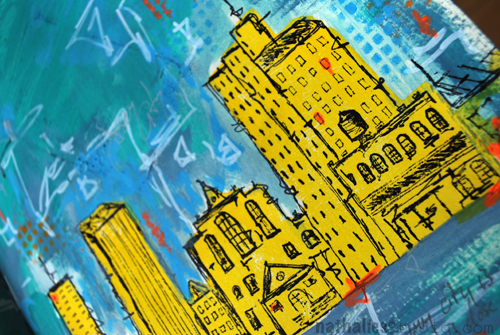
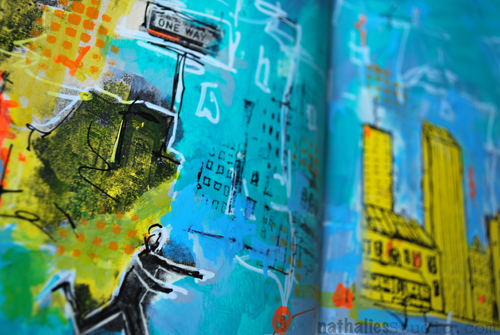
I stamped with the solid side of the Urban Scribble Foam Stamp and yellow acrylic paint into my art journal and then used the Rubber Stamp with black ink to stamp over it. The Solid Foam Stamp and the Rubber Stamp pattern fit perfectly together. I painted the background and for the grungy side on the left I used the rubber stamp on purpose rudimentary and in a non perfect manner to enhance the juxtaposition of the two sides.
Watch this video if you want to know how to apply acrylic paint to the foam stamps:
Rule of Three – #1 “Three Ways to “Ink” up Foam Stamps from Nathalie Kalbach on Vimeo.
Check out all the wonderful posts, comment on any of those posts and win a price and join us :)
![STM_NatNfriendsHop_prize[8]](/app/uploads/2016/04/STM_NatNfriendsHop_prize8-e1461258396352.jpg)

Love all three sets Nathalie; it will be hard to decide which one to get first. Great blog hop!

Such a beautiful layout you have created! Love your products!

EXCITING pages, your city is ALIVE – LOVE IT!!!
THANK YOU for sharing your video too, these sound like such an ADVENTURE to CREATE with :)
Tracy from Australia
I love these new stamps Nathalie and I thoroughly enjoyed using them at your recent Mixed Media Circus Workshop at Darkroom Door. I know I need these for my art journaling :)

Love your project and love the stamp set. I live in New Jersey and you summed up your area perfectly. Thanks for sharing.

You did it up brown, great release

Love your tutrials and all the things you so graciously share with all of us on your blog. Including your friends in the form of this blog hop! Thank you for the tips on inking your stamps. I work in fabric but almost everything you do I can use in my fiber arts adventures. I love your stamps and use them all the time in my work. Thanks again!