Today, Tina Walker from my Creative Squad is sharing two beautiful mini book journals and a bonus project using this month’s theme: “Good Things Just Keep Happening.” I invite you to join me and my Creative Squad this November, in the spirit of the Thanksgiving holiday in the US, to remind ourselves to be thankful for even the smallest things. Every once in a while it feels nice to slow down and recognize the good stuff that’s all around us. What Good Thing happened to you today?

Hi! Tina Walker here today to kick off the new month with a new Theme. This month, our theme is ‘Good Things Just Keep Happening’. This is a great mantra and reminder as we enter the month of Giving Thanks.
I have been through a lot in my short 50+ years and staying positive every day can be a challenge. I have had relationships come and go, as well as jobs and cities, but I’ve always been thankful for what adventures I’ve had and for what is to come. Creatively, my life has been a whirlwind of excitement, wishes, and success. Art is something that makes me feel complete and fulfilled. In order to celebrate my life and good fortune, I created two pocket sized journals that can be used to record those special thoughts and memories no matter where I am. Let’s check them out!
Floral Fabric Mini Book
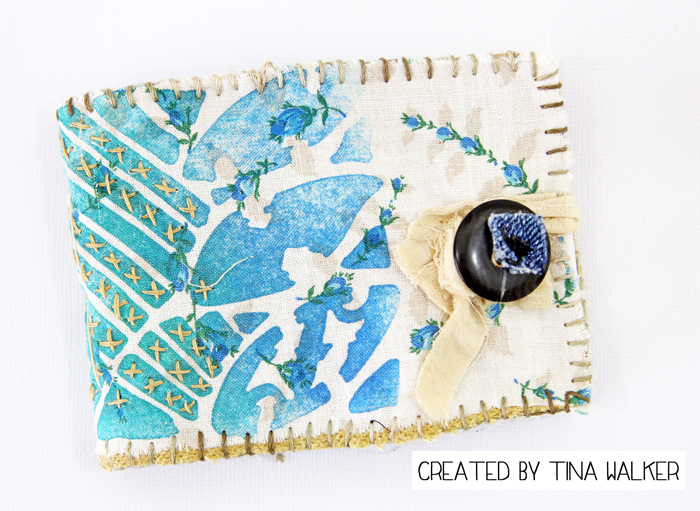
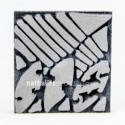
Apply fabric paint to a piece of vintage cloth using your favorite Nathalie Kalbach new ArtFoamies stamp. I used the Batik Pattern 4 foam stamp. Set paint per manufacturer instructions. When applying the stamp to the fabric, stamp the image twice, back to back. This way, you will have the image on the front and back of the book. Do this step twice, one double stamped image for the outside of the book, and one double stamped image for the inside of the book.
Here’s a picture of the front and back of the book for reference.

Add hand-stitching embellishments to one of the stamped images. I choose the image that would be on the outside front of the book. Sew a button to the outside front and back layer. The buttons will serve as the closure.
Sandwich a layer of cotton batting between the two stamped pieces, wrong sides together. Hand-stitch the 3 layers together using a blanket stitch.
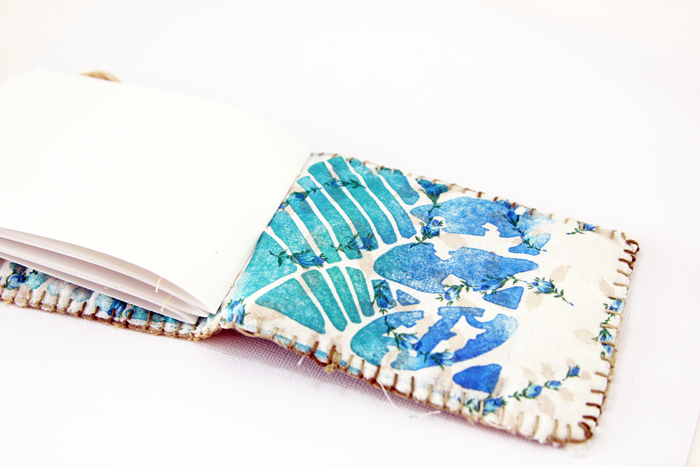
Cut to size, 3 signatures of 7 pages each. I used vellum paper for my paper inserts. Sew signatures to book using a three hole saddle stitch and Enjoy!

Vintage Paper Mini Book
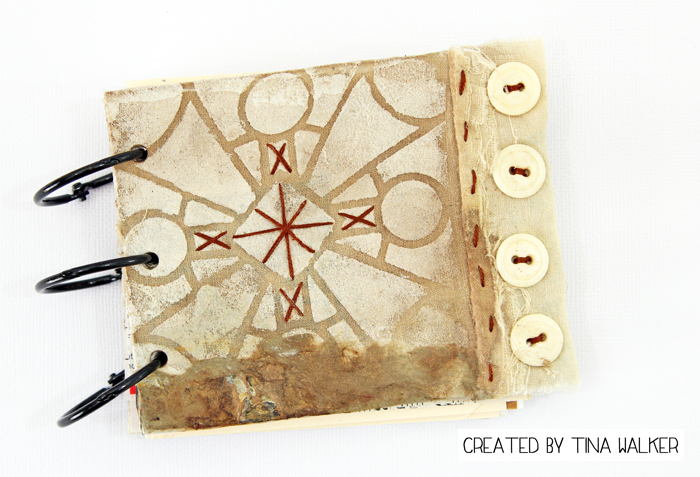
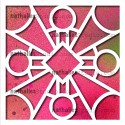
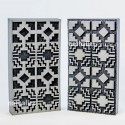
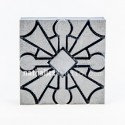
This mini book uses the same beginning techniques as above, except we will be using your favorite Nathalie Kalbach stencils for this one, I chose the new Buenos Aires 4×4 and the Buenos Aires 9×12 stencils.
Using the same stencil, apply modeling paste to an 8.5 x 11 piece of chipboard. Spray with your favorite spray mist.
Cut stenciled chipboard to your mini book size and adhere fabric stenciled image with heavy gel medium. Allow to dry completely.
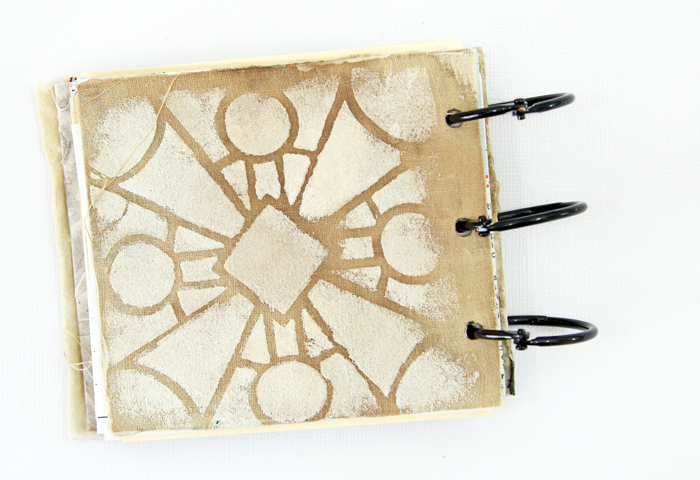
Cut to size various vintage papers. I used vintage music paper, receipt paper, glassine paper, tags, lined paper, plus others.
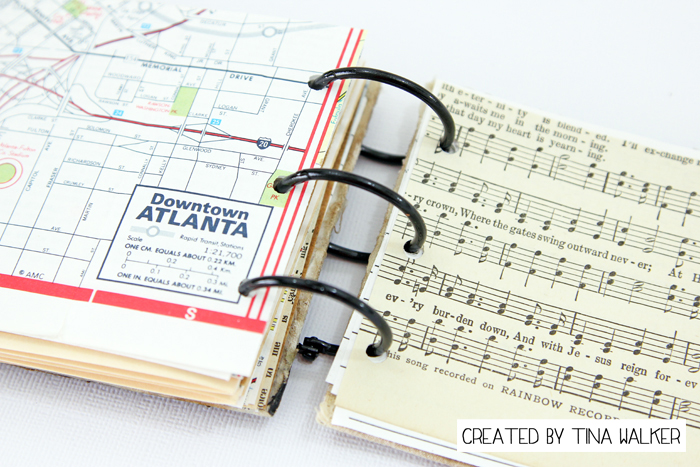
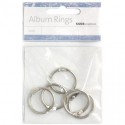
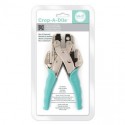
Using a Crop-a-dile or similar tool, cut three holes in the front and back and each piece of paper. Assemble and bind with 3 metal o-rings.
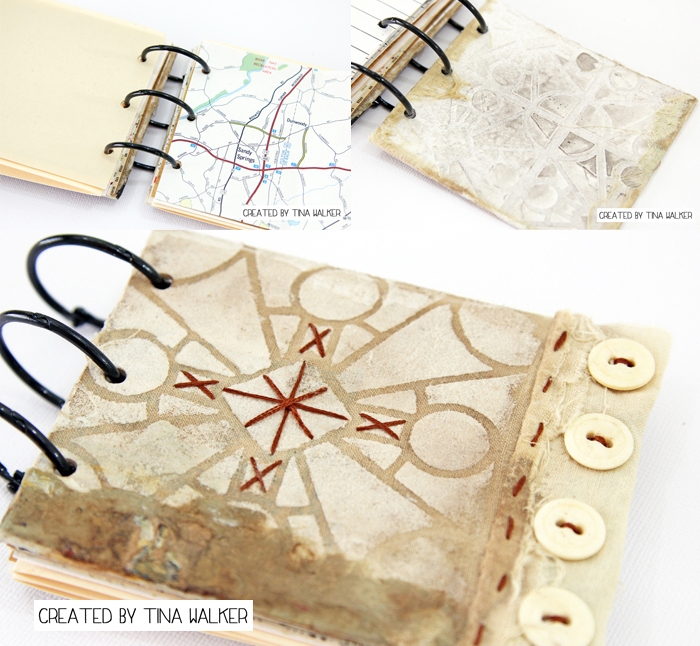
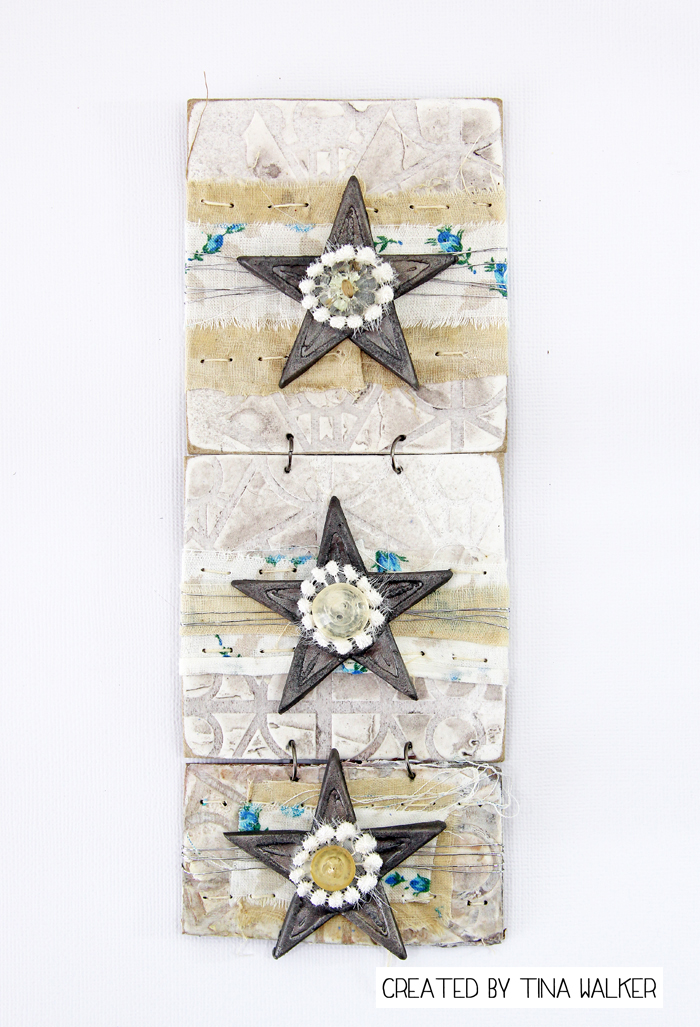
After I was done creating my mini books, I had several pretty scraps that were too nice to throw away. So I created a mini hanging, using the leftover stenciled chipboard and fabric pieces. Bonus!
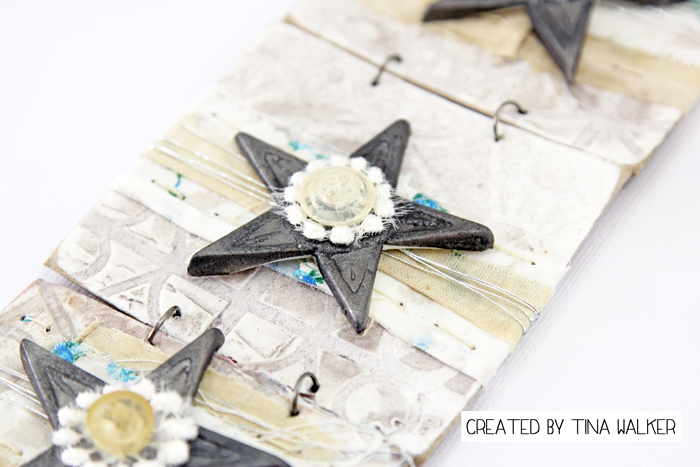
What good things are happening to you? Do you create art to celeberate? I’d love to hear about it! Thank you for taking time today to take a peek at my projects. See you next month.
Thank you Tina for these gorgeous ideas! I’m gathering my own collection of papers to turn into some mini books now. Besides some vintage fabric, vintage buttons, vintage papers and gun metal metallic casting powder, here are the supplies Tina used – note that some of the links are affiliation links:

Maybe you will even play along with us -I would love to see how you interpret our monthly themes. Email me how you used my stencils and stamps with the theme and email me an image – I would love to share your projects in my “n*Spiration From Around the Globe“.
See you next time for another project from the Creative Squad and DON’T FORGET: As we are celebrating the launch of my new website, everything in the n*Studio Store and all Online Workshops are 20% off until Sunday November 6th! Use the coupon code NEWNAT20 during checkout to take advantage of the savings!























Comments (4)
Jean Goza
| #
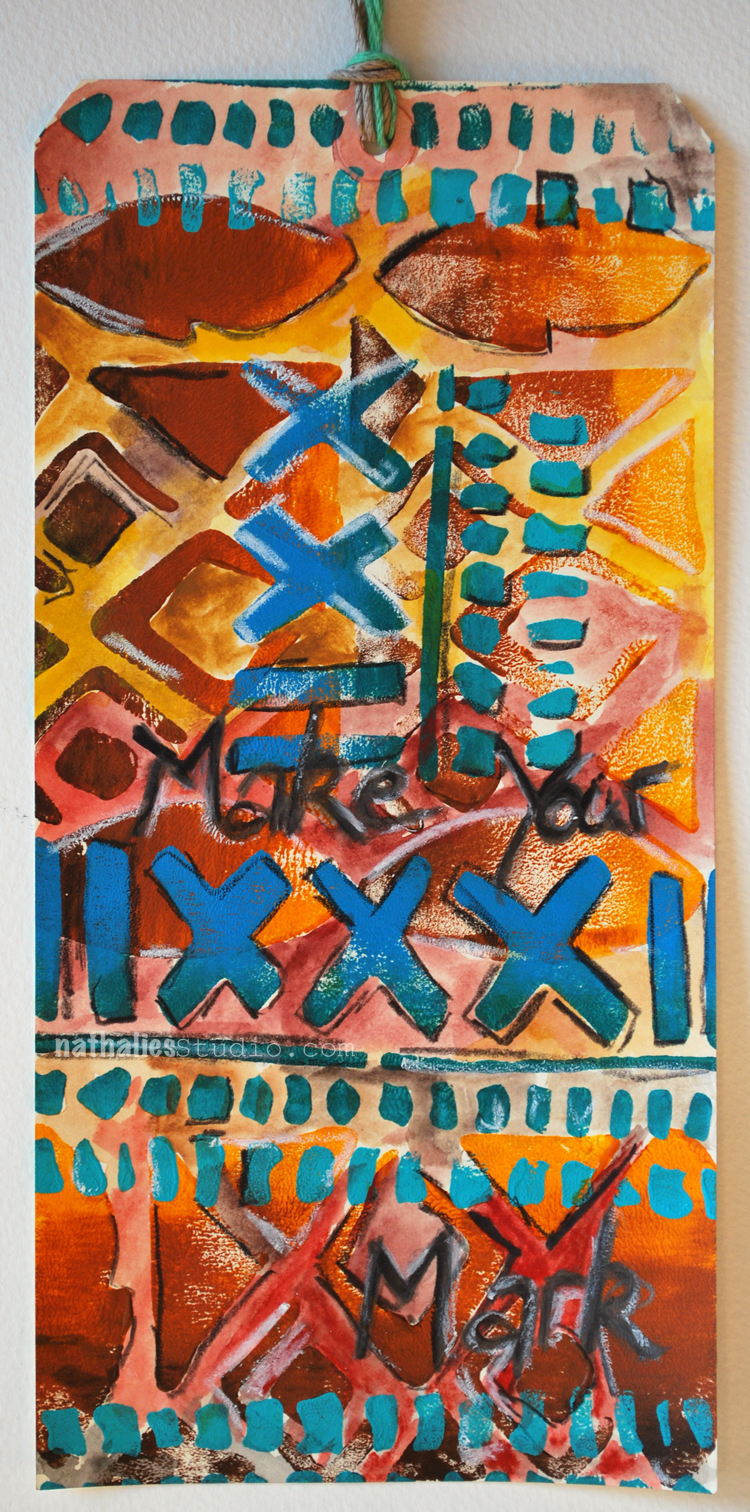
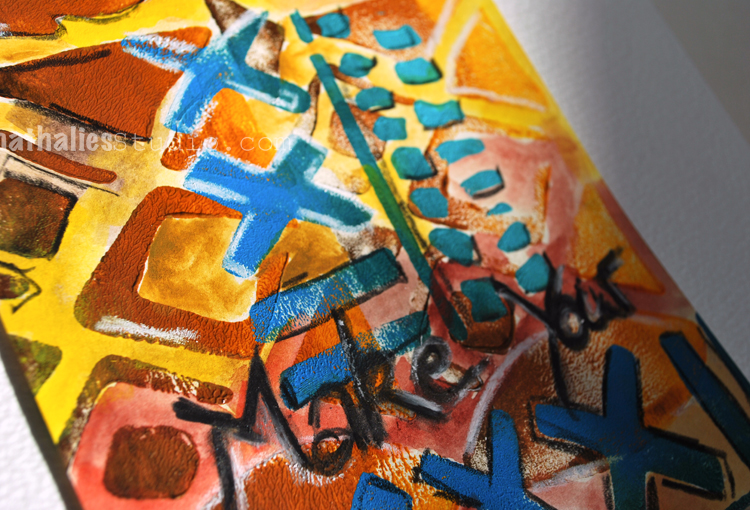
The tag is awesome! Great color and texture. Would love to know more about how you use the Artgrafs.
Reply
nathalie-kalbach
| #
Hi Jean, thank you so much! I make sure to use them very soon in a video and tell more. Still exploring them a bit more- I love them already :)
Reply
stephanie
| #
Very cool! Did you do a wash of paint(s) for the background?
Reply
nathalie-kalbach
| #
Hi Stephanie, I stamped with the acrylic paints and the stamps directly onto the tag and then used the ArtGraf Varcos and did a wash – they are super pigmented and made the stamped areas really pop.
Reply