Blog: Cards

Made with Love: Foam Stamped Valentines

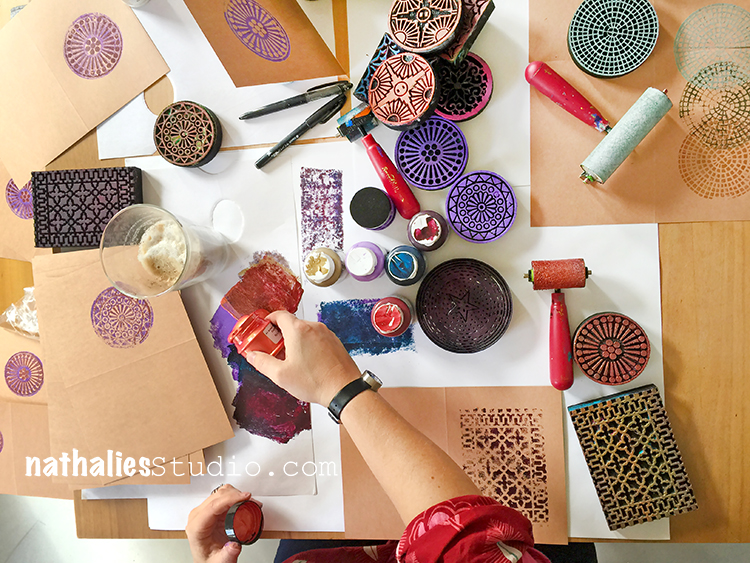
Last week Kim and I had another Craft Play Date, this time to make some Valentines. We pulled out my ArtFoamies and stamped all morning. It was super fun and easy and a very relaxing break from all the other deadlines I am chasing.

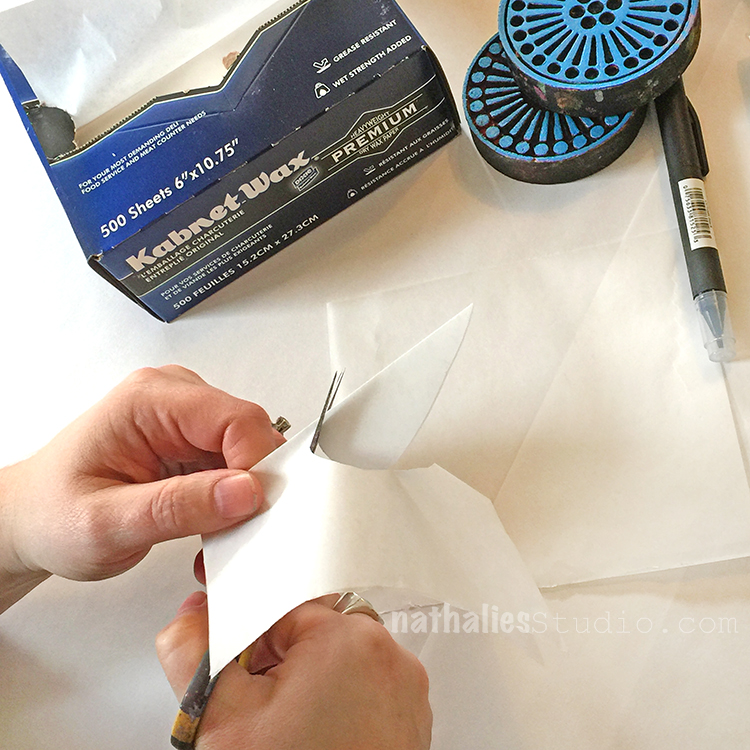
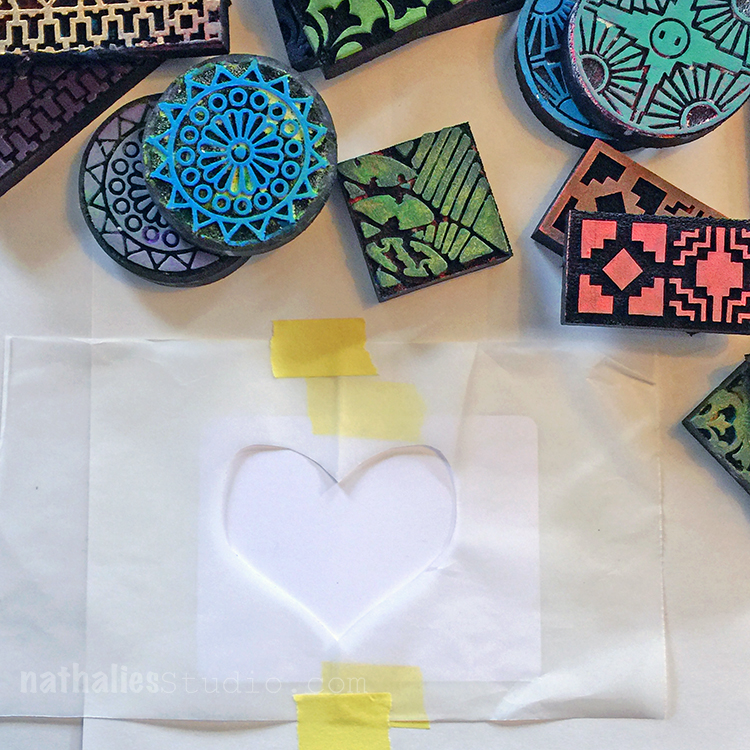
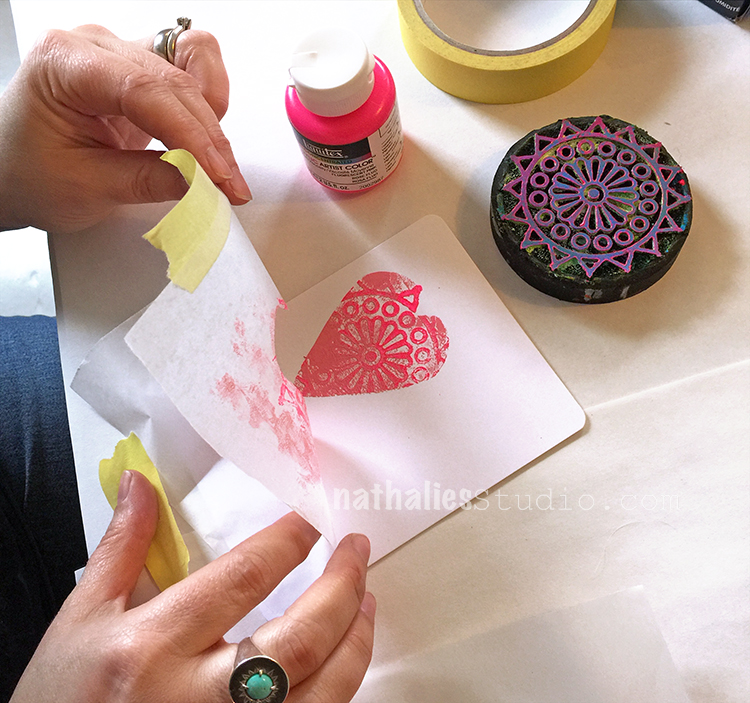
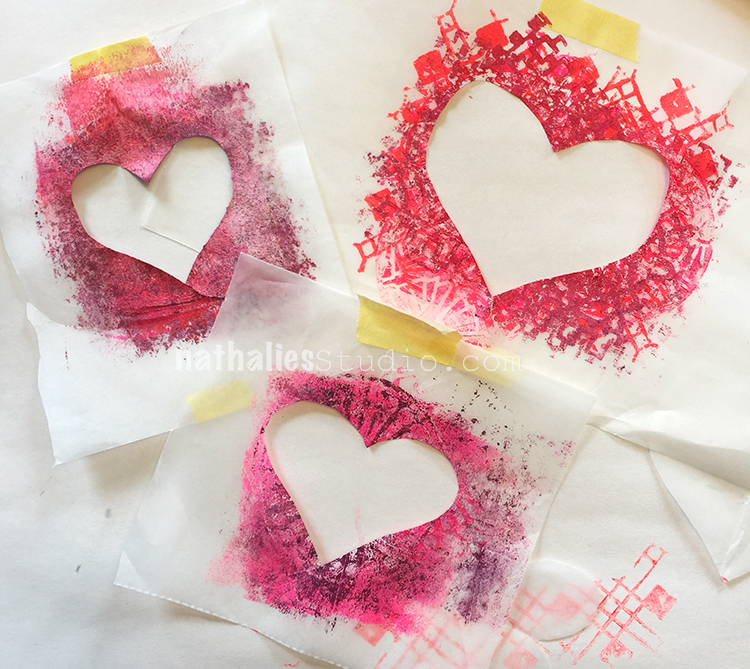
We used deli paper to make some simple heart shaped stencils for the cards.


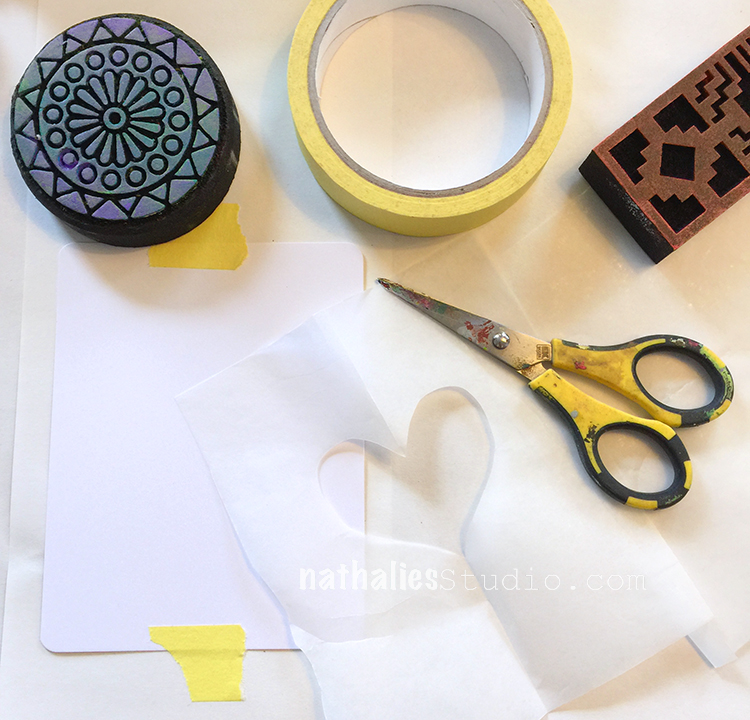
Then we secured them over the cards with masking tape and started stamping.

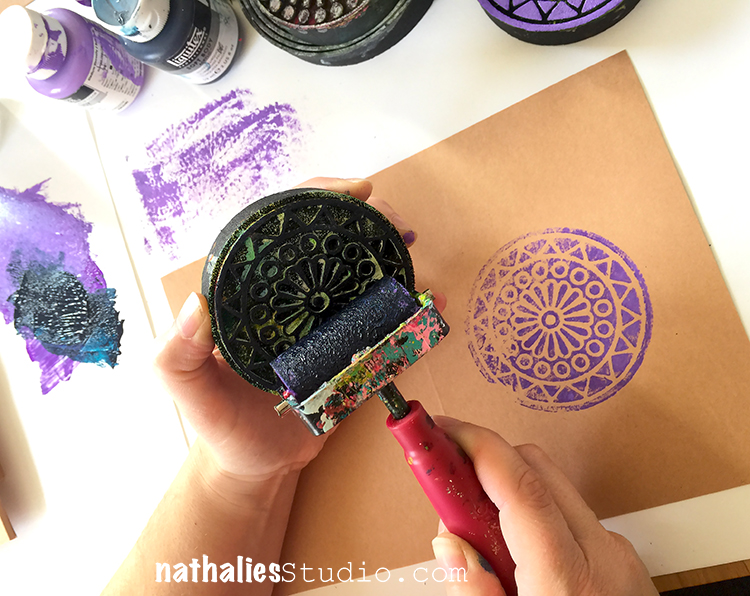
I began with hot pink paint and a brayer on my Valley Road foam stamp.

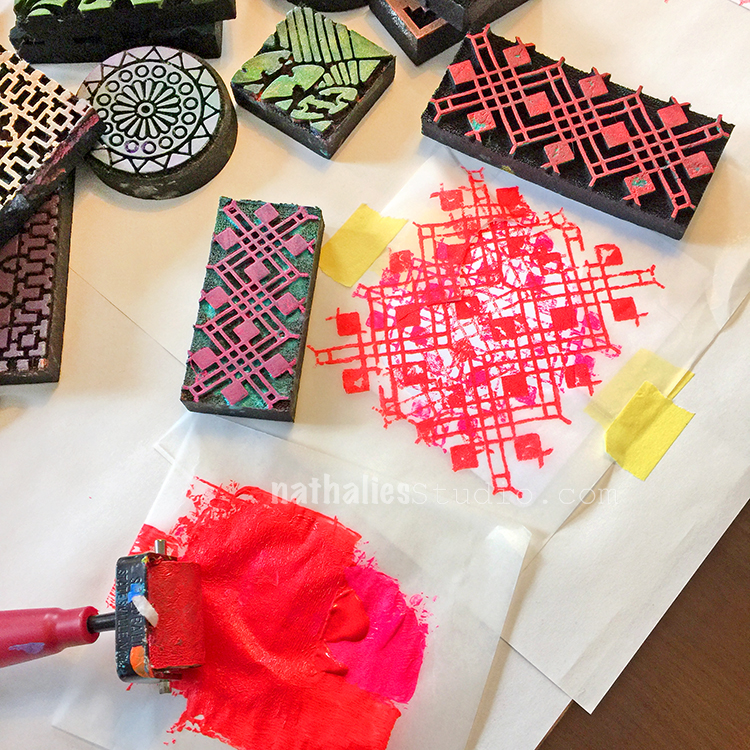
Kim chose my Chicago and Chicago Mini stamps and some hot pink and red paints. She layered them all over her heart stencil.

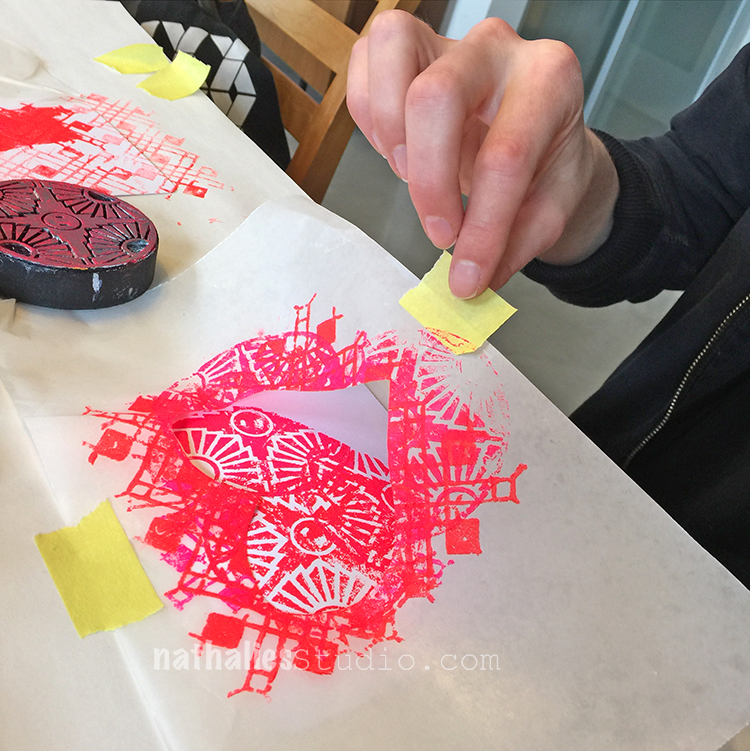
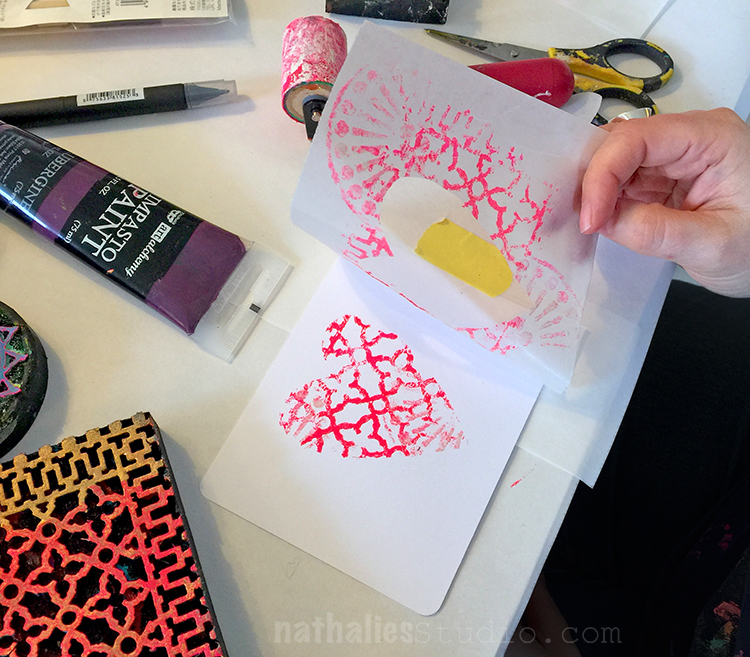
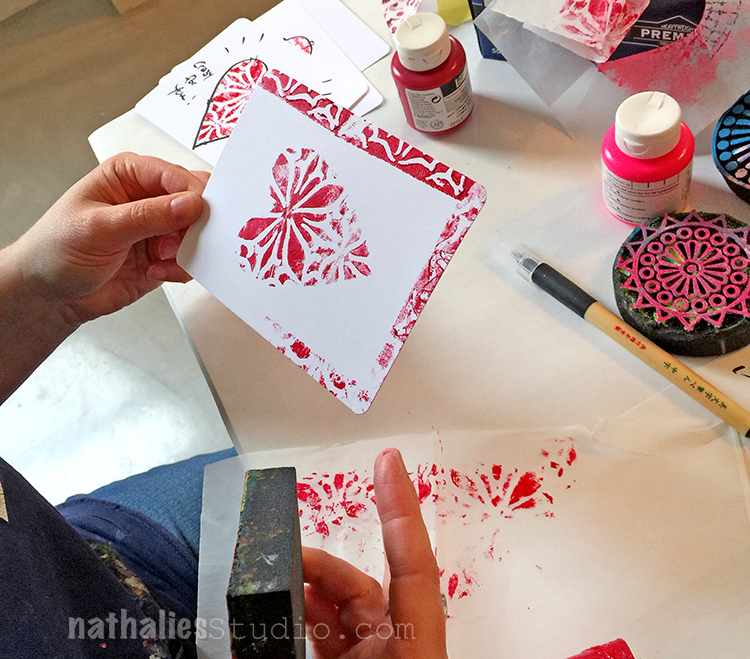
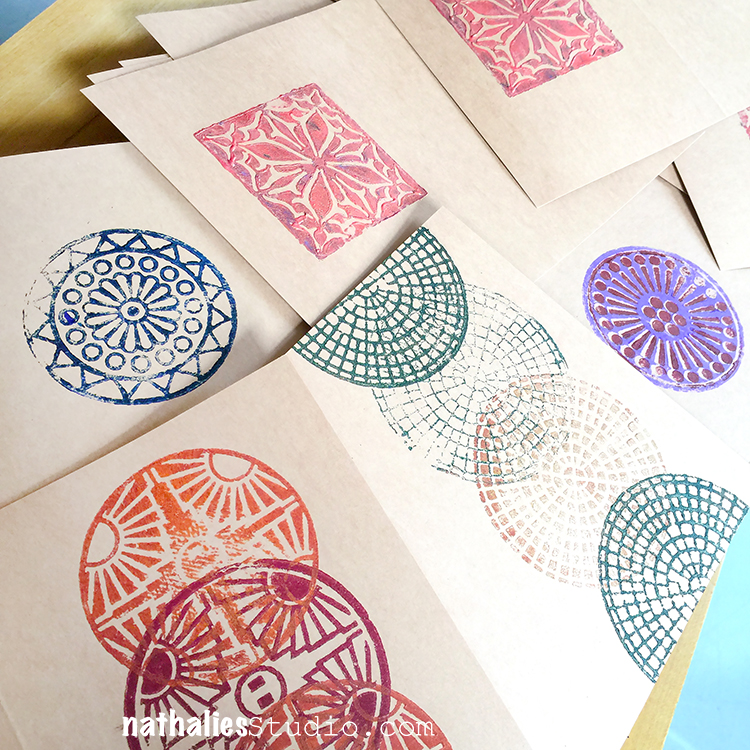
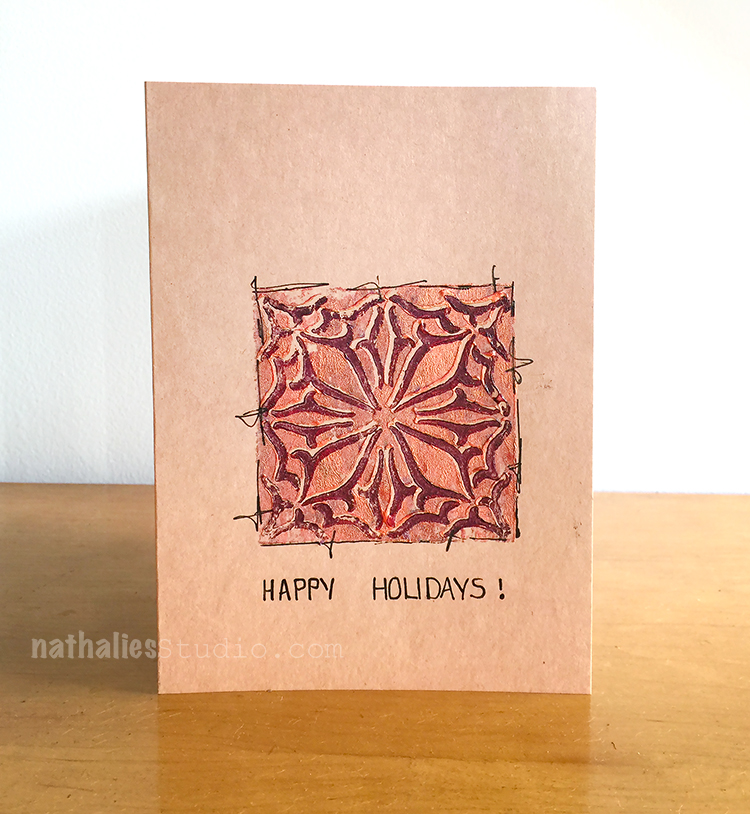
It was fun to see the big reveal when we pulled off the stencil. Here is my Broadway foam stamp layered up.

We made some simple knowing that we’d add some more to them a bit later… Here is my Downtown foam stamp and a little bit of Grove Street in the pale pink.

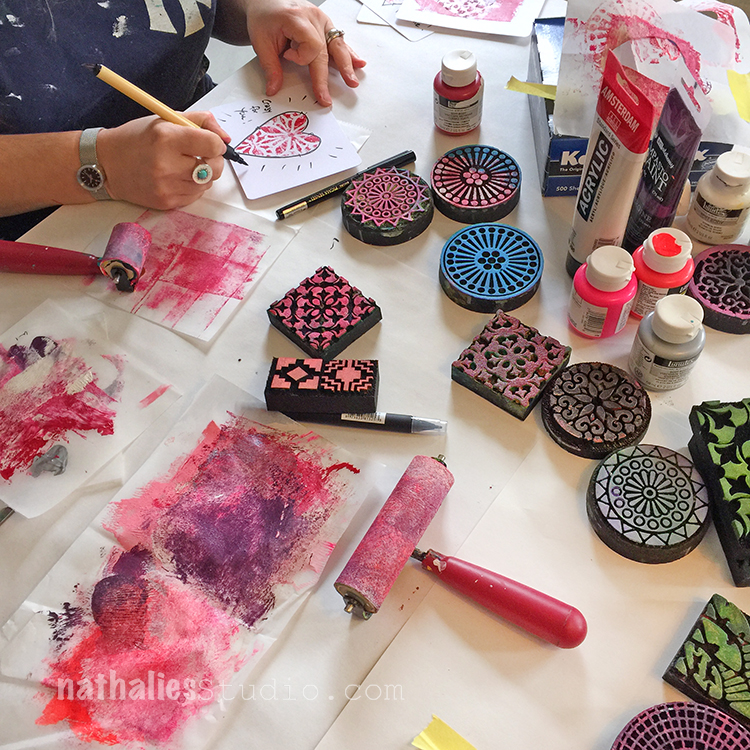
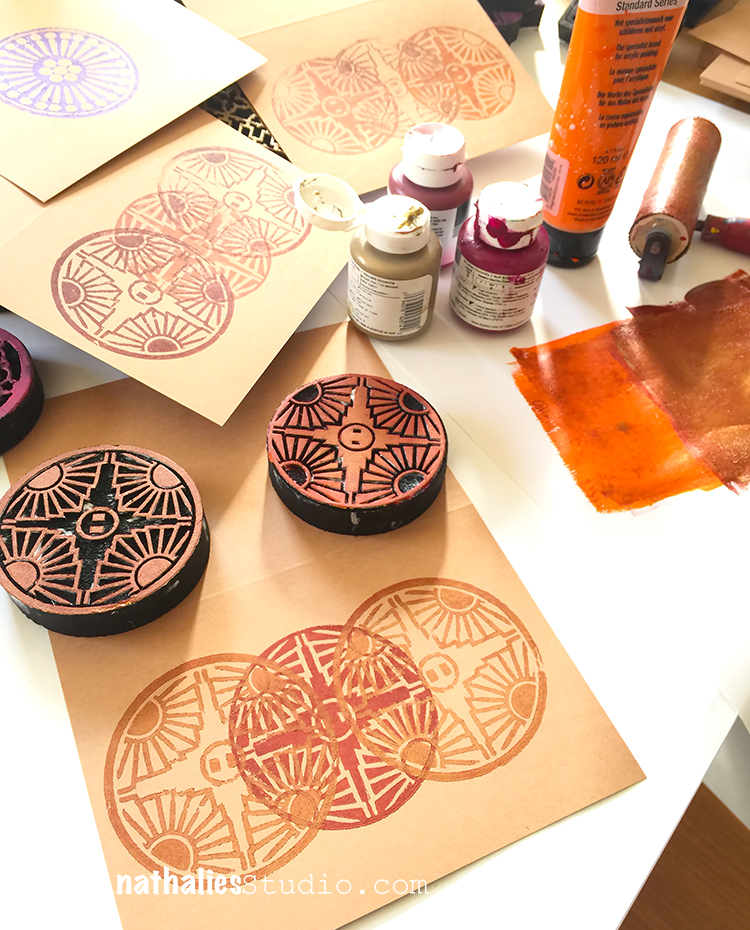
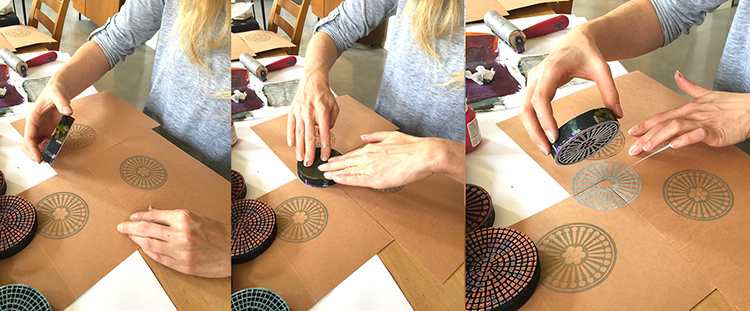
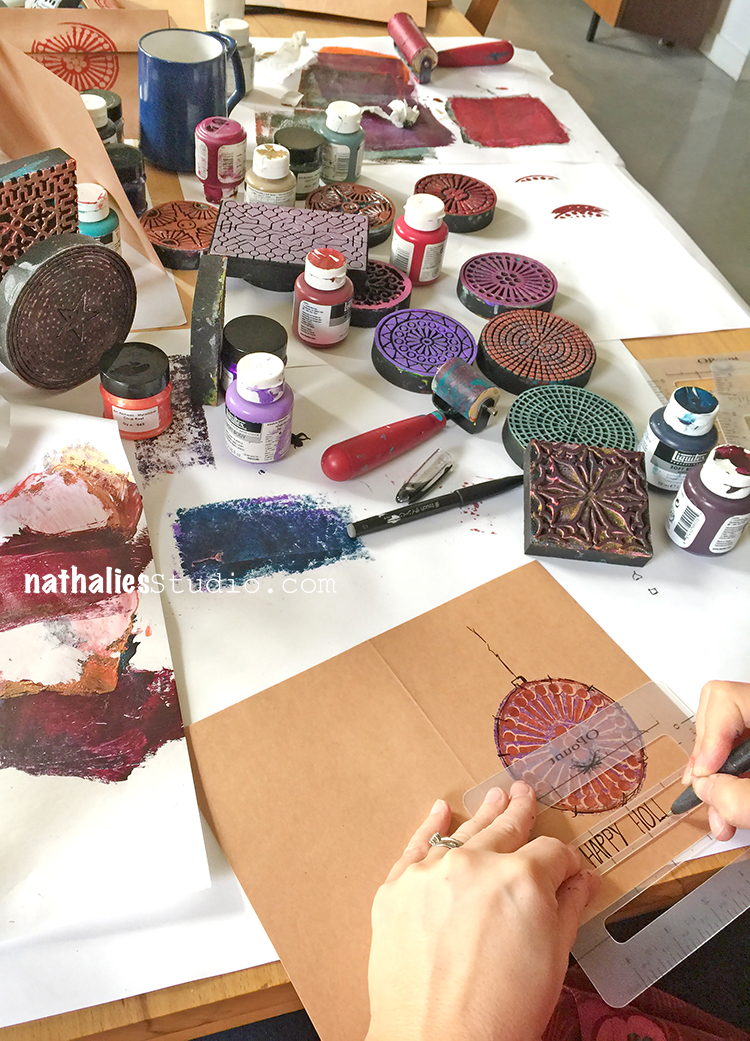
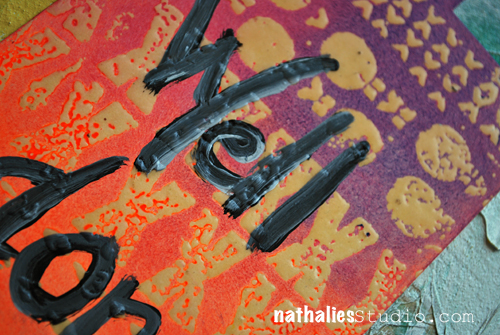
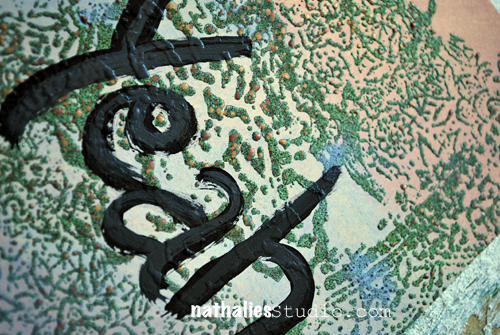
Next we tried layering solids with the stamps…

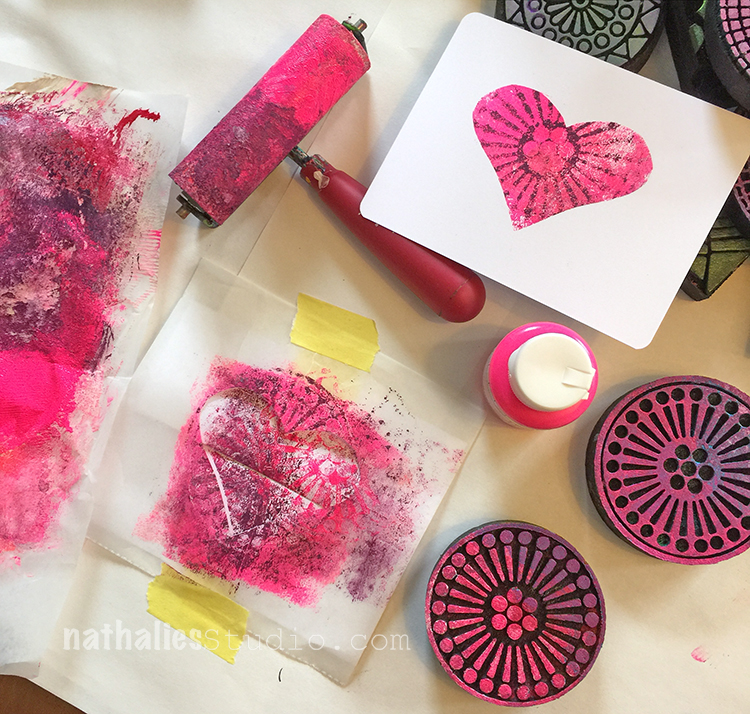
And just played with lots of yummy layers and texture.


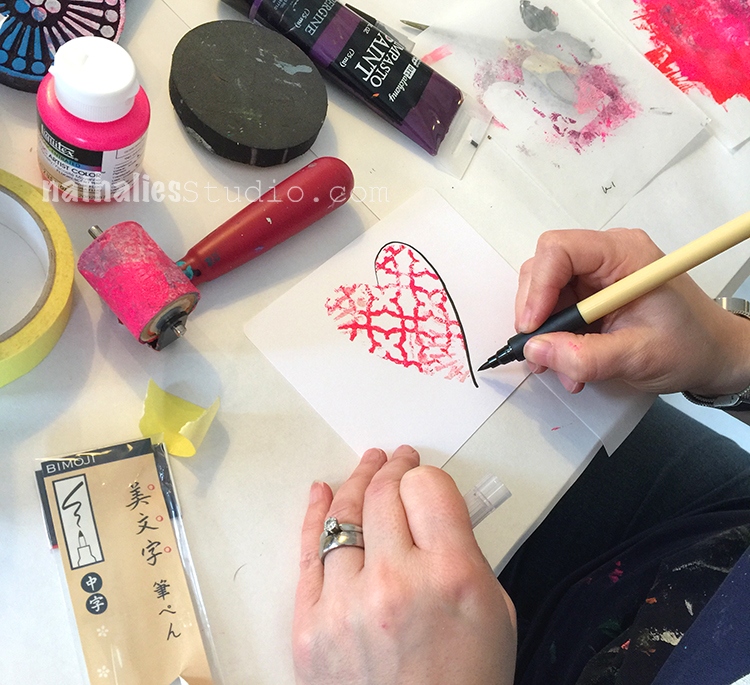
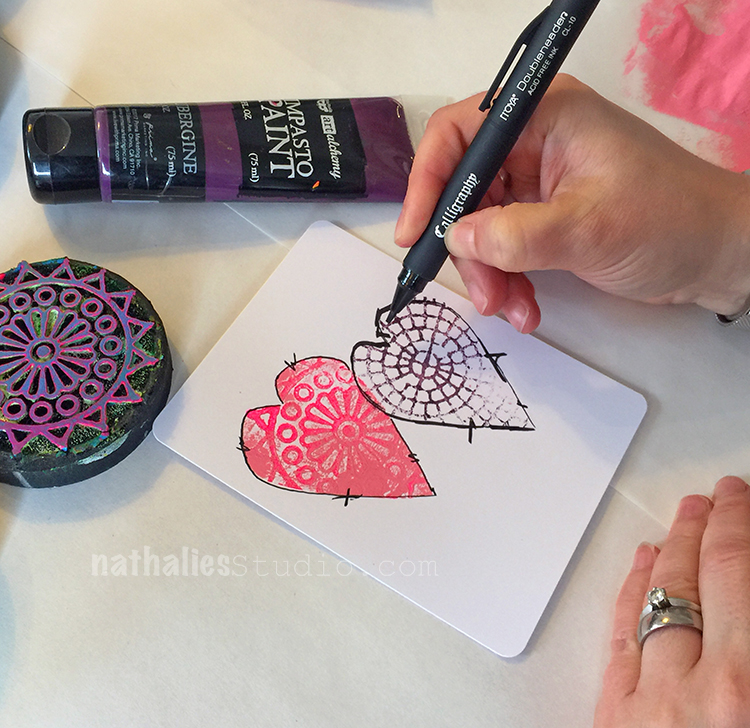
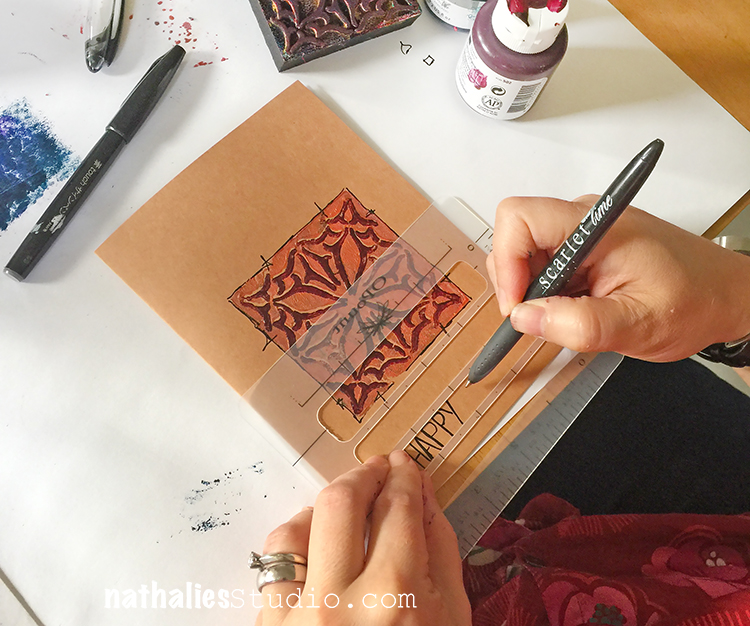
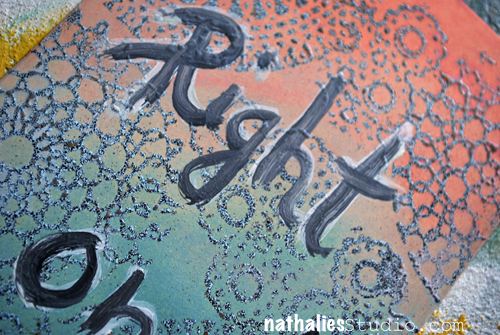
I added outlines and some scribbly stuff with a couple calligraphy pens…

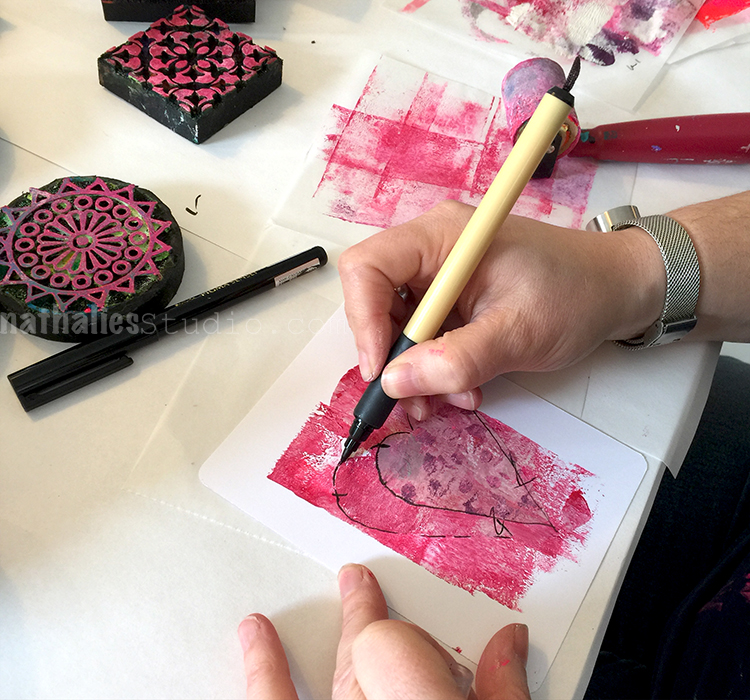
Including this new Kuretake Bimoji brush pen that has a nice firm tip.

We stamped the edges…

…and just had fun with it.

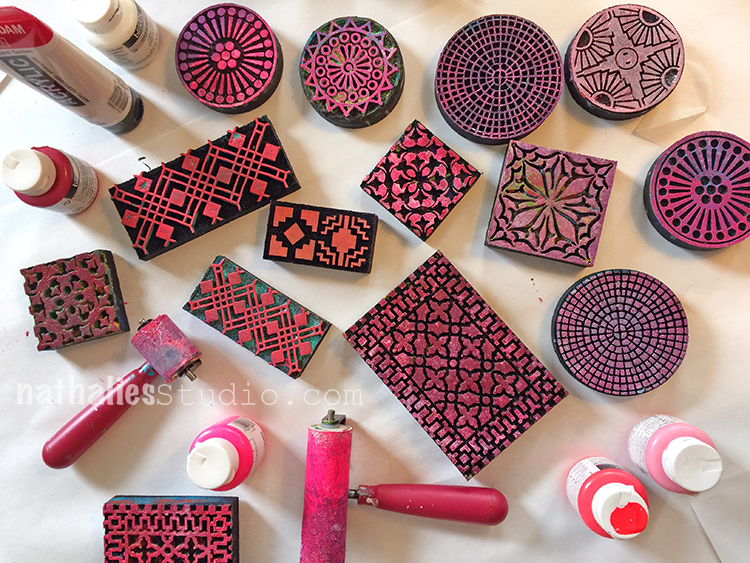
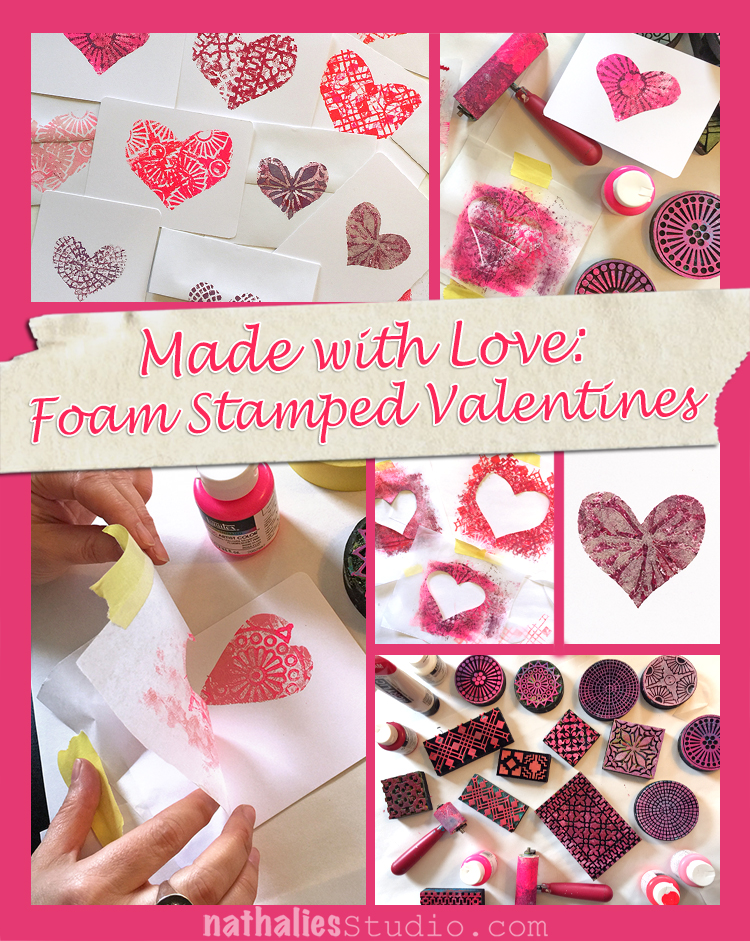
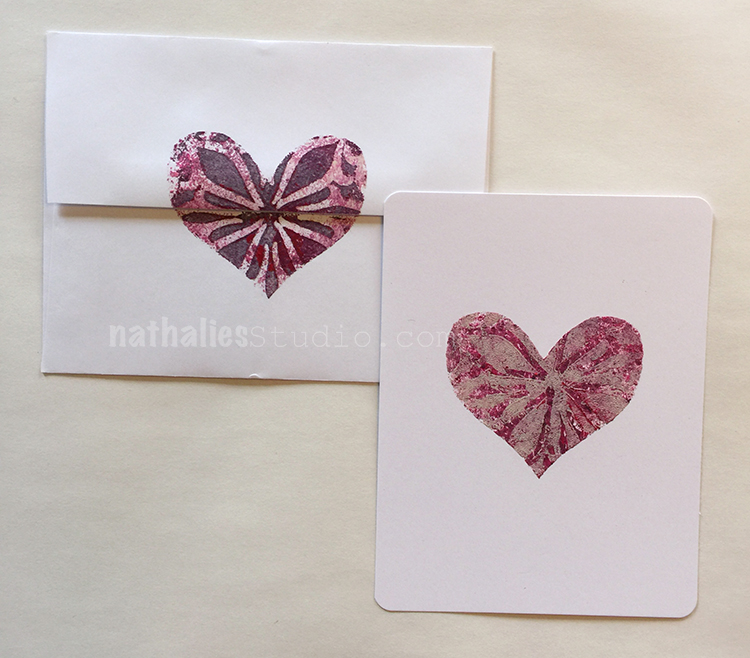
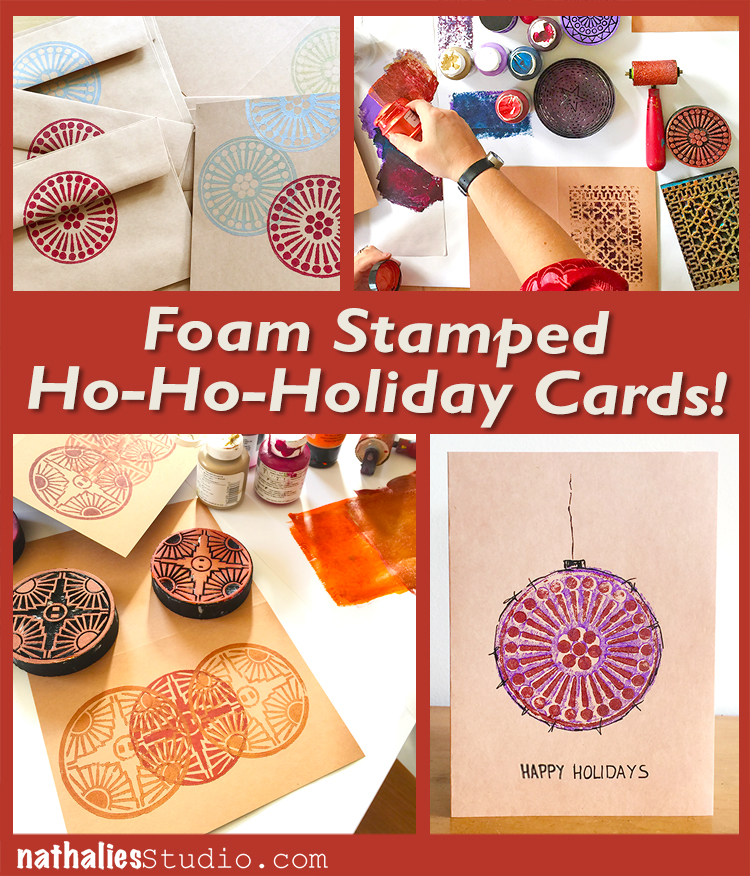
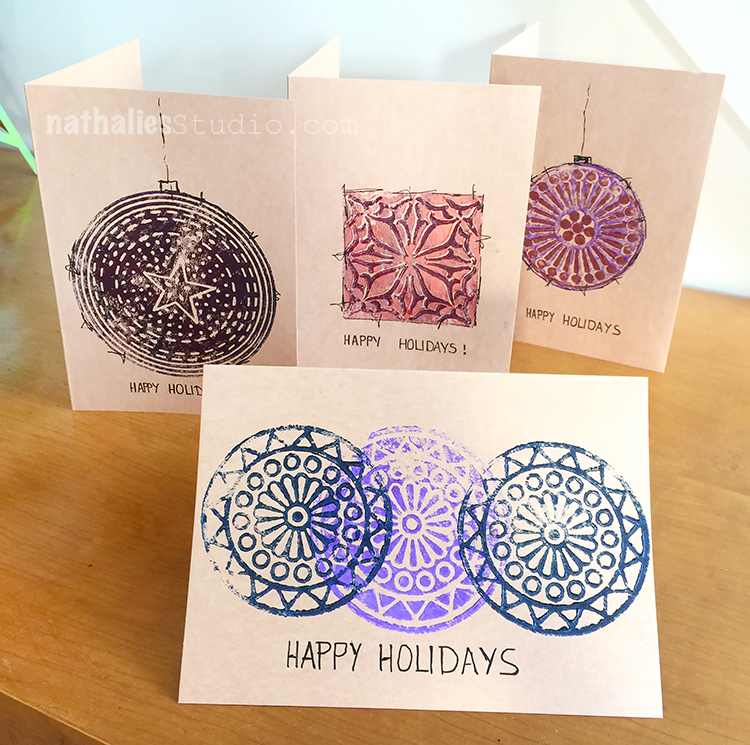
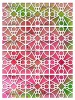
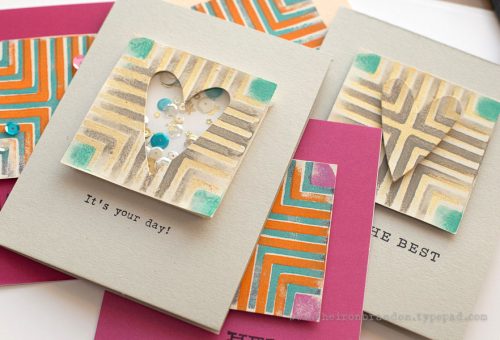
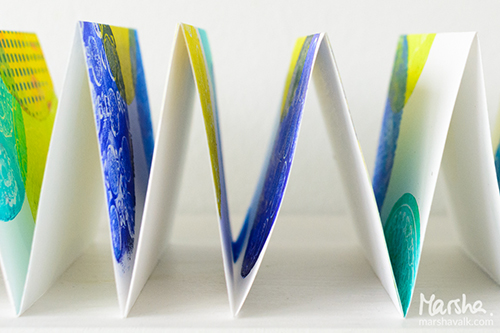
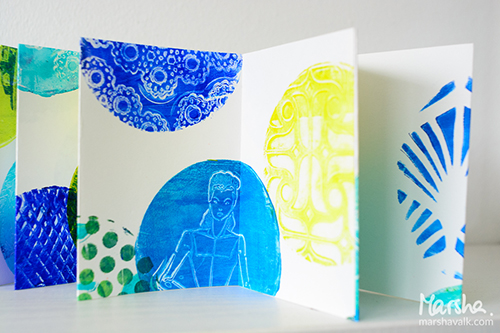
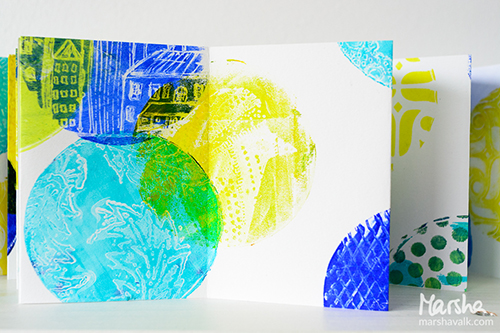
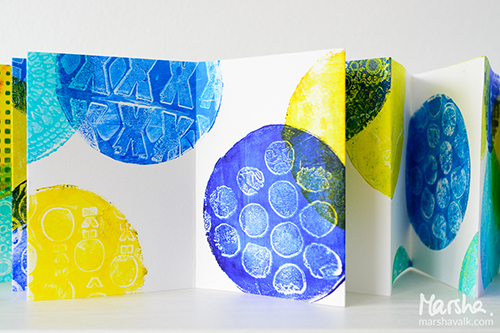
We turned my ArtFoamies all shades of pink and red for Valentines Day.

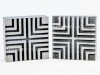
Here are some of the deli paper stencils afterwards – they look pretty cool too!

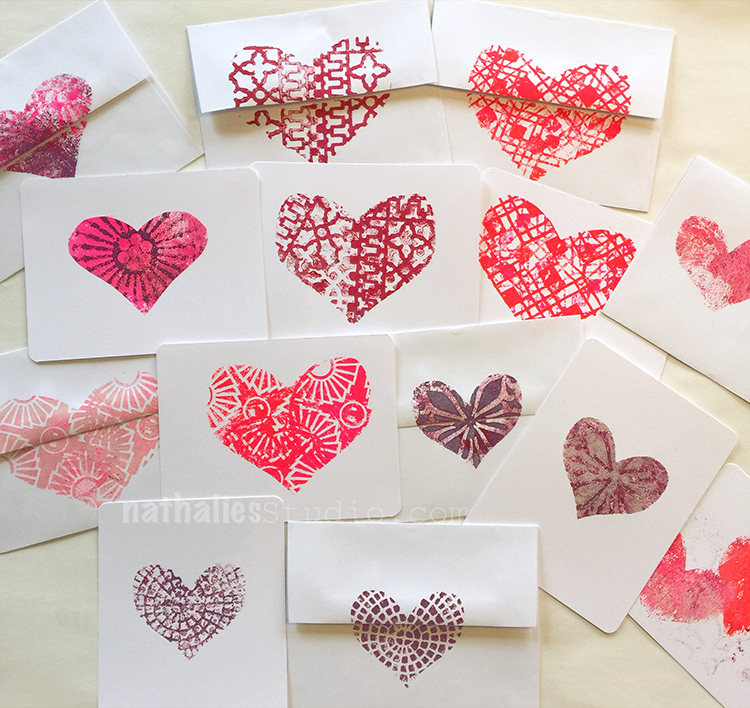
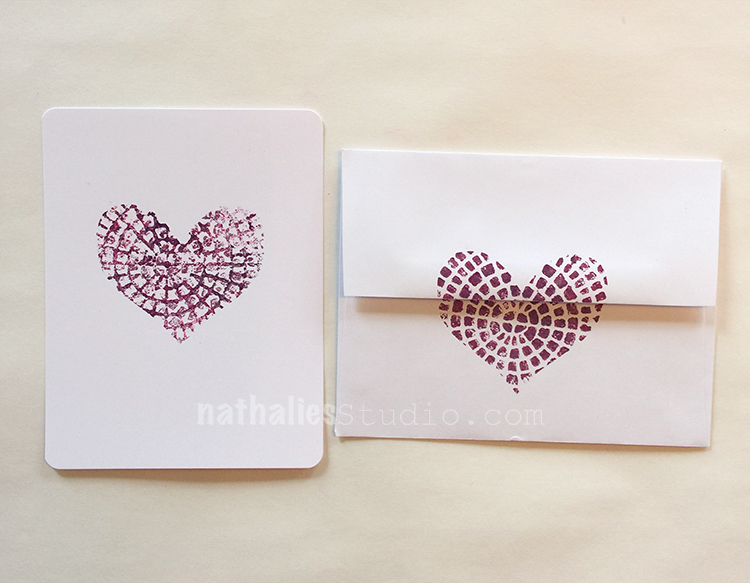
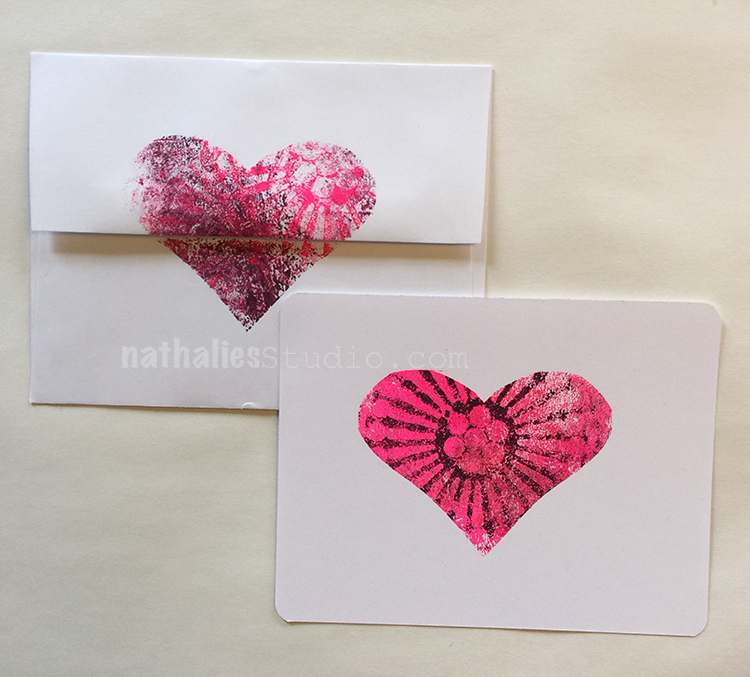
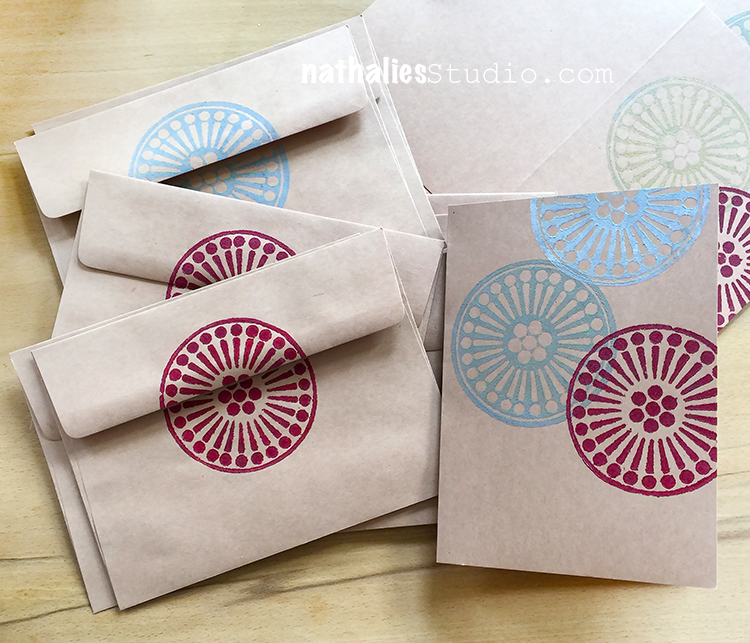
And a big variety of Valentines (and of course matching envelopes) for all our sweethearts :)

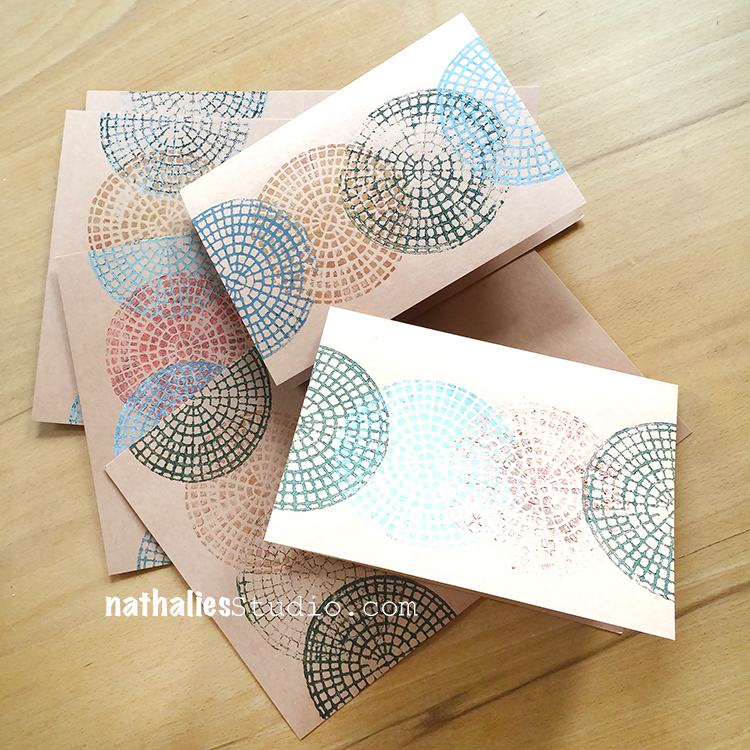
Some simple – this one just the two Central Avenue foam stamps…

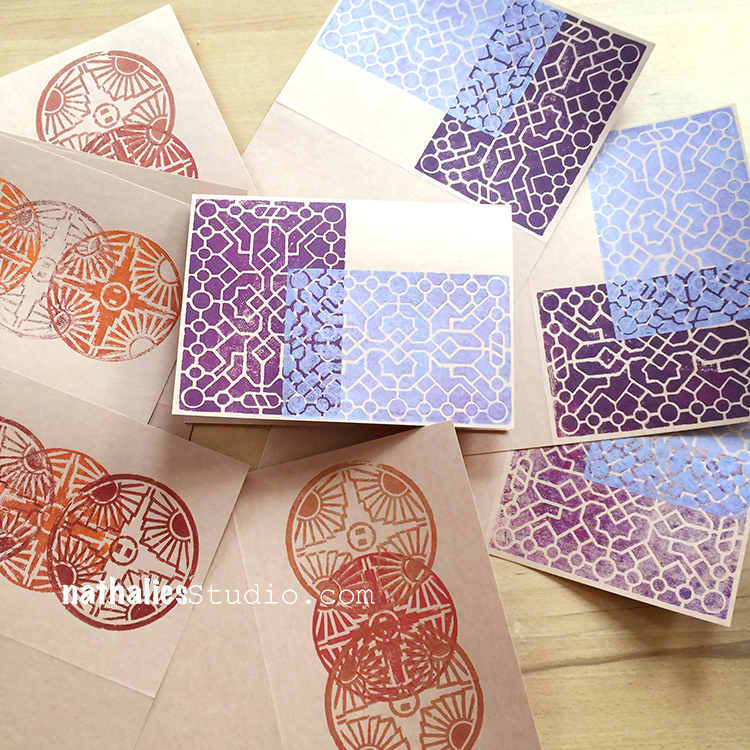
Some on the wild side with all kinds of yummy layering with my Grove Street stamp…

… and some just beautiful happy accidents (with my Van Vorst stamps) that just occur when you let loose and have fun with the process!

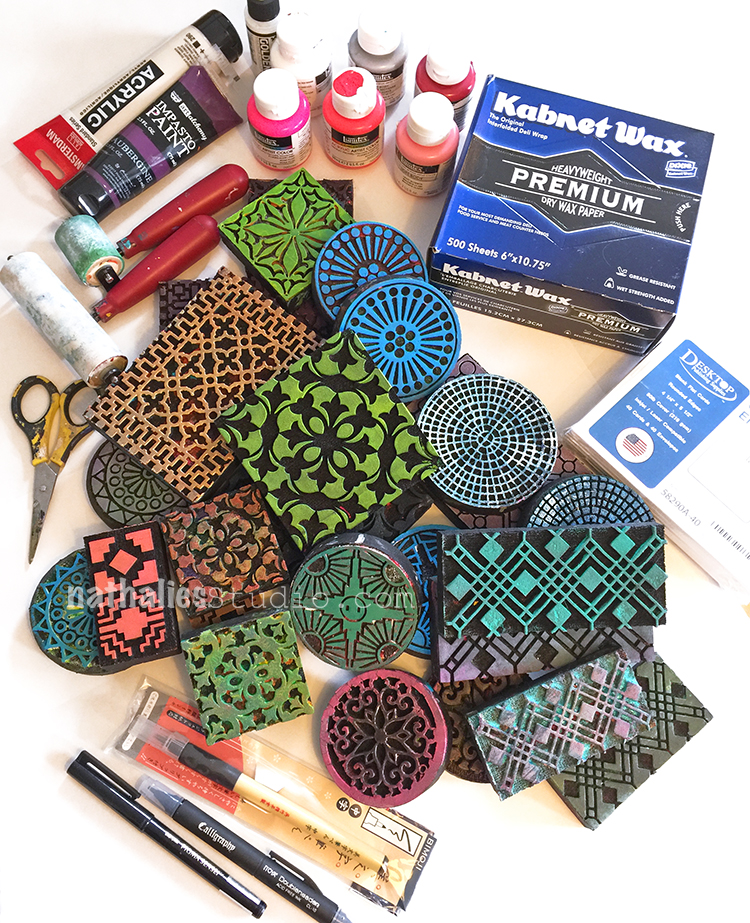
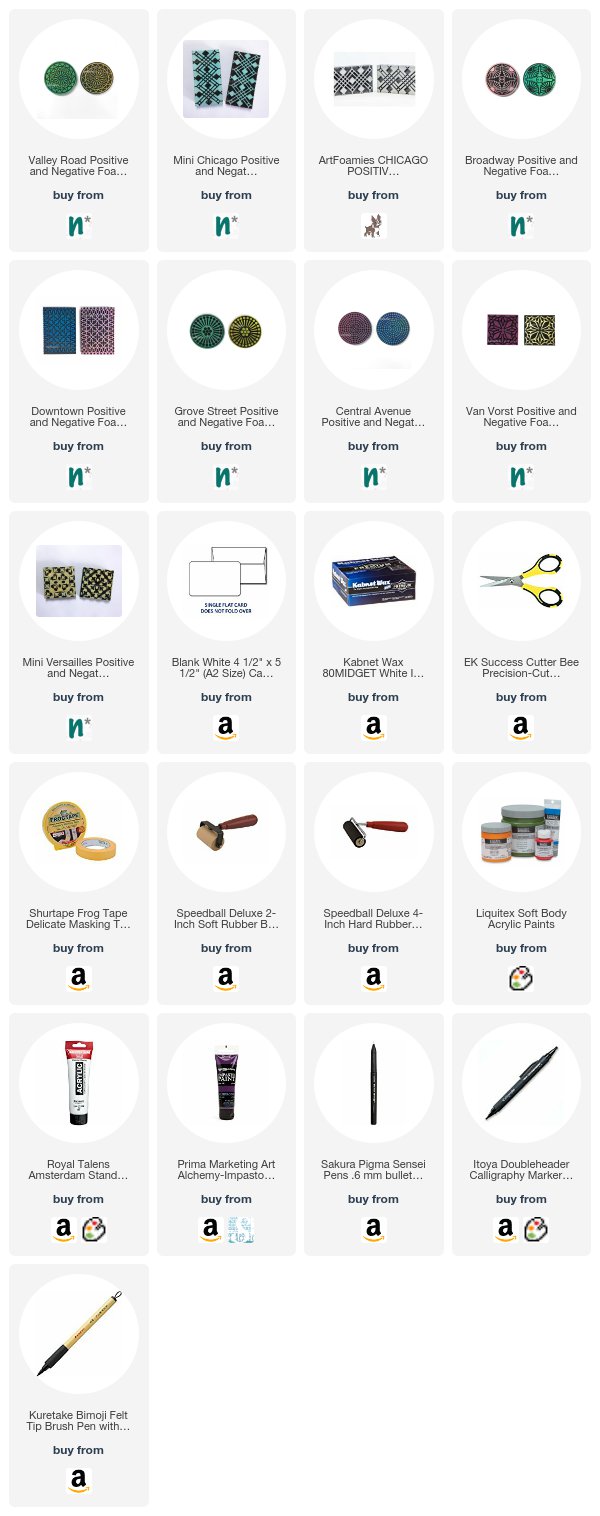
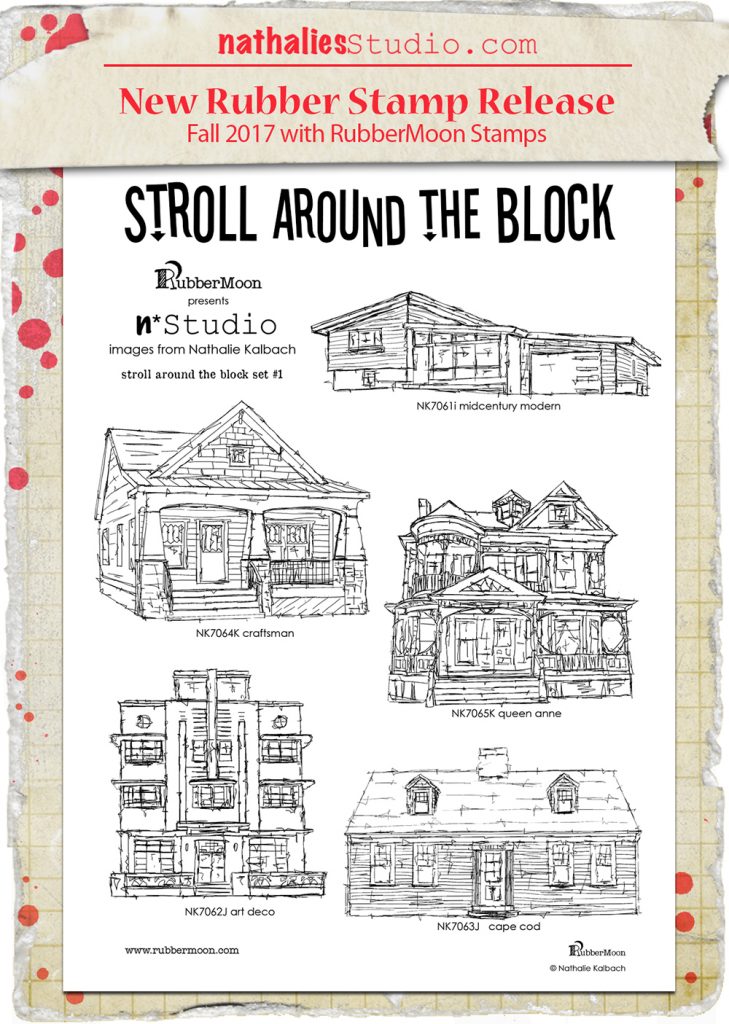
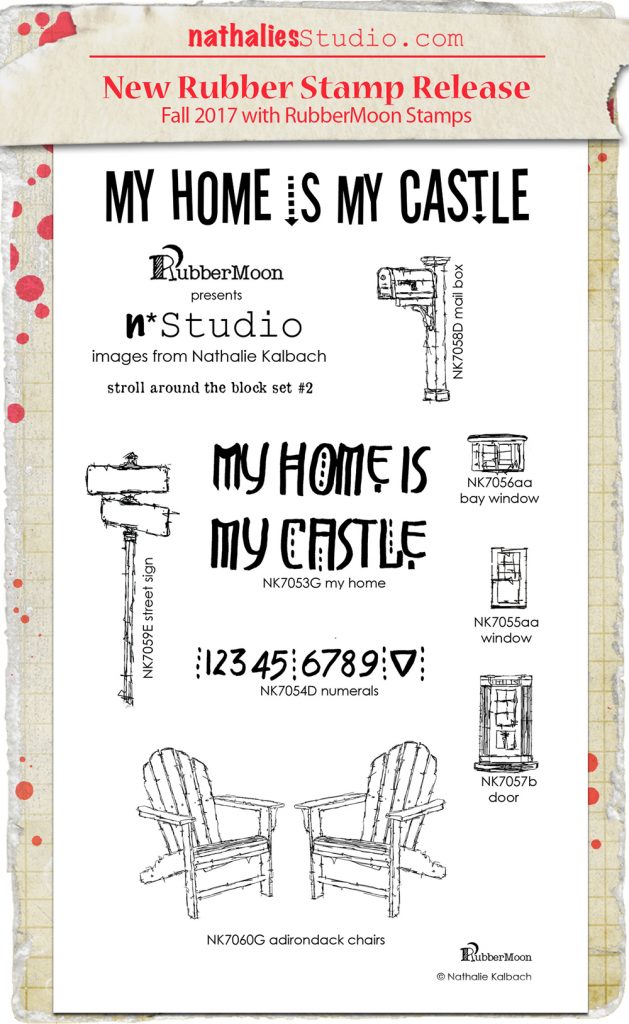
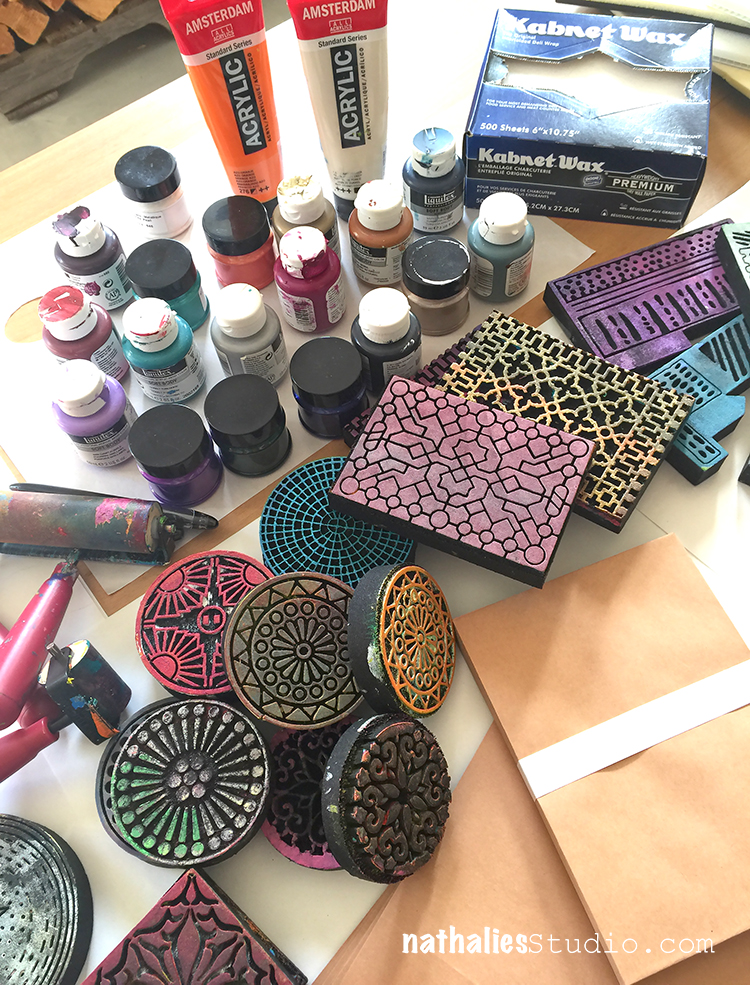
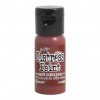
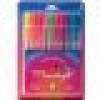
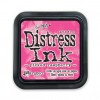
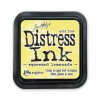
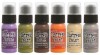
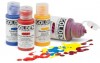
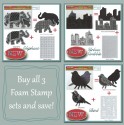
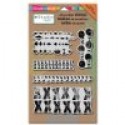
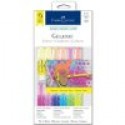
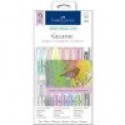
Here are some of the supplies we used:


I hope you are now inspired to try some foam stamped cards for your Valentines this year :)
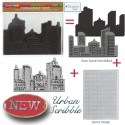
SaveSave

SaveSave

SaveSave

SaveSave

SaveSave

SaveSaveSaveSave

Leave a comment

Happy Anniversary Card

A wonderful friend of mine lives in a mid century house and she and her husband were celebrating their anniversary and I thought I would send them a handmade card using my new My Home is my Castle and  Stroll Around The Block Stamps.

I stamped the Adirondack Chairs first, then masked them off and stamped with my Mid-Century Stamp on top of a blank card. I added the Street Sign and wrote “Happy Anniversary” into the two blank street plates.  I then colored everything with watercolors. I think my friend liked the card very much.

Here are the supplies I used to create the card:


Wishing you a wonderful day!

Comments (2)

Leave a comment

My new RubberMoon Stamp Sets are out!

So stoked for my new RubberMoon Cling Rubber Stamp sets – I just have so much fun with those stamps:

Here is the first one –Stroll Around The Block:

The Stroll Around the Block stamps are inspired by iconic American architectural styles that I saw during my travels around the US. This set includes 5 cling rubber stamps. These original hand sketched stamp designs may remind you of your childhood home, Grandma’s place, or even the house you live in today.

And the second set is called My Home Is MY Castle:

The My Home is My Castle stamps are inspired by the iconic details of American neighborhoods in the US. This set includes 8 cling rubber stamps. It is amazing how some things just never change. Do you remember what street you grew up on? What about the excitement when the mailman came? Or gazing out the window to see who might be at the front door?

Here are some sample cards that I made with both stamp sets- I will show more projects using them,  in the next couple weeks :)

A row of the Queen Anne, Craftsman and the Mid Century. I stamped with some black archival ink and then colored the stamped images in with watercolor. I just loved doing that.

Here is the Midcentury Modern from the Stroll Around the Block Set paired with the Street Sign from the My Home is My Castle set . I also added my Star Tag stamp. I left the street sign empty on purpose so that it can be filled with whatever words or names you would like to use in it.

So much fun with the little door and windows of the My Home is My Castle Set

And another one using the stamps from the My Home is My Castle Set

The Craftsman – I think I will fill the street sign in with Happy Holidays and and send it out as a Holiday Card.

You can get them now in my n*Studio Store here.

I so hope you like the sets! Which of the stamps in the set is your favorite?

Comments (4)

  • Sue Clarke

    |

    Stroll Around The Block!!!
    The craftsman is a great style.
    This set is on my wish list for sure.

    Reply

    • nathalie-kalbach

      |

      YEahh- so glad you like it Sue! I would move into the Craftsman if I could right away- LOL

      Reply

  • Sherry Canino

    |

    They are all soo gorgeous!!❤️❤️❤️

    Reply

Leave a comment

Foam Stamped Ho-Ho-Holiday Cards

Last week Kim and I got into the holiday spirit a little early and made some stamped cards with my newest ArtFoamies.

We had some craft paper card and envelope sets, my ArtFoamies foam stamps, a whole bunch of acrylic paint, brayers, and some deli paper or palette paper.

First Kim used my Broadway Positive Negative foam stamps and made a few cards for Thanksgiving – one of my favorite upcoming holidays (hosting again this year woot woot!).

We didn’t limit ourselves to the typical holiday colors – here I am doing a card with my Valley Road Positive Negative set and just decided to go with purple. Why not?

We overlapped and mixed colors and here used my Central Avenue Positive Negative stamps for a modern card. Maybe it’s a snowflake or Christmas ornaments or just festive and fun :)

We went a little nuts and both made enough cards for just about everyone on our lists. Here I layered up the Downtown Positive Negative stamps and used a bit of metallic paint.

I love how intricate this design is. Maybe I will go back to this card as I got a bit too much paint on the stamp. It will not go to waste.

Kim chose an unusual arrangement for this card using my Exchange Place stamp and some mauve and purple paint. She could write a personalized message in the corner when she’s ready to send.

It was easy to stamp out a bunch at a time.

Kim lined up the edges of a few cards and stamped them at once to get the designs moving off the edge of the paper.

In the end I decided to add a message on this one (stamped with my Van Vorst Positive Negative stamps), using an Opount envelope addressing guide.

I dressed this one (used the Grove Street Positive Negative stamps) up with a bit of black pen to look like an ornament.

At the end of our play date we had made a bunch of cards for all the upcoming holidays! It was quick and easy and took a little of the stress of the season away knowing we have them ready to go!

Here are some of the supplies we used (some are affiliate links):


Hope you enjoyed our HO-HO-Holiday playdate :) We already have some fun project lined up for the December one.

Comments (2)

  • Sue Clarke

    |

    I especially love the one that is a purple ornament.
    Fun fun fun creating right there!

    Reply

    • nathalie-kalbach

      |

      Thank you Sue- it was super fun and so easy too – stress free holiday card making in this case :)

      Reply

Leave a comment

Good Things Just Keep Happening – Cheiron Brandon

cs-november-good-things

Today, Cheiron Brandon from my Creative Squad is sharing three wonderful cards using this month’s theme: “Good Things Just Keep Happening.” I invite you to join me and my Creative Squad this November, in the spirit of the Thanksgiving holiday in the US, to remind ourselves to be thankful for even the smallest things.  Every once in a while it feels nice to slow down and recognize the good stuff that’s all around us.  What Good Thing happened to you today?


cheiron-november-headshot

Hi there! It’s Cheiron with my post for November and we are playing with the theme of Good Things just keep happening. I am thankful today that I finally have my own studio in my house where I can create and I get to relax there every night even if its just for a small amount of creative time. I couldn’t wait to try out Nat’s new stencil release and wanted to try out all the patterns. You know I am a card maker, so I cut a bunch of card panels, took out the stencils and made 3 cards with 3 different techniques.

cheiron-nov-photo-1

For my first card, I wanted to do some basic ink blending through the Santiago stencil, but decided that I wanted to keep the squares in the center white…so I masked them off with some masking paper.

cheiron-nov-photo-3

Then I blended my inks through the stencil with the foam blending tool.

cheiron-nov-photo-4

Once that was done I removed the masking paper

cheiron-nov-photo-5

And then adhered the panel with foam tape to a card base:

cheiron-nov-photo-2

For my second card, I played around with some Distress Paints in Fossilized Amber, Aged Mahogany, Gathered Twigs and Spiced Pumpkin and pounced paint through the Toledo stencil. Then I sprayed the entire thing with a bit of Tarnished Brass Distress Mica Spray. This one will be perfect to send as a Thanksgiving card!

cheiron-nov-photo-6

For my last card, I pulled out my Gelly Roll Moonlight pens and colored through the Buenos Aires stencil, I have not played with these in a while and forgot how good they look on black paper.

cheiron-nov-photo-7

I am thankful today that I got to play with these fun new stencils and that I get to create something almost every day! 

————————————————————————————————————————————————————————————————————————————————–
Thank you Cheiron for those amazing cards! I love them all so much – the Gelly Roll – Card blew me away though – it looks like stained glass- yum!
Here are the supplies Cheiron used to create her cards- some links are affiliate links:
supplies


Maybe you will even play along with us -I would love to see how you interpret our monthly themes. Email me how you used my stencils and stamps with the theme and email me an image – I would love to share your projects in my “n*Spiration From Around the Globe“..

Comments (1)

  • Joi@RR

    |

    Love them. So fun, cheerful and unique. j.

    Reply

Leave a comment

Today is the Day – Cheiron Brandon

cs-october-theme

This Tuesday, Cheiron Brandon from my Creative Squad is happy to share with you some amazing cards using my new Manhattan ArtFoamies and inspired by this month’s theme: “Today is the Day.”  I invite you to join me and my Creative Squad to stop procrastinating and be inspired to make today the day you finally tackle that artsy thing you’ve been meaning to get to for so long.  Start that new project you’ve been planning for months.  Try out that new product you bought ages ago.  Experiment with that new technique you read about last year.  Try it!  Today is the Day!


cheiron-october-headshot

Hi there! It’s Cheiron here with my monthly post for N*Studio. This month ‘Today is the day’ is our theme, and our mission was to tackle the artsy thing you’ve been meaning to get to. As a card maker, I make tons of cards…but I never seem to have one when I need to send for a birthday, thank you etc. I kept saying I would make a stack of cards, like at least a dozen to have on hand for occasions that come up. I also always say that I will take new products and spend some just for fun playtime with them, but that does not always work either. I set aside two hours the other day to play with Nat’s new art foamies and two things happened 1) I had a great time playing, and 2) I made a dozen cards! 
 
I started out just playing with the Manhattan foamies. The set includes a positive and a negative, so you can add two different layers of color to the stamped image. I tried them out with all different kinds of paints including Distress Paints, Golden Fluid Acrylics and Blick Matte Acrylics and got great results with all 3! 
 
n-studio-oct-photo-1
 
Once I was finished stamping, I cut all the images into squares.
 
n-studio-oct-photo-3
 
Then I turned them into cards. For some cards I used just the square and a simple sentiment. For a couple I turned them into a shaker card and used the cut out heart on the shaker card on another card. I think you can be real simple or fancy depending on the recipient. It sure feels good to know I have built up my card stash AND have managed to throw in some play time at the same time!
n-studio-oct-photo-4
n-studio-oct-photo-5
——————————————————————————————————————-
Aren’t these cards awesome! I colors Cheiron used and the shakerbox is just too cute!
Here are the supplies she used to make those cards – note that some of the links are affiliation links:
SuppliesCJS

Maybe you will even play along with us -I would love to see how you interpret our monthly themes. Email me how you used my stencils and stamps with the theme and email me an image – I would love to share your projects in my next “n*Spiration From Around the Globe“.

See you next Tuesday for another project from the Creative Squad!

Leave a comment

Say Yes to New Adventures – Marsha Valk

CS August Say Yes

It’s Tuesday and time for my Creative Squad to share a project with you with this month’s theme: “Say Yes to New Adventures”. Throughout the month of August, the team will use any of my n*Studio Stamps and Stencils they would like to use to interpret the theme. Here in the northern hemisphere, summer is coming to a close and it’s about time to seize the days and go on a little adventure before hibernation! With this in mind, the team will create something that celebrates the spirit of adventure.

This week we bring you Marsha Valk and her adventure with a new tool and the gorgeous accordion book that resulted from her journey!

—————————————————————————————————

Marsha August Headshot

MarshaValk_nSCS_SayYesToNewAdventures-1

I go on new adventures all the time. I’m on new adventures as we speak. But the problem with new adventures is that it’s not always easy to talk about them. Because they’re new… and I’m only just getting used to the idea… and I don’t yet know how I feel and what I think about it.

MarshaValk_nSCS_SayYesToNewAdventures-7

MarshaValk_nSCS_SayYesToNewAdventures-6

So for this month’s theme I took a simpler approach: I wanted to use something from my stash that I hadn’t used before. I decided to go with the round mini gel printing plate. And I just started printing on a A4 sized sheets of paper: adding paint to the little plate, making marks with my n*Studio Cling Stamps and using some stencils too. The outcome was sometimes unpredictable and messier than I had hoped, but that’s what happens when you go on an adventure!

MarshaValk_nSCS_SayYesToNewAdventures-5

MarshaValk_nSCS_SayYesToNewAdventures-4

MarshaValk_nSCS_SayYesToNewAdventures-3

Once I had a couple of prints, I thought about what I wanted to do with them. I didn’t know. So I thought about how sometimes things get better when you cut them up and I started to cut each print in half.

MarshaValk_nSCS_SayYesToNewAdventures-2

Then I thought: these prints would make nice simple cards. But once I had folded them into cards I thought: or maybe this could be a mini book or mini art journal. So I decided to fold the cards up like accordions and I glued each far left panel behind the far right panel of the previous accordion card.

MarshaValk_nSCS_SayYesToNewAdventures-10

MarshaValk_nSCS_SayYesToNewAdventures-9

MarshaValk_nSCS_SayYesToNewAdventures-8

I haven’t decided if I want to keep it like this or to glue the backs together to make an actual little book. I figure that it will be easier to work on it in this state, so I decided to just embellish the front a bit more and leave the rest blank (and unglued) for now. It’s small and light, so it’s ideal to just doodle in whilst watching TV or to take with me when I have to go on a long train ride. I’m ready to take it on another new adventure!

MarshaValk_nSCS_SayYesToNewAdventures-11

—————————————————————————————————

Marsha’s accordion book is stunning.  I love the super fresh color palette she chose and her bold move to cut the prints in half and reimagine the whole thing.  And of course, look at all those stamps!

Marsha used the supplies listed below (some are affiliate links) as well as Toga Alphabet Stickers:

SuppliesCJS

Maybe you will even play along with us -I would love to see how you interpret our monthly themes. Email me how you used my stencils and stamps with the theme and email me an image – I would love to share your projects in my next “n*Spiration From Around the Globe“.

See you next Tuesday for another project from the Creative Squad!

Comments (2)

  • Joi@RR

    |

    Your new adventure is sooooo FUN Marsha. Love all the white space, all the wonderful stamps/stencils and the colors. What a great idea to put them together in such a fun way. I hope you will share your doodles when you get them finished. j.

    Reply

Leave a comment

Happy 4th of July!

July4th_NatKalbach

Comments (2)

  • jvmetz

    |

    Hope you had a wonderful 4th of July! Thank you for always sharing your passion with us… your pleasure it always heartwarming!

    Reply

  • Kathy P

    |

    And a Happy Independence Day to you too, Nat!

    Reply

Leave a comment

Blogging in Color Hop with Stampendous & Faber-Castell – Part II

GELATOS_hop_banner_960x480

Stampendous and Faber-Castell® Design Memory Craft have teamed up for a Blog Hop and the Faber-Castell® Design Memory Craft Design Team and some are playing with my Stampendous stamps and some yummie Faber-Castell Products – Wait until you see the colorful inspiration they have for you this week! We are all Blogging in Color!

I am back to play with some Gelatos – and for today’s post I created a couple Graduation/Achievement Tags which I will use as Gift Hangers :)

NatKalbach_Tags01

I stamped each tag with different stamps from my stamp sets and embossing ink and then used different Embossing powders on top and heat embossed them. The Gelatos rubbed over went wonderfully into the creases and not embossed areas, being resisted by the embossed areas themselves.

NatKalbach_Tags02

For the “Right On” tag I used the Kaffee Klatsch Stamp Set,  Aged Aqua Enamel and Gelatos from the Pastel Kit.

NatKalbach_Tags03

“Well Done” was created by using the Mark Maker Stamp Set, Deep Impression Chunky Enamel and Gelatos from the Bright Kit.

NatKalbach_Tags04

And for the Yeah tag I created a funky background using the Fiesta Stamp Set, Aged Green Embossing Enamel and again some colors from the Pastel Kit.

The titles were written with a brush and Soft Body paint. That was fun :)

Here are the supplies I used on this page

nSupplies


Don’t forget to check out all the different projects from the Stampendous and Faber-Castell® Design Memory Craft Design Team this week – I heard there might be prizes involved ;)

Comments (32)

  • Dot

    |

    Hi Nat. Wow, I love the rich backgrounds! The words really pop. The embossing with the gelato’s is a great combination.
    Dot (Aus) x

    Reply

  • Janine Rudnick

    |

    Such cute tags! This gives me a lot of ideas.

    Reply

  • Judy B

    |

    Great tags. Love the different looks on each of them. Thanks for sharing.

    Reply

  • Beth Williams

    |

    this is a technique I know I can do and use. Thank you for sharing it with us.

    Reply

  • Jade Passmore

    |

    Love these tags! So perfect for a graduation gift.

    Reply

  • Kathy P

    |

    I really like the look of the embossing with the gelatos on top. Definitely going to give this technique a try! TFS!

    Reply

  • 1aquagirl

    |

    Love these!

    Reply

Leave a comment