nathalie-kalbach

Stenciled Valentine’s Garland – DIY Play Date

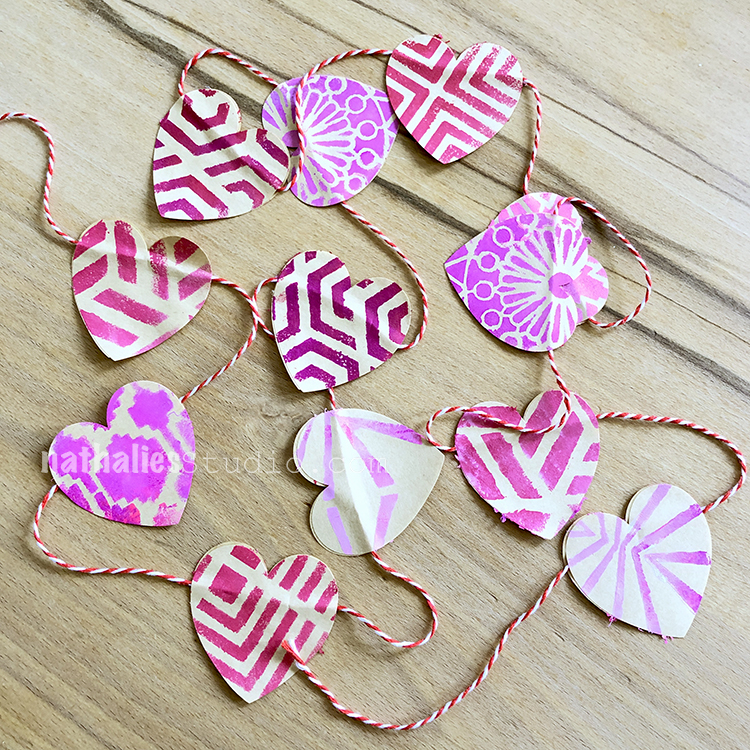
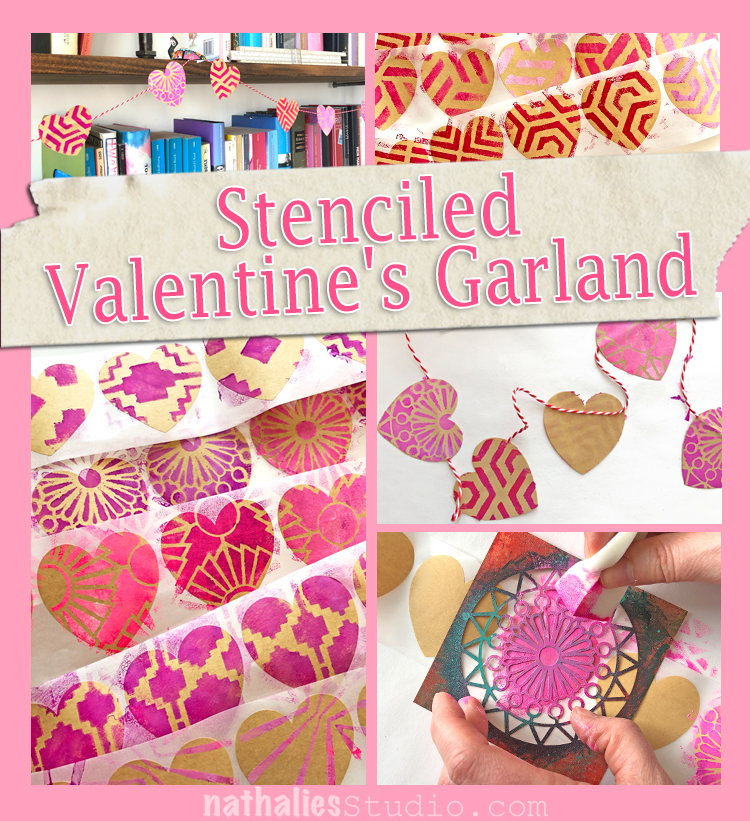
For the upcoming Valentine’s Day holiday Kim and I had a little play date to get in the spirit. This was super easy – done in an hour – and a fun way to use some stencils!
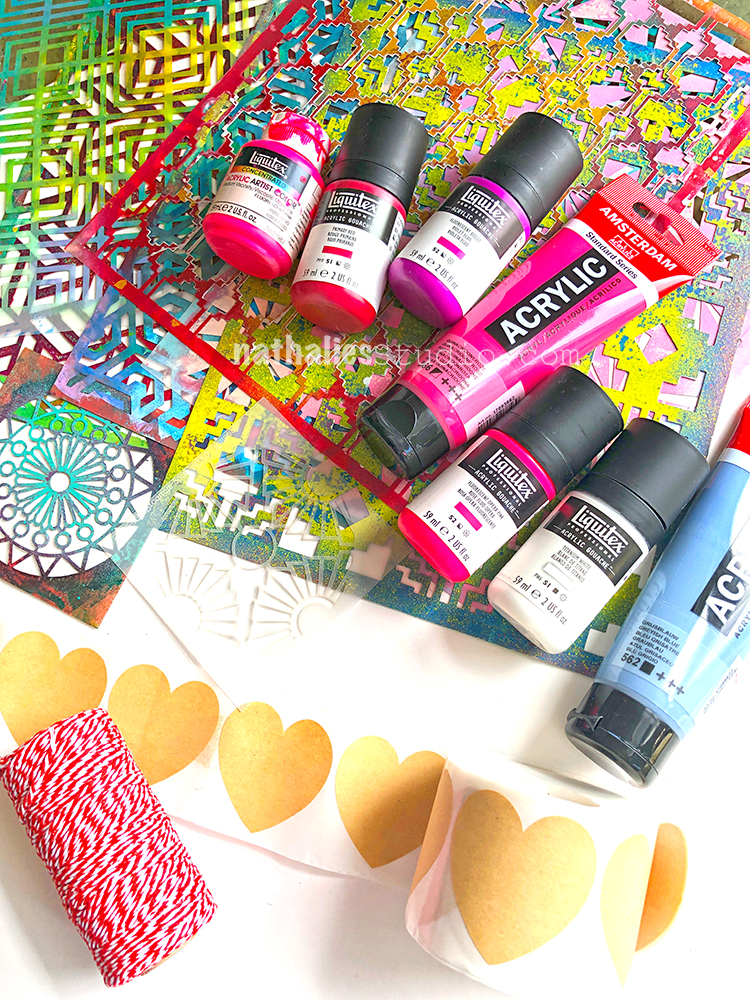
We got some heart stickers (2″ across), baker’s twine, my stencils, and acrylic paint in pinks, reds, and violet.
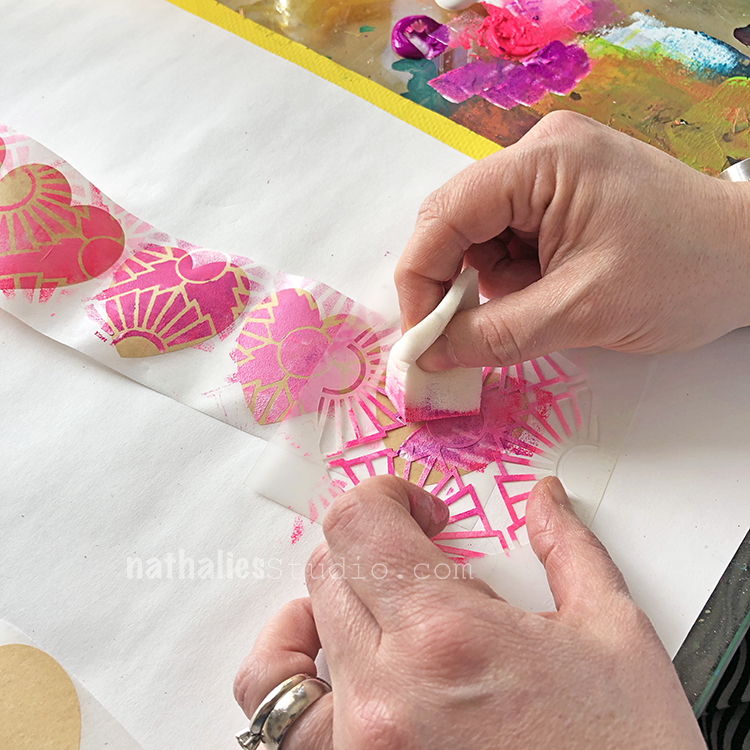
Then we started stenciling onto the hearts. Here I’m using my Broadway stencil and different pinks.
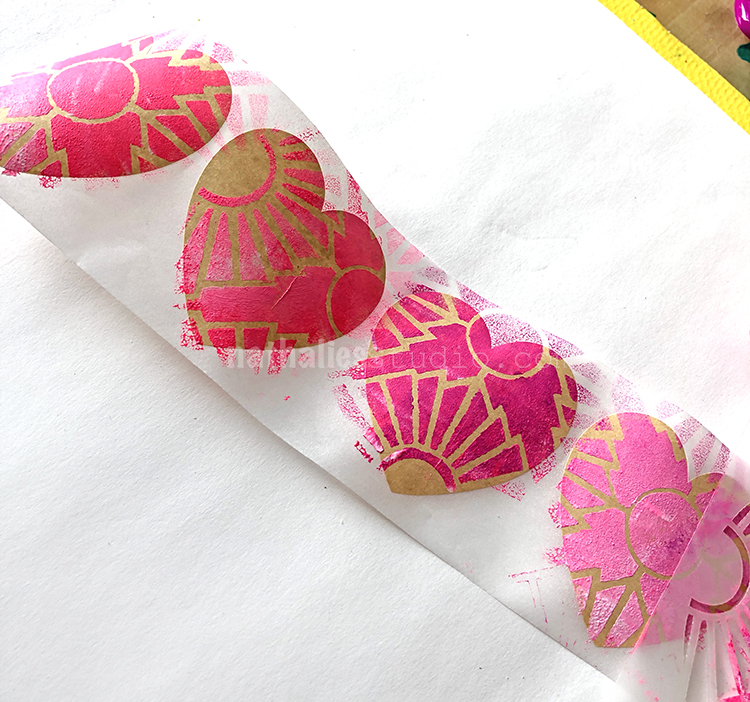
Choose a stencil with a pattern that isn’t too big, but the main point is to get some cool designs onto the hearts.
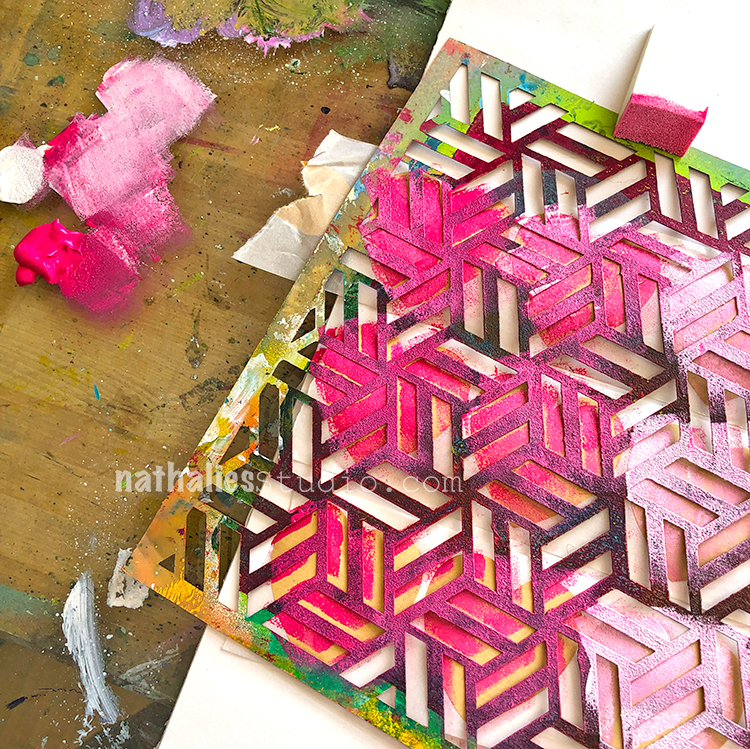
Kim used the Kassel stencil and lined up a bunch of heart stickers underneath.
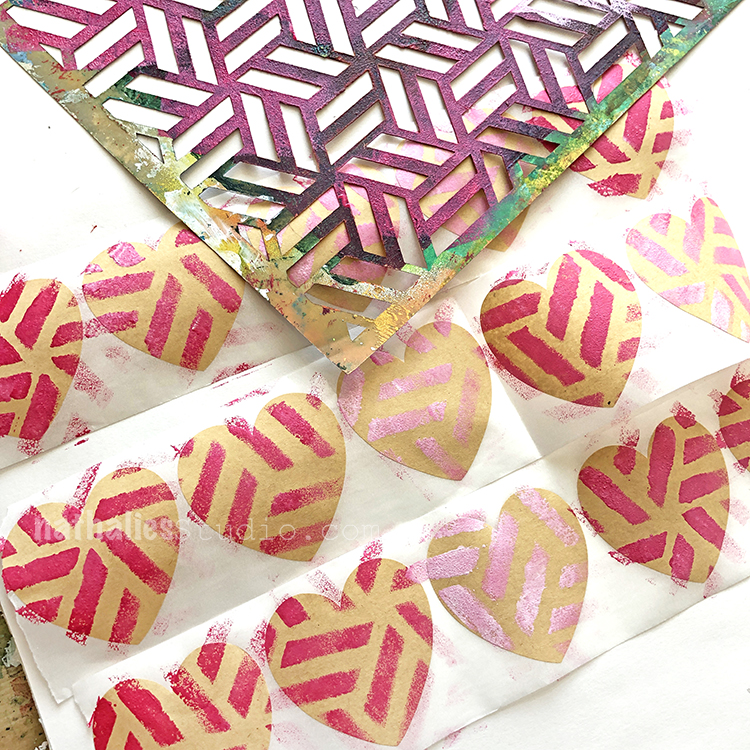
This was a good way to do a lot of hearts at the same time and works nicely with a 9×12 stencil.
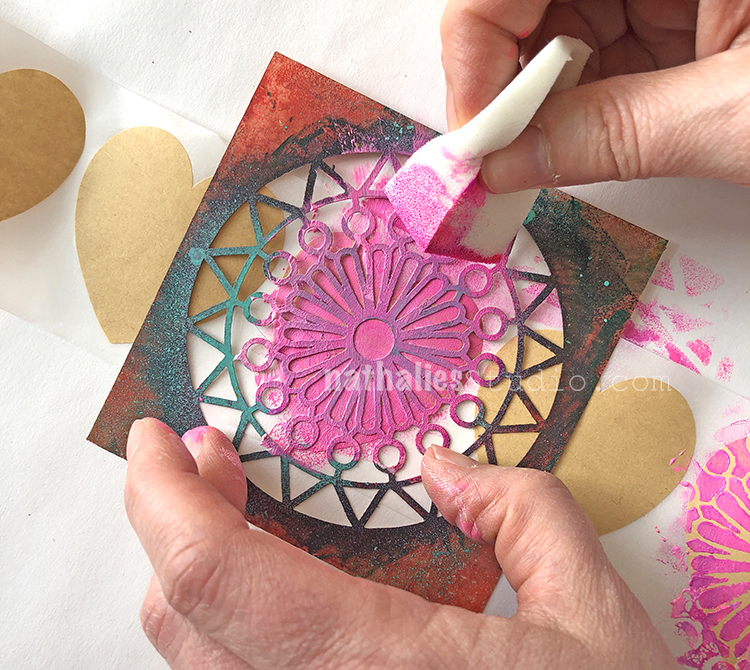
You can also work heart by heart and line up the stencil better. Here I am using my Valley Road stencil.
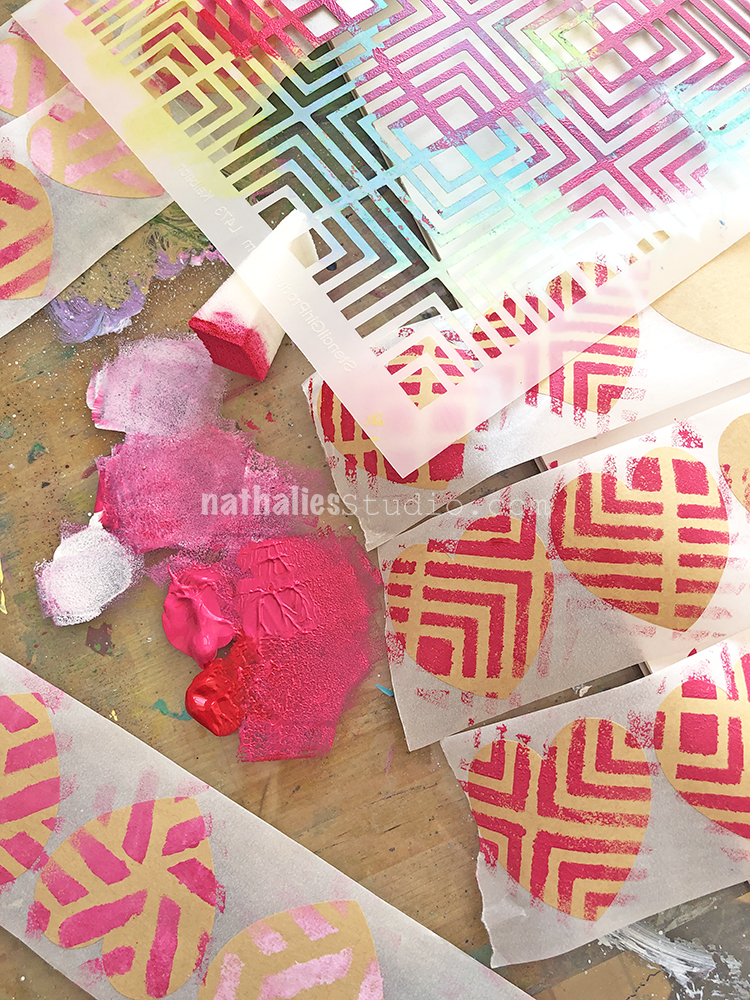
Here are some with my Manhattan stencil.
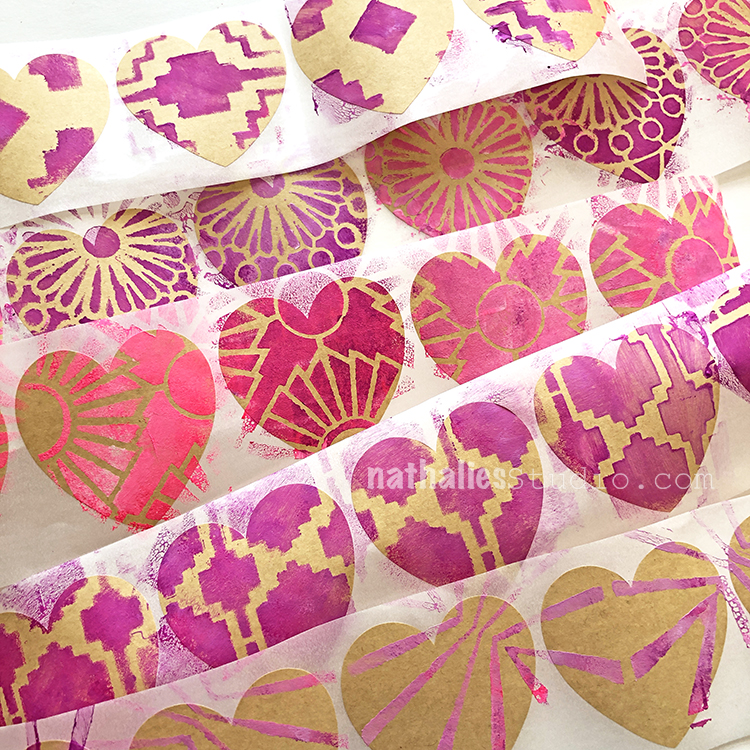
Look at all these fun designs! They are (top to bottom) Santa Fe, Valley Road, Broadway, Mesa Verde, and Beacon.
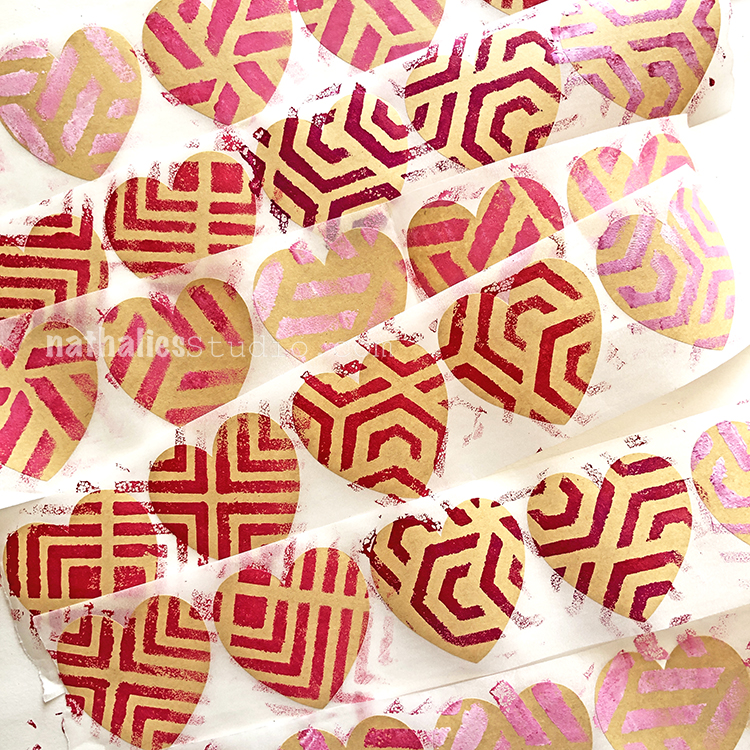
And more from Kim – Manhattan, Kassel, and Flower Maze.
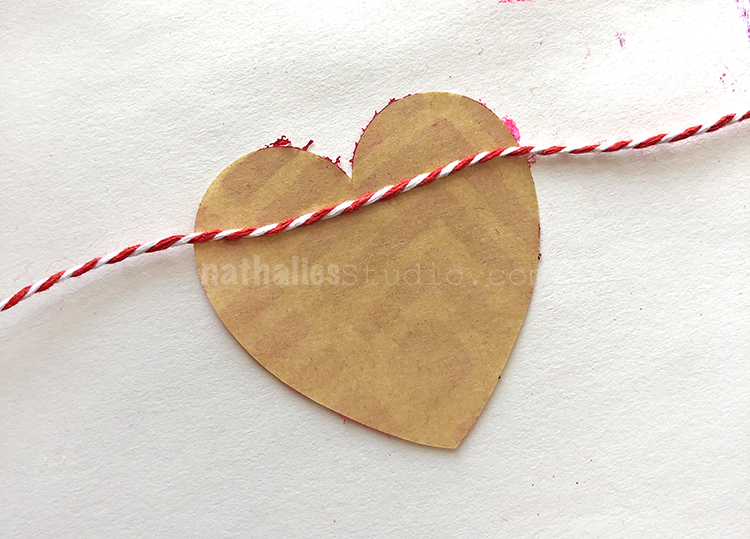
Cut a length of the baker’s twine – however long you want your garland. Then put a heart sticker down and stick the twine to it. Stick the twine close to the top so the heart hangs the right way.
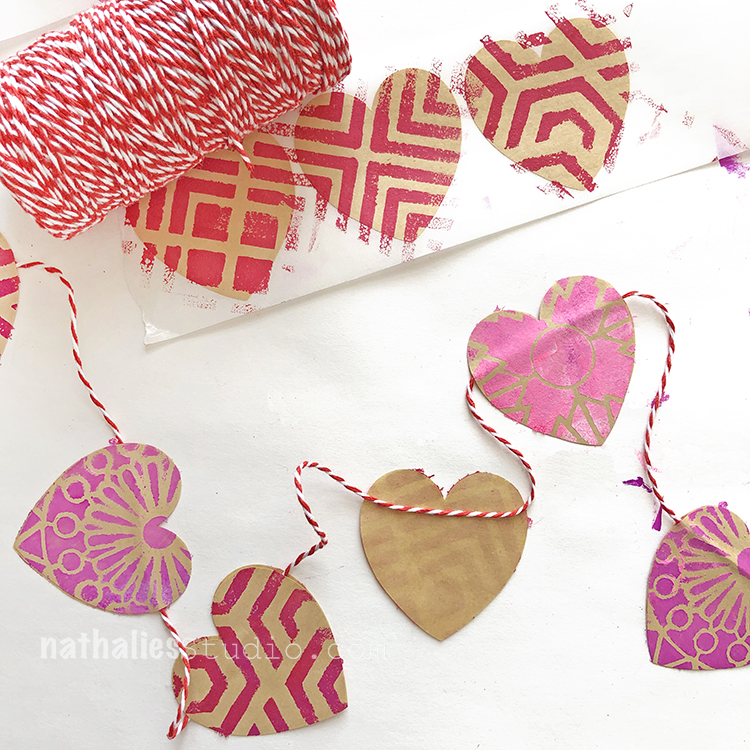
Then stick another heart on top to sandwich the twine. We spaced the hearts out with about 3-4″ in between each one.
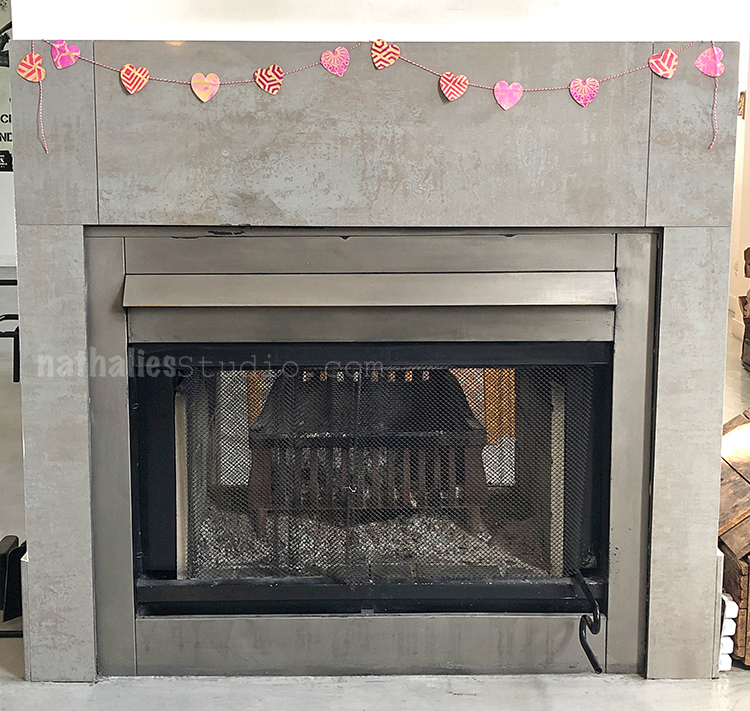
Looks nice above a fireplace…
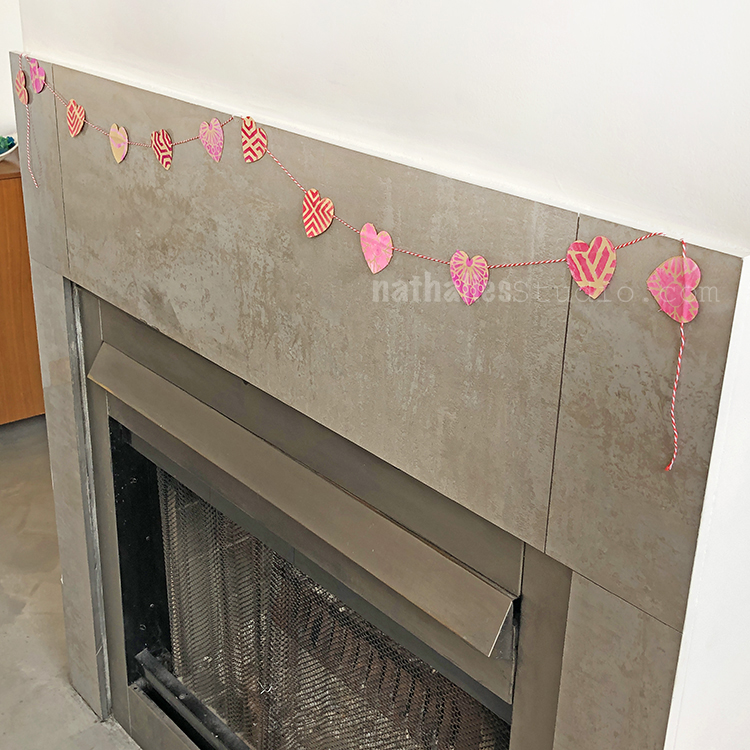
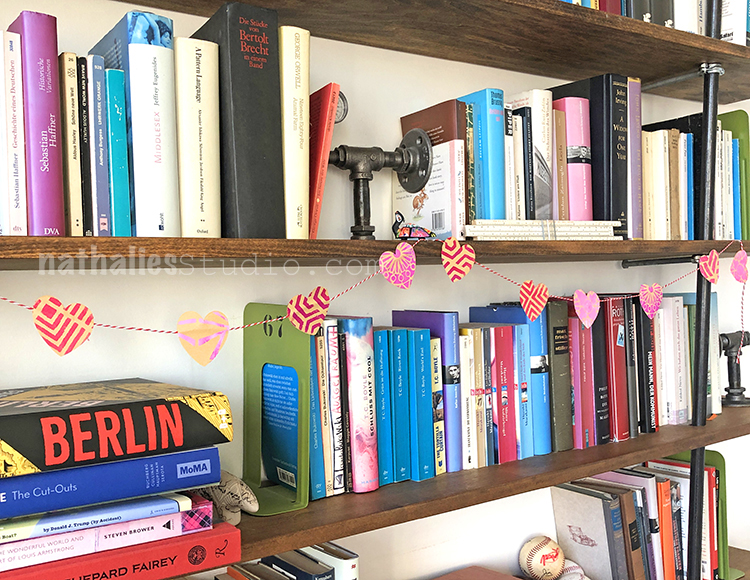
And on the bookshelf!
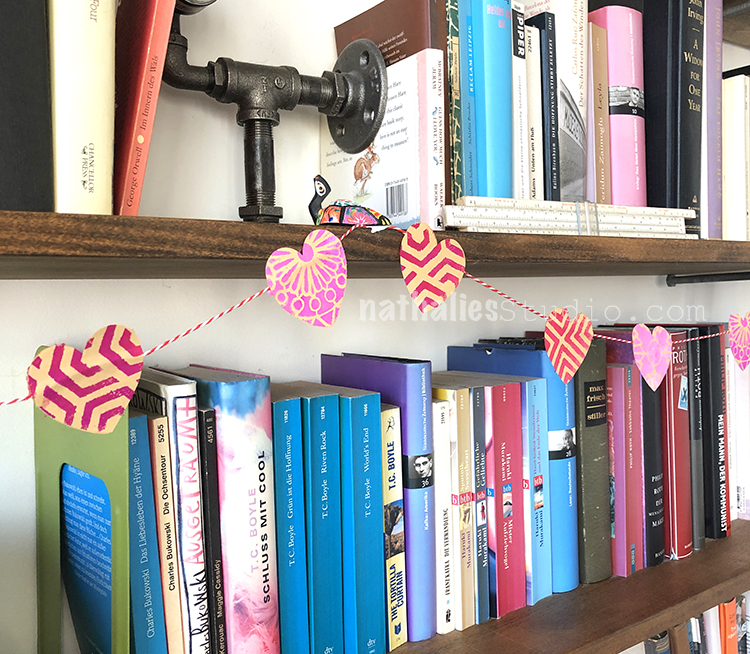
You could hang it on a chandelier or in a doorway or even on a little indoor tree.

We hope you try this one – it was great to play with color and pattern and the results are very cute :) Enjoy!

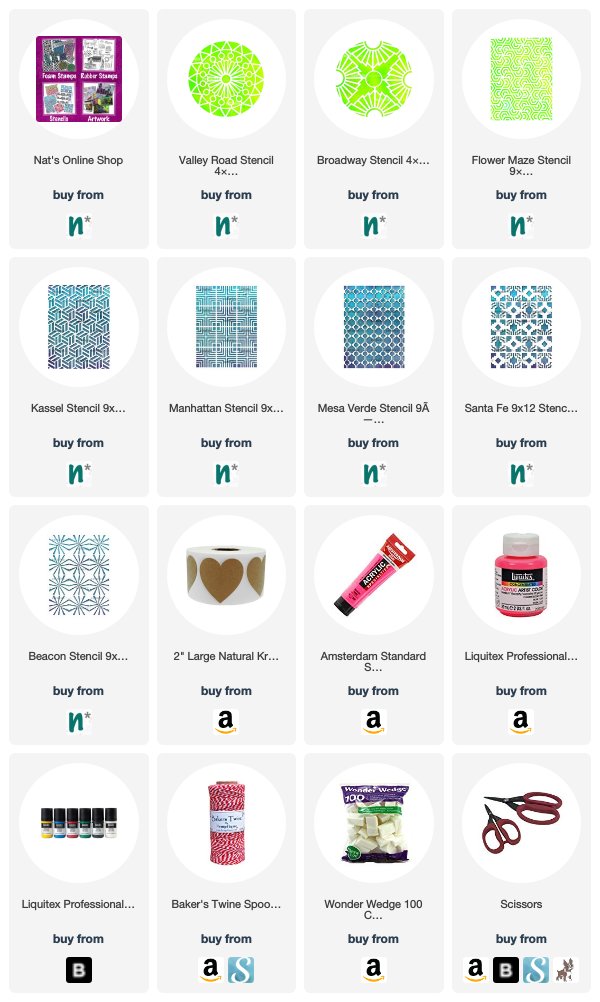
You can find my stencils in my Online Shop. Here are some of the supplies that we used:


Leave a comment

The Stencilfied Journal – Prompt 4

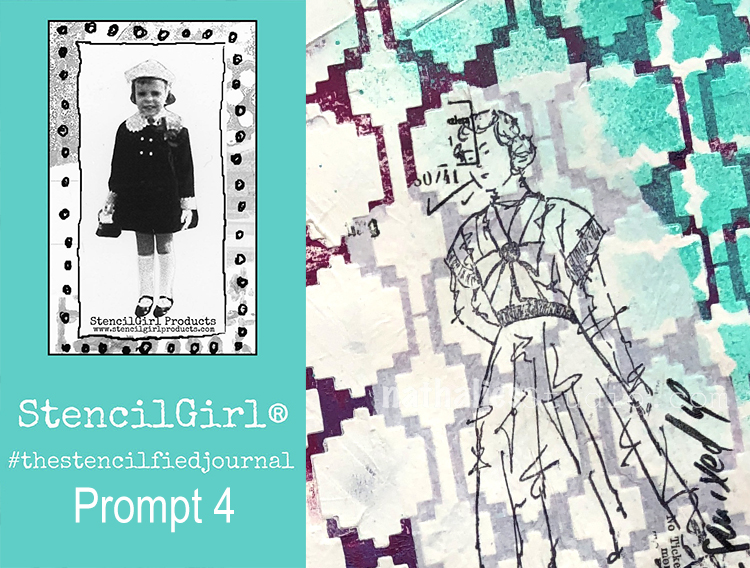
My wonderful friend Tina Walker is at it again – she invited several people to join her Stencilfied Prompts. The prompts are music related and each week she is posting a song. You can be inspired by the lyrics, the video, the album cover or anything related and the only restriction is that you have to use StencilGirl Product Stencils. Here is my take on Prompt 4:

This week’s prompt was She Used to be Mine – Sara Bareilles – another song I am not really familiar with …I do have a very grungy, alternative music style- but it was fun to listen to the music and use part of them.

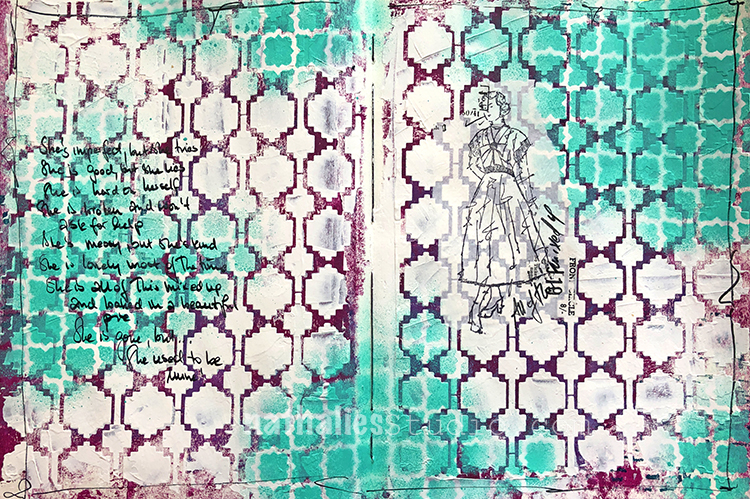
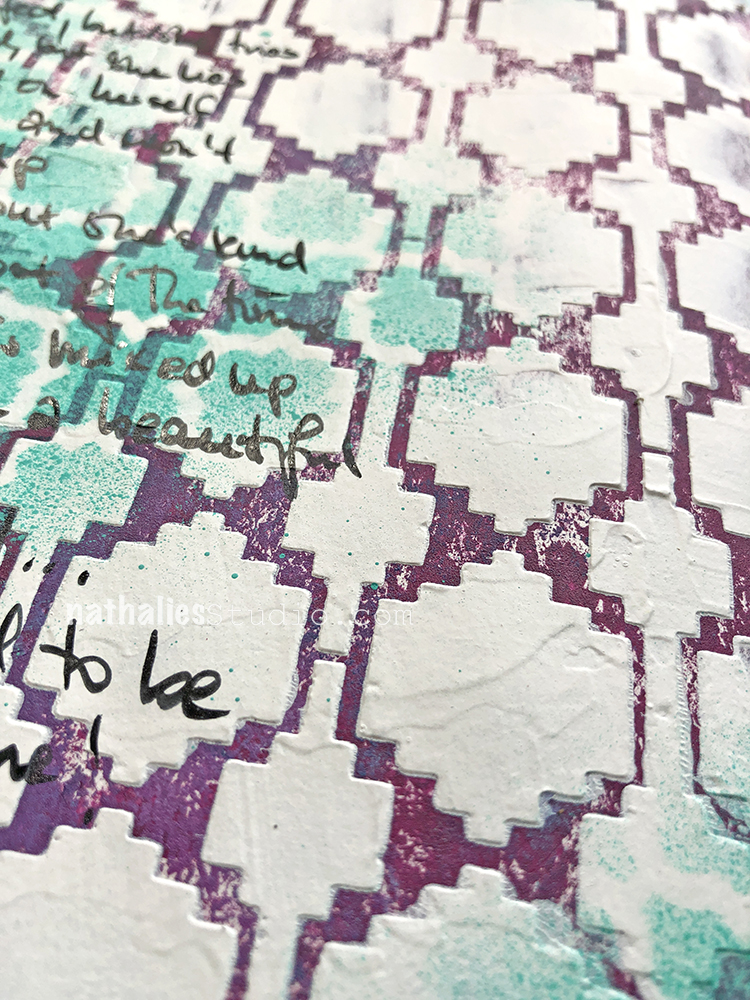
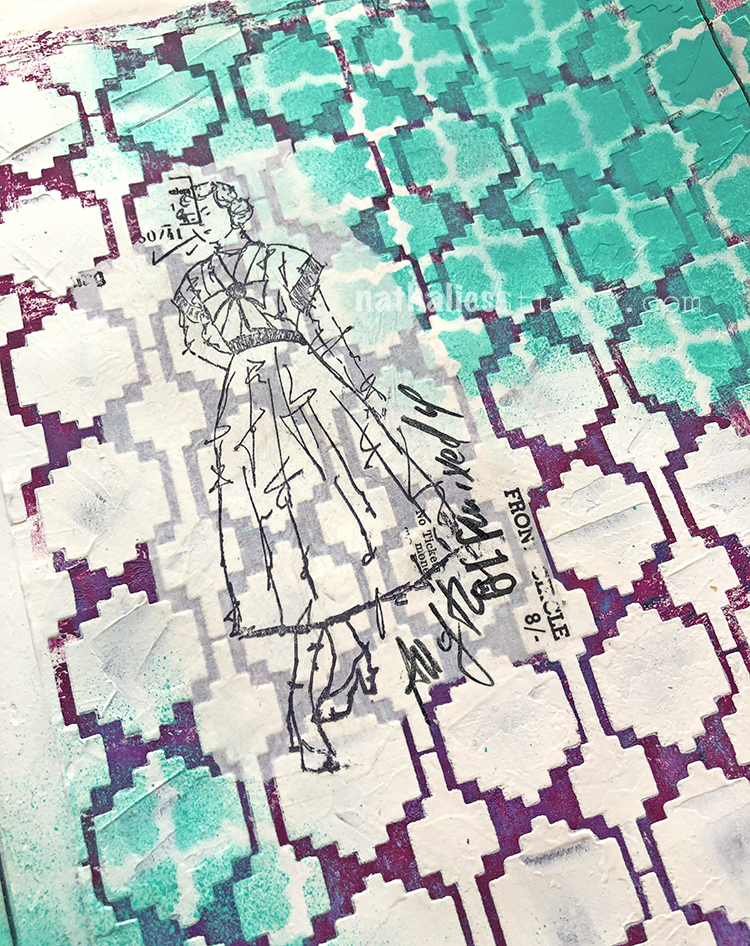
For this Spread I started by using my Mesa Verde Stencil on top of a partly painted background and spreading a thin layer of Heavy Gesso over the stencil. Using a palate knife makes sure you can apply the gesso pretty evenly.

After the gesso dried I layered my Granada Stencil on top and used spray paint to create a second layer – i love how the two stencils work together. I used the Millie Stamp from the Actually I Can Stamp Set on a piece of tissue paper and then added it to the background with Fluid Medium. This way I could make sure to still see the background shining through but was also able to add the stamping regardless of the texture.

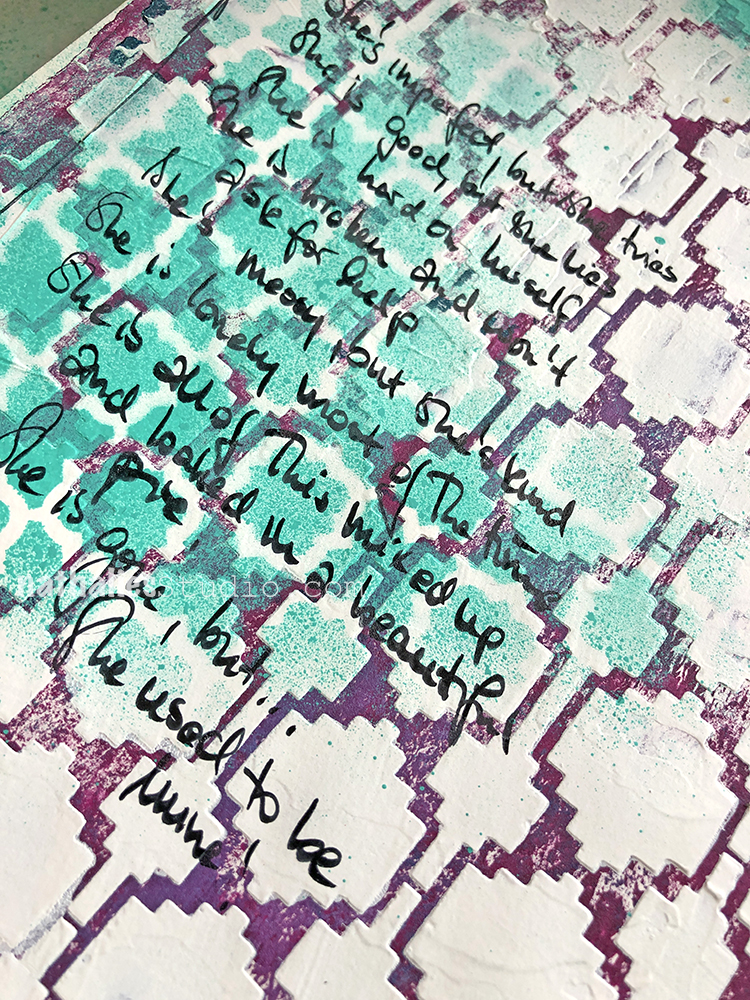
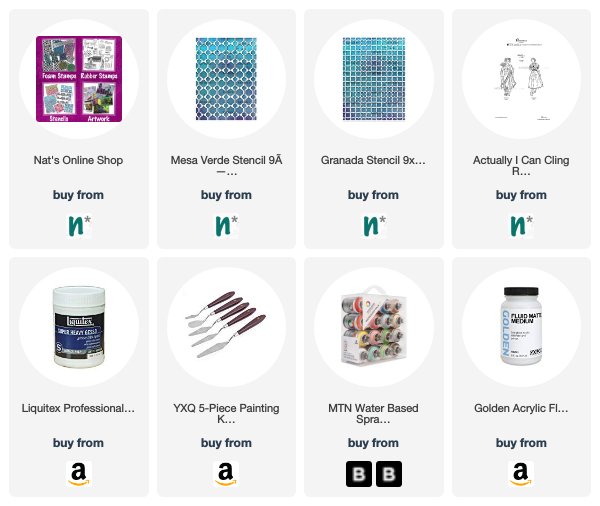
Added the journaling and there it is. Here are some of the supplies I used:


Leave a comment

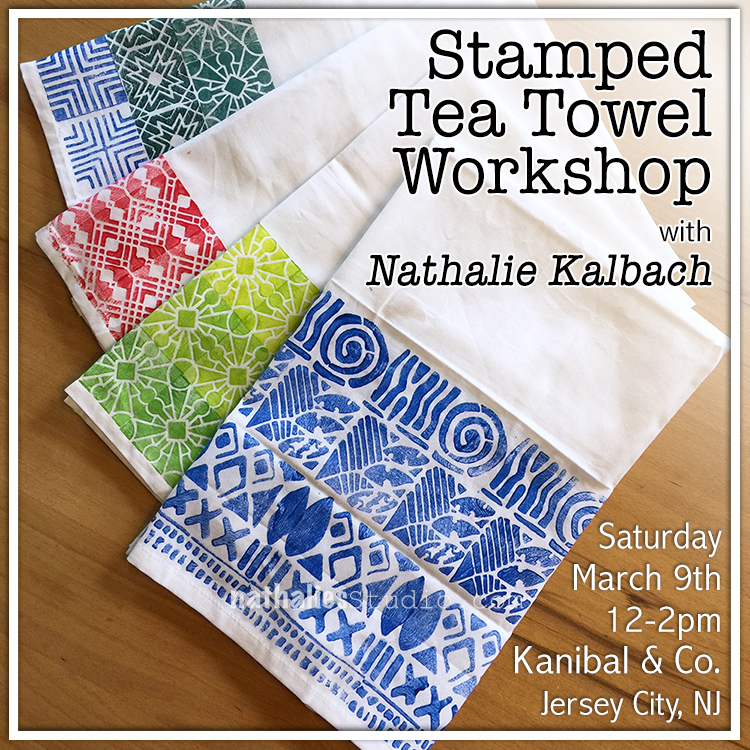
Stamped Tea Towels Workshop at Kanibal & Co in Jersey City, NJ

Join me in my home neighborhood of Jersey City, at one of my favorite local boutiques: Kanibal & Co., for a workshop. This is my second time teaching at this awesome little shop and last time we had such a great time, I’m very excited to be back!

The workshop will be held on Saturday March 9th, 2019 from 12noon – 2pm at 197 Montgomery Street in Downtown Jersey City. Space is VERY limited on this one so sign up early to reserve your spot!

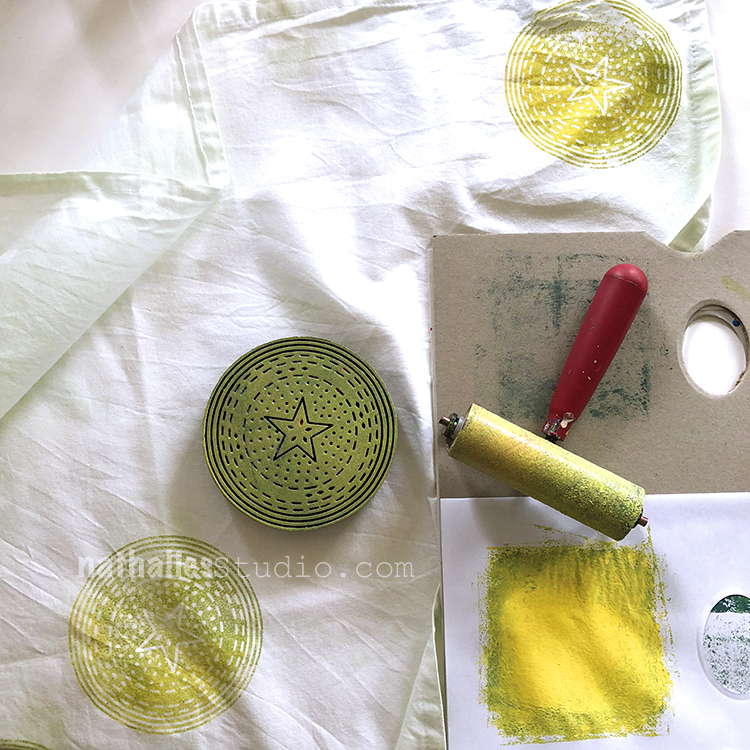
We’ll be customizing some tea towels with foam stamps – something that is fun to do to spruce up your kitchen or to make as gifts. You can register here.

Here is the official description :)

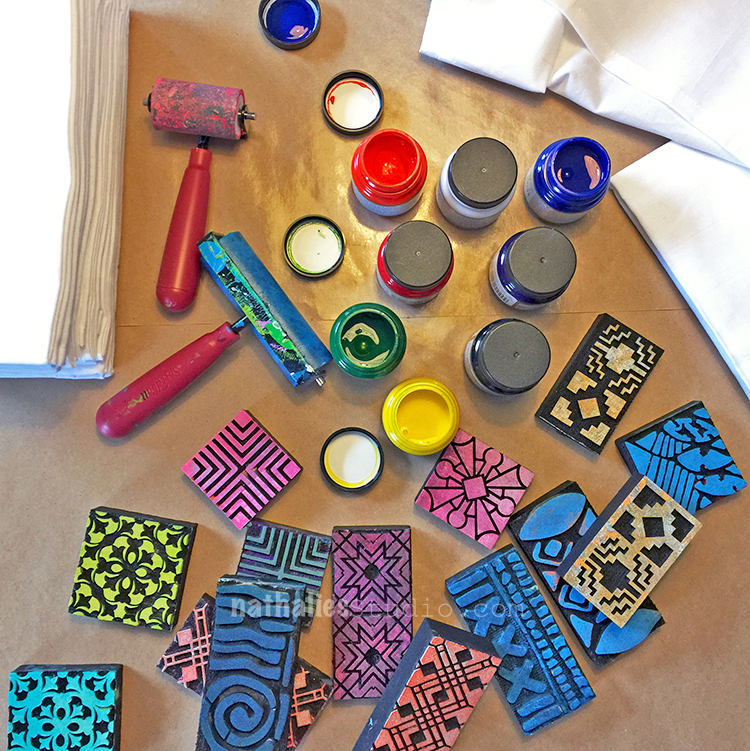
Foam stamps are a fun and easy way to block print on fabric. Join me as I demonstrate how to work with foam stamps and fabric paints. Working with color and pattern, students will learn how to create custom textiles. Each participant will create two unique tea towels to take home. Refreshments will be served.

Join us! Create! Get crafty! Play with foam stamps! And get inspired to personalize fabric with paint and foam stamps :) Sign up here.

Comments (1)

  • Cindy Gay

    |

    Natalie-this is such a great idea!

    Reply

Leave a comment

O-Fish-Ally Valentines Day Cards

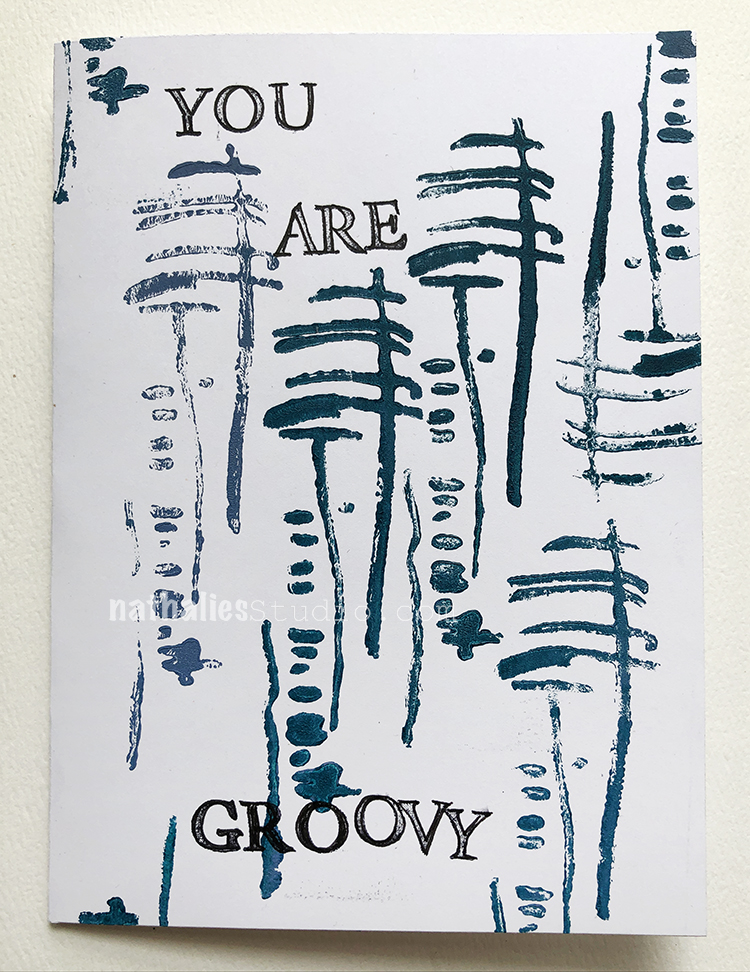
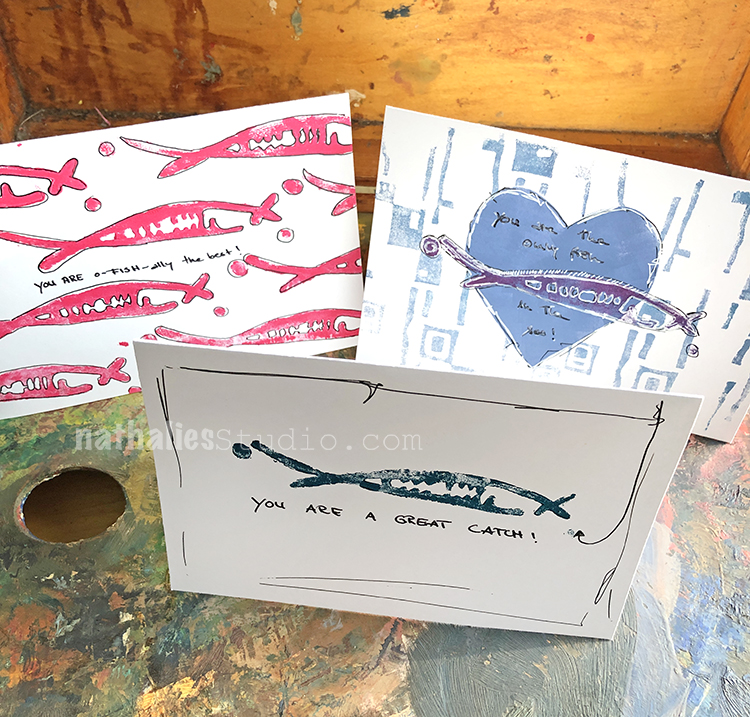
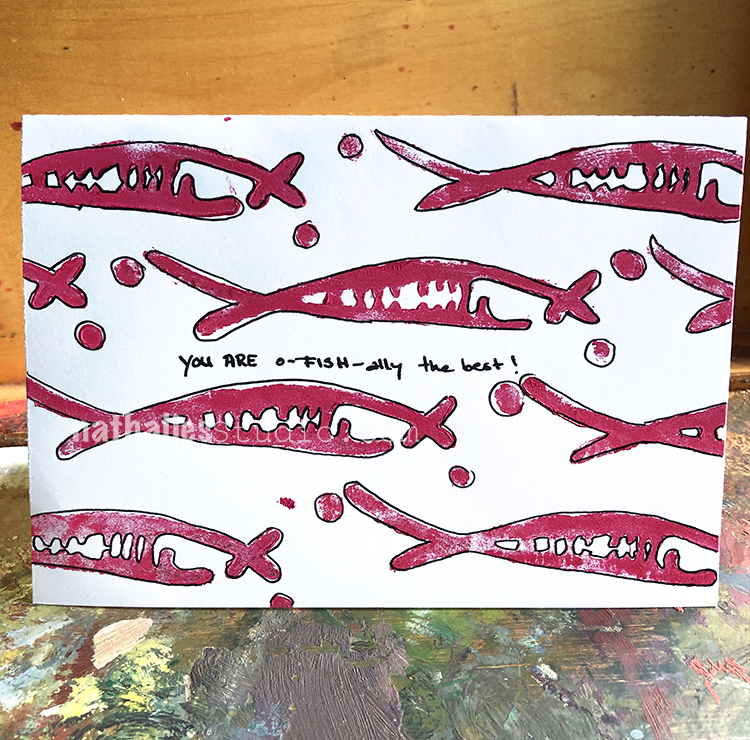
When I created my new Neato Foam Stamp I thought of it as being a funky mark but I also realized it can be read as a fish if you want to :) So …why not make some Valentines Cards with it :)

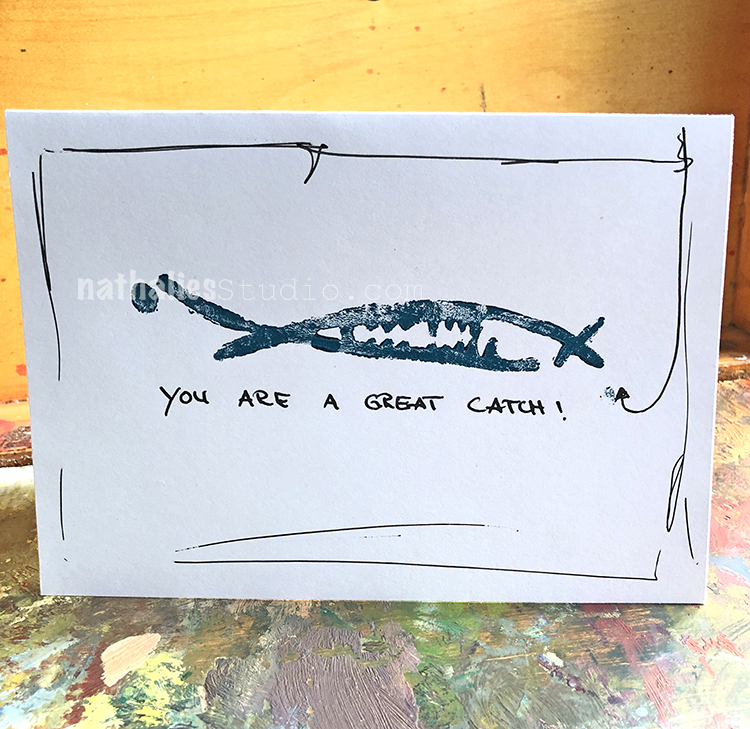
Simple – used with acrylic paint and stamped – added a frame and a hook with a pen – there you go :)

And hey – you are all o-fish-ally the best !  I added a bit of black outline with a pen to the Neato stamps and like how the circles can be also read as water bubbles.

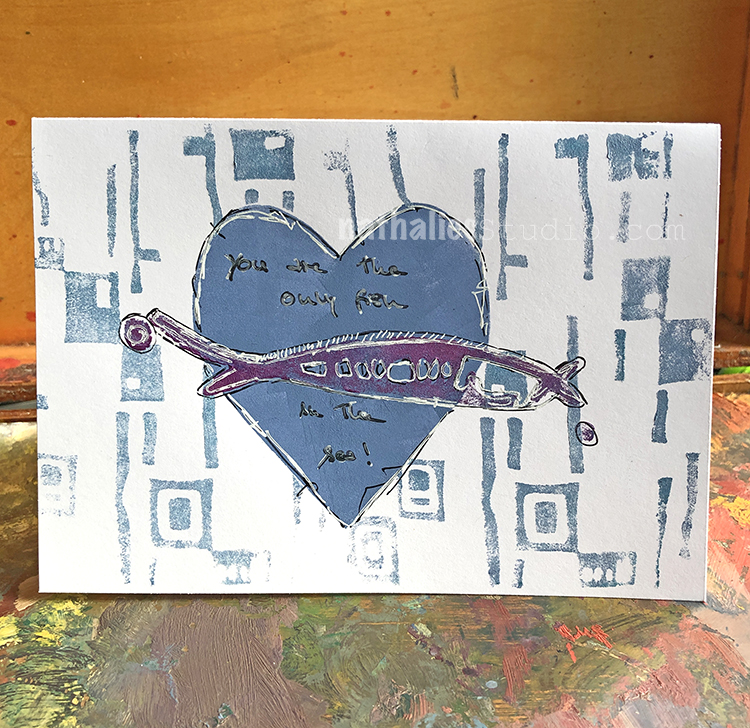
For the “you are the only fish in the sea” card I cut out a heart shape out of deli paper and stenciled through the shape, then used the cut out heart as a mask and masked off the painted hear to stamp the background with my new Midcentury Squared Stamp. Last but not least I stamped the Neato stamp on top of the heart and added some doodles with a white Signo pen and a black pen as well.

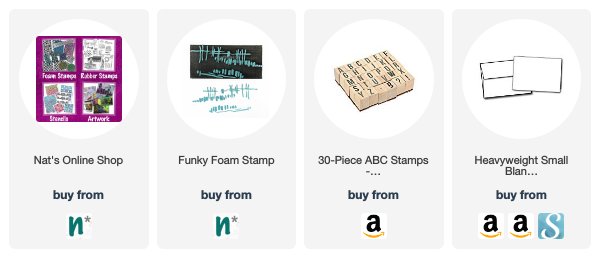
Do you have any other fun “fishy” sayings for me? LOL Hope you liked those cards- here are the supplies I used besides acrylic paints:


Comments (2)

  • stephanie

    |

    Your puns are awesome!

    Reply

    • nathalie-kalbach

      |

      I found them to be honest- I googled fish and valentine and it was making me laugh hard.

      Reply

Leave a comment

Where You Find Light – Art Journal

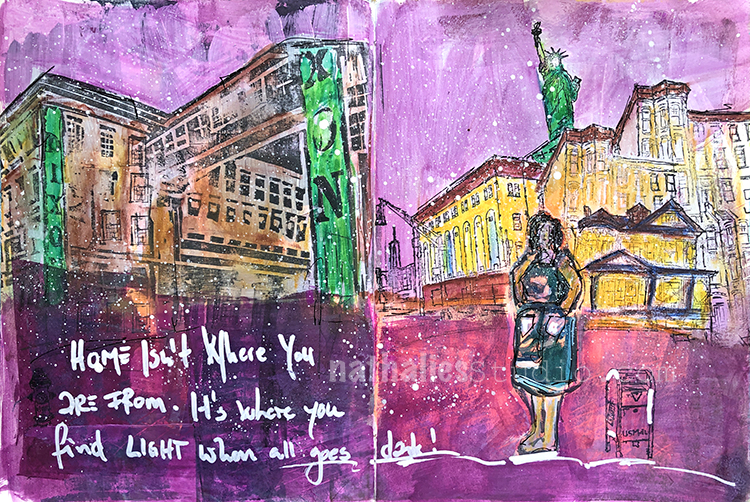
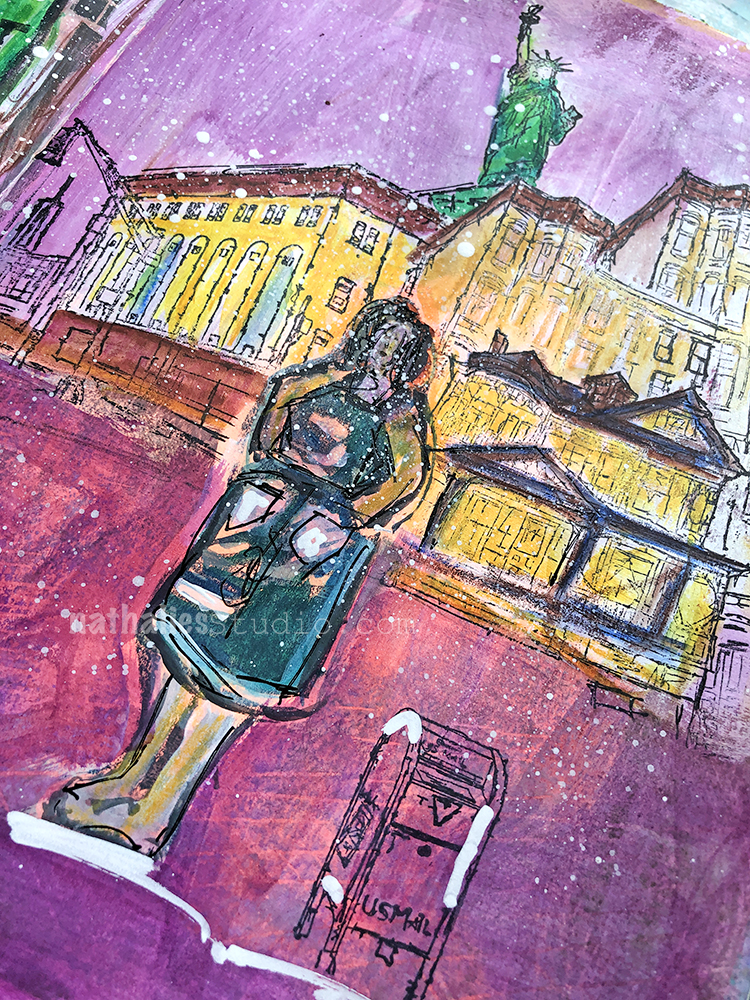
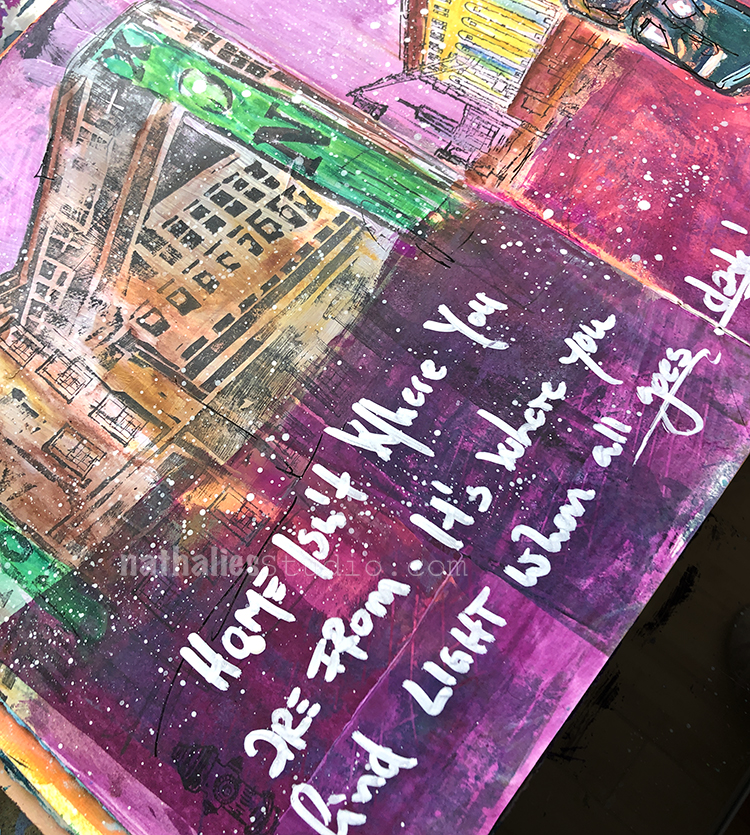
Here is a another art journal spread using the hand carved stamp I showed in my Creative JumpStart 2019 class video ( you can still join us if you want – lots of fun tutorials). Here I inked it up with black archival ink

and used it cut apart as shown in the tutorial. I also used it with my RubberMoon Rubberstamps – I love the mix of hand carved and hand sketched next to each other.

I painted the stamped images and the background in with acrylic inks and acrylic gouache and added the journaling with a white sharpie. Love how the colors glow.

Here are some of the supplies I used for this spread:


Leave a comment

Truly Yours – Art Journal

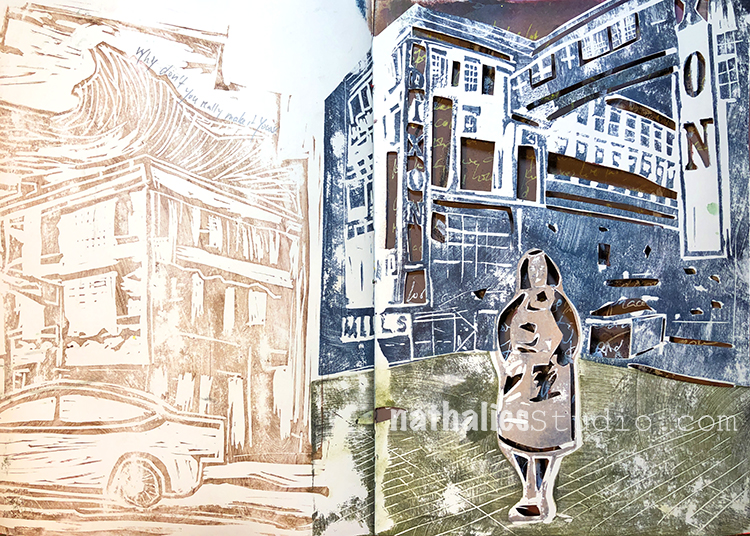
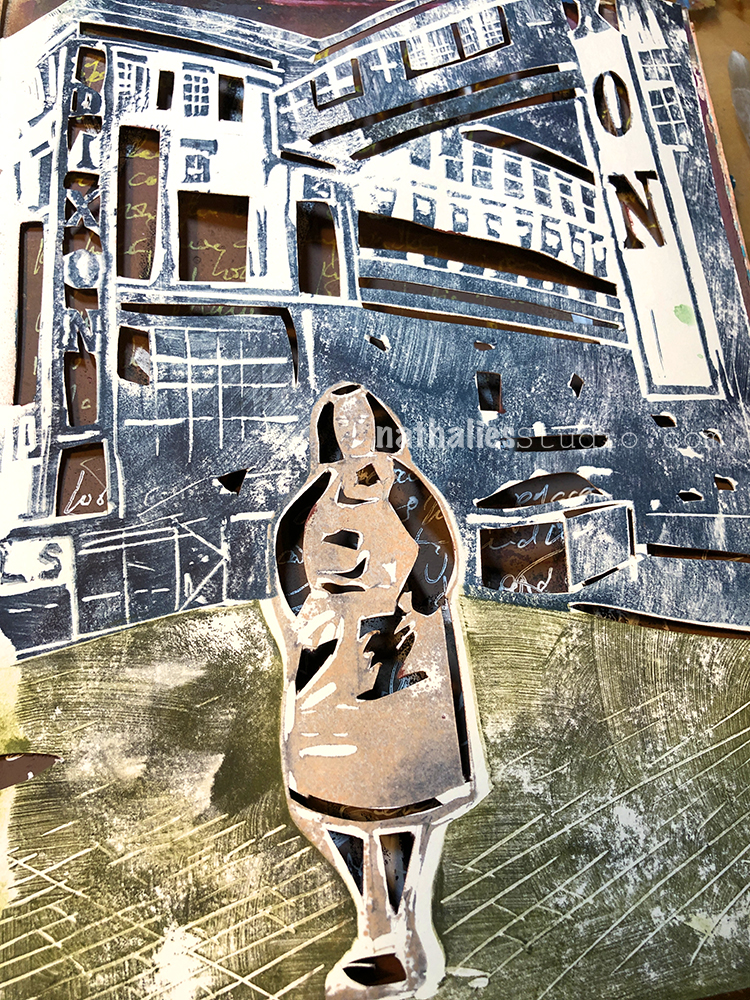
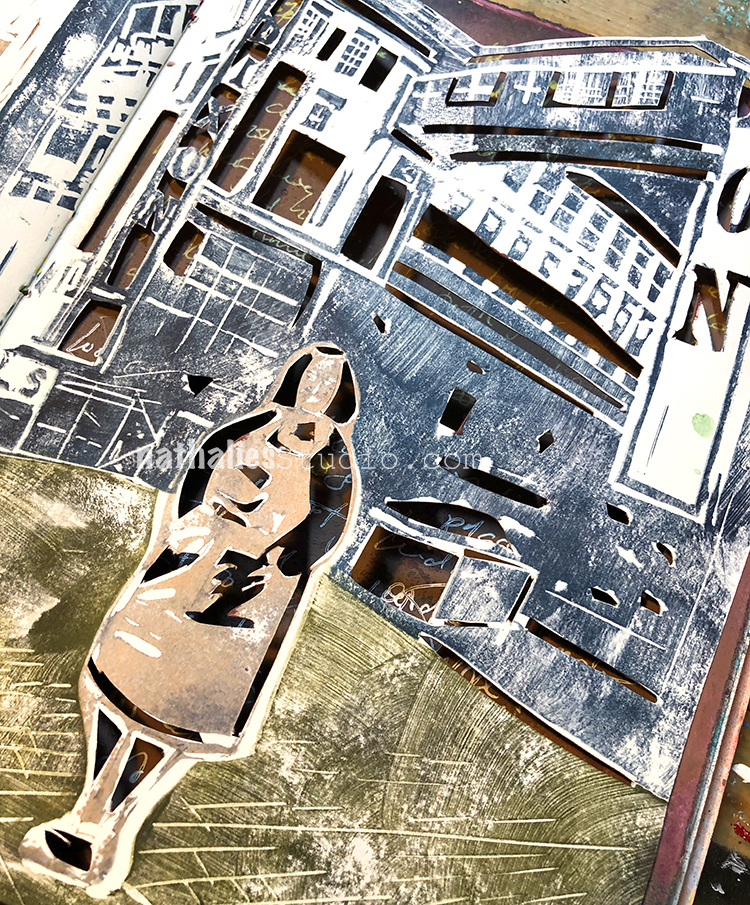
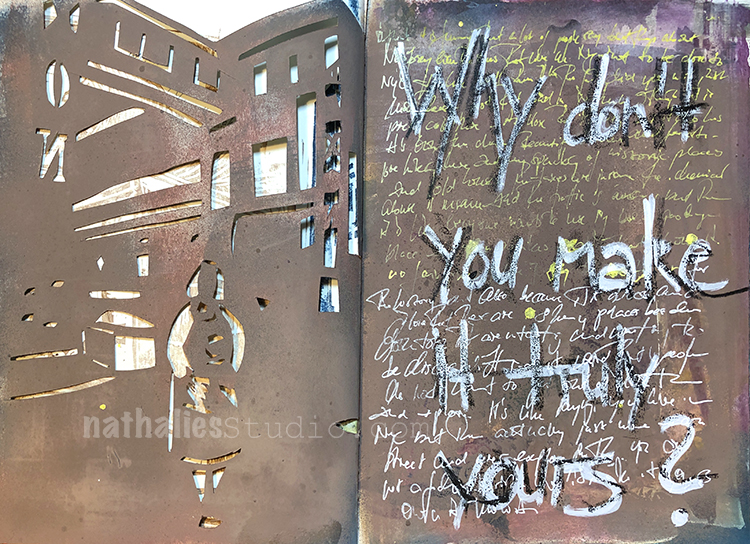
I used two hand carved stamps on this art journal spread and if you are part of Creative JumpStart 2019  you recognize especially the right one because I showed how to make it in my lesson and some printing ideas.

For this spread I used some Moonlight Duo Ink pads to ink up the stamps and then I cut out bits and pieces with a craft knife.

I love the effect . The pages on the next side I sprayed with some spray paint and then did some journaling.

I loved using the stamps in a different way and to try something different. Whatcha think?


Leave a comment