nathalie-kalbach

21 Secrets is now on sale

I’m so pleased to be a part of a wonderful online art journaling workshop called “21 Secrets” starting in April 2015

Spring 2015 small

21 SECRETS teachers create workshops that beautifully reflect who they are as an artist right here and now. The mission behind 21 SECRETS is to showcase a variety of approaches, techniques, and ways of integrating art journaling and creativity into one’s life. With both an open heart and an open art journal, together we as teachers provide our members the space, permission, and inspiration to navigate those unexplored territories within their own hearts that are longing to be fully expressed.

The 21 Secrets Spring Art Journaling Workshop is downloadable.


21 SECRETS Spring ART

What I teach? The Story Within a Story 

For me art journaling is visual story telling. It might not be a story that everyone can read but I can read it and that is all that counts. All my stories consist of many viewpoints and layers – thoughts, emotions and the story itself. I love to express the complexity of a story by building up layers and dimension through various techniques and texture.

In this workshop I would like to walk with you through my art journaling process. I will show you various layering techniques and I will tell you why and how I am doing what I am doing.

Join me in telling a creative story within a story.

21 SECRETS Spring 2015 Round

Some of the other teachers include: Eric Scott & Davd Modler – the Journal Fodder Junkies, Juliette Crane, Steve Salik, Jessica Leigh Brogan, Joyce van der Lely, You can read all about my class and the twenty other classes here

How much does it cost?

Right now the PRESALE is happening !

PRE ORDER NOW

Note: The link that I am using to promote 21 SECRETS is an affiliate link and I will receive a small percentage of any student who registers through my link. If you want to register, and want to support me as an artist it would be wonderful if you would consider registering through my link .

Leave a comment

As Easy as 1-2-3 Background² Tutorial

NatKalbach_Easy123Background

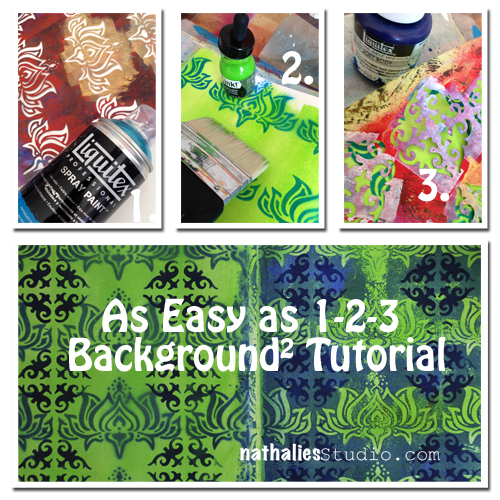
Today I am showing you how to make a background- actually two different backgrounds – for an art journal spread as easy as you count to 3…or almost as easy ;)

NatKalbach_Easy123Background01

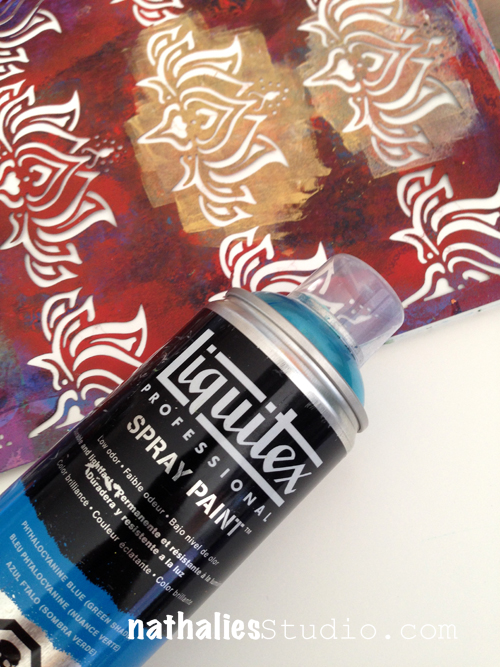
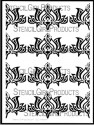
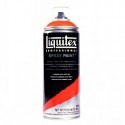
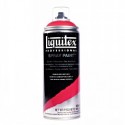
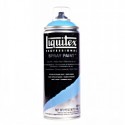
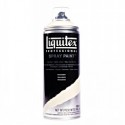
Picking my art journal, my Lily Wallpaper Stencil and Liquitex Spray Paint I start by spraying over the stencil over the left spread of my art journal.

NatKalbach_Easy123Background02

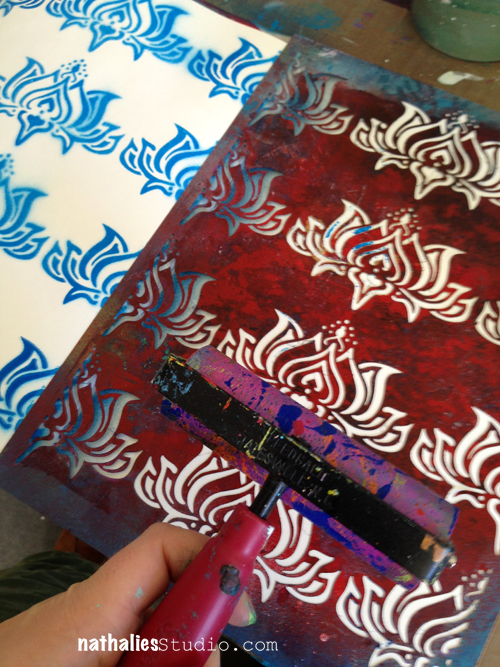
Using the paint on the stencil for a negative imprint, I simply flip the stencil over to the right side and brayer over the back of my stencil

NatKalbach_Easy123Background03

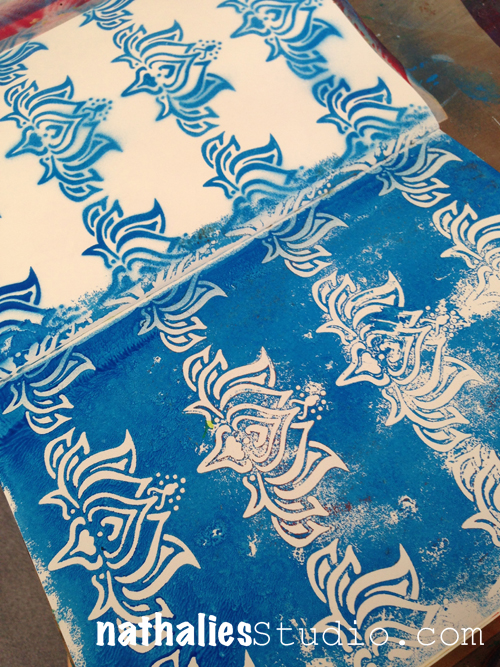
You can use the flip over step of course on a total different spread- because essentially these are actually two different background starters with the same techniques and materials. But I like to work in a double spread on my art journal and I like it when the sides are similar – like here in pattern, but still have  some interesting differences.

NatKalbach_Easy123Background04

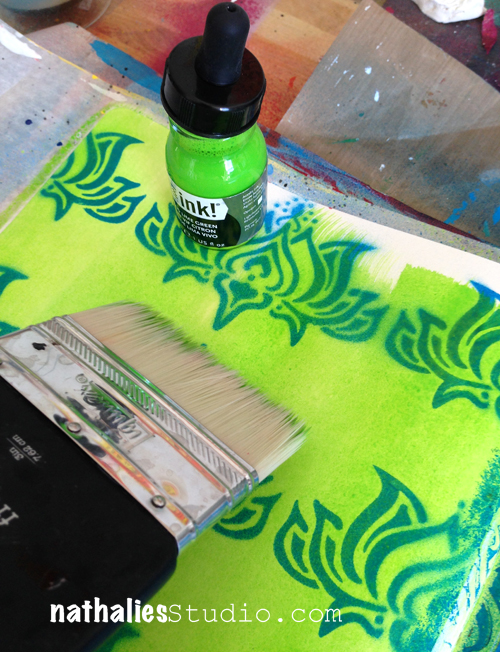
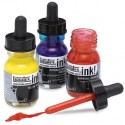
Using a big brush I spread a thin layer of Acrylic Ink over the spread. I love how the effect  – on the left side the lilly design is more bound in

NatKalbach_Easy123Background05

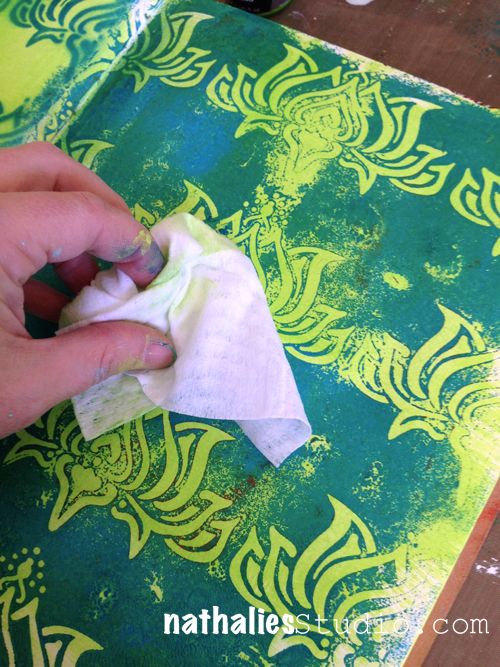
while on the right, by taking some of the ink off with a baby wipe, the blue spray paint color pops even more.

NatKalbach_Easy123Background06

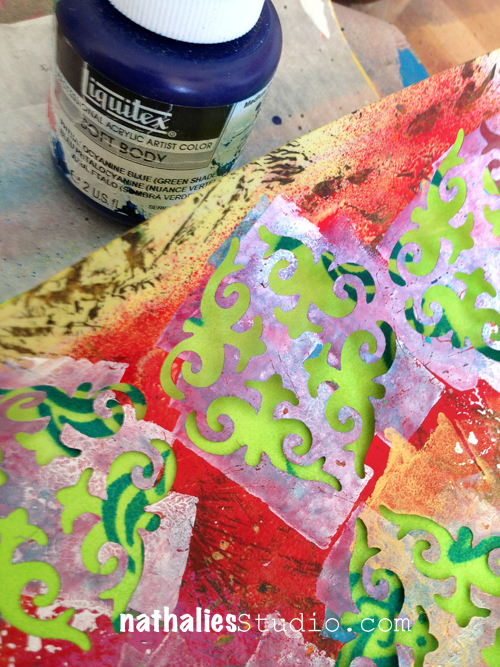
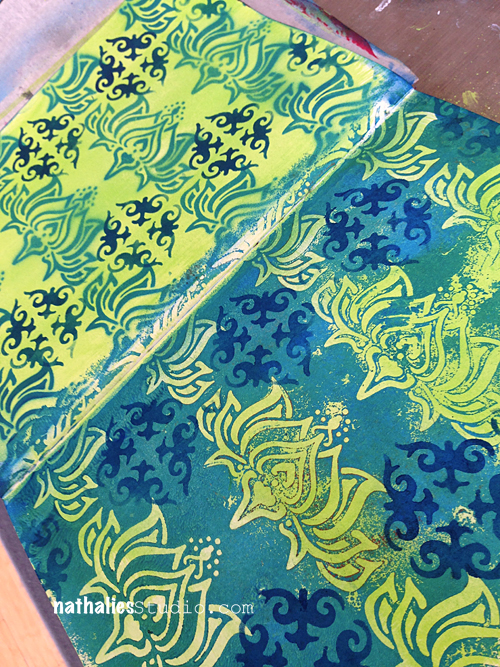
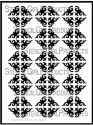
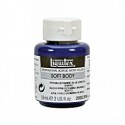
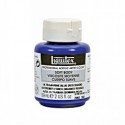
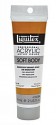
I picked the same blue as a Soft Body Acrylic Paint as I used as a Spray Paint (Phthalocyanine Blue (Green Shade) for the next step. Layering my Ornament Stencil over the empty spaces of my Lily Background I stenciled single ornaments in.

NatKalbach_Easy123Background07

And done is/are my background(s)

NatKalbach_Easy123Background08

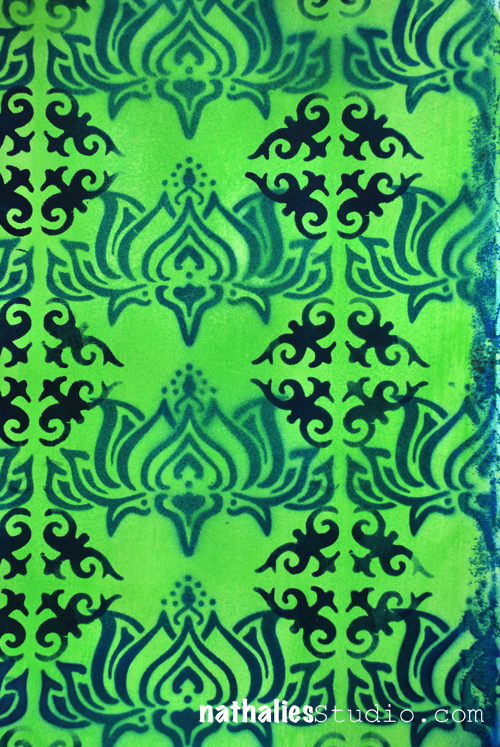
Here is the background 1 …and

NatKalbach_Easy123Background09

Easy, wasn’t it? I will show you in a couple days, what I actually did in my art journal with these two backgrounds.

Here is a complete list of the supplies I used

nSupplies


Have an amazing day


Comments (6)

  • Christy Tremblay

    |

    REALLY Cool!!!
    I am going to have to try this. Thank you for sharing and the nice pictures!

    Reply

  • sécotine La Petite Française

    |

    thanks so much for sharing your amazing work!!! love to play with the transparences of liquid acrylic paint!

    Reply

  • Sue Clarke

    |

    Sweet and you make it look so easy.

    Reply

  • Jani Franck

    |

    I love how the layering works – gorgeous technique, thanks for sharing :)

    Reply

Leave a comment

Stroll Through The Hood – November 2014

NathalieKalbach_Strollhood_Logo

Always fun to take a stroll through the hood here in New Jersey- here is what inspired me since my last post :)

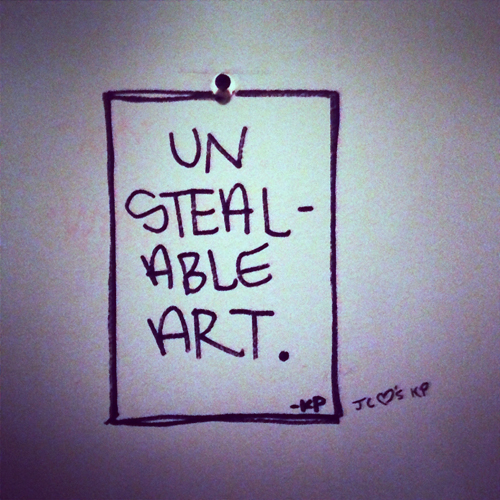
NatKalbach_StrollNov01

Bathroom humor …good one ;)

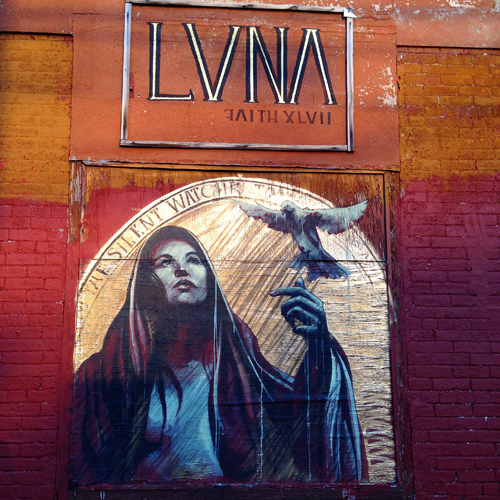
NatKalbach_StrollNov02

beautiful new street art- this one is by faith47

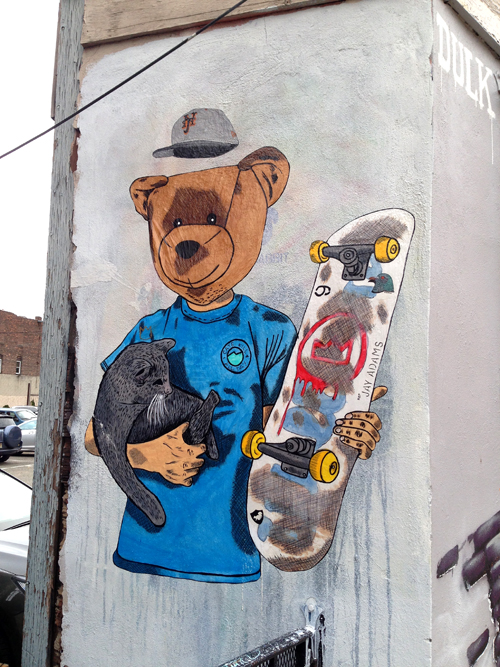
NatKalbach_StrollNov03

And another one that I love by Sean Lugo .

NatKalbach_StrollNov04

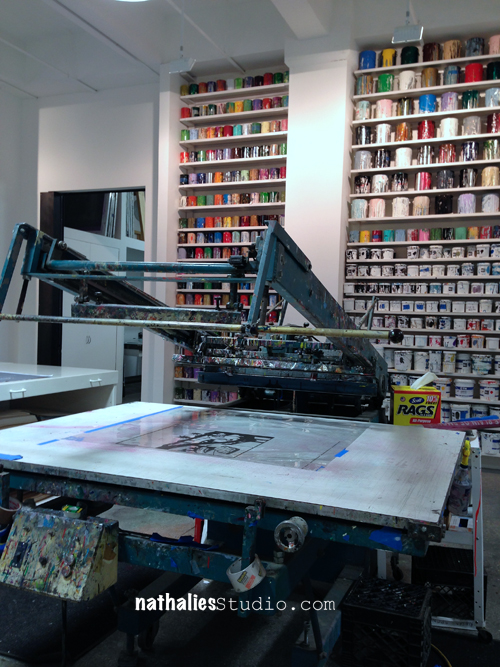
spent a fun afternoon at Mana Contemporary- awesome the building

NatKalbach_StrollNov05

and dreaming of spending an afternoon in the silk screen room

NatKalbach_StrollNov06

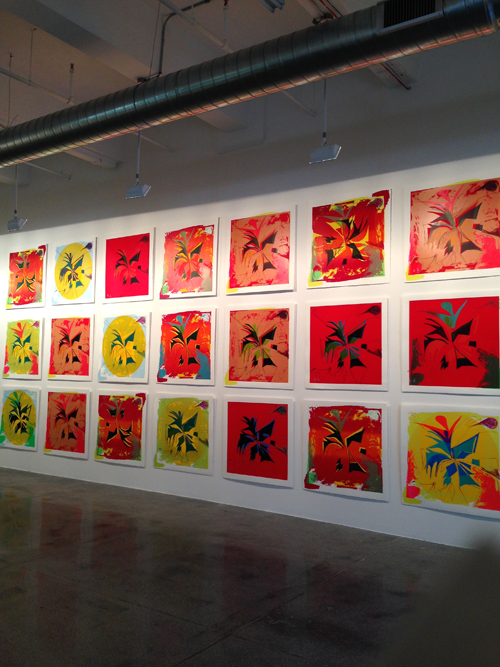
getting all over those amazing colors (I stink, I lost the paper that has the name of the artist scribbled on – and I couldn’t find the information on Mana either )

NatKalbach_StrollNov07

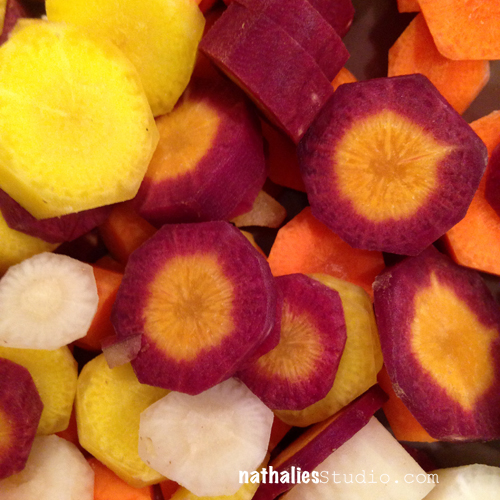
Indulging seen colors by cooking a stew with American fall veggies …because…I don’t wanna be a starving artist- you know ;)

NatKalbach_StrollNov08

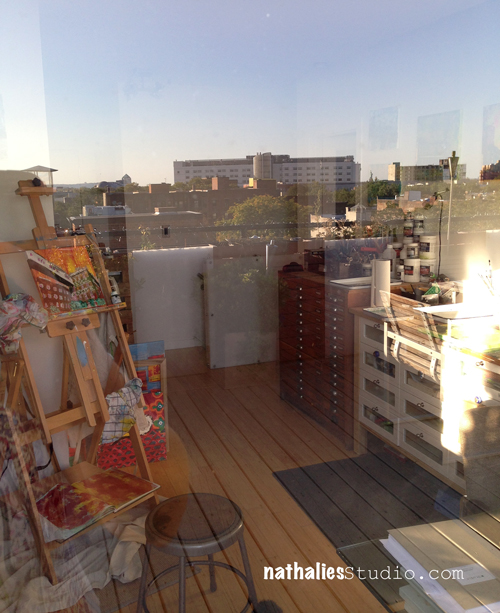
spending every possible but rare moment in the last couple weeks in my studio and on the deck !

NatKalbach_StrollNov09

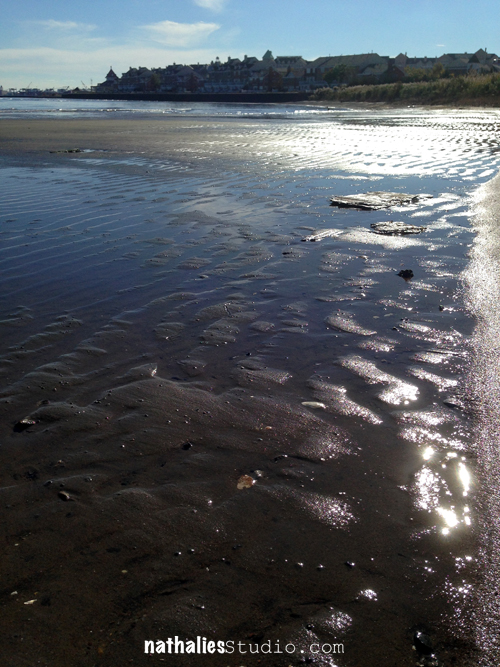
Sometimes though just taking a bike tour to a close by secret beach in JC

NatKalbach_StrollNov10

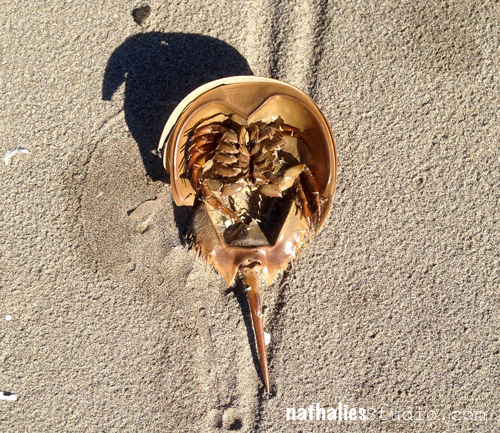
Learning of the existence of Horseshoe Crabs 

NatKalbach_StrollNov11

and starting to dread the coming winter already …

NatKalbach_StrollNov12

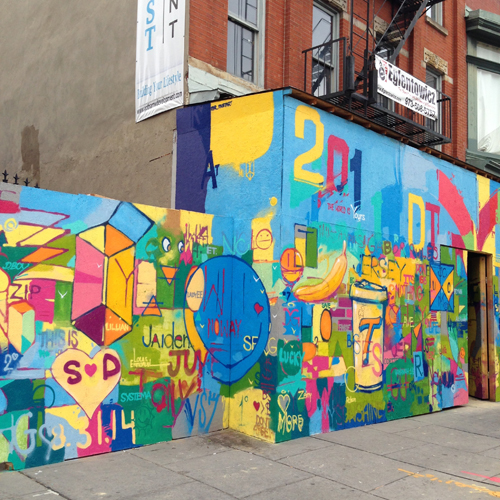
But as long as artists like Mr. Mustart bring some color to my hood – like here changing the look of an ugly construction wall- I will be good and see lots of inspiring things on my strolls :)


Have an inspiring day


Comments (4)

  • Sandi Miaskoff

    |

    Nat, don’t let the winter deprive us of your beautiful pictures, it will only bring another view of the same sites – just as beautiful

    Reply

  • Sue Clarke

    |

    Love your studio and so much natural light!
    Horseshoe crabs were a part of my childhood growing up in Gloucester, MA and finding them on the beach. Nice photo.

    Reply

  • Jackie P Neal

    |

    Nat, Your strolls are always inspiring! I love your colorful veggies and your photo of studio and deck- oh beauty! All of the art on the walls, so nice to see, art and not just random scribbles and unsightly words-
    and as for the impending winter- my hub thinks it will be an easy one- he is usually right. We live upstate close to Lake Ontario, so right in the snowbelt-, we’ll check back on this in the spring! heehee xo

    Reply

  • Kathy P

    |

    WOW! How awesome is all this! You are truly one artist with the camera, too! And I have always been fascinated with horseshoe crabs! TFS, Nat! Started my day off happy seeing this post!

    Reply

Leave a comment

Layered Art Journal Page Tutorial

NathalieKalbach_Remember01

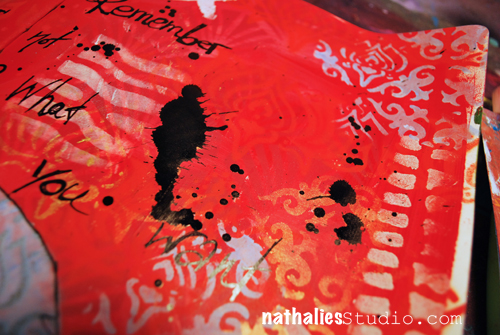
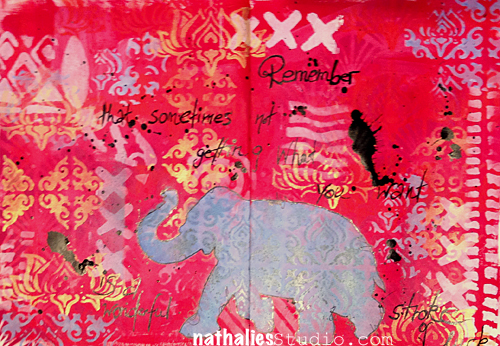
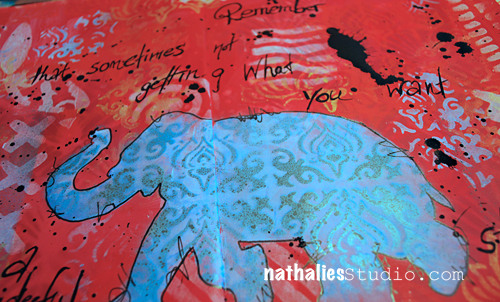
“Remember that sometimes not getting what you want is a stroke of luck” – Dalai Lama

And sometimes you won”t find out about that until much later… ;) For this spread I wanted a layered look to go with this quote. Let me share with you how I worked on this art journal page
Nathalie_Kalbach_Elephant_Stencil_01

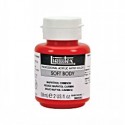
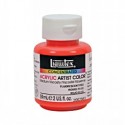
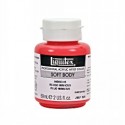
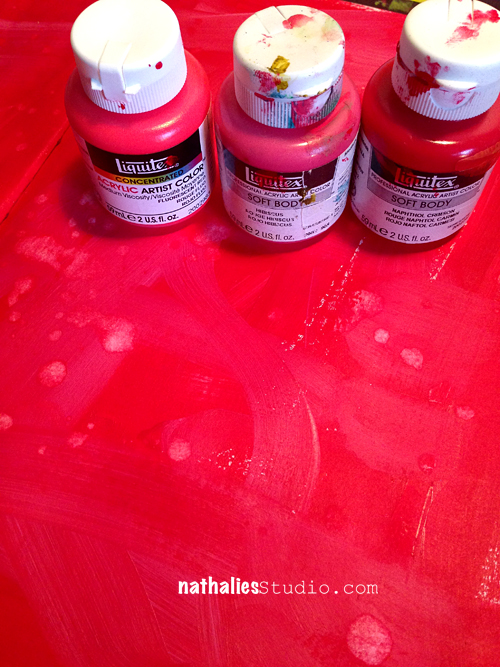
I chose three vibrant but close red /pinkish Liquitex Soft Body Paints: Naphthol Crimson, Fluorescent Red and Hibiscus and dry brushed and blended them together on the blank page.
Nathalie_Kalbach_Elephant_Stencil_02

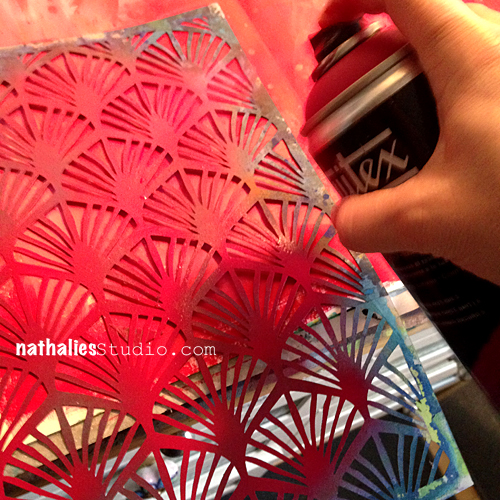
Using the Art Deco Wallpaper Stencil I designed for StencilGirl Designs I spray painted here and there a second layer with Cadmium Red Deep Hue 5 onto the spread.
Nathalie_Kalbach_Elephant_Stencil_03

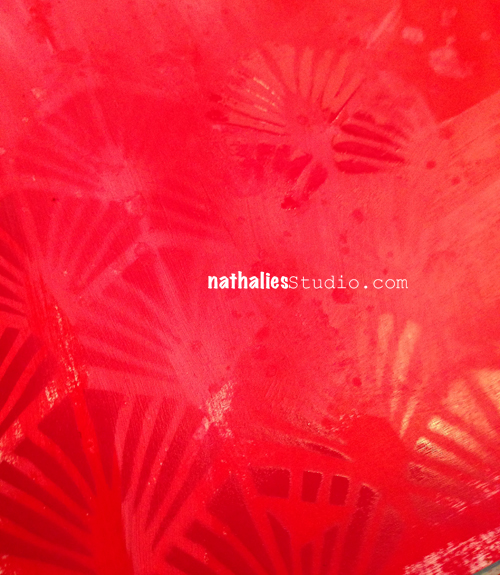
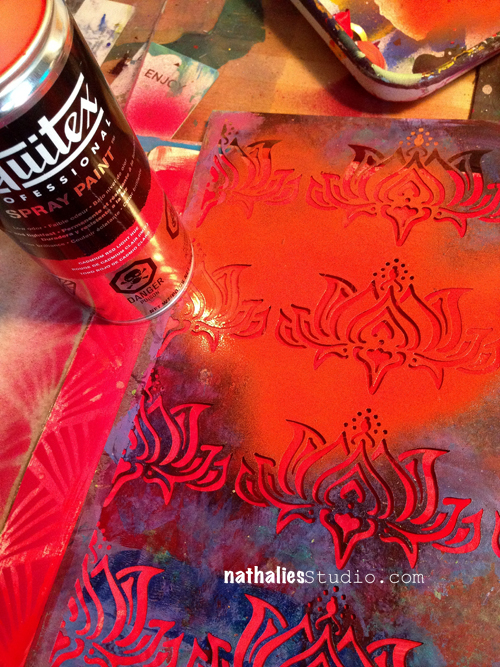
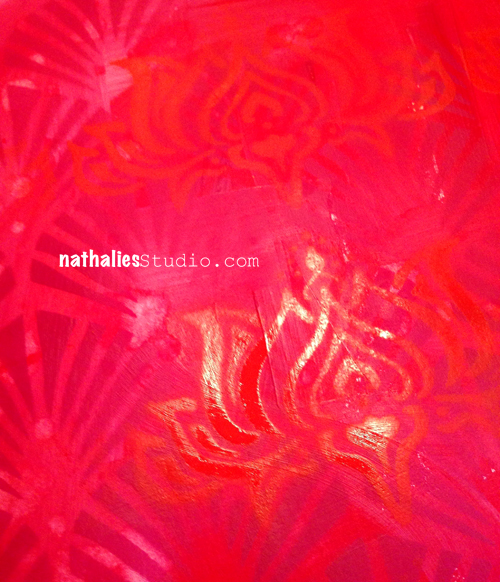
The result was very subtle as  I used the same color scheme as for the background but exactly that gives it so much dimension and depth. So I grabbed my Lilly Wall Decor Stencil and sprayed over it with Cadmium Red Light Hue.
Nathalie_Kalbach_Elephant_Stencil_04

I just love the crisp stenciling effects with those spray paints!
Nathalie_Kalbach_Elephant_Stencil_05

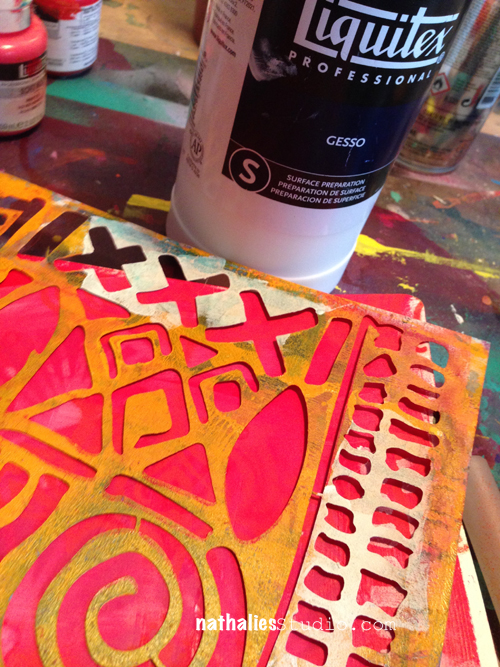
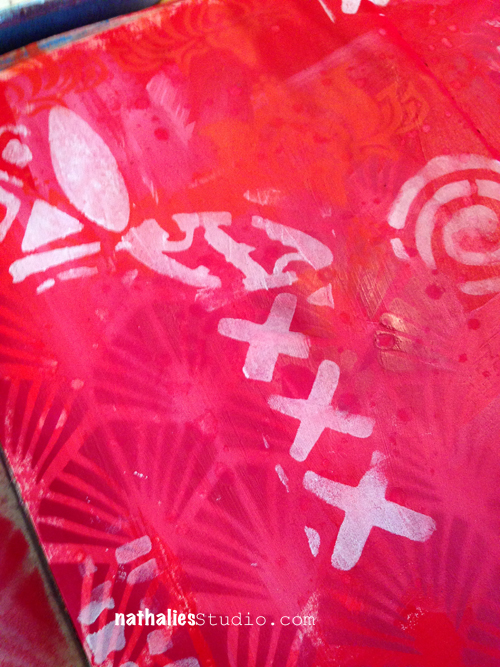
For my next layer I wanted to tone down the brightness a bit and was going for a white. But I also didn’t want a shiny white to not pick up on the brightness of my background and so I chose Gesso instead of Acrylic white paint to use with my Batik Stencil.
Nathalie_Kalbach_Elephant_Stencil_06

I used only parts and bits of the Batik Stencil here and there.
Nathalie_Kalbach_Elephant_Stencil_07

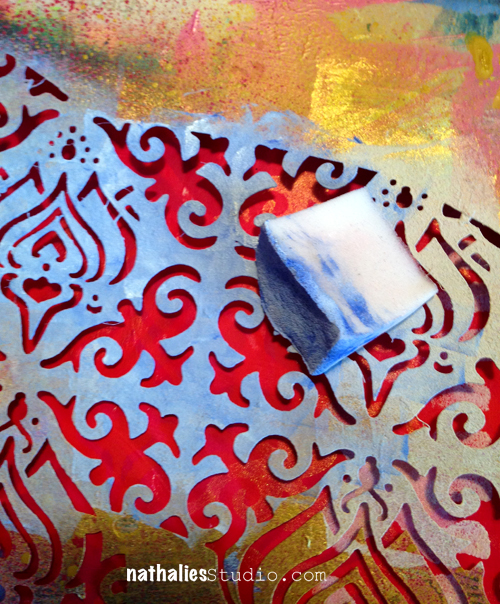
For my next layer I picked up the Lilly Stencil again – Repetition of Patterns is also a good way to layer and I had already used the Lilly Stencil AND I knew I was going to use my Elephant Stencil that has the Lilly in a smaller form as a pattern too :)
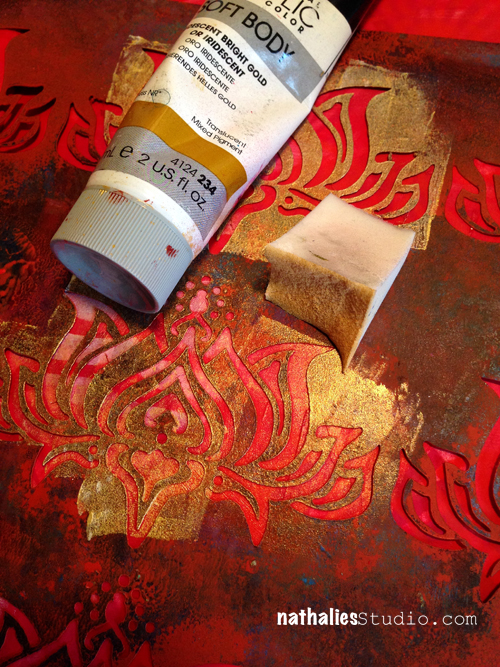
Nathalie_Kalbach_Elephant_Stencil_08

I used Iridescent Bright Gold and used a cosmetic sponge to stencil through. BTW the sad looking foamy thing on the right is the cosmetic sponge. It looks like this because I use it several times cutting off the tip for new colors to make the most of it.
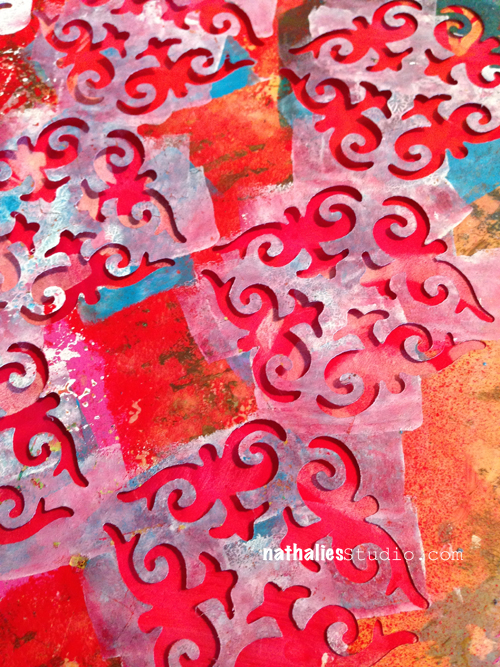
Nathalie_Kalbach_Elephant_Stencil_09

And since I was talking about repetition : As the Elephant Parade Stencil also has small parts of my ornament stencil included, I pulled out the Ornament Wallpaper Stencil and stenciled with gold here and there.
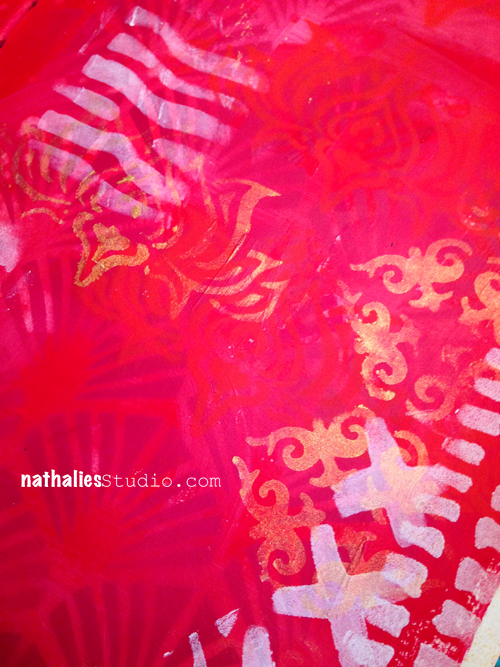
Nathalie_Kalbach_Elephant_Stencil_10

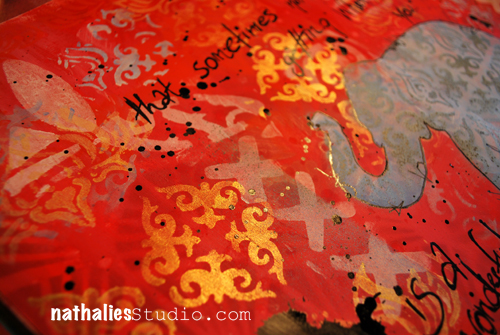
I wish the photos could do the gorgeous golden color justice…but you just have to take my word for it…it is amazing in real life! Then it was time to get the big guns…eh Elephants out. My Elephant Parade Stencil.
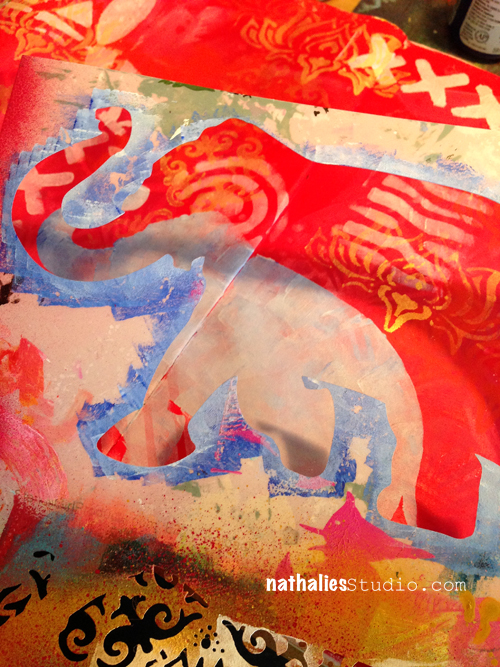
Nathalie_Kalbach_Elephant_Stencil_11

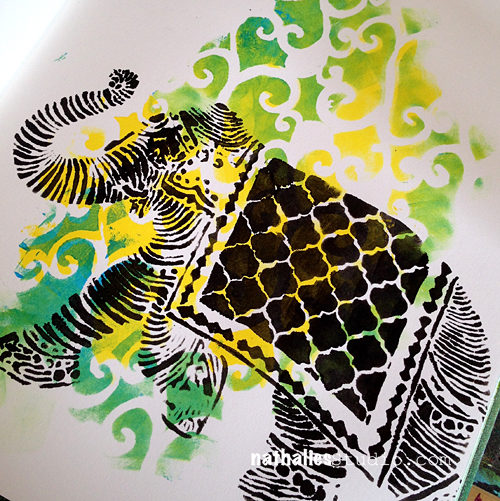
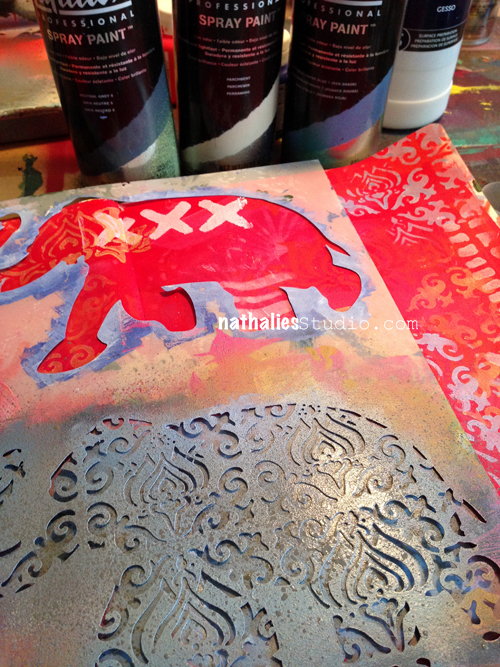
I mixed some gesso with a drop of Ultramarine Blue and stenciled through the Elephant Silhouette part.
Nathalie_Kalbach_Elephant_Stencil_12

I may repeat myself…but remember …I was talking about repetition? Using the patterned Elephant part of the stencil showing parts of the Ornament and Lilly Stencil I used the leftover paint and stenciled some of the images here and there onto my art journal page.
Nathalie_Kalbach_Elephant_Stencil_13

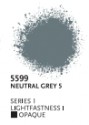
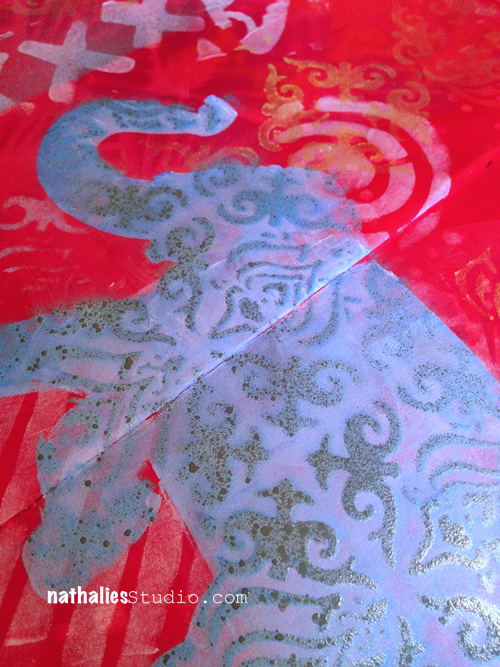
Then I layered the patterned elephant stencil part over the area where I created the elephant silhouette and sprayed over with three different spray paints  – variating the pressure and areas to get color graduation and more dimension. I used: Parchment, Phthalo Blue and Neutral Grey.
Nathalie_Kalbach_Elephant_Stencil_14

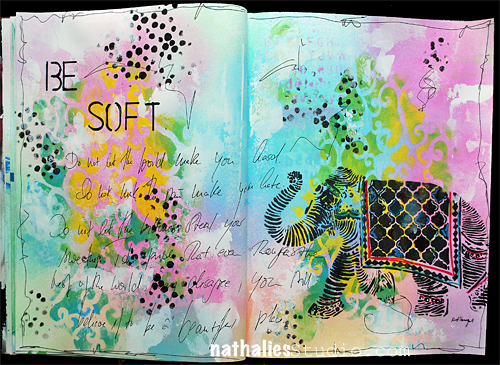
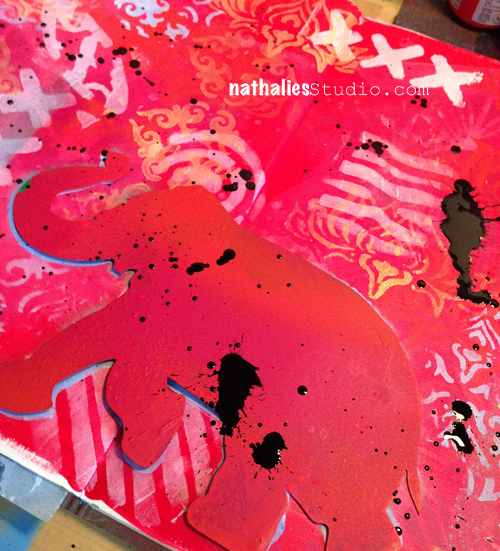
To get a bit contrast in I knew I needed some black in the page and since I do love to make a mess…I grabbed my Splatter tool and some black acrylic ink. To make sure that I was not getting any splatters into my elephant, I shielded it off with the elephant mask that is also part of the Elephant Parade Stencil. YES…three in one : Mask, Silhouette and Stencil – pretty pretty cool- if I dare to say so ;)
Nathalie_Kalbach_Elephant_Stencil_15

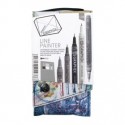
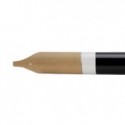
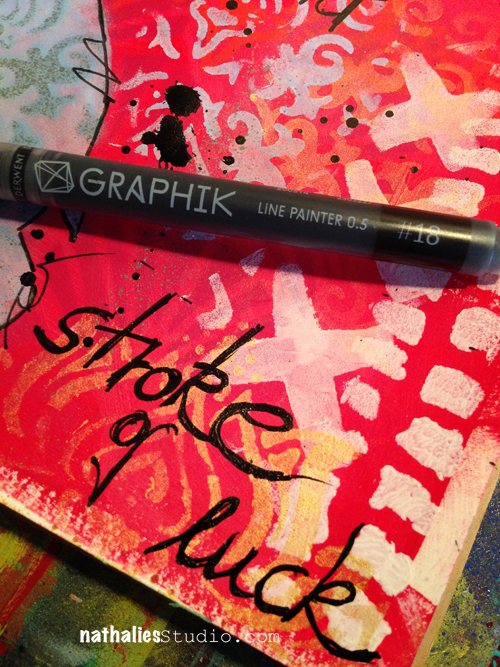
And then I used my new found Love… I had tested the Derwent Graphik Line Painter already in spring at NAMTA and I couldn’t wait for it to finally be available. LOOOOOVEEEE – I am a nerd for a really good black journaling pen and this one writes beautifully and without any problems on dried (!) acrylic backgrounds and it is permanent once dried. Awesome journaling and sketching pen – the black is one numbered #18.
Nathalie_Kalbach_Elephant_Stencil_16

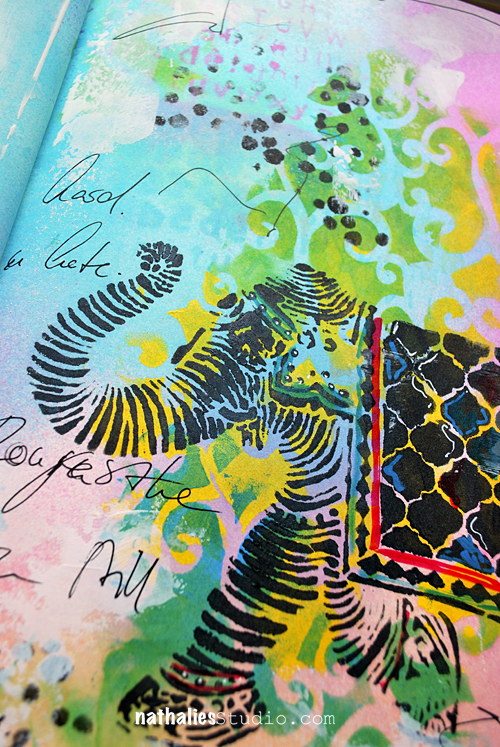
Here are some details of the finished page
NatKalbach_RememberLuck02

NatKalbach_RememberLuck03

NatKalbach_RememberLuck04

Hope you liked the little layering tutorial – I won’t lie – it takes some time and usually …I would even go for more layering before adding the final focal points on my spread :)

Here is a list of all the supplies and colors I used

nSupplies


Have a gorgeous day:)
Comments (1)

  • Sue Clarke

    |

    Nice layers and I’ll have to try working with multiple shades of the same color for a change. I must search for that new black pen as well.

    Reply

Leave a comment

Join me in Florida, Lake Worth for Mixed Media Workshops

There are a couple seats still open for my Mixed Media Workshops at Everything Scrapbook & Stamps November 14-16, 2014 in Lake Worth, Florida. Come and join me :)

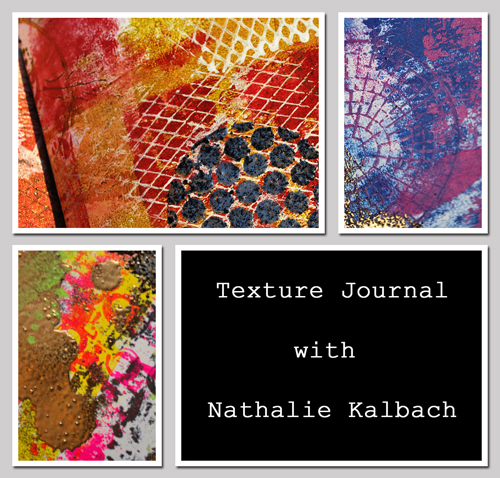
Friday 14, 2014 – Texture Journal – 6-9pm

Texture-Journal-WS

Create wonderful texture pages with mono printing, stenciling and stamping techniques, encrust them with different Embossing Media and bind them together in a beautiful tactile art journal.

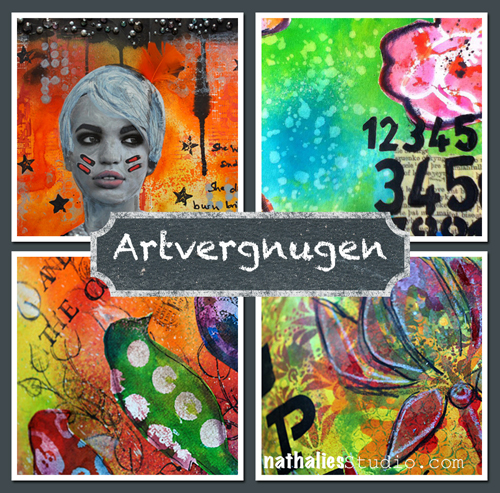
Saturday 15, 2014 – Artvergnugen – Art Journaling Class – 10.30am – 4.30 pm 

NatKalbach_ArtvergnugenAd

It starts the moment you sit down, an experience that is distinctly Art Journaling. A quick exhilaration, a sense of control, the art media’s surprising responsiveness as if they were simply an extension of you.

There is a word for this creative experience: Artvergnugen ! Artvergnugen is what makes your journal a piece of art.

Join Nathalie for a one-day workshop and play with different art media and supplies. Learn techniques, tips and tricks to take your art journaling further and turn it into Artvergnugen.

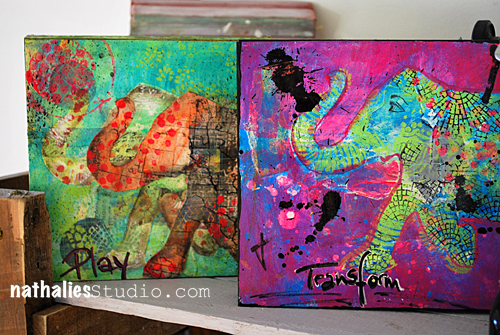
Sunday 16, 2014 – Play Transform: Mixed Media Collage – Noon- 6pm

NatKalbachCollages

In this one-day workshop Nathalie will share her favorite techniques to create background papers using paints, stencils, and stamps. Layered up it will turn into a fun Mixed Media Collage. Nat will share her fun and easy peasy collage techniques, talk a bit about composition and make a sticky business a creative new passion for you.


We will play with loads of fun acrylics, techniques and ideas in those workshops – don’t miss it .

Have a gorgeous day


Leave a comment

Lindy’s Stamp Gang Guest Design Projects

In September I was a featured guest designer for Lindy’s Stamp Gang – and here are the samples I made using the Lindy’s Stamp Gang Spray Inks for their blog.

NatKalbach_LSG_Elephant01

My favorite way to use Lindy’s Stamp Gang Spray Inks is in conjunction with Liquitex Acrylic Paints. I just love how the two working together make the colors pop.

I used some acrylic paint colors with some of my StencilGirl Products designs for a background.

NatKalbach_LGS_Process02

Once dried I sprayed the different colors of the Under The Boardwalk Set over it and blended the colors using a paper towel.
NatKalbach_LSG_Elephant02
For the finish I wrote some journaling and stenciled a bit more on top using Lindy’s Stamp Gang Spray Inks but also some acrylic paint.
One of my favorite features about Lindy’s Sprays is that they are permanent once dried and that you can actually spread some gesso or other paint media on top of the colored surface without deactivating the spray ink.
NatKalbach_LSG_Elephant03
 I also love to use my Stampendous Stamps and templates with acrylic paint and start layering those up on the surface.
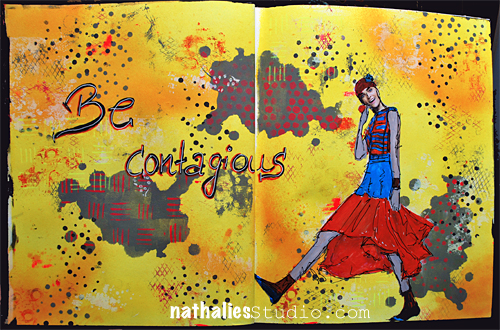
NatKalbach_LGS_BeContagious01
For Be Contagious I used some of the templates in my stamp sets with acrylic paint and then sprayed with Lindy’s Stamp Gang Spray Inks over it-
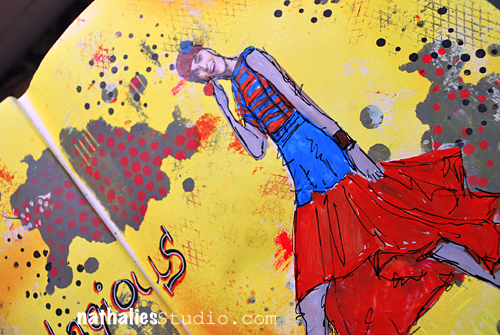
NatKalbach_LGS_BeContagious02
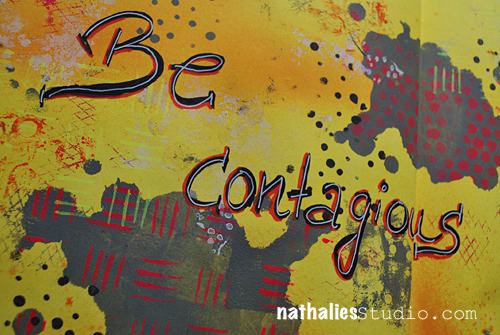
I love how it makes the background pop.
NatKalbach_LGS_BeContagious03
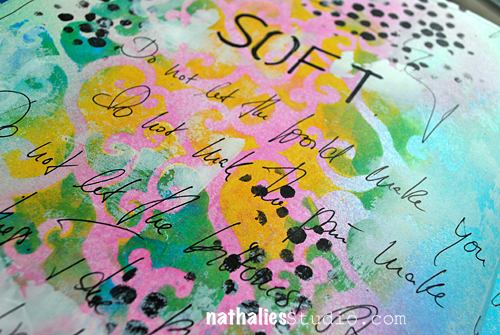
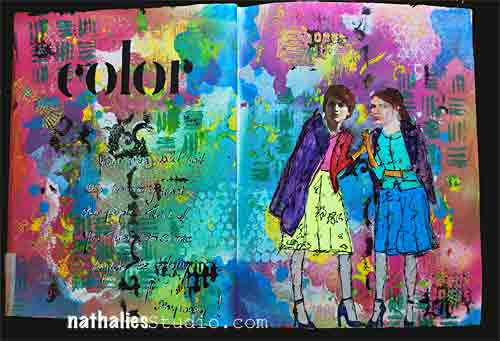
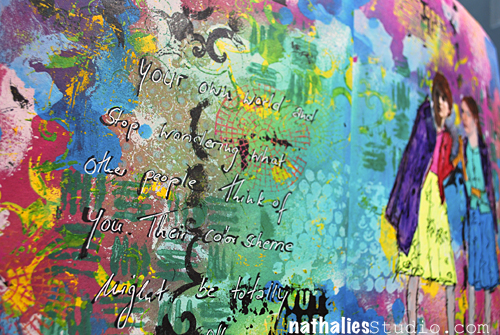
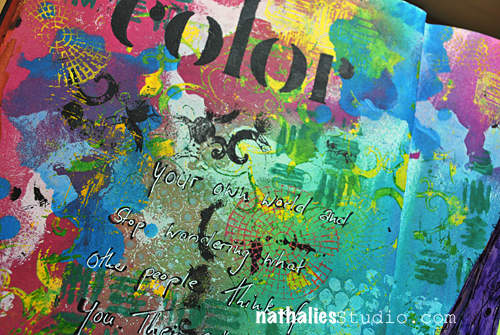
 In my Color Art Journal Spread I went a bit crazy- you can tell I love colors.
NatKalbach_LSG_Color01
 I alternated acrylic paints and Lindy’s Spray Inks with my Stampendous Stamps and Templates.
NatKalbach_LSG_Color02
I love how I was able to use so many different colors and it didn’t turn muddy.
NatKalbach_LSG_Color03
I had lot’s of fun playing with Spray Inks and Acrylic Paints :)
nSupplies


have a colorful day :)

Comments (2)

Leave a comment

NOT a Battle … or In My Art Journal Today

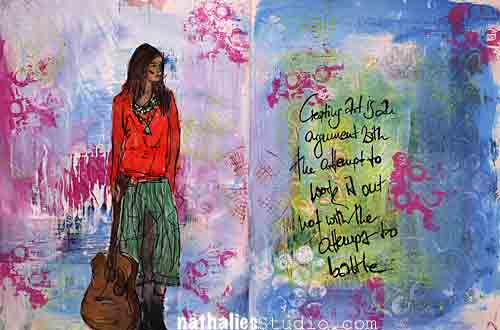
NatKalbach_NotABattle01

Creating art is an argument with the attempt to work it out, not with the attempt to battle. (smarty pants Nat)

This is my view on creating art and using art media  .

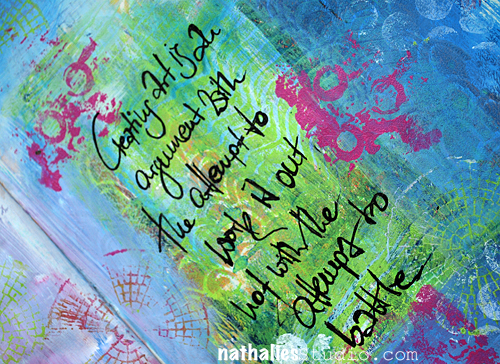
NatKalbach_NotABattle02

Lot’s of soft color layering and stamping -Journaling written with Bamboo Sketching Pen and Acrylic Ink.  I like how this turned out.

here is what I used:

nSupplies


Hope you have no battles today :)

Comments (3)

  • Stampendous Stamps

    |

    Nathalie, this is just gorgeous! The colors are so vibrant and yet calming! Love your quote for the day, good advice for all! Thanks for sharing with your terrific stamps you designed for us!

    Reply

    • nathalie-kalbach

      |

      awee- thank you so much! I love my stamps – thank you for making my dream possible :)

      Reply

  • Jackie P Neal

    |

    Beautiful spread Nat! xo

    Reply

Leave a comment

Believe in Yourself … or In My Art Journal Today

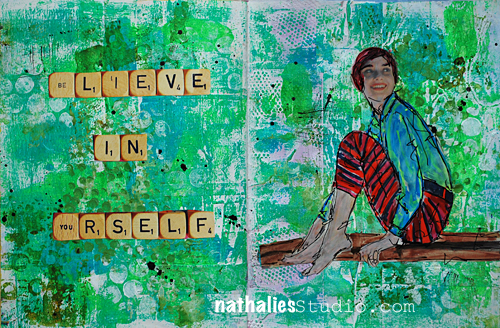
NatKalbach_BelieveInYourself01

The one thing that gets in the way once in a while- I think we all have a good fair to deal with this :) If not- kudos to you – LOL


NatKalbach_BelieveInYourself03

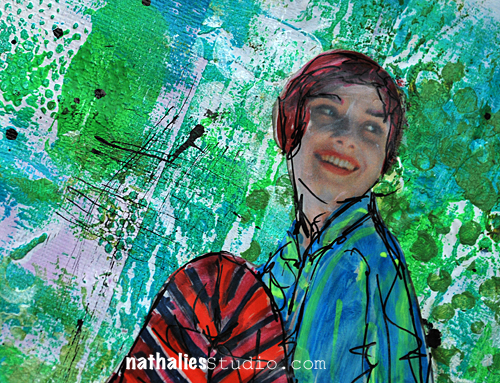
Lot’s of texture with Gesso on the background – then scraped lightly some Soft Body Acrylic Paint over it to have white peek through and also to reveal the texture more. Stamped and Stenciled with Soft Body Paints and then played a bit with markers :) Fun – easy and a good way to have a short creative session on an otherwise busy computer day . Not all projects you do need to be super elaborate – allow yourself to just play for a couple minutes.

Here is what I used

nSupplies


Have an amazing day today!


Comments (5)

  • rockmelon

    |

    yep, i agree, self belief can sometimes be tidal, waxing and waning…

    Reply

  • Sue Clarke

    |

    Nat, did you use real Scrabble tiles? It’s hard to tell on this pic.

    Reply

    • nathalie-kalbach

      |

      Hi Sue, no those are actually out of a magazine- but you could def use real ones from an old discarded game for other projects. I fear they would be a bit to thick in dimension for an art journal.

      Reply

  • Laura S

    |

    After seeing your gorgeous textured page, I’m going to go break out the acrylics and my new Liquitex markers, right now! Have a fun Sunday :)

    Reply

    • nathalie-kalbach

      |

      woohooo- so cool!!! hope you had a fun time. Have a great start into the week!

      Reply

Leave a comment

Loved Stars Too Fondly … or In My Art Journal Today

NatKalbach_LovedStarsFondly01

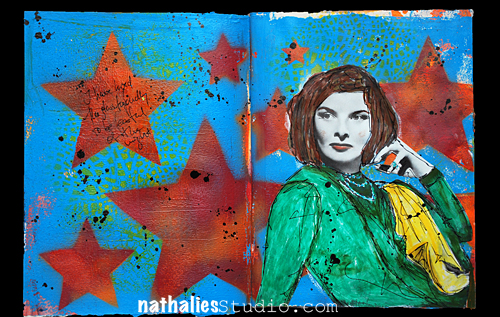
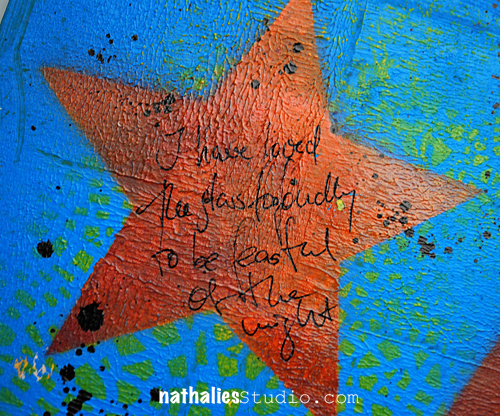
I have loved the stars too fondly to be fearful of the night. – Sarah Williams

NatKalbach_LovedStarsFondly02

Lot’s of texture in the background, some stenciling in the background, then using a star stencil with a conrasting color. Loved adding some black splatters :)

Here are the supplies I used:

nSupplies


Wishing you an amazing day


Comments (4)

  • Laura S

    |

    Hello Nat! Love this page and the boldness of the red stars.

    Reply

  • Sue Clarke

    |

    I also like the black splatters Nat. Do you use the fan brush to make them?

    Reply

    • nathalie-kalbach

      |

      Hi Sue, those were made with the Liquitex Splatter Tool – totally forgot to list it. I usually use black Acrylic ink to make them.

      Reply

Leave a comment