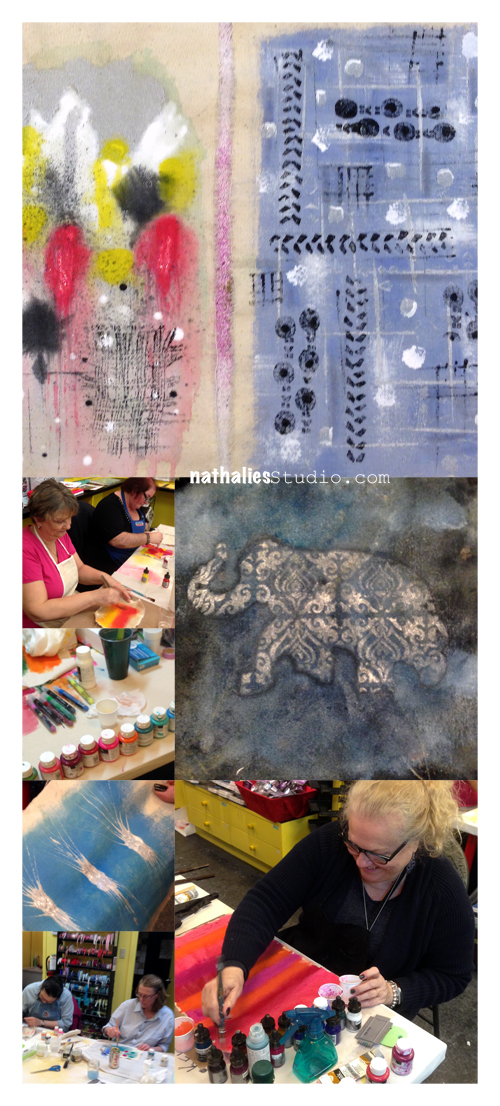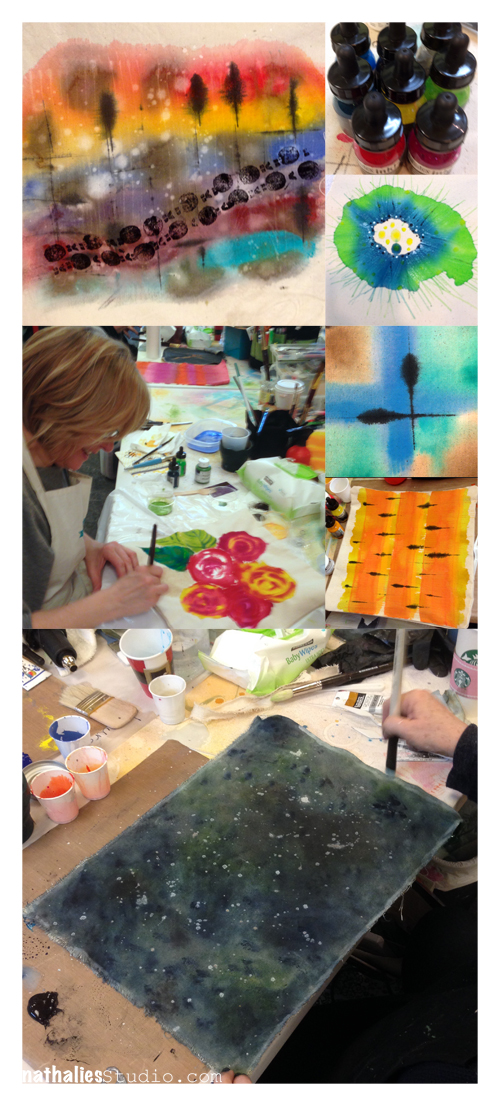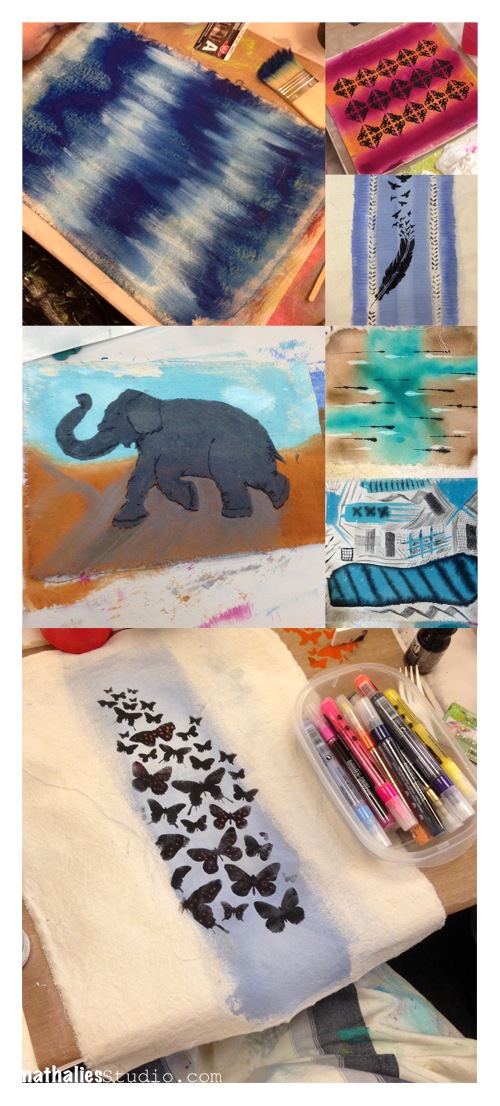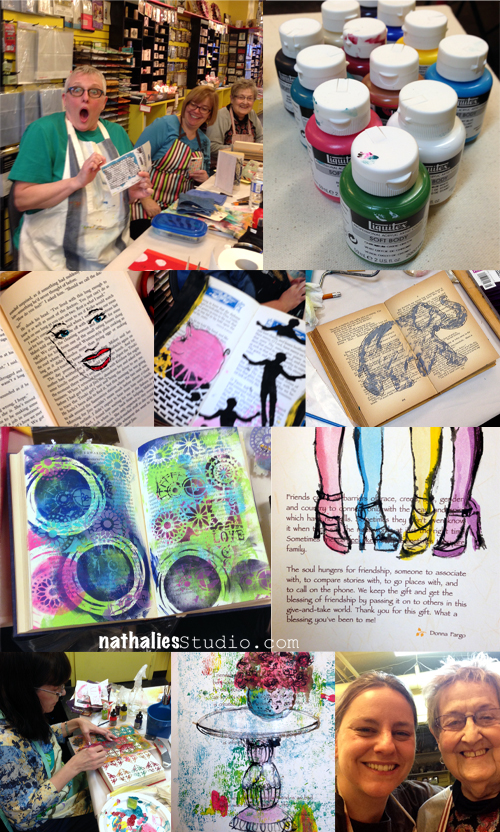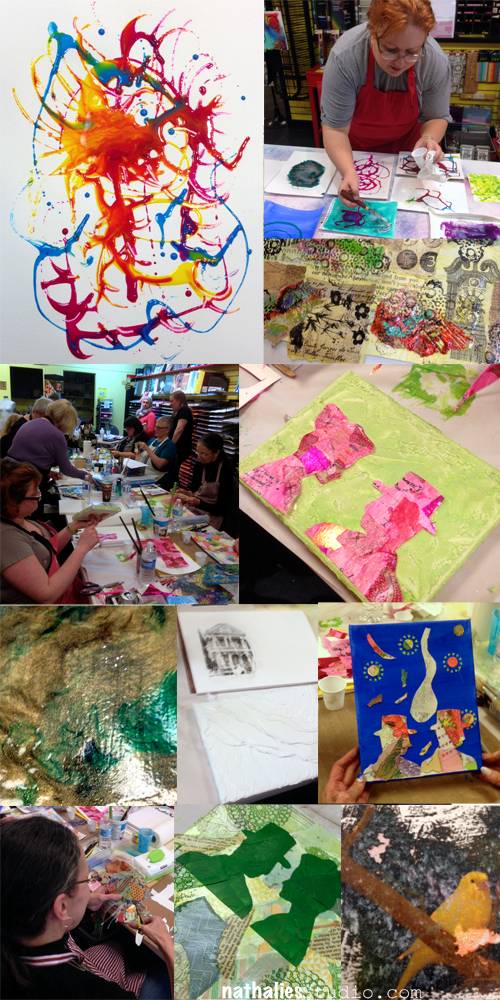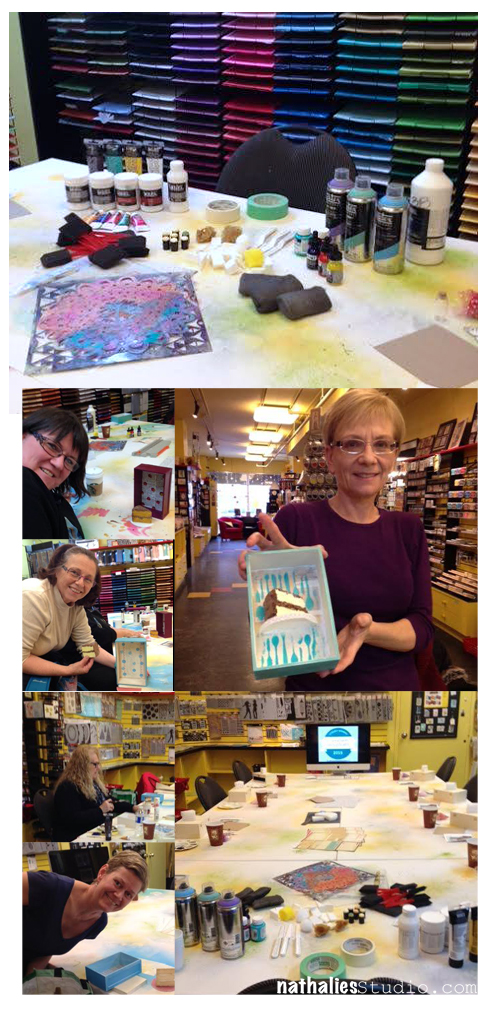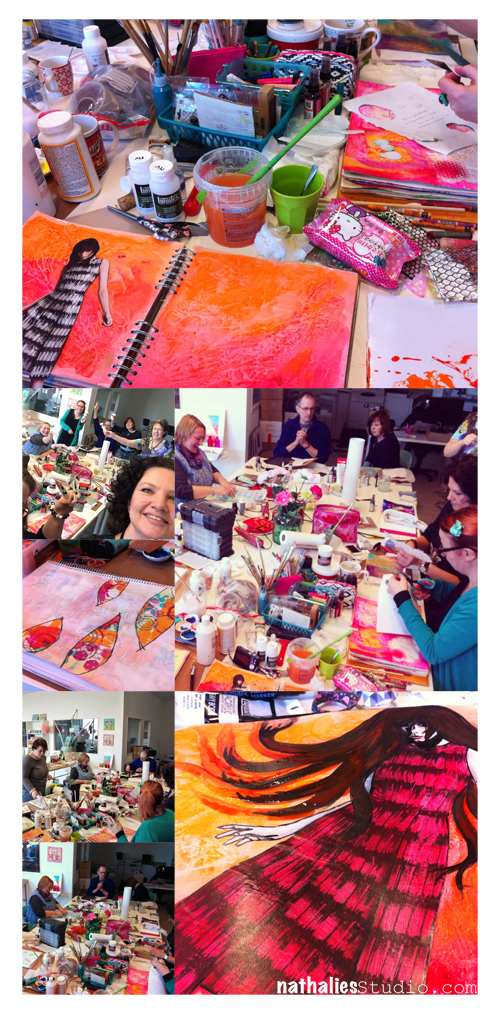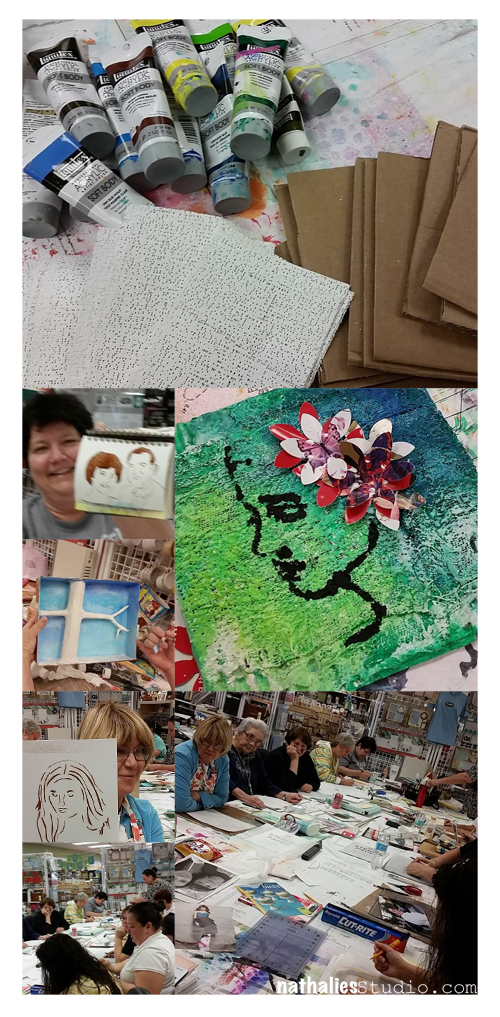
Photos of the Workshops in Toronto, Canada

It was so much fun to be back for the fourth time at Bizzy B’s in Toronto. I taught an Altered Book Class and as full day classes “Acrylics Demystified” and “Raw Canvas Staining” – it was messy colorful fun!

NatkalbachCA03

NatkalbachCA04

NatkalbachCA05

NatkalbachCA01

NatkalbachCA02

Thank you for an amazing weekend ! It was very inspirational to spend a whole weekend with those talented and wonderful students and my super hosts!

If you want to take an in-person class with me- I am teaching at My Heart’s Fancy in Oklahoma City on March 27-29 serval classes, and at The Ink Pad in New York City on May 16 I will teach the Raw Canvas Staining Class (mega fun!) . I hope you will join in!

Have a wonderful day!

Comments (6)

  • Joi@RR

    |

    Our precious grandchildren were here this week and we only see them once a year due to expense etc so I am behind leaving my comment this week! Having too much fun playing in a different way! Although two of them did do a journal page – woooo whoooo!!! BUT… just a note to tell you Nat that I just LOVED seeing all these pics from your workshops in Canada. WOW – it looks like everyone did some wonderful work and were having so much fun. Lots of smiling going on. You are so sweet to include so many pictures. I just looked and looked at them. So many different creations and colors and combinations. I know they all just loved having you there. Thank you so much for bringing it home to us! j.

    Reply

    • nathalie-kalbach

      |

      Thank you Joi- I am glad you enjoyed the photos! How fun to do something creative with your grandchildren- such a precious time!

      Reply

  • Peggy Oliver

    |

    Looks like so much fun!! wish I were there!

    Reply

  • Stampendous Stamps

    |

    This looks like it was soooo much fun, Nathalie! Thanks so much for sharing it with everyone!

    Reply

    • nathalie-kalbach

      |

      Thank you :) It was loads of fun and we used loads of your stamps :)

      Reply

Leave a comment

Creative JumpStart Meetups in 3 Countries

CJS15MeetUp

This post just makes me so happy and giddy  :)

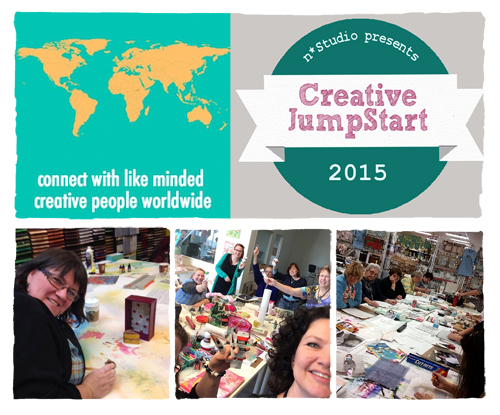
For Creative JumpStart I had joined together with some stores to organize official Creative JumpStart Meet-Ups. And how cool is that – stores from three different countries participated:  in the USA, Canada and The Netherlands. Everyone participating was a Jumper and had signed up for Creative JumpStart 2015 online and the stores provided materials and space to indulge in one of the projects or techniques shown in Creative JumpStart 2015 on a certain day. Here are some fun impressions from those CJS Meet Ups around the globe :)

Creative JumpStart Meet Up at Bizzy B’s in Toronto, Canada

CJS15BizzyBsMeetup

Creative JumpStart Meet Up at REVolution in The Netherlands

CJSRevMeetup

Creative JumpStart Meet Ups (Jan+Feb) at Everything Scrapbook and Stamps in Florida, USA

CJSESSMeetUp

There will be actually a third Creative JumpStart MeetUp at Everything Scrapbook and Stamps on March 21st!

I think this is truly amazing that people around the world are being connected through an online event like Creative JumpStart, create together and even make new friends :) BTW- if you missed out on Creative JumpStart online…you can still sign up & read more about it here.

Wouldn’t it be awesome if there was some day some kind of huge CJS event worldwide ?  Like a tourbus with all 21 artists doing Mixed Media Retreats based on CJS – LOL- that is one crazy idea ;) Well…one can dream right? ;) Have an awesome weekend!

Comments (2)

  • Joi@RR

    |

    YEAH – soooo exciting. BEST workshop online! So happy that CJS continues on. Wonderful news. Loved the pictures too. Thanks so much for sharing Nat. BIG Woooooo Whoooooo!!! Xj

    Reply

  • Sue Clarke

    |

    That is awesome and yes, you gotta dream and some of them even come true! This one just might.

    Reply

Leave a comment

I Just Want to …. or In My Art Journal Today

NatKalbach_Laughing01

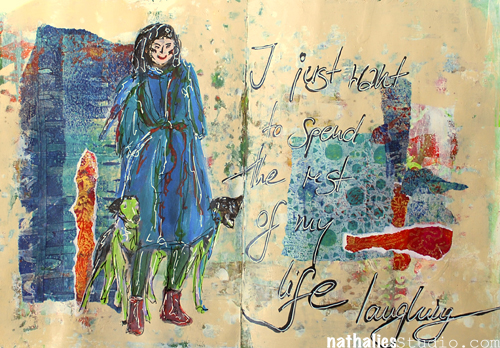
“I just want to spend the rest of my life laughing”

NatKalbach_Laughing03

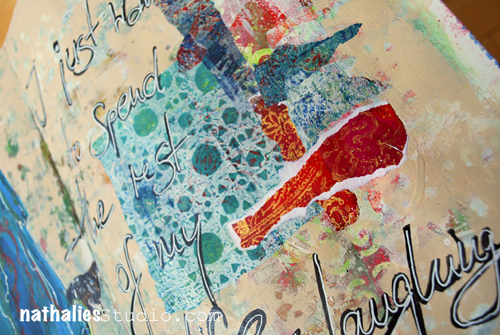
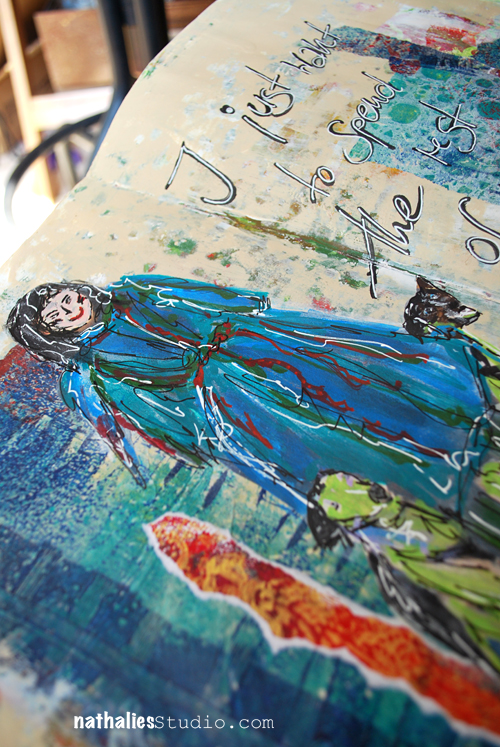
I painted the background of my art journal spread and then used various left overs from mono prints I had done on deli paper and watercolor paper. I collaged the papers onto my background with Matte Gel Medium. Especially the Deli Paper fuses nicely into the background and is an awesome paper to use for collage.

NatKalbach_Laughing02

I used Markers for the image and the journaling and highlighted areas with the white Signo Pen. I actually liked working with a very light background and adding darker focal points to it- I often tend to work from dark to light … time to challenge myself to change that up a bit more often.

nSupplies


Comments (3)

  • Joi@RR

    |

    Just love your smile so… I want you to spend the rest of your life laughing too Nat. Laughing when your heart is aching is good medicine but it’s hard too. Love this layout! Thinking of you. j

    Reply

  • Sue Clarke

    |

    Oh I see dogs. Nice saying as well.

    Reply

  • pretzelcityusa

    |

    I am so inspired by your style of painting. I love all the magazine figures and how they are evolving. I am a beginner learner and doing this style of artwork is really encouraging me to get creative. Thank-you for all your sharing.

    Reply

Leave a comment

Gone … or In My Art Journal Today

NatKalbach_Gone01

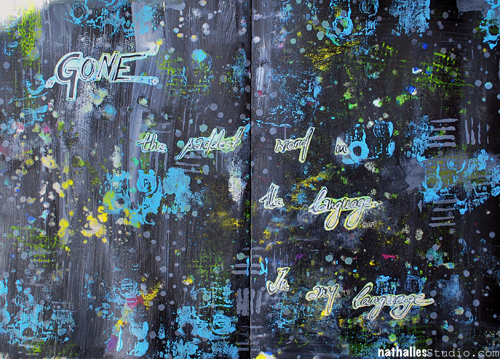
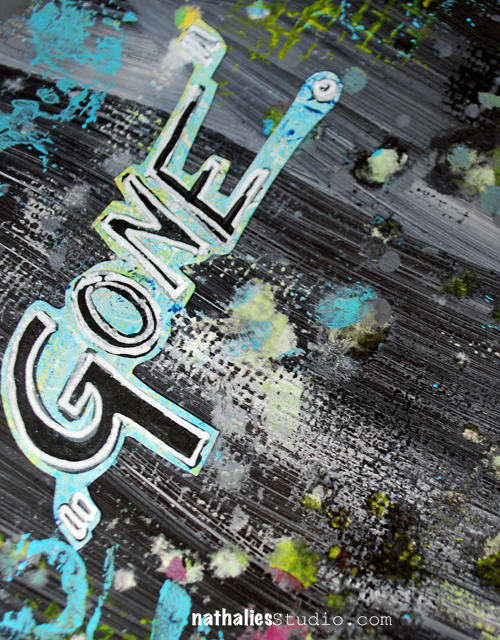
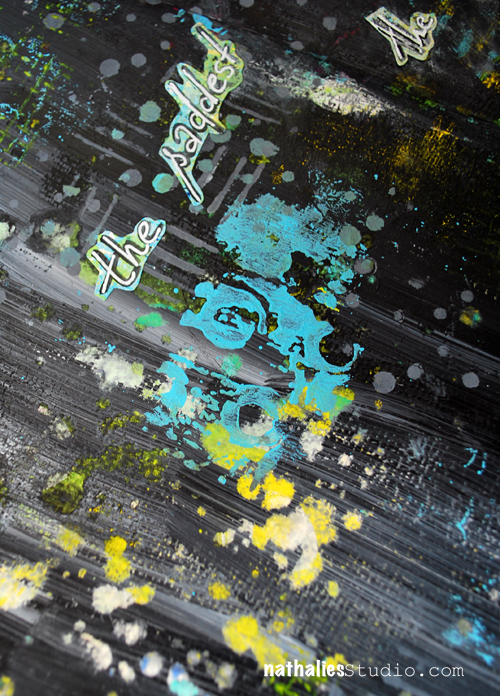
“Gone. the saddest word in the language. in any language.”

I read this quote on a pinterest board and it resonated with me. Thank you for your kind and sweet words a couple weeks ago in comments and emails- that was very touching and wonderful! Thank you!


NatKalbach_Gone03

I had a more vibrant but pretty ugly background which I totally covered with black acrylic pant and then lifted up some of it again to reveal the background here and there- I stamped and stenciled on top repeating some of the colors in the background and also added journaling to a mono printed water color paper sheet in black and white attached it on top.

NatKalbach_Gone02

Art Journaling is a great way to deal with the good and the bad – it is amazing how much comfort messy hands can bring :)

Here are some of the supplies I used

nSupplies


Have a wonderful day!

Comments (6)

  • Leadonna Kimmel

    |

    Nat, she may be gone in body, but her spirit and love live on in you, sweet friend. It really is amazing how much comfort creating brings to the soul. As always, your work is stunning and this journal spread is particularly poignant. Love and hugs! xx

    Reply

  • Joi@RR

    |

    ❤ Big hug. j

    Reply

  • Sue Clarke

    |

    The colors go with the feelings.
    Yes, working in one’s art journal can help deal with feelings for sure.

    Reply

  • andrene

    |

    Beautiful page, Nat! Lately I am so drawn to black backgrounds…wonder what that means (something ominous I’m sure!)

    Reply

  • nurse-ratchet

    |

    It is an infinite word! Perhaps you could journal ” Gone but not forgotten”

    Reply

  • Nancy Keslin

    |

    hugs…..this is lovely and what a wonderful way to express your feelings.

    Reply

Leave a comment

Paper Clay Play

FiestaPlate_NatKalbach_02

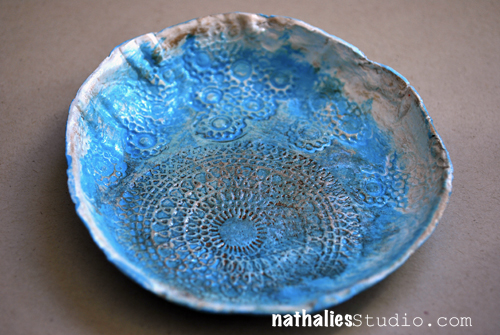
A couple months ago I was looking for some little bowls or plates that I could use for dropping of my bling in the evening but nothing really made me truly wanna spent money as colors or shapes weren’t what I was looking for.

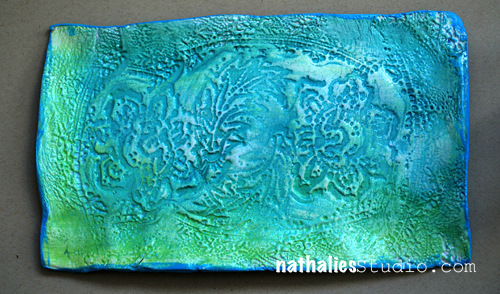
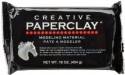
So I remembered a tutorial that I had seen a long time ago on Pinterest on using Paper Clay and Lace to make your own little bowls and decided to give it a try with my newly arrived Stamp Sets. The Paper Clay I used doesn’t need any firing or heating and just air dries. Easy peasy :)

KaffeeKlatschPlate_NatKalbach01

For this bow I rolled a piece of Paper Clay to a little ball and then rolled it out with a rolling pin to a flat wonky circle. I then stamped into the clay with some of my Kaffee Klatsch Stamps. You don’t need to press to hard to get a nice sharp impression. I found a bowl where I liked the shape on the bottom as a guide – since I wanted mine to be not a high bowl and a bit quirky – and pressed the top onto the clay to cut out a nice circle. Next I  formed the clay circle into the bottom of the bowl.  I let everything in the bowl dry for 12 hours and then carefully took the new paper clay bowl out. Since the moisture in the paper clay mostly is evaporated by then it shrinks a bit so that it is easy to get it out of the template bowl. It was still a bit moist on the bottom since now air could get there so I just put the paper clay bowl upside down and let it dry for another 12 hours.

I did the same steps with this plate – just using a plate as a template and the Fiesta Stamp set for the Impressions

FiestaPlate_NatKalbach_01

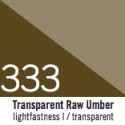
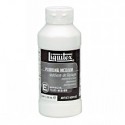
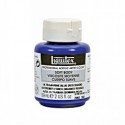
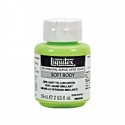
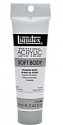
Once they both were dry I used Liquitex Soft Body paint thinly over the surfaces, waited a couple seconds and then using a paper towel rubbed some of the paint off again, so that the impressions were more colored and more prominent. That way the texture really popped off. For the plate I used two colors to and blended them. I painted outside of the bowl and the bottom of the plate and then everything dry again. I applied some Liquitex Transparent Raw Amber Acrylic Ink over the circle impression of the bowl to have it pop up even more and to give it some patina and let that dry again. To finish everything off I coated the bowl and plate with Liquitex Pouring Medium which gave it a nice shiny glossy and glass like look and feel. I coated it twice leaving a couple hours in between for curing.

Done :) Hope you like this little crafty fun project – I also made some christmas ornaments using the same technique…there is a lot of potential in this – you just have to play . Here is the full supply list:

nSupplies


Comments (11)

  • AmyO'

    |

    I have some Paper Clay in my stash from long ago – I’ll be digging it out this weekend to see if I can still use it – I love these!

    Reply

  • Stephanie

    |

    Great project. Thanks for the tutorial

    Reply

  • andrene

    |

    OK I am so doing this. Hope mine turn out as beautiful as yours!!

    Reply

  • Sue Clarke

    |

    That dish is so sweet and I love the new stamp on it.
    It’s nice to have a place to place one’s rings and such at the end of the night (or while washing yucky pots and pans).

    Reply

  • Petrin Diaz

    |

    Oh, Nat…so long not writing, but always take time to read all your publications…Love thiis “little idea”…and will try asap, as soon as i can. Thanks always for your kindness! lovely colors!

    Reply

    • nathalie-kalbach

      |

      So good to “see” you again! thanks for your sweet words!

      Reply

  • Kathy Gledsdale

    |

    Oh these are gorgeous, I adore them, thank you for sharing the idea.

    Reply

  • Win Dinn

    |

    Love these, and I love it that you made it rather than buying something that was less then appealing – living the art-ful life!

    Reply

    • nathalie-kalbach

      |

      Thank you Win! I agree, making something your own instead of buying is always double the fun!

      Reply

Leave a comment

More Workshops: The InkPad in NYC and 21 Secrets

RawCanvasStainingWSAd2

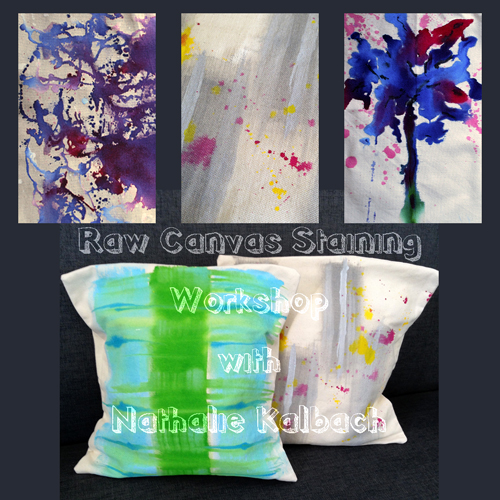
I am teaching this Raw Canvas Staining Class at The InkPad in New York City on May 16, 2015 – 10.30am – 5pm

The technique of painting on unprimed, raw canvas is most often associated with artists such as Morris Louis, Kenneth Noland and Helen Frankenthaler just to name a few.

Color-field artists poured, dripped, or brushed thinned paints onto the canvas that soaked through the surface and stained the fabric, creating a velvet-like appearance.

Join me in exploring fun techniques of staining and painting raw canvas and open a whole new creative world to apply these techniques on stretched canvases, pillow cases, bags and home decor items or even clothes.

You can sign up here 

——————–
21 SECRETS Spring ART

And a reminder that the 21 Secrets Art Journaling Workshop starts in April 2015. You can still sign up for this downloadable Workshop which is contains actually 21 workshops by 21 Artists . You will download an eBook which contains written text, loads of videos and photos. I am super thrilled that I was asked to participate.

What I teach? The Story Within a Story 

For me art journaling is visual story telling. It might not be a story that everyone can read but I can read it and that is all that counts. All my stories consist of many viewpoints and layers – thoughts, emotions and the story itself. I love to express the complexity of a story by building up layers and dimension through various techniques and texture.

In this workshop I would like to walk with you through my art journaling process. I will show you various layering techniques and I will tell you why and how I am doing what I am doing.

Join me in telling a creative story within a story.


How much does it cost?

Right now the PRESALE is happening !

PRE ORDER NOW

Note: The link that I am using to promote 21 SECRETS is an affiliate link and I will receive a small percentage of any student who registers through my link. If you want to register, and want to support me as an artist it would be wonderful if you would consider registering through my link .


Hope to see you either in person or online :)

 

Comments (2)
  • Jackie P Neal

    |

    So cool for you Nat! looks like you are one busy gal! xo

    Reply

Leave a comment

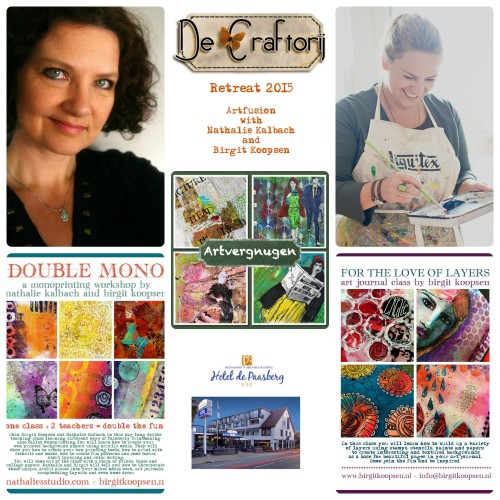
De Craforij Retreat 2015 in The Netherlands in June

Retreat2015

So stoked that I will be rounding up my European Tour in June  with an Artfusion Weekend teaching with my dear friend Birgit Koopsen at the De Craftorij Retreat 2015 in The Netherlands.  The retreat will take place in a gorgeous hotel in Ede on June 13 -14, 2015. You can read all details about the event, workshops, hotel etc.  in Dutch and English here.

Sign up is open now, you can book single days or a whole weekend .  I hope I will see some of my European friends there!

Have a wonderful day


Comments (6)

  • Marie-Anne Raeman

    |

    Hey Nathalie, I’m so excited to do the craftorij weekend and see the both of you again. It is so long ago :-)
    Just can’t wait

    Reply

Leave a comment

Fear of the Unknown or… In My Art Journal Today

NatKalbachUnknown01

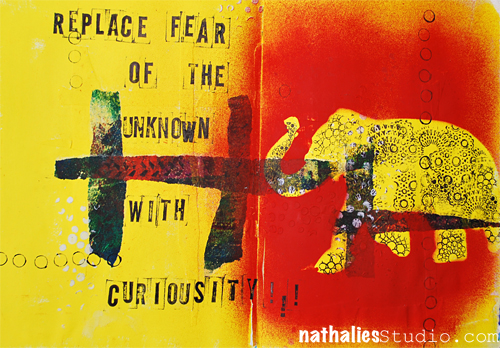
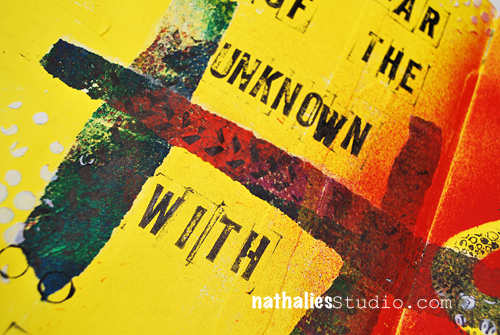
I was experimenting with doing a minimalistic art journal page …well for me it is pretty minimalistic ;) I had painted the background yellow, and then attached some mono printed deli paper prints in stripes onto the page. Using the What’s The Point Stencil I added some texture with Flexible Modeling Paste here and there.

NatKalbachUnknown02

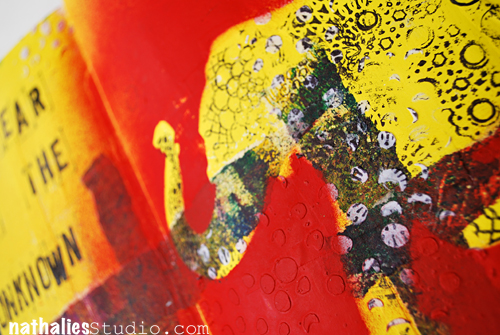
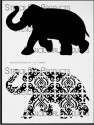
Using my Elephant Stencil (in the supply list) I used the mask and spray painted over it, then I used the stencil and filled out the elephant with some Kaffee Klatsch stamping. I added some marks and the quote with an alpha stamp.

NatKalbachUnknown03

It was a quick and fun page and a good start to get into the creative groove so I could start on a canvas. Sometimes we need something to get over the blank-canvas-procrastination-stage.

Do you have a ritual to get over your blank stage?

nSupplies


Comments (4)

  • Tracy

    |

    I’m always a fan of yellow, and the deli printed papers rock!

    Reply

  • Sue Clarke

    |

    That is simply beautiful and yes, less textured than usual.
    Important quote as well.

    Reply

  • Jackie P Neal

    |

    What a great spread Nat!!
    Love the color palette and your elephants are simply the best!!!
    Just checking to see how you are doing,my friend- I think of you often and wish for your grief to be comforted by all of your warm memories xo

    Reply

Leave a comment

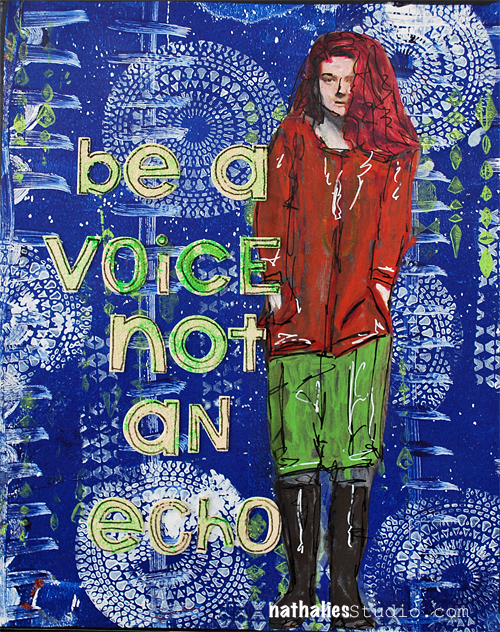
Be a voice not an echo

NatkalbachBeAVoice01

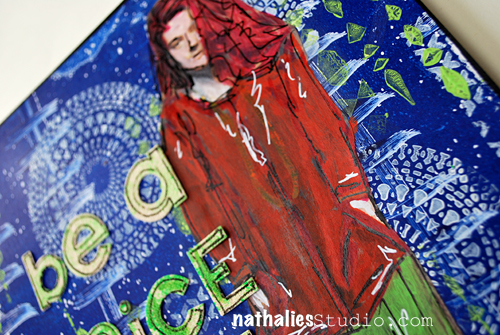
This is a watercolor paper page mounted on a piece of cardboard which I made for CHA a couple months ago, in order to show my new stamps with acrylic paints. I also used some canvas letters that I altered with acrylic paint and a pen.

NatkalbachBeAVoice02

I used the Kaffeeklatsch and Mark Maker set set with this one and I love how the white and green pop off the ultramarine blue.

nSupplies


I wish you an amazing day

Comments (3)

  • Joi@RR

    |

    Nat – you always teach me something!! This is so neat. I didn’t even think about canvas letters. They look great. Thank you for sharing! j.

    Reply

  • Sue Clarke

    |

    Nat, I especially like how the white stamped image shows up on the blue. Nice job as usual.

    Reply

Leave a comment