I love sharing what inspires me to paint with you guys and showing you the techniques I use to express my creativity, but I really want to hear from you – what would you like to see from n*Studio?
If you have some time to spare (and want to talk about yourself for a little bit ), I’d love to get to know you better and learn exactly what you need from me to help you feel inspired and get in-tune with your creativity. Head here to share your thoughts. P.S. I’m giving one lucky thought-sharer a $25 gift card to treat themselves to something special in my online store!
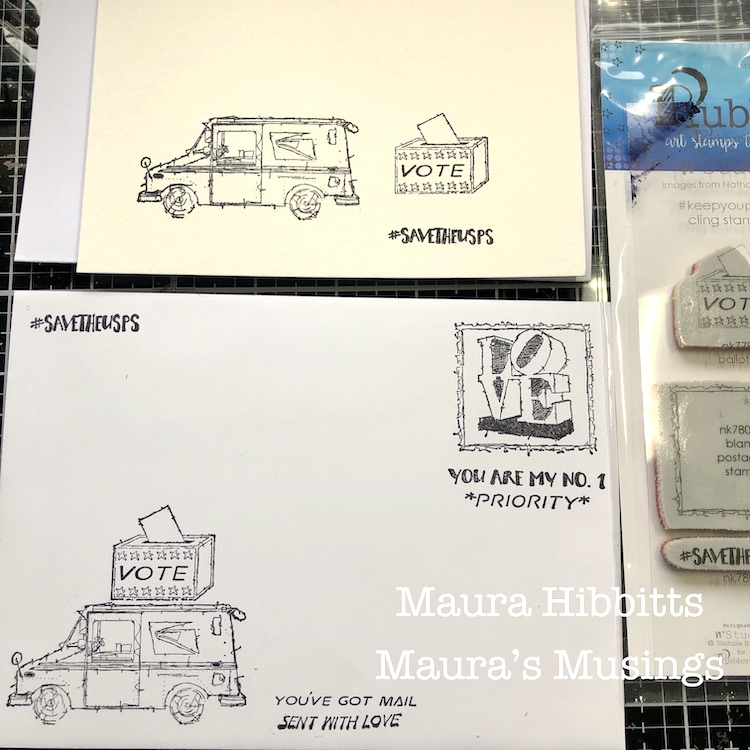
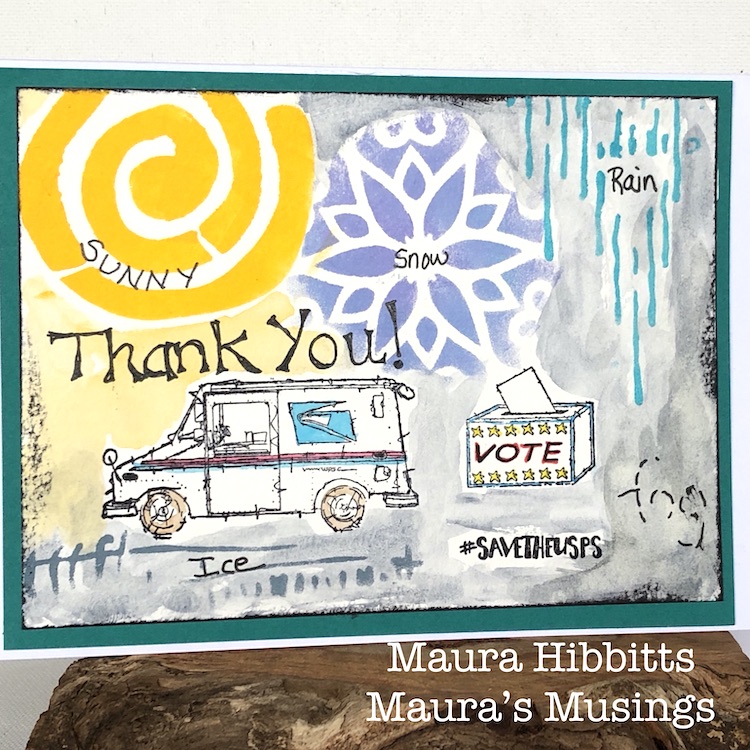
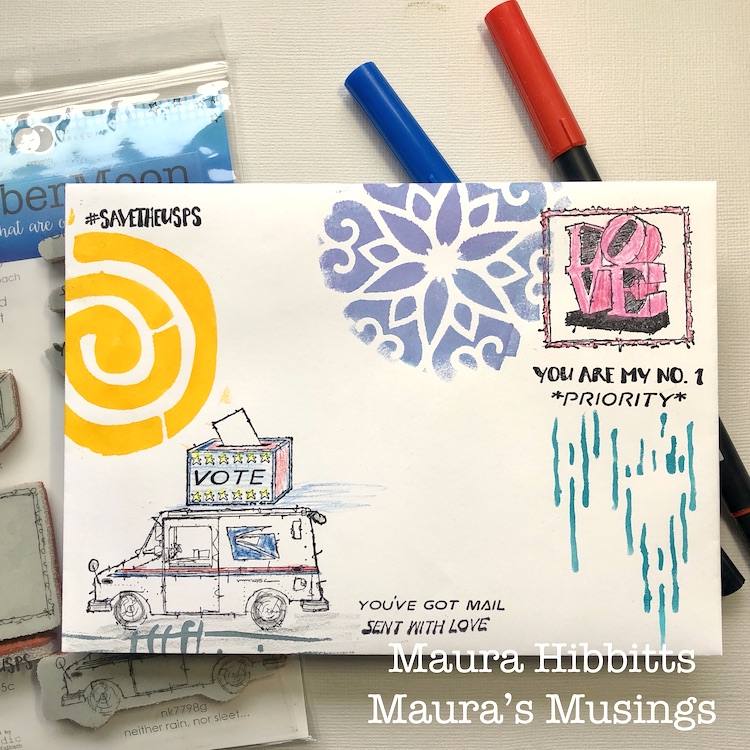
Hello from my Creative Squad! Today is Election Day and we have a wonderful Mail Art project from Maura Hibbitts using my #keepyouposted rubber stamp set and some of my stencils. Our new theme this month is: Mail Art – During these times of social distancing, old fashioned mail is a fun way to keep in touch and lift someone’s spirits. Create some mail art, and then actually send it off! Address it, put a stamp on it, and put it in the mailbox. You will make someone’s day :)
Today is a momentous day in the United States, it’s Election Day, so be sure to get out there and vote and make your voice heard! This year I voted by mail for the first time, and I have every confidence my ballot was carried by the USPS to the Election Board in a timely manner. After all, I feel like I have the best postmen and women! We share stories, tips, garden produce, treats and friendship. My best tips for you today is to get to know your postal carrier and use your local post office!
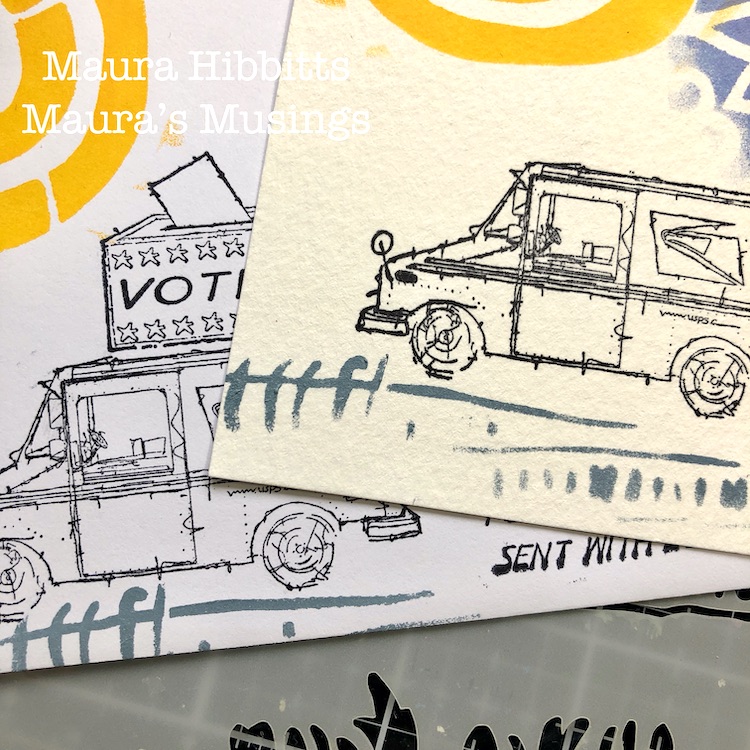
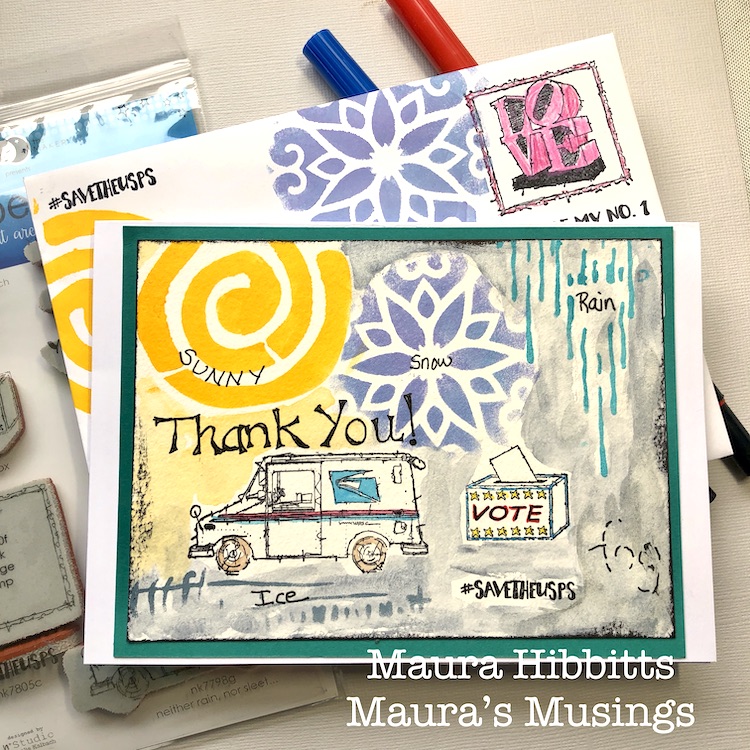
WIth our focus being mail art this month and working with Nat’s awesome new stamp set #keepyouposted, of course I had to make a card and envelope! I started by stamping the images on the envelope and the watercolor sheet with black archival ink. I like to use a stamp platform to help me get the perfect image.
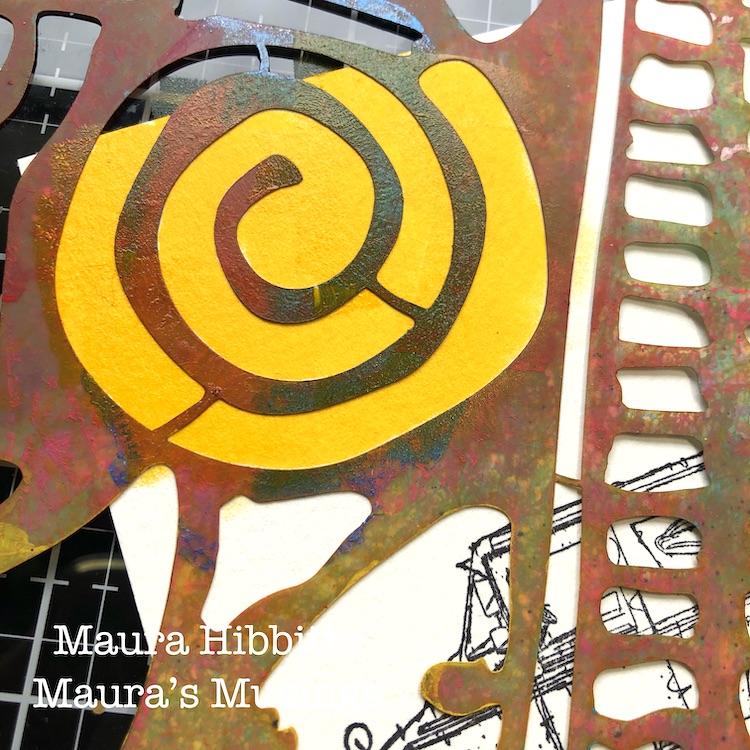
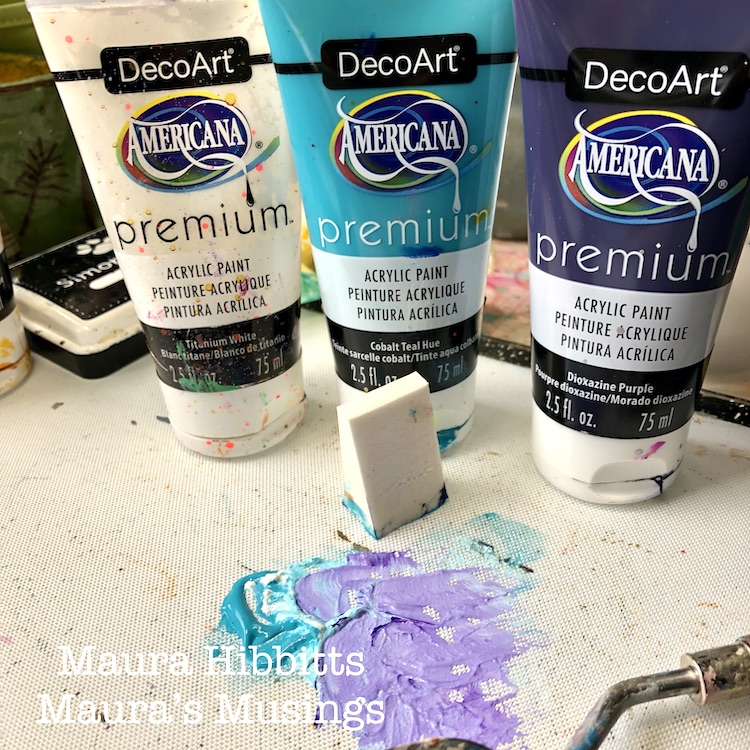
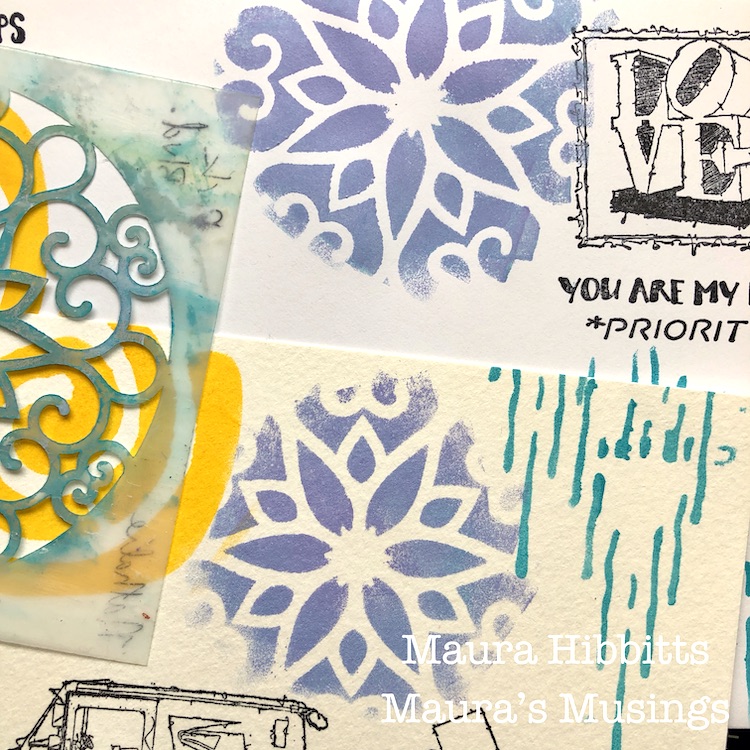
Next, I wanted images to represent the weather, since the mail comes no matter what it’s like outside. For the sun, I am using the Batik stencil and Diarylide yellow paint. I like to use a cosmetic sponge with just a bit of paint to stencil with. I added the design to both the card and envelope.
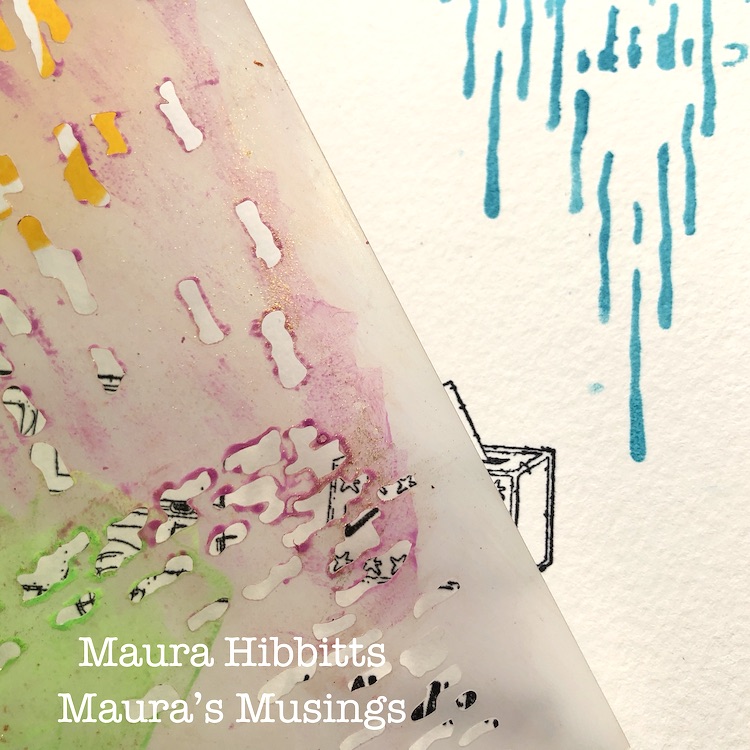
To create rain, I used a bit of the Signals stencil and a blend of Cobalt Teal Hue with Titanium White paint.
Next comes snow, where I used the Park Blvd 4×4 stencil with a mix of Dioxazine Purple, Cobalt Teal Hue and TItanium White paints. Again, use a cosmetic sponge to dab the paint into the stencil.
Where I live, we often get “black ice” in the winter, so I had to add that weather element in also with the Tokyo stencil. I added just a bit of Carbon Black paint into my previous mixture.
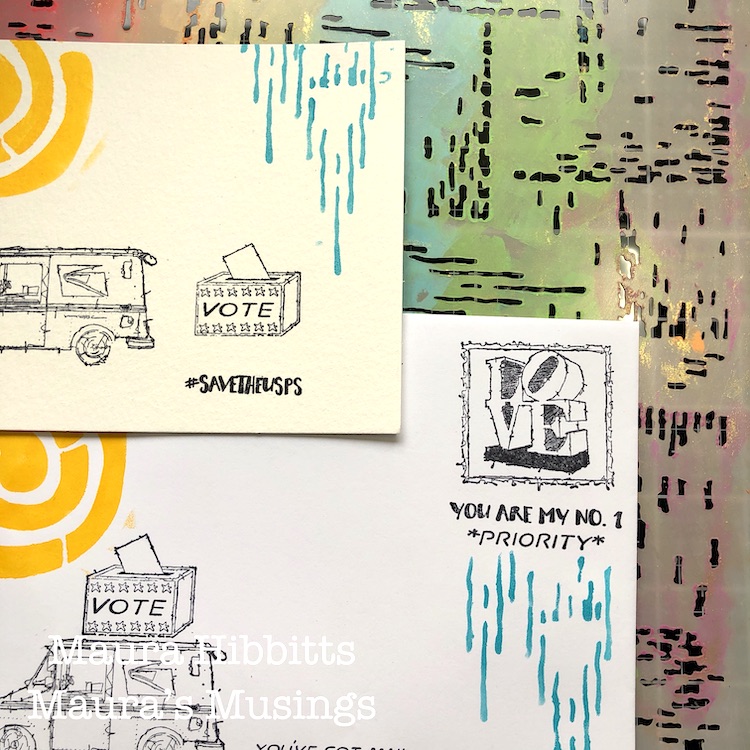
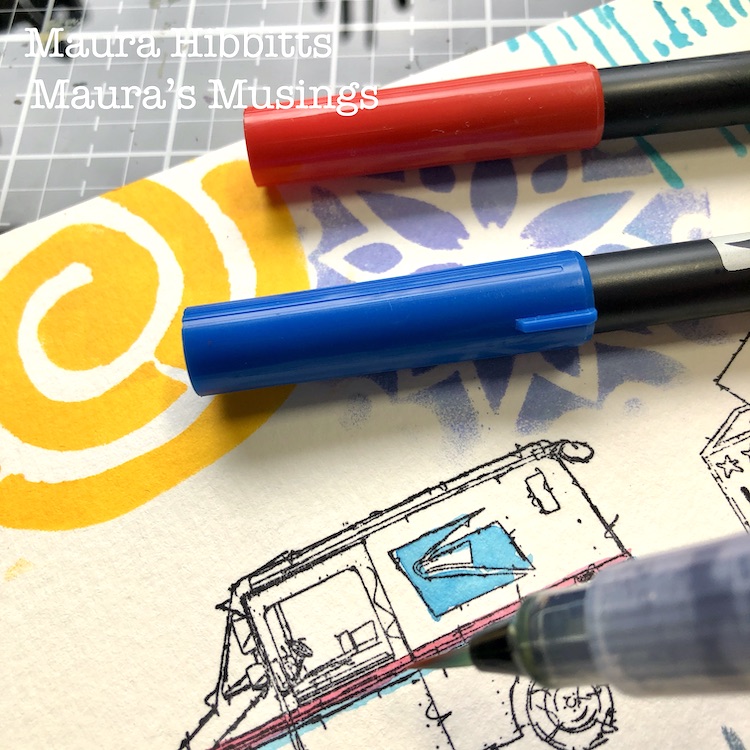
Add in some color details with Tombow markers and a water brush onto the card portion next.
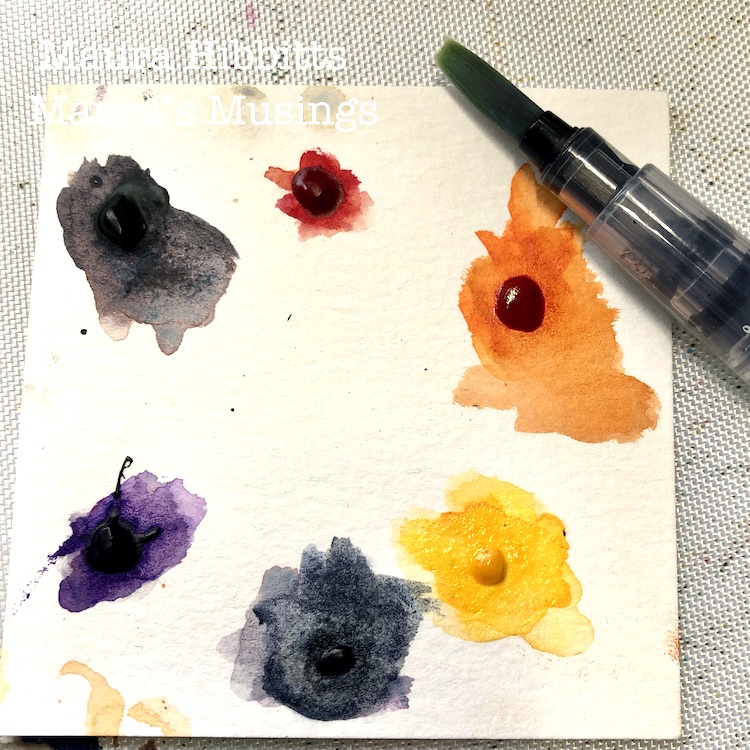
Blend in some watercolor around the images on the card with Shadow Violet and Hansa Yellow Medium. These will represent stormy and sunny weather. Let dry and edge with the black ink. (I made some little dot cards for a class I taught, and it came in handy for this project. If you don’t want to carry all of your watercolors with you, why not try this?)
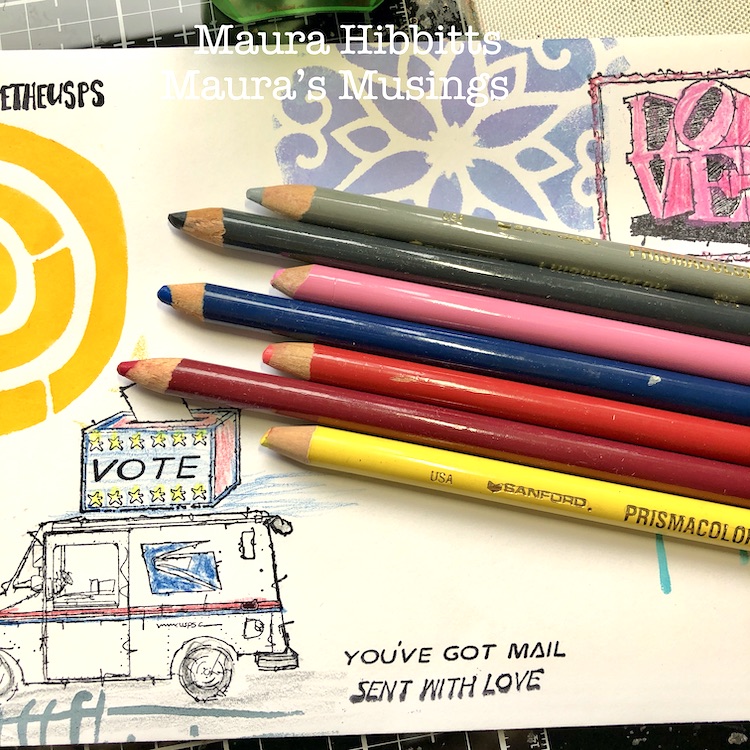
Since the envelope could get wet in mailing, I chose to color my images with colored pencils instead of the watercolors.
Once the card background was dry, I wrote on some weather terms like sunny, snow, rain, fog, and ice. I also hand lettered Thank You! and mounted it on Teal cardstock, then onto the card base. I am planning to mail this to my local post office and carriers in thanks for all they do.
I am so thankful for my postal carriers and local Post Office! When I think about how many letters and packages they have delivered to my family alone over the years, it truly is amazing. Good news…and bad, have come through the mail, memories, gifts, and so much more. I appreciate their dedication to get it to me, no matter the weather. Today, November 3 is such an important day here in the U.S., and this year especially, the Post Office is playing a critical role in voting in the midst of a pandemic. I wish you all the best, and get out there and vote! – Maura
Thank YOU Maura! Love how you got creative in representing the weather and absolutely adore your message here too :)
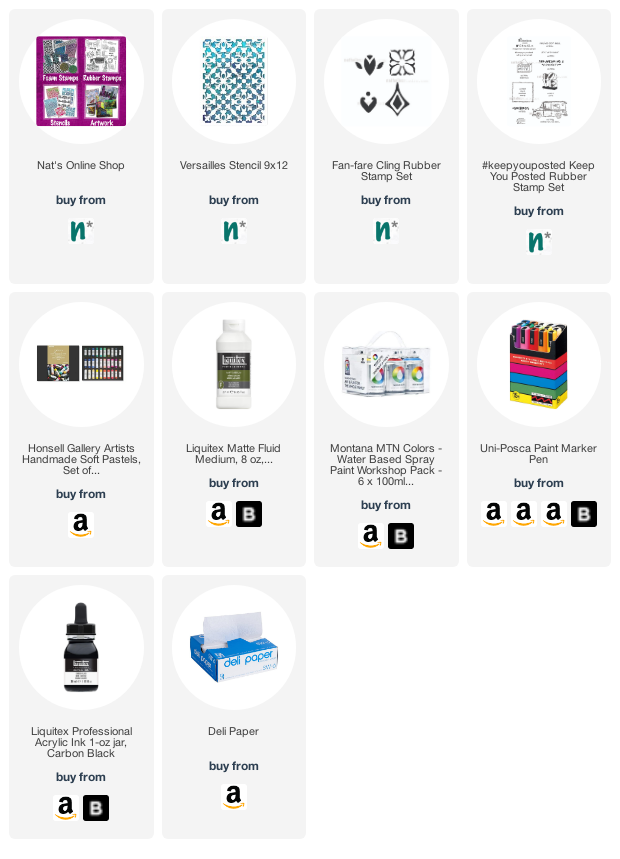
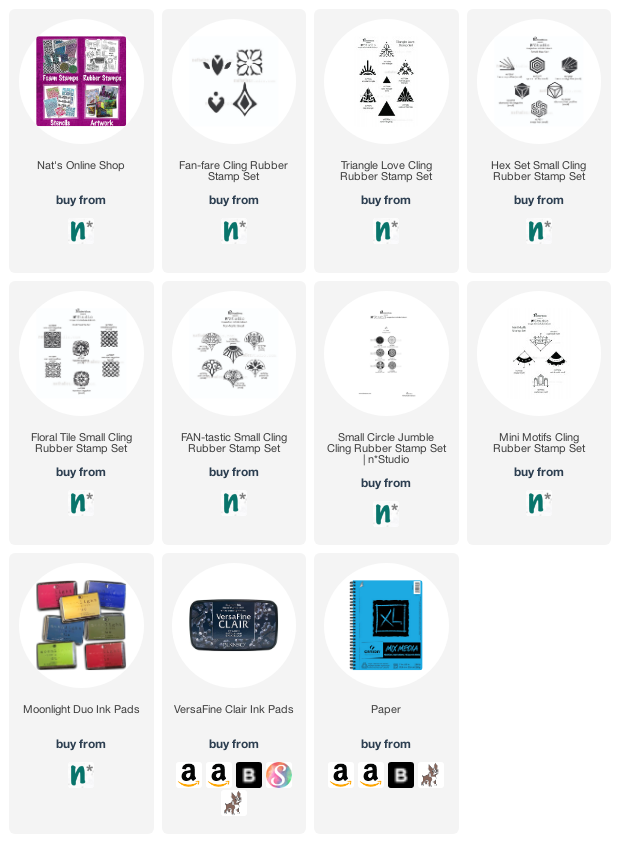
Give it a try: you can find all my Rubber Stamps and Stencils in my Online Shop and here are some of the other supplies Maura used:
Feel inspired? Working on something yourself that you’d like to share? I love to see how you interpret our monthly themes. Email me how you used my stencils and stamps with the theme and email me an image – I would love to share your projects in my next “n*Spiration From Around the Globe“.
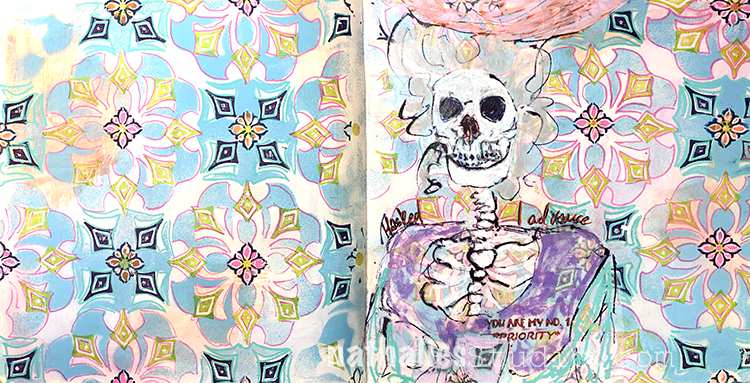
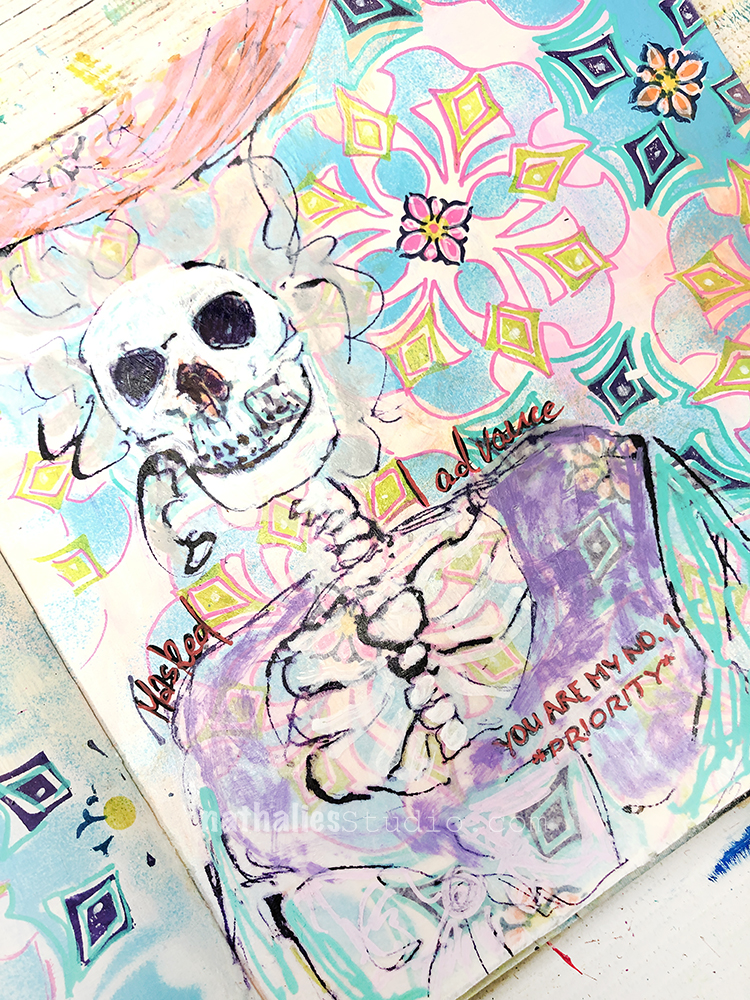
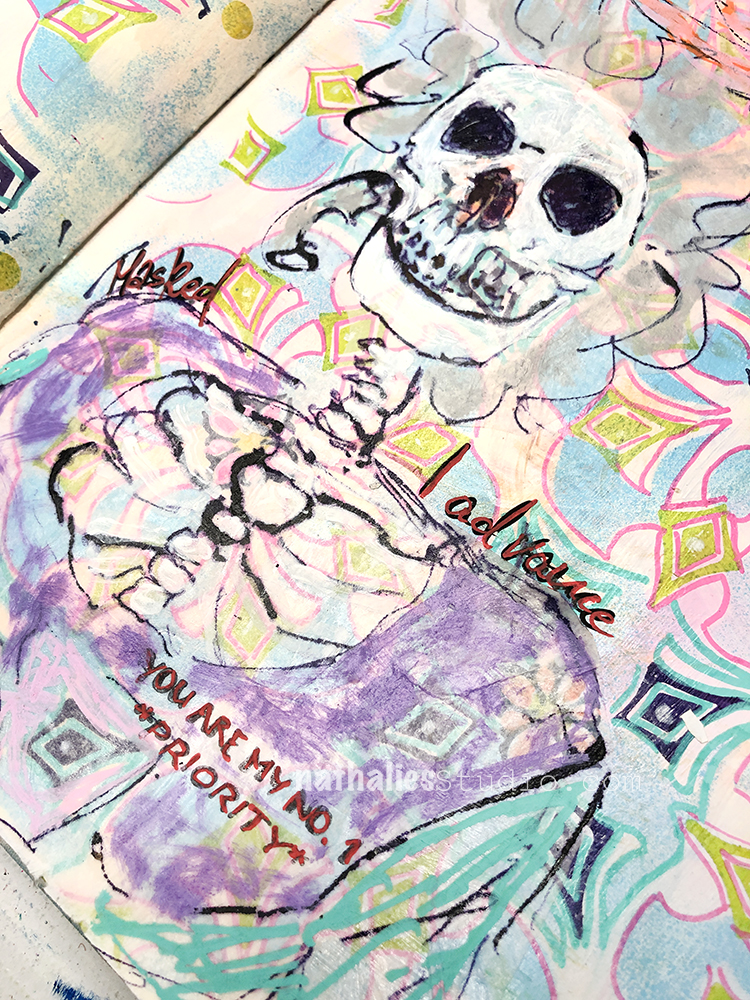
It’s Halloween… Are you wearing your mask? Not just your spooky costume mask, but also that PPE? I hope so – as we know it is one of the most important things we can all do to help stop the spread of the virus. It’s been on my mind a lot lately, so I took it to my art journal.
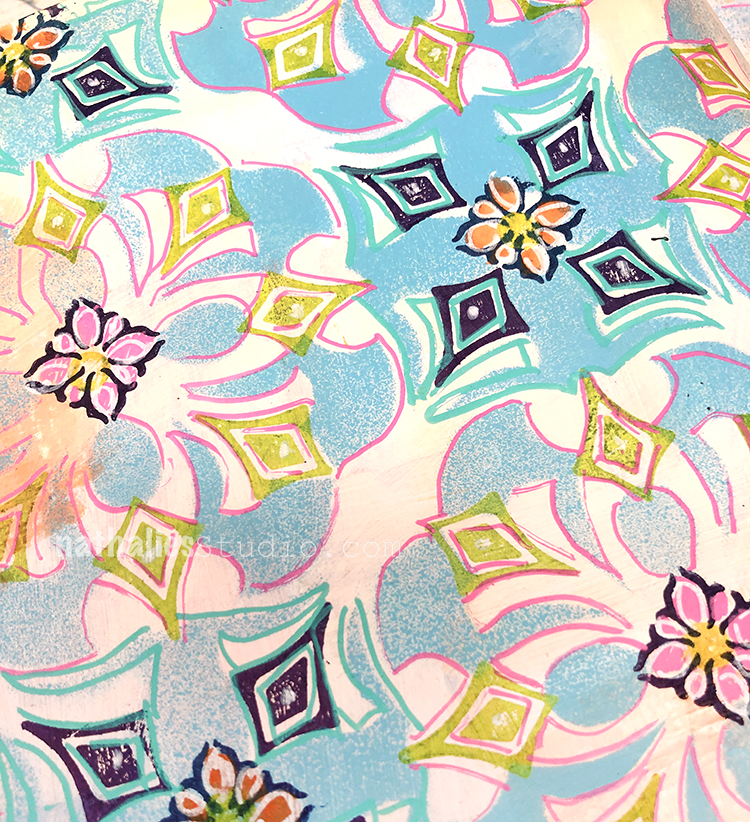
I started my background with some new soft pastels that I have been playing with lately (link below for those), mixed with fluid matte medium. Then I used my Versailles stencil with blue water based spray paint. To highlight the design more, I added a Posca marker outline and my Fan-fare rubber stamps.
I sketched the skeleton lady with acrylic ink on deli paper and also added in my You are my No. 1 Priority stamp from the #keepyouposted set because that is the whole point right? I am wearing my mask to help protect everyone around me :)
I am continuing with my 5am challenge – For a few weeks now I am challenging myself to get up at 5am each morning and working on a book binding or folding technique to learn something new.
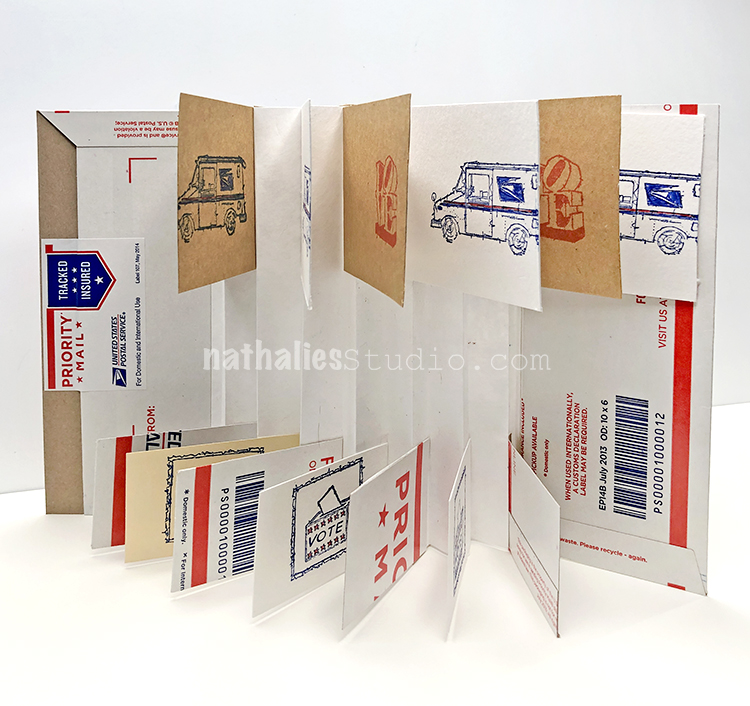
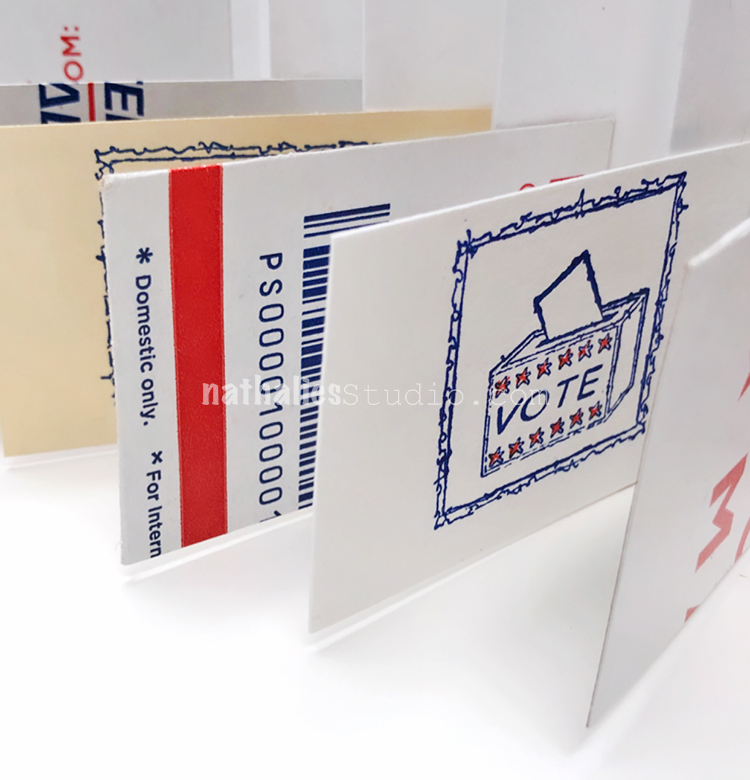
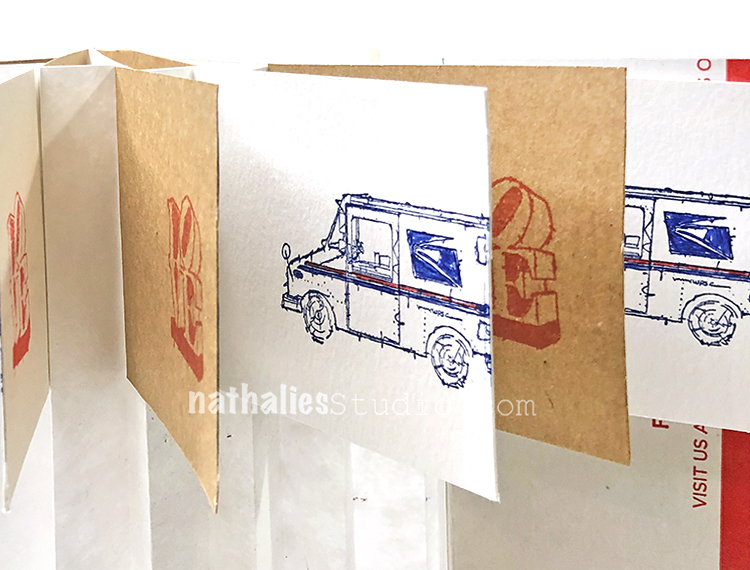
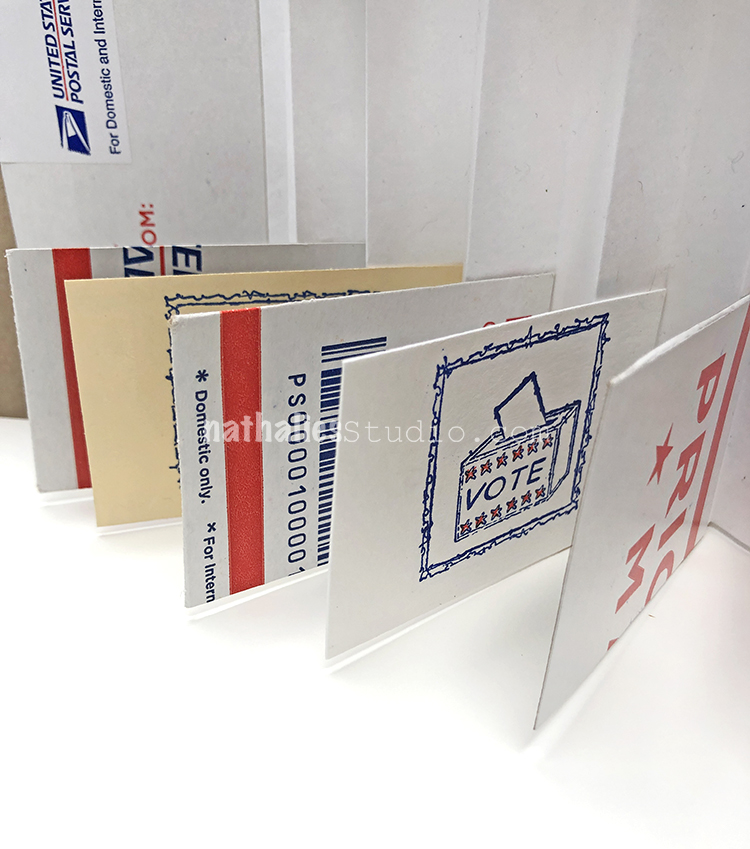
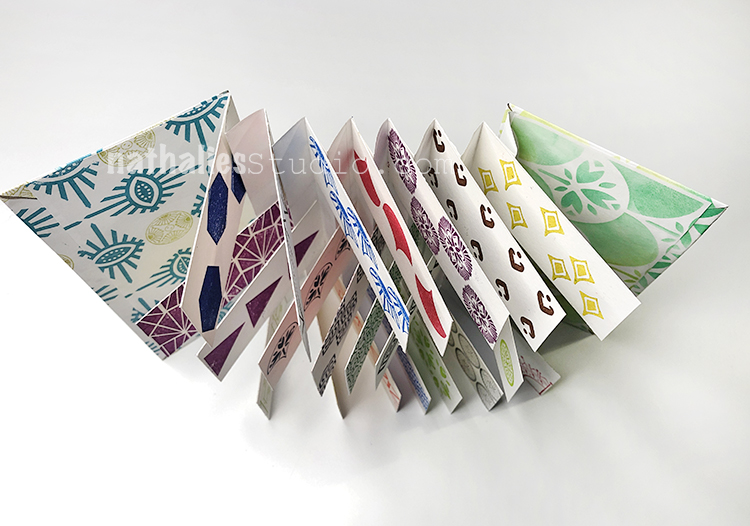
This time I created my Vote Flag Book using old flat rate envelopes, some leftover watercolor paper, and of course my Ballot Box stamp from my #keepyouposted rubber stamp set.
It’s an interesting book form – the pages like flags standing in the wind. You can see another example I made in this blog post.
Pretty cool looking and lots of surfaces for stamping :)
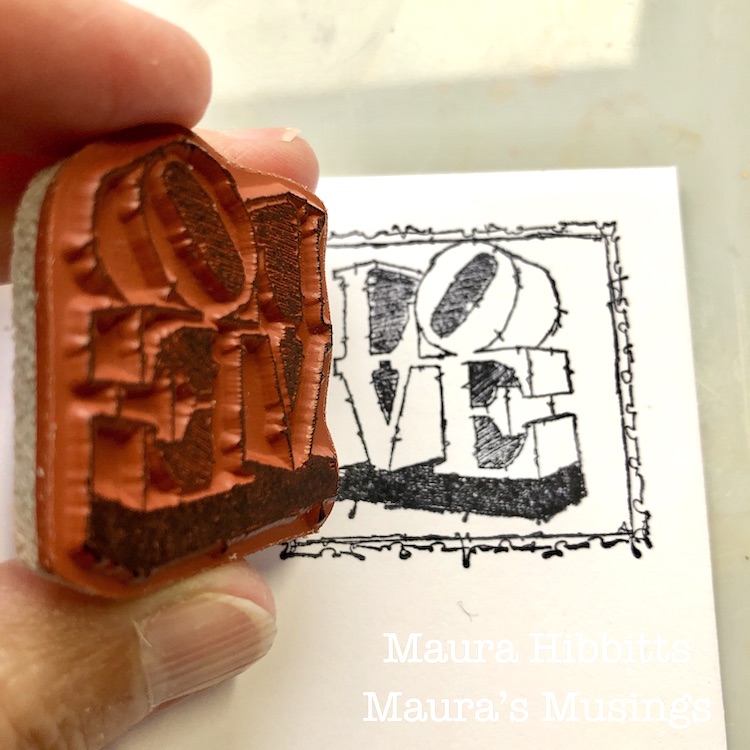
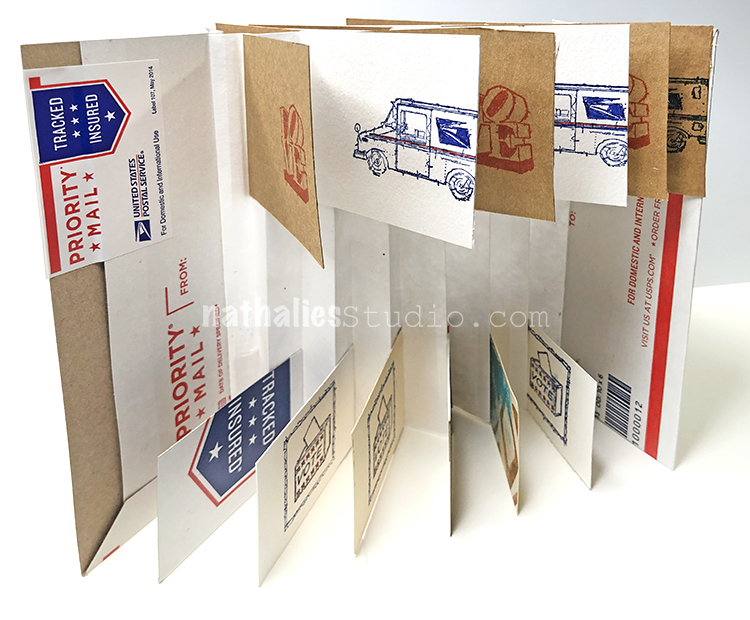
Here I alternated between my LOVE stamp and my Neither Rain Nor Sleet stamp (that nice usps truck) from my #keepyouposted set. For ink I used Moonlight Duos.
It’s time to get to know an artist with… Nice to Meet You! Today I’d like to introduce you to the inspiring art and story of Priscilla Read!
From time to time I learn about some amazing artists out there who are working with my stamps and stencils and are creating some fun and exciting projects. It’s always inspiring to see what others do with my designs. Sometimes they even introduce me to a new way of seeing the pattern or a new technique to try on my own. That’s why today I’d like to share with you Priscilla Read:
Please introduce yourself to our readers and tell us where you live:
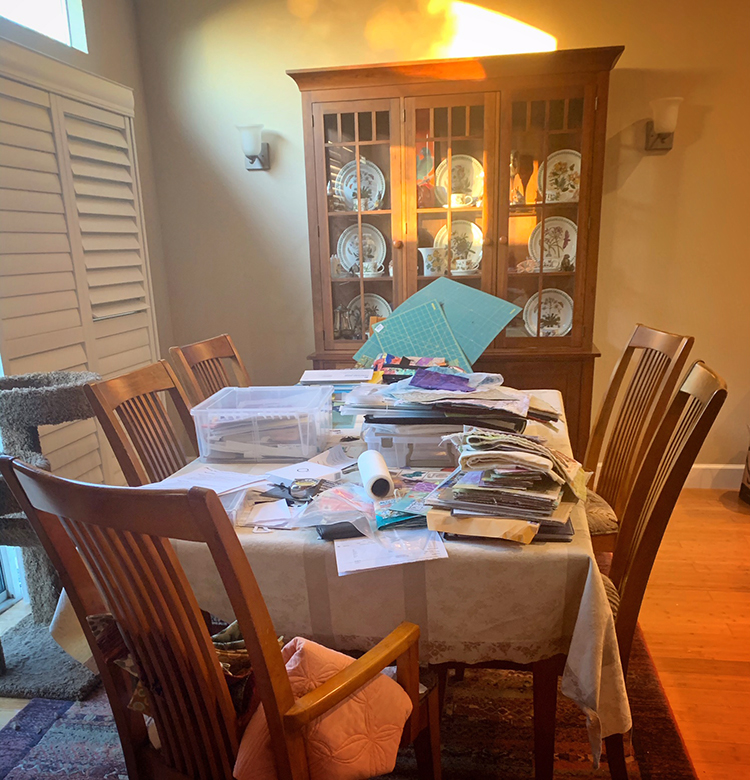
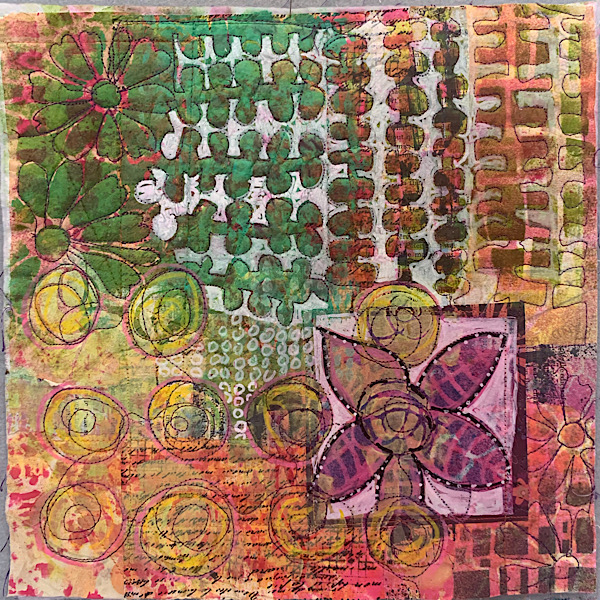
I am a mixed media artist living in San Ramon, California. I want to do it all. I love working in all kinds of media, but especially love using fabric and quilt making techniques in my artwork. I continue to learn by taking classes and was lucky to find Nathalie’s online classes through Sketchbook Skool and her recent Time Traveler class.
How do you make time to be creative?
I make it a priority to do something creative, even just for a few minutes every day. People say, “you’re so creative”, but I believe that creativity is a practice that anyone can learn and become more creative. Classes like Nathalie’s help to open our minds and hearts to our own creativity.
What are some of your favorite n*Studio stamps / stencils? How do you love to use them?
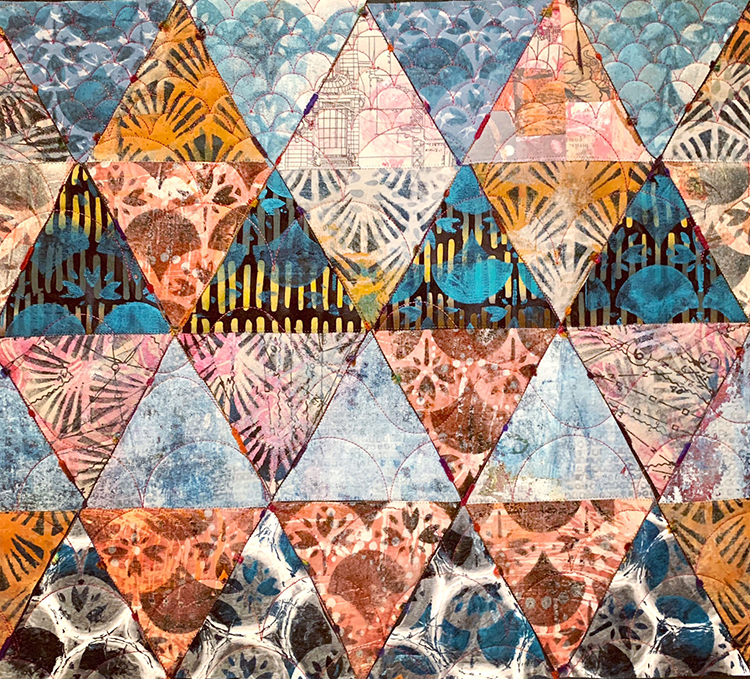
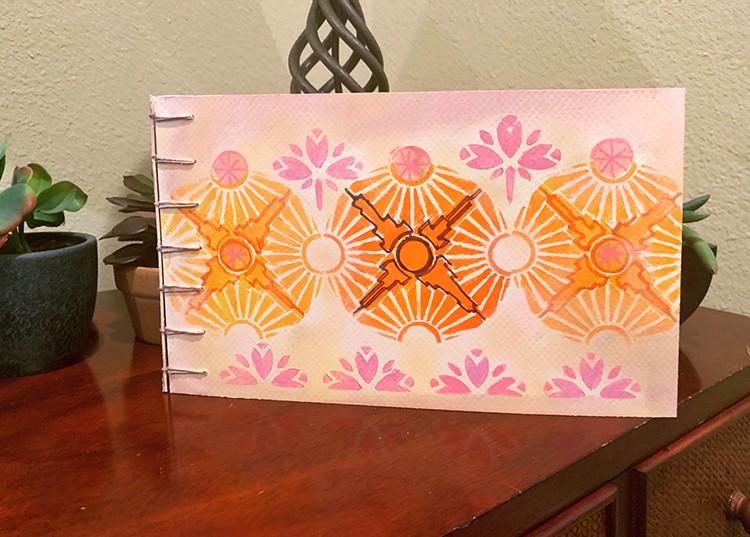
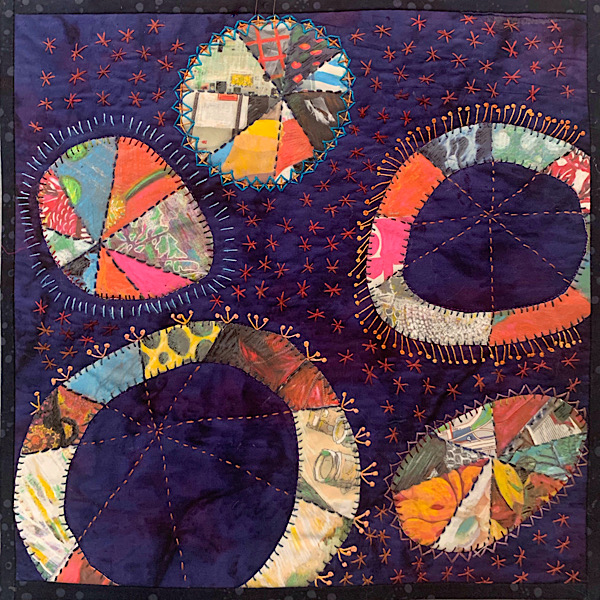
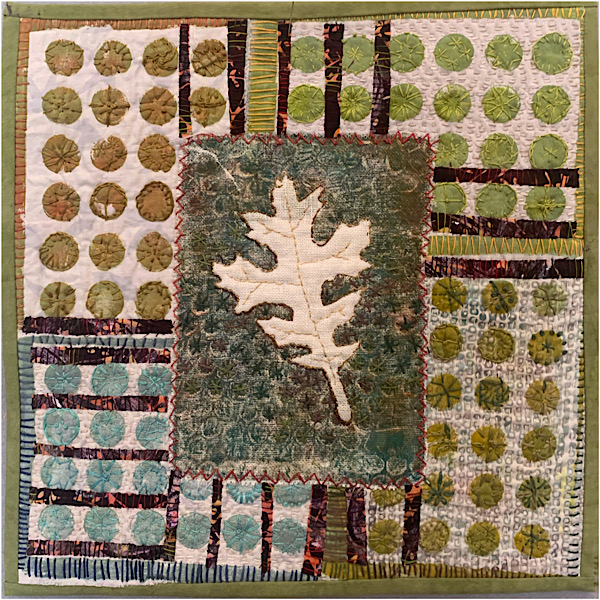
I only have a few of her art deco stencils so far, but plan to get some of her foam stamps. I used the stencils to gelli print fabric for my Deco Wallpaper quilt and for the cover and pages of the journal I made in the Time Travel book. I also used some in fabrics printed to add to my stash for future projects.
Fabric! So many possibilities from surface design techniques like dyeing and printing to sewing and quilting.
What inspires you to be creative?
I connect with others through my art. I belong to a couple local quilt guilds and Studio Art Quilts Association (saqa.com) which connects me with like minded artists and exposes me to new ideas and opportunities.
Do you have a favorite artist?
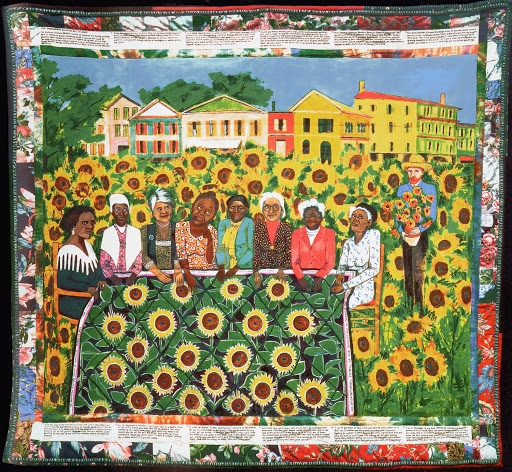
Faith Ringgold. I first learned about her through my interest in quilting and wanted to learn more when I saw her story quilts. I am inspired by her originality and fearless depiction of social justice issues.
I was drawn to the crafts and making things from childhood when I learned to knit and sew. I didn’t really know much about art until high school when I took a humanities class in my junior year and an art class in my senior year. I wanted to become an artist, but the only other person who thought it was a good idea was my art teacher. I continued making art and taking classes whenever possible.
In three words, how does art-making make you feel?
Connected. Grateful. Joyful.
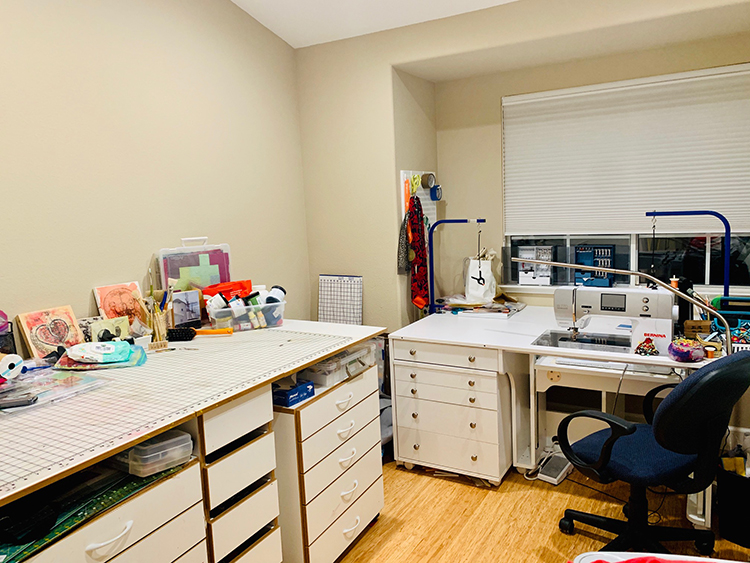
Thank you for sharing your inspiring artwork and perspective Priscilla! Love to see my stencils used in your gorgeous fiber art and a peek into your personal workspace is always so fun to see.
Be sure to check out all our Nice to Meet You! posts to learn about all the inspiring artists we’ve featured.
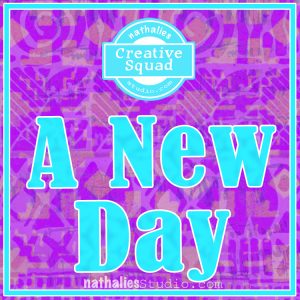
Hello from my Creative Squad! Today we have an art journal spread from our new member Jordan Hill. Jordan is creating collage papers with my Mini Santa Fe and Mini Hex Set foam stamps, and pulling elements together in her art journal page inspired by this month’s theme: A New Day – Let’s try something new today :) Although these are tumultuous times and we never know what each new day will bring, it also seems like the perfect time to throw caution to the wind and just jump into something new with both feet. Try a new material or technique or approach. Why not? Today is a new day… and tomorrow is too!
I am so incredibly happy to be here as one of the newest Creative Squad members; I hope I am able to inspire you in the time I spend here!
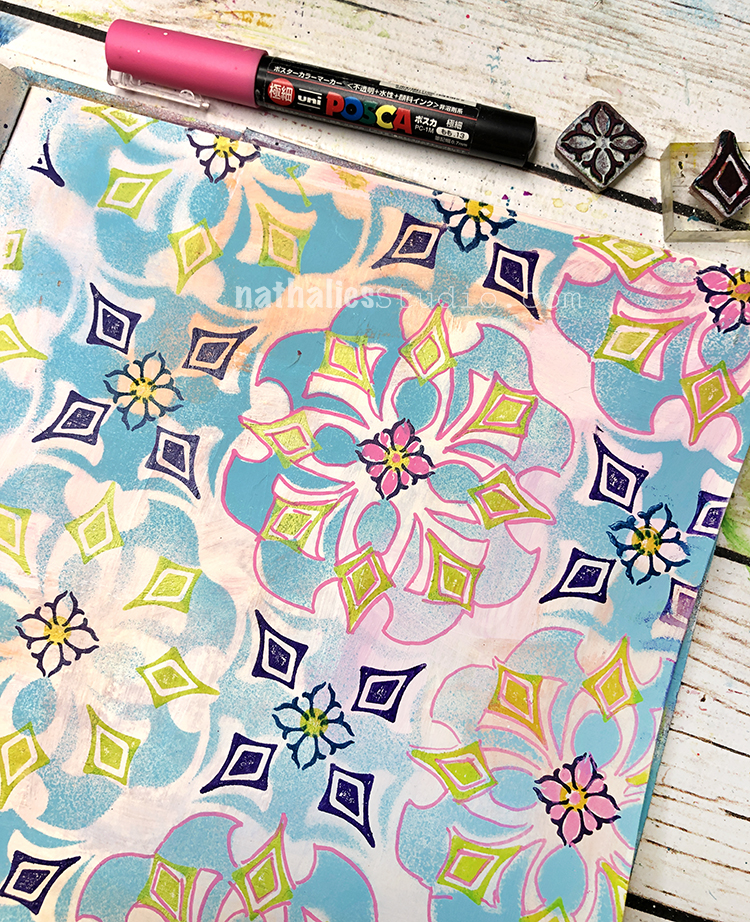
When I was first presented with the theme for this month, “A New Day”, the first thing that came to mind was the concept of creating a variety of new collage materials to use in my work. I really enjoy the process of painting my own papers, since I feel it adds an element of originality to my art journals that I might not get from store bought patterned papers.
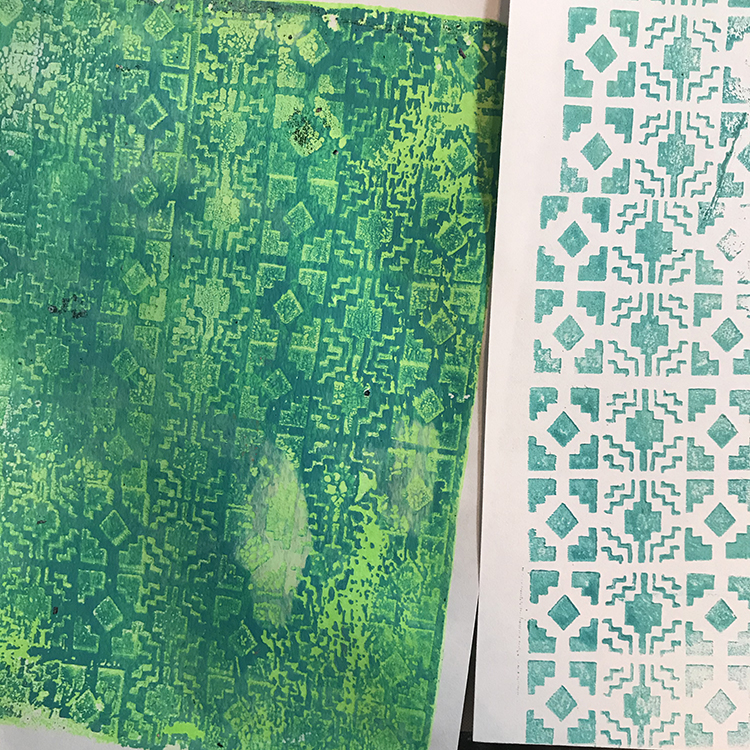
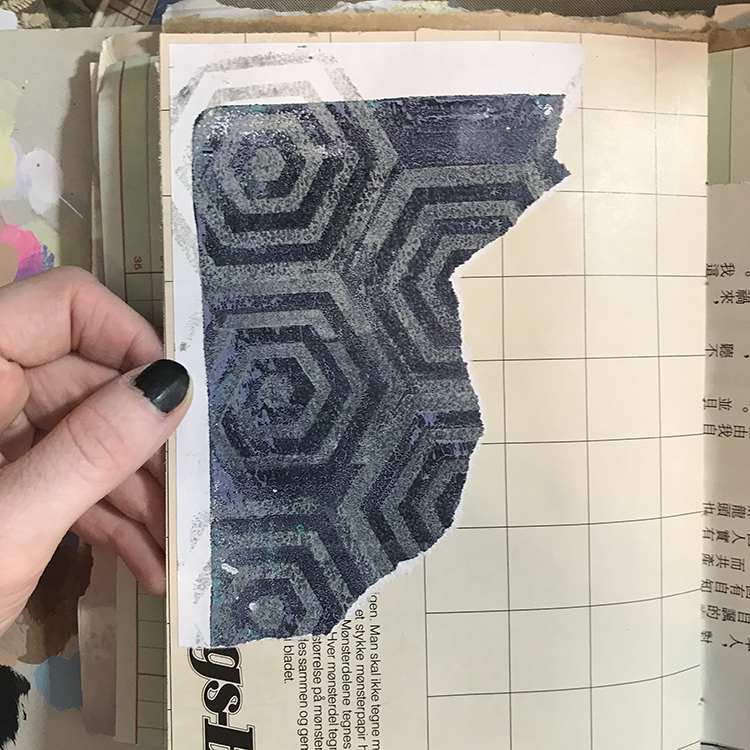
The first step in this project was to pull out my gelli plate to use in combination with Nathalie’s Mini Santa Fe Foam Stamp as well as the Mini Hex Foam Stamp Set. Though I can see potentially infinite uses for these foam stamps, using them to actually remove paint from my gelli plate was the method I decided to use here.
In order to achieve this result, I simply added some Blick Studio Acrylic in Bright Aqua Green and CraftSmart Ivory paint to my plate, then used the foam stamps to stamp into the wet paint. I then used the paint on the stamp to create an entirely new design by stamping onto a blank sheet of paper (shown in the photo above).
Once the paint has dried on the plate, you can then add another color (in this case I used Fluorescent Green) to pull another print! This gives you multiple different designs from the same stamp, and is a lot of fun to play around with.
I spent a while working with my foam stamps and my gelli plate to create a good assortment of papers I would be able to use in the future. Above you can see a few pieces from the final selection I had to choose from! As you can see, you can get quite a variety from just a few stamps and a couple different colors of paint.
Once I had a handful of painted papers, it was time to actually incorporate them into an art journal spread! The first step in doing this was to select a page in my journal, then tear chunks from the painted papers. I did this randomly, without thinking much about what the torn pieces looked like. Then I glued a couple of these randomly torn bits onto my page with an Uhu glue stick.
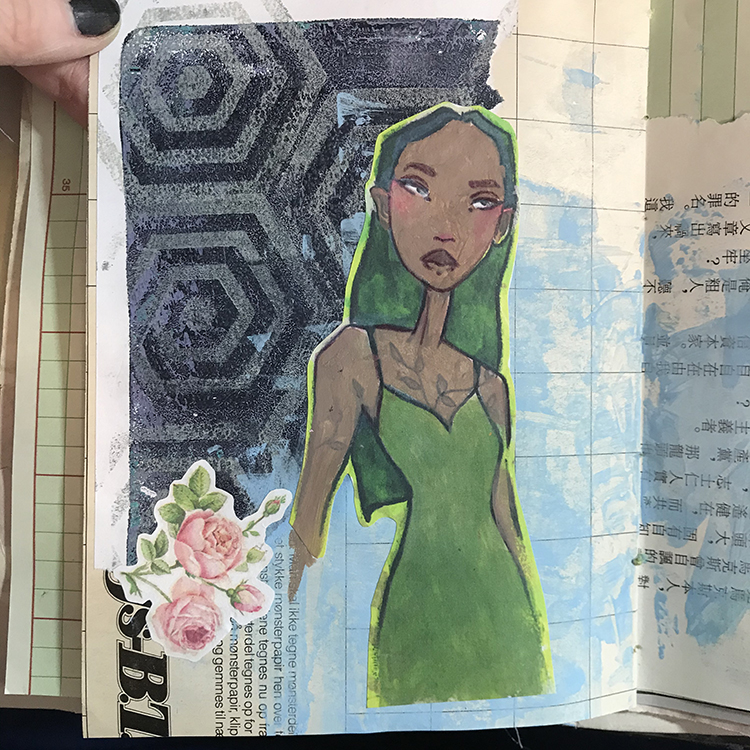
Next up, I added a couple of different collage elements and some Pale Blue CraftSmart acrylic paint to the background, just to give myself a base to work off of. After the background color was down, I began the process of adding a figure to add to this spread. Personally, I love adding faces and figures to my art journal spreads, and they tend to make their way into most of the things I create.
In the photo above you can see that I added quite a few more layers to this girl’s face. I did this with a combination of Natural Beige and Espresso CraftSmart acrylic paints. Natural Beige is quite a light color and Espresso is quite a dark one, so combining them in different ways gave me a good variety of colors to use as shadows and highlights.
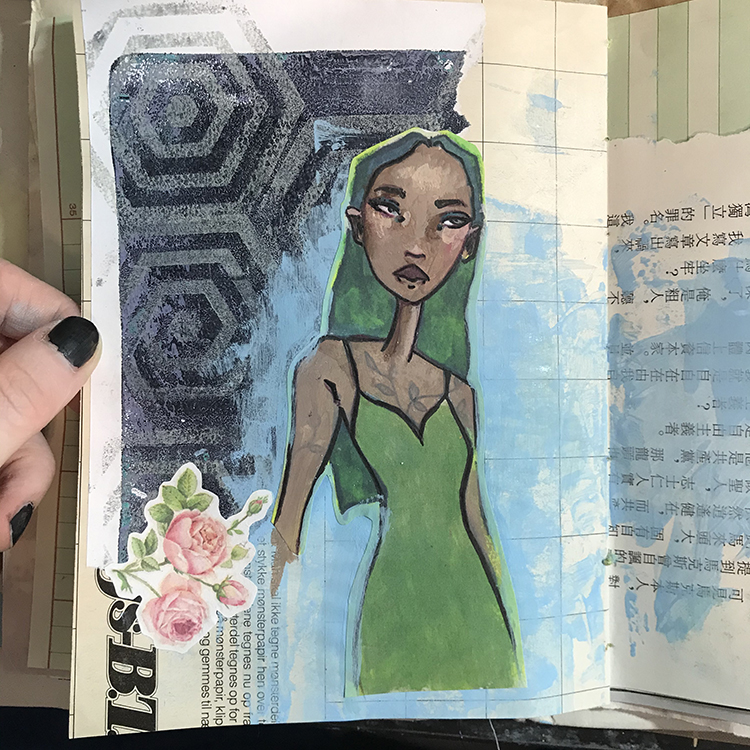
This was also where I started to use some ink to define the details of the face. I used the Zebra Fude Sign Brush Pen in Extra Fine to add these details, which is my favorite pen to use in my art journals as of late.
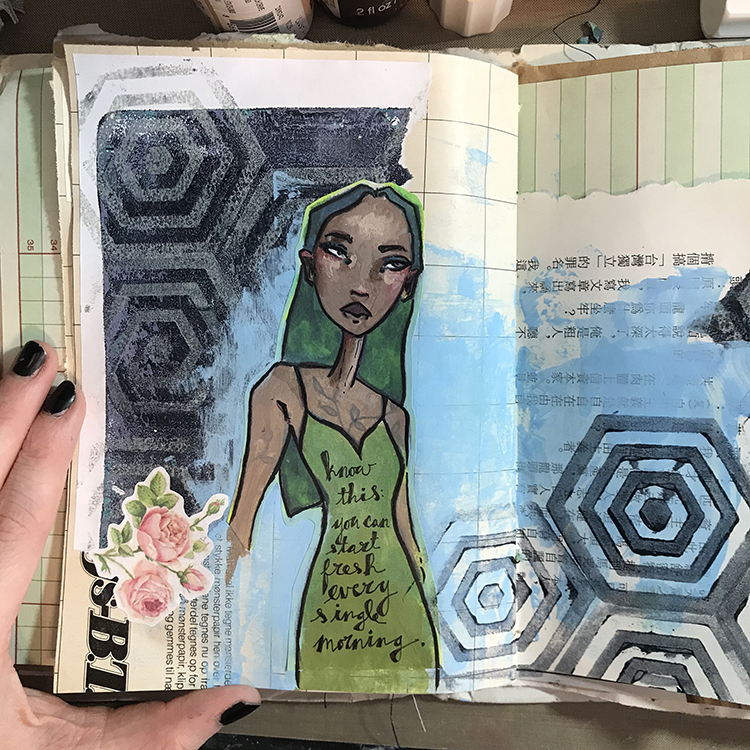
To finish off this art journal spread, I added a quote to fit with this month’s theme inside of the figure’s dress and accented the right hand page with some more stamping with the Mini Hex Foam Stamp Set. This tied everything together nicely and gave both pages a more cohesive feel.
After adding a few finishing touches to the face using a handful of Prismacolor Premiere colored pencils (Aquamarine, Henna, Black Cherry and Nectar), I was ready to call the spread done!
I hope you enjoyed this little look into my process and use some of the ideas I discussed here to create some projects of your own!
Thank you Jordan for sharing with us your process! Love your unique style with creating figures.
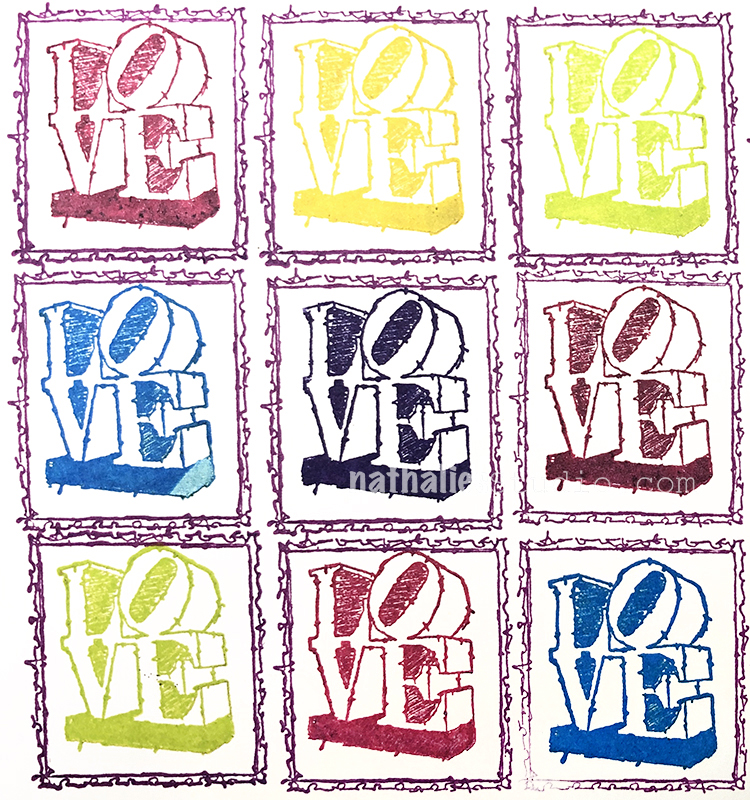
I have been on a card making kick lately with my new #keepyouposted rubber stamps. I thought I’d share so you can see what I’m up to.
I used the LOVE stamp and the Blank Postage stamp from the set along with a rainbow of Moonlight Duo ink pads and just filled the front of the card – The LOVE stamp is designed to fit nicely inside the Blank Postage.
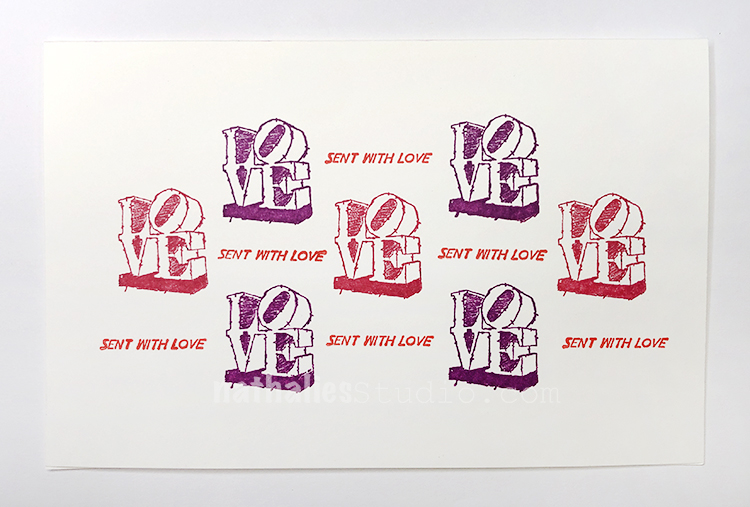
Here’s a card idea for your sweetheart – the LOVE and the Sent with Love stamps:
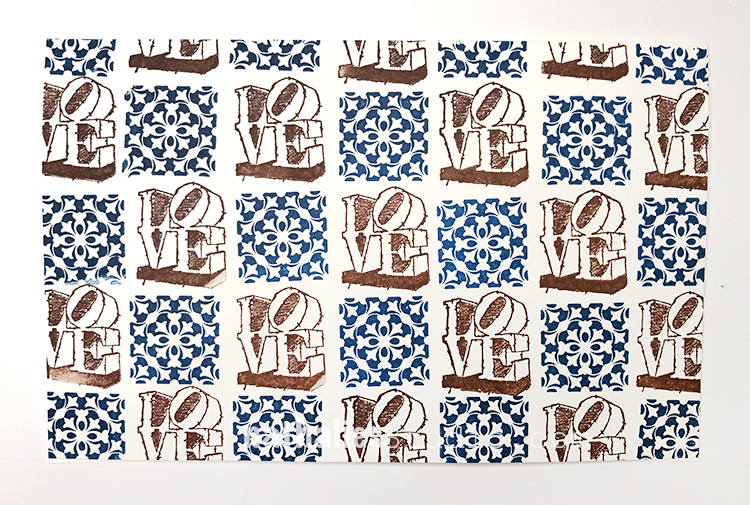
And then I mixed it up and paired it with a stamp from my Floral Tile Small set – also works really well together:
It’s never a bad time to send someone a note and these days it makes everyone feel good. Hope you try these patterns and send a couple cards to someone you love :)
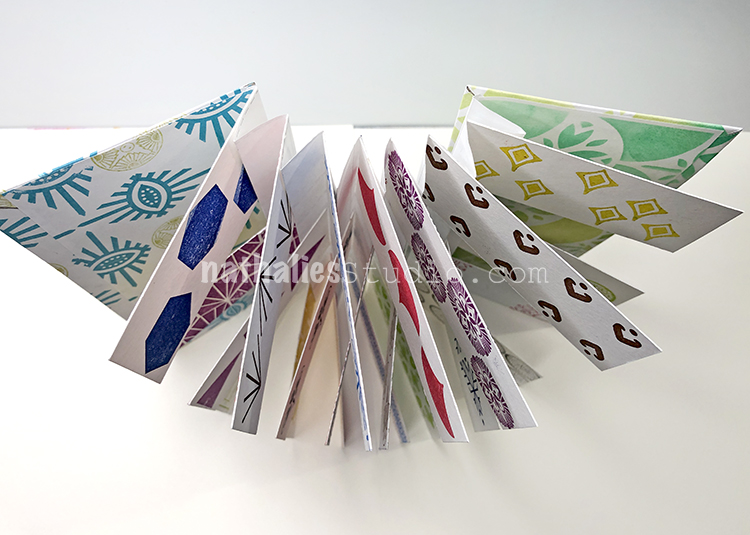
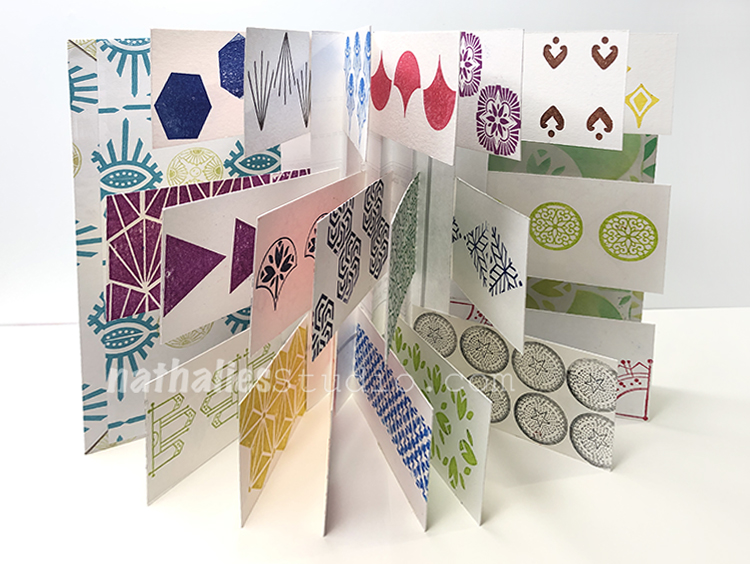
For a two weeks now I am challenging myself to get up at 5am and each morning I follow and work on a book binding or folding technique I have never done before – just to learn something new.
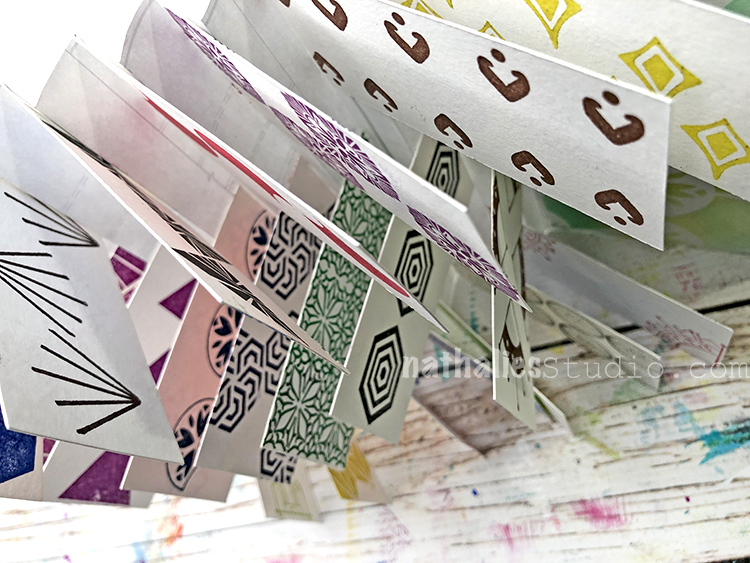
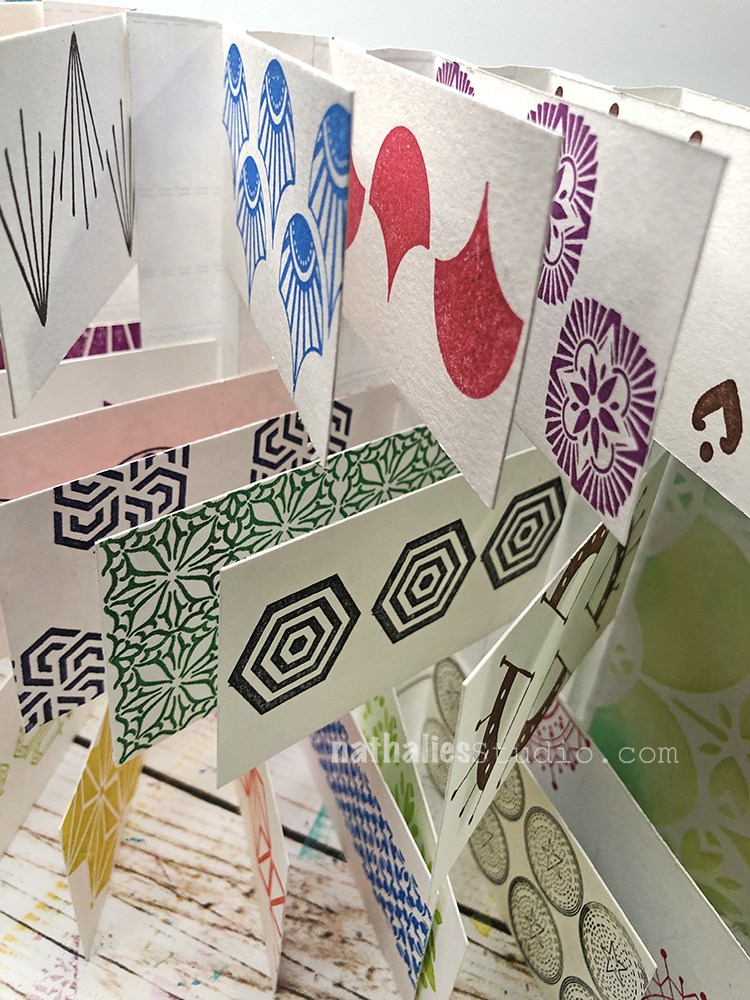
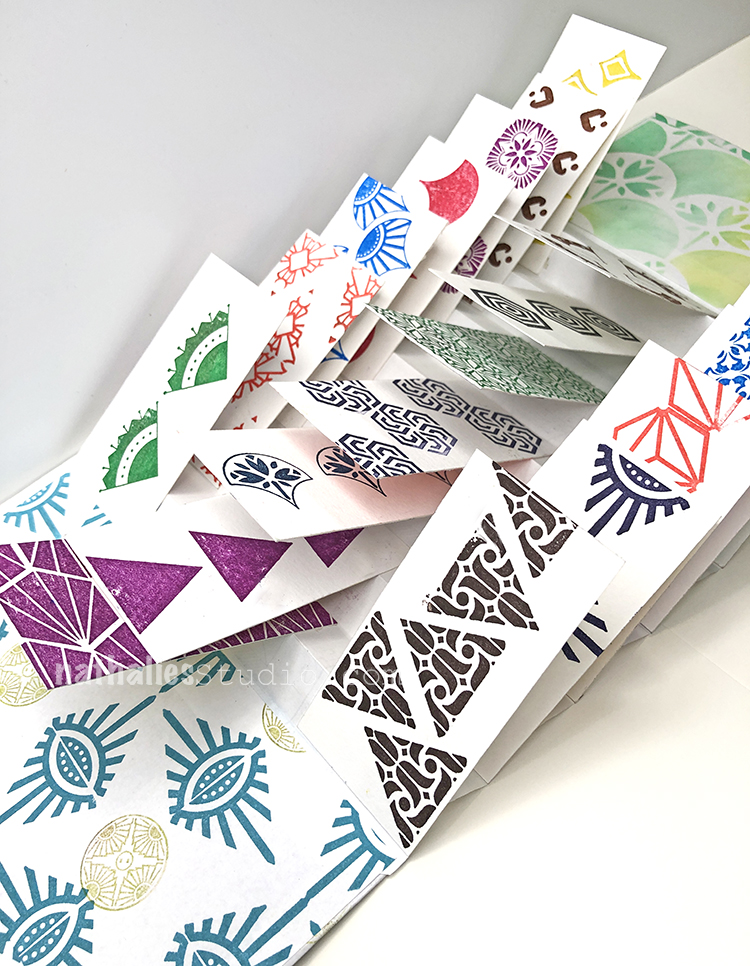
This is a so called flag book and boy it was so much fun to make – I made a little sample book out of it with some of my stamps.
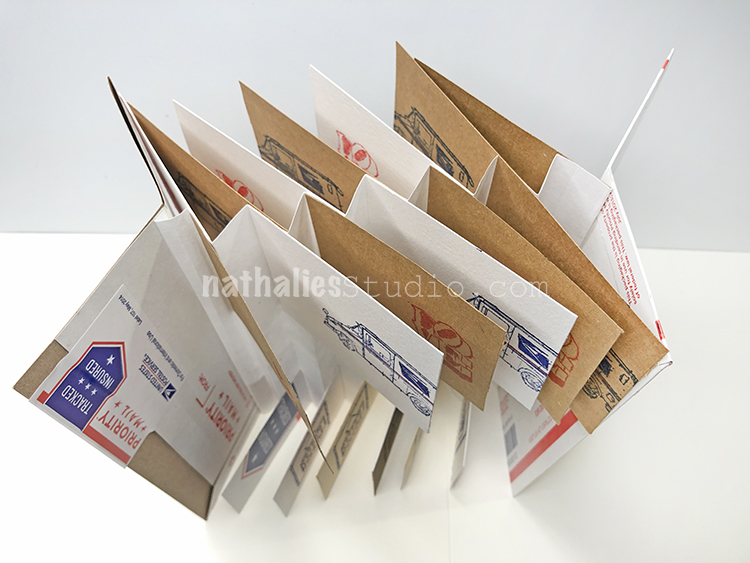
The book makes a fun noise when you open it up – like flags in the wind and I loved just the sculptural aspect of it when standing upright
or laying flat.
Now you might ask if that is worth it to get up at 5 am for? YEAHHH – LOL – because it makes me so happy when I make a book like this almost first thing in the morning before I even have breakfast – and I feel like I already accomplished and learned something new and fun. But now excuse me …. I need to take a nap – LOL ;)
Love your book. I never made one, so will give it a try!
I get up at 5.30am, yoga at 6.15am online on FB with my local class.
Occasionally, I may do a tiny bit of crafting before yoga starts, to finish off a project.
Love your Mail stamps.
Hi Tracie- there is a book called the 5am club- I don*t like the book and the story that much but the idea made sense to me to spend the first and very early hour of the day by learning something new and journaling . There is also a workout included …that I have to say is really to early for me hahaha. No – you do not have to be in bed by 9pm but naturally I am falling asleep around 10.30 pm LOL.


Loving this!
Reply