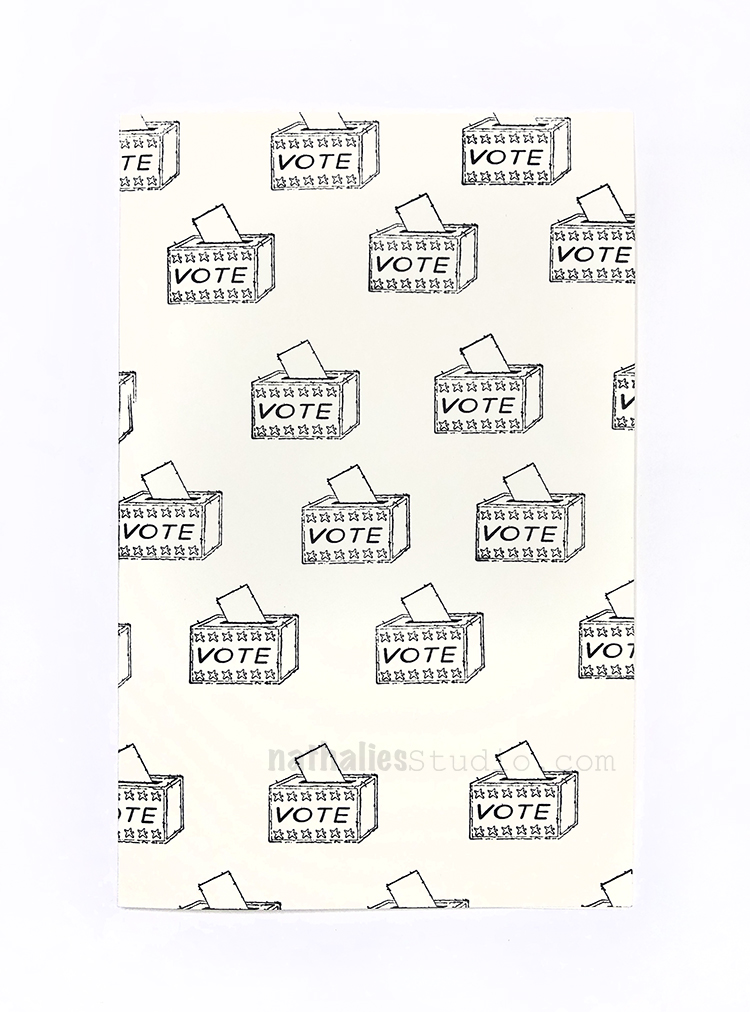
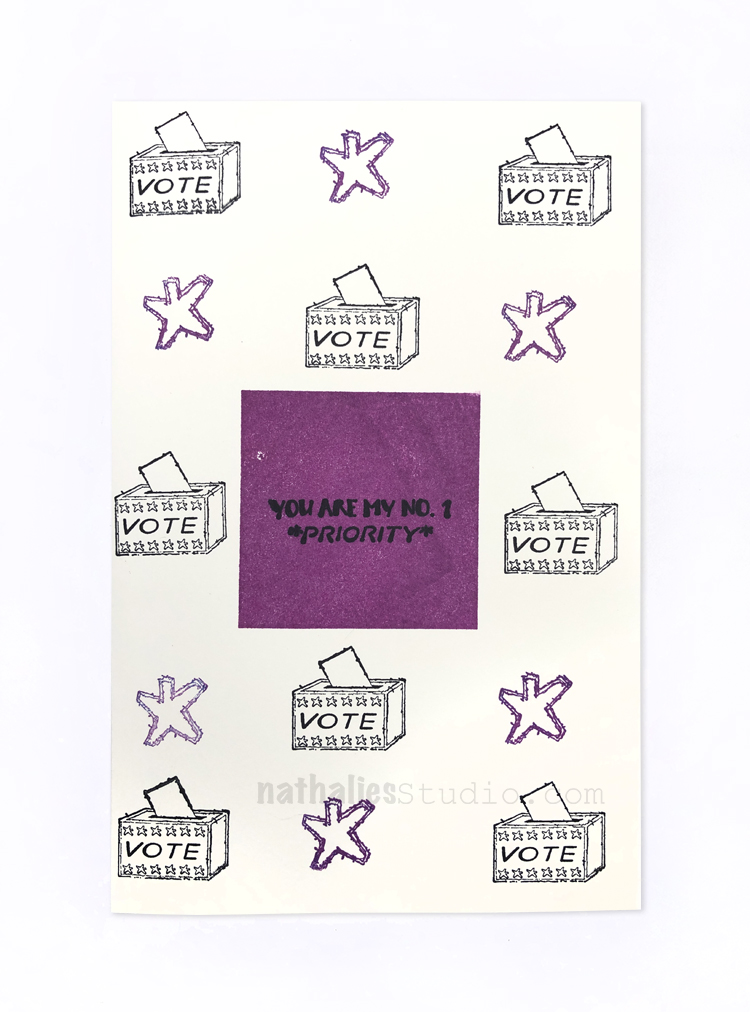
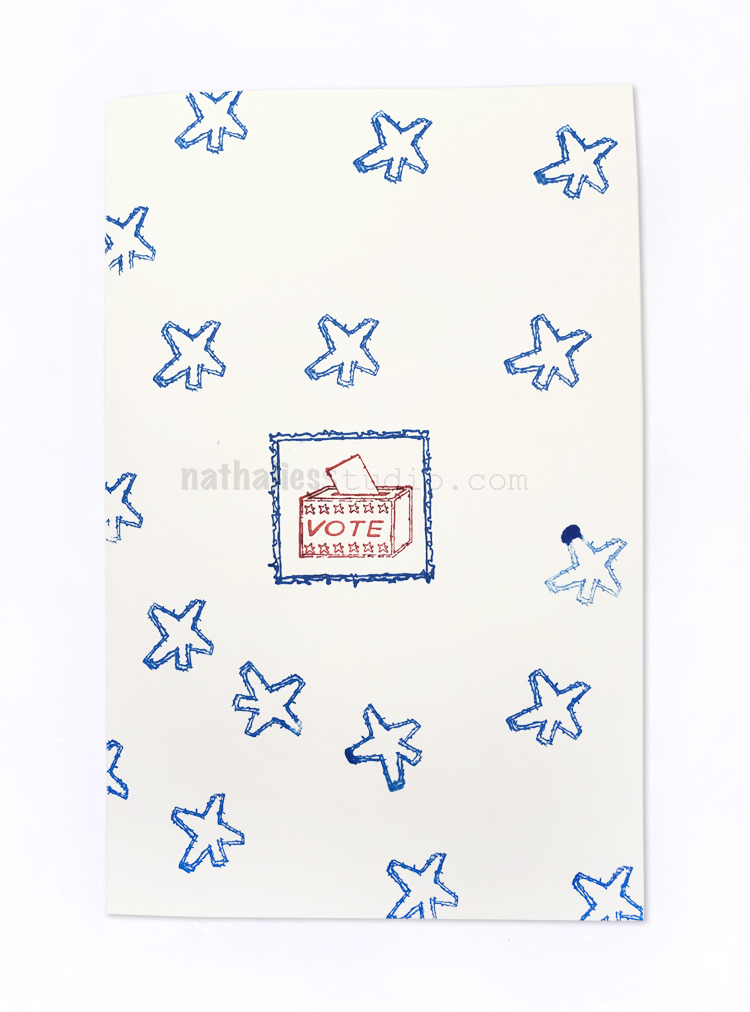
This is my first Presidential Election and so a ballot box really had to go into this stamp set. I thought it would be nice to use my new Ballot Box stamp in my #keepyouposted set to send out some cards to remind folks to get out and vote. Then I just had fun playing :)
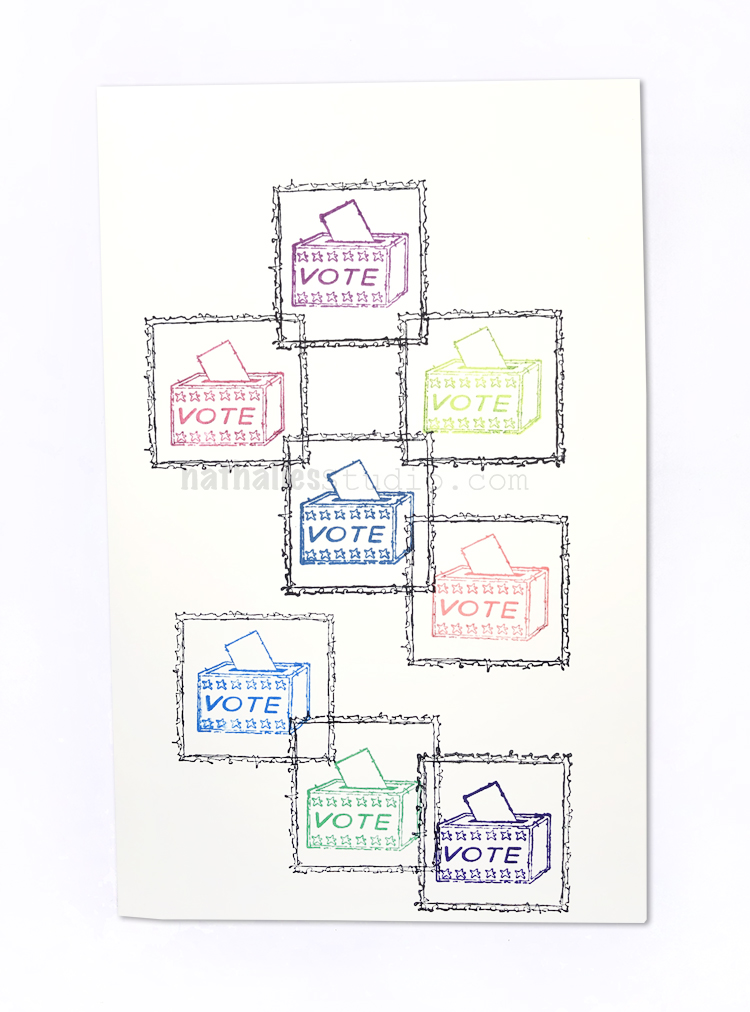
I used my Ballot Box and also the Blank Postage Stamp and a colorful selection of Moonlight Duo ink pads…
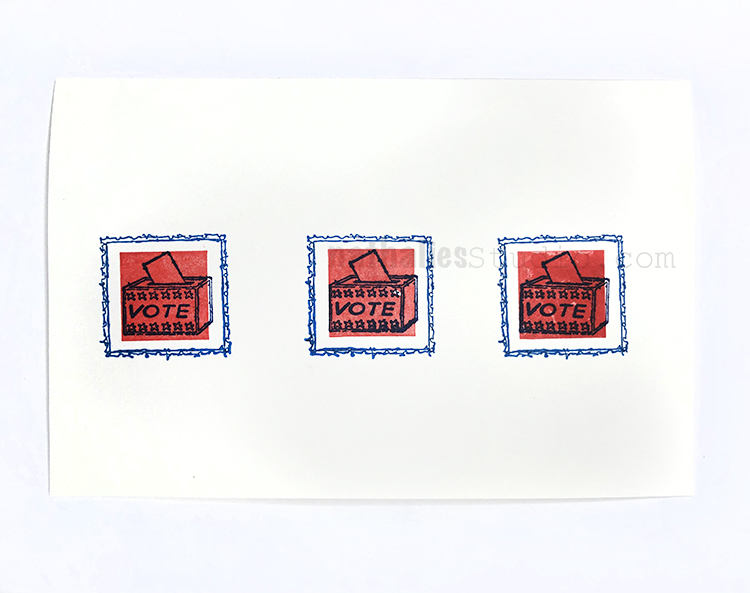
I even added my Solid Square Small stamp for a pop of red (red, white, and blue!)
A Look Back – This time I’m looking at a project I did back in 2007 called Deck of Me. It was a challenge organized by Emily Falconbridge where we used a deck of playing cards as our artistic substrate and each day had a prompt to help guide us in creating a personalized deck. I was still in my scrapbooking phase back then but the transition to mixed media was definitely happening. There was a full deck in the end and you can go through them all in these posts but I thought sharing some of my favorites would be interesting. Also I thought how fun it was to transform something we probably all have in our homes, and is such a small manageable size to create on daily. Hmmm maybe worth a round two…
A Look Back is a blog series to show you some projects and posts that you may have missed – sometimes going WAY back in the archive. I think it will be fun to revisit a few ideas that we haven’t seen for a while. I’m excited to see how a little look back might inspire something new in the future :)
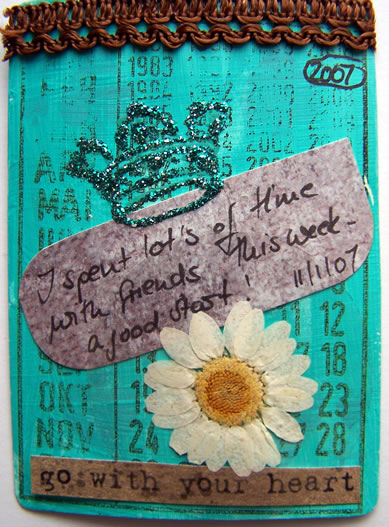
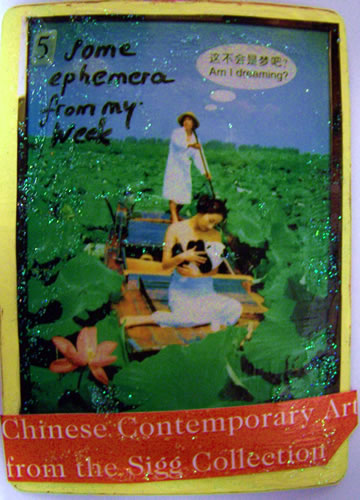
The first card was in early January and the prompt was “Something I’m Proud of” – kinda like a New Year’s resolution I suppose. You can read the post here to get a feel for what the Deck of Me challenge was all about and also to see the other side of the card. Each day I worked on both sides of the card – one side featuring the prompt and one side my take on it. So definitely check out the old blog posts to see both sides.
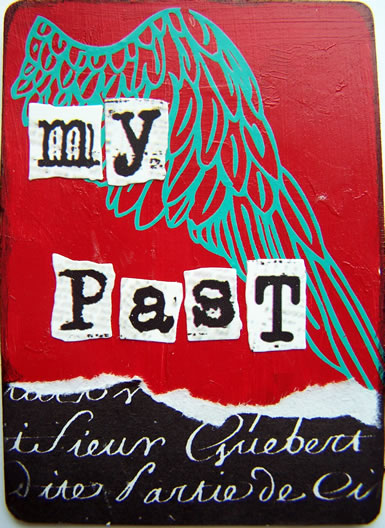
As the goal of the challenge was to get personal, I jumped right in on Day 2 and shared what gave me strength – my past! Yup, you know they say what doesn’t kill us makes us stronger. You can read that post and see the flip side here.
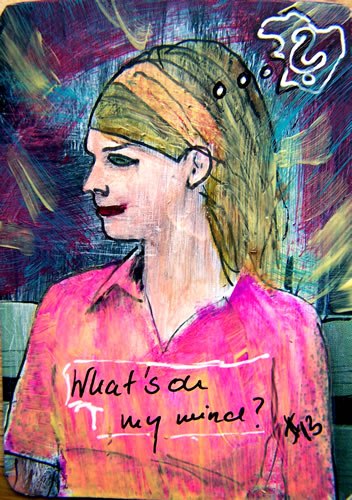
On Day 13 I did something that I would use again and again as a technique in my art journal for many years – using magazine images and working them in with paint and other media. I wouldn’t say this is the first time I ever did this, but it is an early example of mine. You can read “What’s on my mind” in the post here.
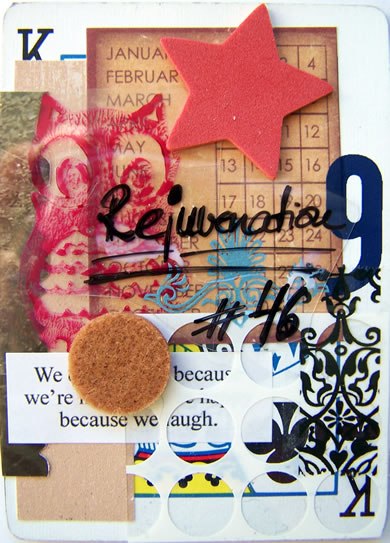
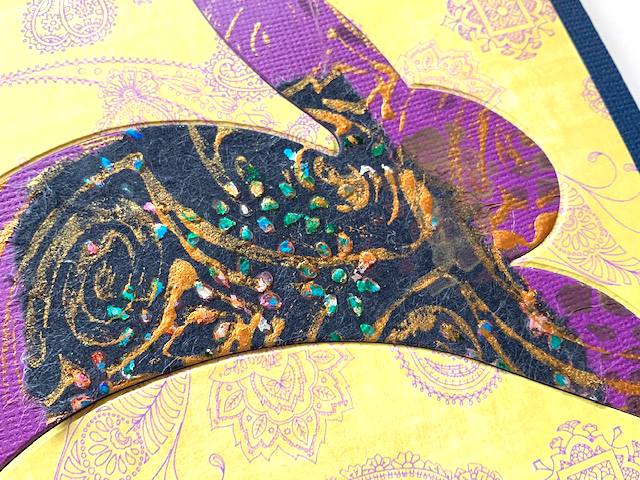
Jumping way ahead to Day 46 here with a nice example of some collage. The prompt was “rejuvenation” and you can see in the post here how I interpreted that on the other side of the card.
Maybe you have an old deck of cards at home that you are not using that could be your next little daily project. I sometimes need a challenge like this just to get working consistently every day on something artistic. This was also an interesting look inward when I was considering some of the very personal prompts.
I hope you enjoyed this look back and maybe it inspired you to give something new a try :)
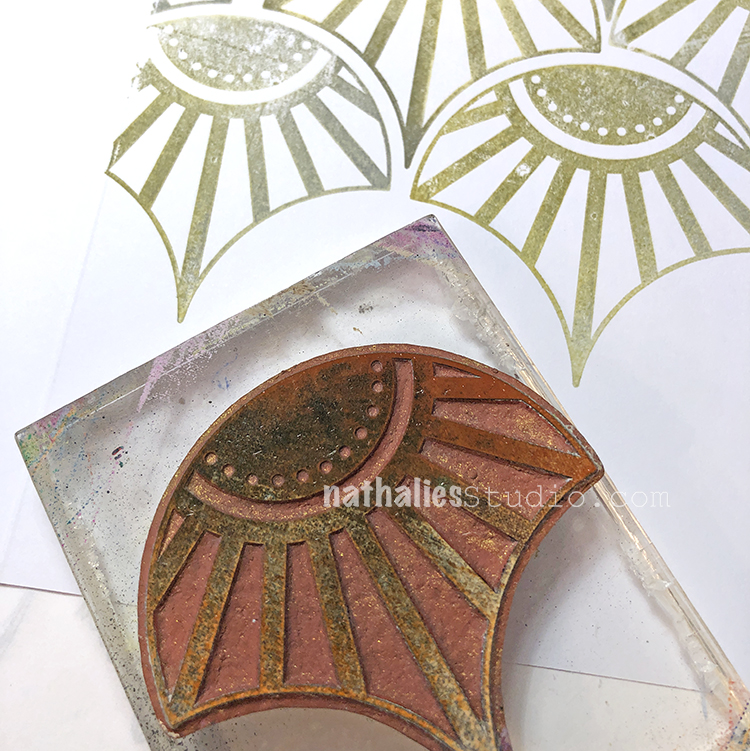
Hello from my Creative Squad! Today we have some super colorful and happy cards from Maura Hibbitts that are sure to lift anyone’s mood. She is using my Art Deco Empire stencil and my Fan-tastic Small rubber stamps for this project and our theme: WildandFree – After so many months of careful living, it’s time to go WildandFree… In our Art Journals! Go a little crazy in there and live it up with bright colors, exuberant mark making, bold colors – however you want to go a bit bananas. It’s time to let loose!
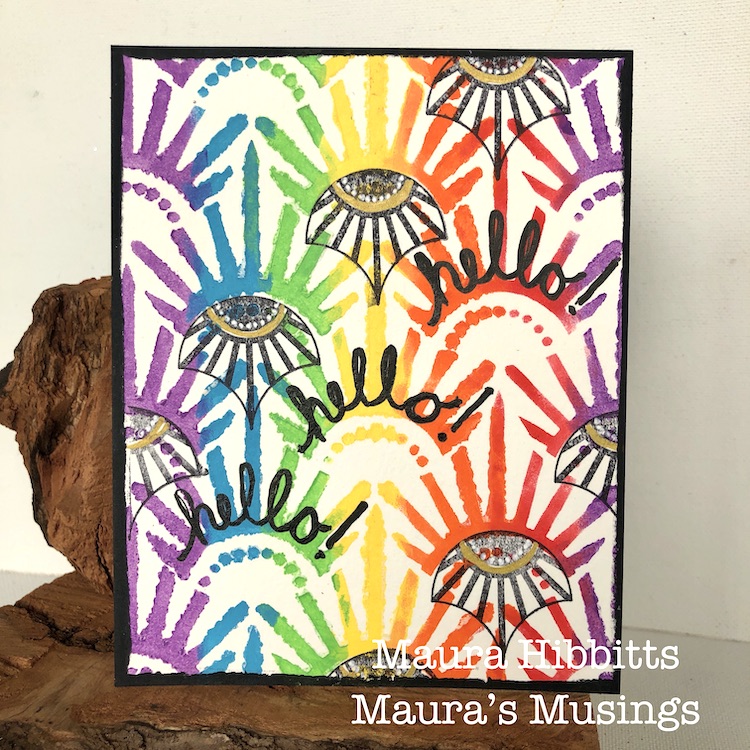
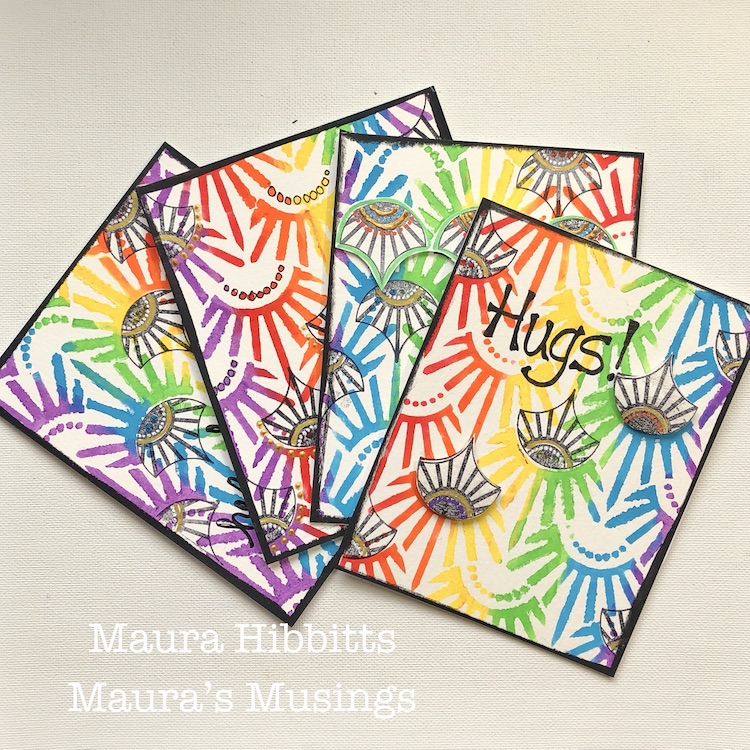
There is something liberating in keeping your choices simple, and just letting your creative muse go wild and free. I was drawn to the colors of the rainbow, a symbol of hope for many of us, and decided to make a set of cards that I can mail out.
I’ve definitely had my wild and free moments in the wilderness, and some youthful follies. I can remember a rafting adventure on the Salmon River in New York in February, and no, I was not wearing a wetsuit. Crazy right, when I think about how cold that water was, and the thick ice lining the shoreline. Oh, I could share a lot more! Heck, I still have a few of those moments even now that I am much older, and apparently not much wiser.
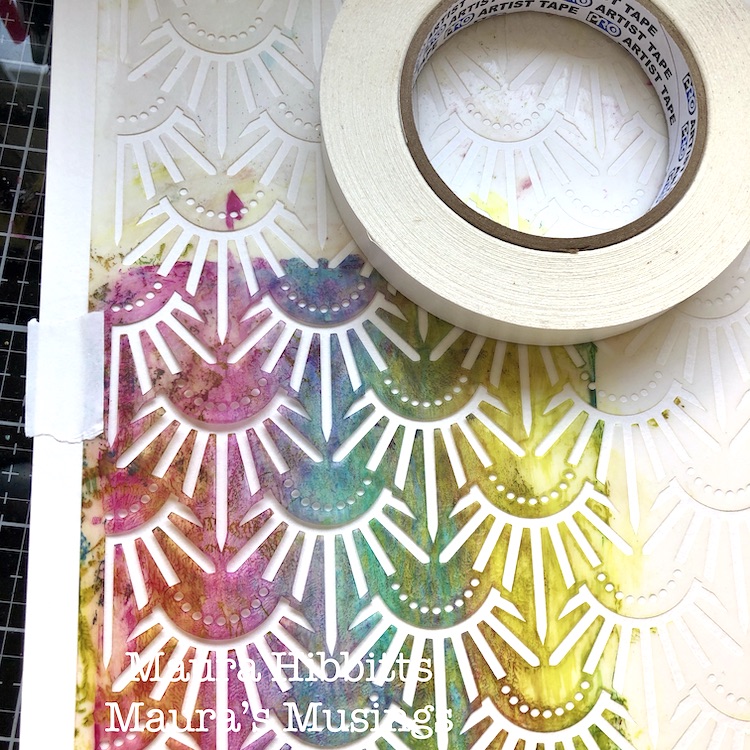
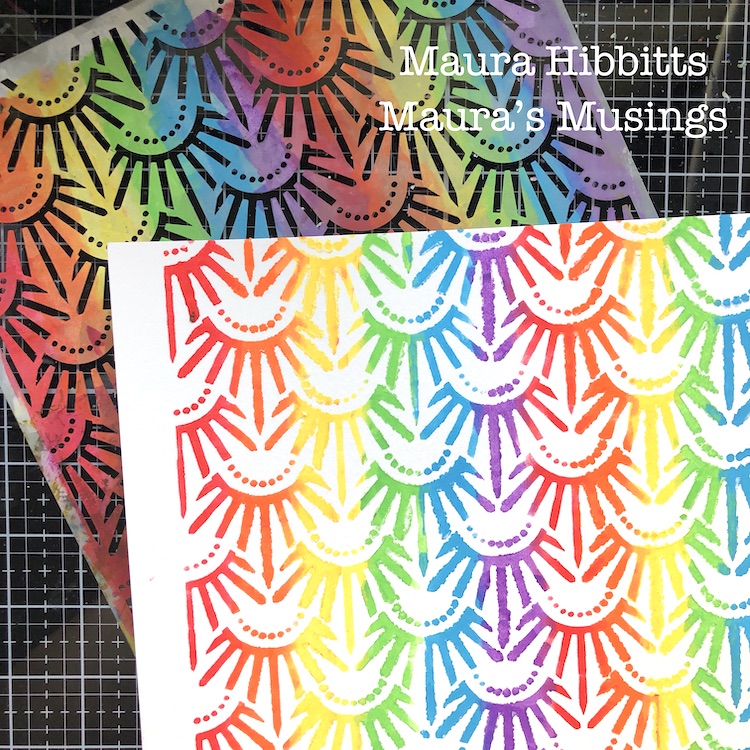
So, back to the project…I started by taping the Art Deco Empire stencil down over my watercolor paper. I don’t usually do this, but because I was adding multiple colors, I didn’t want it to move.
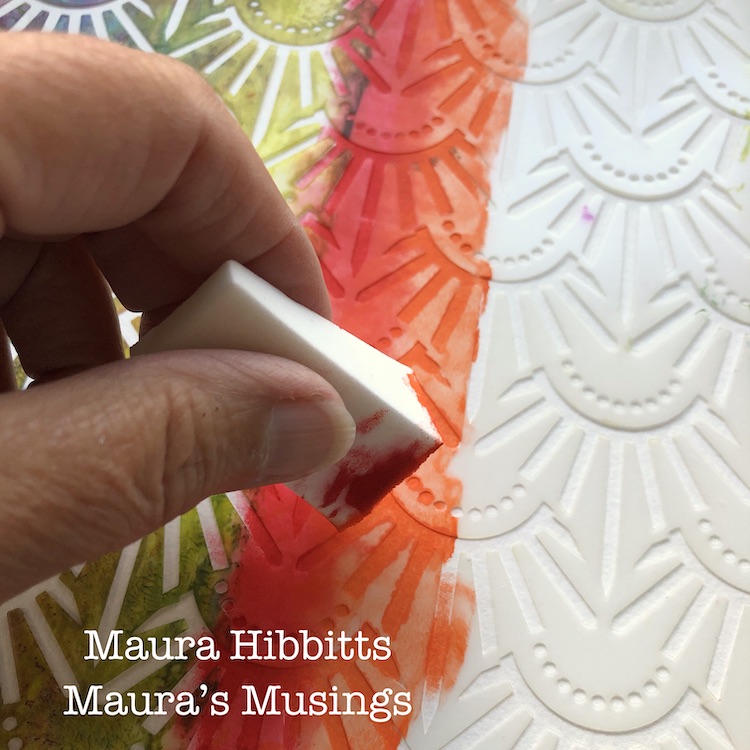
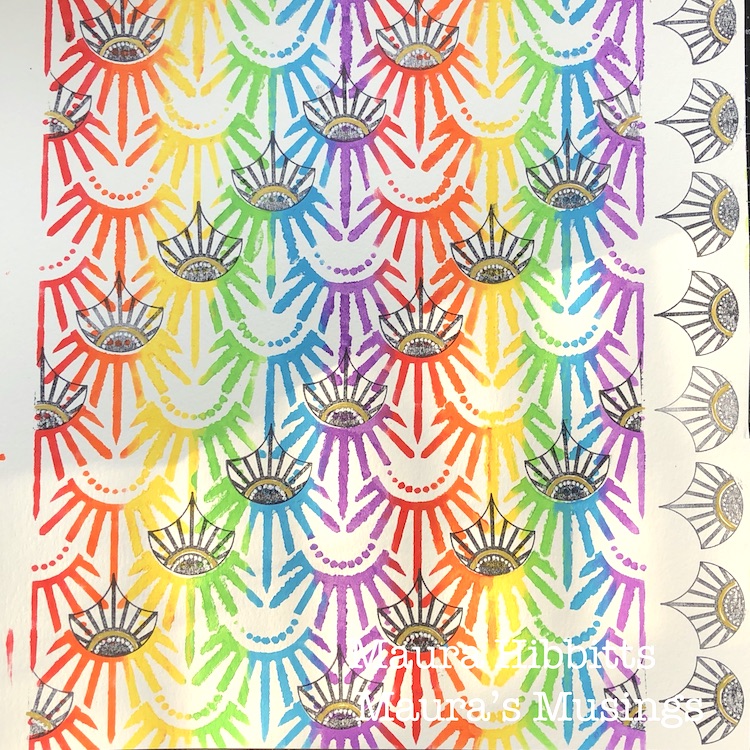
To create a rainbow effect with the stencil, I used a cosmetic sponge with a light amount of paint. I started with the red, and dabbed two columns down the paper leaving space in-between for all the other colors. Repeat this with orange, yellow, green, blue and violet. Here’s a thrifty tip for you: when changing colors, don’t use a new sponge, instead just cut off the top layer. I managed to use one sponge for all six colors this way.
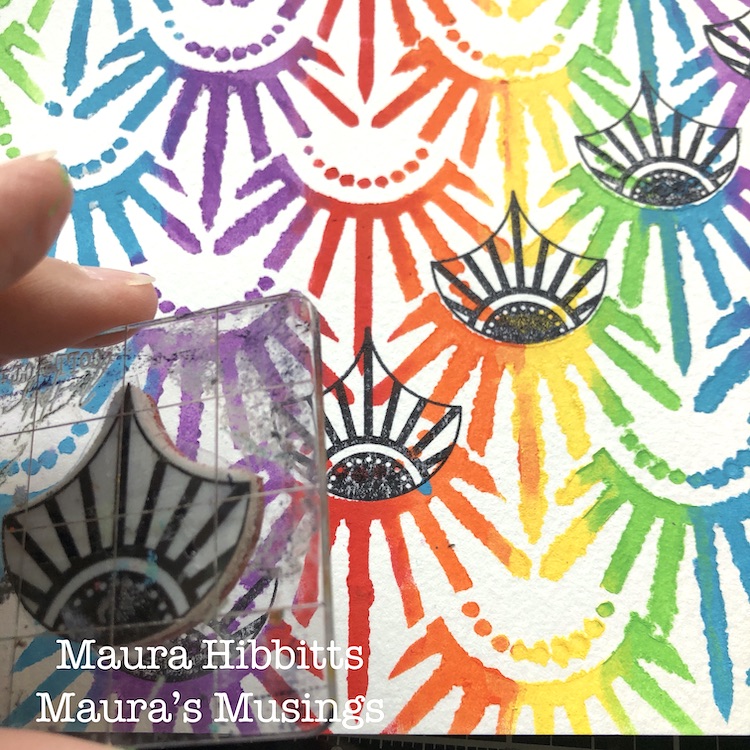
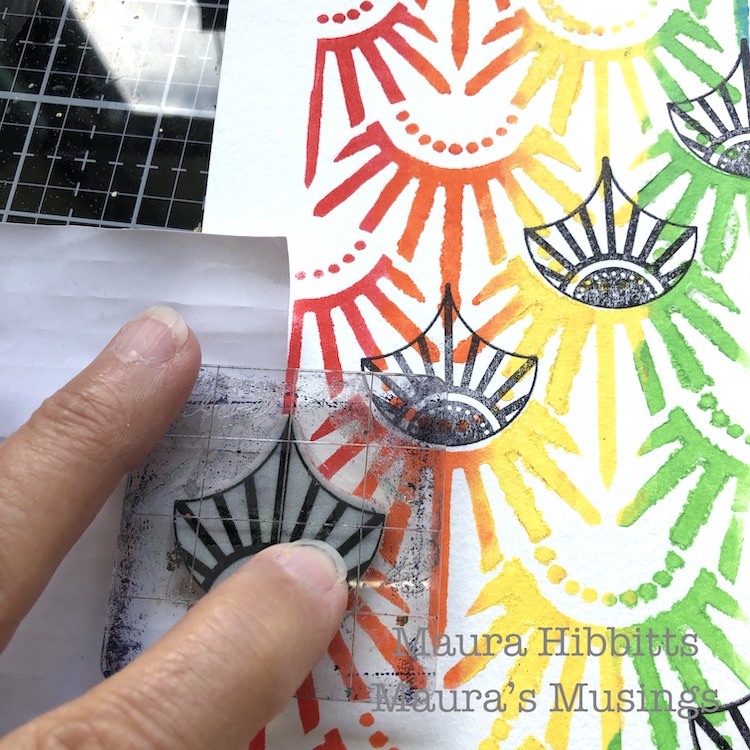
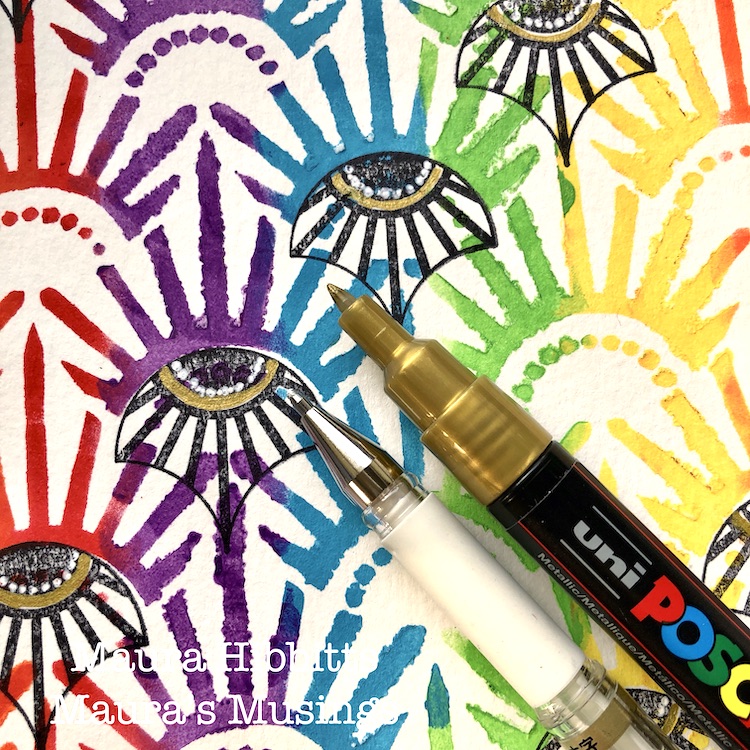
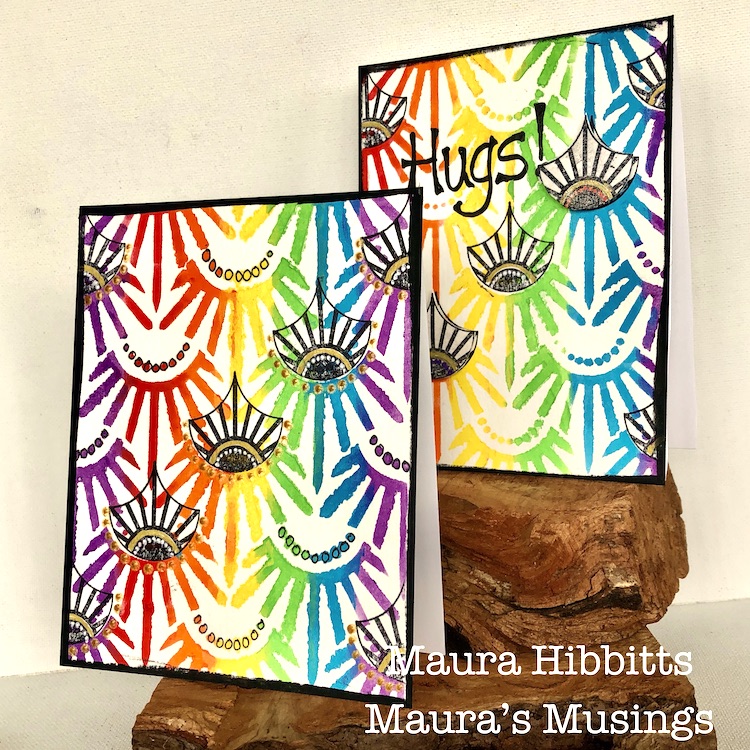
Next, stamp diagonal rows into the stenciled design using Nat’s small Broadway Fan stamp and black ink. Along the edges, place a piece of paper as a mask for the partial images before you stamp.
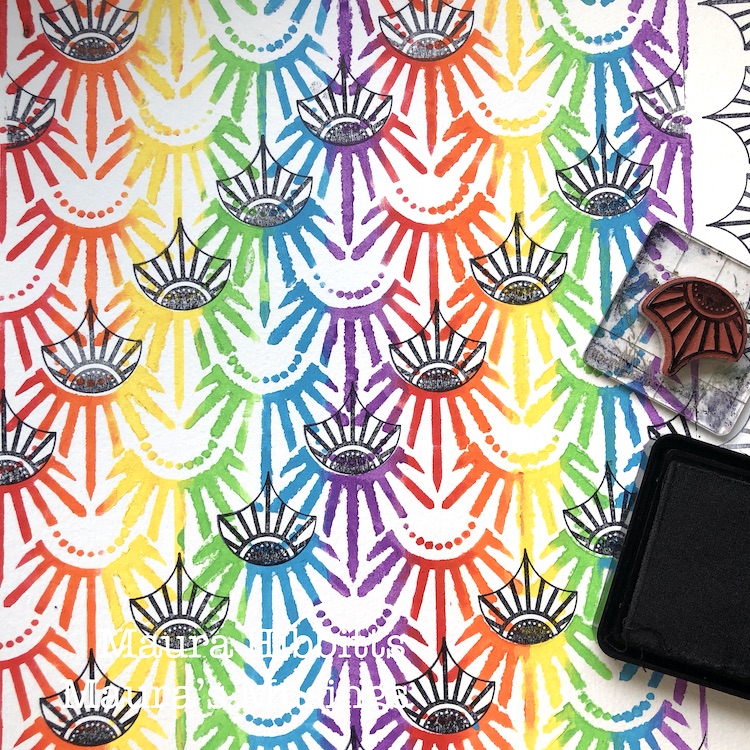
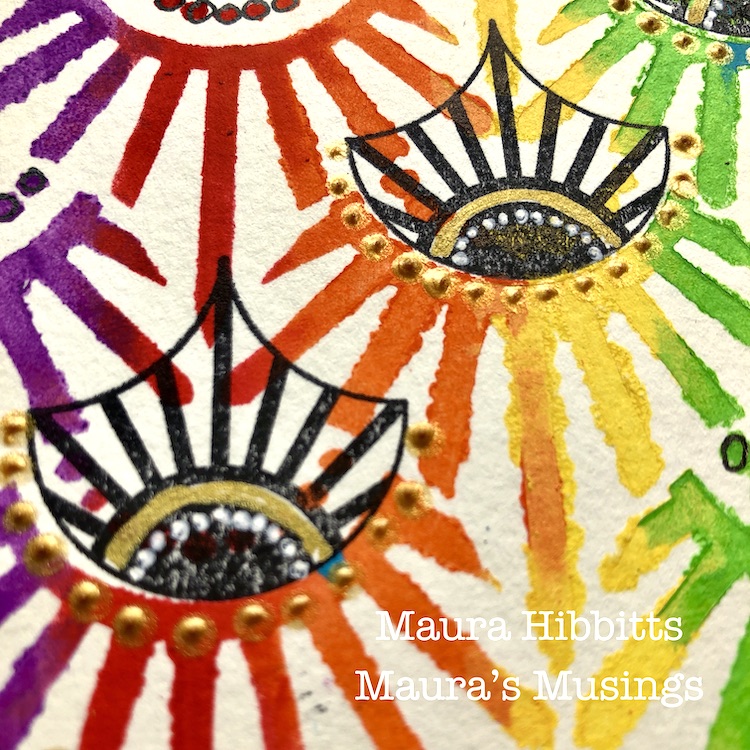
Add some detail to the stamped images with white and gold pens. I love adding a bit of gold in to colorful projects. Cut the large stenciled sheet into four smaller pieces (4.25×5.5”) and cut the white card stock for the card base.
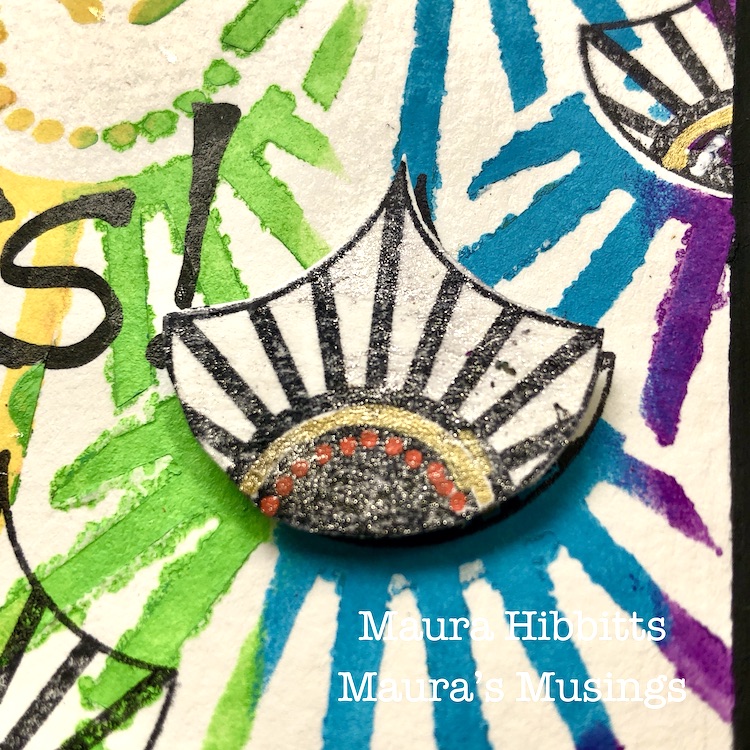
Add more detail with gold relief paste and some sparkle with Wink of Stella. Cut out a few fans and pop them up on some of the bases.
Finally, using black paint and a cosmetic sponge, edge the stenciled card bases. Let dry, then adhere these to the card front. Hand letter greetings like Hugs, Hello, and some doodling with a black pen. I wanted to make each card unique for some variety, so you may notice some have the designs going up and others going down. I’ve also left some without words so I can add them in as needed. You could also stamp a greeting.
Four bright and colorful cards are ready to mail out and bring cheer to someone who needs it. I am definitely a fan of bright colors, so it was fun pulling in all the colors of the rainbow into my project. You could use any palette for your own cards…I think an ombre effect would look awesome too! Have a creative August, Maura
Thank you Maura! Wow that Art Deco Empire stencil in rainbow looks just amazing! Some lucky people are going to be so happy when they open their mailboxes :)
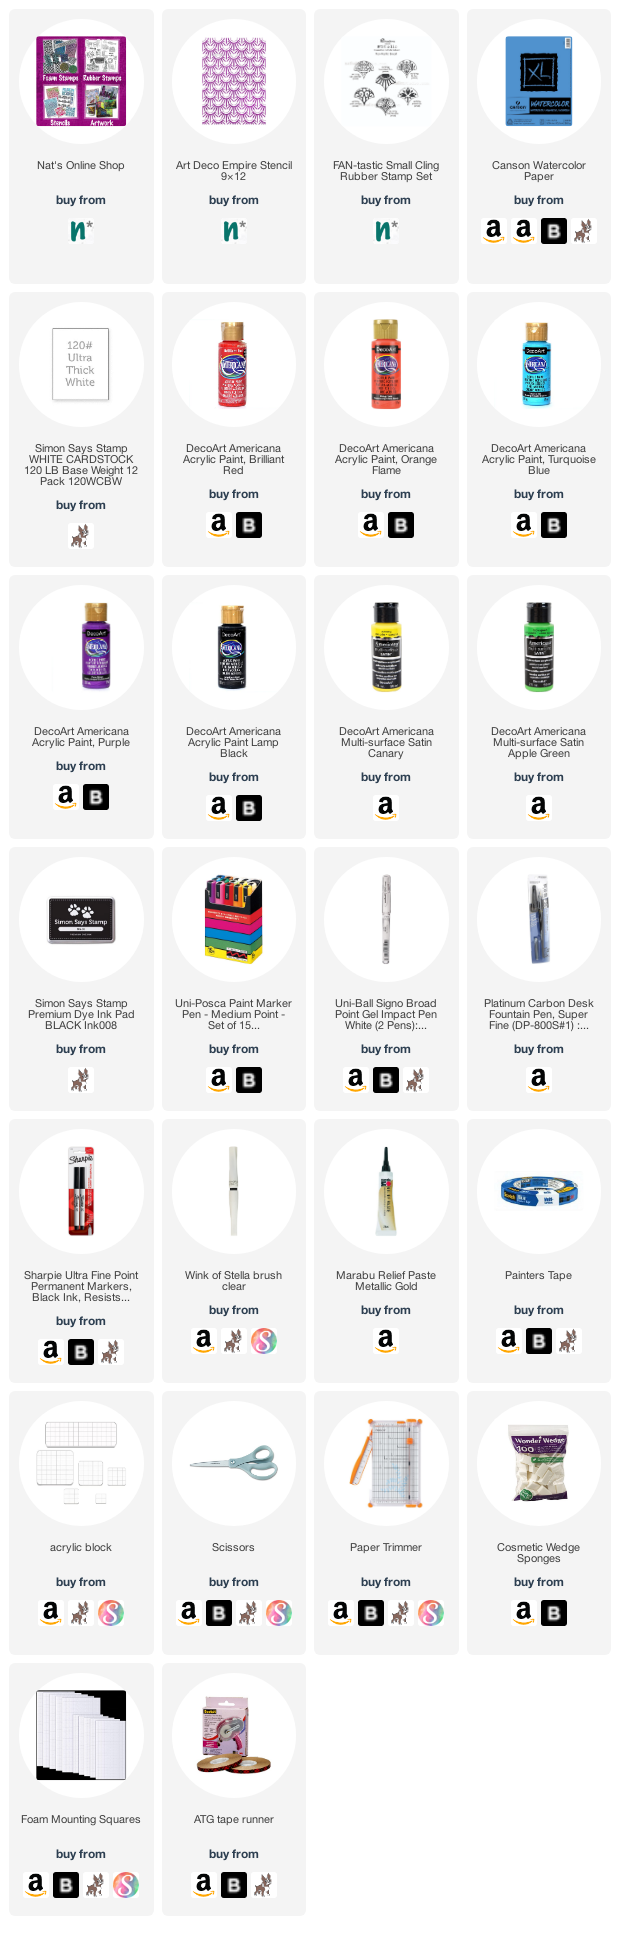
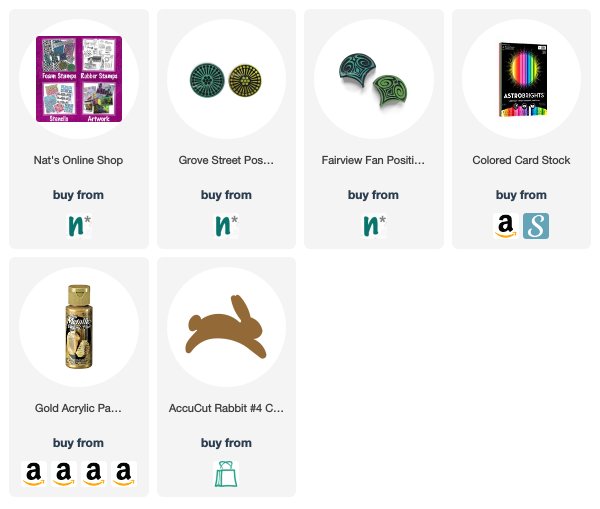
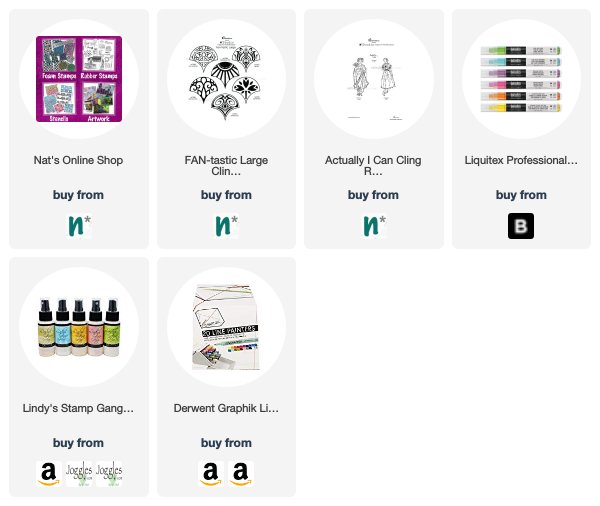
Give it a try: you can find all my Stencils and Rubber Stamps in my Online Shop and here are some of the other supplies Maura used:
Feel inspired? Working on something yourself that you’d like to share? I love to see how you interpret our monthly themes. Email me how you used my stencils and stamps with the theme and email me an image – I would love to share your projects in my next “n*Spiration From Around the Globe“.
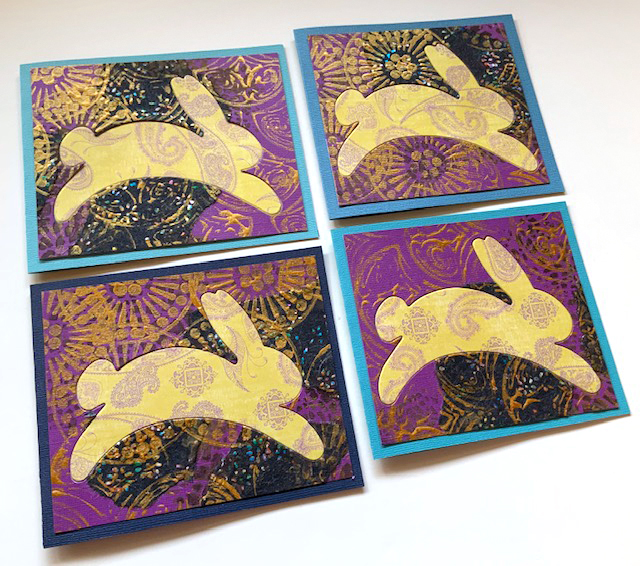
Today I have some very cute Easter cards to share with you today from Creative Squad member Judi Kauffman. Judi is on a roll revamping her calendar pages into new projects. Remember back in December she created a monthly calendar, with the goal of reusing the pages once the month was passed? Well here we have the February page, turned into some sweet bunny cards, and a couple other items too.
From Judi:
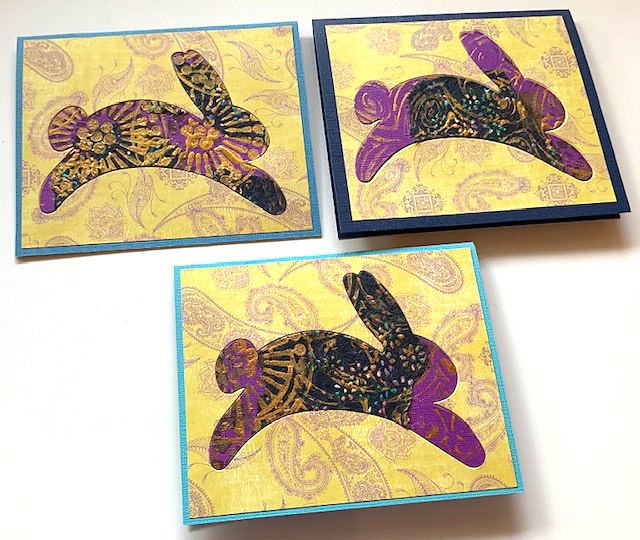
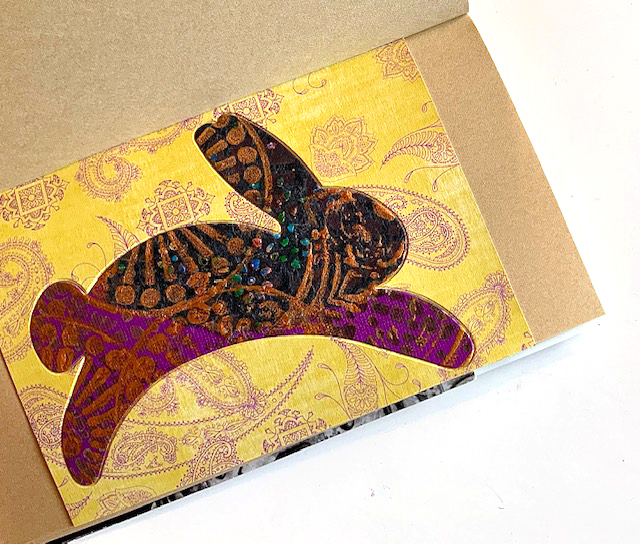
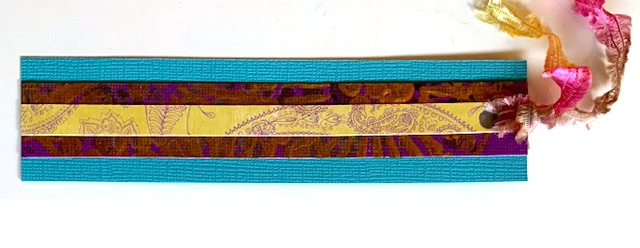
“I used my inlay technique* to turn the February calendar page into seven Easter cards, one Traveler’s Notebook page, and used a remaining scrap for a bookmark. I considered simple egg shapes, but couldn’t resist the bunny. (Die from AccuCut)”
*Judi Kauffman’s Inlay Technique: Die cut a simple shape from two or more coordinating sheets of stenciled/stamped paper and purchased patterned paper. Make sure there will be good contrast. Inlay the positive image (shown: a bunny) so it fits into the opening on a contrasting background. Glue both pieces in place on a piece of board, a card front, into an art journal, or on mat and frame.
Thank you for sharing Judi!
Here are some of the supplies Judi used:
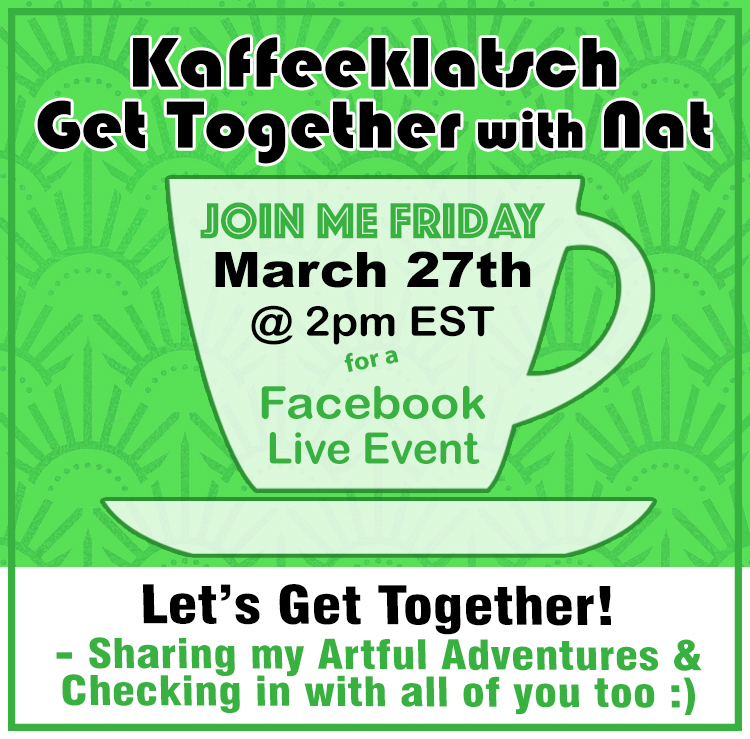
And I hope to see you tomorrow, March 27th at 2pm on Facebook for a Live chat. I would love to hear from you and learn about how you are doing these days. Please join me and say HI!
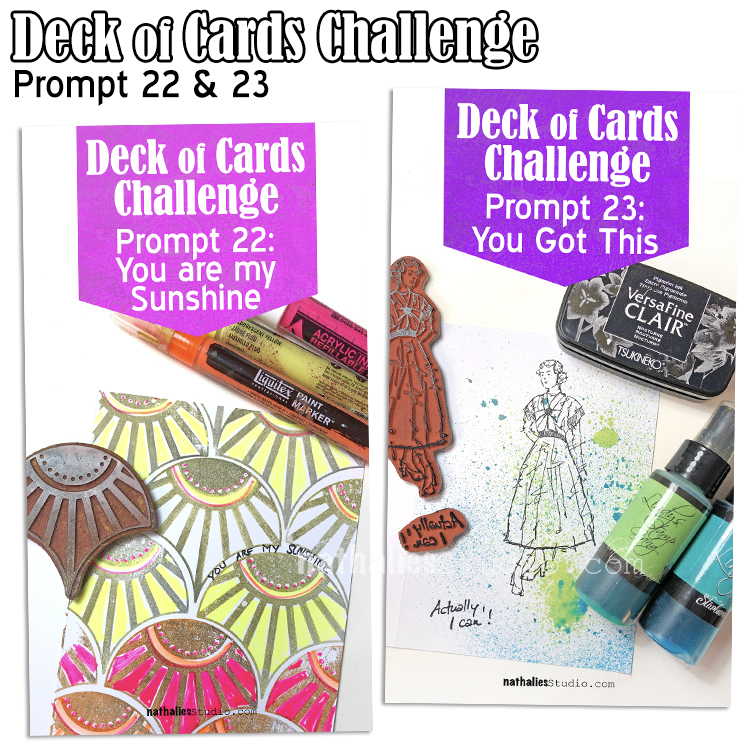
Today I am recapping Days 22 and 23 of my Deck of Cards Challenge that is running all month long on Instagram. This week we are focusing on funny friendship cards and words.
Here is a recap of Prompts 22 and 23:
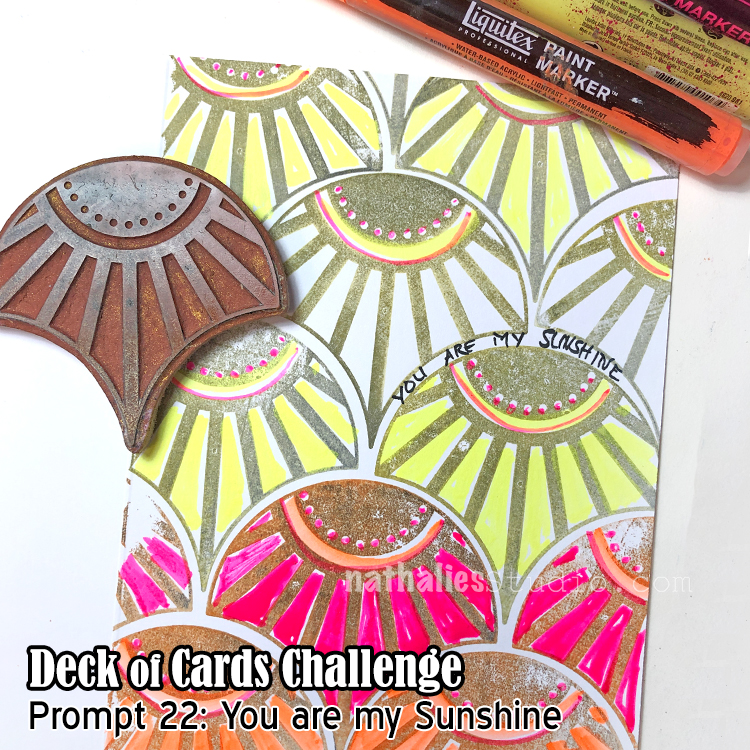
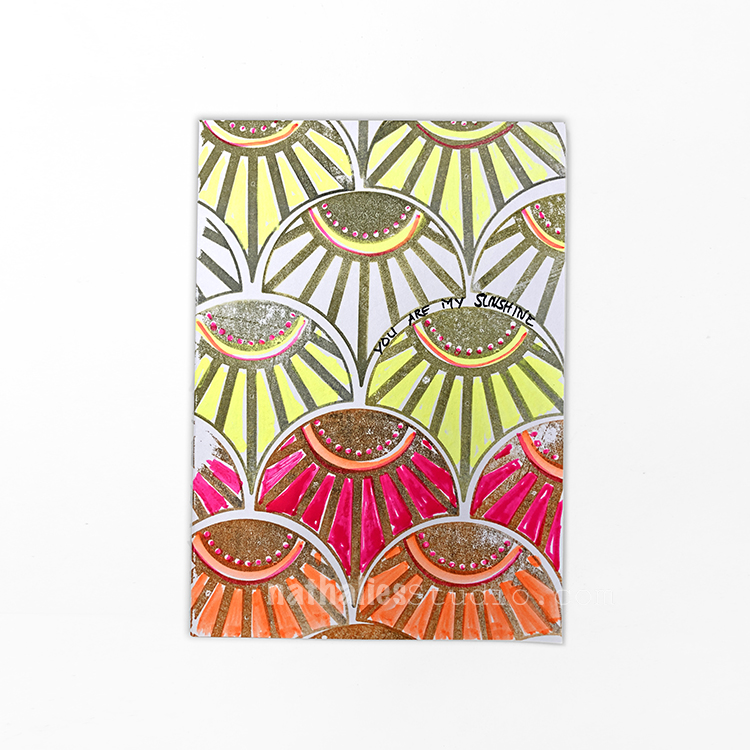
Day 22 – You are my Sunshine
I love that nice lyric “You are my sunshine” and thought hey my Broadway Fan Large rubber stamp kinda looks like a sunrise – perfect.
I stamped it in gold and then added some color with Liquitex paint markers in warm hues. I tucked my sentiment right in the pattern.
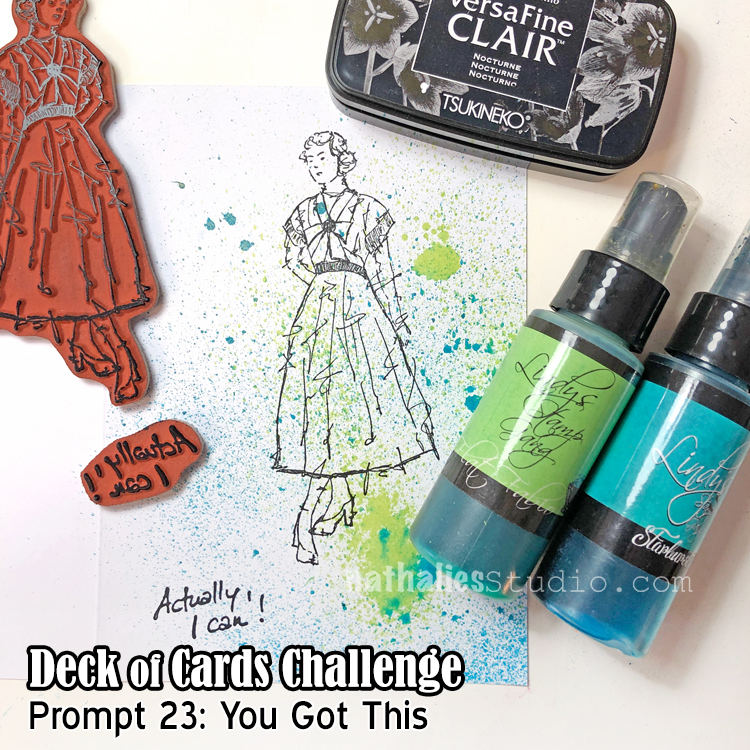
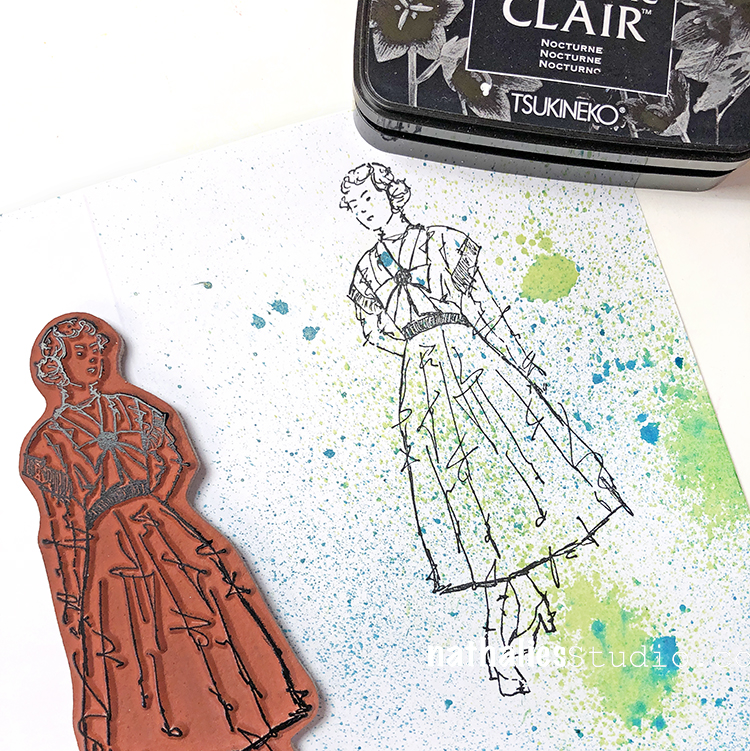
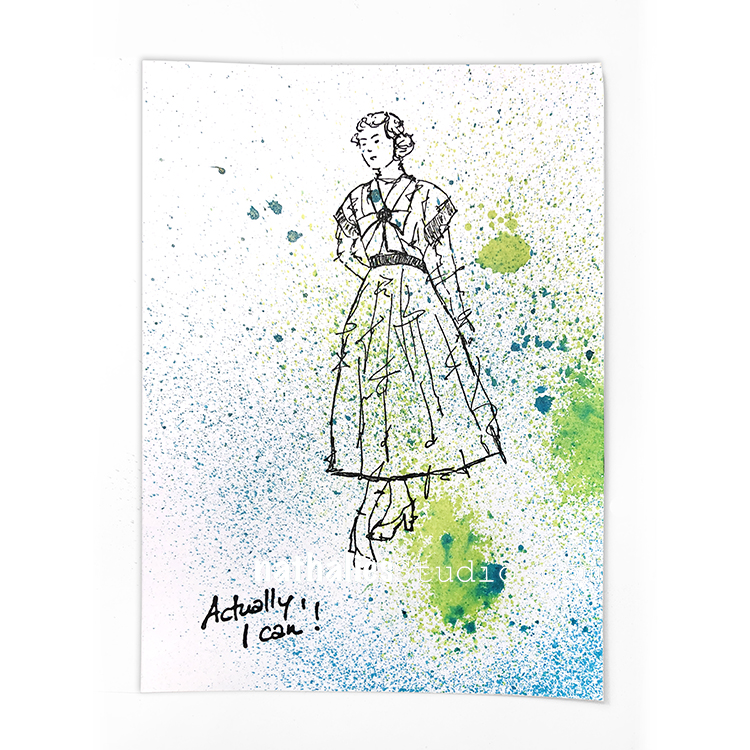
Day 23 – You Got This
Time for some encouragement in my Deck of Cards Challenge!
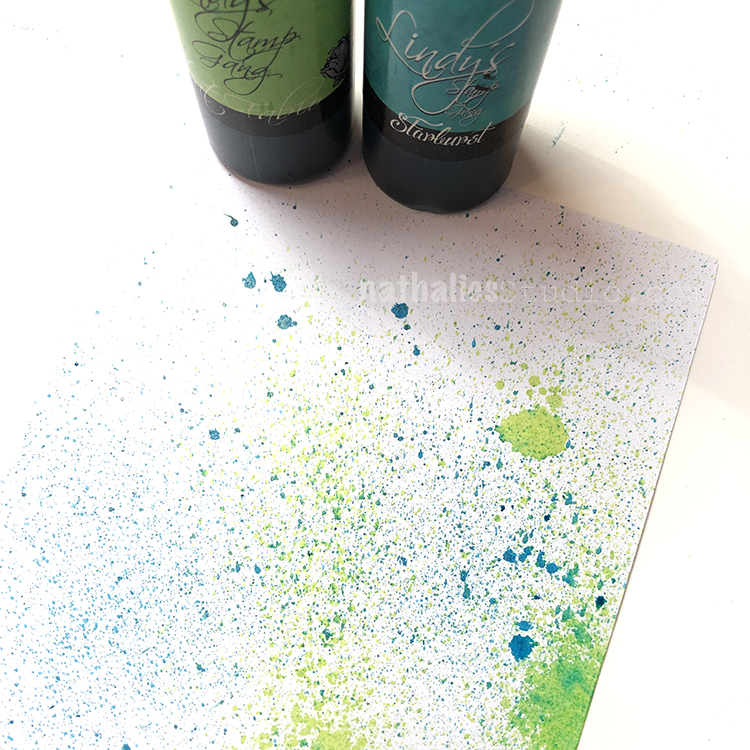
I created a background using Lindy’s Starburst Spray in two colors.
Then I stamped my Millie and my sentiment from the Actually I Can rubber stamp set. This card is just the thing for someone who needs a bit of a boost in motivation.
Here are some of the supplies I used for these cards:
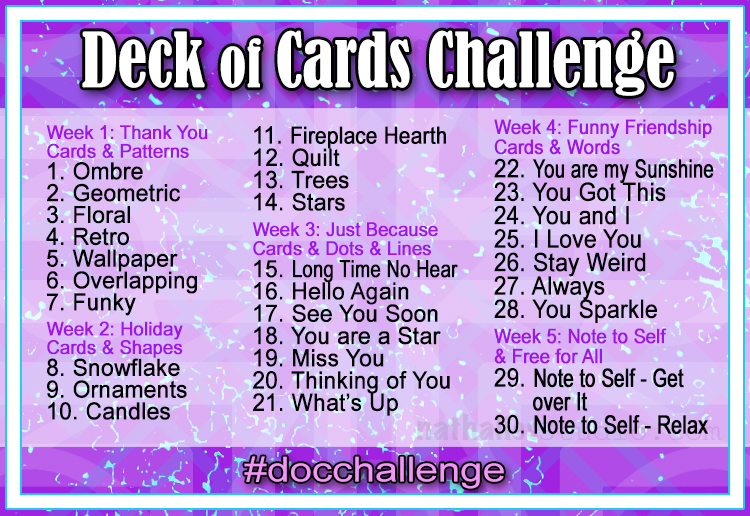
Join us for the Challenge on Instagram and share your work with #docchallenge. Here are the prompts:
I hope you can join me on Thursday, December 12th for a festive evening of holiday card making in Jersey City! I am teaching a workshop at a new space in my hood and am excited to be bringing some stamping and watercolor fun to help you make a batch of 12-15 cards for your holiday wishes.
It will be a relaxing good time with lots of creating and some refreshments also will be served. Spend an evening with old friends and new, enjoying a holiday activity that will help you spread some joy too :)
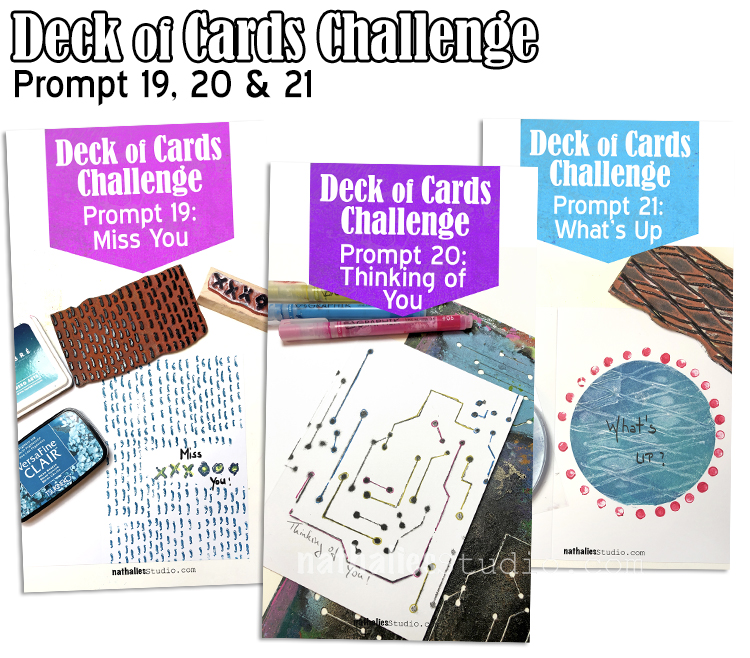
Today I am recapping Days 19, 20, and 21 of my Deck of Cards Challenge that is running all month long on Instagram. This week we are focusing on just because cards and dots and lines.
Here is an over view of Prompts 19, 20, and 21:
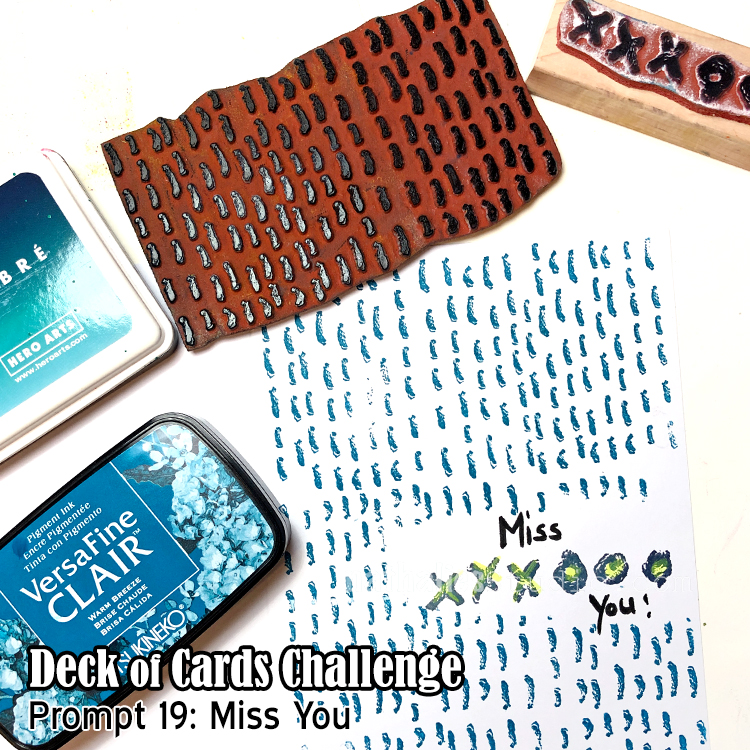
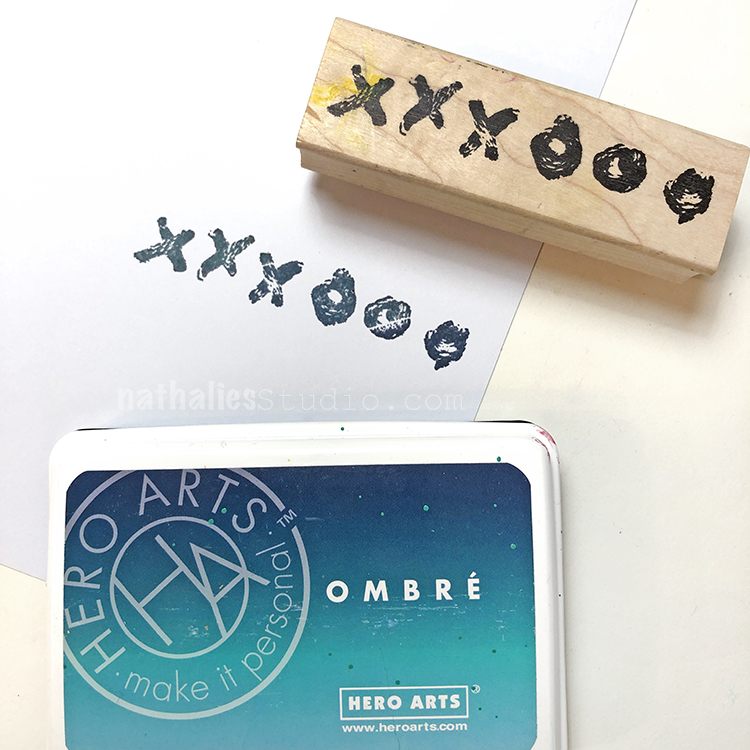
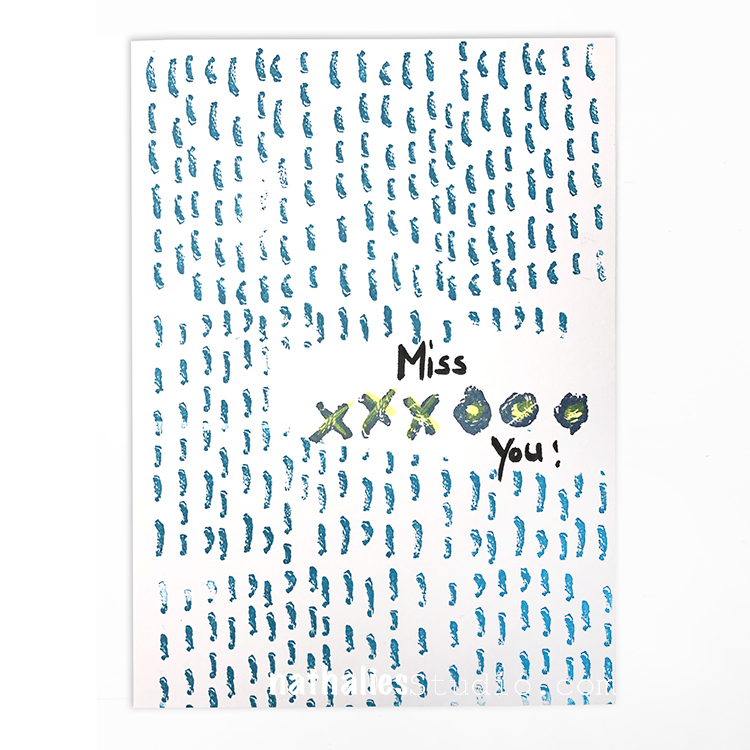
Day 19 – Miss You
My card today is Miss You – sniff sniff! For that person who has been gone too long.
I used my Love Knots and Running stamps from my Embroidery rubber stamp set and an ombre ink pad from Hero Arts.
I almost feel like the Running stamp could be rain or even some serious tears. Either way, this card gets the feeling across.
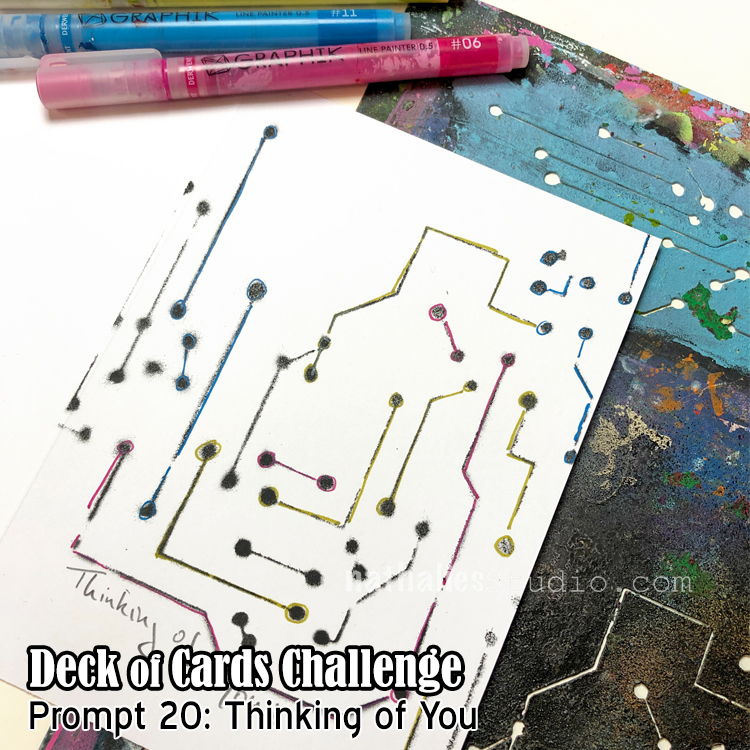
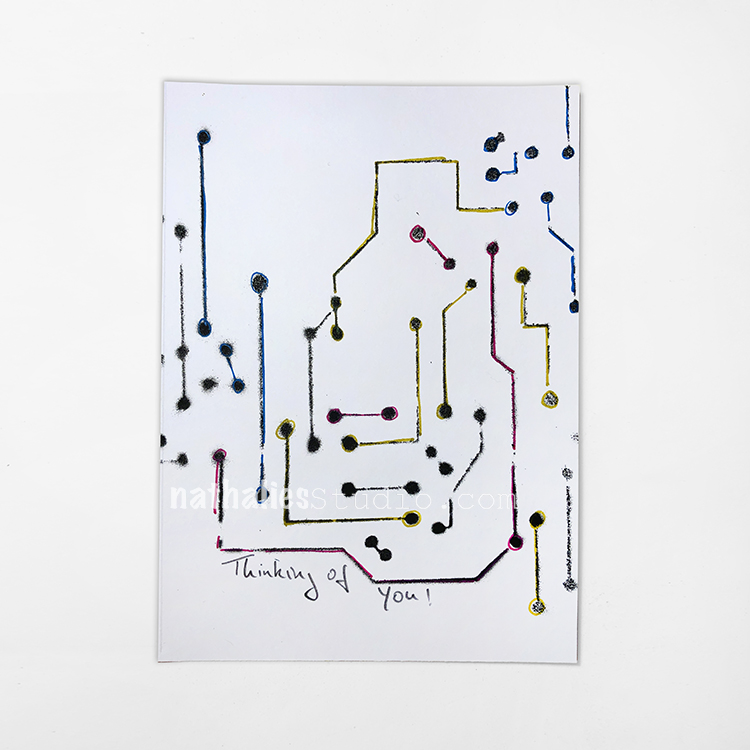
Day 20 – Thinking of You
We’re on Prompt 20 of my Deck of Cards Challenge and today we’re making a card just to let someone know they are in our thoughts.
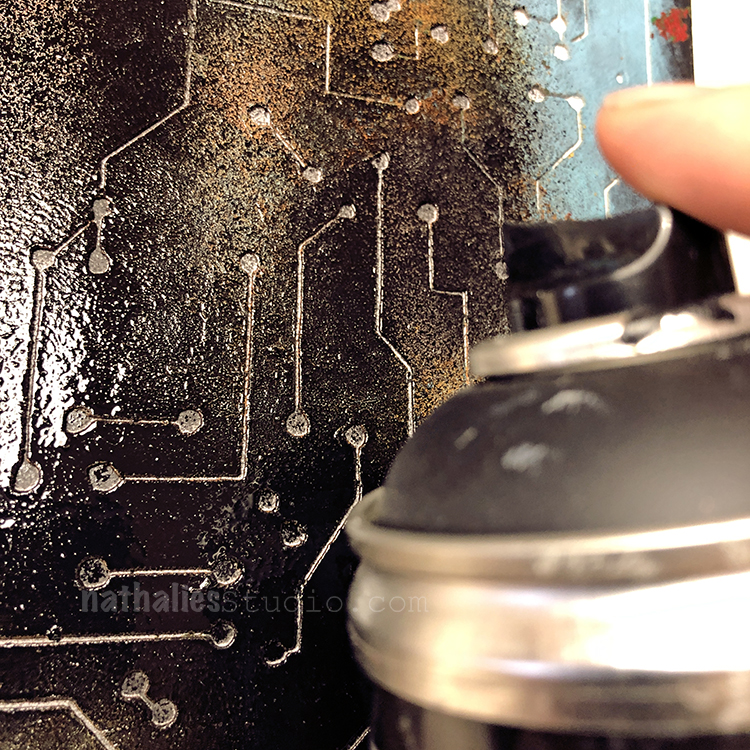
I started with my Circuit stencil and black spray paint and then I oomphed it up a bit by going back in with Graphik Line Painters.
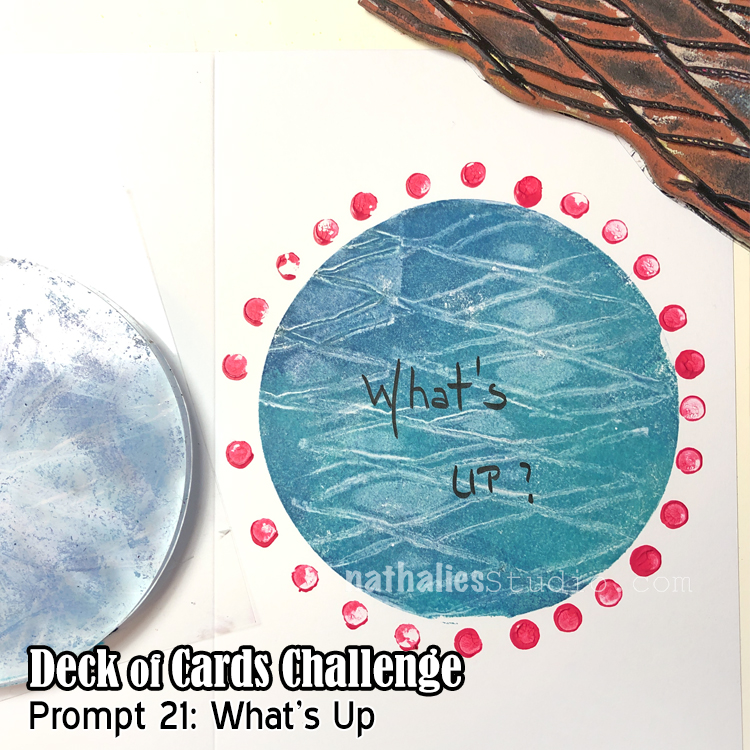
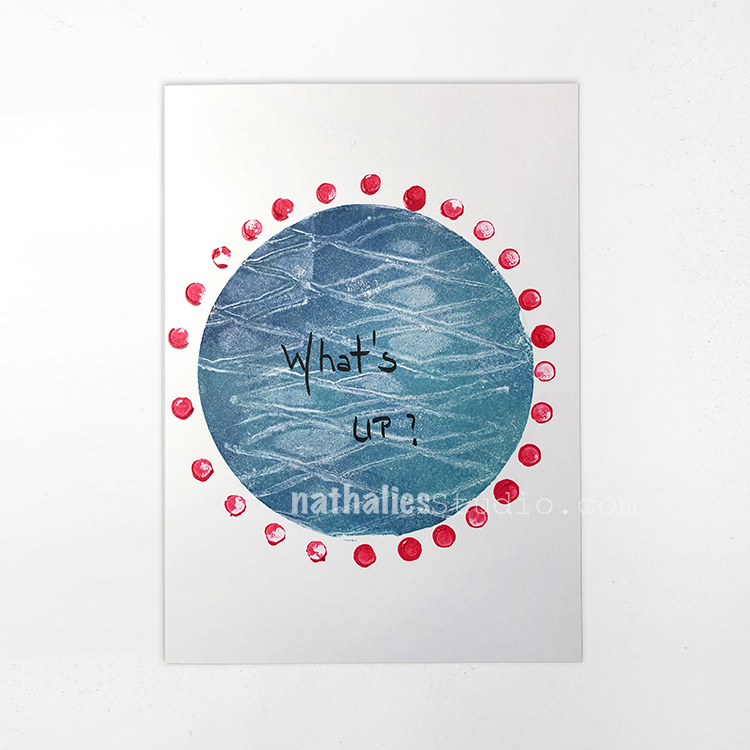
Day 21 – What’s Up
This is the final day for my Just Because cards, focusing on Lines and Dots.
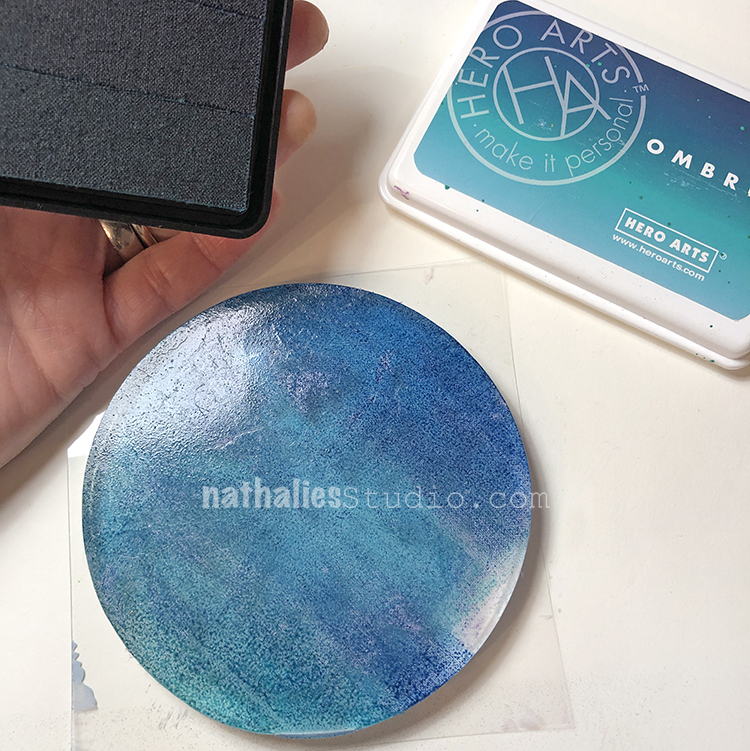
I used an ombre ink pad to ink up a round gelli plate.
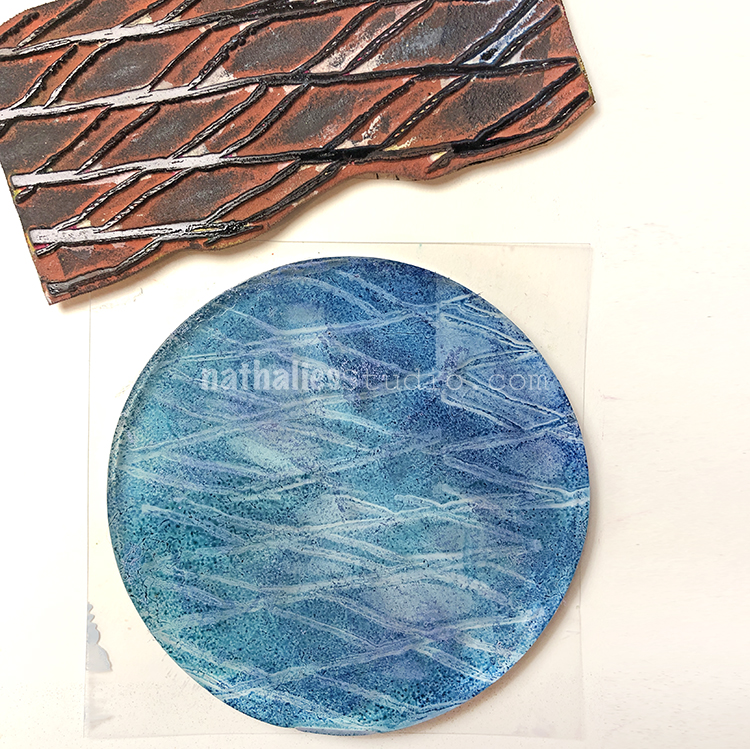
Then I stamped my Pie Top rubber stamp into it to remove ink.
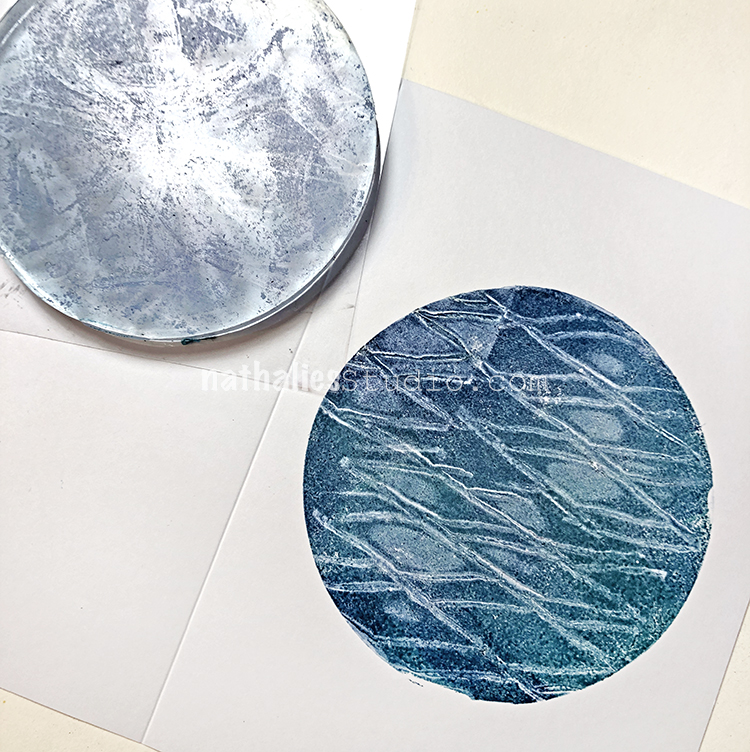
When you press the gelli plate on a card the stamp pattern gives a nice effect.
I added some eraser dots and then my sentiment. This is definitely a light hearted card.
Here are some of the supplies I used for these cards:
Join us for the Challenge on Instagram and share your work with #docchallenge. Here are the prompts:
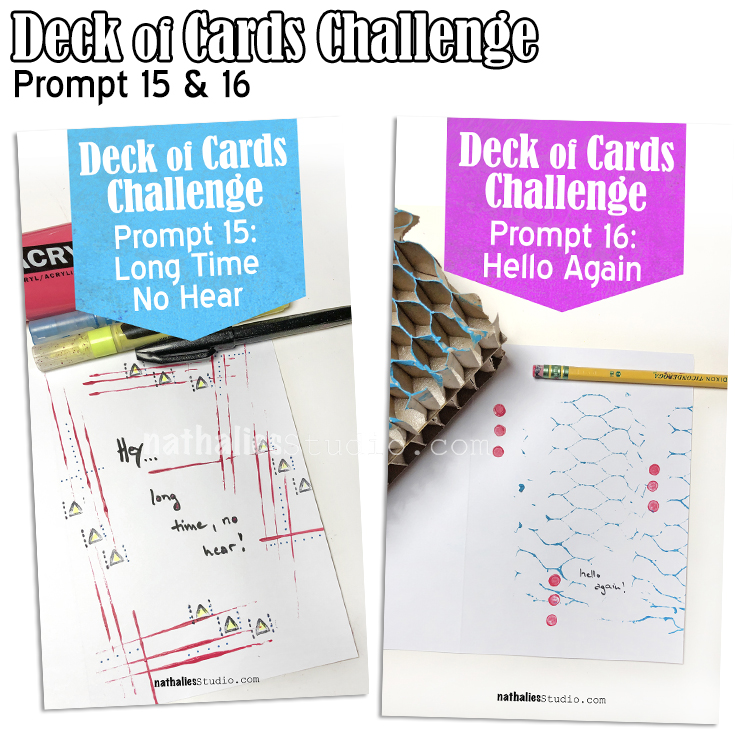
Today I am recapping Days 15 and 16 of my Deck of Cards Challenge that is running all month long on Instagram. This week we are focusing on just because cards and dots and lines. Check it out!
Here is an overview of Prompts 15 and 16:
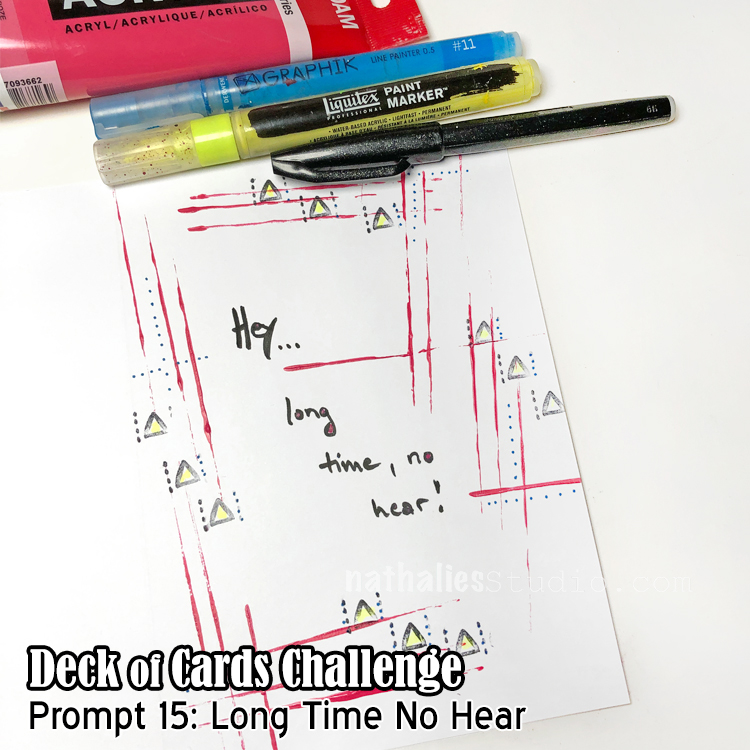
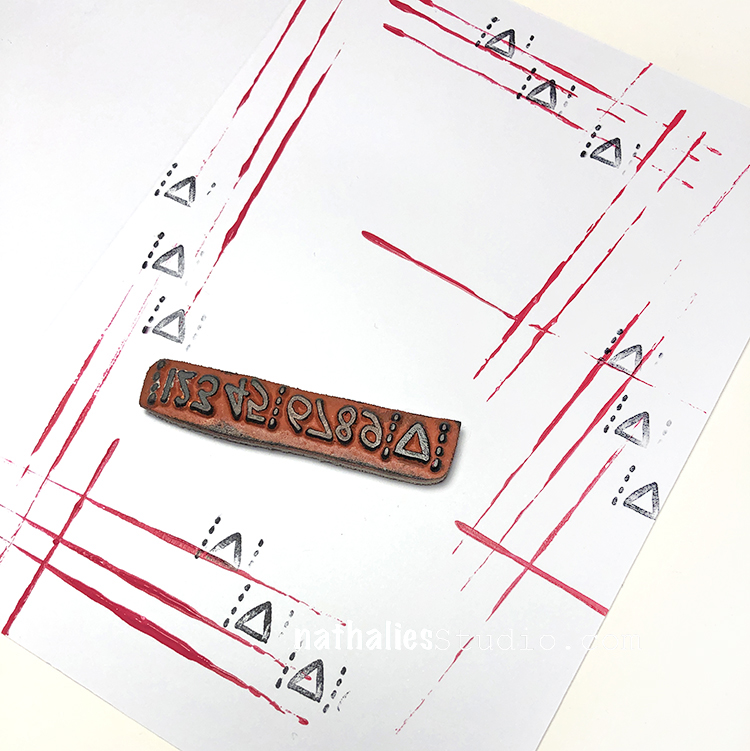
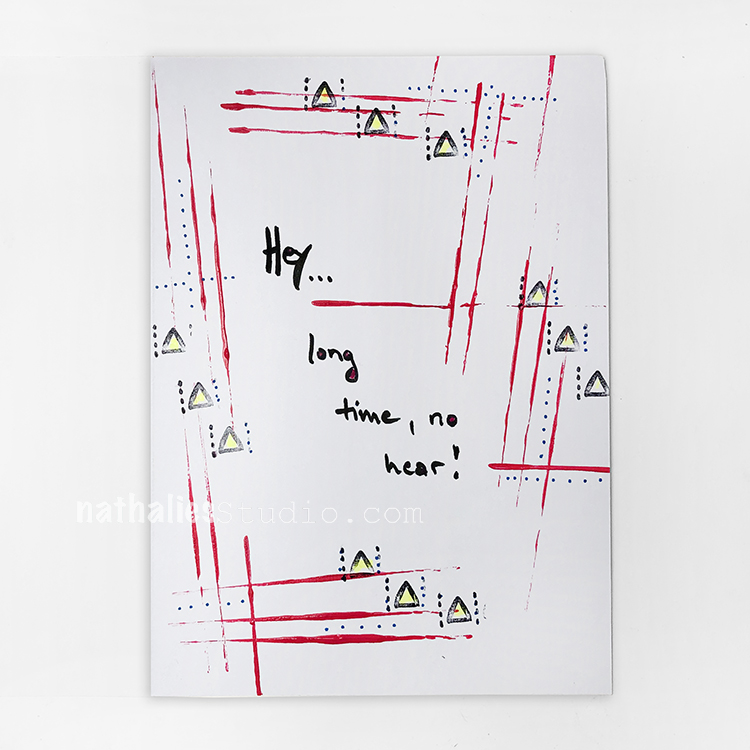
Day 15 – Long Time No Hear
In my Deck of Cards challenge it is time for some “just because” cards for your friends and such. Also this week we’re going to focus on dots and lines so here we go with the first card, for your long lost friends :)
I dipped the edge of some cardboard in paint and made some marks on the card – cool little abstract trick. Then I used the triangle off my Numerals stamp for a bit more to the pattern.
Next I added more dots, a bit of color in the triangle, and my message. Now it’s time to send this off and reconnect!
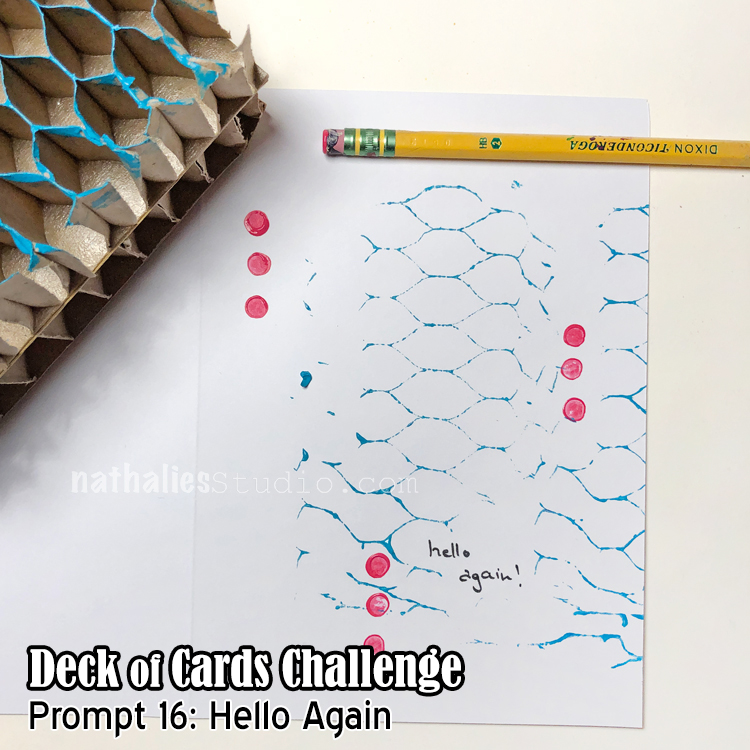
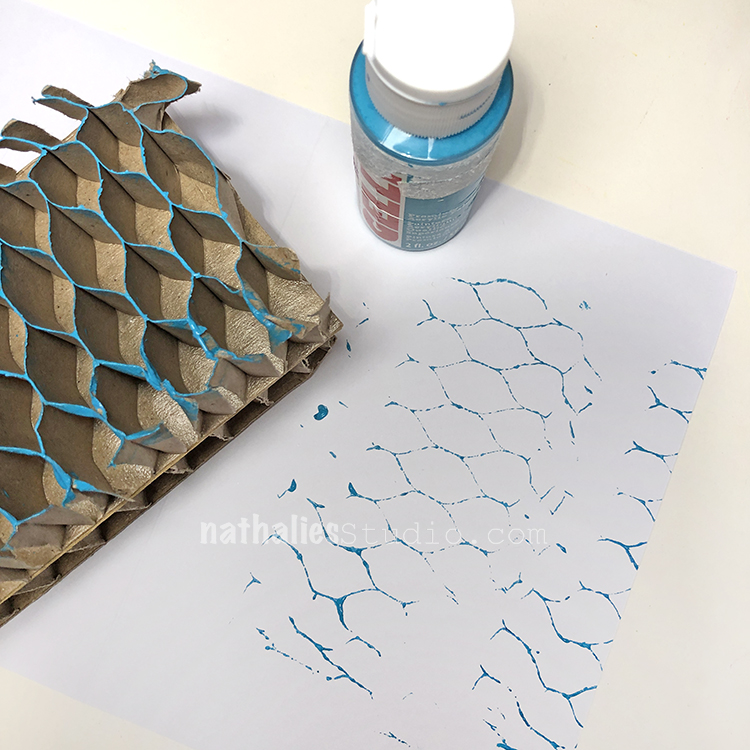
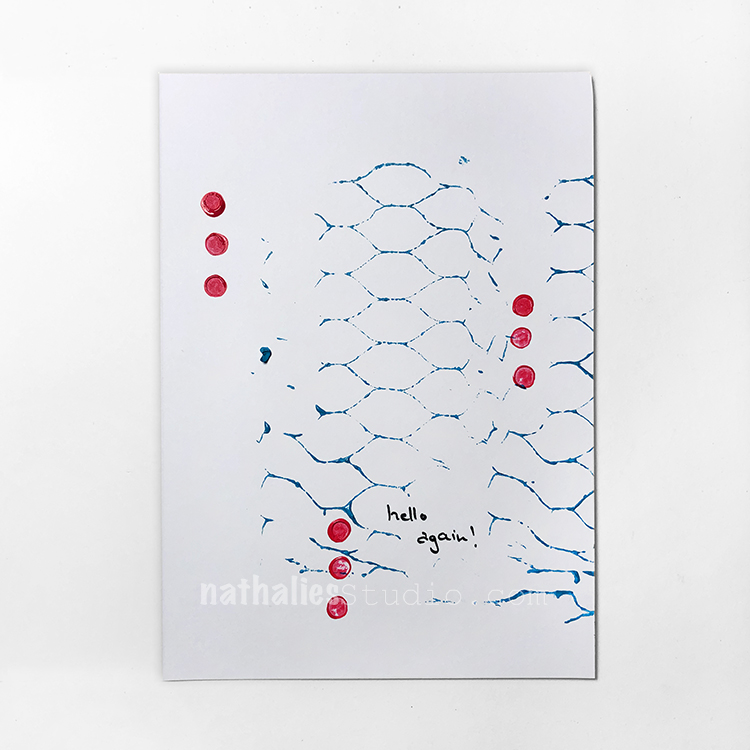
Day 16 – Hello Again
Welcome to another day of my Deck of Cards Challenge – today my card is using an interesting cardboard pattern as a stamp with acrylic paint.
I love finding ways to use the crazy amount of packing material that comes in everything these days. It makes me feel a tiny bit less bad about it if I can reuse it.
So then I also used my pencil eraser for dots – one of the best ways to get nice same sized dots wherever you need them.
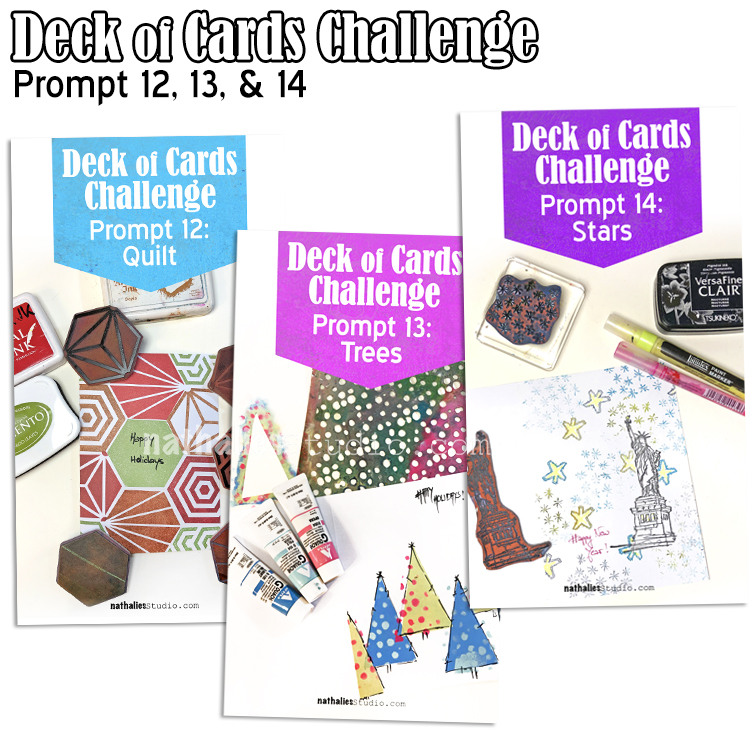
Today I am recapping Days 12, 13 and 14 of my Deck of Cards Challenge that is running all month long on Instagram. Join us for some fun and relaxing card making- this week we are focusing on holiday cards.
Here is an overview of Prompts12, 13 and 14:
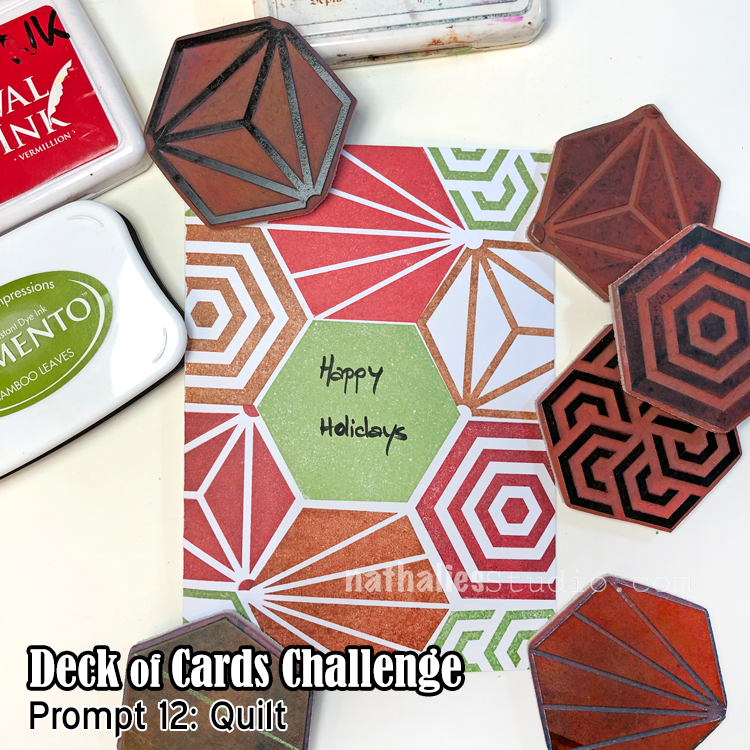
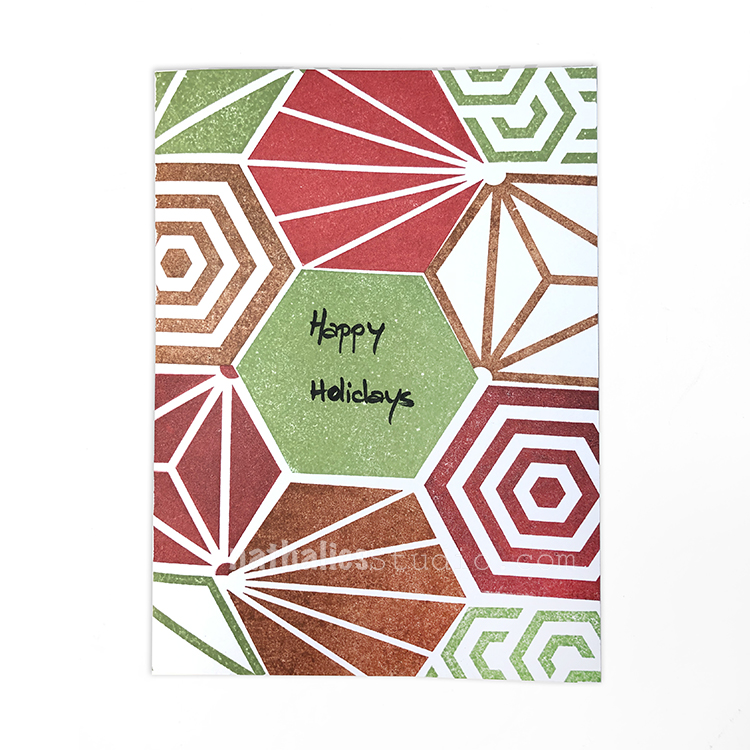
Day 12 – Quilt
Today I am using the classic Christmas colors of red and green with my Hex Large rubber stamps and creating a Happy Holidays quilt design.
Each day for the Deck of Cards Challenge I am bringing you a card idea for a lot of different occasions and this one is a perfect one to make a bunch of for everyone on your Christmas list. Simple, easy, and nice and bold and modern.
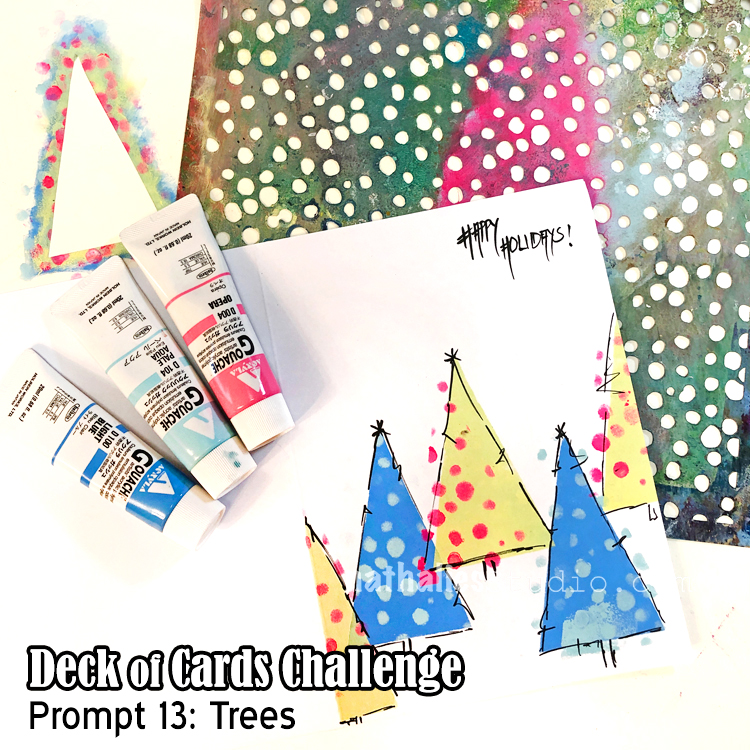
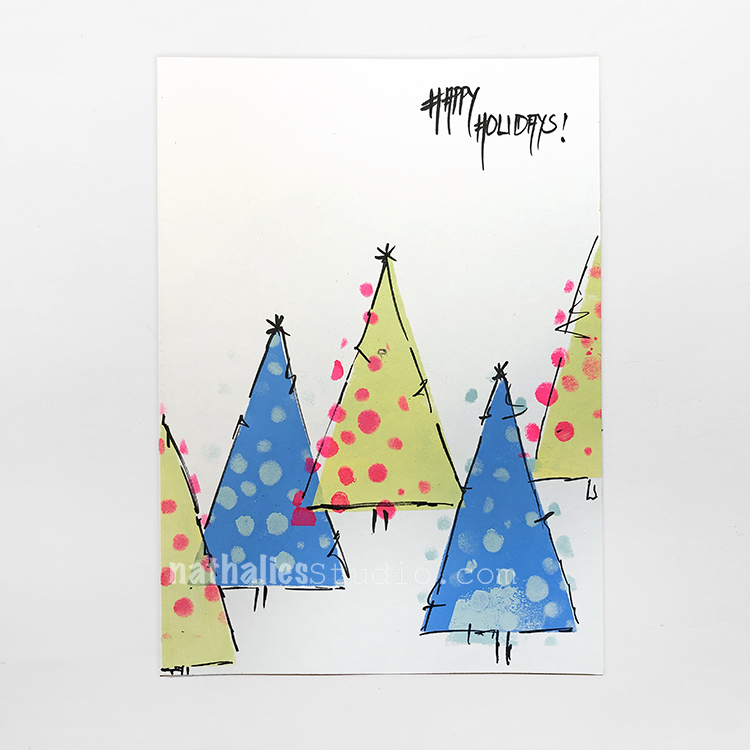
Day 13 – Trees
For my Deck of Cards challenge today I am making a holiday card with some funky little trees on it.
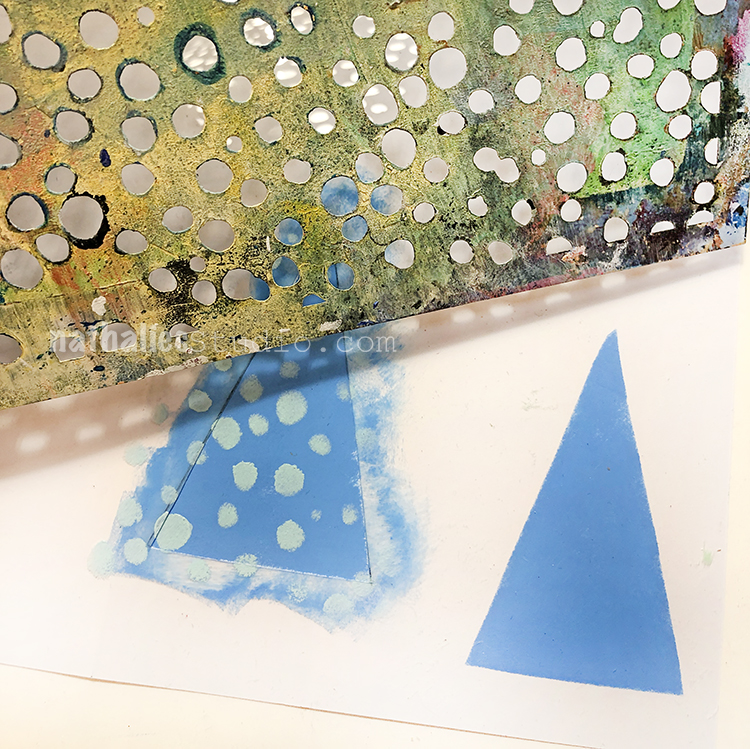
I cut out a triangle shape in some paper and then sponged acrylic gouache – presto I made a tree :) Then I decorated my tree with my What’s the Point stencil – charming little “ornaments”.
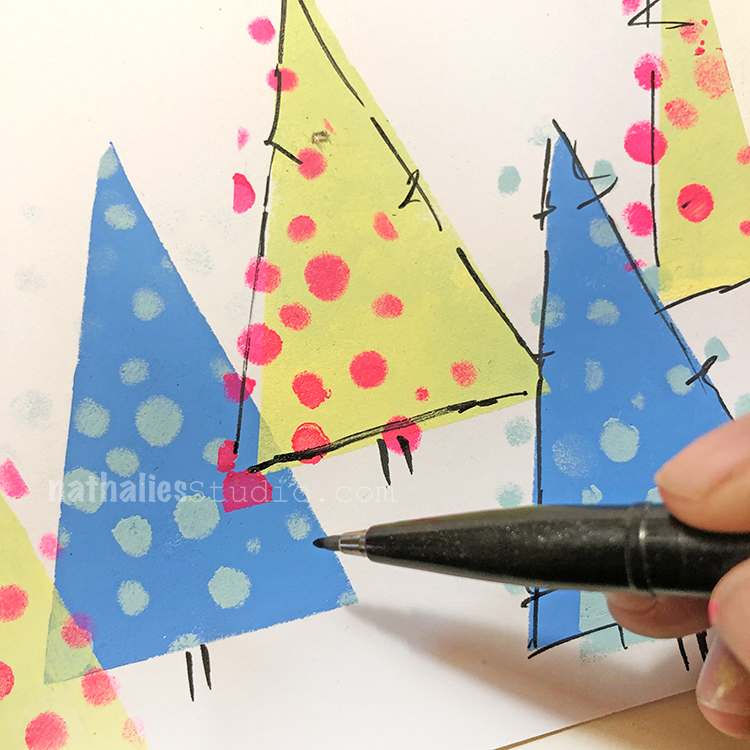
Next I oomphed up the edges with pen and even topped them with a little star.
This is a really cute card idea and perfect for making in multiples.
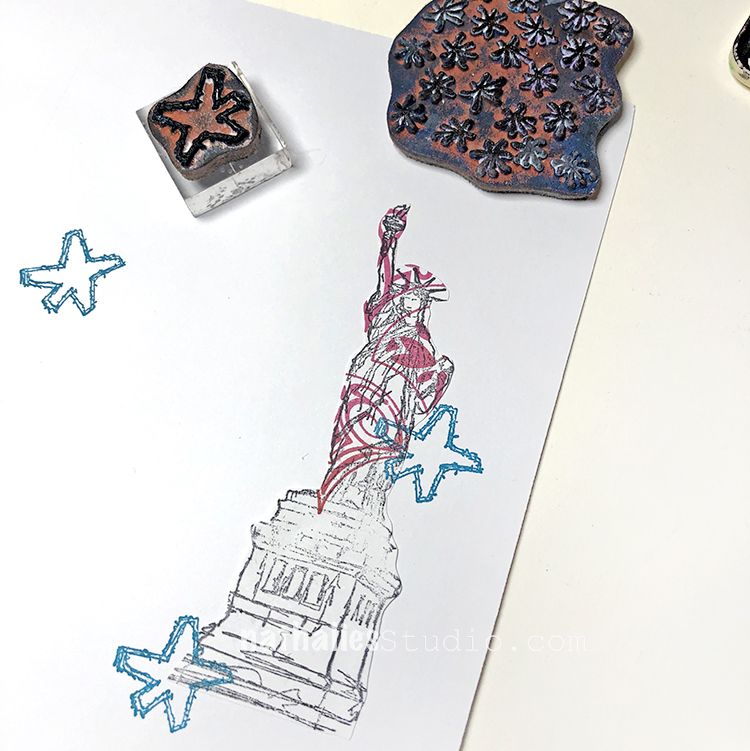
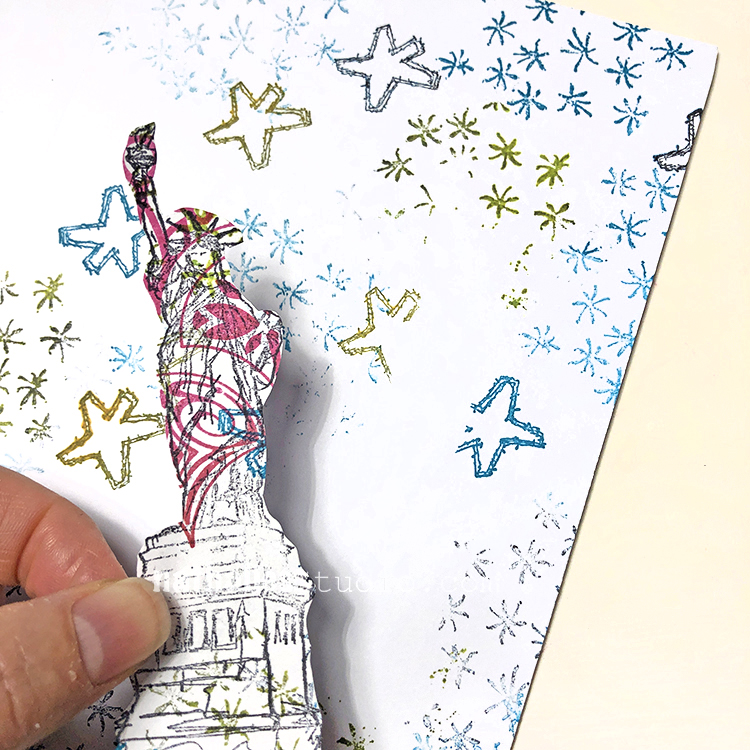
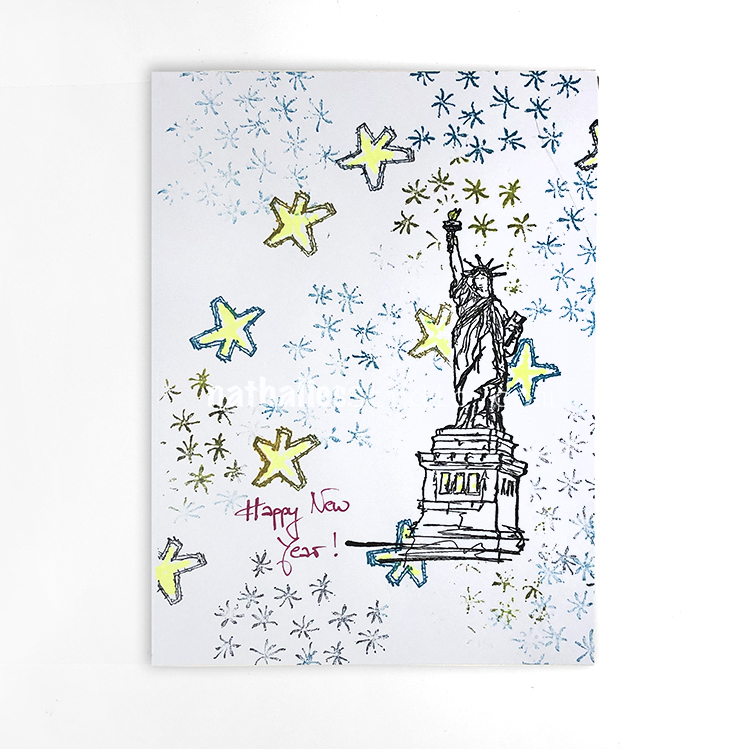
Day 14 – Stars
For our last holiday card in the Deck of Cards challenge, I thought we need a New Years card.
Here in NYC they always have fireworks on the big night so I thought hey, why not create that scene. I made a mask with my Lady Liberty stamp, then stamped out a festive sky with my Star Tag and Star Fish rubber stamps.
Next I removed the mask and stamped my Lady Liberty in black. I added some color with acrylic markers. Happy New Year!
I hope you share what you are working on using #docchallenge and stay tuned for more prompts.
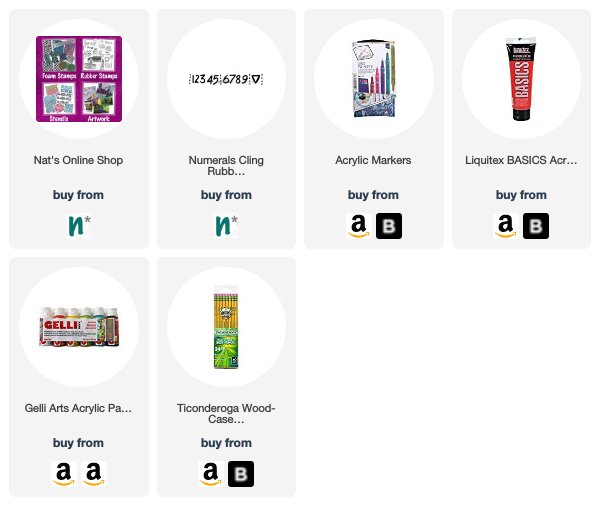
Here are some of the supplies that I used in these:


Comments (2)
Robin
| #
Love them all!!!!
Reply
nathalie-kalbach
| #
thank you Robin!
Reply