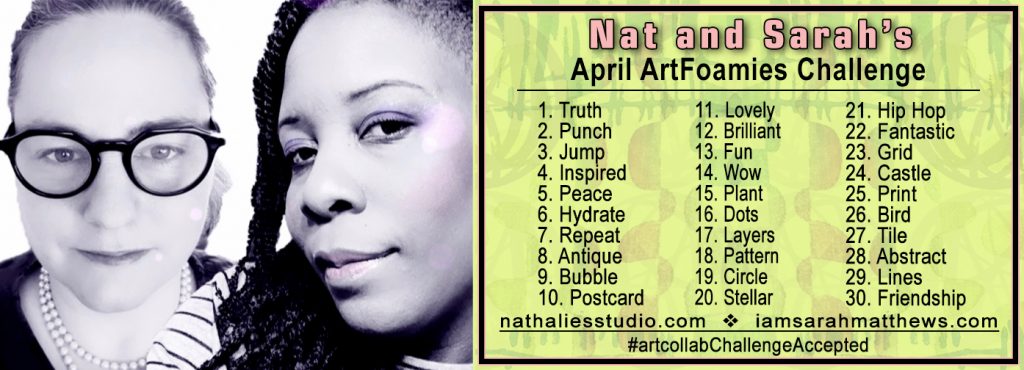
We’re on Day 12 of Nat and Sarah’s April ArtFoamies Challenge today! You can follow along on my Instagram feed daily with videos and photos, and I will post updates here on the blog too from time to time throughout the month.
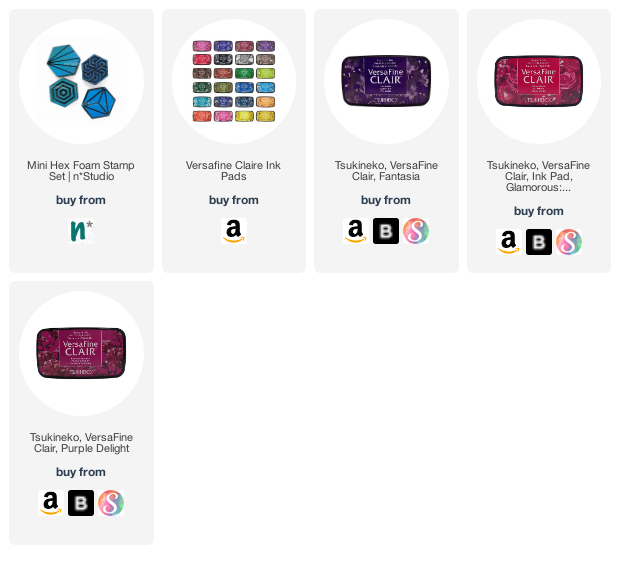
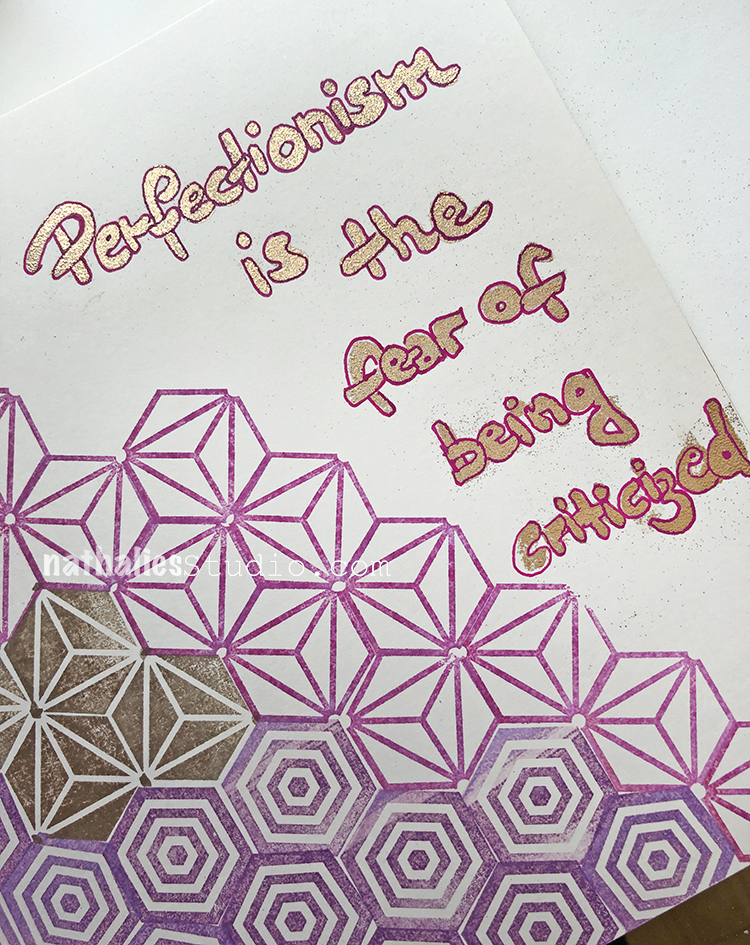
Day 12 and our prompt is Brilliant – Sparkly sparkly- well one of the stamps from this Mini Hex Set is called Diamond Hex – can you guess which one? Again it was a bit of a toughy to use the inks on those totally acrylic paint caked up foam stamps. I can’t stress enough how important it is to clean your foam stamps. Mine are used for years in classes so they show you exactly why if you want to use them with other paint media as well, you should really clean them after use. I could have cheated and opened a new package… but I am a frugal person… and I am not that brilliant ;)
Here is a look at that page too:
Follow along with the challenge on instagram and post your artwork too with the hashtag #artcollabChallengeAccepted
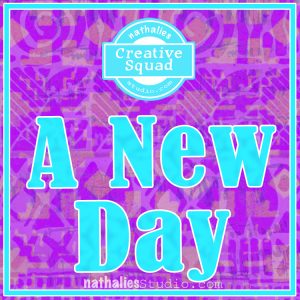
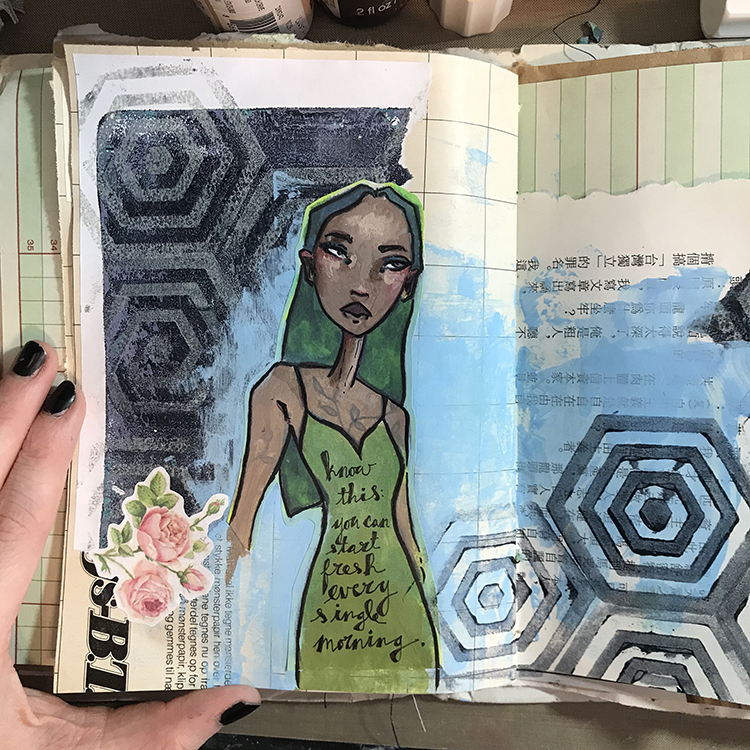
Hello from my Creative Squad! Today we have an art journal spread from our new member Jordan Hill. Jordan is creating collage papers with my Mini Santa Fe and Mini Hex Set foam stamps, and pulling elements together in her art journal page inspired by this month’s theme: A New Day – Let’s try something new today :) Although these are tumultuous times and we never know what each new day will bring, it also seems like the perfect time to throw caution to the wind and just jump into something new with both feet. Try a new material or technique or approach. Why not? Today is a new day… and tomorrow is too!
I am so incredibly happy to be here as one of the newest Creative Squad members; I hope I am able to inspire you in the time I spend here!
When I was first presented with the theme for this month, “A New Day”, the first thing that came to mind was the concept of creating a variety of new collage materials to use in my work. I really enjoy the process of painting my own papers, since I feel it adds an element of originality to my art journals that I might not get from store bought patterned papers.
The first step in this project was to pull out my gelli plate to use in combination with Nathalie’s Mini Santa Fe Foam Stamp as well as the Mini Hex Foam Stamp Set. Though I can see potentially infinite uses for these foam stamps, using them to actually remove paint from my gelli plate was the method I decided to use here.
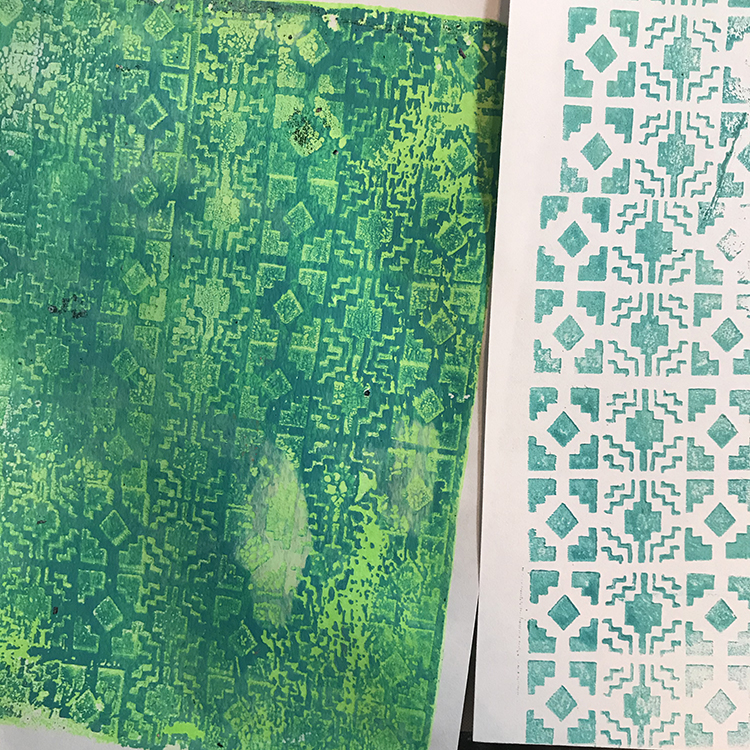
In order to achieve this result, I simply added some Blick Studio Acrylic in Bright Aqua Green and CraftSmart Ivory paint to my plate, then used the foam stamps to stamp into the wet paint. I then used the paint on the stamp to create an entirely new design by stamping onto a blank sheet of paper (shown in the photo above).
Once the paint has dried on the plate, you can then add another color (in this case I used Fluorescent Green) to pull another print! This gives you multiple different designs from the same stamp, and is a lot of fun to play around with.
I spent a while working with my foam stamps and my gelli plate to create a good assortment of papers I would be able to use in the future. Above you can see a few pieces from the final selection I had to choose from! As you can see, you can get quite a variety from just a few stamps and a couple different colors of paint.
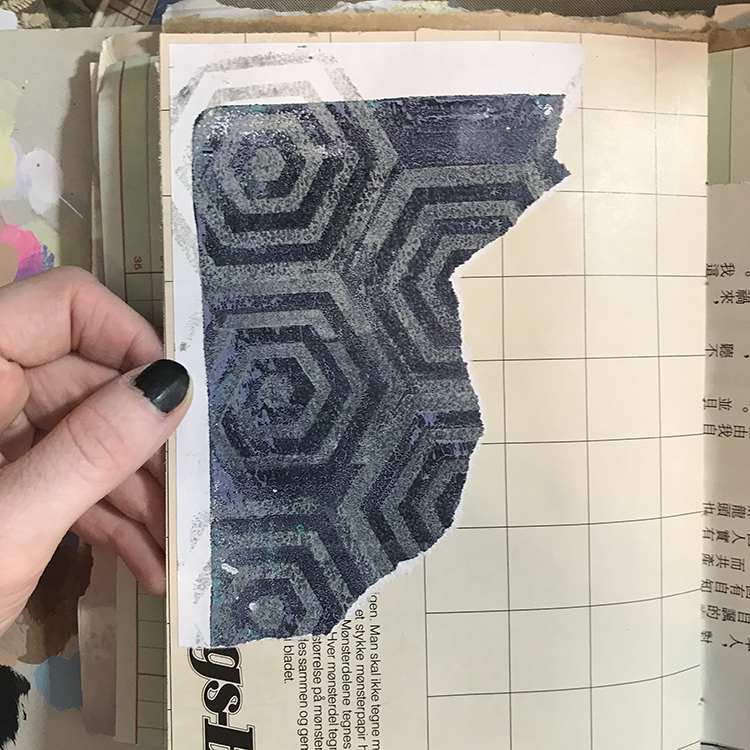
Once I had a handful of painted papers, it was time to actually incorporate them into an art journal spread! The first step in doing this was to select a page in my journal, then tear chunks from the painted papers. I did this randomly, without thinking much about what the torn pieces looked like. Then I glued a couple of these randomly torn bits onto my page with an Uhu glue stick.
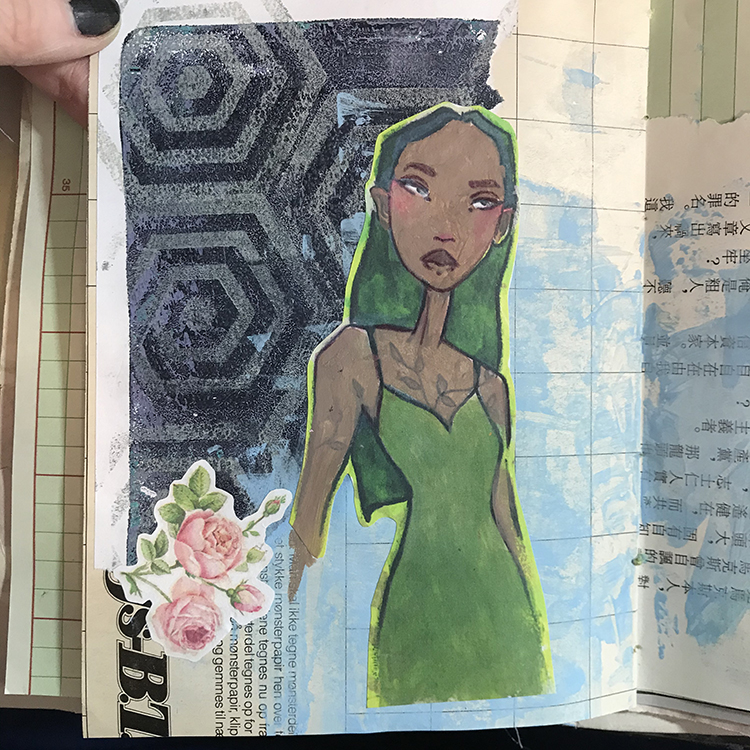
Next up, I added a couple of different collage elements and some Pale Blue CraftSmart acrylic paint to the background, just to give myself a base to work off of. After the background color was down, I began the process of adding a figure to add to this spread. Personally, I love adding faces and figures to my art journal spreads, and they tend to make their way into most of the things I create.
In the photo above you can see that I added quite a few more layers to this girl’s face. I did this with a combination of Natural Beige and Espresso CraftSmart acrylic paints. Natural Beige is quite a light color and Espresso is quite a dark one, so combining them in different ways gave me a good variety of colors to use as shadows and highlights.
This was also where I started to use some ink to define the details of the face. I used the Zebra Fude Sign Brush Pen in Extra Fine to add these details, which is my favorite pen to use in my art journals as of late.
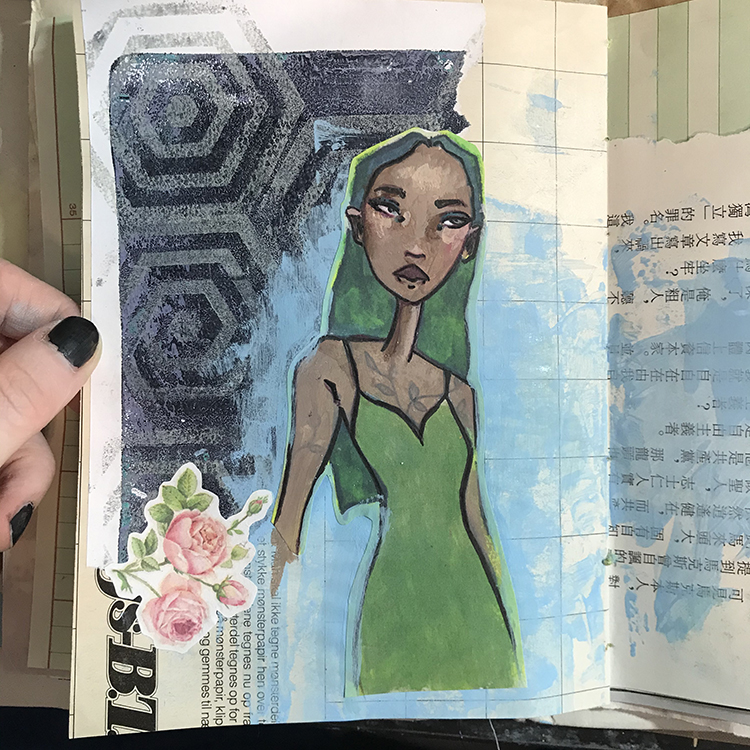
To finish off this art journal spread, I added a quote to fit with this month’s theme inside of the figure’s dress and accented the right hand page with some more stamping with the Mini Hex Foam Stamp Set. This tied everything together nicely and gave both pages a more cohesive feel.
After adding a few finishing touches to the face using a handful of Prismacolor Premiere colored pencils (Aquamarine, Henna, Black Cherry and Nectar), I was ready to call the spread done!
I hope you enjoyed this little look into my process and use some of the ideas I discussed here to create some projects of your own!
Thank you Jordan for sharing with us your process! Love your unique style with creating figures.
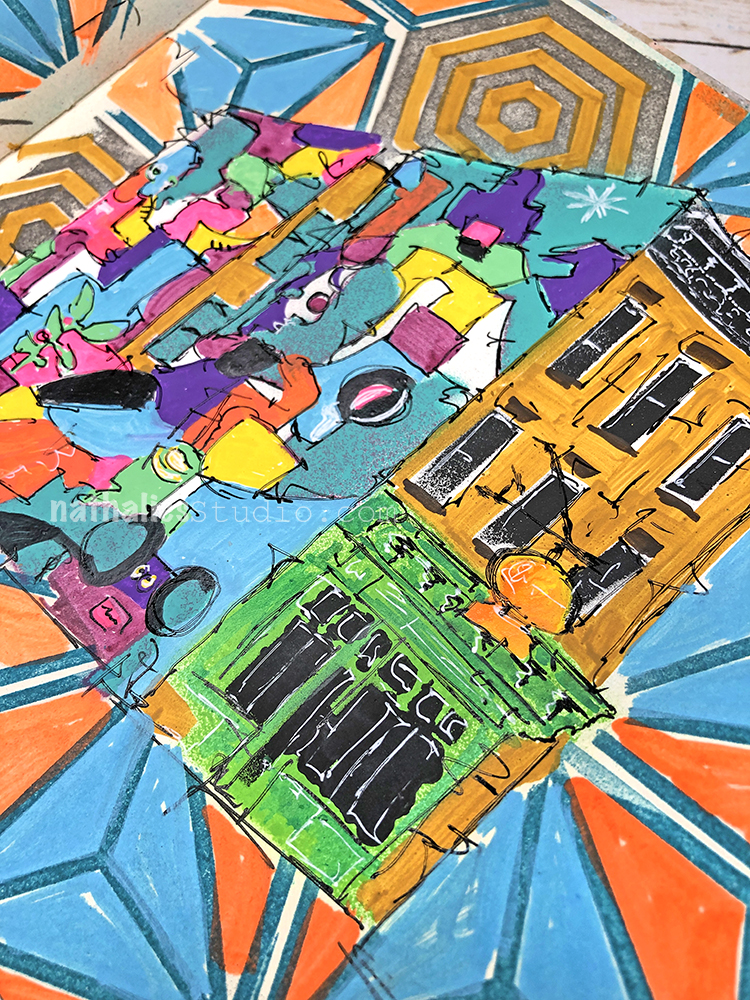
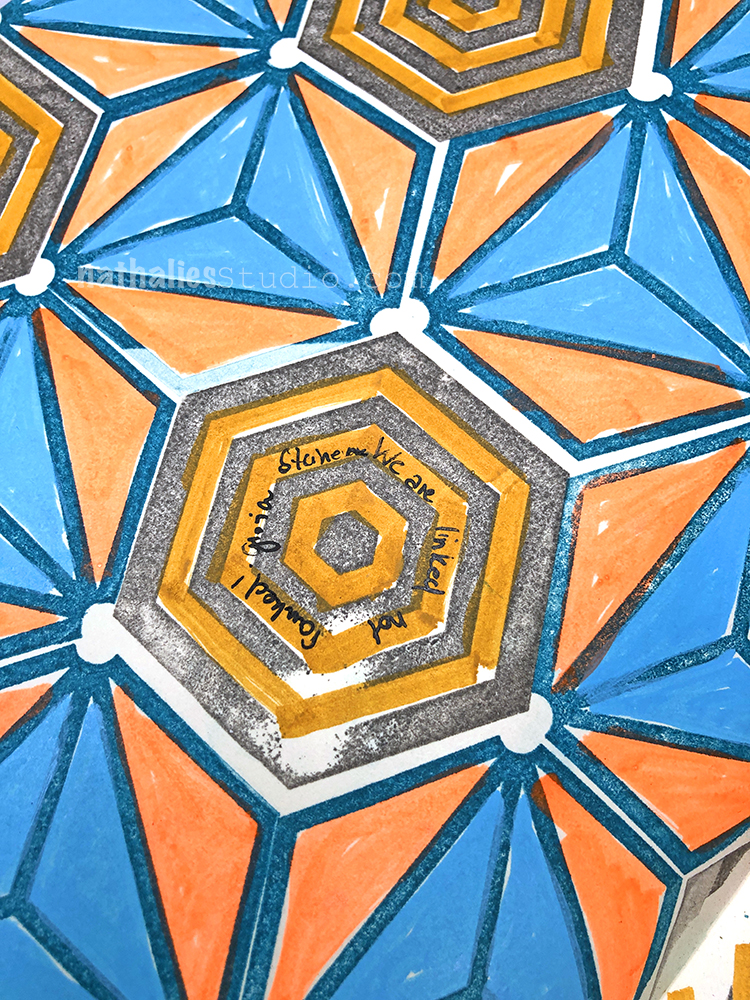
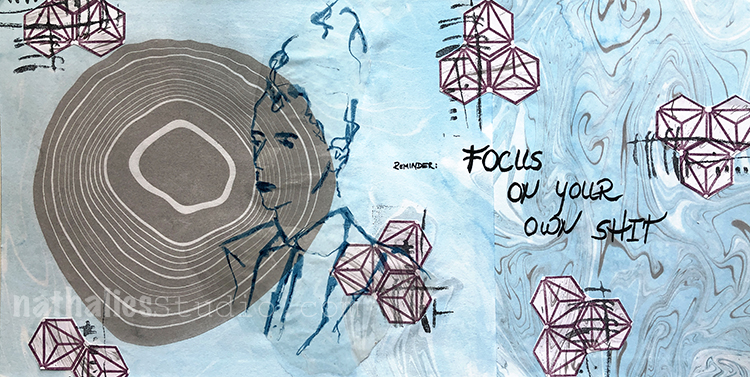
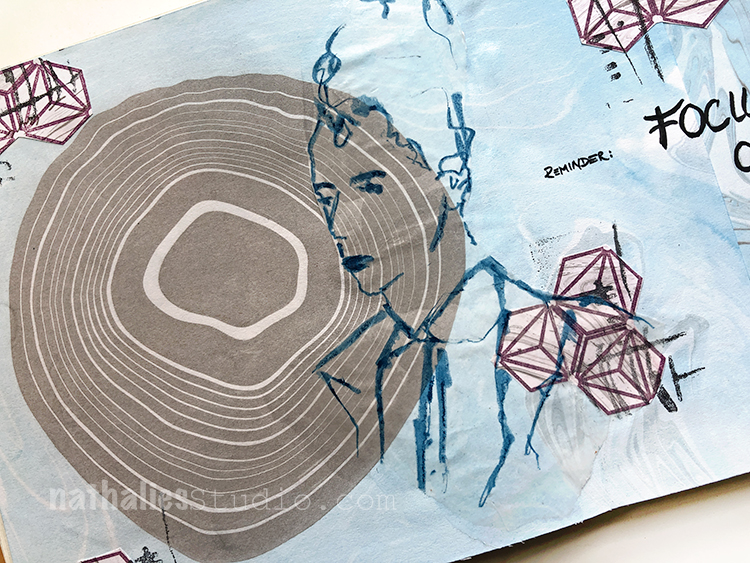
“We are linked not ranked” – Gloria Steinem This was neighborhood stroll inspired and a study for a painting. I love putting the the first idea for a painting into my art journal.
I used markers, spraypaint, and my Hex Set Large rubber stamps. It’s vibrant – just like my hood :) Pretty wild LOL
I will show the paintings I maid on canvas in the next couple days.
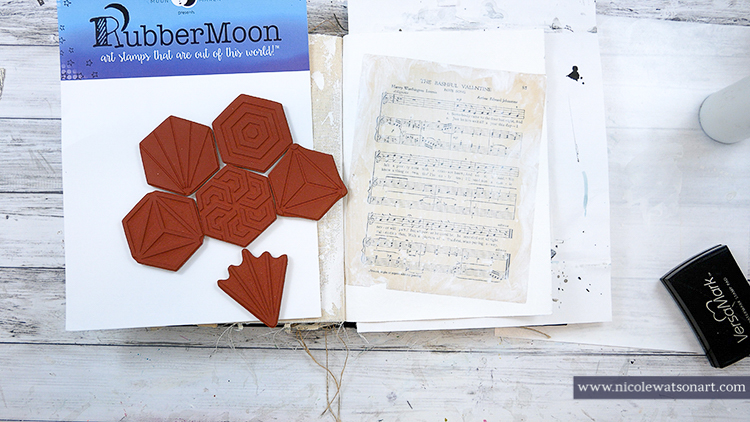
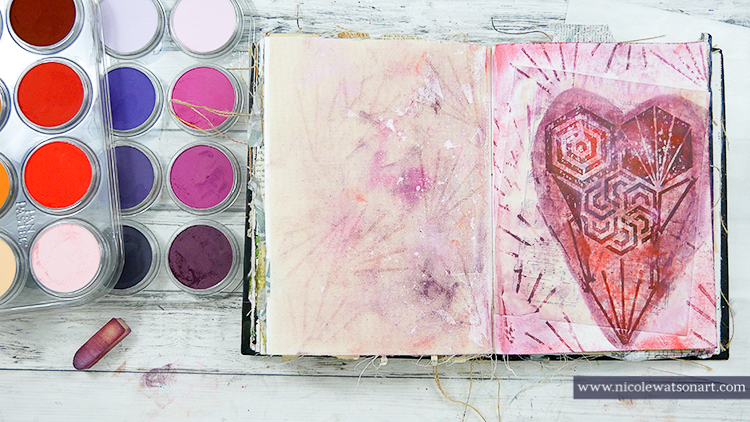
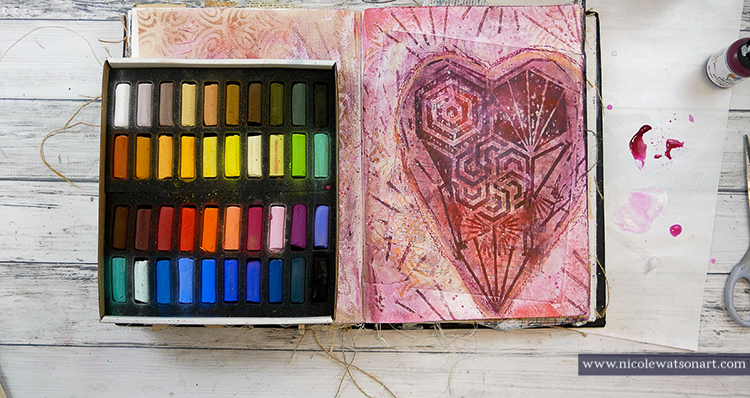
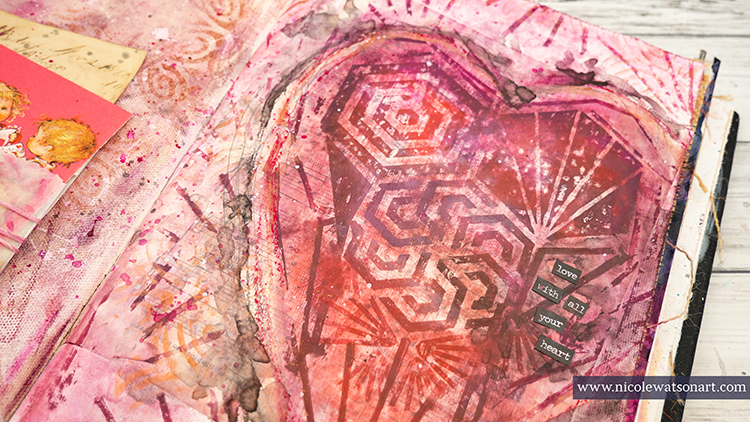
Hello from my Creative Squad! Today we have a lovely post and video from Nicole Watson, who brings us back to those early school days and the Valentine’s Day tradition of exchanging small paper cards. She is using my Hex Large rubber stamps and my Art Deco Fairview stencil and this month’s theme: Whole Lotta Love – Who or what sets your heart aflutter this time of year? Let’s pay tribute this month to those warm fuzzy feelings of love and create something that celebrates that universal emotion.
When I thought about this month’s theme along with Valentine’s day and love, I remembered back to elementary school and how much I loved (for lack of better word!) our classroom Valentine’s Day celebrations. I think most of my classmates liked that day for the candy, who wouldn’t?? However, my favorite part was opening all the envelopes in anticipation of the paper card that was inside. This must have been a hint of my future love for ephemera!
I wasn’t exactly sure where I wanted to go with that on my journal pages, until I ran across some old Valentines in a package of vintage cards I had in a drawer. With one of those in hand, I decided to pay homage to that memory on my pages.
Check out my video to see how it came together and read on below for a complete step out.
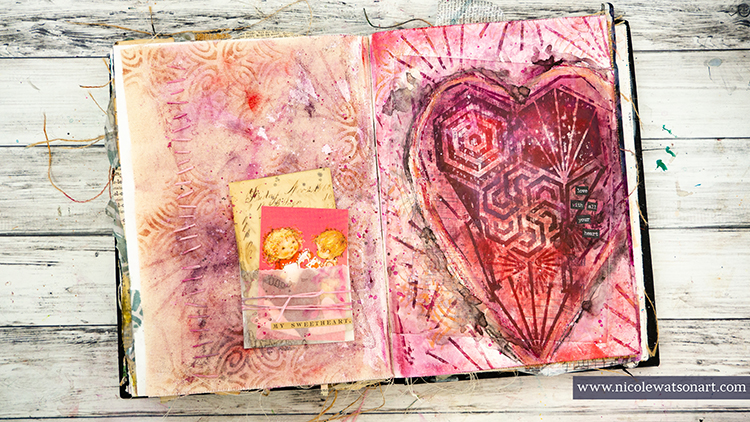
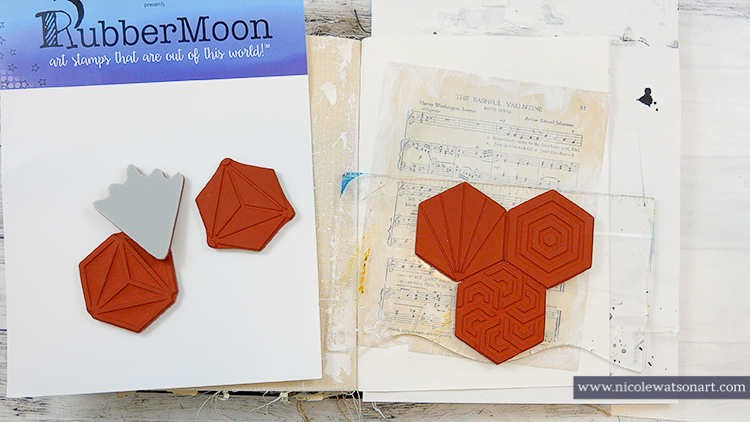
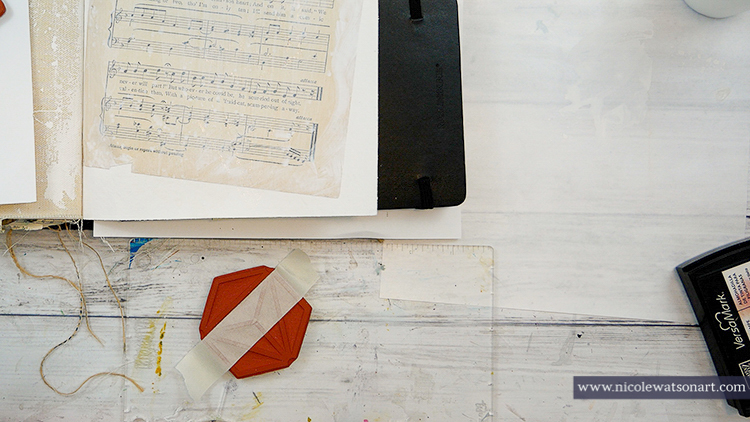
I played around with Nat’s Large Hex stamps hoping I could make a heart out of them. I stamped the hex shapes with versamark onto my journal page that I had already gessoed and layered with a page from a song book that just happened to be about a valentine! This process was a little tricky as I masked some of the stamps with tape to make some of the smaller areas of the heart. I also stamped some outside the heart on the page and also the canvas page to the left. I didn’t know if it would work on the canvas at the time. (spoiler: it did!)
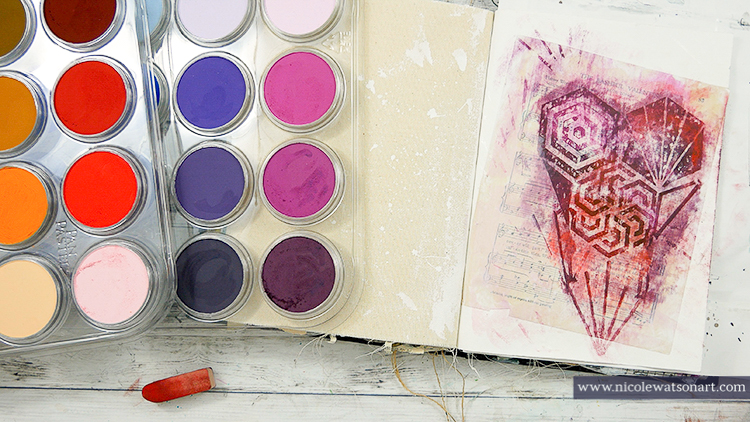
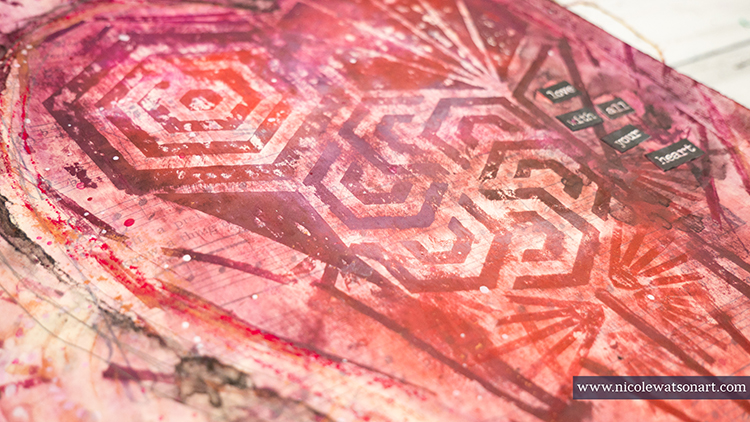
To add color to the page, I grabbed my pan pastels and layered different reds and purples over the heard area. The versamark grabs the pastels and makes that area darker than the others, allowing the heart to pop off the page. I sponged the pan pastel all over both pages. At this point I realized I needed some more versamark lines and designs in the heart and could also use some outside of it, so I experimented by stamping additional versamark and going over it again with pan pastel. Thankfully, this worked!
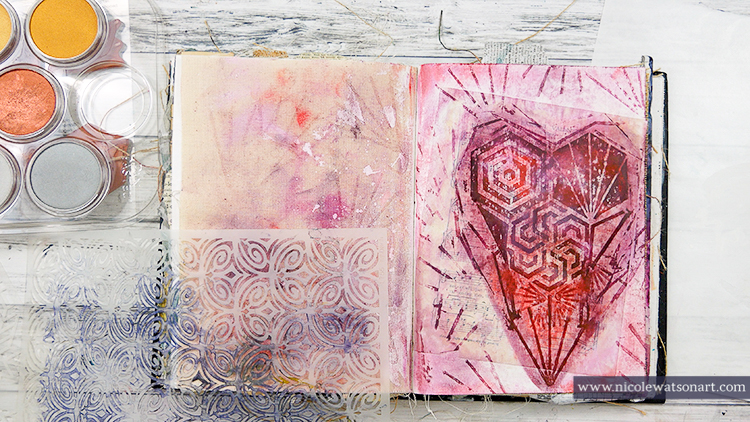
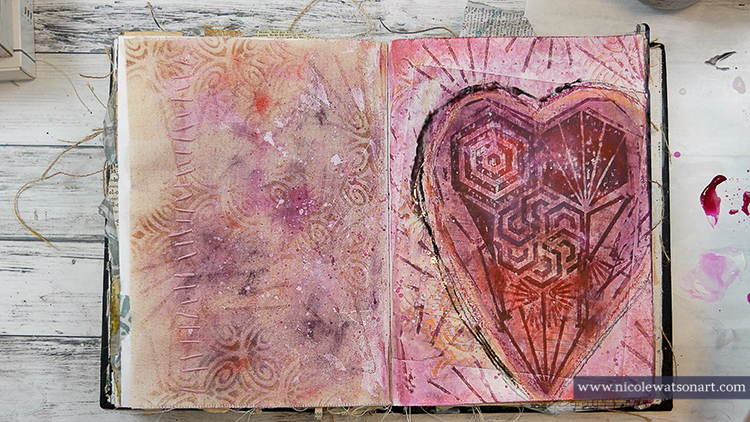
When I was happy with the pastel and versamark, I sprayed my pages twice with fixative. I felt the pages need a little bit more, so I grabbed Nat’s Art Deco Fairview stencil and sponged some bronze pastel through it in several places. I also added some of the bronze around the edge of the heart. When I was finished, I sprayed another coat of fixative.
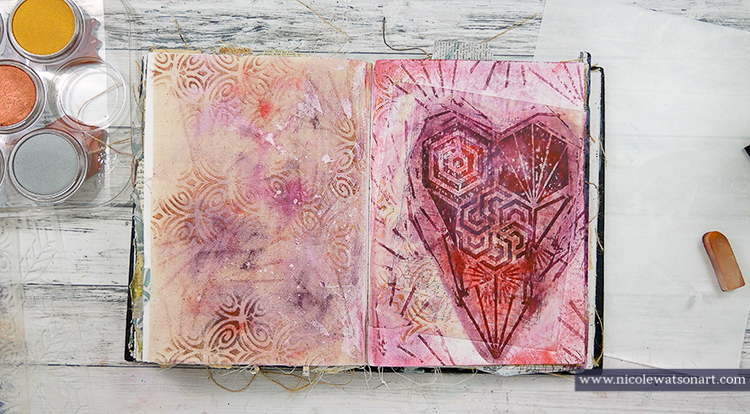
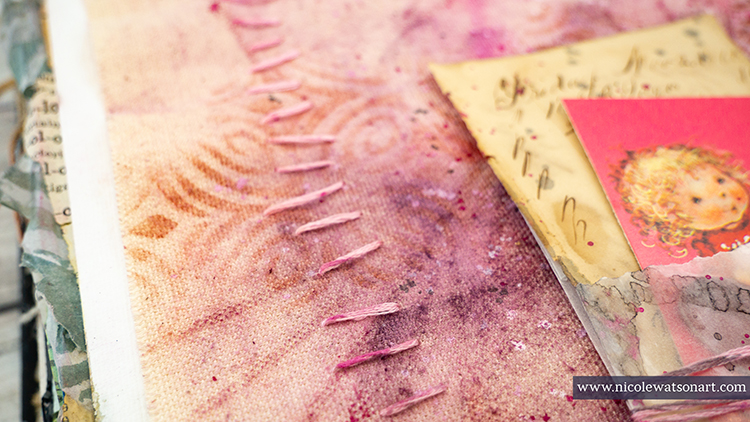
While it was drying, I played with the valentine ephemera and happened to see some pink embroidery floss on my desk, so I stitched the floss onto the canvas page for some more texture. After this, I added some spatters of fuchsia acrylic paint around the heart and on the canvas page along with some gesso and tinted gesso.
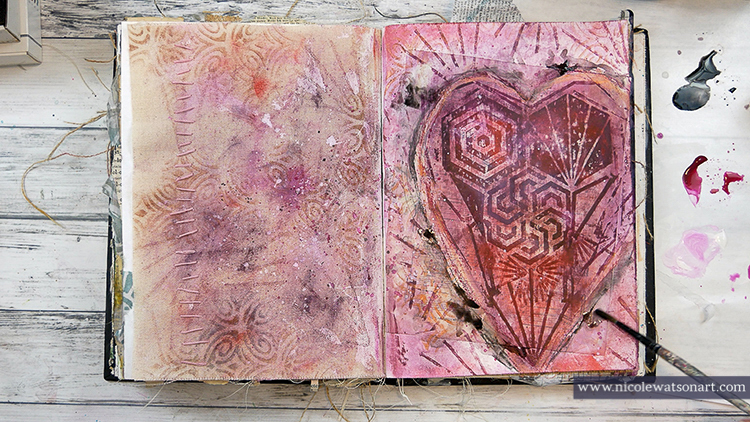
At this point, I felt like the heart still needed some definition, so I grabbed my hard-pastel sticks to trace around the heart along with my stabilo pencils. I used the stabilo to create some shadowing.
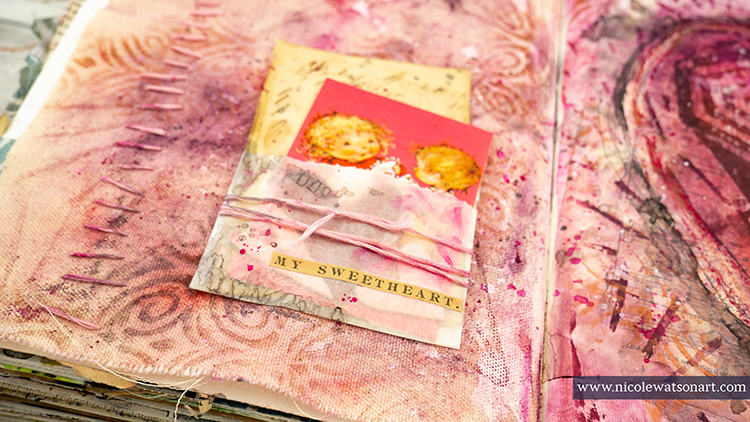
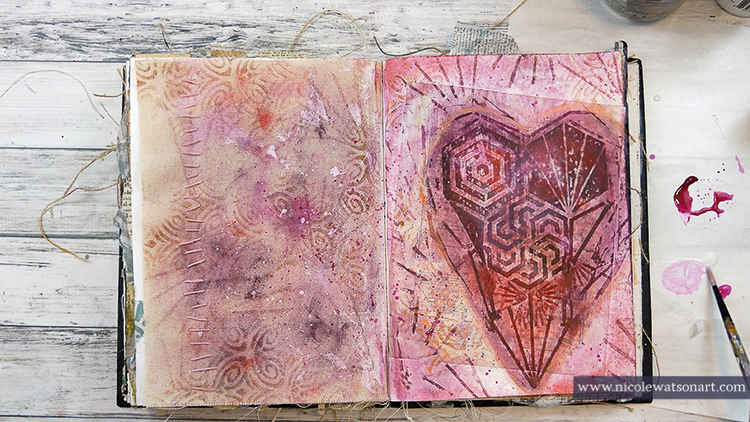
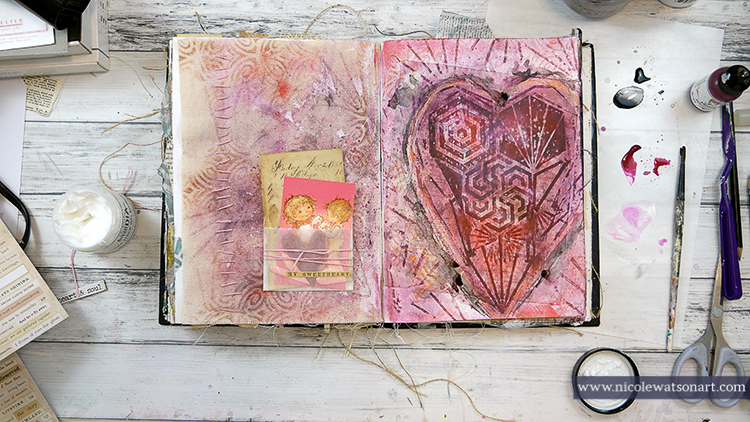
Finally, it was time to add my little valentine bundle to the canvas page and some word stickers. After these were added, I spattered some stabilo and paint on them so they would feel a little more cohesive to the rest of the pages.
Wow! Thank you Nicole – so many gorgeous layers and what a thoughtful reminder when it comes to love too :)
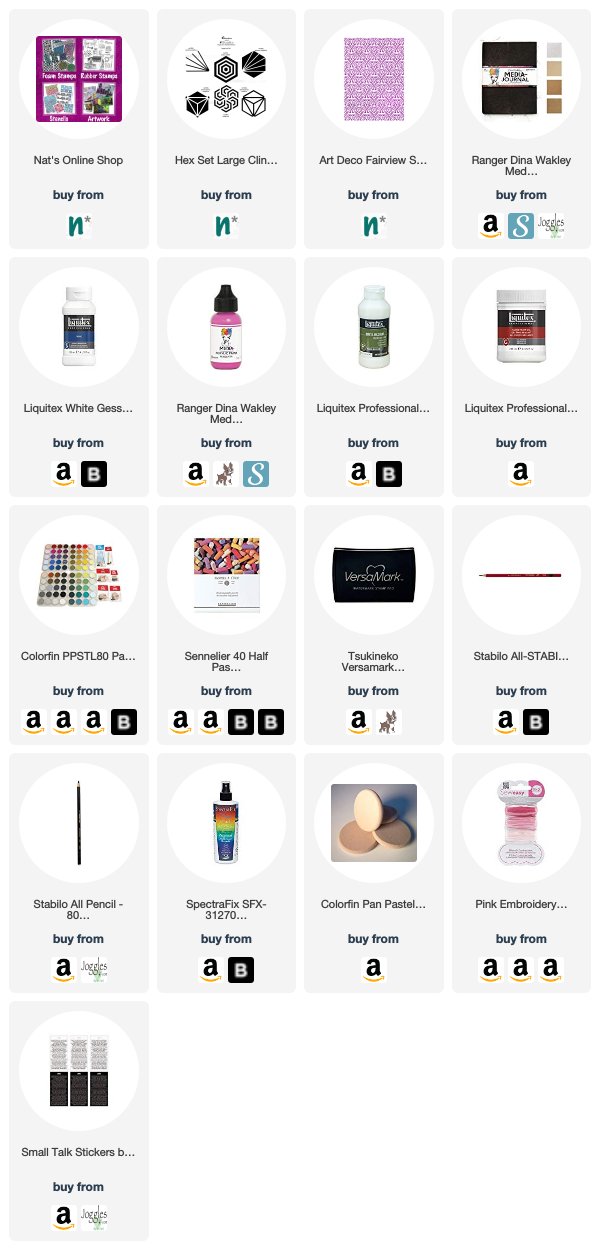
Want to give Nicole’s project a try? You can find all my Stencils and Rubber Stamps in my Online Shop and in addition to book page/ephemera, here are some of the other supplies Nicole used:
Feel inspired? Working on something yourself that you’d like to share? I love to see how you interpret our monthly themes. Email me how you used my stencils and stamps with the theme and email me an image – I would love to share your projects in my next “n*Spiration From Around the Globe“.
Hello from the Creative Squad! Today we have a post from Jennifer Gallagher that is definitely from the heart :) She is using my Large Hex rubber stamp set and this month’s theme: Whole Lotta Love – Who or what sets your heart aflutter this time of year? Let’s pay tribute this month to those warm fuzzy feelings of love and create something that celebrates that universal emotion.
This month we are feelin’ the love with a “Whole Lotta Love.” As soon as I read the prompt for this month, I got super sappy with an art journal page dedicated to my sweet husband. It is the time of year where we celebrate those that we love and show our appreciation for them. This page does just that. Let’s get started.
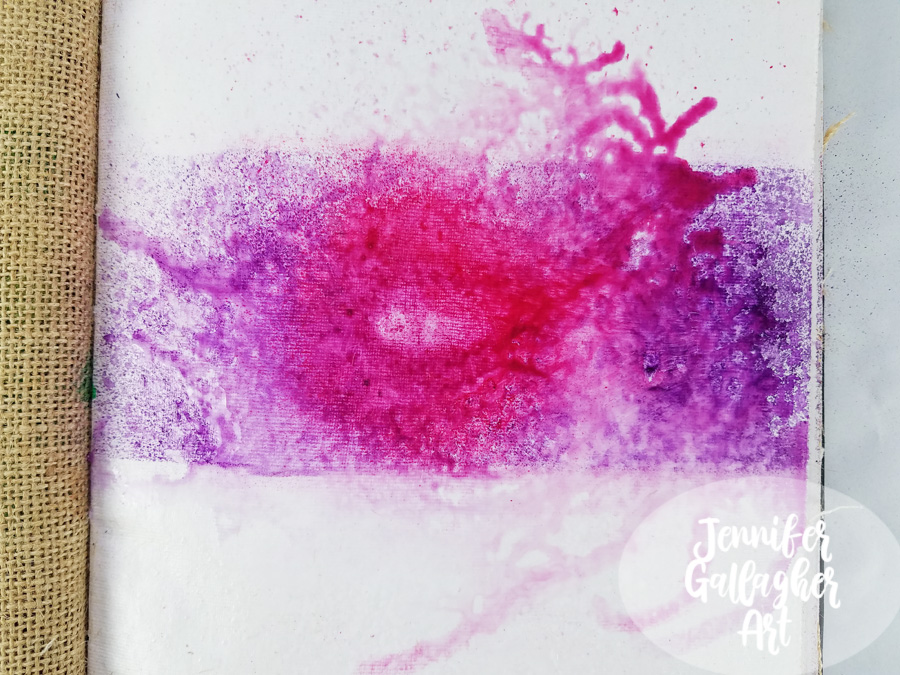
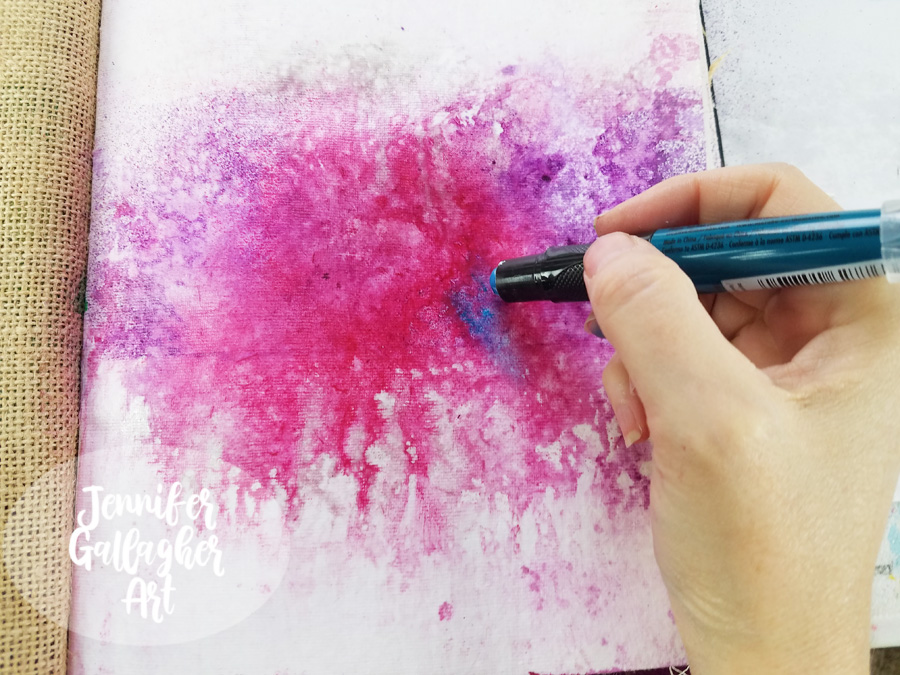
I am working in my Dina Wakley Media journal on one of the cotton rag pages. Before starting, I applied two coats of clear gesso to this page to prepare the surface. Once the gesso was dry, I chose a few colors of Marabu Art Spray and got to work. First I applied Cherry Red and then Aubergine. I protected the top and bottom of the page with some scrap paper to concentrate the color through the center of the page.
To encourage mixing and movement, I applied a small sprtiz of water into the art sprays.
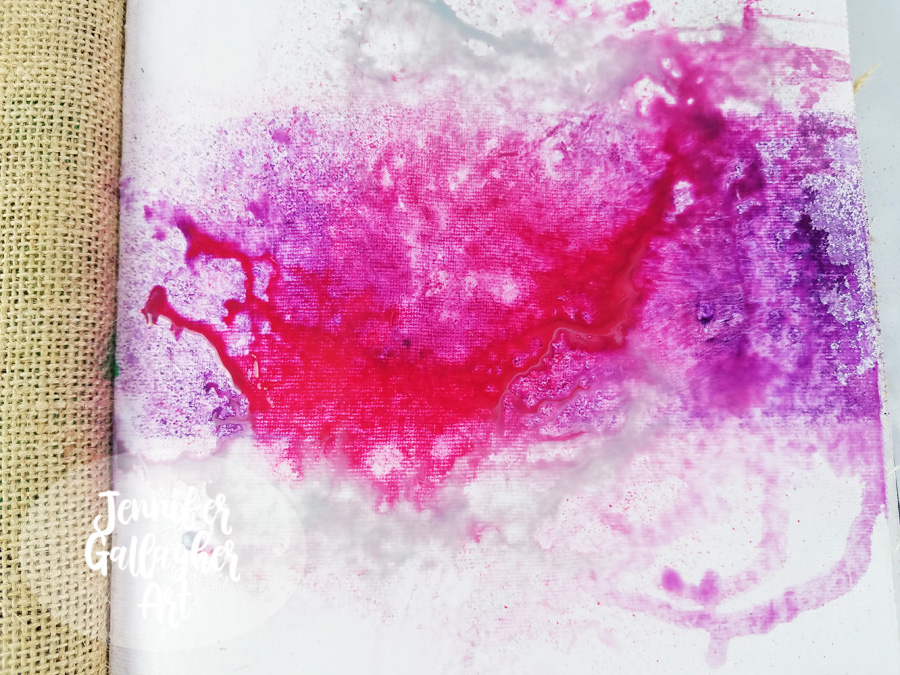
I dabbed up any excess moisture and then applied Marabu Art spray in silver.
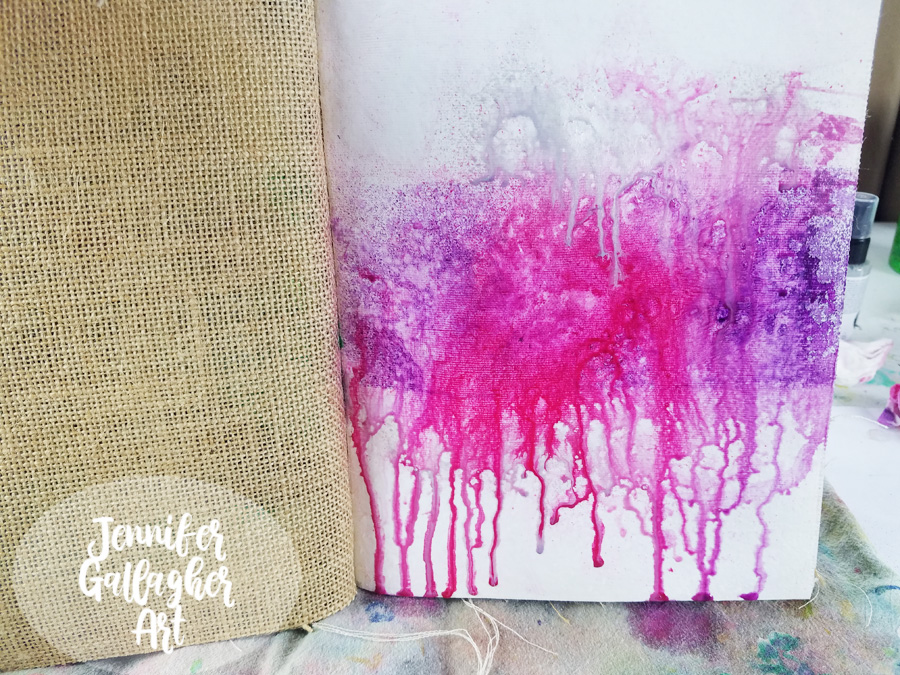
Then, over a towel I keep for art project clean-up, I tipped the book up and let the art spray trickle down the page until a good bit of the moisture was on the towel. Then I tipped the book the opposite direction to allow drips at the top of the page.
As soon as I finished letting it drip, I took a baby wipe and wiped the top and bottom of the page until it was pretty close to white again. I am not scrubbing hard or looking for perfectly white background areas. I just want to get a lot of the color off the top and bottom section. We are left with a far more organic looking page.
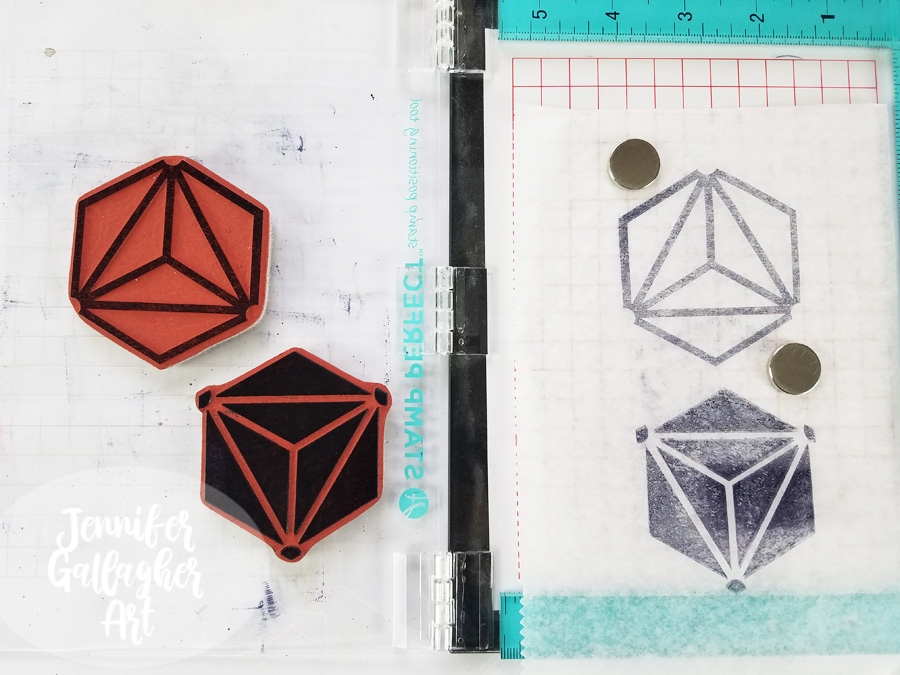
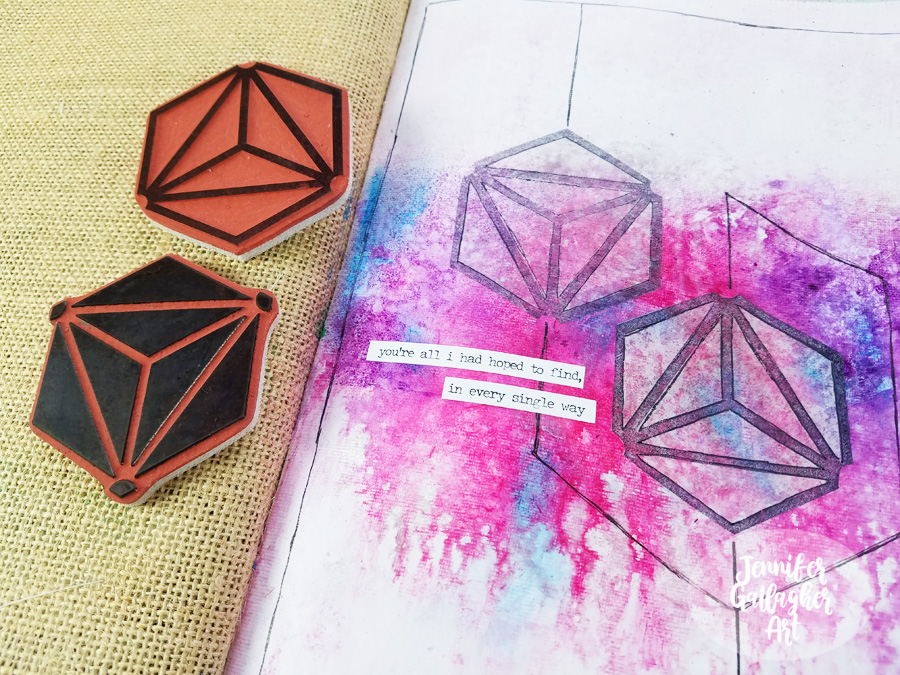
Using a stamp platform, I stamped Nat’s large Diamond Hex Positive and Negative stamps onto deli paper with black archival ink. I ended up only using the positive images.
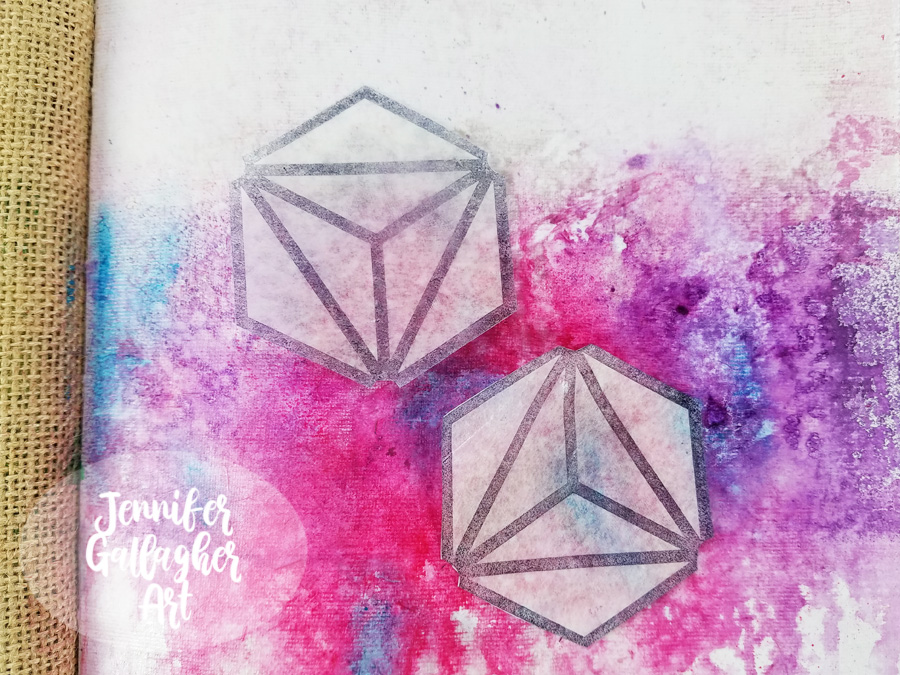
Next, I went back to the completely dry background with a Marabu Art Crayon in Aqua Green and applied a little color here and there. Art crayons are soft enough to spread with your finger.
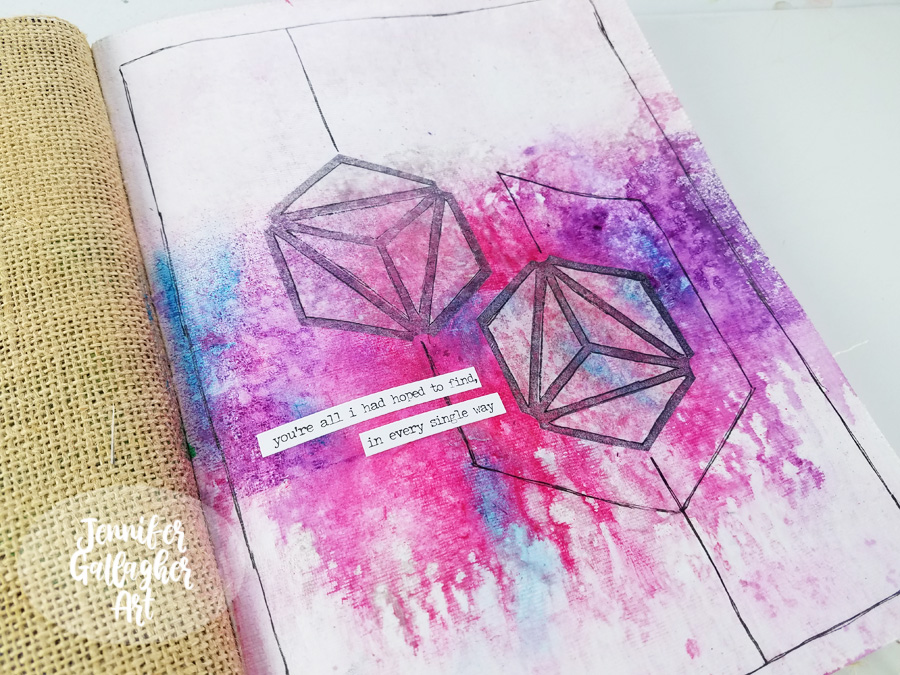
I cut out two of the positive stamped images and figured out where I wanted to place them. These images represent my husband and I.
Once I settled on the placement, I applied them to the background with matte medium.
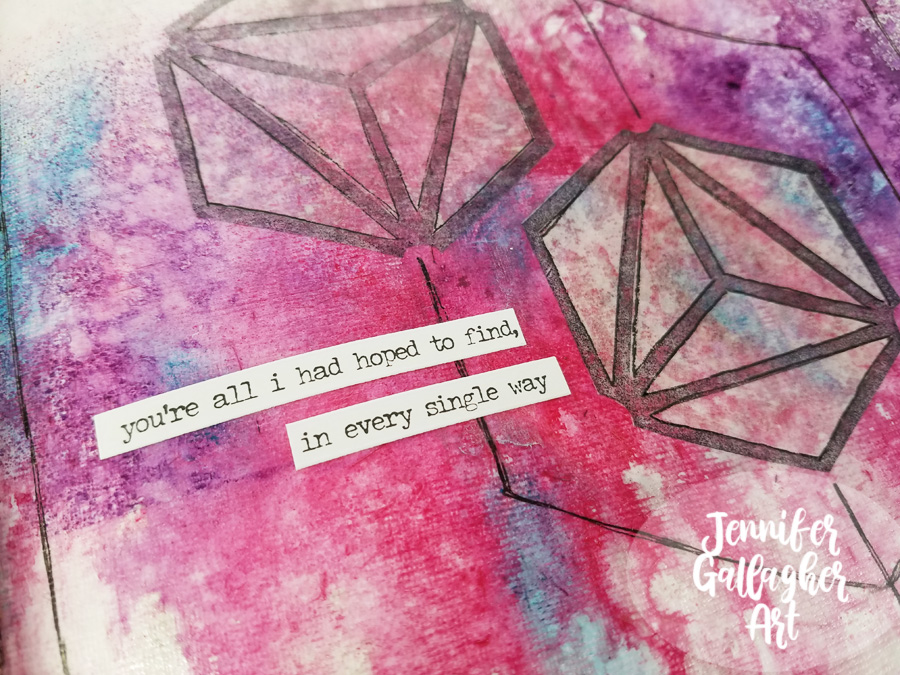
Using a Sakura Black Gelly Roll pen, I connected the shapes with lines and carried it around the page.
I chose a sentiment from a set of Tim Holtz Small Talk stickers and applied it to the page.
I hope you enjoyed this tutorial and found it a source of inspiration for your own art journal. Stamping on deli paper is a fun technique that you should try at home. Being inspired by love has reminded me how much I love sharing my ideas and processes with all of you. Thank you for stopping by.
Thank you Jennifer! Awww that definitely warms our hearts and makes us want to do our own little tributes in our art journals :)
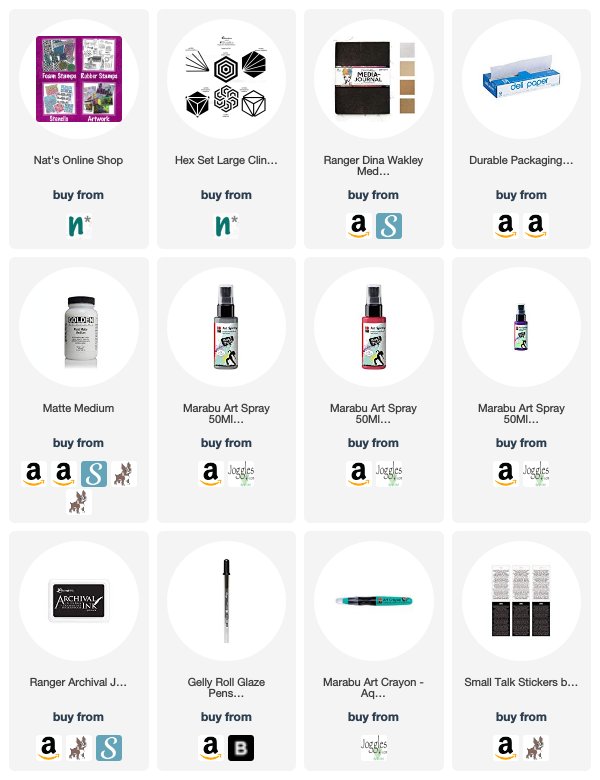
Give it a try: you can find all my Rubber Stamps in my Online Shop and here are some of the other supplies Jennifer used:
Feel inspired? Working on something yourself that you’d like to share? I love to see how you interpret our monthly themes. Email me how you used my stencils and stamps with the theme and email me an image – I would love to share your projects in my next “n*Spiration From Around the Globe“.
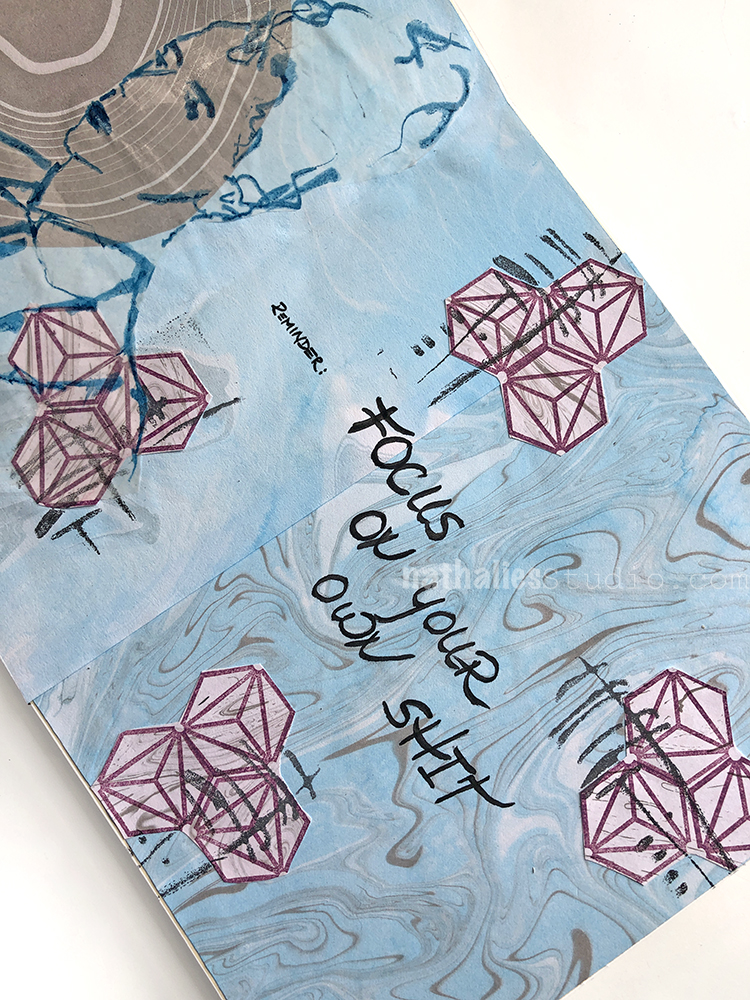
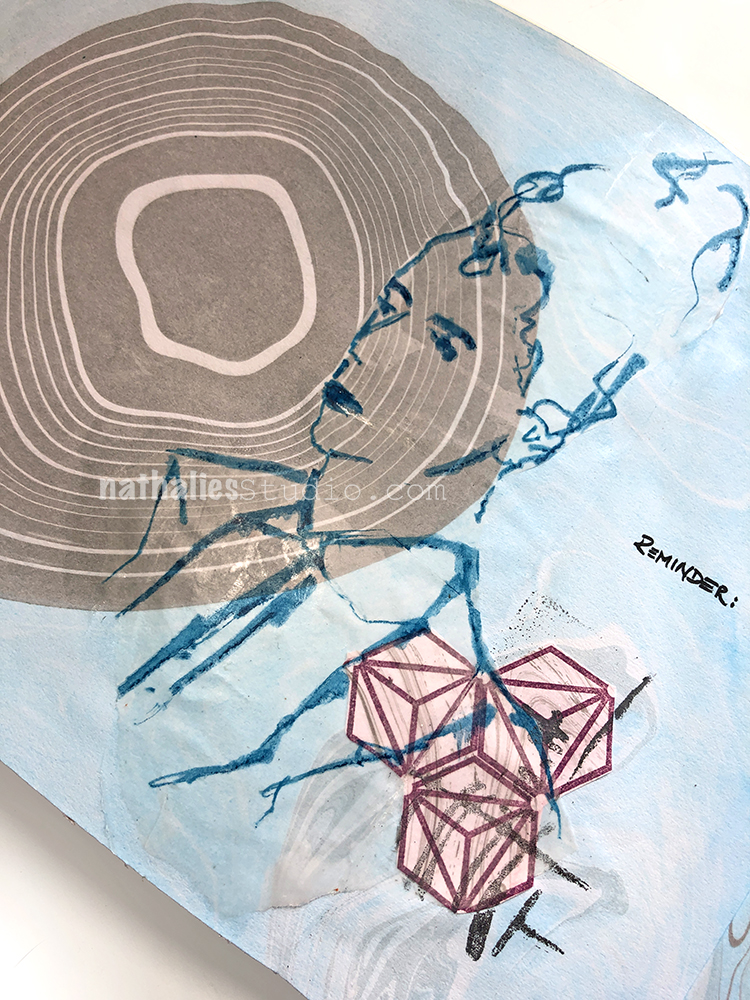
I used my Suminagahsi paper -and pasted two different sheets into my journal as the background. And I added a sketch on Deli paper.
I stamped on one of the Suminagahsi papers with my Hex Small stamp and cut them out. After adding them to the page I also stamped my Gnarly foam stamp over top to tie everything together.
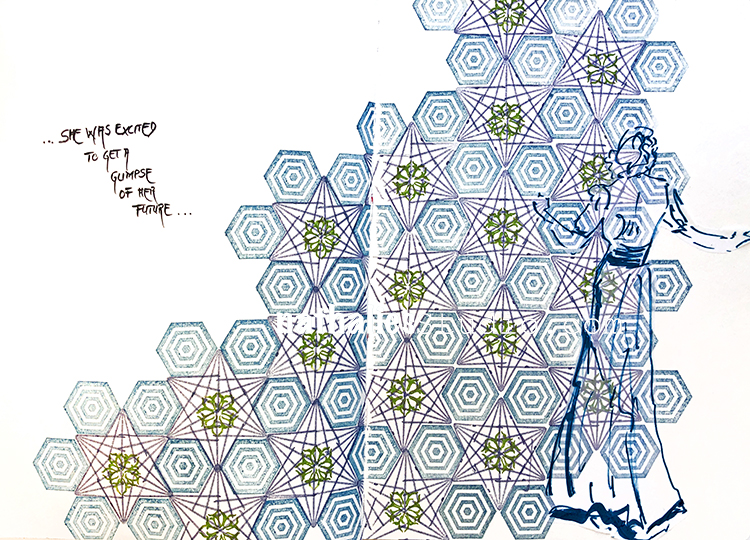
“…She was excited to get a glimpse of her future…”
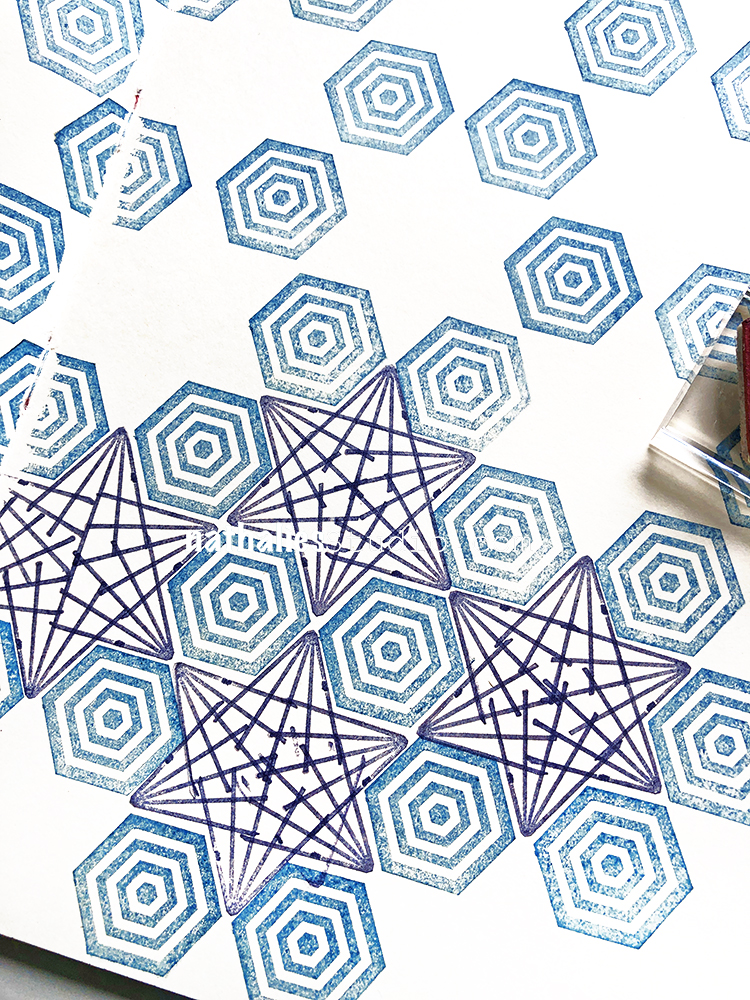
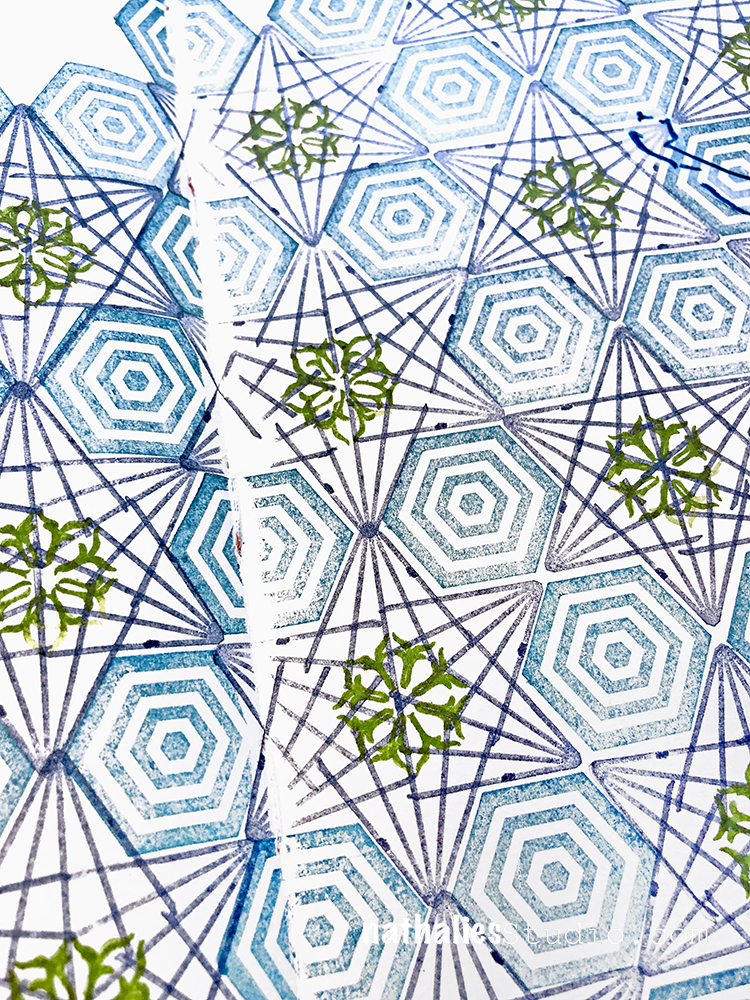
I began stamping out a background with the Space Oddity stamp from my Hex Set Small rubber stamp set. Then I found the Beacon Positive stamp from that set looked pretty awesome filling in the negative space to make a star design.
I went in further with a stamp from the Fanfare set. Really happy with this new background pattern!
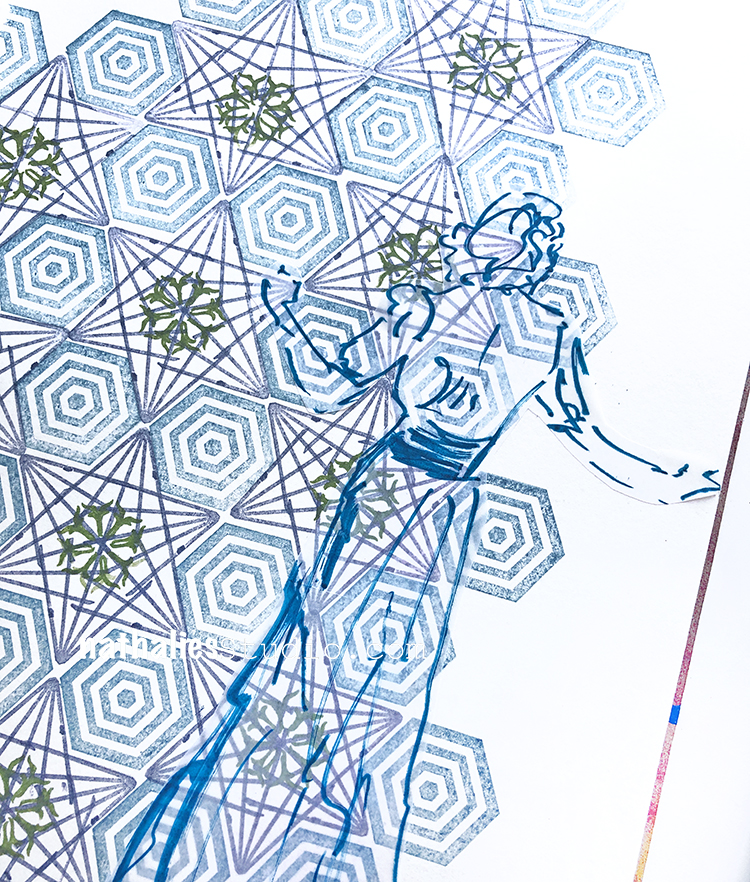
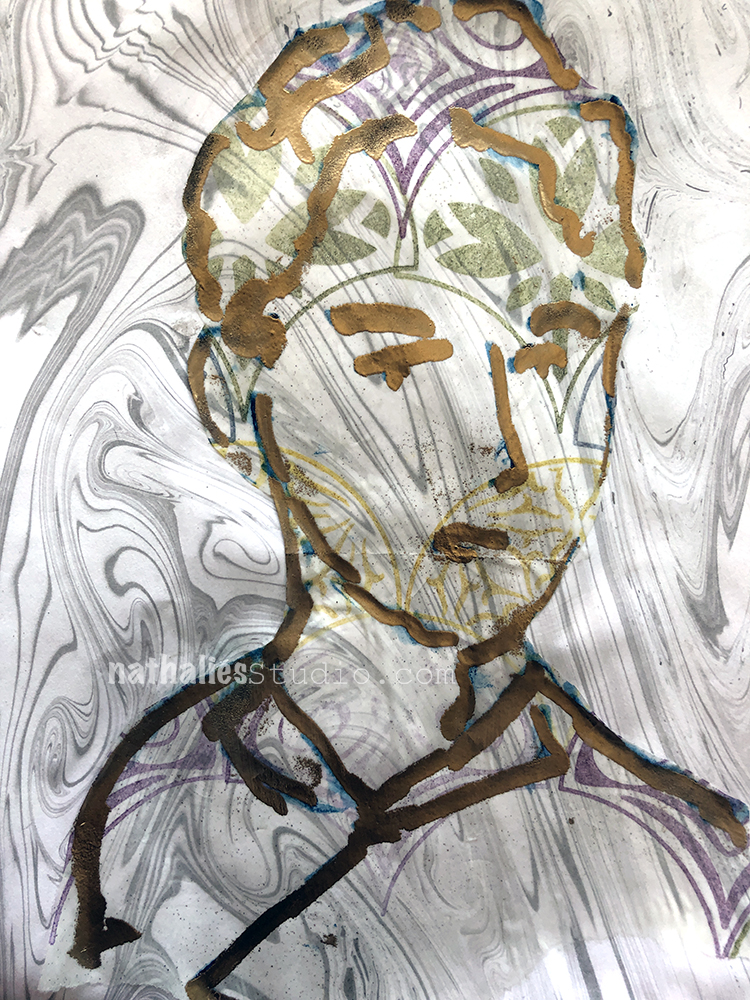
I also added this ink drawing on deli paper, adhering it with some gel medium.
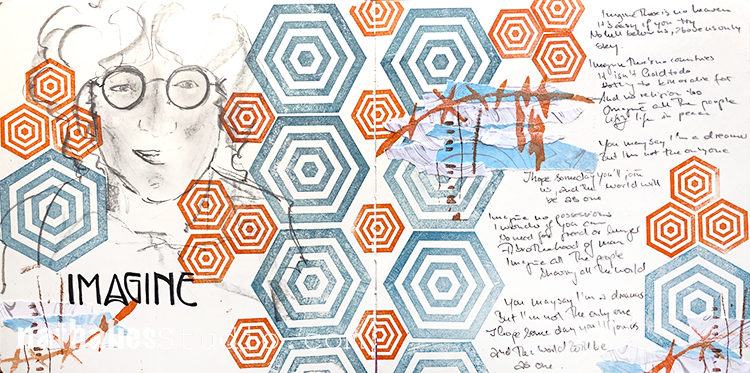
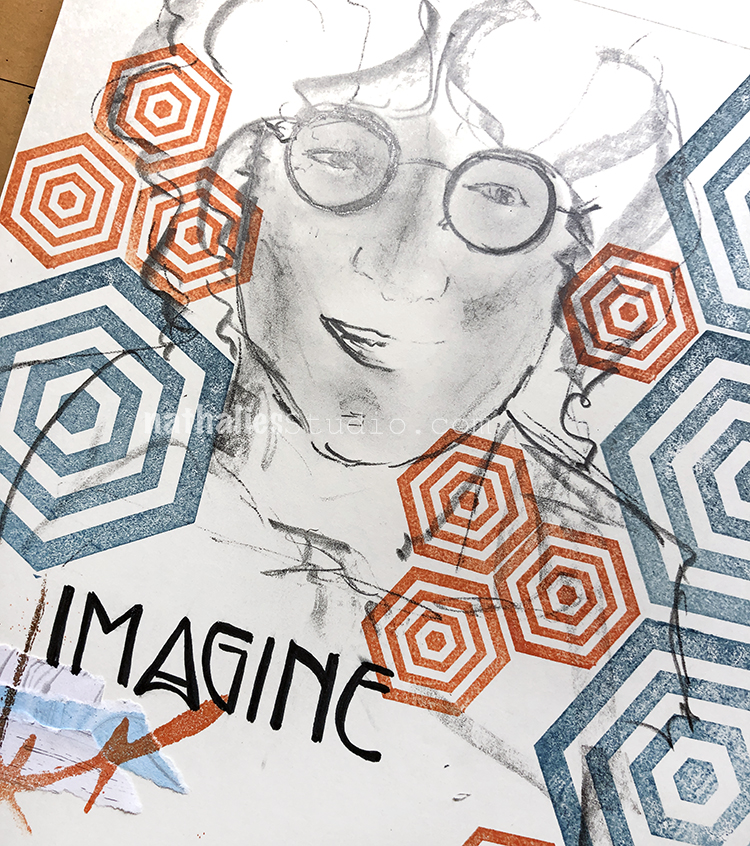
“… You may say I’m a dreamer but I’m not the only one…” – John Lennon
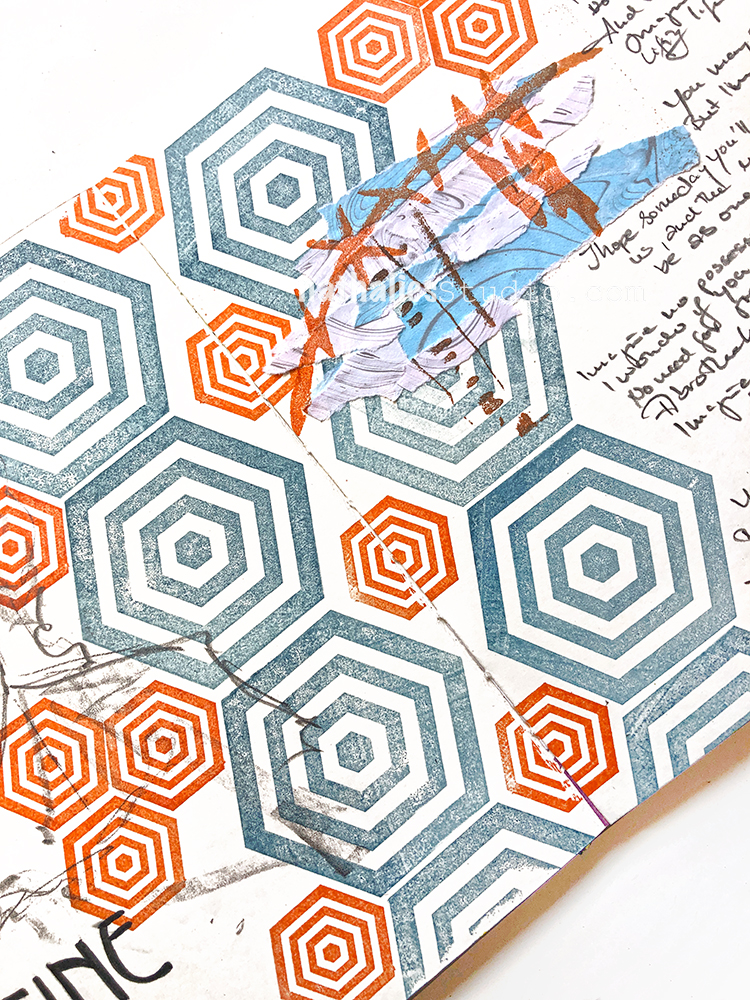
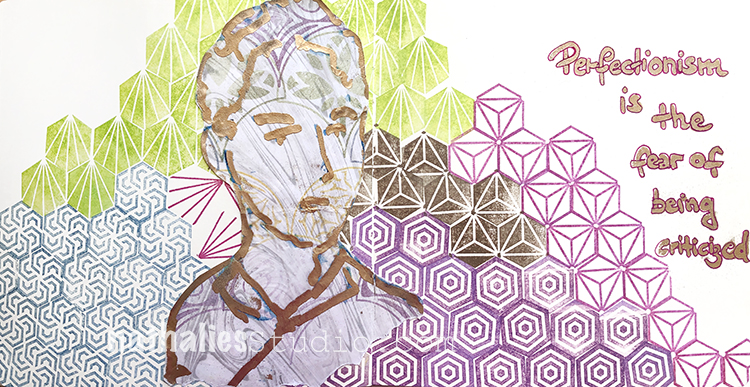
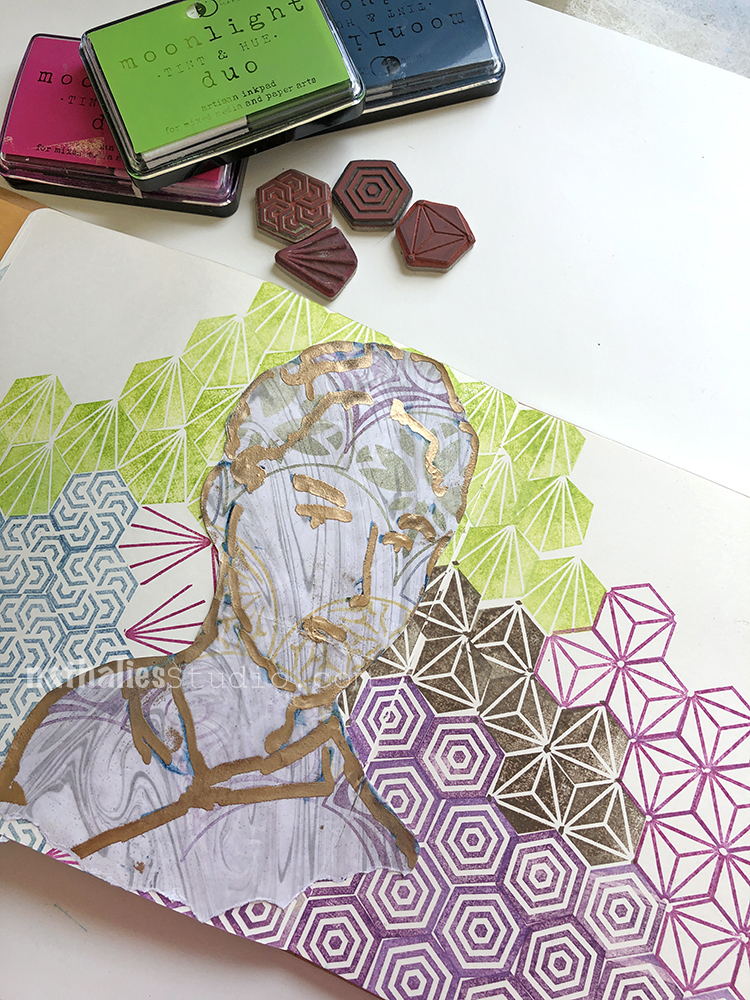
After watching a netflix documentary on John Lennon and Yoko Ono I was inspired to do this page. I sketched John’s face using a Monolith 8B pencil and stamped with my Space Oddity stamp from both the Hex Set Large and Hex Set Small.
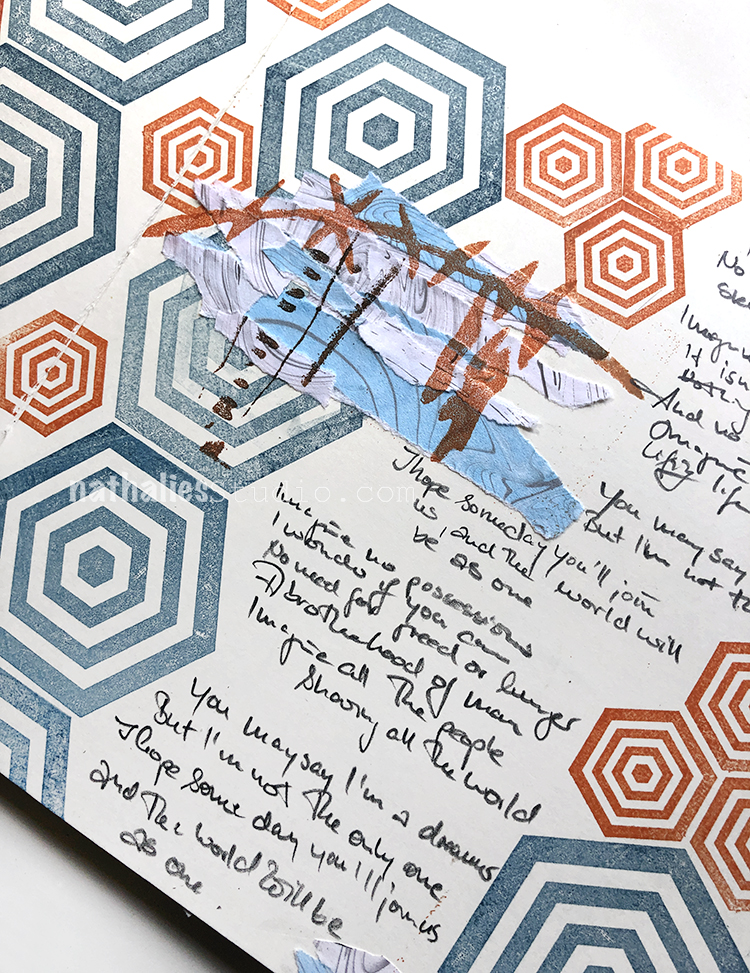
I used some left over stripes of my Suminagashi paper that I couldn’t bear throwing away- LOL. And I stamped my Groovy and part of my Gnarly foam stamp over them.
Love your sketch of John and the page as well.
I read a biography about him and I was surprised at some of the not so nice things that he may have done.
I still love his music and vision for peace.
Hi Sue, thank you! Yeah the documentary I saw about him also showed a pretty tough person to be around with – so many facets a person can have.
I agree on the love for his music and vision for peace


I love the message and the background paper you made Jordan!
Reply