Blog: Love Knots

Creative Squad: I am a Collage – Riikka Kovasin

Hello from my Creative Squad! Today we have a post and video from Riikka Kovasin who is sharing an art journal page that is an abstract and thoughtful take on our theme this month: I am a Collage – We are all complex beings with many different facets. Create a “self portrait” piece using collage to represent parts of yourself, either literally or in an abstract way.

Riikka is using my Love Knots and Queen Anne rubber stamps.
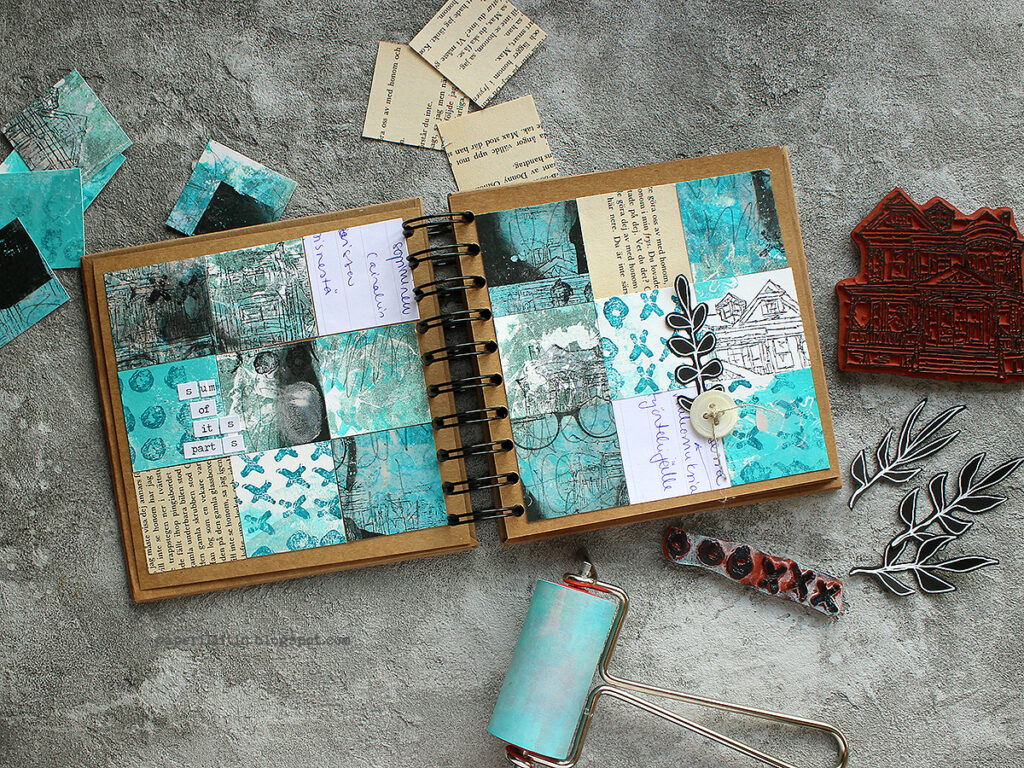

Sum of its Parts

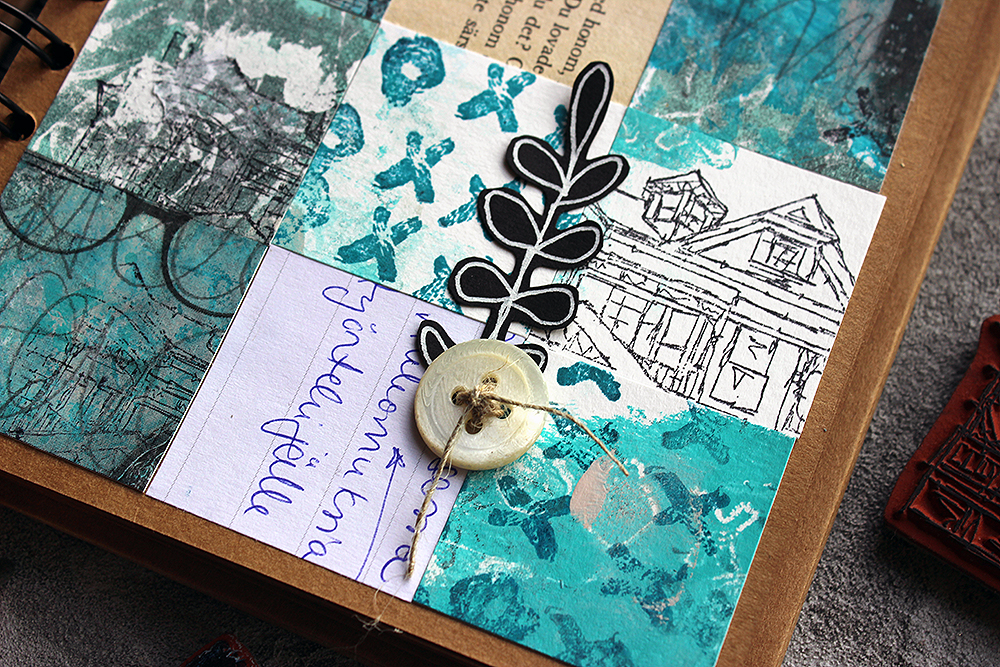
Moikka! It’s Riikka Kovasin here today with a project for the monthly theme “I am a collage”. If you look at the photo of the project, I’m fairly sure you don’t immediately recognize me from it. But I’m in there! It’s a kind of jigsaw “Where’s Wally”.

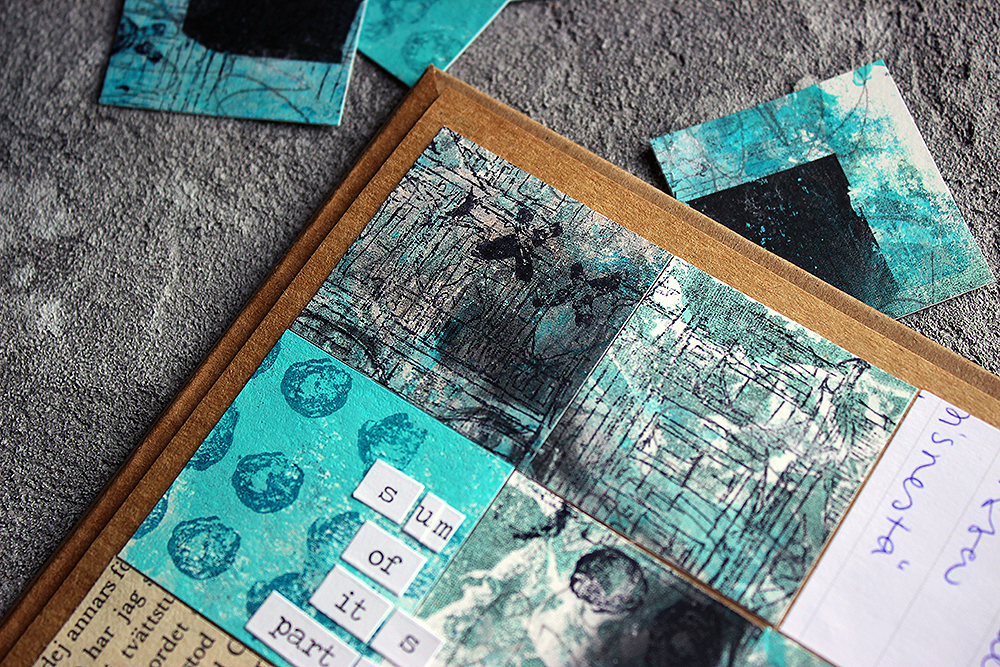
Usually, when reading the month’s theme, my head starts spinning with all the possible ideas. But this time, funnily enough, I had a clear picture in my head from the start. I wanted to do a photo transfer and then hide it by cutting the surface apart. In a way going cubistic, but not quite.
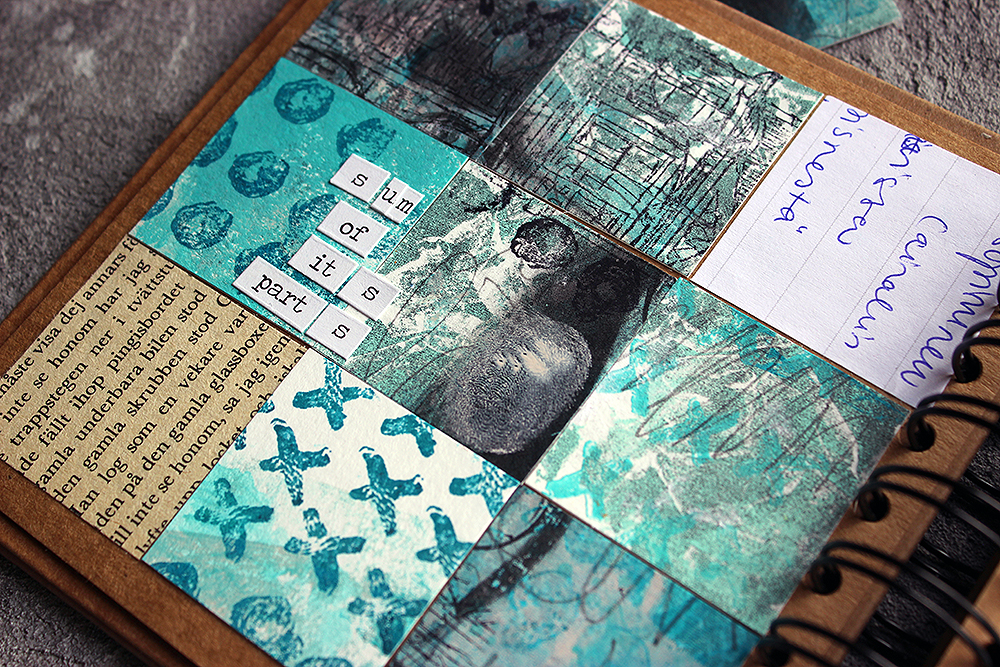
Besides the photo transfer, I wanted to use other papers, too. As in my mind collage is a sum of various parts, acquired differently. Like some old book paper, a bit of painted paper and then maybe a cut out photo. Various sources, different textures. As this collage was about me, I wanted to add different aspects of me in a way. For example, like I say in the video, I stamped the “Queen Anne” house to the piece several times as home is important to me. Maybe I should have said “family” instead of “home” as it’s not that much about the building itself but more who are in it and what that building represents.

If you want to see how this quilt came into being, please see the video below!

When making the surface for the photo transfer, I added some of my handwriting in it. My mind drew a complete blank at that point, and I didn’t want to scribble a shopping list this time, so instead I used the first quote that popped in my head. Those were the opening words of Kalevala, Finnish national epic. The opening words in a way were appropriate in several ways – the theme of the phrase is about getting started, the speaker declares that he has an urge to begin the story, much like I was eager to get started or continue with the project. The other thing is that the words are in Finnish, my mother tongue, which bring my nationality to the piece. After all, that’s the culture I’ve grown up with and it’s rooted in me in ways I might not even come to realize.
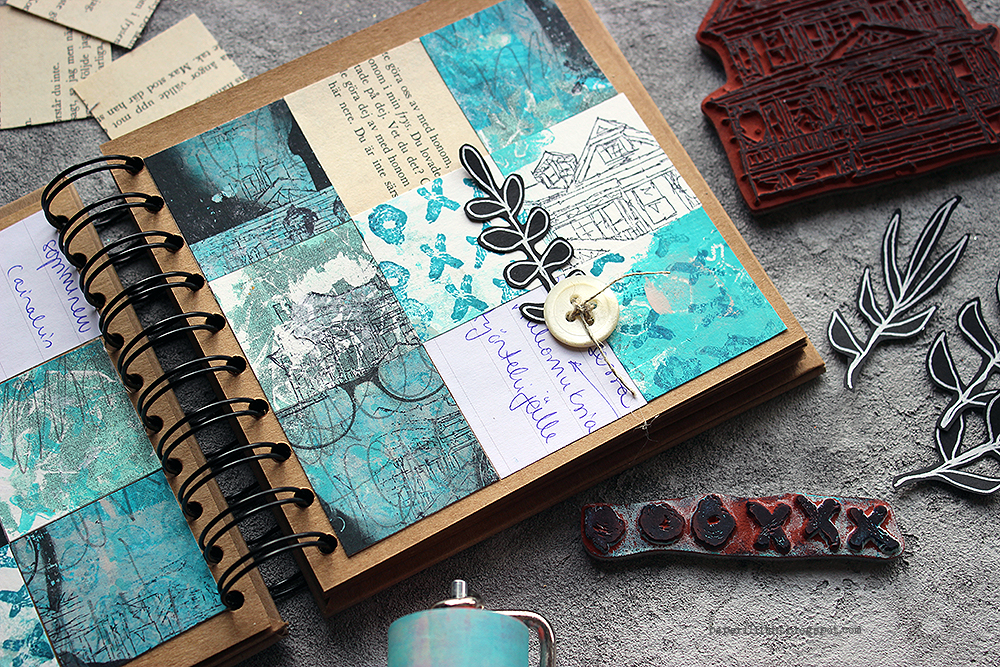
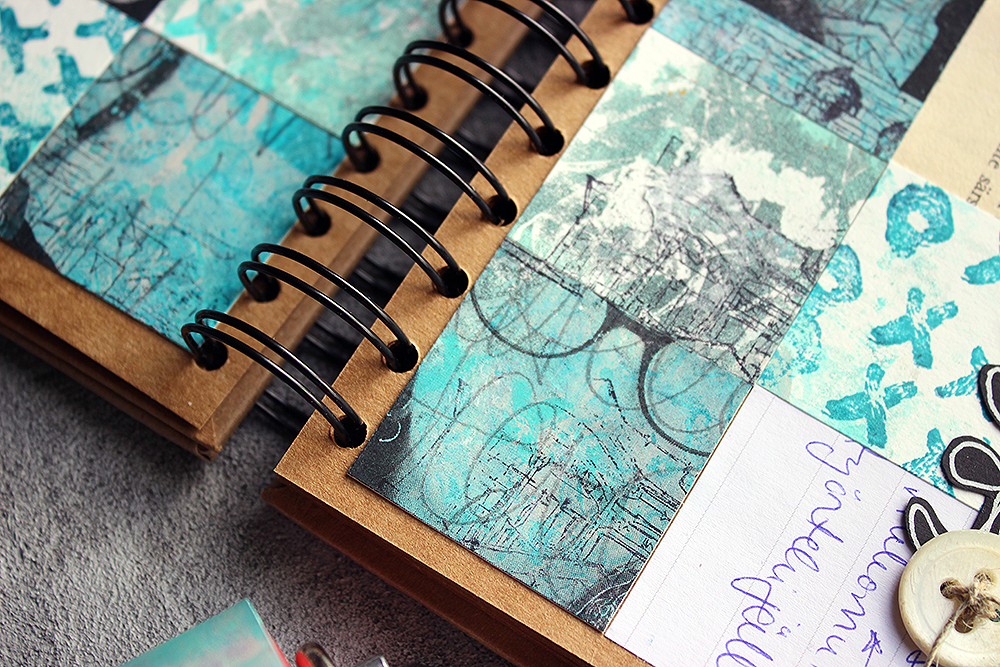
Even though I had the idea of cutting the photo apart from the start, I needed some pondering when it came to the size and amount of the cuts. Cutting it into same sized squares seemed the easiest solution, although I first played with the idea of different sized rectangular bits. When I had the decision about the squares, it then came down to thinking about the size. Not to have the squares too tiny, I pondered between four and three centimeters, which meant three or four squares in a row. As you could see, I chose the bigger squares and three in a row as I thought that might be more pleasing to the eye.

Throughout the project I also used a lot of the “Love Knots” stamp. I love the graphical design of it, but also what it stands for – the combining, integrative force of love.

Thank you for stopping by today! Wishing you a lovely, love filled day!

Xoxo Riikka

Thank you Riikka! Love all the different levels of you in this piece and reading your post too. Sometimes abstract work can be tricky to understand at first glance, but by spending time with it we are gratified with new ideas and ways to create art. This piece is certainly inspiring!!!

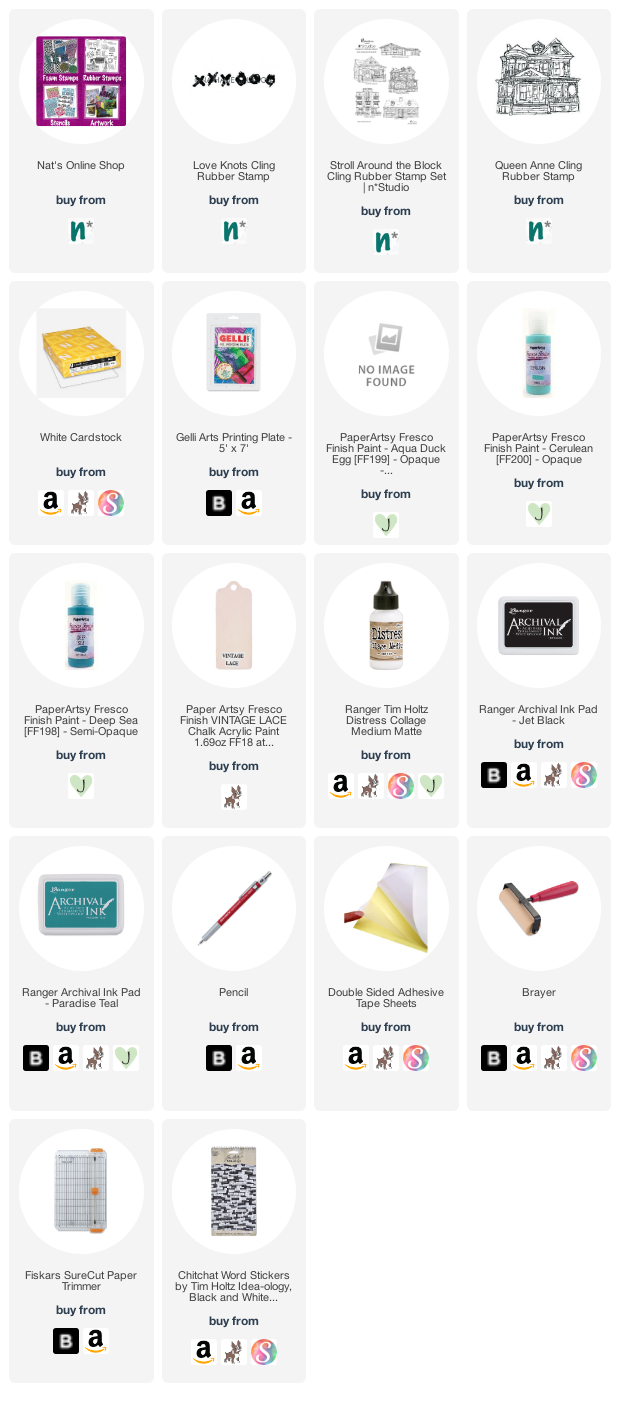
Give it a try: you can find all my Rubber Stamps in my Online Shop and in addition to a laser printed image and some ephemera, here are some of the supplies Riikka used:
Looking for more projects? Follow the Creative Squad on Instagram here.

Leave a comment

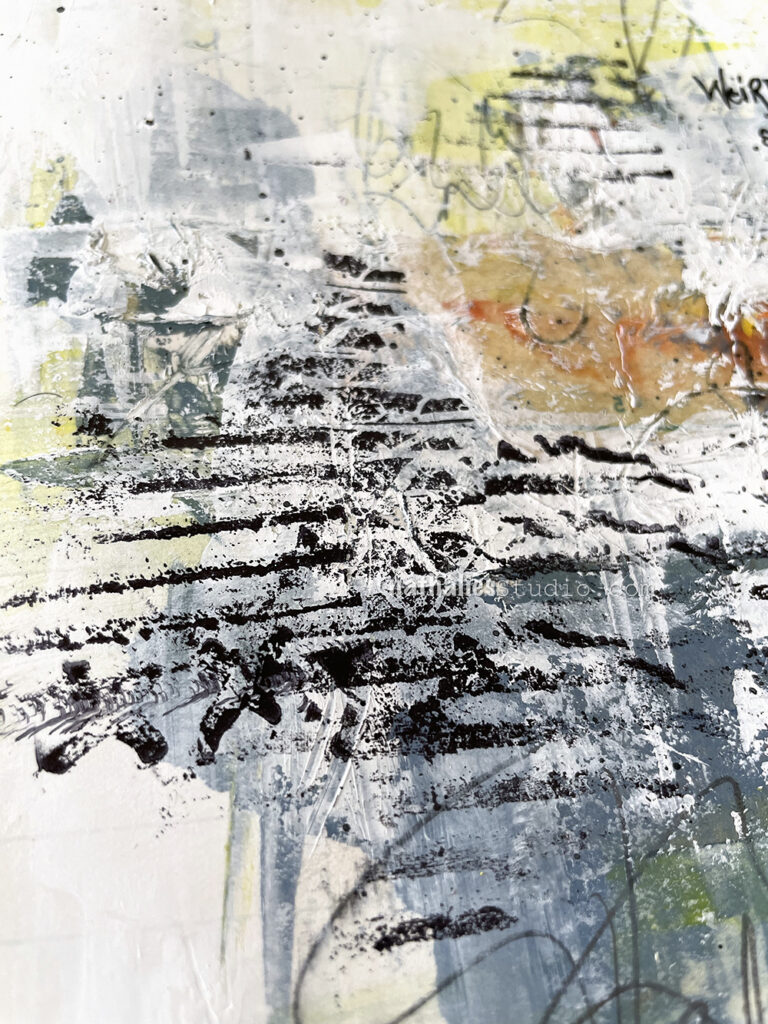
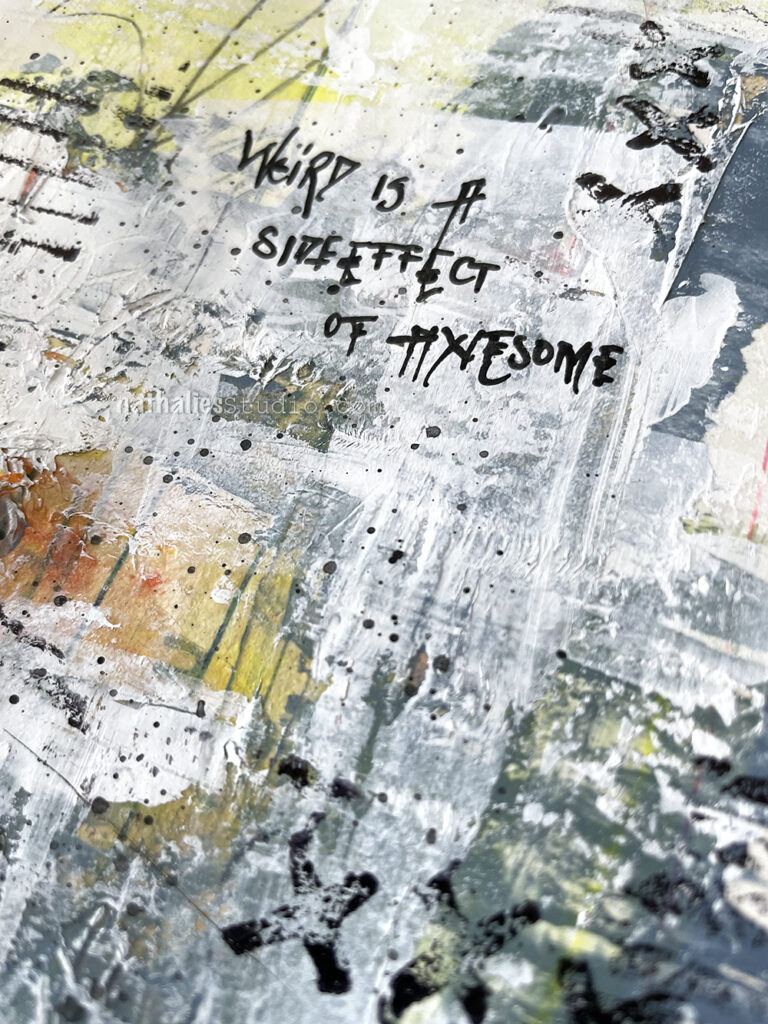
Awesome Side Effects – Art Journal

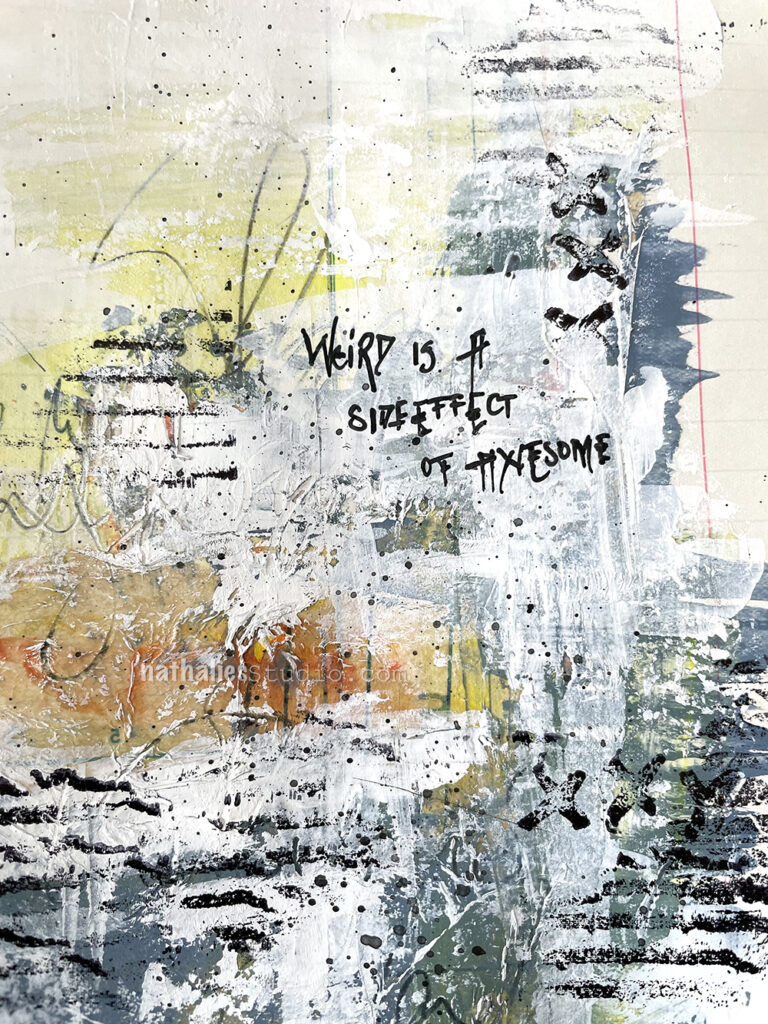
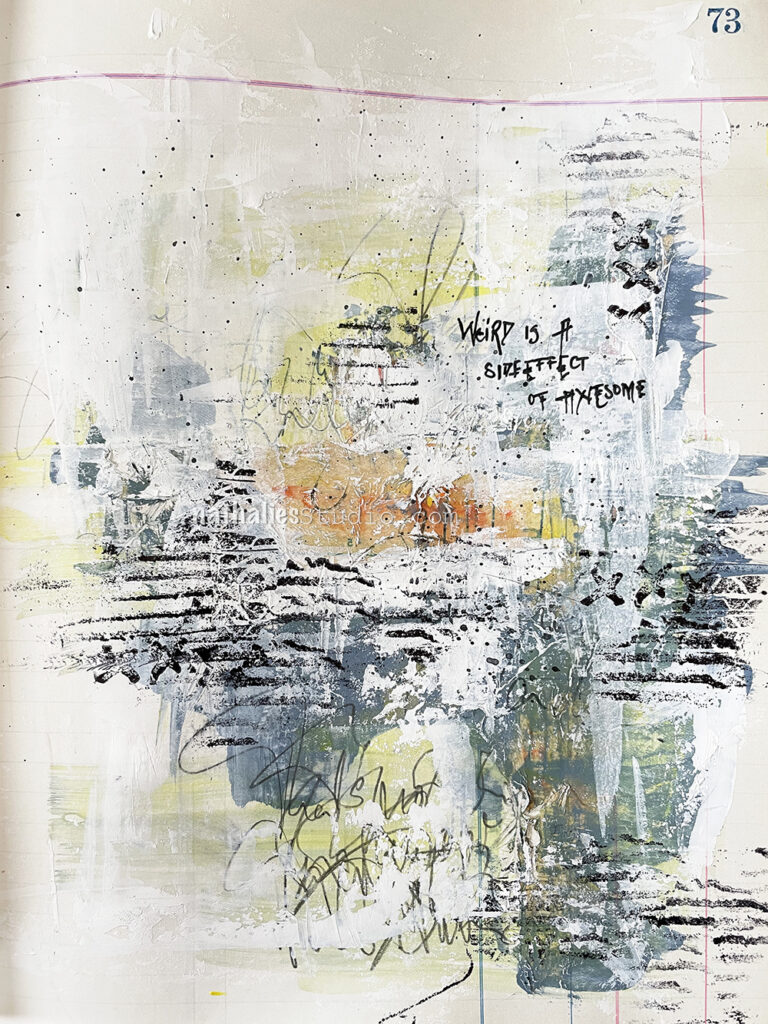
“Weird is a side effect of awesome”

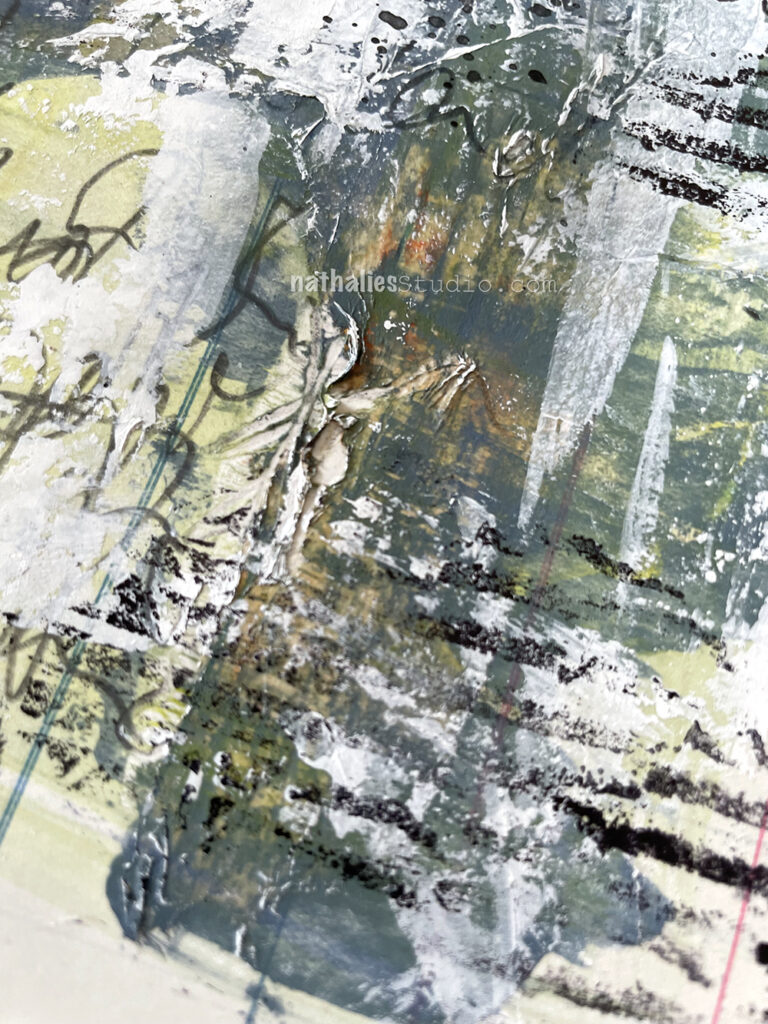
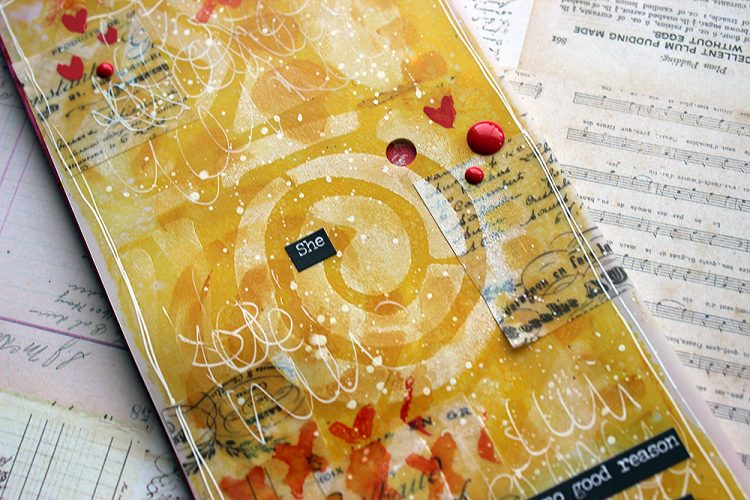
Here I used acrylic paint and dragged it with a palette knife across the art journal page, added in bits of sewing pattern, and also used Liquitex White Gesso for even more texture.

I created marks with my favorite new supply – Caran D’ache water soluble pencils.

I finished things off with my Cardboard stamps and Embroidery stamps.

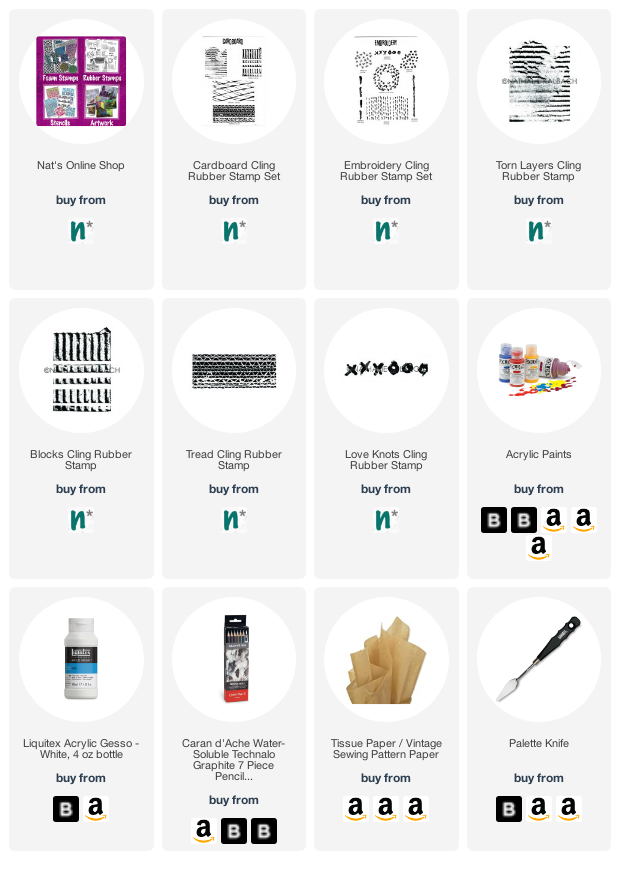
Here are some of the supplies I used:

Leave a comment

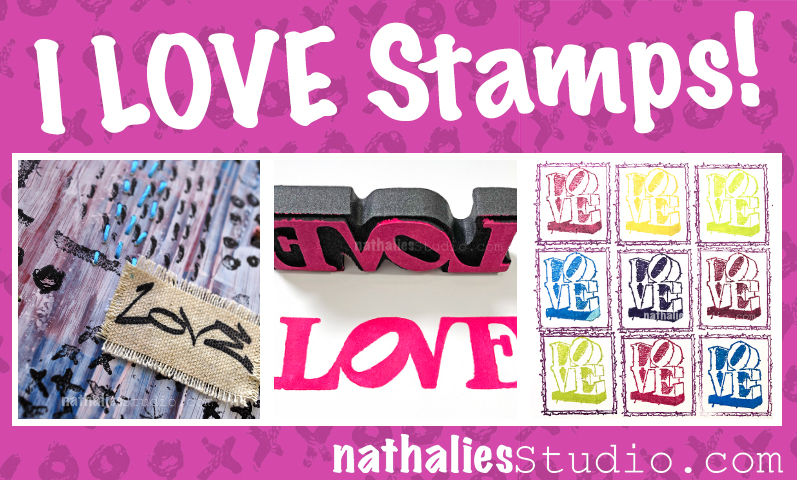
I love LOVE Stamps!

I think we all love stamps here, but I would like to talk about my love for LOVE stamps today :) Have you noticed that I’ve got a few? Although the idea is all the same, the application is key to the discussion here. I think it’s necessary to have a few love stamps because different circumstances call for different stamps ;)

So why so many love stamps? Well it all started when I put together my Stroll Through the Hood 1 stamp set years ago and wanted to include some text stamps that looked like street art tags. And on that day, Love Tag was born.

Usually when you think of Love stamps you think of maybe cutesy valentines or fancy script, but you know that is not really my thing. I wanted to design something that reflected my style so that when I created with it, it felt like my voice coming through. Love Tag has that grungy urban style that just feels right to me.

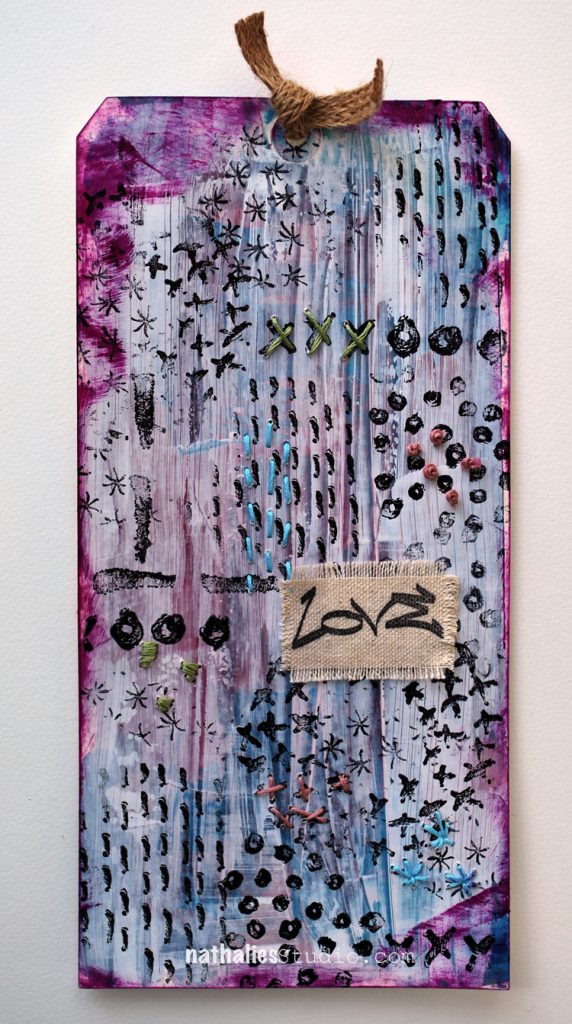
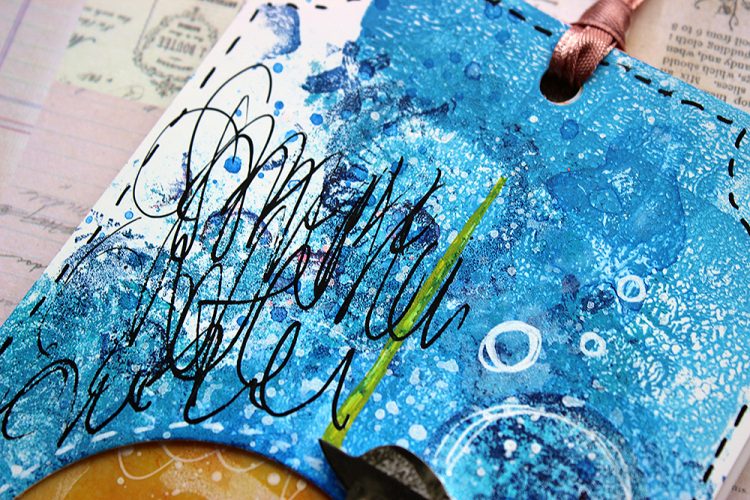
(Kinda funny that I use the Love Tag stamp on a tag… but that’s the kind of thing that makes me do a little chuckle sometimes.) You will see on the tag my Love Knots rubber stamp too – an embroidery inspired xxxooo design that pretty much also says love. So if you prefer being a bit more symbolic with your feelings, this is the way to go.

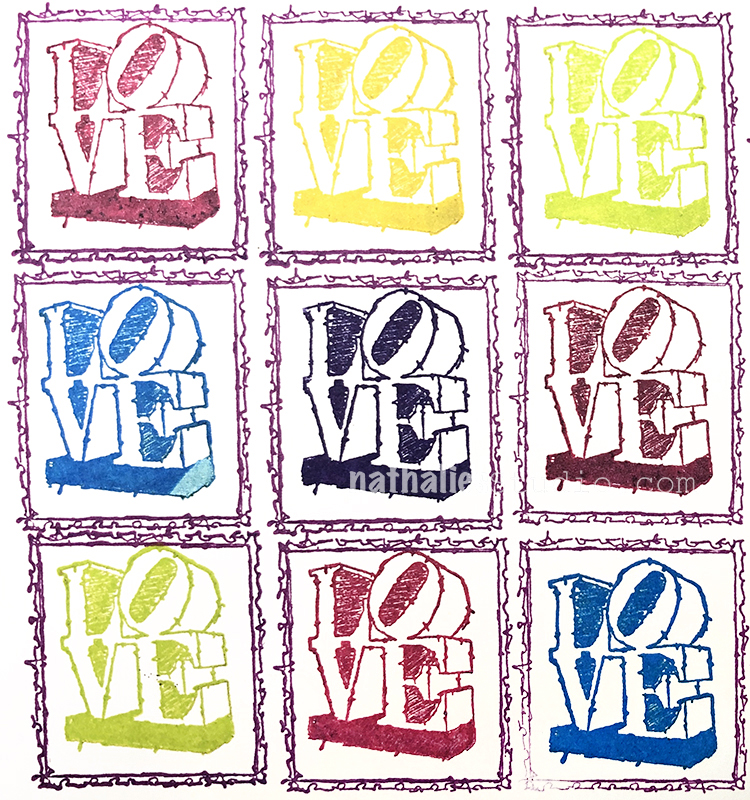
If you prefer to just come out and say it, you may want to use my LOVE rubber stamp. It’s got that nice reference to the iconic Robert Indiana sculpture in NYC that says, “Hey I love art and I love YOU!” You’re cultured, you’re savvy, and you also have heart.

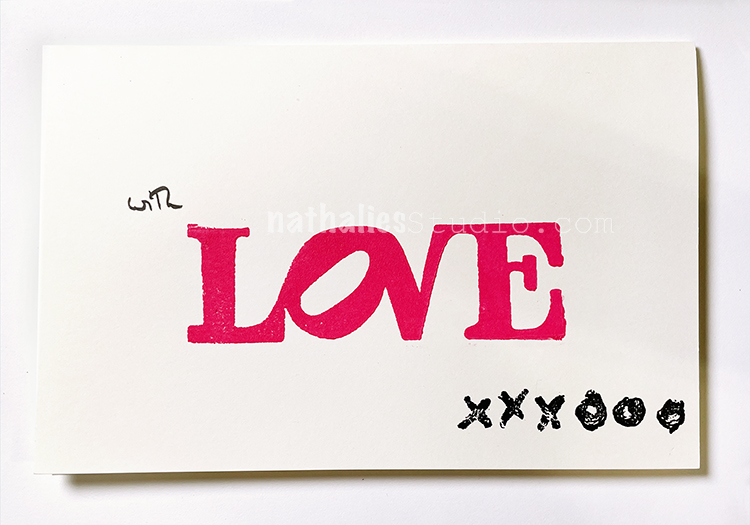
What if you are so overtaken by cupid’s arrow that you need something bolder? My CJS22 limited edition LOVE foam stamp is the way to go. It’s a bold expression of love. It takes that same font as above and puts it on one line so there is no confusion. It is LOVE.

Love stamps really come into play around holidays and birthdays and anniversaries, but maybe someone in your life could use a little love today. Take your love for stamping, combine it with a Love stamp, and make something for someone you love. The world could always use more love in it :)

Here are some of the supplies I used in this post:

Leave a comment

Creative Squad: Gratitude is my Attitude – Riikka Kovasin

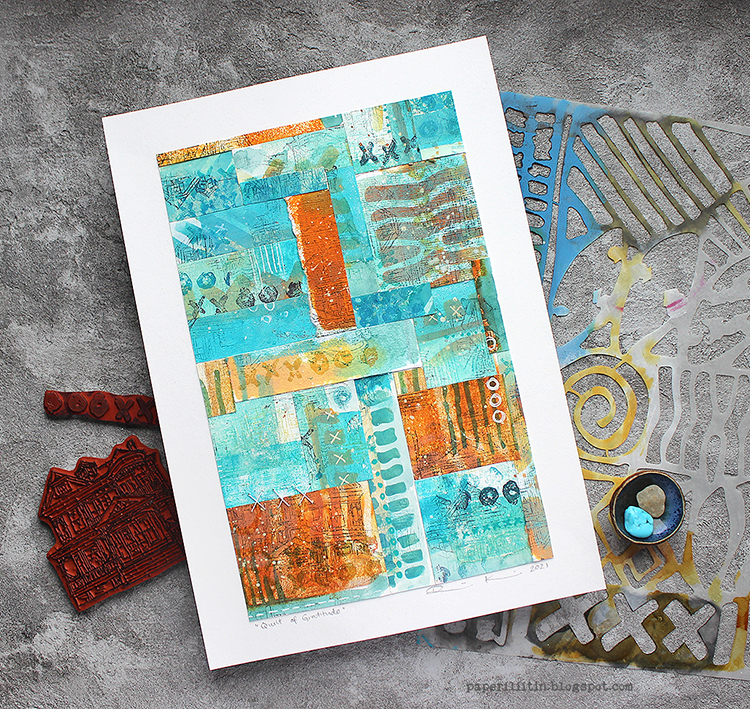
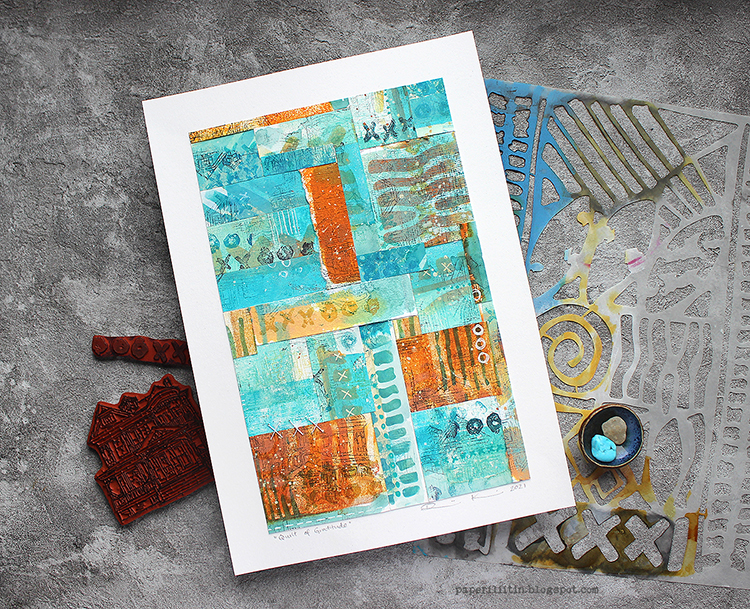
Hello from my Creative Squad! Today we have a post and video from Riikka Kovasin who is sharing her take on our new monthly theme for November and it’s all about being thankful and showing gratitude: Gratitude is my Attitude – This month we are playing along with the November ArtCollab: Showing Gratitude – and specifically giving thanks to those who have helped us along the way in our artistic journey. Who was crucial in helping you become the artist you are today? Let’s give these amazing souls a shout out! Riikka shares her gratitude with a paper quilt using my Batik stencil, Queen Anne rubber stamp and Love Knots rubber stamp.


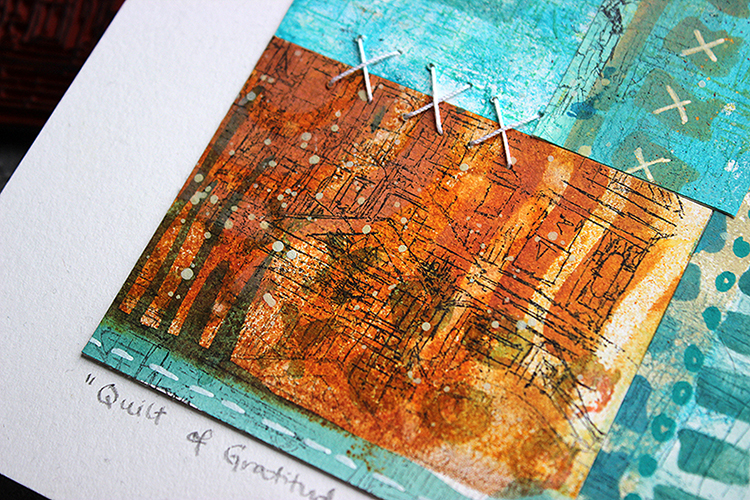
Quilt of gratitude 

Hello, it’s Riikka here today to share my monthly project. This time the theme was appropriately gratitude as Thanksgiving is just some weeks away.

Gratitude is something that might be easily forgot with all the hustle going on in the world. Gratitude is something I try to show each day, but a reminder to count my blessings made me happy. For this project I was thinking about those who have led me to this place artistically. As I couldn’t possibly name just one, I started thinking about how to honor a bunch of people but still keep the piece cohesive. That made me think about networks, trees, grids and then quilts. My first idea was to dedicate a patch to each person I’m feeling grateful for, but in the end the quilt is more metaphorical than actually consisting of patches dedicated to different people. It’s meant to show that there’s many people I’m feeling grateful for and that the entity is bigger than the sum of its parts.

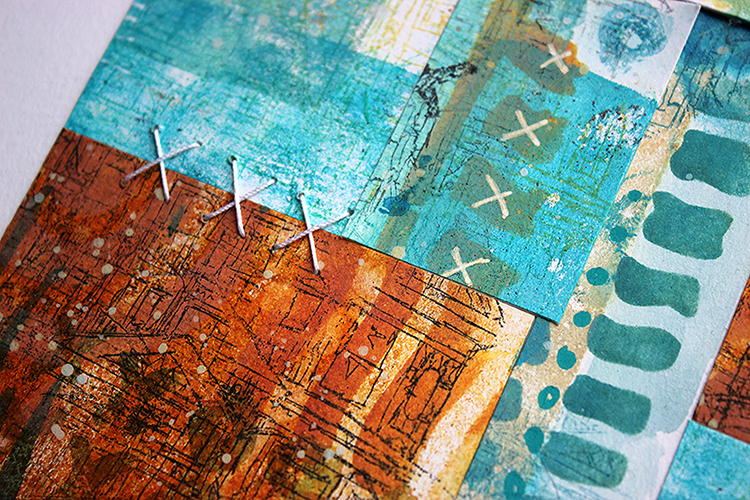
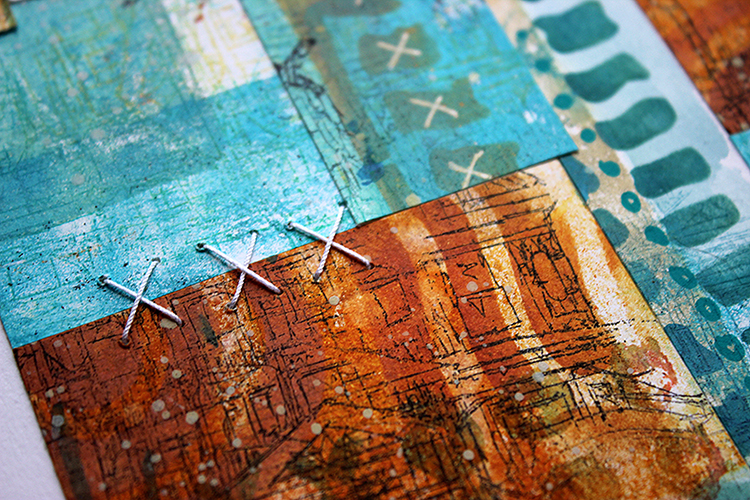
This piece is surprisingly flat to be my project. I usually strive for dimensional things, but this time a more restricted expression seemed to be in order. I did add something raising from the picture plane, though. There’s a couple of stitches added to the quilt. They play homage to the actual hand sewn quilts but also repeat the X pattern that can be found on the “Batik” stencil and “Love Knots” stamp I used. Some may see an X as a prohibiting sign, but to me it’s usually a combining element. The two lines gather the sides together, make a bridge, combine things. Maybe that stems from my schooling as a seamstress, where for example hemming is done using an X like stitch. 

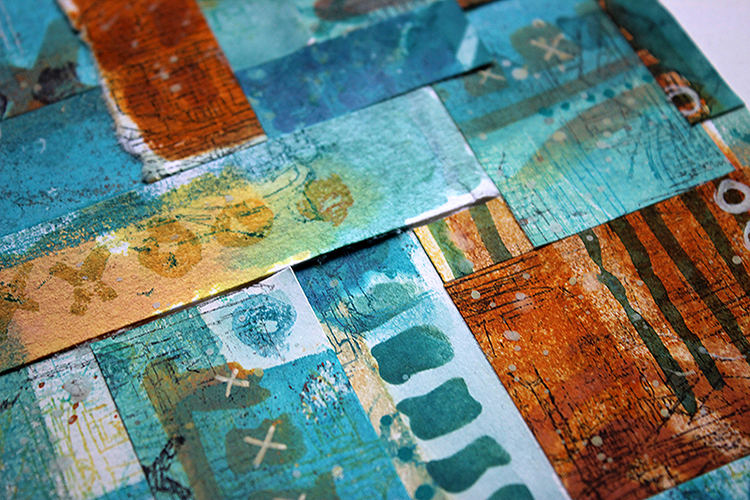
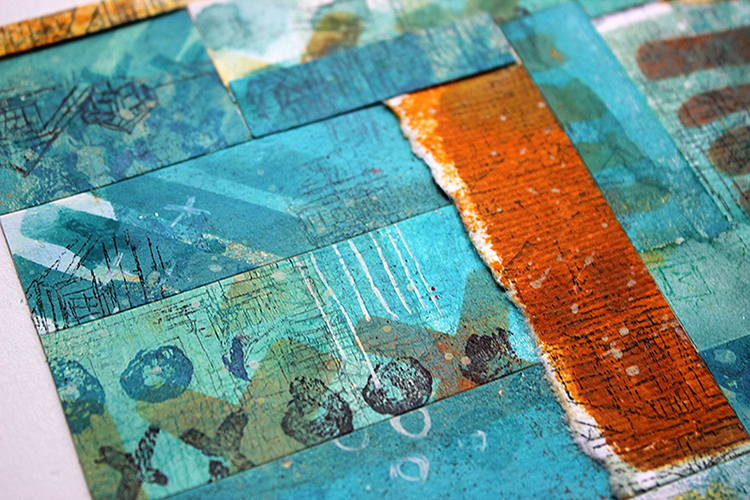
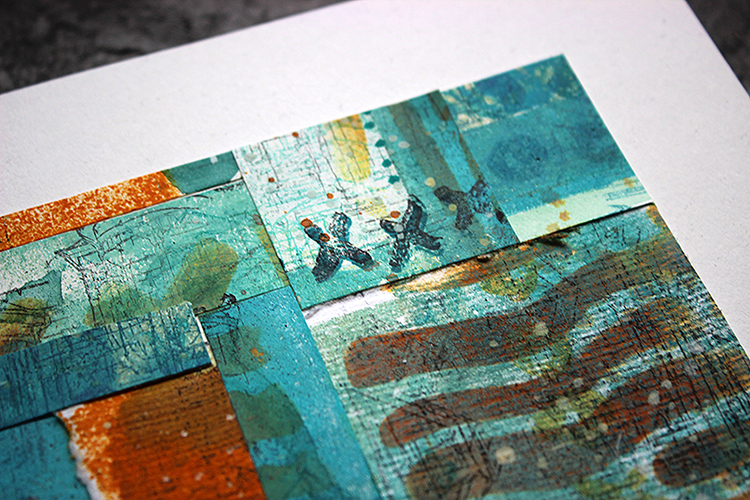
To have some texture and variation, not just that of color and pattern, I used two different papers in my make. I made the collage paper on top of regular 160g cardstock, which I often use as my starting point, but also on top of hand made paper. The soft handmade paper absorbed the colors differently and also had an uneven surface, so there’s a little variation in the piece. If you want to see how I made this project, please see the video below.

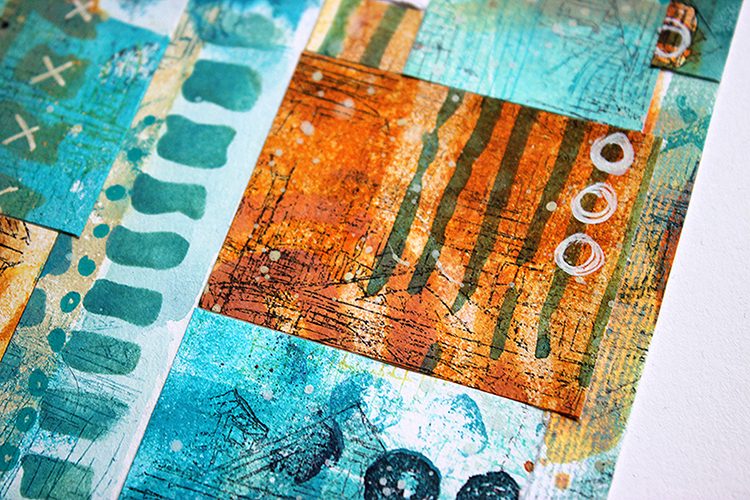
For the color palette I chose to go with my current favorite. The piece could have been almost any color, really, but I feel most at home when I’m working with teal and blue tones. But gratitude needed something more than just cool and aloof blues, it needed warmth, earthiness. For that I combined the teals and turquoises with rusty, amber tones. The contrast between the two colors makes each segment pop and keeps the piece interesting. At least I hope that it does that!

I’m grateful that you stopped by today. Thank you!

Xoxo Riikka


Thank you Riikka – such a thoughtful way to express your gratitude – in a quilt inspired project.

Give it a try: you can find all my Rubber Stamps and Stencils in my Online Shop and here are some of the supplies Riikka used:

Follow the Creative Squad on Instagram here.
Comments (1)

  • Robin

    |

    What a wonderful metaphor and project. Thanks so much for sharing it!

    Reply

Leave a comment

Feeling the Love – Love Knots

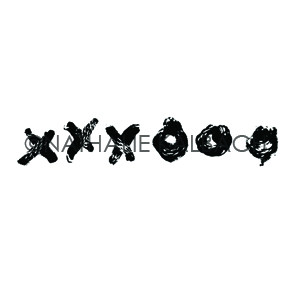
I love embroidery and stitching as an added element in mixed media. A while back I even designed a whole set of rubber stamps along those lines called Embroidery because I think faux stitches are pretty great too. One of those stamps became a real favorite of mine because it is just so simple and perfect for expressing love: my Love Knots stamp. 

Just a line of embroidered xxxooo says it all, in a nice sweet and sincere way. I of course use it a lot for cards because hey, that’s a place that usually calls for some love, right? In my Deck of Cards Challenge I created this little number using Love Knots and Running. You can check it out here.


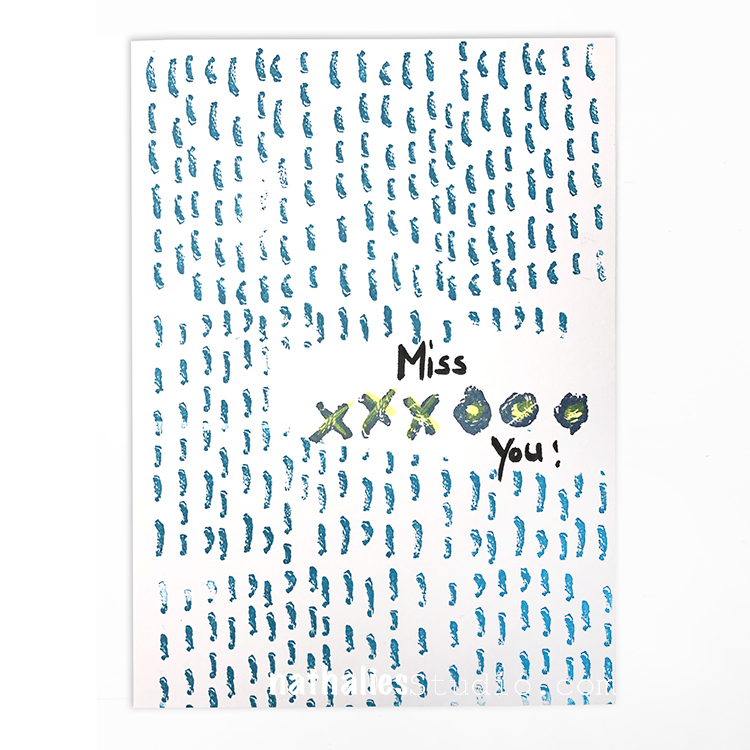
Another card I made a bit more grungy – definitely my style – using the Love Knots stamp. Even if you’re not so good with lettering, you can just throw a little xxxooo onto a card and ta-dah! Instant message :) Here’s the post.


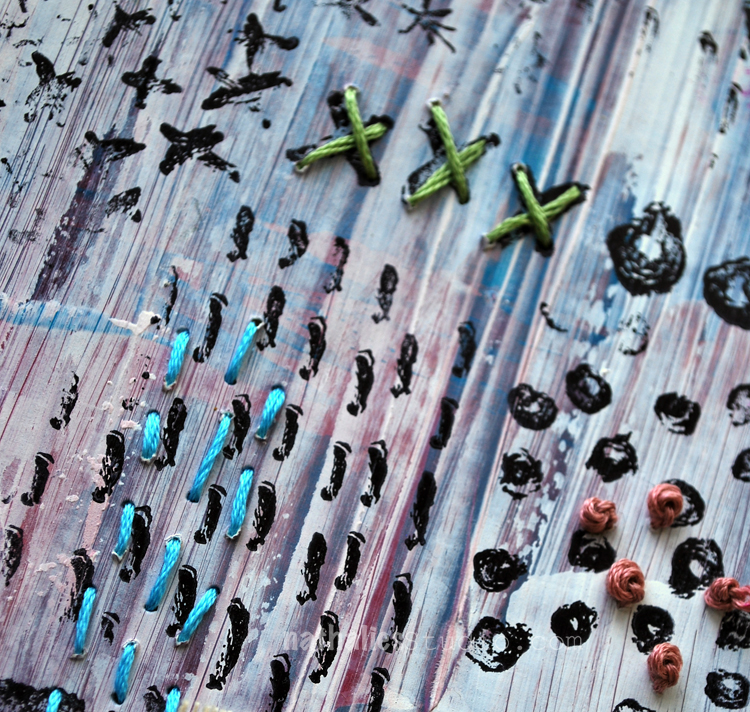
Tags are another go-to surface that works perfectly with the smaller details of rubber stamps. I combined the Love Knots stamp with some real embroidery here in this post. Very fun to follow stamp designs with actual stitching.


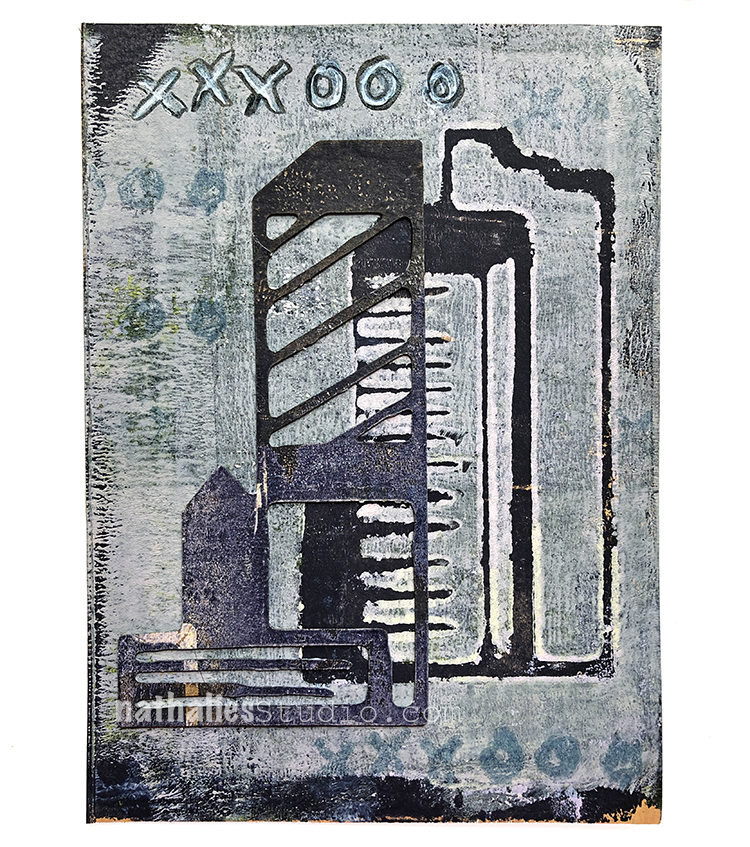
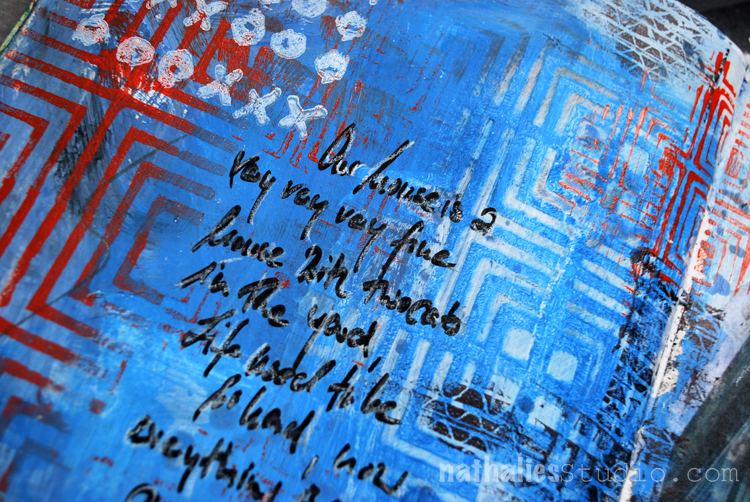
If I’ve got a dark or intense background going on, I like to use a white ink pad like the Moonlight White with Love Knots. In this art journal page I needed some unifying marks to pull things together and the stamp was the way to go. You can see the entire spread here and why I chose this particular stamp too.


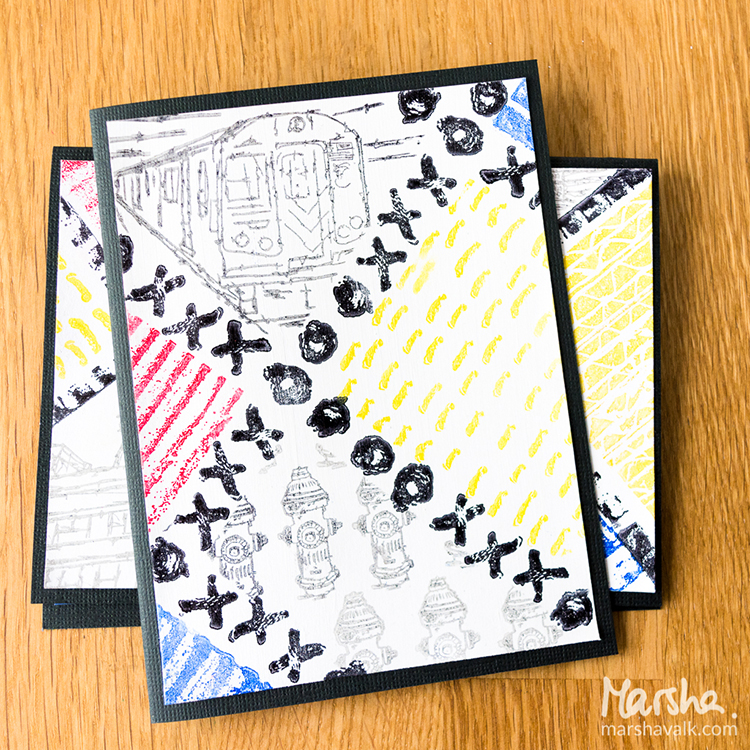
And I will wrap this up with some of my favorite cards from Creative Squad alum Marsha Valk who was inspired by her town and it’s connection to the artist Mondrian. Read the story and see pics of her town here in the original post. I love how Marsha uses Love Knots as a border element in these cards, filling them in with my E-train, Hydrant, Running, and Torn Layers stamps too.


I hope you enjoyed seeing my Love Knots stamp in action :) xxxooo

Leave a comment

Creative Squad: Primary Colors – Riikka Kovasin

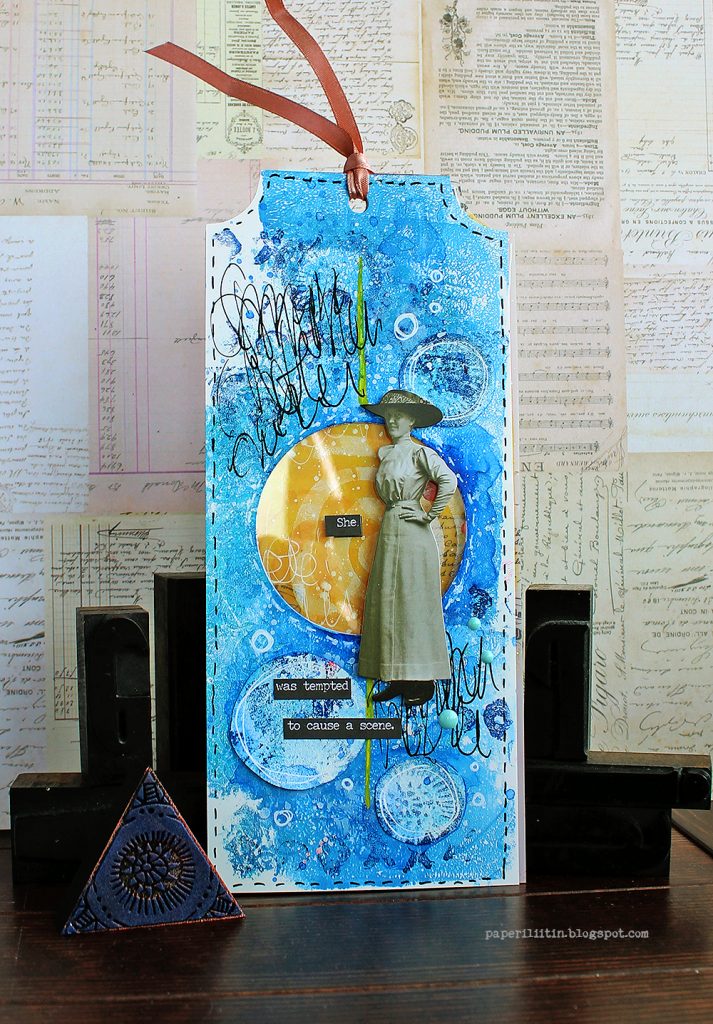
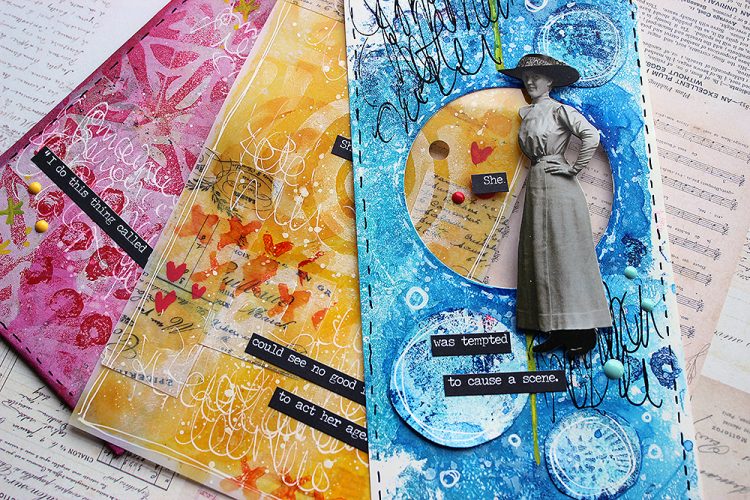
Hello from my Creative Squad! Today we have a post and video from Riikka Kovasin who is sharing a trio of cheeky tags using my Batik stencil, Triple Play foam stamps, and Love Knots rubber stamp along with our theme this month: Primary Colors: Red, Blue, and Yellow it’s your time to shine. Let’s get back to the basics of color and light and play with primary colors. It’s elementary my friend! This month we are also pleased to be partnering with Grafix who supplied the squad with some cool products to try out. Read on:

Maverick

Hi there all! It’s Riikka here today to share my take on the monthly theme of Primaries! This month we also got some lovely products to play with from Grafix. I used all three we were given and threw in one more from my own stash!

I feel like I must be honest with you. After seeing all the cool stuff you can do with Grafix products, especially by Tania Ahmed, I sourced some supplies through internet and ordered them. But then when they arrived, I had some deadlines closing in and I just put them aside with the thought “Need to play soon”. Then that pile moved to another place in my craft room and finally they went up on a shelf. So, while I have had some craft plastic in my craft room for months now, I’m so grateful for this theme and collaboration as it finally pushed me to take the stuff from the shelf and use it and fall in love all over again!

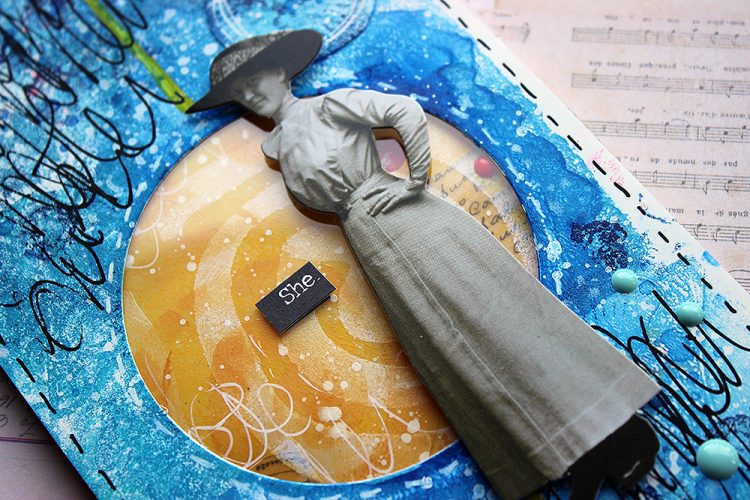
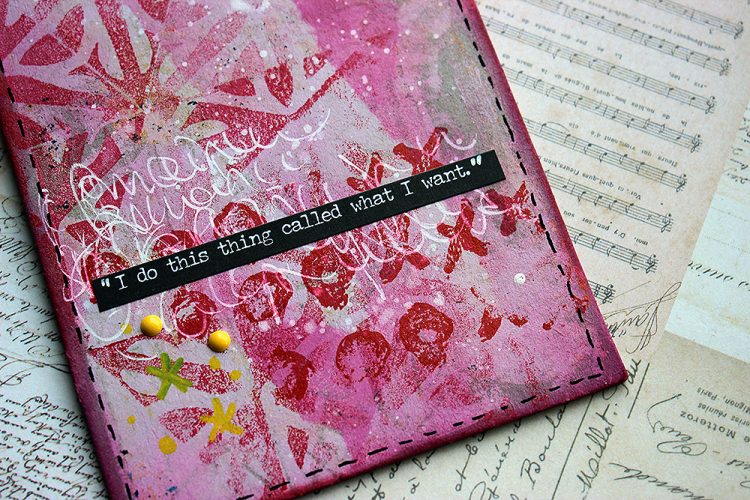
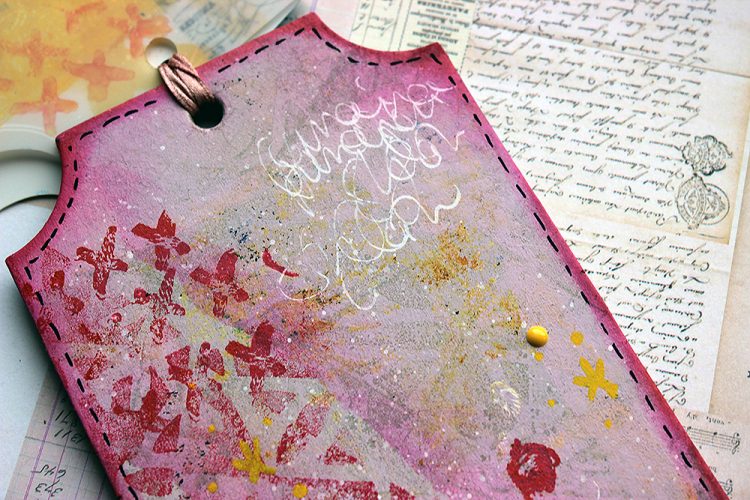
As before, I recorded a little process video while working with the Grafix products and primaries. As you can see from the pictures already, the project has blue and yellow and there’s red, too but not the same way as the other two. It’s because somehow I feel intimidated by red, especially in large surfaces. It’s such a vibrant, energetic color that I feel I can’t cope with it, I can’t harness it. So, instead of doing a red base and patterns, I started with a pink base and added red on top! More manageable!

I was amazed how well the craft plastic handled all the mediums I threw at it. Especially I loved using watercolor on top of the acrylic layer, it felt so soothing and rewarding. Another discovery was that I couldn’t rip the Double Tack Mounting Film. I was planning on ripping the vellum apart for the collage layer on the yellow tag, but it proved to be impossible. The Mounting Film was so sturdy that it wouldn’t rip! But still it’s so thin that it doesn’t add any bulk.

I kept the embellishments in the tags quite minimal. This shows the background better and also gives the whole thing a story book feel as all the texts connect. I guess this idea came to me while cutting the openings to reveal the layers underneath. The holes get smaller between the layers and that reminded me of a children’s book by Tove Jansson. It’s called “The book about Moomin, Mymble and Little My”. It’s the first picture book drawn and written by Tove Jansson, published in the 50s. The original title was “Hur gick det sen?” as Tove was a Swedish speaking Finn. Throughout the book there’s holes where you can have a sneak peek to the following spread. The holes get smaller and smaller in the course of the story and the last hole is so small that Moomins can’t fit through it and are thus captured in the book. The book has vibrant illustrations in Tove’s unique style. If you haven’t seen it, I recommend taking a look! Perfect inspiration for solid color surfaces and primaries! Here’s a link to Moomin site to get you going.

Thank you so much for stopping by today! I really enjoyed my first go with the Grafix products and can’t wait to play some more!


Thank you Riikka – just love the gorgeous layers you were able to build and learning the inspiration behind the project!

Give it a try: you can find all my Rubber Stamps , Foam Stamps, and my Stencils in my Online Shop and here are some of the supplies Riikka used:

Follow Nat’s Creative Squad on Instagram too: Each week we post projects, ideas, and inspiration for mixed media art.

Comments (1)

  • Sue Clarke

    |

    Riikka, awesome texture, colors and the expression about the woman shown are so delightful!

    Reply

Leave a comment