Blog: Mixed Media

Live, Laugh, Love – Art Journal Pattern Play

versaillesstampset_natkalbach

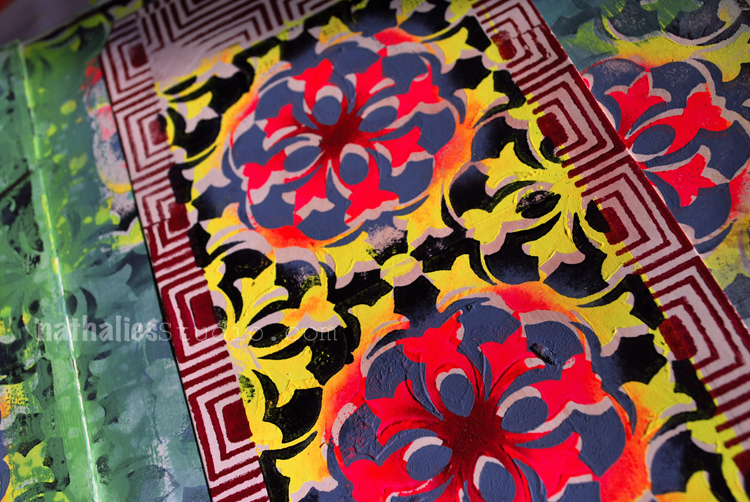
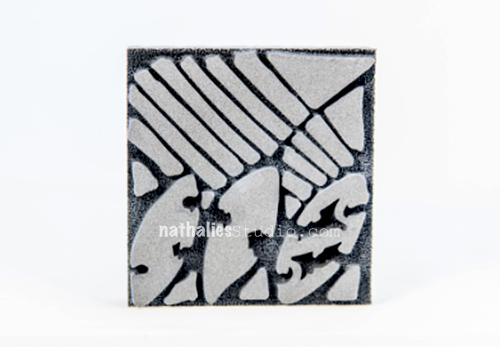
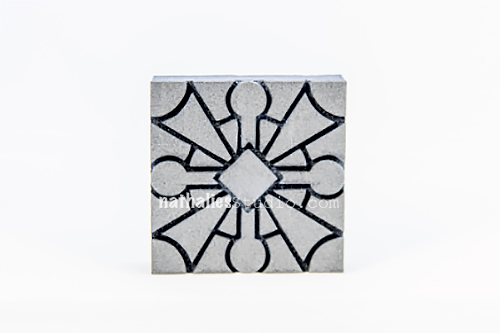
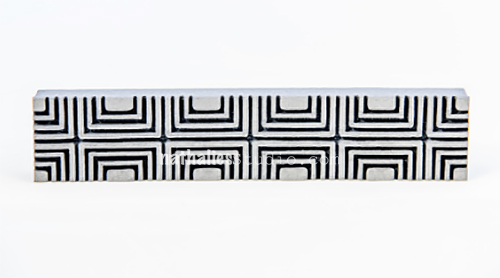
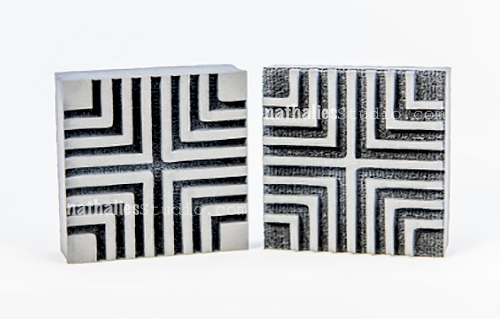
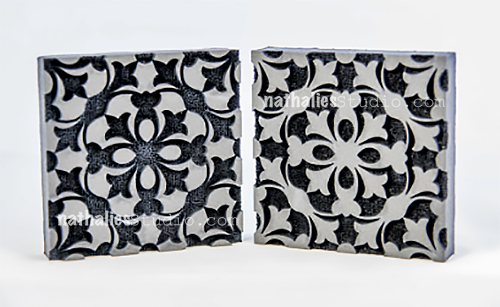
For this art journal spread I played with my ArtFoamies Versailles Positive and Negative as well as with my Manhattan Border Stamp.

versaillesstampset_natkalbach04

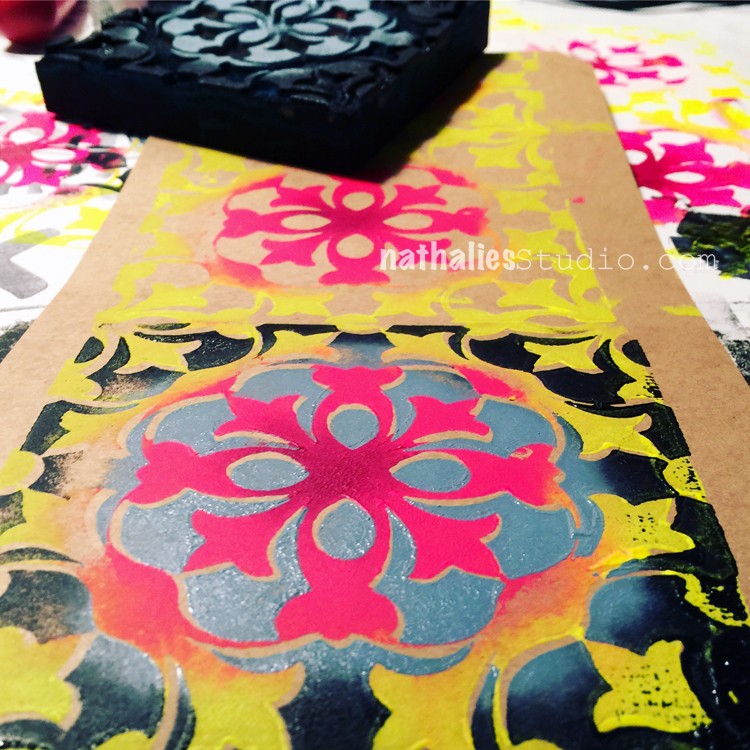
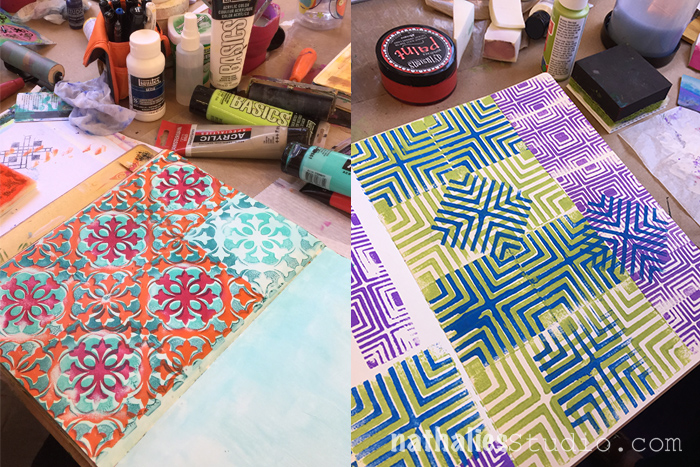
I added different acrylic paint colors to each of the ArtFoamies StampBuddies included in the Versailles stamp set and then stamped first with the one stamp and then filled in with the other stamp . I love how you can use the stamps each just as they are or layer them on top of each other to get really intricate designs. I stamped around the border of the tag with the Manhattan border stamp.

versaillesstampset_natkalbach01

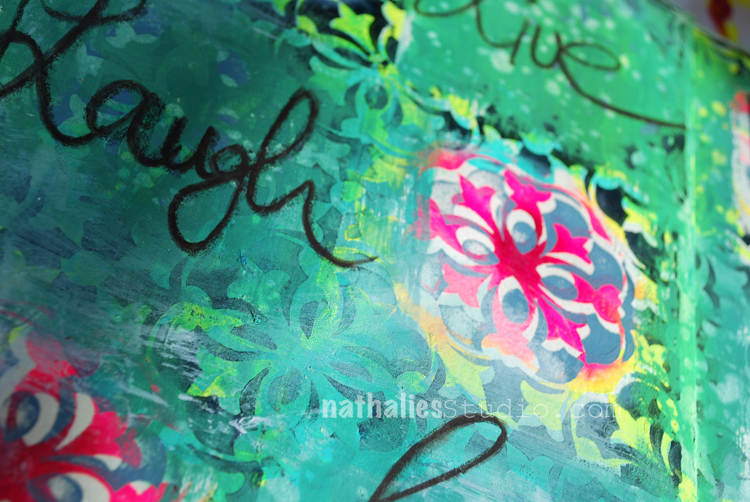
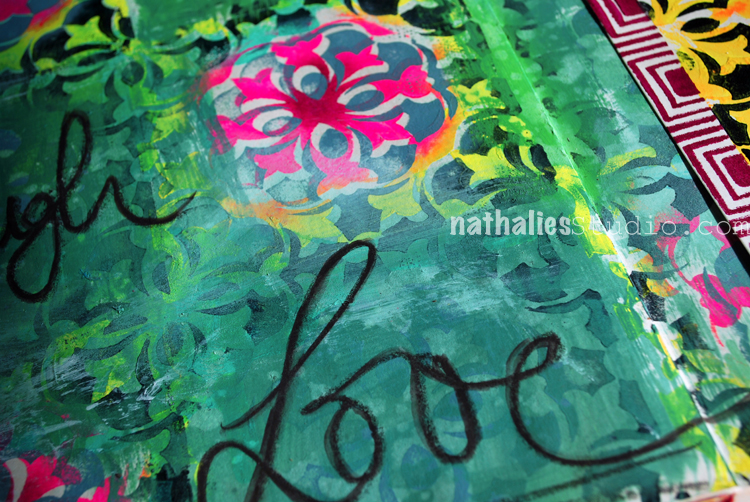
For the art journal background I used the same colors on top and stamped right into the journal- then added some green acrylic paint here and took some areas off again, while the paint was still wet. I wanted to have the stamped images show through the paint at places to give it a more layered and dimensional look.

versaillesstampset_natkalbach03

I adhered the tag to the background of the right side of the journal with some double sided adhesive and then used my new Varco ArtGraph to write out the words. I went over them again with a small wet brush.

versaillesstampset_natkalbach02

I love the result- it is a bit wild and yet cohesive as the pattern and colors get repeated. That was a lot of fun.

Here are the supplies I used- some of them are affiliate links:

supplies


Hope you have a wonderful day today filled with Live, Laugh and Love

Leave a comment

Creative JumpStart 2017 AND CYBER MONDAY SALE

I’m excited to announce Creative Jumpstart 2017 (CJS17)! Yes, we’re back and ready to inspire you in January and beyond! This year’s theme is “Mix, Match, and Master .”

What’s CJS you ask? Let me tell you! CJS is a one-of-a-kind community event to jumpstart your creativity. Throughout January 2017, you’ll get 27 downloadable videos by 27 professional mixed media artists. You’ll be exposed to new techniques and styles and you’ll have the opportunity to interact with a worldwide community of creative-minded participants.

Right now, between Monday November 28th and Tuesday November 29th at 11:59pm EST, we are offering CJS17 for only $40 USD – 20% off the list price. Register today for this special Cyber Monday deal! Beginning November 30th, CJS17 will be $45 through December 31st, and $50 thereafter.


So what are you waiting for? Sign up for CJS17 here!

So can this Cyber Monday get any better???? YESSSS- it can ….how about a 20% Cyber Monday Coupon Code on all physical products like Stamps, Stencils and DVD’s. Don’t forget to stock up on everything you need for your holiday shopping and projects.

nstudiocybermonday2016-cjscoupon-code-graphic

Use the coupon code CYBERNAT20 when you check out.

Hope you join us for CJS17 and have fun shopping :)

Comments (2)

  • Anne

    |

    Hi,

    Roughly how long is each video? For example are they about ten minutes or an hour?
    Thanks

    Reply

    • nathalie-kalbach

      |

      Hi Anne – each video is between 10-15 minutes long. Nat

      Reply

Leave a comment

Make a Mark Tag

batikstamps_natkalbach

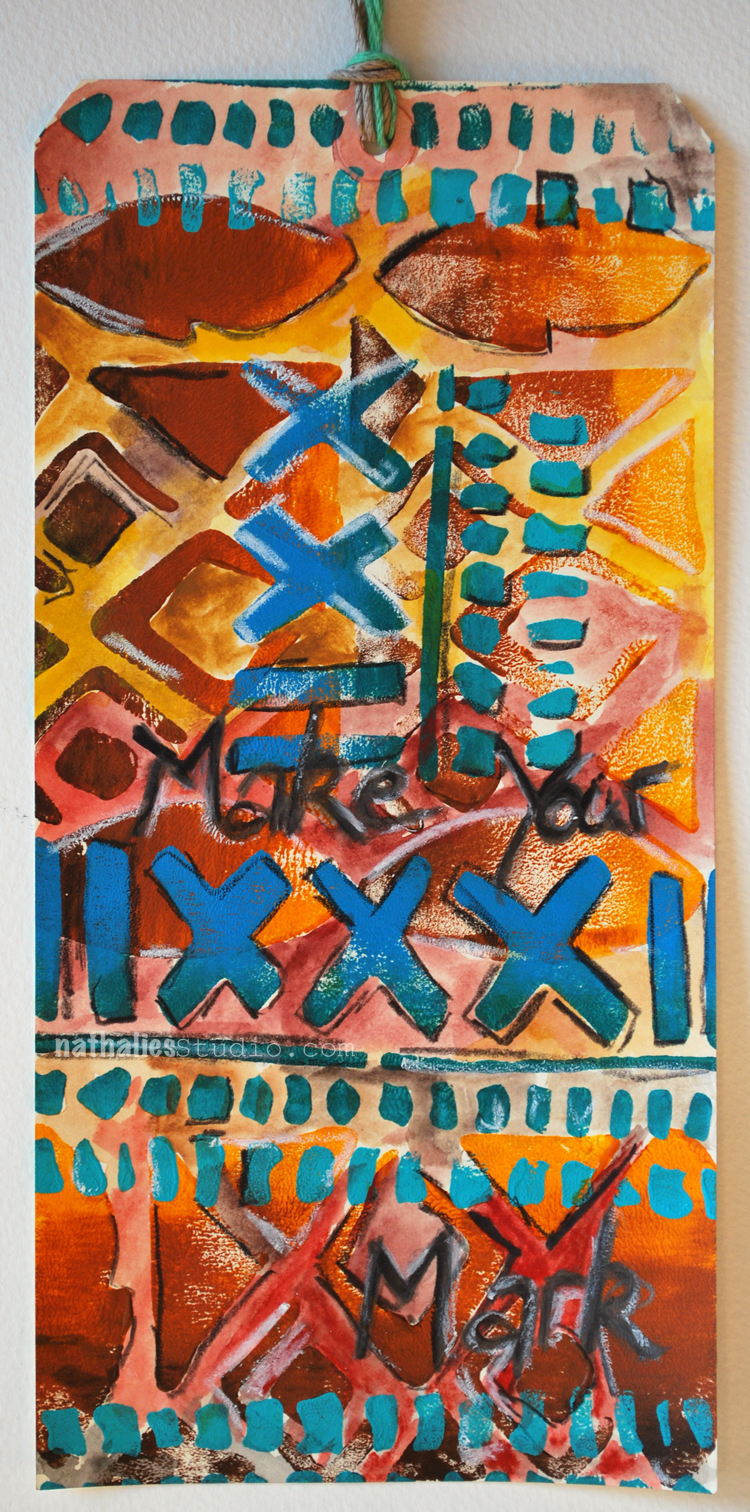
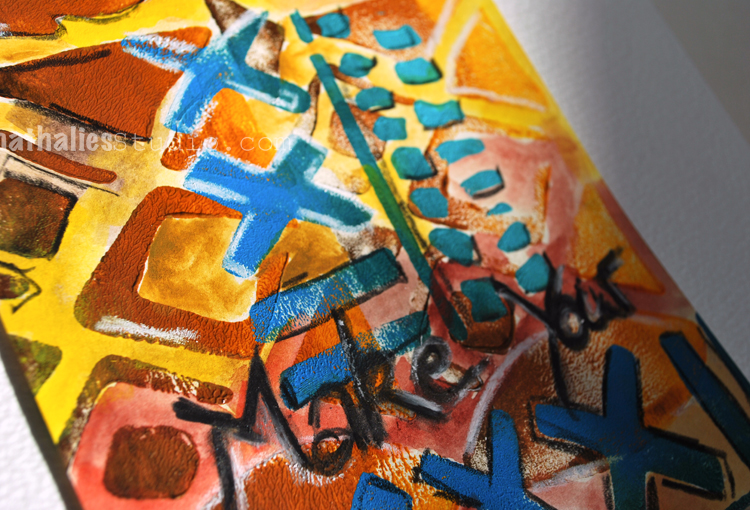
I made this tag for fun and will use it either as a gift tag or put it into my art journal. I stamped with the Art Foamies Batik Pattern 1 and Batik Pattern 3 Foam Stamp and Acrylic Paint and then tried my new Varco Art Grafs out – I have to show you those soon- Oh man the colors are so yum! They are graphite blocks and are awesome for drawing, painting and writing.

batikstamps_natkalbach01

Loving the mixture of the acrylic paint and the graphite. I guess time to film a Creative Icebreaker with those soon :)

Here are the supplies I used – some links are affiliate links:

supplies

Hope you make your mark today :)

Comments (4)

  • Jean Goza

    |

    The tag is awesome! Great color and texture. Would love to know more about how you use the Artgrafs.

    Reply

    • nathalie-kalbach

      |

      Hi Jean, thank you so much! I make sure to use them very soon in a video and tell more. Still exploring them a bit more- I love them already :)

      Reply

  • stephanie

    |

    Very cool! Did you do a wash of paint(s) for the background?

    Reply

    • nathalie-kalbach

      |

      Hi Stephanie, I stamped with the acrylic paints and the stamps directly onto the tag and then used the ArtGraf Varcos and did a wash – they are super pigmented and made the stamped areas really pop.

      Reply

Leave a comment

Join Birgit Koopsen and Me in March at The Ink Pad in NYC

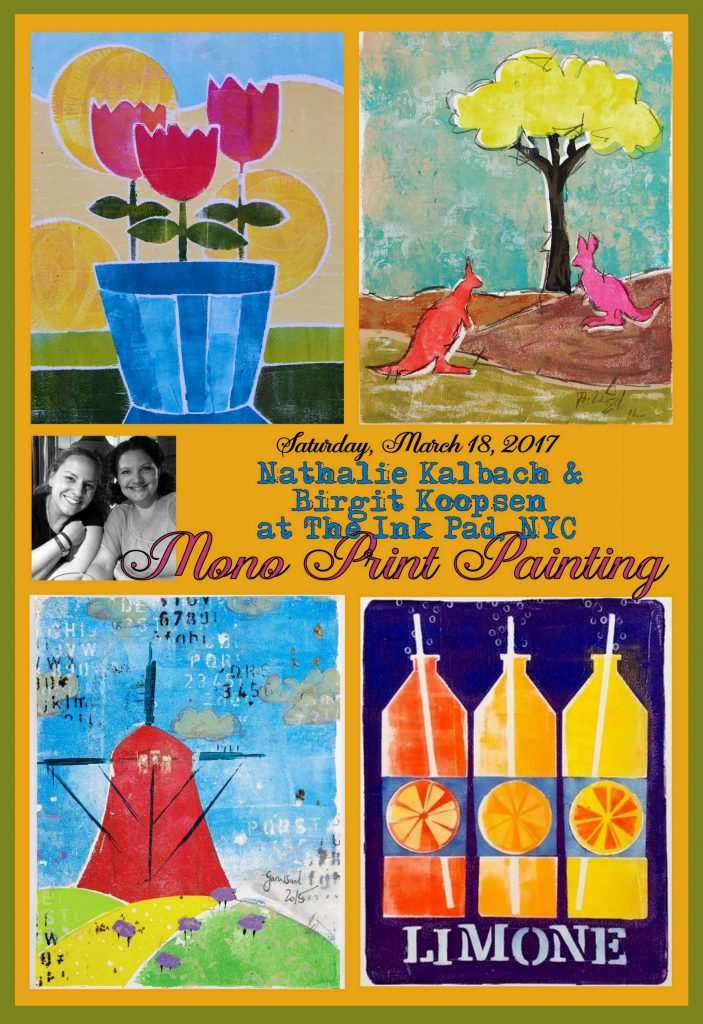
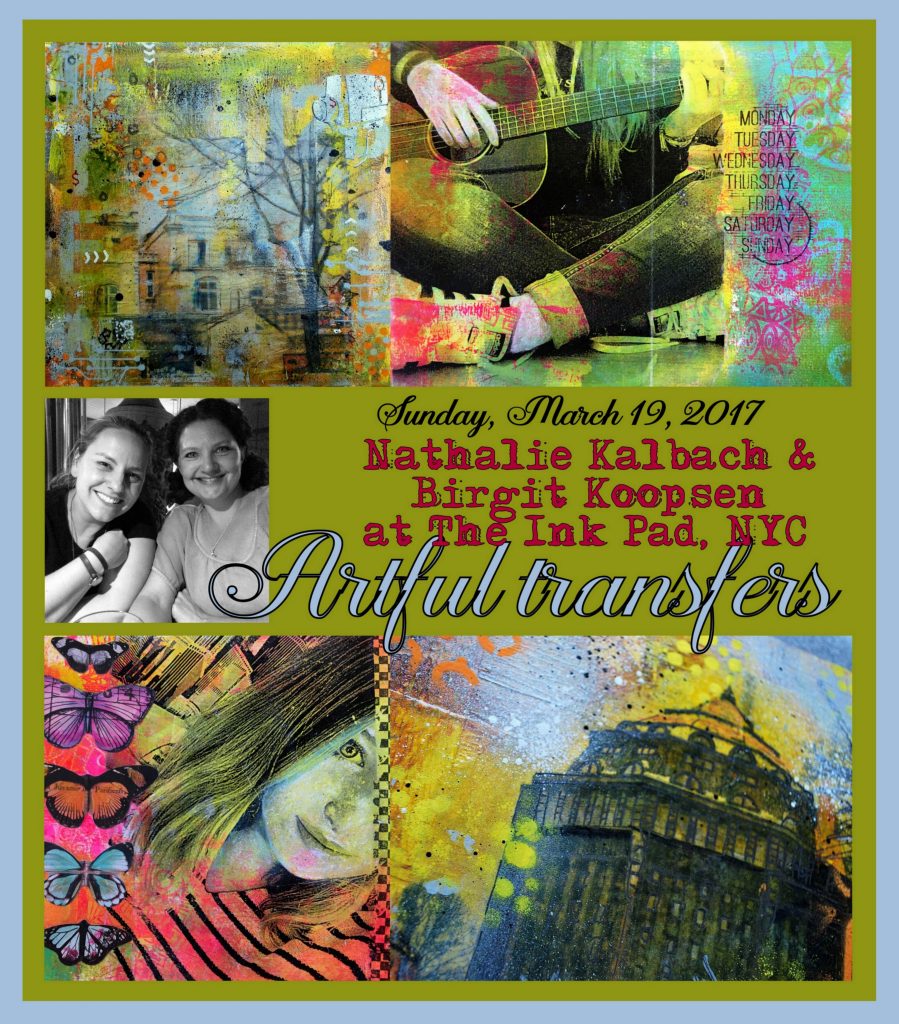
Birgit and I will be teaching at The Ink Pad in NYC on March 18 and March 19, 2017! Come and join us

mono-print-painting-workshop-ink-pad

Let’s push mono printing to a whole new level.

Join us for a day long class in Mono Print Painting. We will dive into the basics of mixed media mono printing first and will introduce you to our Mono Print Painting technique inspired by H.N. Werkman. We will show you different ways on how to create elaborate and layered mono printed paintings using self made tools as well as stamps and stencils. We will share with you thinking process on developing the technique and how we put our own personal spin on it, so that you can take this even further.

Register here

—————————————————

artful-transfers-workshop-ink-pad

Join us for a fun day of exploring and incorporating different transfer techniques into your art journal pages. The imperfect look of transferred imagery in your art journal opens up so much creative potential. Not only are there many different ways to actually transfer images, there are also many different ways to treat those transfers in your art journal. We will show you our favorite techniques and how you can make your art journal pages even more meaningful by using artful transfers.

Register here

We hope to see you there!

If you are looking for an In-Person Class with me check out my upcoming classes

Leave a comment

Workshops at The Queen’s Ink in Maryland & Giveaway Winner

kalbachqueenscollage

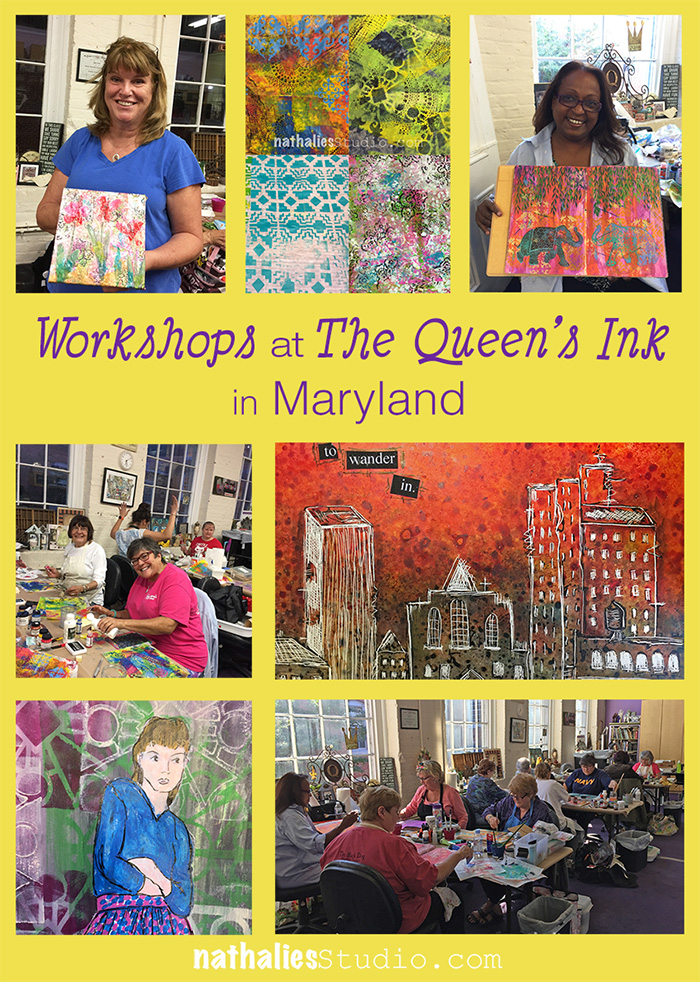
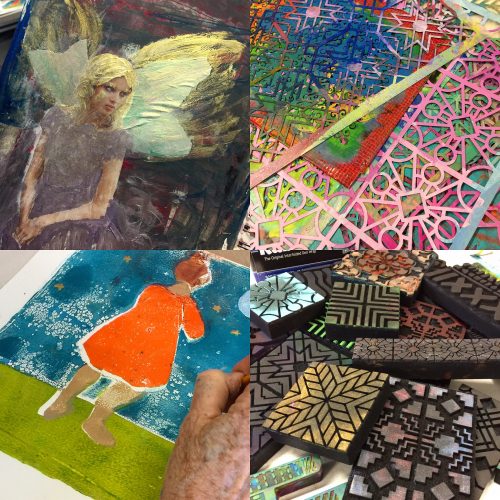
I had such a wonderful time in Maryland at The Queen’s Ink last weekend.

kalbachqueens02

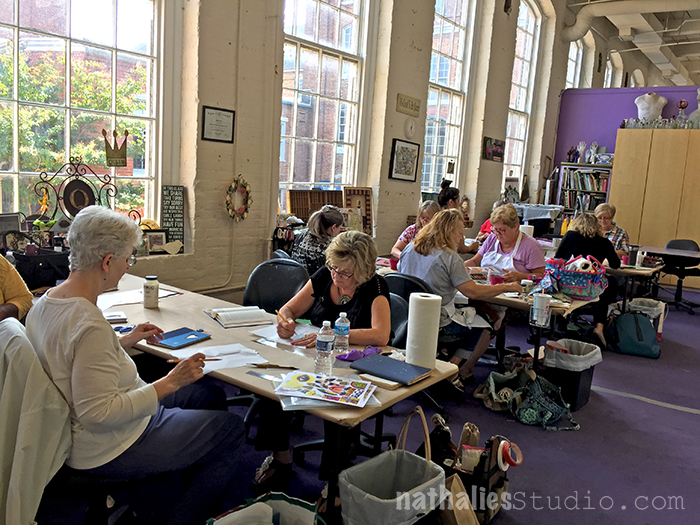
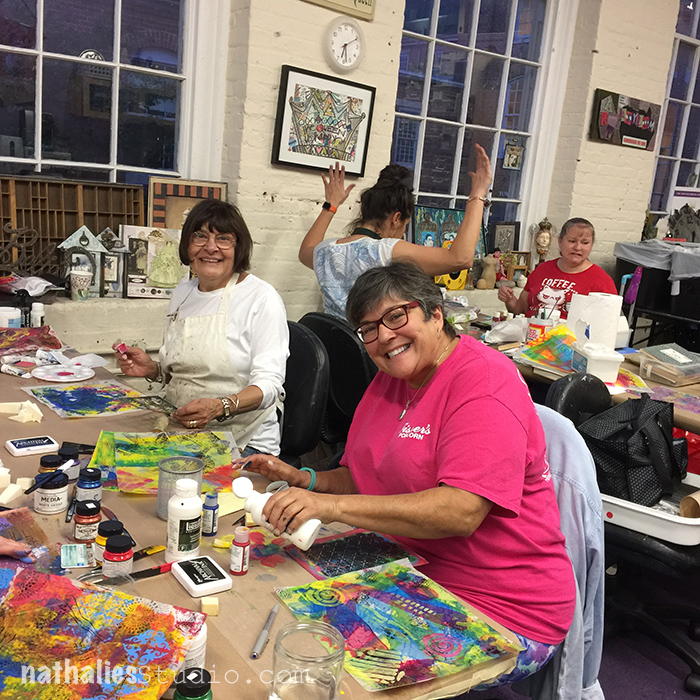
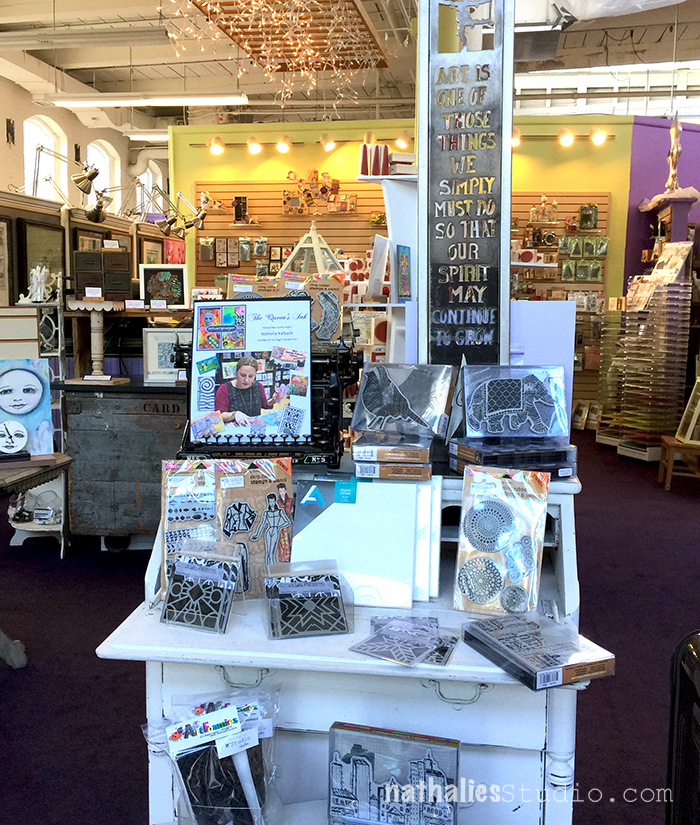
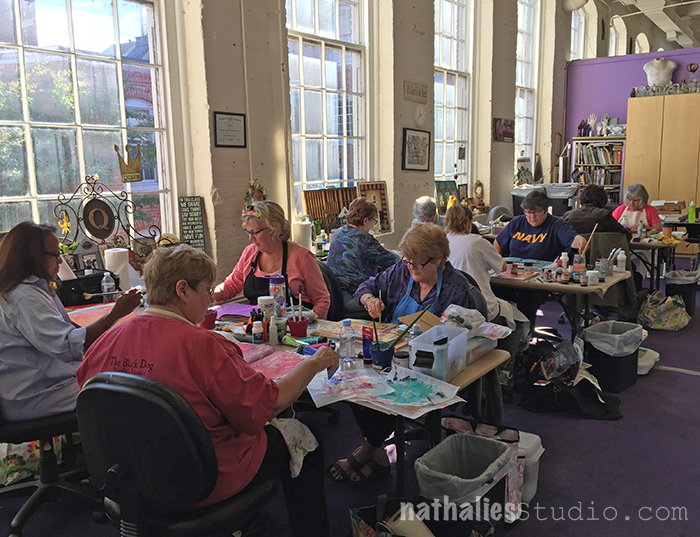
The Queen’ s Ink is an amazing store located in a historic mill and the classroom has gigantic windows giving a wonderful light.

kalbachqueens03

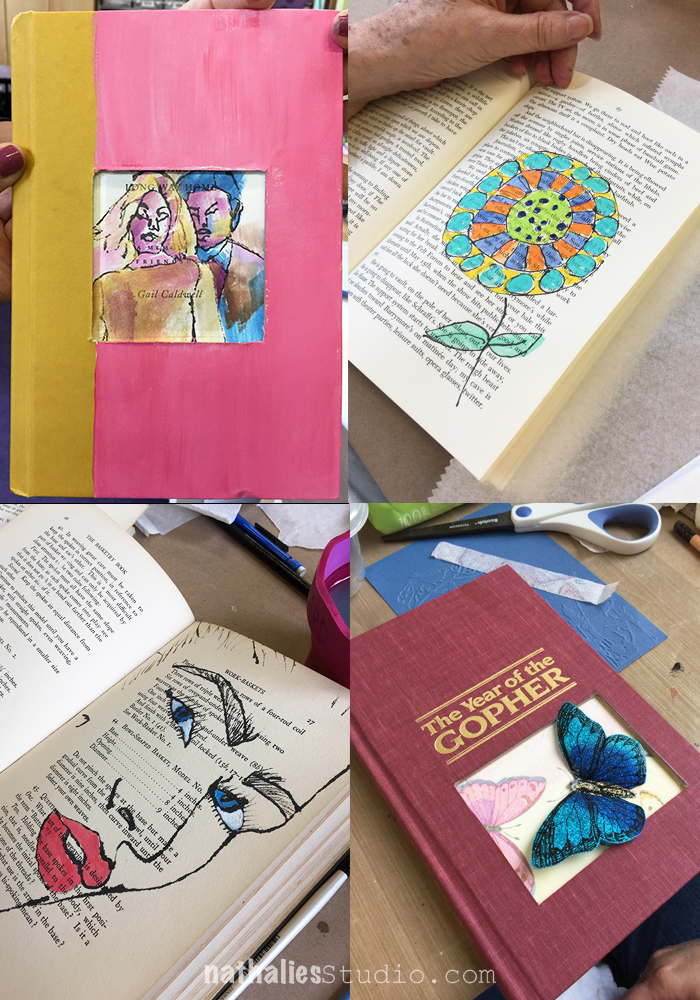
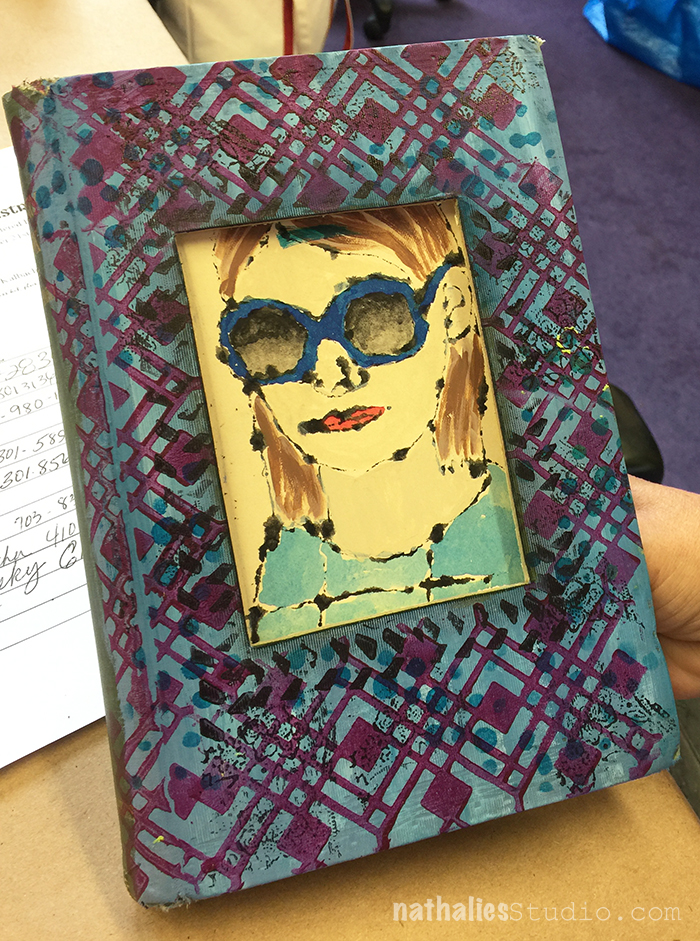
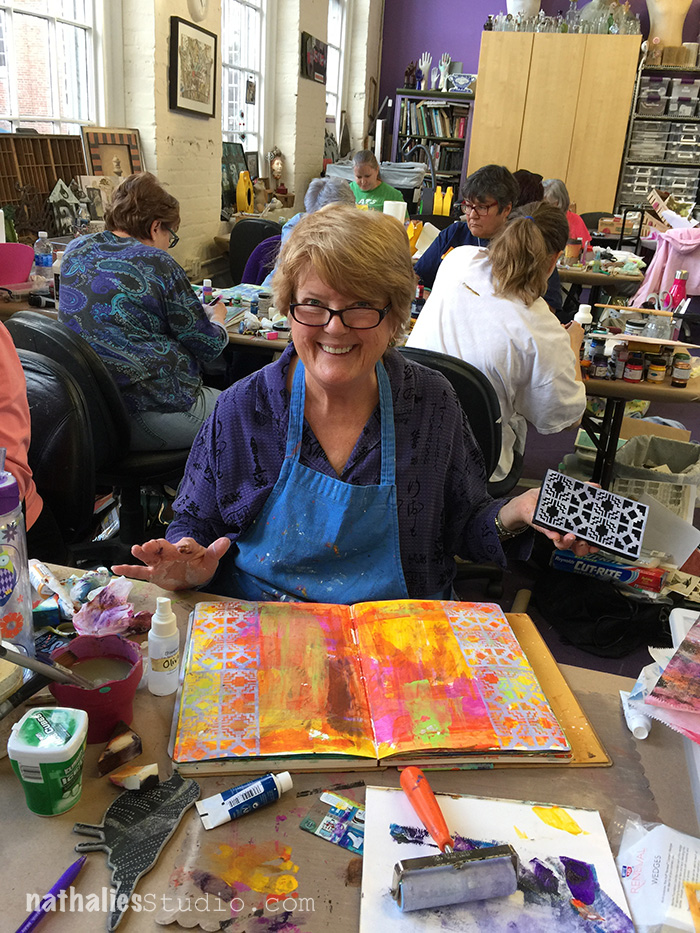
The first class was a an altered book class and it was wonderful to see how the students interpreted the techniques to fit into their own books and styles.

kalbachqueens04

Isn’t this fun?

kalbachqueens06

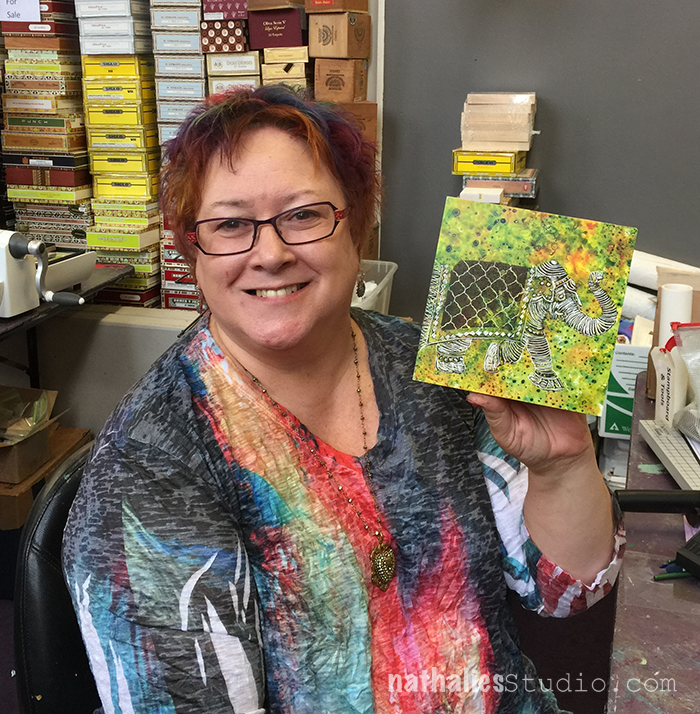
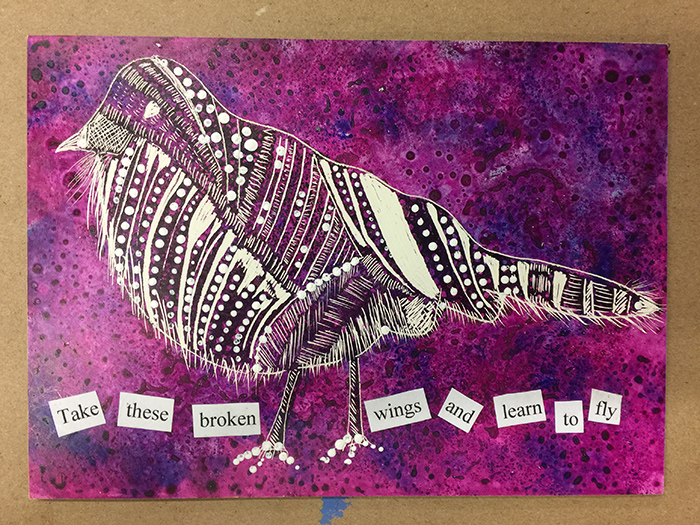
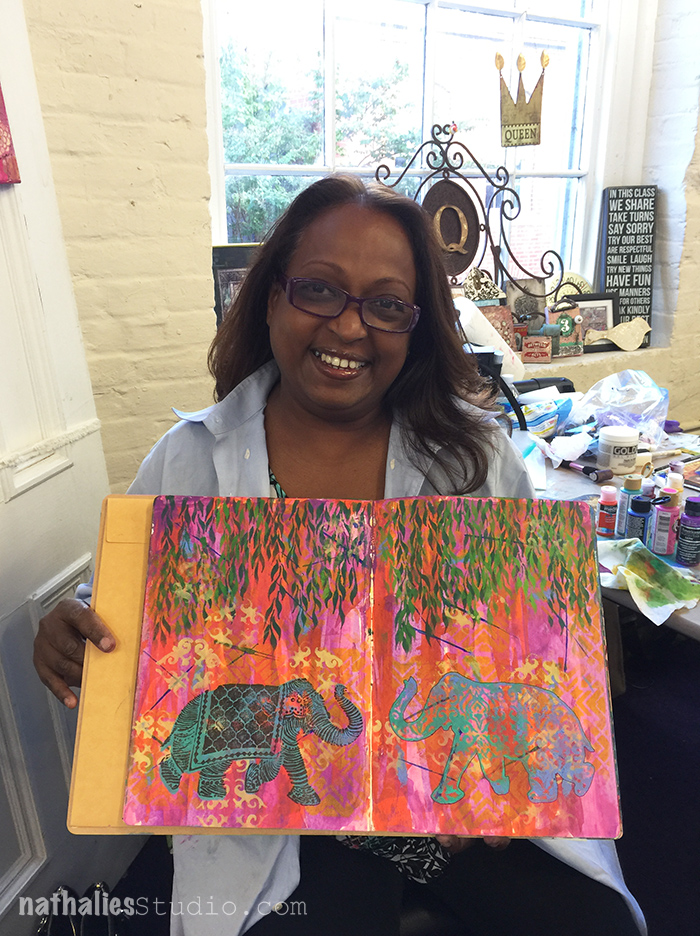
Patti, the owner of The Queen’s Ink and master of colorful and beautiful Mixed Media projects herself worked on some beautiful Ampersand Stampboards using my Stampendouds Elephant, Bird and Urban Scribble stamp set. So love it!

kalbachqueens15

The students were so much fun and I loved seeing some familiar faces and also to meet some students which I have known for a long time from my online classes – you guys are the best!

kalbachqueens08

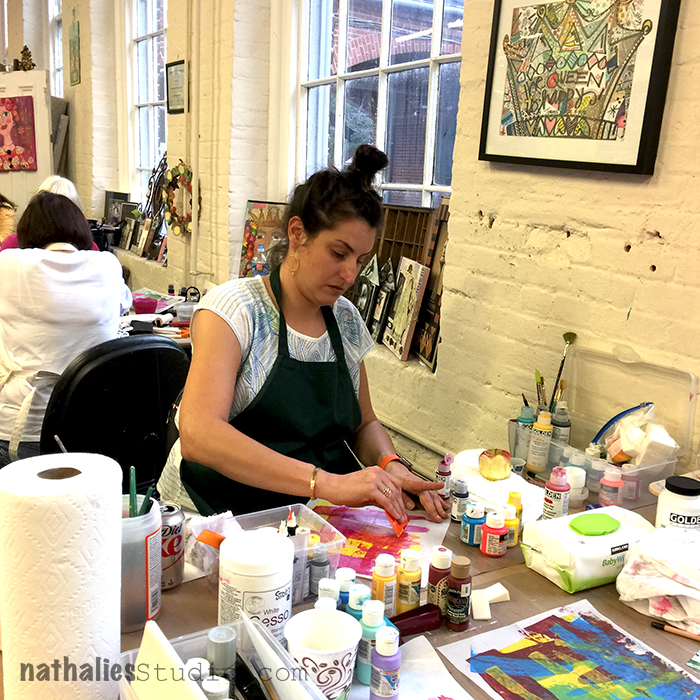
Lot’s of yummie pattern play in the collage class

kalbachqueens09

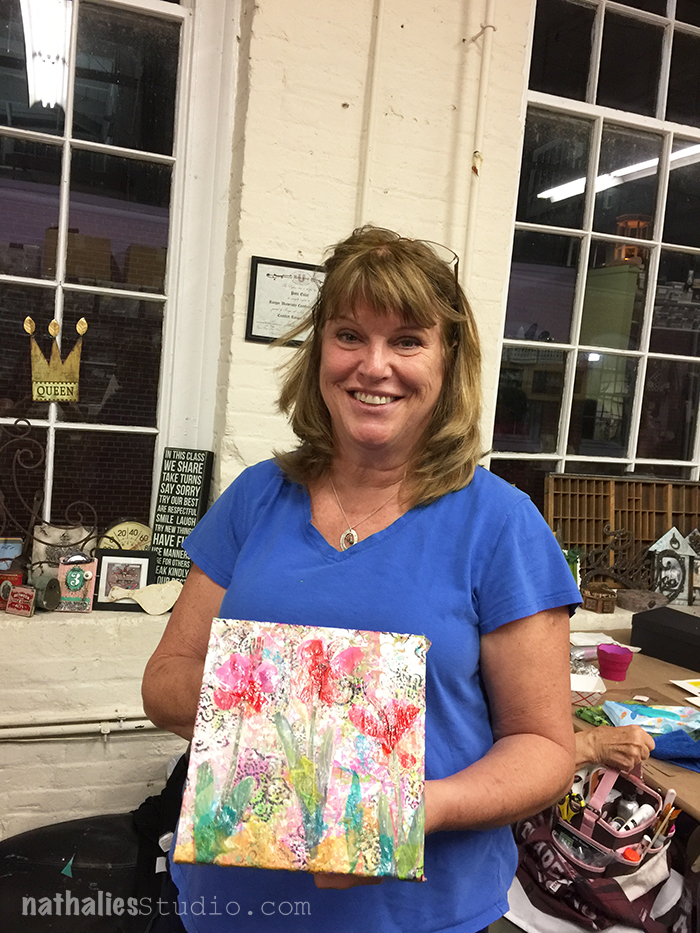
and happy smiles :)

kalbachqueens10

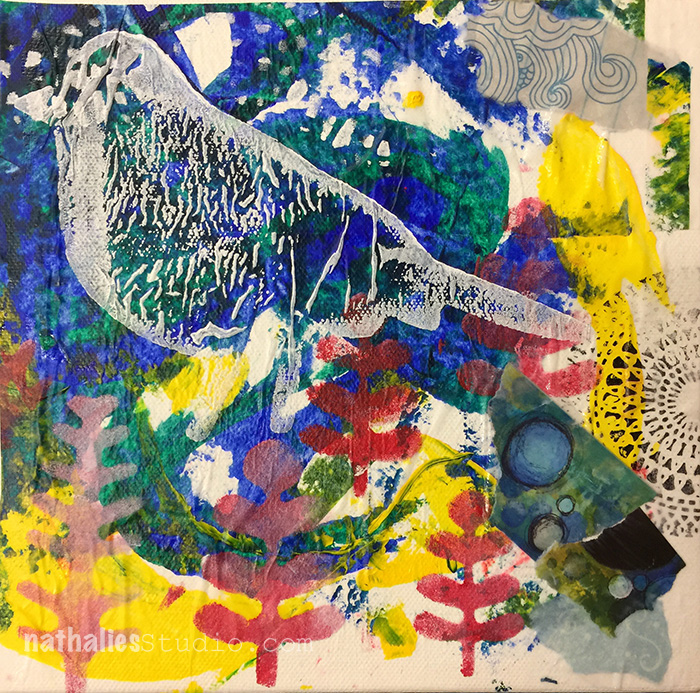
the collages were so different and fun and colorful!

kalbachqueens11

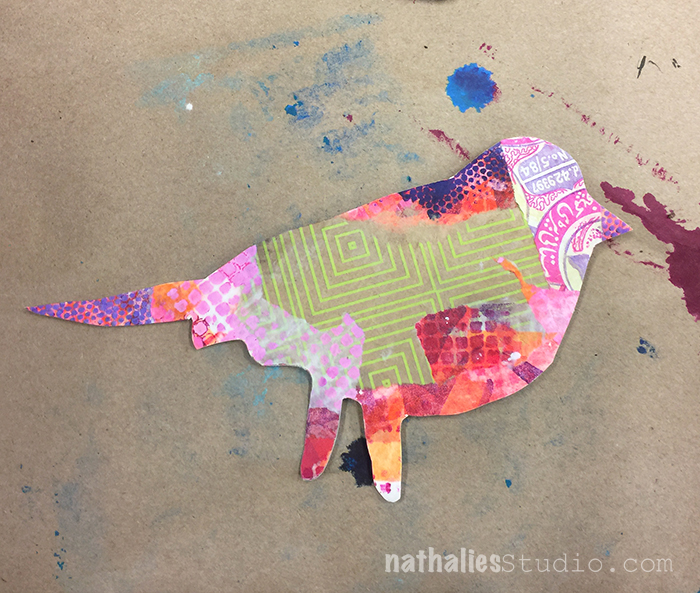
hey …little birdie!

kalbachqueens12

kalbachqueens13

kalbachqueens14

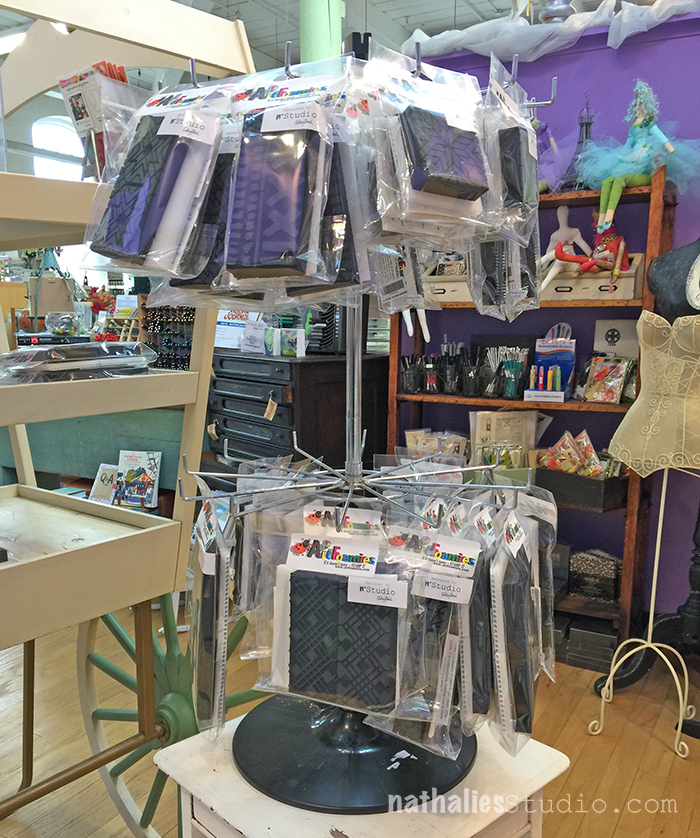
And I know it is dorky- but it was so fun to see my stamps and stencils displayed in the store. Still a pinch me moment!

kalbachqueens01

kalbachqueens16

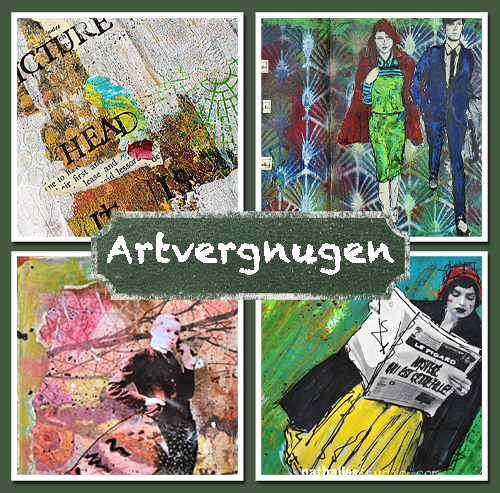
On the second day I taught my Artvergnugen class and we exhilarated layers :)

kalbachqueens17

kalbachqueens18

kalbachqueens19

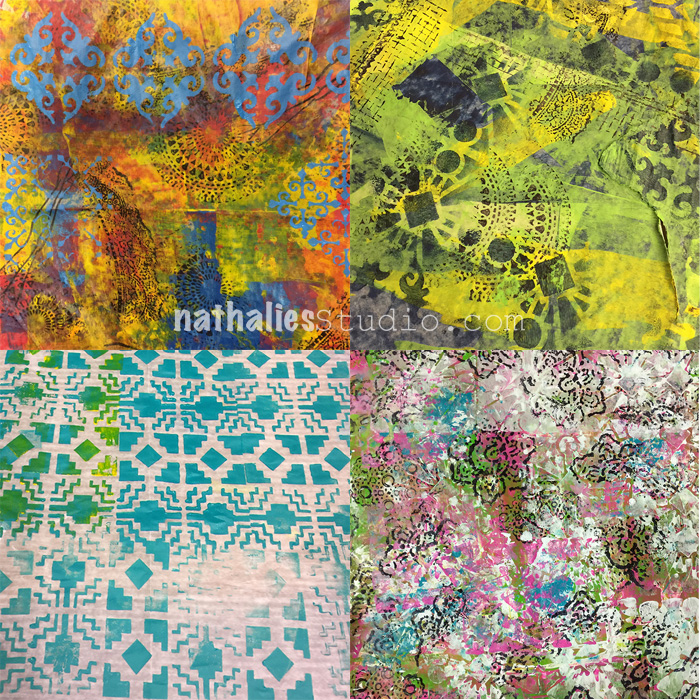
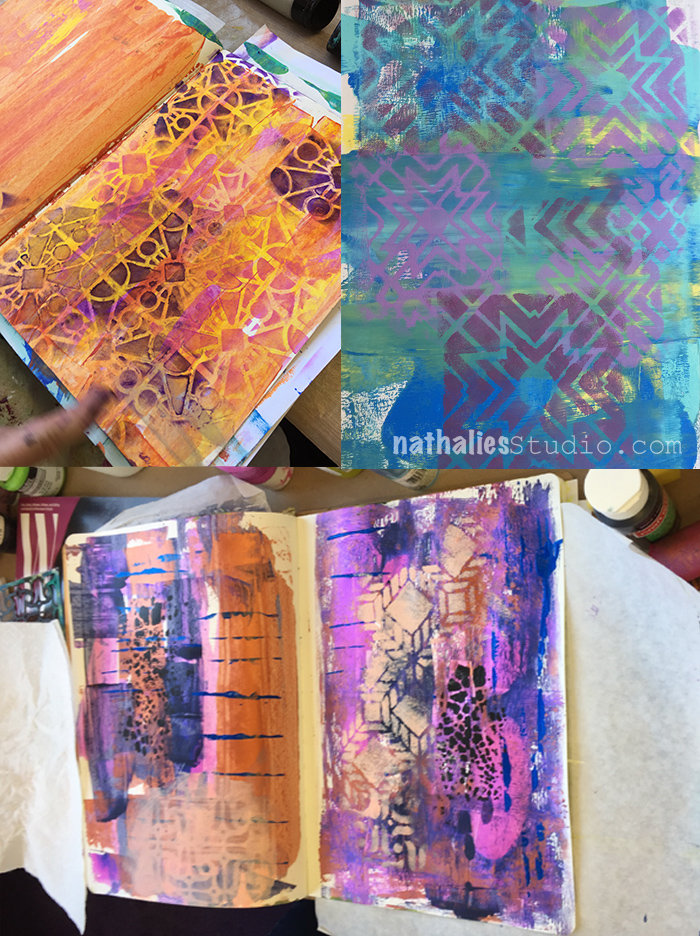
Look at all those colorful patterns made with the new ArtFoamies and ….shhhhh some still secret stencils (hint hint …check in next week ;) )

kalbachqueens20

kalbachqueens21

I had a fantastic time at The Queen’s Ink – thank you Patti for having me ! Rumor has it …I might be back next year ;) ;) ;)

And on another Note- here is the Winner, drawn by my friend Kim,  of the “Art Journal your Archetypes Book by Gabrielle Javier- Cerulli” Post ! Congratulations Gill!

screen-shot-2016-10-28-at-10-49-24-am

I hope you have a wonderful day weekend!

+ Expand this article
0comments

Leave a comment

Teaching with Birgit Koopsen in NY, Syracuse in March 2017

color-crush-ver-2

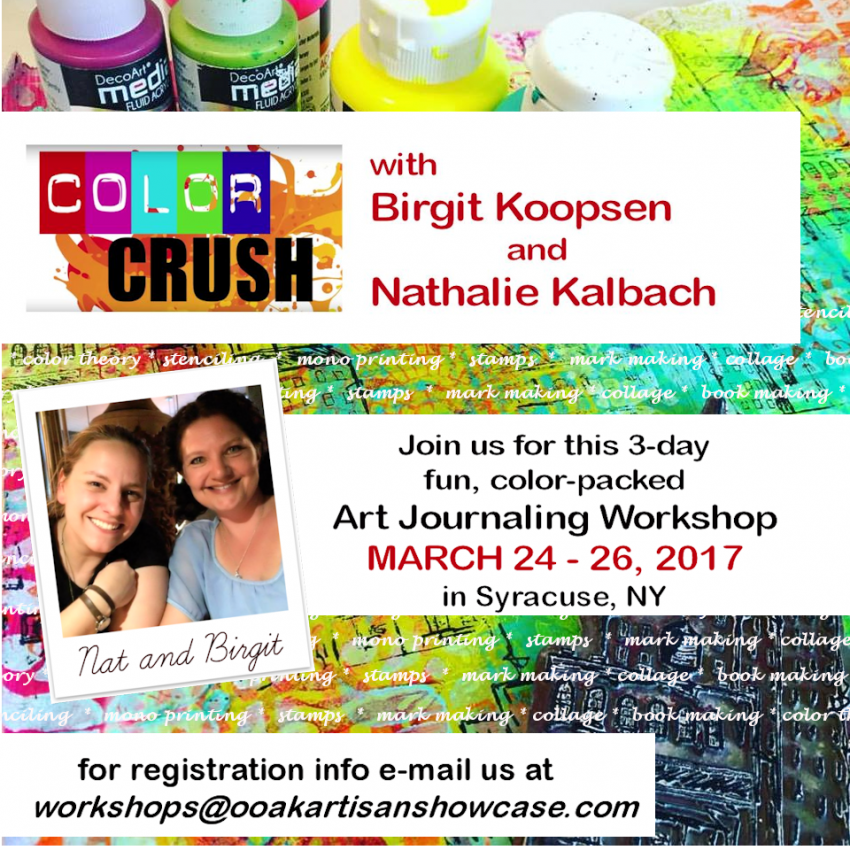
Super duper excited that my friend Birgit Koopsen and I will again teach a workshop together in the U.S. – March 24-26, 2017 a three day Art Journaling workshop in Syracuse, NY organized by OOAK Artisan Showcase.

Check out more details in this video:

Ready for some Color Crush? Check out more details and register here.

It is going to be super fun – come and join us !

Leave a comment

Workshops at The Queen’s Ink in Savage, Maryland Oct 21-22

This year I have taken a big break from teaching due to the book, and I do have to say I really missed teaching. I had a fantastic time at The InkPad with a 2Day workshop on the weekend – here is a little peek of what we did and the new fun things we used. I will post more pix in a couple days. It was wonderful to spent time with super creative and fun students, see my new products in action and be equally inspired by my students and how they put their own spin on things!

img_3916

Now I am getting ready for my classes at The Queen’s Ink in Savage, Maryland in two weeks. I am bringing three super fun workshops with me, which I have taught before and were a big hit – I cannot wait to spice them up with some super duper cool ArtFoamies and …did you spy them? – new stencils. There are still a couple seats left – so join me if you are in the area!

QueensInkWS

Friday October 21, 2016 – 11am-3pm

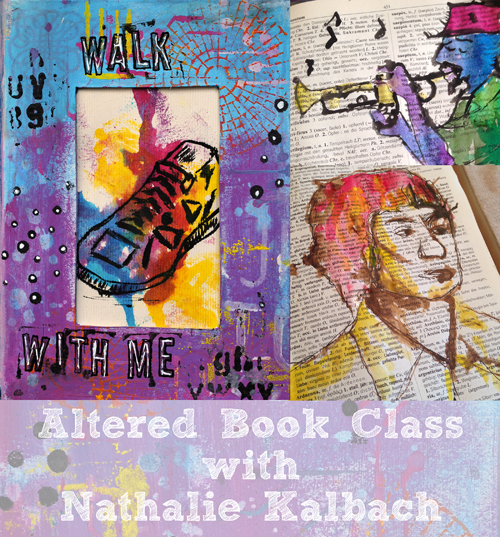
Walk With Me – Altered Book Class

WalkWithMeAd2

Registration Open Now


Friday October 21, 2016 – 5pm-9pm

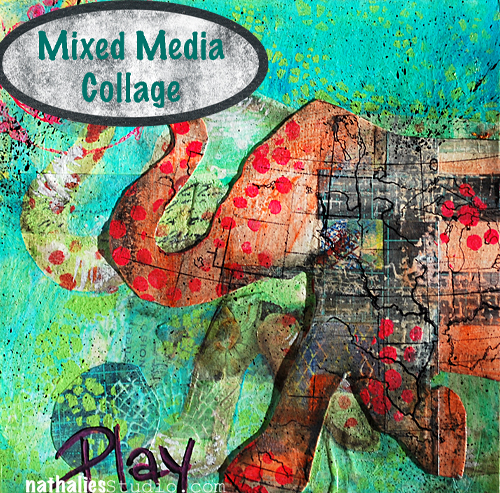
Play – Transform – Mixed Media Collage Class

MixedMediaCollage

Registration Open Now


Saturday October 22, 2016 – 10am – 6pm

Artvergnugen – Art Journaling Class

ArtvergnugenAd

Registration Open Now

Have a gorgeous day!

Leave a comment

Today is the Day – Tina Walker

cs-october-theme

This Tuesday, Tina Walker from my Creative Squad is happy to share with you two super cool projects using Ultra Thick Embossing Enamel and inspired by this month’s theme: “Today is the Day.”  I invite you to join me and my Creative Squad to stop procrastinating and be inspired to make today the day you finally tackle that artsy thing you’ve been meaning to get to for so long.  Start that new project you’ve been planning for months.  Try out that new product you bought ages ago.  Experiment with that new technique you read about last year.  Try it!  Today is the Day!

—————————————————————————————————
tina-october-headshot

Hi!  Tina Walker here today to kick off the new month with a new Theme.  This month, our theme is ‘Today is the Day’.  As the old adage by Benjamin Franklin goes, ‘Don’t put off until tomorrow what you can do today.”

The Creative Squad was challenged to tackle an arsty thing that we’ve been meaning to do.  It could be a new project or a new technique.  I love trying new ideas and techniques so I was super excited to get started.  Let’s get to it!

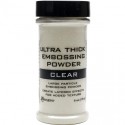
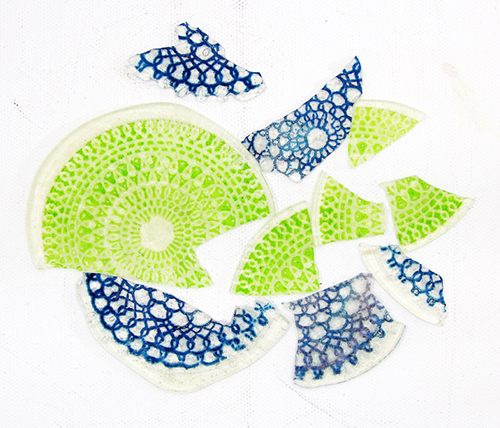
Have y’all heard about Ultra Thick Embossing Enamel (UTEE)?  It’s been around f.o.r.e.v.e.r and it’s been sitting on my shelf for YEARS just begging to be used.  I thought this month would be the perfect time to create with it! I’ve watched several videos on how to stamp into UTEE and wanted to try for myself, so the two projects I am sharing today are the result of this technique.

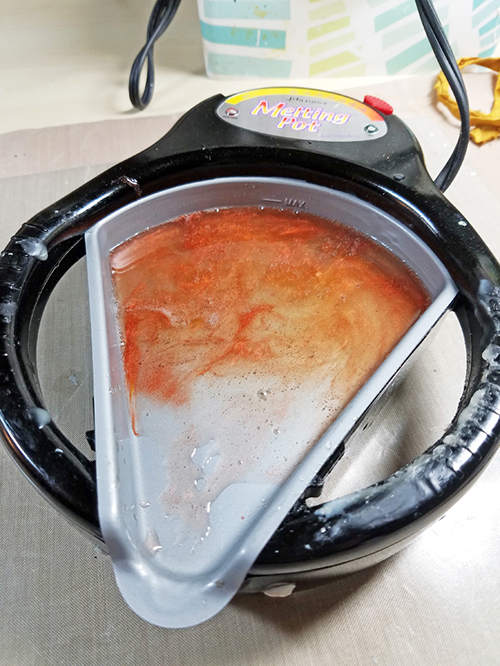
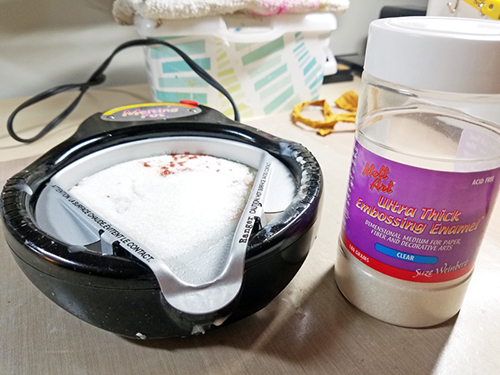
Step One: Melt UTEE per instructions.  You can either add color with embossing powder or metallic powders or use clear.
oct-tw1

oct-tw2

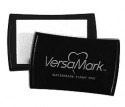
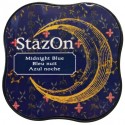
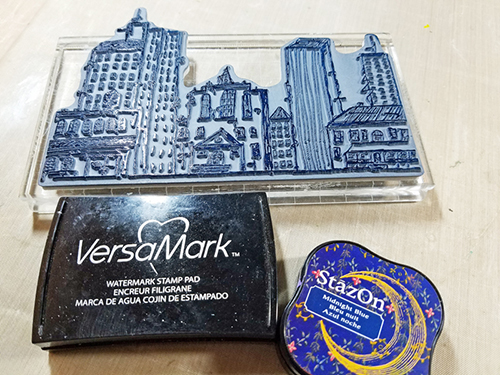
Step Two: Prep your stamp.  (Only rubber stamps can be used.  Acrylic will not work for this technique).  To create a ‘resist’, apply Versmark ink to your stamp.  You can either stamp without color or add color with Staz On Ink.  I used a colored ink with Nat’s Urban Scribble cling stamp so it would show on the UTEE.
oct-tw3

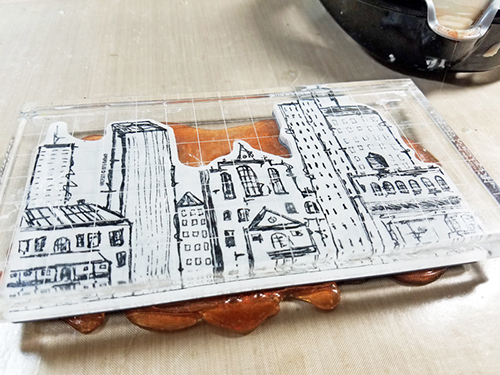
Step Three: Pour melted UTEE on heat resistant craft mat.  Immediately stamp into the melted UTEE and let sit for approx. 15 min.  Once cool, carefully remove your stamp from the UTEE.
oct-tw4

Special Note:  UTEE is very fragile and I cracked several in the process.  Using a thicker layer vs. a thin layer adds to the stability.
oct-tw5

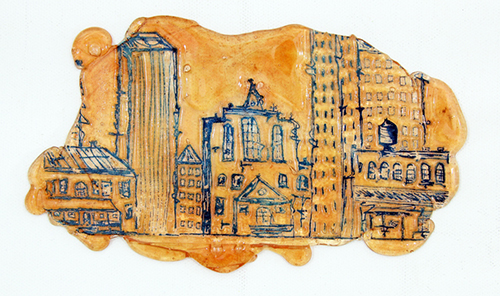
Step Four: You can use your piece *as-is* or add paint, spray, or other mediums.
oct-tw6

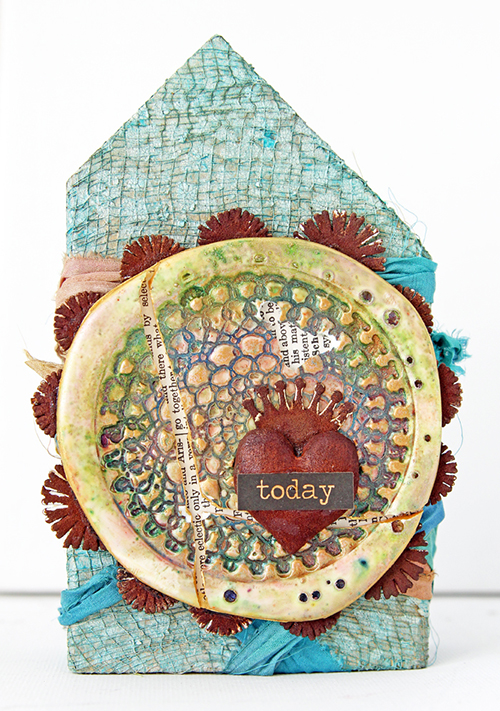
Project One – Today Wooden House

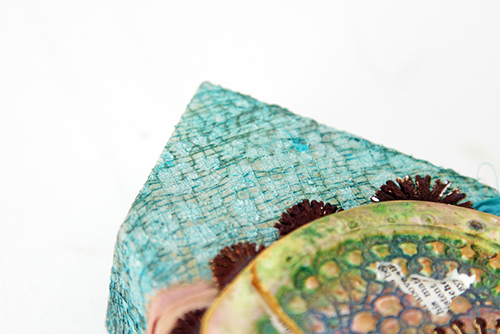
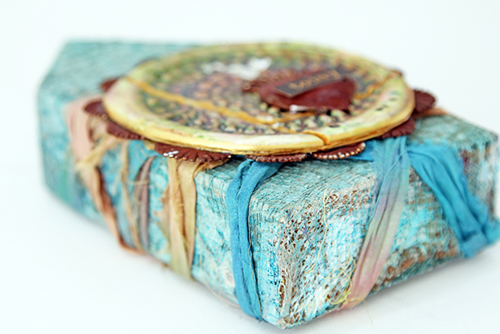
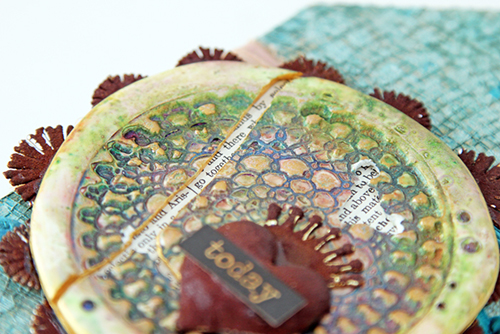
I added white embossing powder to the UTEE with Nat’s Kaffee Klatsch cling stamp.  Once cool, I colored the piece with metallic powders.  As I was ‘painting’ the piece it cracked.  L  But, instead of starting over, I continued to use the cracked piece, highlighting the cracks with dictionary paper.
oct-tw7

oct-tw8

oct-tw9

oct-tw10

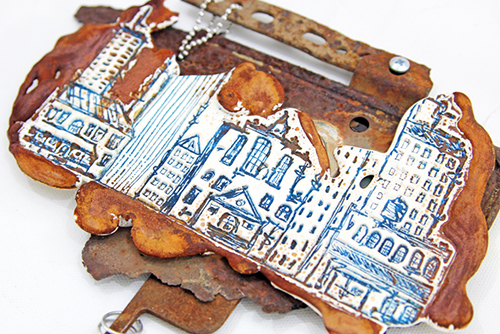
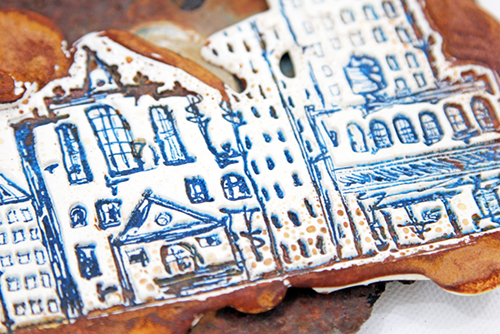
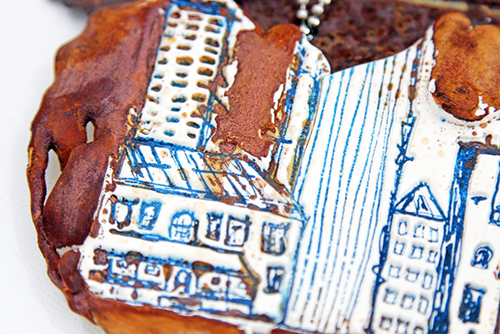
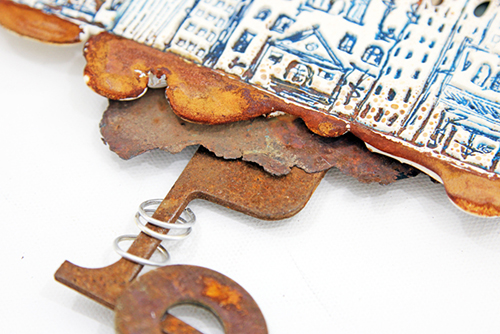
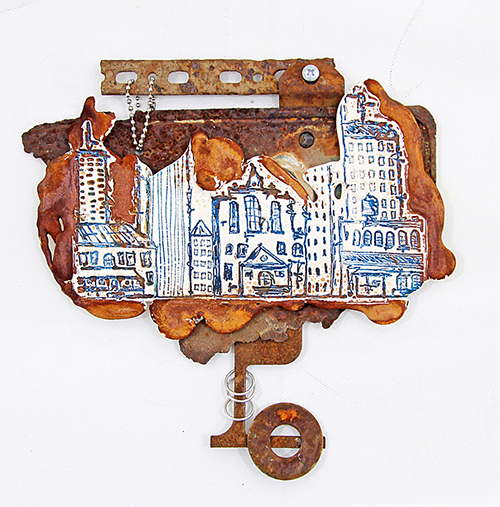
Project Two – Rusty Cityscape

Using the same UTEE mixture, I stamped with another stamp.  Once cool, I rusted the edges of the piece to blend with the other rusty elements in the project.  Funky and unique!
oct-tw11

oct-tw12

oct-tw13

oct-tw14

oct-tw15

What new technique or product are you dying to try/use?  I’d love to hear about it!  Thank you for taking time today to take a peek at projects.  See you next month.

—————————————————————————————————

I love love love both of these projects and can’t wait to play around with the UTEE myself!

In addition to some wood, gauze, various rusty findings, Dusty Attic Rusting Powder, sari ribbon, and a sticker, Tina used the supplies listed below (some are affiliate links):
SuppliesCJS


Maybe you will even play along with us -I would love to see how you interpret our monthly themes. Email me how you used my stencils and stamps with the theme and email me an image – I would love to share your projects in my next “n*Spiration From Around the Globe“.

See you next Tuesday for another project from the Creative Squad!
Comments (2)

Leave a comment

N*Studio ArtFoamies Stamps Release

kalbachartfoamiesstampspreorder

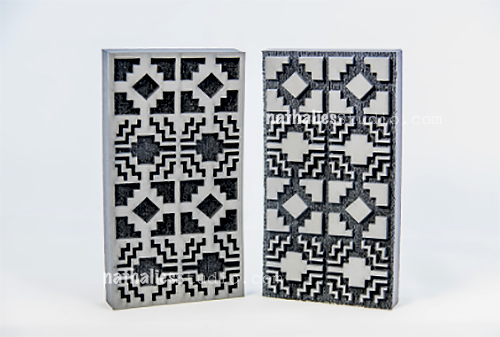
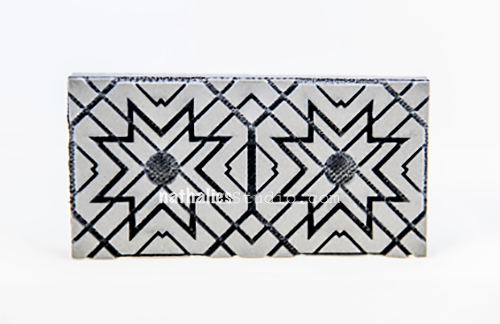
This is BIG NEWS!!!  I am so stoked that ArtFoamies and I teamed up together for a stamp release. I had so much fun working on these brand new foam stamps – all of them inspired by my travels around the world.  Here they are!

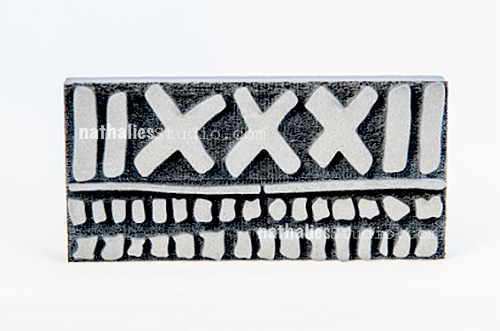
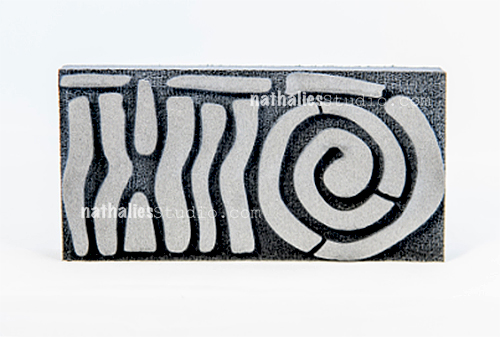
Batik Pattern 1

batik-pattern-1

Batik Pattern 2

batik-pattern-2

Batik Pattern 3

batik-pattern-3

Batik Pattern 4

batik-pattern-4

Buenos Aires Tiles

buenos-aires-tile

Chicago – comes with two stamps a positive and a negative pattern

chicago

Manhattan Boarder

manhattan-border

Manhattan comes with two stamps a positive and a negative pattern

manhattan

Santa Fe comes with two stamps a positive and a negative pattern

santa-fe

Toledo comes with two stamps a positive and a negative pattern

toledo

Versailles comes with two stamps a positive and a negative pattern

Versailles

I cannot wait to show you loads of fun and creative projects with them! If you want to get your hands on these- you can PREORDER them in my store NOW – they will ship out at the latest the week of October 17th – but probably earlier though as I should get them next week!

Comments (6)

  • Bec Miller

    |

    Wow!wow!wow! Congrats Nat!!
    I love foamies and all of these have to make it in my stash!!

    Reply

  • Sue Clarke

    |

    Batik Pattern 4, 1, and 2 are my favs.
    Congrats on the new line Nat!

    Reply

    • nathalie-kalbach

      |

      thank you Sue – glad you like those – they are also a favorite for me!

      Reply

  • Seth

    |

    Congrats Nat. These are very cool. Kind of like taking a trip around the world!
    Reply

    • nathalie-kalbach

      |

      thank you so much Seth :) Yes they have been inspired by many wonderful places around the world.

      Reply

Leave a comment