Blog: Rubber stamp

1,2,3 Easy Peasy Quick Holiday Cards

I love handmade holiday cards but let’s face it – it is tough at this time of the year to spend a ton of time to make them.

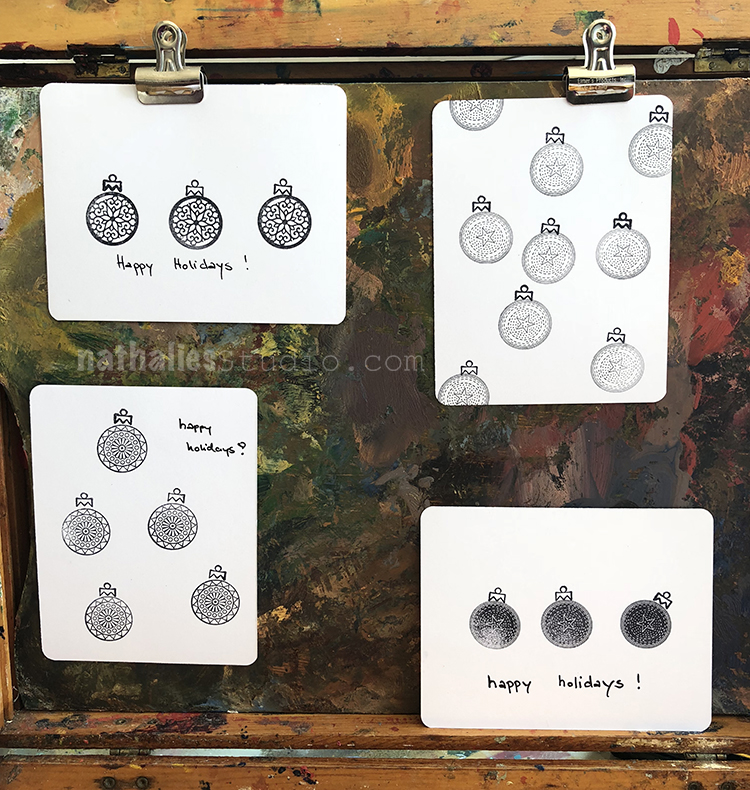
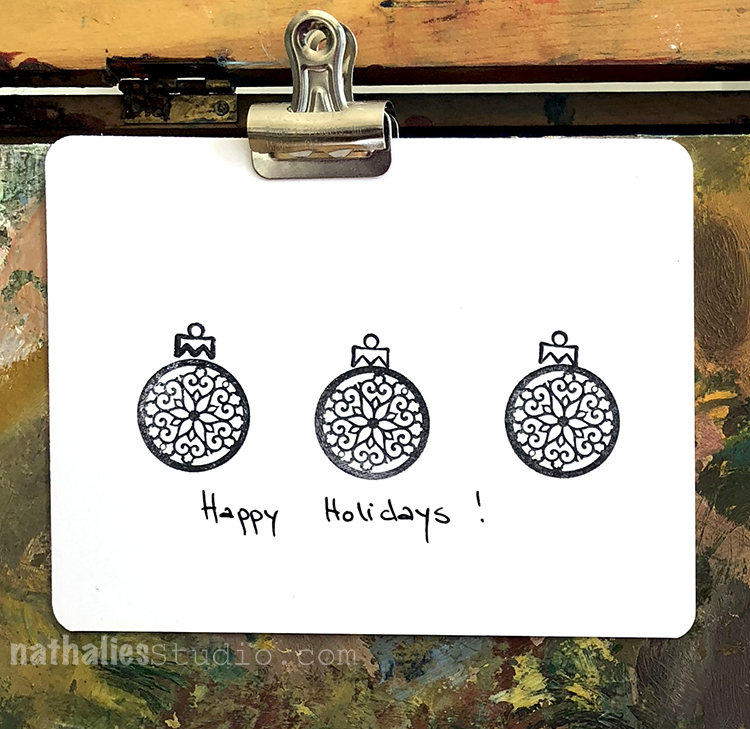
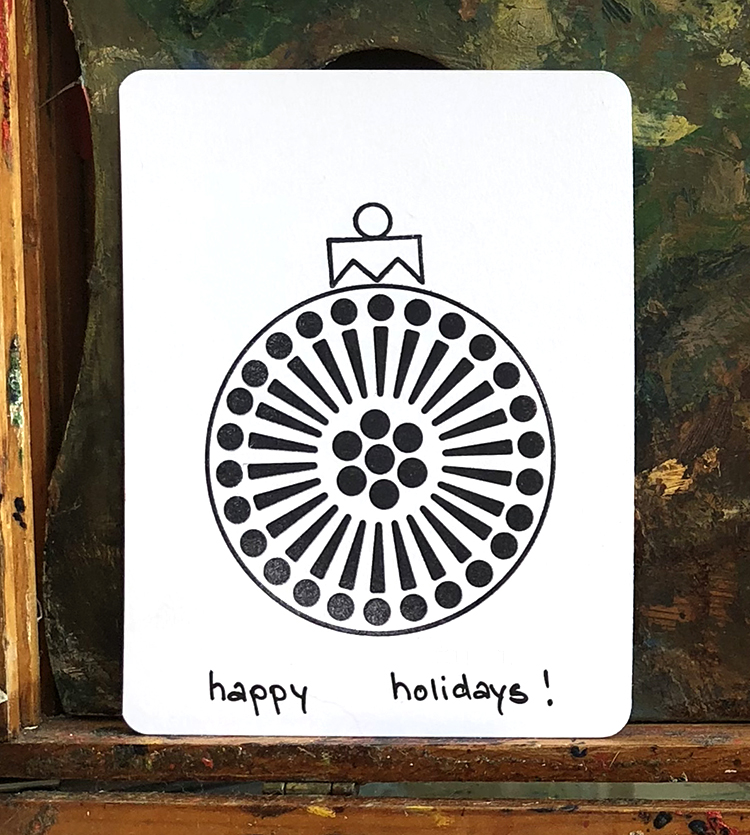
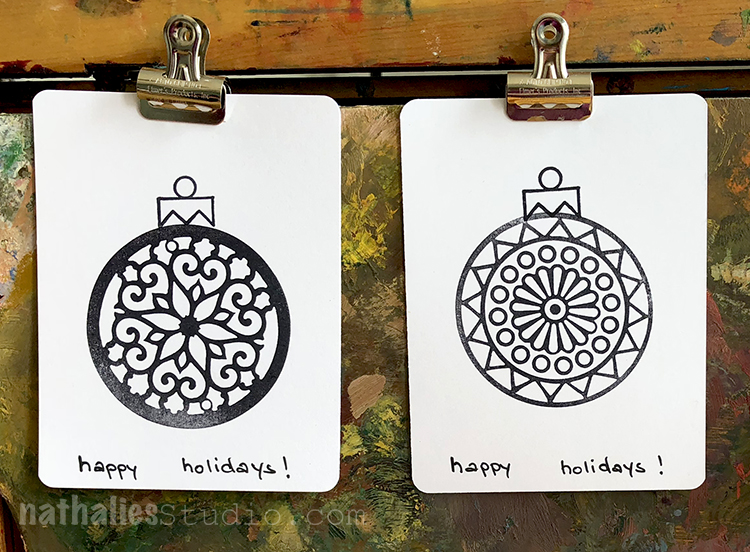
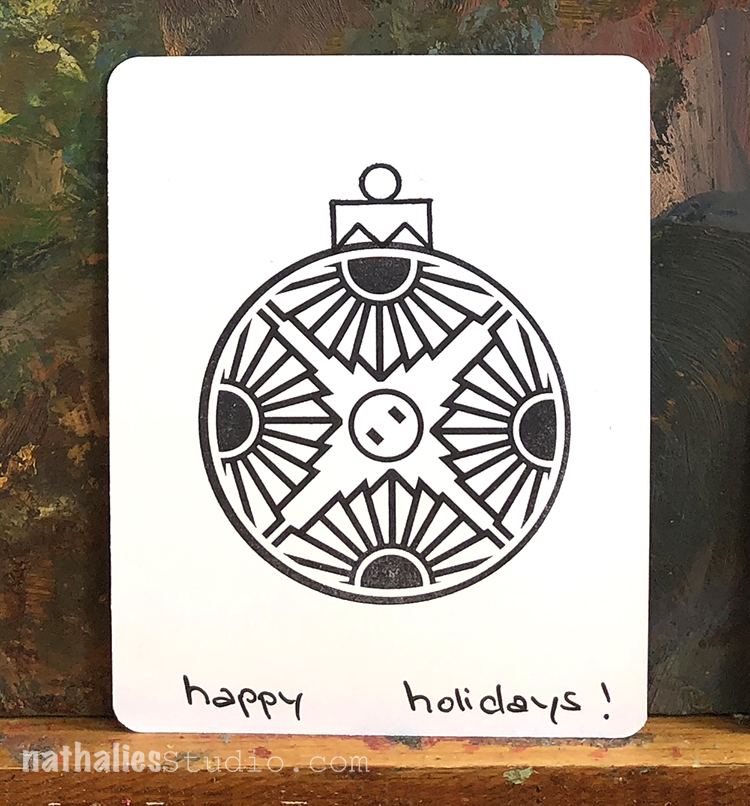
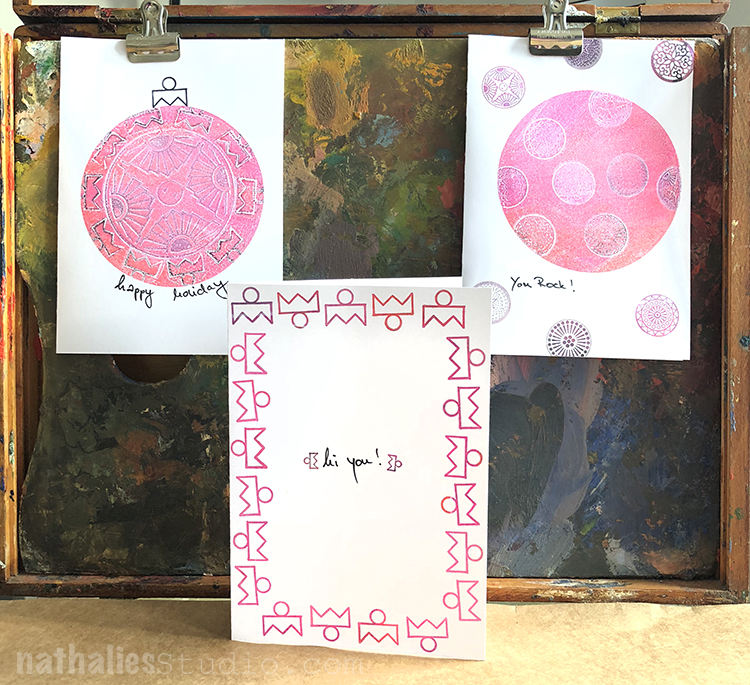
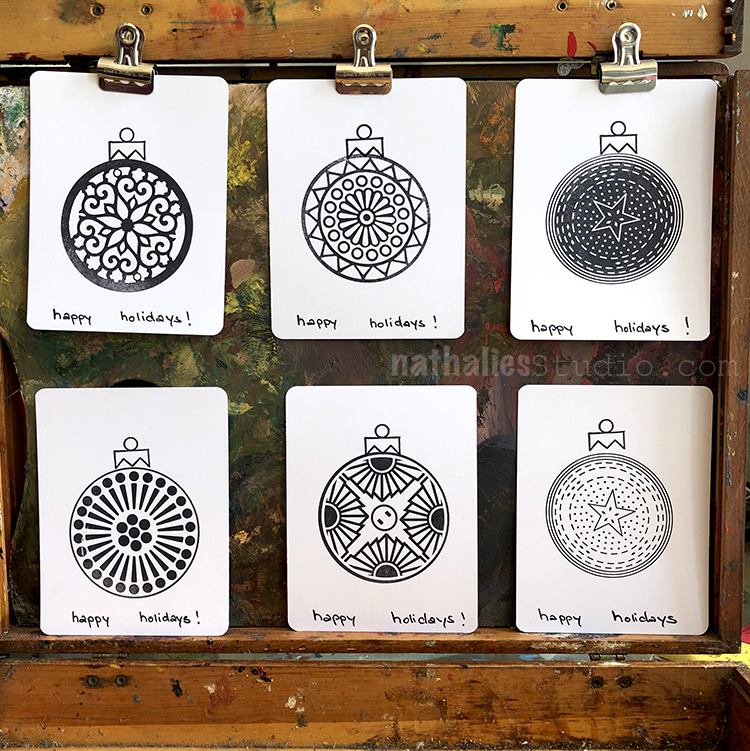
So, when I designed the Circle Jumble Rubber Stamps I wanted to make sure they are versatile and can be used all year long but added a little topper for the circles that can either be used on it’s own or for exactly what I did here. Create little holiday ornaments :)

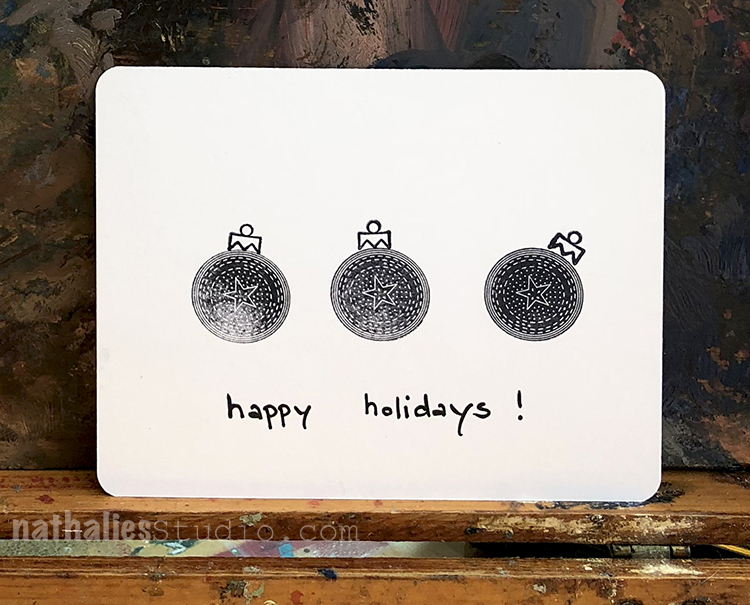
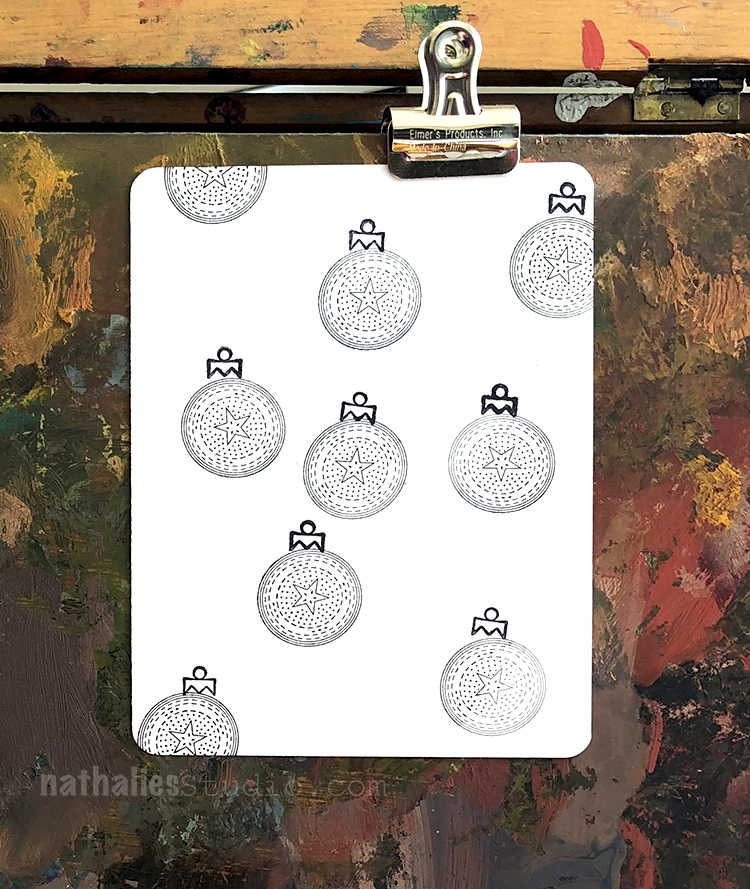
I love how the tiny ones with the Small Circle Jumble Set turned out  in black and white

But I am also in love with the Large Circle Jumble Cards


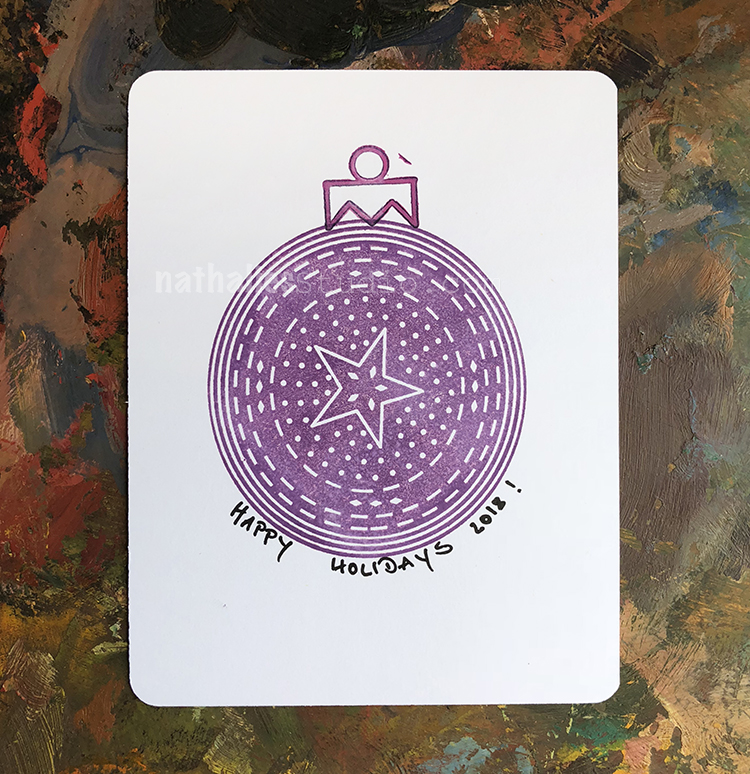
Look I sneaked a little colorful one in here :)

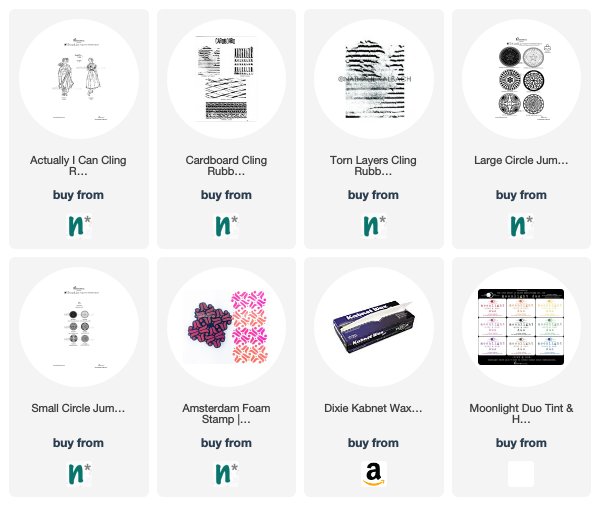
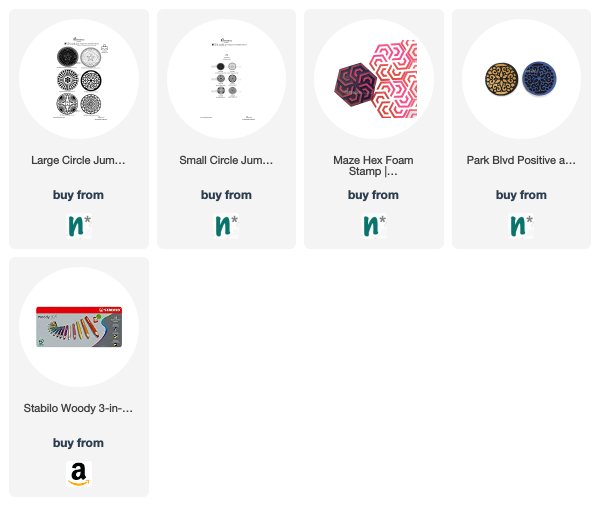
Here are the supplies I used for these cards:


Comments (2)

Leave a comment

Cards Galore

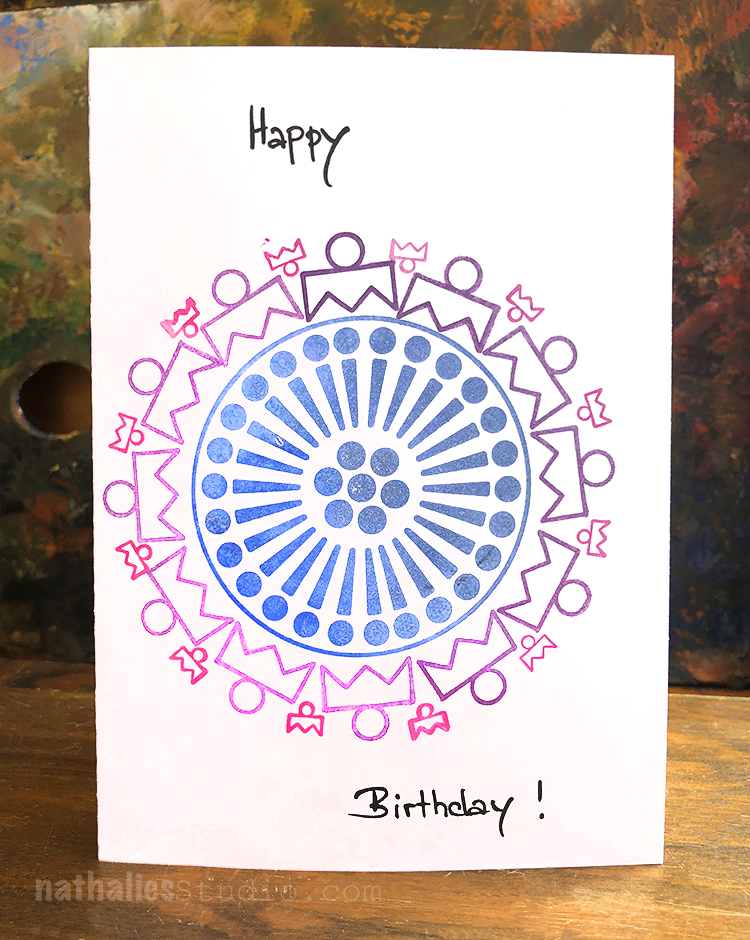
I am a card making machine ;) For the Birthday Card above I used the Grove St. rubberstamp from the Large Circle Jumble Stamp set for the middle. Then I used the toper stamp from the same set and its smaller sibling from the Small Circle Jumble Set to create a border. I really love those toper stamps, I used them all the time for pattern and mark making as well as for borders.

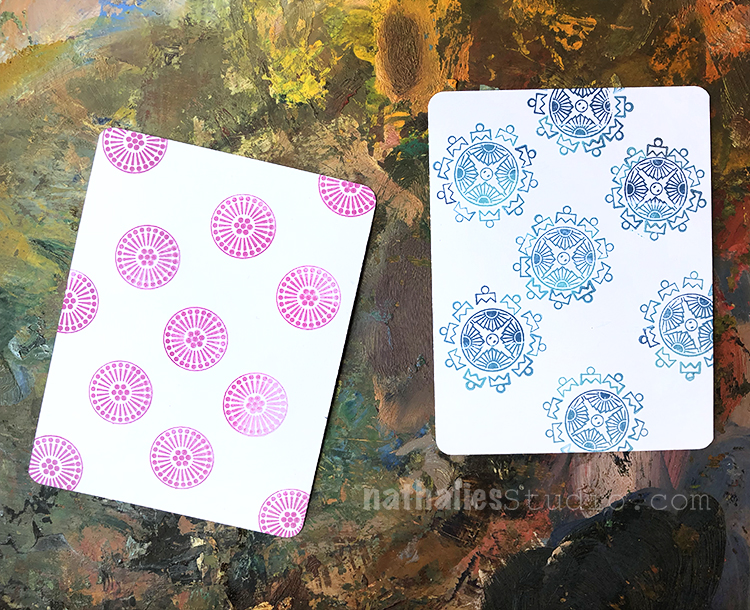
Some easy note cards – with the Small Circle Jumble Set.

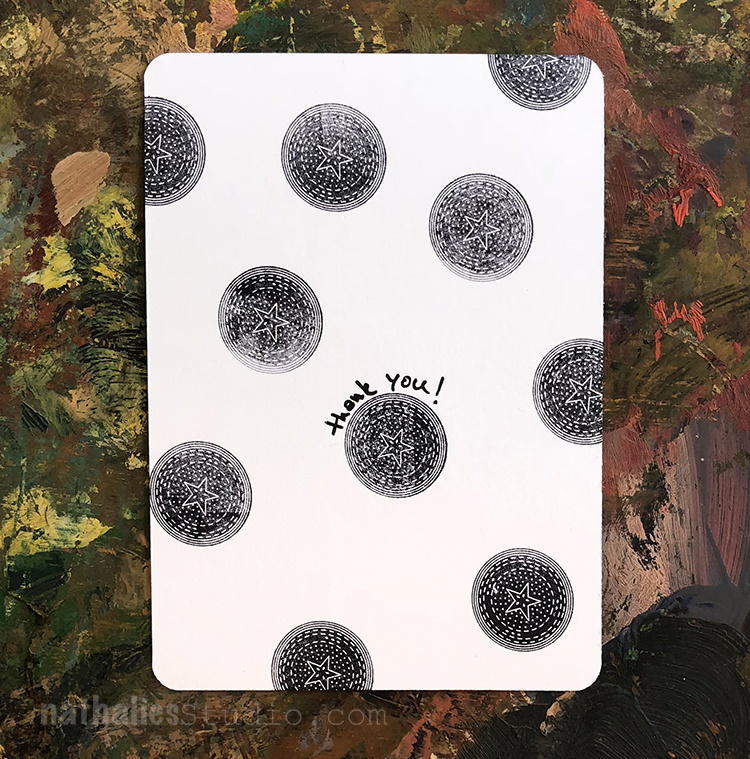
And I really love the black and white – kinda grungy but yet elegant …well …Nat Elegance ;)

Here are the supplies I used for making this cards


Leave a comment

Jumble Cards

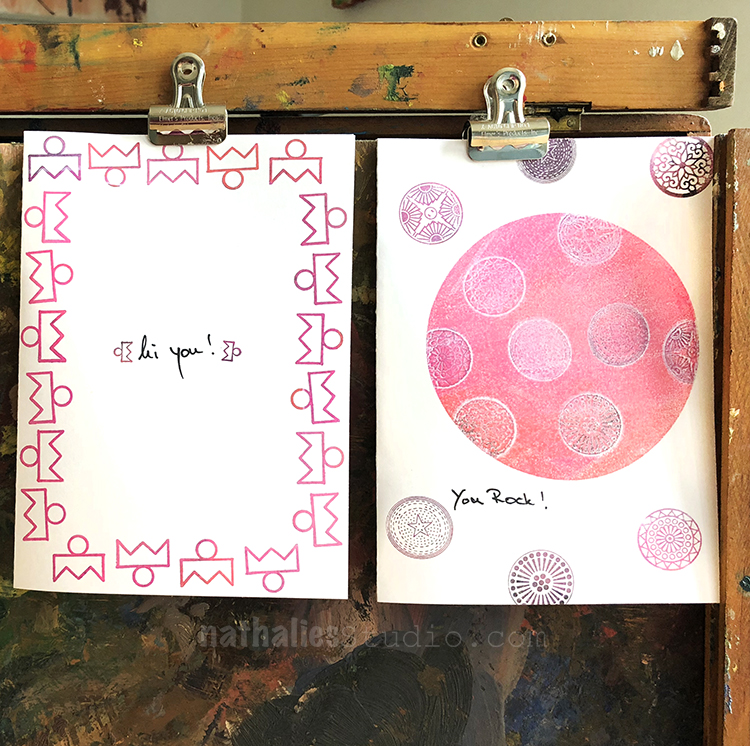
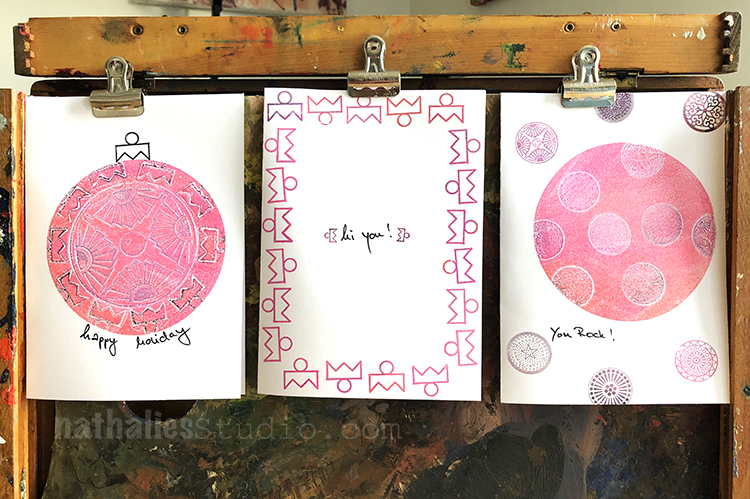
These are some cards I made using with Large Circle Jumble Stamp Set and my Small Circle Jumble Stamp Set.

I loved using the two “hanger” stamps from both sets for the border on the left. For the right card actually used a round gel plate and some inks and stamped the little circles onto it and then used the plate as a stamp.

I love playing with stamp sets and making cards, it is a great way to explore the possibilities of sets.

Which of the three cards is your favorite?


Comments (1)

  • Rosie Grey

    |

    Such beautiful cards! I love the “You rock”card on the right the most ?

    Reply

Leave a comment

Actually I can – Cards

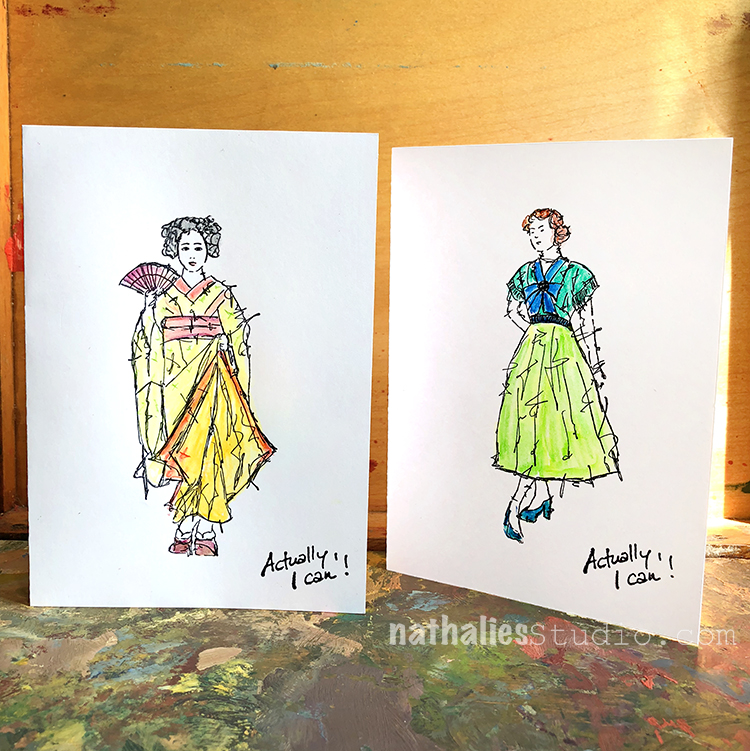
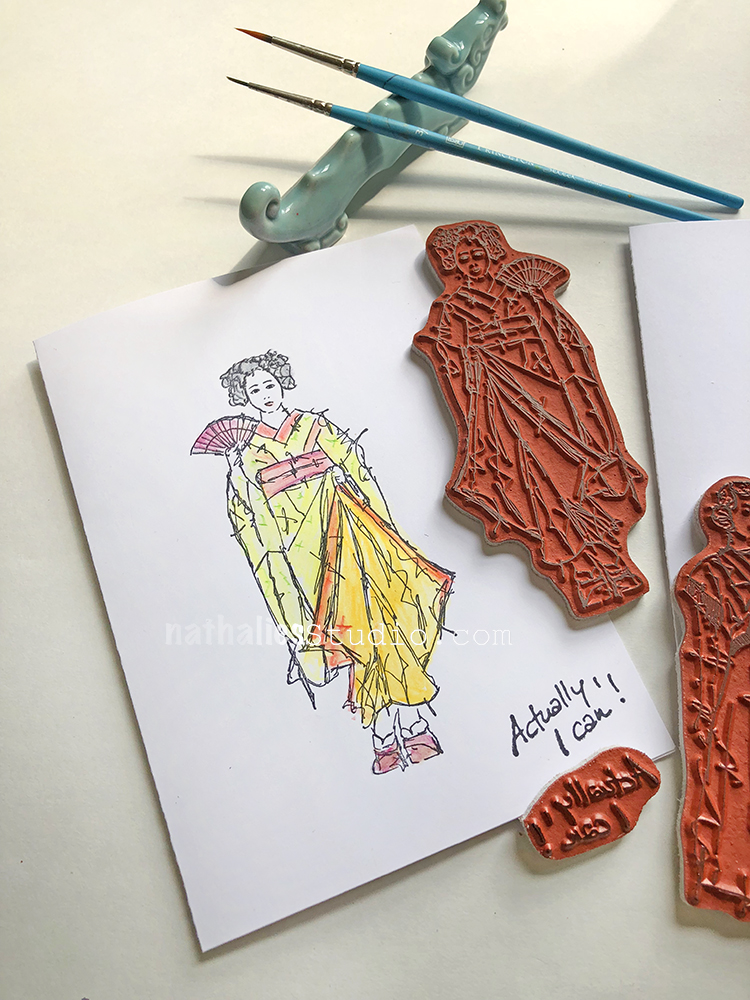
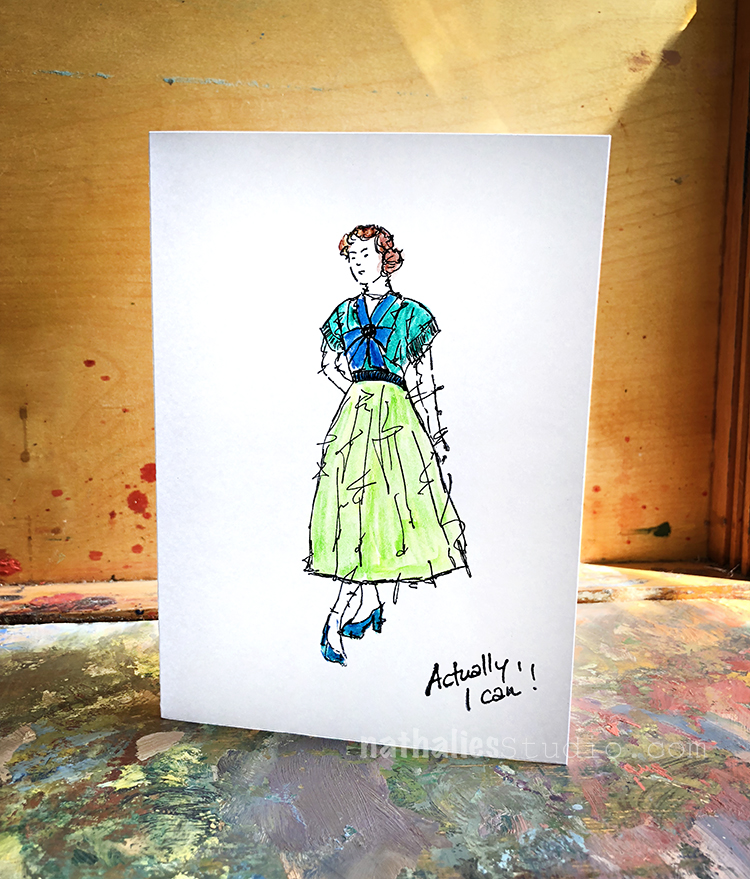
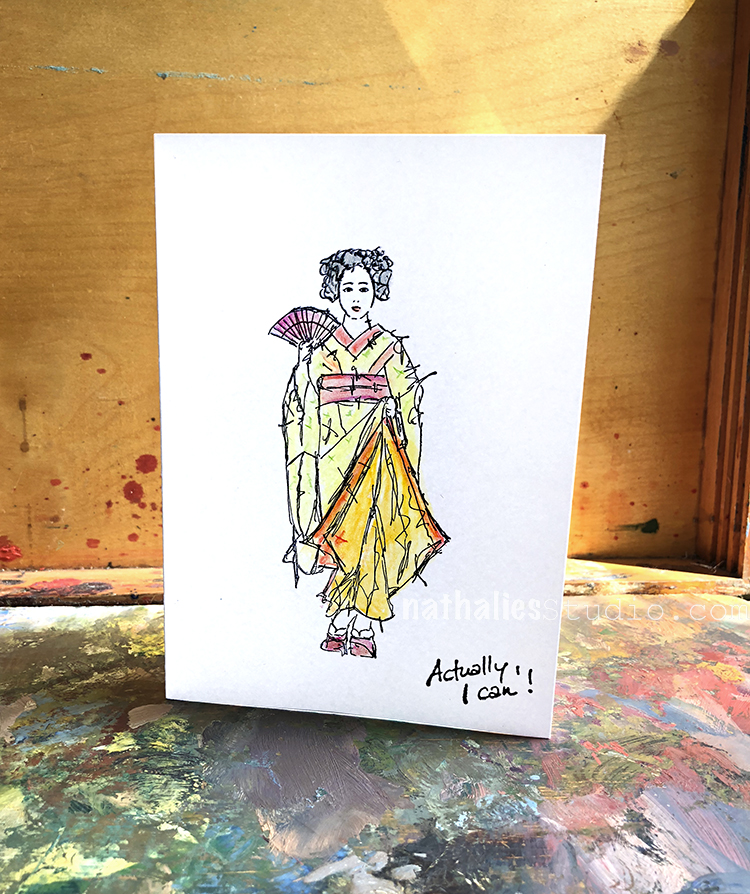
I made some cards using my new Actually I can Rubberstamp set.

I used some Derwent pencils to color in the stamped images and then blended some areas with a wet brush together.

Fun, quick and now I cannot wait to send those out :)

Here are some of the supplies I used:


Comments (2)

  • Rebecca

    |

    Love these stamps, got mine this week!

    Reply

Leave a comment

Be Positive – Art Journal

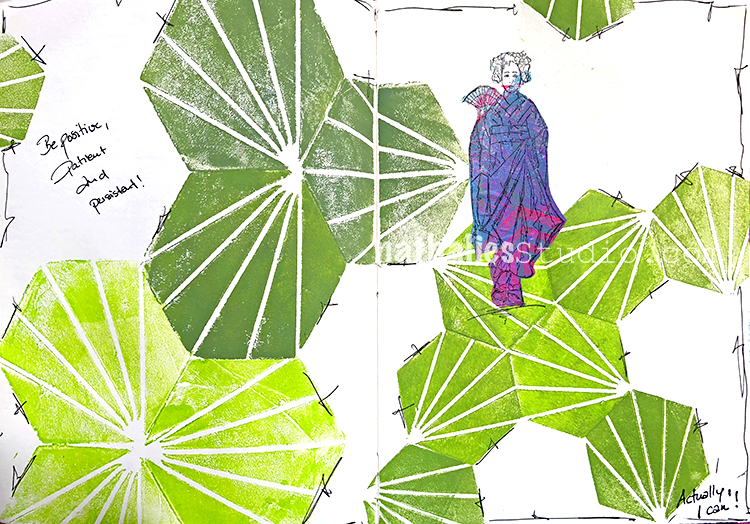
“Be positive, patient and persistent”

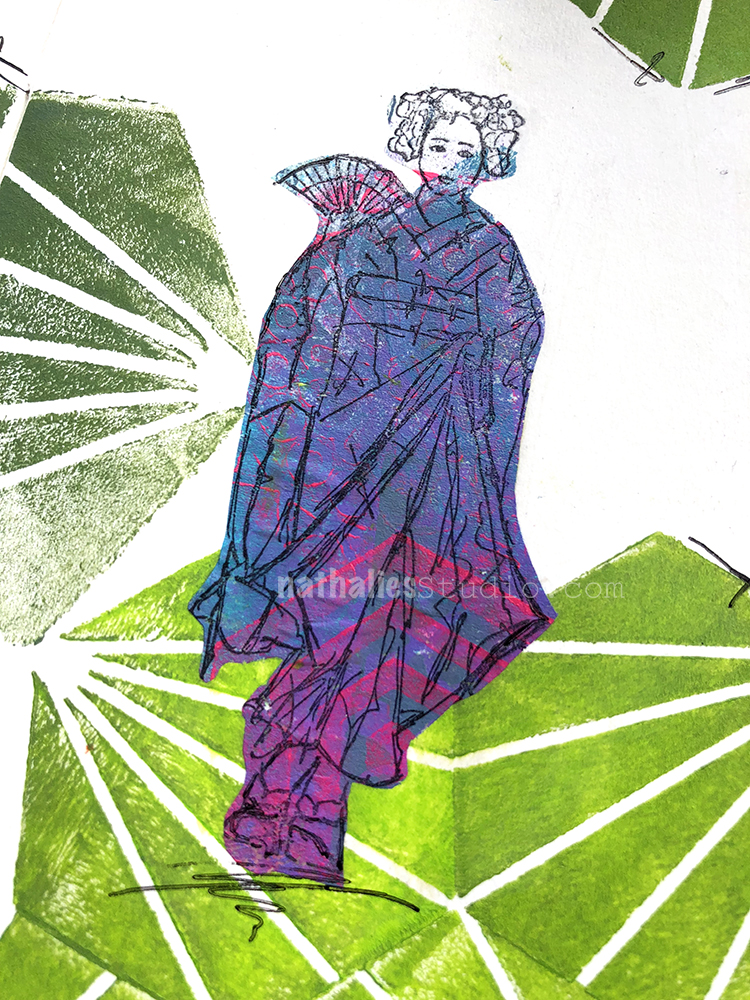
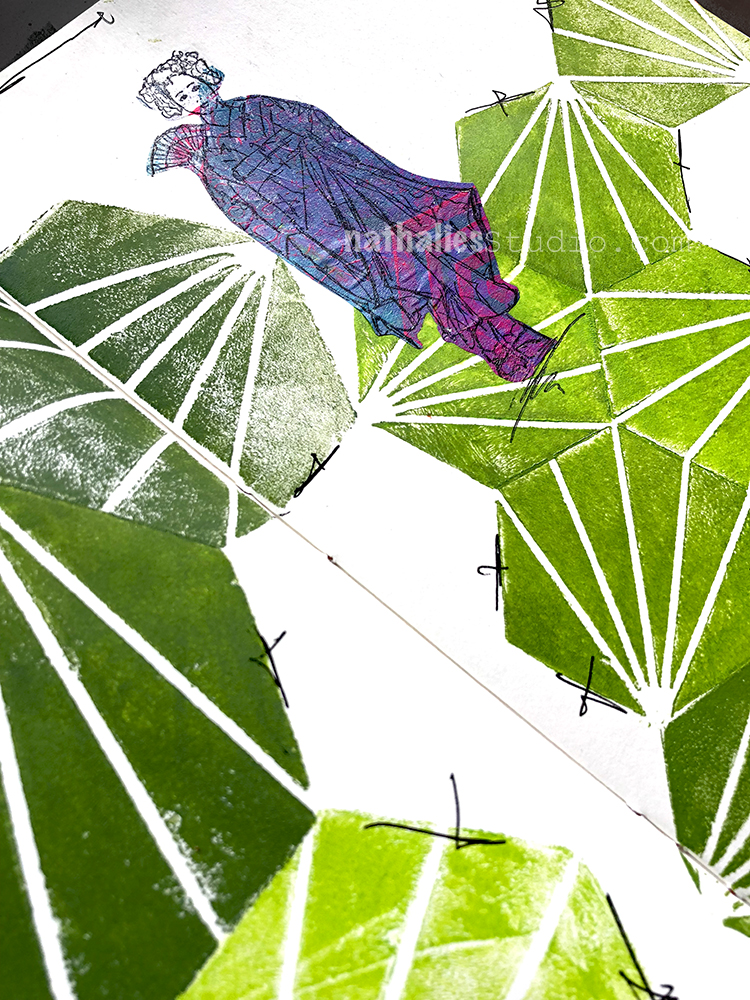
I used my new Maiko Stamp from the Actually I Can Rubber Stamp Set and stamped it on a piece of painted and stamped deli paper. Then I cut it out and pasted it to the background with fluid medium. It is such a fun and easy way to add a colorful focal point to an art journal spread.

For the background I used my Clam Hex Foam Stamp and rolled with a brayer different green tones on top and then created a pattern.

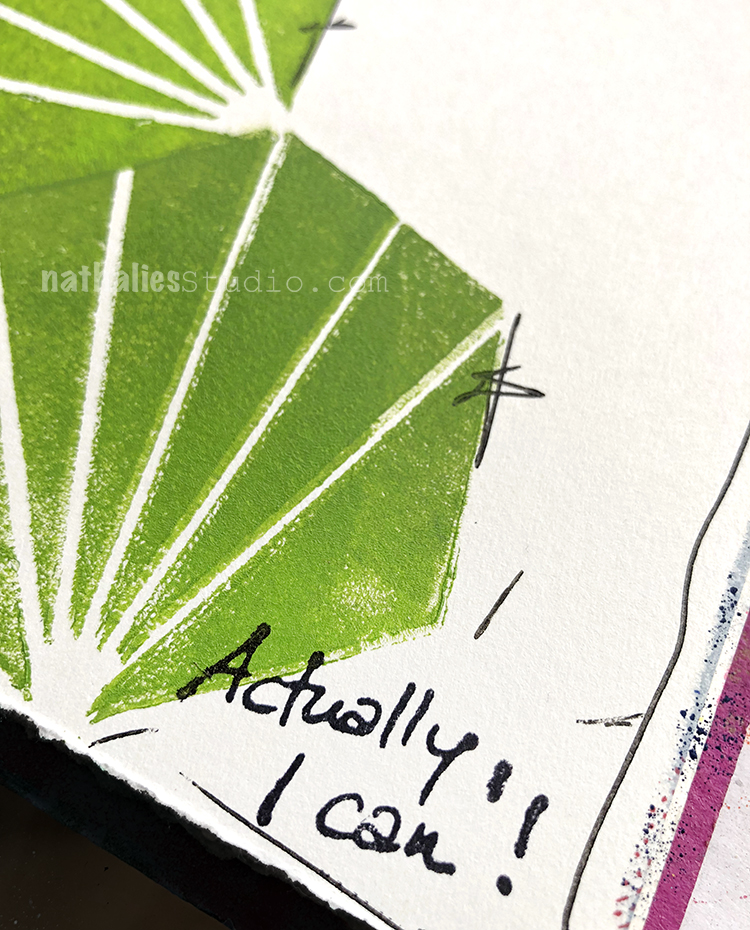
And last but not least I also added the “Actually, I can ! ” Stamp from the set with the same name .)

Here are some of the supplies I used besides the acrylic paints:


Leave a comment

Thinking in Circles- Art Journal

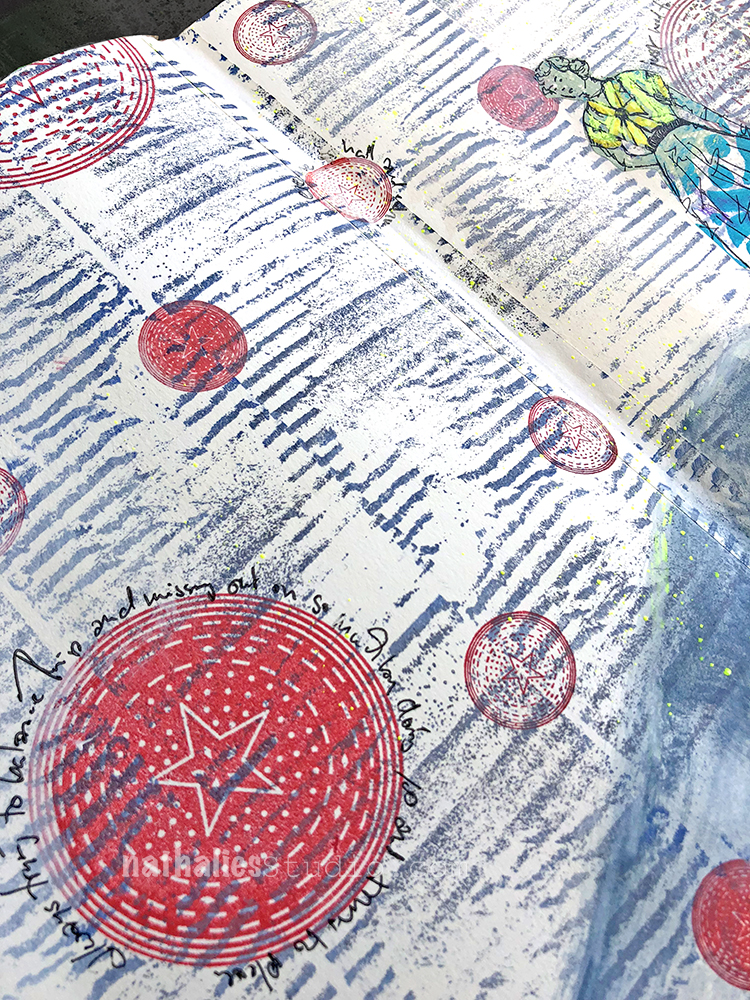
Thinking in Circles- ughhhh -…LOL. But I had fun making this art journal spread using some of my new and old Rubberstamps.


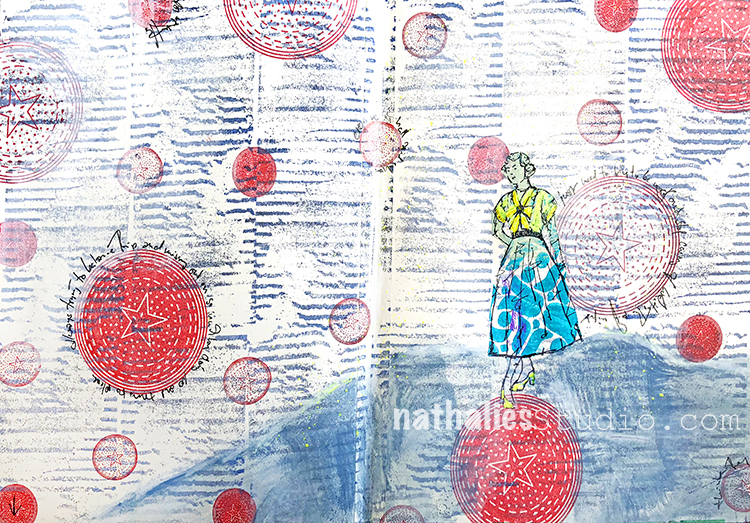
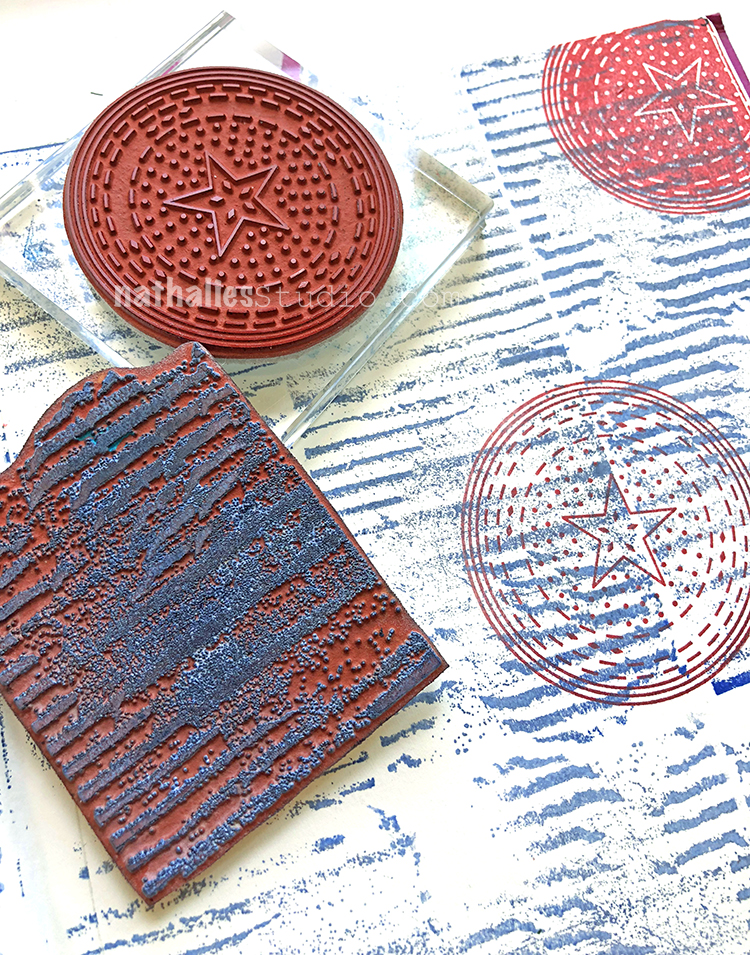
I stamped the background texture with the Torn Layers Stamp from my Cardboard set and then stamped on top in red with the positive and negative Circle Drive Stamp from my Large and Small Circle Jumble Set.

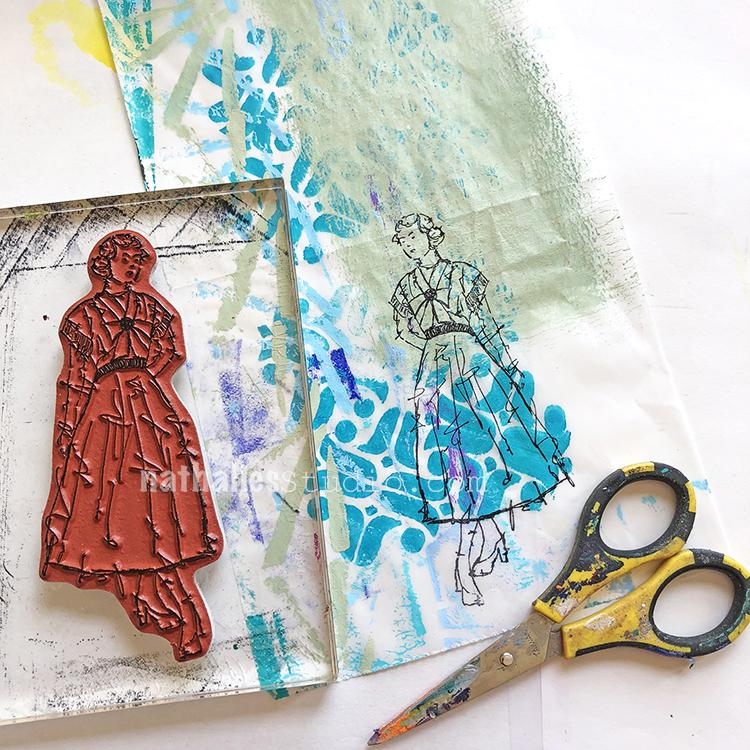
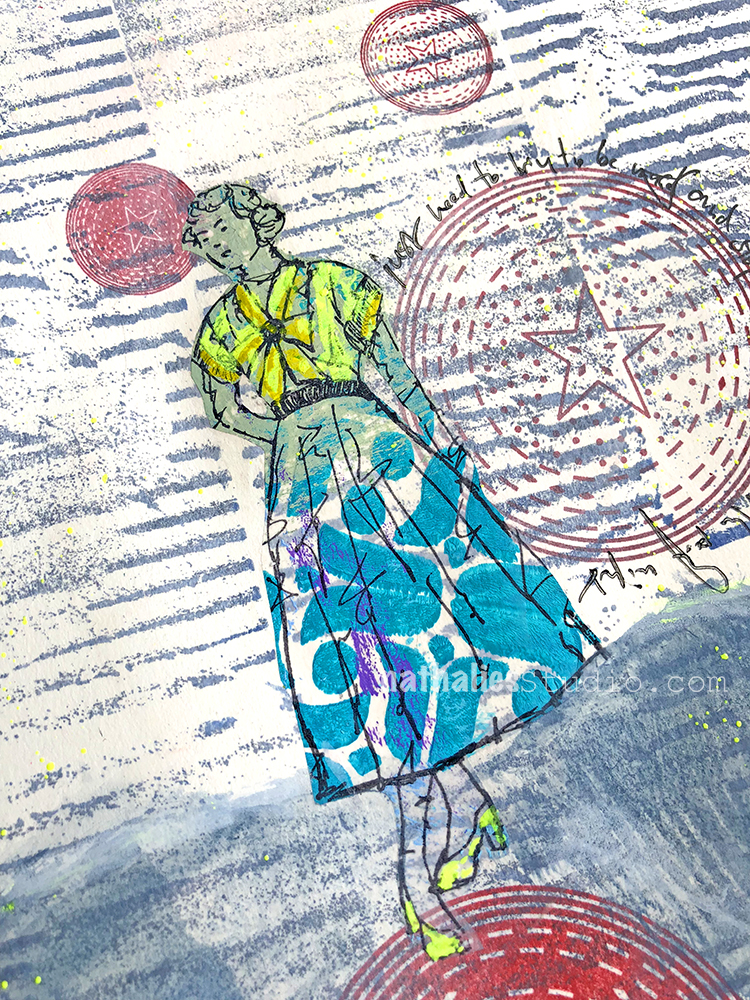
I stamped Millie from the Actually I can set on top of a piece of deli paper on which as you can see, I had stamped before and also used some left over paint on. I do that a lot and use the deli paper as collage elements. I cut out the image and then adhered it to the spread with gel medium using a layer underneath and on top of the deli paper to totally fuse it into the background.

Added some journaling and to brighten things a bit up I added some yellow to the blouse with a marker as well as some sprinkles by taping on the marker.

This was fun. You can find my rubberstamps in my store – and here are some of the supplies I used for this spread:


Comments (2)

  • Jill

    |

    Circles are totally my thing too! I love them! I think I pretty much use them in everything I do. I love what you did with yours. Thanks for the constant inspiration!

    Reply

    • nathalie-kalbach

      |

      thank you so much Jill! Yeah circles are so versatile and fun – hand drawn, stamped, stenciled …ha I love them all :)

      Reply

Leave a comment

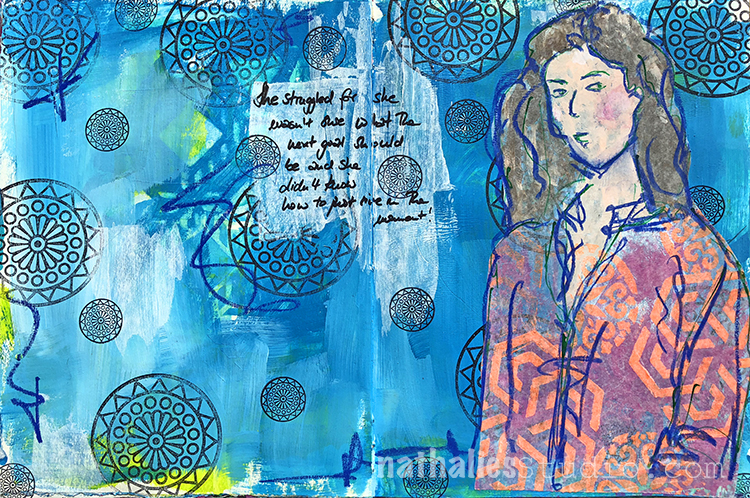
Struggling – Art Journal

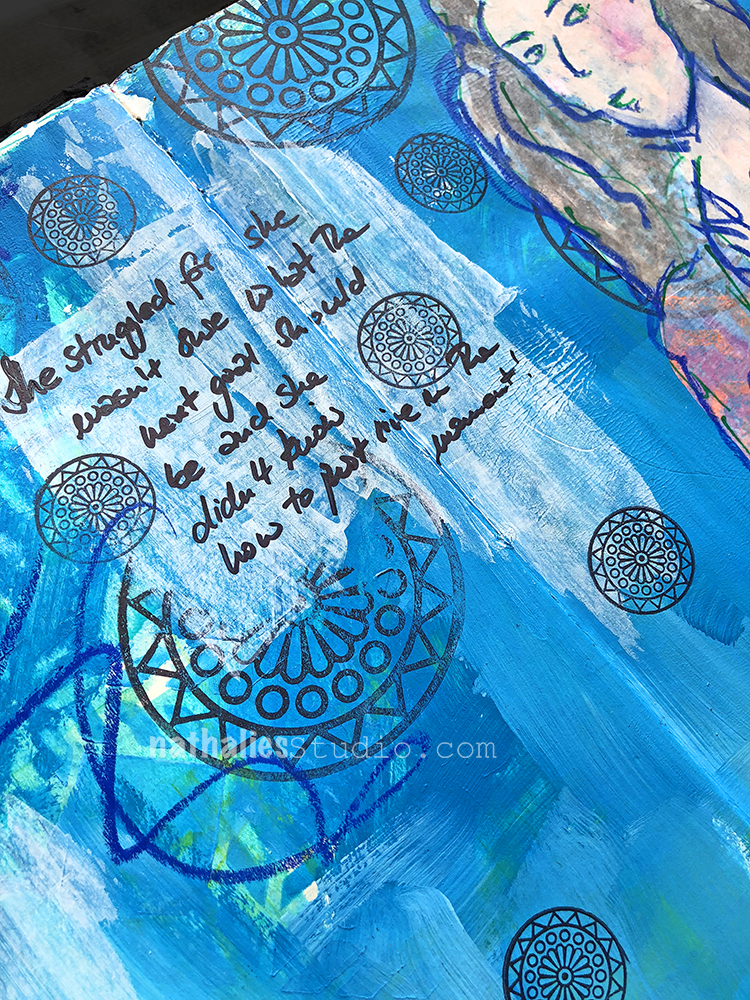
She struggled for she wasn’t sure what the goal should be and she didn’t know how to just live in the moment.

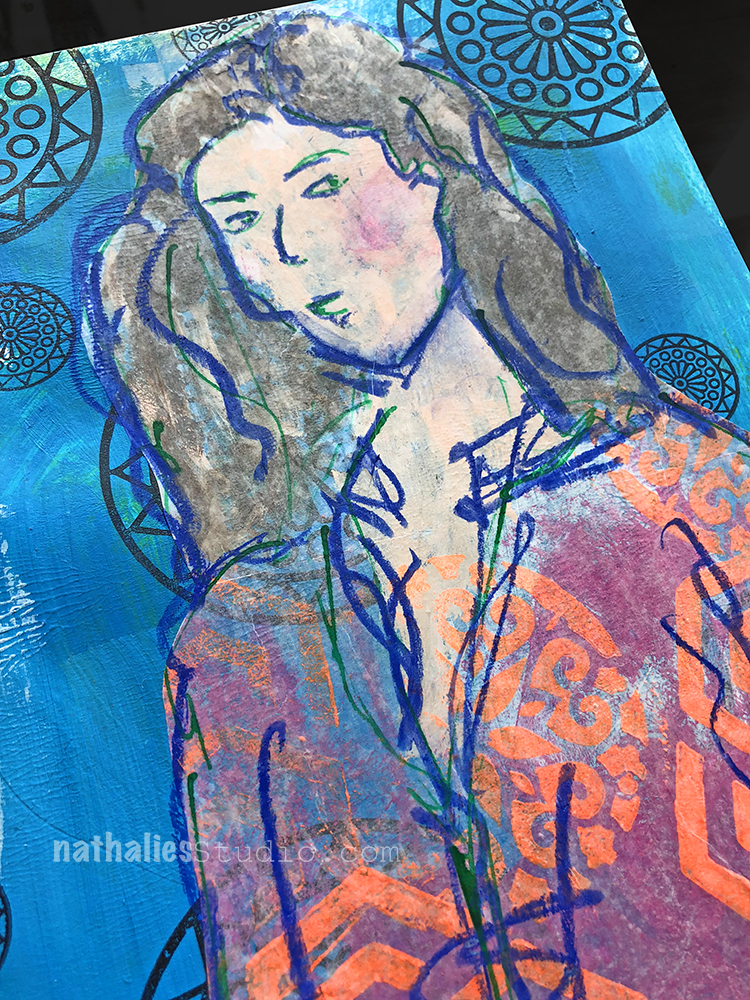
I stamped with Archival ink and the Valley Road stamps from my Large and Small Circle Jumble Rubberstamp Set on top of a blue painted background.

I used a blue Stabilo Woody Pen to create some scribbles and went over the sketch again – I like the soft texture of the pencil versus the brush strokes and surface of the acrylic painted background.

Here are some of the supplies I used – as always you can find most of my stamps and stencils in my store here.


Comments (2)

  • Sue Clarke

    |

    I particularly like how you’ve been making patterns on clothes with your stamps.
    That statement just about sums up life.
    Have a delightful day Nat.

    Reply

    • nathalie-kalbach

      |

      Thank you sue- I love making those patterns – and I wish some of those clothes would magically appear in my wardrobe LOL! Have a delightful weekend Sue!

      Reply

Leave a comment

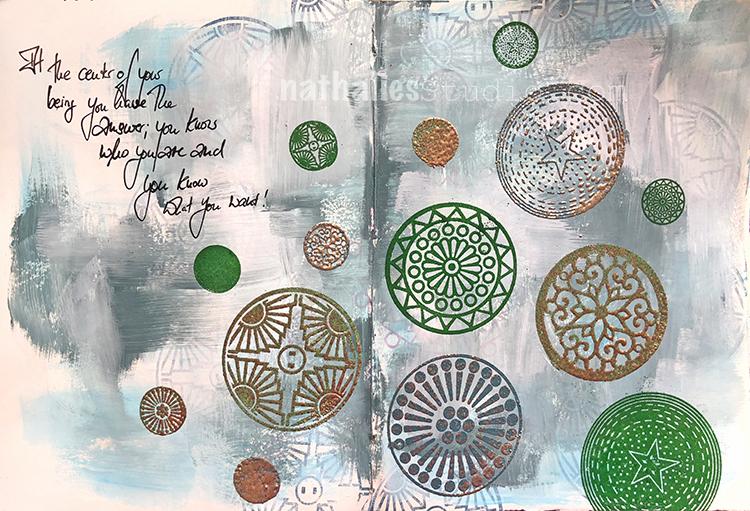
At The Center – Art Journal

At the center of your being your being you have the answer; you know who you are and you know what you want!

Great…lol- off to the center ;)

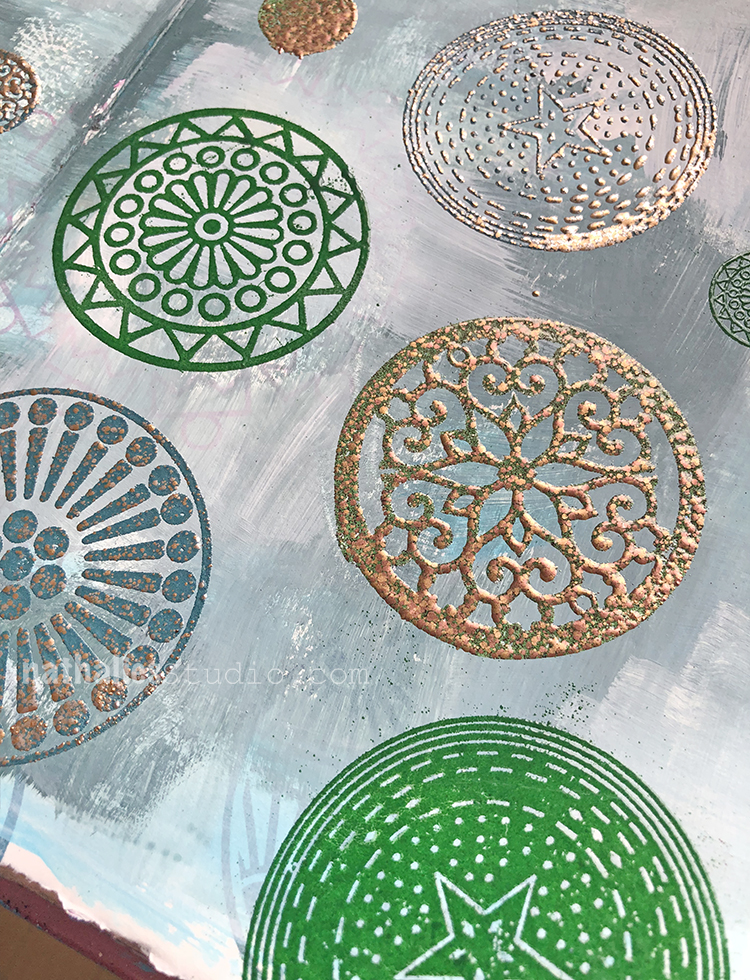
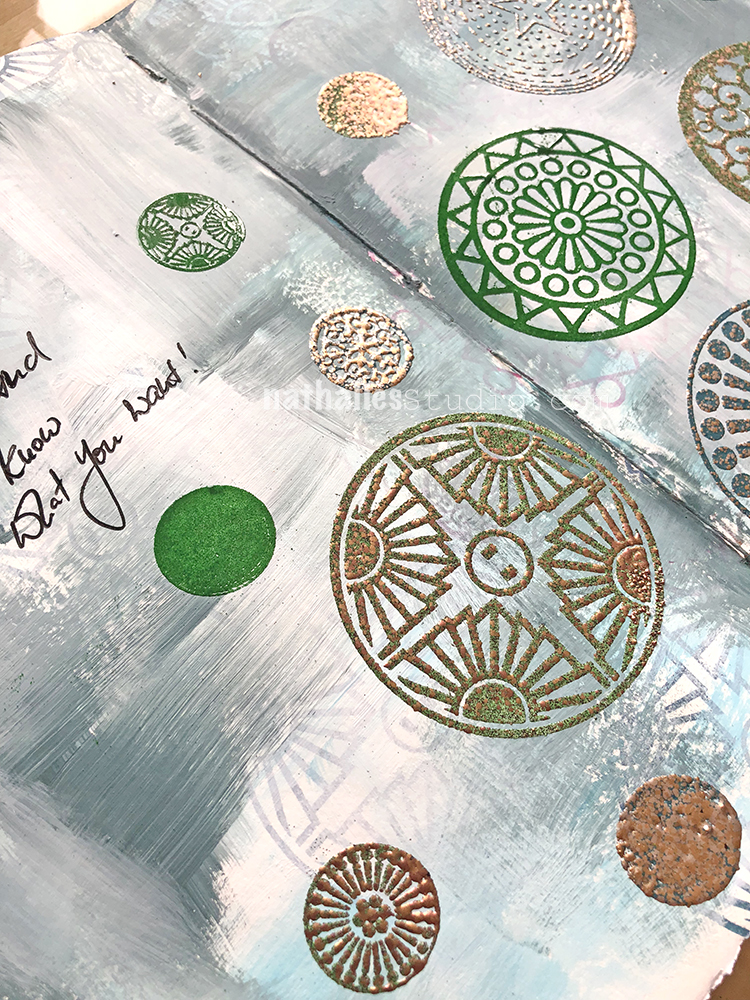
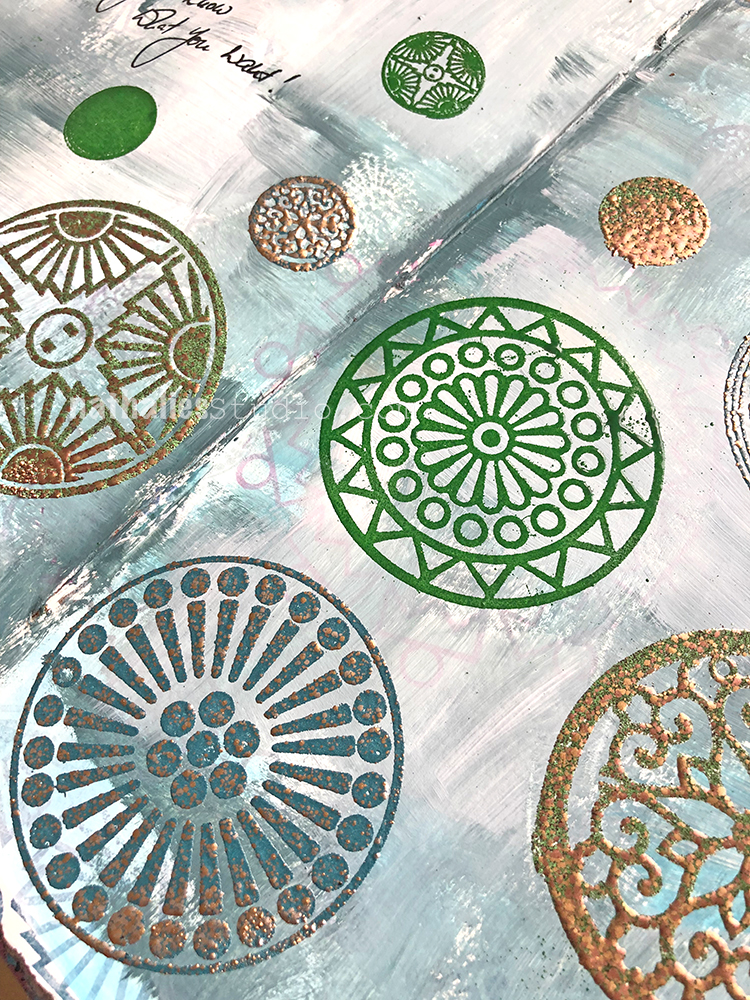
Using my new Small and Large Circle Jumble Rubber Stamp Sets to create some fun patterns. I loved playing with fine and more chunky embossing powders – it has been ages since I used those. I used the small circles only for the bolder pattern with the thick embossing powder as it works better on bigger stamps as the design doesn’t just bleed and melt together.

It is funny how a certain supply keeps you enthralled for a long time and then it is suddenly totally gone from your mind- and then it come back. Actually since all of a sudden all the mixed media world is into it, I kind of was reminded how much I used it to create texture on mixed media canvases etc.

yum! Have you lately pulled out something you haven’t used in ages?

Here are some of the supplies I used besides acrylic paints:


Comments (2)

  • Sue Clarke

    |

    Love the embossing. I always struggle with it.
    The gold tones are wonderful and the words are right on.

    Reply

    • nathalie-kalbach

      |

      Sue, it is so much fun. It is usually just a matter of watching closely the changes that appear when heating it up.

      Reply

Leave a comment

Paper Clay Magnets with Rubber Stamps – DIY Play Date

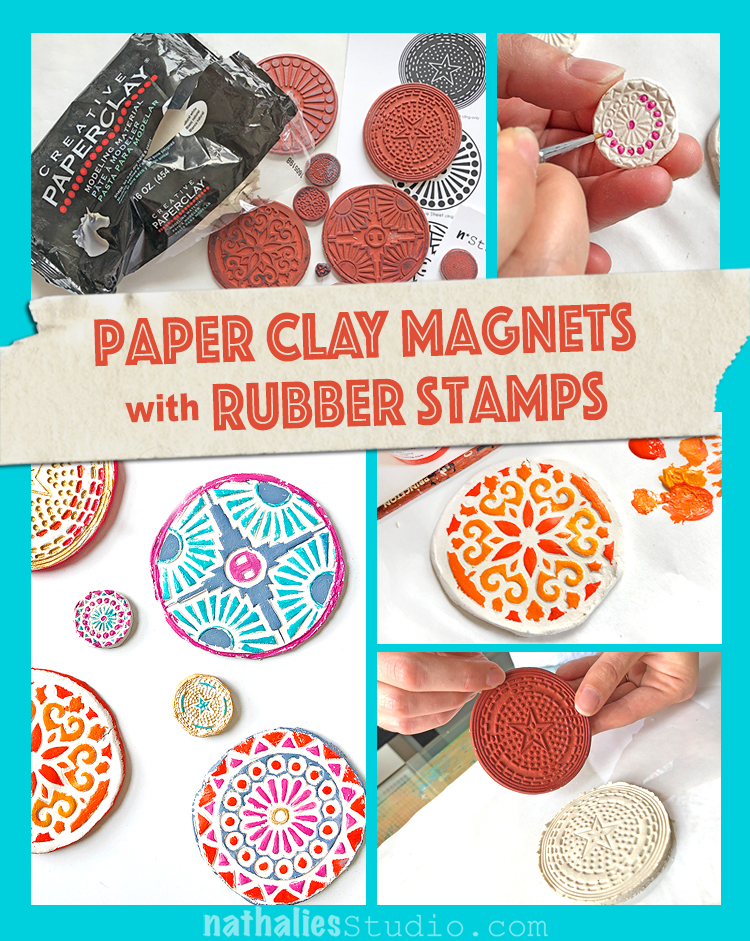
For our monthly play date, Kim and I wanted to show another great way to use rubber stamps – to make an impression in paper clay!
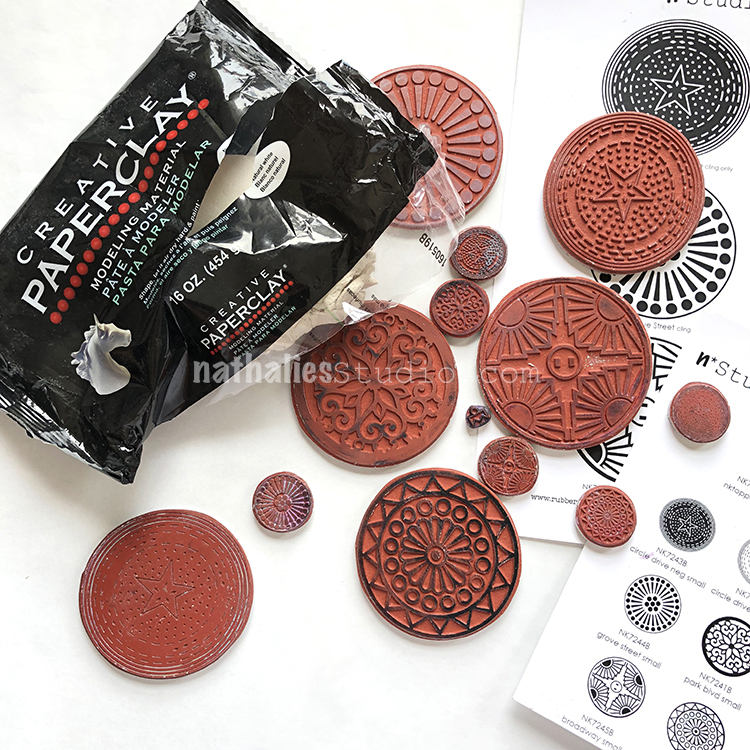
We thought my new Large Circle Jumble and Small Circle Jumble sets would be a nice shape and size for some magnets. Our plan: to stamp into the clay, paint them with some acrylic paint, and attach magnets to the back for the refrigerator, bulletin board, wherever magnets will stick.
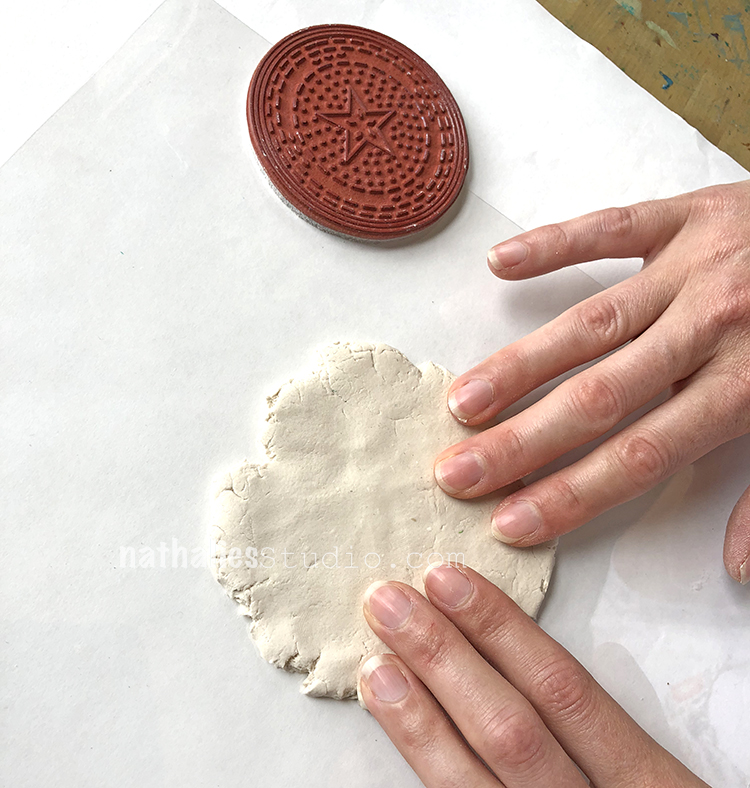
Paper clay is fun and easy to work with and is air dry so you don’t even need to turn on an oven. Here we chose the Circle Drive stamp from the Large Circle Jumble set, and flattened out some clay on a non stick surface to about 1/8-1/4″ thick and big enough to fit the design.
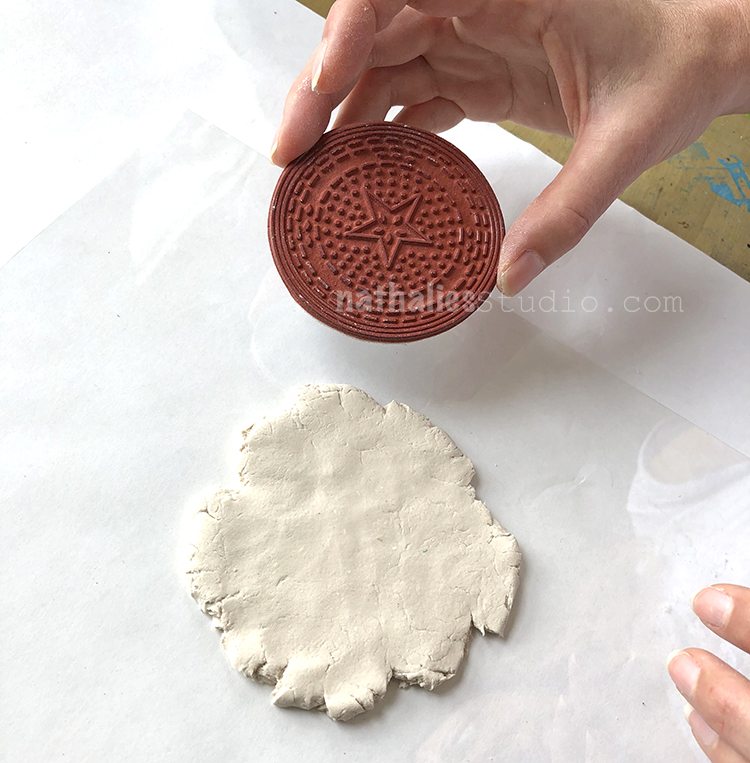
Time to stamp!
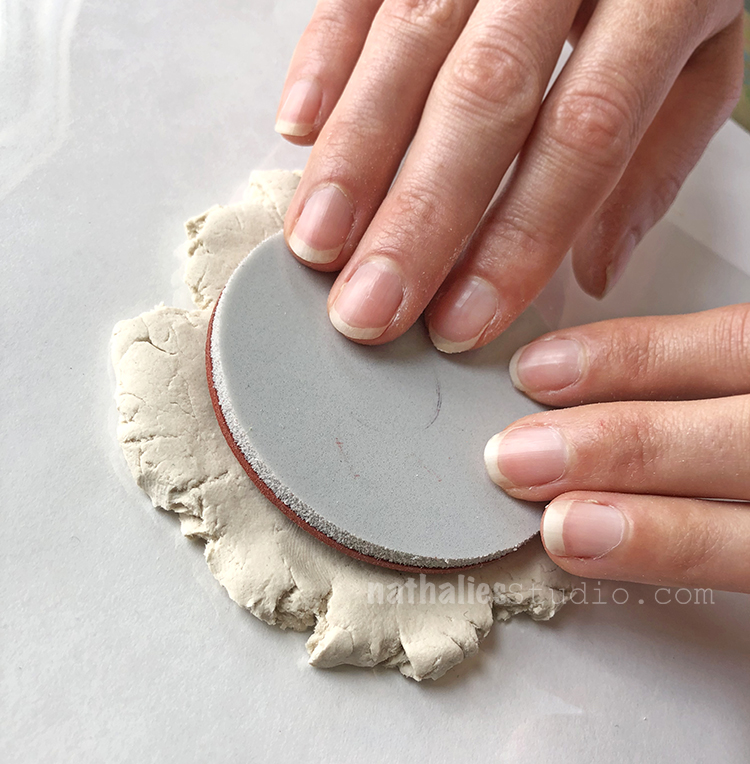
Press the stamp evenly into the surface, making sure to cover the whole design with pressure.
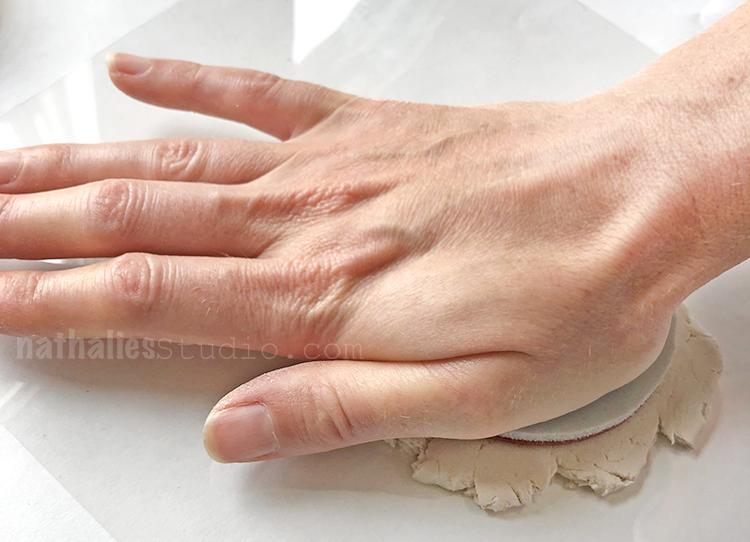
Really press it in there!
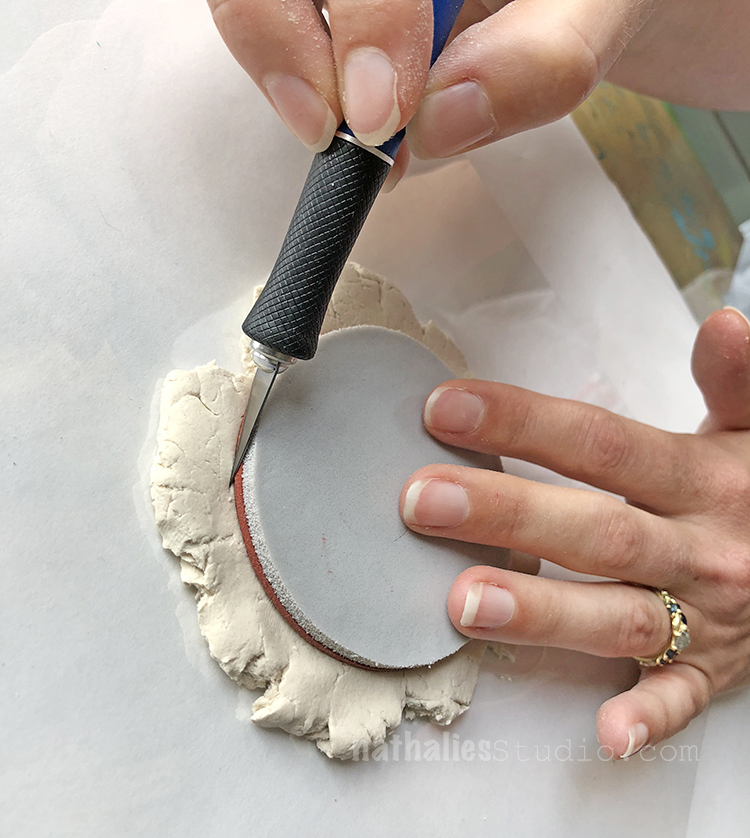
Then we cut around the stamp using a knife and the edge of the stamp as a guide. Work over a cutting mat and watch your fingers :)
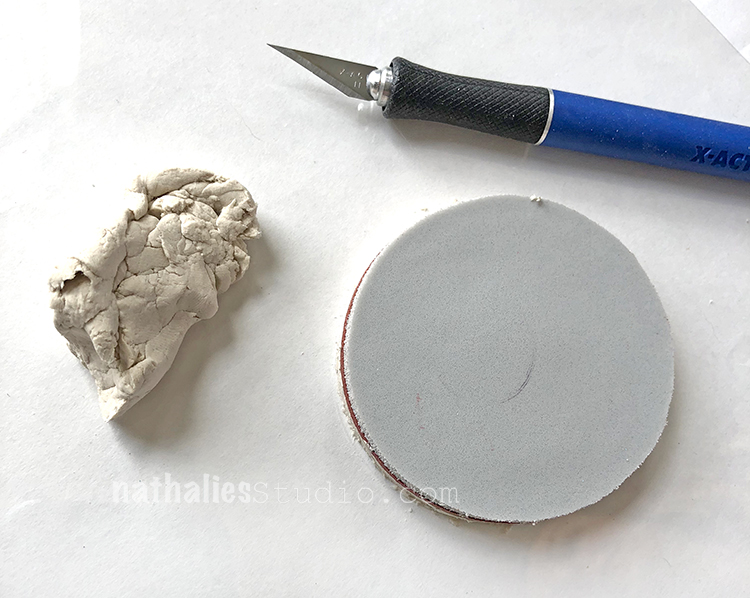
Trim all the way around the stamp and pull away the excess clay. You can save the extra for later use.
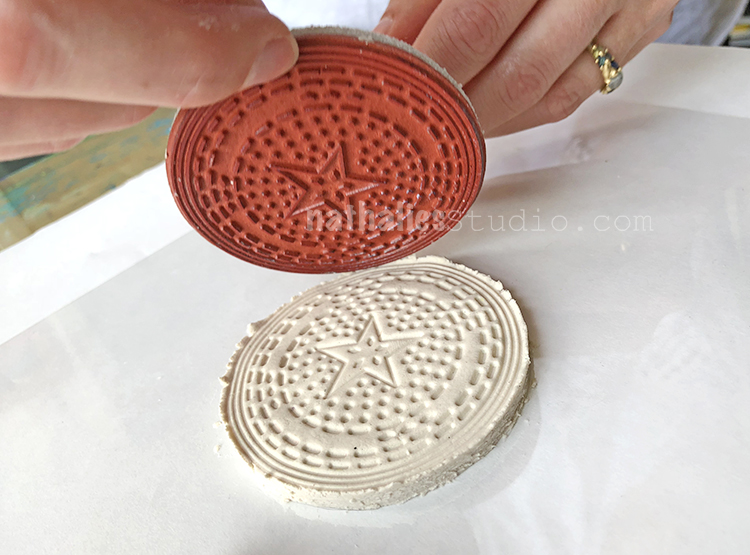
Gently lift the edge of the stamp to reveal the impression.
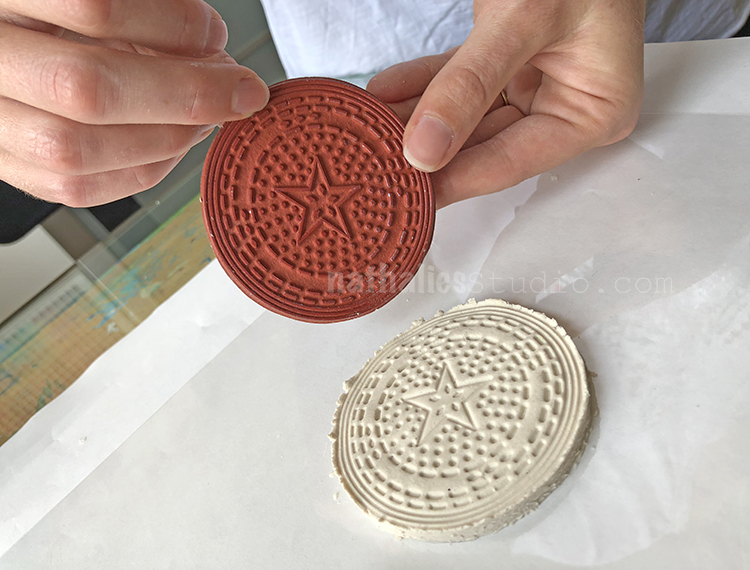
Here is the big reveal and a great impression in the clay!
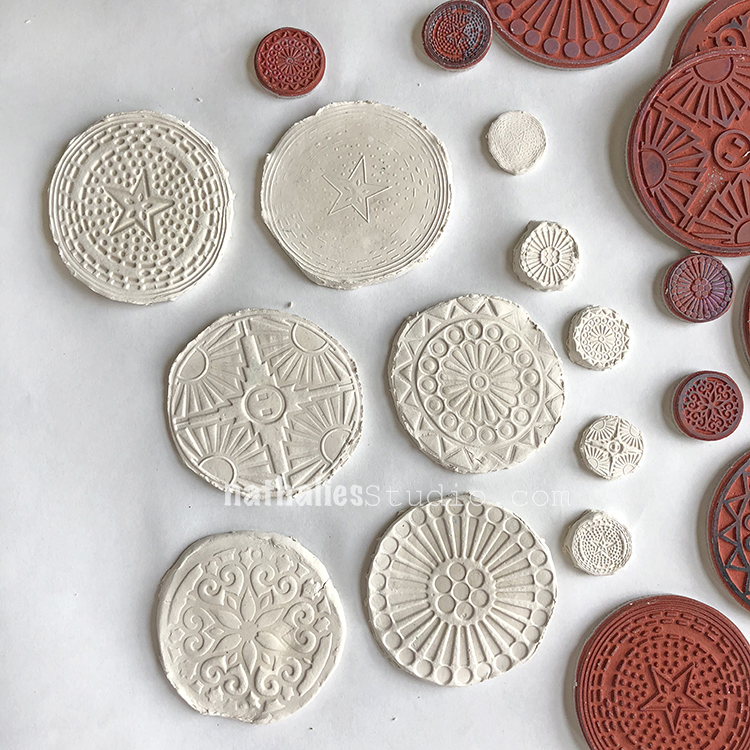
We tried almost every design from both the Large Circle Jumble set and the Small Circle Jumble set. Follow the directions on your paper clay package for drying times. Ours took a few days to completely dry before we could move to the next step.
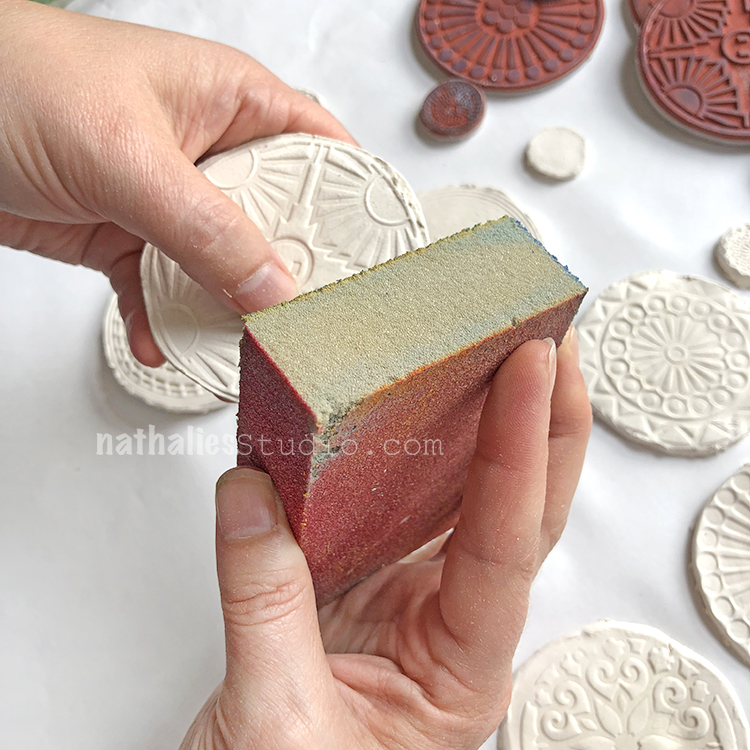
Once the clay is completely dry, you can use a sanding block to smooth down the edges. Be gentle!
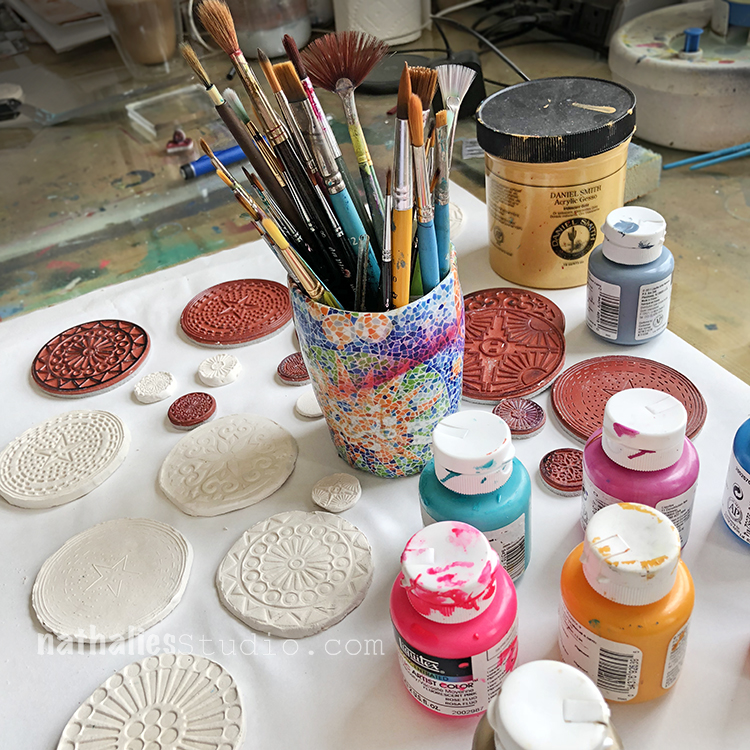
Now it’s time to assemble some acrylic paint and fine brushes for the detailed painting.
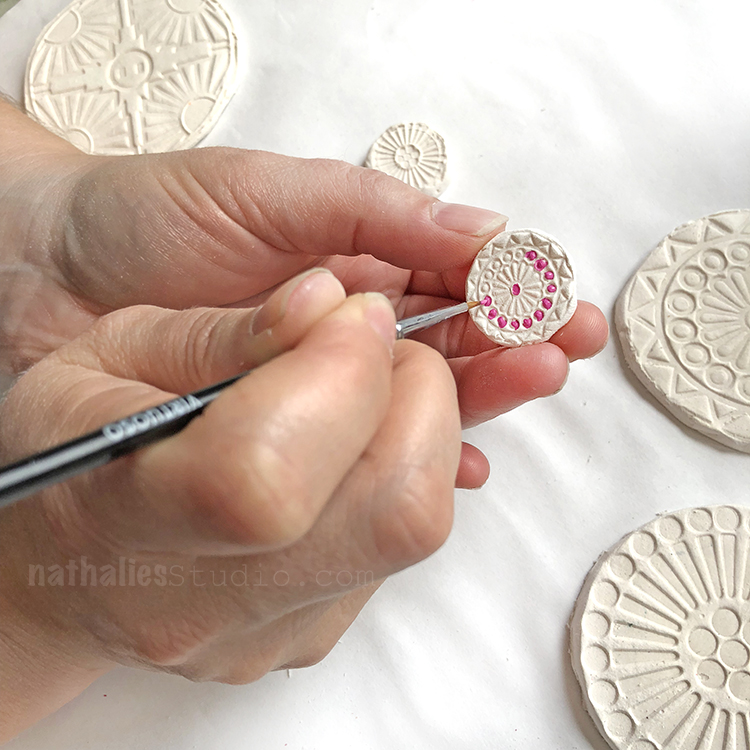
The Valley Road stamp from the Small Circle Jumble set looks so cute!
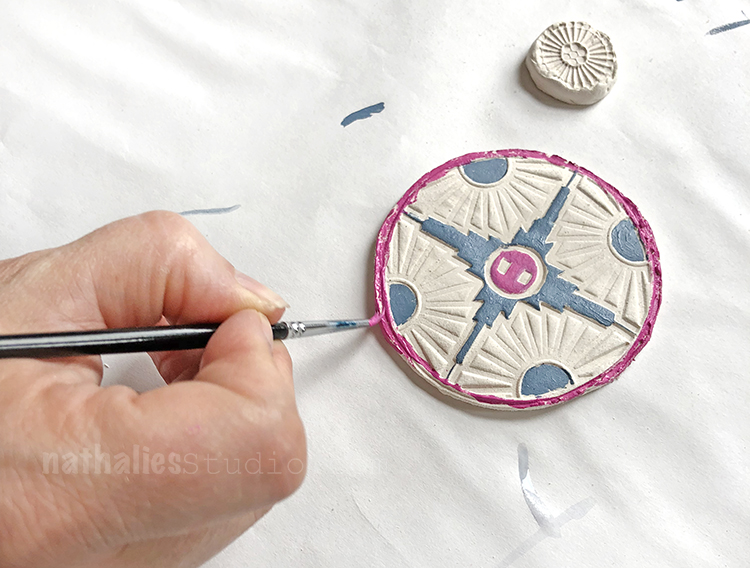
Here is the Broadway stamp from the Large Circle Jumble set getting some paint on the design.
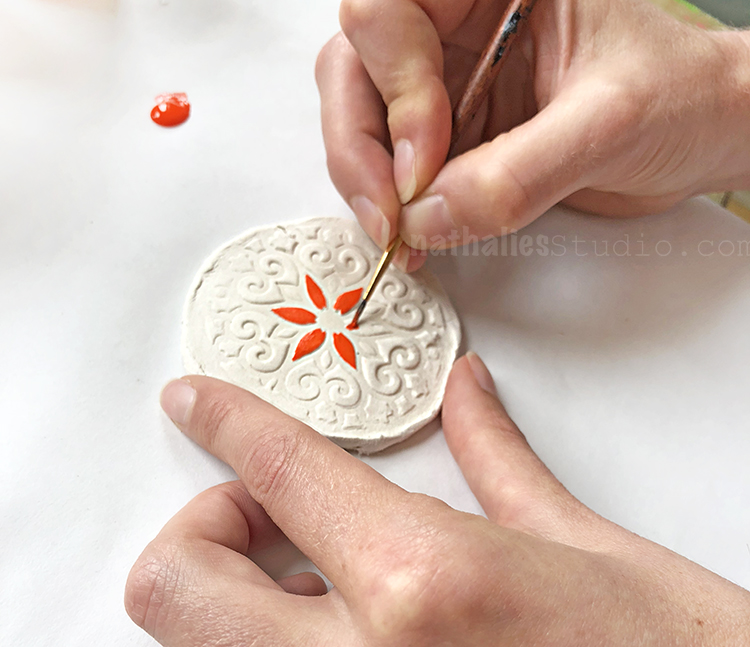
And here is from the Park Blvd from the Large set…
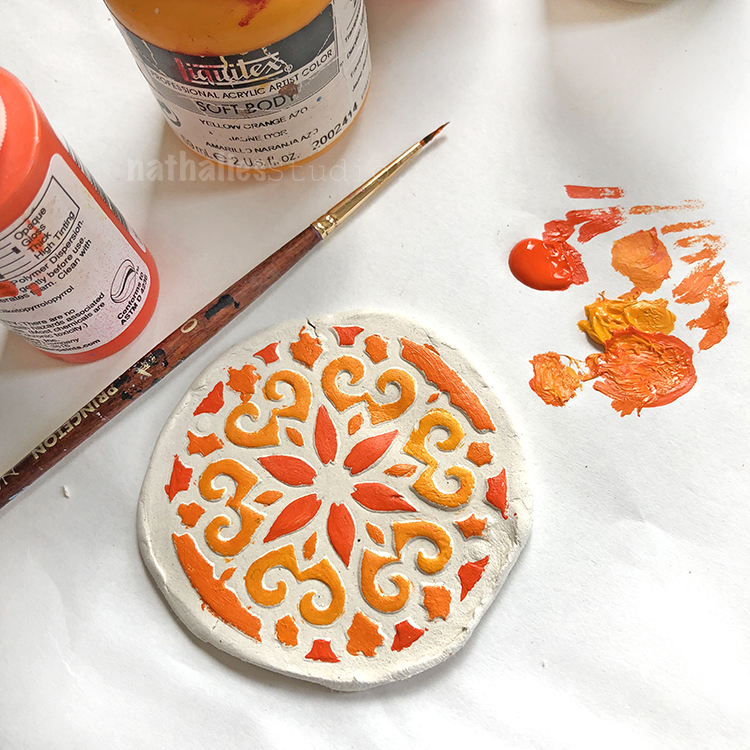
…with different orange colors to bring out the design.
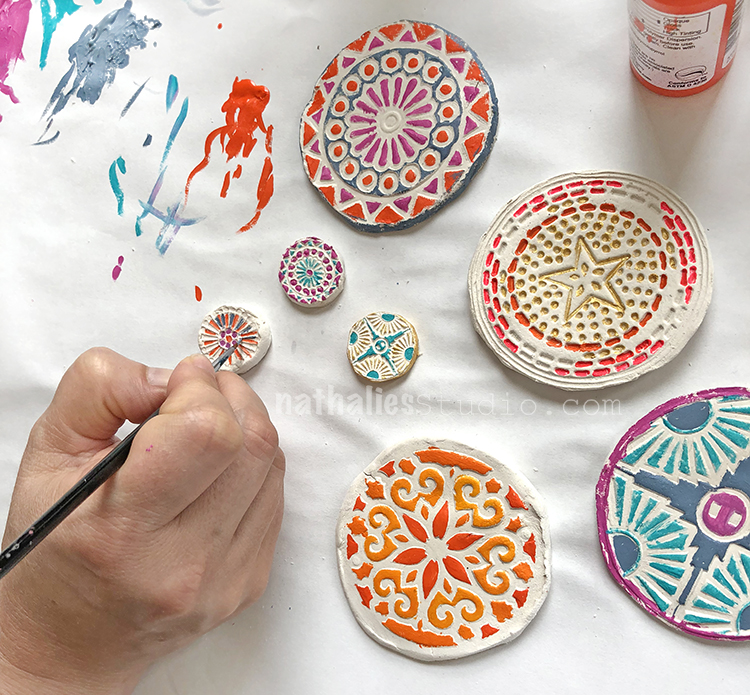
It takes a little patience to paint them but it was fun to spend the morning chatting and painting with a friend :)
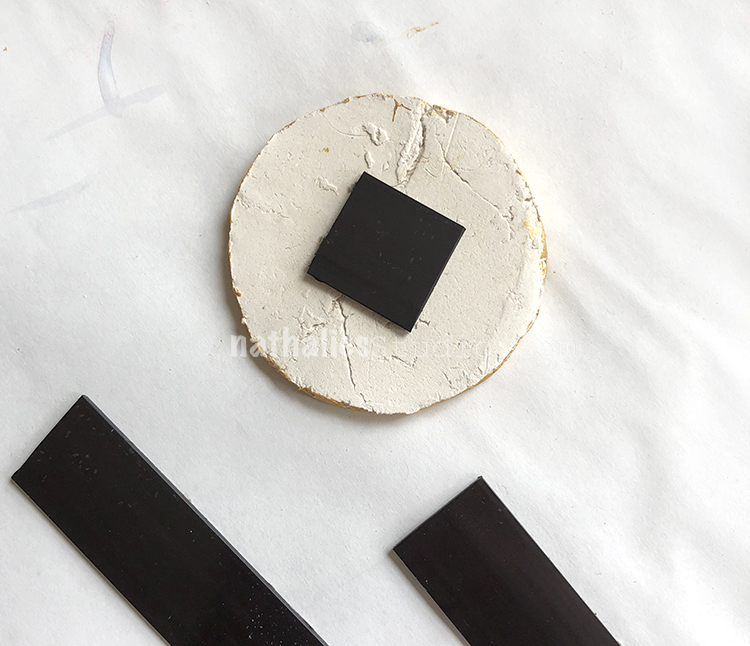
When the pain was dry, we cut our magnetic tape into squares and put it on the back of each magnet.
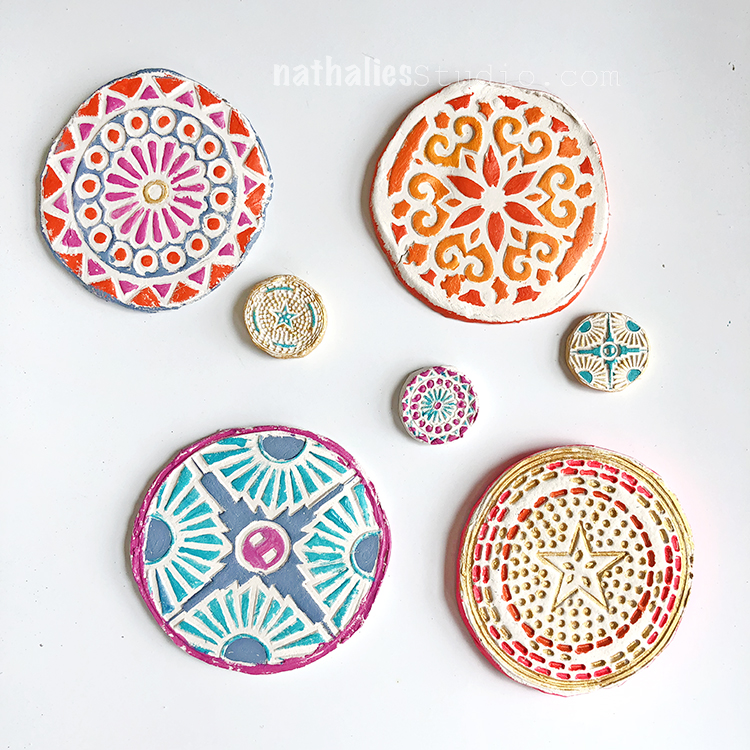
Here are the finished paper clay magnets with rubber stamped designs.
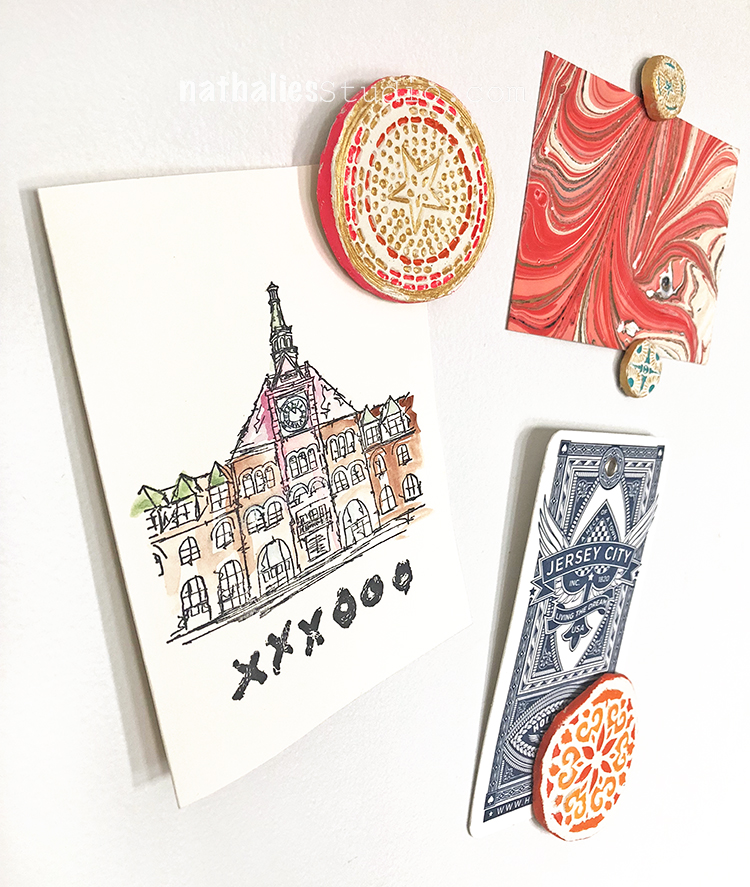
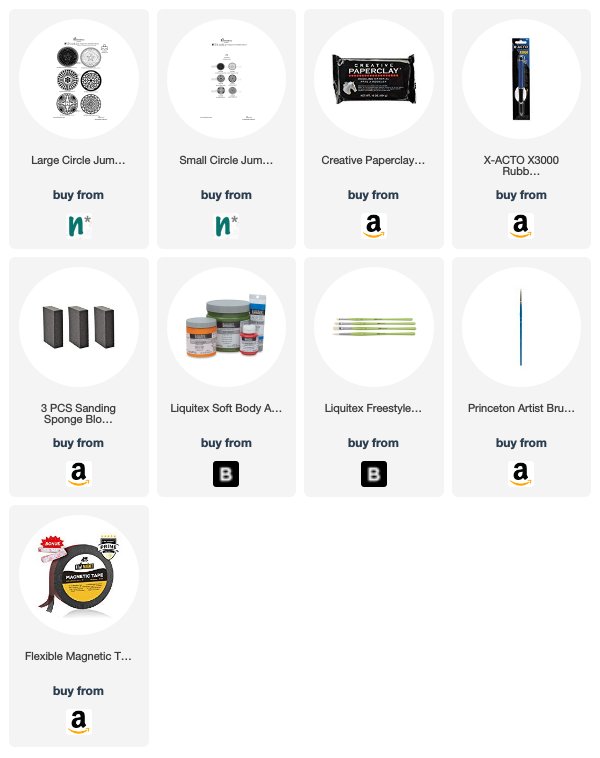
And in action holding up some cards and such! Here are some of the supplies that we used for this project:



SaveSave

SaveSave
Leave a comment