Blog: Stencil

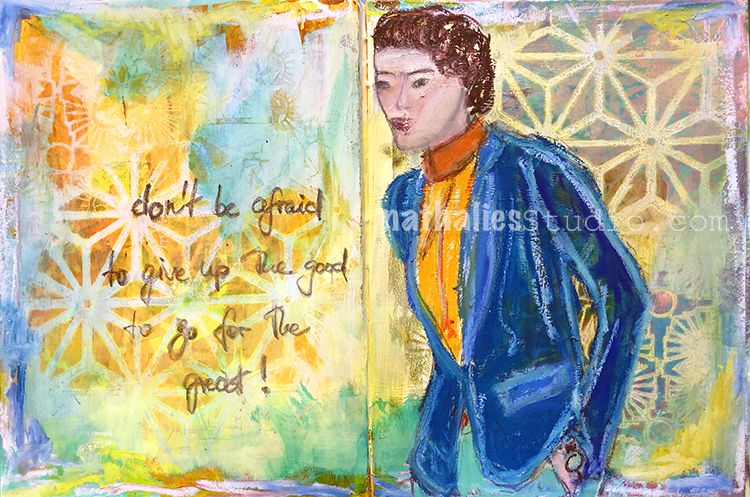
Go for the Great – Art Journal

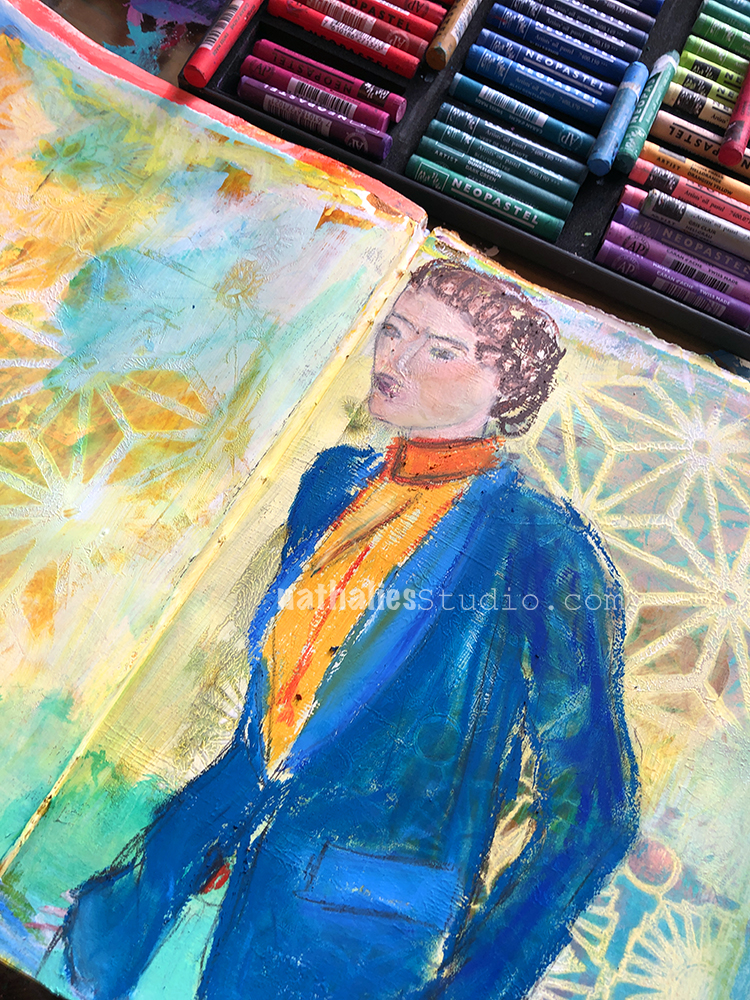
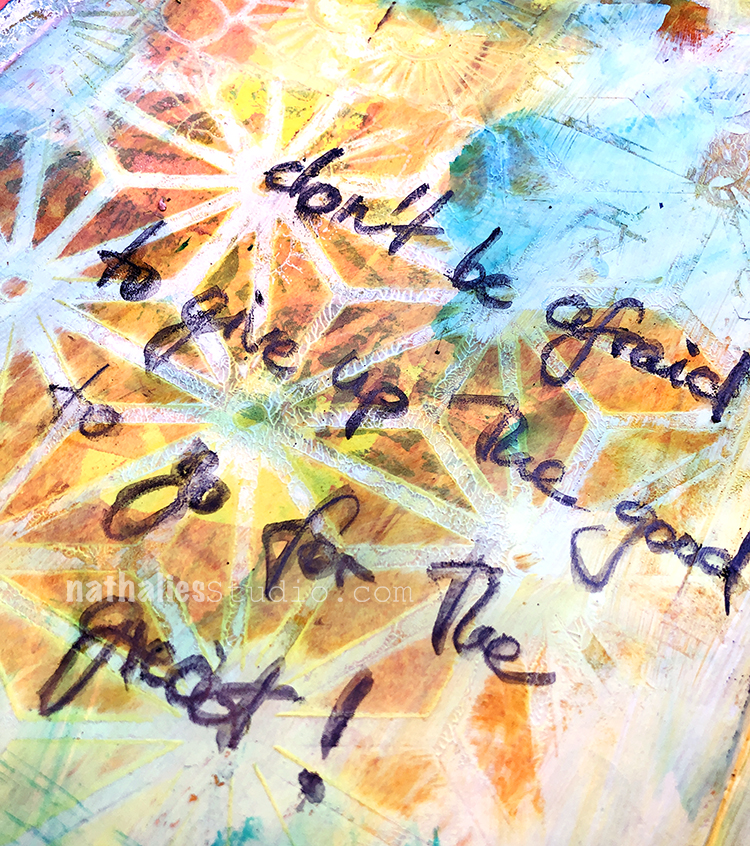
“Don’t be afraid to give up the good to go for the great”

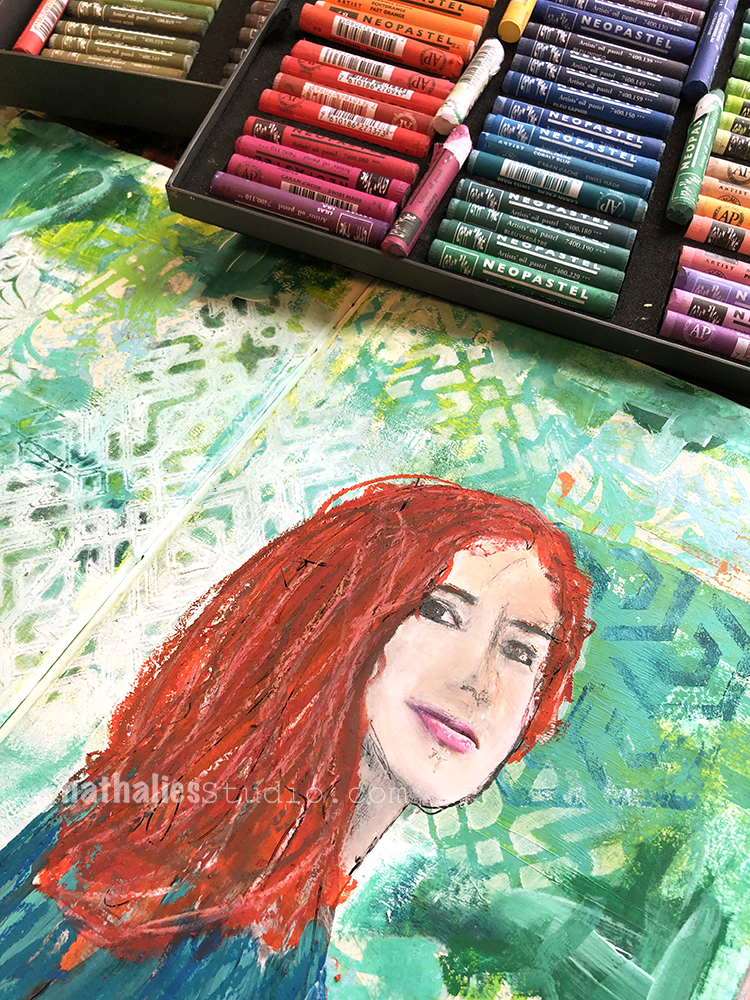
Still playing with my neopastels- sometimes I put them away and then I “rediscover” them and cannot wait painting with them.

I also used a lot of different stencils and Acrylic paint s well as Gesso and Acrylic Ink- love the distressed look.

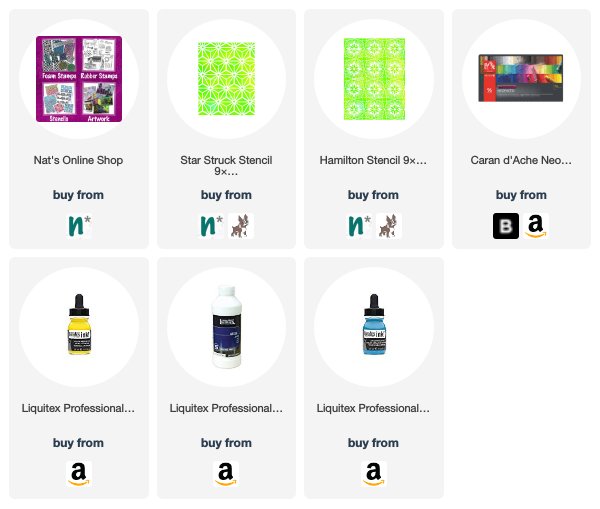
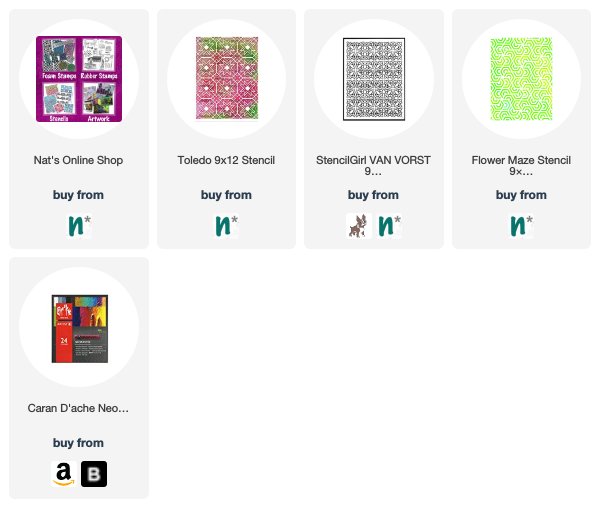
Here are some of the supplies besides Acrylic Paints that  I used for this spread:


Leave a comment

A New Adventure Begins – Art Journal

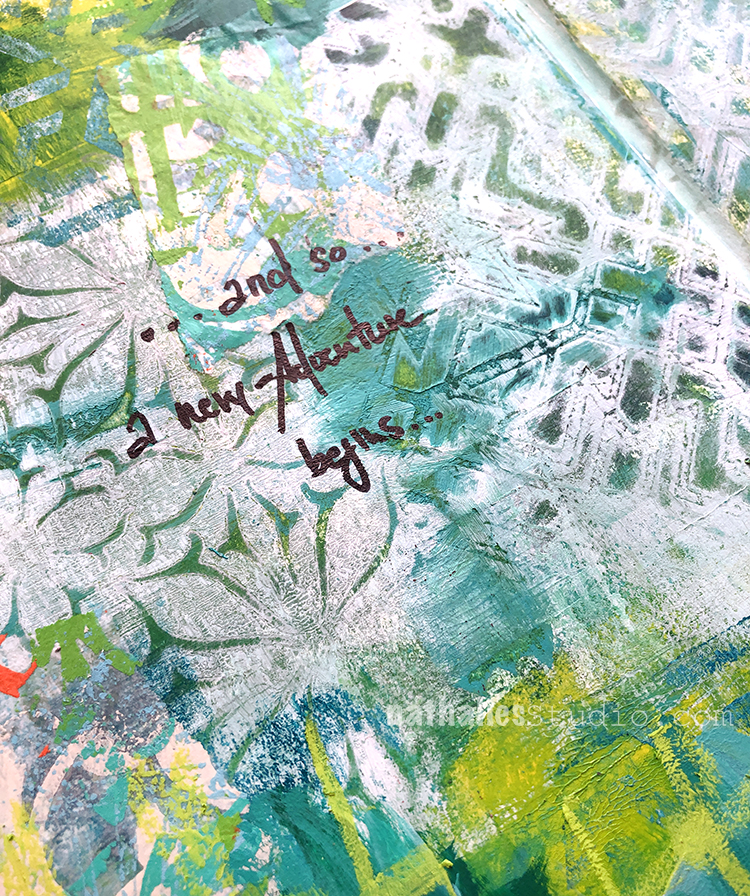
“…and so…a new adventure begins…”

I am excited for the new year …yes still LOL

I used a magazine image and painted over with my neopastels- I love doing that when I am a bit lazy painting my own image- and the neopastels are just soooo yummie ….

I used different stencils with acrylic paints and gesso to create the background – stippling paint through the stencil and taking paint off through the stencil as well.

Besides acrylic paints and gesso, here are the supplies I used:


Leave a comment

You Have The Power – Art Journal

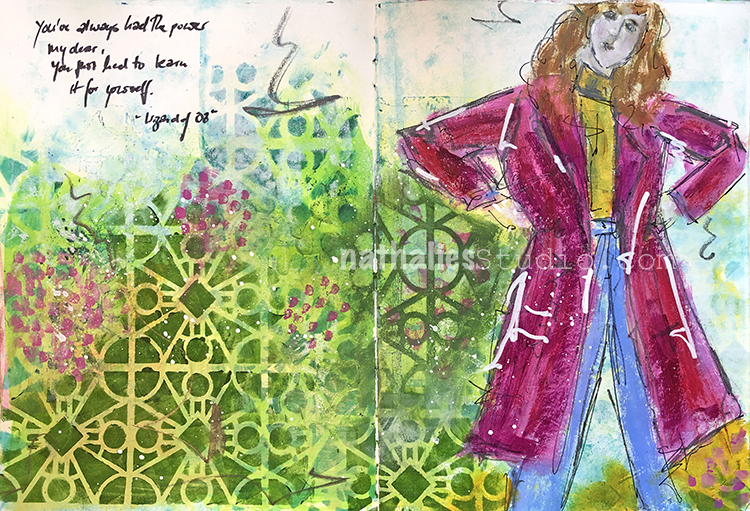
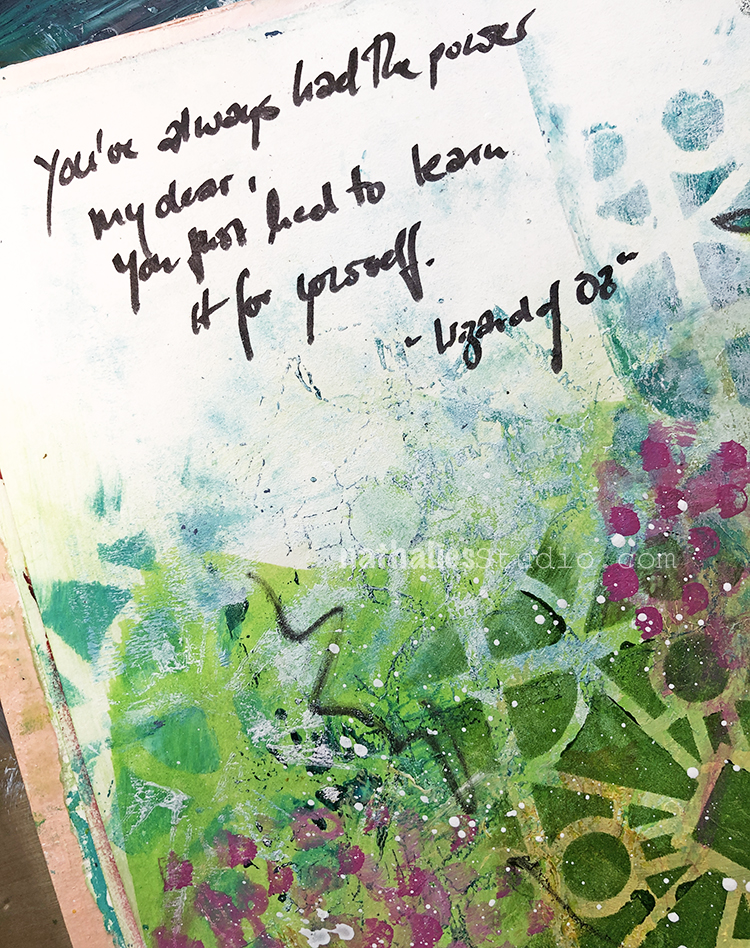
“You always had the power my dear, you just had to learn it for yourself.” – Wizard of Oz

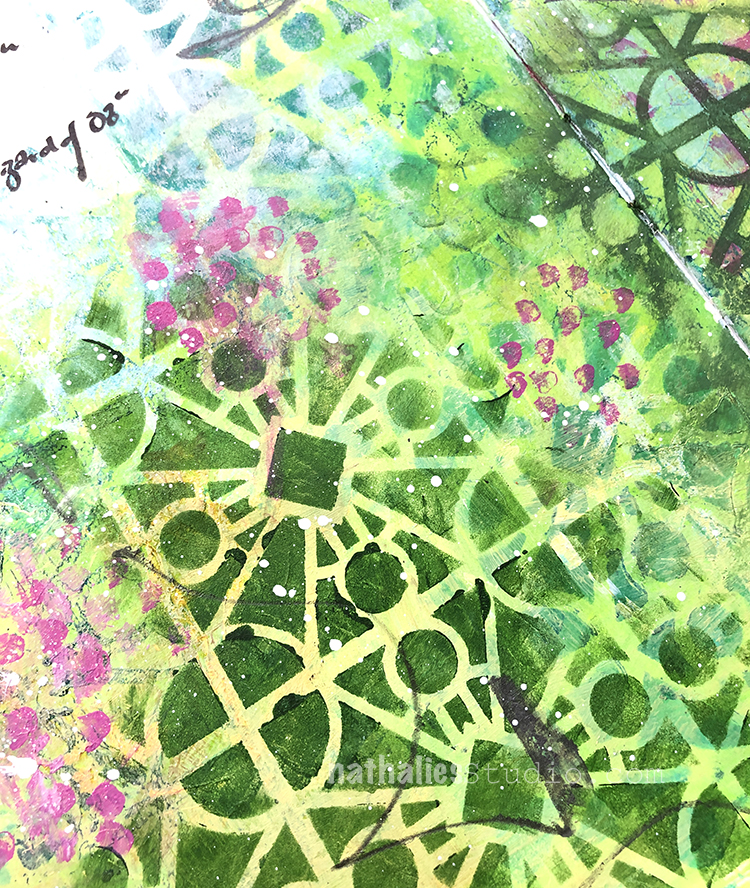
I guess I am already ready for spring – I wish I had the power to make it come fast ;) I played with different green acrylic paints and my Buenos Aires Stencil.

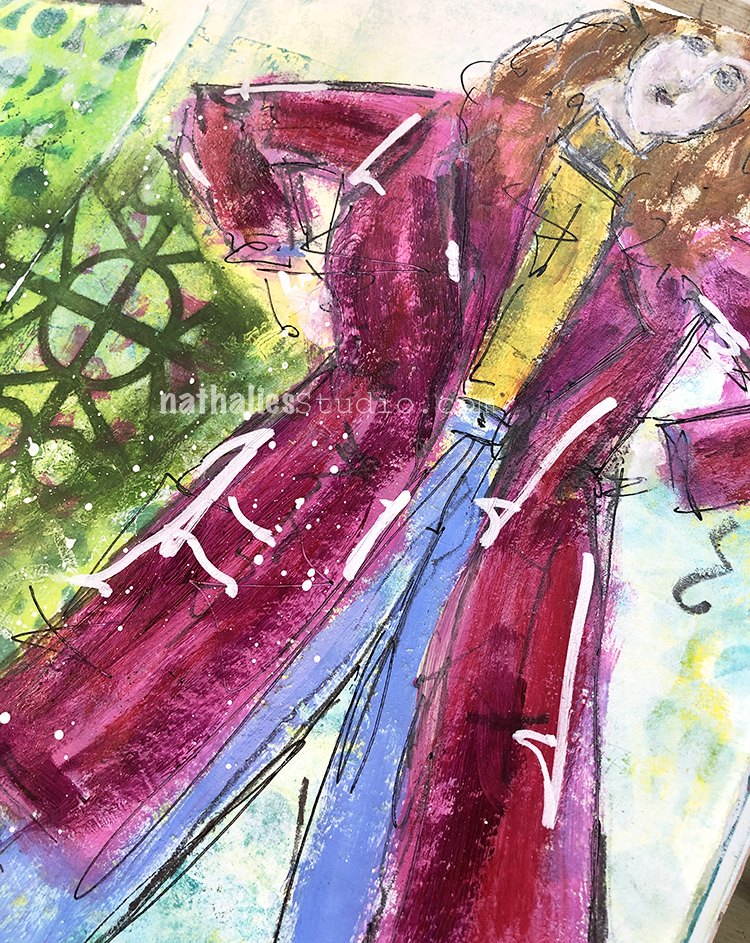
I painted the lady with acrylic paints and added some scribbles using pencils and pens.

Some mark making in pink for some color pop – this was fun to make.

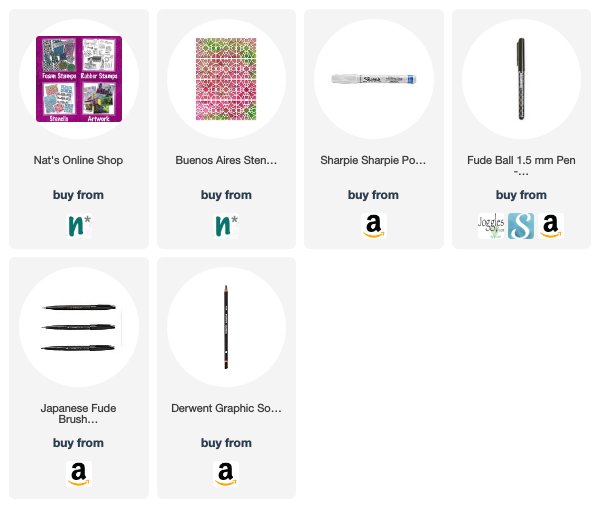
Besides acrylic pains I used the following:


Leave a comment

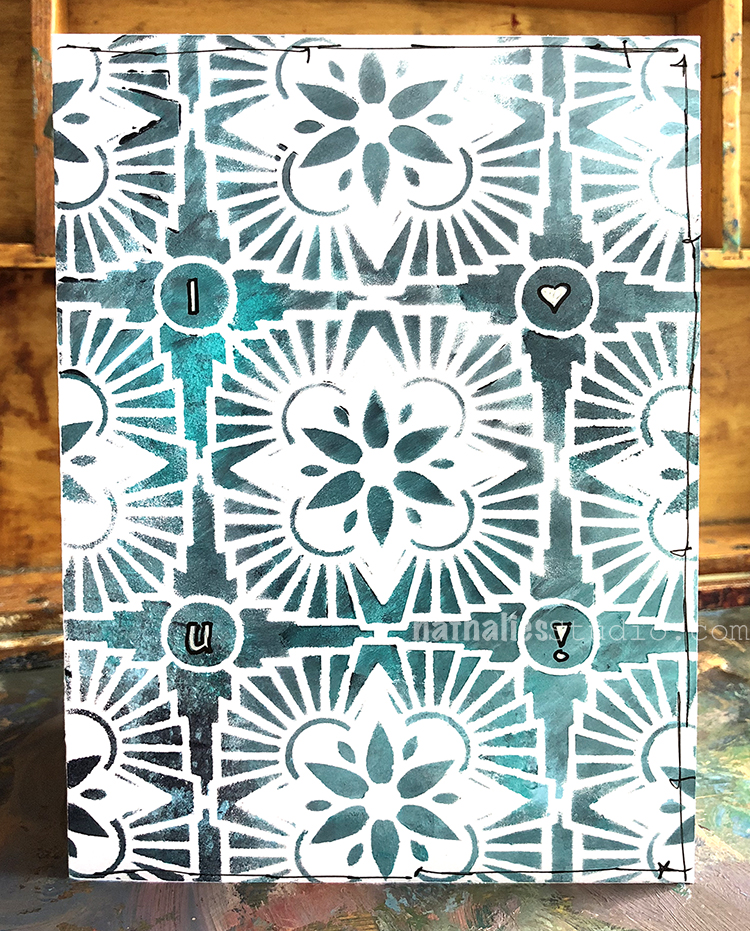
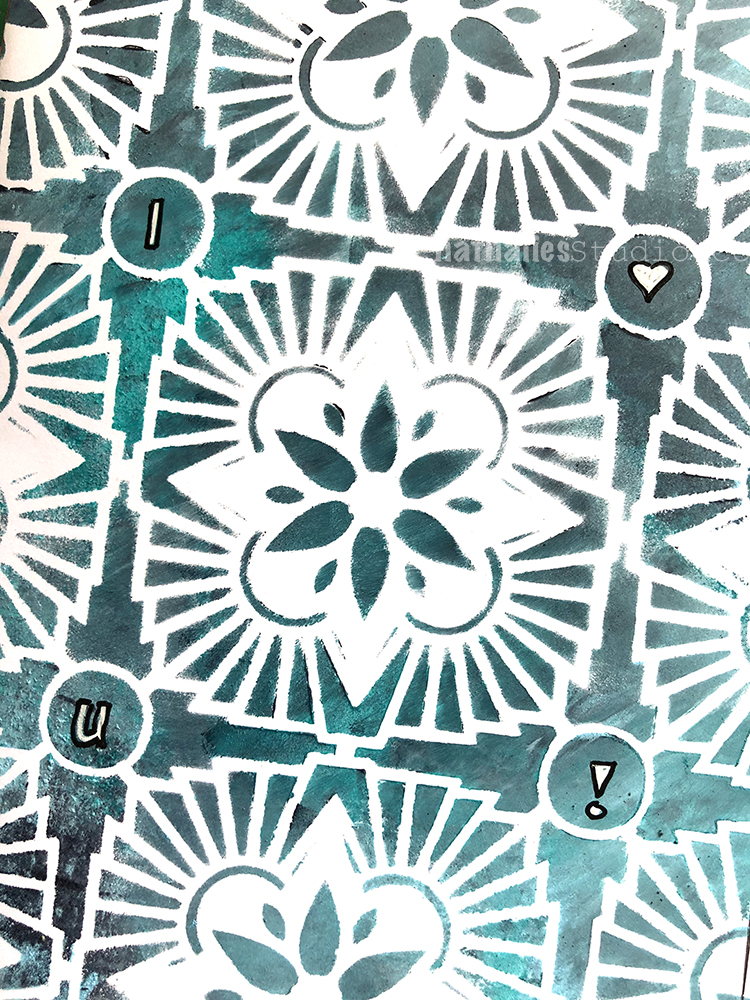
I Heart You – Card

Have you told someone “I love you” today? Here is a quick card for this :)

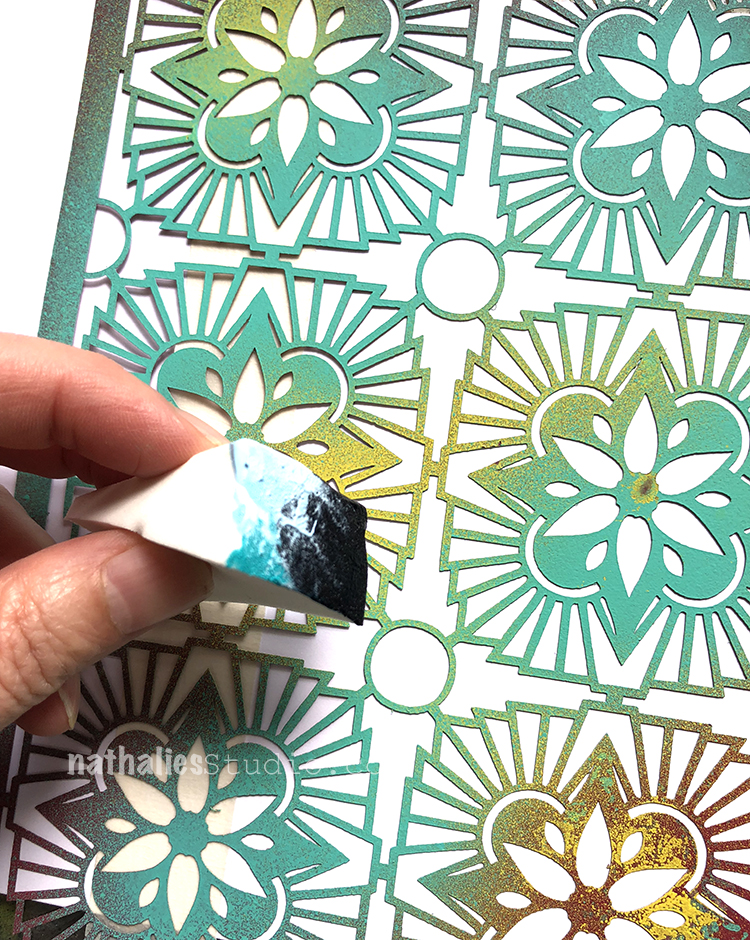
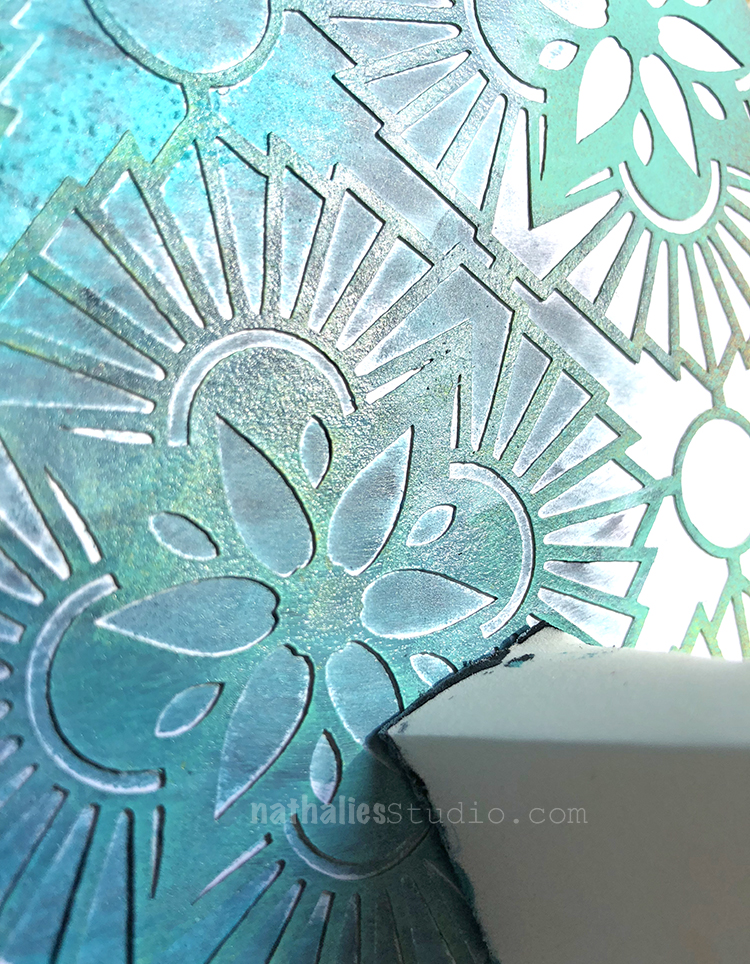
I used three different acrylic paint colors: teal, black and white, and squeezed out each color in a pea size next to each other. Than I dabbed my cosmetic sponge in it so that each color was on the sponge.

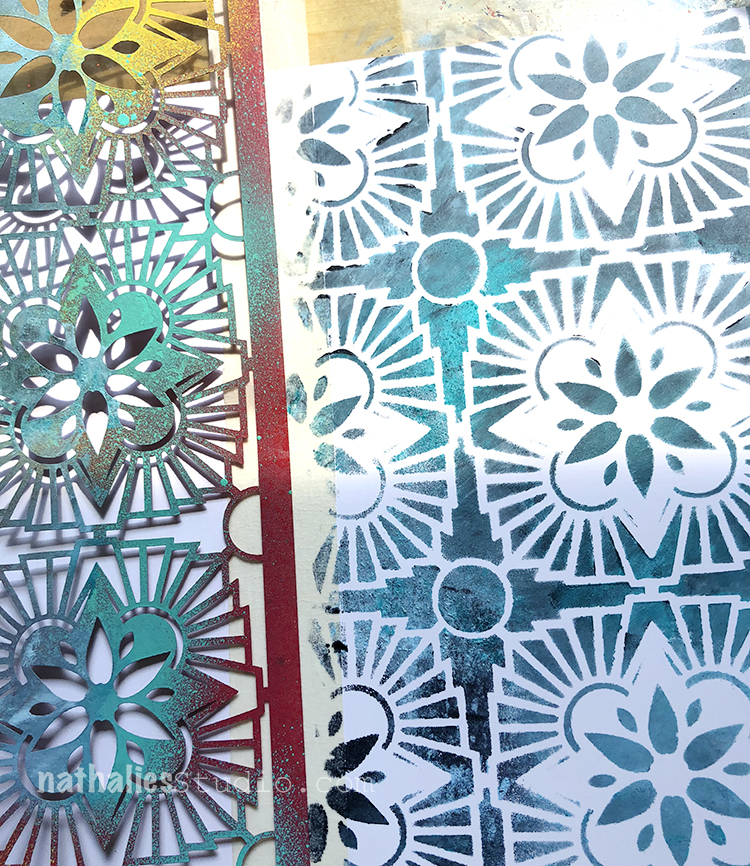
Mixing the colors slightly as I dabbed over my Hamilton Stencil I created some subtle color variations.

Love the pattern and colors

I added my message to my special someone in the circles and done :) Who are you telling today I love you?

Here are some of the the supplies I used


Leave a comment

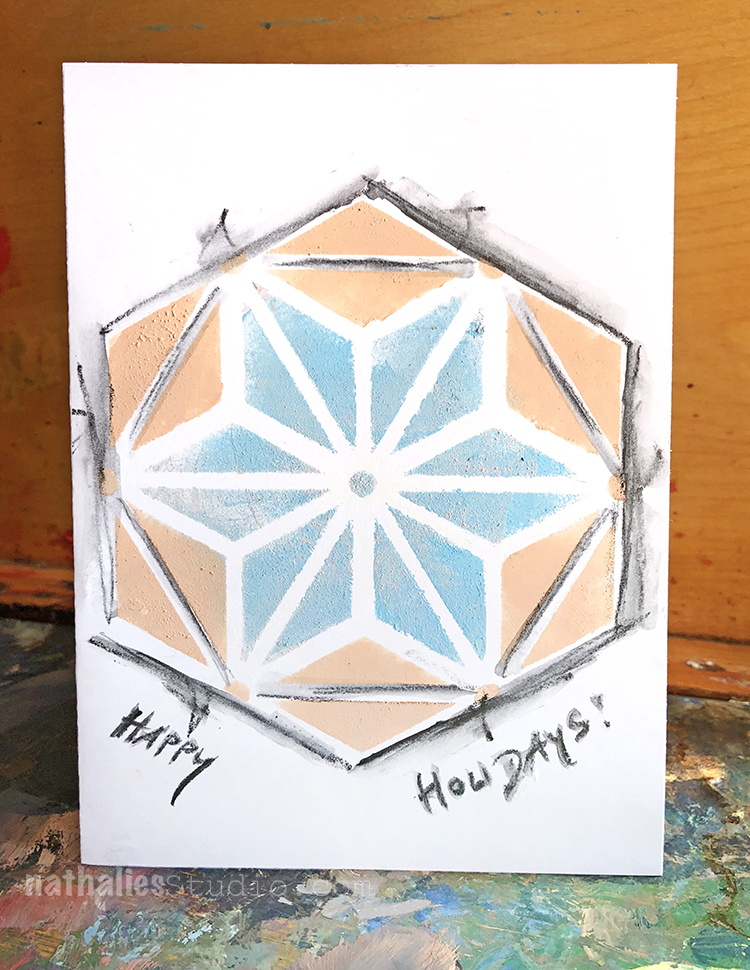
Star Struck Holiday Card Tutorial

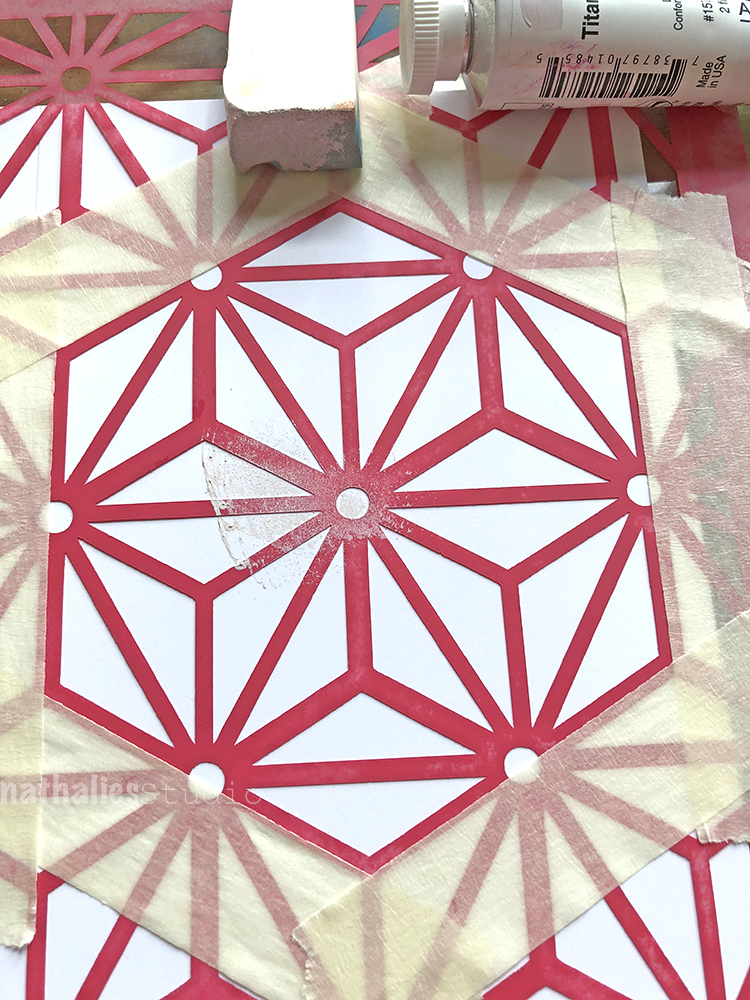
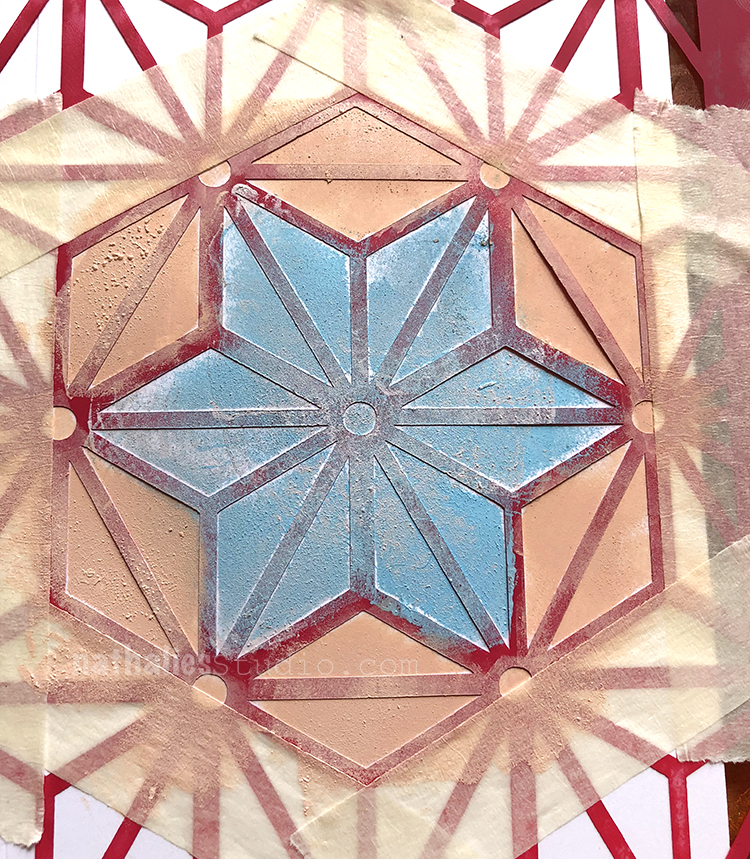
I love the new Star Struck Stencil and I knew I wanted to use just part of the stencil for some holiday cards.

I created a border around the area I wanted to use with artist tape. You can leave the tape on and just do several cards or projects until you are done.

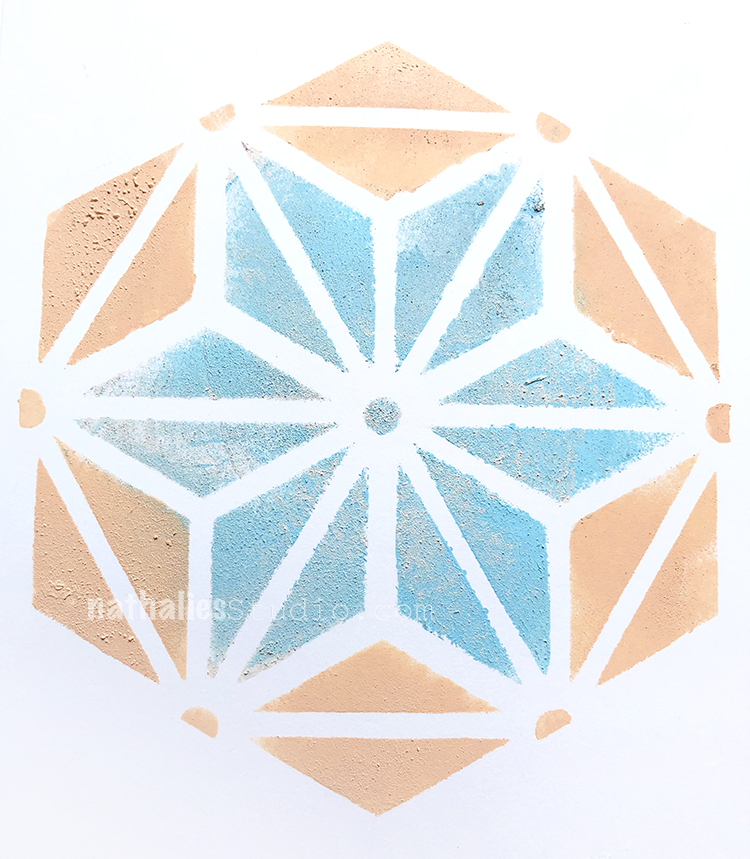
using heavy body acrylic paint and a cosmetic sponge I stippled on the paint through the stencil. I used heavy body paint here because I love how the cosmetic sponge creates a little bit of a textured effect in the heavy body paint.

Lift off the stencil and let dry.

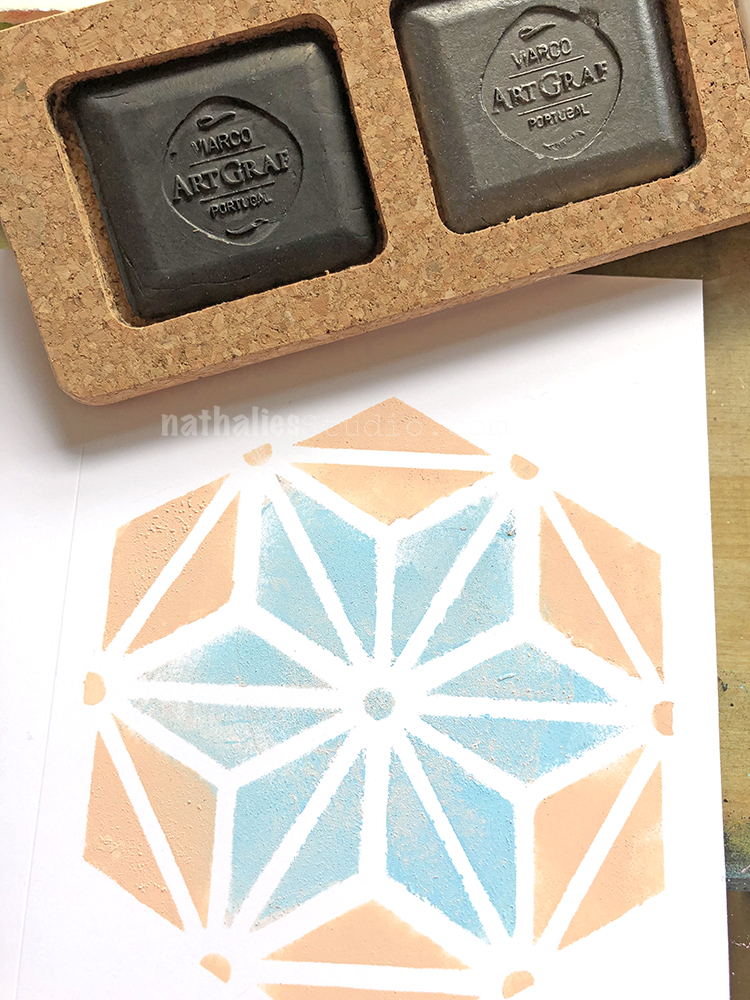
I added some lines and the holiday greetings with ArtGraf Blocks.

And done – easy peasy :)

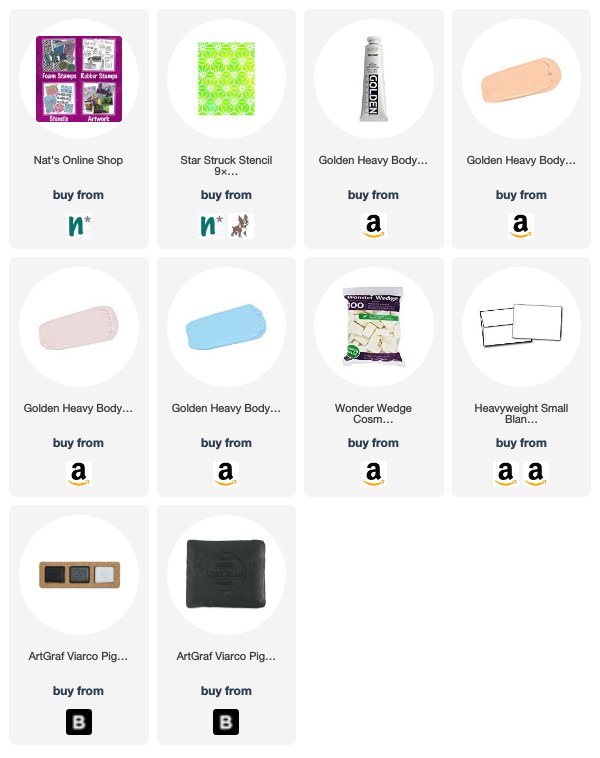
Here are the supplies I used:


Leave a comment

Tagging Along

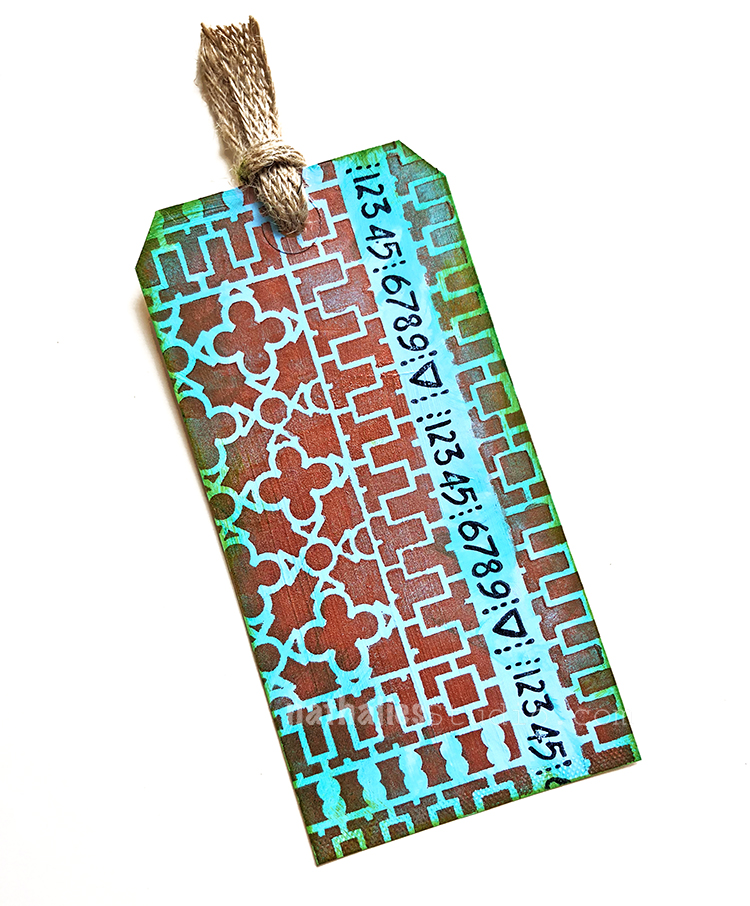
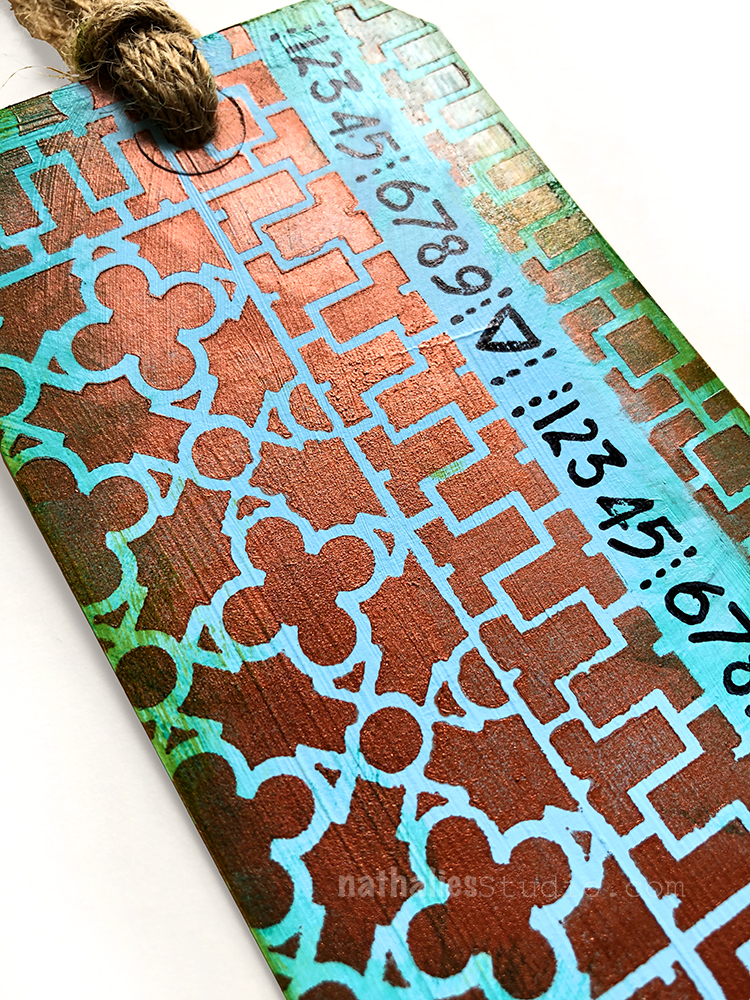
There is something that makes me happy about a small little gift tag :) Here is one I created using some metallic color and teal with my new Downtown Stencil.

Love the pattern and border you can create with this stencil. I filled in the free space with my Numeral Stamp – another favorite of mine :)

Hope you are having a wonderful fall week :)

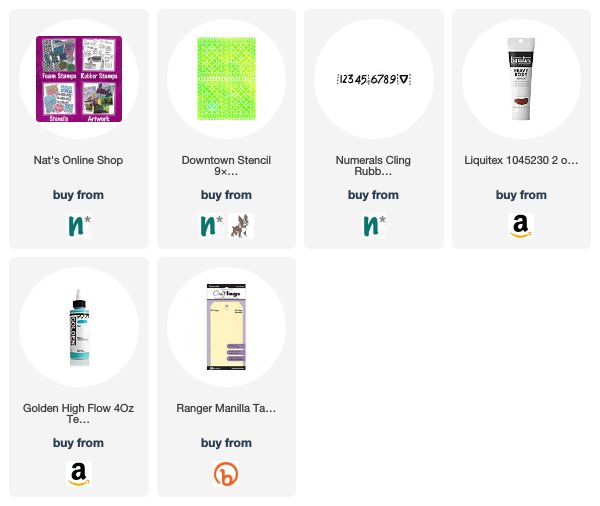
Here are the supplies I used for this simple tag:


Leave a comment

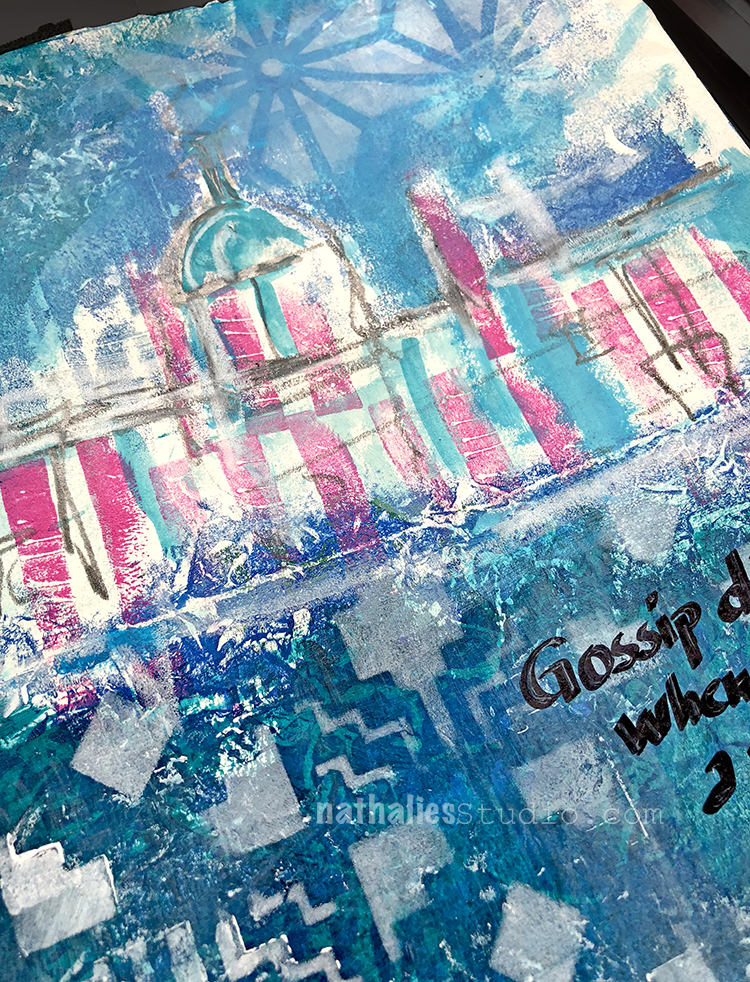
When Gossip Dies – Art Journal

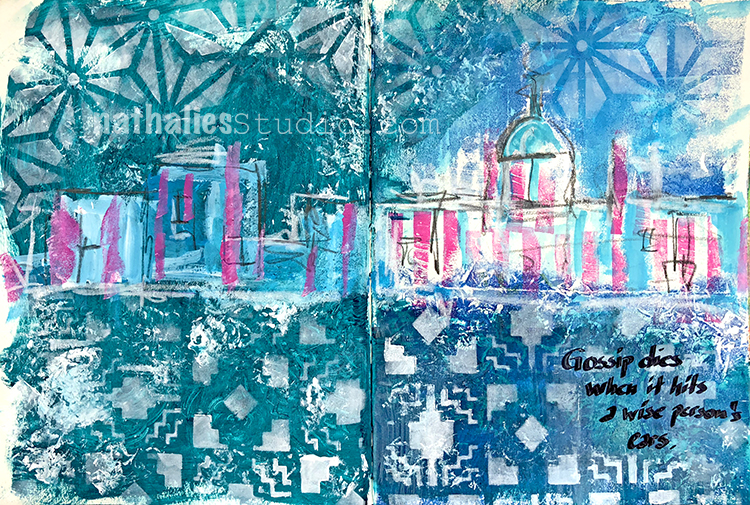
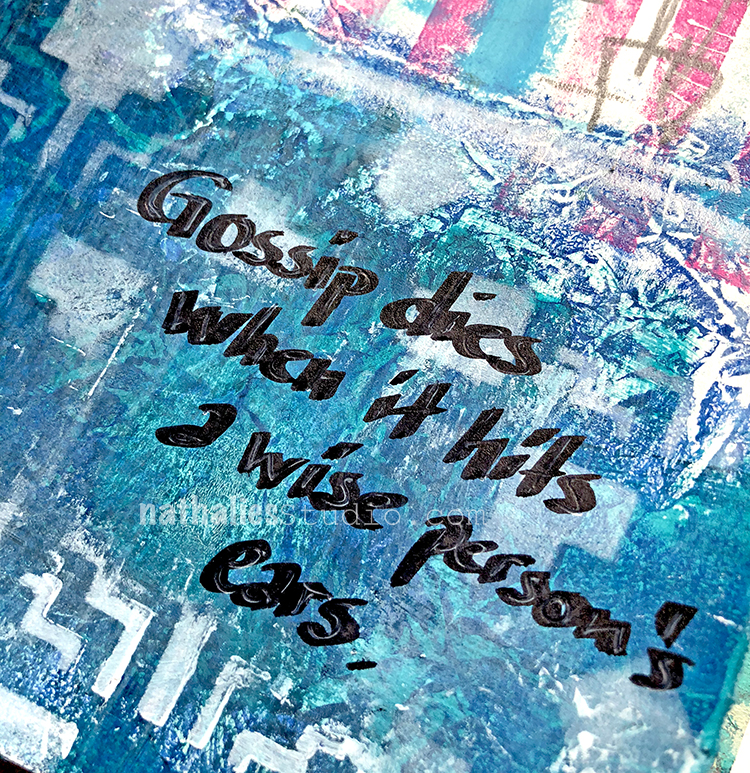
“Gossip dies when it hits a wise person’s ears” – what a wise quote :) – Not mine unfortunately I didn’t see a name attached to it.

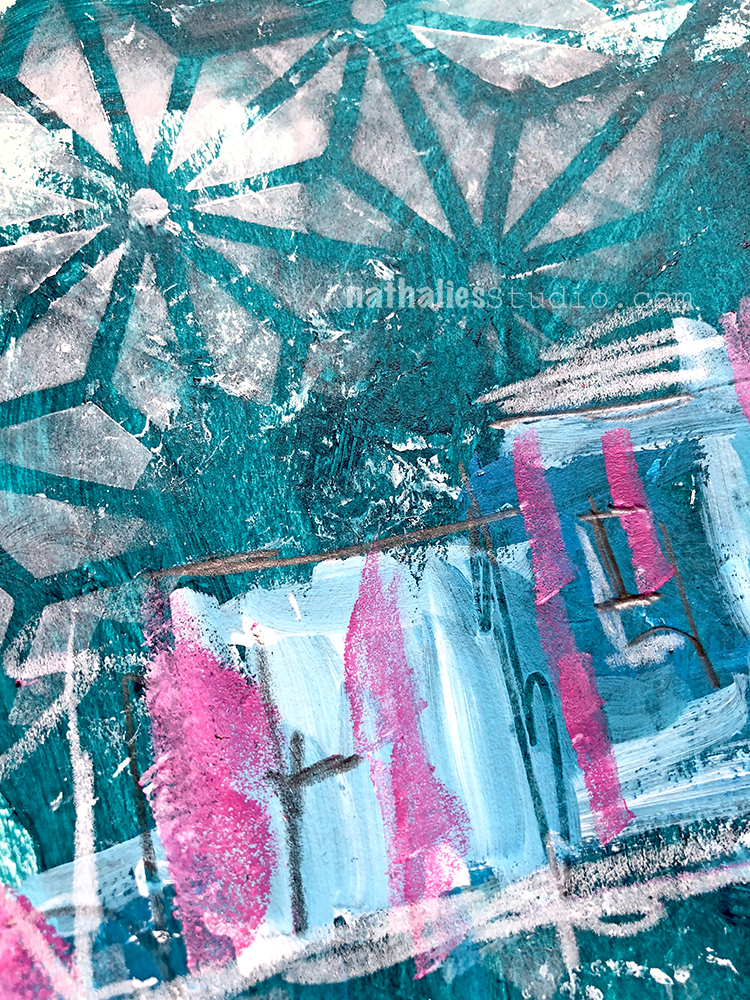
this spread started out with a mono printed page and it somehow reminded me of a One Thousand and One Night Scenery so I picked the Star Struck and Santa Fe Stencil to build up on the theme.

I used a calligraphy pen to write the journaling and added some white on top of it.

some pencil marks and some additional “houses” and done. I had fun with this.


Leave a comment

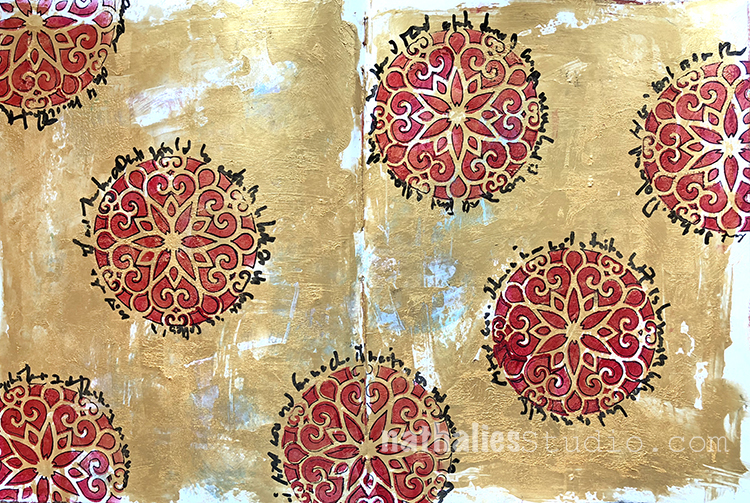
All That Glitters is Not Gold – Art Journal

Something to remember ! :)

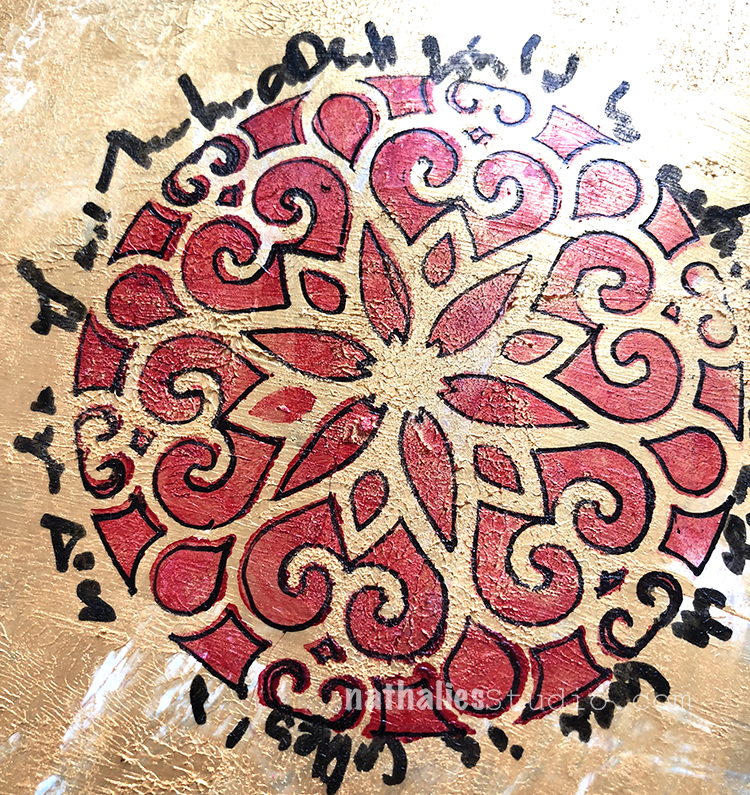
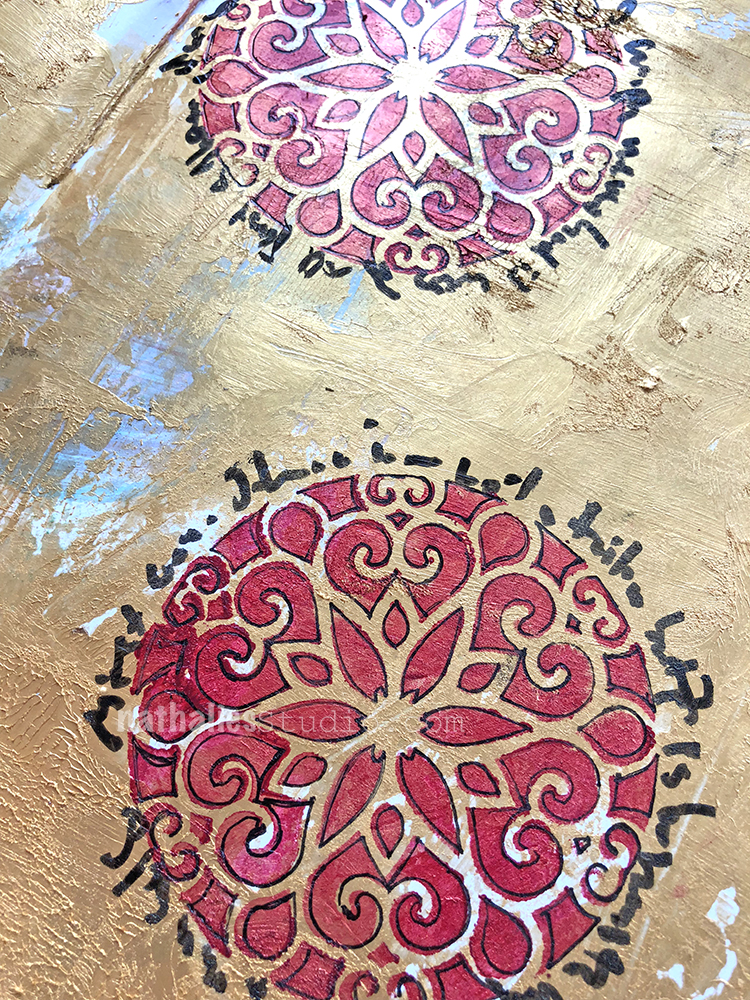
Painted the background with white and gold gesso and stenciled on top


in red using my Park Blvd Stencil. In order to make the design pop more I  layered the stencil back on top after the paint dried and traced the pattern inside the openings.

Love the red and gold although I am not really big fan of gold – like say with jewelry etc.

Here are some of the supplies I used for this spread:


Leave a comment

True Blue – Jennifer Gallagher


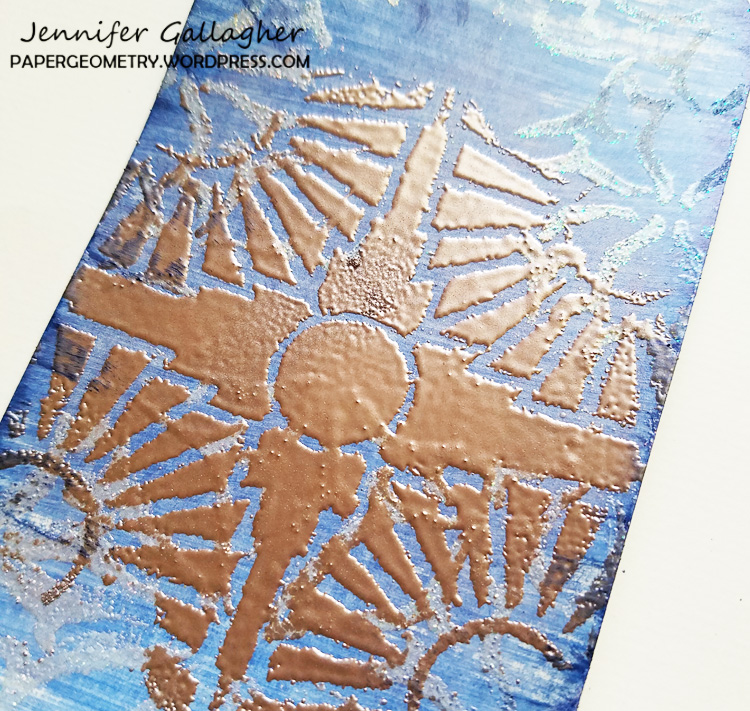
Hello from my Creative Squad! Today we have some gorgeous tags from Jennifer Gallagher that show just how well stencils work with embossing powder. Jennifer is using my new Van Vorst and Broadway stencils and my Small Circle Jumble rubber stamp set. This month’s theme is: True Blue – Blue is the color of honesty and serenity. It’s calming and has even been shown to promote healing. It reminds us of the water and the sky. Let’s slow things down this month and bask in the tranquility of the color blue.
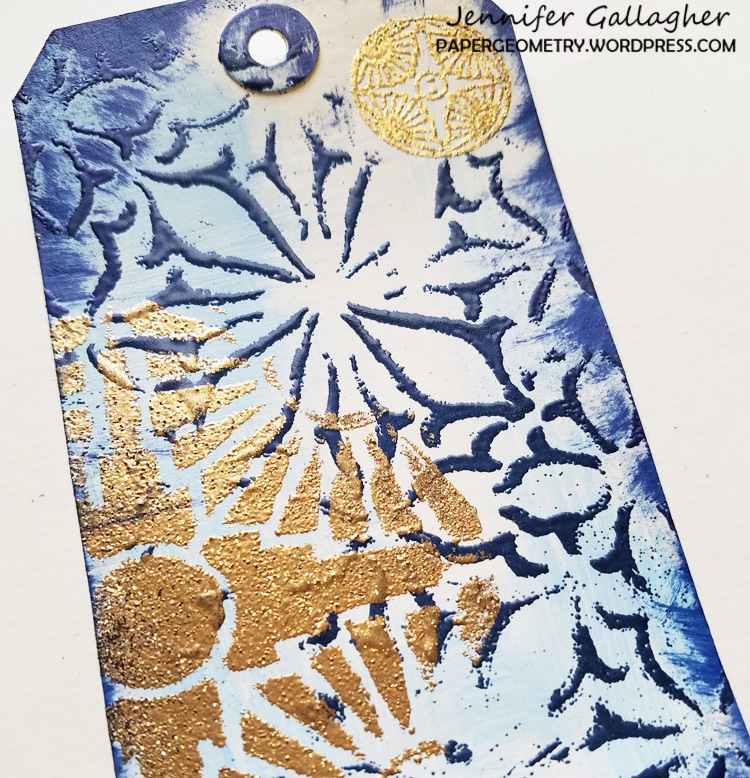

Blue is one of my favorite colors so I was very excited to see that the creative squad would be focusing our creations on it this month. The color blue makes me think of cold weather, snowy mountain scenes and holiday time with family. These quick and easy tags would be perfect for holiday gift tags.

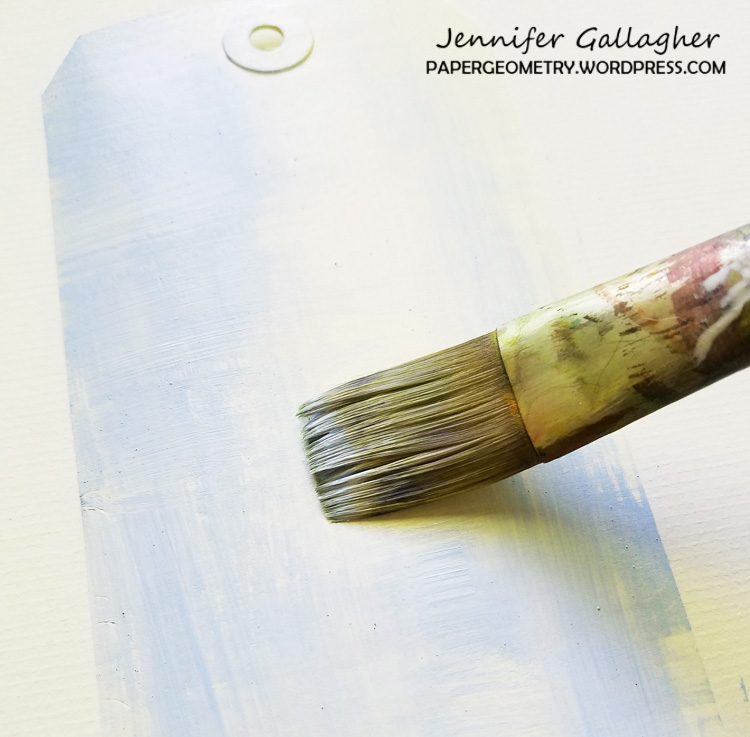
Begin by brushing on a thin layer of light blue paint and white paint onto your tag with a dry brush. We want to get a distressed look so try not to apply too much paint. Leaving areas unpainted will also add to the interest and texture of the tag.
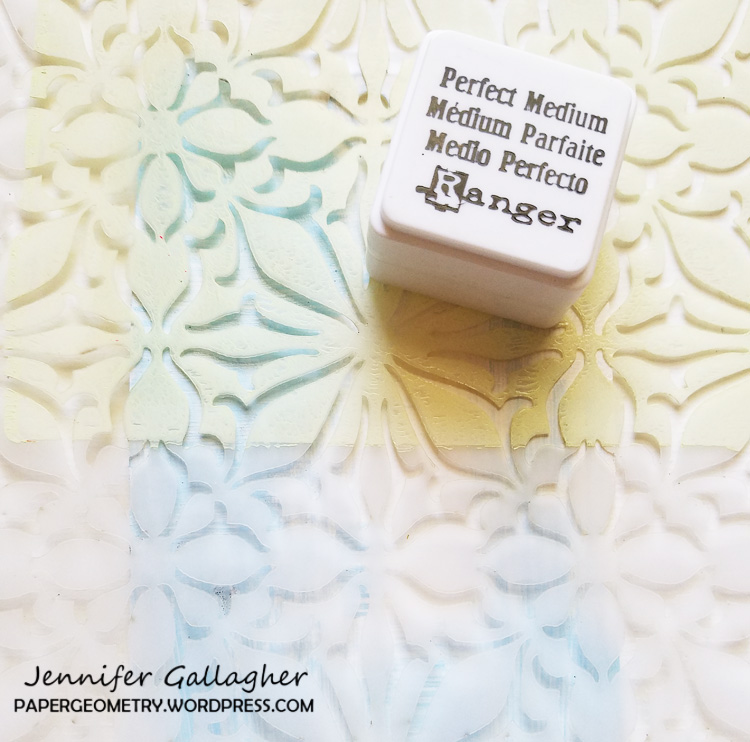
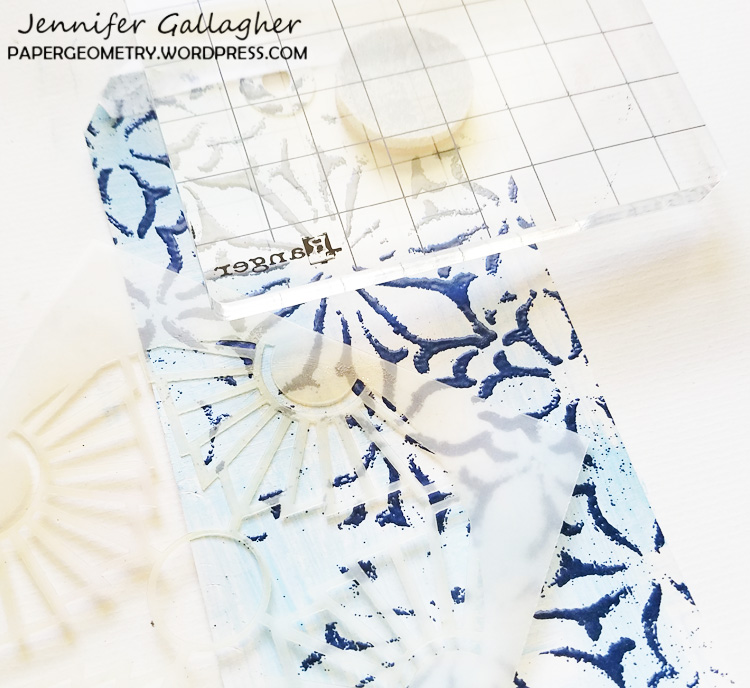
Next, place your Van Vorst stencil down onto your tag and press the perfect medium through the stencil.
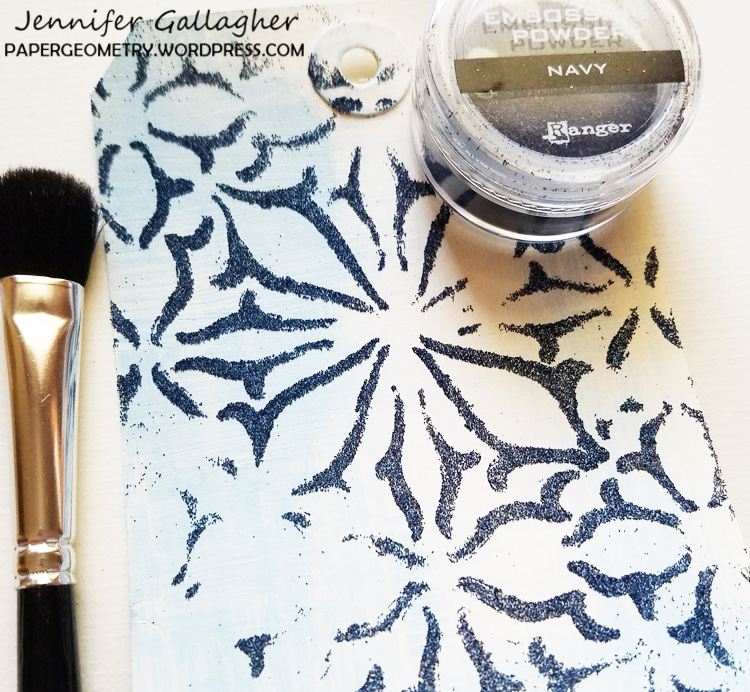
Sprinkle the navy embossing powder over the perfect medium. Use a small soft bristled brush to knock off any areas you do not want the embossing powder or to clean up any mistakes. Apply heat from your heat tool to melt the powder and set it. Let it cool.
Lay the 4×4 inch Broadway stencil on the tag and repeat the same process with gold tinsel embossing powder. Then stamp the coordinating small Broadway stamp from Nat’s Small Circle Jumble stamp set with perfect medium in the top corner of your tag. Emboss it in gold tinsel as well.
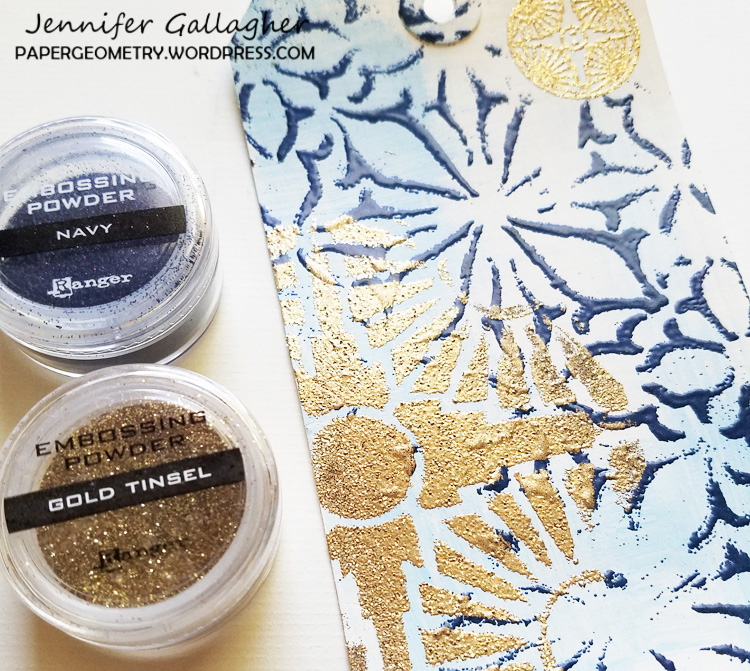
Lastly, take your cobalt stamping pad and edge around your tag, smearing a bit of ink from the edge onto the tag. This will add additional interest and texture.
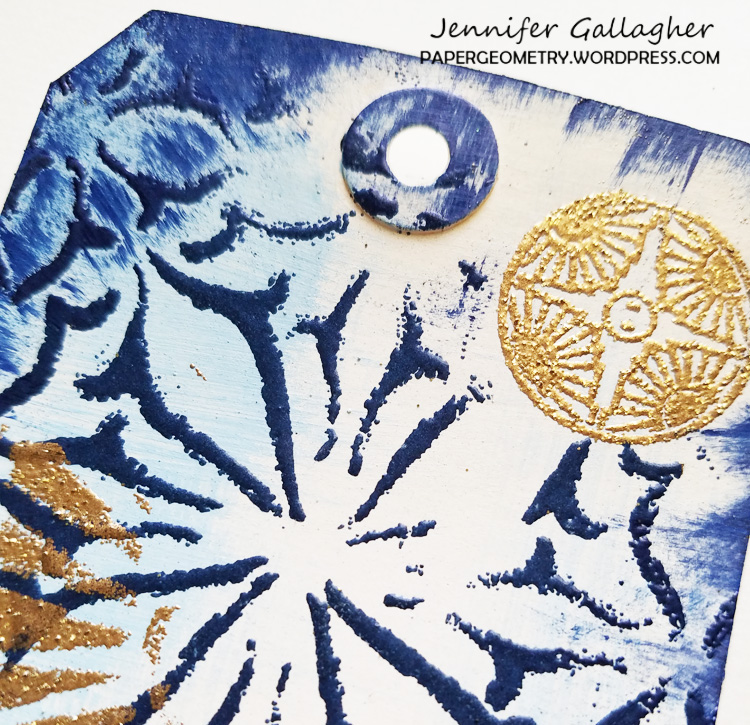
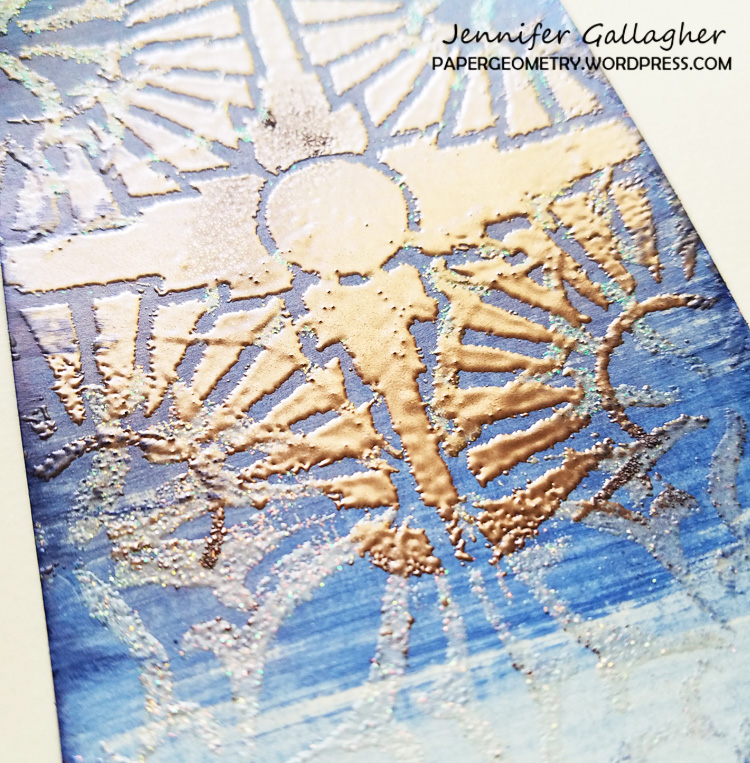
I created a second tag switching up the colors a bit. I painted the tag with real navy, embossed Van Vorst with bridal tinsel embossing powder, and embossed Broadway with rose gold embossing powder.
I hope you find these tips useful for creating your own beautiful holiday tags. You can also change up your background color and embossing powders to create non-holiday versions. Have fun and be sure to share your projects with us.
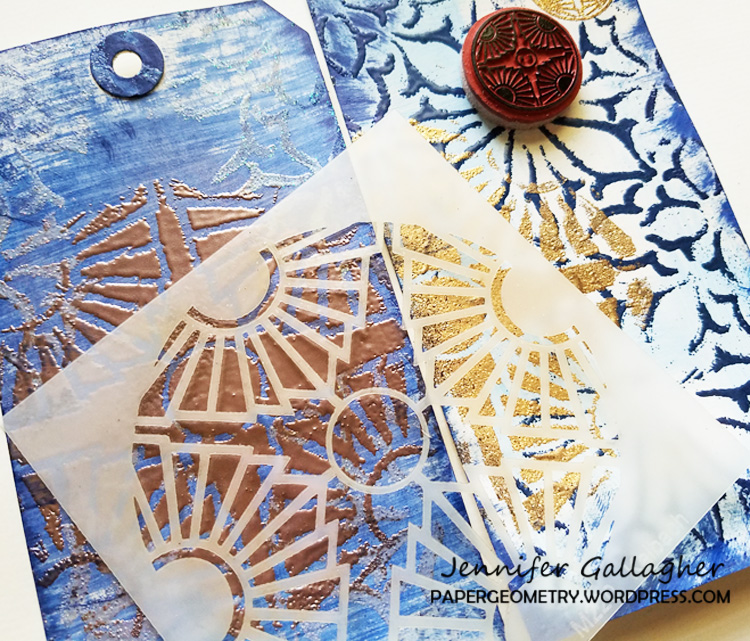
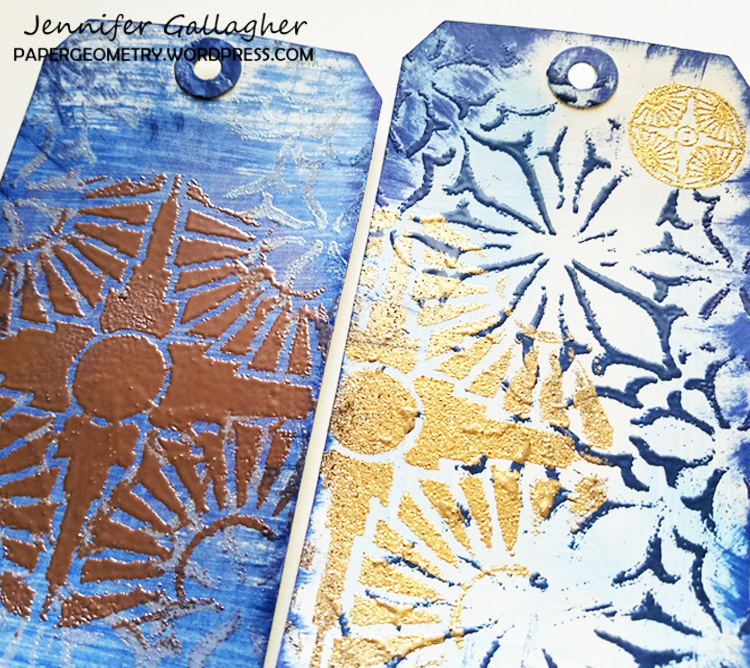
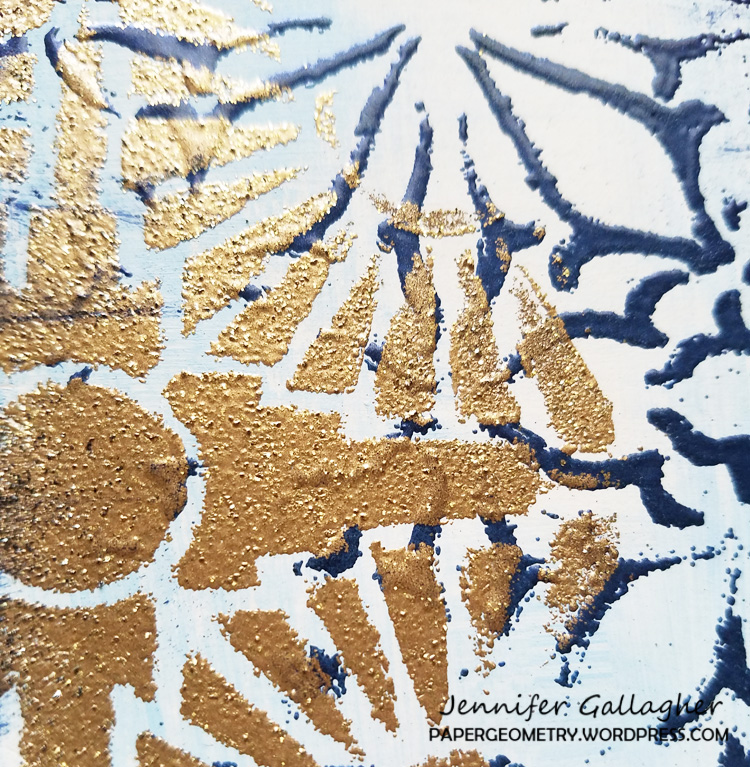
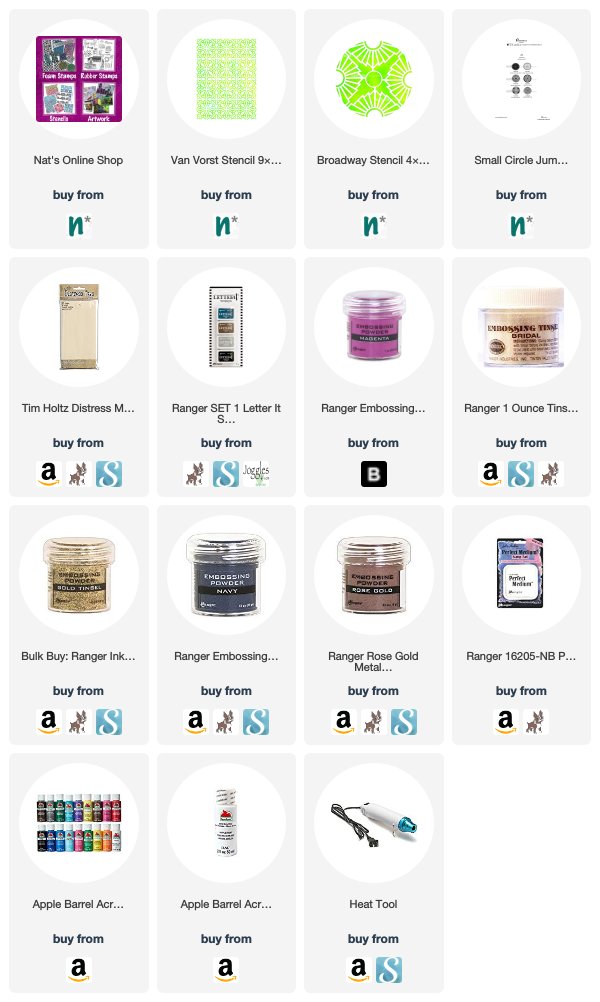
Thank you Jennifer – I just love how that gold embossed pattern looks! You can find all my stencils and stamps in my Online Shop. Here are some of the other supplies that Jennifer used:


Feel inspired? Working on something yourself that you’d like to share?  I love to see how you interpret our monthly themes. Email me how you used my stencils and stamps with the theme and email me an image – I would love to share your projects in my next  “n*Spiration From Around the Globe“.
Leave a comment