Blog: Stencil

Speak Love – Art Journal

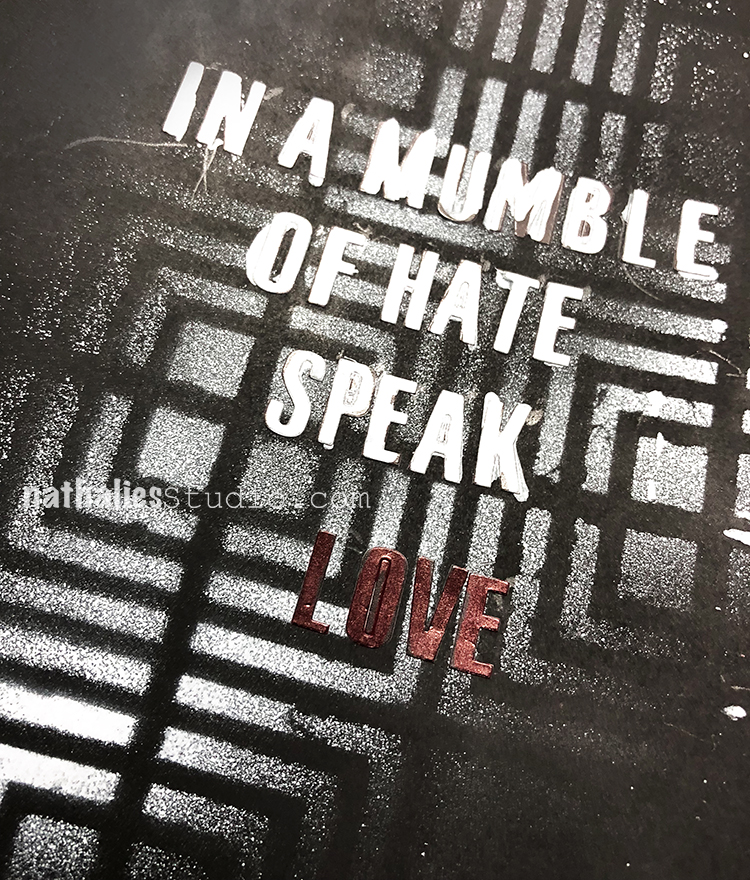
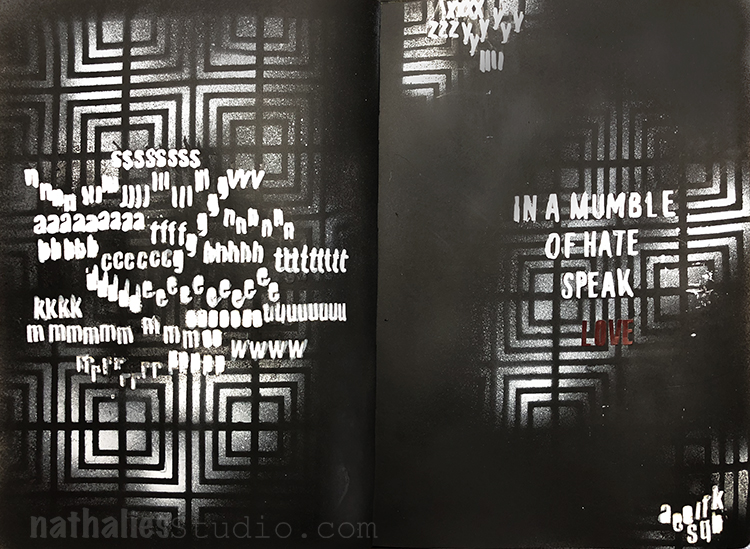
“In a mumble of hate speak LOVE” – by yours truly Nat Kalbach ;)

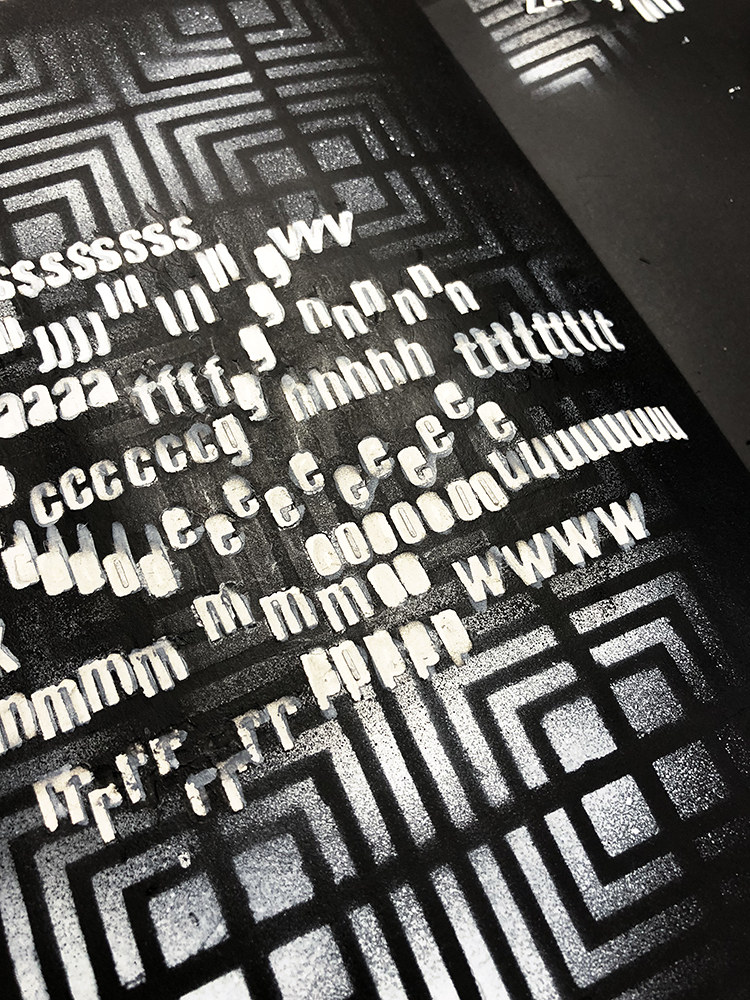
In the attempt to use more of my horded stuff, I used some older letter stickers, which I placed on top of the page and then sprayed over with black spray paint, then used my Manhattan stencil and sprayed over it with white spray paint.

Last I peeled off the stickers to reveal the masked off area as part of the mumble background.

For the Love sticker I used a red marker to go over to make it stand out a bit more.

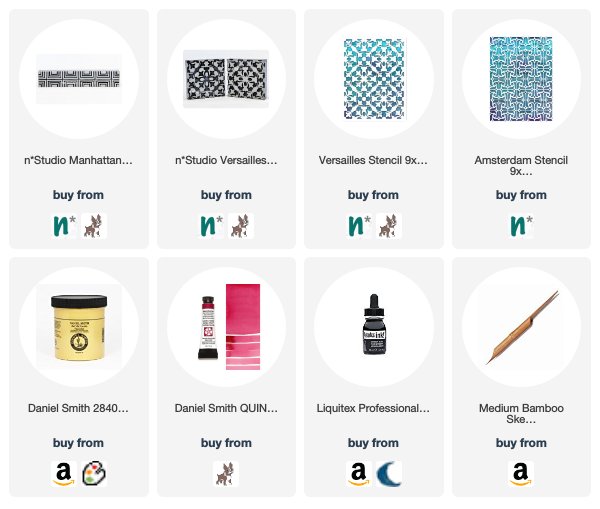
Here are the supplies I used for the spread


Leave a comment

Layers of Love – Tania Ahmed


Today is a special Creative Squad day because we are welcoming the very talented Tania Ahmed to the team! Tania’s fresh style will be a great addition to our lovely little group :) You can read more about Tania in this Nice to Meet You post from last week. Today she brings us a beautiful little book that totally rocks my Santiago and What’s the Point stencils. She’s working from our new theme: Layers of Love – We love layers and all the juicy yummy goodness they bring to mixed media. This month we’re layering it up and letting viewers discover all the different strata of our artistic mark making.
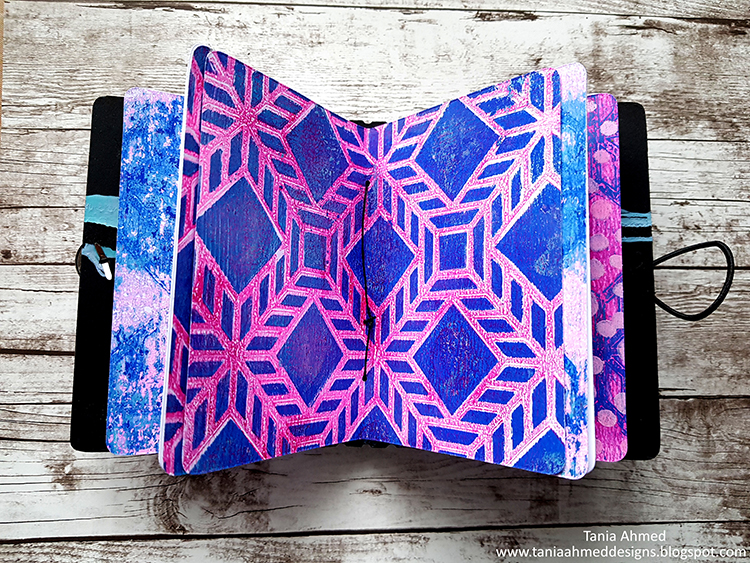

Hi Everyone, this is my first post as part of the Creative Squad! Thank you to dear Nathalie and Kim for inviting me to join the team, I am so pleased, thrilled and honoured! I am so excited to be kicking off this month’s challenge: the theme is Layers of Love and there’s nothing better to demonstrate this than Stencils!

I adore stencils and love to incorporate them into my work. There are so many ways to use them, you can sponge paint or medium through them, stamp with them, use mists with, the list is endless. At the moment I am really obsessed with gel plate printing and I thought what better way to demonstrate layering than with monoprinting!

I created a variety of prints and I started by centring my Gelli Arts plate on a piece of A4 sized paper. This will help you create a register for your print so that you can line up the pattern stencils each time you pull a print.

I started by spreading Permanent Light Blue and Cobalt Blue acrylic paint with a brayer on my gel printing plate. I lined the 9 x 12 Santiago Stencil with the paper under my gel plate along the bottom left corner. This will be my register every time I place either my stencil or my paper:
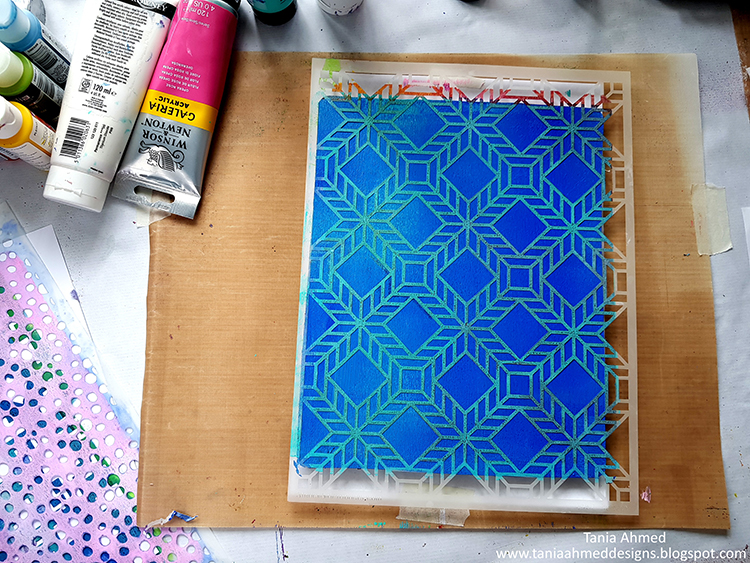
I then pulled a print:
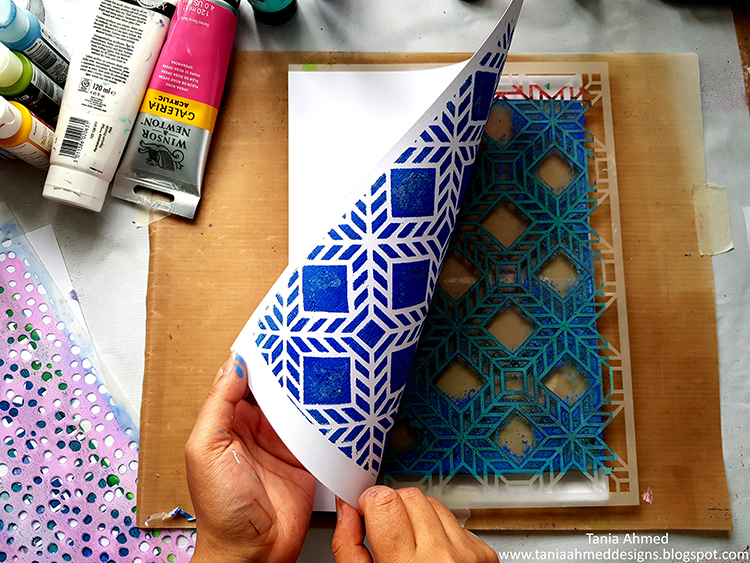
I removed my stencil let the paint dry on my gel plate. I then brayered white acrylic paint all over the plate and pulled another print with new paper. This will be my ghost print:
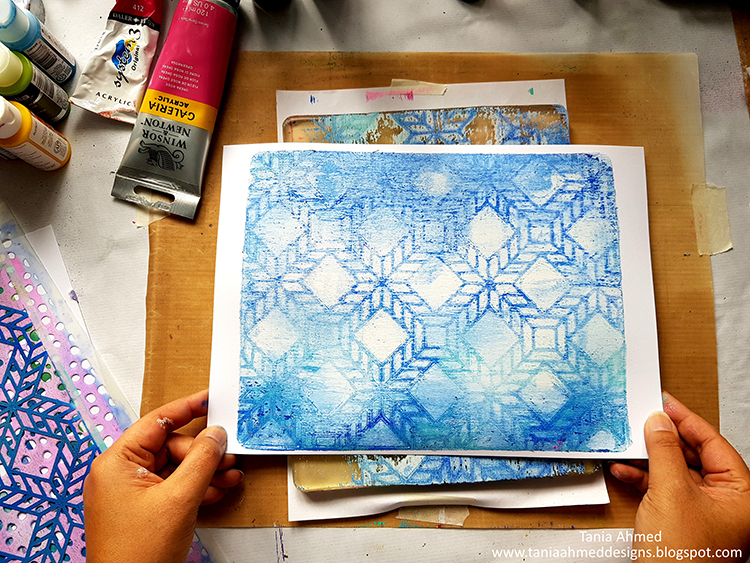
I cleaned my gel plate off and then applied Process Magena and Opera Rose acrylic paint with my brayer and lined up the stencil again and pulled a print on the ghost printed paper. I made sure to line up my print with the paper under the gel plate!
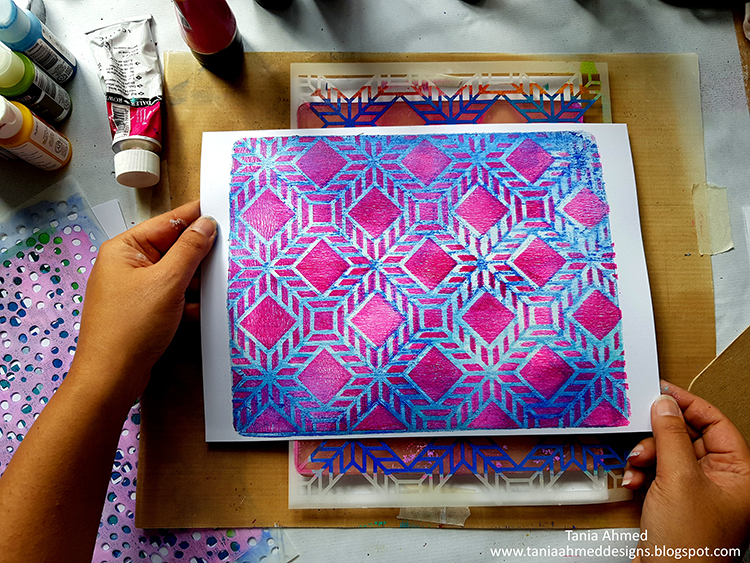
I removed the stencil and quickly pulled another print using the first gel printed paper, making sure to line it up with the paper under the plate:
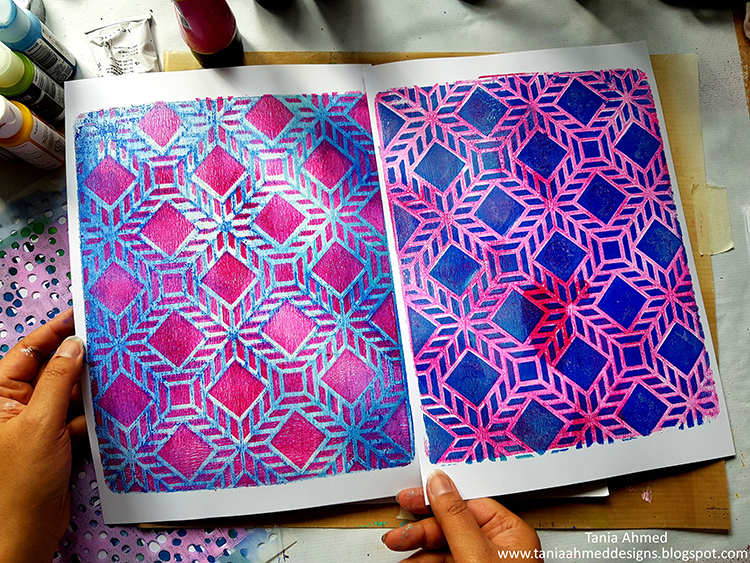
I repeat this using the same colours with other stencils until I had a few prints to choose from.

I then die cut some mount board (or you can use light chipboard sheets) using the Eileen Hull’s Passport Sizzix Die, and added my printed papers to the cover. I painted the spine with black chalk acrylic paint. I also die cut some pages for the journal using the same die. I assembled the journal, added some beads to the spine, elastic and a brad for the closure. I am really looking forward to filling this little mini album with photos and journaling!
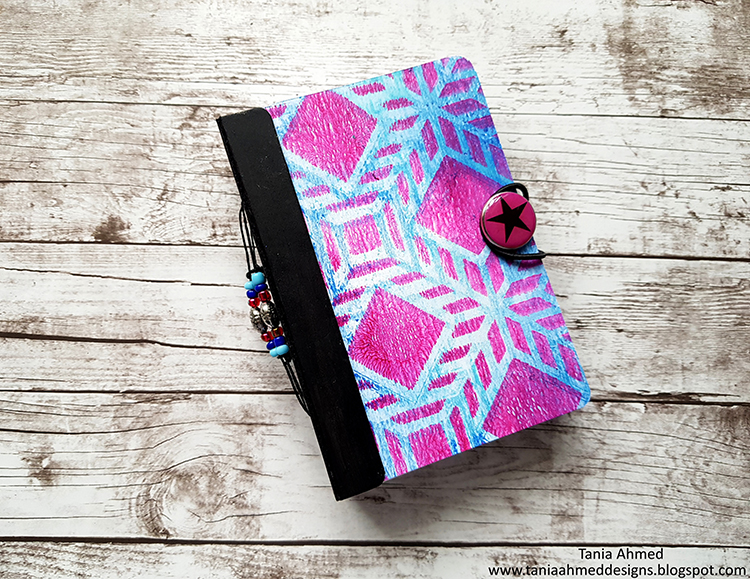
Thank you so much for stopping by, I had a blast making this project :)


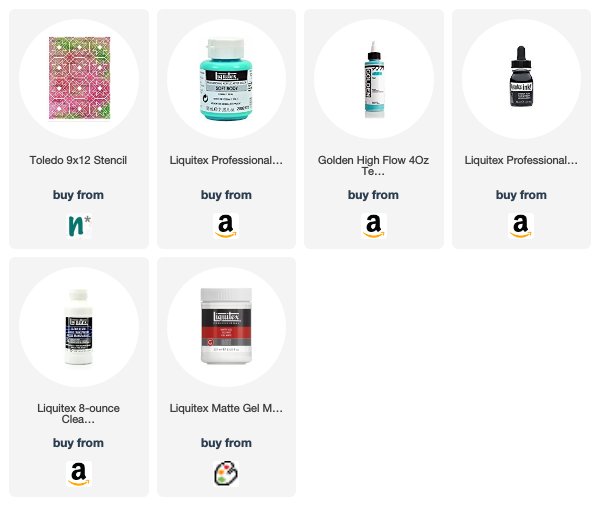
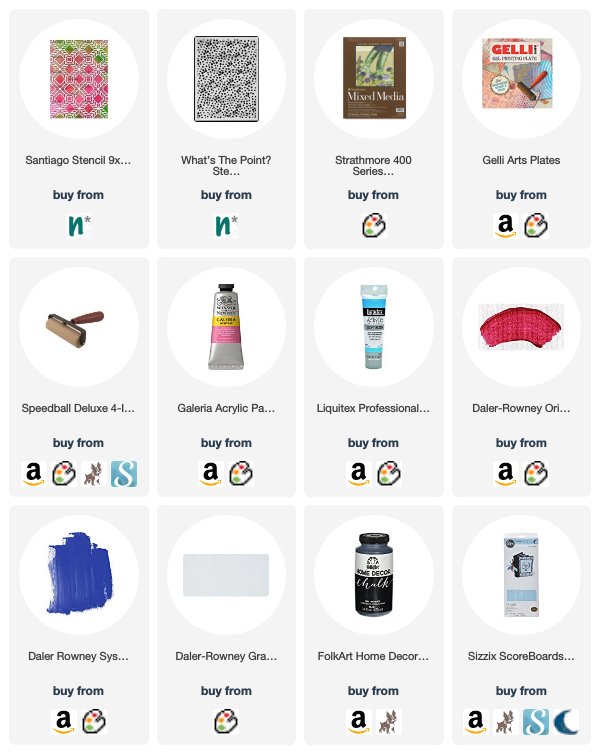
Thank YOU Tania! So glad to have you and absolutely loving this first project from you! Here are some of the supplies that Tania used:


Feel inspired? Working on something yourself that you’d like to share?  I love to see how you interpret our monthly themes. Email me how you used my stencils and stamps with the theme and email me an image – I would love to share your projects in my next  “n*Spiration From Around the Globe“.
Leave a comment

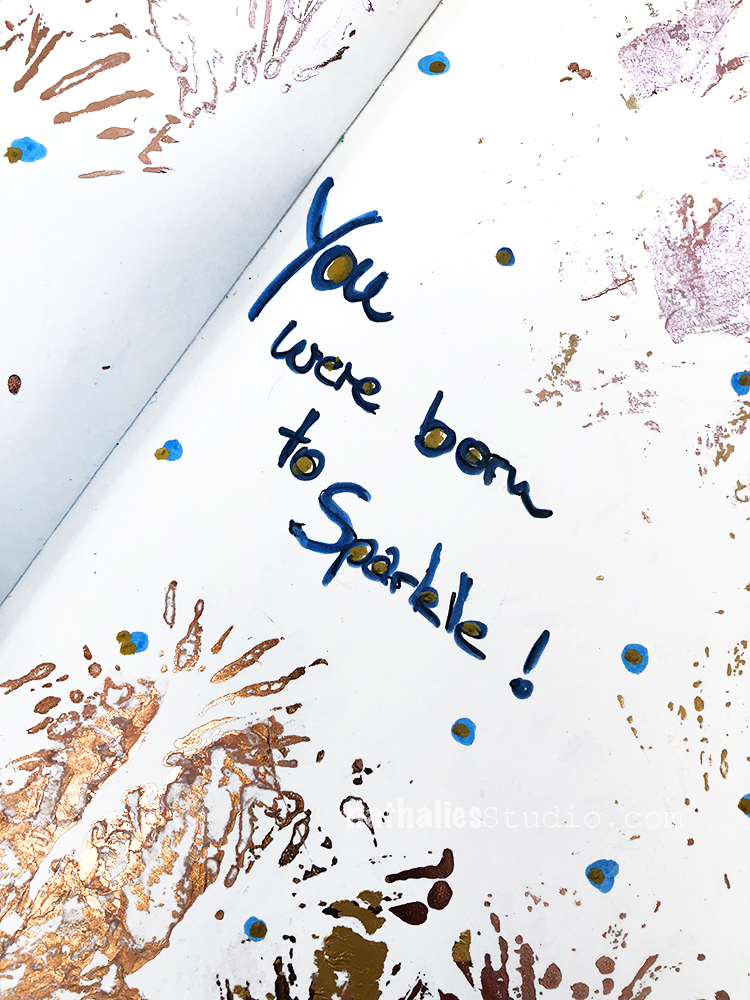
Born To Sparkle ! Art Journal

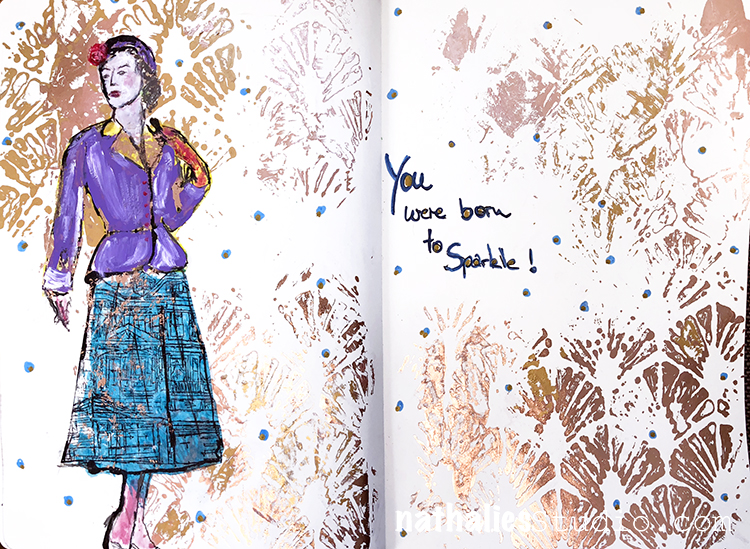
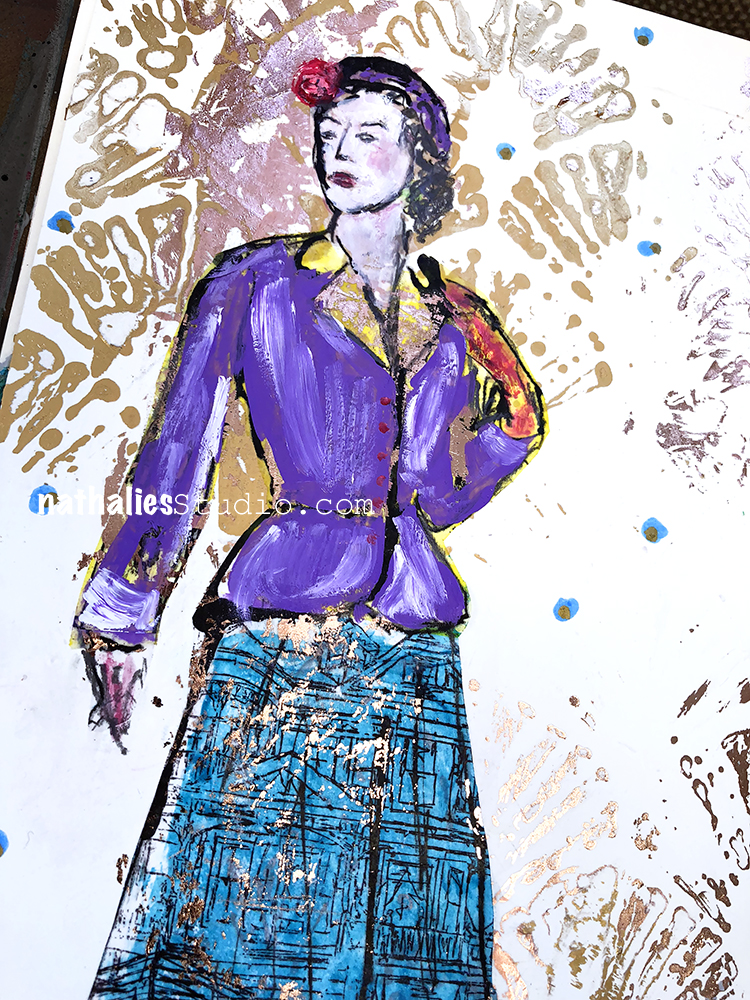
Well….this was a failed attempt of trying out some foil that I had laying around forever. I applied some gel medium through my Art Deco Wallpaper Stencil and then burnished the foil on top. I was way too impatient and took off the foil too early so it didn’t apply everywhere and after a short disapproving snort I decided it wasn’t too bad – I like the sparkly mess ;)
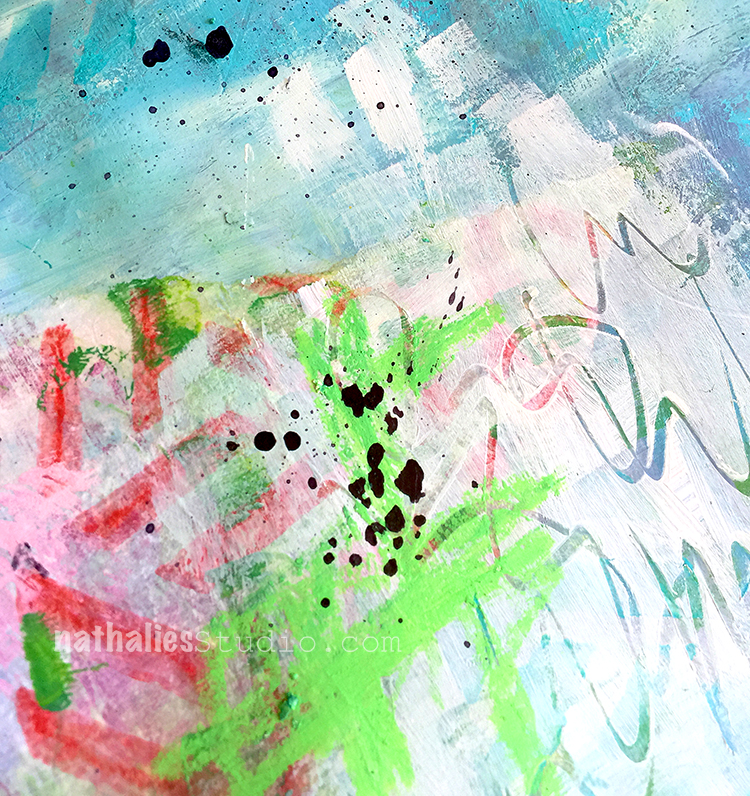
For me creating is problem solving and if you decide there is no problem- problem solved ;) That doesn’t work always of course- LOL- but in this case it did ;)

Here are some of the supplies I used for the spread


Have a sparkling day :)

Leave a comment

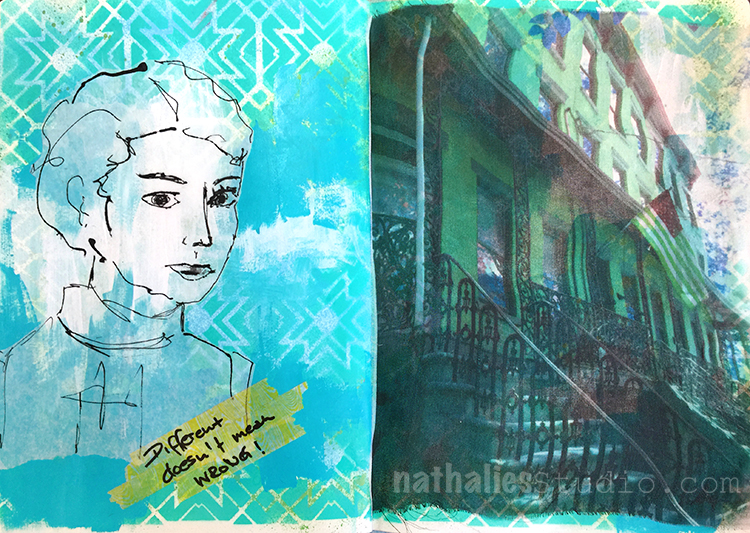
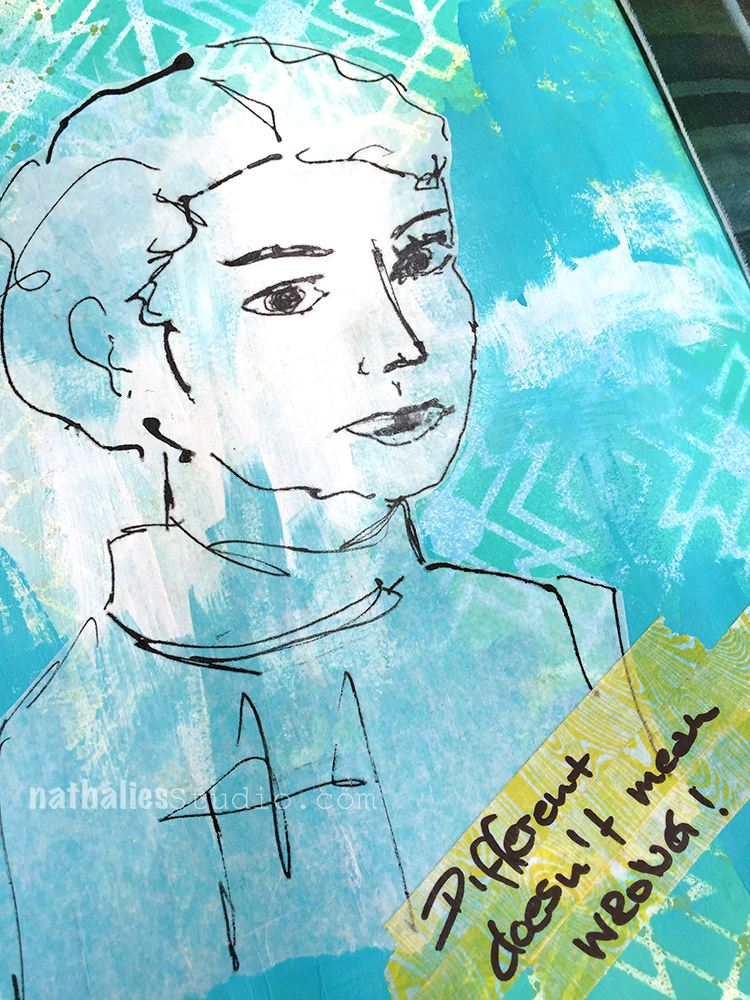
Different doesn’t Mean Wrong!

Different doesn’t mean WRONG!

Good reminder as I am doing a lot of things different in my art journal lately ;)

I liked the sketch so much that I didn’t wanna change it up with color or stamping, so I left it as is. I adhered some some washi tape with Gel Medium and added the Journaling on top.

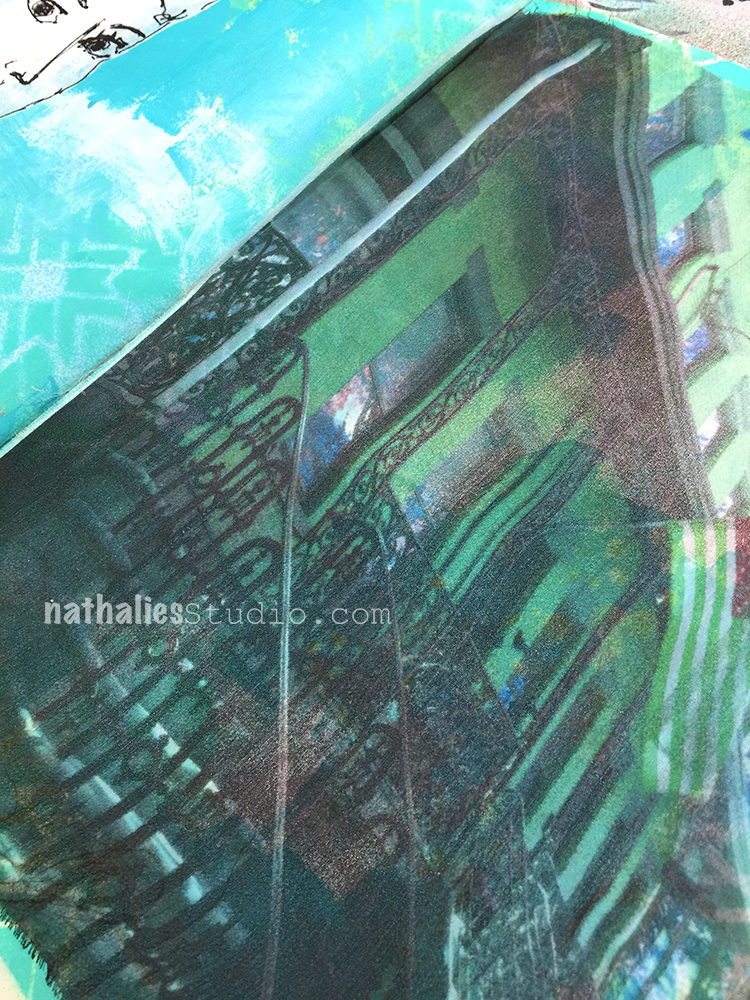
The building is a printout on gauze. I manipulated the image which was taken in the neighbor hood in an amazing class a couple years several years ago with Natalya Aikens and I hoarded this piece of fabric. I decided it was time to just use it up :)


Leave a comment

Inspiration from Around the Globe

Ready for some inspiration? Today we have some projects from around the globe. It’s always fun to see how you’re using my stamps and stencils and I am so happy to share some examples today. So let me know if you’re doing something cool with my products, and you might see yours on the next Inspiration from Around the Globe!


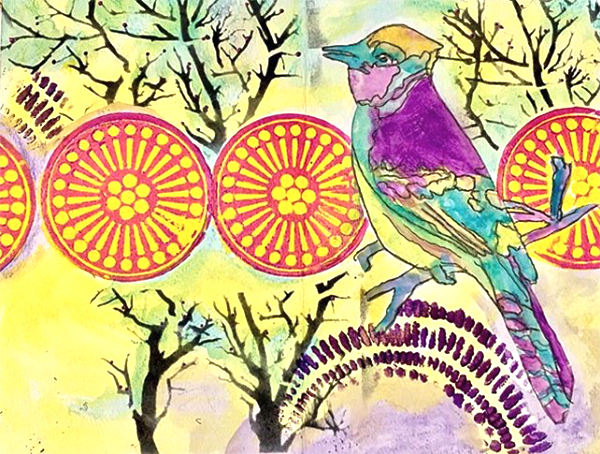
First up is a super lovely and colorful art journal spread from Barbaree King in Florida. Her Creative JumpStart inspired page uses my circular Grove Street ArtFoamies stamps for an unexpected background.

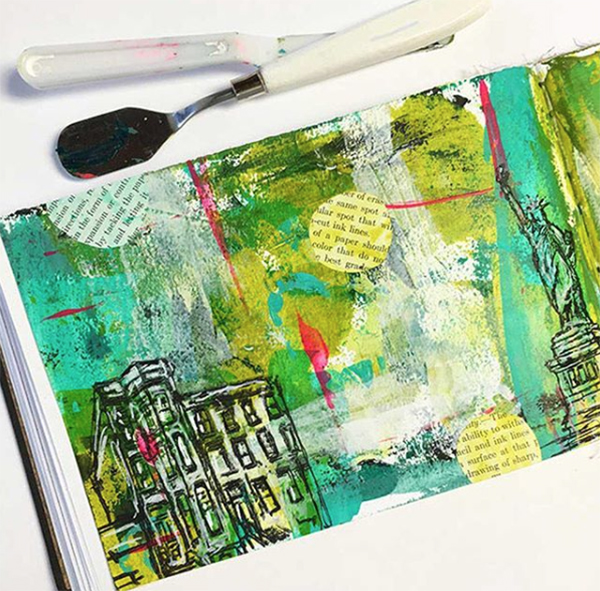
Next we have an art journal spread from Jeannine Stein at Cloth Paper Scissors Magazine in Massachusetts. She’s created a lush background and stamped over it with my Brownstone and Lady Liberty stamps. Love it!!!

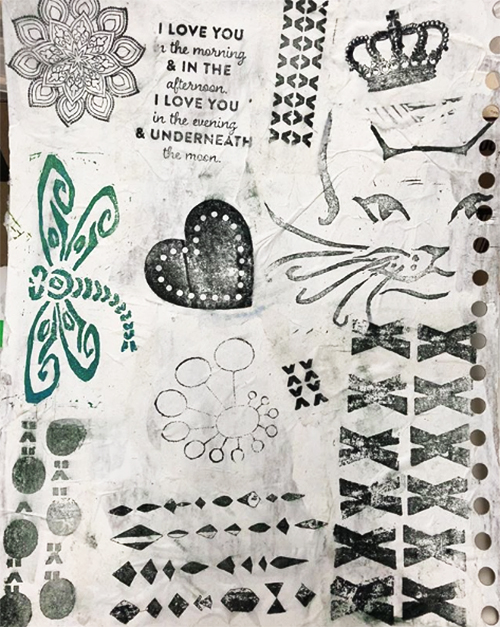
Here we have some awesome tissue paper stamping action by Sue Sharp from Canada! She drew inspiration from a lesson in Creative JumpStart and used the stamps from my Marks stamp set.

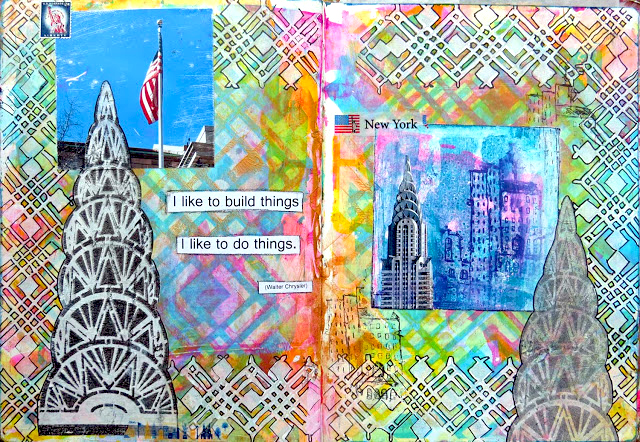
From the UK we have a gorgeous art journal spread from Frieda Oxenham with one of my favorite icons of the NYC skyline :) and 2 cool ways to use my Chicago stencil for the background and border.

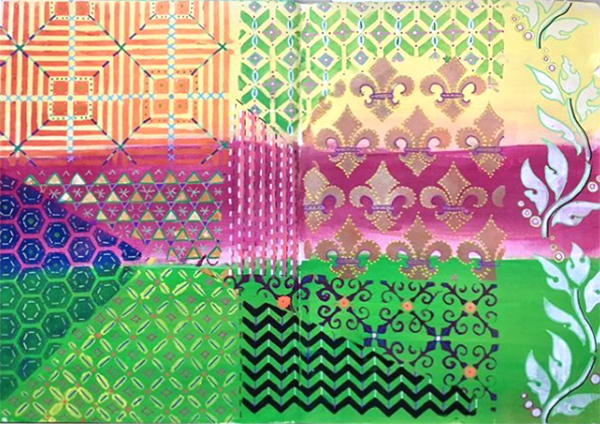
And finally, a celebration of pattern in her art journal by Valerie Teele in California. She was playing along with Creative JumpStart and used my Manhattan and New Orleans stencils :)


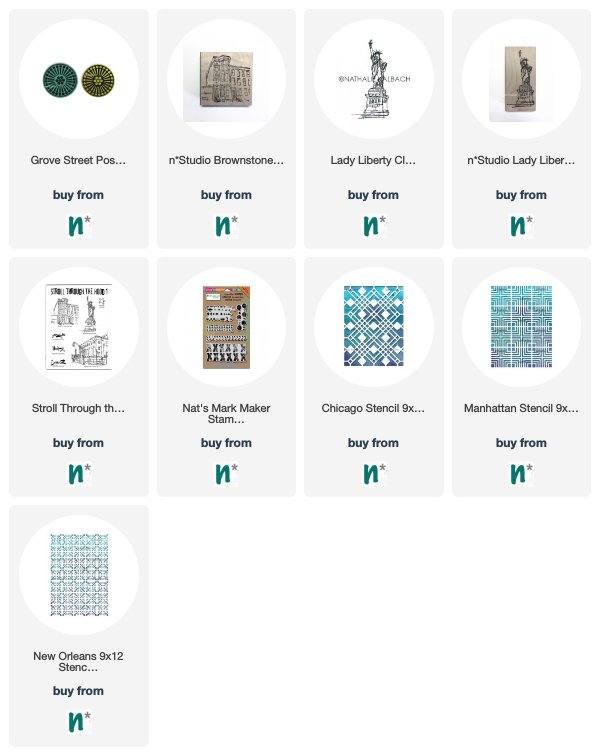
I hope you enjoyed these projects and feel inspired to do some creative play yourself! Here are the stamps and stencils that were used:


SaveSave

SaveSaveSaveSave

Leave a comment

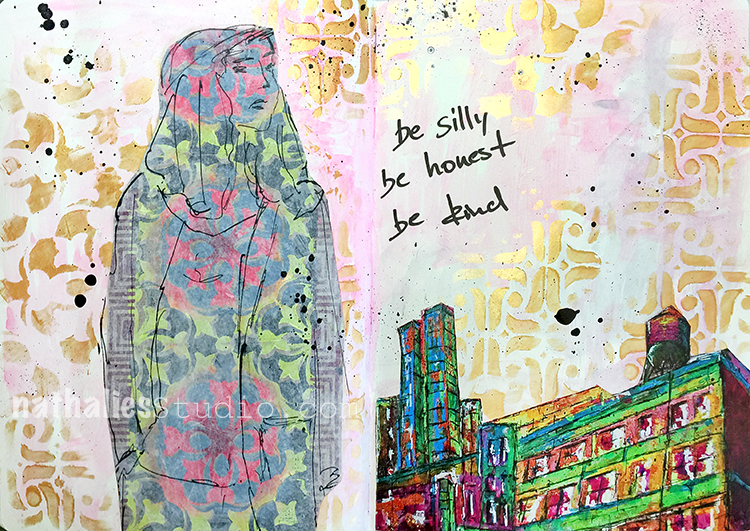
Be Silly – Art Journal

Be Silly, be honest, be kind!

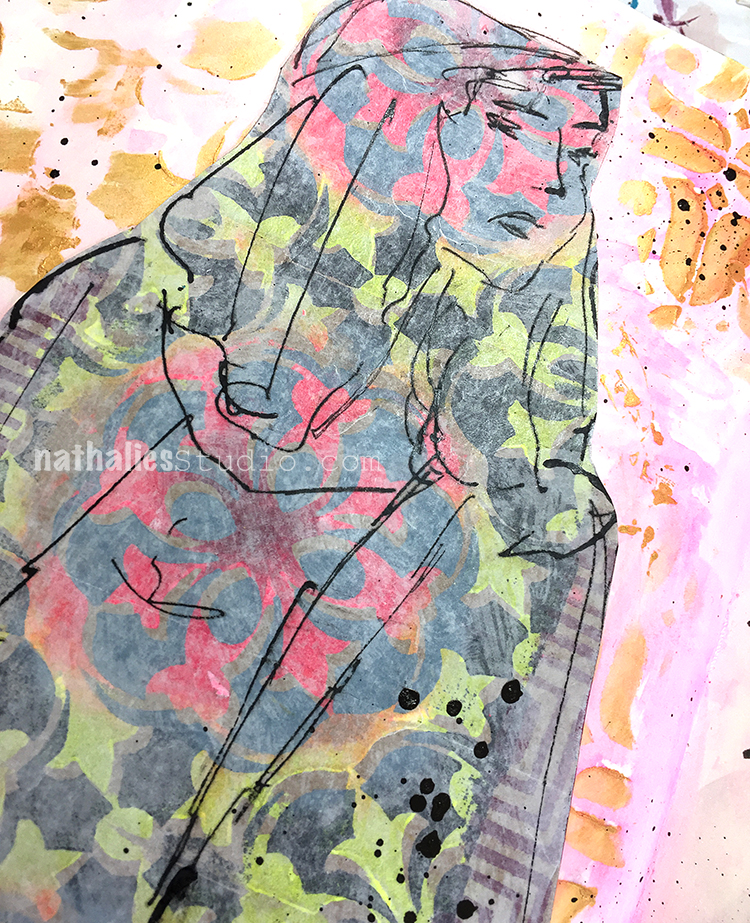
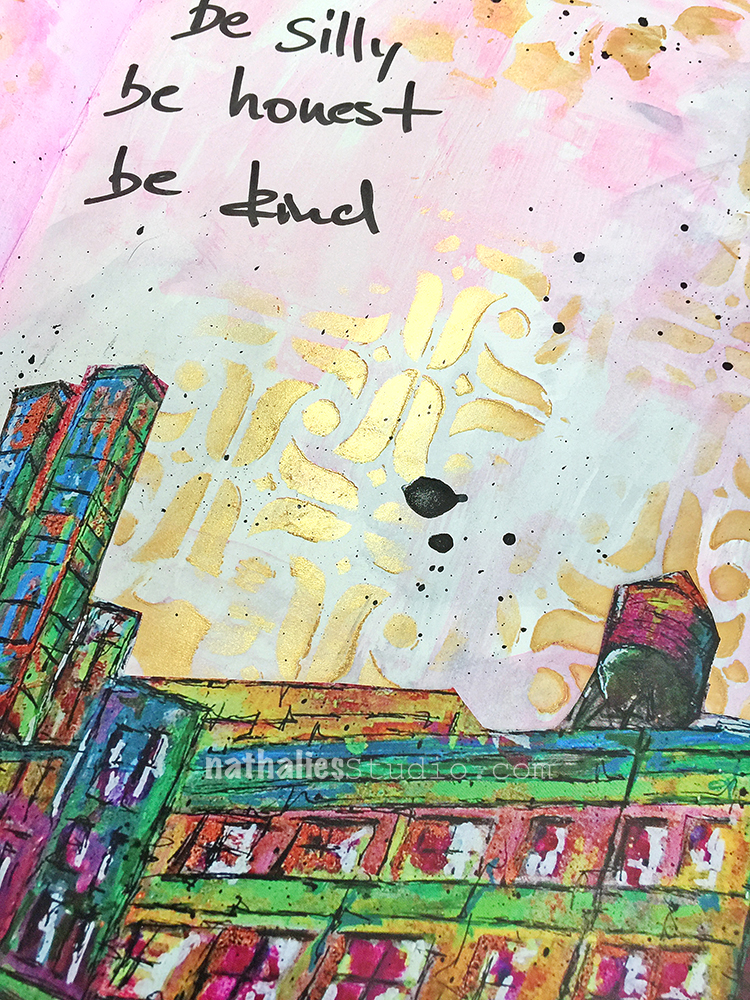
Fun using up a tag I made a while ago with my Versailles Stamp set and the Manhattan border stamp. For the background I stenciled some gold gesso through my Amsterdam and Versailles Stencil and colored the space in between with watercolor paint.

The building is a cut out from an old calendar print of my Highline painting. This was a fun and fast spread to do :)


Leave a comment

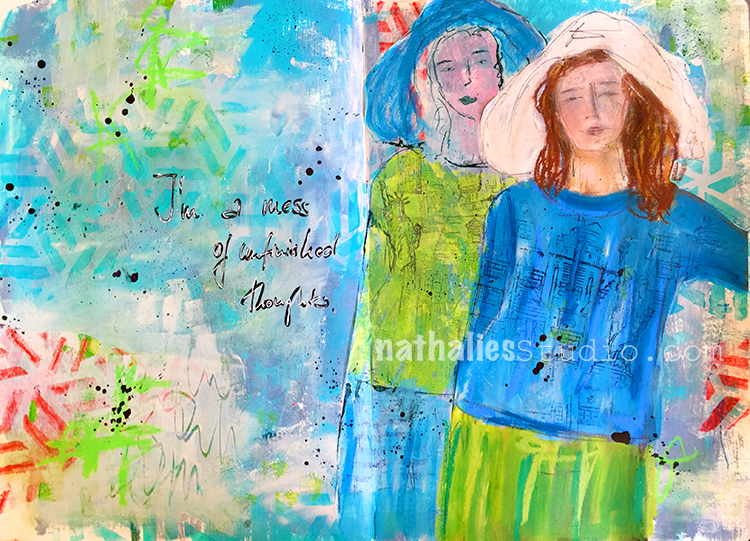
Unfinished Thoughts – Art Journal

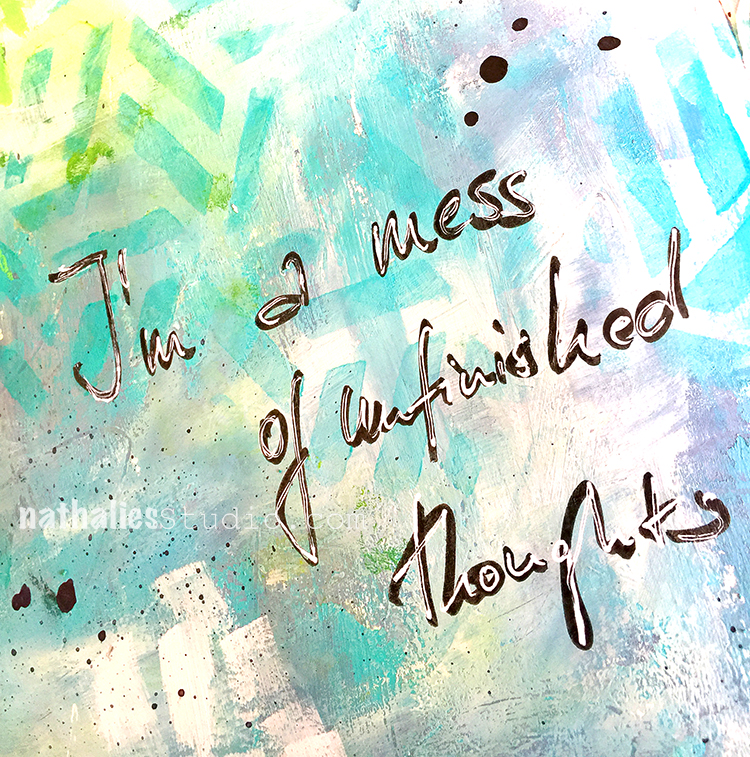
I am a mess of unfinished thoughts -oh so true ;)

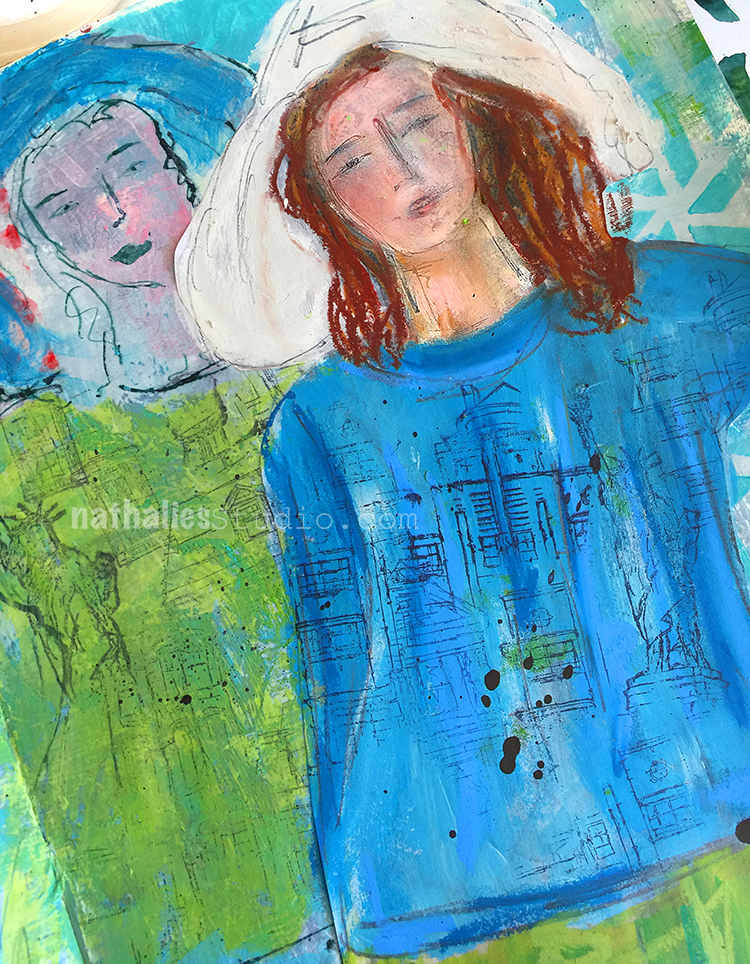
The back girl is sketched out on deli paper and painted with acrylic paint, while the front one is cut out from a magazine and I just painted with Neopastels on top of it.

I used my Kassel stencil directly on the background but also used some deli paper where the stencil appeared after I had used it with my gel plate to do monoprints.

To tie the deli paper a bit more together with the background I painted partly over it and the background and then scratched some marks into the wet paint. I like the grungy feel of this.

Here are some of the supplies that I used besides various acrylic paints and inks:


Leave a comment

Too Many Thoughts – Art Journal

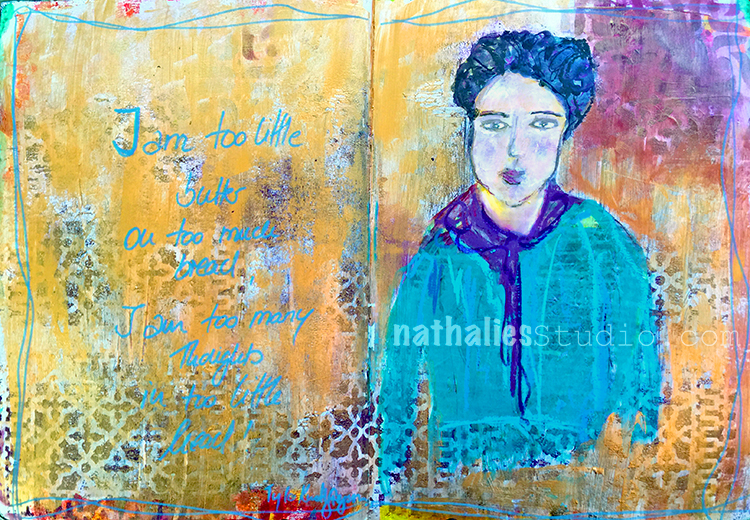
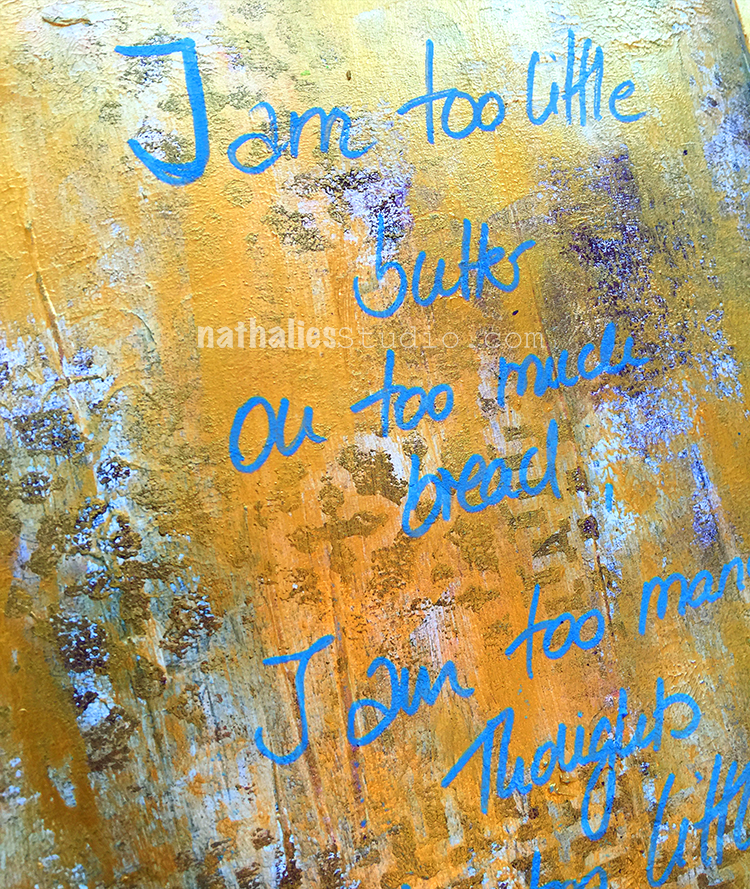
“I am too little butter on too much bread. I am too many thoughts in too little head”  – Tyler Knott Gregson

This started actually out as many different approaches to a background and thinks just didn’t work out the way I wanted and once I just started covering it up with the gold I fell in love with the antique- streak look and left it. There -problem solved ;)

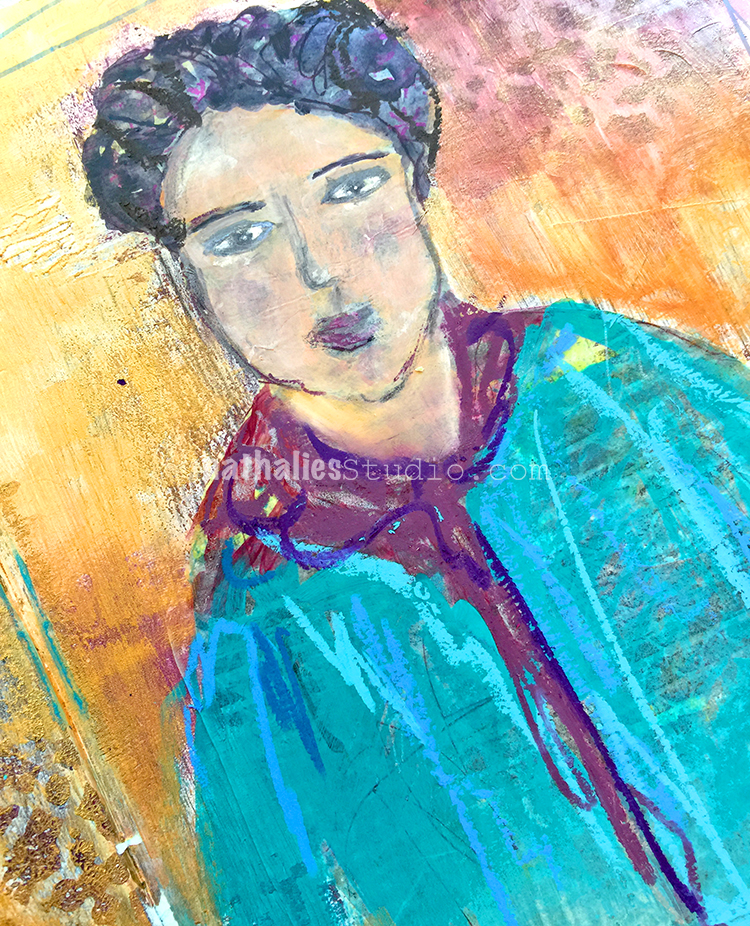
The girl is mainly on deli paper with I stamped and painted and layered Neopastels on top. Her eyes are a bit off but I can live with that …Moving on is the motto ;)

Love how the foam stamped pattern shows is slightly visible through the gold layer.

Here are some of the supplies I used for this spread:


Leave a comment

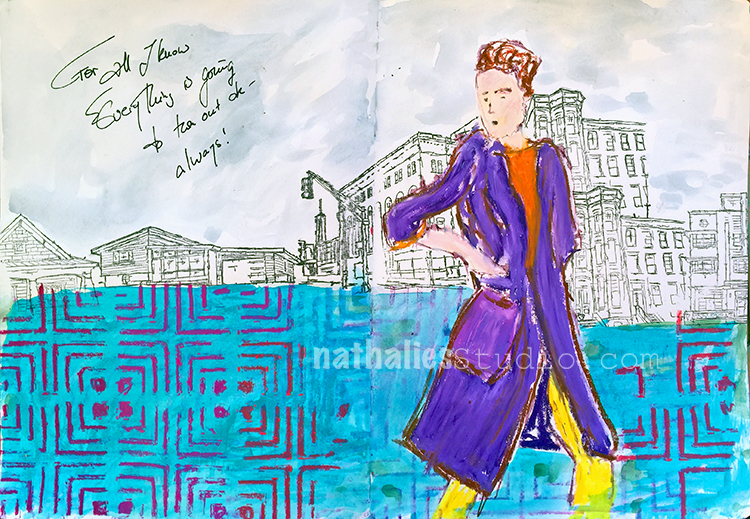
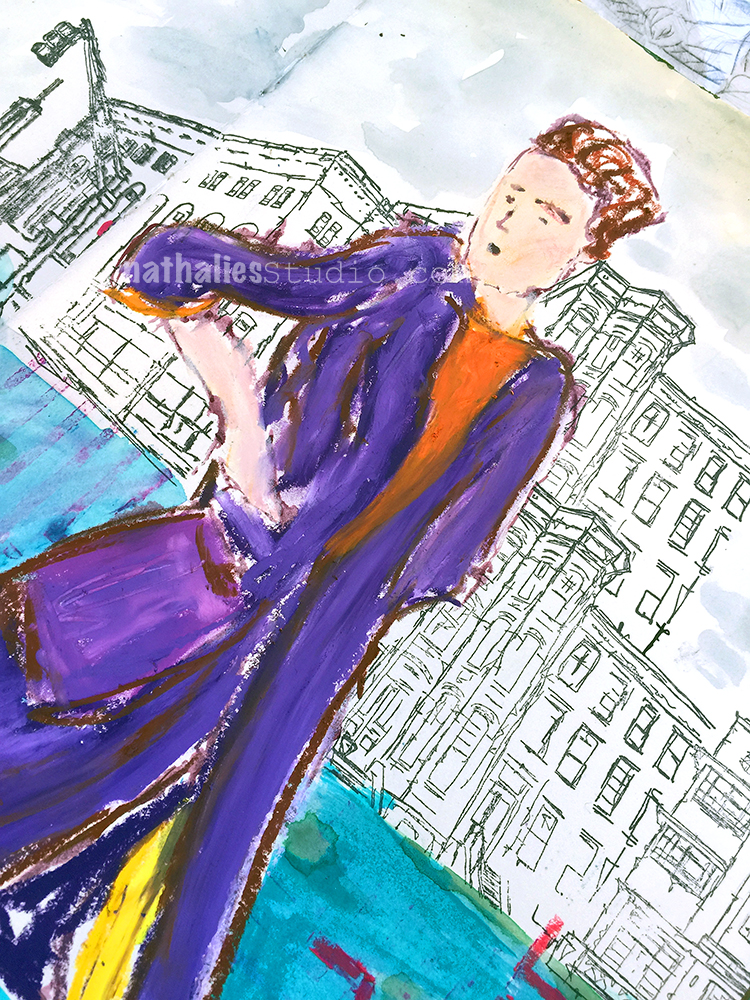
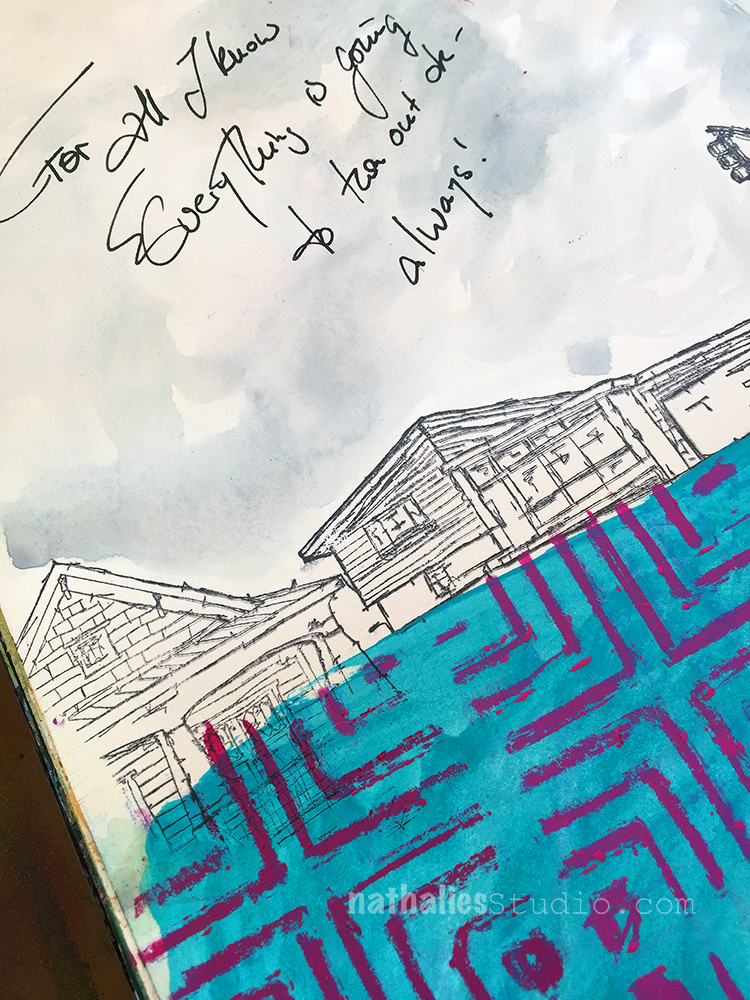
For All I Know – Art Journal

I have been working on a big assignment and some personal tasks lately which have me stressed out a bit …so a little art journaling mantra is keeping me sane ;)

some stamping with my RubberMoon stamp sets and I used Neopastels to paint inside the ink transferred figure. I also traced with a pink Neopastel inside the opening of my Manhattan stencil and while I like the outcome, there was a lot of the Neopastel sticking to the stencil which wasn’t easily to get off or transfer to a different spot – so this was probably a one time adventure LOL.

Here are the supplies I used for this spread.


Comments (4)

  • Lois Moore

    |

    I read somewhere that a soak in water with dishwasher “liquid” soap would remove dried on paint from stencils. Maybe it will work with your neopastels too.

    Reply

    • nathalie-kalbach

      |

      I will try that Lois. My best experience so far is with Murphy’s Oil- but I usually do not remove paint as long as it is acrylic paint. I will give it a try :)Thank you

      Reply

  • Sue Clarke

    |

    Do you put something over the neopastels so that they don’t smudge on the opposite page when the journal is closed?

    Reply

    • nathalie-kalbach

      |

      Sue, if the layer of neopastels is not too thick it is not a problem, but in this case where it is very thick I put half a sheet of delipaper in between the pages to keep it from transferring to the other side.

      Reply

Leave a comment