nathalie-kalbach

Jumping with…Joe Rotella – a CJS Interview Series

A lot of giggling in this video with my dear friend Joe Rotella, who is one of our teachers yet again for Creative JumpStart. Check out our,sometimes not so serious, talk about Automatons, Apprenticeship, Community and Instagram.

Jumping with…Joe Rotella – a CJS Interview Series from Nathalie Kalbach on Vimeo.

And Joe is also sharing with us a delicious Recipe

Pumpkin Chip Muffins

Makes 12 regular or 48 miniature.

1-2/3 c. whole wheat flour (white flour works well too)

1 c. sugar

1 tbsp. pumpkin pie spice

1 tsp. baking soda

1/4 tsp. baking powder

1/4 tsp. salt

2 lg. eggs

1 c. plain pumpkin (half of 1 lb. can)

1/2 c. (1 stick) melted butter

1/2 to 1 cup slivered or blanched almonds or flaked sweetened coconut

1 c. (6 oz.) chocolate chips

Mix dry ingredients in large bowl.

In another bowl whisk until well blended: eggs, pumpkin and butter.

Stir in almonds and chocolate chips.

Pour over dry ingredients and fold in until just moistened.

Grease muffin cups or use paper baking cups.

Bake at 350°Ffor 20 to 25 minutes.

Make 1 or 2 days ahead for best flavor

You can download Joe’s Recipe here:

CJS18 Recipes Joe Rotella

I hope you enjoyed the interview- his video for CJS is full of techniques and ideas! Come and join us for Creative Jumpstart 2018  and see yourself !

Leave a comment

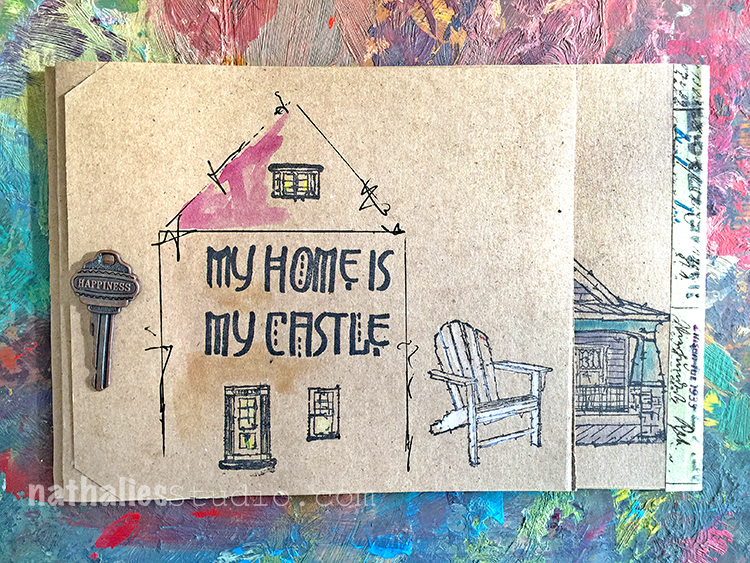
My Home is My Castle – Card

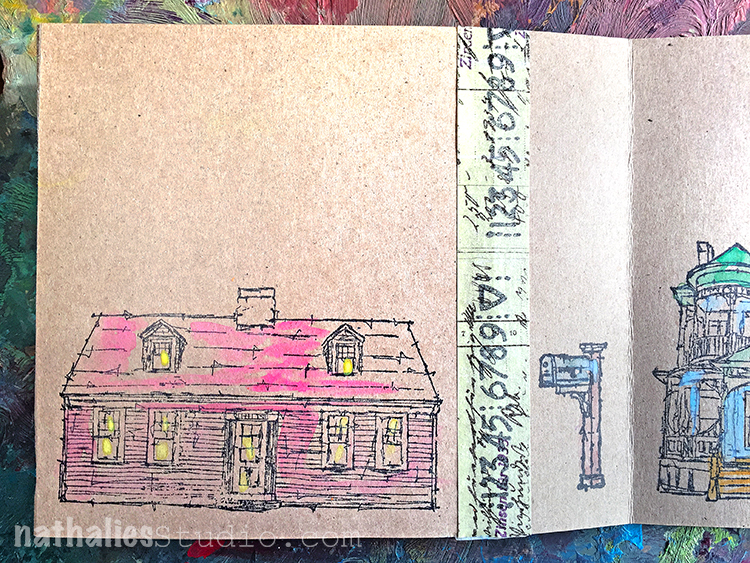
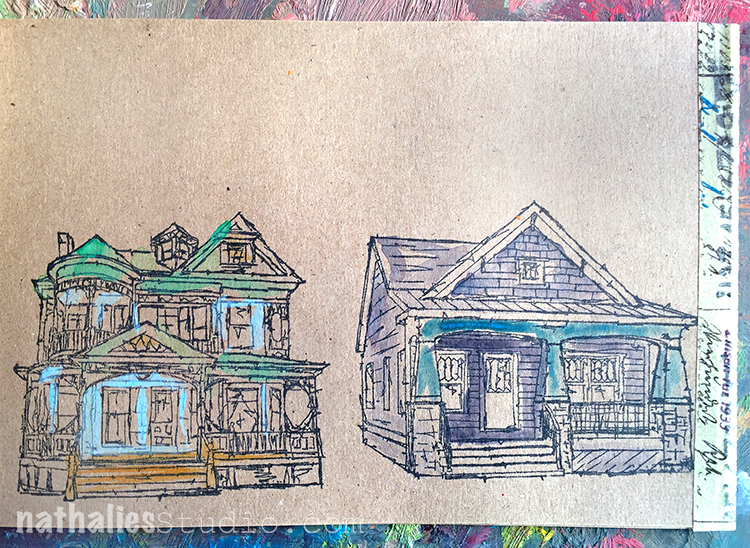
Using some large kraft tags I made a little accordion card for some friends who just moved.

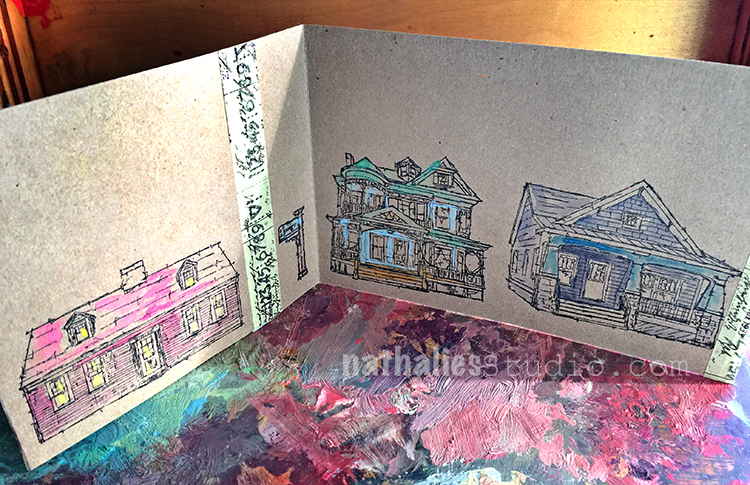
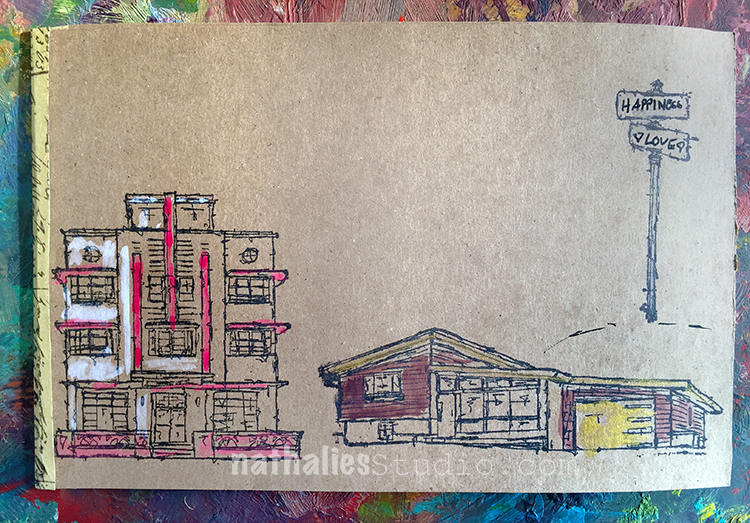
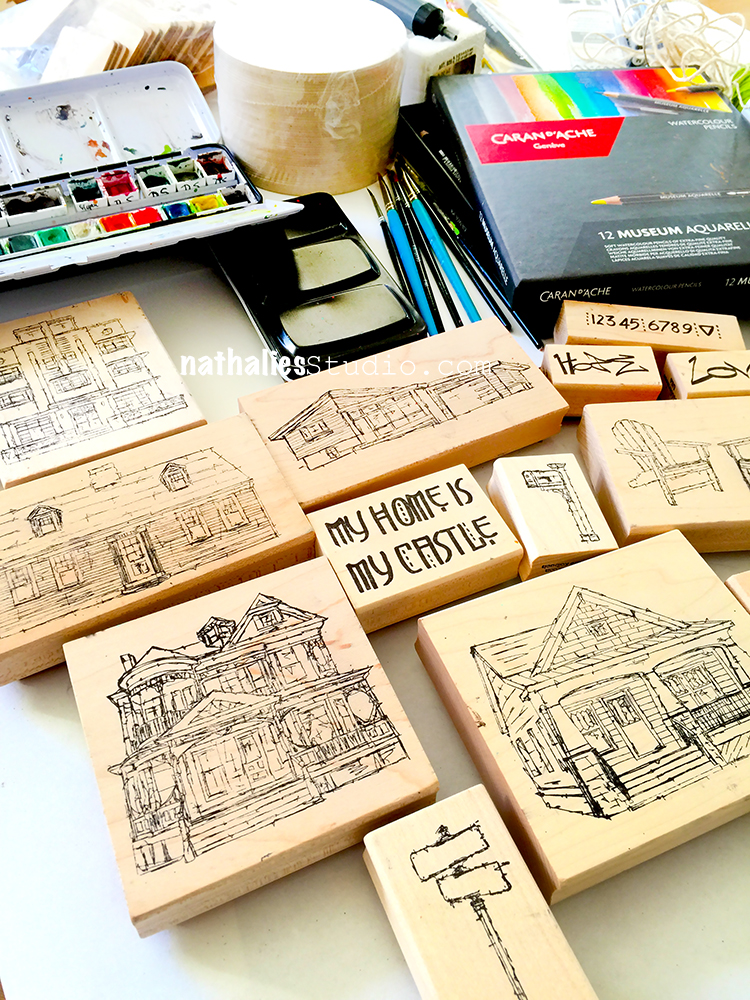
I stamped the different houses from my Stroll Around the Block set as well as the stamps from the My Home is My Castle set on the different panels.

I used some watercolor to add some color here and there and added some words to the street sign :)

I love using kraft paper- it is also surprisingly making some of the watercolors appear more opaque – so I learned something :)

I want all those houses …or maybe just one- …LOL- I woudl take any of them :)

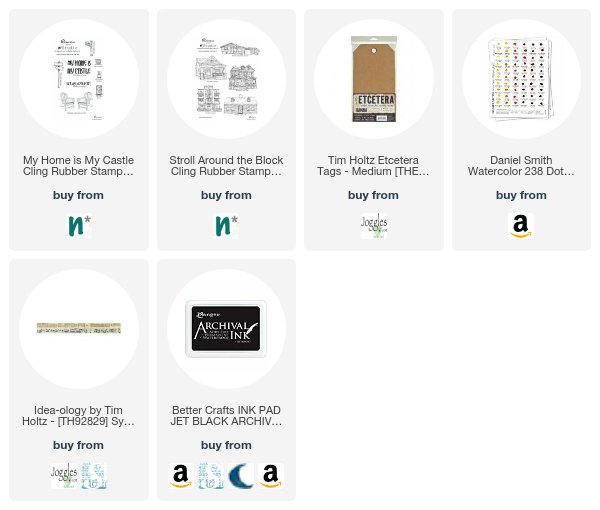
Here are some of the supplies I used:


Comments (1)

  • Sue Clarke

    |

    What a thoughtful card!
    I especially like how the stamped houses look on the kraft paper.
    Happy Holidays,
    Sue

    Reply

Leave a comment

Let’s get Cooking: It’s Soup Time – CJS2018 JumpStarter Recipes

Ready for some Recipe fun? Our Creative JumpStarters thought they would share with you some of their favorite soup recipes and since this is the season for home made food. I hope you will also join us for their Mixed Media Recipes at Creative JumpStart 2018 !
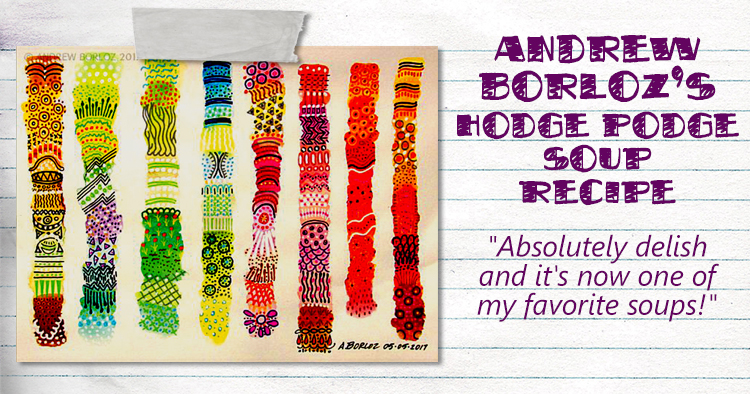
Hodge Podge Soup (Serves10 to 12)
1 cup chopped raw carrots
1 celery rib, chopped
2 medium onions, chopped
2 garlic cloves, minced
2 medium white potatoes, diced (about 1/4 inches)
2 cups cold water
4 cups or 48 oz box of beef broth (or vegetable broth), divided
1 28 oz can of crushed tomatoes
2 cups frozen chopped broccoli
1 cup frozen green beans (cut to one inch pieces if necessary)
1 cup frozen chopped spinach
1 cup frozen peas
1 cup frozen corn
1/2 teaspoon dried basil or 1 tablespoon fresh basil, finely chopped
1 teaspoon sea salt
1 teaspoon red wine vinegar
1 tablespoon Worchester sauce (optional)
black pepper (optional)
grated Parmesan cheese (optional)

In a large pot (more than 6 cups), cook the first three ingredients in olive oil (about 1 to 2 Tbs.)until the onions are translucent. Add minced garlic and cook for one minute or until fragrant. Add potatoes, cold water, and 2 cups of broth to the pot. Bring the mixture to a boil and cook them for 15 minutes or until the potatoes are fork tender. Add remaining 2 cups of broth and crushed tomatoes to the pot, and stir. Add all of the frozen vegetables, basil, sea salt, red wine vinegar, Worchester sauce and black pepper. Stir until well blended, and bring it to a boil. Immediately reduce heat to low or med-low and let it simmer for 20 minutes, partially covered. Add more sea salt if necessary. Serve in bowls or cups with grated Parmesan cheese on top if desired.

You can download Andrews Recipe here: CJS18 Recipes Andrew Borloz
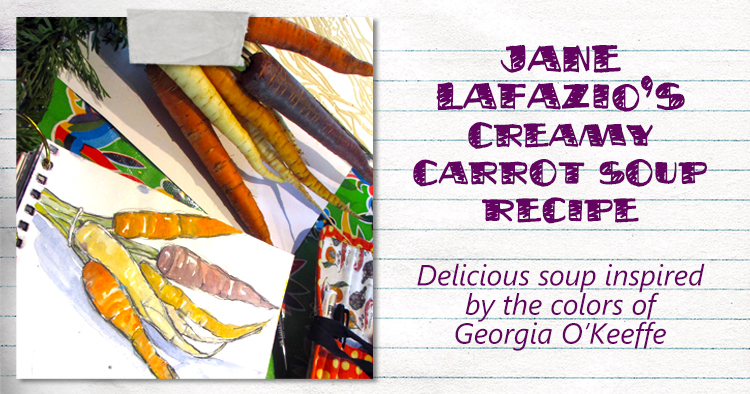
Creamy Carrot Soup Recipe
(Serves 4-6)

4 T unsalted butter
1/2 large onion, roughly chopped
4 cups thinly sliced carrots
1 clove garlic, crushed
1 cup milk
2 t salt
1/4 t white pepper
1/2 cup half and half (cream)
parsley for garnish
ground nutmeg for garnish

In a large saucepan, melt the butter, then saute the onion, carrots and garlic, cooking gently over medium heat for about 10 minutes, or until slight softened. Add the milk, salt, and white pepper and stir to combine. Cover the pan and continue cooking for about 20 minutes. Cool slightly, then puree in a blender. Place cream in a bowl and whisk in a little of the pureed soup. Add this mixture back into the pan with the remaining soup. Gently heat through, on very low heat, without boiling, then divide soup among bowls. Garnish with herbs, and nutmeg.

Download Jane’s Recipe here: CJS18 Recipes Jane LaFazio 1

And Jane even has a second recipe for you :) check it out: CJS18 Recipes Jane LaFazio 2
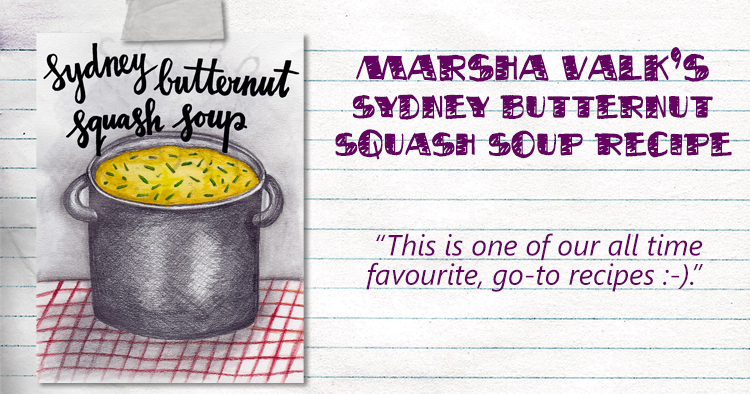
Sydney Butternut Squash Soup
(Serves 4 people)

Ingredients:
• 1 onion
• 300g potato (10.6 oz)
• 1 butternut squash
• 1 dash of olive oil
• 1 chi lli pepper
• 1 teaspoon turmeric
• 1 dash of white wine
• 700ml chicken stock
• 150ml cream
• 2 tablespoons Japanese soy sauce
• 100g smoked chicken breast (3.5 oz)
• 80g macadamia nuts (2.8 oz)
• chives

Peel and chop the onion. Peel and dice the potatoes. Cut the squash into parts. Deseed and remove the skin if you prefer (I usually don’t – I just give the squash a good scrub beforehand) and then dice it. Heat the oil in a pan. Add the onions and fry a couple of minutes. Add the potato and squash. Cut the chilli pepper into rings (remove the seeds for a milder version). Add the pepper and turmeric and let it fry for a bit. Deglaze with wine and stock. Let the soup cook for about 30 minutes on a lower heat. Add cream and soy sauce and puree the soup. Chop the smoked chicken breast and add it to the soup. Scatter the nuts in a dry frying pan and toast them until lightly golden. Roughly chop them. Cut the chives into small rings. Serve the soup in bowls and sprinkle with nuts and chives.

You can download Marsha’s Recipe here: CJS18 Recipes Marsha Valk
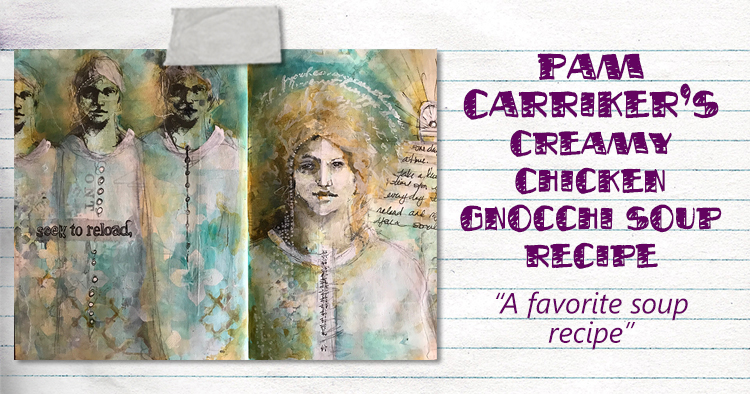
Creamy Chicken Gnocchi Soup
From Pam’s Kitchen

1/2 stick of butter
1 TBS olive oil
3/4 cup chopped onion
1/2 cup chopped celery
1/2 cup shredded carrots
1 cup chopped mushrooms (optional)
2 cloves minced garlic
1/4 cup flour
2-3 cups 1/2 half and half
2 cans chicken broth
1 TBS fresh thyme
1 cup fresh spinach leaves, chopped
1-2 cups shredded rotisserie chicken
1 16oz package gnocchi
1-2 cups parmesiano regianno micro planed
Salt and pepper

Cook gnocchi according to package directions. Sauté onion, celery, carrots and mushrooms in butter and olive oil. Add the flour to create a roux and cook for a minute. Add chicken broth and cook stirring until thickened. Add half and half, cheese, and spinach. Salt and pepper to taste. Serve with salad and garlic bread

Download Pam’s recipe here: CJS18 Recipes Pam Carriker
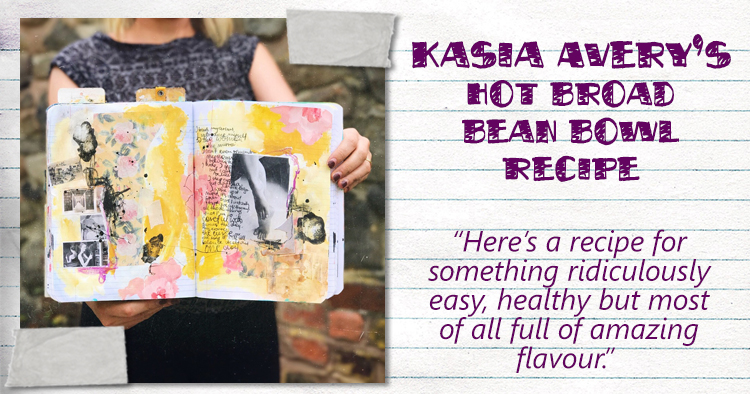
Kasia’s Hot Broad Bean Bowl

” Here’s a recipe for something ridiculously easy, healthy but most of all full of amazing flavour. This is a dish perfect for Sunday brunch, an easy lunch or a little supper and also as a nutritious snack for those days that we spend in the studio. Put it in a bowl, grab a fork and munch on while you cover your great canvases with layers of paint! With these recipes you’ll make enough for two hungry artists!”

Baby broad beans – 2 cups
Cooked chickpeas – 1 cup
Garlic – two gloves
Harissa paste – 3 tsp or more if you like it hot
Eggs – one per person
Cooked white and wild rice – 1 1/2 cups
A mix of veggies – a bit of everything you like (very finely chopped pepper, mushrooms and broccoli, garden peas etc)
Olive oil for frying

Heat a bit of oil in a big frying pan.
Finely chop the garlic and put it on the frying pan along with harissa paste. Fry them for a moment on a medium heat – don’t let the garlic turn brown! Turn the heat up and throw in the broad beans, chickpeas and your favourite veggies and cook for about 10 minutes stirring from time to time. Add the rice and cook together for further 5 minutes. Season to taste with salt. Try the broad beans, if they are soft enough for you, spread the mixture evenly on the pan and crack the eggs. Don’t stir anymore…Turn the heat back to medium, cover with a lid and let them cook until they are done enough for you. You can have your yolk runny or cooked – your call! Simply turn off the heat and divide the beans and eggs into two bowls. Drizzle with extra virgin olive oil, grab a fork and enjoy!

You can download Kasia’s recipe here: CJS18 Recipes Kasia Avery

Are you hungry yet? Which recipe are you tempted to try? I am so excited about these delicious recipes, I cannot wait to cook them and I hope you will let us all know if you tried them too! See you in the Classroom of Creative JumpStart 2018!

Leave a comment

Rubber Stamped Ornament Merriment

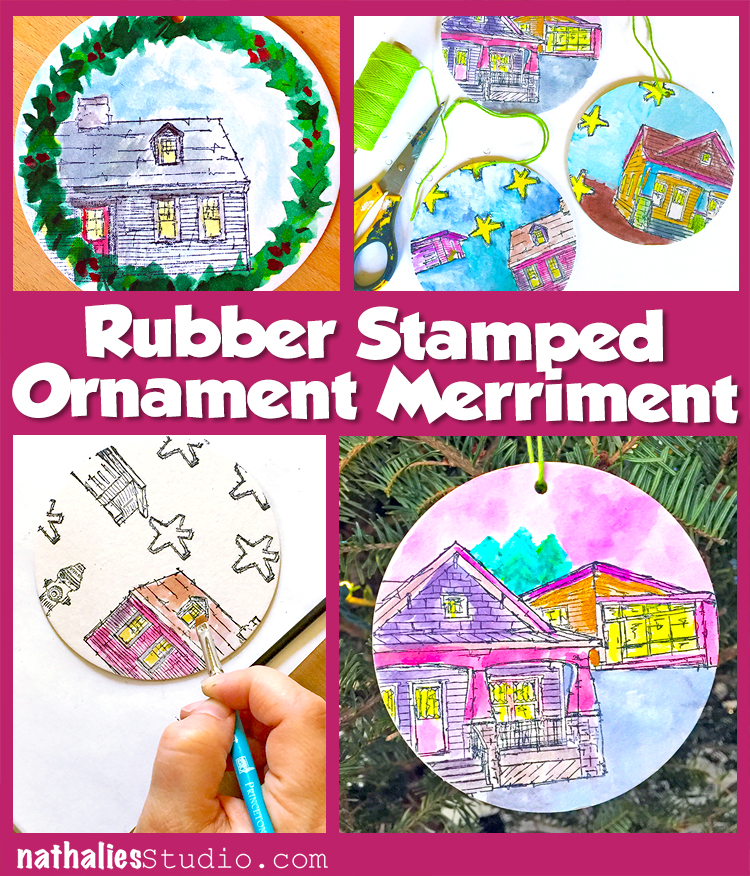
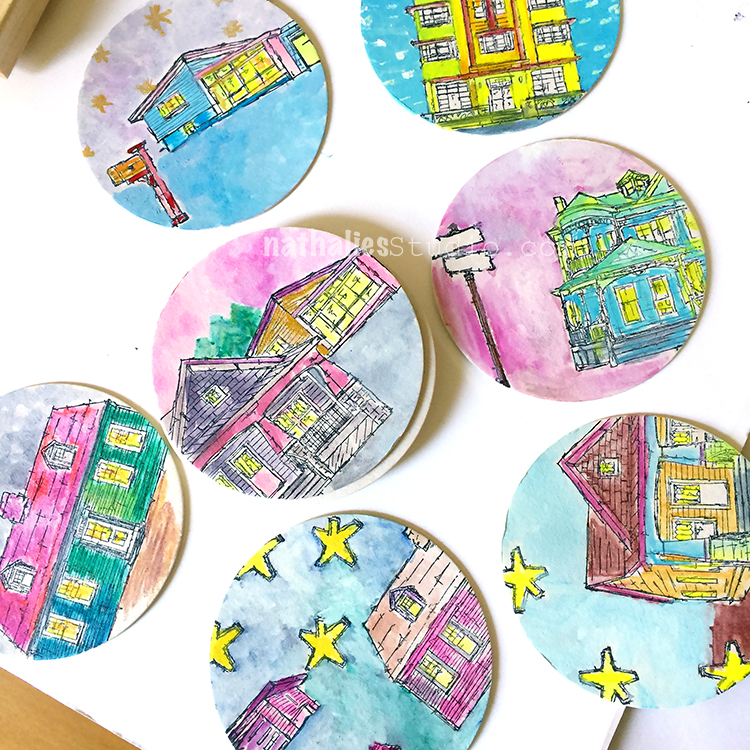
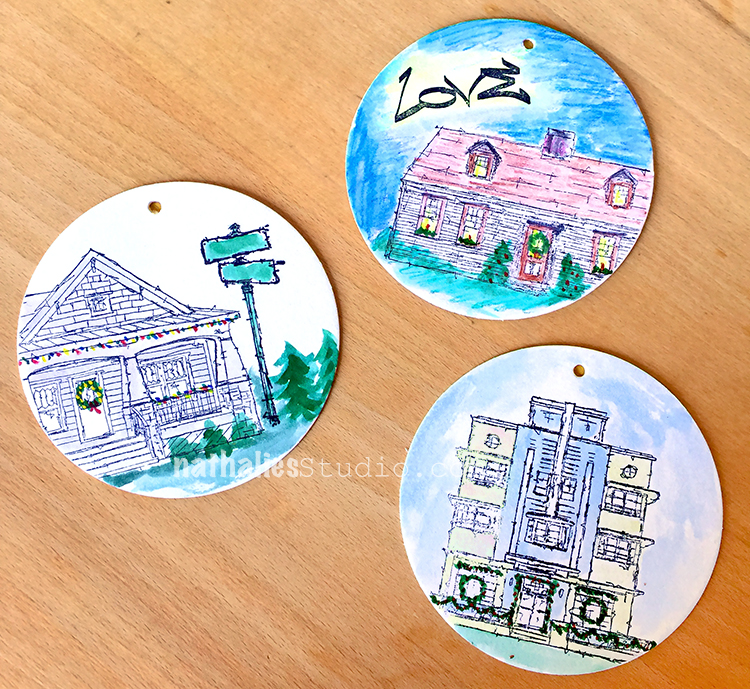
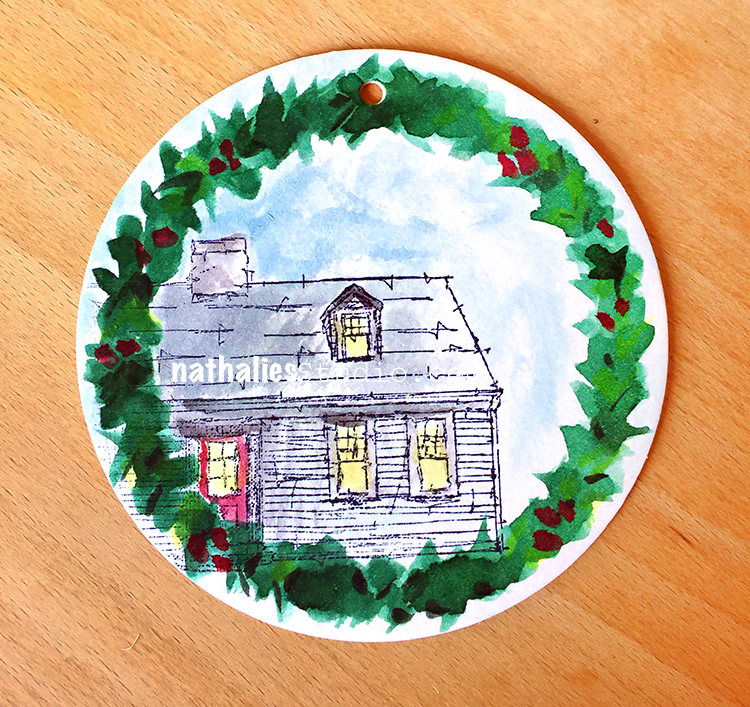
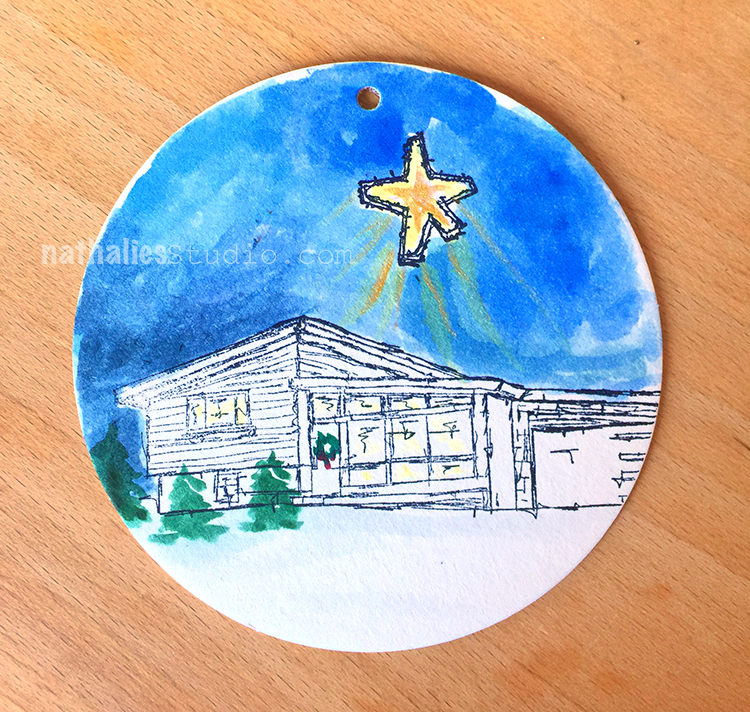
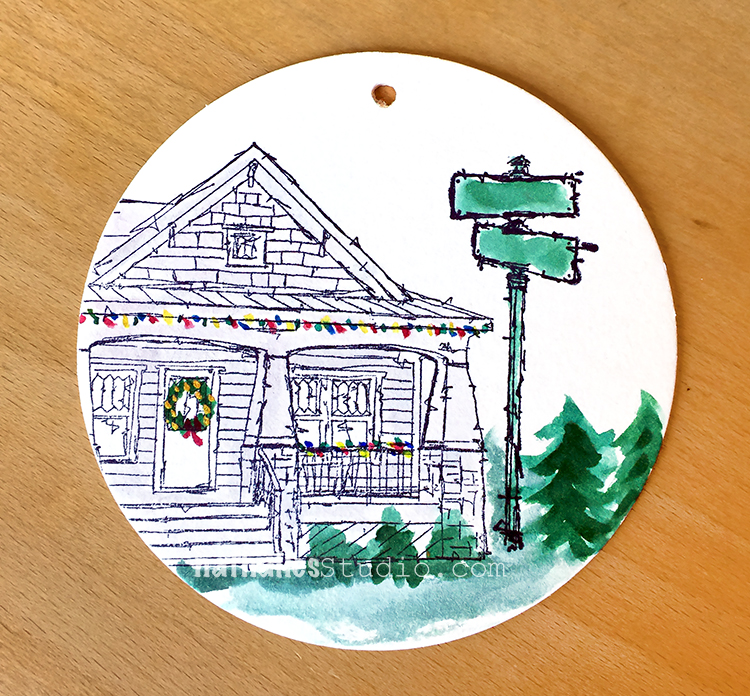
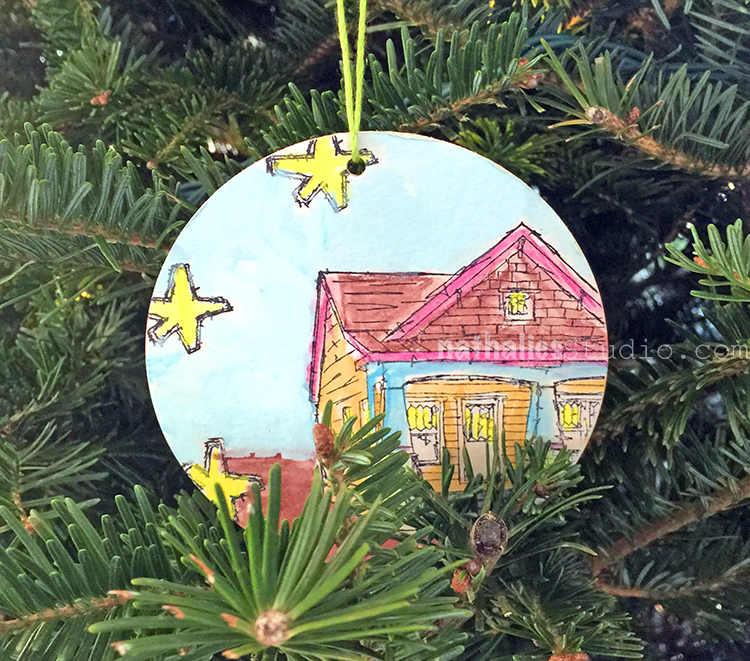
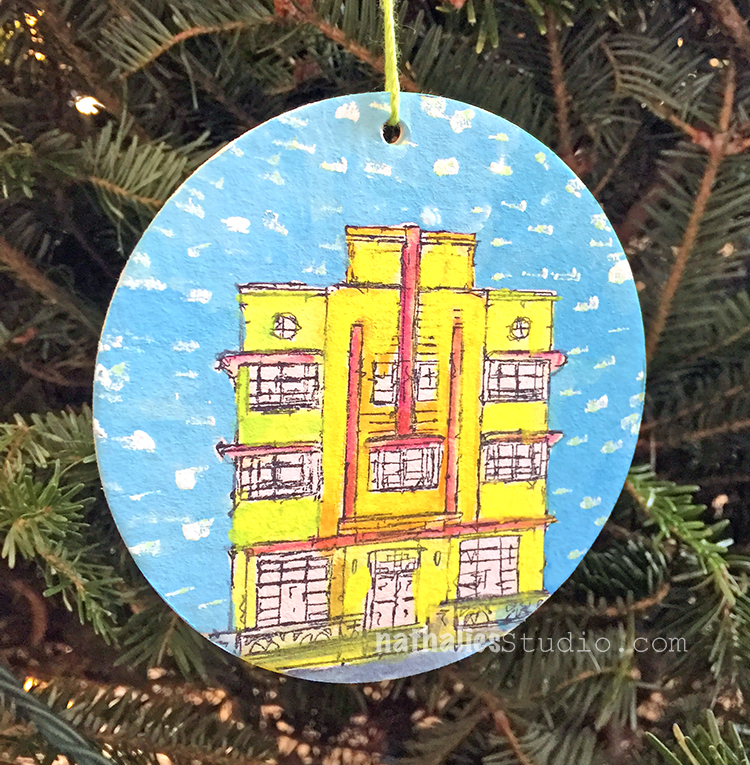
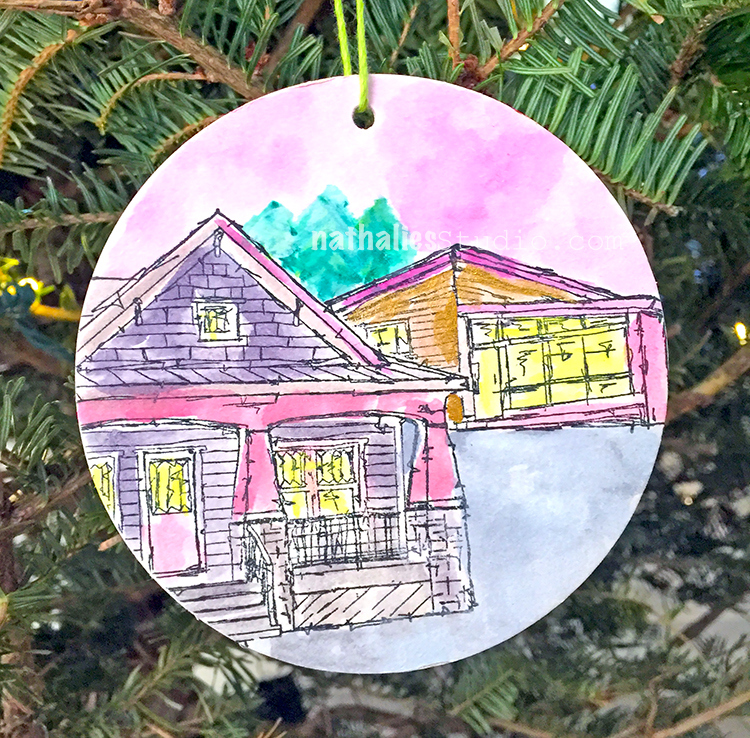
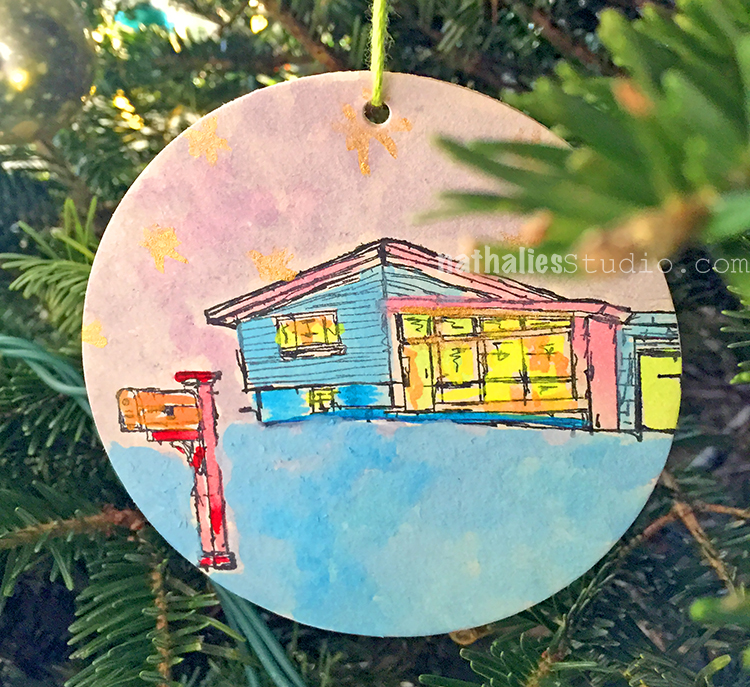
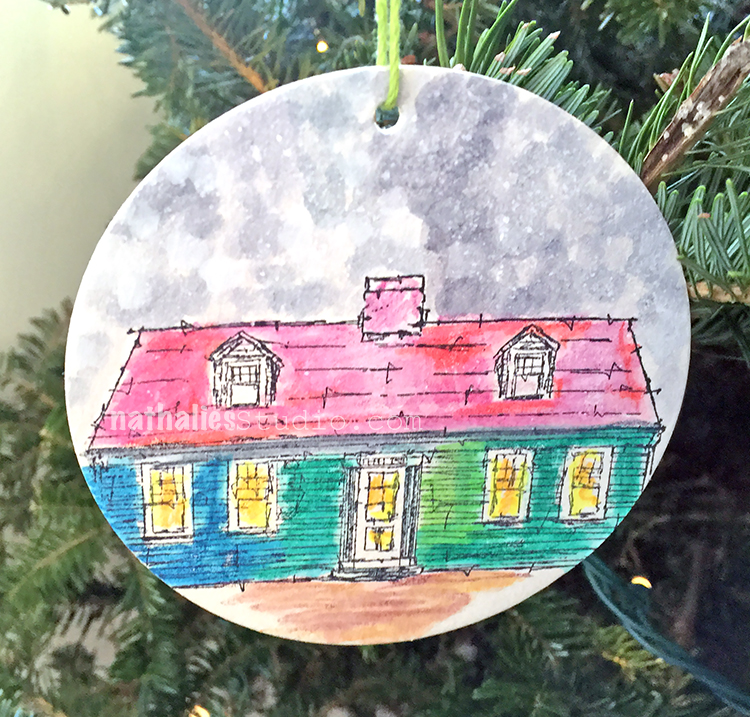
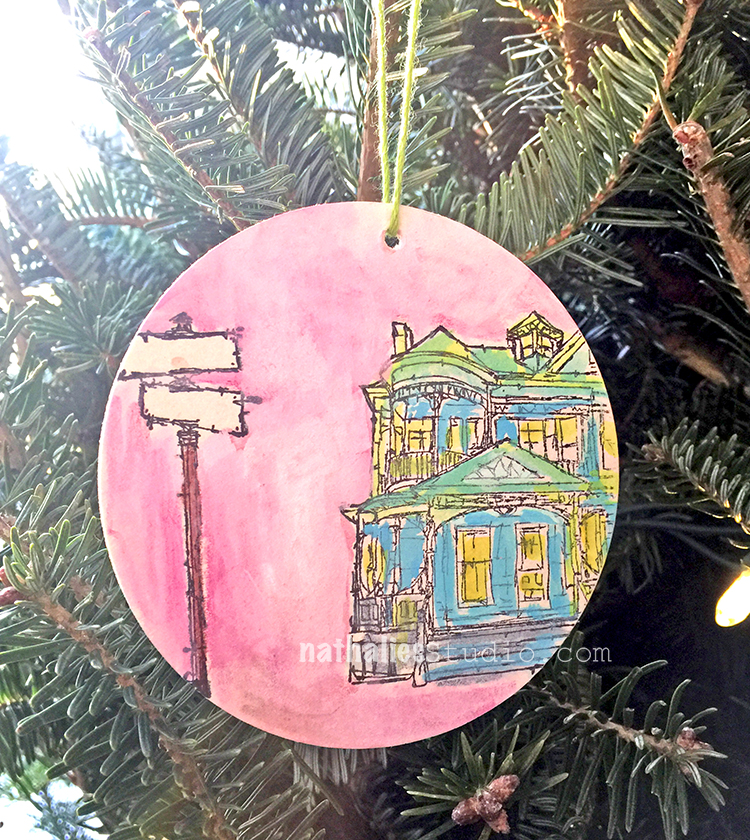
Kim and I had our monthly playdate and made some Christmas Ornaments and Gift Tags. OH that was so much fun!
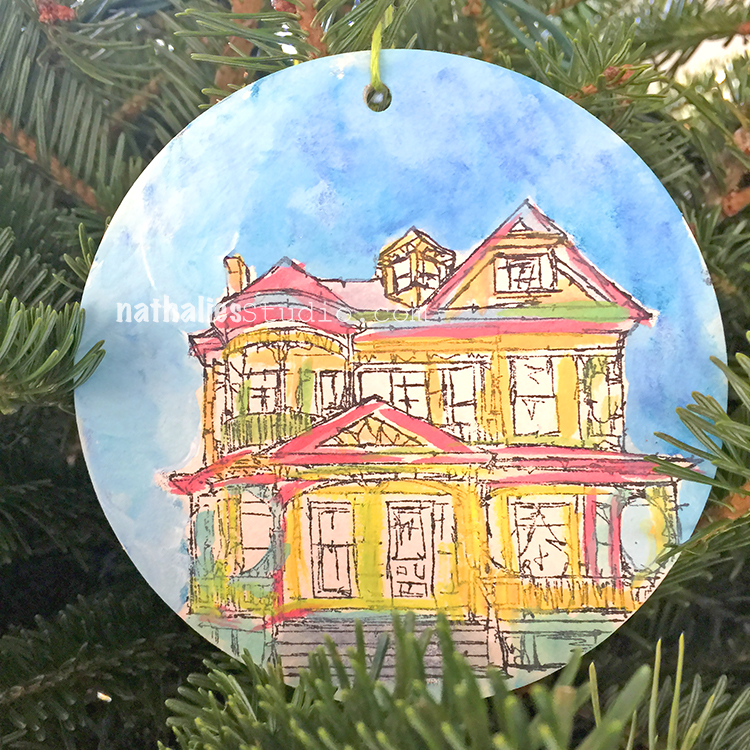
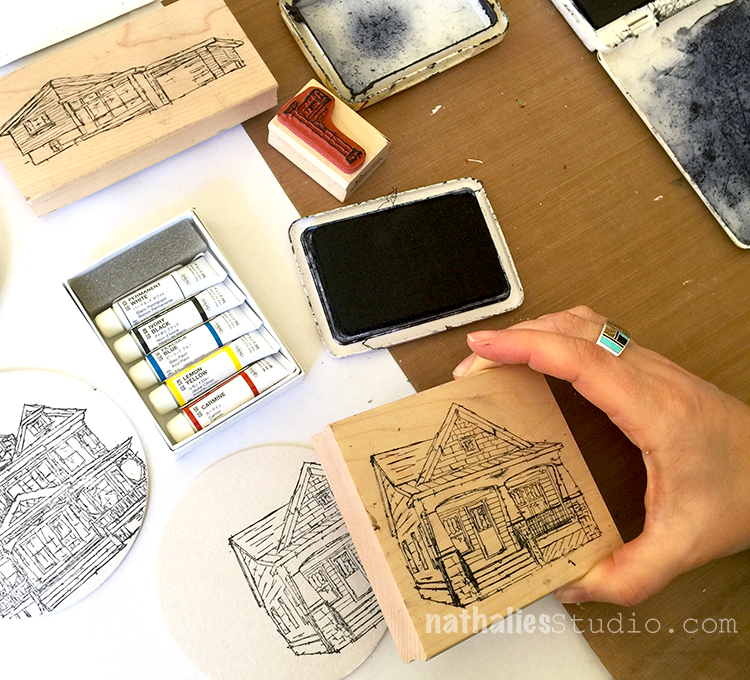
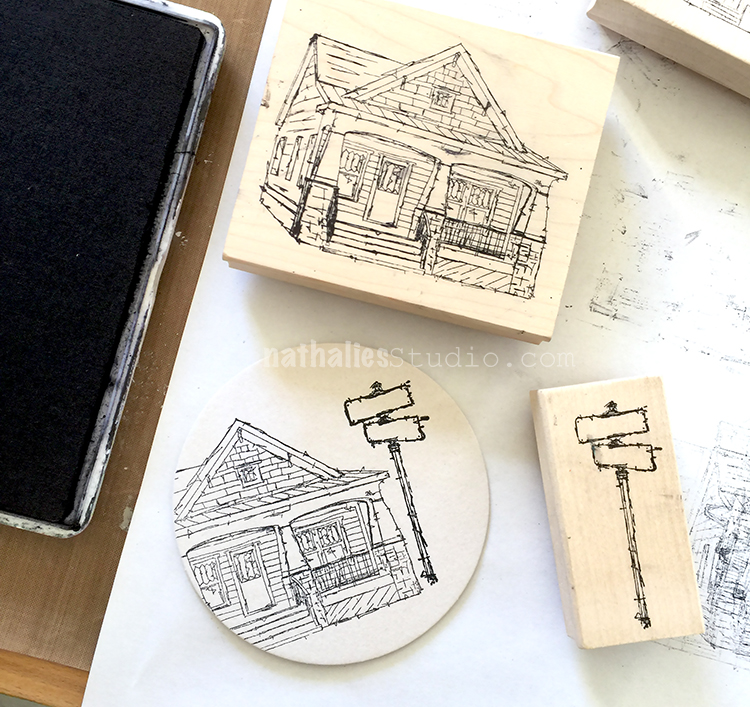
We mostly used my new RubberMoon Stroll Around The Block and My Home is My Castle stamp as well as some small stamps from the release before.

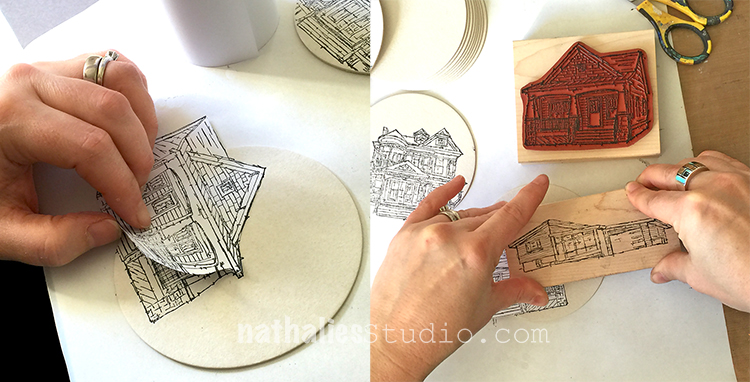
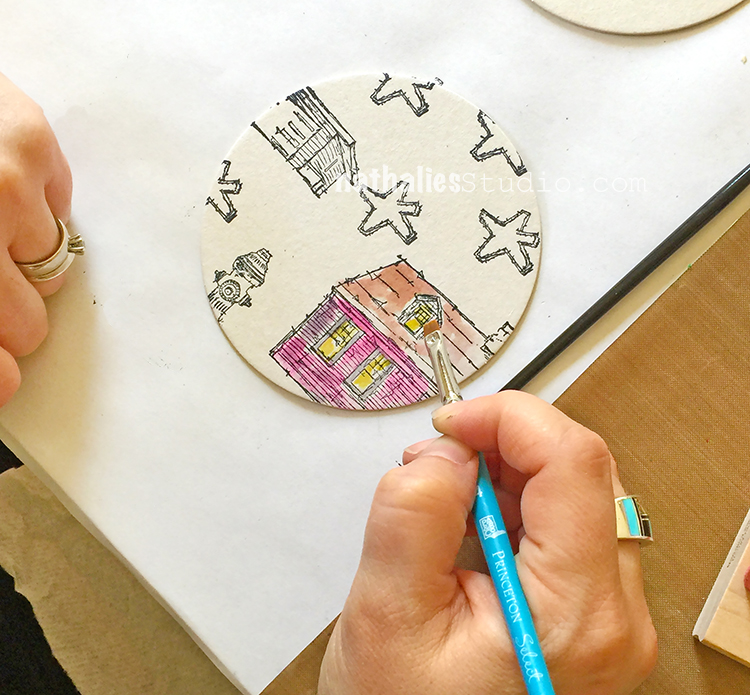
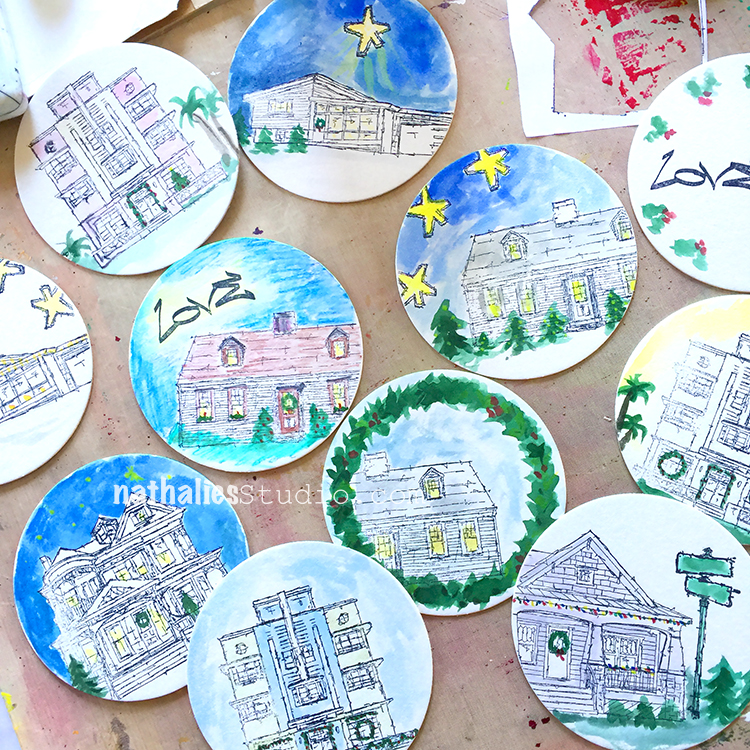
We used some chipboard drink coasters and stamped on top of them with black archival ink

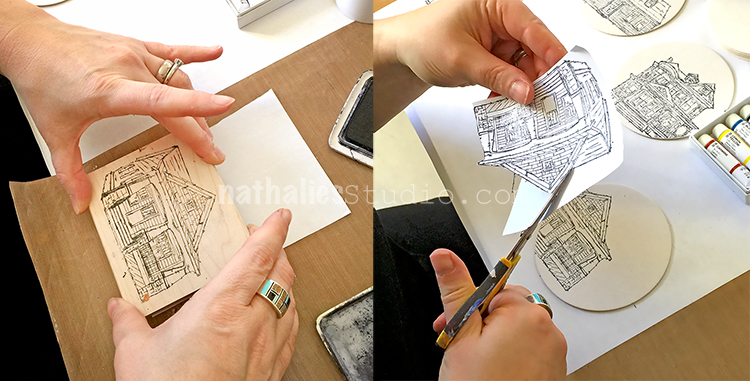
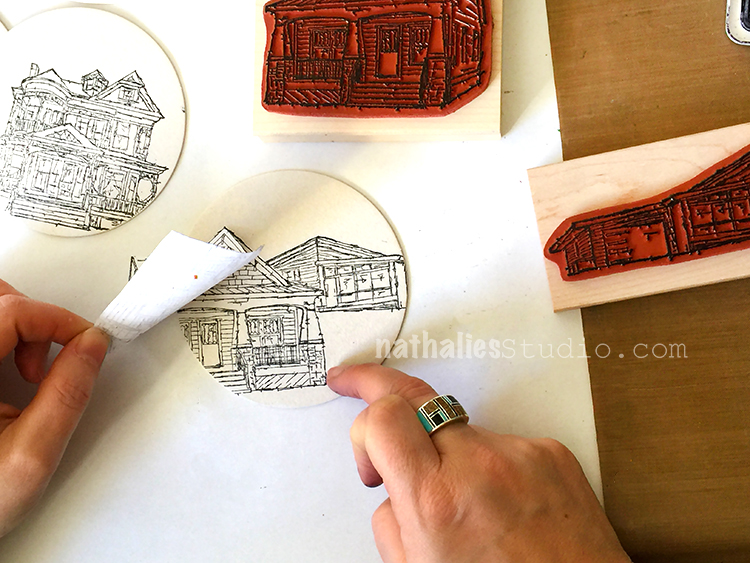
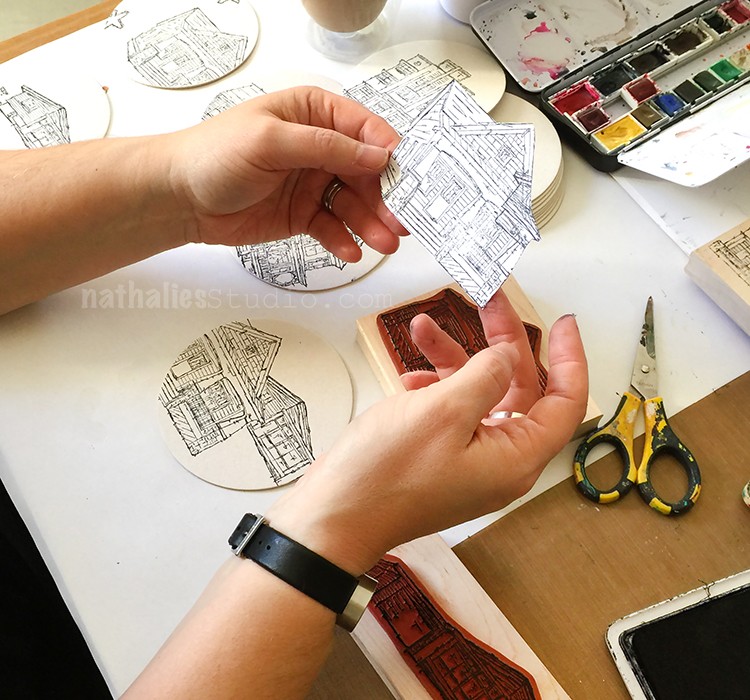
For some I used Eclipse Tape – which has a tacky side, stamped on top to duplicate the stamped image and mask off the image on the coaster.

It is such an easy and fun way to create a scenery by working from the foreground to the background.

Here is the midcentury house now appearing behind the craftsman house.

The cool thing about the Eclipse Tape is that you can reuse it.

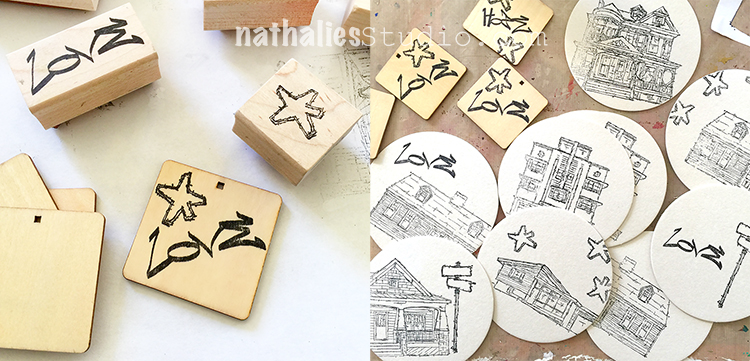
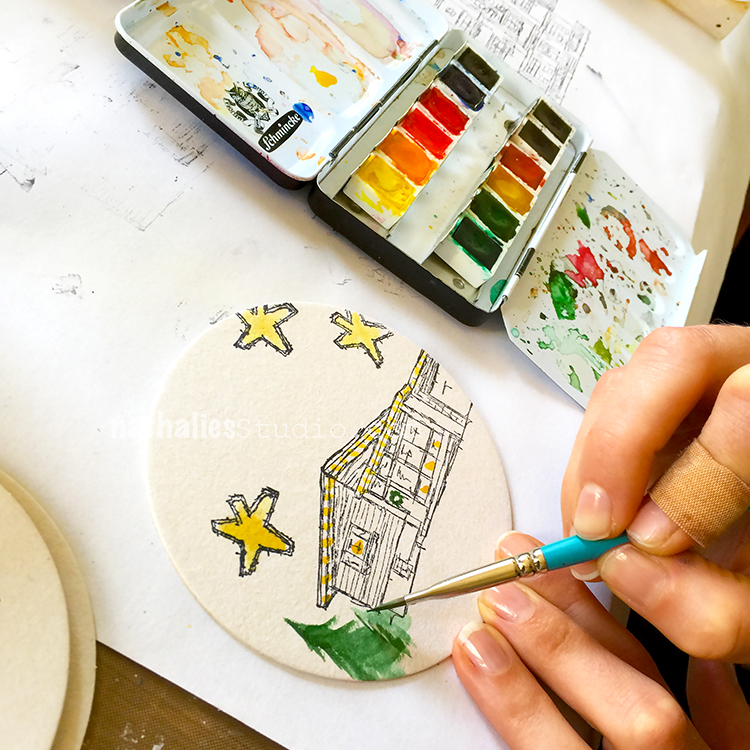
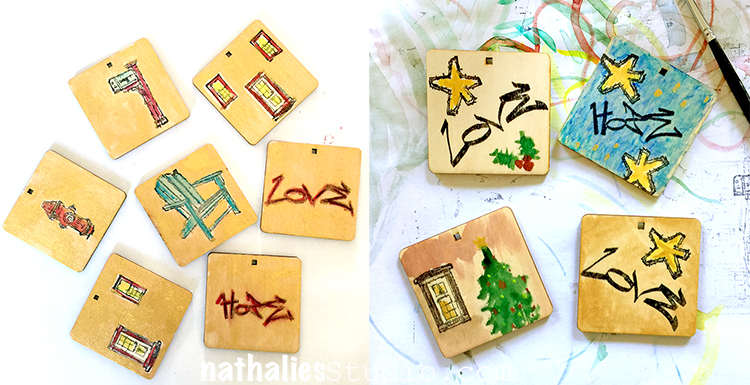
We also stamped on top of some wooden small tags.

And then we were ready to start the fun.

We used watercolors

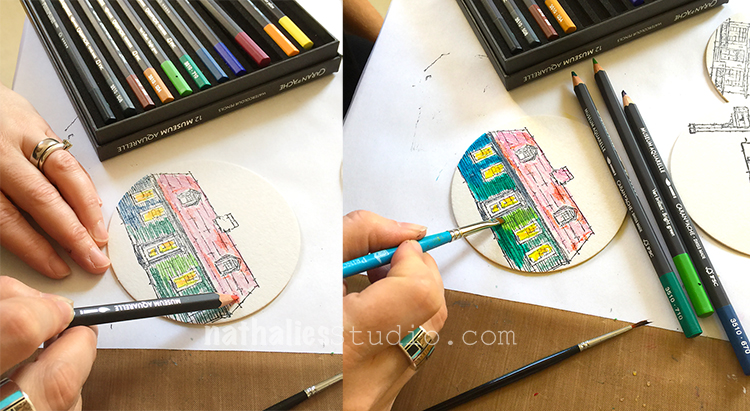
and watercolor pencils- I love he vibrancy of the Caran D’Ache Museum Aquarelle pencils.

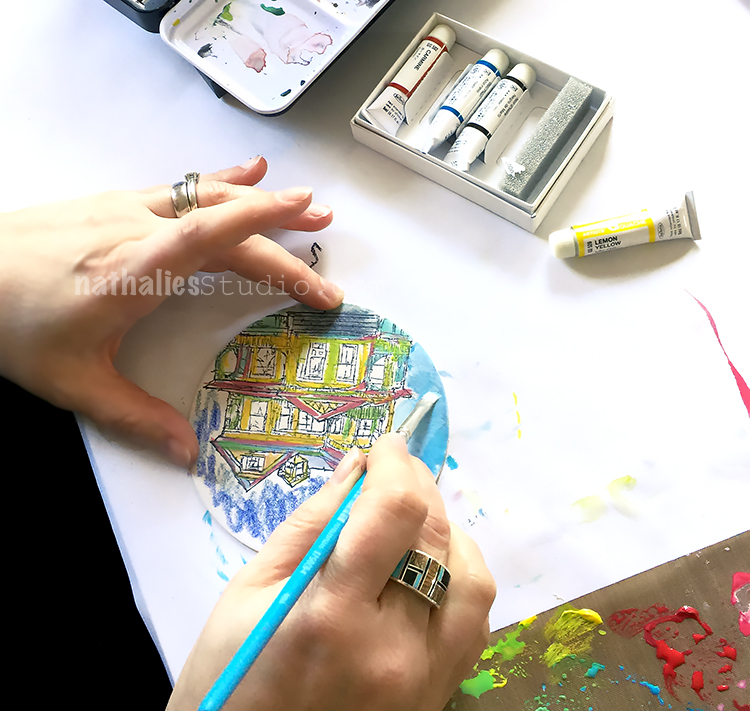
I also mixed the pencils with some Gouache paint. Love how the the transparency of the watercolor pencils and the opacity of the gouache work look together.

Here are my ornaments

and here are Kim’s

and on the left my gift tags and the right Kim’s.

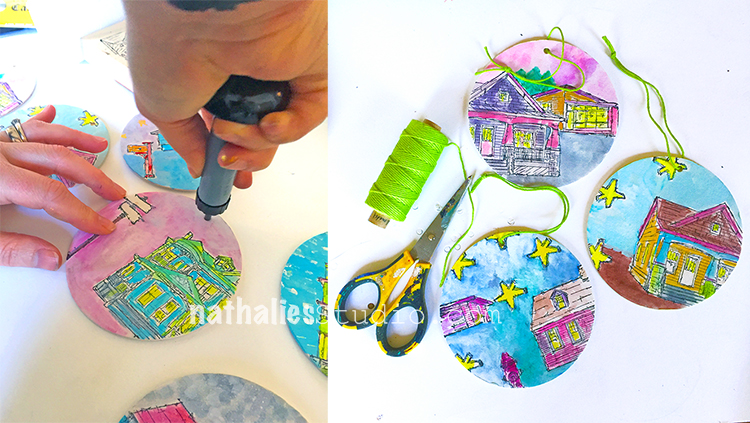
Using my very old, very beloved Japanese Screw Punch we made holes into our ornaments and threaded some string through it for hangers.

Look at the details in Kim’s ornaments- I love this so much – She created little Christmas lights, and wreath and garlands, and even some candles in the window.

And the wreath in watercolor around the Cape Cod – soooo love it.

I think this was our favorite Playdates so far :)

And here are mine hanging in the tree- I really like how they look like- the colors really pop off the tree

Hope you enjoyed our playdate and give it a try . Here is a list of the supplies we used:


Hope you have a wonderful holiday season!

Comments (2)

  • stephanie

    |

    Oh my gosh — What fun. These are so cute. Merry Christmas!

    Reply

    • nathalie-kalbach

      |

      thank you so much Stephanie!!! hope you had a wonderful christmas!!!

      Reply

Leave a comment

Jumping with…Carolyn Dube – a CJS Interview Series

I hope you will enjoy and laugh as much watching this video as I had chatting and laughing with Carolyn Dube in my interview. We talked about food shopping, the question of purpose in art making, and how we would shake up with world of Matisse and Picasso.

Jumping with…Carolyn Dube – a CJS Interview Series from Nathalie Kalbach on Vimeo.

I hope you enjoyed the interview- her video for CJS is very inspiring! Come and join us for Creative Jumpstart 2018  and see yourself !

Comments (2)

  • JoAnn Campisi

    |

    Really enjoyed your interview with Carolyn. It is always interesting to learn a little bit about the artists that are part of CJS. Love her laid back approach to art. Definitely can relate to it. Is it January 1 yet??

    Reply

    • nathalie-kalbach

      |

      so glad you enjoyed the interview JoAnn! wohooo- almost January :)

      Reply

Leave a comment

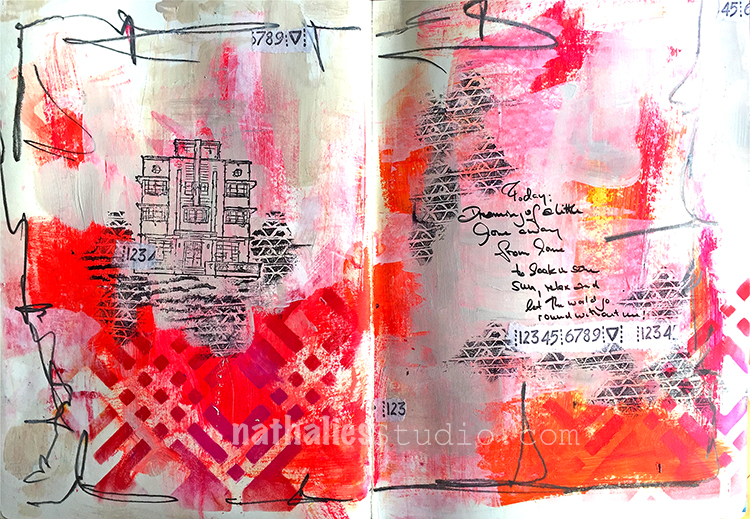
Home Away from Home

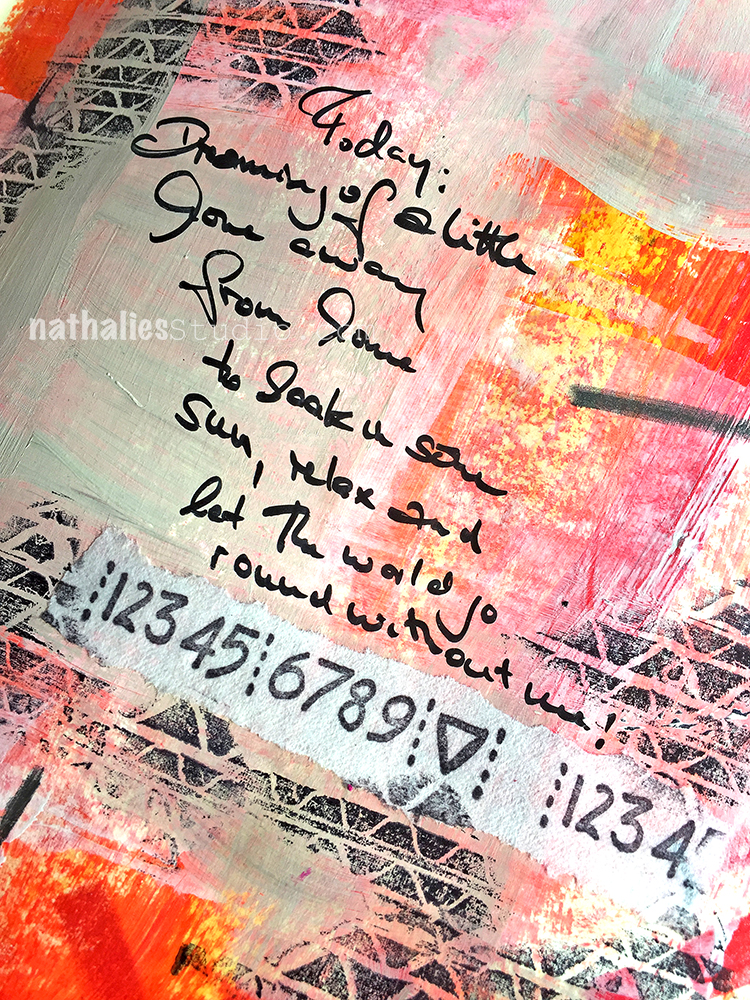
Today: Dreaming of a little home away from home to soak in some sun, relax and let the world go round without me!

Don’t we all have days like that :) ?

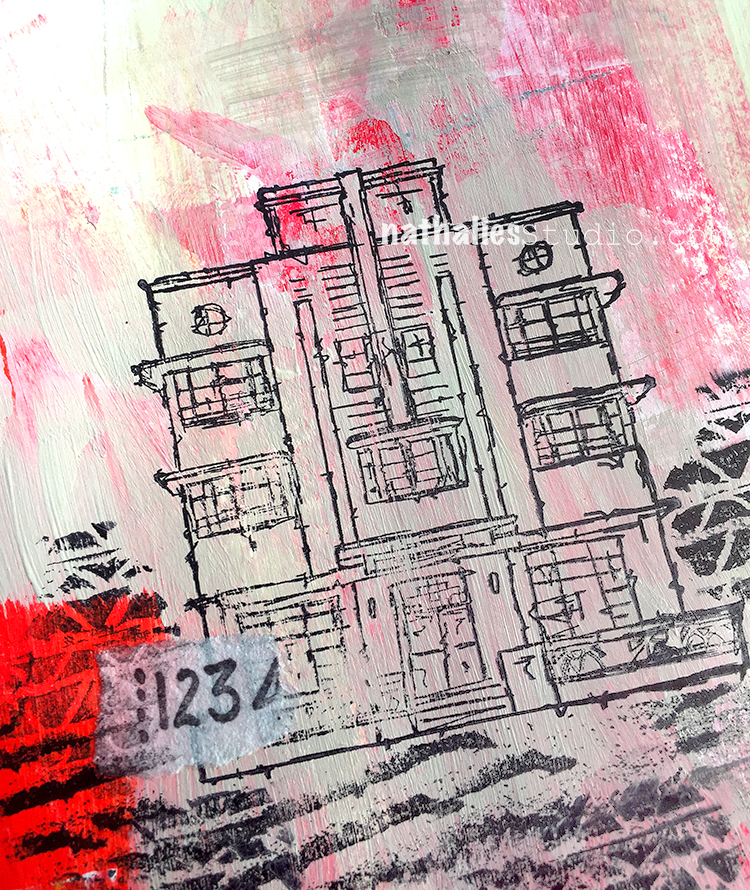
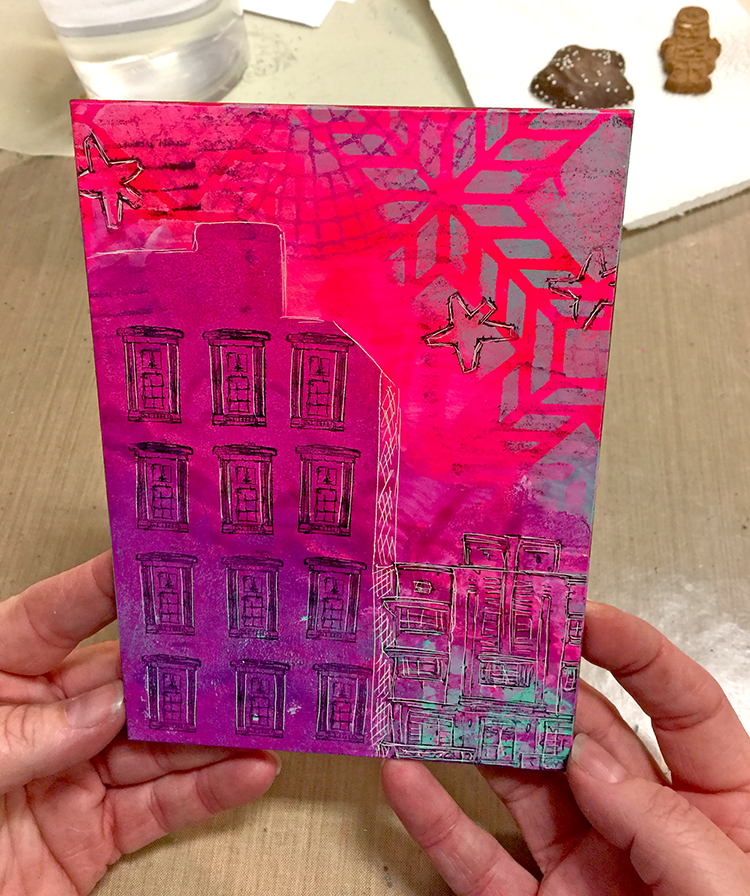
I used the numerals stamp from my Home is my Castle stamp set and stamped it on tape – love the look. I also stamped my art deco stamp from the Stroll Around the Block stamp set and then added some of the Cardboard stamps around it

Some stenciling with the Chicago Stencil and some marks with a soft pencil. I love when the cardboard kind of looks as it comes out through a torn layer of paper, which can be easily achieved with those stamps by only partly inking and stamping them.

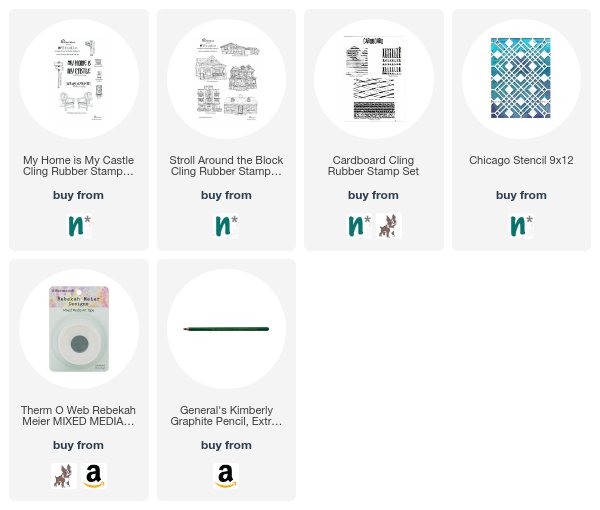
Here are some of the supplies I used


Wishing you a wonderful Monday!

Leave a comment

Jumping with…Kasia Avery – a CJS Interview Series

It was super fun to have an interview and chat with Kasia Avery this summer for CJS. We talked about Art Journaling, identity, storytelling and all kinds of Artful Adventures.

Jumping with…Kasia Avery – a CJS Interview Series from Nathalie Kalbach on Vimeo.

I hope you enjoyed the interview- her video for CJS is very inspiring! Come and join us for Creative Jumpstart 2018  and see yourself !

Comments (4)

  • Jackie P Neal

    |

    OMGosh! This was the best interview! I was giggling right along with the two of you!
    Nat, I love the questions you posed to Kasia- very genius as her answers were. I know that place you two speak of and wish to go to chill out- I think every artist needs this weekend or more! lol

    Thanks so much for sharing this and I sooo look forward to the new CJS!! Yay!!

    Merry Christmas to you and your husband and kitty!
    Jackie xo

    Reply

    • nathalie-kalbach

      |

      LOL- I am glad you giggled with us and liked the interview Jackie! So stoked to have you back fro CJS- woot woot! Merry Christmas to you and your loved ones as well!

      Reply

  • JoAnn

    |

    Just listened to interview with Kasia and found it very enjoyable. I look forward to seeing her segment!

    Reply

    • nathalie-kalbach

      |

      JoAnn- so glad you liked the interview with Kasia – her video is really cool- so happy you joined again for CJS!!

      Reply

Leave a comment

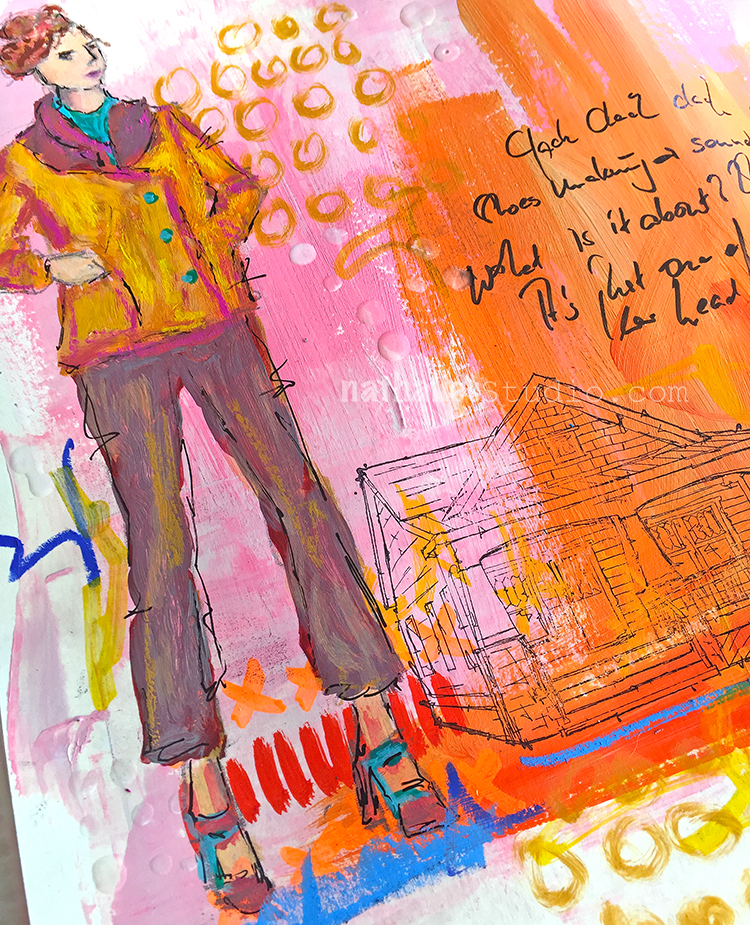
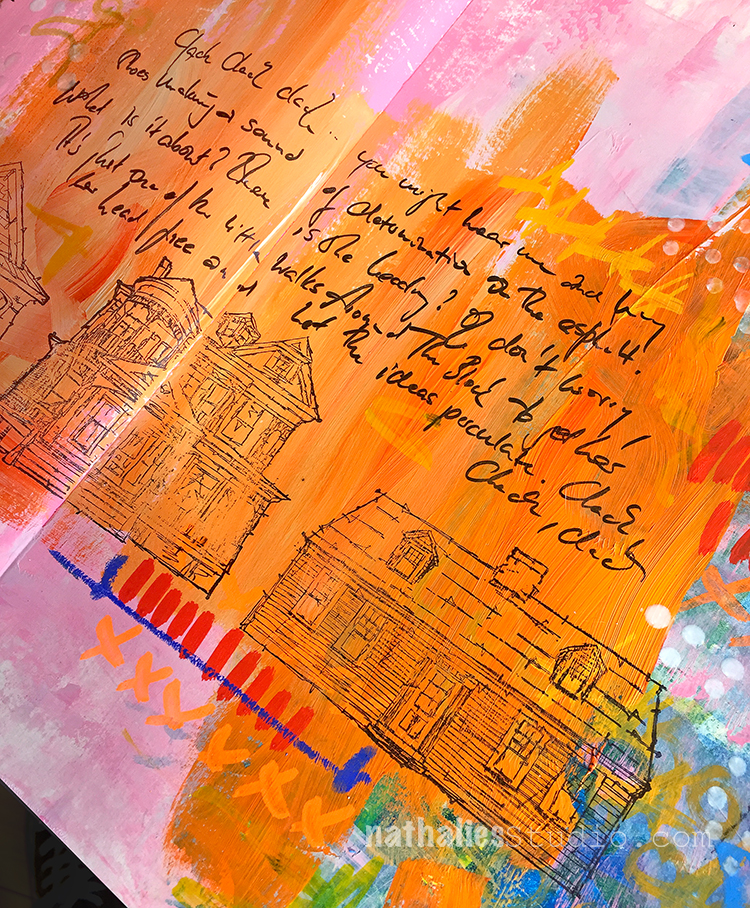
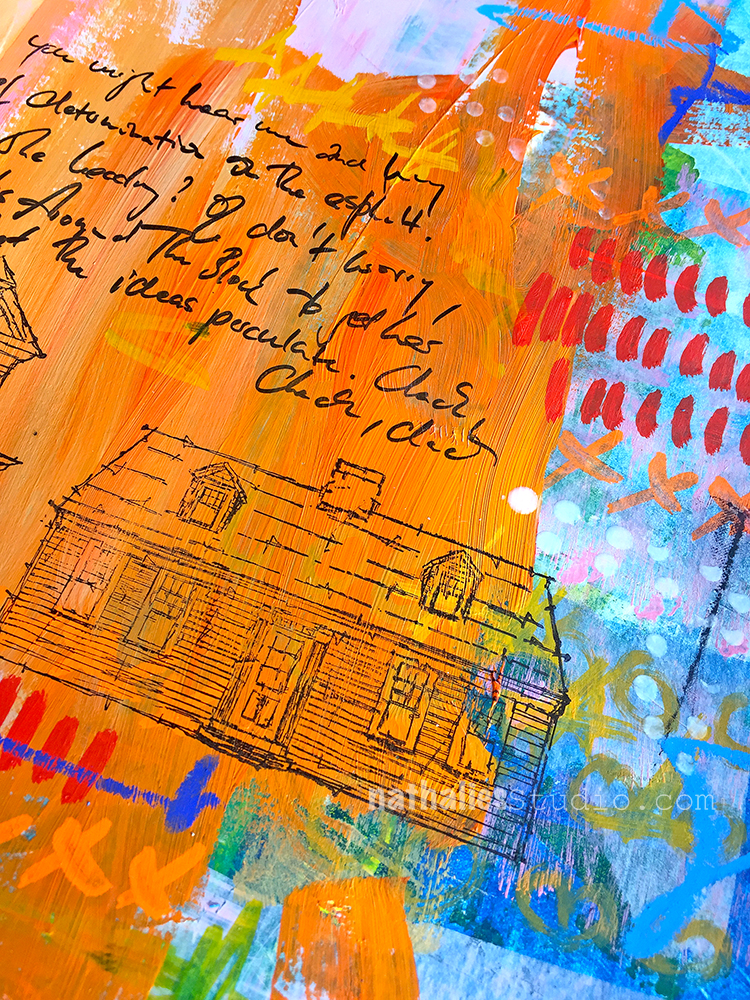
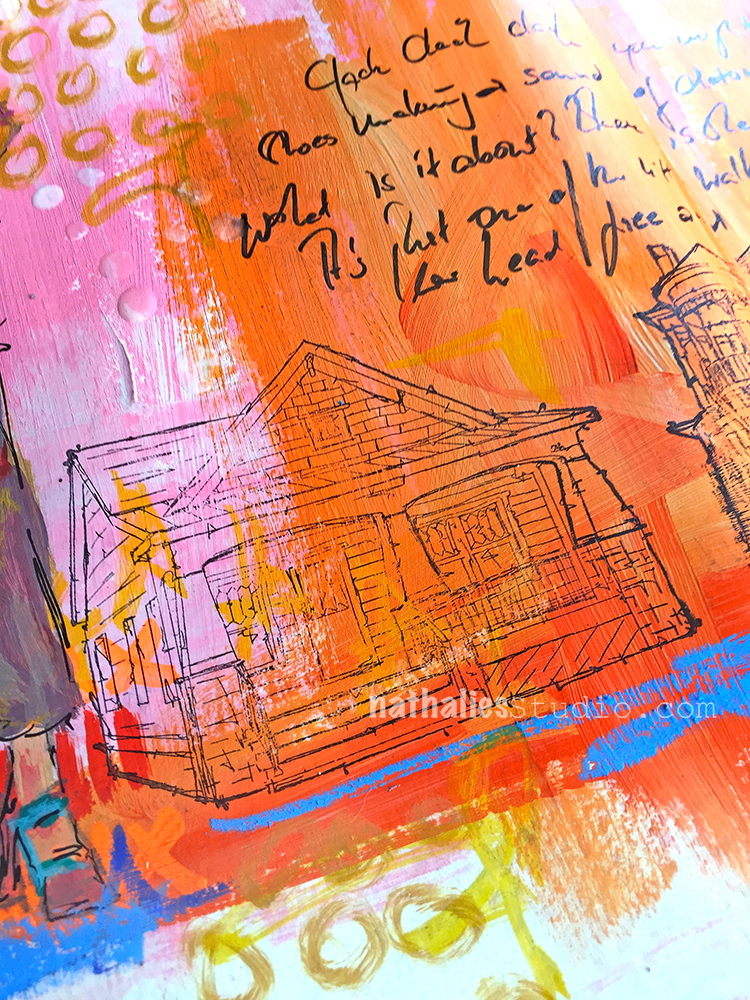
Clack Clack Clack – Art Journal

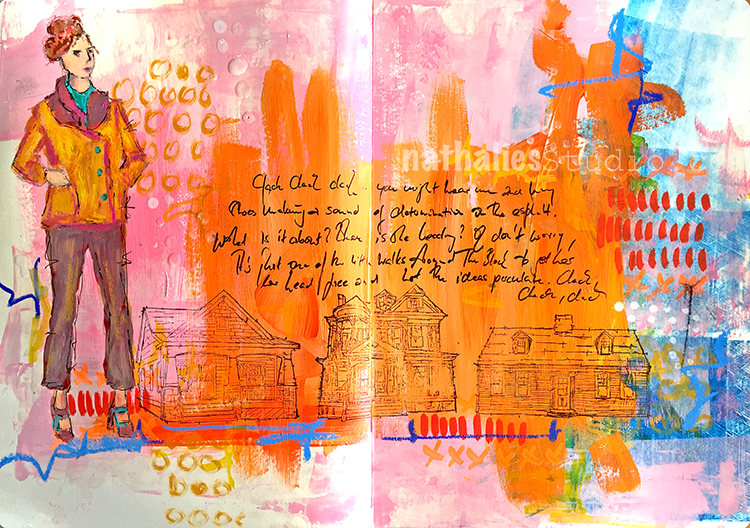
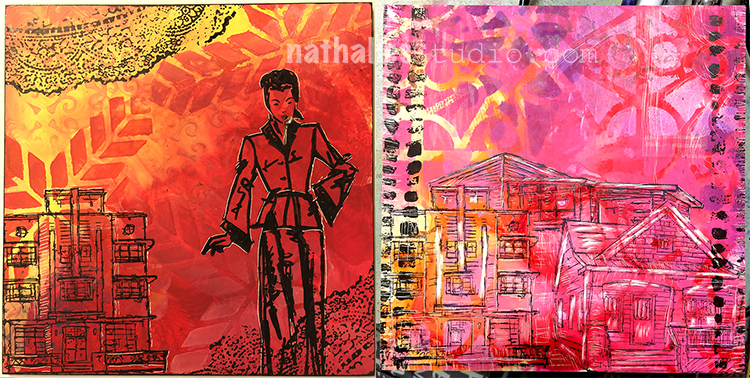
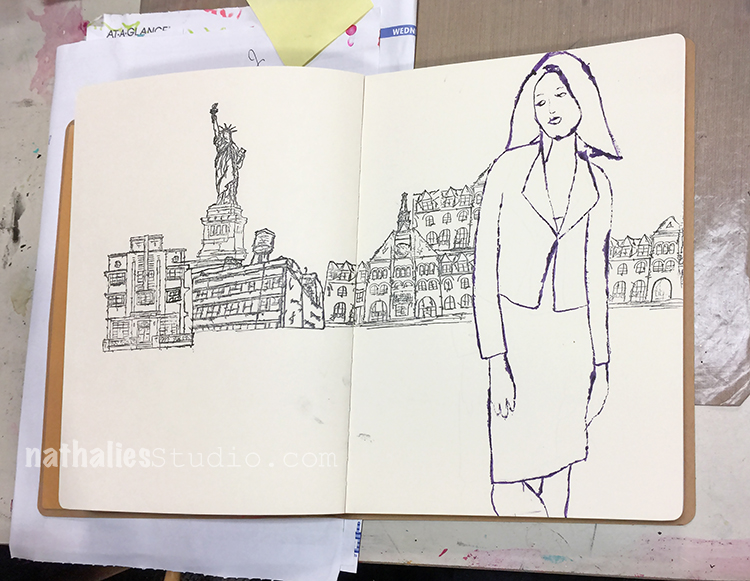
Strolling around the block :) I really love this color combination which is not my usual suspect

I drew the lady with acrylic paints and neopastels and boy- do I want that jacket – LOL. I stamped with some of my Stroll Around the Block houses and made a lot of marks and patterns.

I love how the Neopastels also create a nice textured look (blue line)  in comparison to the smooth look of acrylic markers (red lines and orange x’s).

And of course played with the contrast of colors here too.

Here are some of the supplies I used for this spread


Hope you have a wonderful day and maybe even some time to stroll around the block today :)

Leave a comment

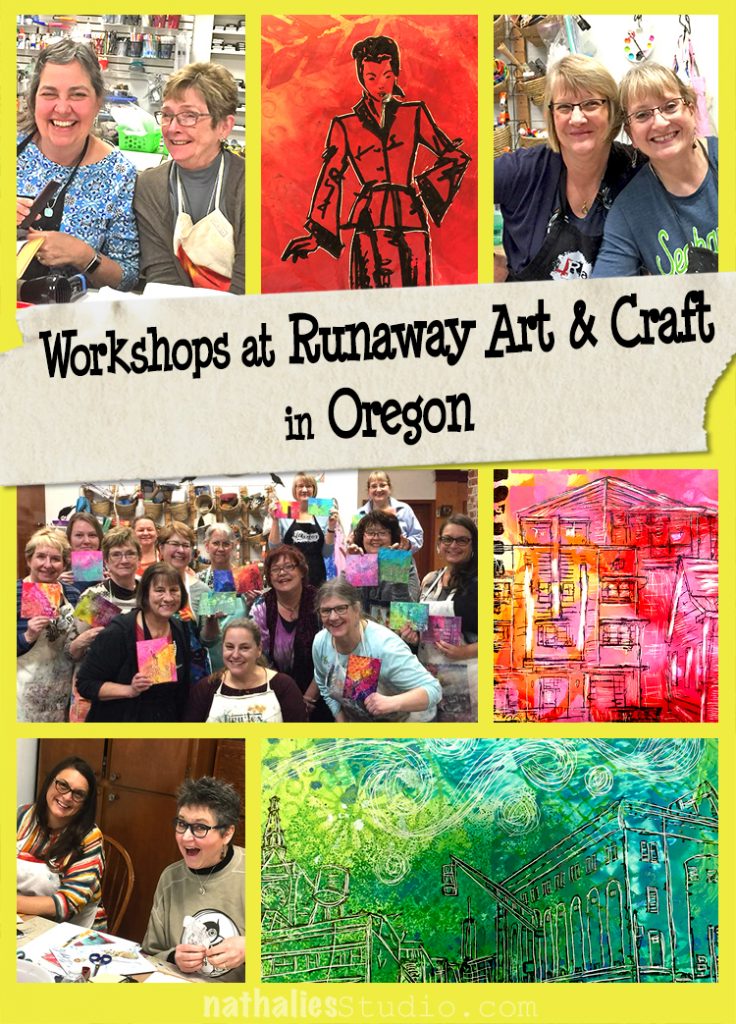
Workshops at Runaway Art & Craft in Oregon

Last weekend I made my way to Oregon to teach at Runaway Art & Craft – look at this cool view I had from the plane of Mount Hood!

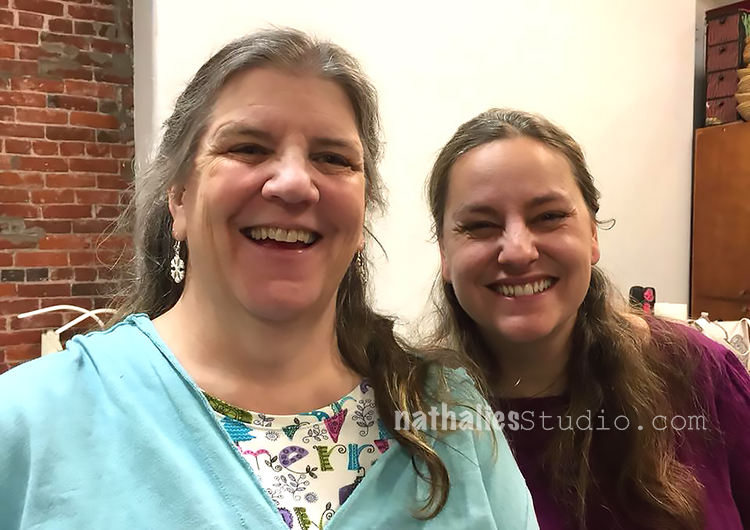
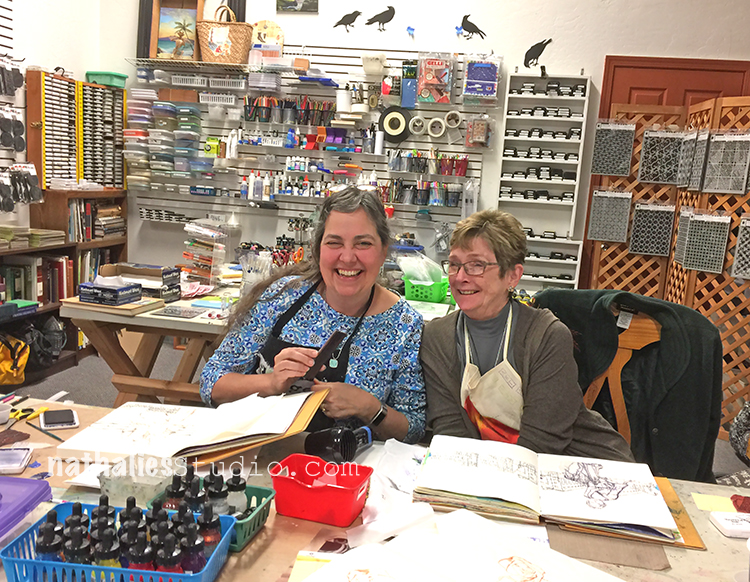
It was so lovely to meet Christy the owner- she has an amazing store – you have to check it out when you are in the area. Can you tell I loved her:

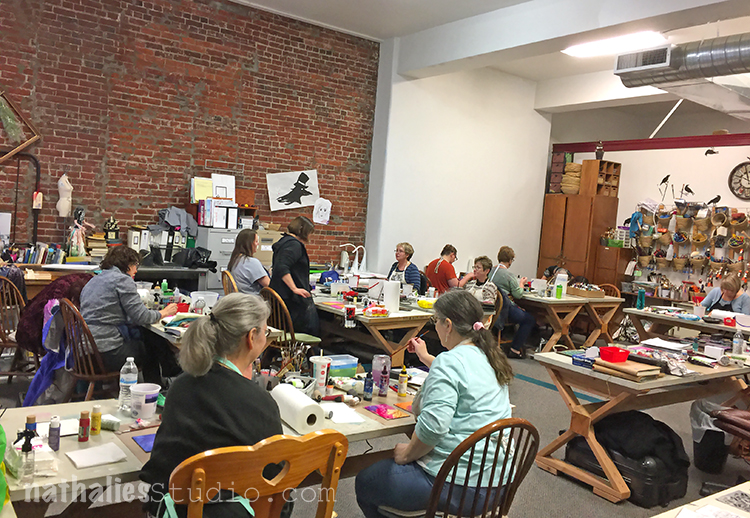
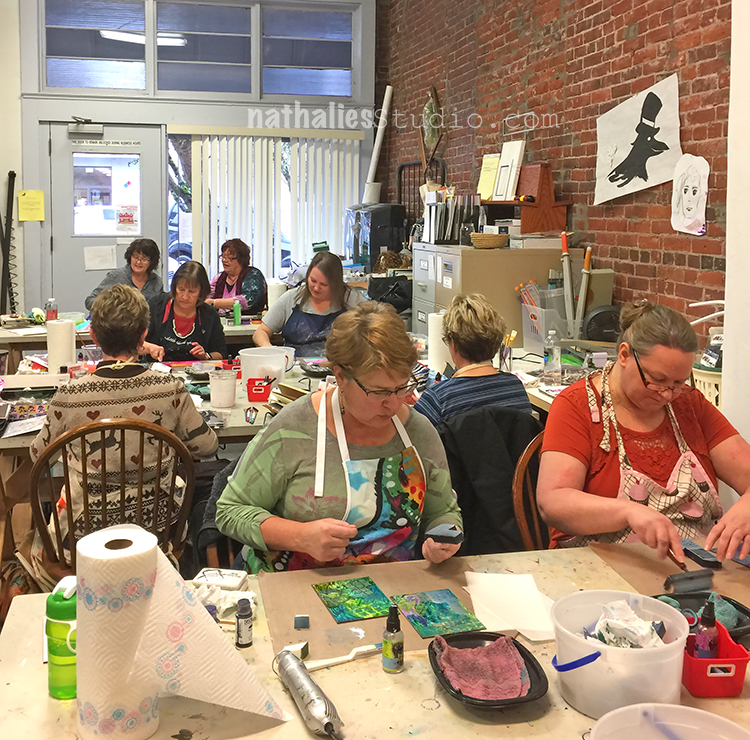
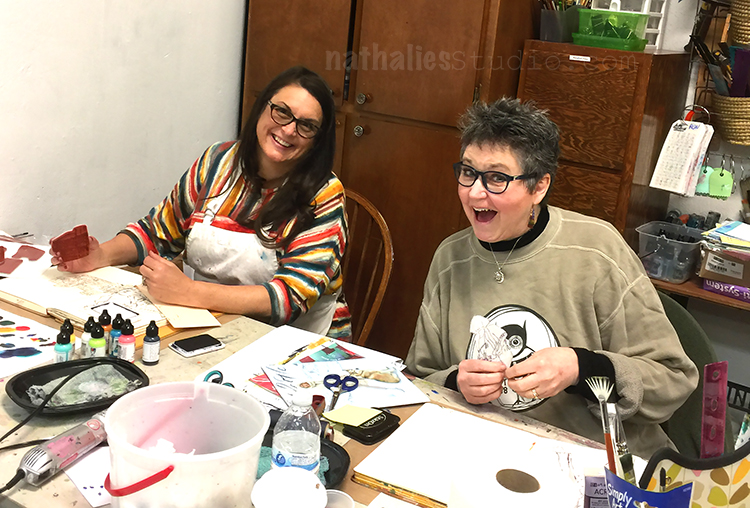
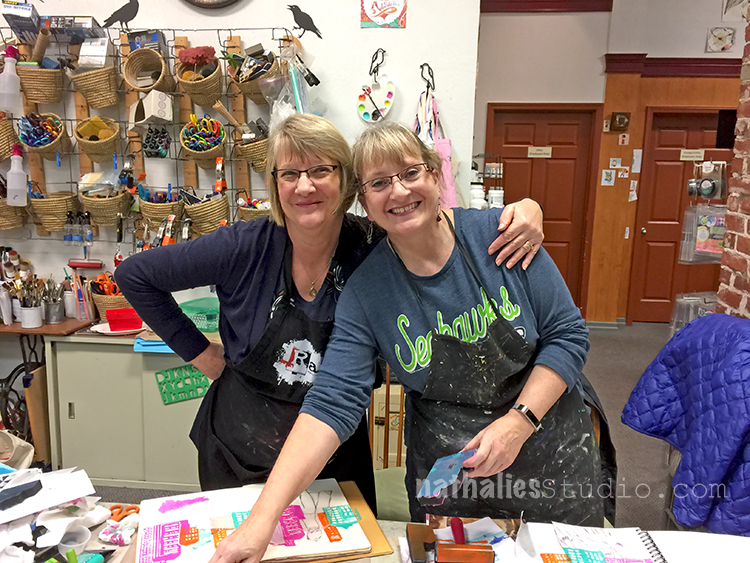
And such a cool classroom as well – spacious and well organized and hey…a brick wall …you gotta love a brick wall as well!

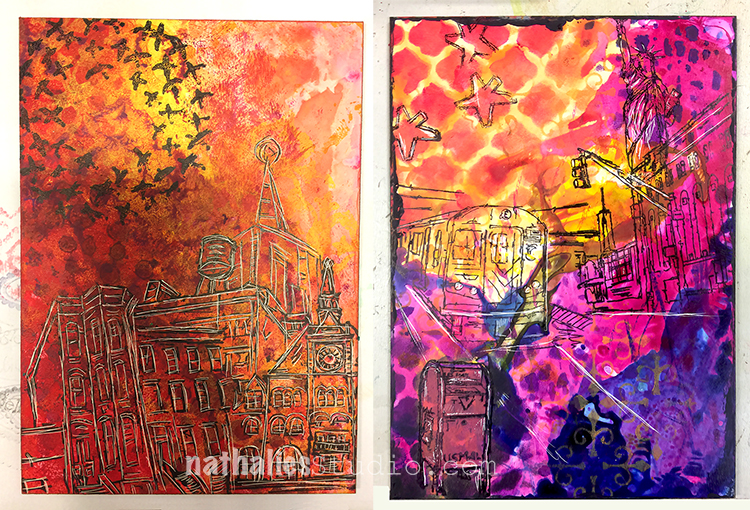
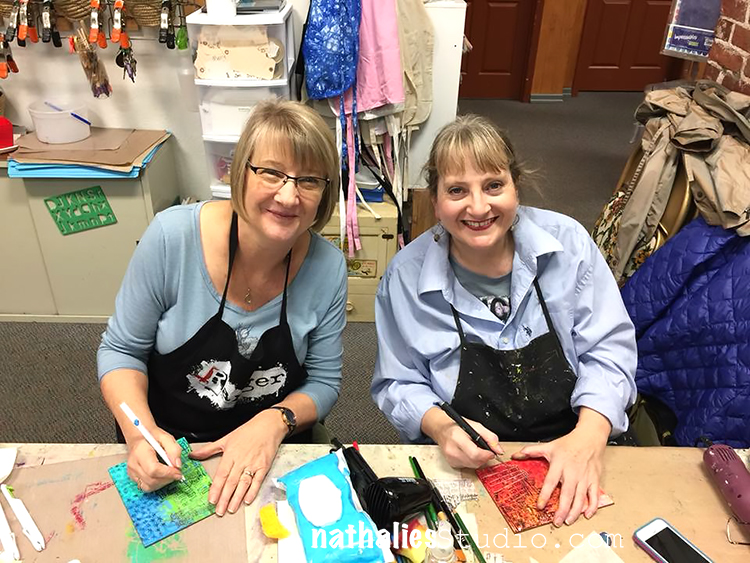
Saturday I taught my Stroll Through the Hood Workshop and a Master Art Express Art Journaling Workshop

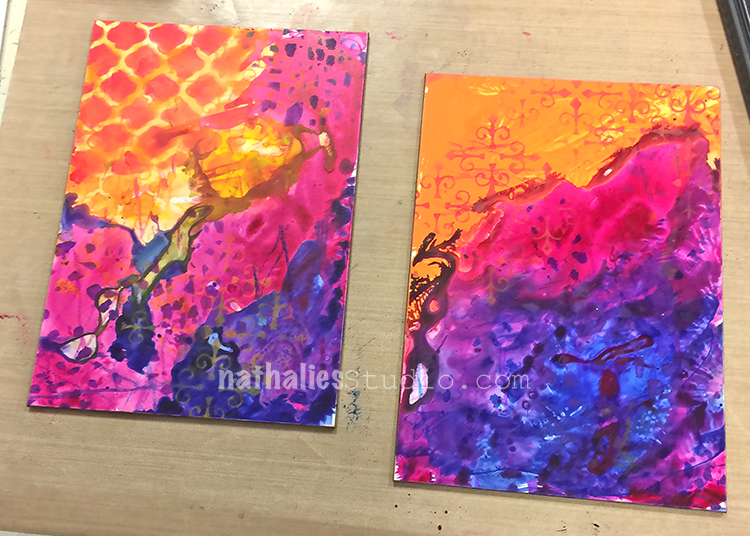
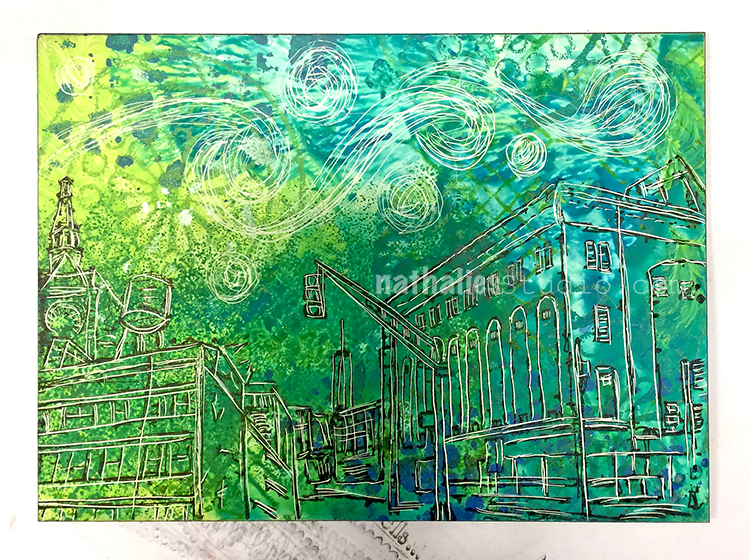
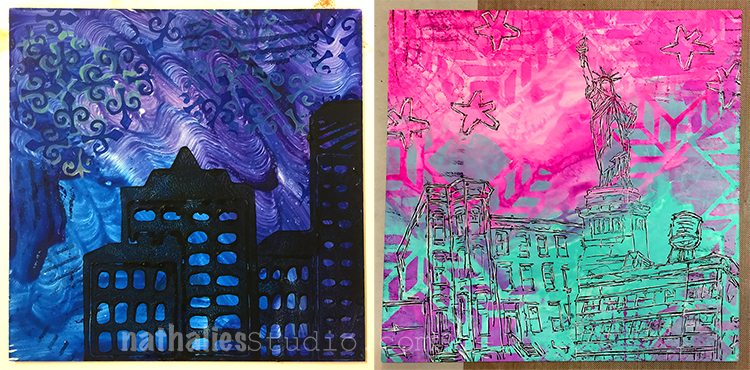
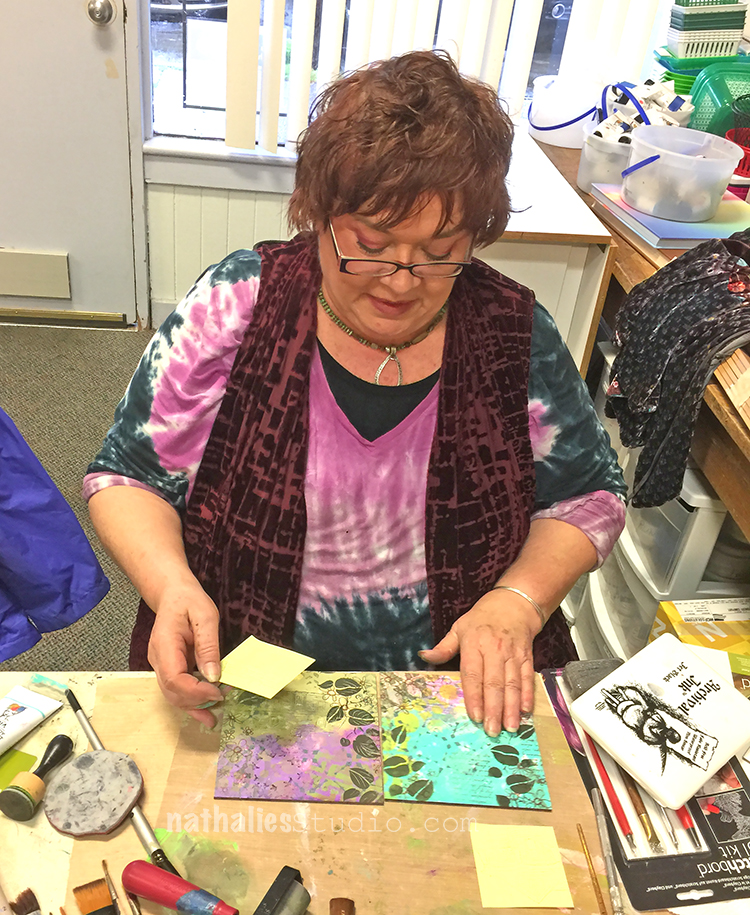
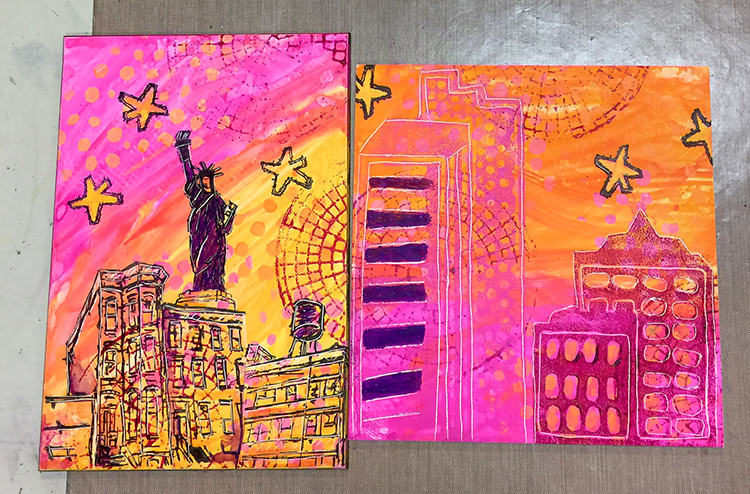
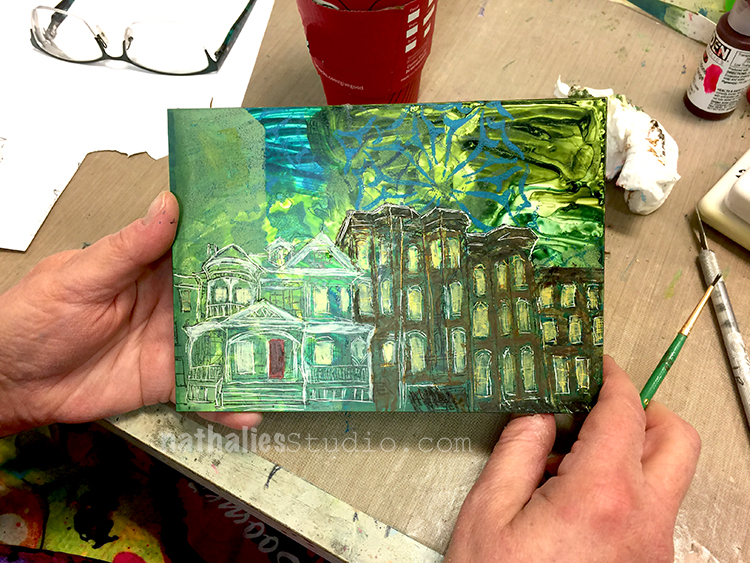
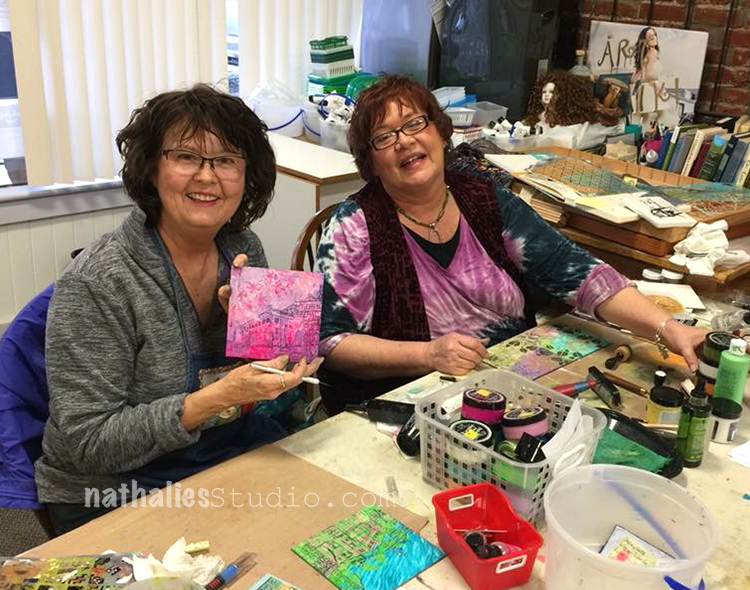
Loved all the cool color combinations people started out with on their Ampersand boards in the Stroll Through the Hood Class.


Love this gorgeous swirly sky and the patterns on here


So much fun to see the different interpretations .

Loved how this was stamped with the back of my ArtFoamies Midtown Stamps and then using the door stamp from My Home is My Castle stamp set as a window- as well as my new art deco house.

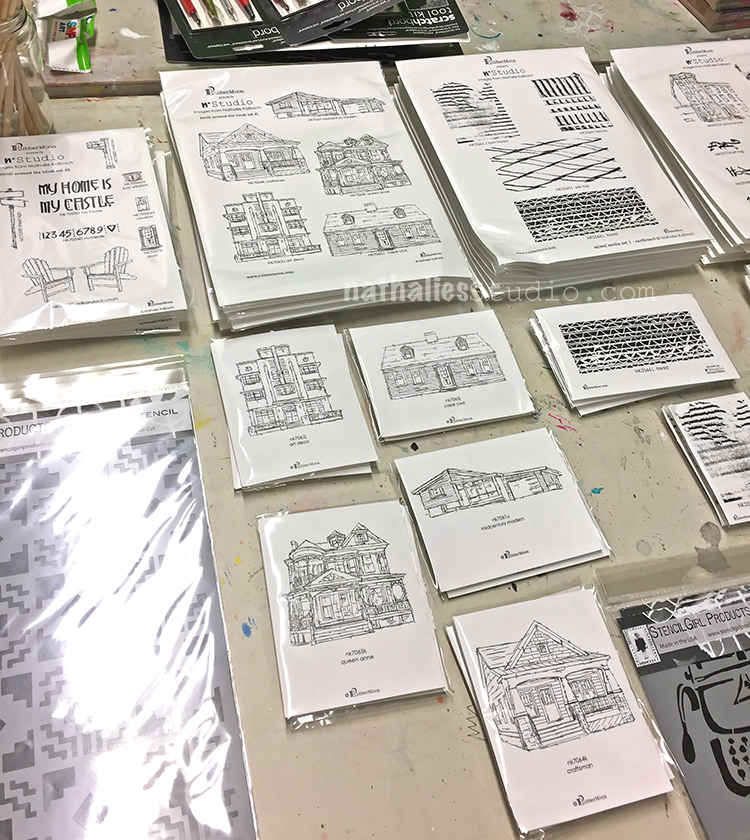
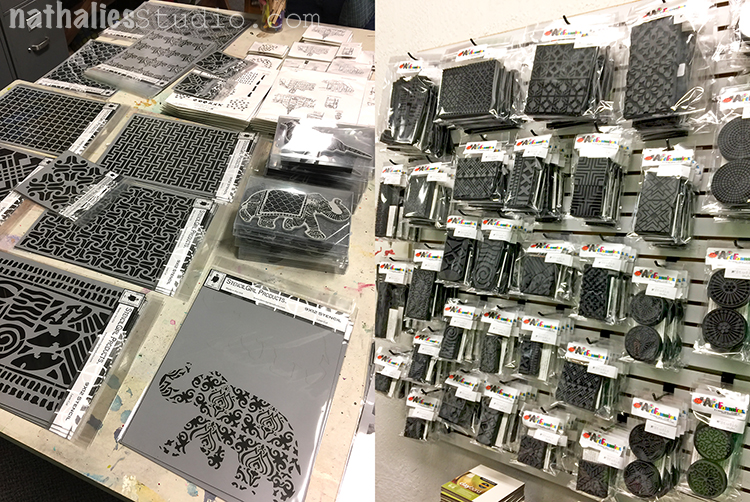
It was so cool to see all the new stamps in store as well – it was the first time I was using them in a workshop – woot woot.  A lot of them sold out but she might still have a couple!


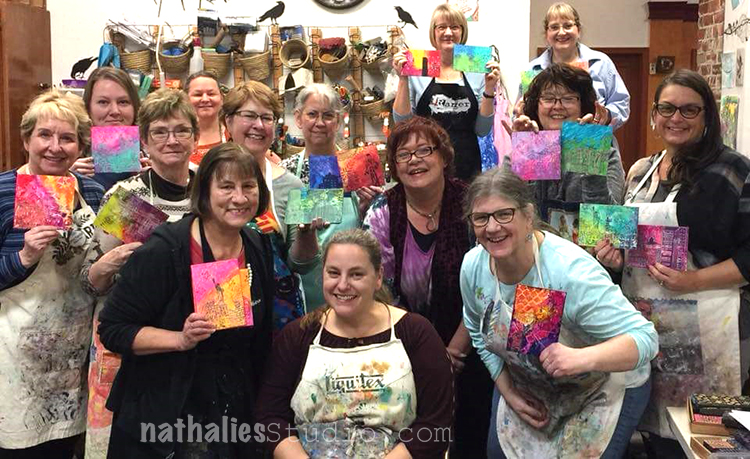
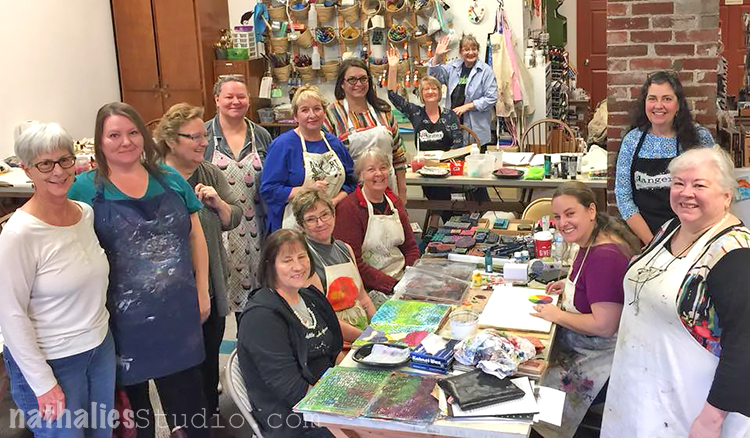
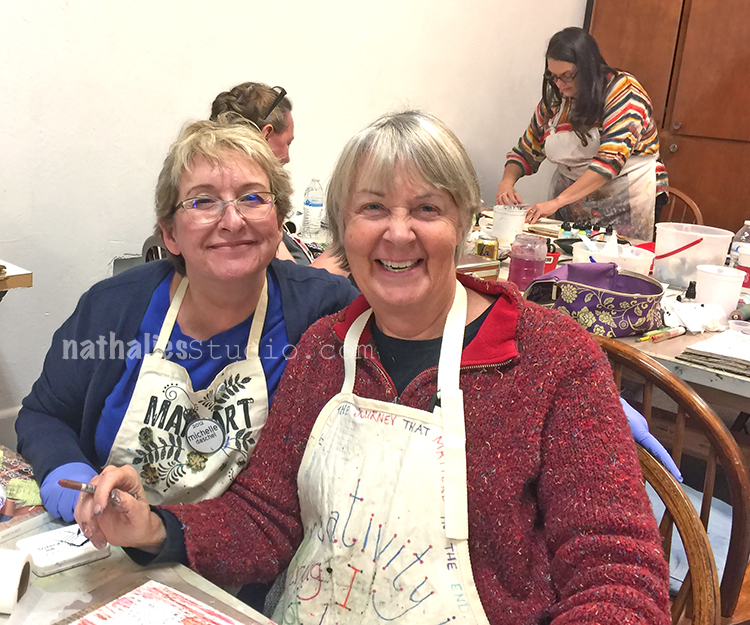
We even did a group photo- yeahhh!

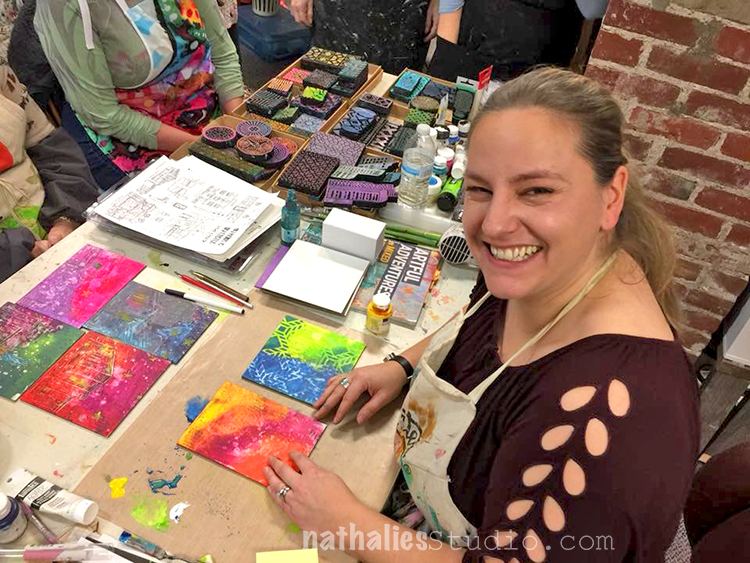
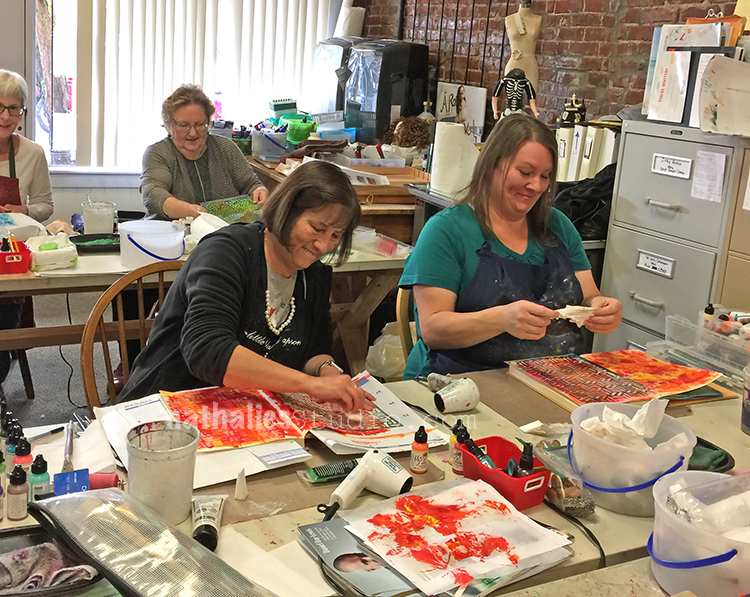
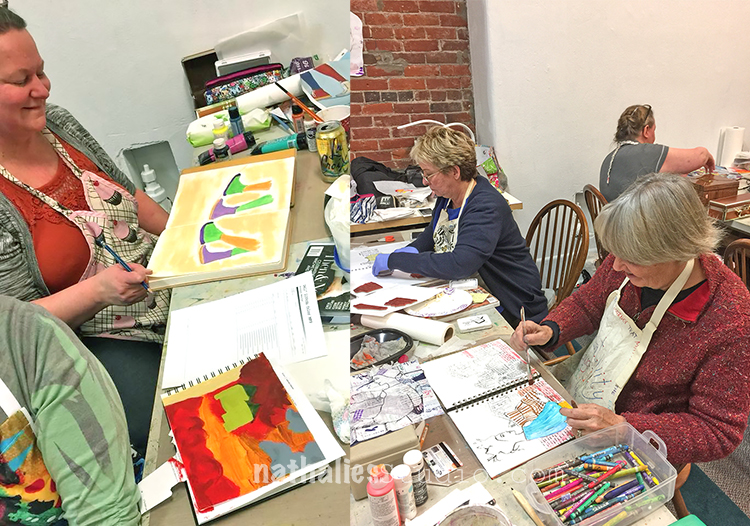
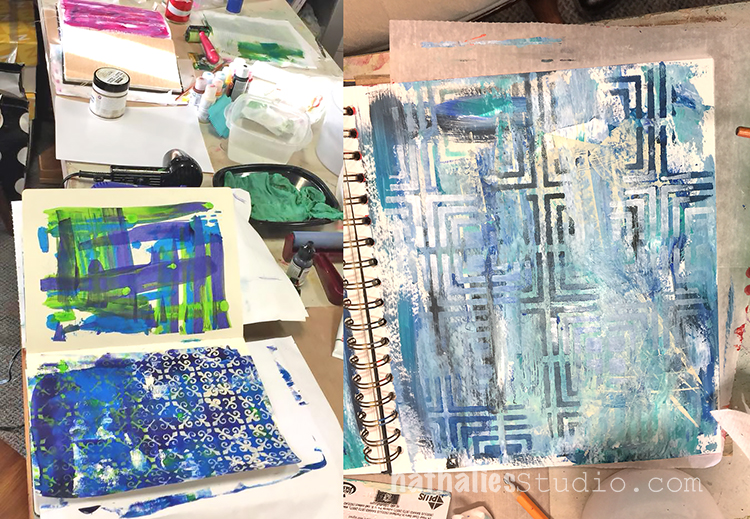
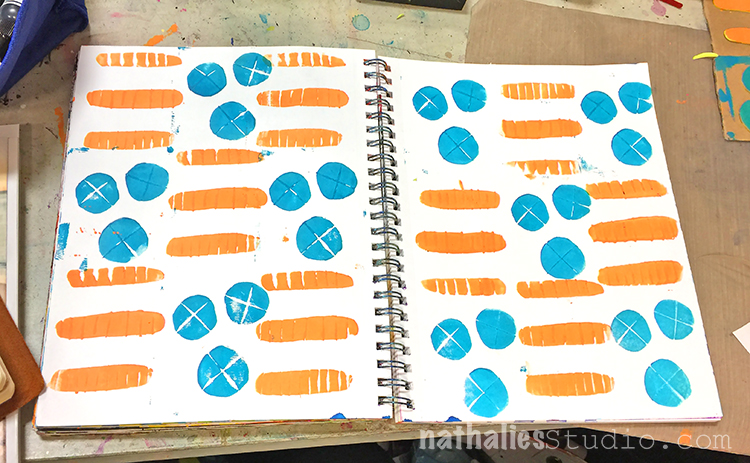
Loved the art journal classes as well- loads of pattern play and color exploration.

Look at all the stencils and stamps- It is still a weird thing to see- seriously!

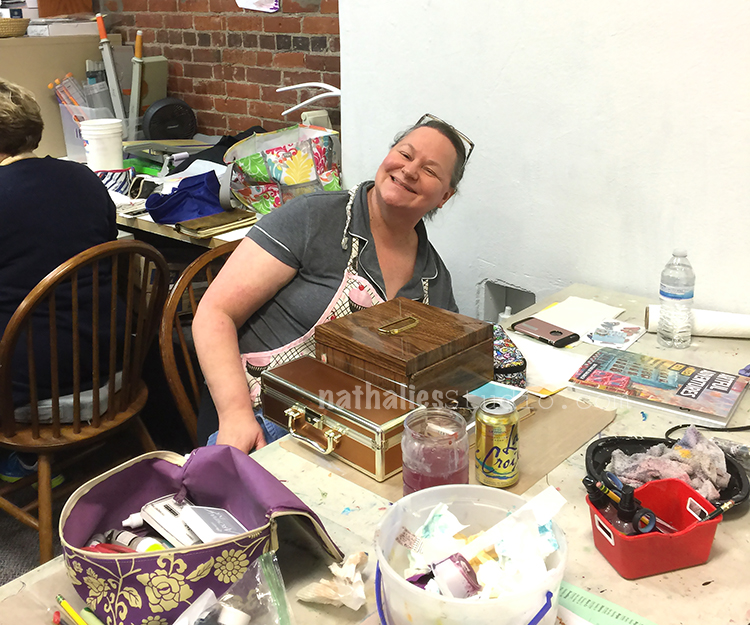
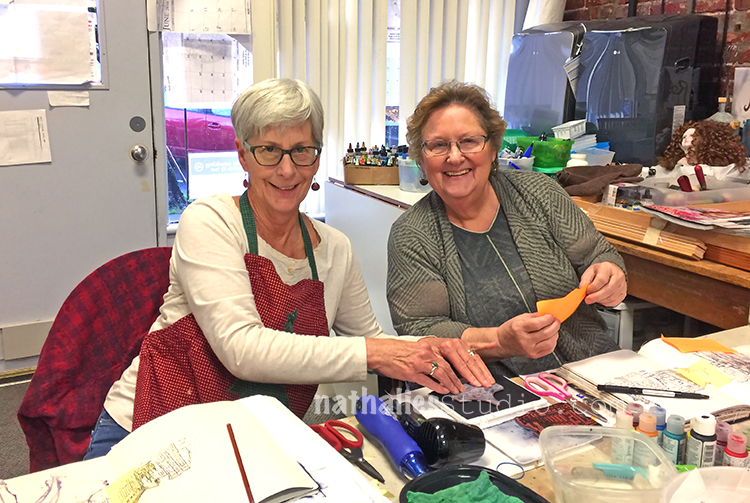
Here is my wonderful sunday crowd – they were so much fun too!!!

This weekend made me super happy- I just love hanging out with people that love to create and smile a lot :)

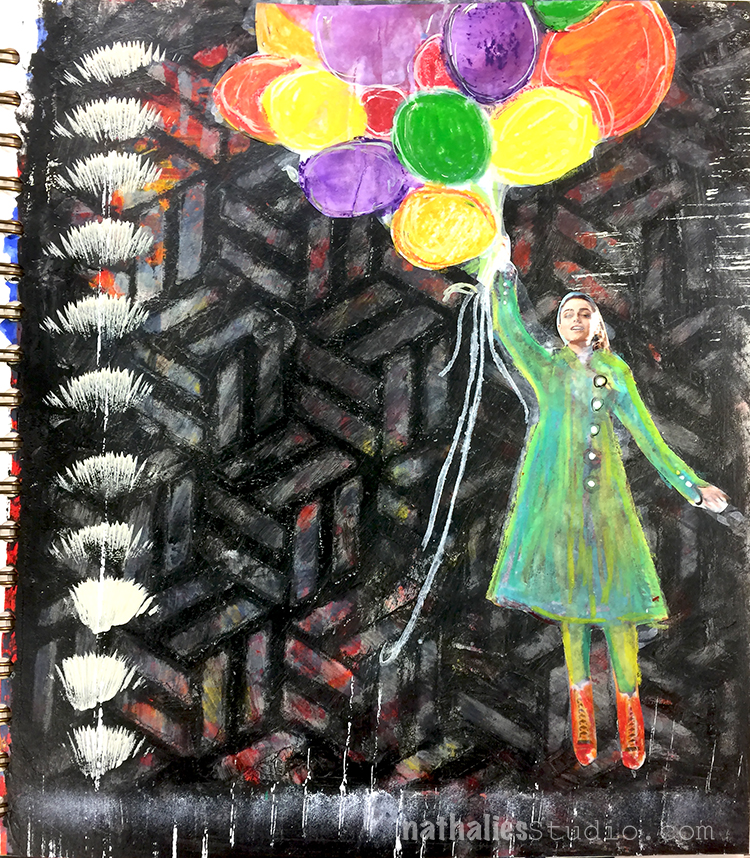
Art Journal Spread before some color hit it


Thank you so much to all the students for coming to the classes and spending such a fun and wonderful time with me and thank you Christy for having me! I hope I will be back some time :)

If you want to take a workshop with me in-person – some of my 2018 workshops are posted here – some i still need to add – I would love to see you ! I am super excited that I will actually be also teaching in Europe 4 times next year, I will be teaching in The Netherlands in April,  in the U.K in June together with my sweet friend Birgit Koopsen, in Germany in September, and in the U.K again in November with my wonderful friend Julie Fei-Fan Balzer. More infos soon :)

Comments (6)

  • Jackie P Neal

    |

    Nat,
    Such awesome photos you shared here! Obviously you taught well and these ladies were so inspired- the artworks they made are beautiful!
    My favorite photo is the one that shows all of your stamps and stencils!! What a feeling that must be to see that and to know you have realized a dream! Congratulations to you on all of your endeavors!
    Off to Rubbermoon to see your new stamps- I am so syked! (sic)
    hugs & love,Jackie

    Reply

    • nathalie-kalbach

      |

      Awe- thank you Jackie- it is indeed always a weird feeling to see the stuff in a store- kind of a like a pinch me now moment :)
      hugs and love right back :)

      Reply

  • Clavell

    |

    You set the tone for FUN, Nathalie! I loved your exercises in color theory and your encouragement to find our own style by exploring the work of our favorite Masters! You are a wonderful and gifted teacher! ♥

    Reply

    • nathalie-kalbach

      |

      It was so wonderful to have you Clavell! Loved what you did with the boards and your flower -exercise was so beautiful. Have a wonderful holiday season and hopefully next year again :)

      Reply

  • Pam Hansen

    |

    The weekend was so awesome. It was so much fun, definetly lots of smiling and learning going on in my corner! Thank you for sharing your artsy goodness, smiles, talent and time with us.

    Reply

    • nathalie-kalbach

      |

      Pam – it was so wonderful to meet you- I loved having you in class and going full in with all the creative inspiration. Have a wonderful holiday season and lots of time for artsy goodness :)

      Reply

Leave a comment