Cards

Just A Quick Note – Card

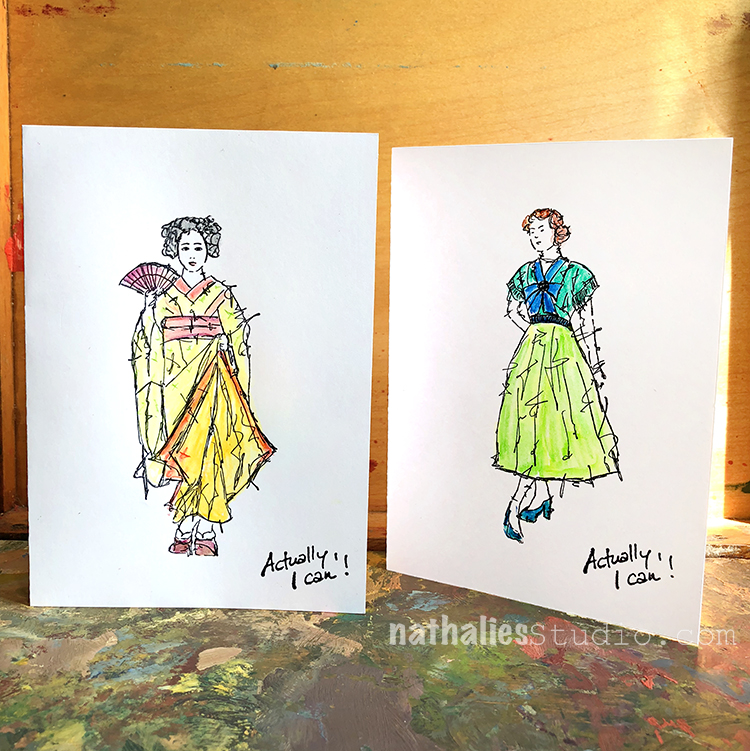
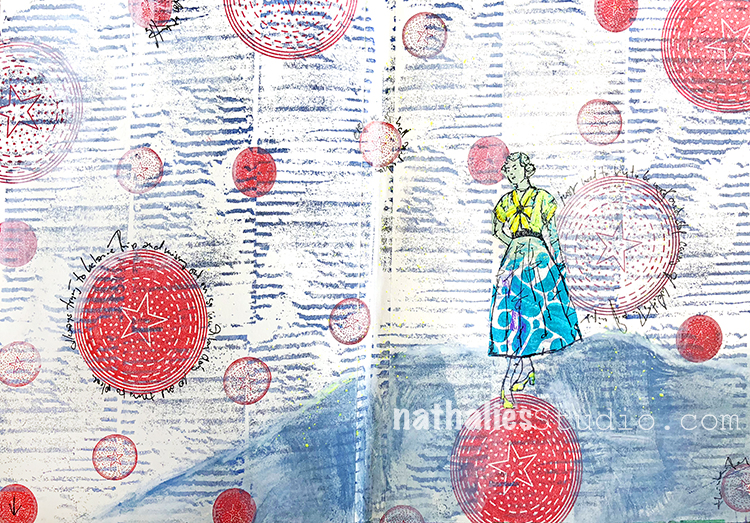
Never hurts to have a little stack of cards ready to go .

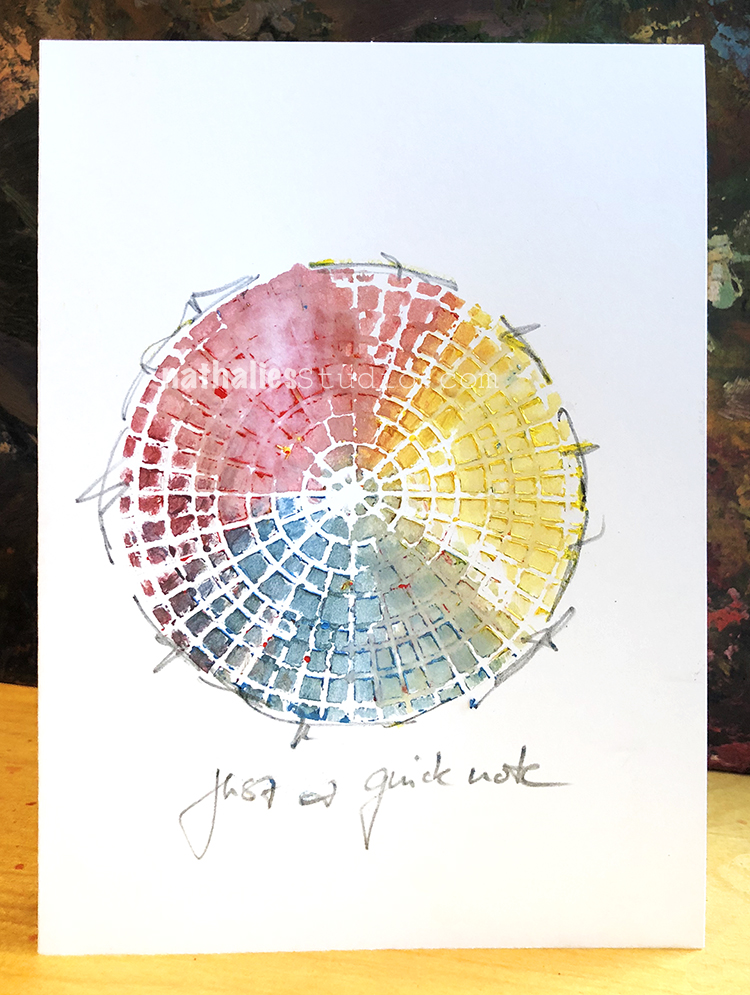
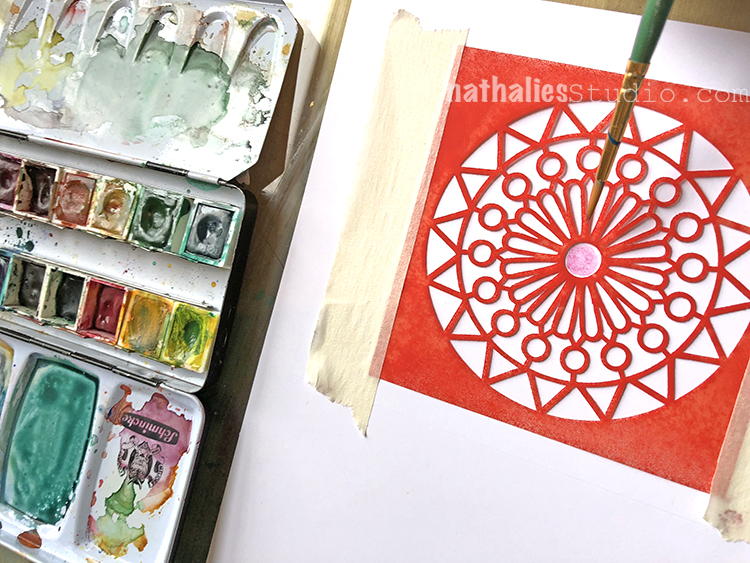
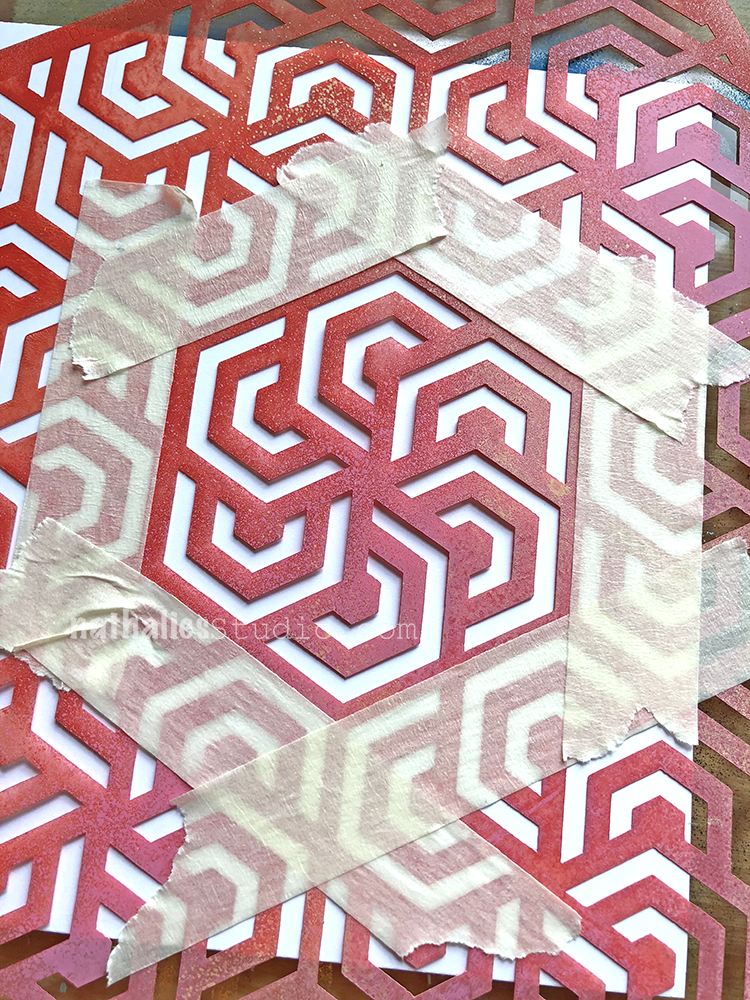
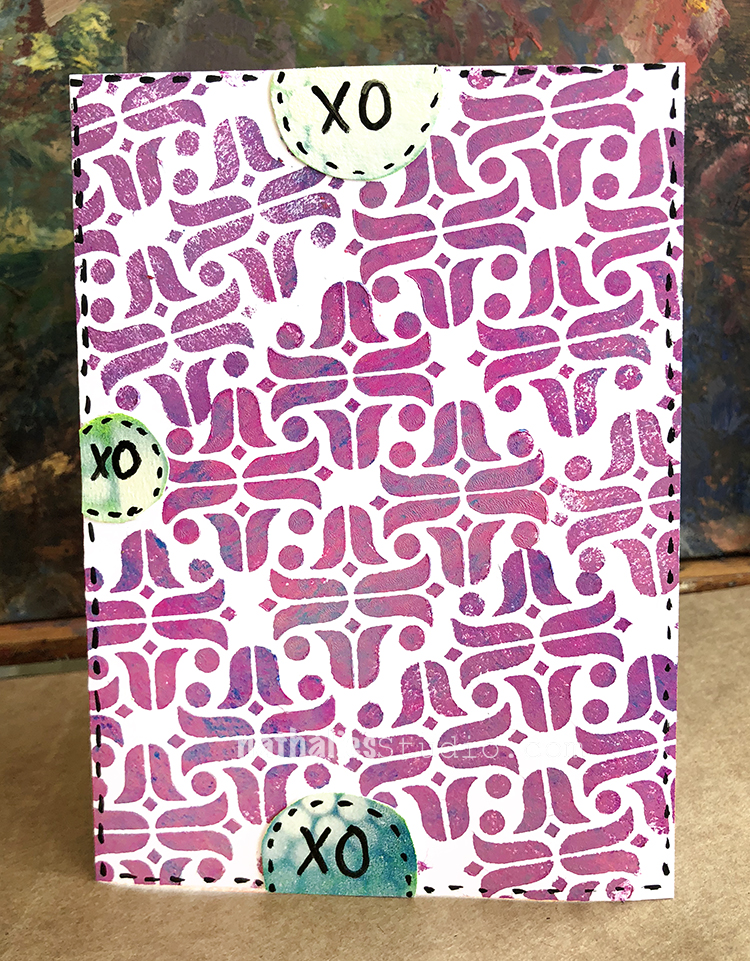
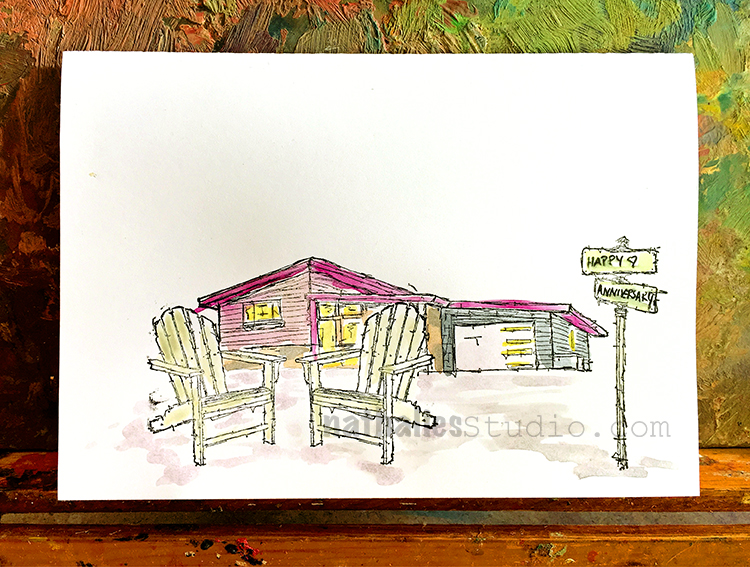
I created this quick note using my new Central Avenue Stencil and Stabilo Wood Pencils.

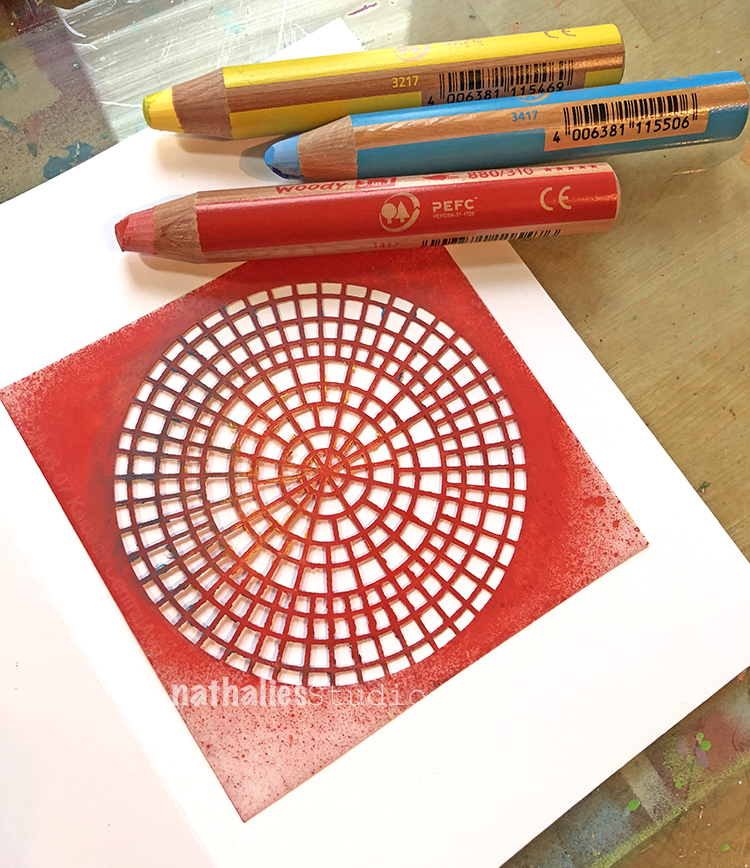
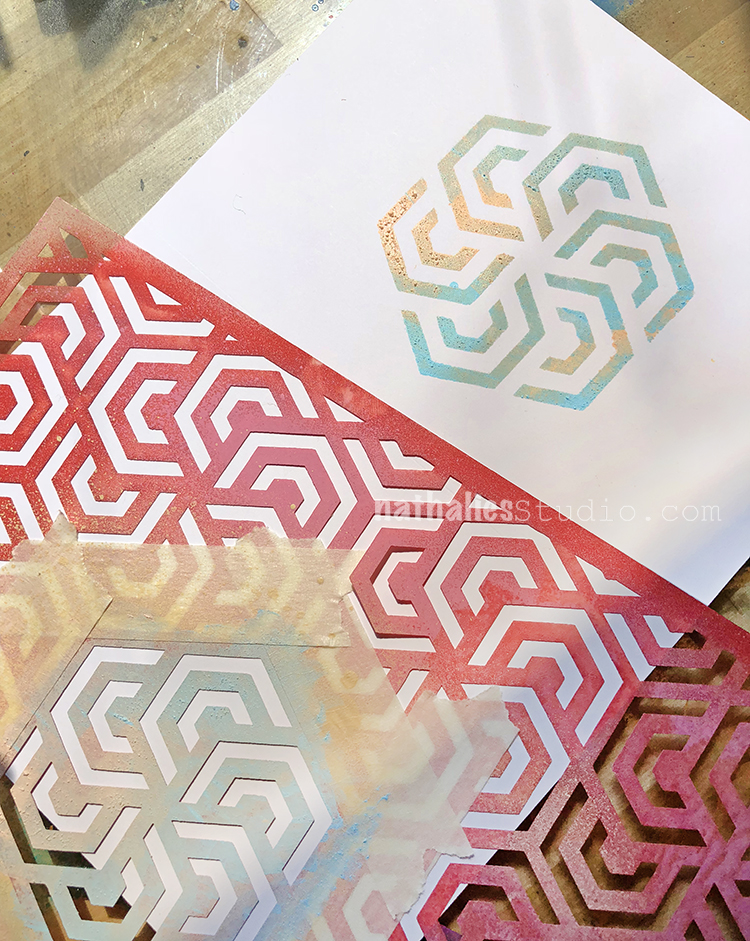
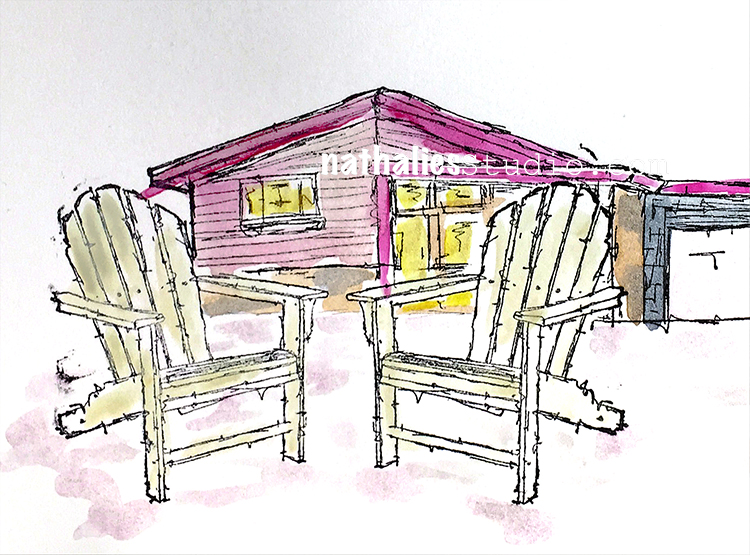
I simply placed the stencil onto a blank card and rubbed lightly some different colors against the stencil. The pigments of the very soft woody pencils accumulated on the edges of the plastic of the stencil.

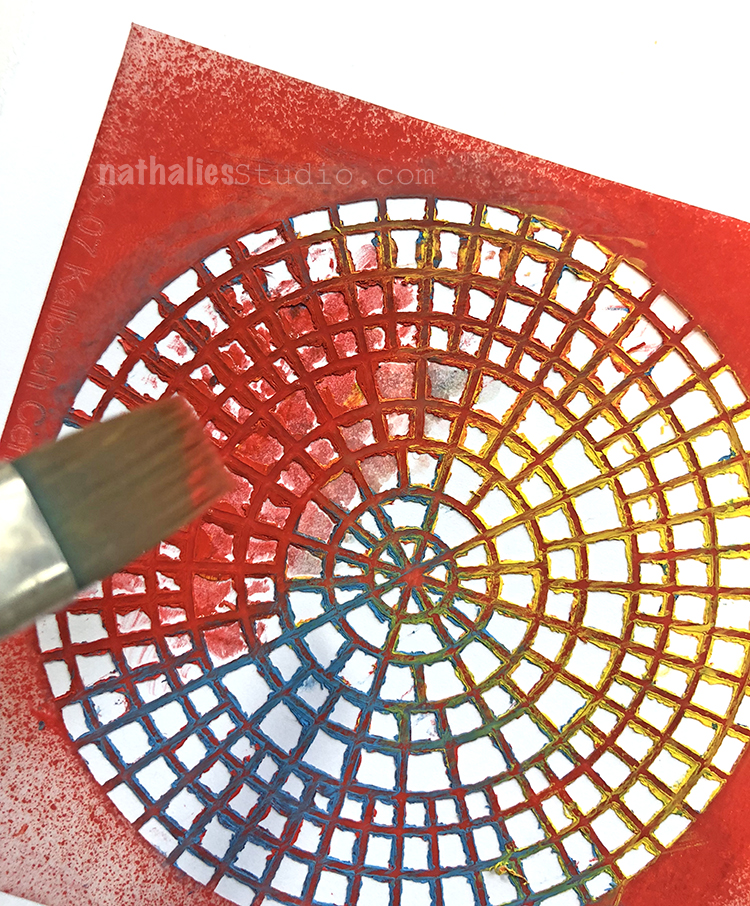
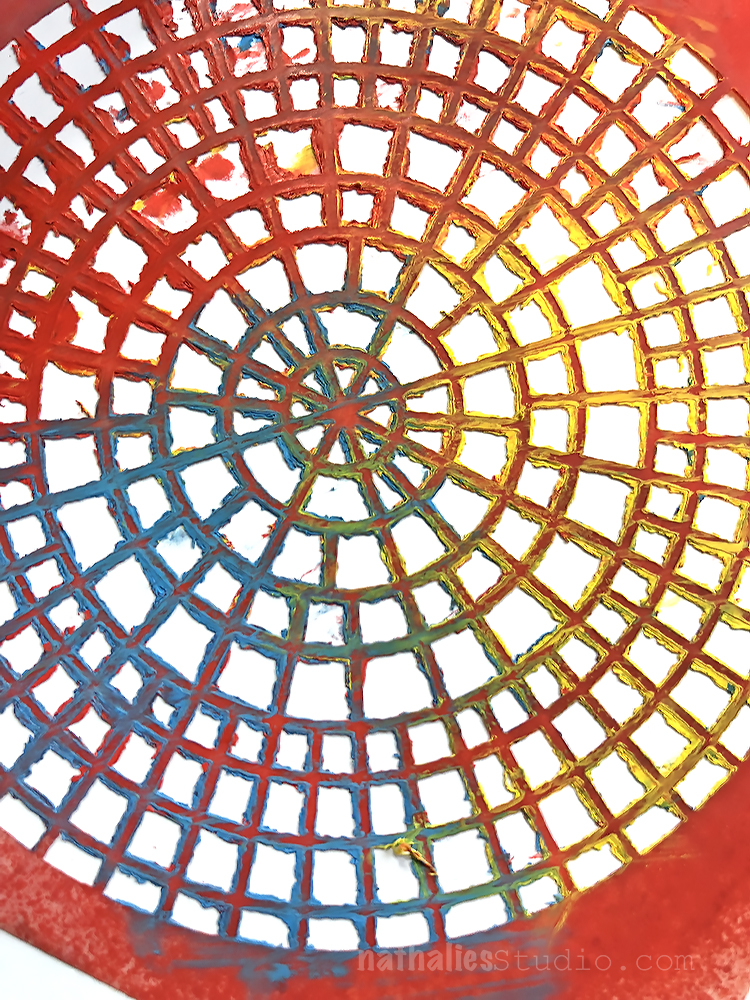
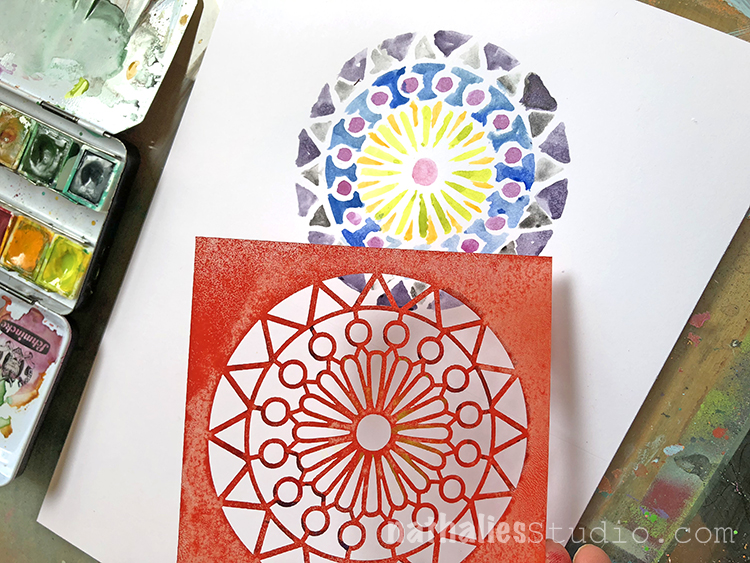
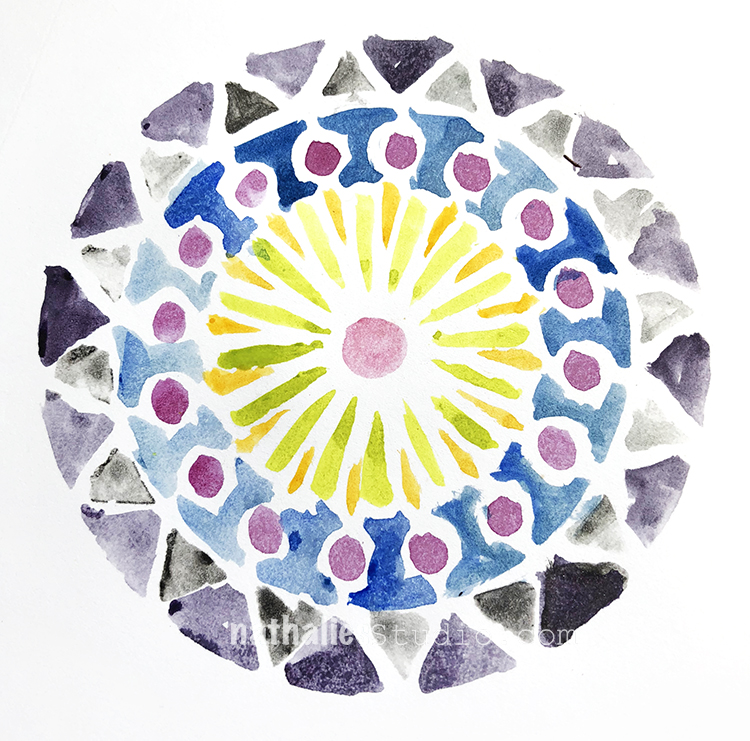
Using a slightly moist brush I brushed over the stencil grid, and blended the different colors together to get some nice color mixes as well.

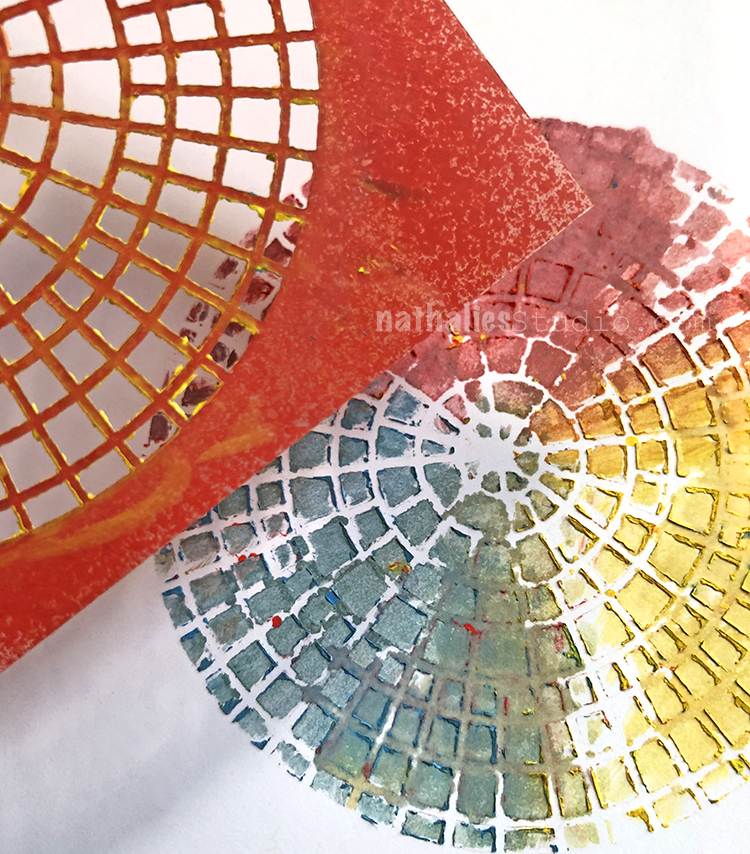
The stencil needs to be wiped off with a rag or baby wipe so that any leftover pigments won’t be applied to a future project.

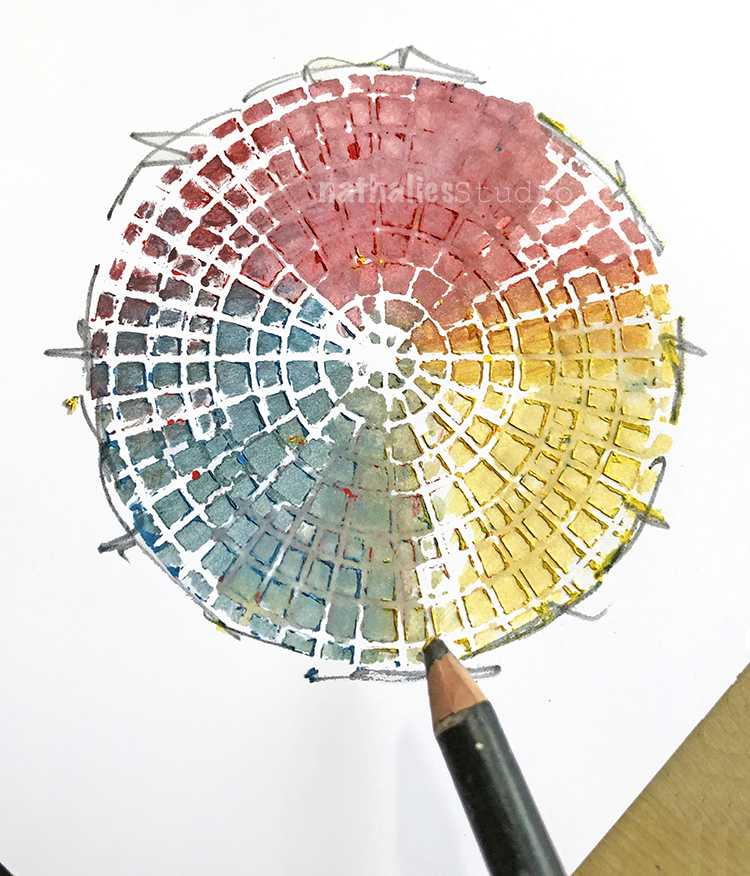
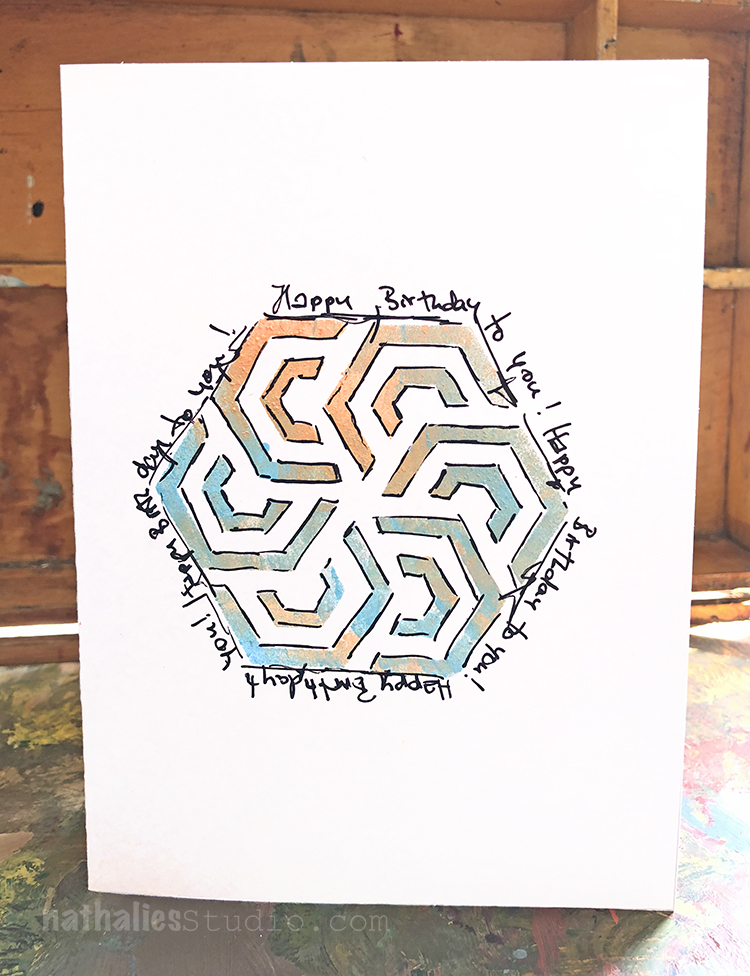
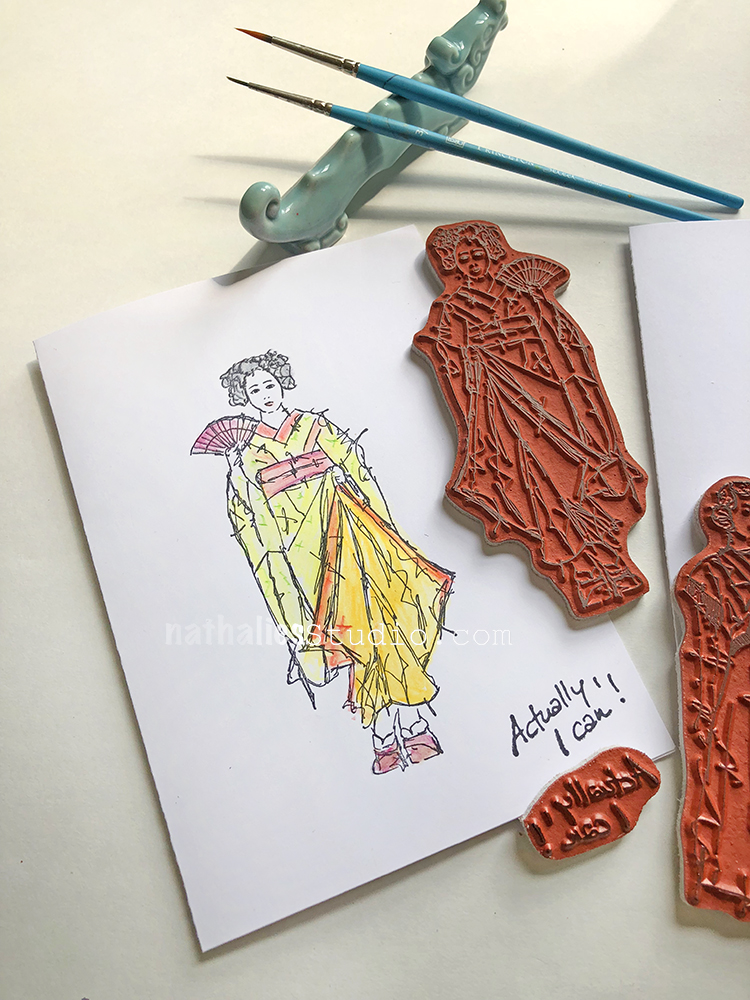
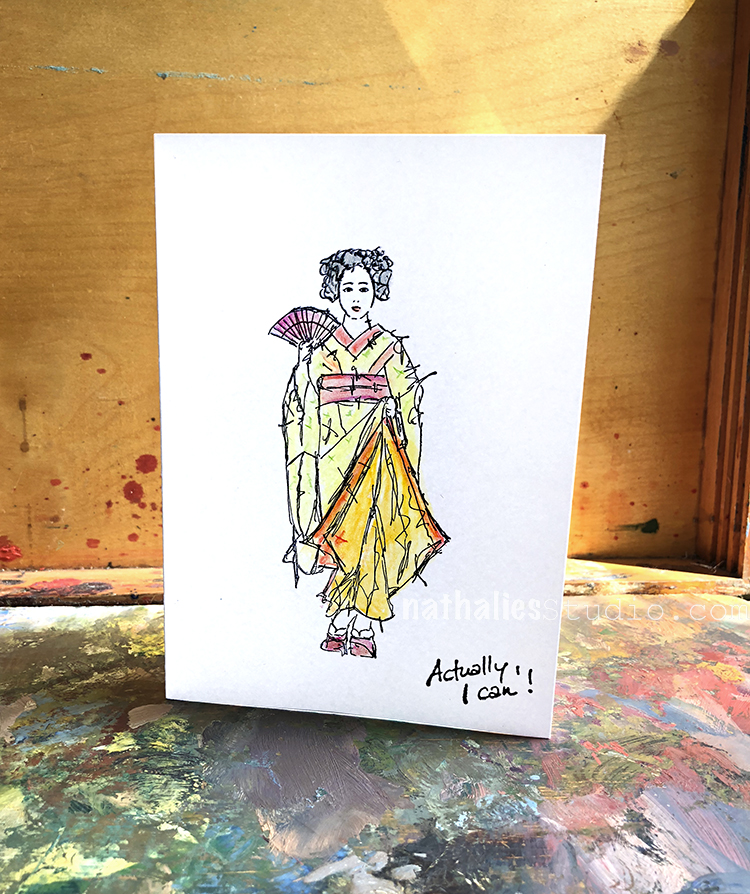
I dunked a black watercolor pencil into water and applied some scribbles and the sentiment to the card.

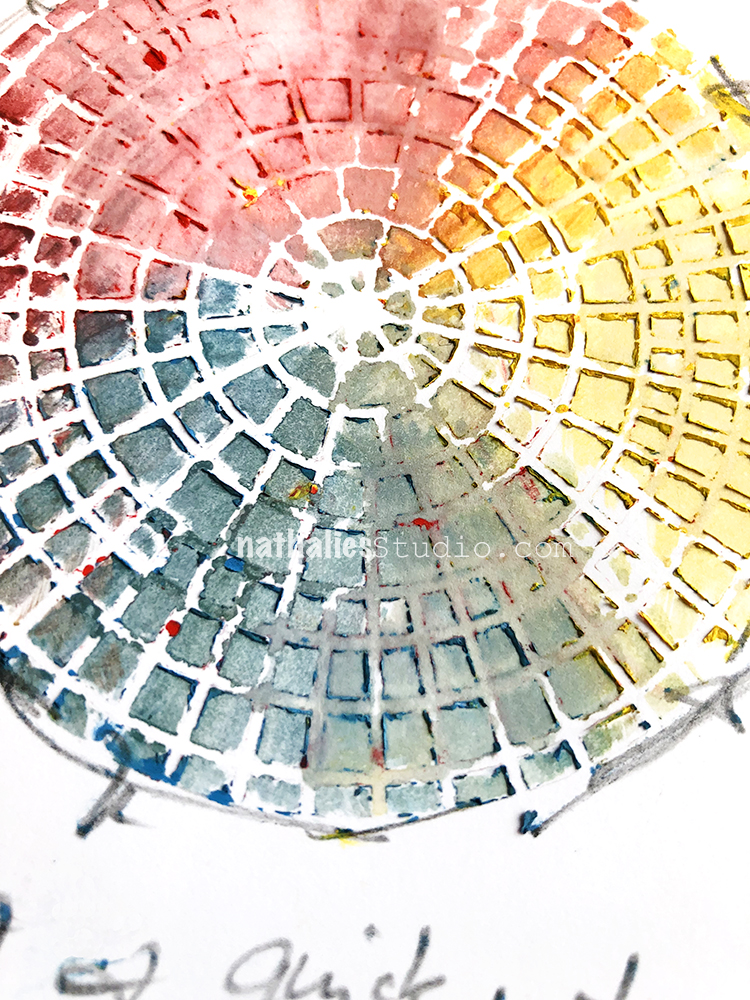
Love how dimensional the effect is doing this method.

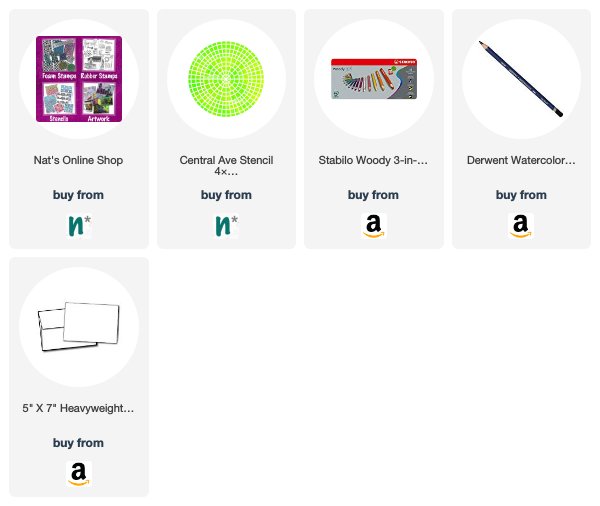
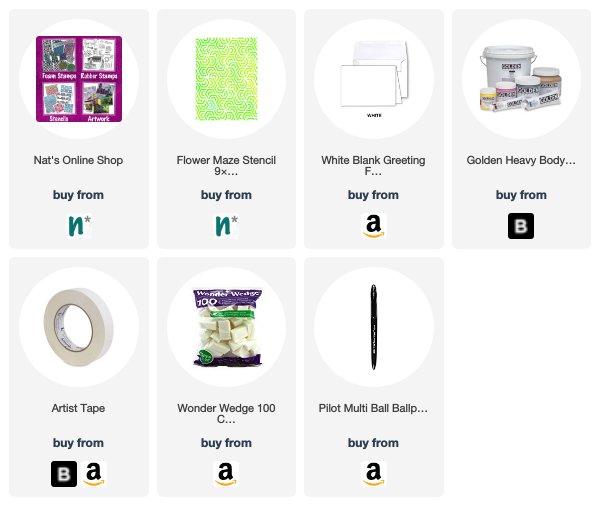
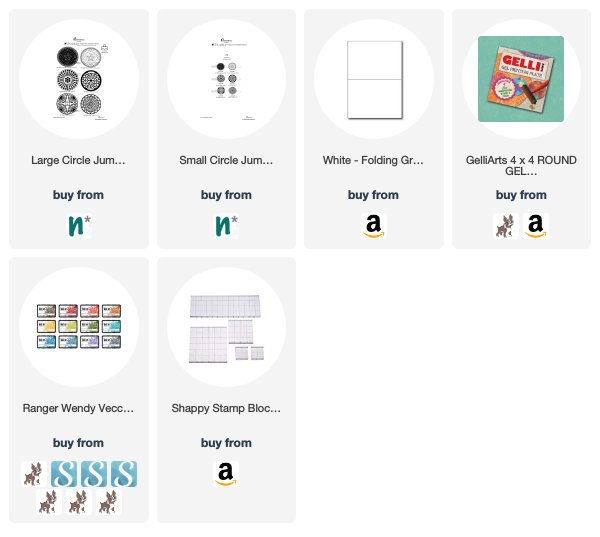
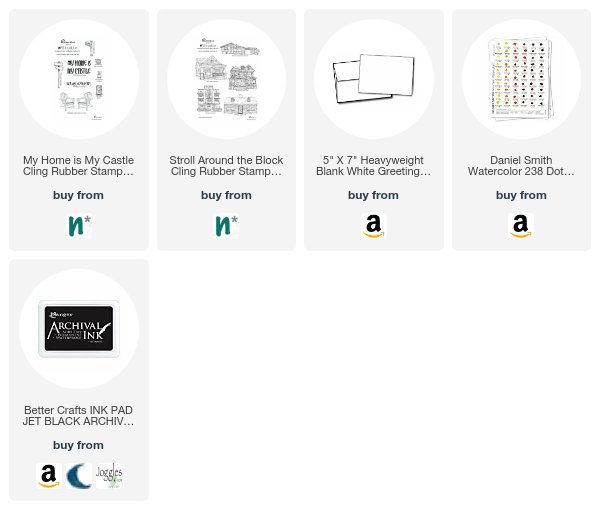
Here are some of the supplies I used for this card:


Comments (2)

  • Jill Adamy

    |

    I am totally in the same mindset as you with having a little stack of cards handy just in case you need to send something along. And I love making them, especially out of just found items in my studio. Love what you did here! Thanks for sharing!

    Reply

    • nathalie-kalbach

      |

      Thank you so much Jill! Love that you are also love making cards to have on hand :)

      Reply

Leave a comment

Watercolor Stenciled Thank You Card

I am really enjoying playing with watercolor and stencils – I love the way a stencil helps you for the design but I love the loose look of watercolor.

I taped down the Valley Road Stencil and then started coloring in the pattern with different colors. The trick is to be less generous with water which seems to be a bit counter intuitive when using watercolors :)

Lift the stencil and there you go –

So much fun!


Leave a comment

Flower Maze Happy Birthday Card!

Lately I have fun making cards. I don’t like to spend a crazy amount of time on them but when I have no time for painting or art journaling it is such a fun way to spent some time with paint and ..never bad to have some of those handy :)

I taped an area of my new Flower Maze Stencil to make sure I just stencil inside the hexagon which kind of represents a flower for me :)

I used a cosmetic sponge and dabbed it in different colors of acrylic paints which were next to each other on a paint palette. The pouncing left some raised textured areas which I really love. I am such a sucker for texture :)

I used a black pen and outlined some areas and then wrote my Bday song around the flower. That was fun. Here is the card again

Now …let’s see who gets this card for the birthday – it is ready to go :)

Here are the supplies I used for this card:


Leave a comment

Actually I can – Cards

I made some cards using my new Actually I can Rubberstamp set.

I used some Derwent pencils to color in the stamped images and then blended some areas with a wet brush together.

Fun, quick and now I cannot wait to send those out :)

Here are some of the supplies I used:


Comments (2)

  • Rebecca

    |

    Love these stamps, got mine this week!

    Reply

Leave a comment

XOXOXO

Just a little card using some acrylic paints and my new Amsterdam Foam Stamp – some collage paper and dashes- done :) I do have two sizes of the Stamp in my store – check it out.

Wishing you a wonderful weekend, what are you up to ?

xoxoxo


Comments (1)

  • Jill Adamy

    |

    Love your card… it’s adorable! Great job!

    Reply

Leave a comment

Actually I Can – Special RubberStamp Release

Wohooo – Here you go – a special RubberMoon release of a new set “Actually, I can!” – Meet those two awesome Ladies and my mantra :)

Here are two cards with the Ladies colored in

An art journaling page – with Maiko being stamped on some painted deli paper

And one with Millie – also printed on deli paper.

I hope you like the “Actually I can!” Set as much as I do. They are fun for cards, and art journal pages and I cannot wait for you to see more examples and what the design team does with them :)


Leave a comment

Lucky Stars – Cards

So much fun to make some cards with my new Circle Jumble Sets. I used the Circle Drive Positive and Negative Stamps of both Sets (small and large) and just played around.

For this card I used some dye based inks on a small round gel plate and then stamped with the plate to create some overlapping circles in different colors. Then I used the small positive and negative Circle drive and stamped on top.

For this card I repeated the stamping with the inked up round gel plate and then used the Large Positive Circle Drive stamp in the center and the Small Central Drive on the sides.

And here I just stamped the Large Positive and Negative Circle Drive overlapping each other and used the Topper stamp from the set on the side. It was fun to do a coordinating set of cards- and I stacked them away to use for a variety of occasions.

Here are the supplies I used for the cards


Leave a comment

Happy Anniversary Card

A wonderful friend of mine lives in a mid century house and she and her husband were celebrating their anniversary and I thought I would send them a handmade card using my new My Home is my Castle and  Stroll Around The Block Stamps.

I stamped the Adirondack Chairs first, then masked them off and stamped with my Mid-Century Stamp on top of a blank card. I added the Street Sign and wrote “Happy Anniversary” into the two blank street plates.  I then colored everything with watercolors. I think my friend liked the card very much.

Here are the supplies I used to create the card:


Wishing you a wonderful day!

Comments (2)

Leave a comment