
Nat


Art Tapas are short videos that will give some practical tips or advice about anything that is related to tools, art supplies or processes and any Mixed Media or Hobby Artist might appreciate.
Lots of times these reflect some mistakes that I made along my journey, so to speak, things that I learned the hard way and sometimes they are just some things that I would have loved to have known when I actually started in Mixed Media. (Find the previous Art Tapas here)
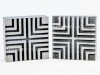
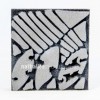
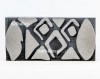
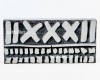
Today’s Art Tapas is about Cleaning Foam Stamps
Art Tapas – Bite Sized Tips for the Mixed Media Artist – #7 Cleaning Foam Stamps from Nathalie Kalbach on Vimeo.
I hope you enjoyed this little bite – and if you have questions that you would love to have answered in some of the Art Tapas videos- let me know below in the comment section and I might just cook one up for you to nibble on!
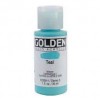
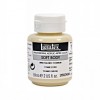
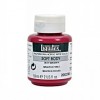
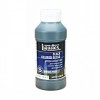
Below are some of the tools and supplies I mention in the video- some are affiliate links:



Hi Gigi, yeah I wouldn’t see how that wouldn*t be save and good idea on the leftover oils!! Just make sure you do not have any residues of any dishwasher or other soap in your stamp
I will try next time. Thank you for your help.

I haven’t washed my foamies in the past but found that when I switch from acrylic to the ink pad my print is very light. I will definitely try the Murphy Oil Soap to clean them and hopefully will get better results. Thanks for the info – love your art tapas.
Thank you JoAnn! I would assume that the ink will always give a slight light imprint because the foam is just a bit more light -but that is something that works really well to your advantage if you are up for layering.

I use Murphy’s on my brushes when they get really bad. Thanks for the tip, since I never thought to use them on my stamps. I am sure it would work for rubber stamps as well. Question: did you use it full strength or diluted with water?
Kathy, I diluted it a bit with water- but not much. I was really a bit worried about getting the oil out of the foam later – so I wanted to make sure this is not going to be the super gooey stuff :)

I have Murphy’s soap at home and use it on my floors. I never would have thought of using it on my foam stamps.
I will have to try it. Usually I use a baby wipe to get the paint off and then rinse for a long time in the kitchen sink.
I will try your method next time I use paint and my foam stamps.
Thanks for your creative insight Nat.
Thank you Sue! This is really only when you have totally dried up layers of paint on your foam stamp – I think I would not use it on a regular basis.

I love that you figured this out! So so cool that there is a solution for our foam stamps. I am really really bad about being in a groove and not getting up to go to the sink! EEK! I do employ the baby wipe method as you mentioned, but this is going to be a game changer. Thanks for sharing. Hugs!
<3 Thank you Rae! I know it is hard sometimes to keep up with cleaning the stuff - I am too :)
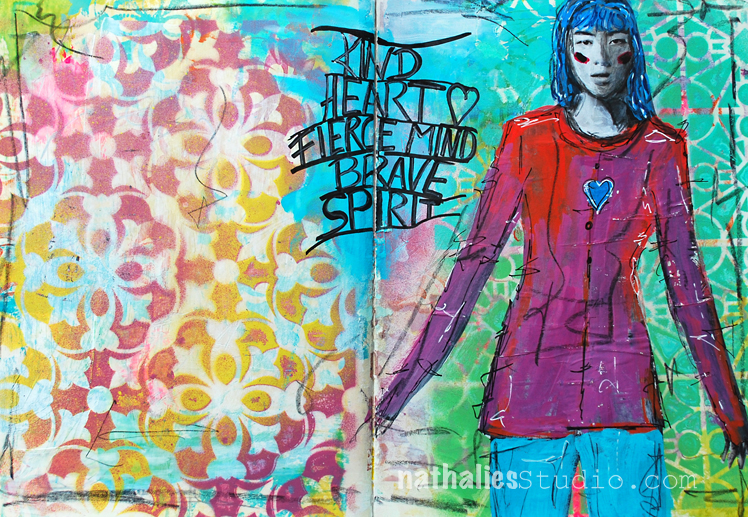
Pretty much how I want to feel right now with everything!
This spread started out as a demo page at my workshops in San Jose in January . I actually showed how to use spray paints with stencils and we used some Montana water based spray which I really fell in love with. They have a matte finish – and the look is so different from the look of the more shiny glossy finish of my Liquitex Spray paints. Plus…they come in those mini spray cans! I am still debating if I should buy those…because I do have…enough …spray paint…but ….you know ;)
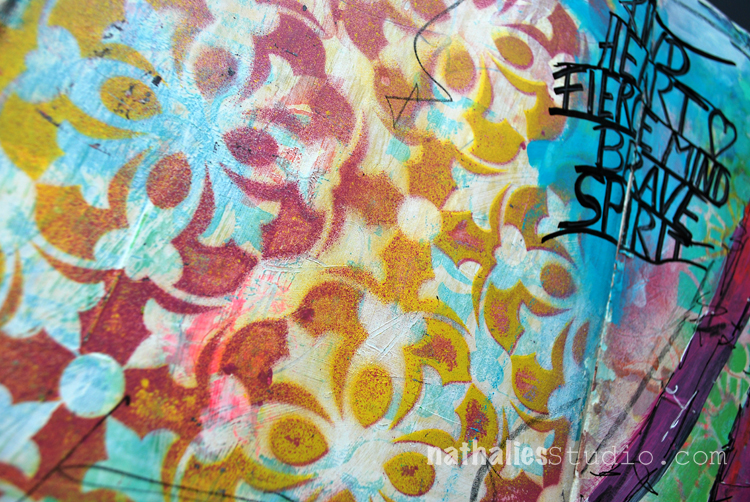
I used the Versailles Stencil on the left and the Buenos Aires Stencil on the right. I added some of the background color and added it with my finger to the middle top, smoothing it out and bringing both sides together by journaling over that part.
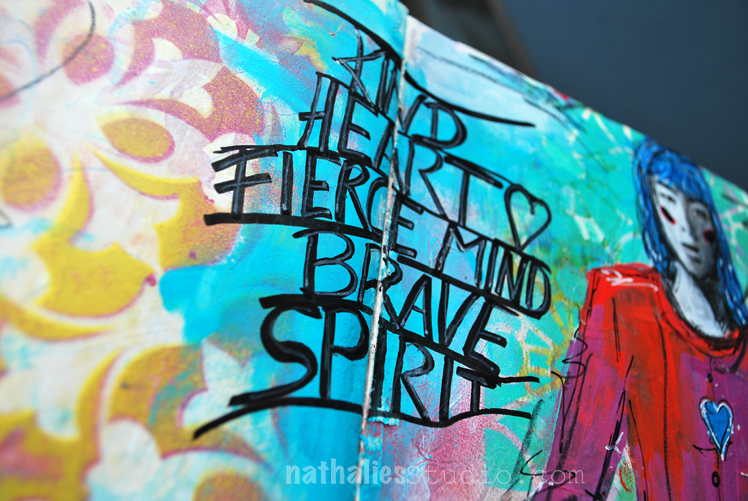
This page makes me happy – happy memory from the process of making it and my awesome students , happy colors and good message :)
Here are some of the supplies I used for this spread – some links are affiliate links
Wishing you a wonderful day!

Thank you for the inspiration to integrate two very different pages into one whole piece (God only knows how many of those pages i have; now i just need to carve out some time). I love this page…it makes me very happy two and brings back fond memories of your visit. Thank you, thank you!
So glad you like it Julie! Go get your time :) Even if it is only 10 minutes a day- I am always surprised how much you can actually do in just 10 minutes ….the downside is …many paint splatters on clothes that are not meant for painting “oh ….I am dressed for going out but hey…only 10 minutes and I should not get paint on my clothes” yeah – sure ;)
You can never have enough paint as it gets used up…just saying. Enjoy your day Nat.
Hehehe- I know ;) I bought it …ahem ;) Enjoy your day too Sue and have a wonderful weekend!
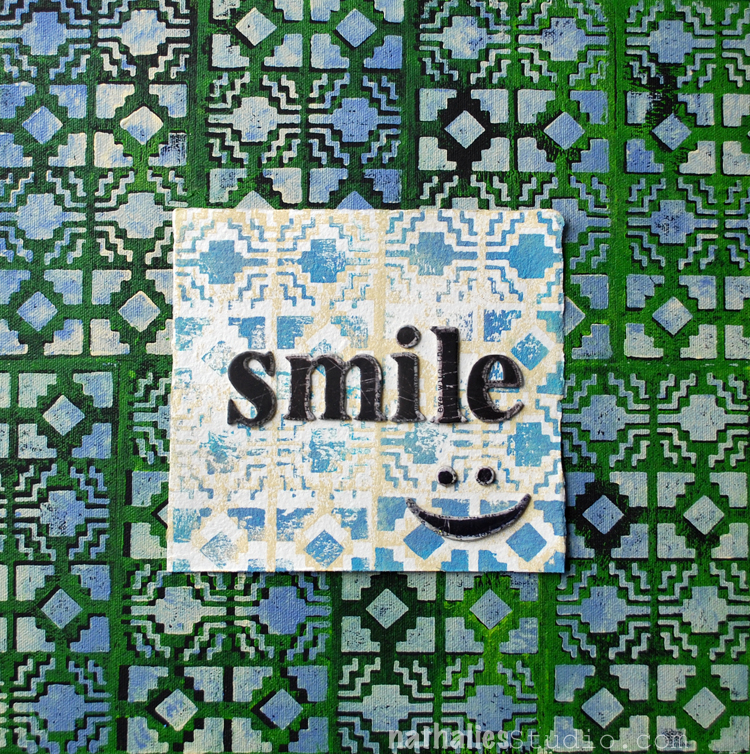
This is another board I made for the ArtFoamies booth at Creativation. It was a simple project, but when you are displaying for a trade show it is important that you have samples that show in a fast way how to use certain products- and here I simply wanted to have something that would show how the positive and negative foam stamps I created work.
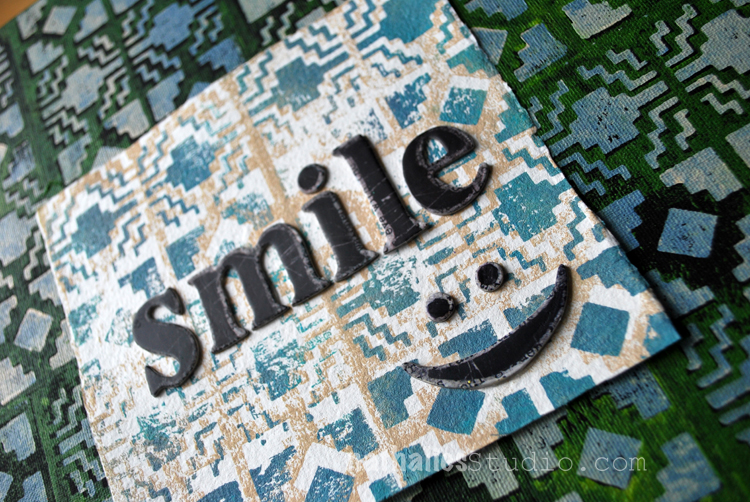
I used the Santa Fe positive and negative Foam Stamp Set and stamped with different colors onto a black board. I love how much depth a bit of an offset stamping and the black background creates. For the top I stamped on some hemp paper which has a very different quality and texture. It also feels almost like fabric and it is quite durable. I love how different the texture of the paper makes the pattern look.
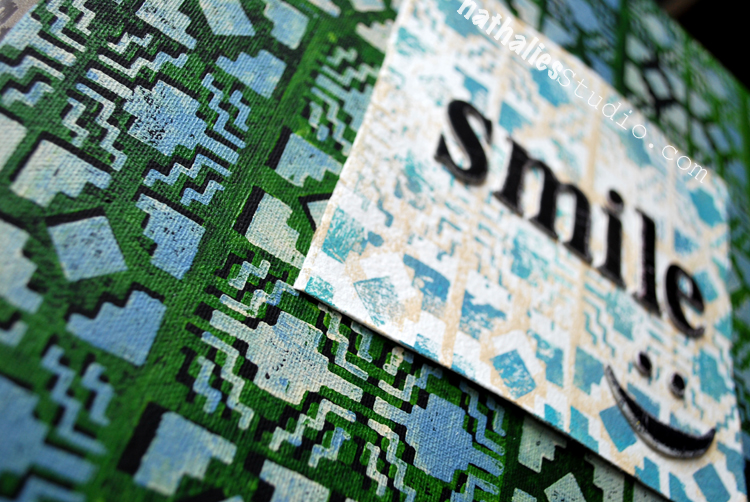
It is a very in your face project- LOL – so ….Smile ;)
Here is a list of supplies I used for this -some links are affiliate links:
Have a gorgeous day

Hi Nat – Is the hemp paper like color press watercolor? Thanks.
Stephanie, it is really hard to say – it is like handmade paper with a kind of fabric like feel to it -yeah maybe a bit similar to a very good and thick cold press watercolor paper, but then not as thick. NOt sure if that helps and makes sense :)

I’m introducing a new blog post today that I’m very happy to share with you – a feature I’m calling Nice to Meet You! From time to time I learn about some amazing artists out there who are working with my stamps and stencils and are creating some pretty fun and exciting projects. It’s always inspiring to see what others do with my designs and sometimes they even introduce me to a new way of seeing the pattern or a new technique to try on my own. Today I’d like to introduce to you Sherry Canino to kick off this new series :)
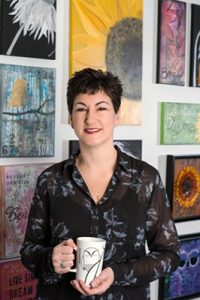
Please introduce yourself to our readers:
Hi I’m Sherry Canino of Canino’s Artistic Café and I live in Upstate NY in a town called Liverpool – this is about 5 hours from NYC so I am not a city girl, where I live is very much suburbia.
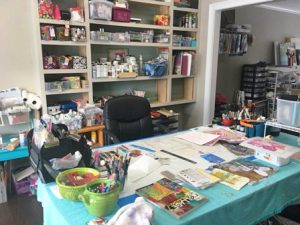
How do you make time to be creative?
The evening is when I make sure that I carve out a little time for myself in my art studio – I am fortunate to have a large space in my home that is set up as a studio, which makes it easier to have that creative time. I really like to have an hour or 2 (although sometimes it’s just 20 min) in the evening to just chill out in my studio and work on something for me – it might be art cards, a journal page or just dabbling and trying out new products or techniques but this is my “me” time and I don’t force having to finish a project or even make something that I like, I just allow it to be what it is and that is my “down time”.
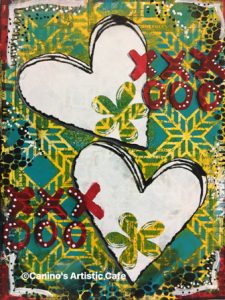
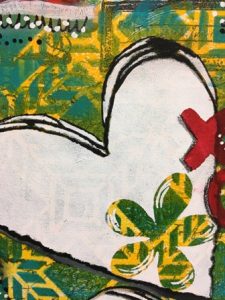
What are some of your favorite n*Studio stamps / stencils?
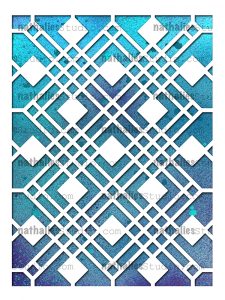
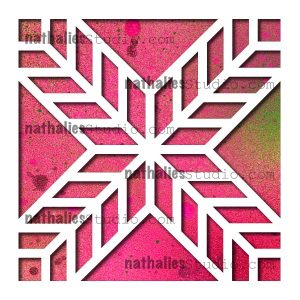
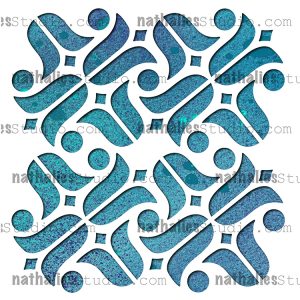
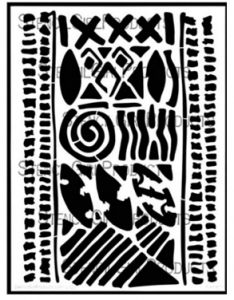
How do you love to use them?
I love to create fun gelli prints for collage elements with my n*Studio stencils, I also love to use them as backgrounds on art journal pages and the mini 4×4″‘ stencils I love to use as focal points in my journals. I also tend to have an eye that picks apart a stencil and I love to use just bits and pieces of a stencil especially in not the typical way and the n*Studio stencils are amazing for that.
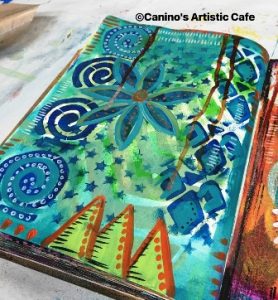
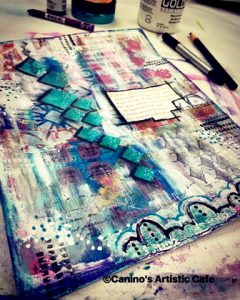
What is your favorite medium to work in?
I started out working in an actual art journal and I do still sometimes but I find it more flexible to use individual sheets (especially because you can choose your substrate – mixed media, watercolor paper etc) but also you can turn the paper around and work on it at all angles a bit easier without the bulk of a book. I love my acrylic paints I probably have some of every brand out there. My newest love is watercolor crayons and lately I have to add a bit to almost everything I create.
What inspires you to be creative?
Sometimes watching others create is a huge inspiration to me but mostly it’s just something inside of me, a passion that is constantly screaming to get out (yeah I know sounds a bit odd lol) but it’s true. I really love to share my passion with others – social media has allowed for more of this. I have recently started what I call “Stencil Crush Tuesday” Videos on my YouTube channel and this has allowed me to express and share my passion for creating. I like to say, “the more I create the more I want to create”.
Do you have a favorite artist?
It is really hard to have a “favorite”- there are many who have inspired me throughout the years: Back in my scrapbook days Julie Balzer’s uninhibited approach to doing her “own” thing, also Donna Downey and her change and growth from scrapbooking to other forms of art has been amazing to watch, and about a year ago I learned of Flora Bowley who has had the greatest impact on me in teaching me to be “authentic” and finding my own style (which by the way I’m still not sure I have one lol) by studying other artists, practicing their style, and then using bits and pieces that you have learned from each one to “Create Your Own Style” and I have really heeded that message.
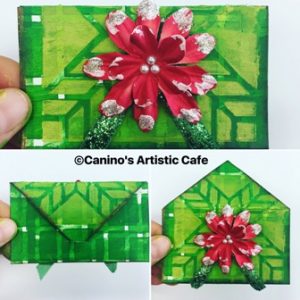
How did you get into art-making?
I have been a creative since I was a kid although I never thought someday “I am going to grow up and be an artist”. I started scrapbooking about 14yrs ago and slowly transitioned into art journaling about 10-11 years ago. Then with things in my life changing, my son grown up etc, I was allotted more time to decide “what do I want to do when I grow up?” So I started Canino’s Artistic Café in 2014 and although it’s been a ride to say the least, I have met so many amazing people and artists since I started this journey, that in itself has been “worth its weight in gold”. I also work as an Art Therapist with individuals who have eating disorders in an Out Patient Clinic here which has been a blessing for me to be able to use my art to help others. All in all I’m not where I want to be yet but I am happy where I am and I have learned to enjoy the journey.
In three words, how does your art-making make you feel?
Peaceful, happy, blessed
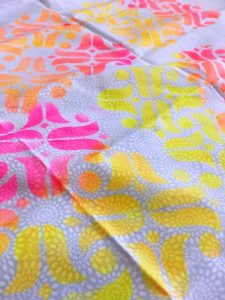
Thank you for sharing your story with us Sherry! It’s wonderful to hear how you’re using your art in your community and I cannot wait to see what you do with that Amsterdam stenciled fabric.

I really enjoyed the demonstration, thank you. I wondered if it would be possible in future to leave the text on the screen for longer, as in some cases I did not have time to finish reading it.

At this time the editing program I use only allows me up to 7 seconds max but I am in the process of exploring and learning a couple new editing programs that will all for for more features ❤
Gill – you might wanna let Sherry know since that was her video :) – I am sure she will appreciate the tip. Thank you for coming by :)
Great profile!
Thank you Stephanie ❤

Yay Sherry! I love watching you progress. xoxo
Aww thank you Tammy. Miss you ❤❤
Yeah Sherry! So nice to read this new feature and to see that you’re the first person to do it.
Nice new feature Nat.
Sherry is a very creative person who does wonders with canvas and flowers.
She is also kind and friendly.
Awww thank you so very much Sue you are so sweet ❤❤❤

This a wonderful feature to your blog!! I enjoyed it very much. I’m new to using stencils, so following you two talented ladies I look forward to seeing what you post.
yeah – you will love playing with stencils- they are so versatile!
Nathalie thank you so much for allowing me to share a bit of myself with your readers and with you. You are beyond inspiring and the more I watch you and your team with your stamps and stencils well you know how that goes I want them all haha. Thank you so very much for this opportunity it’s been a huge honor ❤❤❤
So wonderful to have you and cannot wait for more of your Stencil Crush Tuesday videos :)
In the mornings I play in my art journal to get myself into the creative groove and break the ice – so to speak- and get ready to paint. I recorded and fast forwarded my morning ritual for this video – and hope you enjoy it. Take it as what it is – a morning art journal play- not a tutorial.
Here are the supplies I have used in my Creative Ice Breaker video above – some links are affiliate links.
I hope you enjoyed the little glimpse into my morning warm up play! Have a wonderful and creative day!
Great video! A good way to get warmed up
Thank you :)
What a great video I loved watching you create in your art journal and I love those stamps !!!
Awe thank you so much Sherry!
Today is Tuesday and that means it’s time for a post by my Creative Squad! Marsha Valk is sharing a fun and creative way to use the Batik Pattern 3 Foam Stamp, as well as the Batik Stencil, the Embroidery Stamp Set, and this month’s theme: Let’s Go Somewhere. We’re in the depths of winter here in the Northern Hemisphere and looking for an escape! This month let’s reminisce about past vacations and plan future adventures to help us get through these gray days.
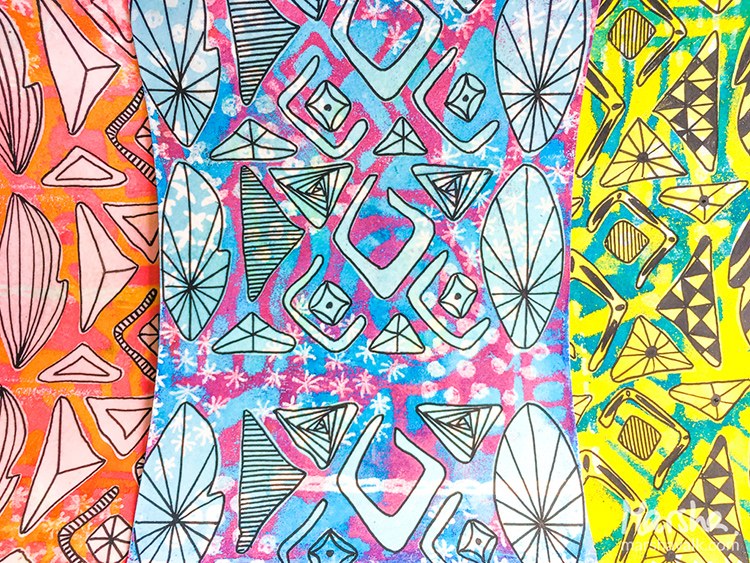
Let’s Go Somewhere… Somewhere exotic… somewhere where there are palm trees… cocktails… and where the women wear beautiful patterned summer dresses in vivid colours!
The assignment was to use the Batik Art Foamies and batik only means one thing to me: fabric. So I decided to create patterned designs using embossing powder instead of wax in an attempt to make my paper look like batiked fabric. I’m not sure I succeeded, but it was a fun experiment!
Here are the steps I took. There are a lot of repeat steps, to create a multilayered look!
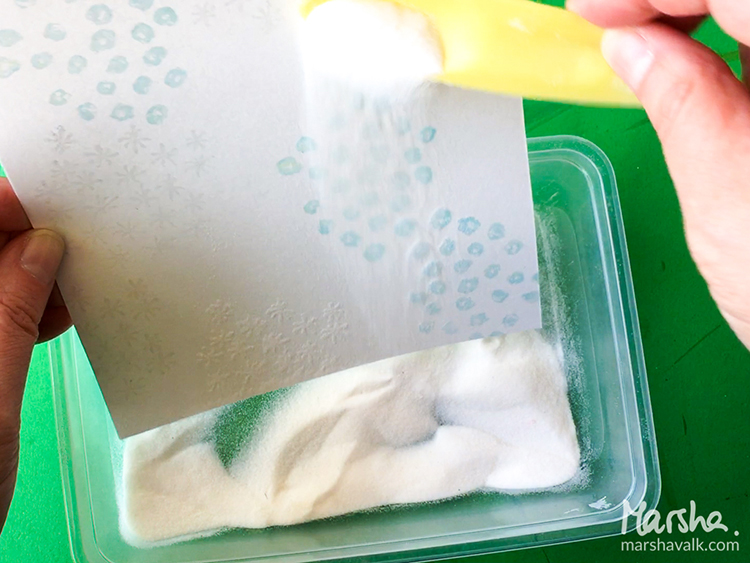
Step 1
Use embossing ink to stamp small patterns (like these stamps from the Embroidery Stamp Set) onto sheets of white (mixed media) paper. Sprinkle clear embossing powder on top and heat emboss.
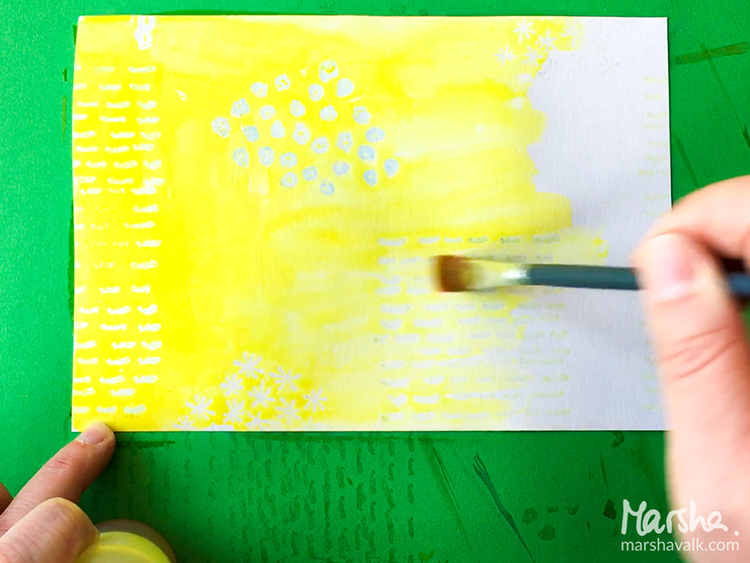
Step 2
Cover your paper with watercolor. Let it sink into the paper, wipe off any watercolour that beads up on top of the embossed areas and let the paper dry.
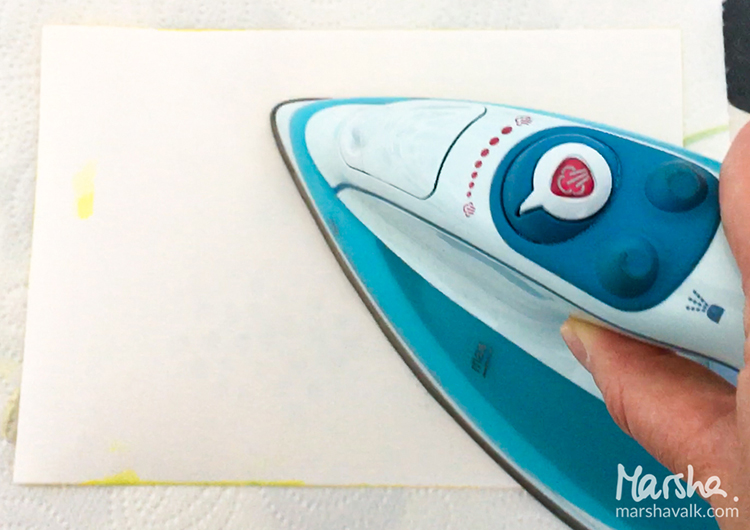
Step 3
Take some papertowels, place your paper on it face down and iron with a hot iron. The embossing powder will melt and absorbed into the paper towel.
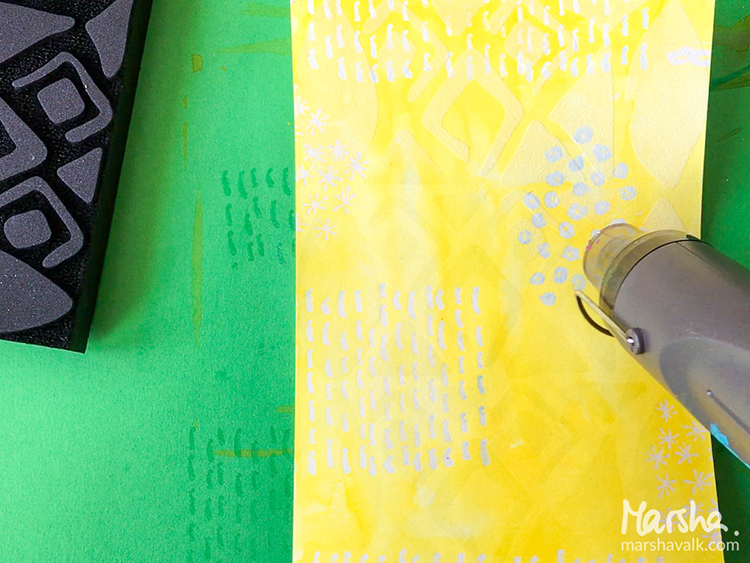
Step 4
Use embossing ink and stamp the Batik Pattern 3 Foam Stamp onto your paper. Sprinkle clear embossing powder on top and heat emboss.
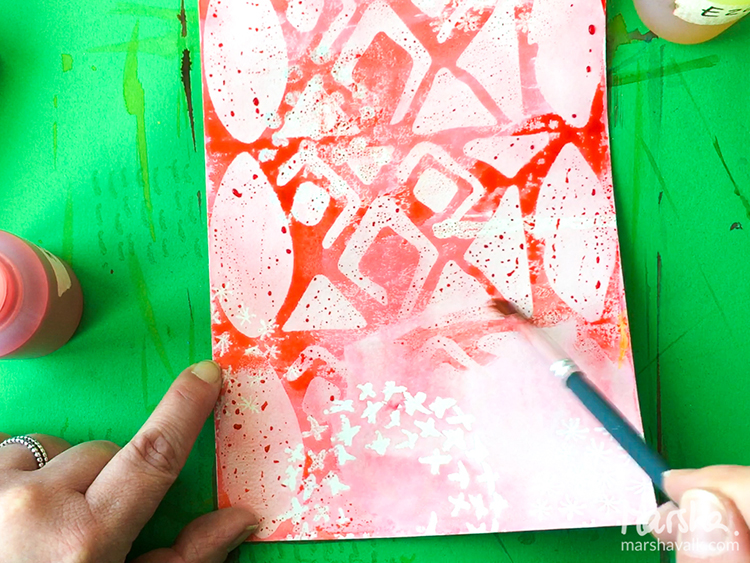
Step 5
Cover your paper with another coat of watercolor. Use a slightly darker shade of the same colour or choose one that mixes well with the colour that is already on there. Wipe the excess watercolour off the embossed areas and let the paper dry.
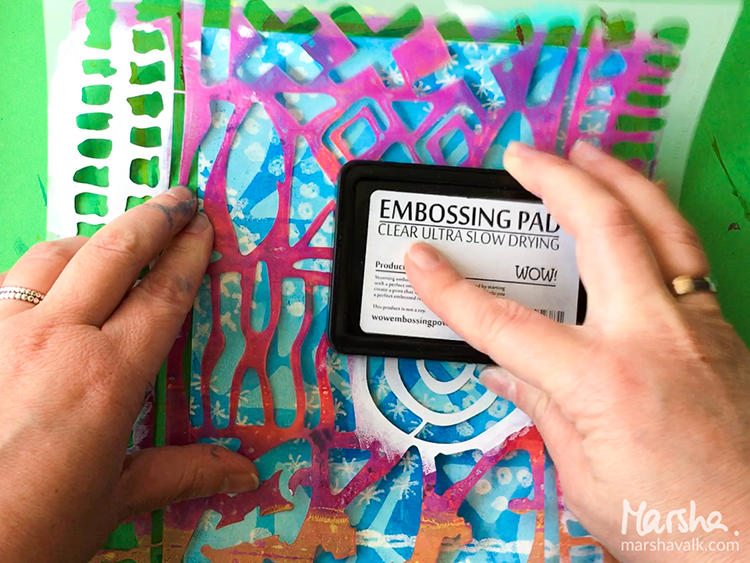
Step 6
Apply embossing ink through the Batik Stencil onto your paper. Sprinkle clear embossing powder on top and heat emboss.
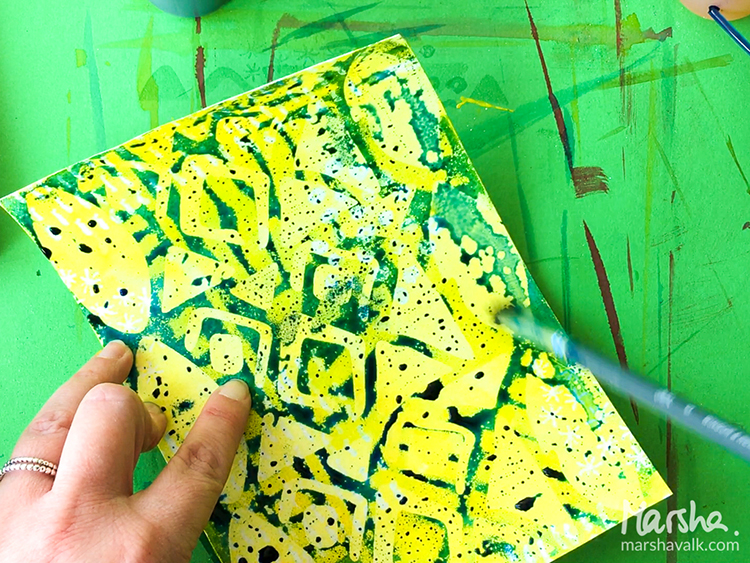
Step 7
Cover your paper with a last coat of watercolor. Use an even darker shade of the same colour or now choose one that mixes well with the colour that is already on there. Again: wipe off the excess watercolour from the embossed areas and let the paper dry.
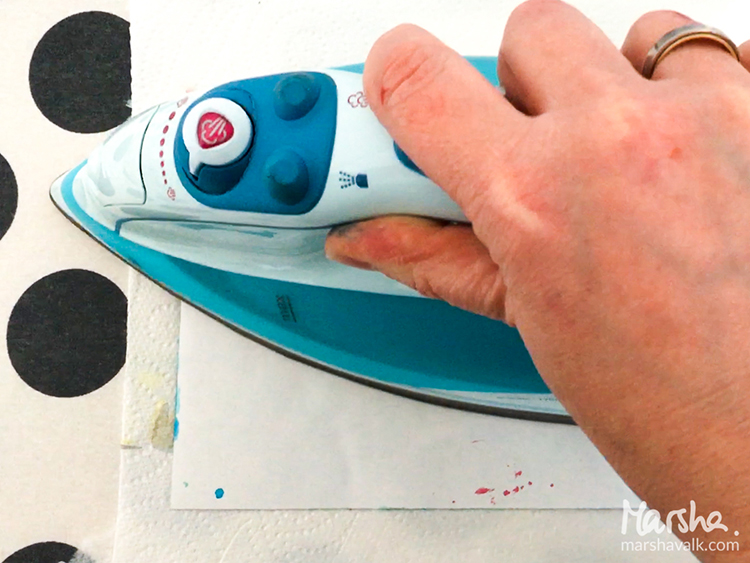
Step 8
Take some papertowels, place your paper on it face down and iron with a hot iron to remove the embossing powder.
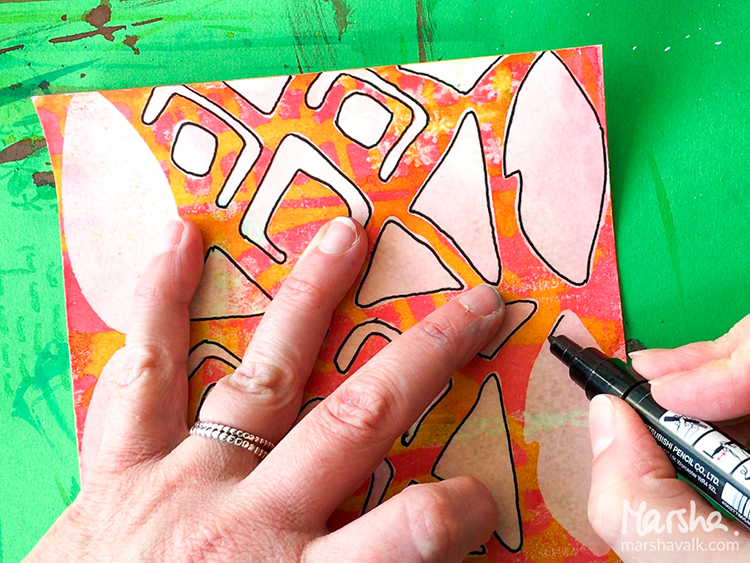
Step 9
Use the paper as a background for art journaling, use it as collage paper or… doodle on top to really make it look like patterned fabric!
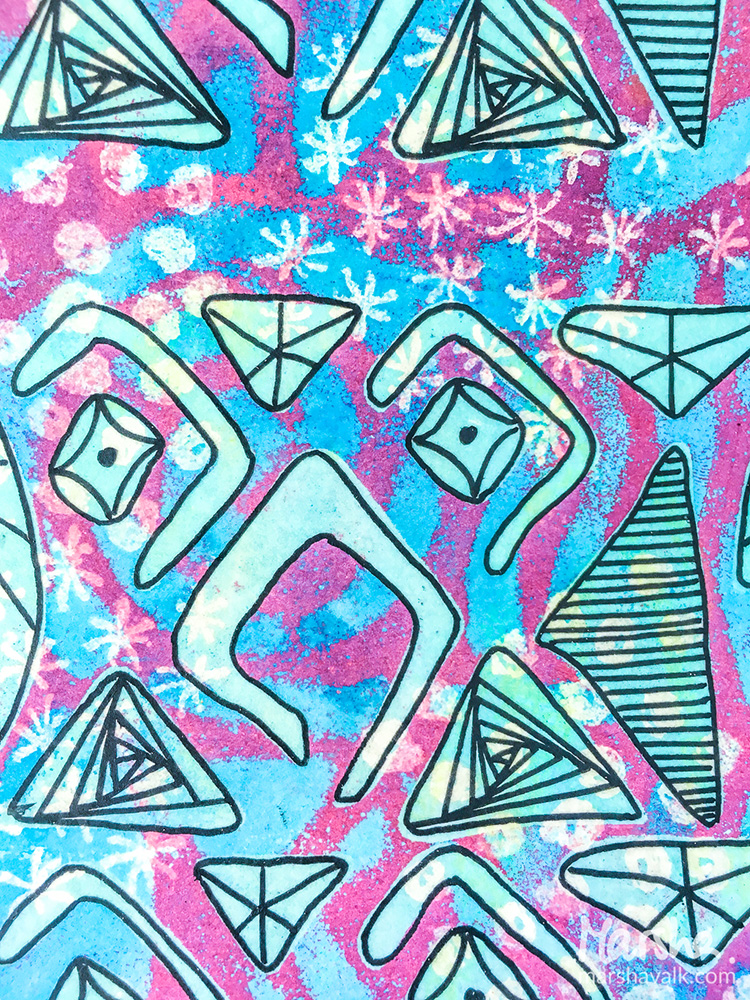
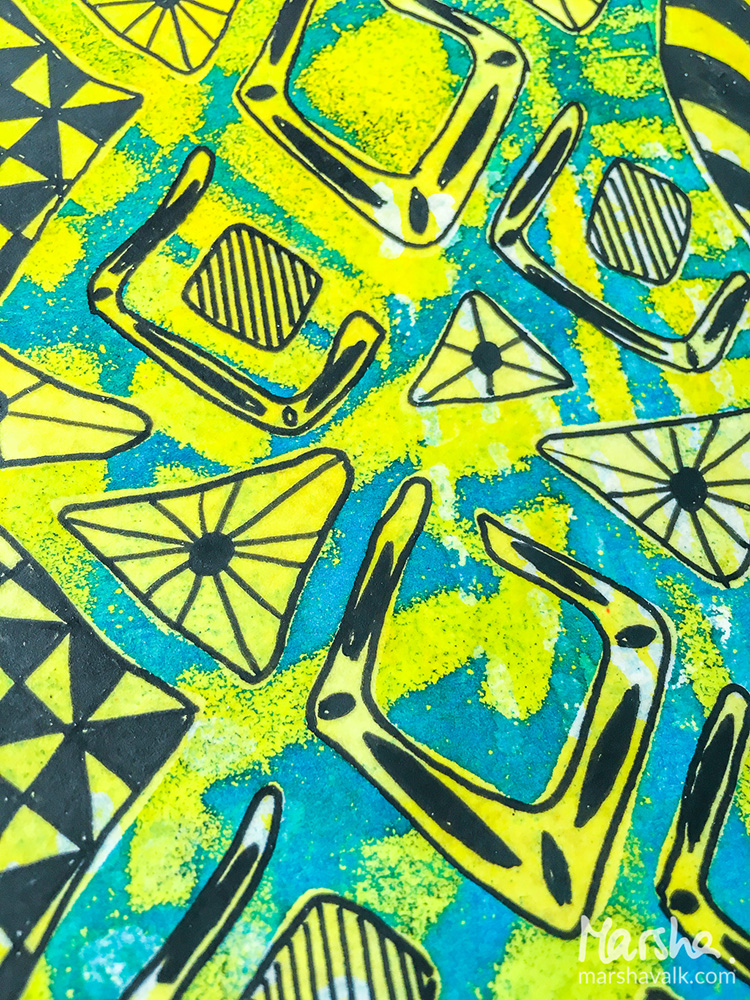
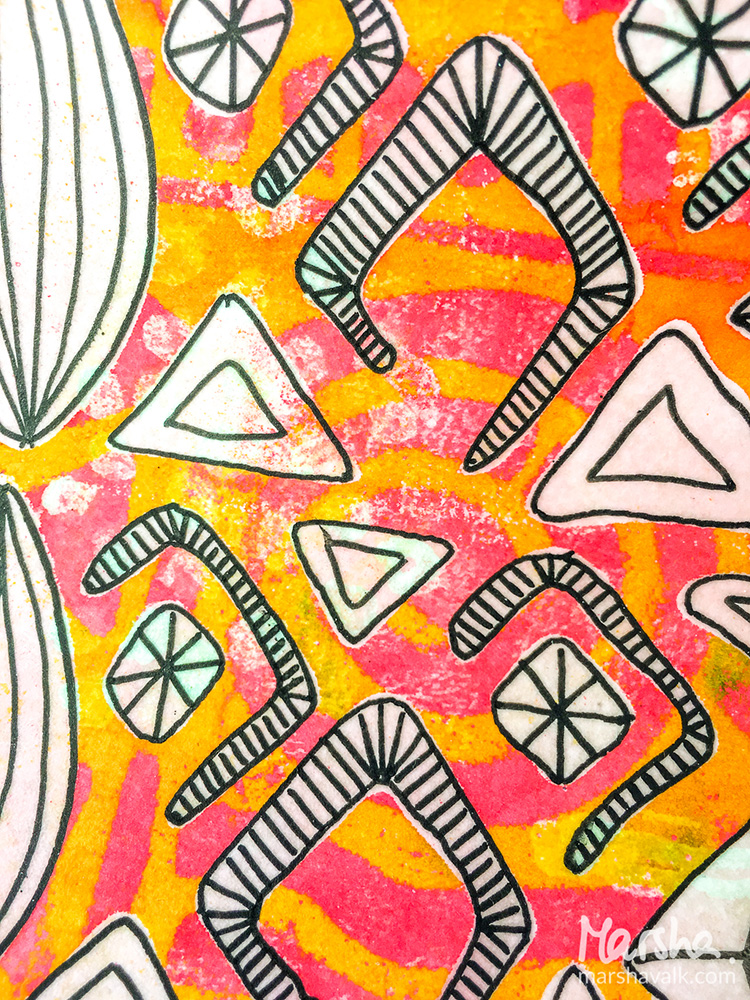
Wowowwwoww! Thanks Marsha! The results are awesome and I definitely want to try this. Here are the supplies Marsha used in her post- some links are affiliate links:
Play along with us! I love to see how you interpret our monthly themes. Email me how you used my stencils and stamps with the theme and email me an image – I would love to share your projects in my “n*Spiration From Around the Globe“.
Marsha, you amaze me ! I love the technique and the way you layered all the different tools and patterns on top of each other- and your video is super fun! Love it!!!! Thank You!

What a cool technique! I want to try this too! Thanks for sharing Marsha!

Hi Shelley!! I agree!!! Now I wanna play!! Loved the techniques. (annarummagingthroughherout-of-cotrolartstash) ??

Thanks Michelle! Have fun playing!
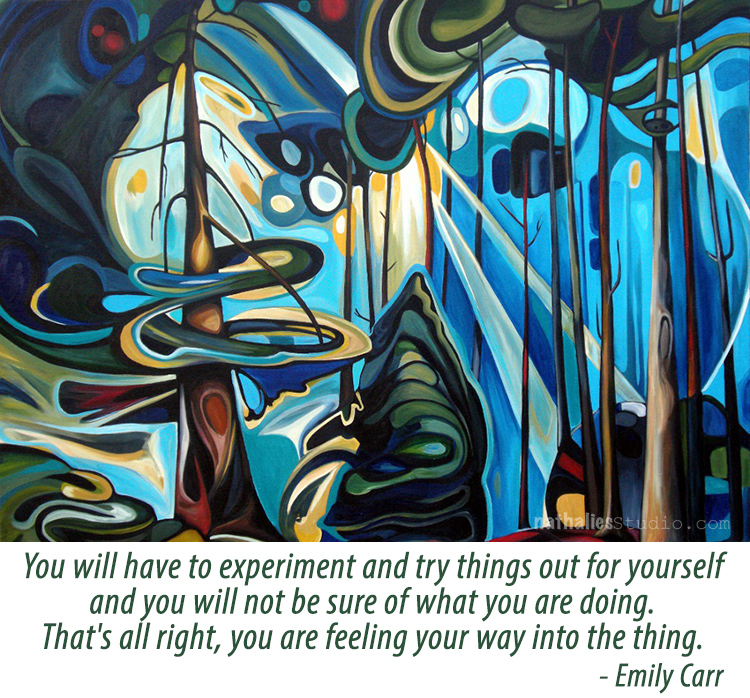

One of my favorite authors, Susan Vreeland, wrote a novel based on Emily Carr’s life – The Forest Lover.
Ohh I have to check that out- thank you Virginia for the tip!
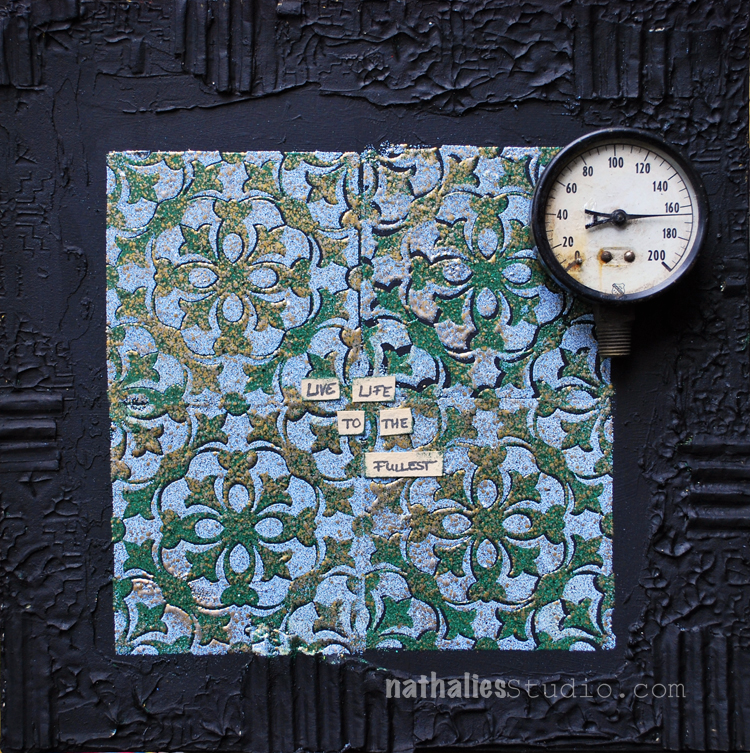
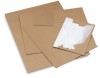
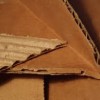
This is another project I did for the ArtFoamies booth at Creativation. For this project I used a square piece of hard board and glued down some corrugated cardboard here and there around the edges. (I just used pieces from an old shipping box). Then I painted the whole board over with black gesso and let it dry.
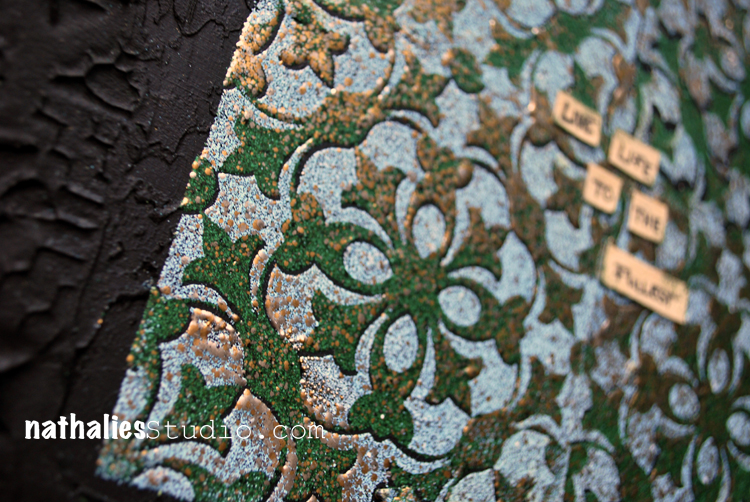
Using my Versailles Negative and Positive Foam Stamps I stamped first one pattern with Embossing Ink onto the middle of the background , sprinkled some Aged Embossing Powder on top, heated it up until it was molten and then repeated the same with the same Stamp until a tile pattern was created. Next I used the other Versailles Stamp Set and stamped also with Embossing Ink on top of the already embossed areas, repeating all stamps but this time with a different color of Embossing Powder. Oh my ….do I love this crusty, textured outcome !!!
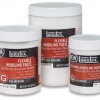
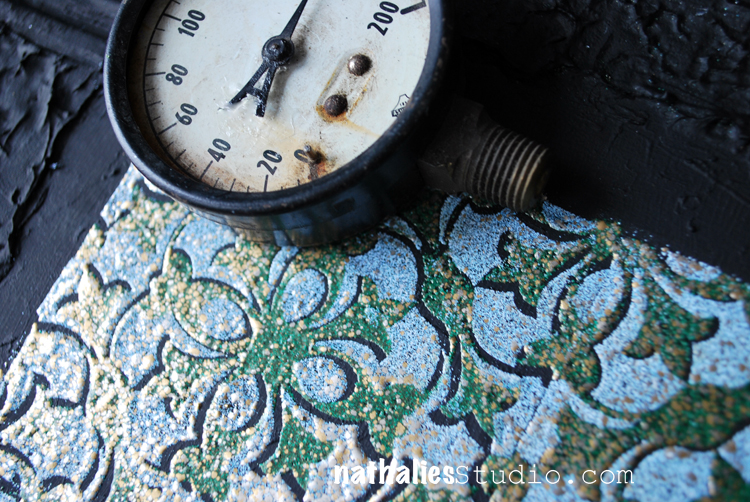 It feels really good and it looks even better in person. I used a gauge which I had found a couple years ago at a flea market and saved for a special project and mounted it to the board with Extra Heavy Gel Medium.
I really love how the Positive and Negative Stamps work with Embossing Powder- definitely something I will play more with .
Here is a little list of the supplies I used -some links are affiliate links:
Have a gorgeous day!
Nat

Great effect. Love the border. I must try foamies and add them to my collection.
Thank you so much Mary. They are really fun and versatile to use, I hope you will give them a go :)
That is sooo cool , I love the texture it created and even more awesome how you could use the positive and negative stamps together like that ❤
Hi Sherry, thank you so much! It was really fun! Have a wonderful week! <3
Love the gauge on that piece and the layers are fun (using the positive and negative).
Thank you Sue! Yeah the Gauge finally was used- LOL- I have kept it forever hoping for the right piece to use it.

Wow, Nathalie! Love this!!! It looks wonderful! I’m going to try this with my foam stamps, too. Thanks for sharing –
Yeah- give it a try Donna, it was really fun to do and it feels pretty cool. I think I will do this on my art journal cover too :) Have a gorgeous day!


Thank you Nathalie for all the tips.
I have a question, is it safe for the stamps to use a dish soap like Dawn? If it is, then scrubbing the stamps with a dish soap and water would make it easier to remove any leftover oils on the stamp.
Thanks again,
Gigi
Reply