Blog: art journal techniques

Art Journaling Live 2 – Available NOW

ArtJournalingLive2_SingleCovers

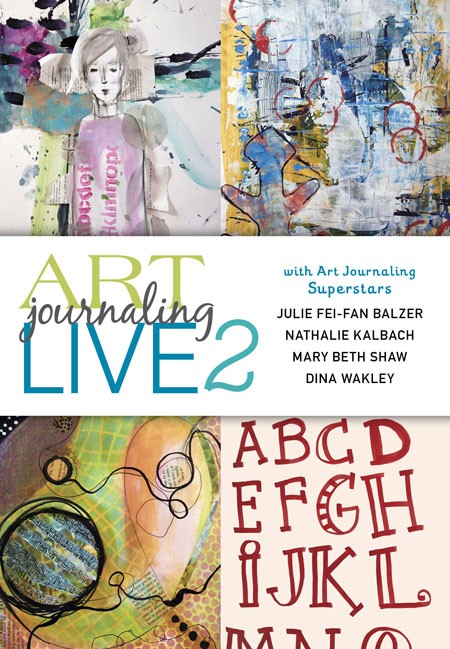
Soooo excited about this. Some of you might remember that in July I joined my friends Julie Fei-Fan Balzer, Dina Wakely and Mary Beth Shaw in Texas for a Art Journaling Live Workshop with 75 students. The four of us taught  different art journaling techniques and the event was recorded on video. Here is a little sneak peak

—-

You’ll love this art journaling video workshop if:

  • You missed the Art Journaling LIVE event, but want the instruction from the sessions
  • You are a fan of mixed-media artists Mary Beth Shaw, Dina Wakley, Julie Fei-Fan Balzer, and Nathalie Kalbach
  • You want to learn exclusive techniques to grow your artistic skillset

Learn More about Each Session:
In “The Abstracted Journal,” StencilGirl Mary Beth Shaw gives you techniques for creating your own stickers, decorative tape, collage papers and more as you create an abstract art journal spread with unique component parts!

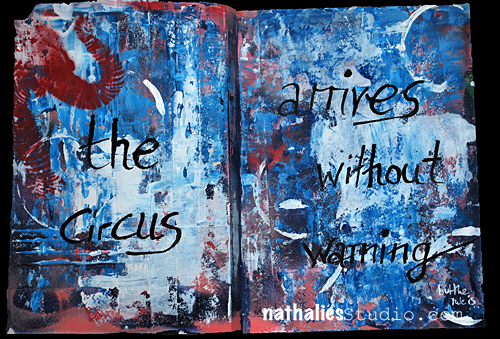
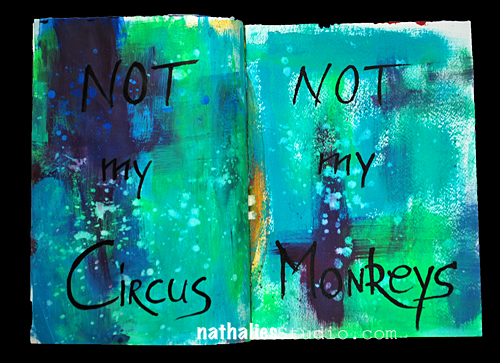
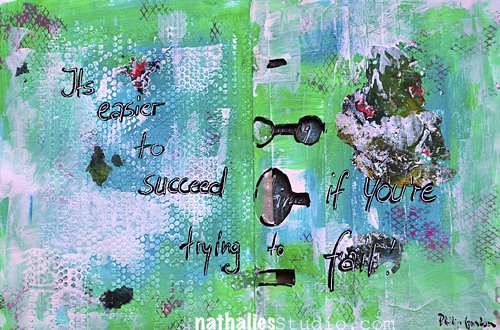
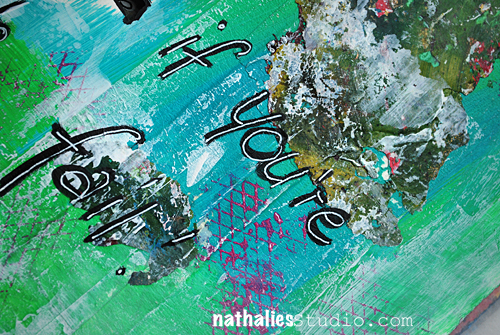
Complete two art journal pages with Dina Wakley in her class, “Random by Design,” as she gives you four fail-proof guidelines for creating an expressive, random look in your art journal without creating chaos!

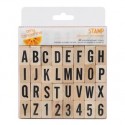
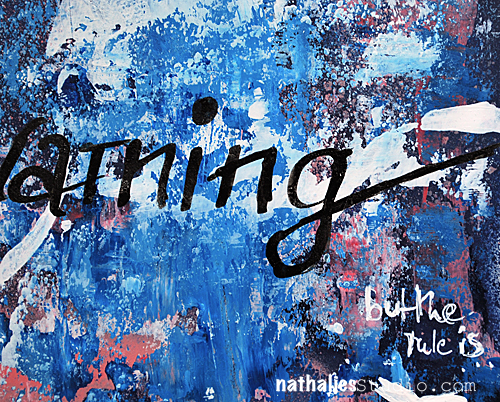
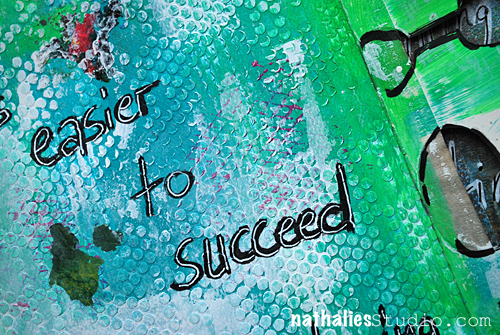
In “Easy Lettering,”Julie Fei-Fan Balzer shows you ways to use your own handwriting to create more than 24 fancy lettering styles. Then, learn the best way to add shadows to make your text pop off the page!

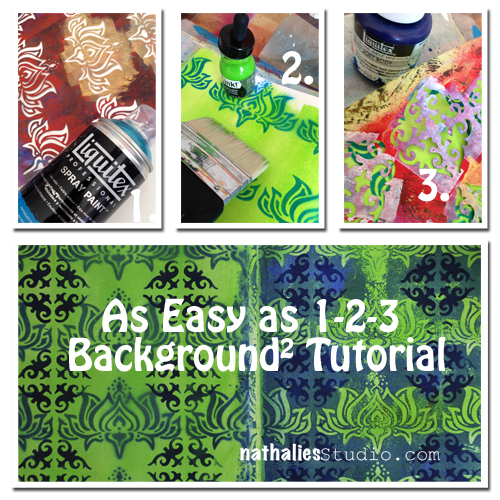
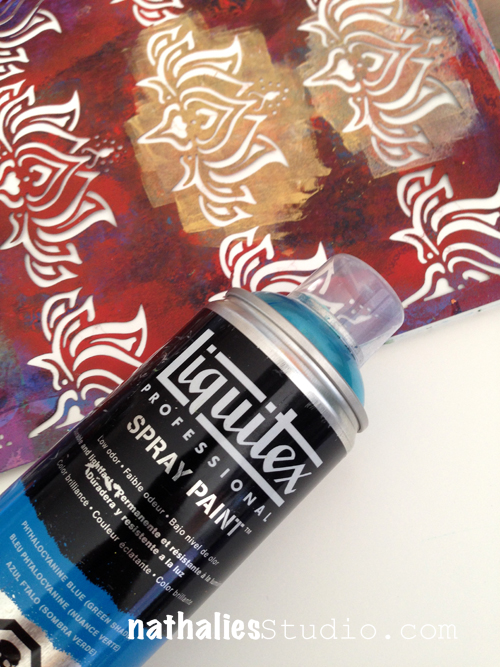
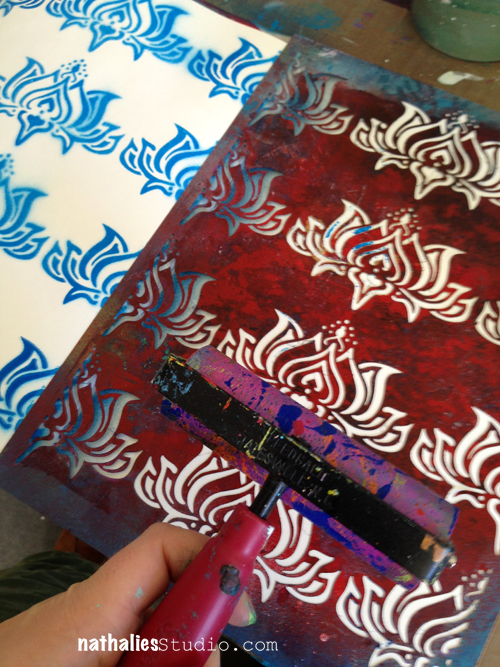
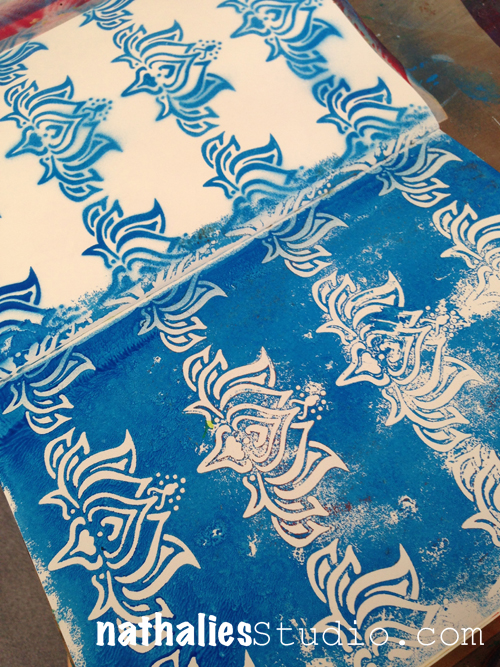
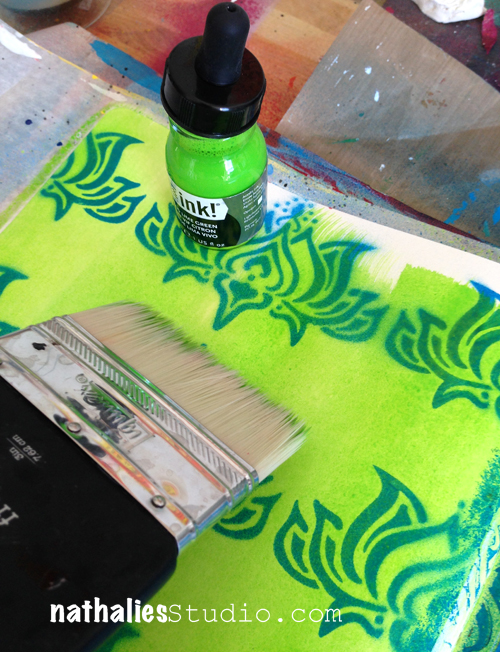
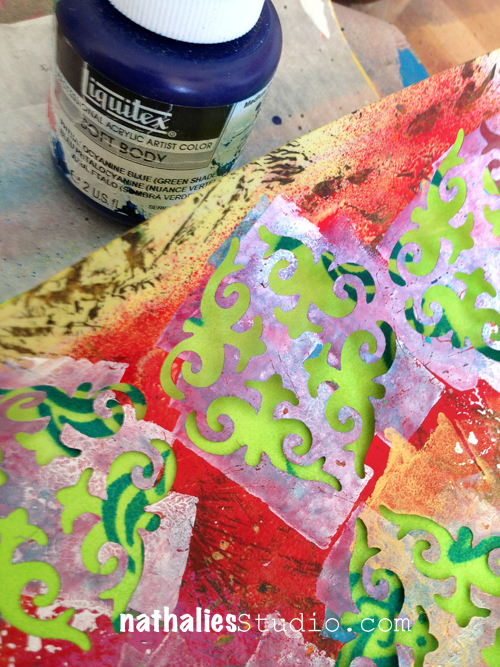
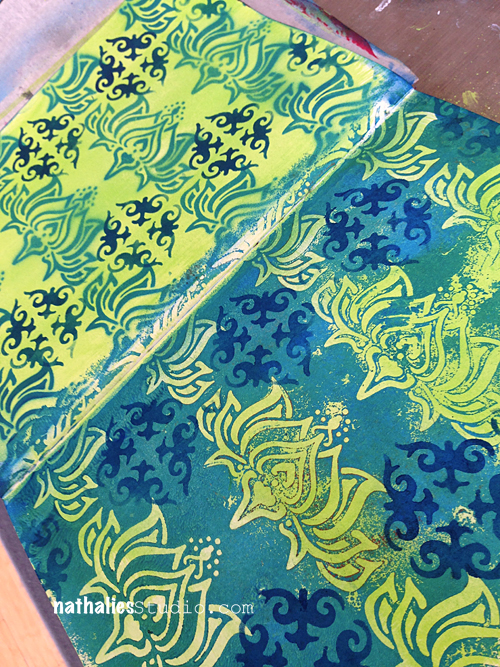
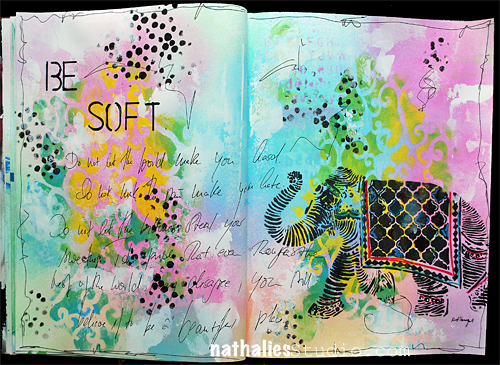
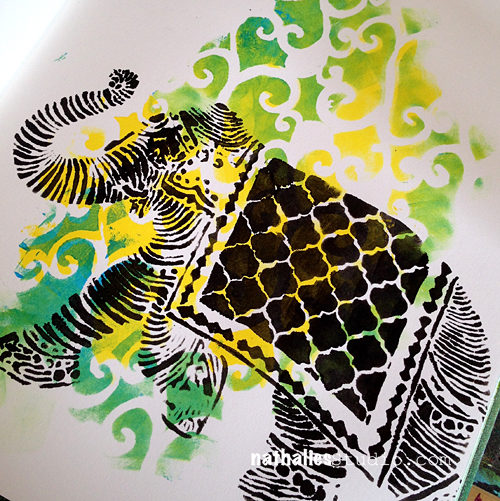
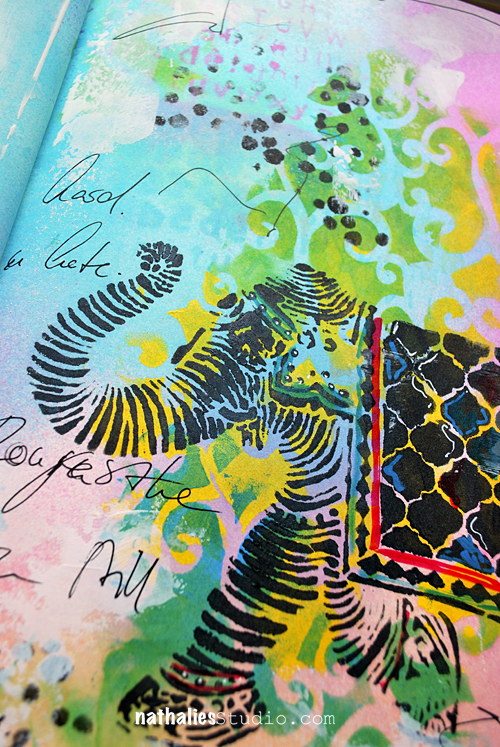
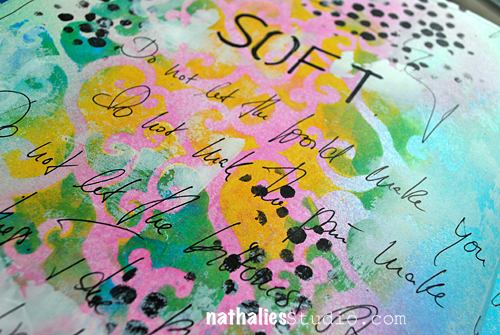
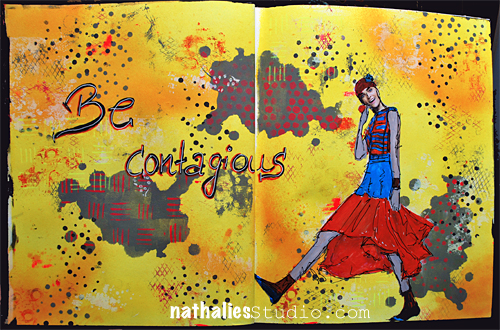
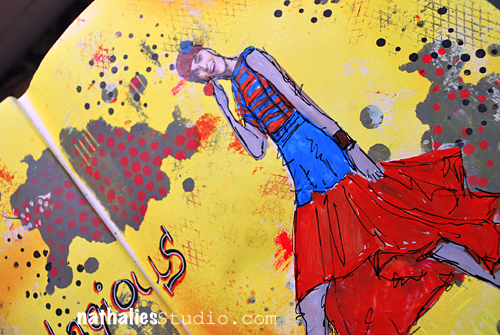
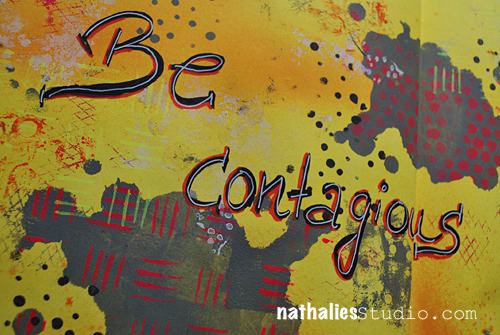
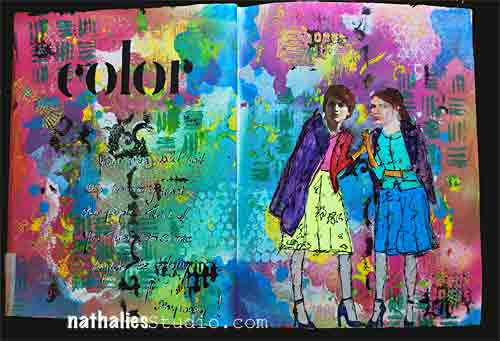
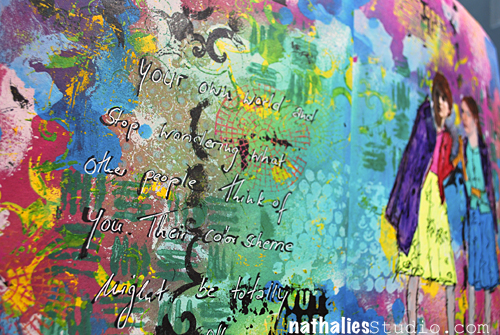
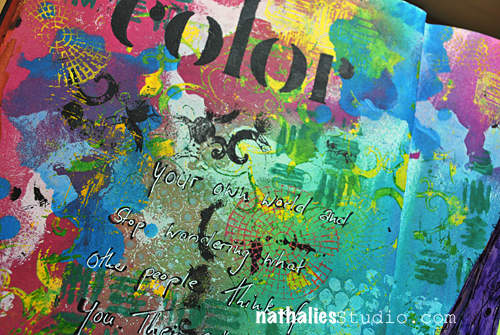
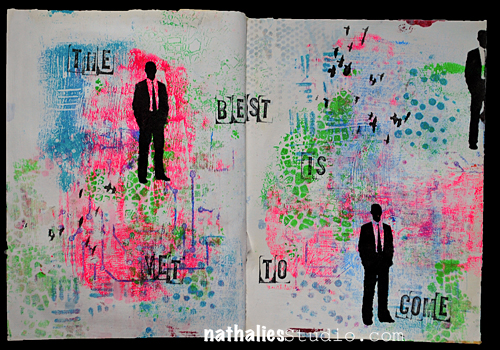
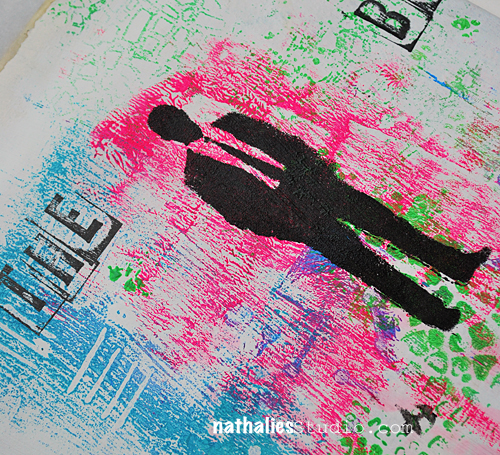
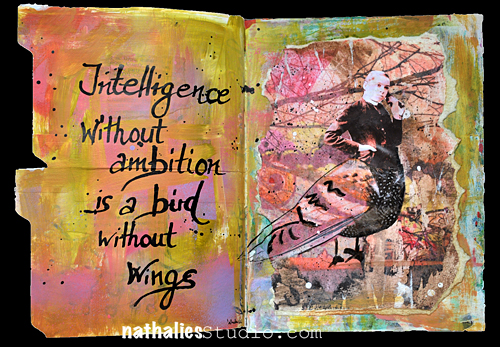
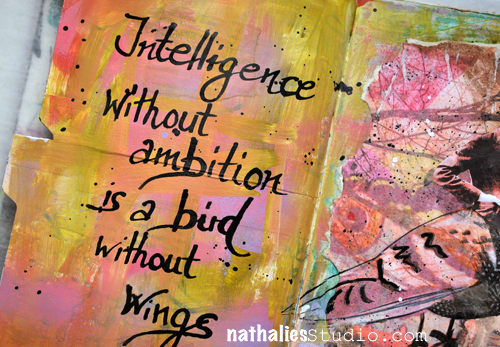
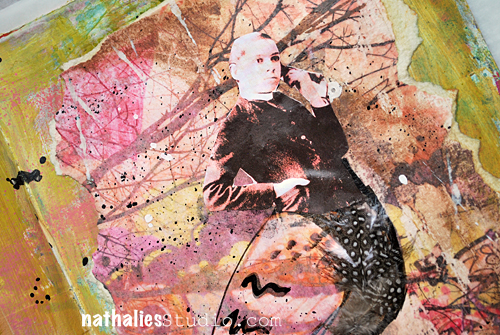
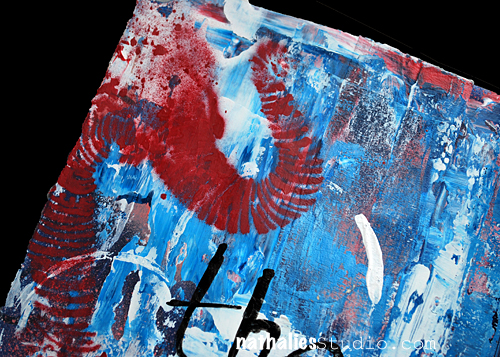
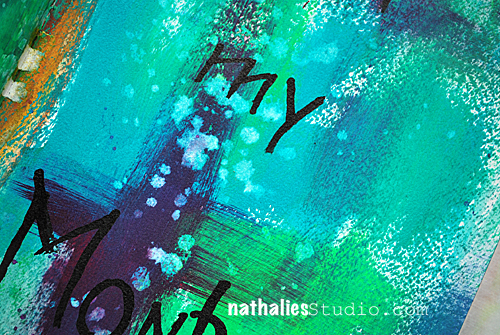
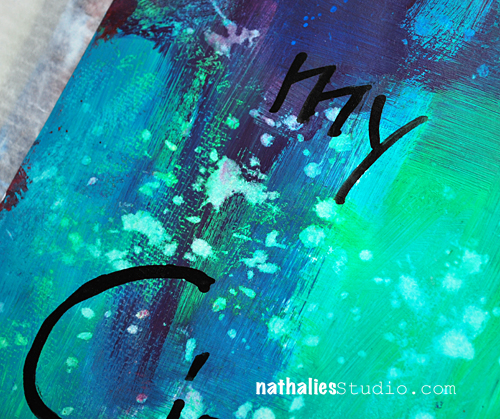
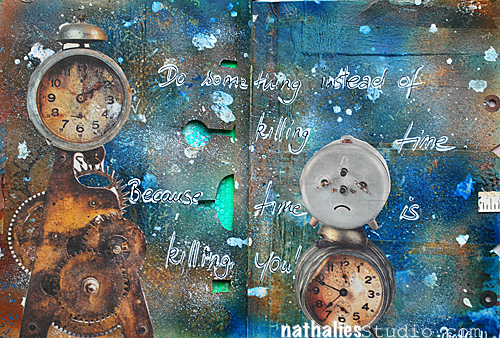
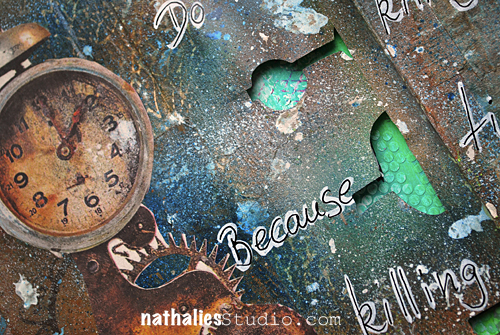
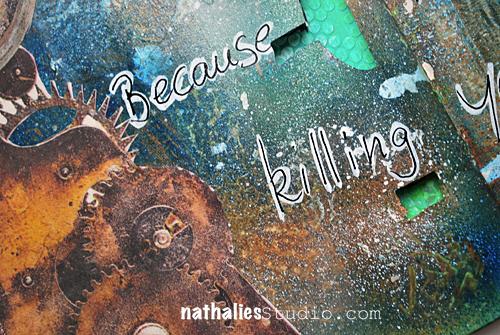
Join Nathalie Kalbach for “Tooling Around,” in which she’ll show you how to create lusciously layered backgrounds by pushing your mixed-media tools to the max. Take part in a roomful of fun as you experiment with more than 10 techniques!
icon——-

You can now preorder the DVD set with 2 DVD’s with all four of us or download the videos right away.

If you only want to buy single Downloads or DVDs for example of my session – you can do this too  (but hey- get the whole package- it is so much fun!): Art Journaling Live 2: Tooling Around with Nathalie Kalbach Video Download
icon


For those of you who have been at the event: your complimentary downloads to the event will go out in the next 2-3 weeks !!!


Have a gorgeous day!!!

Nat

Comments (1)

  • Denise Spillane

    |

    It was a great day! I loved the class. Now I can get the video so I don’t forget the tips and process!

    Reply

Leave a comment

Playing with Gesso and Acrylic Ink

GessoInk

I love colors and I love texture …and I love adding both of it into my art journals, which is pretty easy :) Here is a fast forward video on how I create texture with Gesso and then add the super vibrant and pigmented Liquitex Inks to emphasize the texture even more.

Playing With Gesso and Acrylic Ink from Nathalie Kalbach on Vimeo.

Hope you liked this little playful video :)

nSupplies


Please note: I am an official Brand Ambassador for Liquitex, but all my ideas are my own and the opinions, comments and my love for their products are genuine!

Have a wonderful day

Comments (14)

  • Sabine Schneider

    |

    Liebe Nat,
    Wow! Gerade zur rechten Zeit ein kleiner Schubser von Dir!!!! Gleich ausprobiert und ich bin super Happy mit dem Ergebnis! Danke Dir für die immer guten Tips!
    Liebe Grüße, Sabine

    Reply

    • nathalie-kalbach

      |

      woot woot, freue mich, dass Du es gleich ausprobiert hast :) Danke, Sabine!

      Reply

  • Michelle LaPoint Rydell

    |

    Hi Nat! Love your journal page! The video was awesome! So inspiring! I think it’s time to bust out my gesso and inks! Thank you!

    Reply

    • nathalie-kalbach

      |

      Thank you Michelle- so good to see you – and happy you bust out your gesso and inks !

      Reply

  • Tracy

    |

    Wicked awesome! Love the colors and watching you do the lettering!

    Reply

  • Joi@RR

    |

    Just could watch you create forever Nat. This is SUPER FINE FUN in every way. I don’t have the acrylic inks yet but ohhhh how I want them! One day soon. Loved this…. love you too!!! j.

    Reply

  • rebeccavt

    |

    Just what I needed to watch this morning! Love your technique, the colors, the interesting tools, AND the music. Nice! Thanks!

    Reply

    • nathalie-kalbach

      |

      thank you Rebecca :) glad you liked the music too – always hard to choose :)

      Reply

  • Kathy P

    |

    Totally, totally awesome, Nat. The things you did to texturize your paints were fantastic…going to try this today! Thanks for the ongoing inspiration!

    Reply

Leave a comment

As Easy as 1-2-3 Background² Tutorial

NatKalbach_Easy123Background

Today I am showing you how to make a background- actually two different backgrounds – for an art journal spread as easy as you count to 3…or almost as easy ;)

NatKalbach_Easy123Background01

Picking my art journal, my Lily Wallpaper Stencil and Liquitex Spray Paint I start by spraying over the stencil over the left spread of my art journal.

NatKalbach_Easy123Background02

Using the paint on the stencil for a negative imprint, I simply flip the stencil over to the right side and brayer over the back of my stencil

NatKalbach_Easy123Background03

You can use the flip over step of course on a total different spread- because essentially these are actually two different background starters with the same techniques and materials. But I like to work in a double spread on my art journal and I like it when the sides are similar – like here in pattern, but still have  some interesting differences.

NatKalbach_Easy123Background04

Using a big brush I spread a thin layer of Acrylic Ink over the spread. I love how the effect  – on the left side the lilly design is more bound in

NatKalbach_Easy123Background05

while on the right, by taking some of the ink off with a baby wipe, the blue spray paint color pops even more.

NatKalbach_Easy123Background06

I picked the same blue as a Soft Body Acrylic Paint as I used as a Spray Paint (Phthalocyanine Blue (Green Shade) for the next step. Layering my Ornament Stencil over the empty spaces of my Lily Background I stenciled single ornaments in.

NatKalbach_Easy123Background07

And done is/are my background(s)

NatKalbach_Easy123Background08

Here is the background 1 …and

NatKalbach_Easy123Background09

Easy, wasn’t it? I will show you in a couple days, what I actually did in my art journal with these two backgrounds.

Here is a complete list of the supplies I used

nSupplies


Have an amazing day


Comments (6)

  • Christy Tremblay

    |

    REALLY Cool!!!
    I am going to have to try this. Thank you for sharing and the nice pictures!

    Reply

  • sécotine La Petite Française

    |

    thanks so much for sharing your amazing work!!! love to play with the transparences of liquid acrylic paint!

    Reply

  • Sue Clarke

    |

    Sweet and you make it look so easy.

    Reply

  • Jani Franck

    |

    I love how the layering works – gorgeous technique, thanks for sharing :)

    Reply

Leave a comment

Lindy’s Stamp Gang Guest Design Projects

In September I was a featured guest designer for Lindy’s Stamp Gang – and here are the samples I made using the Lindy’s Stamp Gang Spray Inks for their blog.

NatKalbach_LSG_Elephant01

My favorite way to use Lindy’s Stamp Gang Spray Inks is in conjunction with Liquitex Acrylic Paints. I just love how the two working together make the colors pop.

I used some acrylic paint colors with some of my StencilGirl Products designs for a background.

NatKalbach_LGS_Process02

Once dried I sprayed the different colors of the Under The Boardwalk Set over it and blended the colors using a paper towel.
NatKalbach_LSG_Elephant02
For the finish I wrote some journaling and stenciled a bit more on top using Lindy’s Stamp Gang Spray Inks but also some acrylic paint.
One of my favorite features about Lindy’s Sprays is that they are permanent once dried and that you can actually spread some gesso or other paint media on top of the colored surface without deactivating the spray ink.
NatKalbach_LSG_Elephant03
 I also love to use my Stampendous Stamps and templates with acrylic paint and start layering those up on the surface.
NatKalbach_LGS_BeContagious01
For Be Contagious I used some of the templates in my stamp sets with acrylic paint and then sprayed with Lindy’s Stamp Gang Spray Inks over it-
NatKalbach_LGS_BeContagious02
I love how it makes the background pop.
NatKalbach_LGS_BeContagious03
 In my Color Art Journal Spread I went a bit crazy- you can tell I love colors.
NatKalbach_LSG_Color01
 I alternated acrylic paints and Lindy’s Spray Inks with my Stampendous Stamps and Templates.
NatKalbach_LSG_Color02
I love how I was able to use so many different colors and it didn’t turn muddy.
NatKalbach_LSG_Color03
I had lot’s of fun playing with Spray Inks and Acrylic Paints :)
nSupplies


have a colorful day :)

Comments (2)

Leave a comment

The Best Is Yet To Come … or In My Art Journal Today

NatKalbach_BestToCome01

The best is yet to come – Frank Sinatra

I truly believe in that ..do you ?

NatKalbach_BestToCome02

This page is actually kind of a cheater page. I love just rubbing the extra paint that I have on my stencils onto a blank page – creating a negative stencil image.Sometimes I paint over parts of it later or do other things with it. But I really loved the colors and how this looked on this spread- so I left as is and just stamped and stenciled in black on top.

Here are the supplies I used- some of the stencils are actually part of the stamp sets for Stampendous

nSupplies


Have the best day today :)

Comments (3)

  • Denise Spillane

    |

    Love it and believe it! Reminds me of the song I think it was Frank Sinatra, wish I was in another of your classes.

    Reply

    • nathalie-kalbach

      |

      Actually that is where the quote came from- forgot to mention that. Thanks Denise for the reminder :)

      Reply

  • Sue Clarke

    |

    I think that believing the best is yet to come puts one in the frame of mind to experience just that! Have a lovely day Nat.

    Reply

Leave a comment

Intelligence … or In My Art Journal Today

NatKalbach_Intelligence01

Intelligence without ambition is a bird without wings

NatKalbach_Intelligence02

I painted the background with Soft Body Acrylic Paints and used Acrylic Inks with a Bamboo Pen to write the Journaling. The Bird Image is actually a collage piece I used a Transfer Technique on – it is part of the Liquitex Packaging for the new Michaels Transfer and Photo Collage Set. I ripped the sturdy watercolor paper to the size I wanted it and applied it to the background as I wanted it to be part of my art journal. It is a great sample how you can incorporate a collage piece into your art journal later.

NatKalbach_Intelligence03

Here a the supplies I used for the whole spread:

nSupplies


Wishing you an amazing day!


Leave a comment

Circus Circus …or In My Art Journal Today

Showing you 2 pages that are coming one after the other in my art journal :)

NatKalbach_WithoutWarning01

The Circus arrives without warning….but the rule is

NatKalbach_NotMyCircus01

Not my circus, not my monkeys!

Isn’t that the truth ;)

Here are some details of the two pages:

NatKalbach_WithoutWarning02

I created a pretty grungy background with acrylic paints and Gesso and then used Liquitex Spray Paint to partly use my Elephant March Stencil coming into the page

NatKalbach_WithoutWarning03

For the writing I used Liquitex Black Carbon Acrylic Ink and a Bamboo Sketching Pen .

NatKalbach_NotMyCircus02

In this spread I created the background by dry brushing different acrylic paint colors. I love the texture of the paper itself but also of the brush strokes.

NatKalbach_NotMyCircus03

I sprinkled some water onto the still wet paint and then blotted it off with a paper towel- I love how the paper towel left an amazing texture impression reveal the paint underneath. Talk about happy accidents ;) And because I loved the background so much- I didn’t want to cover it up too much and just wrote over with the Bamboo Sketching Pen and Acrylic Ink again.

nSupplies


Hope you have a creative day today!


Leave a comment

Try to Fail or…In my Art Journal Today

NatKalbach_TryToFail01


“It’s easier to succeed if you’re trying to fail” – Philip Guston

So very true  – and something I tell my students quite often  too – if you just enjoy the process and don’t care about the outcome – the result usually rocks for you!

NatKalbach_TryToFail02


I love using some of my left over color chips on my palette – I peel it of and apply it with Gel Medium – gives texture and interesting little color fields in the art journal. Texture in the background was achieved with heavy gesso through punchinella and then I painted over and applied again a thinner layer of gesso here and there to lighten areas up.

NatKalbach_TryToFail03


Here are the supplies I used for this page:

nSupplies


Have a wonderful day


Comments (2)

  • Sue Clarke

    |

    Cosmetic sponges have changed the way that I play in my art journal.

    Reply

Leave a comment

Time is Killing You or …In my Art Journal today

NatKalbach_Time_01


Do something instead of killing time. Because time is killing you. – Paulo Coelho

NatKalbach_Time_02

I spray painted the background  in brown and blue tones and lifted off some of the paint by pressing different household items  into the wet paint getting a nice texture and pattern. I splattered some acrylic ink in white here and there and then adhered the clocks which I found in a newspaper with Gloss Medium and Varnish.

NatKalbach_Time_03

I like how the background turned out a lot – I want to use this technique more often.

nSupplies


Have a gorgeous day!


Comments (2)

  • Karenliz

    |

    Love this! Your journal pages are such inspirational. I love that splatter brush. It must such great marks and textures.

    Reply

Leave a comment