Blog: Foam Stamp

Nice to Meet You! with Keren Tamir

Hello and welcome to a blog feature I call Nice to Meet You! From time to time I learn about some amazing artists out there who are working with my stamps and stencils and are creating some pretty fun and exciting projects. It’s always inspiring to see what others do with my designs and sometimes they even introduce me to a new way of seeing the pattern or a new technique to try on my own. Today I’d like to introduce to you Keren Tamir!


Please introduce yourself to our readers:

I live in Thornhill, Ontario which is in the suburbs of Toronto, Canada. I’m a true suburban girl and I love it. I live with my husband and two kids; one 16 year old teen and one 10 year old girl. Although I love to travel, I’m a true homebody and love spending time at home.

How do you make time to be creative?

I make some time every day to be creative in my studio. I have a few hours to create after I drop off my kids at school, I love working in the morning as it gives me a few solid hours to design and create a project. Although I would love to create every minute of every day, weeknights and weekends are mostly spent with my family. Of course there are also those days where I do have to do some computer work and social media sharing. Those days might not be creative days but without them I would not be able to do what I love!!

What are some of your favorite n*Studio stamps / stencils?

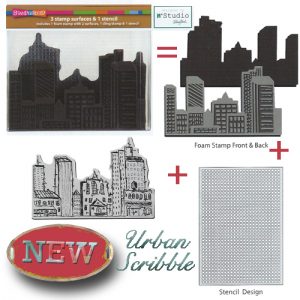
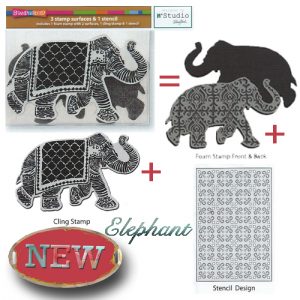
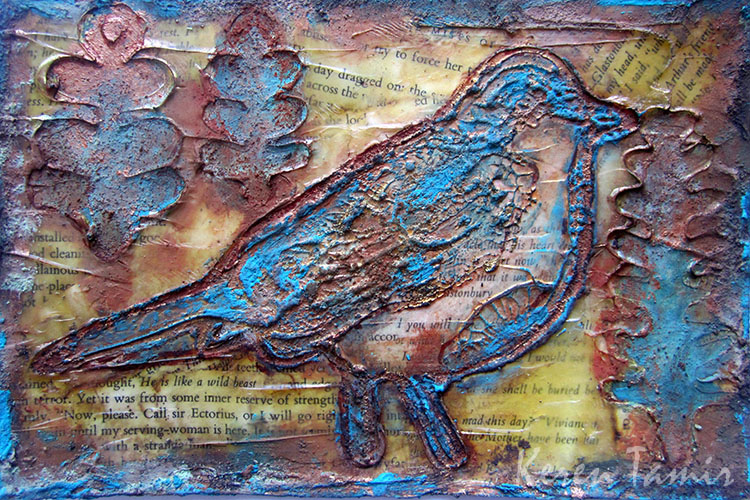
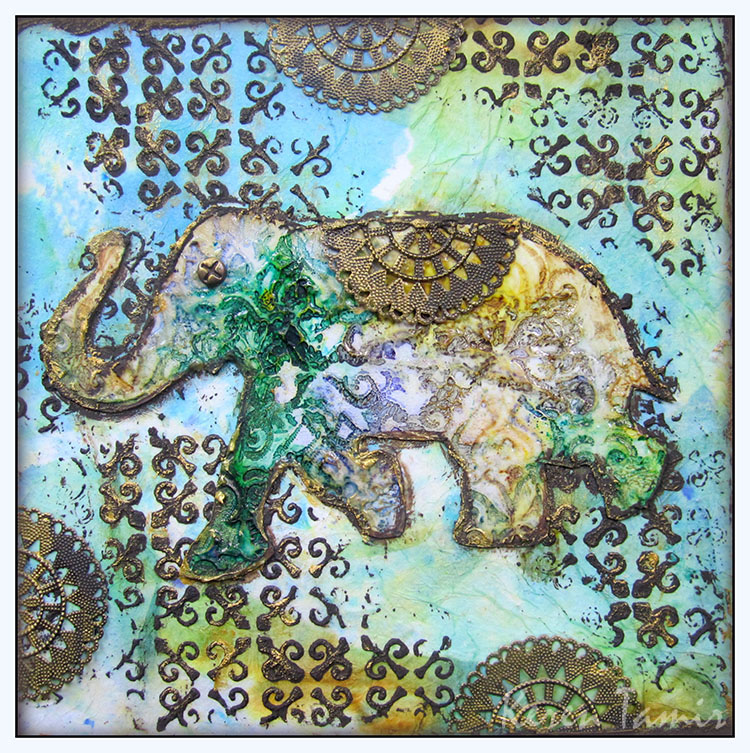
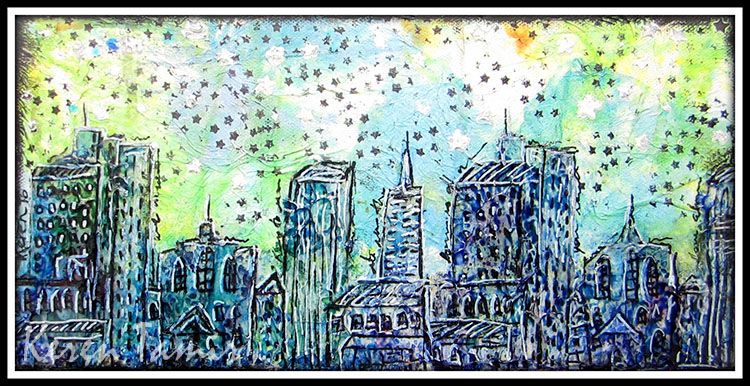
My favourite n*Studio products are the foam stamps. I specifically love the BirdElephant and Urban Scribble sets. I’ve used all three sets in several projects and I just love how the stencils and stamps combine so nicely together.
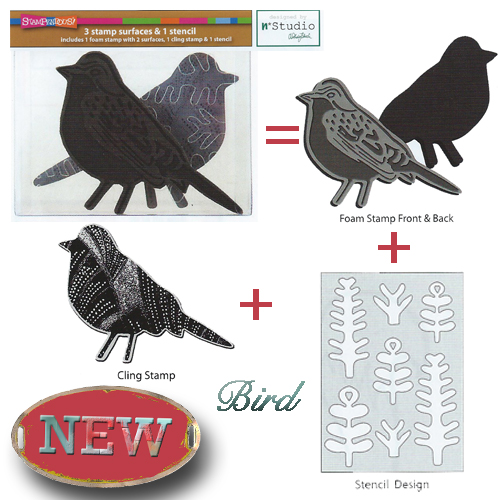
Bird Foam Stamp Set
Elephant Foam Stamp Set
Urban Scribble Foam Stamp Set


How do you love to use them?

I love experimenting and trying new techniques with the stamps. I’m always trying to find ways to use them differently than the norm. I love using them with other mixed media mediums, not just paint and ink.

What is your favorite medium to work in?

I love all mixed media mediums but if I had to choose just one then it would have to be gel medium. There’s just so many ways you can use it and so many techniques to experiment with. Of course that without the other mediums like gesso, paint and texture paste it can be limiting. I love the formulas, mixing and combining mediums together. Makes my heart so happy!!
What inspires you to be creative?

I love thinking out of the box, I like being original. I love creating pieces that have movement and that inspire others. Everything that I make, I make from my heart and soul and so that’s why I originally chose the name of my blog to be called: “Expressing from my heart and soul”

Do you have a favorite artist?

All kinds of artists and styles inspire me. I find inspiration from the masters and also from artists who have just begun their journey. I truly find inspiration everywhere as every person who creates from their heart inspires others and so I get inspired from them all.
How did you get into art-making?

I always loved art, since I was little. I used to always doodle during class and draw things on my notebooks, I took some art classes in high school but never pursued it after that. I tried painting, sculpting, watercolors in my 20’s but It wasn’t really my thing. Then in 2003 I started scrapbooking just for fun and it opened up my world to so many products. Scrapbooking lead me to Mixed Media and I started combining art products with scrapbooking. Finally I felt like I found my calling, as if I found what brings my heart joy and then I never looked back. When I found mixed media it’s as if everything in my soul became alive.
In three words, how does art-making make you feel?

Peaceful, Happy, “Full of Light” (pretend the last one is one word, LOL)


Thank you Keren for sharing your story and the wonderful ways that you’ve been working with my foam stamp sets! I hope everyone will watch Keren’s videos to see some of the super cool techniques that she uses :)

Leave a comment

Rule of Three – #4 – Three Ways to use my Pos+Neg Foam Stamps

Here is another episode of my new series of mini-videos: “Rule of Three”. As we all know all good things come in three and these mini-tutorial-videos will show you all kinds of fun and practical things and techniques coming in three.

Rule of Three – #4 – Three Ways to use my Positive and Negative ArtFoamies Foam Stamps

Rule of Three #4 – 3 Ways to use Positve & Negative Foam Stamps from Nathalie Kalbach on Vimeo.

I hope you find these 3 ways to use my positive and negative foam stamps inspiring . Here is a full list of the supplies I used in my video – some of the links are affiliate links:


I am looking forward to share more Rule of Three videos with you soon! Have a wonderful creative day!

Leave a comment

Creative Ice Breaker – Morning Art Journal Play Video #8

In the mornings I play in my art journal to get myself into the creative groove and break the ice – so to speak- and get ready to paint. I recorded and fast forwarded my morning ritual for this video – and hope you enjoy it. Take it as what it is – a morning art journal play- not a tutorial.

Creative Icebreaker #8, April 2017 from Nathalie Kalbach on Vimeo.

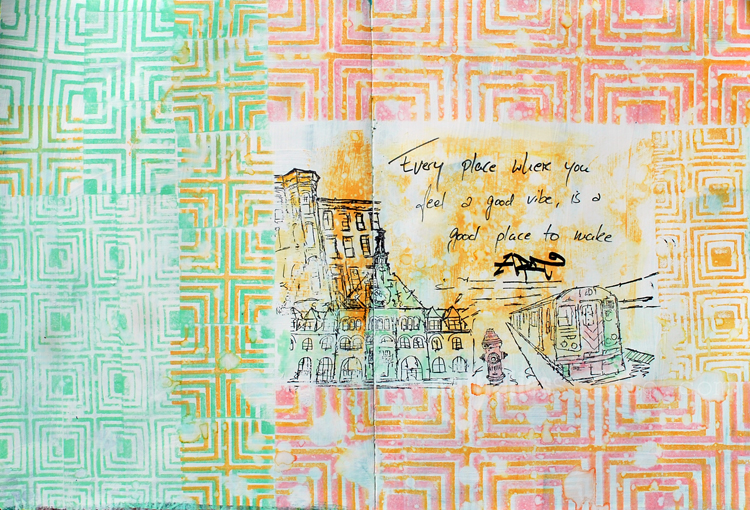
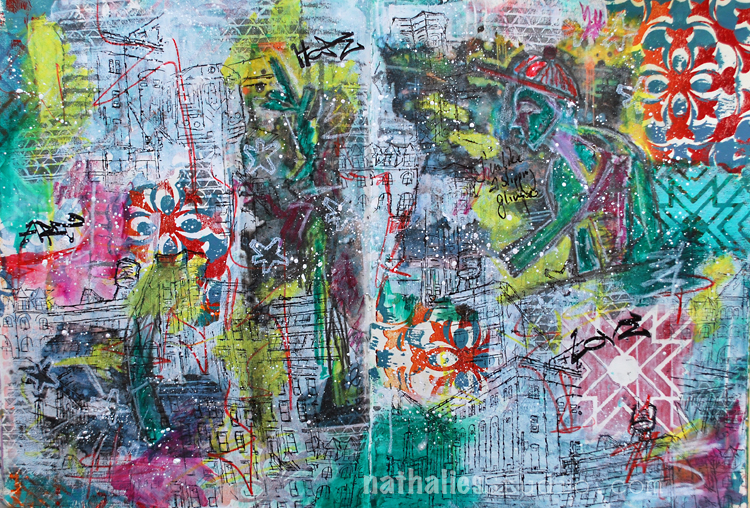
Here is the art journal spread I created in the video

Here are the supplies I have used in my Creative Ice Breaker video above – some links are affiliate links.Please note that my Manhattan Minis will be available soon- some select stores carry them already (The InkPad, Scrapbook Centrale) and I will soon too :) )
I hope you enjoyed the little glimpse into my morning warm up play! Have a wonderful and creative day!

Comments (2)

  • Sherry Canino

    |

    I love your creative ice breakers they are so fun to watch you create!!! Thanks for sharing and such a beautiful page !!! xxoo

    Reply

    • nathalie-kalbach

      |

      Awe- thank you Sherry! have a gorgeous and sunny weekend

      Reply

Leave a comment

I am a Slipping Glimpser – Art Journal Spread

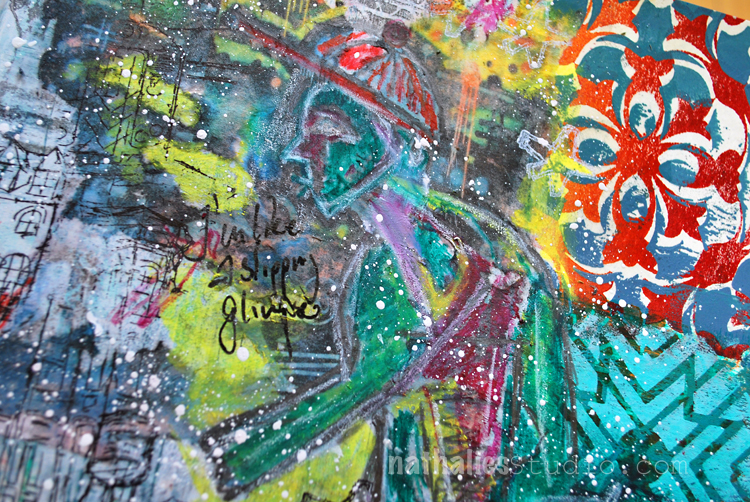
Each new glimpse is determined by many, many glimpses before. It’s this glimpse which inspires you — like an occurrence. And I notice those are always my moment of having an idea that maybe I could start a painting… As a matter of fact, I’m really slipping, most of the time, into that glimpse. I’m like a slipping glimpser.

-Willem de Kooning

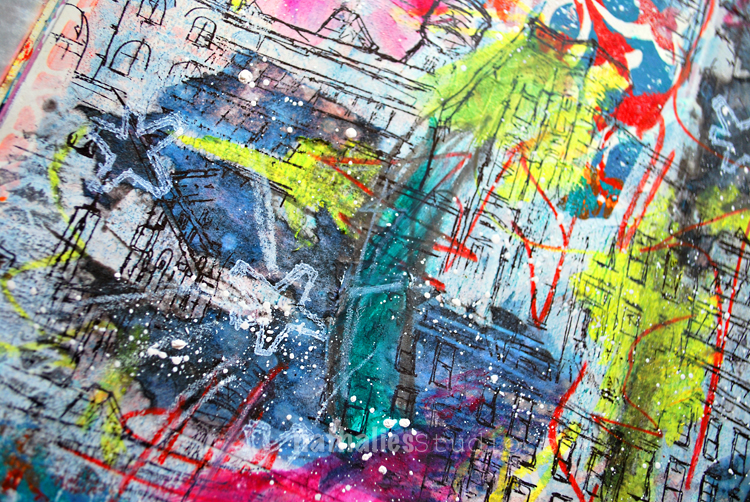
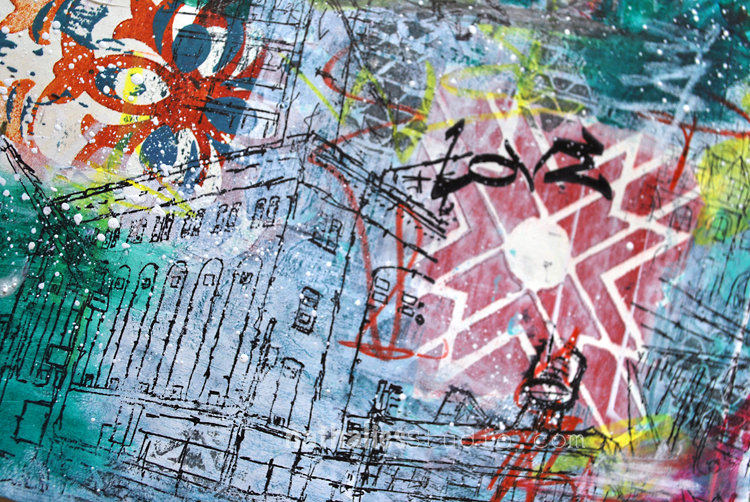
I had such a fun time playing with this spread. Some stamping with the Versailles and Toledo Foam Stamps and Acrylic Paint .

I transferred some parts of a photo of a graffiti wall I took in San Francisco with Gel Medium  and stamped in between with the Stroll Through The Hood 1 and Stroll Through the Hood 2 as well as the Cardboard Stamp Sets.

I also played with my newish Caran’d Ache Museum Aquarelle Pencils – I basically dipped them in water and then went to town creating color blocks and marks. LOVE how vibrant they are !

I love the grungy look of this spread – I am super happy how it turned out. Here are some of the supplies I used – some links are affiliate links


Comments (2)

  • Sue Clarke

    |

    The layers and layers are awesome.
    I must challenge myself to doing a page with this many layers!

    Reply

Leave a comment

Impossible to Forget – Art Journal Spread

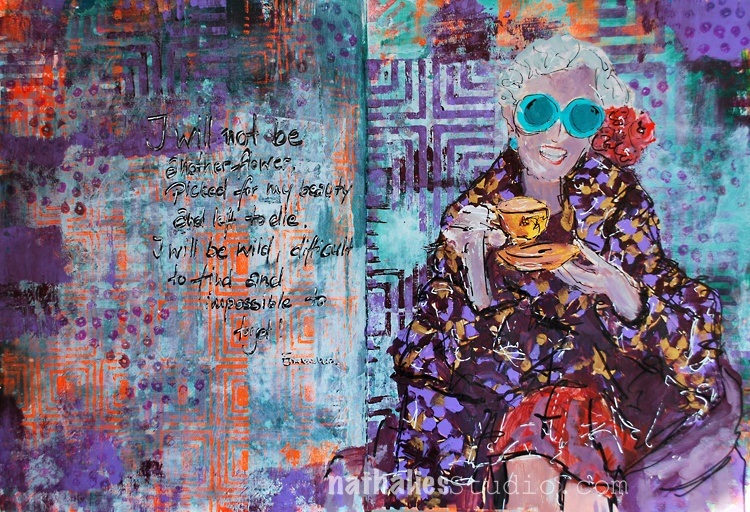
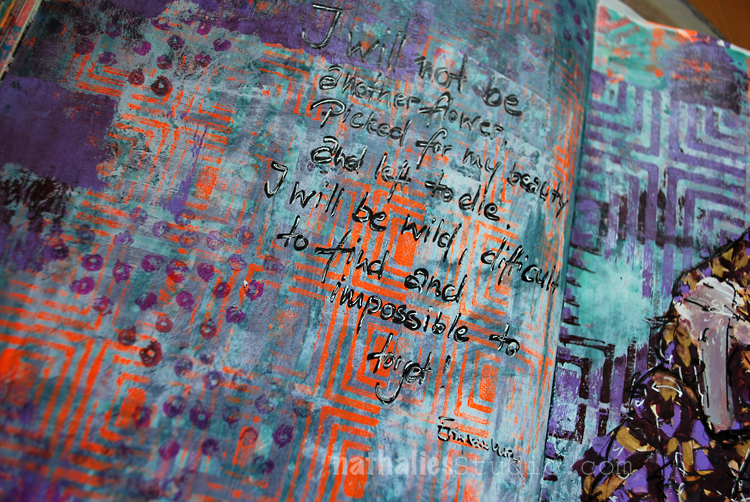
“I will not be another flower, picked for my beauty and left to die. I will be wild, difficult to find and impossible to forget!” – Erin Van Vuren

I loved the quote when I found it – and I had to include it in my art journal.

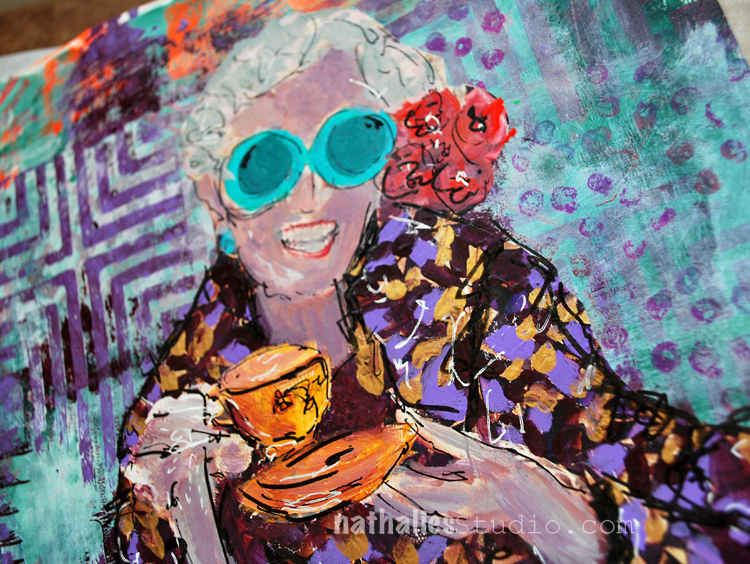
The background was a VERY purple background – LOL- so I toned it down a bit by using some Baltic Blue Acrylic Paint and gesso over some of the areas. I used my Manhattan positive and negative Foam Stamp set as well as the Manhattan Border Foam stamp for a pattern. To break the very linear pattern up a bit I used the Grannies Rubber Stamp.

I painted over a magazine image that I had saved , using acrylic paints and some markers. That was fun. A different color scheme when usual for me but it is totally my cuppa tea :)

Here are some of the supplies I used – some of the links are affiliate links:


Have a beautiful day!

Leave a comment

Let’s Go Somewhere – Michelle Rydell


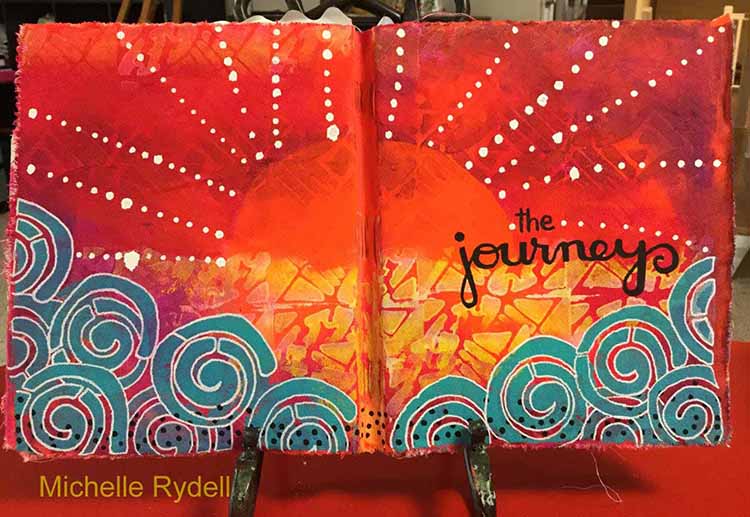
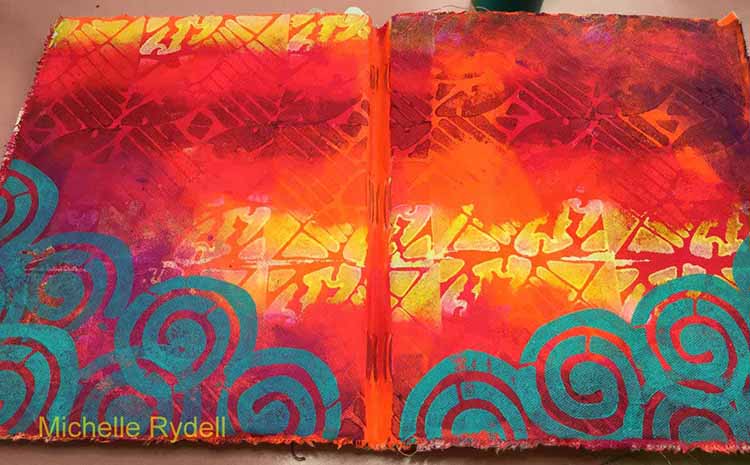
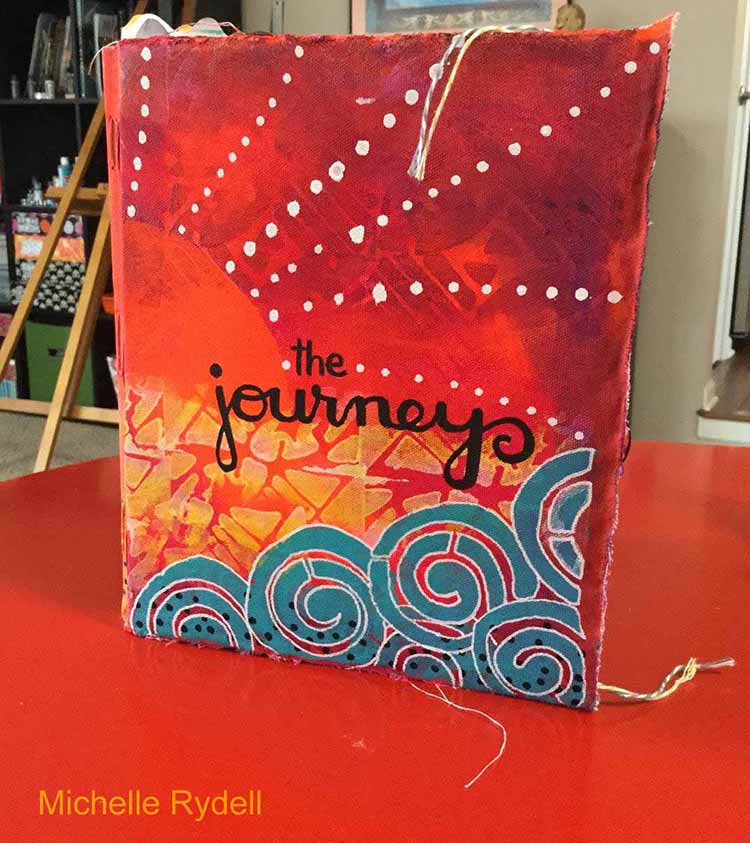
Happy Tuesday my friends! Today Michelle Rydell from my Creative Squad is sharing a happy and bright journal cover using the Batik Pattern 2 foam stamp, the Batik Pattern 4 foam stamp, and this month’s theme: Let’s Go Somewhere. We’re in the depths of winter here in the Northern Hemisphere and looking for an escape! This month let’s reminisce about past vacations and plan future adventures to help us get through these gray days.


I decided it would be fun to bring this month’s theme to the project of decorating my journal cover – which is the place where I document the biggest adventure of all – life! Here’s how I went about doing it…

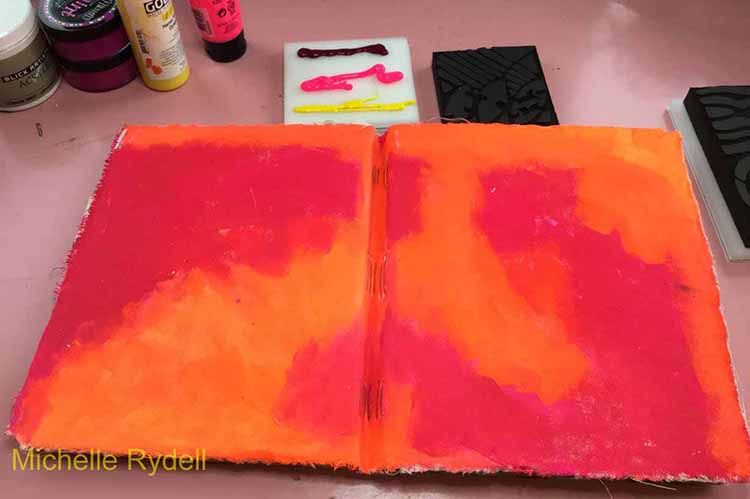
I already had painted a base coat of orange and pink paint on my journal cover. I busted out the Batik 4 stamp, the stamp buddy, and some pink, white, yellow and Quin Magenta paints to get started…

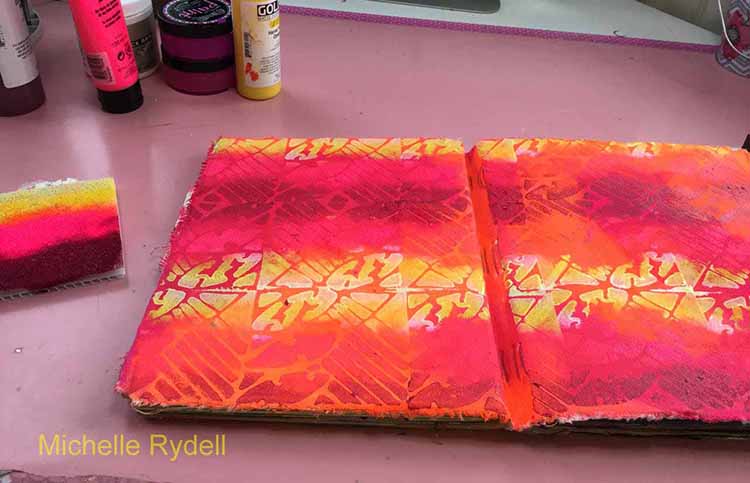
I applied the paint to the stamp buddy in a stripey pattern, and covered the whole cover with the Batik 4 stamp, in a tile fashion…

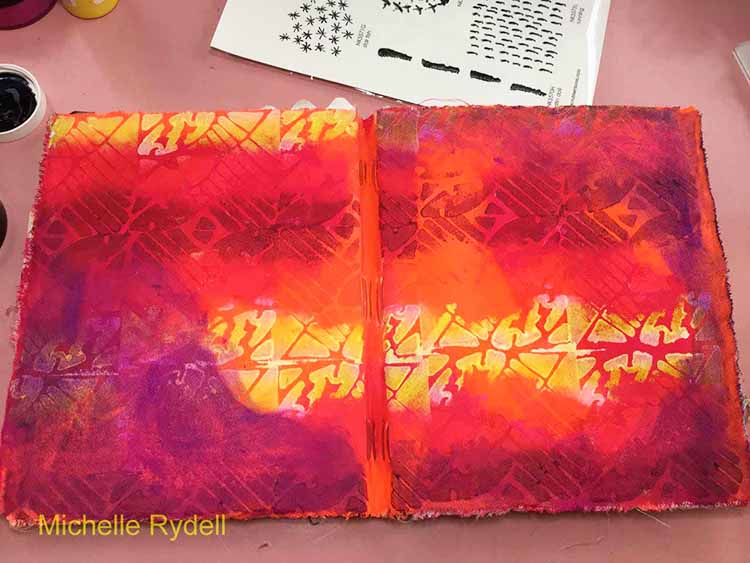
Next, I applied some fuschia and payne’s grey paint in random patches to knock back the busyness just a bit…

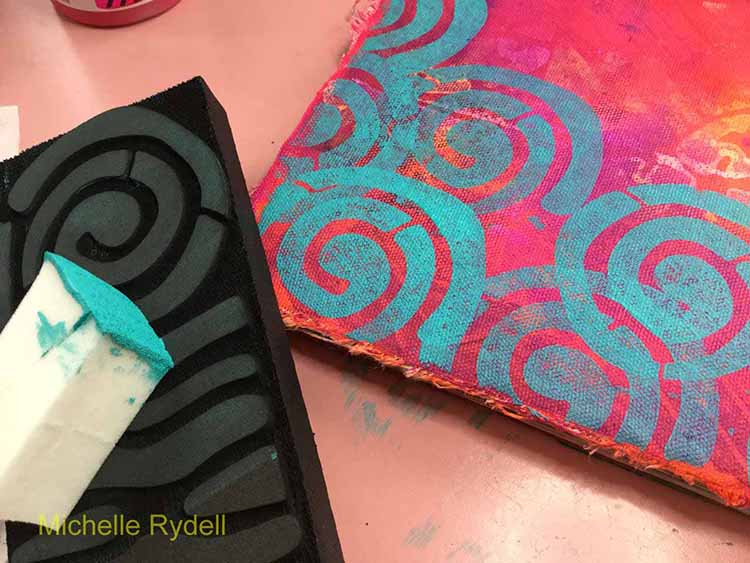
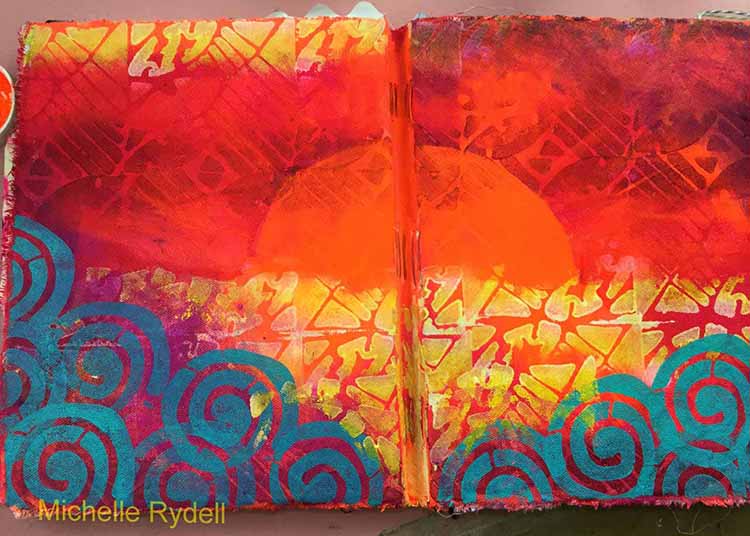
For the third layer I used the swirl from the Batik 2 stamp and turquoise paint applied with a sponge, to add a border along the bottom. After that was finished I could see the beginings of a sunrise peeking through. Do you see it?

I decided to bring the sunrise out with some fluorescent orange paint; and filled in the rest of the foreground with more of the yellow and white Batik 2 stamping…

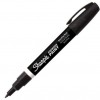
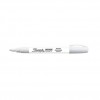
Final details were added with white and black sharpie poster paint pens. I’m so happy with my new journal cover – I’m all set to document the journey of life!


I love these colors!!! Thank you Michelle for such a vibrant project and for showing how you can use just parts of the Batik stamps to create new designs. Here are the supplies Michelle used in her post- some links are affiliate links:


Play along with us! I love to see how you interpret our monthly themes. Email me how you used my stencils and stamps with the theme and email me an image – I would love to share your projects in my “n*Spiration From Around the Globe“.

+ Expand this article
4comments

Comments (4)
  • Diane Baker-Williams

    |

    Love the colors you used. They make the white truly pop. Appreciate you sharing the steps you took to create.

    Reply

  • Sherry Canino

    |

    What a gorgeous art journal spread !! Absolutely love the colors too ❤❤❤

    Reply

  • Gerrie Johnnic

    |

    Love love love this! Wowza, what colors…….amazing project!

    Reply

  • Sue Clarke

    |

    Such vibrant colors Michelle! I feel like I took a few minutes on a warm island while sipping my chai this morning.

    Reply

Leave a comment

Art Tapas – Bite Sized Tips for the Mixed Media Artist – Tip #7 Cleaning Foam Stamps

Art Tapas are short videos that will give some practical tips or advice about anything that is related to tools, art supplies or processes and any Mixed Media or Hobby Artist might appreciate.

Lots of times these reflect some mistakes that I made along my journey, so to speak, things that I learned the hard way and sometimes they are just some things that I would have loved to have known when I actually started in Mixed Media. (Find the previous Art Tapas here)

Today’s Art Tapas is about Cleaning Foam Stamps

Art Tapas – Bite Sized Tips for the Mixed Media Artist – #7 Cleaning Foam Stamps from Nathalie Kalbach on Vimeo.

I hope you enjoyed this little bite –  and if you have questions that you would love to have answered in some of the Art Tapas videos- let me know below in the comment section and I might just cook one up for you to nibble on!

Below are some of the tools and supplies I mention in the video- some are affiliate links:


Comments (11)

  • gigipurple

    |

    Thank you Nathalie for all the tips.
    I have a question, is it safe for the stamps to use a dish soap like Dawn? If it is, then scrubbing the stamps with a dish soap and water would make it easier to remove any leftover oils on the stamp.
    Thanks again,
    Gigi

    Reply

    • nathalie-kalbach

      |

      Hi Gigi, yeah I wouldn’t see how that wouldn*t be save and good idea on the leftover oils!! Just make sure you do not have any residues of any dishwasher or other soap in your stamp

      Reply

      • gigipurple

        |

        I will try next time. Thank you for your help.

        Reply

  • JoAnn Campisi

    |

    I haven’t washed my foamies in the past but found that when I switch from acrylic to the ink pad my print is very light. I will definitely try the Murphy Oil Soap to clean them and hopefully will get better results. Thanks for the info – love your art tapas.

    Reply

    • nathalie-kalbach

      |

      Thank you JoAnn! I would assume that the ink will always give a slight light imprint because the foam is just a bit more light -but that is something that works really well to your advantage if you are up for layering.

      Reply

  • Kathy Adams

    |

    I use Murphy’s on my brushes when they get really bad. Thanks for the tip, since I never thought to use them on my stamps. I am sure it would work for rubber stamps as well. Question: did you use it full strength or diluted with water?

    Reply

    • nathalie-kalbach

      |

      Kathy, I diluted it a bit with water- but not much. I was really a bit worried about getting the oil out of the foam later – so I wanted to make sure this is not going to be the super gooey stuff :)
      Reply

  • Sue Clarke

    |

    I have Murphy’s soap at home and use it on my floors. I never would have thought of using it on my foam stamps.
    I will have to try it. Usually I use a baby wipe to get the paint off and then rinse for a long time in the kitchen sink.
    I will try your method next time I use paint and my foam stamps.
    Thanks for your creative insight Nat.

    Reply

    • nathalie-kalbach

      |

      Thank you Sue! This is really only when you have totally dried up layers of paint on your foam stamp – I think I would not use it on a regular basis.

      Reply

  • Rae Missigman

    |

    I love that you figured this out! So so cool that there is a solution for our foam stamps. I am really really bad about being in a groove and not getting up to go to the sink! EEK! I do employ the baby wipe method as you mentioned, but this is going to be a game changer. Thanks for sharing. Hugs!

    Reply

    • nathalie-kalbach

      |

      <3 Thank you Rae! I know it is hard sometimes to keep up with cleaning the stuff - I am too :)
      Reply

Leave a comment

Smile :) -Positive and Negative Pattern Play
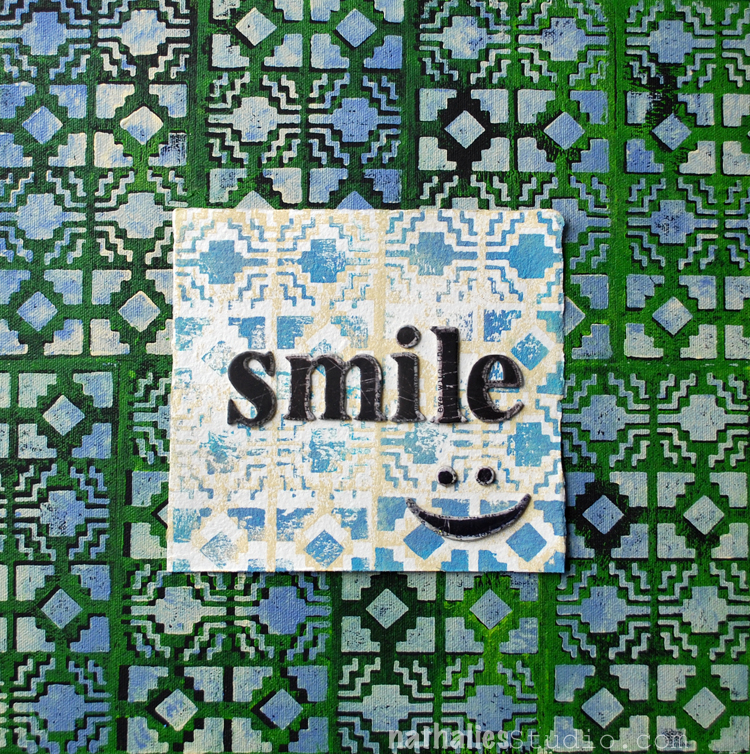
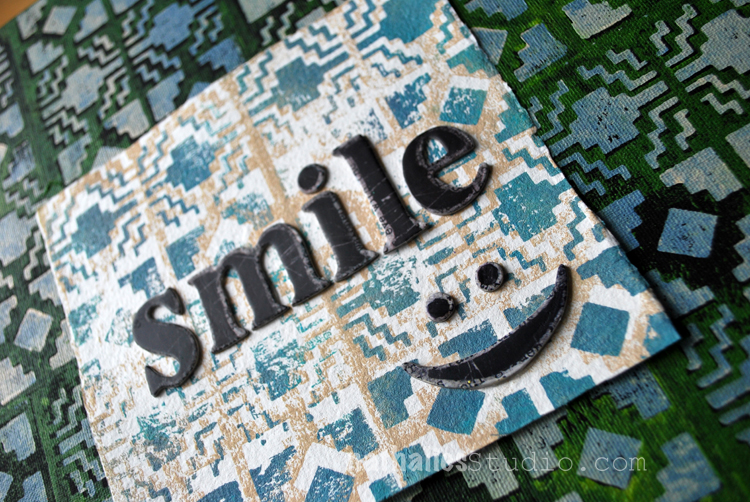
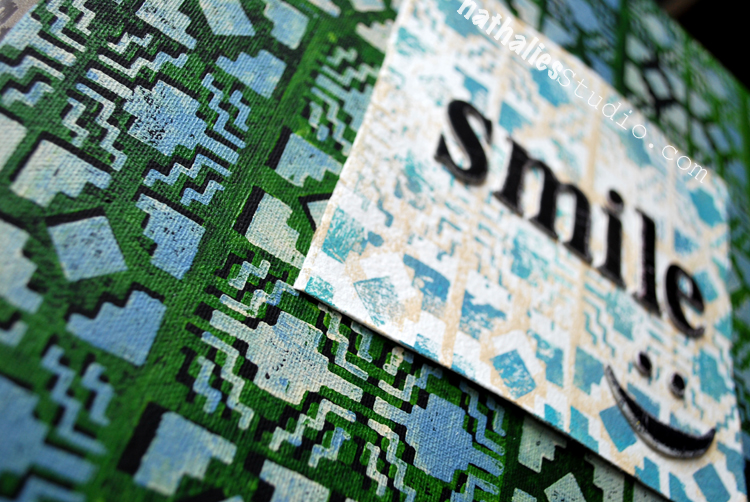
This is another board I made for the ArtFoamies booth at Creativation. It was a simple project, but when you are displaying for a trade show it is important that you have samples that show in a fast way how to use certain products- and here I simply wanted to have something that would show how the positive and negative foam stamps I created work.

I used the Santa Fe positive and negative Foam Stamp Set and stamped with different colors onto a black board. I love how much depth a bit of an offset stamping and the black background creates. For the top I stamped on some hemp paper which has a very different quality and texture. It also feels almost like fabric and it is quite durable. I love how different the texture of the paper makes the pattern look.

It is a very in your face project- LOL – so ….Smile ;)

Here is a list of supplies I used for this -some links are affiliate links:


Have a gorgeous day

Comments (2)

  • stephanie

    |

    Hi Nat – Is the hemp paper like color press watercolor? Thanks.

    Reply

    • nathalie-kalbach

      |

      Stephanie, it is really hard to say – it is like handmade paper with a kind of fabric like feel to it -yeah maybe a bit similar to a very good and thick cold press watercolor paper, but then not as thick. NOt sure if that helps and makes sense :)

      Reply

Leave a comment

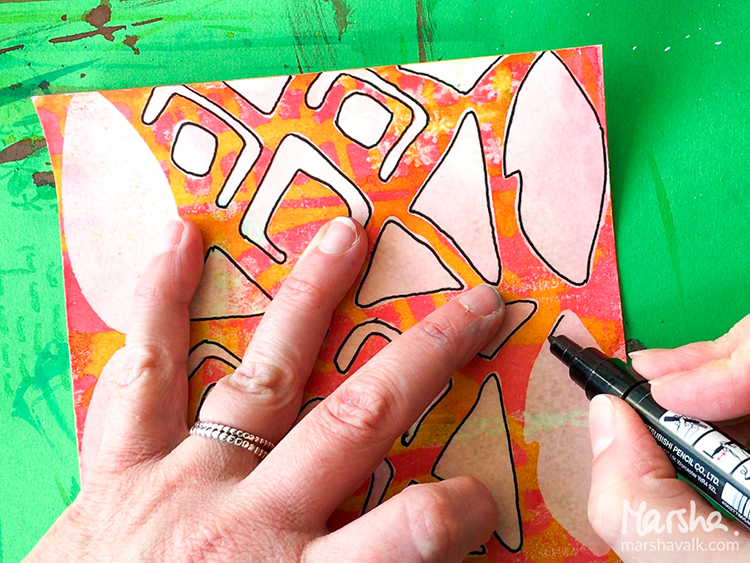
Let’s Go Somewhere – Marsha Valk


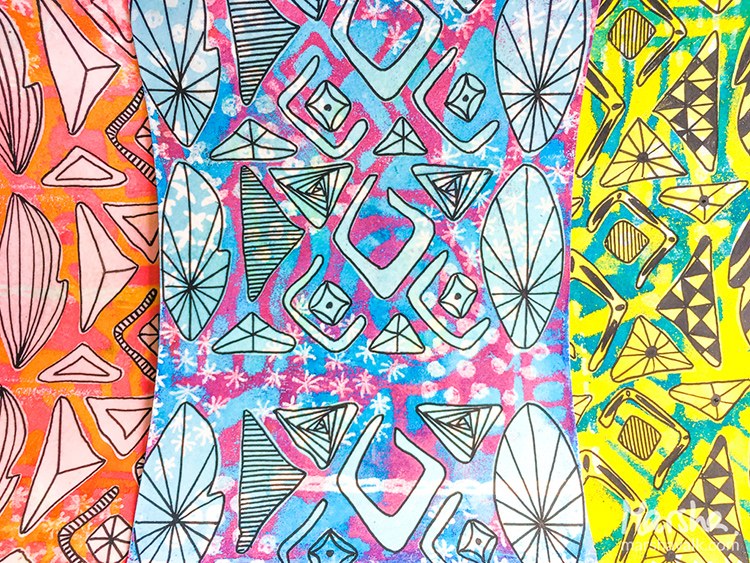
Today is Tuesday and that means it’s time for a post by my Creative Squad! Marsha Valk is sharing a fun and creative way to use the Batik Pattern 3 Foam Stamp, as well as the Batik Stencil, the Embroidery Stamp Set, and this month’s theme: Let’s Go Somewhere. We’re in the depths of winter here in the Northern Hemisphere and looking for an escape! This month let’s reminisce about past vacations and plan future adventures to help us get through these gray days.


Let’s Go Somewhere… Somewhere exotic… somewhere where there are palm trees… cocktails… and where the women wear beautiful patterned summer dresses in vivid colours!


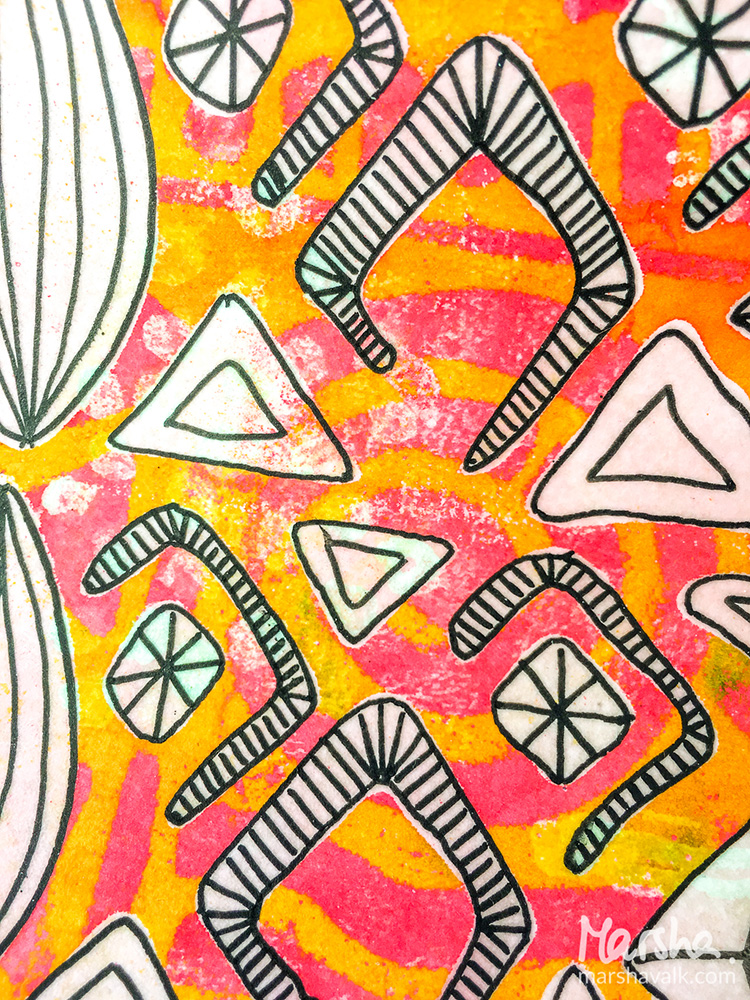
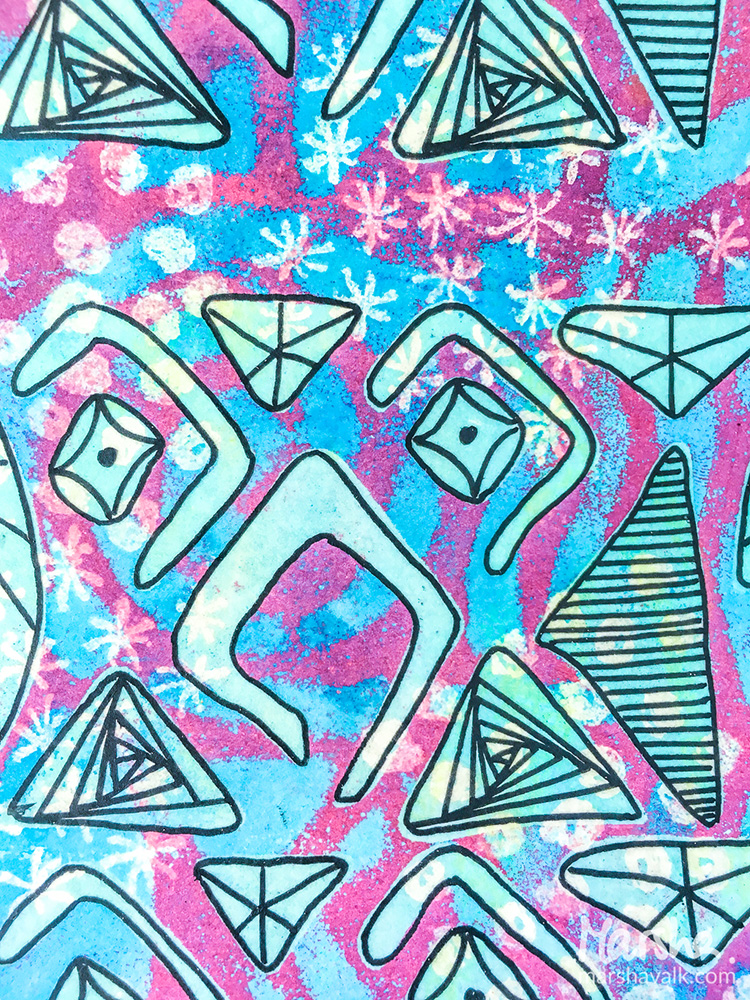
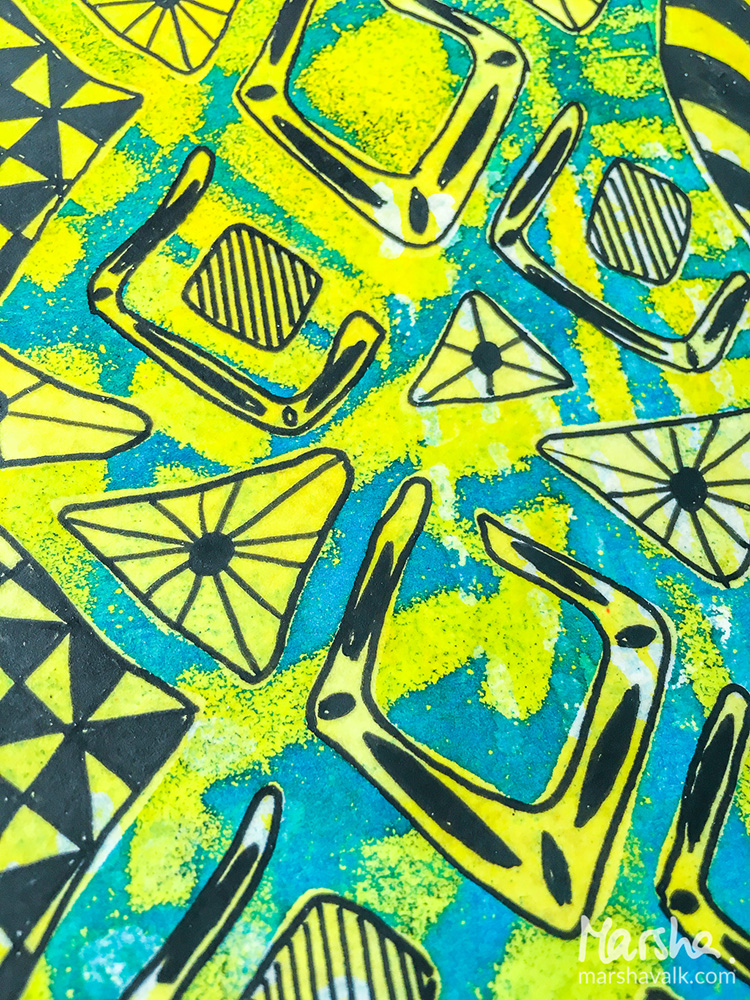
The assignment was to use the Batik Art Foamies and batik only means one thing to me: fabric. So I decided to create patterned designs using embossing powder instead of wax in an attempt to make my paper look like batiked fabric. I’m not sure I succeeded, but it was a fun experiment!

Here are the steps I took. There are a lot of repeat steps, to create a multilayered look!

Step 1

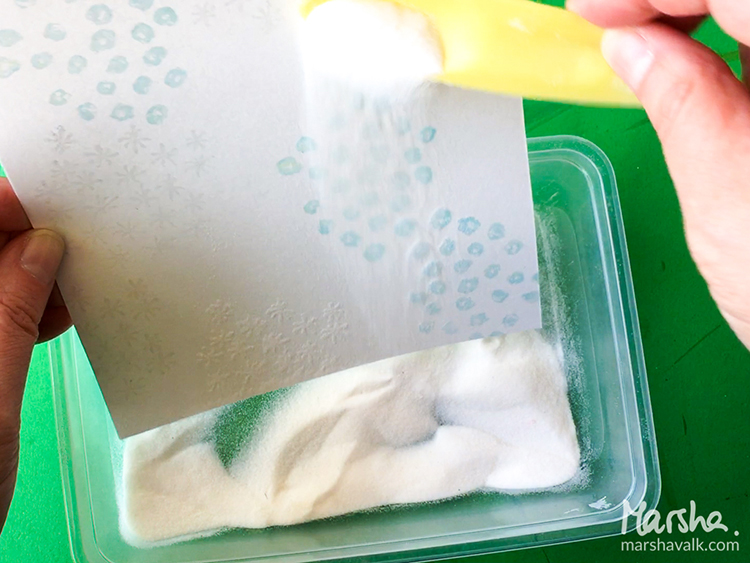
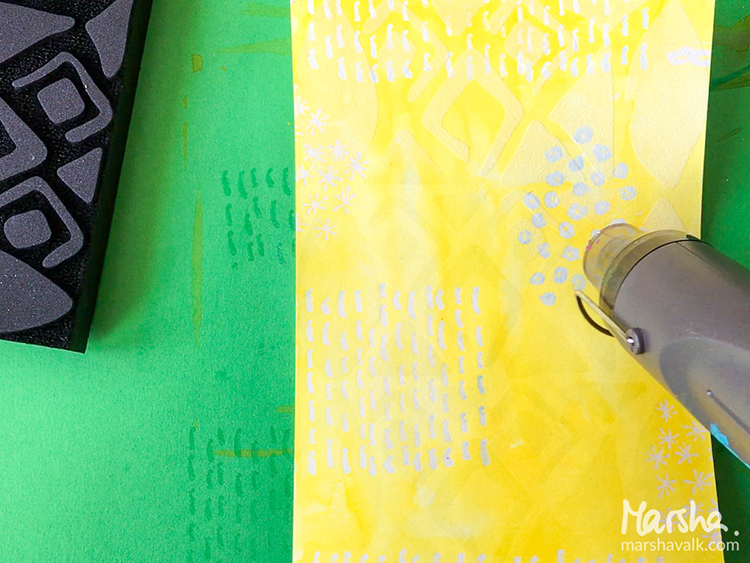
Use embossing ink to stamp small patterns (like these stamps from the Embroidery Stamp Set) onto sheets of white (mixed media) paper. Sprinkle clear embossing powder on top and heat emboss.

Step 2

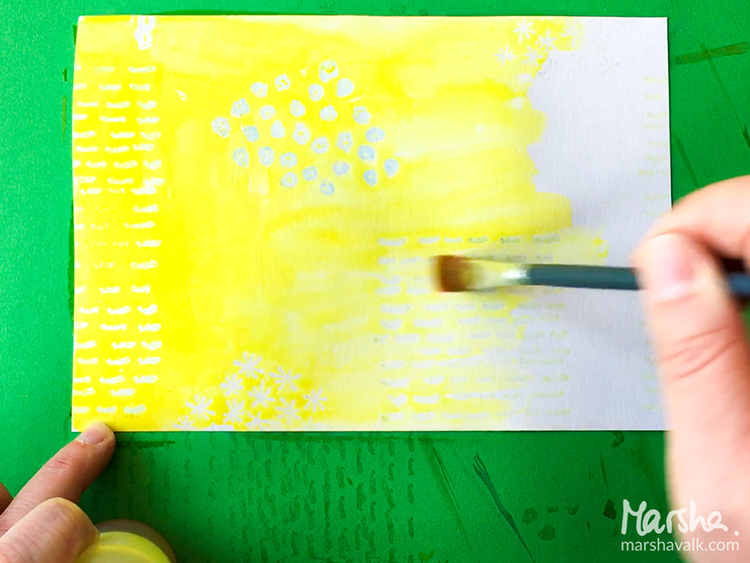
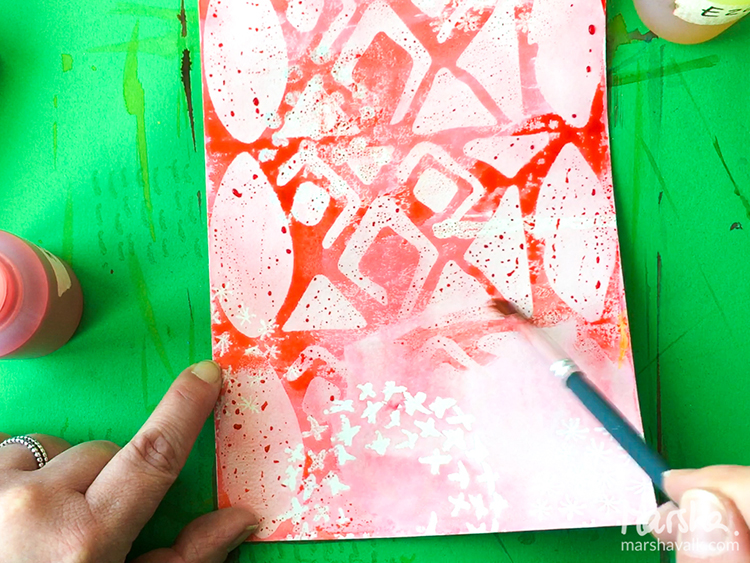
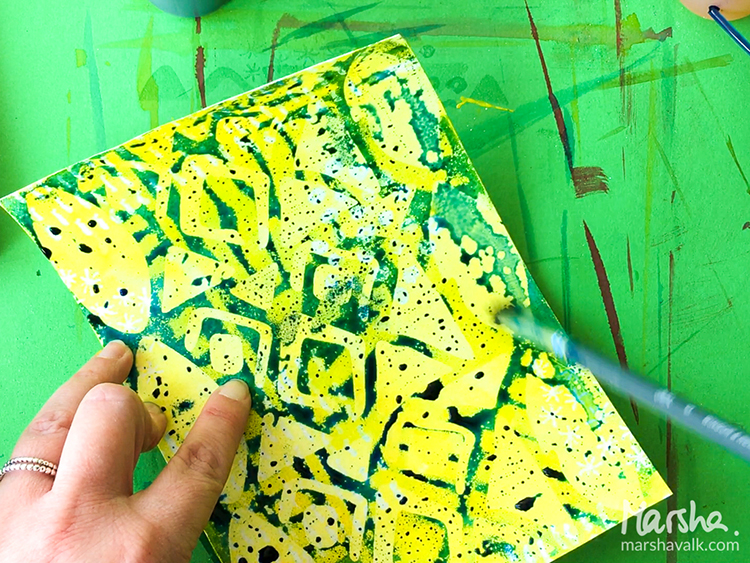
Cover your paper with watercolor. Let it sink into the paper, wipe off any watercolour that beads up on top of the embossed areas and let the paper dry.

Step 3

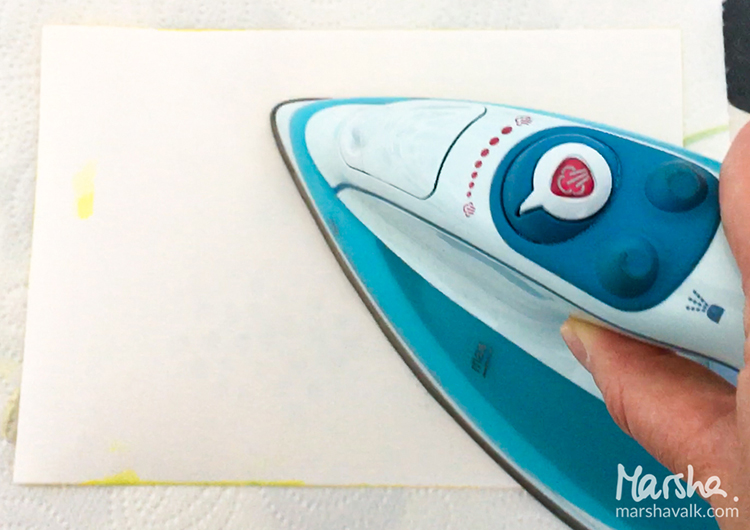
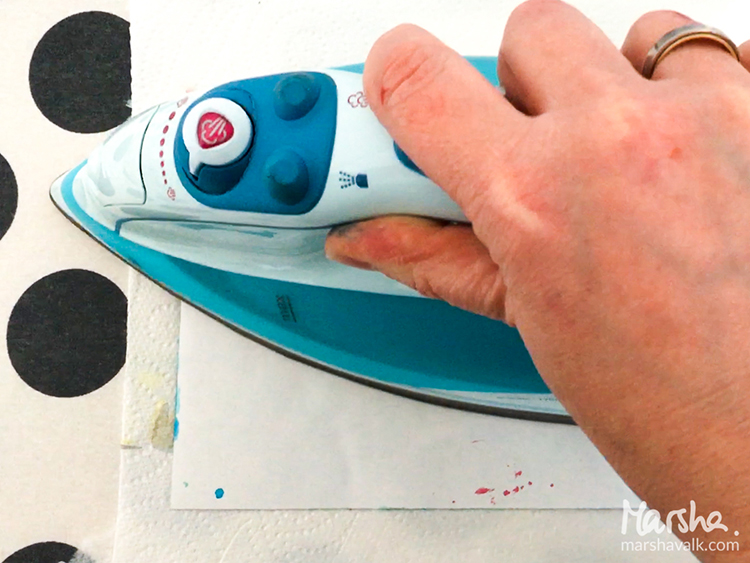
Take some papertowels, place your paper on it face down and iron with a hot iron. The embossing powder will melt and absorbed into the paper towel.

Step 4

Use embossing ink and stamp the Batik Pattern 3 Foam Stamp onto your paper. Sprinkle clear embossing powder on top and heat emboss.

Step 5

Cover your paper with another coat of watercolor. Use a slightly darker shade of the same colour or choose one that mixes well with the colour that is already on there. Wipe the excess watercolour off the embossed areas and let the paper dry.

Step 6

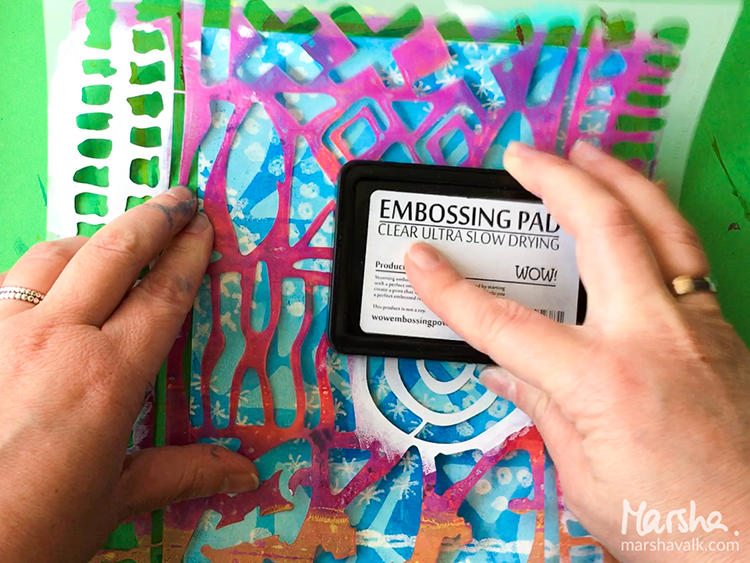
Apply embossing ink through the Batik Stencil onto your paper. Sprinkle clear embossing powder on top and heat emboss.

Step 7

Cover your paper with a last coat of watercolor. Use an even darker shade of the same colour or now choose one that mixes well with the colour that is already on there. Again: wipe off the excess watercolour from the embossed areas and let the paper dry.

Step 8

Take some papertowels, place your paper on it face down and iron with a hot iron to remove the embossing powder.

Step 9

Use the paper as a background for art journaling, use it as collage paper or… doodle on top to really make it look like patterned fabric!


Wowowwwoww! Thanks Marsha! The results are awesome and I definitely want to try this. Here are the supplies Marsha used in her post- some links are affiliate links:


Play along with us! I love to see how you interpret our monthly themes. Email me how you used my stencils and stamps with the theme and email me an image – I would love to share your projects in my “n*Spiration From Around the Globe“.

+ Expand this article
5comments

Comments (5)

  • nathalie-kalbach

    |

    Marsha, you amaze me ! I love the technique and the way you layered all the different tools and patterns on top of each other- and your video is super fun! Love it!!!! Thank You!

    Reply

    • marsha.

      |

      Well… Thank YOU for designing such wonderful Batik stencil and stamps!! This was fun!!

      Reply

  • Michelle Rydell

    |

    What a cool technique! I want to try this too! Thanks for sharing Marsha!

    Reply

    • Anna Friesen

      |

      Hi Shelley!! I agree!!! Now I wanna play!! Loved the techniques. (annarummagingthroughherout-of-cotrolartstash) ??

      Reply

    • marsha.

      |

      Thanks Michelle! Have fun playing!

      Reply

Leave a comment