This Tuesday, Tina Walker from my Creative Squad is happy to share with you two super cool projects using Ultra Thick Embossing Enamel and inspired by this month’s theme: “Today is the Day.” I invite you to join me and my Creative Squad to stop procrastinating and be inspired to make today the day you finally tackle that artsy thing you’ve been meaning to get to for so long. Start that new project you’ve been planning for months. Try out that new product you bought ages ago. Experiment with that new technique you read about last year. Try it! Today is the Day!
—————————————————————————————————
Hi! Tina Walker here today to kick off the new month with a new Theme. This month, our theme is ‘Today is the Day’. As the old adage by Benjamin Franklin goes, ‘Don’t put off until tomorrow what you can do today.”
The Creative Squad was challenged to tackle an arsty thing that we’ve been meaning to do. It could be a new project or a new technique. I love trying new ideas and techniques so I was super excited to get started. Let’s get to it!
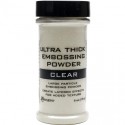
Have y’all heard about Ultra Thick Embossing Enamel (UTEE)? It’s been around f.o.r.e.v.e.r and it’s been sitting on my shelf for YEARS just begging to be used. I thought this month would be the perfect time to create with it! I’ve watched several videos on how to stamp into UTEE and wanted to try for myself, so the two projects I am sharing today are the result of this technique.
Step One: Melt UTEE per instructions. You can either add color with embossing powder or metallic powders or use clear.
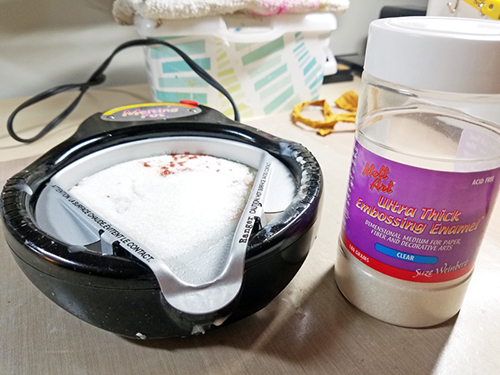
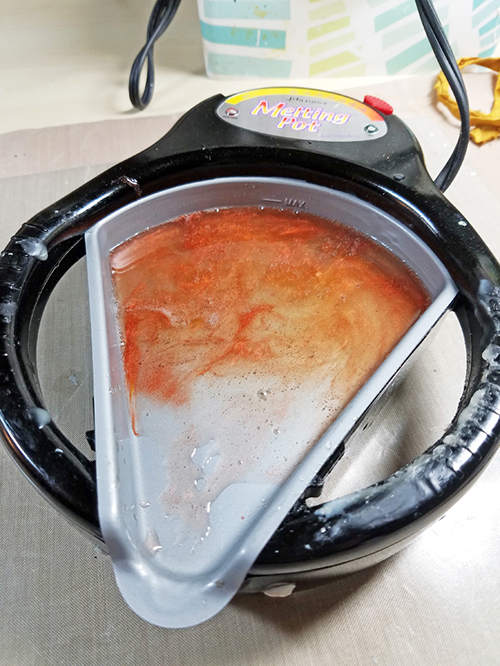
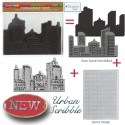
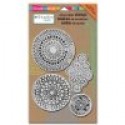
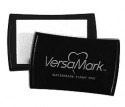
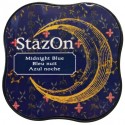
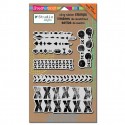
Step Two: Prep your stamp. (Only rubber stamps can be used. Acrylic will not work for this technique). To create a ‘resist’, apply Versmark ink to your stamp. You can either stamp without color or add color with Staz On Ink. I used a colored ink with Nat’s Urban Scribble cling stamp so it would show on the UTEE.
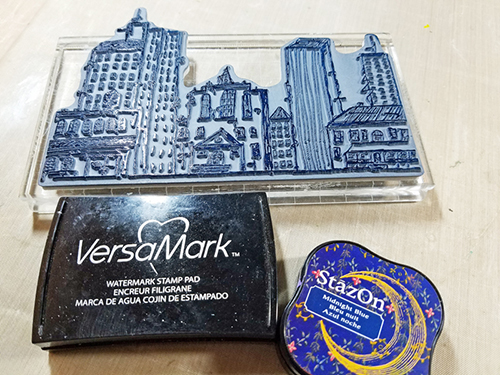
Step Three: Pour melted UTEE on heat resistant craft mat. Immediately stamp into the melted UTEE and let sit for approx. 15 min. Once cool, carefully remove your stamp from the UTEE.
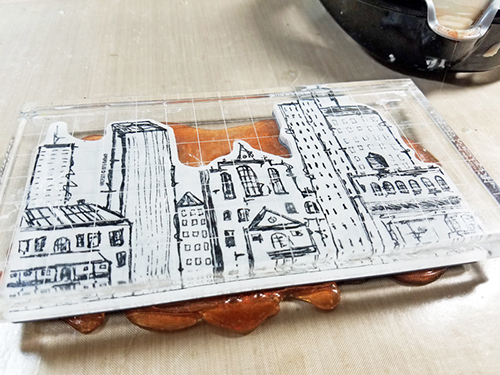
Special Note: UTEE is very fragile and I cracked several in the process. Using a thicker layer vs. a thin layer adds to the stability.
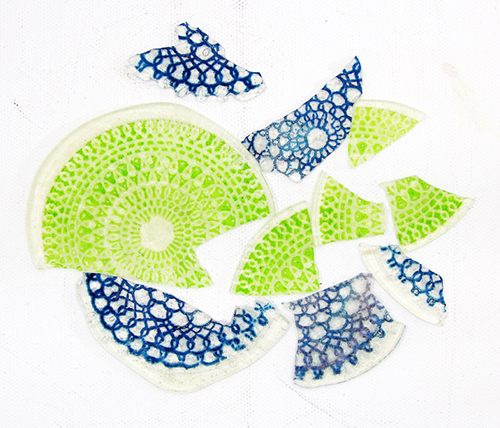
Step Four: You can use your piece *as-is* or add paint, spray, or other mediums.
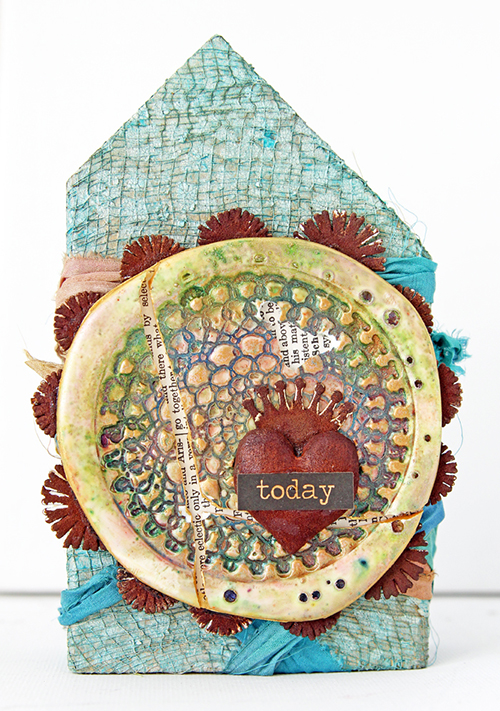
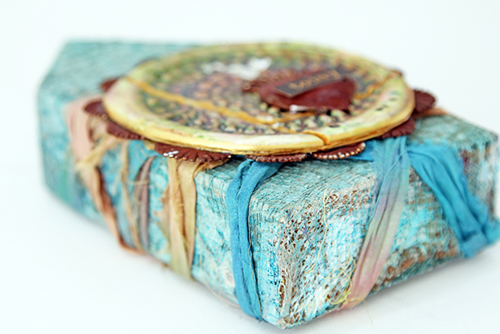
Project One – Today Wooden House
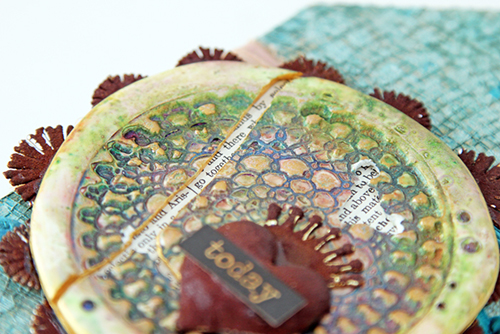
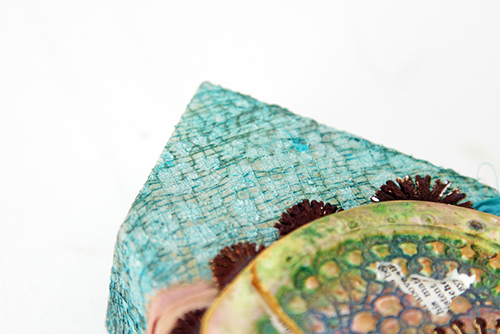
I added white embossing powder to the UTEE with Nat’s Kaffee Klatsch cling stamp. Once cool, I colored the piece with metallic powders. As I was ‘painting’ the piece it cracked. L But, instead of starting over, I continued to use the cracked piece, highlighting the cracks with dictionary paper.
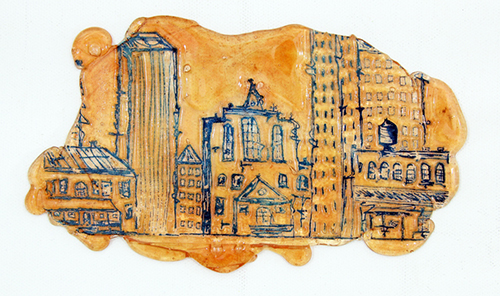
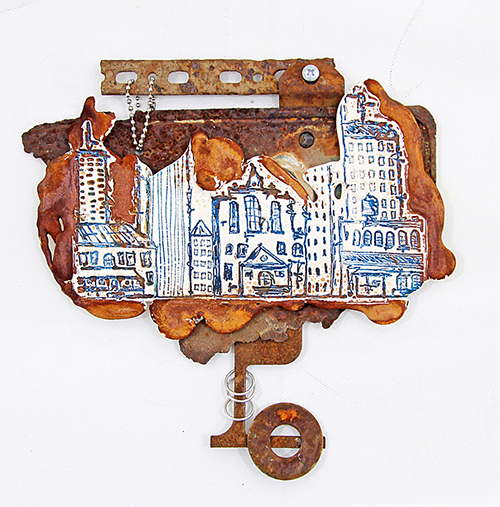
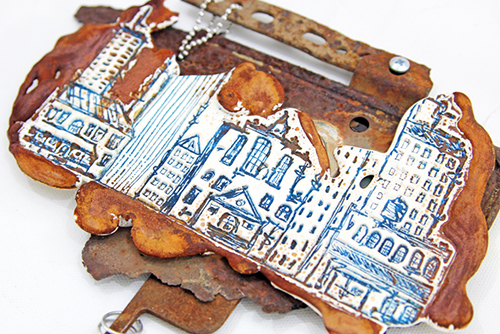
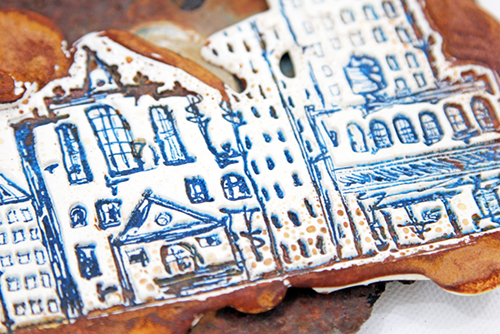
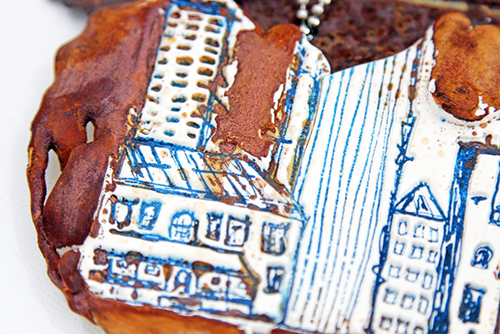
Project Two – Rusty Cityscape
Using the same UTEE mixture, I stamped with another stamp. Once cool, I rusted the edges of the piece to blend with the other rusty elements in the project. Funky and unique!
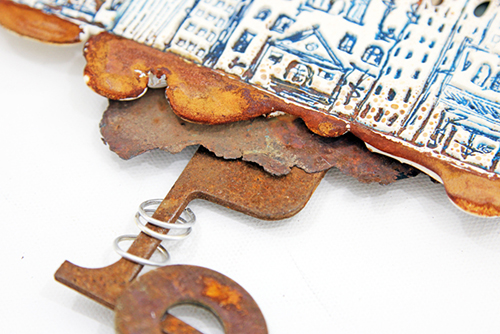
What new technique or product are you dying to try/use? I’d love to hear about it! Thank you for taking time today to take a peek at projects. See you next month.
—————————————————————————————————
I love love love both of these projects and can’t wait to play around with the UTEE myself!
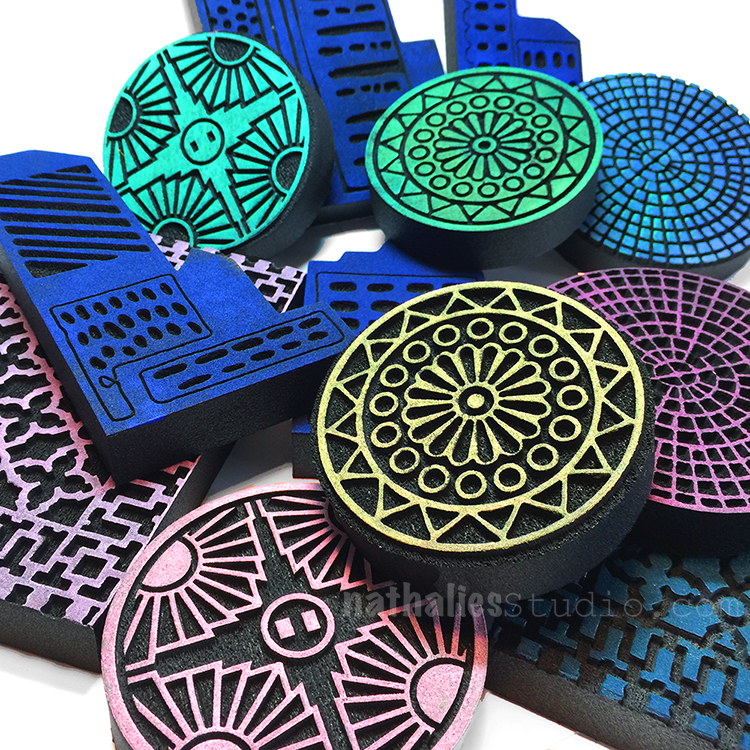
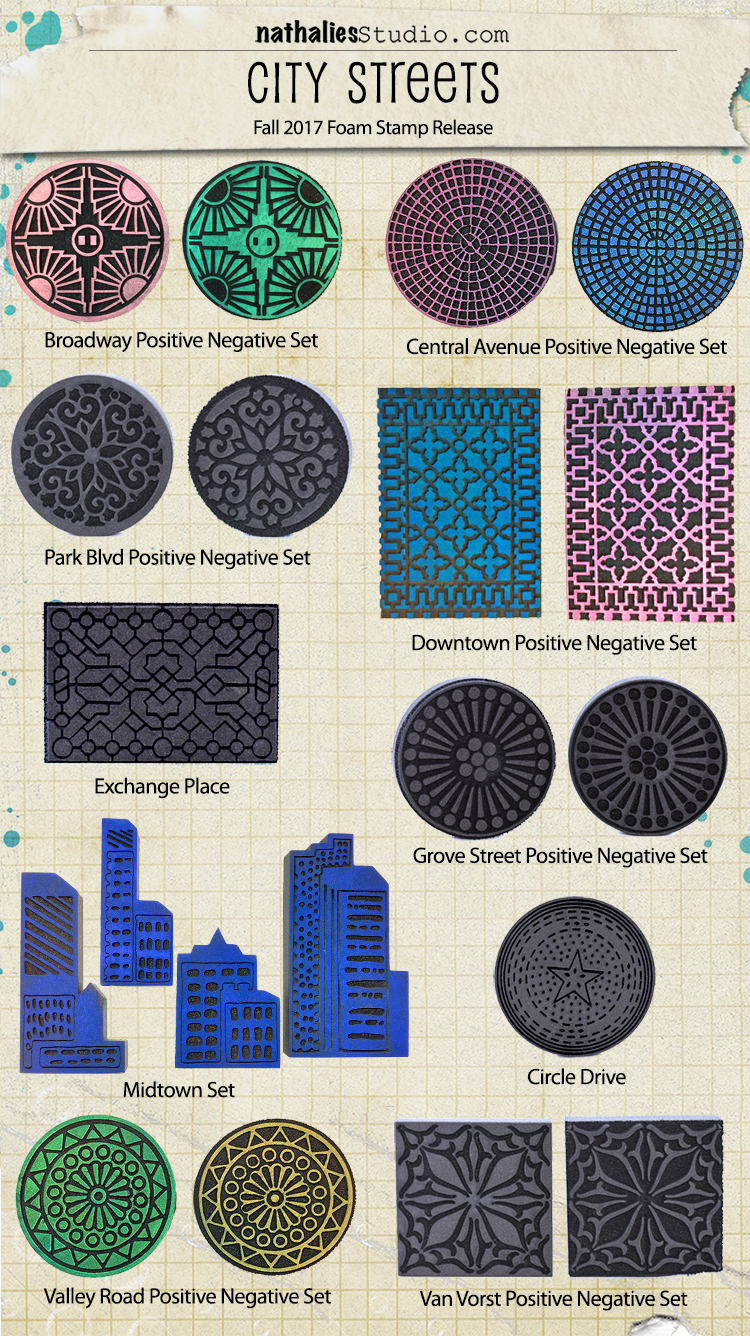
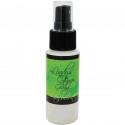
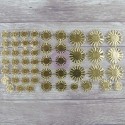
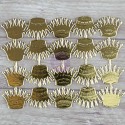
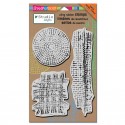
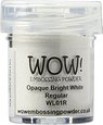
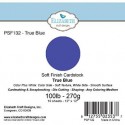
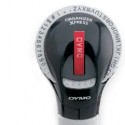
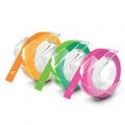
In addition to some wood, gauze, various rusty findings, Dusty Attic Rusting Powder, sari ribbon, and a sticker, Tina used the supplies listed below (some are affiliate links):
Maybe you will even play along with us -I would love to see how you interpret our monthly themes. Email me how you used my stencils and stamps with the theme and email me an image – I would love to share your projects in my next “n*Spiration From Around the Globe“.
See you next Tuesday for another project from the Creative Squad!




















Comments (4)
Jean marmo
| #
OOHhhh – I love these! Congrats!!
Reply
nathalie-kalbach
| #
thank you so much jean!
Reply
Karen Bearse
| #
Wow these look fun!!
Reply
nathalie-kalbach
| #
Thank you so much karen!!!
Reply