Blog: Triangle Love

Triangle Love Holiday Cards

handmade card with triangle shaped trees with toppers, besides the card some triangle shaped and patterned rubberstamps that were used to create the card.

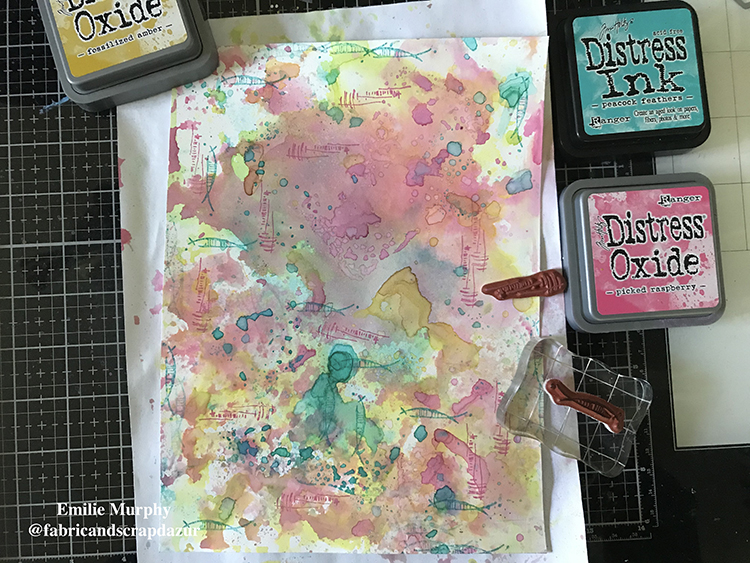
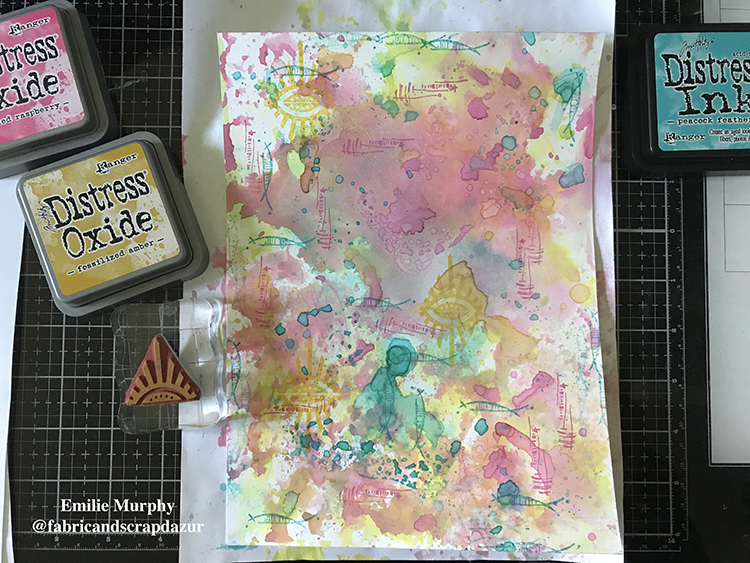
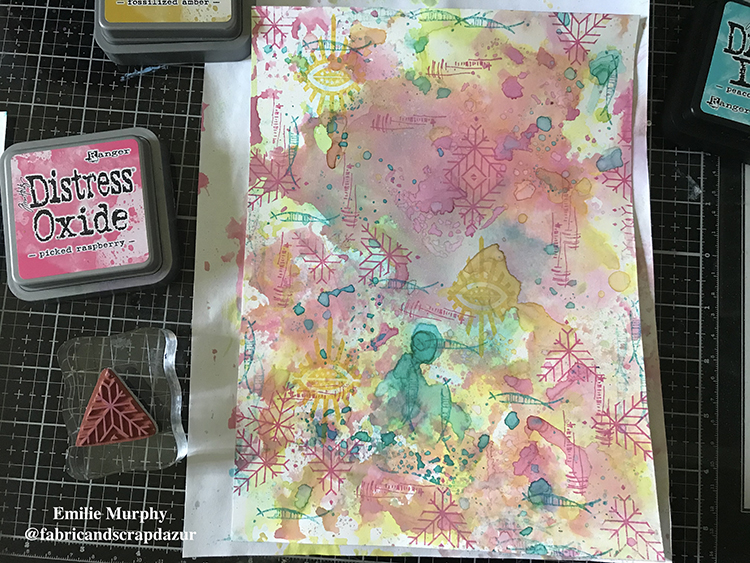
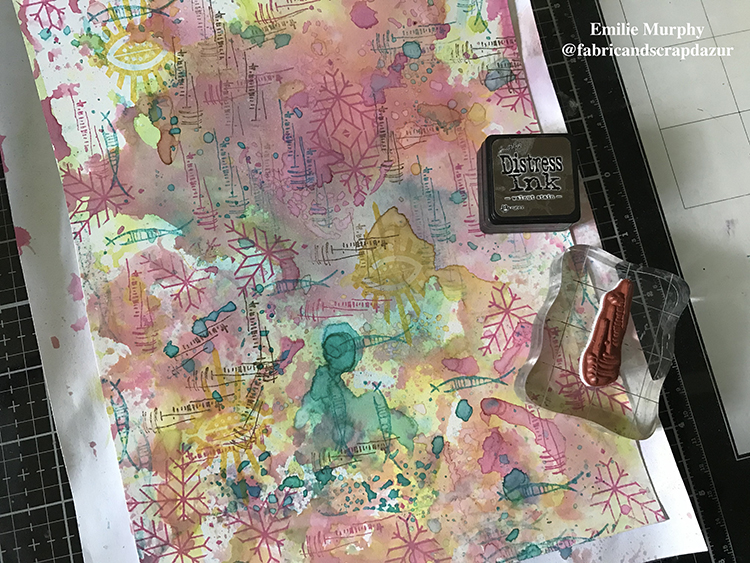
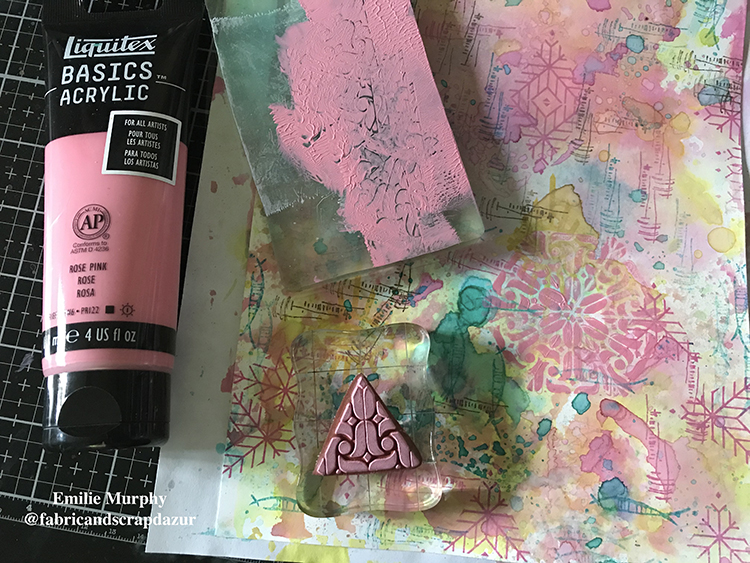
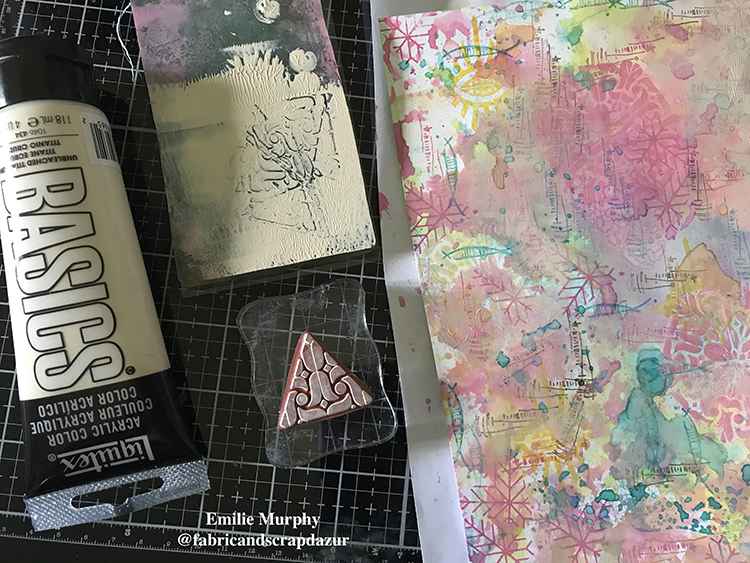
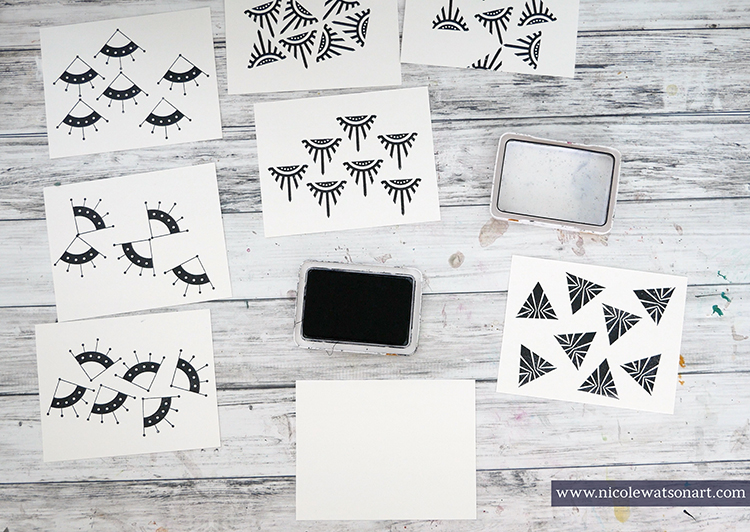
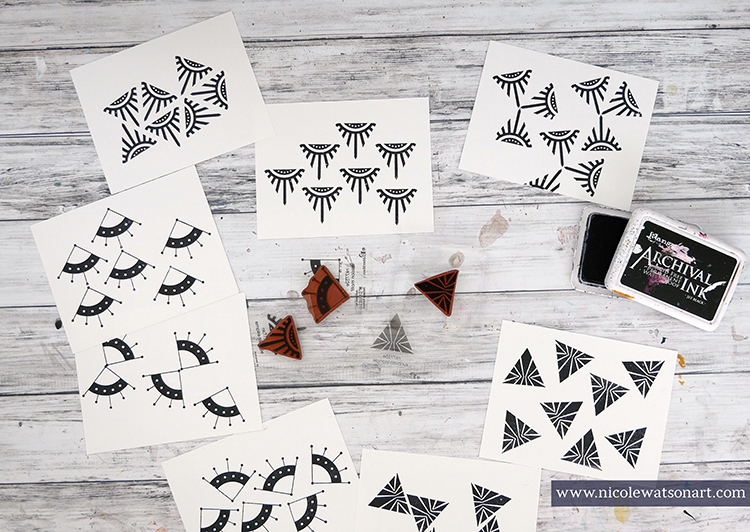
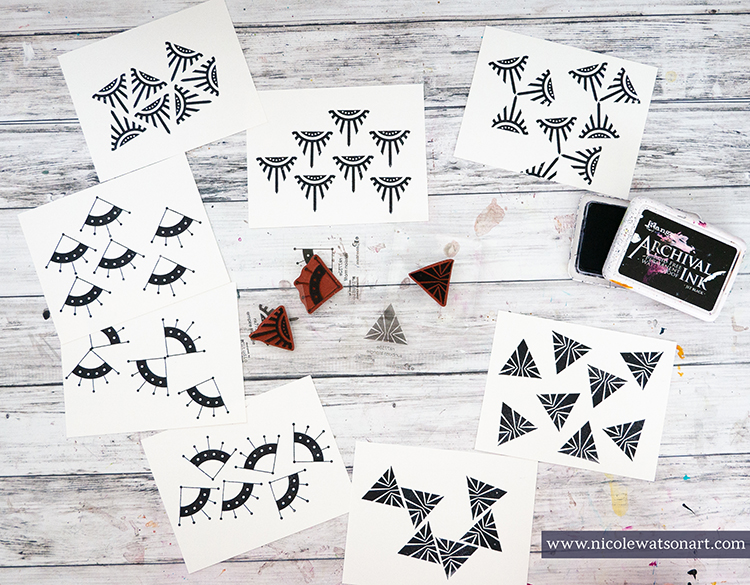
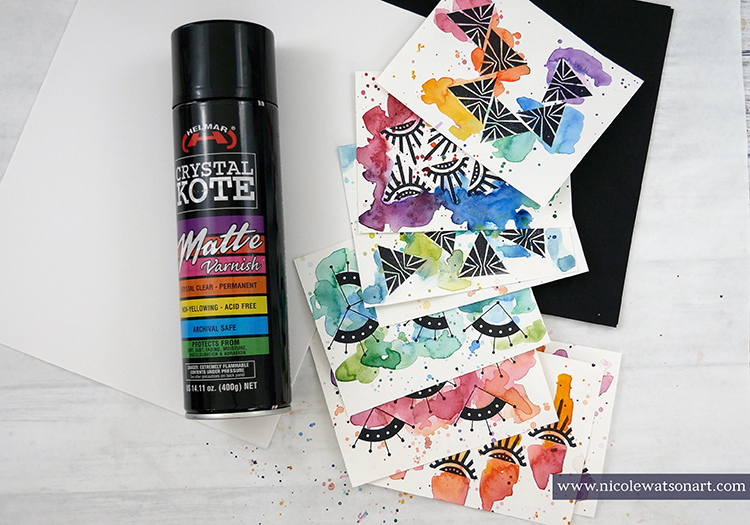
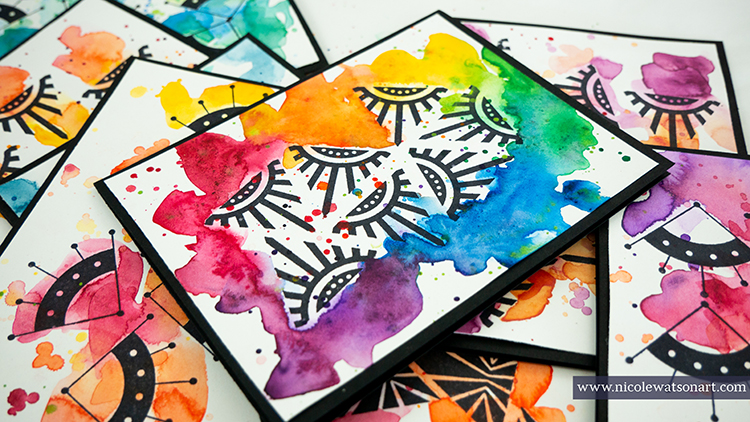
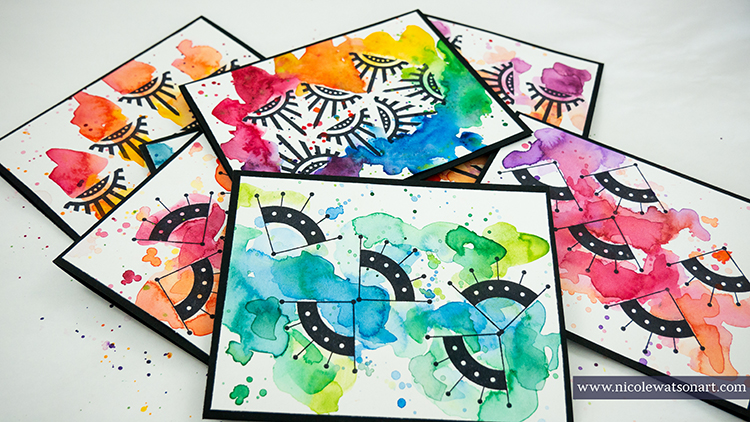
It seems so early to start making holiday cards but I am determined to not get caught in my usual December panic “waahhhhh I didn’t even start yet” LOL. Because quite frankly – I looooovee to get holiday cards, but of course …you gotta spread the love yourself, no? So, I wanted to share with you some holiday cards I put together using my Triangle Love and Fan-fare rubber stamp sets. These are just a few ideas that I was playing around with. Both of these sets are super versatile so I can even imagine a bunch more ideas will come once you start creating.

Let’s get started!

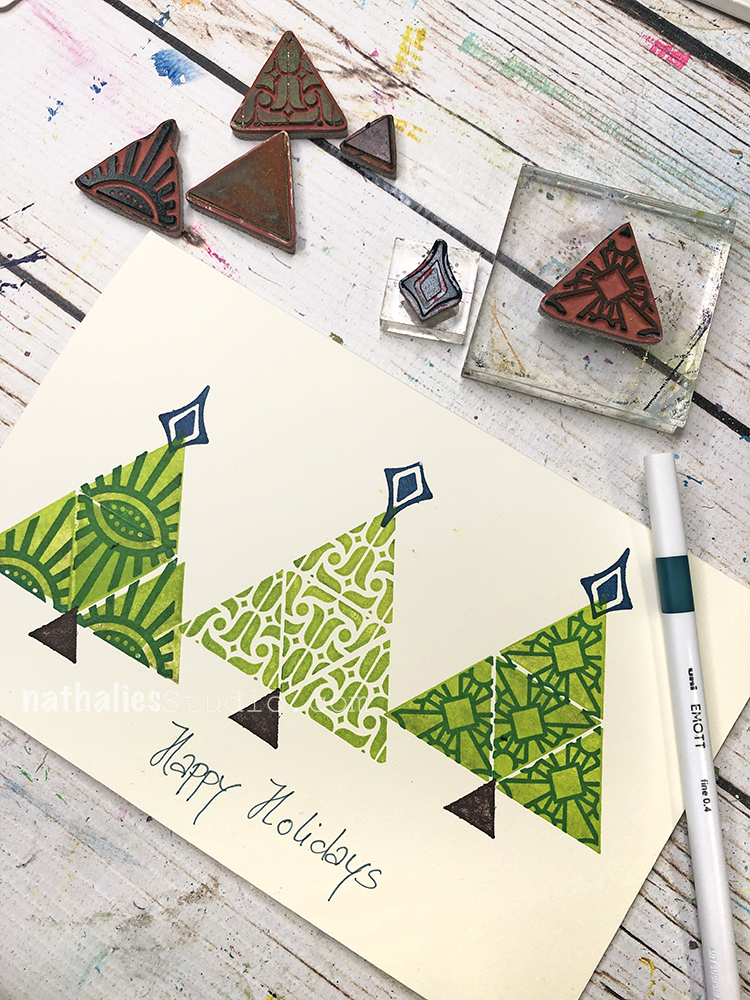
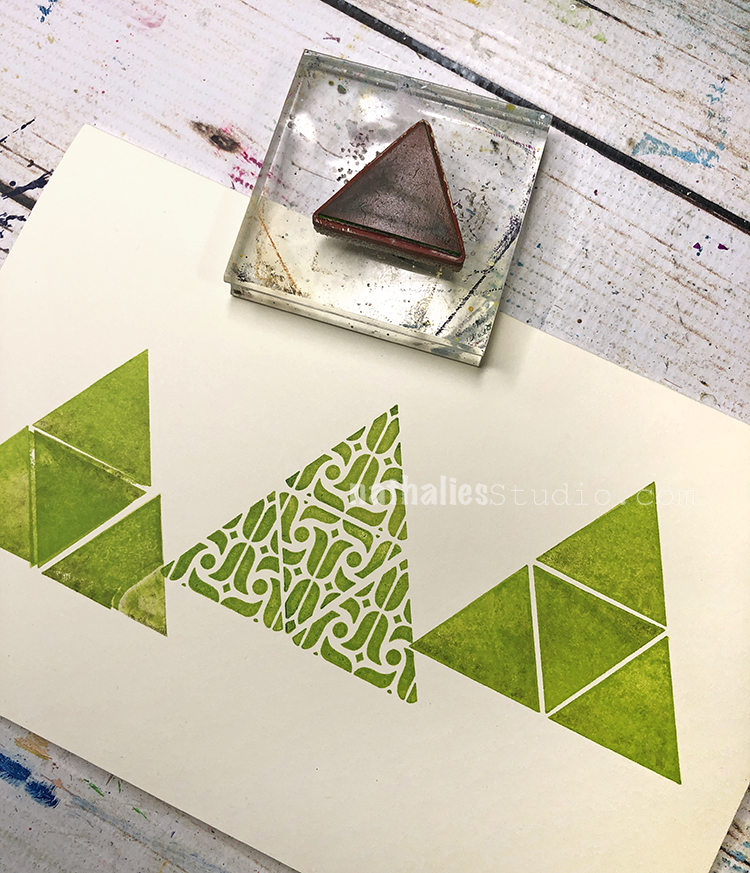
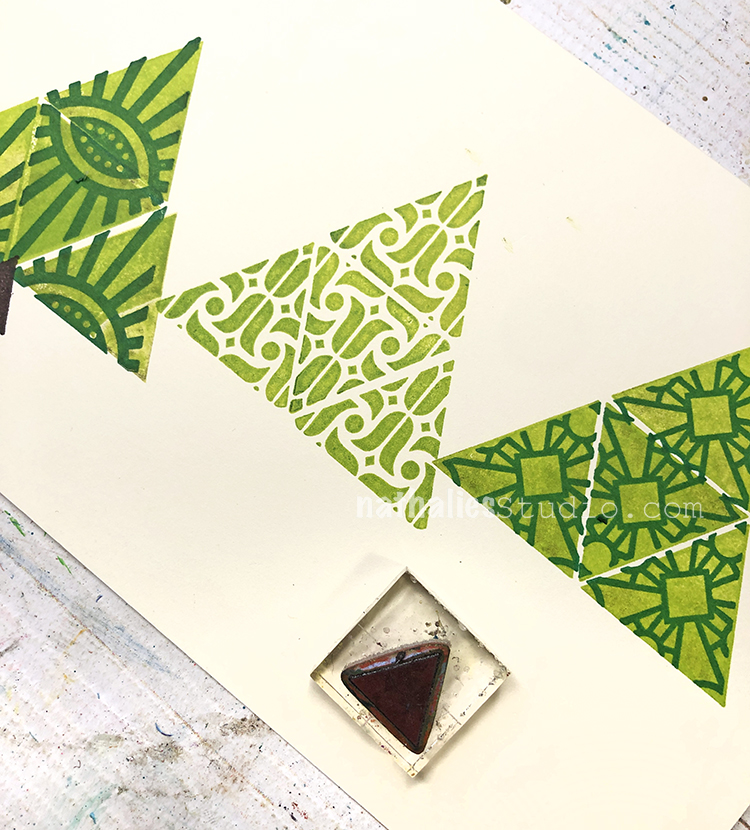
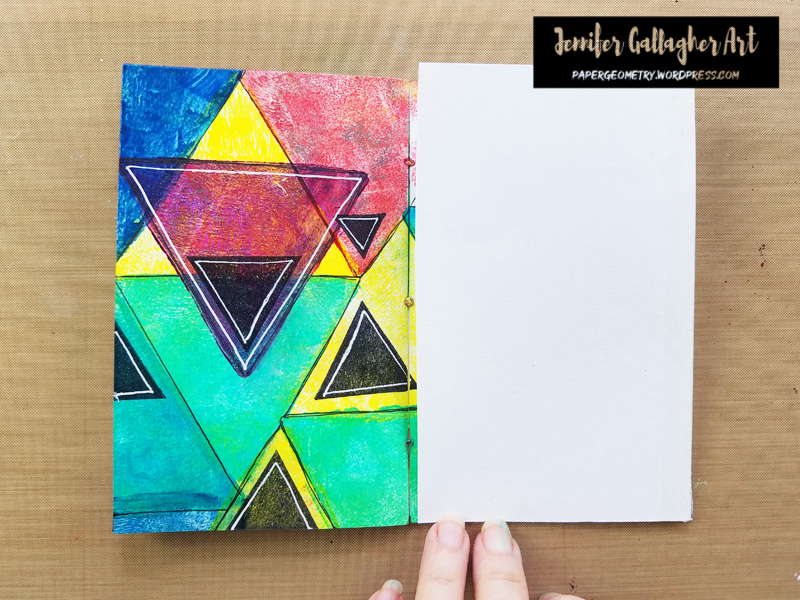
Using my Tulip Triangle, I started lining up the pattern to build a larger triangle shape on my card.

Triangle shaped Rubber stamp used on a blank card to create a big triangle shape

I stamped my Solid Triangle off to either side, in the same manner, building larger triangles. 

three hand stamped triangle shapes in a row with a triangle rubber stamp

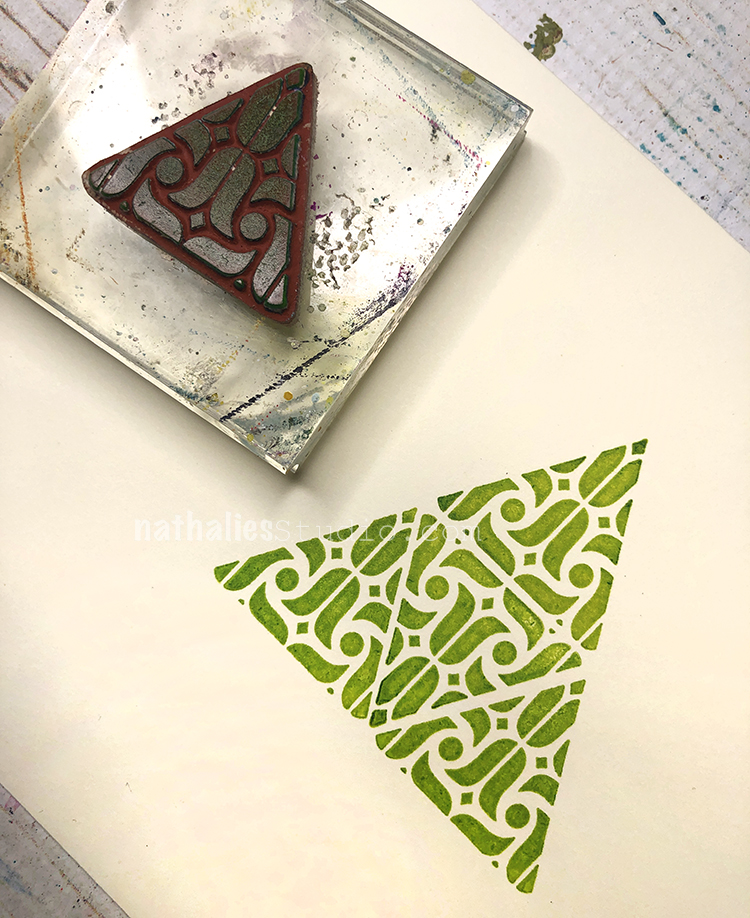
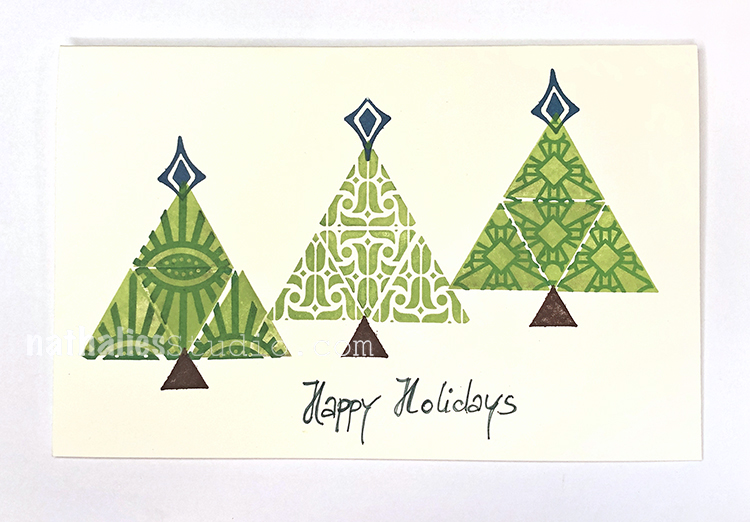
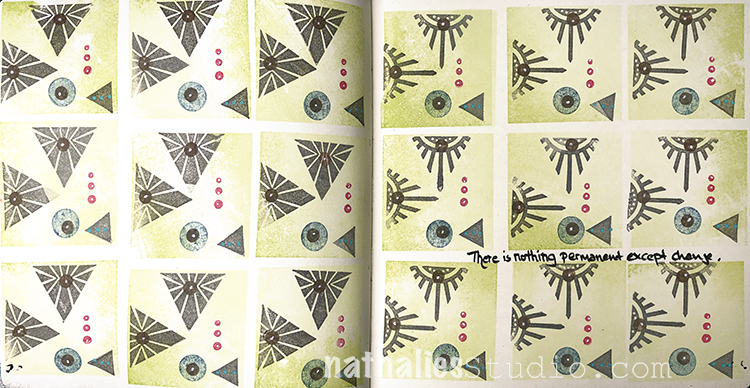
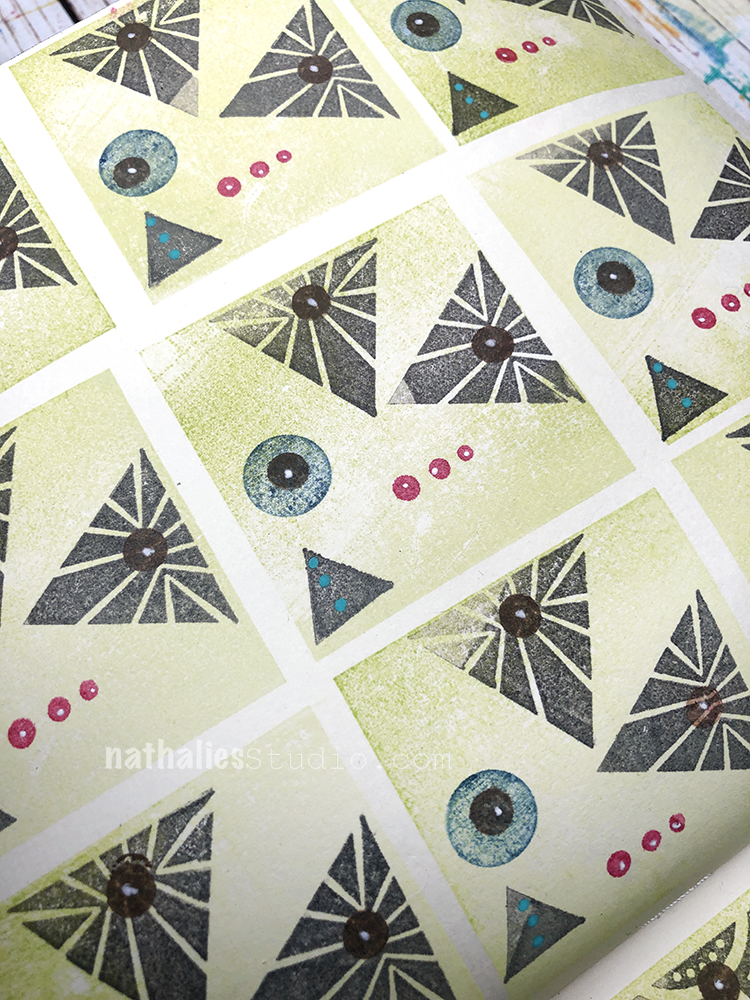
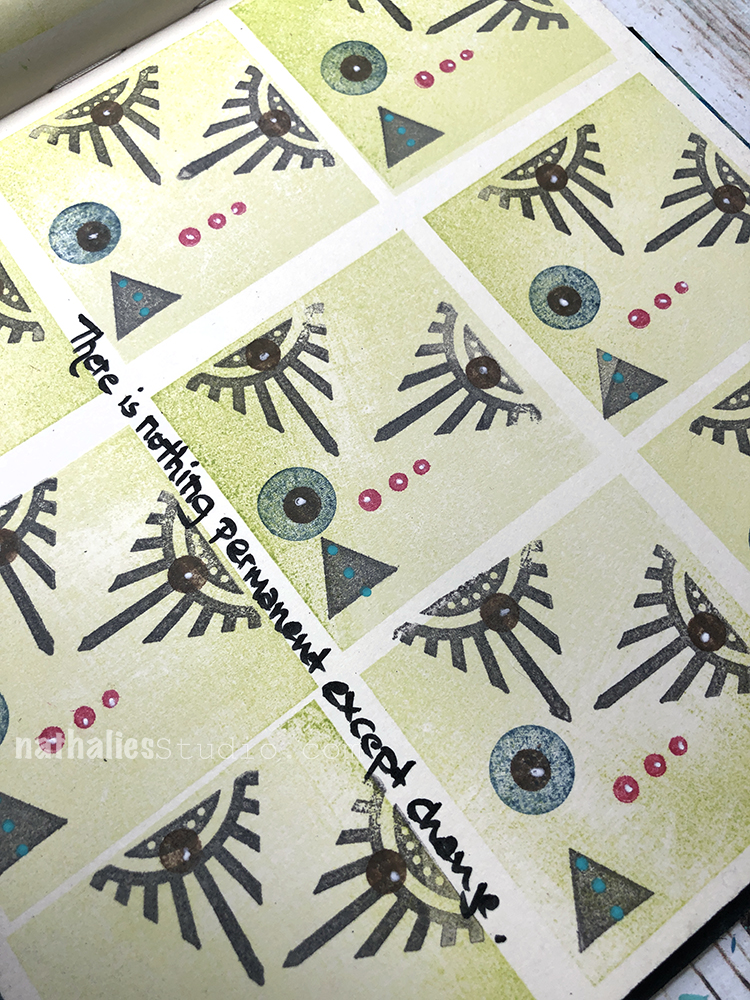
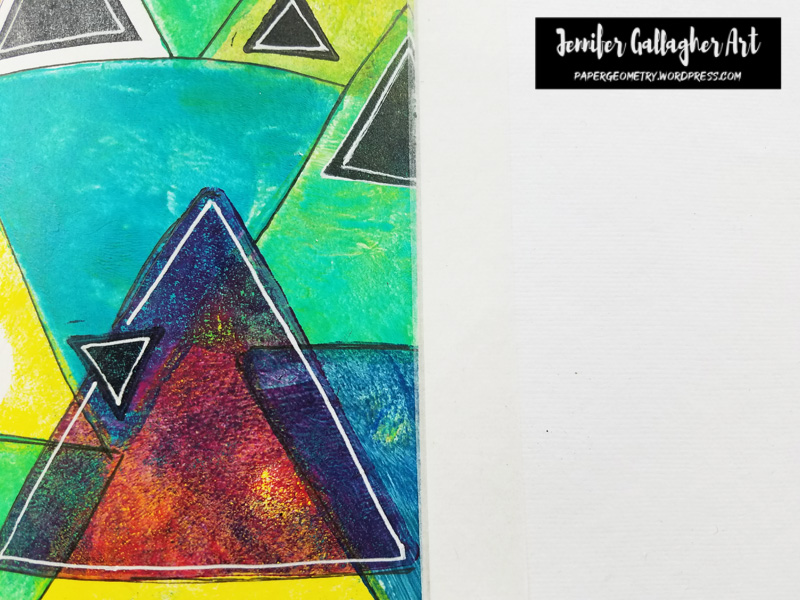
Then I added another pattern on top in a darker green ink. I chose my Empire Triangle and Stained Glass Triangle. I think you can see where this is going ;) I also used the Small Solid Triangle to create the tree trunk because, you guessed it, these are nice little Christmas trees.

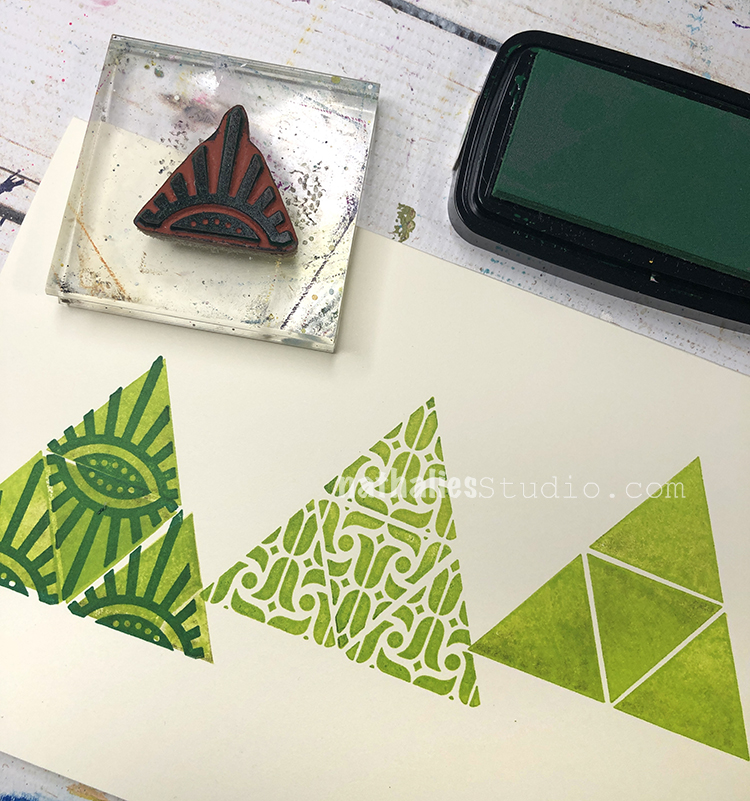
And then I used one of the small stamps from my Fan-fare stamp set as a tree topper.

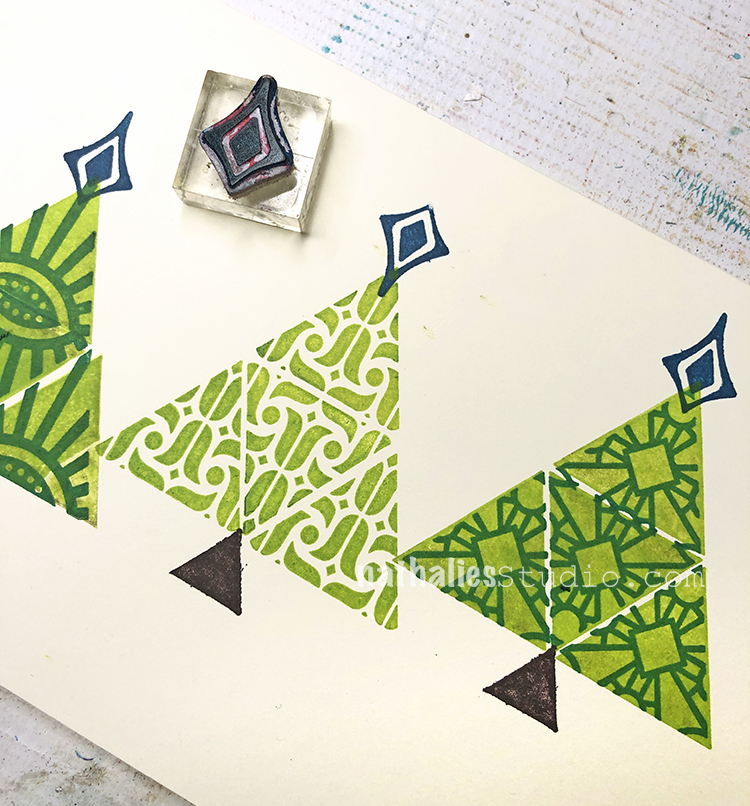
Next just add your message and there you go – easy card idea #1 for you.

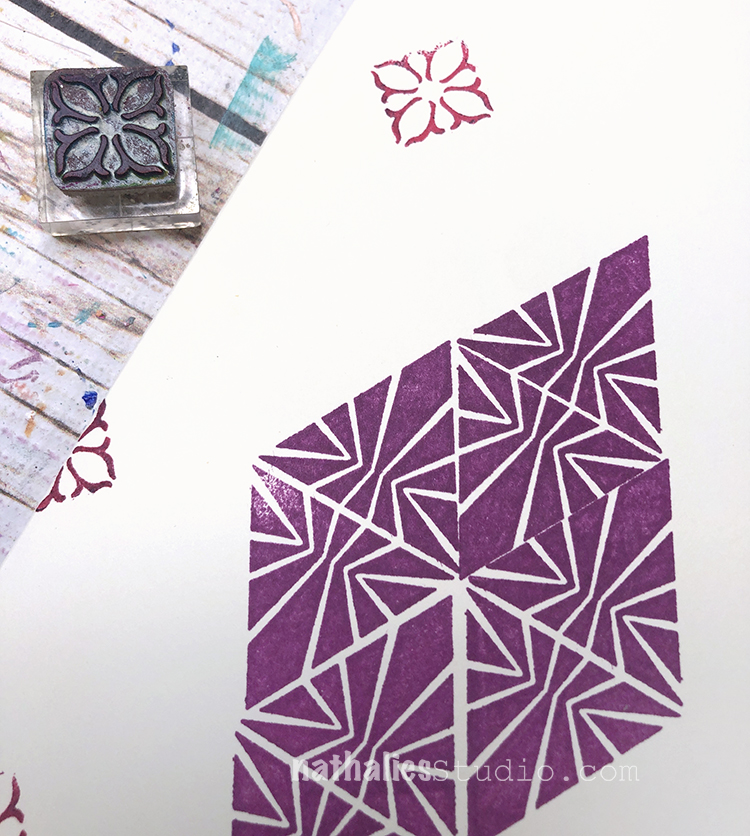
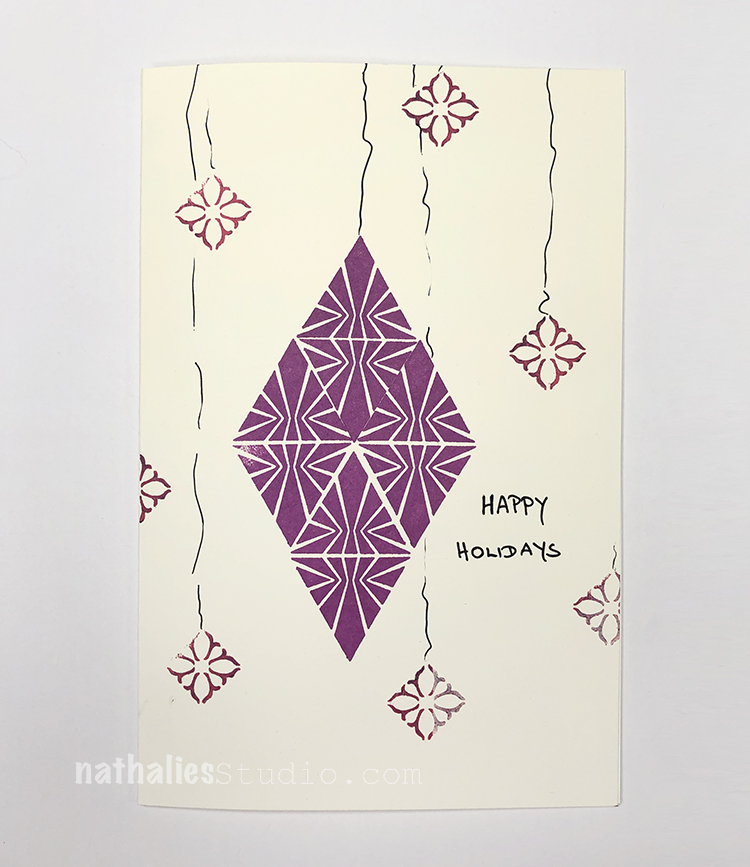
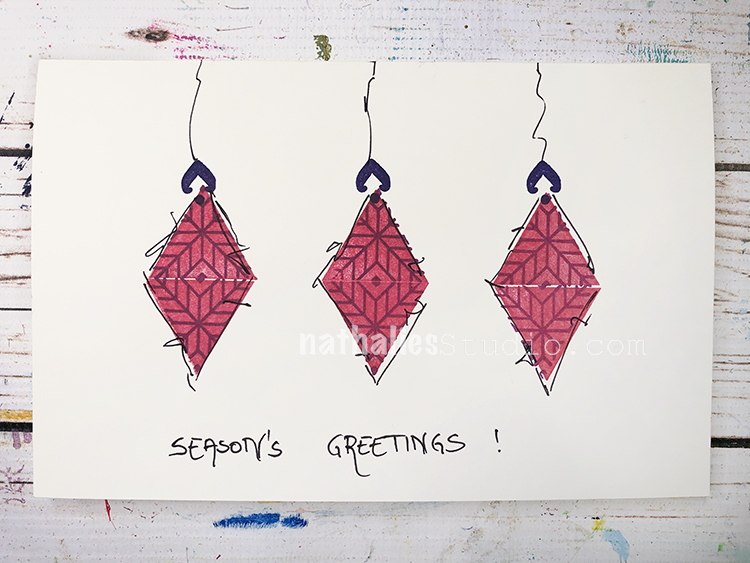
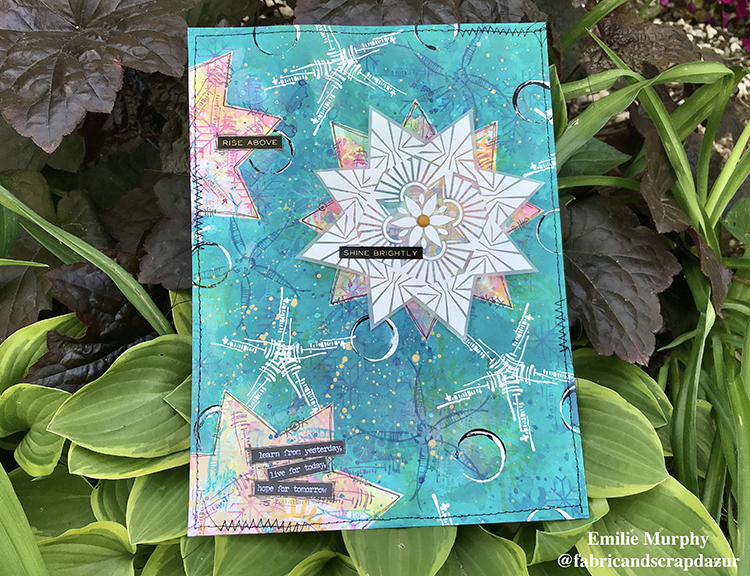
How about a card that features an ornament for the holiday season? I began by stamping the Sunburst Triangle from the Triangle Love set onto a card, flipping the stamp around to double it up.

I added another pair to the left and right, and then below to create a larger diamond shape.

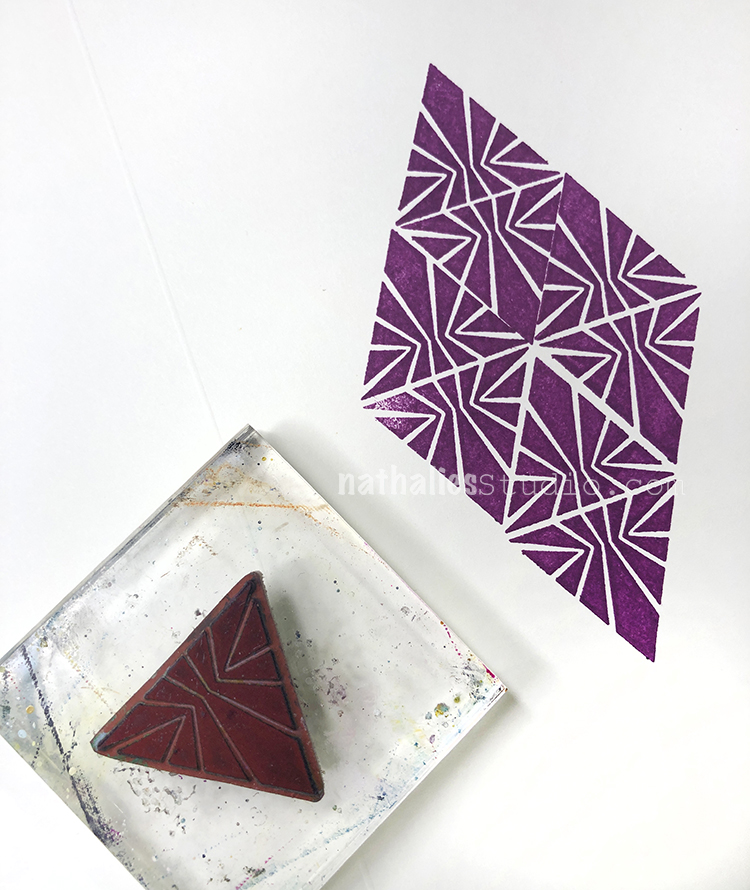
This reminds me of a vintage glass ornament. I then added one of the Fan-fare stamps here and there to give the scene a little sparkle.

Then you can add your hangers and tinsel and a nice message to finish it off. There you have it – card idea #2!

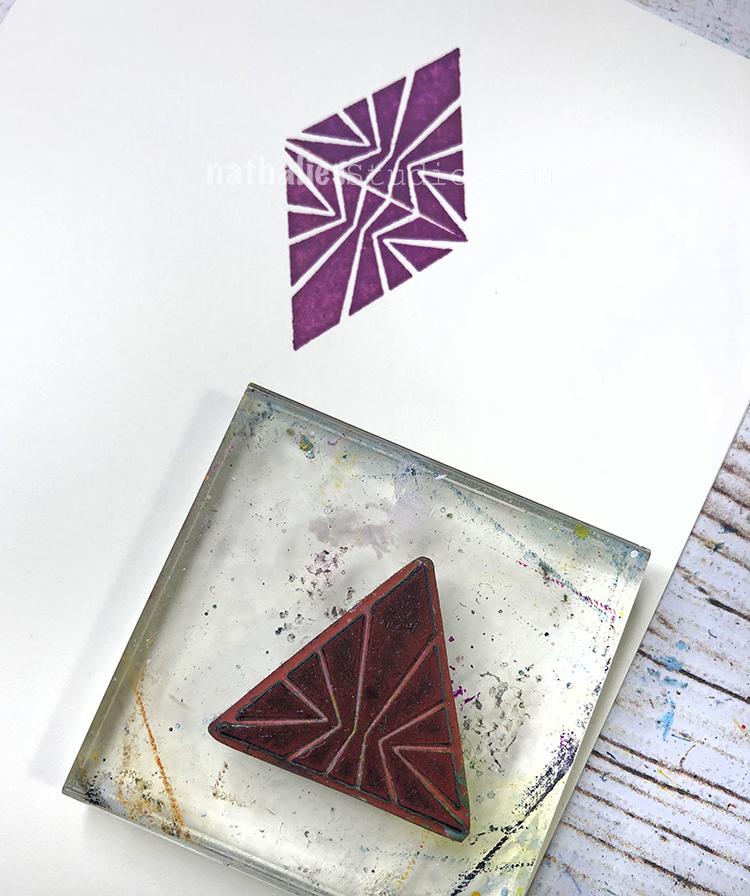
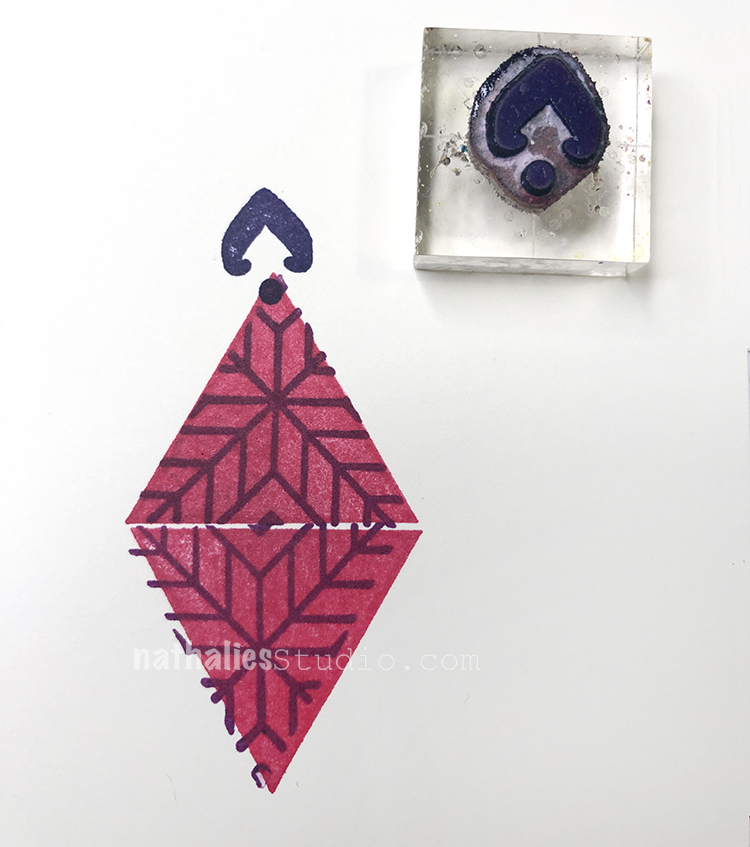
Finally another ornament idea, this time layering the Star Triangle over the Solid Triangle.

One of the stamps from Fan-fare makes a very nice ornament topper.

Then tie it all together with some sketchy lines and your sentiment. Voilà! Card idea #3 and hopefully you are on your way to a stress free holiday season (lol) now that you are ahead of the game with cards. I am not sure that holds true for me in regards of making holiday cards, but now that the first ones are done – my ideas keep on flowing :)

Comments (2)

  • Sue Clarke

    |

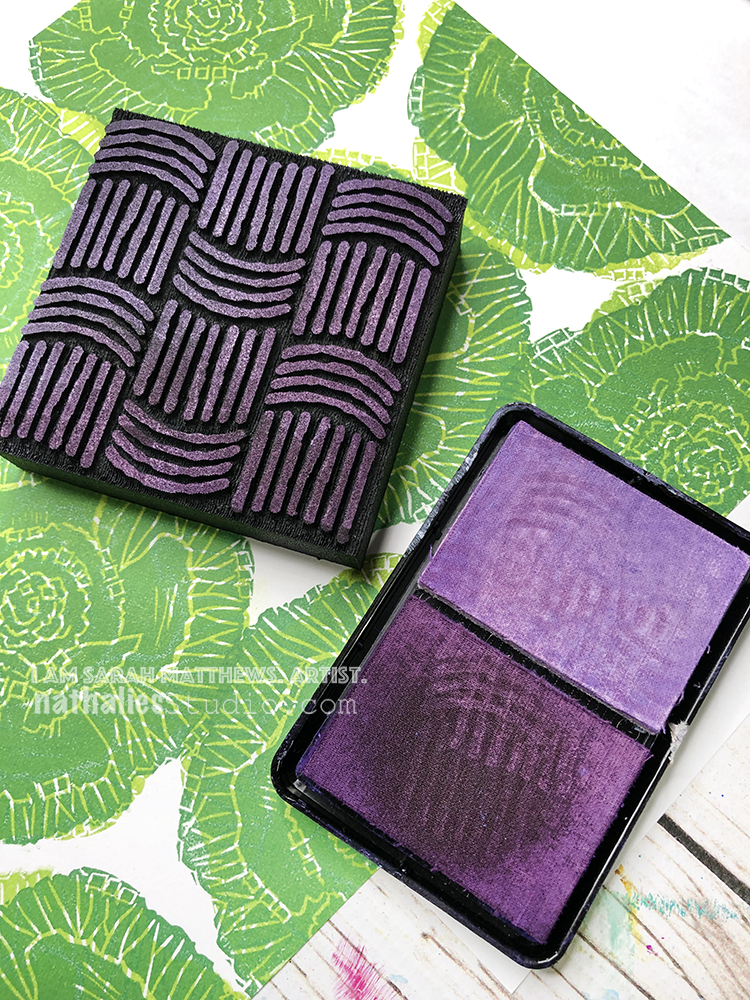
    Very cute cards and I really like the shade of green and purple which you used.
    December will be here before we know it, so it’s not too early to make cards!

    Reply

    • nathalie-kalbach

      |

      Thank you so much Sue! So true about making cards maybe this year I will be getting there :)

      Reply

Leave a comment

Flower Flowers – Art Journal

“I believe in you”… Words that water flowers! – Michael Faudet 

I messed up the quote but oh well, happens to the best of us :) I didn’t see it until I looked at the photos for this blog post and then decided to leave it …Flower Flowers – you know what I mean ;) 

For my background I used Sunshine Yellow, Planetary Purple, Milky Way Magenta, and Mars Red moonlight duo ink pads and my Sunburst Triangle rubber stamp from the Triangle Love set. 

I sketched on deli paper using acrylic ink and acrylic paint, then added it to my page. I used some delicate black splatters to bring it all together.

Here are some of the supplies I used:

Leave a comment

Change is Permanent – Art Journal

“There is nothing permanent except change.” Hard to accept sometimes but oh so true.

I created a repeating pattern using Moonlight Duo ink pads and some of my rubber stamps – the Triangle Love set and my Solid Square Large

I used a Fude pen for my quote and added some details with a white Signo pen.

Here are some of the supplies I used:

Leave a comment

Lettuce Build a Better Tomorrow – Pass the Brush Collaboration

I hope you had a chance to tune into my Instagram Thursday and Friday for a takeover from the super talented printmaker, book artist, and artfoamies designer Sarah Matthews!

When Sarah and I talked about the process and got to know each other we decided we would want to challenge each other by sending each other a background which then the receiving artist would finish up – A real Collaboration …passing the brush so to speak. Here is what Sarah sent me!

I loved it right away – in one of our conversations I had mentioned that I had a garden and some lettuce and she thought of her carved lettuce stamp.

I love the background and cool layering – It was sooo precious- But then I got to work.

I started layering with some Moonlight Duo Ink and my Weave Art Foamie stamp.

I felt I needed to add just a little bit more and thought the intersections of the lettuces make a fun triangle area …and well …a garden has flowers…sometimes …if you do not forget to water them ;)

so I used the Tulip Triangle from my Triangle Love Set and added this to the print.

And then I felt I would really not want to cover it more as I wanted to keep Sarah’s background alive and so I went for a final addition of adding some text.

I pulled out my woodblocks and some Speedball inks and added this …

I am quite in love with our collaborative piece. And if you want to see her take on my background -she will share it with a video on Monday. I do hope we get to make more art together in the future and as I said Lettuce build a better tomorrow. 

Leave a comment

Be Loud – Art Journal

“Be loud about the things that are important to you!” After all, they are the things that really matter, right?

I built up quite the background here with acrylic paint, a brayer, and my Mini Fan foam stamp set. I also used the black Moonlight Duo ink pad and stamped in both the black and white sides to get gray, and used my Triangle Love rubber stamps with that.

I also went back in and highlighted some of the shapes with Posca markers.

Here are some of the supplies I used:

Leave a comment

Rise & Shine – Emilie Murphy

Hi from my Creative Squad! This time we have a really cool art journal page from Emilie Murphy that layers up my Triangle Love and Wabi Sabi rubber stamps. This months theme is: Rise & Shine – Sometimes it is inspiring to think of each new day as an opportunity to do something good – to shine. Create something that will encourage others to do the same and let’s all bring a little more light into this world!


Hi there! Hope you are doing well. The theme for this month really inspired me and I had fun playing with Nathalie’s new stamp sets.

The first idea that came to my mind about the “Rise and Shine” theme was having a star in my project. So here is it!

Let me guide you on how I made this journal page!

I started with applying some Distress ink on a white cardstock with a piece of packaging. I then used some white cardstock because I wanted a smooth surface for this project.  By applying the distress ink on a piece of packaging, it allowed me to get a random watercolor effect.

I limited my color palette to 3 colors for not having too many different colors. That is what I got.

The next step was to add texture by stamping with some stamps from the Wabi Sabi stamps set and some triangle stamps from the Triangle Love stamps set. I used the same colors as before.

Then I repeated stamping with a darker color to add some contrast.

As I love texture, I kept stamping with acrylic paint with the same color tone “light pink” and kind of “light beige” than the distress inks. I like doing this with my gelli plate but I could have simply spread some paint out of my craft /glass mat.

Then I added some splatters.

At that stage, I was satisfied with the texture of my background. It was time to take care of the focal image in my journal page. I embossed a star with Nathalie’s “Hamilton Negative Floral Tile (Large)” stamp and the “Sunburst” triangle stamp with white embossing powder on vellum paper. The secret to emboss without making your vellum wrinkle too much is to wait for your heat gun to be very hot.

I cut my star and used it to make a mask and stencil template.

I put down my star mask where I wanted it and applied with a sponge some acrylic paint all around. Very important step here! I chose a translucent acrylic paint because I wanted my background to be see-through.

Here is a tip: you can make an opaque acrylic paint translucent by simply adding some matte gel medium or glazing medium.

Here is the final result.

In the next step, I used the star stencil to add more stamping (just a matter of taste).

Personally, I don’t think that my journal page would have been completed if I had let the page like that, and had glued down my embossed star.

When I was playing with the Wabi Sabi stamps, I found out that I could make some other star shapes. Isn’t that awesome! These stamps are so versatile . . .

So I stamped some star shapes with Moonlight Duo Ink pad, which were slightly darker than my blue-teal color background, and some with white embossing powder. And voila, I just loved it!

Then, to finish it up, I added some splatters (metallic gold acrylic paint), drew the contours of my stars with a black pen, and added circles with a recycled cap.

Finally, I attached my star with a brat and glued down some “chit chat” stickers from Tim Holtz.

Here is another tip: I usually fix my vellum with double side tape instead of liquid glue because the vellum wrinkles badly and personally I don’t like the look of that.

My very last touch was to stitch all around my page.

Hope you have enjoyed this tutorial. It was all about layers.

Have a good rest of the week and see you next month!


Thank you Emilie – loved seeing your layering process and how you made your stars using the stamps!

Give it a try: you can find all my Rubber Stamps in my Online Shop and here are some of the other supplies Emilie used:

Feel inspired? Working on something yourself that you’d like to share?  I love to see how you interpret our monthly themes. Email me how you used my stencils and stamps with the theme and email me an image – I would love to share your projects in my next  “n*Spiration From Around the Globe“.

Leave a comment

Rise & Shine – Nicole Watson

Hello from my Creative Squad! Today we have a colorful suite of cards and a video from Nicole Watson. Check out her process below using my new Mini Motifs and Triangle Love stamp sets and this month’s theme: Rise & Shine – Sometimes it is inspiring to think of each new day as an opportunity to do something good – to shine. Create something that will encourage others to do the same and let’s all bring a little more light into this world!


If you’re like me, you’ve probably spent some extra time during these stay at home days browsing Instagram and admiring all the creativity that is flowing from so many artists. Maybe, much like me, that creativity just isn’t flowing for you. It’s ok! You’re not alone!

Honestly, I struggled a bit with the theme this month. Sometimes it’s hard to shine and encourage others when you are feeling a bit blah yourself. Last month I shared that I’ve been focusing my time outside and in our garden planting flowers. This has brought me so much joy! The simplicity of planting flowers, caring for them, and watching them flourish has helped me cope with staying home (except for my trips to explore local nurseries and for groceries!).

I’ve noticed I’m not alone in the need to DO something creative and with one’s hands! While some are creating art, others are baking or gardening and yet others are returning to pen pals and sending snail mail. I wanted to send some mail to brighten some days this last week and realized my blank card stash was getting low… and that’s when this project came together!

Watch my video:

Here’s how:

Grab some hot press watercolor paper and stamp on it with Nat’s Mini Motifs and Triangle Love stamps using black archival ink. Have fun! 

I enjoyed this process of creative stamping, all wonky, not perfect. Archival ink is important as it will not bleed or run with the watercolor in the next step. 

And, hot press paper is smoother for stamping. You can use cold press, but your stamped images will not turn out as clear (Note: I pre-cut my watercolor paper into card fronts (4.25×5.5) and will trim them down again to mount on the cards.)

Let the ink thoroughly dry and then watercolor. Again, have fun! The only thing to keep in mind while you are water coloring is how colors blend. I stayed with palettes of warm colors or cool colors and then also a couple full rainbow palettes. Add some splatters and lots of puddles of color around the stamped images. 

Let your fronts dry completely. Once they are dry, if there are areas that didn’t turn out dark enough or exactly how you’d like, go ahead and add some more color and splatters. And, of course, let dry.

The next step is personal preference. I like to spray my watercolor cards with a clear matte varnish to protect them in case they become wet or damp in the mail. Be sure you follow the instructions on your spray.

Once they are dry (again!), trim your cardstock bases and liners for your cards. Then, if you want a border around your artwork, trim your art a bit (to 4×5.25). Even though I knew I’d be trimming them when I started, I like to allow this option so I can trim off a funny area or help center the design if I didn’t stamp it quite right.  Then, fold your cards and stick the liners inside and your art on the front.

Final step? Mail them! These bright, cheery cards are perfect to shine, encourage someone, and do something good.

I did not want to stop painting these card fronts. Had I not run out of watercolor paper, I would have made many more. (Note to self, order more watercolor paper!) I cannot wait to send these in the mail, and I’d love to send out a couple to YOU as well. Find me on Instagram, and look for the post about this tutorial to see how to receive one in the mail. I can’t wait to see what you create with Nat’s stamps and watercolor.


Thank you Nicole! Love the brilliant colors here and super appealing color combinations. What a treat to see.

Give it a try: you can find all my Rubber Stamps in my Online Shop and here are some of the other supplies Nicole used:

Feel inspired? Working on something yourself that you’d like to share?  I love to see how you interpret our monthly themes. Email me how you used my stencils and stamps with the theme and email me an image – I would love to share your projects in my next  “n*Spiration From Around the Globe“.

Comments (1)

  • Sue Clarke

    |

    Nicole, those are gorgeous cards! I especially like the crisp, clear stamp image that you got on the paper, and the cheery colors you chose.

    Reply

Leave a comment

Rise & Shine – Jennifer Gallagher

Hello from my wonderful Creative Squad! Today we have an art journal spread from Jennifer Gallagher to lift you up and inspire you. Jennifer is using my Triangle Love rubber stamps and this month’s theme: Rise & Shine – Sometimes it is inspiring to think of each new day as an opportunity to do something good – to shine. Create something that will encourage others to do the same and let’s all bring a little more light into this world!


Living in a pandemic, many people are experiencing difficult times. We are quarantined and separated from our neighbors, family, and friends. Now, more than ever, we need some positive vibes and things to take our minds off of it. The Creative Squad is looking ahead this month to a happier time. We shall rise and SHINE! With that in mind, I have created an art journal spread that makes me very happy and has a hidden message inside. One of my greatest artistic joys is a geometric shape or a repeating pattern. So I’ve combined my favorite things into this spread. Let’s get started.

I pulled out a mixed media journal in a field size. I pulled out my three inch triangular gel plate and brayered primary yellow onto it. I pressed the gel plate onto the field journal in a few places.

I added a few more gel press triangles in bright aqua green and cobalt teal hue.

I added more gel press triangles in Pyrrole Red and Phthalo Blue.

I added two last triangles in Quinacridone Magenta in spots where they would overlap several colors. Notice I left one small white triangular area.

In the open white triangular area, I stamped Nat’s solid large triangle from the Triangle Love set in black archival ink.

I added additional black solid large triangles throughout the page.

I additional additional black solid small triangles throughout the page.

With a black gelly roll pen, I went through and outlined all of the triangle shapes.

Next, with a white gelly roll pen, I went through and added some white outlines as well.

I cut a scrap piece of Dina Wakley Media cotton rag paper into the same size as my journal pages. Using Dina Wakley Media media tape, I attached the sheet to the right hand page by applying tape to both sides.

Next, I stamped in black archival ink with nat’s sunburst triangle from Triangle Love.

I cut a piece off of the cotton rag to mimic the triangular shape. Then, on the inside of the cotton rag paper, I stamped a few solid triangles and wrote a message in black ink.

I hope you have enjoyed this tutorial. If you try out one of our creative squad ideas, please share with us. Take care!


Thank you Jennifer for giving us some hope in these difficult times.

Give it a try: you can find all my Rubber Stamps in my Online Shop and here are some of the other supplies Jennifer used:

Feel inspired? Working on something yourself that you’d like to share?  I love to see how you interpret our monthly themes. Email me how you used my stencils and stamps with the theme and email me an image – I would love to share your projects in my next  “n*Spiration From Around the Globe“.

Leave a comment

No Feeling Final – Art Journal

“Let everything happen to you. Beauty and terror. Just keep going. No feeling is final.” – Rainer Maria Rilke. This quote really lifted me up the other day when I needed some lifting.

I used some collage paper in this one – deli paper and magazine paper which I layed over my Art Deco Summit and Art Deco Fairview stencils and then rubbed with sanding paper to reveal texture and pattern.

Along with acrylic paint, gesso, the collage paper, and gel medium, for my background I also stamped with my Triangle Love rubber stamps.

I added the quote in black and white to help give it some dimension.

Here are some of the supplies I used:


Join me today, May 1st, at 12noon EST for a Kaffeeklatsch LIVE chat from my studio. Tune in to my Facebook page for the broadcast and say Hello. I would love to hear what is going on with you these days :) See you soon!

Leave a comment