
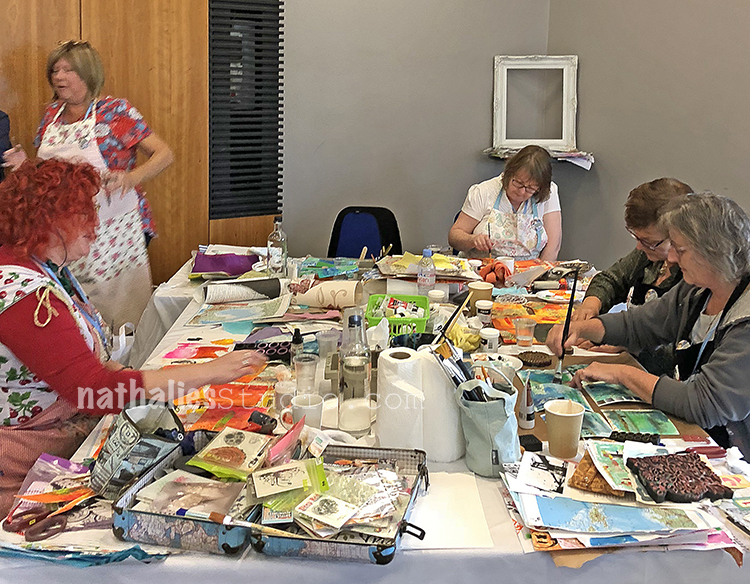
Ready for an epic photo capture of the 3 Day Collage Workshop my friend Julie Fei-Fan Balzer and I taught in Coventry, UK for Art Workshops last week?
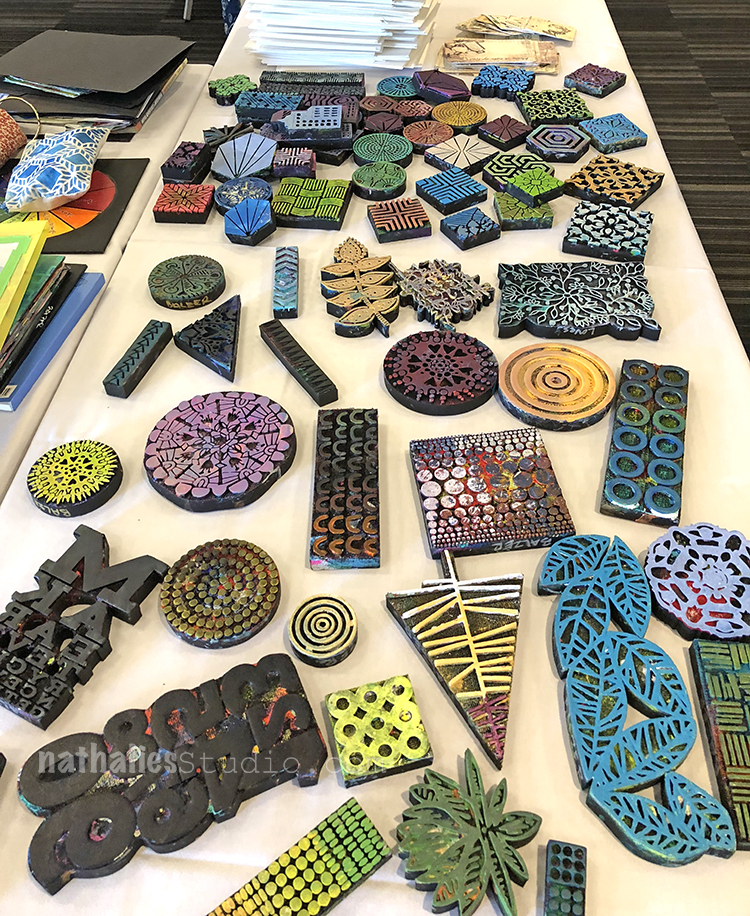
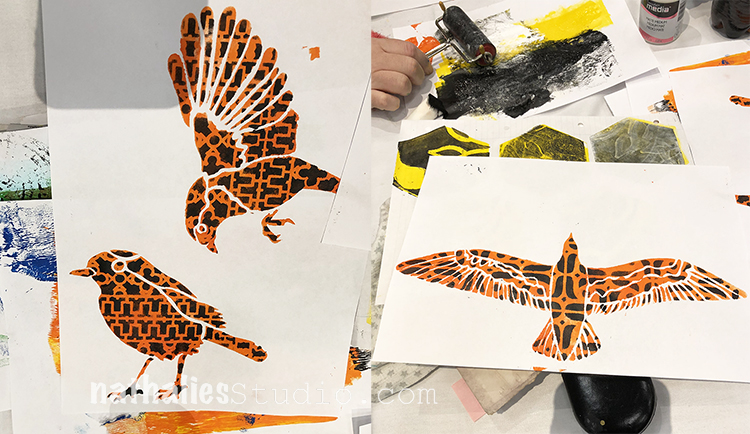
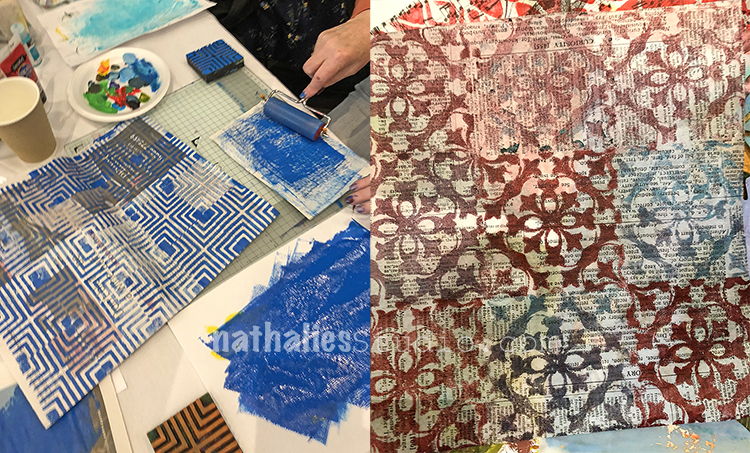
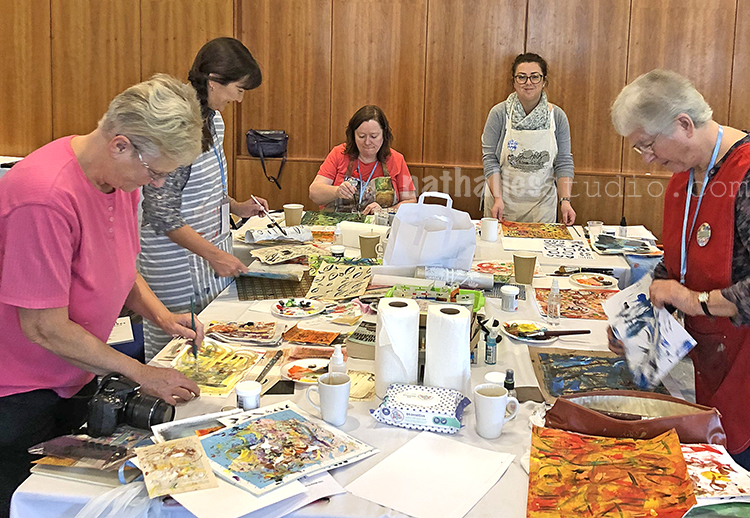
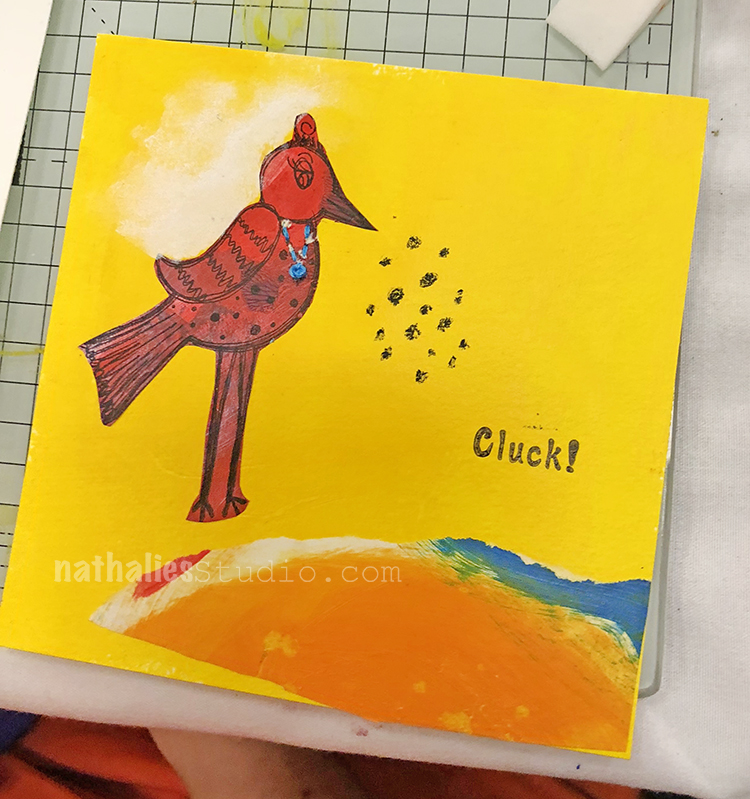
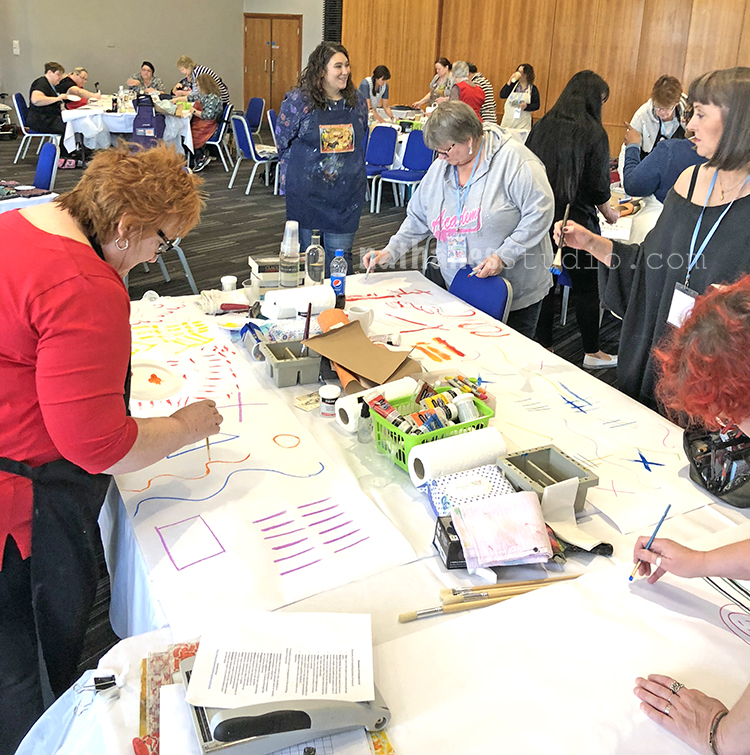
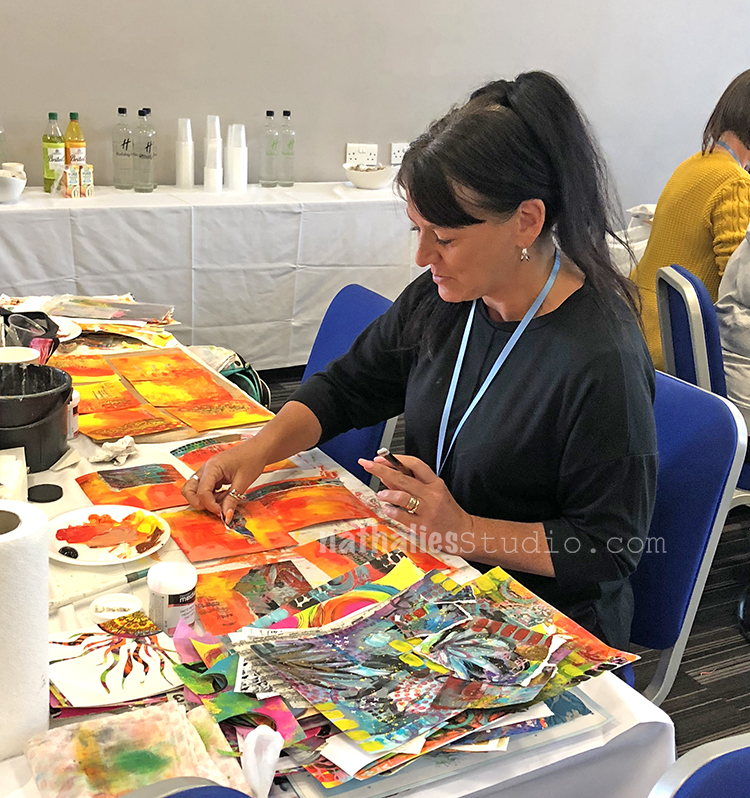
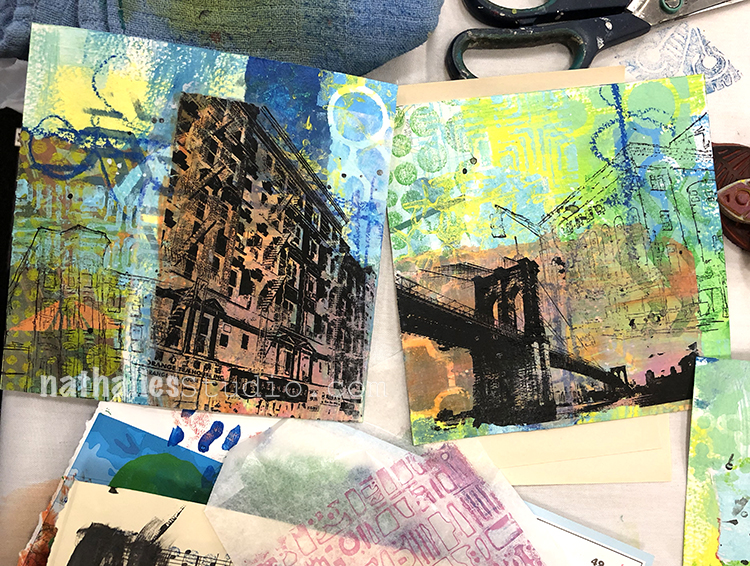
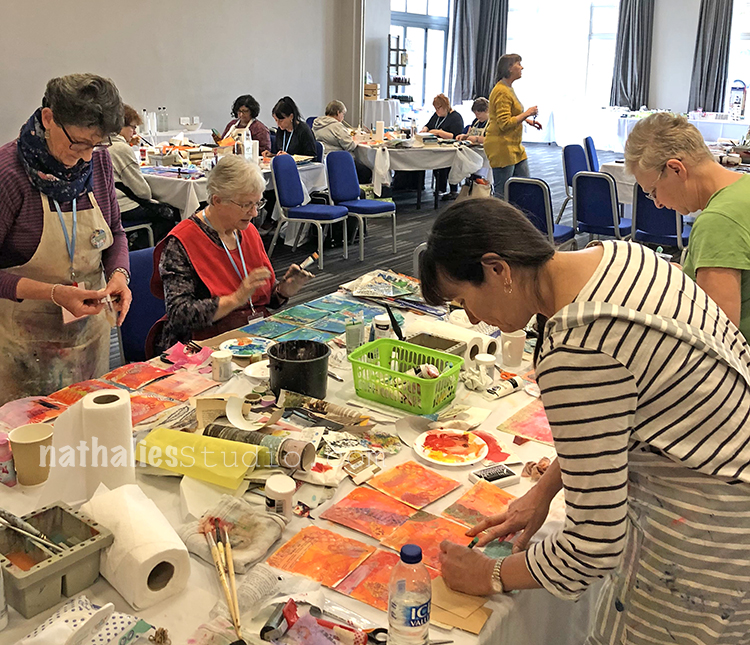
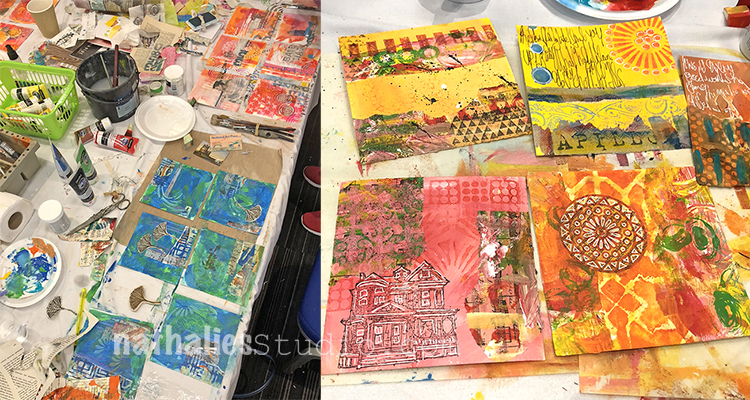
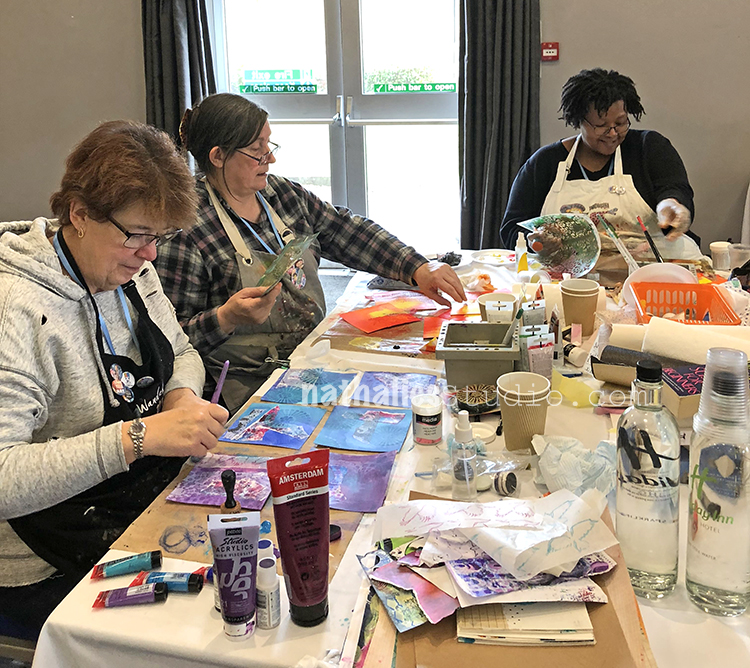
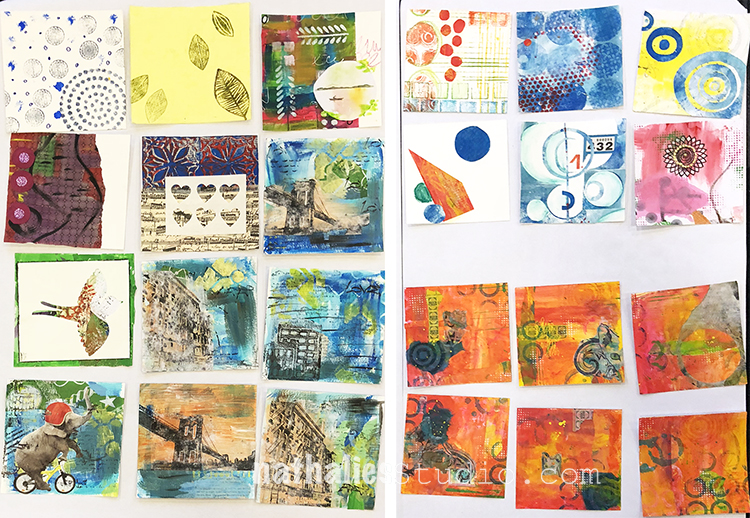
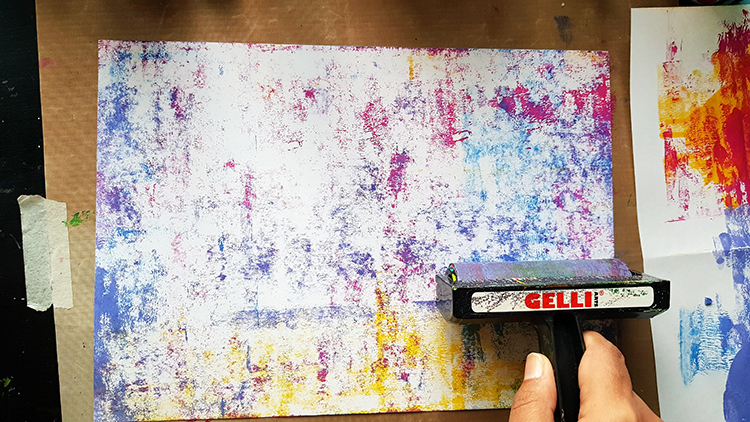
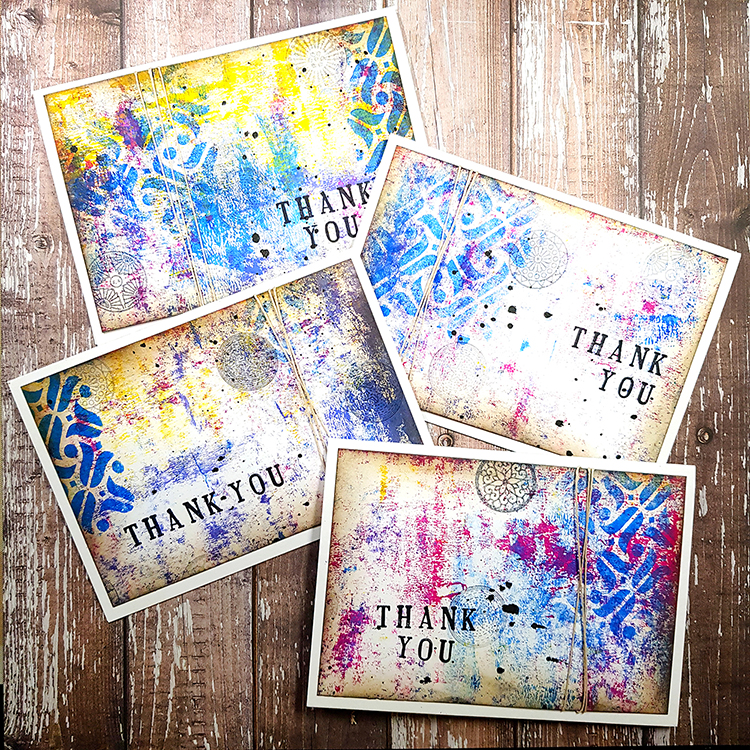
We had a fabulous time with 32 students – and started Friday by creating lots of patterned paper.
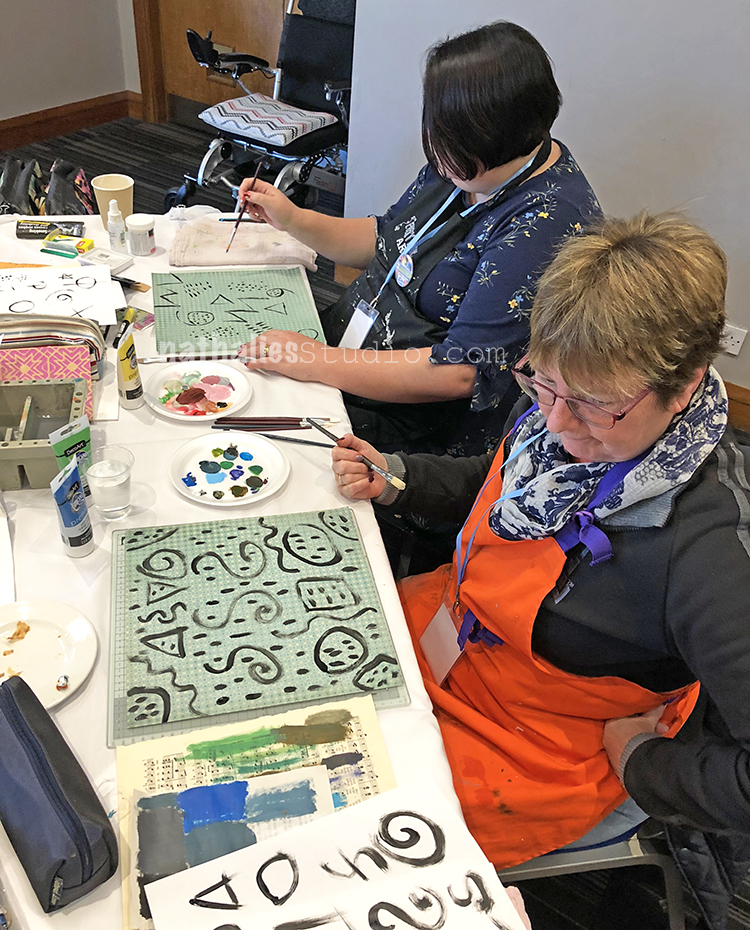
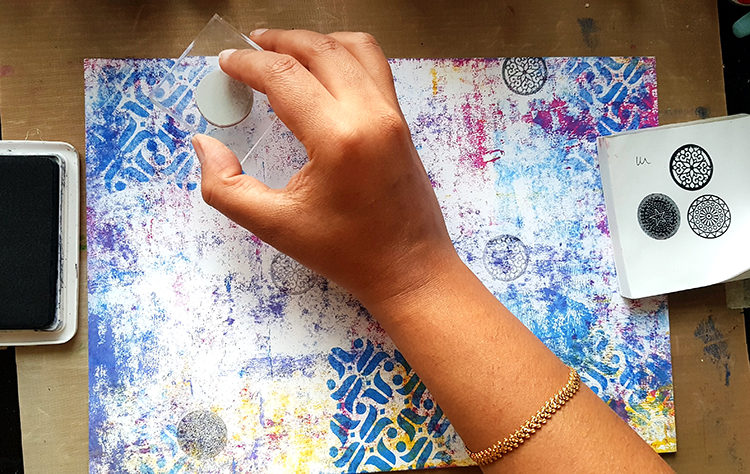
Making marks
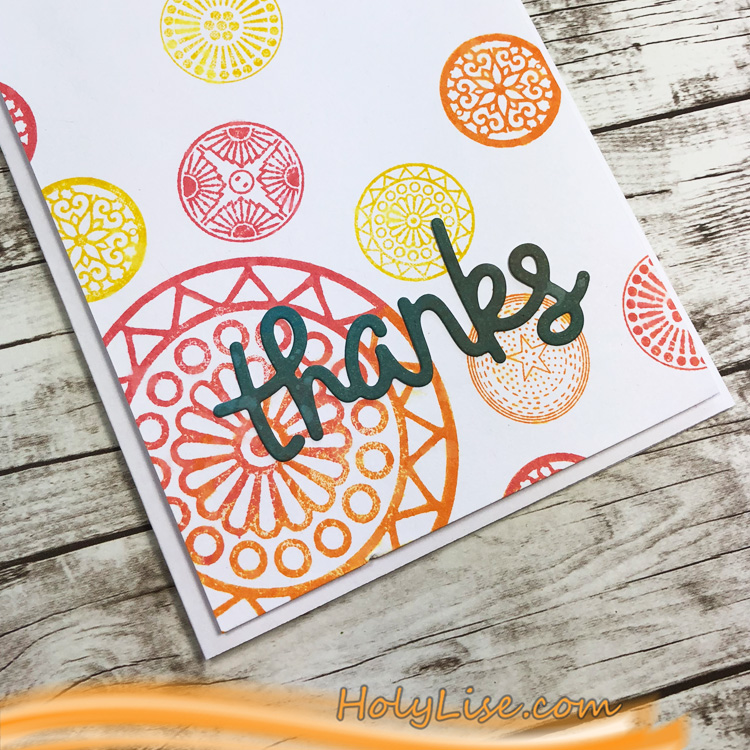
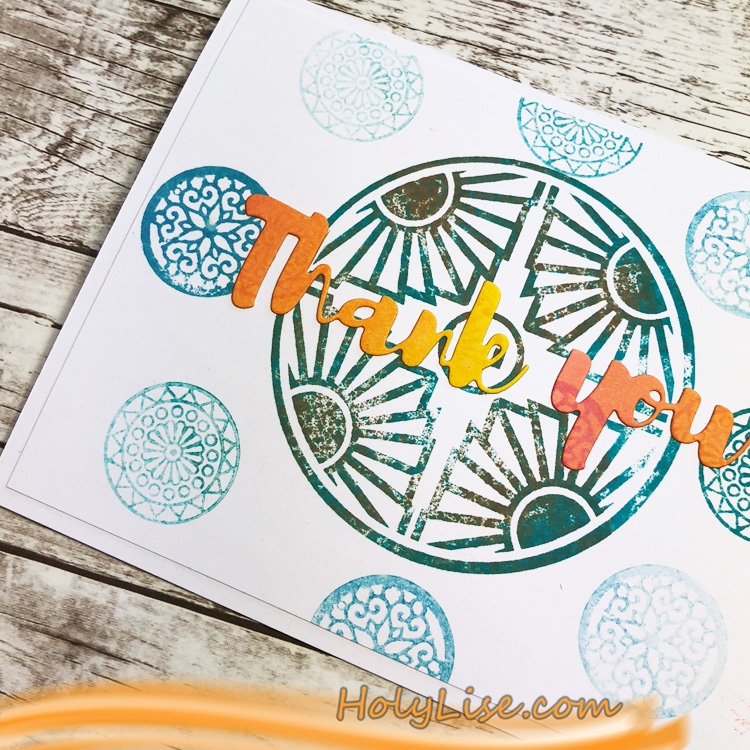
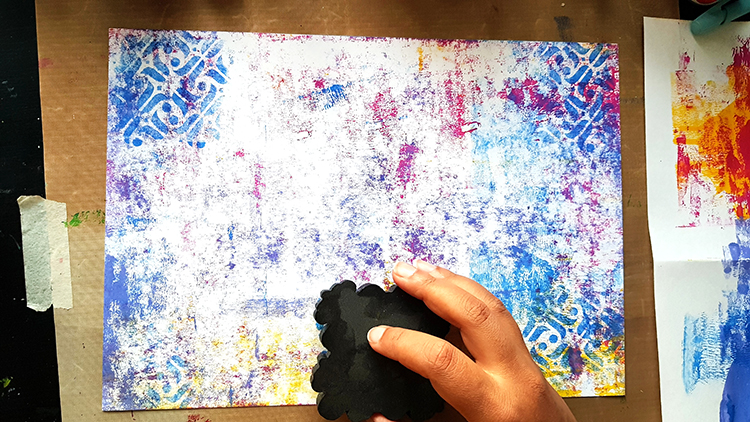
stamping
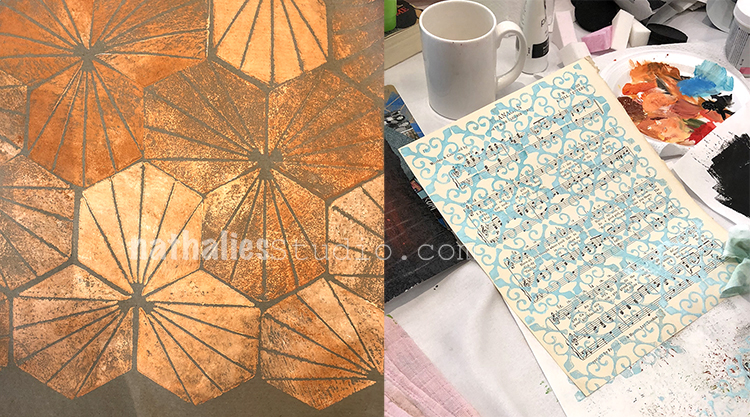
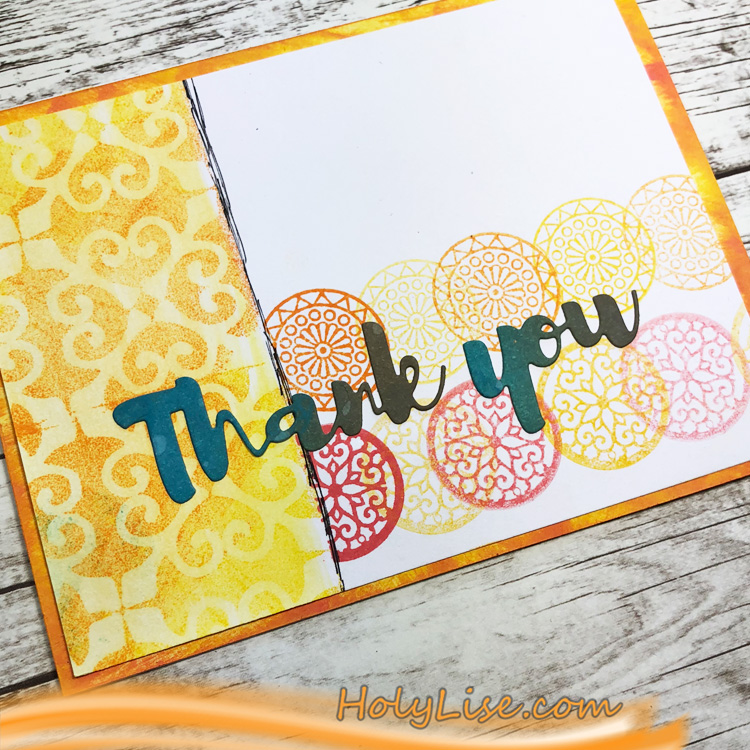
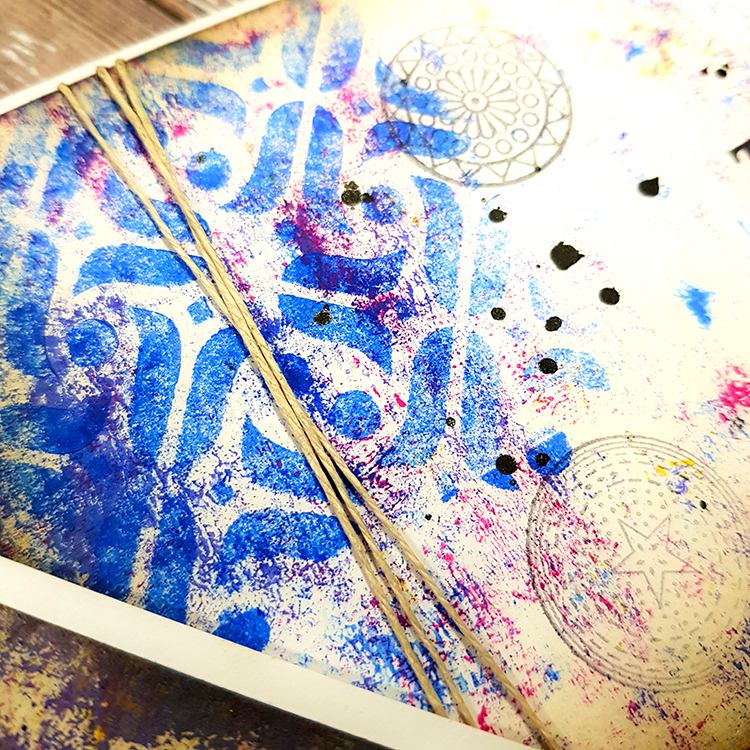
layering stencils
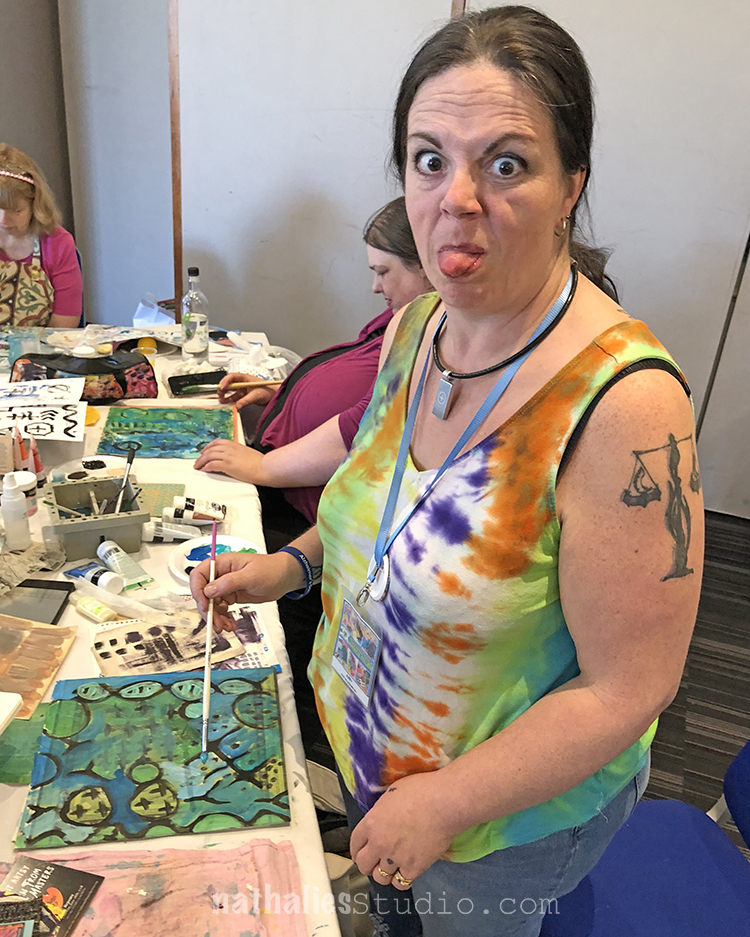
smiling :)
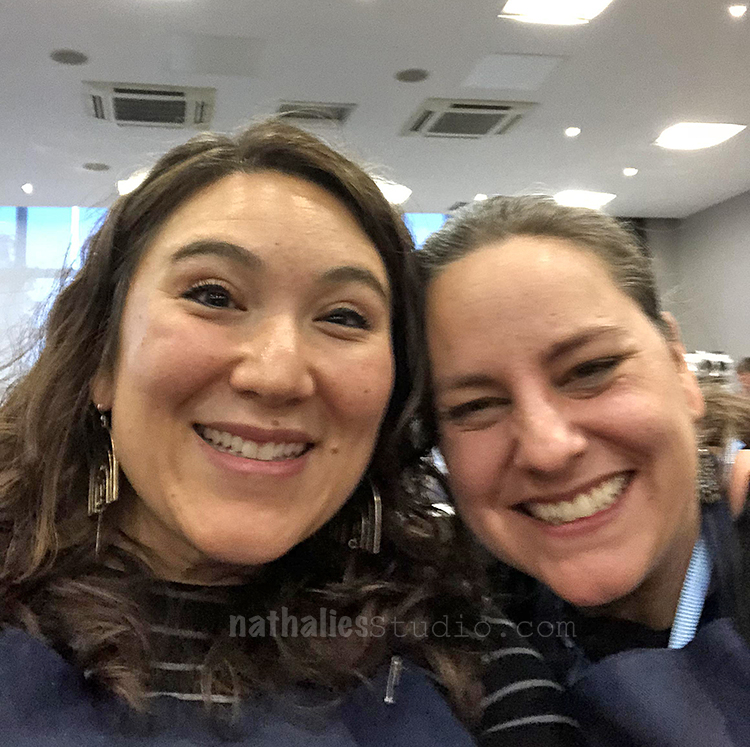
whistling
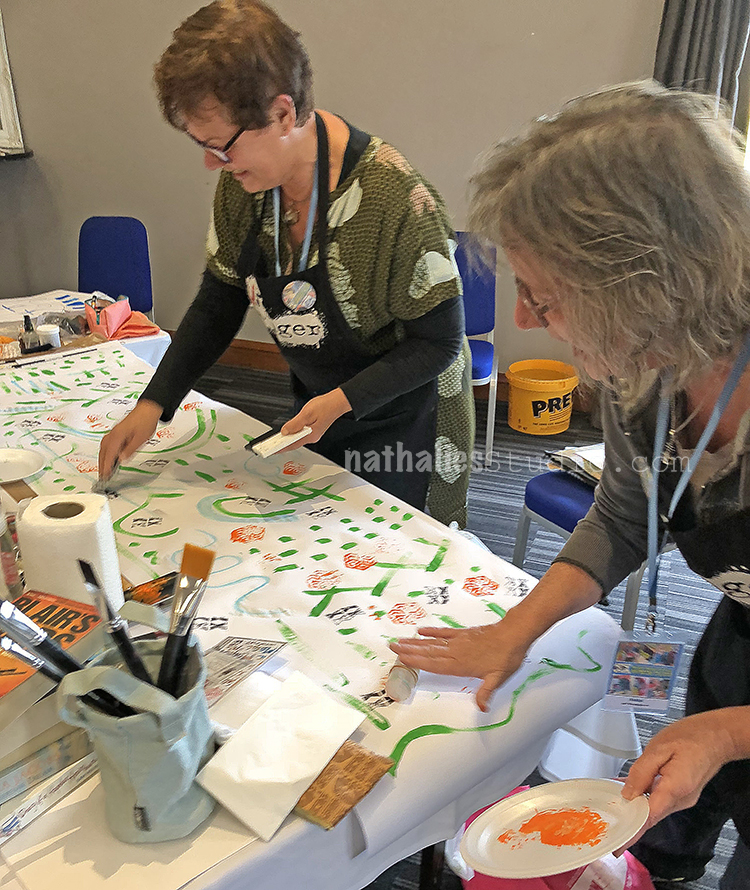
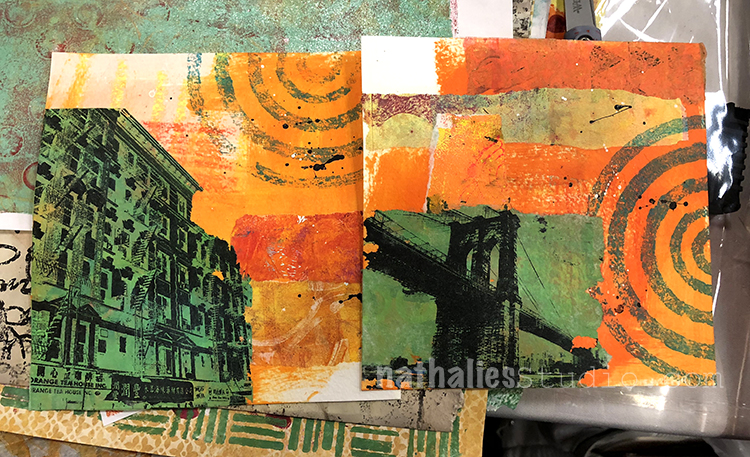
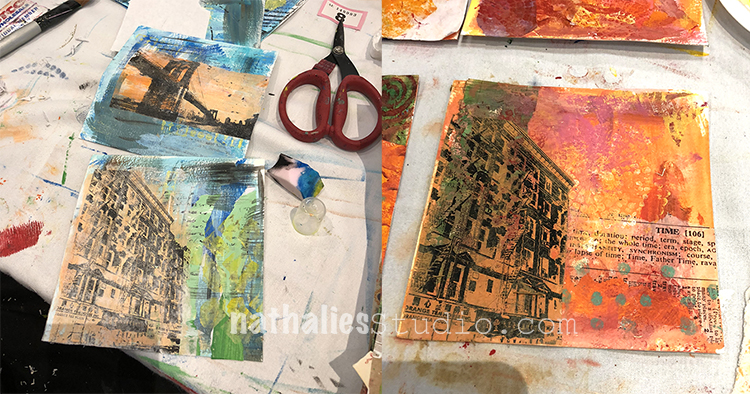
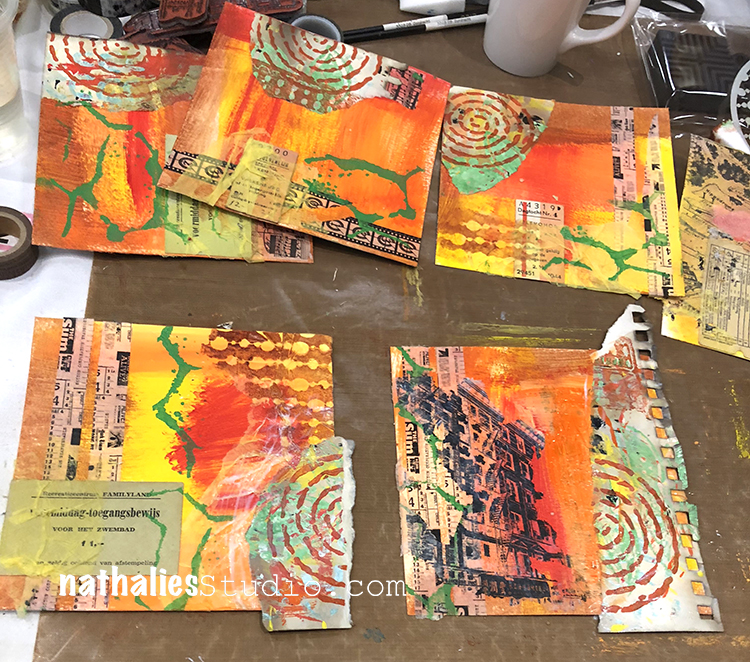
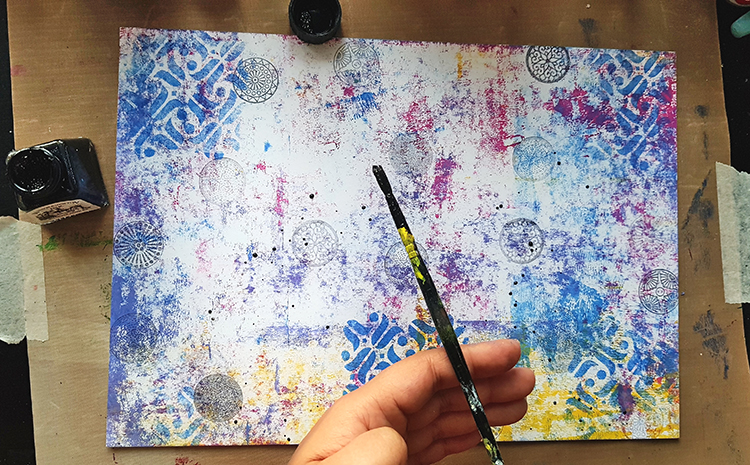
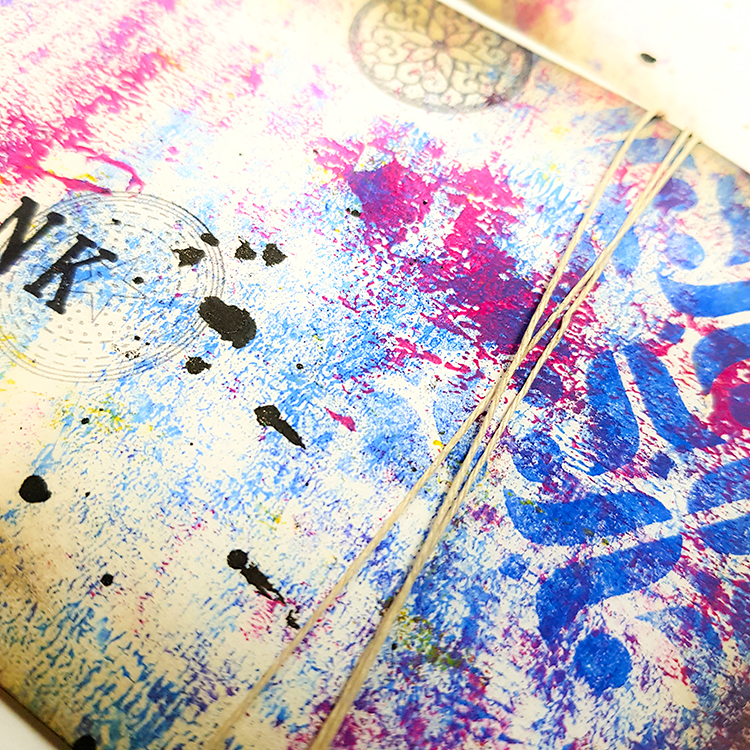
layered stamping and scratching
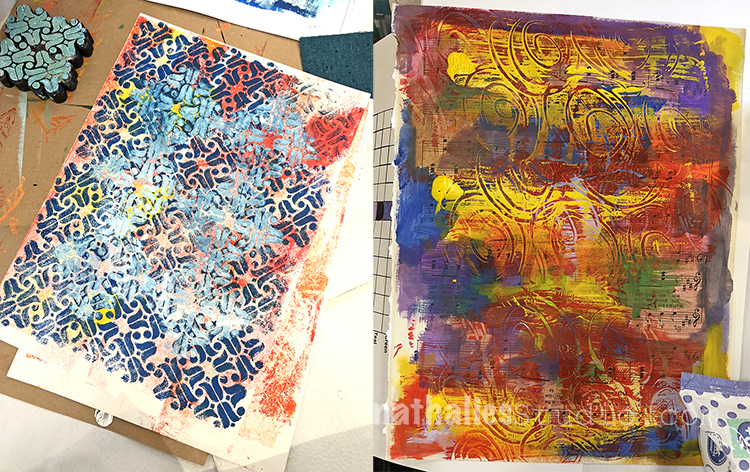
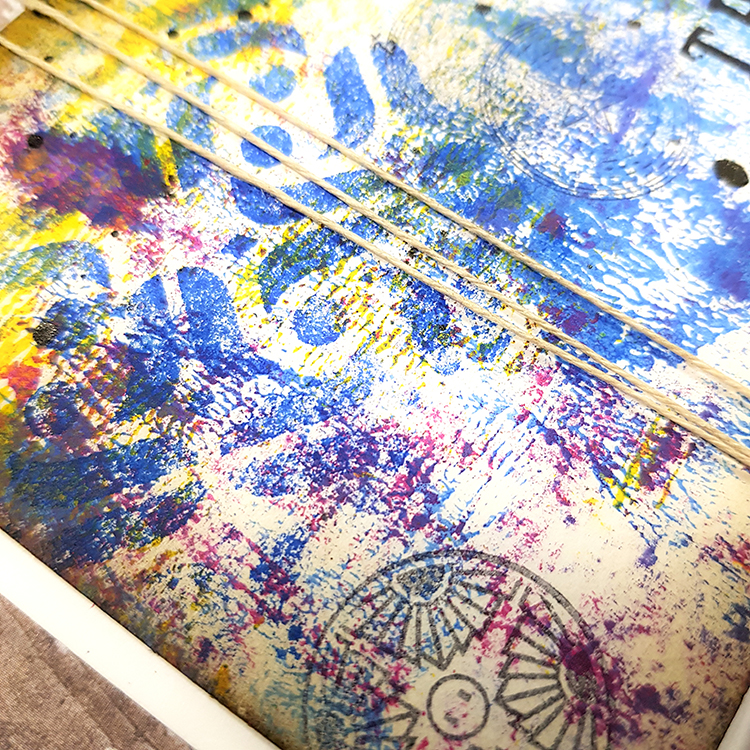
layering and splattering
just going going going
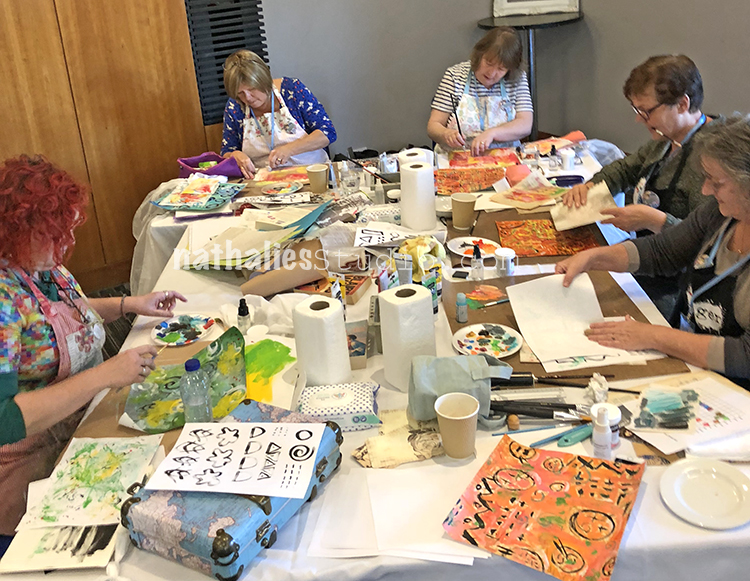
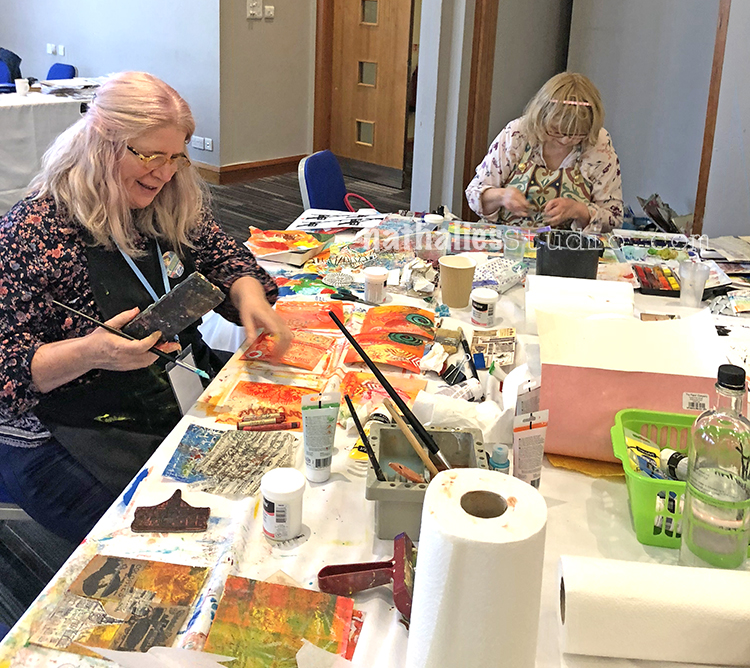
It was so much fun to watch everyone being in the zone :)
well…I hope they had as much fun watching us LOL
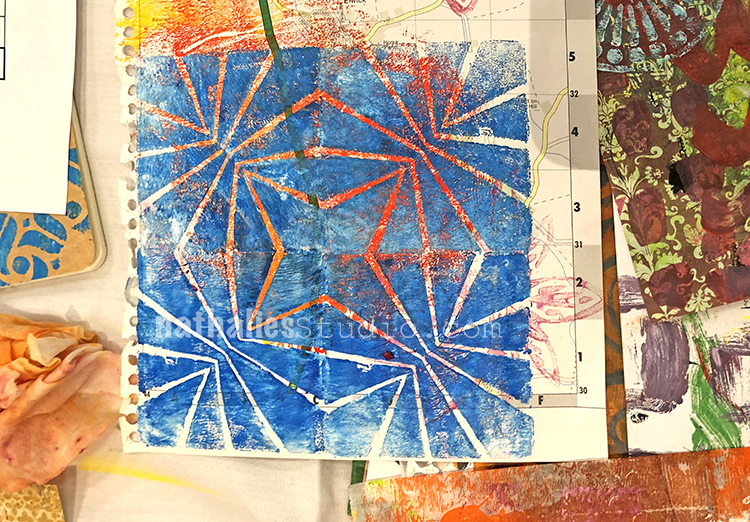
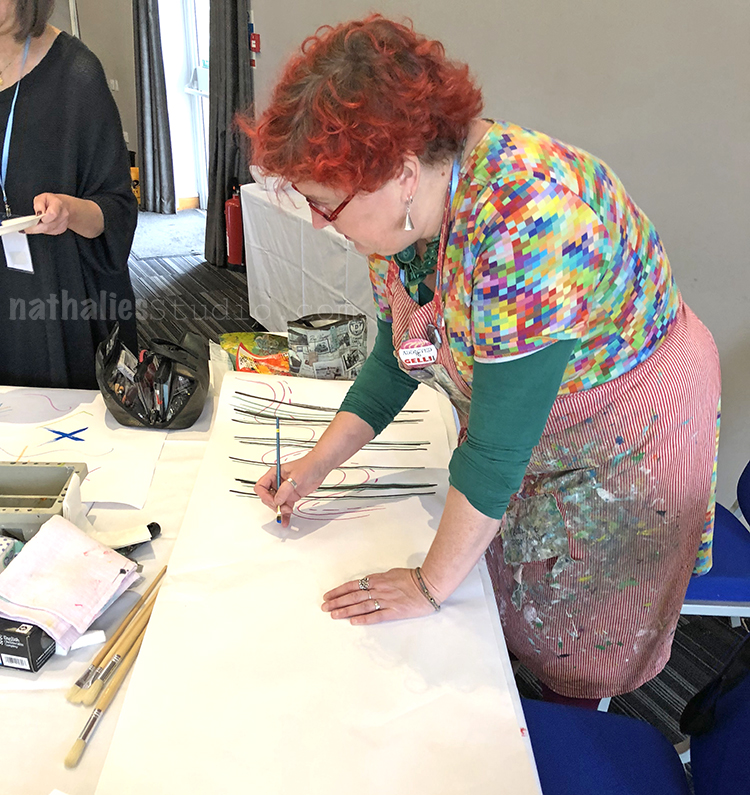
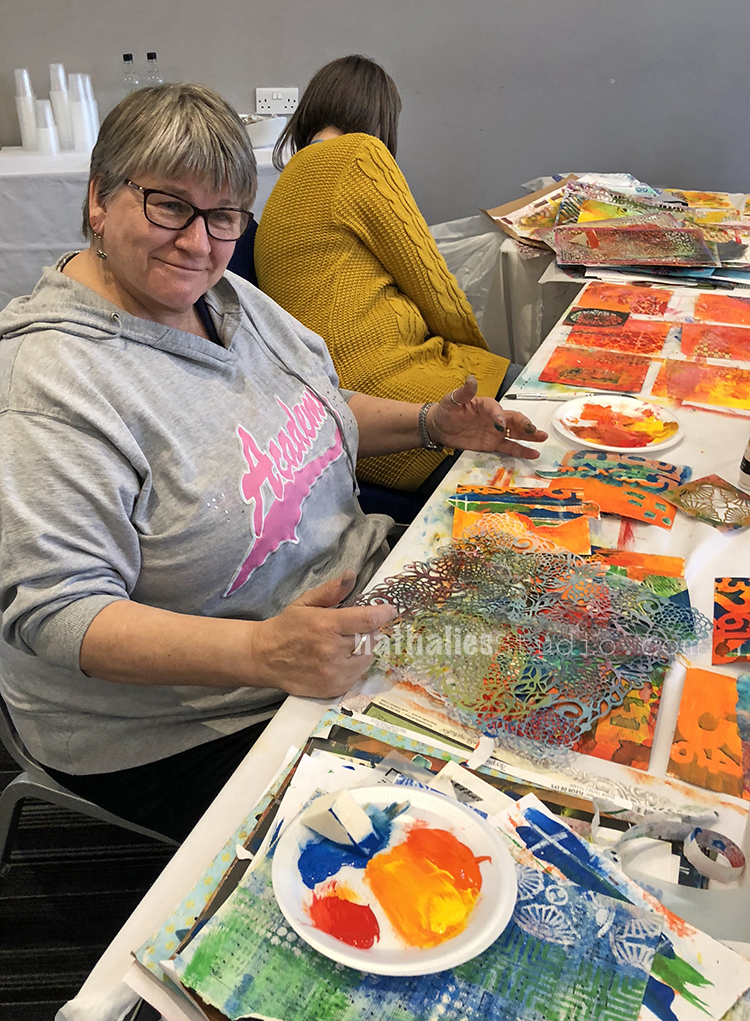
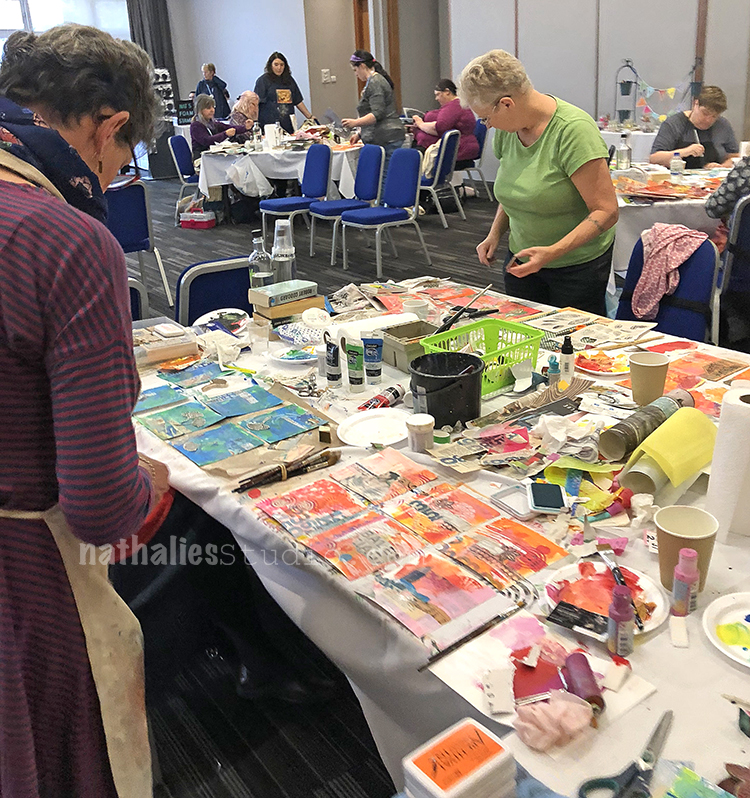
more layered stencils

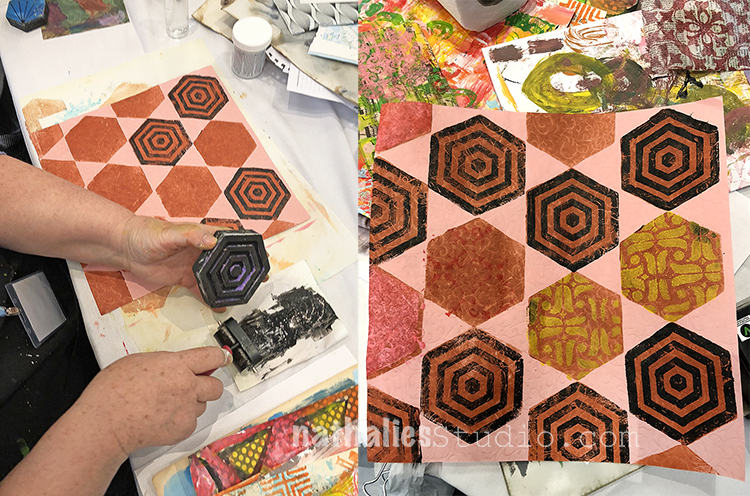
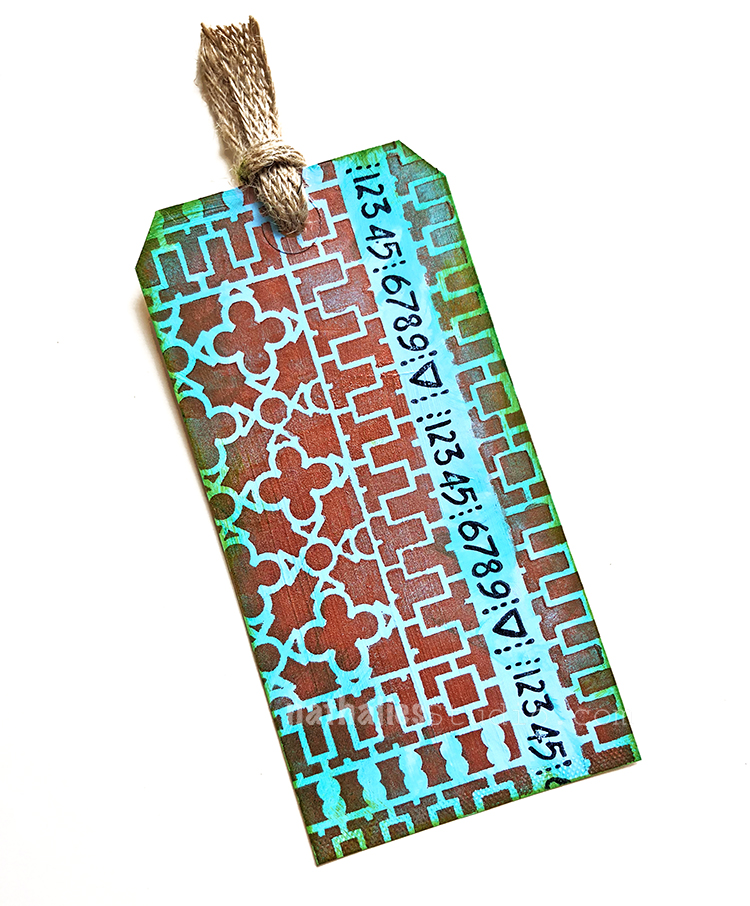
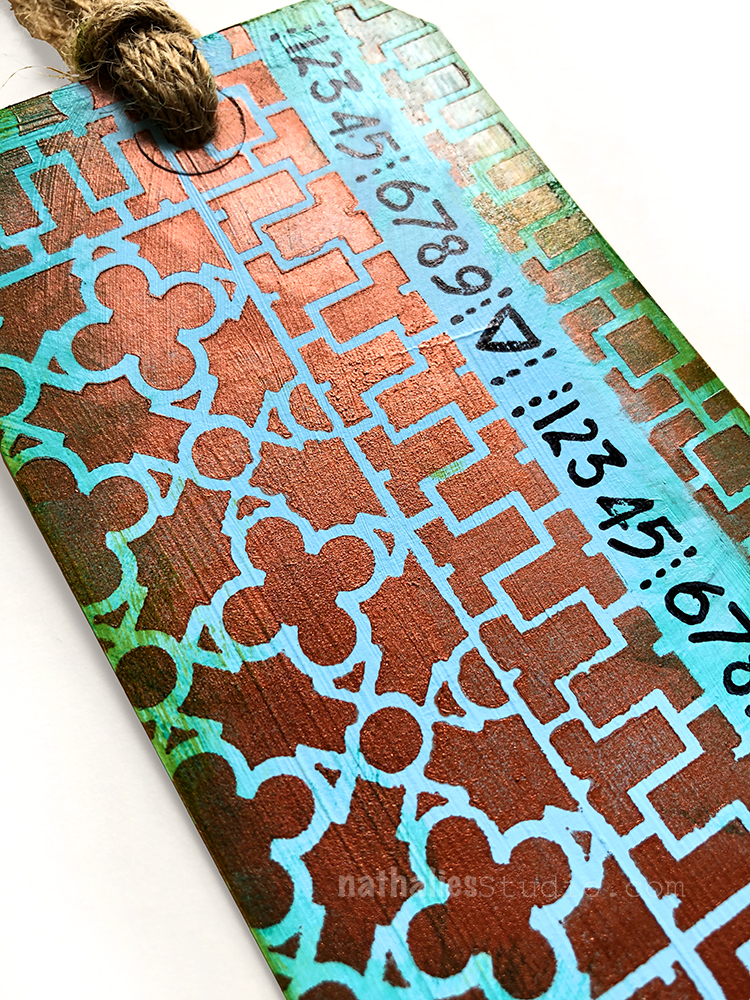
look at my new Hex in action – Diane rocked this pattern!
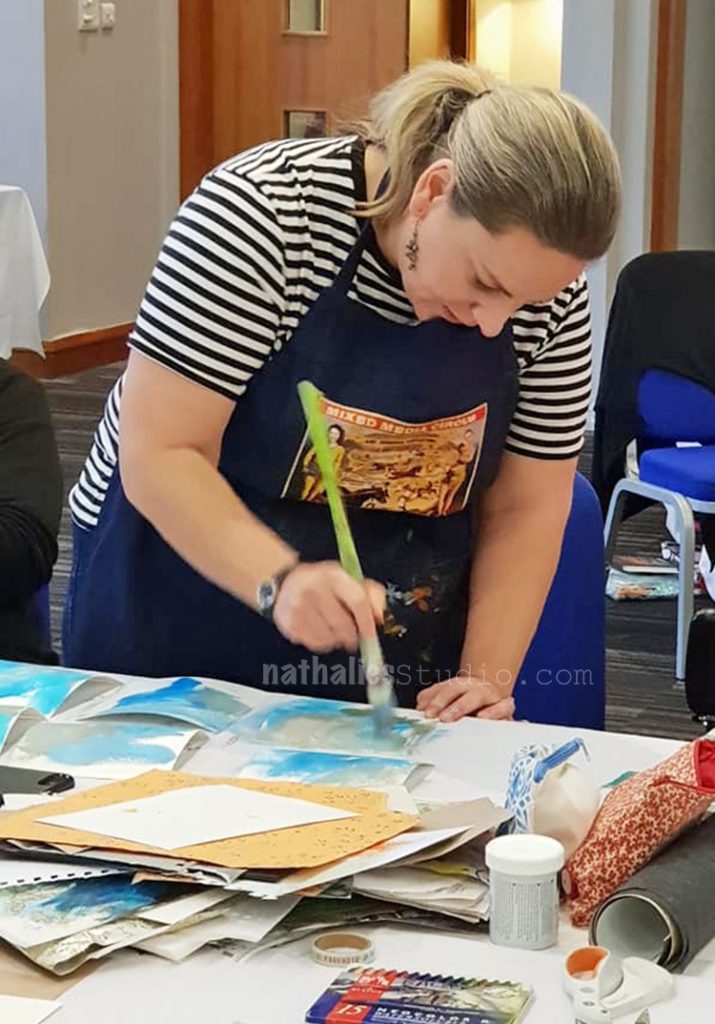
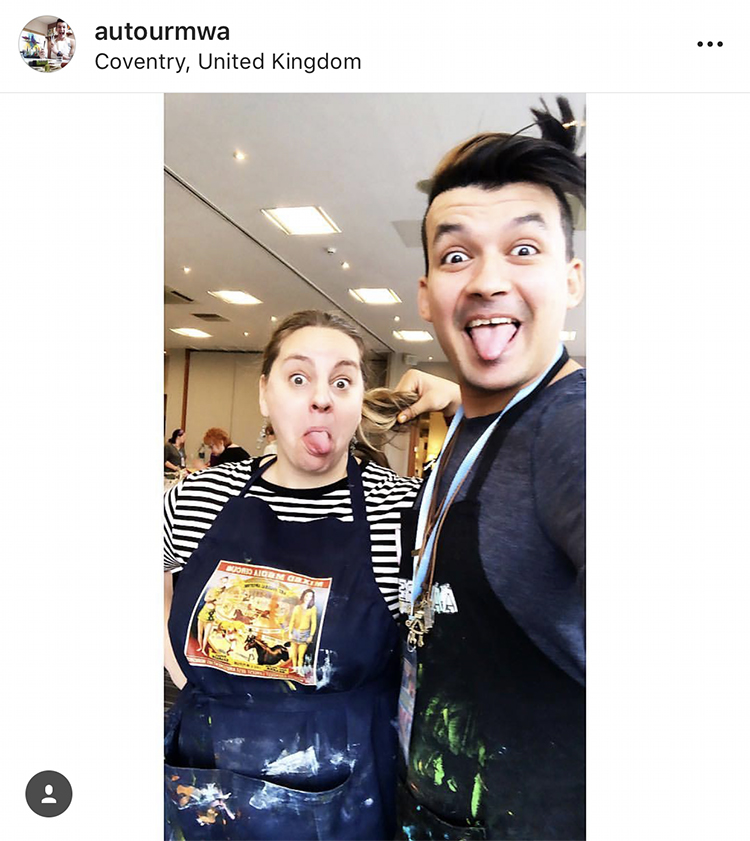
Ally aka Piere aka Sam ;) (insider joke) agreed to spice up the photos a bit …there was a lot of that as you will see this weekend LOL
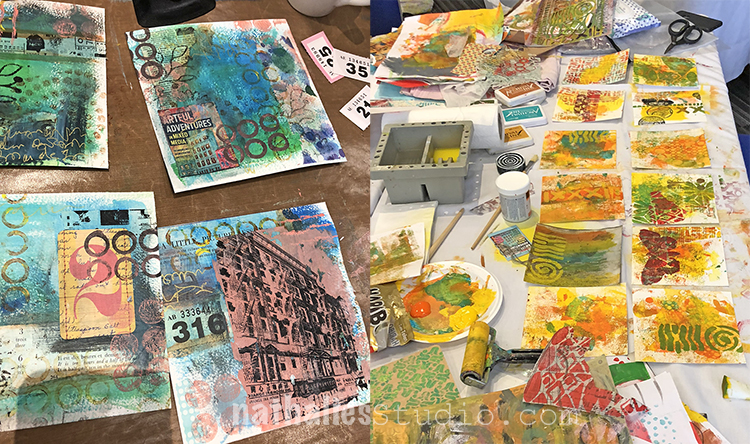
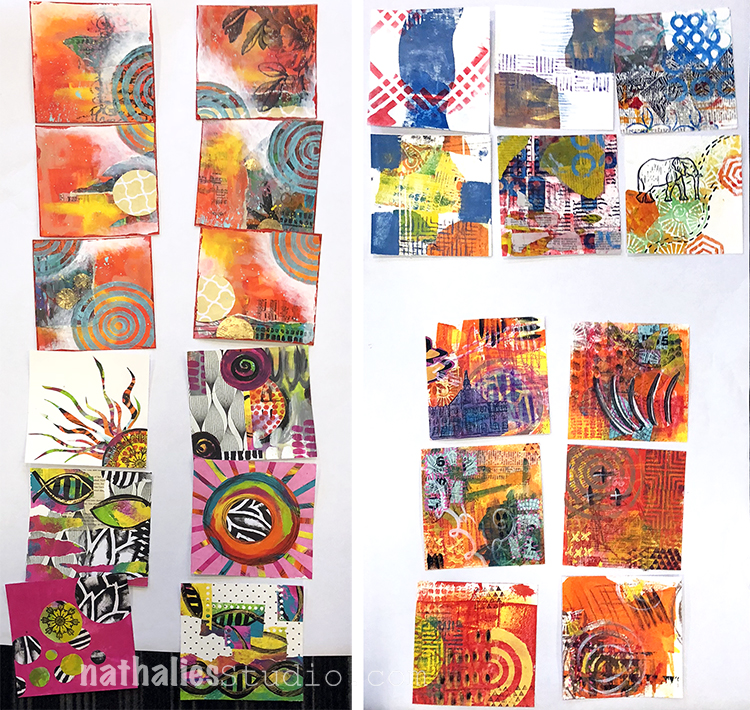
And then it was time for the next day and starting the first six collages and talking about Elements and Principles of Design.
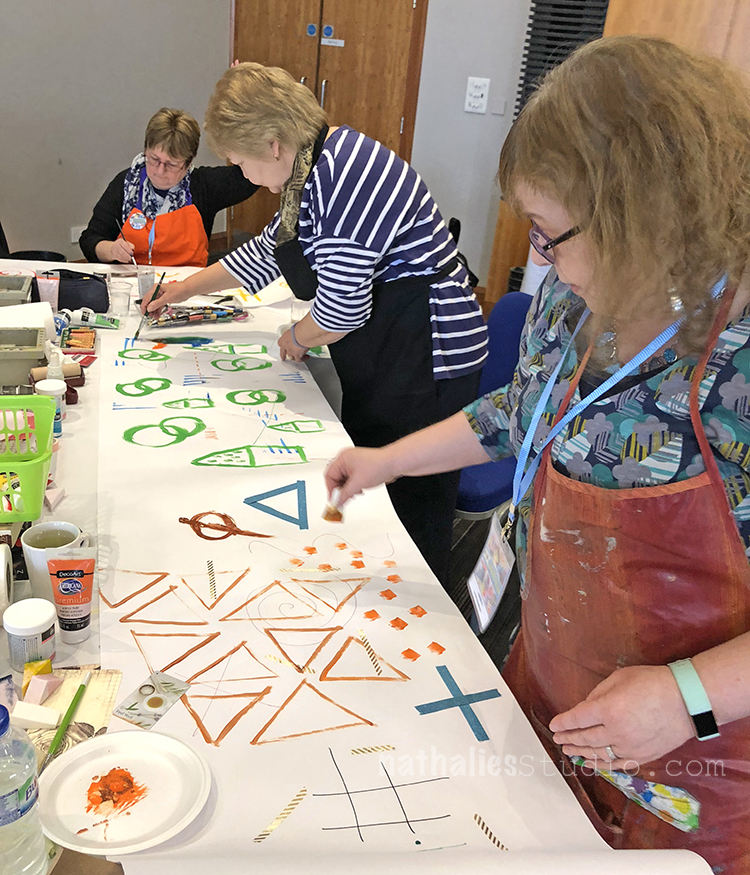
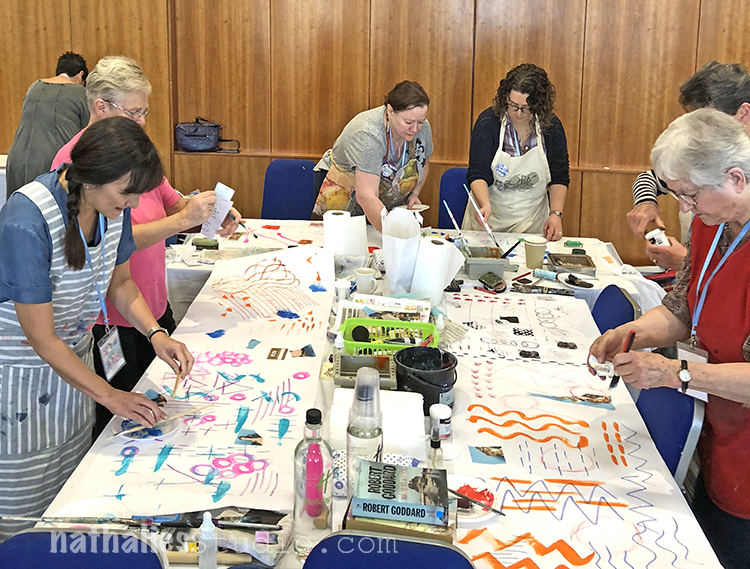
We had some collaborative fun!
and some wand waving was included too (again ….insider joke sorry LOL)
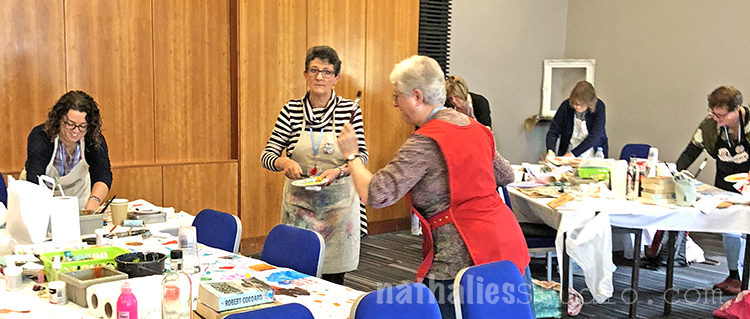
I think it was a lot of fun to work on a big surface too for a change
and then we just looked at all the sheets that were created and were part of what we taught that day
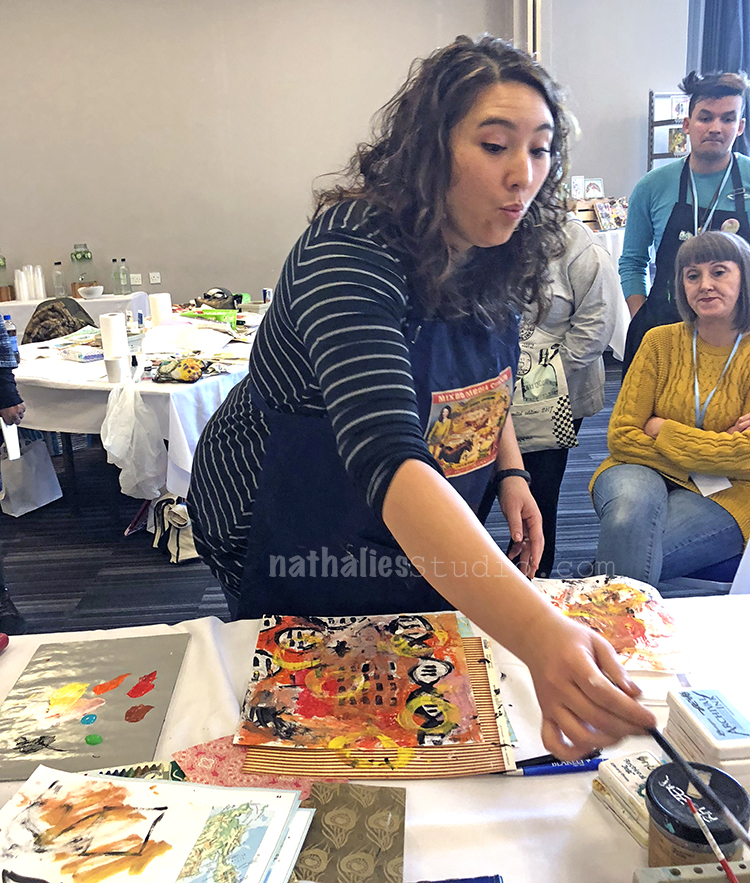
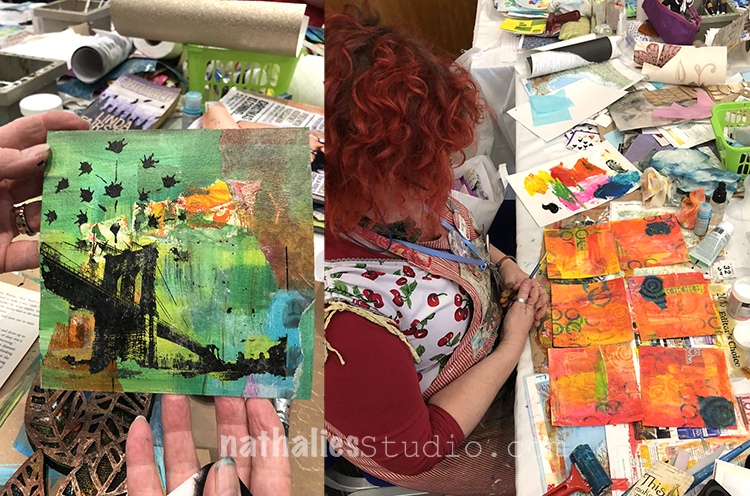
On the third day Julie and I started with a demo of how we usually work in a series
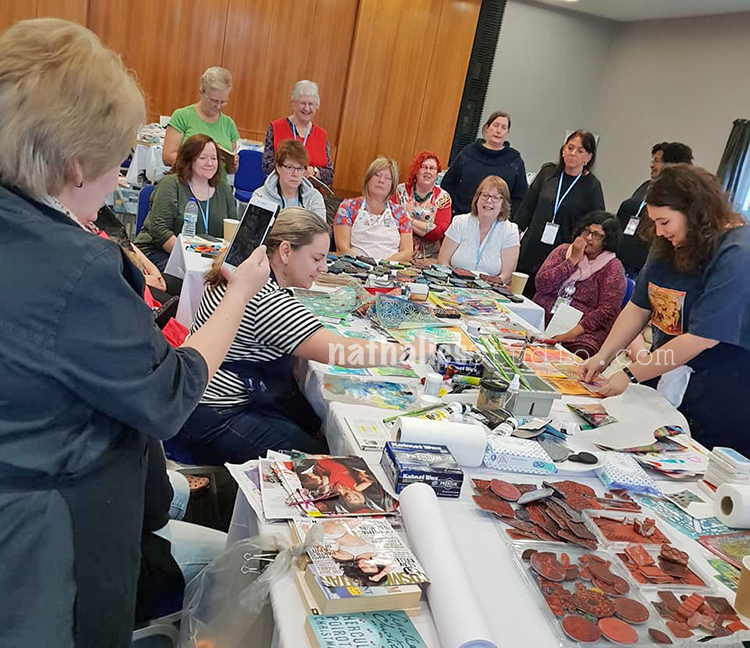
while making fun of each other ;)
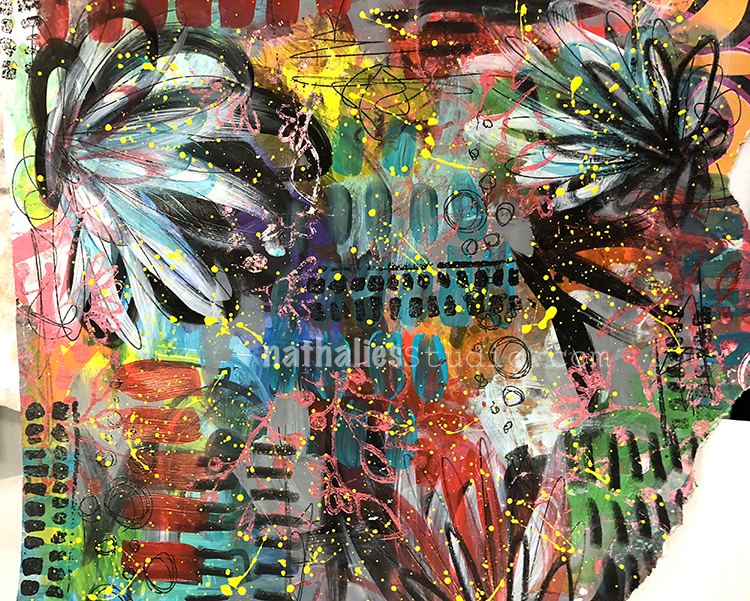
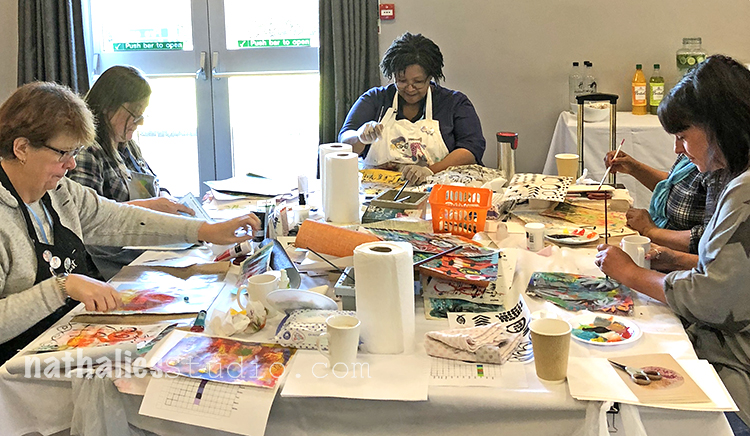
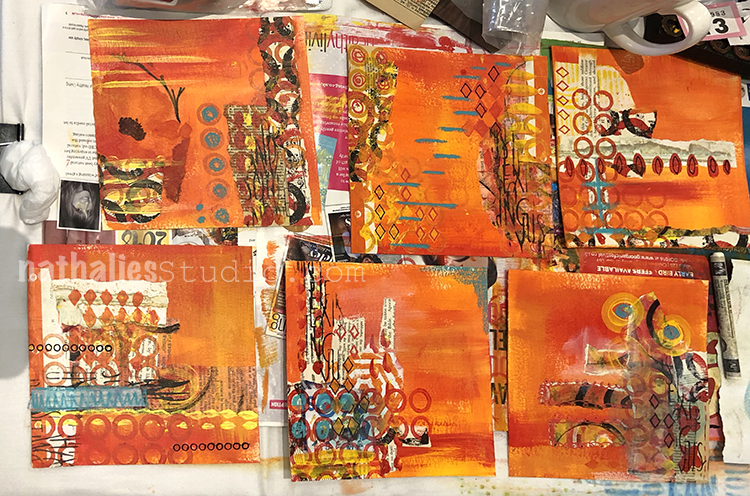
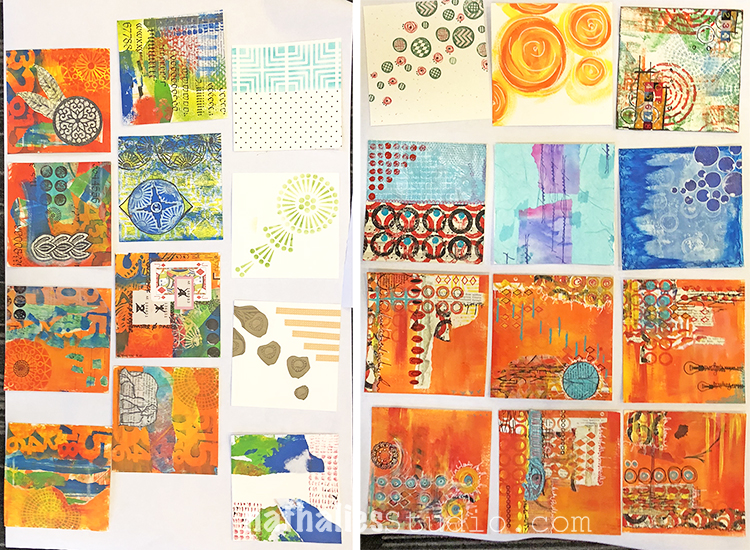
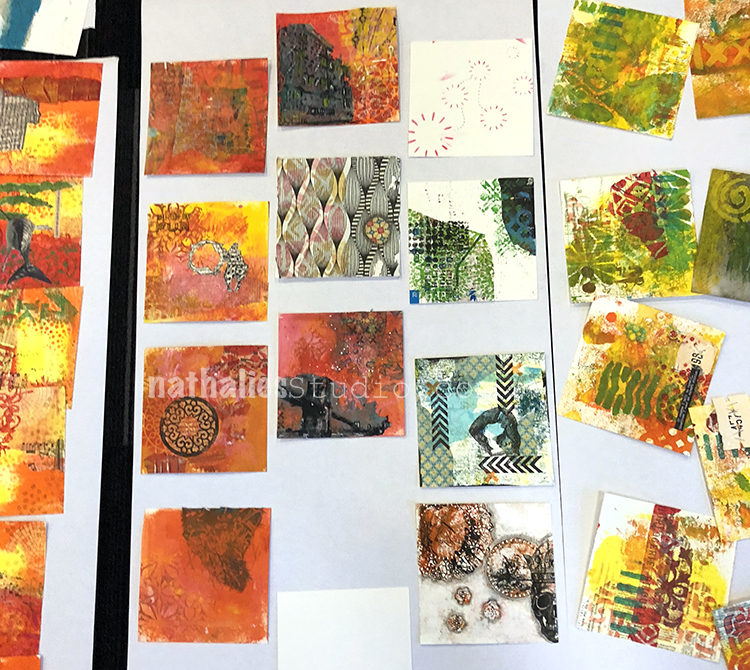
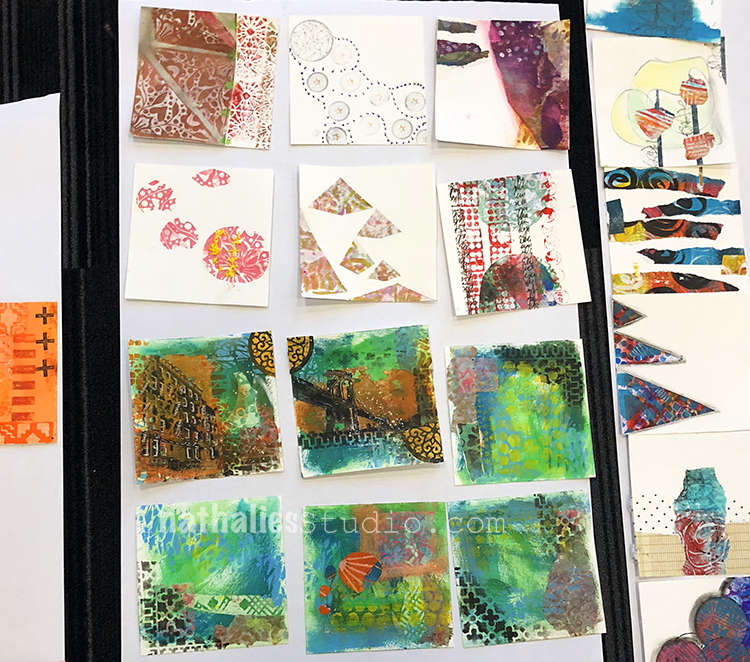
and then it was up to our amazing students to put everything they learned in the last 2 1/2 days into six collages.
we did our best to help …oh brother ;)
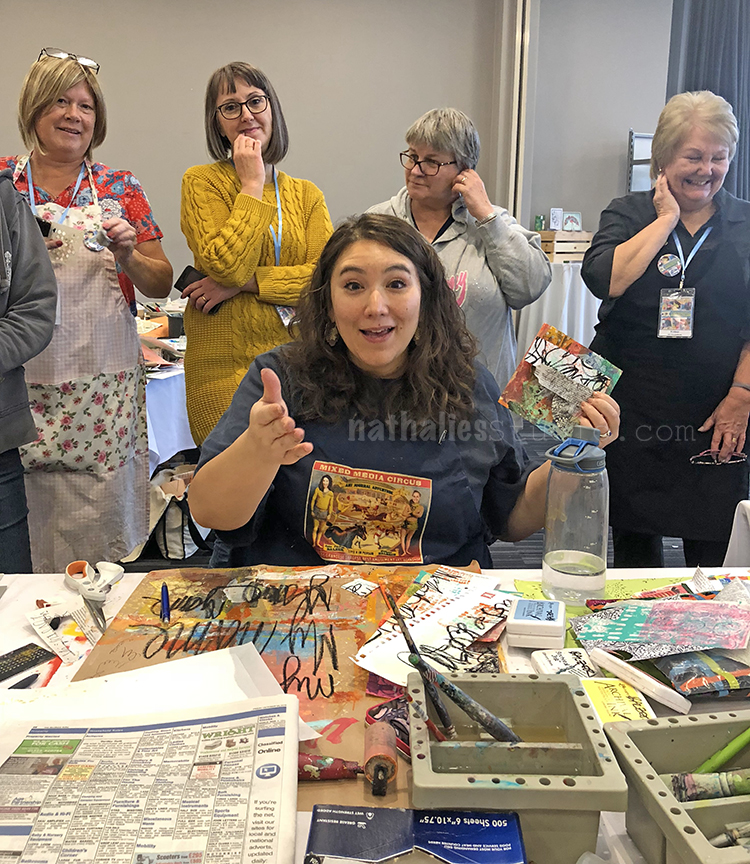
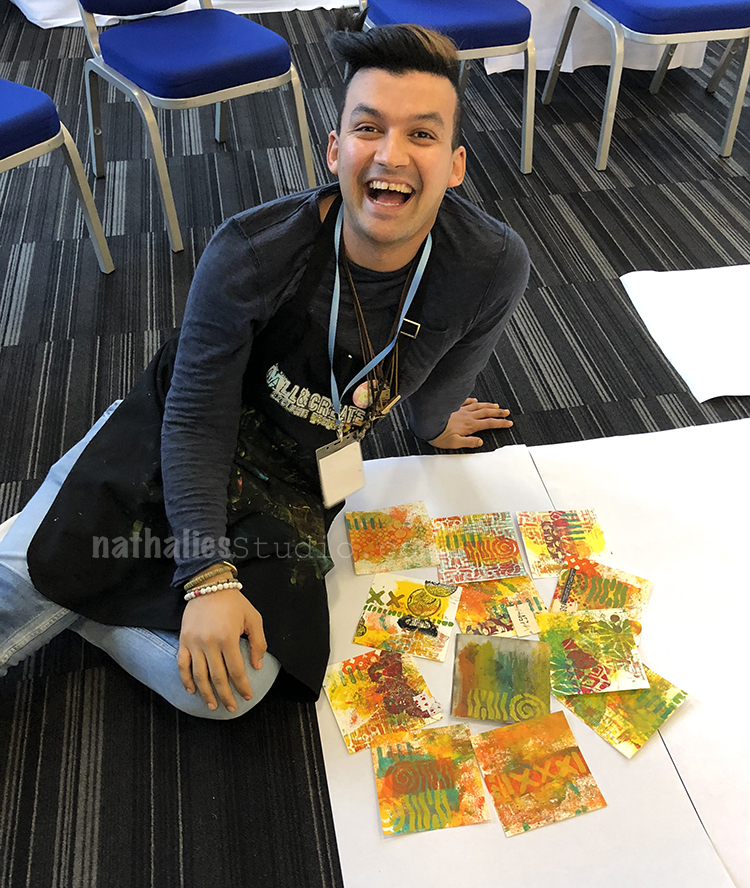
Look at happy Abs – such a contagious smile :)
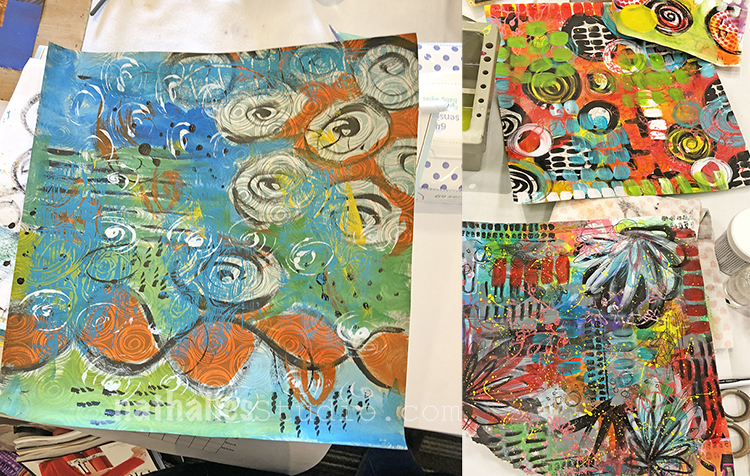
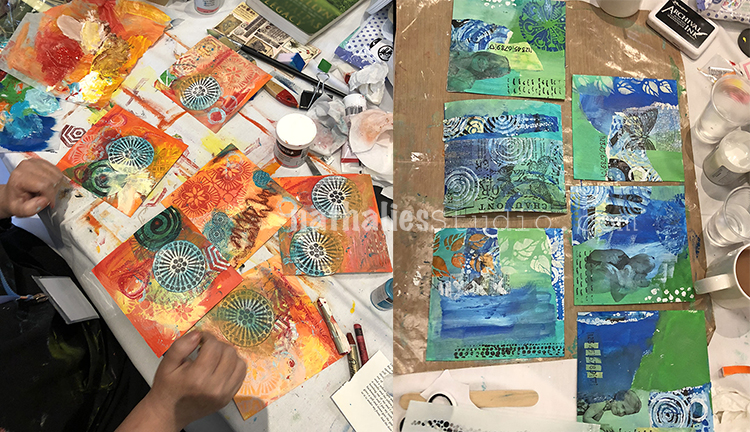
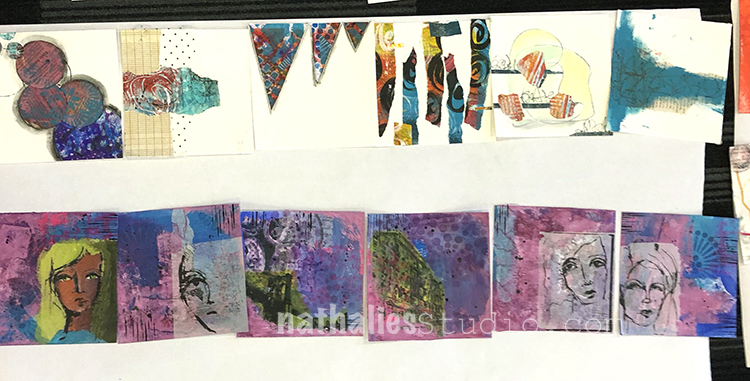
Beautiful messes were made
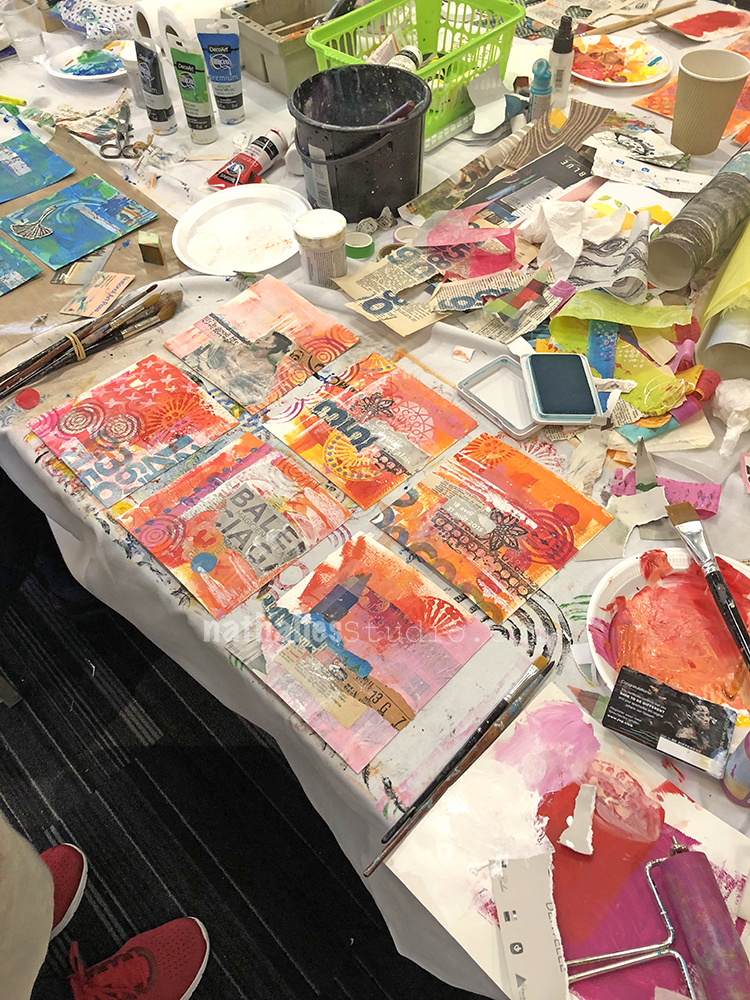
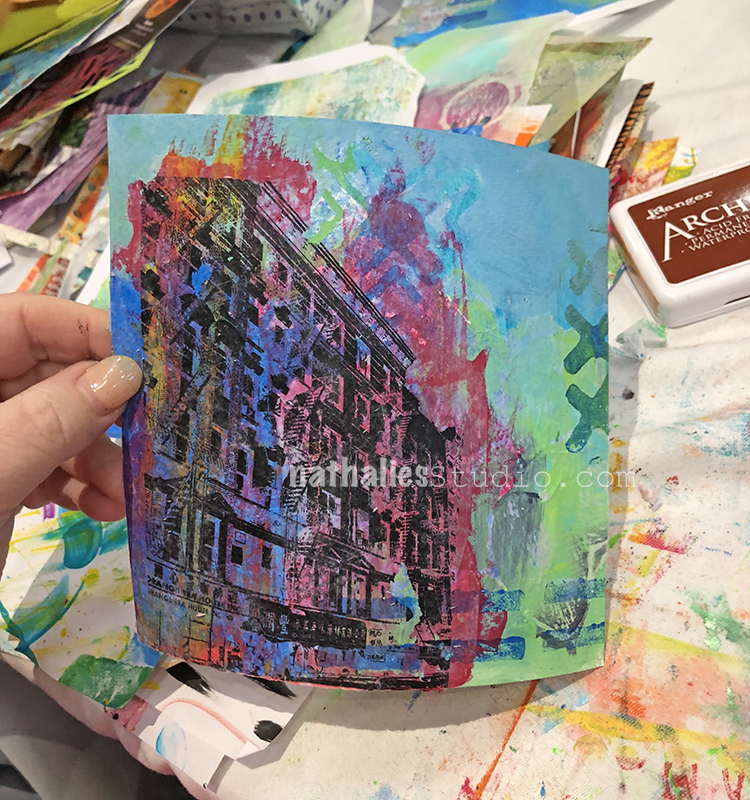
lots of wonderful transfers
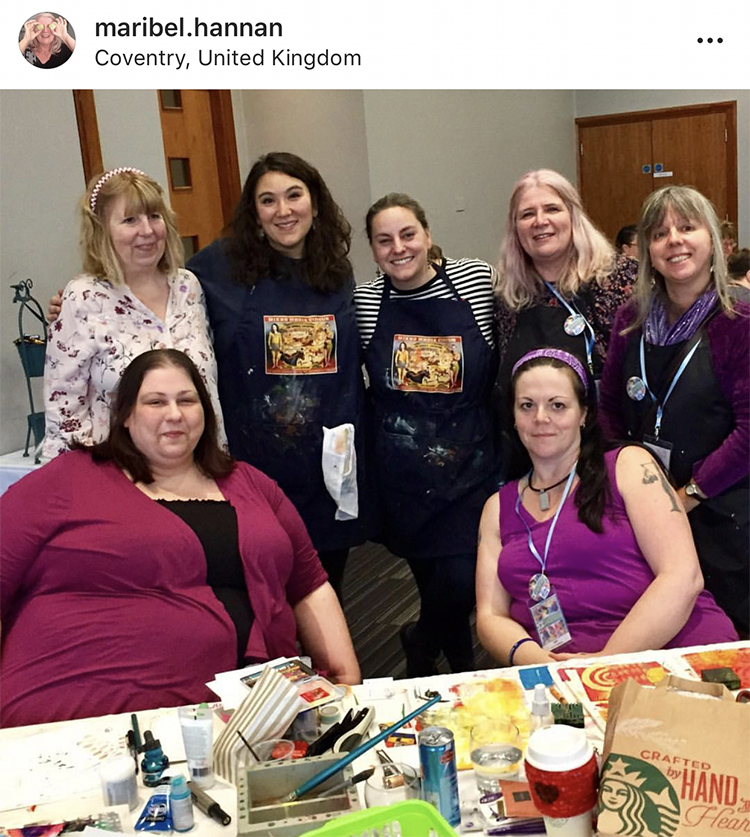
and of course lots of photos were taken in between
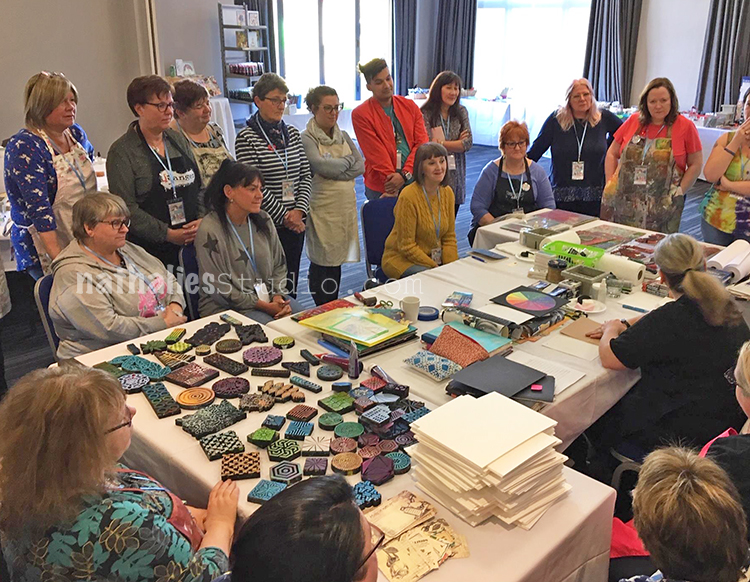
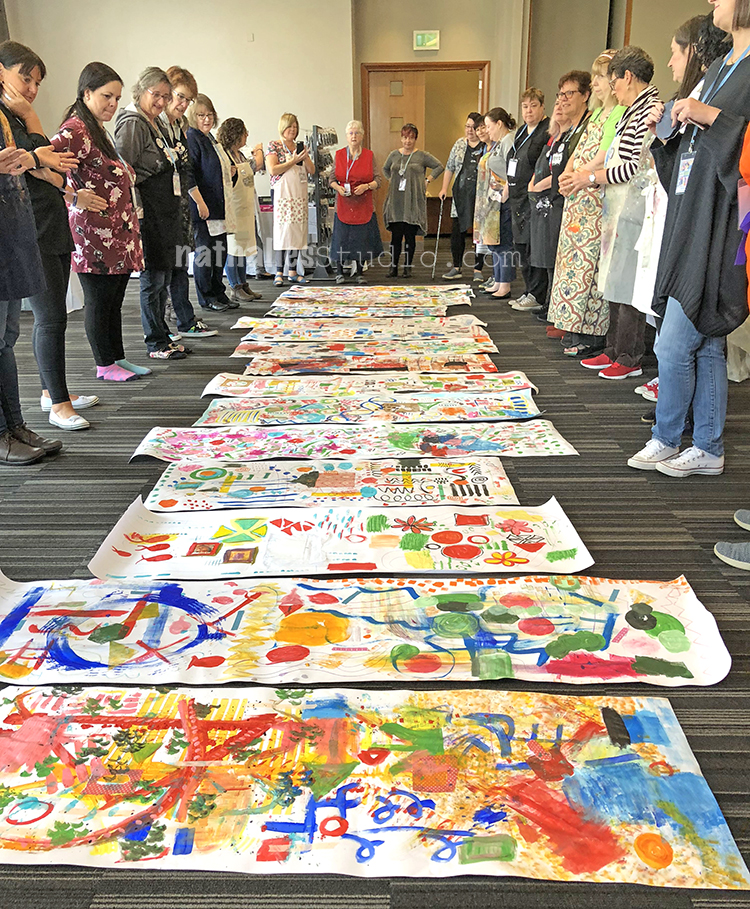
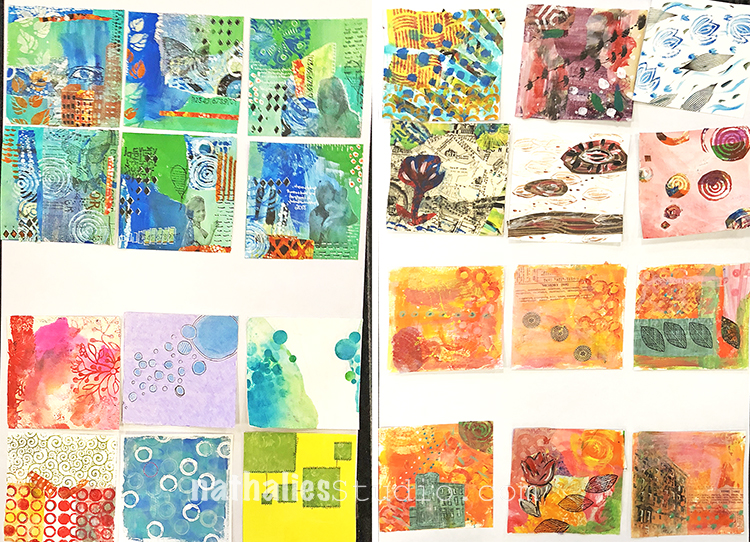
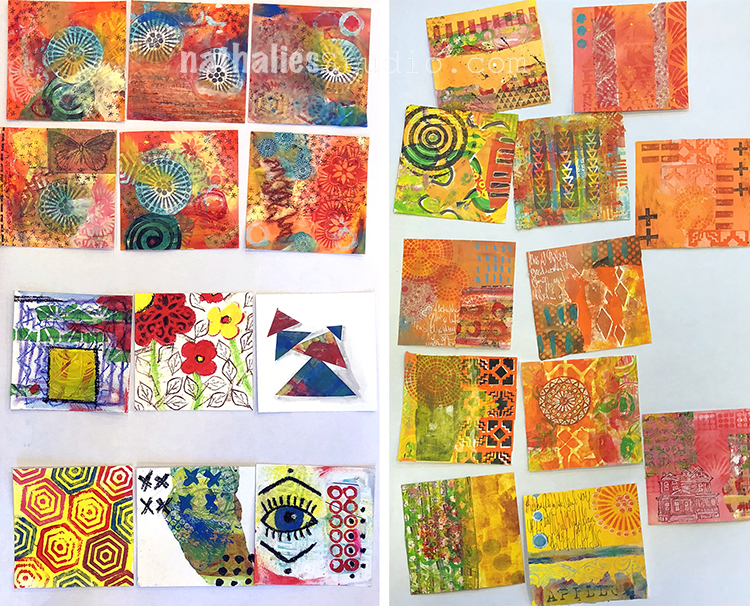
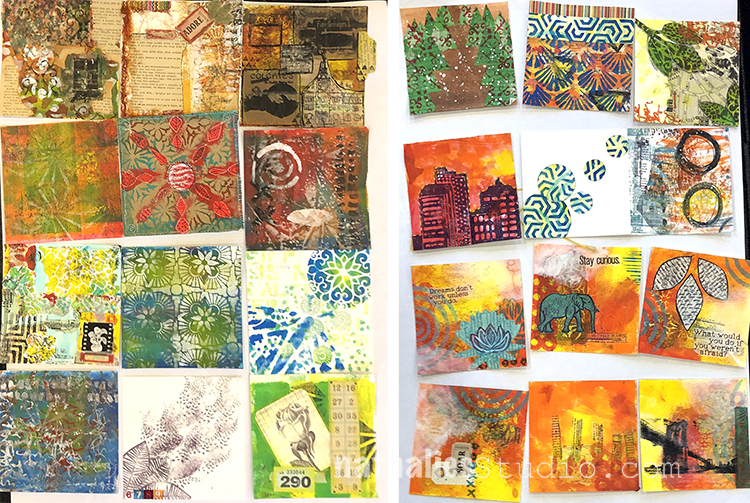
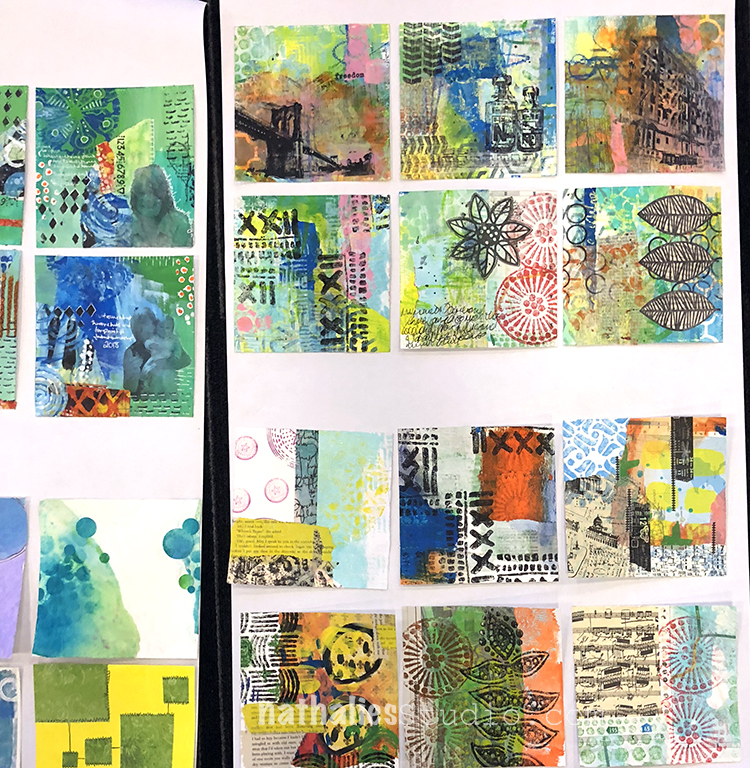
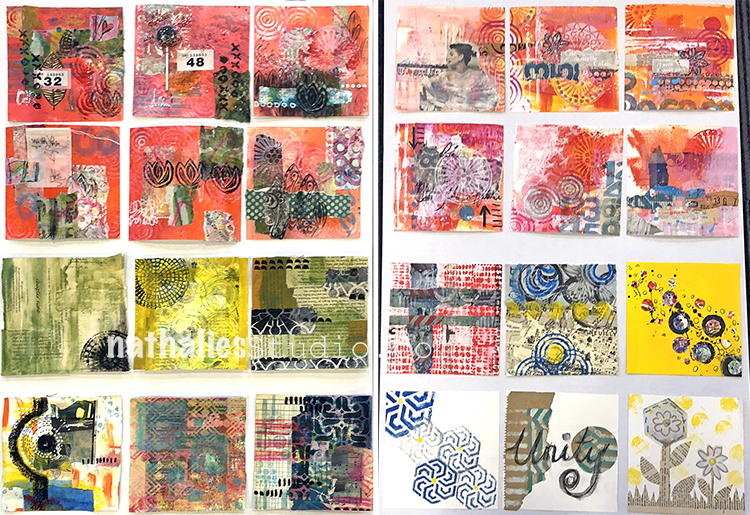
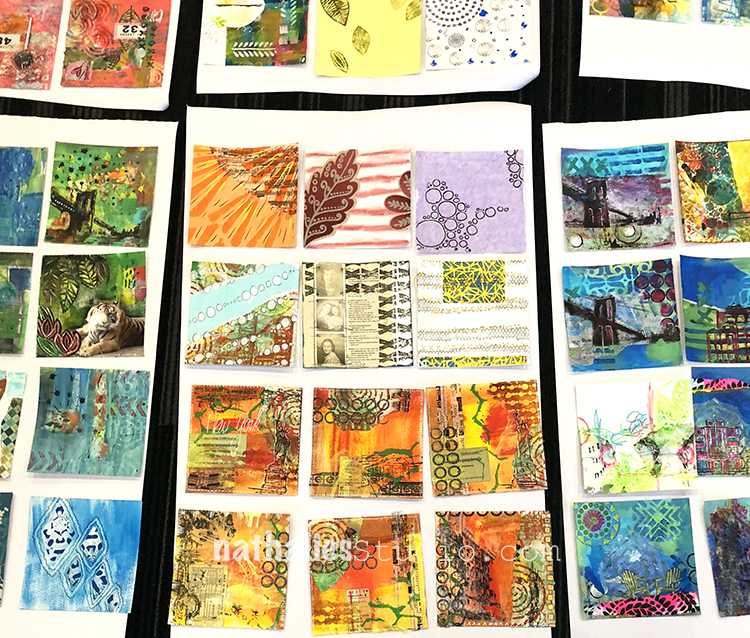
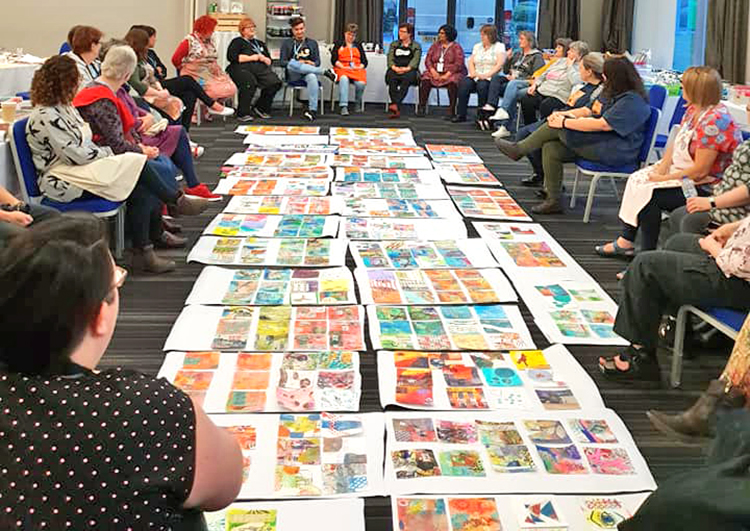
And then for the final everyone displayed their 12 collages on a piece of paper and we had a good look at all of them.
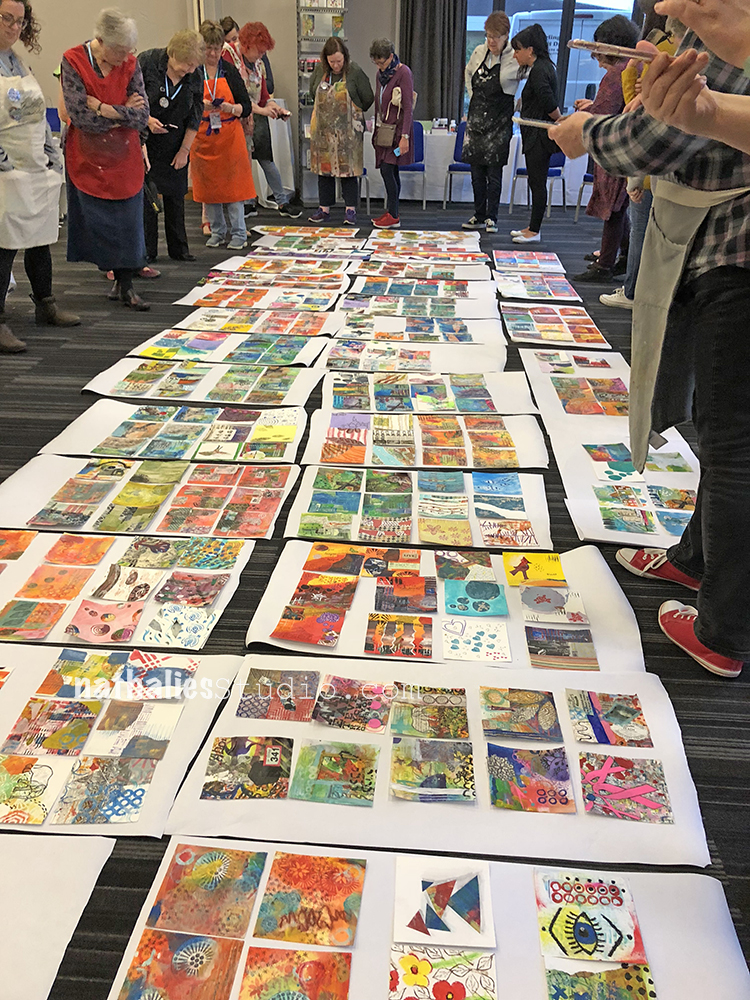
The leap between the first six and the second six on the final day were amazing. And soooo much color and happiness.
We had such a great time and it fills me with a lot of happiness to look at those photos. Thank you all so much for coming to this workshop and jumping into this crazy artful adventure with us :) Thank you to Sue from Art Workshops and her amazing team Dawn, Debbie and Leroy for all the wonderful help and making us feel super welcome. This was the second time I taught for Sue and sure hope it wasn’t the last :)
I am taking a in-person teaching hiatus most of 2019 as I have some big plans and …well some of you might have seen it, we are on a house hunt which is taking up a lot of time (plus the way it looks it will def. a house that requires a lot of work). Cross your fingers for us – it is a bit stressful to find a place esp. in this area – I won’t lie ;) Join me meanwhile for my online workshops here and watch this place in the next months for even more online workshops :)


Comments (1)
Rosie Grey
| #
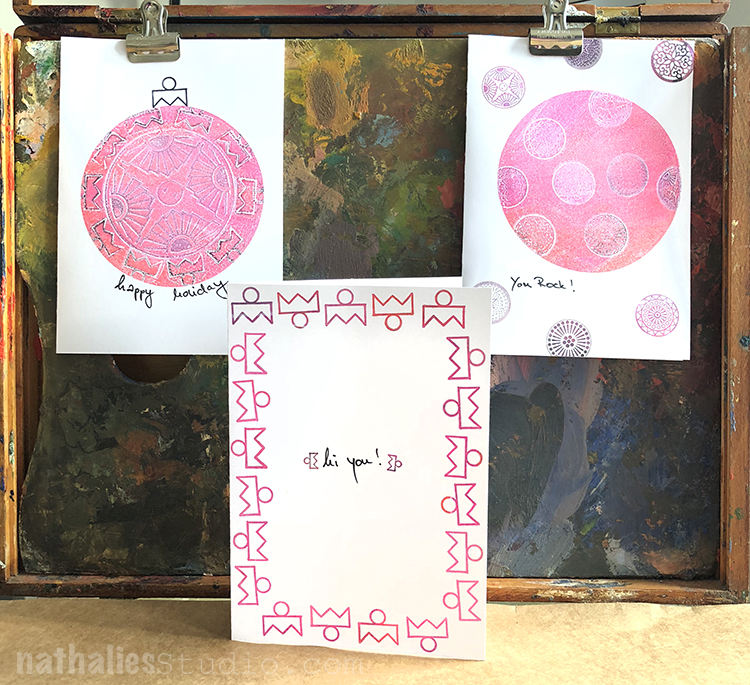
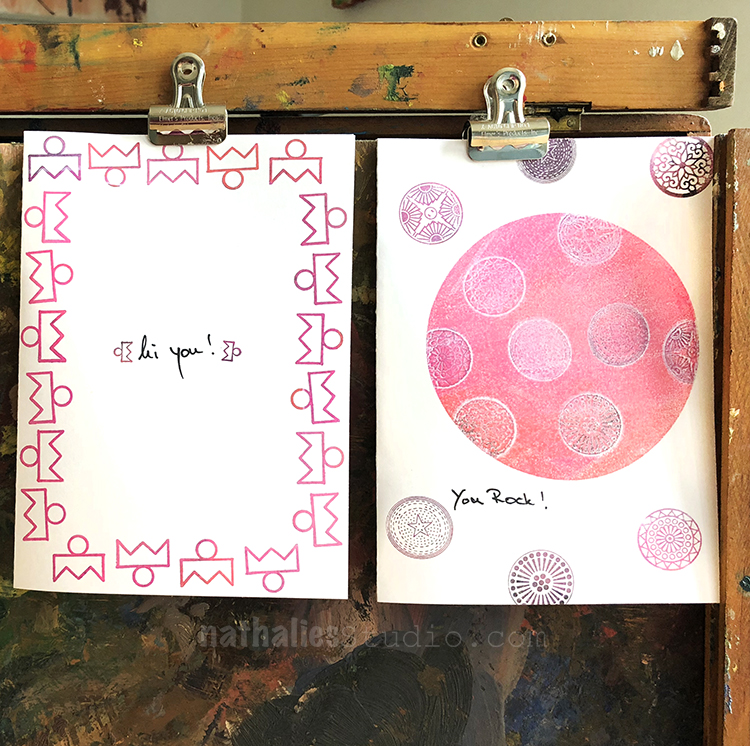
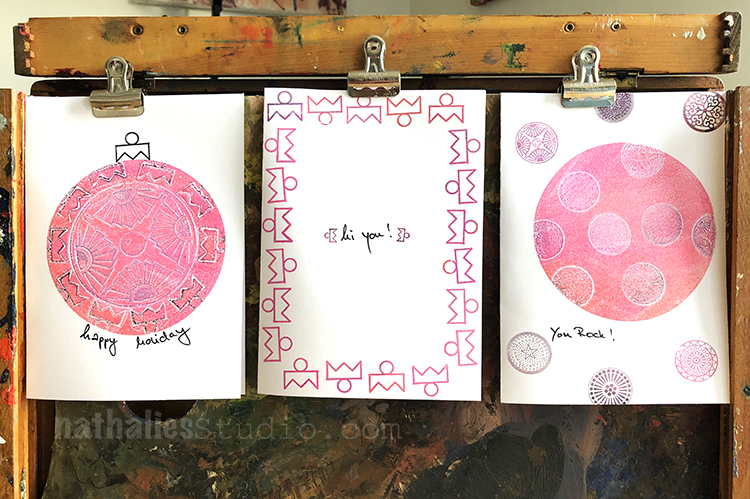
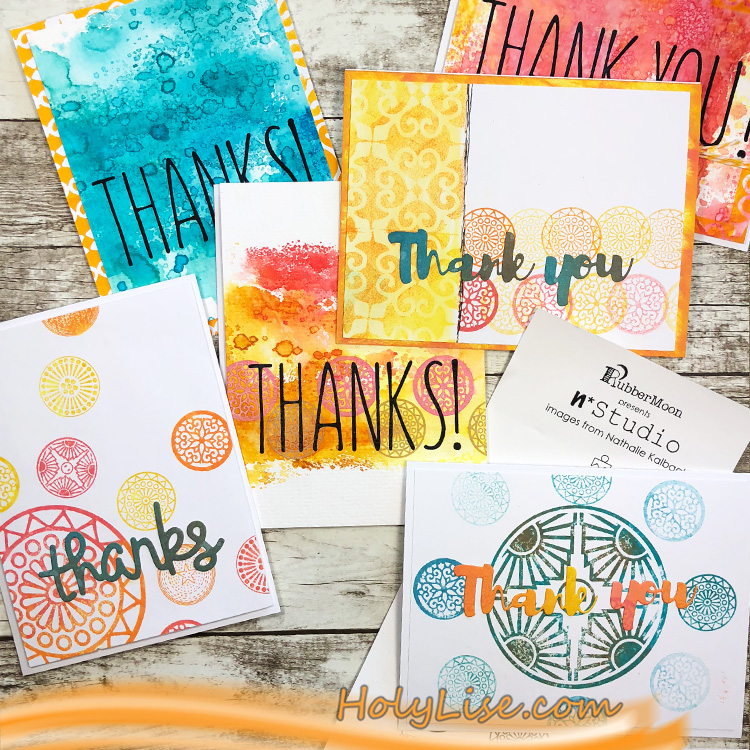
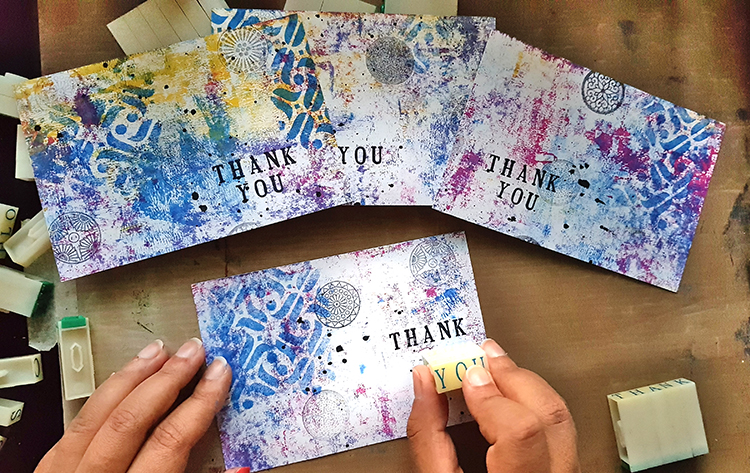
Such beautiful cards! I love the “You rock”card on the right the most ?
Reply