Happy Holidays – Nicole Watson

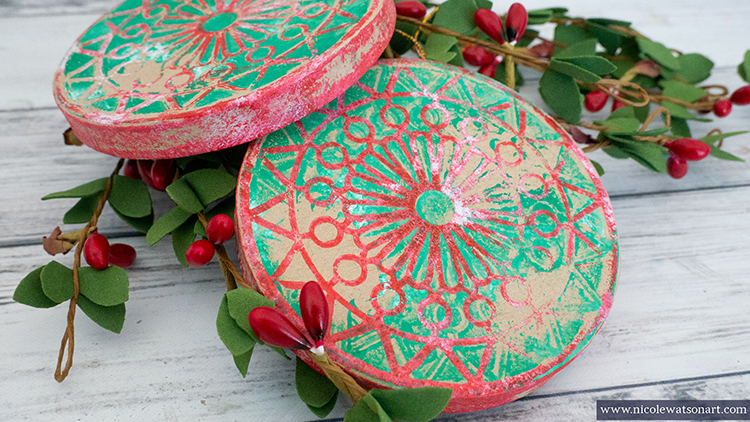
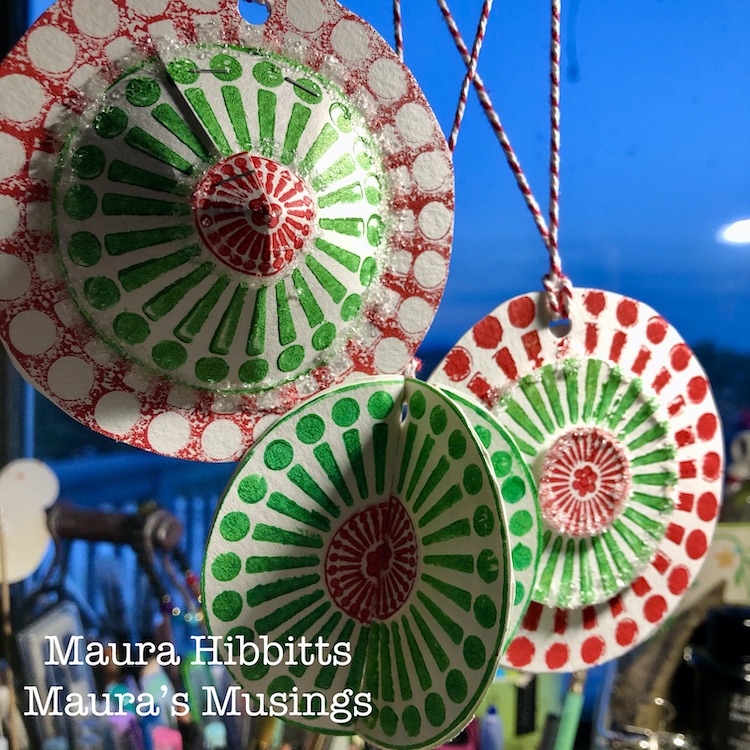
Welcome to a Happy Holidays post from my Creative Squad. Today we have two tree ornament ideas from Nicole Watson to get you in the spirit. Nicole is using my Valley Road stencil and my Antique Tile foam stamp along with this month’s theme: Happy Holidays – It is a time of year where we are celebrating and coming together and enjoying some merriment. Create something holiday related (whatever holiday you may be celebrating) and enjoy the season!


Recently, I wandered around several craft stores to see what was new for the holidays and find some inspiration. There I found several blank wood and paper mache ornaments that I knew would make perfect canvasses to stamp or print on. I had the exact stamp and stencil in mind when I grabbed the round paper mache and wood snowflakes.

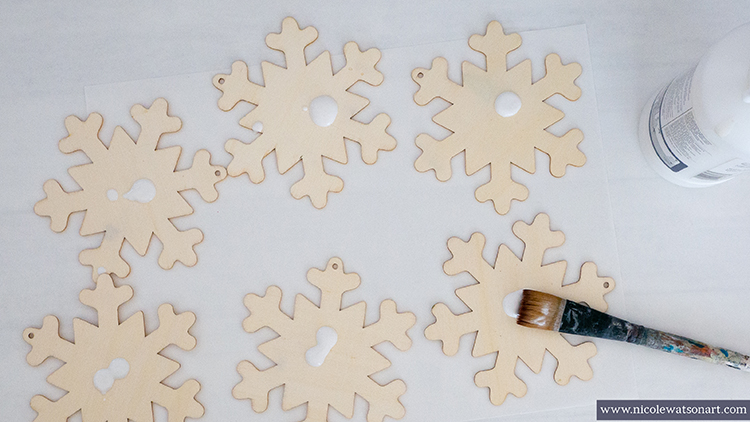
When I returned home, I grabbed my paint and gelli plate and began playing. First, I coated all of the ornaments with clear gesso and let it dry. Then I began to get my hands a bit messy.

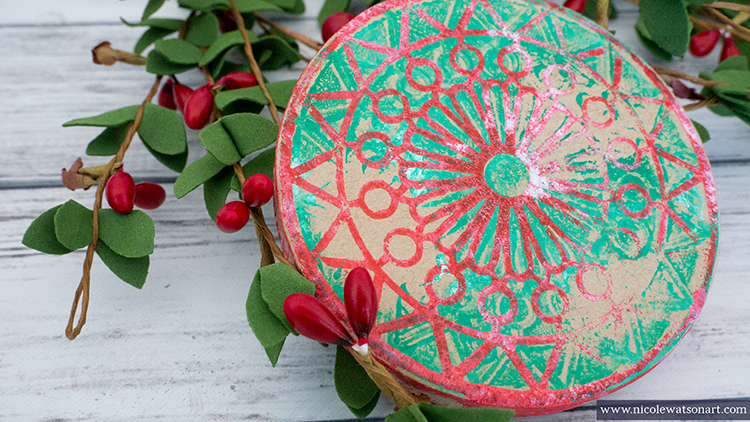
To make the round ornament:

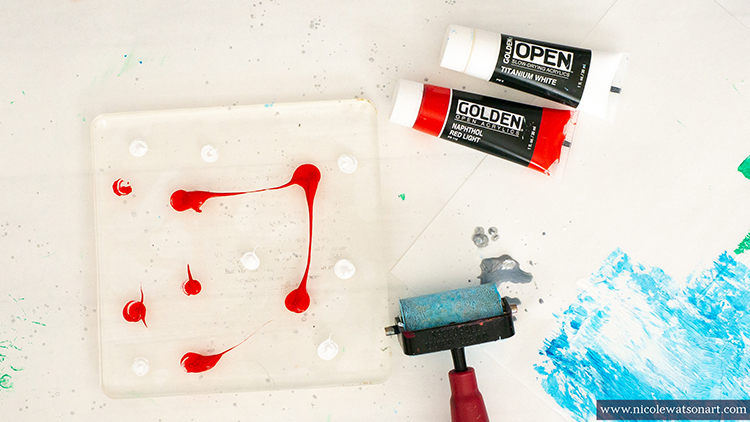
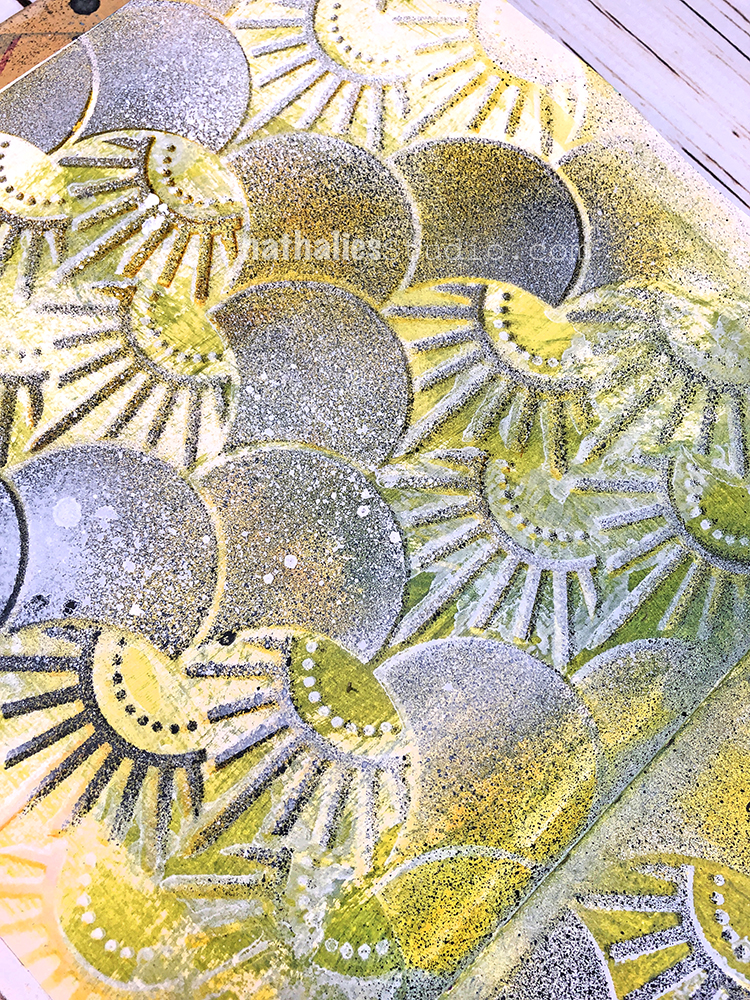
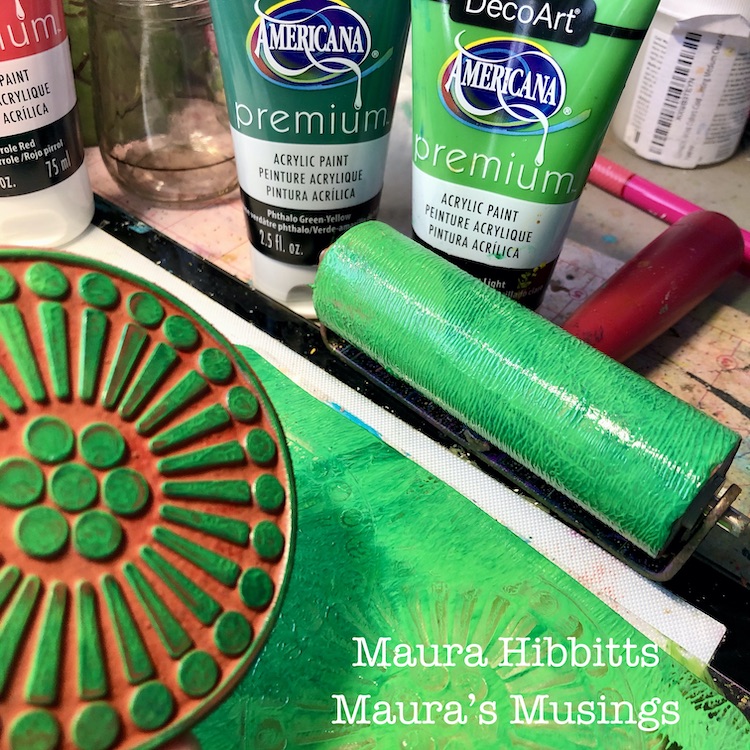
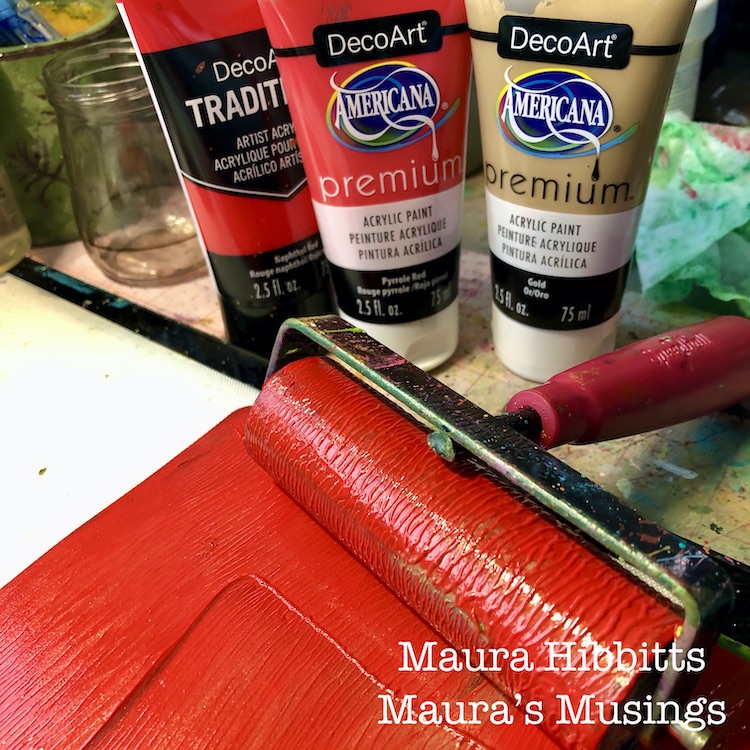
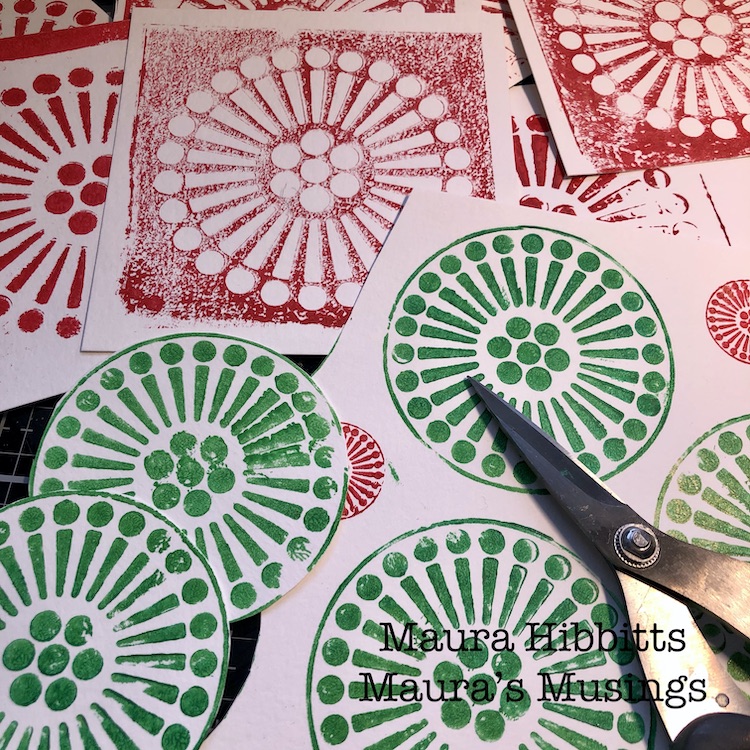
Brayer green and white paint on your gelli plate. 

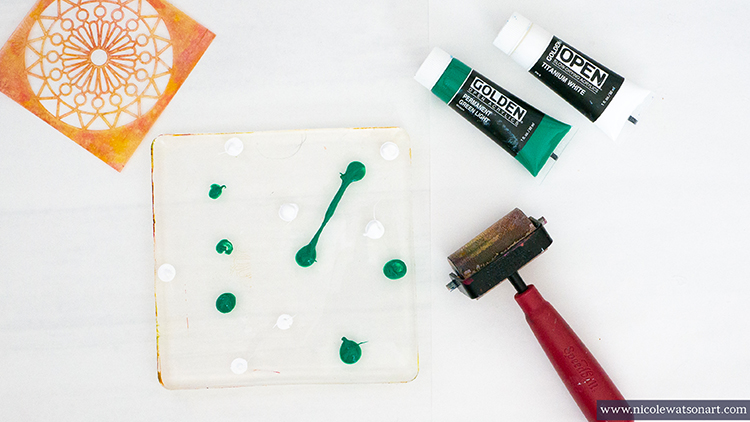
Place the stencil on your plate in a spot where you like how the paint brayered. I used Nat’s Valley Road stencil, however all of her other small circles would also work!

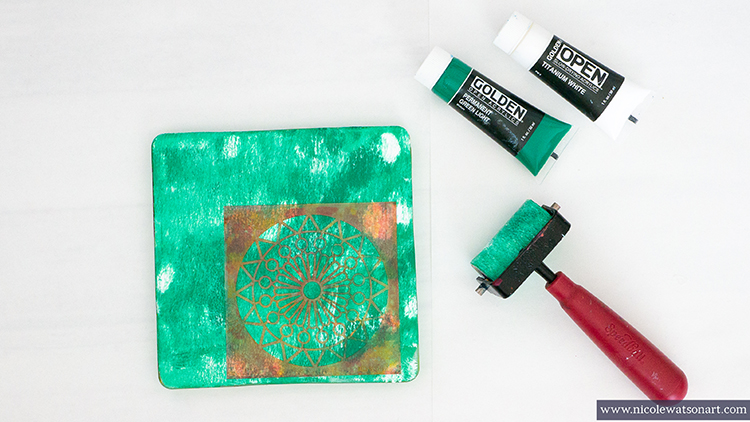
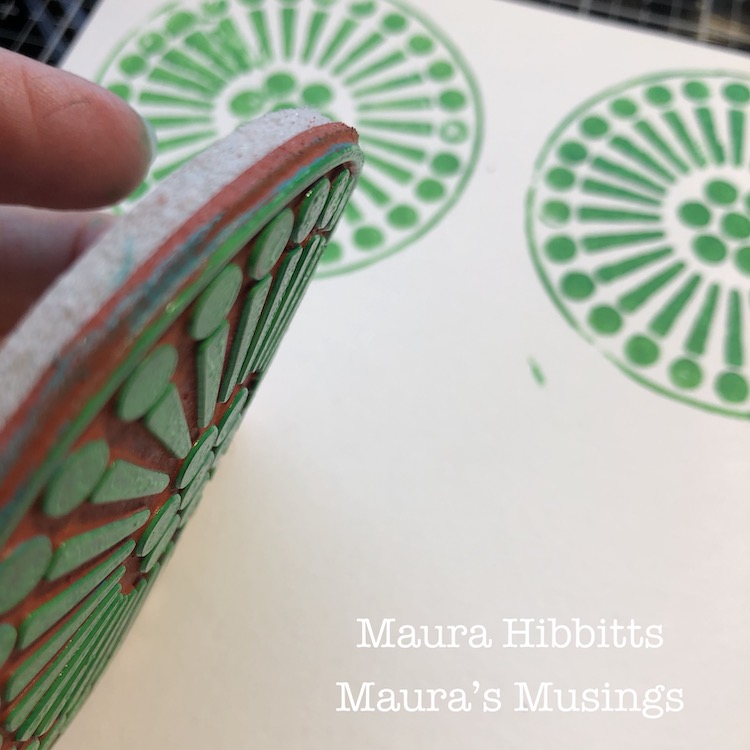
Then, place the ornament on top the stencil and press down. Make sure you use a good amount of pressure since the ornament is hollow. 

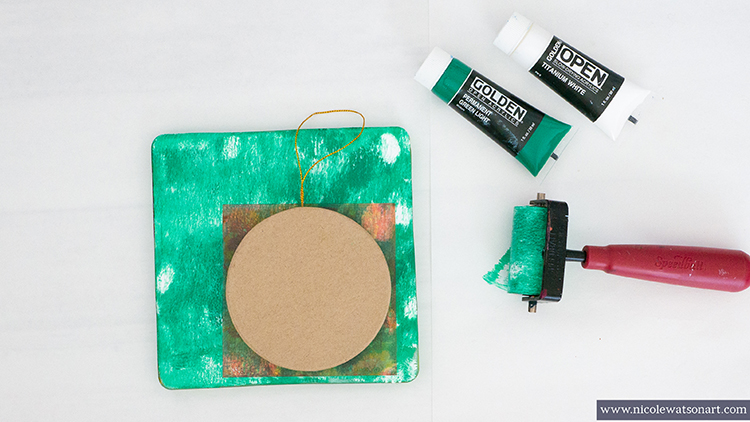
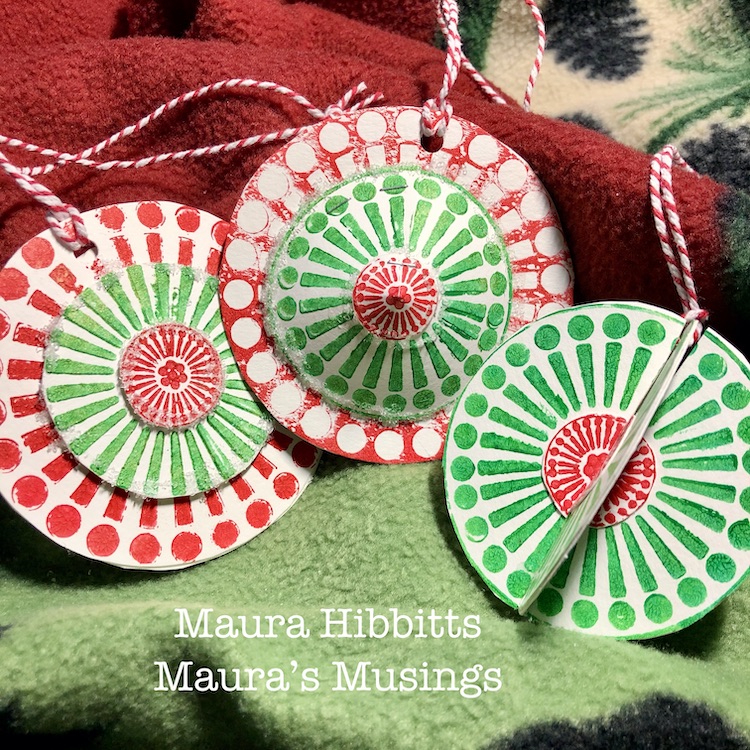
Lift the ornament and allow to dry.  I didn’t mind that the print on the ornament wasn’t perfect as I think it adds to the rustic nature of the ornaments.

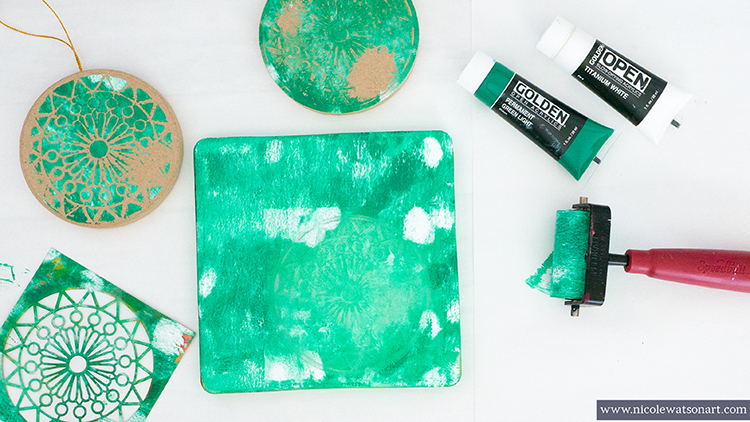
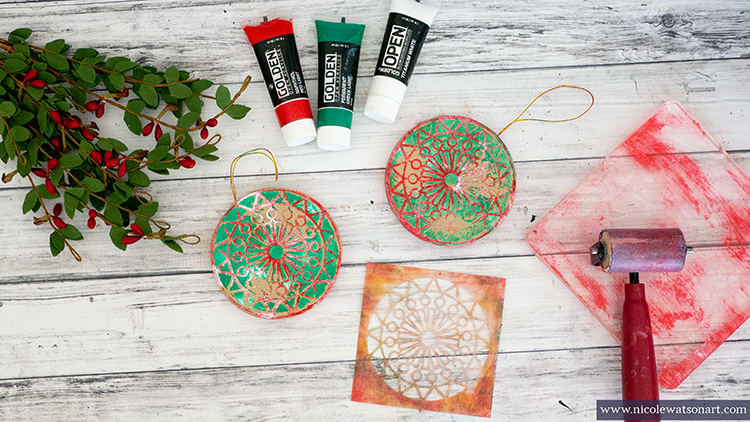
Carefully lift the stencil from the plate and grab another ornament. Place this ornament in the spot where you lifted the stencil, apply pressure, and allow to dry.

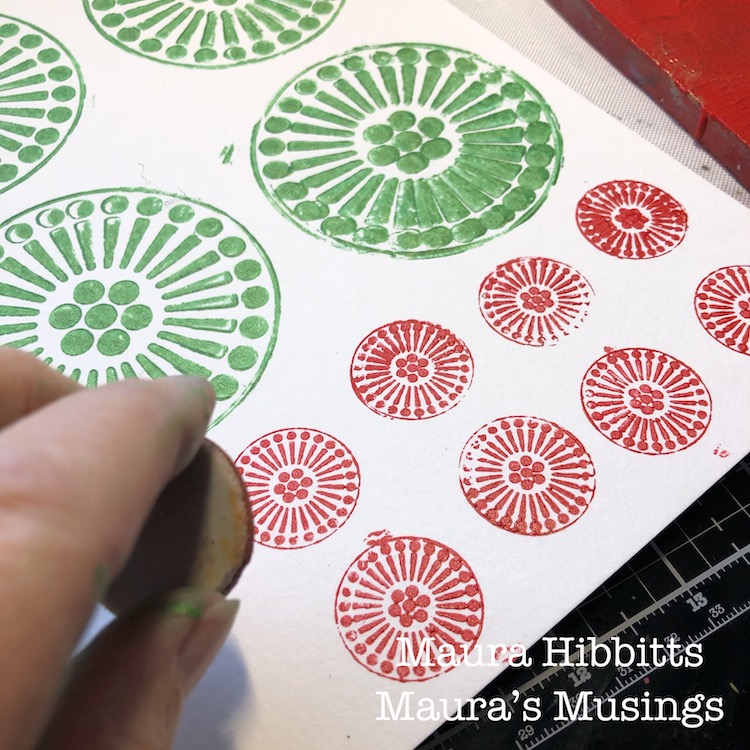
Repeat this process for the ornaments you have. Once they are dry, repeat again to print on the other sides, but use the opposite opposite. The ones that you put on the stencil first, put those on the plate. This way each side of the ornament is unique.

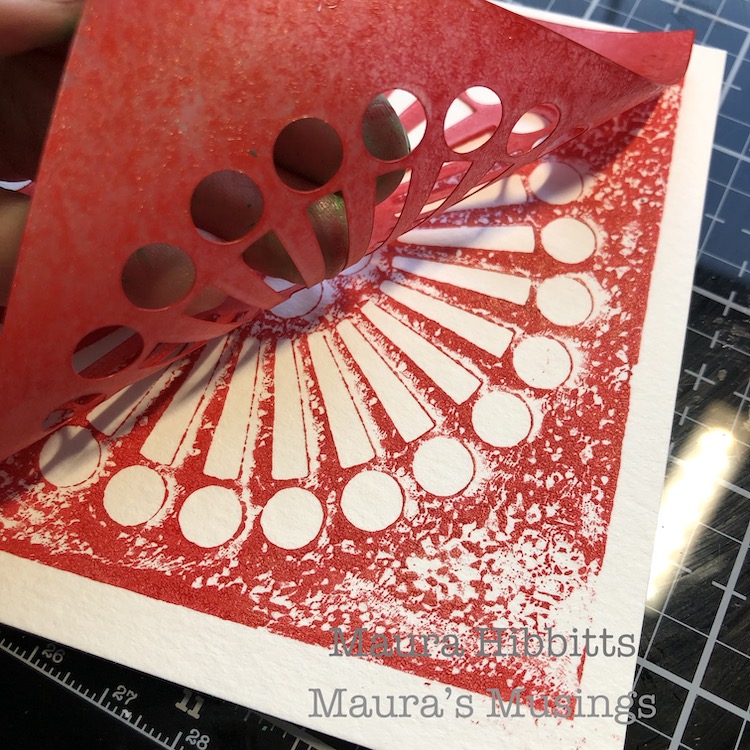
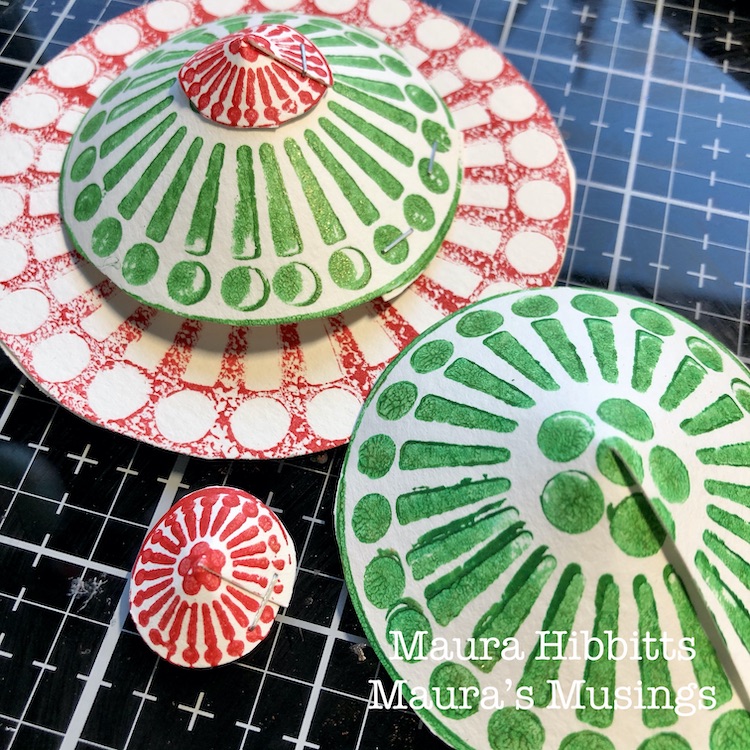
Use your gelli plate as a stamp pad for the stencil, which is your stamp. This part is a little messy so have some baby wipes ready for your hands! Spread the red and white paint on your gelli plate with a brayer. 

Place your stencil down to pick up ink (you can brayer over it for better coverage). Then, place the stencil on your ornament. Use a scrap piece of paper on top the stencil to add pressure for the print. Continue this process for each side of the ornament.

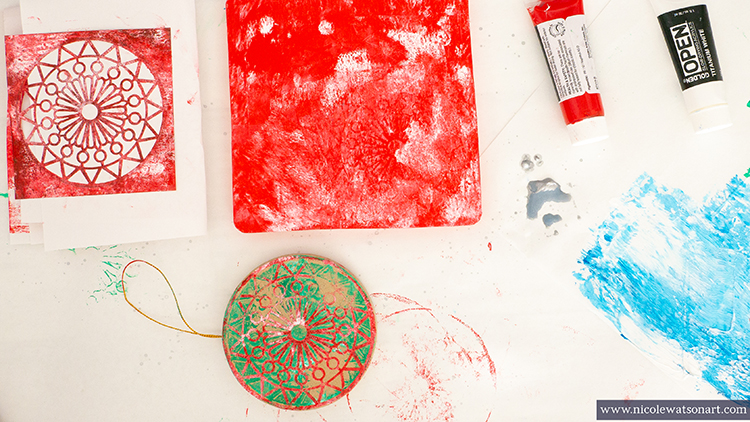
Before I cleaned the red paint off the gelli plate, I also rolled the edges of the ornaments in it a bit to add paint to the edges.

To make the snowflake ornament:

In between the round ornament drying time, I worked on the snowflake ornaments, and vice versa! It works really well to create both of these at the same time.

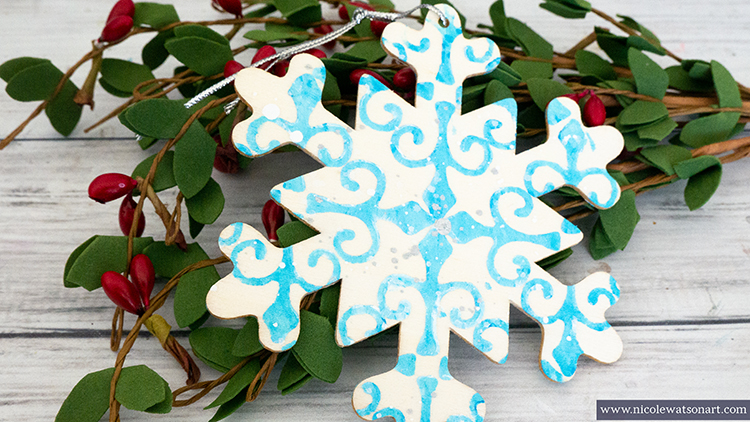
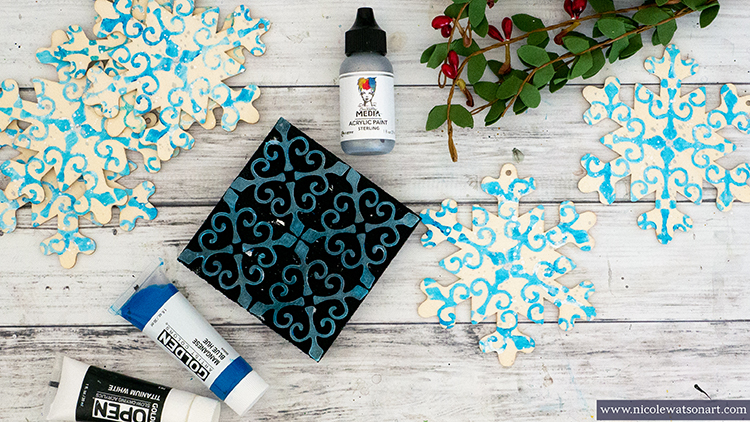
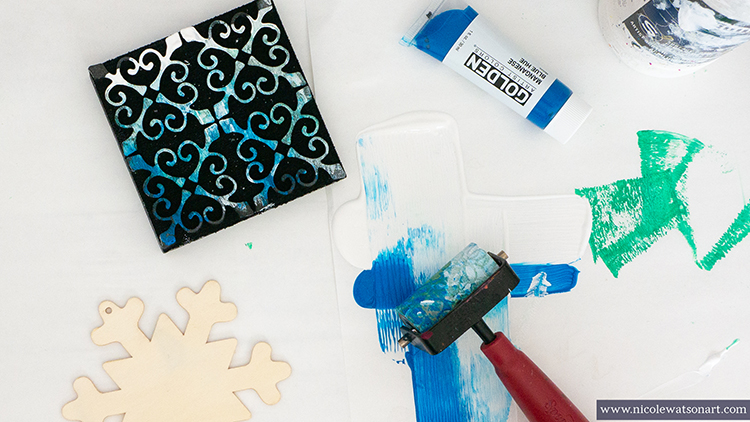
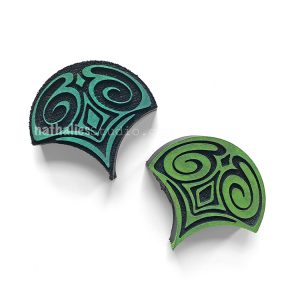
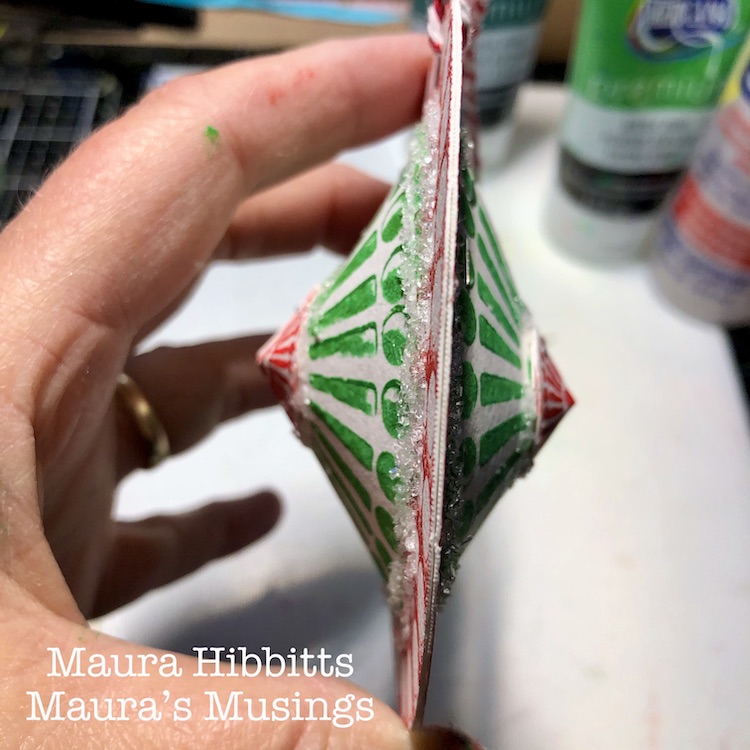
Add some blue paint and white gesso to your palette paper. You can use white paint instead; however, I like how gesso is less opaque. Brayer a mix of the paint and gesso on your Antique Tile foam stamp. 

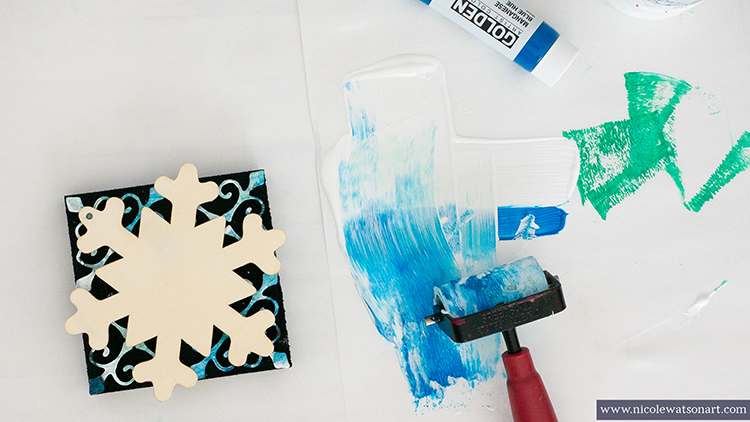
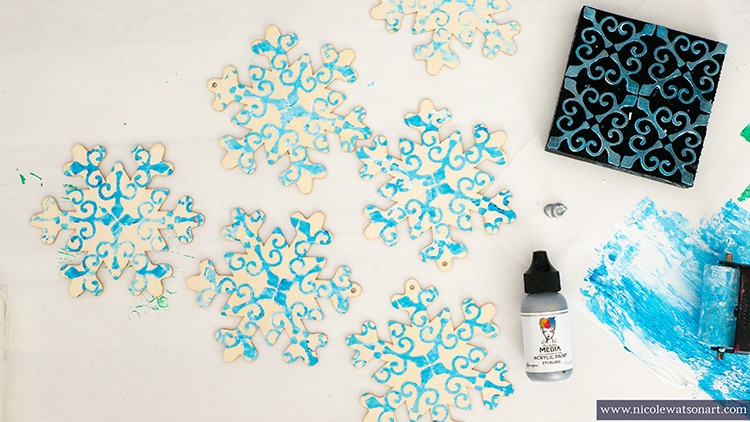
Then, place your snowflake on top of the stamp and press down. Repeat this process with all your snowflakes and allow side one to dry. Then, repeat for side two!

After both sides are stamped, spatter with silver paint and white gesso on each side. I also added a larger silver dot in the center of each flake by dipping the end of my paintbrush in the silver paint and using that to make a round circle on the ornament.

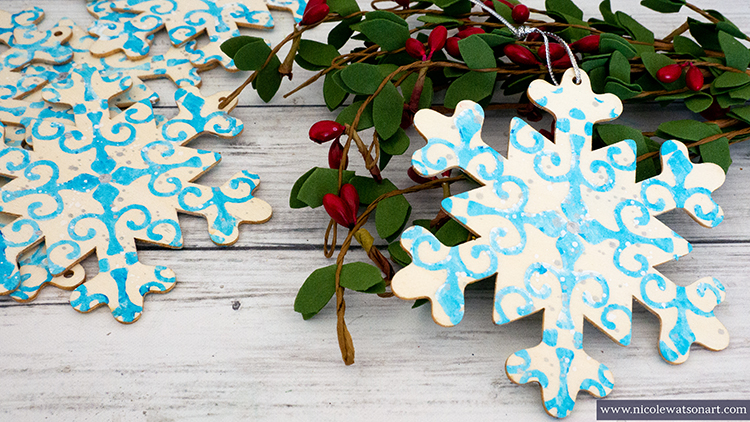
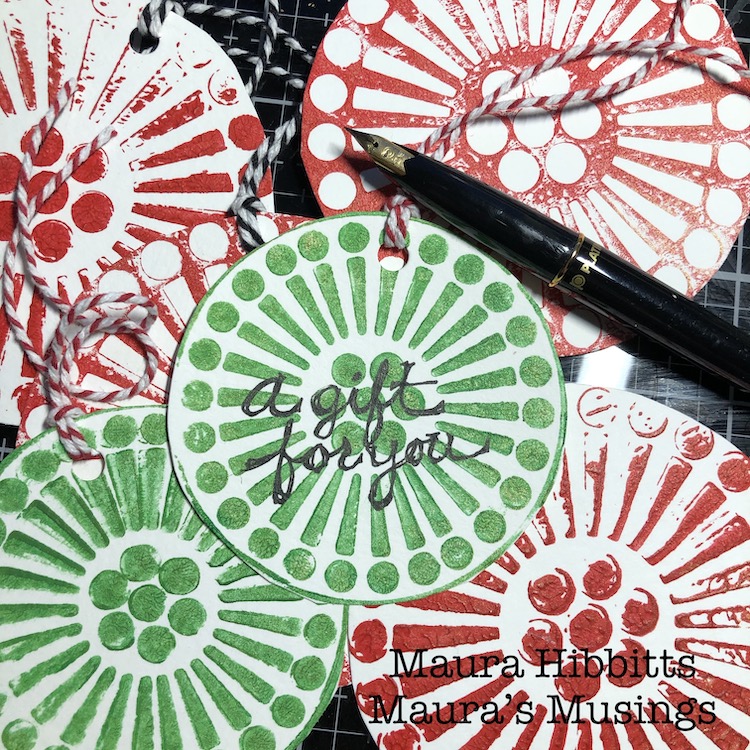
I absolutely love how both of these ornaments turned out, however instead of ornaments I’m going to use them for gift tags/package decorations. I added a snowflake to a package for our house sitter this week, and it was the perfect touch!

Nat’s Antique Tile stamp is a fun stamp to use in other ways as well. I’m also going to stamp it on my Christmas card envelopes, and last year I made wrapping paper with it!

I hope you are able to take some time to create this holiday season!


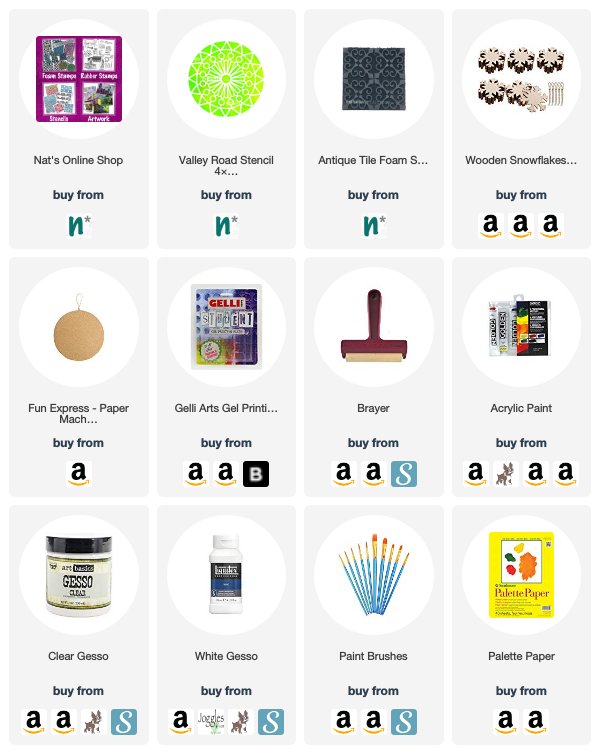
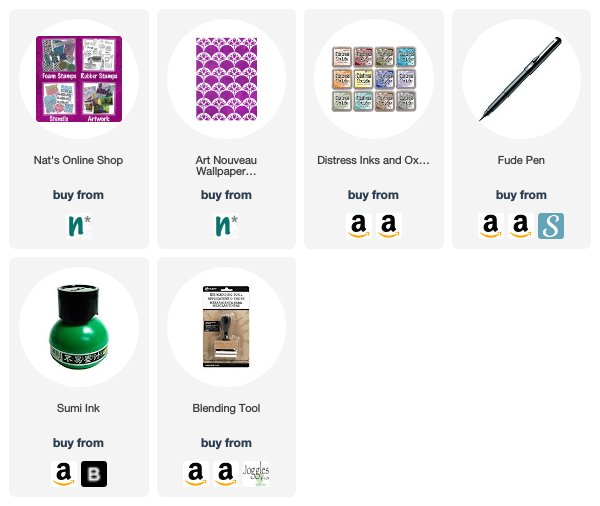
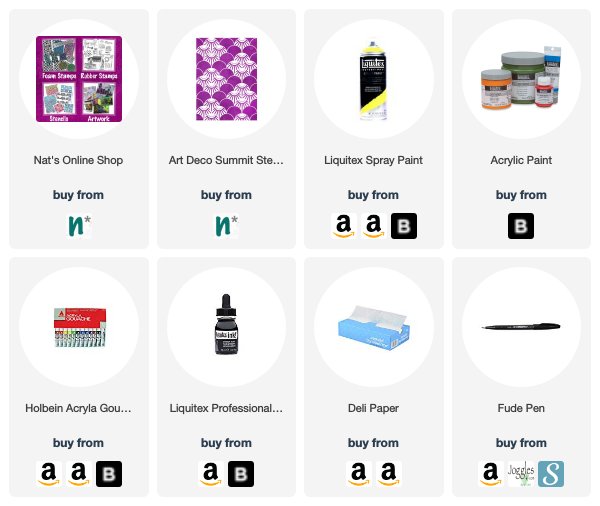
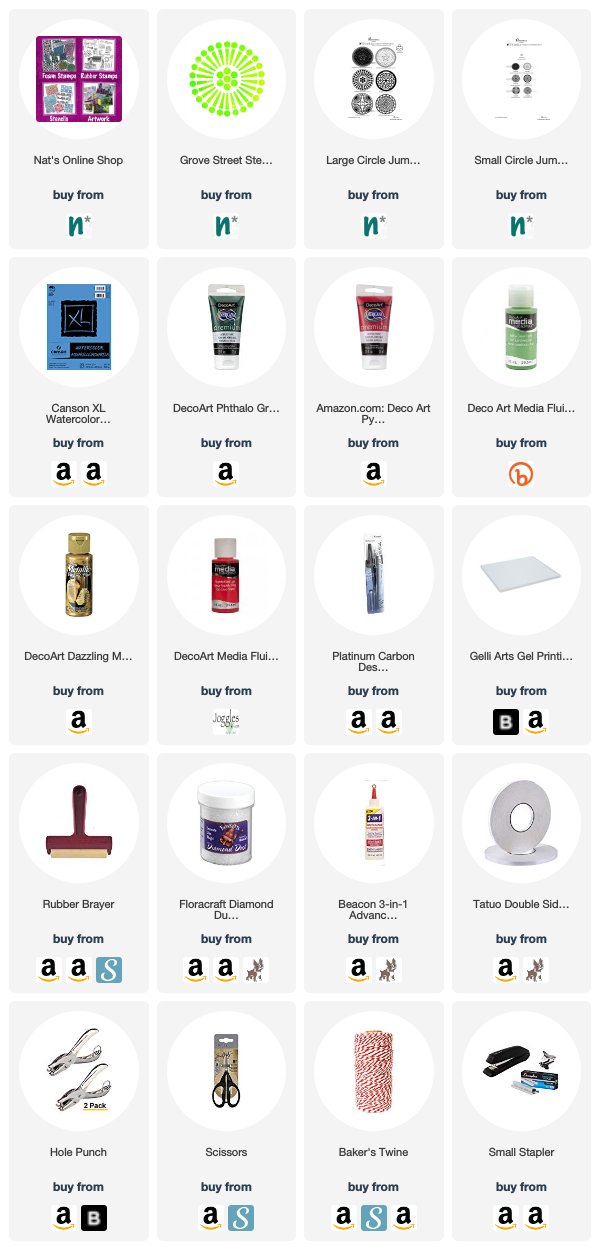
Thank you Nicole – what a great idea to use them as either ornaments or a gift tag. Want to give Nicole’s project a try? You can find all my Stencils and Foam Stamps in my Online Shop and here are some of the other supplies she used:

Feel inspired? Working on something yourself that you’d like to share?  I love to see how you interpret our monthly themes. Email me or tag me #natkalbach how you used my stencils and stamps – I would love to share your projects in my next  “n*Spiration From Around the Globe“.

Leave a comment

Not for Everyone – Art Journal

“Better never means better for everyone… It always means worse for some!” – an interesting quote from The Handmaid’s Tale which I have read several decades ago and also watched now the show.

For my background I used my new Art Nouveau Wallpaper stencil along with a blending tool, Ranger Distress and Distress Oxides Inks. I love how these inks blend so nicely and they are a wonderful companion to stencils.

I added my quote and this sketch with a Fude pen and sumi Ink.

Here are some of the supplies I used:

And please join me this Wednesday, December 18th at 2pm EST for a Kaffeeklatsch from my studio!

Leave a comment

Jumping with… Nancy Curry – A CJS Interview Series

So happy to share with you today a special video interview I did with one of our Creative JumpStart 2020 teachers: Nancy Curry. I learned about Nancy many years ago when I got her book Rubber Stamper’s Bible and then several years ago had the pleasure of meeting her in person at an art event where we were both teaching. This is Nancy’s first time teaching with CJS and I am excited for you to get to know her more :)

A little about Nancy: Nancy is an artist, author, and educator in the mixed media world since the 1990’s and is known for her gorgeously abstract style. In this interview she describes her journey to the creative world and setbacks and discouragements along the way that in the end didn’t dissuade her passion. She emphasizes the importance of play in the studio and the joy that comes from experimenting and making without an end goal in mind. She discusses some media that she is particularly excited to use including Citra Solv and eco dye, and speaks about her background in words and her love of the written word and language.

Thank you Nancy!

You can learn more about Nancy on her Instagram page.

And now it is your turn to make a commitment to creative play this January: Sign up TODAY for Creative JumpStart 2020 and get 31 different mixed media lessons from 31 Super Hero Artists like Nancy Curry.  Hope to see you in the CJS classroom soon :)

Comments (1)

  • Sue

    |

    Hi, Nathalie and Nancy….I really enjoyed this interview. I’m looking forward to seeing the super powers of all the wonderful artists that have so much talent to share. I was jotting down some ideas during your interview including keeping an eye out for quotes, going through my National Geographic magazines and checking out your book on stamping, Nancy. I might have it but my art bookcase is in our bedroom and my husband is still asleep so I have to wait. ?‍♀️ This was such a good interview…thank you for the opportunity to know about the artists that are participating this year, Nathalie…See you in January. ? Happy Holidays!

    Reply

Leave a comment

Dreamed – Art Journal

“Remember that once you dreamed of being exactly where you are now!” Maybe you have also reached some goals in life and are now living them? Sometimes we are so focused on what’s next that we don’t stop to see where we are. And hey, it is in a pretty good spot :)

I used Liquitex spraypaints, gouache and acralic paint on the back ground and on deli paper. Then I sprayed with white and black over my brandnew Art Deco Summit stencil and the formerly painted background.

Then I added an ink drawing and used a Fude pen for journaling.

Here are some of the supplies I used:

Leave a comment

Free Shipping Days are Here!

If you spend more than $25 of physical products through tomorrow (December 14th, 2019) in my online shop, you can get free shipping in the US. Just enter the coupon code FREESHIP25 when you are checking out and all those goodies will get shipped to you for free! Who doesn’t like a little free this time of year?

It’s a great time to buy foam stamps like my Fairview Fan set…

or my Mini Tile set.

Or how about a few of those rubber stamp sets that are already on sale like my Fan-tastic Small set:

Or my pick for anyone who loves architecture, the Stroll Around the Block set:

And of course all those new stencils I released just yesterday. They ship in the US for free too with any order of $25 or more of physical products.

Enjoy all these and lots more. Take a look here and get those last minute gifts taken care of :)

Leave a comment

NEW Stencil Designs! December 2019 Release

Today I am releasing 8 new stencil designs with StencilGirl Products and am very excited to share them with you! You can check them out now in my Online Shop.  I’ve been playing with them for the past month and I just love the diversity of the group – some art deco fan stuff for you pattern lovers, abstract stuff for layering and texture, and more Mid Century motifs because we love modernism :)

Here are the new designs – hope you are as excited as I am to create with them!

First up is Art Deco Empire – I’m showing it here oriented upside down because I think it can work either way and I love how it kind of looks like crowns here.

Next is Art Deco Summit – A nice mix of pattern and solid shapes that I think is perfect for creating a balance of color and open space.

Here is Art Deco Fairview – another that I am showing here upside down to show how you can use it either way. Love this pattern.

Art Nouveau Wallpaper is another that mixes pattern and solid areas so you can really play with color here.

Kyoto is a fun mix of abstract marks that can oomph up your mark making in backgrounds and such.

Tokyo is a more energetic field of marks and again, really awesome for backgrounds.

Space Age Modern is a funky cool modernist pattern that is another fav.

Finally we have Signals – a field of abstract pattern that is ideal for backgrounds, layering, and creating visual texture.

So I hope you take a look at all the new stencils in my shop – it is an interesting mix of styles, shapes, and patterns – something for everyone :)

Leave a comment

Jumping with… Marieke Blokland – A CJS Interview Series

So happy to share with you today a special video interview I did with one of our Creative JumpStart 2020 teachers: Marieke Blokland. This is Marieke’s first year teaching with CJS and I am so excited to have her joining our amazing teachers. I have known Marieke for many years and I’ve always admired her artwork and all the online workshops that she also organizes.

A little about Marieke: Marieke studied graphic design and was able to take that training and turn it into a career that she is so passionate about as an artist and educator. In this interview she talks about balancing this home-based business with the demands of family, and about her love of artistic expression in the world of art journaling. She discusses how important it is for her to be in tune with emotions when she is creating and also how she feels about sharing such personal art. She gives advice to beginner art journalers, talks about what artists and designers she is really interested in now, and explains how she keeps her artistic inspiration strong.

Thank you Marieke!

You can learn more about Marieke Blokland here on Instagram and also here on Facebook and Youtube.

And now it is your turn to go after a fun and inspiring challenge beginning this January: Sign up TODAY for Creative JumpStart 2020 and get 31 different mixed media lessons from 31 Super Hero Artists like Marieke.  Hope to see you in the CJS classroom soon :)

Leave a comment

Happy Holidays – Maura Hibbitts

Hello from my Creative Squad and a post today from Maura Hibbitts. Maura is sharing with us a super cute ornament and gift tag idea using my Grove Street stencil and my Large and Small Circle Jumble rubber stamps. This month’s theme is: Happy Holidays – It is a time of year where we are celebrating and coming together and enjoying some merriment. Create something holiday related (whatever holiday you may be celebrating) and enjoy the season!


Wishing you all a very merry holiday season! Here in the U.S. it’s a really short run between Thanksgiving and Christmas this year, with the usual hustle and bustle of meeting up with friends and family, baking extra goodies, and looking for the perfect gifts. I’ve been busy already working on cards and small items for friends, so our theme for this month is perfect to get a bit more completed. I decided to work in traditional green and red, and make some tree ornaments and tags.

I’m using one design, and repeating it in several sizes, with the Grove Street stencil and Small and Large rubber stamps.

I started with a mix of the green paint on my gelli plate, then added a bit of gold, stamped onto the plate with the large stamp, and transferred the image to heavy watercolor paper.

I knew I wanted to mix the colors with the sizes, so next up on the gelli plate is a mix of red and gold. I used the small stamp with the red paint, and stamped these images on the watercolor paper also. Note – be sure to clean the acrylic paint off your stamps right away.

The Grove Street stencil is the largest image, and I laid the stencil down on the red paint on the gelli plate and pressed the paper down onto it. Then I lifted the stencil and pressed it onto another paper, so I would have both a negative and a positive print.

Once all the paint is completely dry, it’s time to cut them out. I just do it with scissors, but if you had a punch in the correct size that would work well.

I got the idea in my head that I could make a 3D ornament, so I started by gluing two of the stenciled circles together. Next, on two green and small red circles, I cut a slit to the center, then formed it into a cone and stapled it. I made sure the little red one fit onto the green circle, and glued the cap on. I added a layer of glue to the bottom of the green circle and attached it to the stenciled circle. I had to apply pressure and hold in place for awhile to get the glue to hold. I repeated the process on the other side, then decided it needed a bit of glitter, so added a bit more glue and glittered it up.

I made two more ornaments, a flat one, and another 3D one in which I cut slits into both circles to the center and slid them together. On each of these, I glued a double layer together and added glitter to the flat one. I had a lot of circles remaining, so turned these into gift tags. I punched holes in the tags and ornaments and attached some bakers twine. It’s easy to add words on the acrylic paint with a carbon ink pen.

I like how the ornaments came out looking unique, while using the same materials. These are ready to hang on the tree.

I love adding a bit of homemade to the holidays! I always hope when someone receives a handmade gift or card, they feel that extra bit of love that went into it. Wishing you and yours a joyous holiday season and blessings for the new year! -Maura


Thank you Maura – love how you created some 3D ornaments and those tags are such a great idea for giving gifts with a personal touch.

Want to give Maura’s project a try? You can find all my Stencils and Rubber Stamps in my Online Shop and here are some of the other supplies Maura used:

Feel inspired? Working on something yourself that you’d like to share?  I love to see how you interpret our monthly themes. Email me or tag me #natkalbach how you used my stencils and stamps – I would love to share your projects in my next  “n*Spiration From Around the Globe“.

Leave a comment

Jumping with… Jane LaFazio – A CJS Interview Series

So happy to share with you today a special video interview I did with one of our Creative JumpStart 2020 teachers: Jane LaFazio. Jane joins us again for this season of CJS and I couldn’t be more excited. I have known Jane for many years and long admired her artwork before finally getting to meet her in person at a teaching gig we were both attending.

A little about Jane: Jane began her artistic journey as a technical illustrator but after some drawing classes she realized her talent (and wow is she talented!) with drawing and later added watercolor, stitching, and all manner of fiber arts into her mixed media repertoire. In this interview she talks jewelry (oolala) and the joys of the simple things in life. She talks about how she combines various media and the flexibility that mixed media as an artform provides to an artist. Jane also explains how she uses her art journal while traveling to gather inspiration for future pieces, and how she makes color choices in her art journal and fiber art pieces.

Thank you Jane!

You can learn more about Jane here on her website and here on her Facebook and Instagram pages.

And now it is your turn to find the simple and expressive joy in creating this January: Sign up TODAY for Creative JumpStart 2020 and get 31 different mixed media lessons from 31 Super Hero Artists like Jane LaFazio.  Hope to see you in the CJS classroom soon :)

Comments (1)

  • Sue

    |

    To Nathalie and Jane: Good morning…How could you not love Jane? I took a class from Jane when she taught her class at Sketchbook Skool. I was looking through my class sketchbook the other day and I have photos of me and my husband standing in a yoga position in a movie theater in front of a poster because of a suggestion in Jane’s class….I’m in my 70’s and my husband is in his 80’s. I still remember the feeling I had when we were being silly that day. I love Jane’s teaching style, her art and especially her happy, positive personality. Her super power through my eyes would be her ability to lift people up and encourage people to live life to the fullest. I’m looking forward to her class. Thank you for these interviews, Nathalie….so fun and informative. ? Happy Holidays!

    Reply

Leave a comment