My friend Christine has recently introduced an Project Art Kit into her Cocoa Daisy Kit Club. A Project Art Starter Kit includes all necessary items to start you on artjournaling and each month there is a Project Art Kit released. So love this idea and concept! I was a happy camper to be invited to play with the August Project Art Kit.

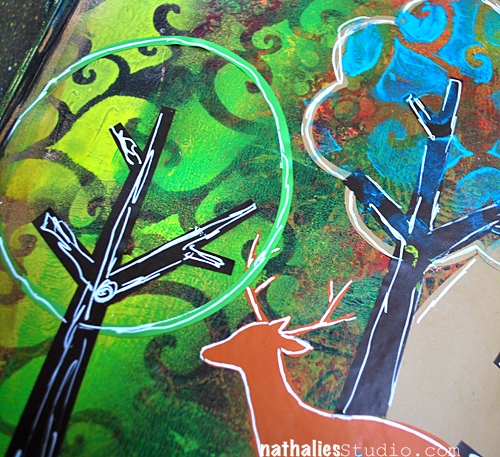
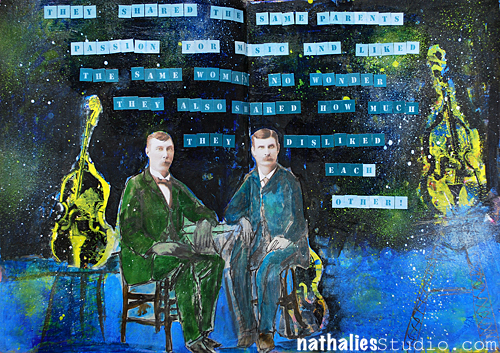
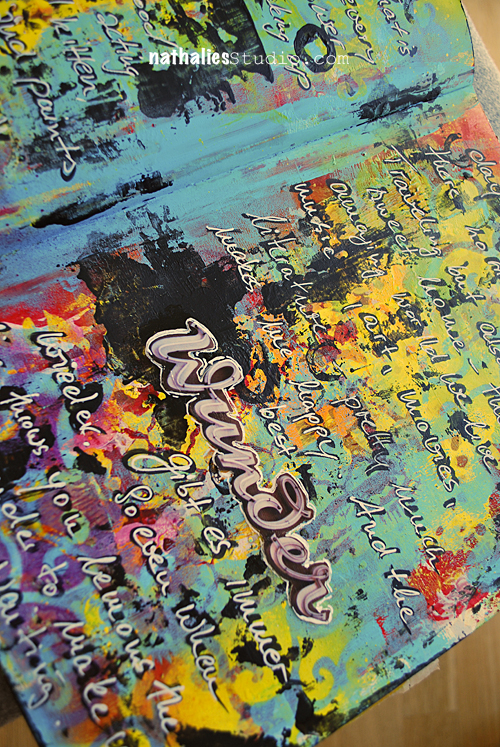
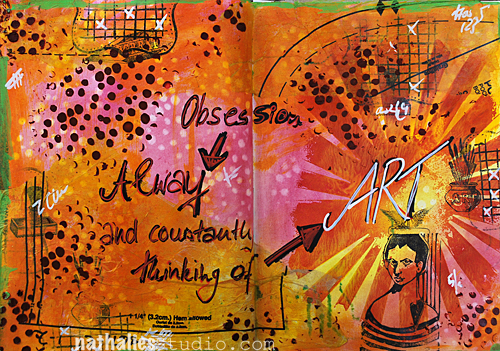
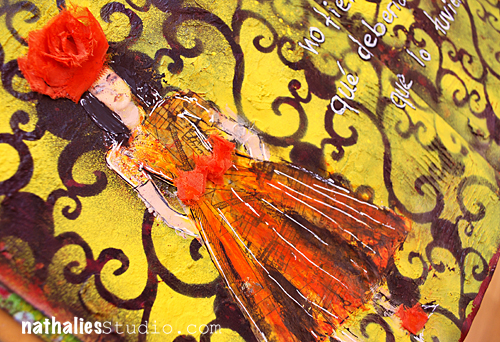
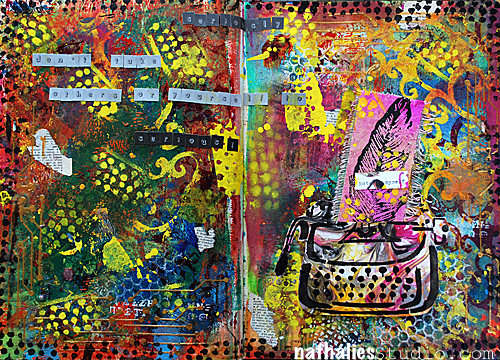
Yumminess -first of all it comes with a brayer…and if you know me…you know I tell everyone who wants to know or can’t walk away fast enough, that a brayer is one of my favorite tools. And then the gorgeous tags and the Ranger Distress Paints. But ok…let me first show the spread in my art journal I created
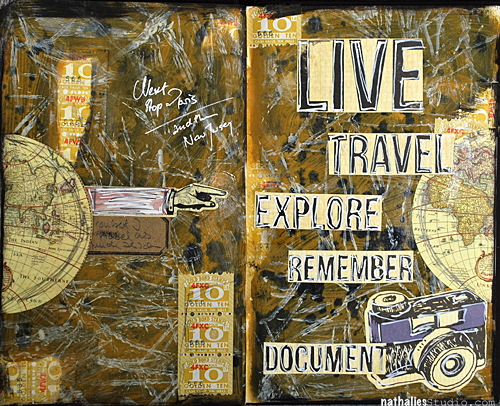
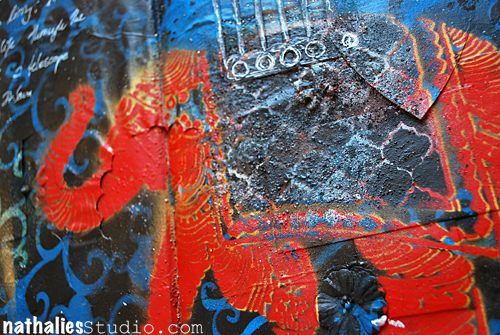
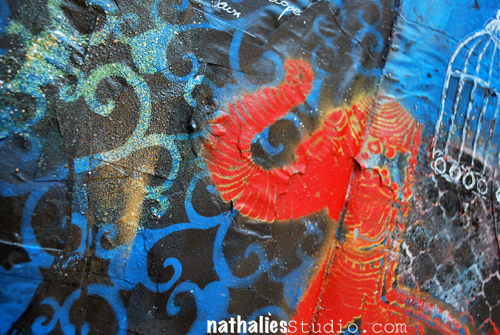
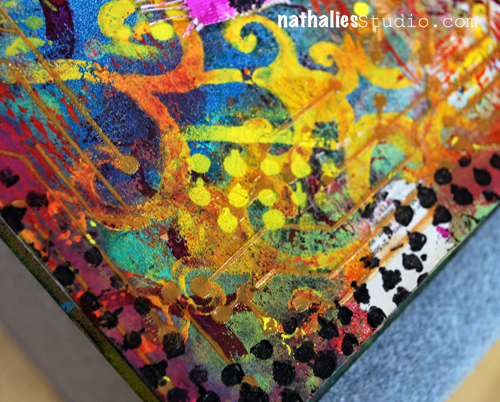
Grungy…as I like it :) Now…let’s see how this page came together.
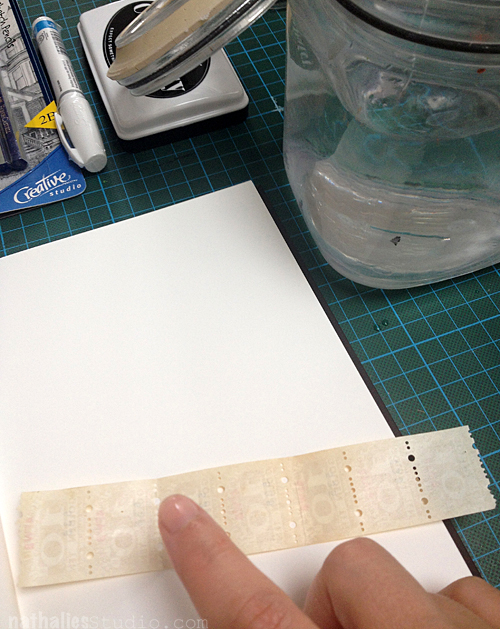
I took the vintage savings booklet stickers and realized that they are actually like stamps have an adhesive in the backing, which you can activate with water. So I simply took a couple, spread some water on the back with my finger and then adhered them to the page.
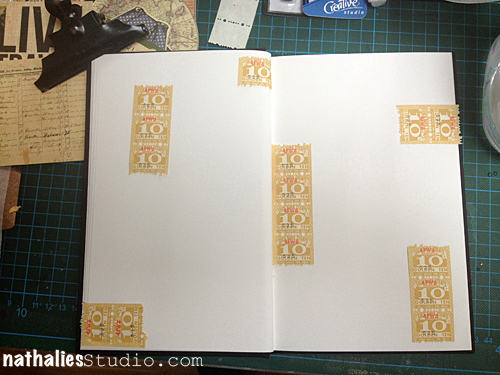
Now there…better. I often times do things like this so that the terrible “don’t ruin the white page in my beautiful journal”-fear cannot creep up on me ;)

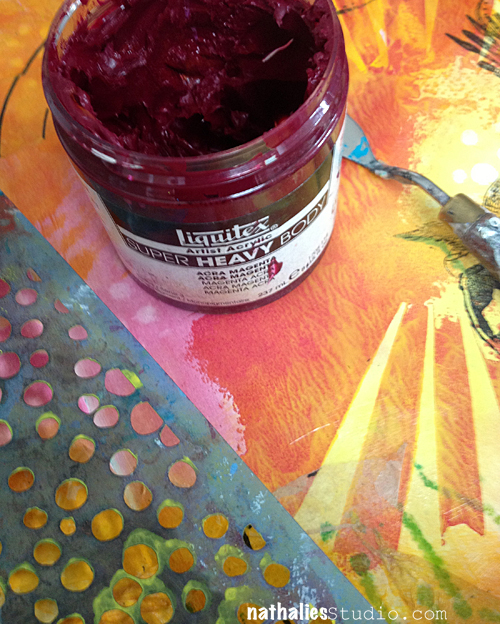
I took a water mister and applied some water spritzer to the paper in order to have the paint not soap right in. I used the Black Soot Distress Paint and spread it across the pages, making sure to no entirely cover up the savings stickers. Don’t forget to shake your Distress Paints before you use them – and do not squeeze them too tight, so that the paint is not leaking out on the bottom of the cap. It runs by itself no force needed.
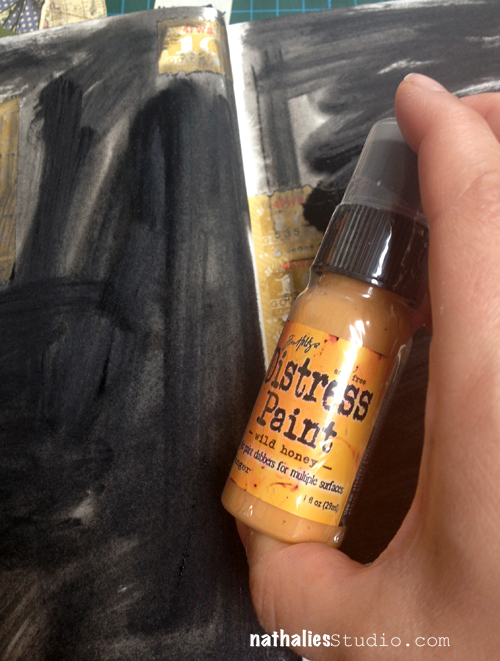
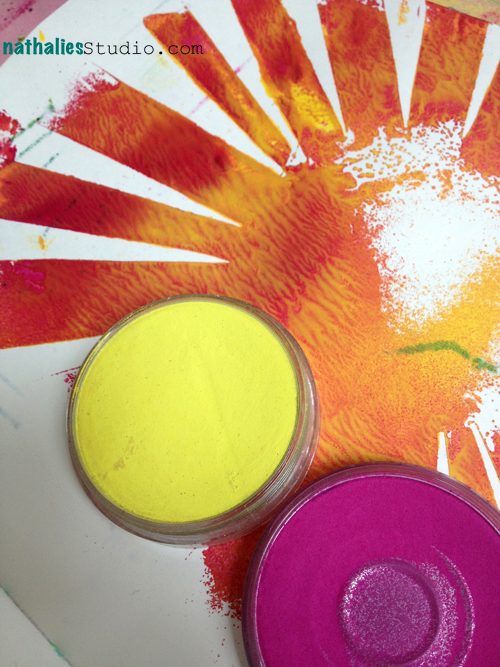
After the Black Soot dried, I took the Wild Honey and applied it right over the black – you want to work quickly- as the paint shouldn’t dry.
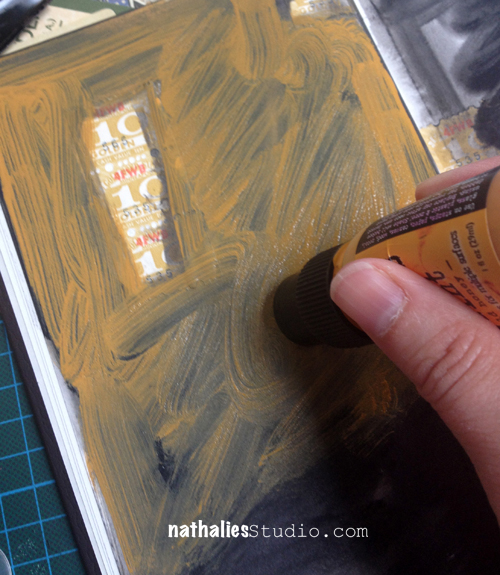
If you are in a very hot or sunny area of the world- you might start with the one half of the book first and do the other half later.
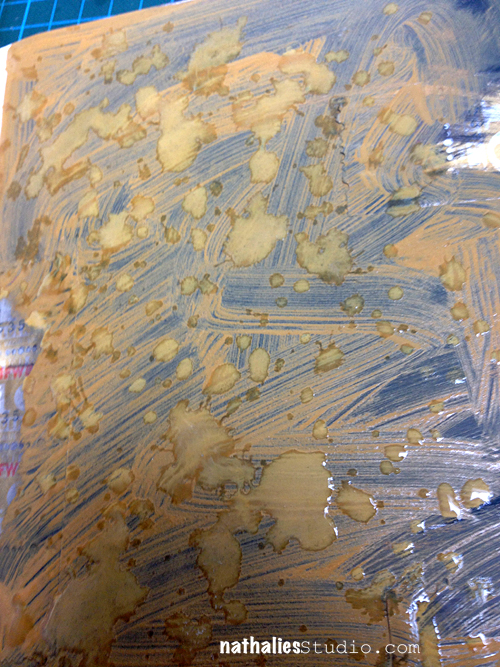
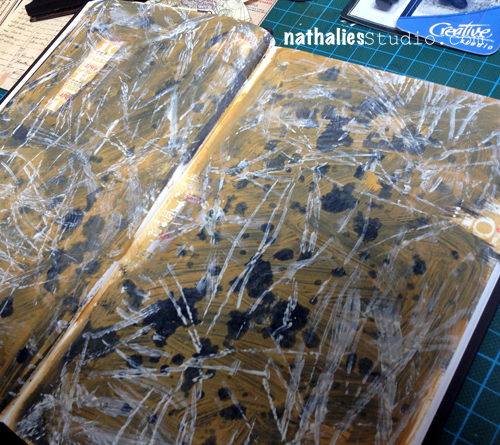
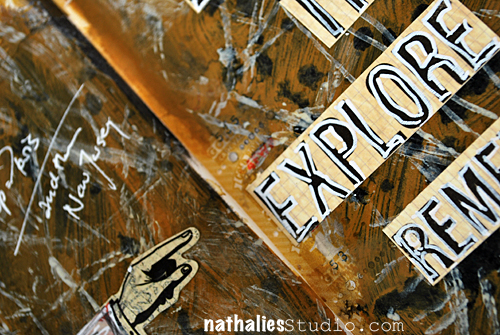
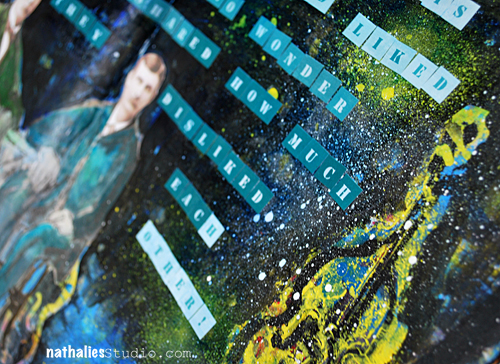
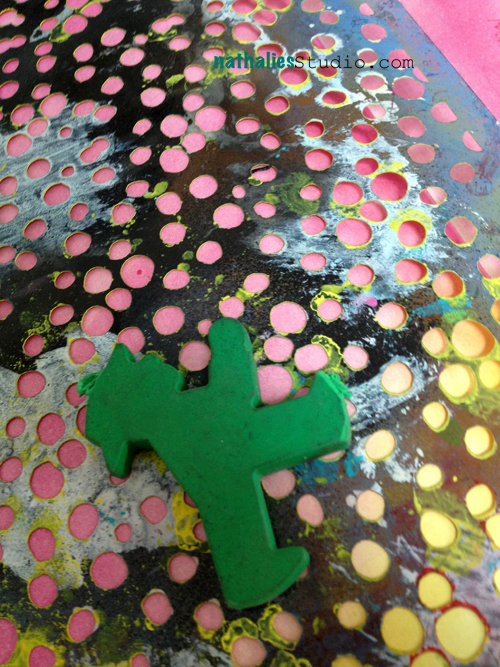
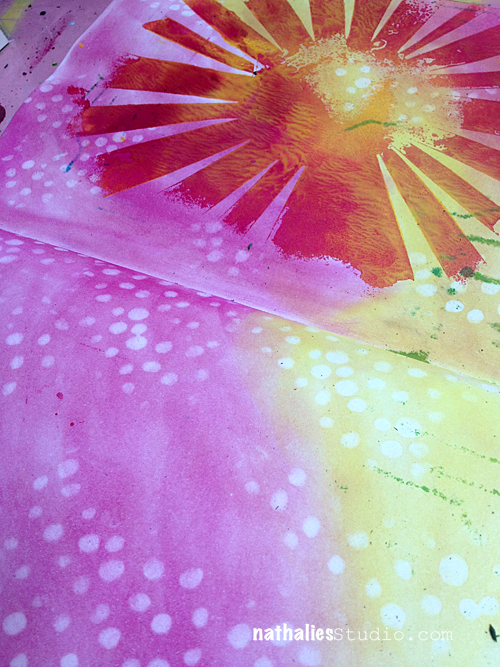
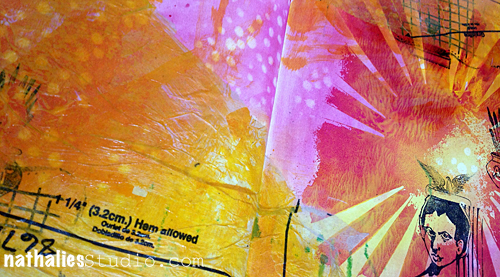
Next I cupped my left hand and spritzed some water through the water mister into it and then flicked the water over the wet paint. You want to have the area not covered with the water drops dry and the water drops still wet- you can see this pretty well in light.
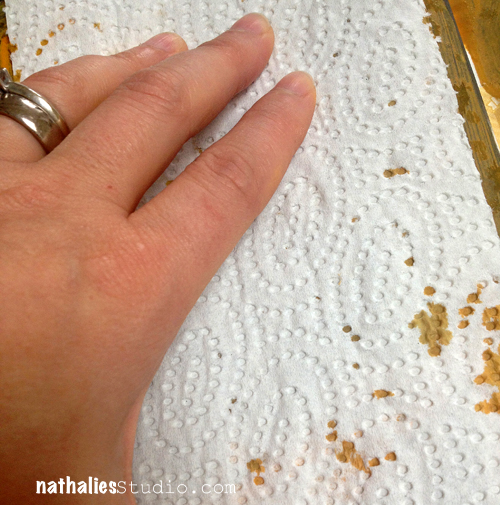
Then you take a paper towel and layer it over the page- press it down and lift off the water drops – which will also lift the Wild Honey paint lifted in those areas.
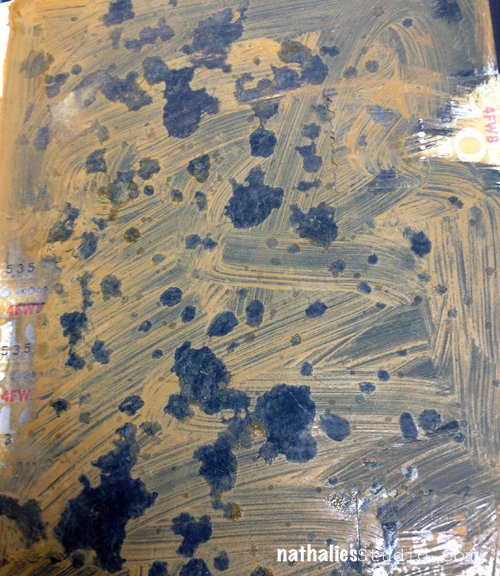
Now- how cool is this speckled look?
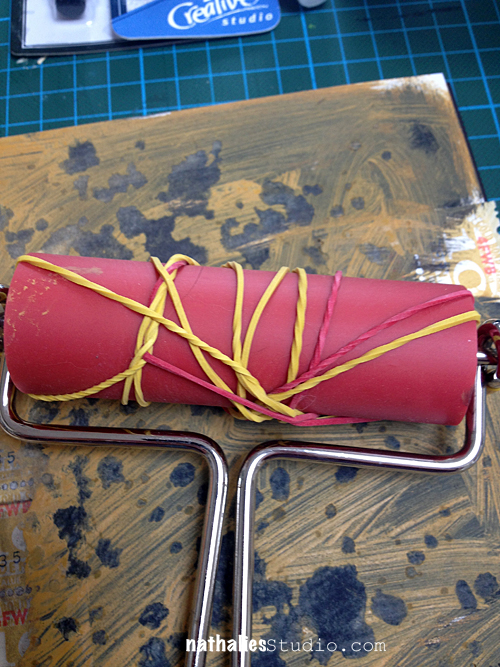
Next I took a couple rubber bands, took of the roller of the brayer – wrapped the rubber bands in a “kinda fancy” way around the roll and snapped it back into the handle.
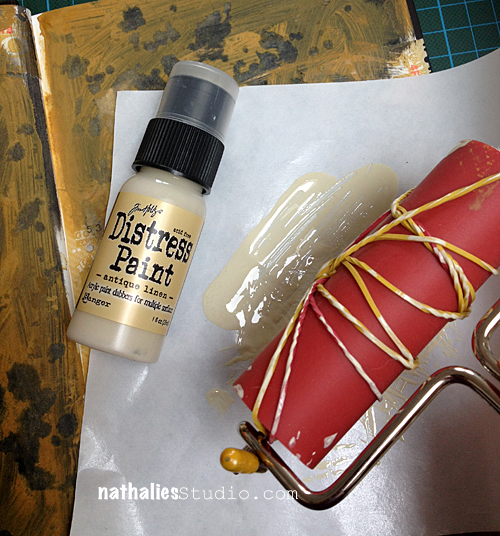
I put some Antique Linen Paint onto a piece of freezer paper (you can use a palette or do it on a craft mat – anything that is a surface where the paint doesn’t dry too fast) and then rolled the brayer with the rubber bands through it
And then I rolled it like a maniac over the pages- that was fun – and I love the result :) It also lightens up the whole page.
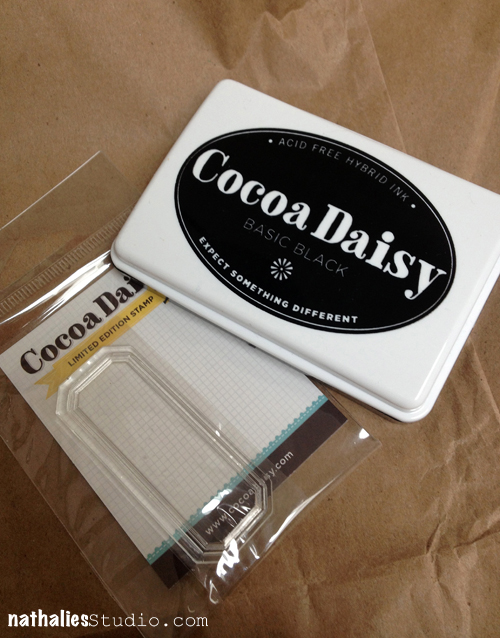
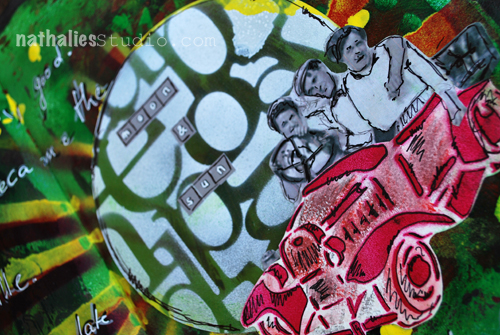
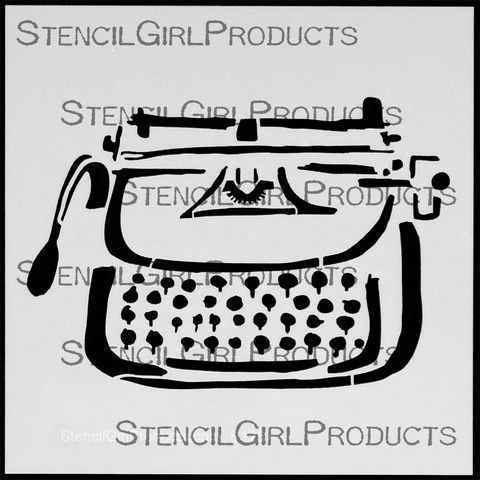
I love using packaging stuff – and as the kit comes in these beautiful kraft paper bags, I stamped with the Cocoa Daisy Hybrid Ink on the Stamp – also both in the Starter kit on top of the bag and then cut the image out.
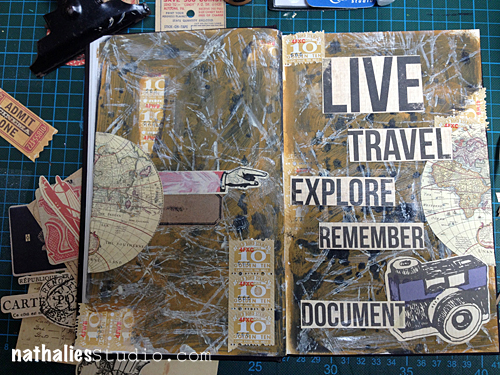
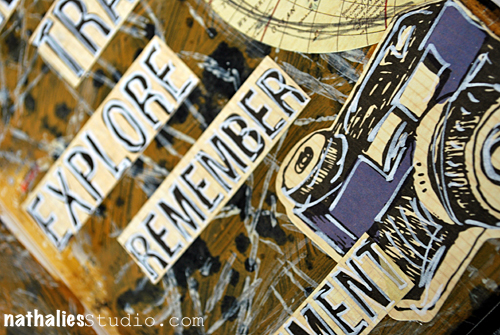
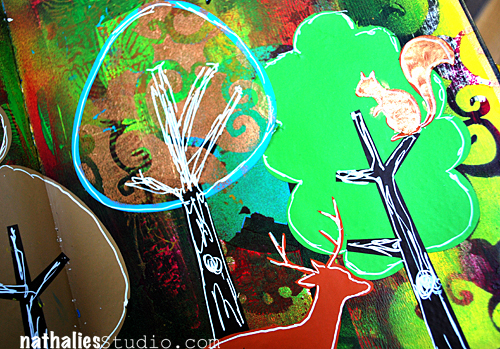
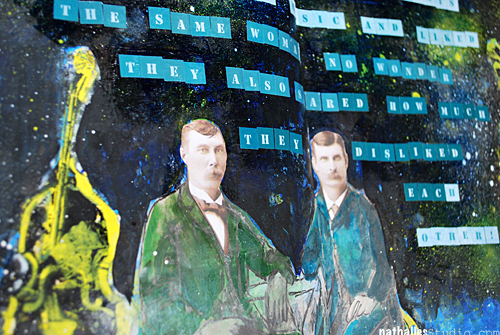
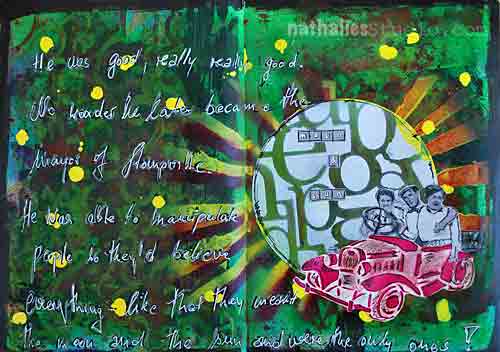
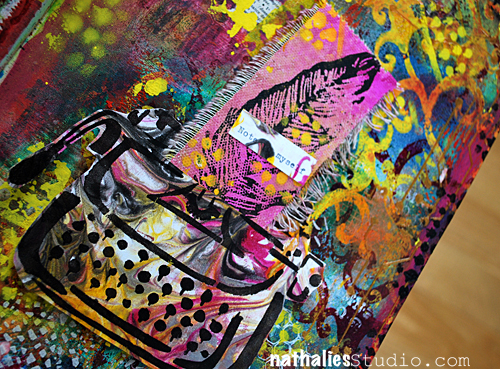
then I layered some of the travel die cuts, the rest of the savings stickers and the stamped lable and applied them with Gel Medium. As you can see I cut the tag apart, as I wanted to spread the words out more and also wanted to show more of the background.
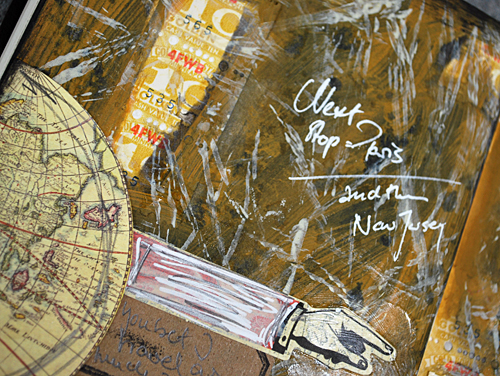
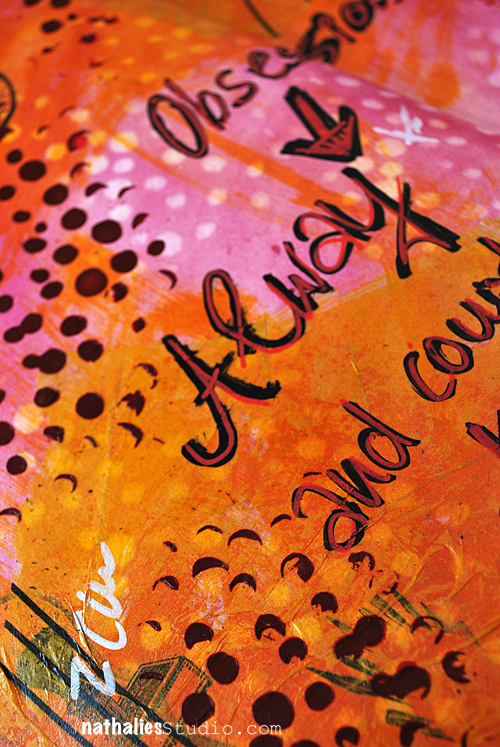
I made some marks with the pencil and the sharpie which are included in the starter kit .
It ties the elements together with the rest of the page
Love the many possibilities of the kit – and how ever you layer the colors- the result will always be different. Hope you enjoyed this little tutorial for your Project Art Kit.
Have a wonderful day
Nat


Comments (55)
Amante del Papel
| #
wohoooo ,thanks I winn
Reply
Gail B.
| #
This is a lovely design. It would be lots of fun to use.
Reply
Cat Graves
| #
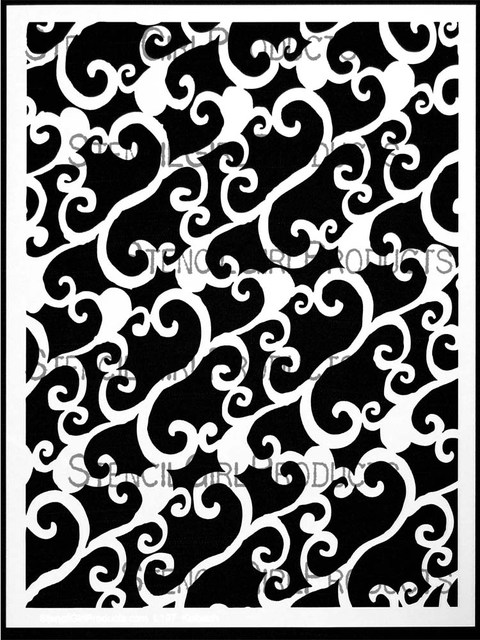
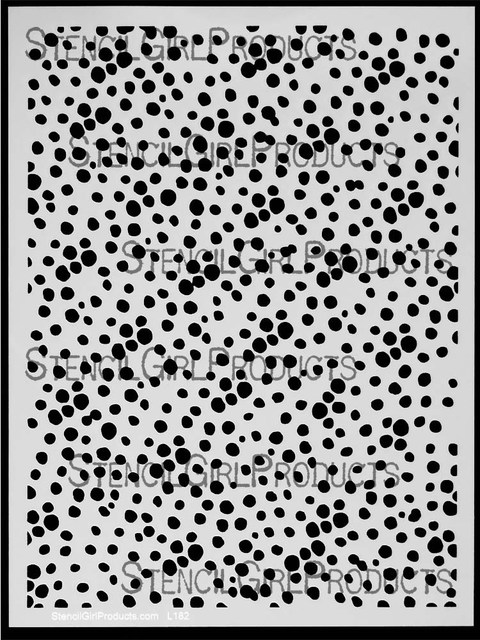
This is a very beautiful stencil…another winner for you!! You have been designing a lot of awesome stencils and this one makes for an absolutely perfect background!! Thanks for the chance to win this great stencil!
Reply
Deleted User
| #
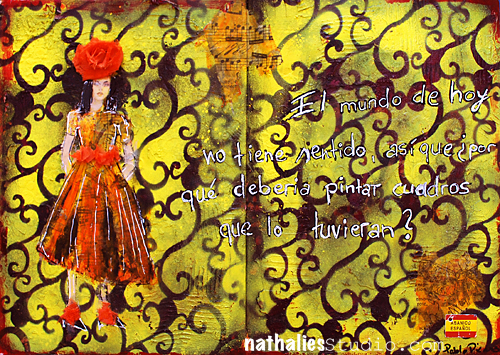
I love how the arabesque stencil creates the look of trees for the background. I can see many uses for it.
Reply