Blog: Foam Stamp

Live Life To The Fullest – Embossing with Foam Stamps

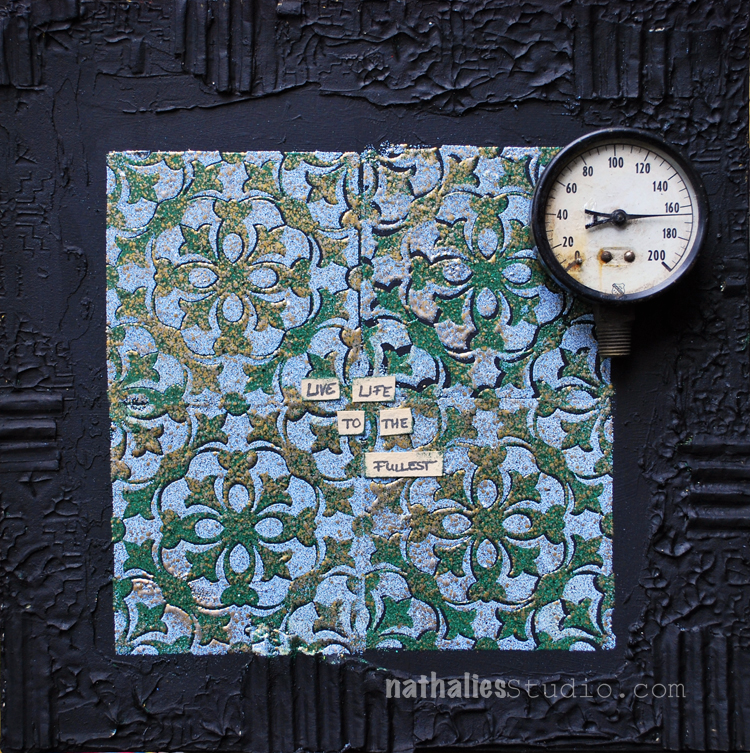
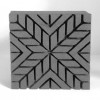
This is another project I did for the ArtFoamies booth at Creativation. For this project I used a square piece of hard board and glued down some corrugated cardboard here and there around the edges. (I just used pieces from an old shipping box). Then I painted the whole board over with black gesso and let it dry.

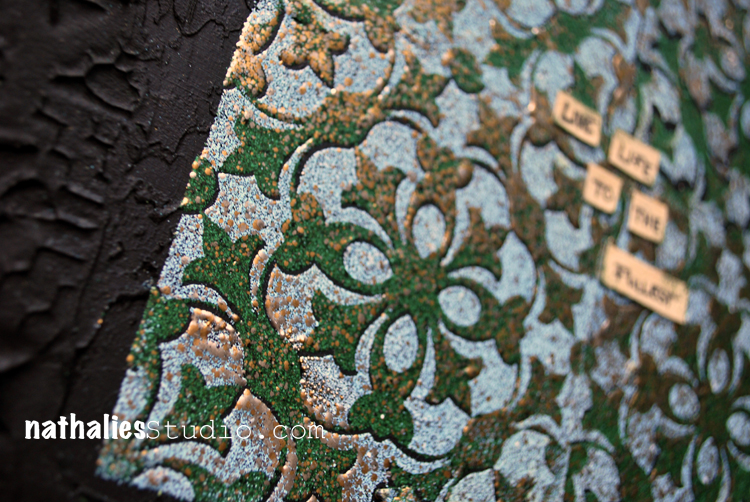
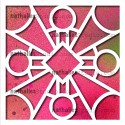
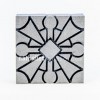
Using my Versailles Negative and Positive Foam Stamps I stamped first one pattern with Embossing Ink onto the middle of the background , sprinkled some Aged Embossing Powder on top, heated it up until it was molten and then repeated the same with the same Stamp until a tile pattern was created. Next I used the other Versailles Stamp Set and stamped also with Embossing Ink on top of the already embossed areas, repeating all stamps but this time with a different color of Embossing Powder. Oh my ….do I love this crusty, textured outcome !!!

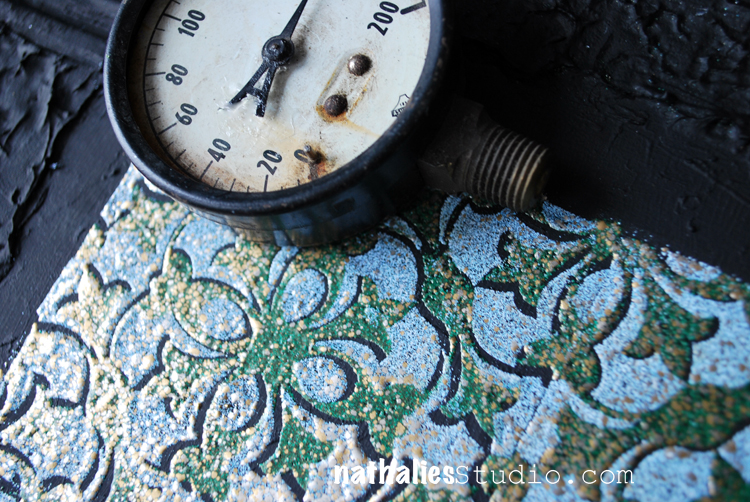
 It feels really good and it looks even better in person. I used a gauge which I had found a couple years ago at a flea market and saved for a special project and mounted it to the board with Extra Heavy Gel Medium.

I really love how the Positive and Negative Stamps work with Embossing Powder- definitely something I will play more with .

Here is a little list of the supplies I used -some links are affiliate links:


Have a gorgeous day!
Nat

Comments (8)

  • marycheng

    |

    Great effect. Love the border. I must try foamies and add them to my collection.

    Reply

    • nathalie-kalbach

      |

      Thank you so much Mary. They are really fun and versatile to use, I hope you will give them a go :)

      Reply

  • Sherry Canino

    |

    That is sooo cool , I love the texture it created and even more awesome how you could use the positive and negative stamps together like that ❤

    Reply

    • nathalie-kalbach

      |

      Hi Sherry, thank you so much! It was really fun! Have a wonderful week! <3

      Reply

  • Sue Clarke

    |

    Love the gauge on that piece and the layers are fun (using the positive and negative).

    Reply

    • nathalie-kalbach

      |

      Thank you Sue! Yeah the Gauge finally was used- LOL- I have kept it forever hoping for the right piece to use it.

      Reply

  • Donna B.

    |

    Wow, Nathalie! Love this!!! It looks wonderful! I’m going to try this with my foam stamps, too. Thanks for sharing –

    Reply

    • nathalie-kalbach

      |

      Yeah- give it a try Donna, it was really fun to do and it feels pretty cool. I think I will do this on my art journal cover too :) Have a gorgeous day!

      Reply

Leave a comment

Look for Stars – Art Journal Spread

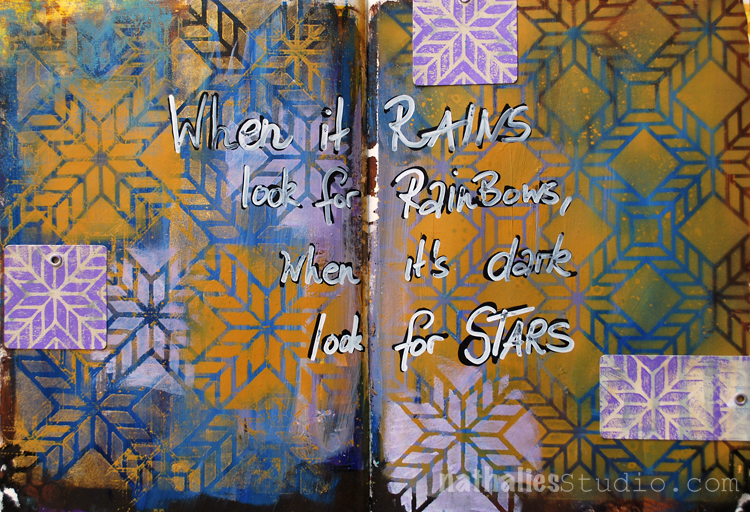
“When it rains, look for rainbows, when it’s dark, look for stars.”

The color scheme I used for this spread was actually inspired by a student using it in one of my classes at The InkPad a couple months ago. I so loved the mixture of ochre, blue and purple that I made a mental note to play with this some time. And there it is :)

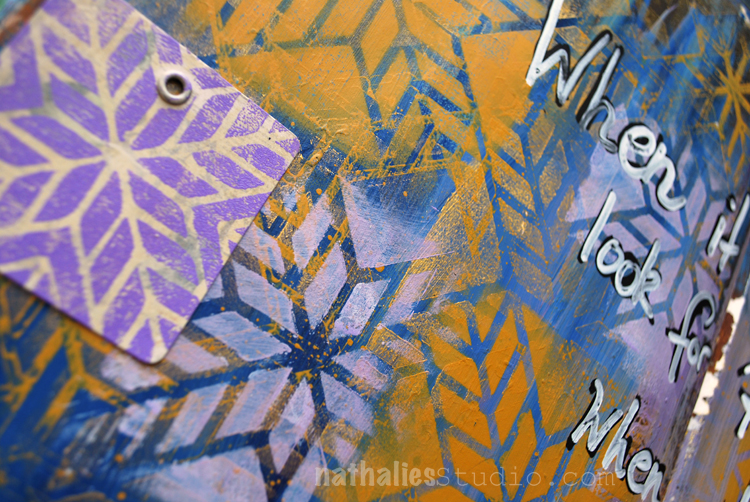
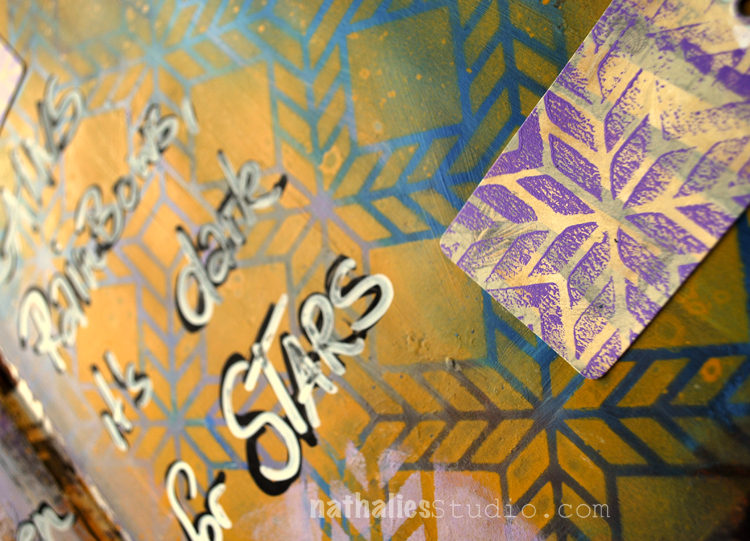
I painted the background blue and then layered the Santiago 9×12 Stencil on top using yellow oxide spray paint . I layered the Stencil again on some of the areas – some on the previous stenciled areas, some slightly off and used some light purple paint which I stippled with cosmetic brush through the stencil here and there.

I used the Santiago Tile Foam Stamp which has the same pattern but in a smaller scale with purple acrylic paint and stamped on top of some tags. I love how the different scales of the same pattern- but also the different quality and texture of applications play with each other and tie the design together. I love Foam Stamps also for the texture the stamped image reveals when using a smaller amount of paint.

Here are the supplies I used for this spread – some links are affiliate links


I hope your day is filled with rainbows and stars today!

Comments (2)

  • Torsa Saha

    |

    Brilliant!! Love this page ??

    Reply

Leave a comment

A Stroll Through the Hood – Art Journaling Page

Strolling through my hood really makes me happy – I love my city and I love the inspiration I get from it. I wrote a little about these warm feelings towards my home city in this journaling spread. For the page I painted with white gesso over a spread which I had used before to clean off some paint during painting on a canvas. I applied the gesso in areas more like a wash, as I like to have the underlaying background showing through for visual interest, but it does look way better knocked back a lot.

I had used the Beacon 9×12 Stencil on a different art journal spread with spray paint and cleaned off the access paint on the stencil with a deli paper sheet, resulting in the negative imagery of the Beacon Stencil- I love it- I love both versions. I ripped out an area of the printed deli paper and applied it with Gel Medium to the Background.

I also used the Granada 9×12 Stencil after using it on a different spread to clean it off on this page. Since it has the same colored red spray paint those marks here and there add some nice marks.

I stamped  using black archival ink with the stamps included in the Stroll Through the Hood 1 and Stroll Through the Hood 2 and applied them around the page- I love how the black ink makes the images really pop off the page

I also used a red ink pad to stamp with the Love Knots Stamp here and there and to repeat the read color used yet again.

I like this spread a lot- it is a bit different from my usual very paint filled page – but I think you can still see me :)

Here are the supplies I used in this spread- note that some links are affiliate links:


Comments (4)

  • gerriejohnnic

    |

    Had to wipe my keyboard off…..I drooled on it staring at this print you made! Really, really love your work GF!

    Reply

    • nathalie-kalbach

      |

      LOL- Gerrie that made me laugh! Thank you so much for your sweet words! have a fantastic weekend!!!

      Reply

  • Joi@RR

    |

    Oh yes… even though it’s different – definitely can see YOU all over these pages Nat. And… this is SPECTACULAR. Love the openess but with so much dimension and hidden treasures to discover. One of my favorites now!! Xj.

    Reply

Leave a comment

CREATE – Fabric + Foam Stamps + Embroidery = Bliss

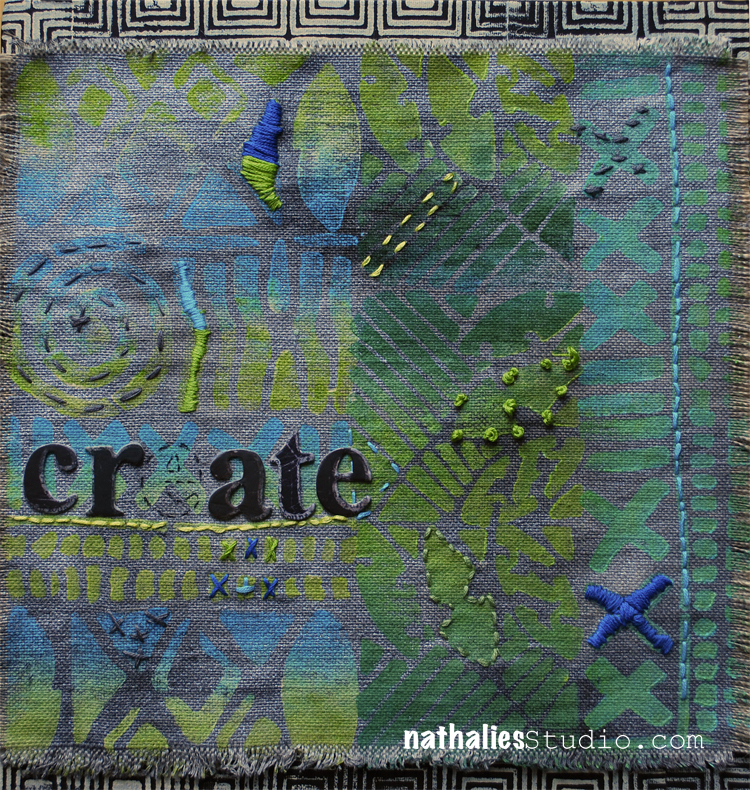
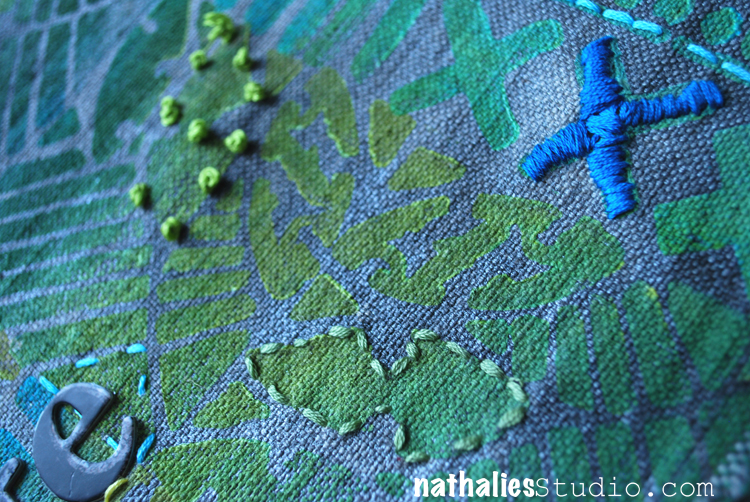
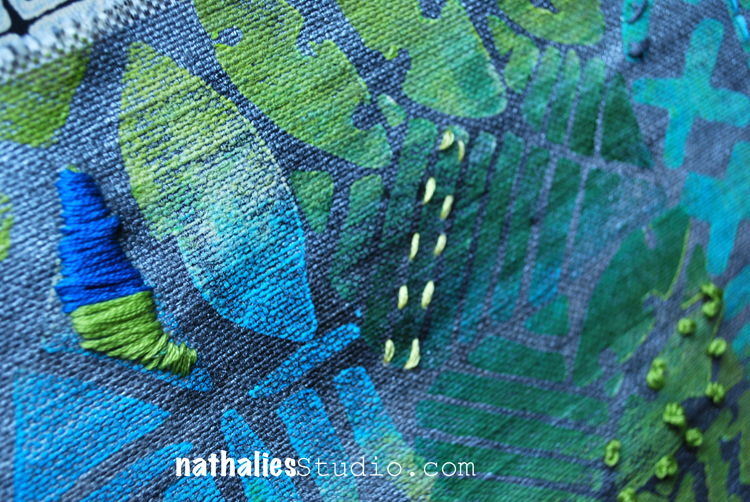
This is another Project I did for the ArtFoamies Creativation booth showing how to use my foam stamps with fabric.

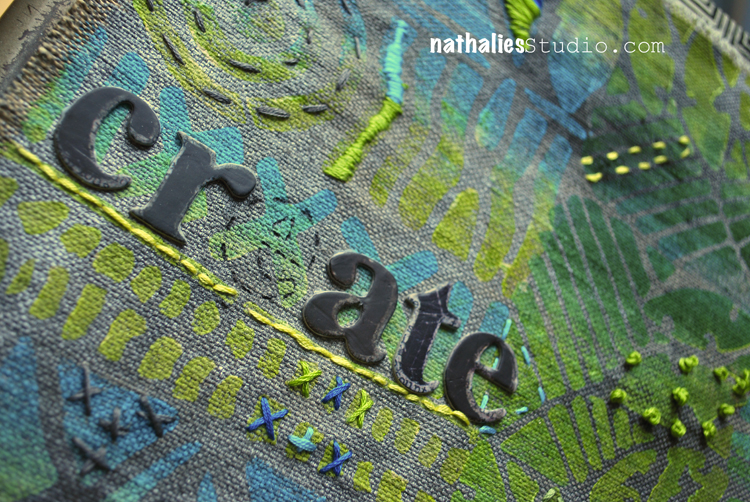
I used a piece of raw canvas and treated it with Fabric Medium and silver acrylic ink to stain it. (if you are interested in the whole range of possibilities of Raw Canvas Staining check out the Download Video at North Light Shop). I let the canvas dry, then used my Batik Stamps 1, 2, 3, 4 with acrylic paint and stamped a pattern on top.

I added some embroidery using the stamp patterns as guidelines. And then mounted the canvas on a piece of black board to which I added a border with the  Manhattan Border foam stamp.

It was fun playing with the stamps and fabric and embroidery and I want to make a bag or similar this way. Or maybe a pillow- what do you think?

Here are the supplies I used – some supply links are affiliate links


Comments (4)

  • Cheryl

    |

    I love this. The colours & texture are stunning. Perfect for a pillow.

    Reply

    • nathalie-kalbach

      |

      thank you so much Cheryl! Yeah -I should def. make a pillow – my sofa could use some new friends :)

      Reply

  • Torsa Saha

    |

    Your work is magical!!

    Reply

Leave a comment

Let’s Go Somewhere – Tina Walker


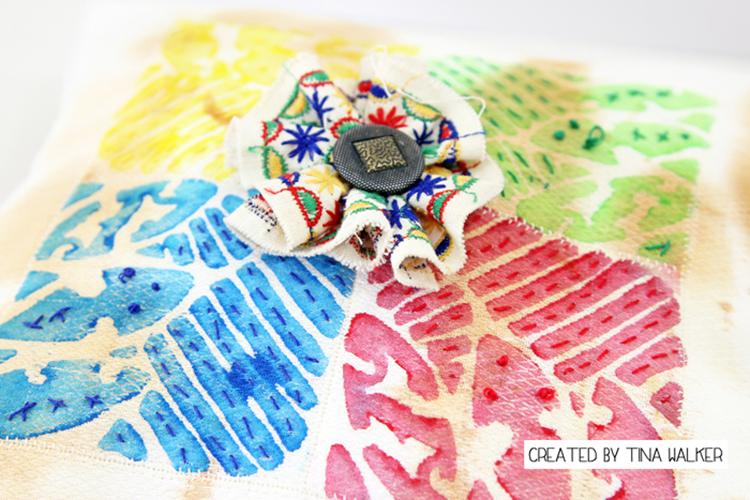
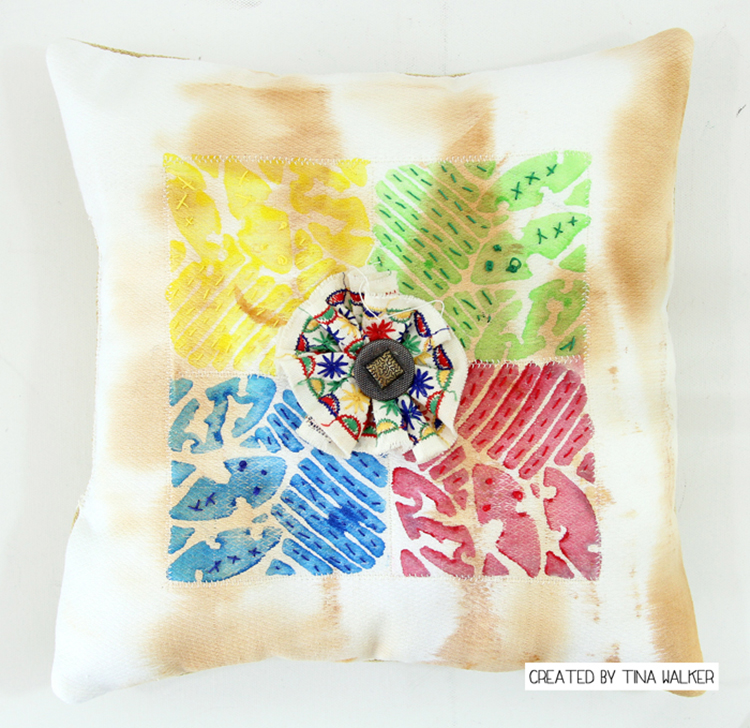
Hello Everyone! Today my Creative Squad is starting February with a new theme and some great new ideas for you. Tina Walker is sharing a really fun stamped fabric pillow using my Batik Pattern 4 foam stamp, some embroidery stitches, and this month’s theme: Let’s Go Somewhere. We’re in the depths of winter here in the Northern Hemisphere and looking for an escape! This month let’s reminisce about past vacations and plan future adventures to help us get through these gray days.


Hi! Tina Walker here today with my take on this month’s theme, ‘Let’s Go Somewhere’. What a perfect theme for the winter doldrums! During the guts of a cold, dark winter, I often dream of sitting on a warm beach, breathing in the salt air. When dreaming of ocean vacations my thoughts take me to faraway places full of color, vibrancy, and energy. Using these as inspiration for my project this month, I created a hand-made pillow using colors that remind me of beach blankets, fruity drinks, and the bright colors that are everywhere.

The base for my pillow is a rust-dyed piece of muslin. What a perfect way to represent the salt air and how it seems to oxidize everything it touches. The process of rust-dying is simple; place rusty metal pieces on-top of a piece of natural fiber fabric, spray with vinegar water and let the magic happen.

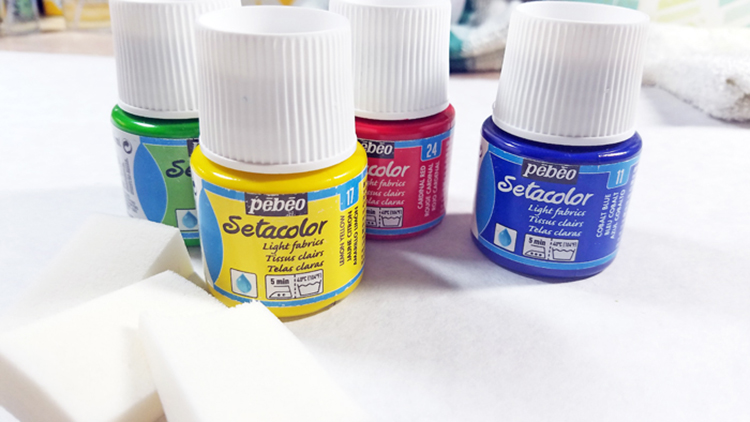
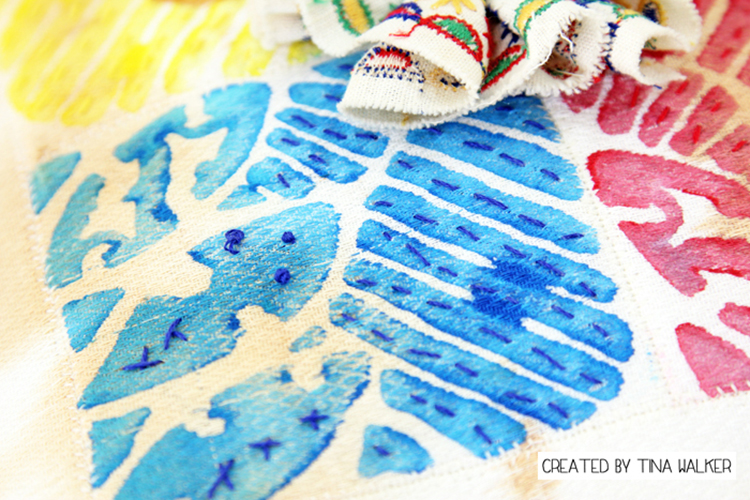
To create the bright, colorful feature of the pillow, stamp (using fabric paint) with your favorite Nathalie Kalbach ArtFoamies stamp. I used Batik Pattern 4, rotating the stamped image each time. Heat set per manufacturers directions.

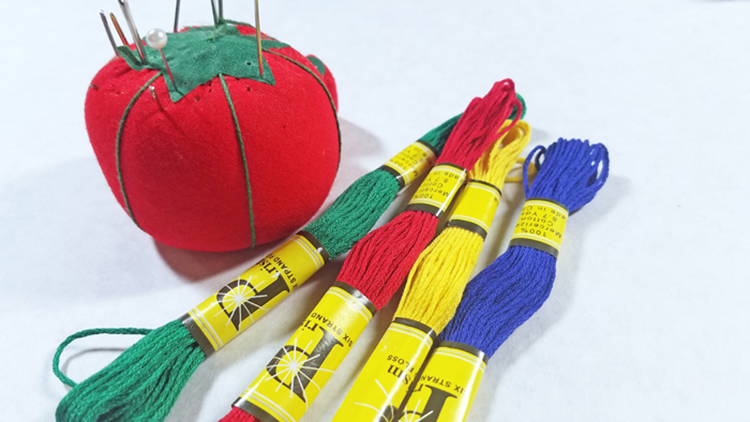
For added dimension, hand-stitch over the stamped image in coordinating colors of embroidery floss. The more random, the better.

Machine stitch to ‘frame’ the stamped image. This also adds more dimension and a bit of texture.

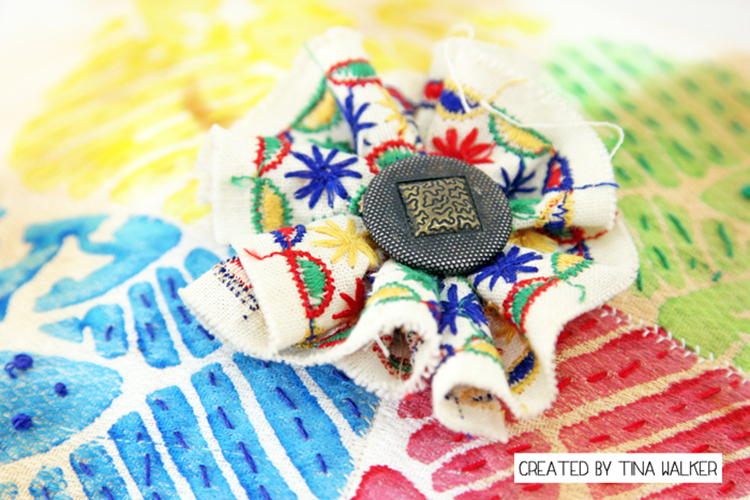
Continuing the bright and colorful look, I made a ribbon flower for the center of the image. The ribbon flower pulls the four images together and finishes the pillow off.

Now let’s construct the pillow. Cut a piece of coordinating patterned fabric for the back of the pillow and place the front and back together, right sides facing each other. Machine stitch the entire outer edge except for a section on one side. Keep this section unstitched.

Turn the pillow right side out, using the unstitched section to pull the pillow through. Once you have the pillow right side out, iron the edges to create a crisp seam.

Stuff the pillow using your favorite stuffing. Hand stitch the open section using a blind stitch.

What vacation dreams do you have for 2017? Do they include the ocean? the mountains? or everything in between?

Thank you for taking time today to visit us today. See you next month.


Thank you Tina! I love how she combined the stamped images with embroidered touches. I am now officially dreaming of beach life! In addition to muslin fabric, patterned fabric, vintage ribbon, a vintage button, and a sewing machine, Tina used these supplies – some links are affiliate links:


Play along with us! I love to see how you interpret our monthly themes. Email me how you used my stencils and stamps with the theme and email me an image – I would love to share your projects in my “n*Spiration From Around the Globe“.

Comments (1)

  • Michelle Rydell

    |

    Tina – this is awesome! Such a creative and beautiful use of the stamps! The embroidery really makes it pop!

    Reply

Leave a comment

Dream a New Dream – Marsha Valk


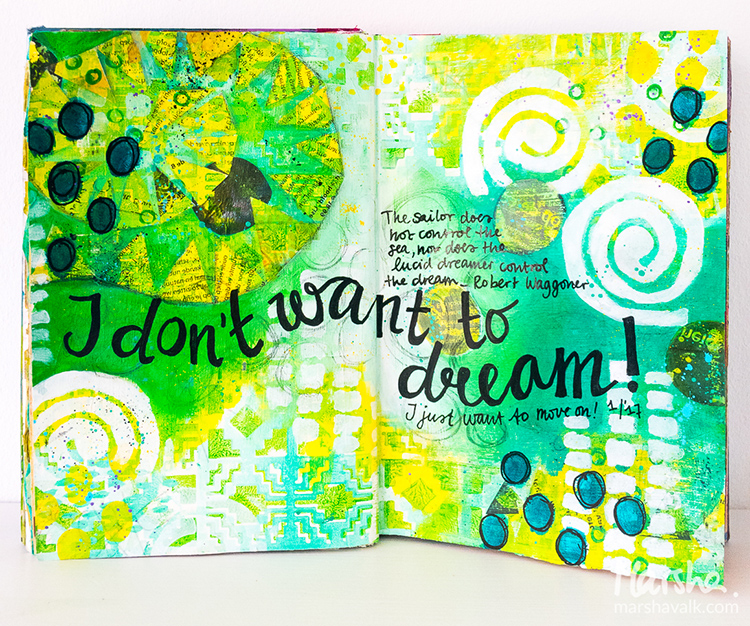
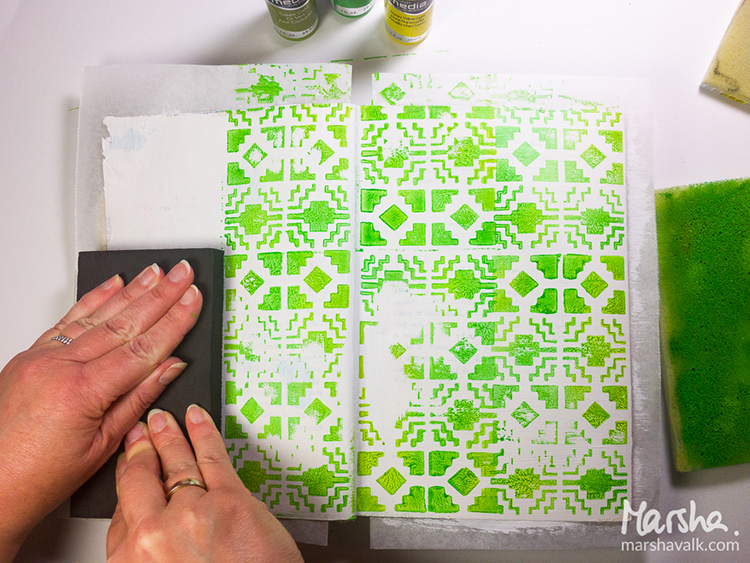
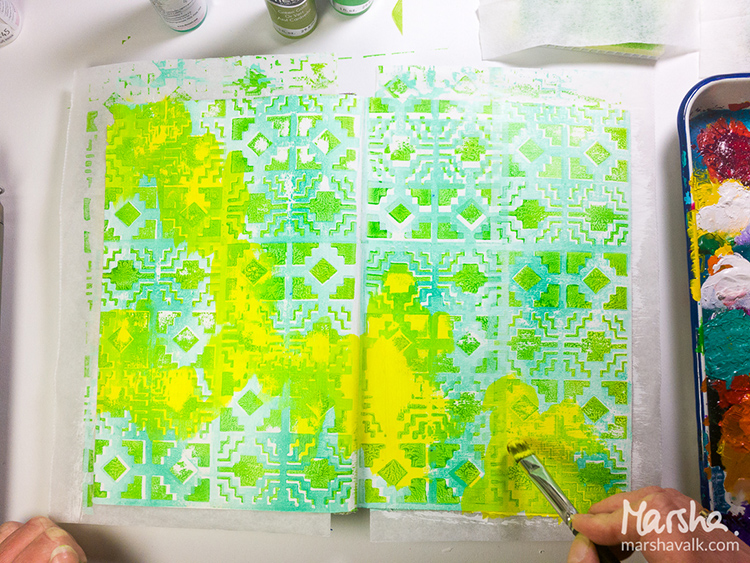
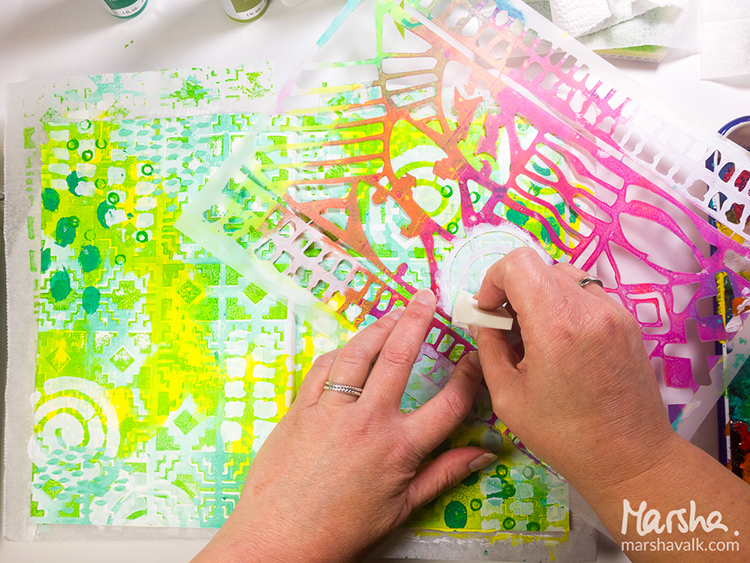
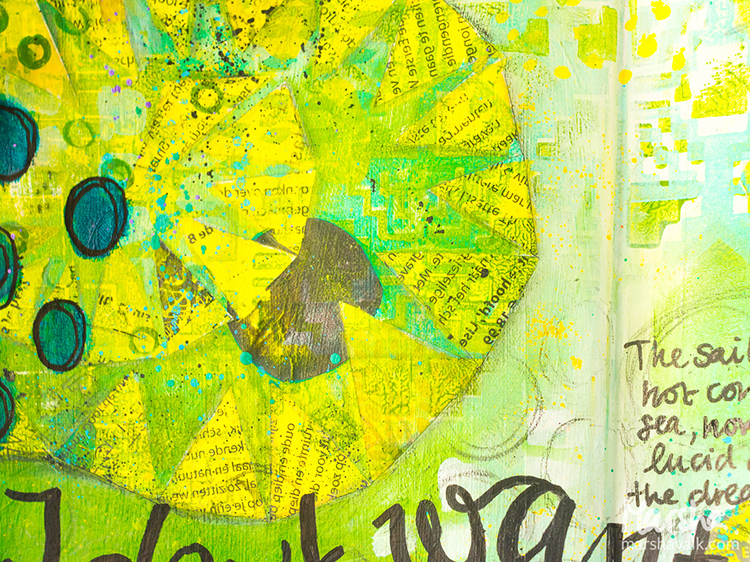
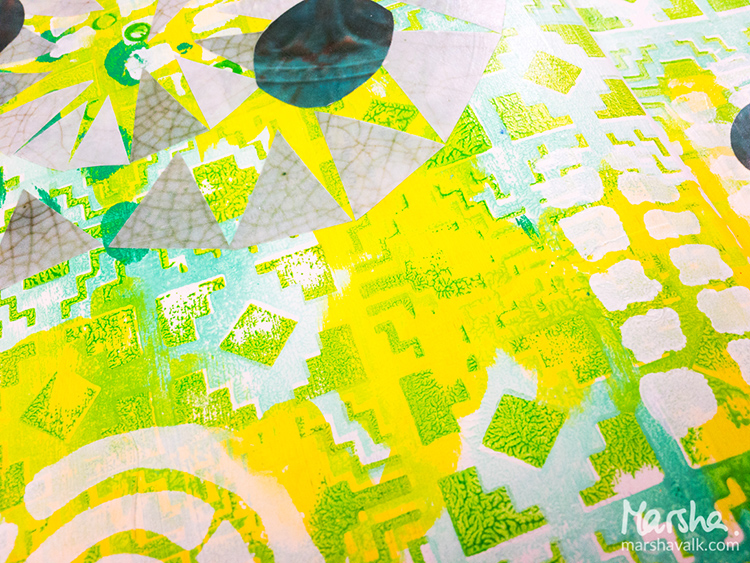
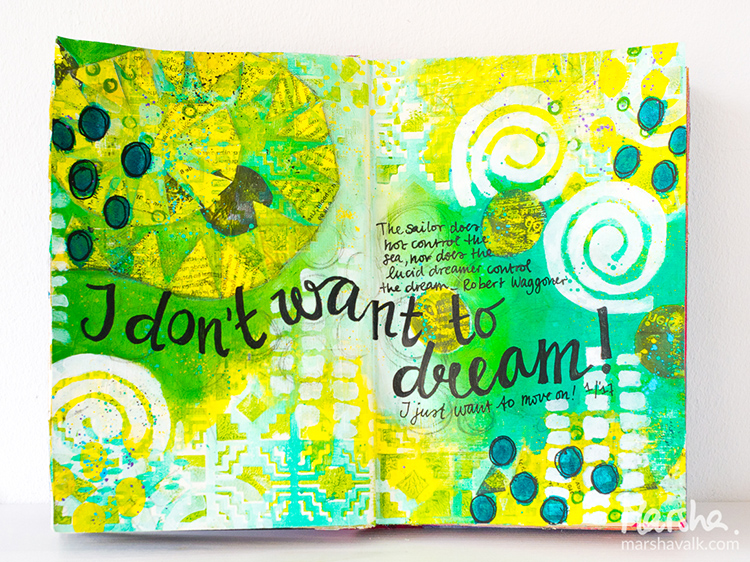
Happy Creative Squad Tuesday! Today Marsha Valk is sharing a beautiful and bright art journal spread using my Santa Fe Positive and Negative Foam Stamp set, my Batik Stencil, and her unique take on this month’s theme: Dream a New Dream. This January, let’s focus on all the possibilities of a fresh start.  What are your dreams for this year?  Whether it’s art-making, family, travel, or work related, January is a great time to dream about what the future could hold.


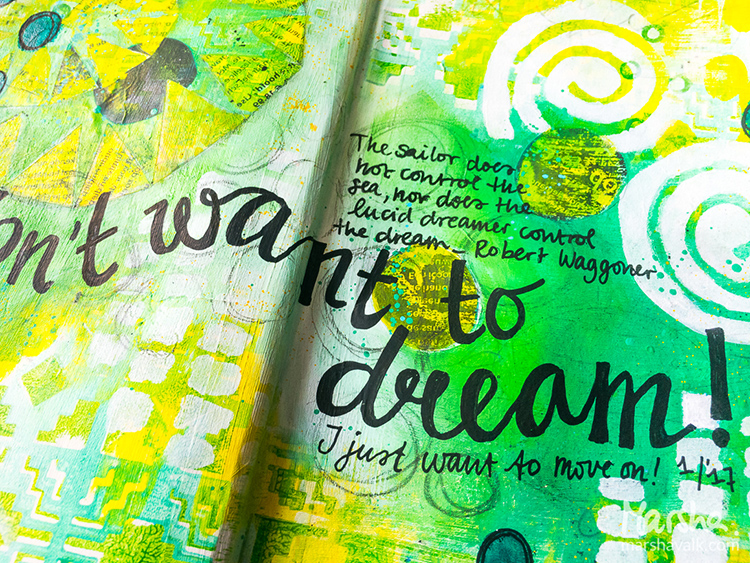
I am not a dreamer. I mean: I definitely am a dreamer… but the zone-out, lost-in-thoughts kind, not a big-plans-for-the-future one!


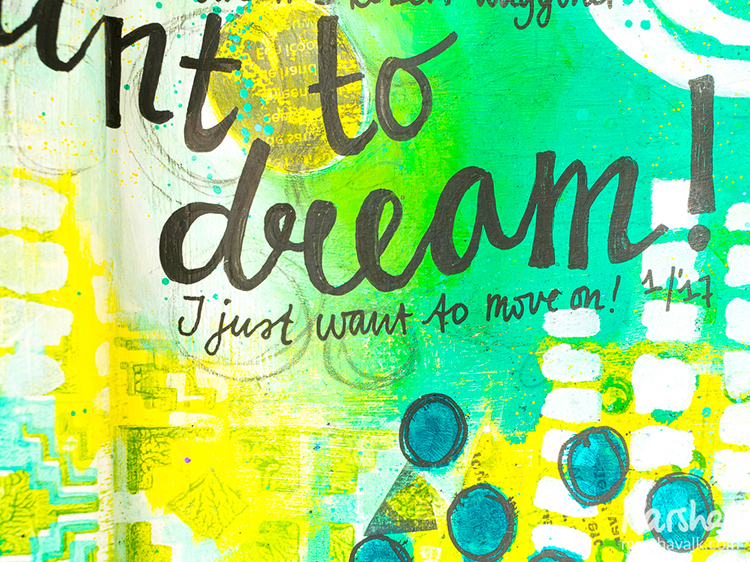
I do plan for the year ahead, but I do that at the end of December and I’m usually all set and ready to go in January. This year I’m not quite that organised, but… January is already well on the way now and whilst I was creating my journal page, I kept thinking ‘dream’, but… my gut kept saying ‘no’. So even though I wanted the page to be about dreaming, it ended up about ‘not dreaming’.


I am excited about what the new year holds though and I chose to work with greens, because I’m super stoked about the Pantone colour for 2017: Greenery!


Thank you Marsha! I love Marsha’s honest take on our theme and wow those are some great colors! Marsha used these supplies – some links are affiliate links:


Play along with us! I love to see how you interpret our monthly themes. Email me how you used my stencils and stamps with the theme and email me an image – I would love to share your projects in my “n*Spiration From Around the Globe“.


Comments (4)

  • susan debourguignon

    |

    Marsha,
    i, too, am a daydreamer as opposed to a goal setter. the future is too much for my head to wrap itself around. i am not a fan of green, but your page really speaks to me. thank you for sharing!!!

    Reply

    • marshavalk

      |

      Thanks so much Susan! Glad to hear I’m not the only one! ;-)

      Reply

  • nathalie-kalbach

    |

    Such a wonderful take on the theme Marsha, and I love how you mixed the patterns of the Batik Stencil with the Santa Fe Foam Stamp – so gorgeous. Now I just want to move on to Spring ;)

    Reply

Leave a comment

Good Things Just Keep Happening – Tina Walker

cs-november-good-things

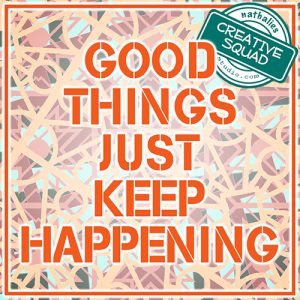
Today, Tina Walker from my Creative Squad is sharing two beautiful mini book journals and a bonus project using this month’s theme: “Good Things Just Keep Happening.” I invite you to join me and my Creative Squad this November, in the spirit of the Thanksgiving holiday in the US, to remind ourselves to be thankful for even the smallest things.  Every once in a while it feels nice to slow down and recognize the good stuff that’s all around us.  What Good Thing happened to you today?


tina-november-headshot

Hi! Tina Walker here today to kick off the new month with a new Theme. This month, our theme is ‘Good Things Just Keep Happening’. This is a great mantra and reminder as we enter the month of Giving Thanks.

I have been through a lot in my short 50+ years and staying positive every day can be a challenge. I have had relationships come and go, as well as jobs and cities, but I’ve always been thankful for what adventures I’ve had and for what is to come.  Creatively, my life has been a whirlwind of excitement, wishes, and success. Art is something that makes me feel complete and fulfilled. In order to celebrate my life and good fortune, I created two pocket sized journals that can be used to record those special thoughts and memories no matter where I am.  Let’s check them out!

Floral Fabric Mini Book
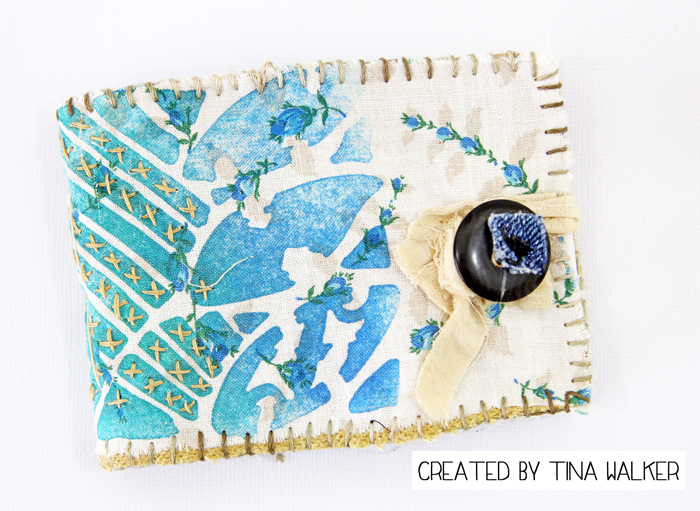
nov-tw1

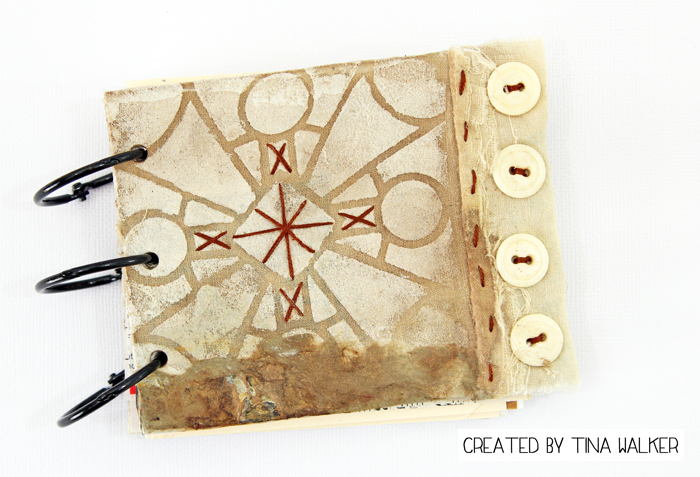
Apply fabric paint to a piece of vintage cloth using your favorite Nathalie Kalbach new ArtFoamies stamp. I used the Batik Pattern 4 foam stamp. Set paint per manufacturer instructions.  When applying the stamp to the fabric, stamp the image twice, back to back. This way, you will have the image on the front and back of the book. Do this step twice, one double stamped image for the outside of the book, and one double stamped image for the inside of the book.

Here’s a picture of the front and back of the book for reference.

nov-tw2

Add hand-stitching embellishments to one of the stamped images. I choose the image that would be on the outside front of the book. Sew a button to the outside front and back layer. The buttons will serve as the closure.

Sandwich a layer of cotton batting between the two stamped pieces, wrong sides together. Hand-stitch the 3 layers together using a blanket stitch.
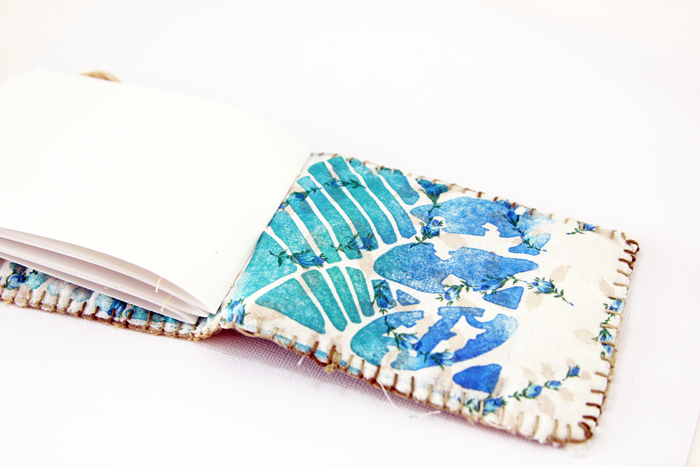
nov-tw4

Cut to size, 3 signatures of 7 pages each. I used vellum paper for my paper inserts.  Sew signatures to book using a three hole saddle stitch and Enjoy!

nov-tw5

Vintage Paper Mini Book

nov-tw7

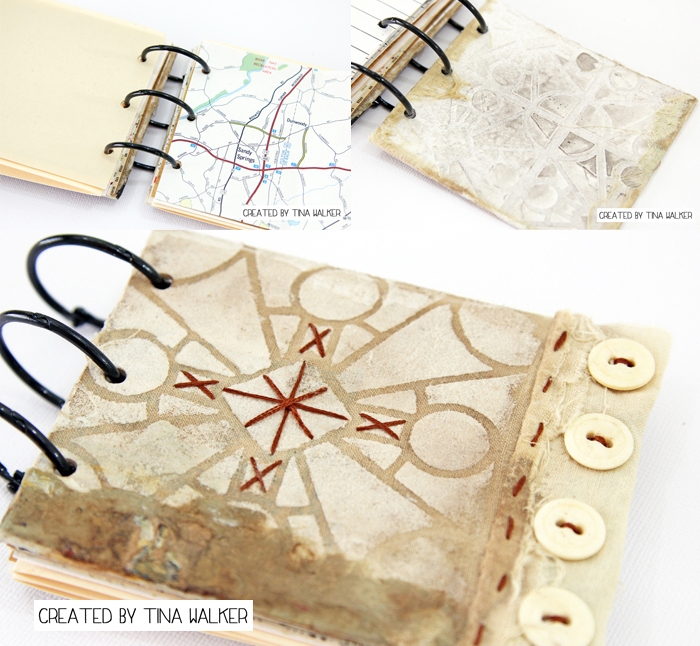
This mini book uses the same beginning techniques as above, except we will be using your favorite Nathalie Kalbach stencils for this one, I chose the new Buenos Aires 4×4 and the Buenos Aires 9×12 stencils.

Using the same stencil, apply modeling paste to an 8.5 x 11 piece of chipboard. Spray with your favorite spray mist.

Cut stenciled chipboard to your mini book size and adhere fabric stenciled image with heavy gel medium. Allow to dry completely.
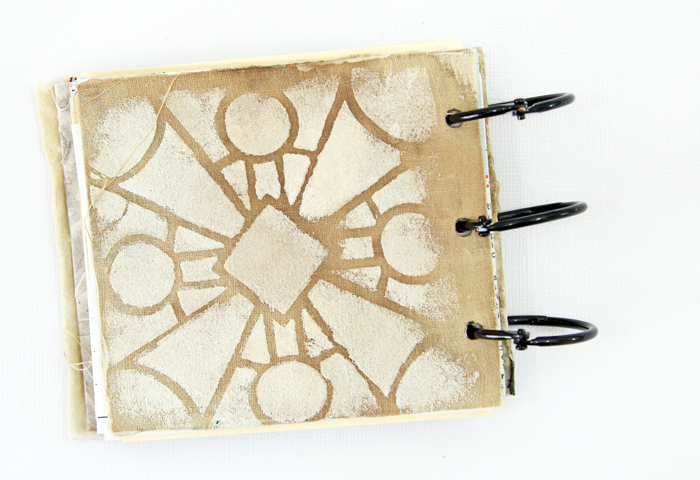
nov-tw8

Cut to size various vintage papers. I used vintage music paper, receipt paper, glassine paper, tags, lined paper, plus others.
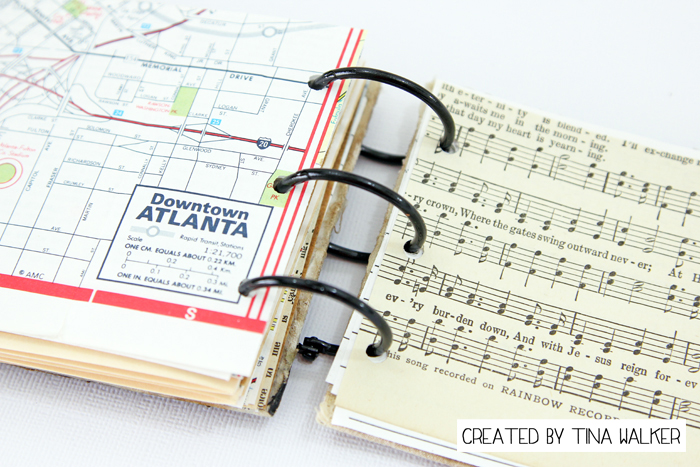
nov-tw10

Using a Crop-a-dile or similar tool, cut three holes in the front and back and each piece of paper. Assemble and bind with 3 metal o-rings.
nov-tw15

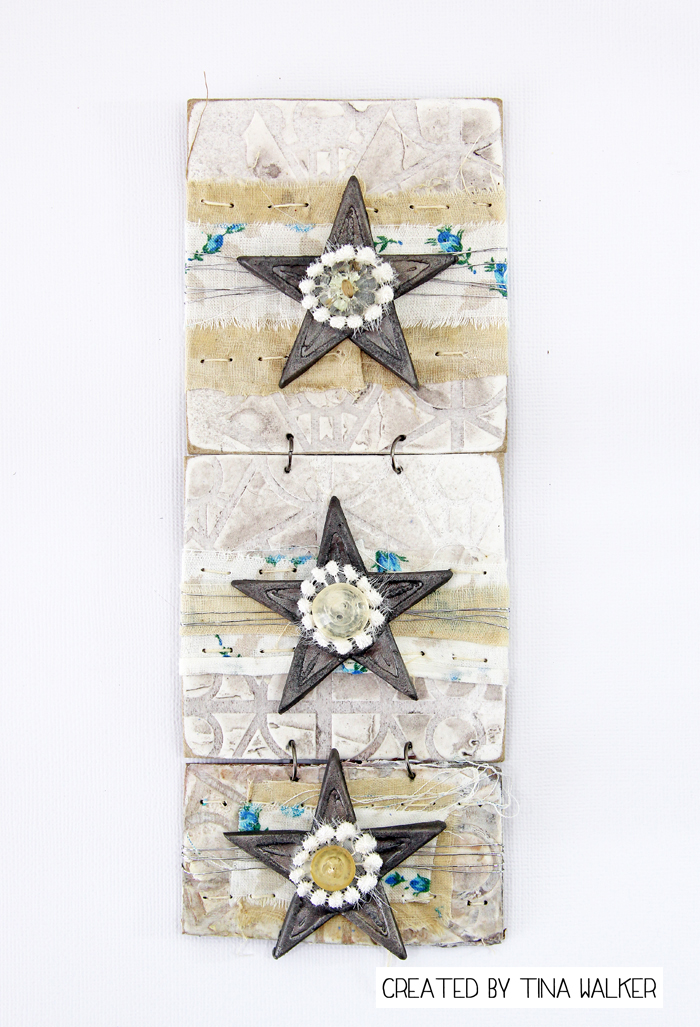
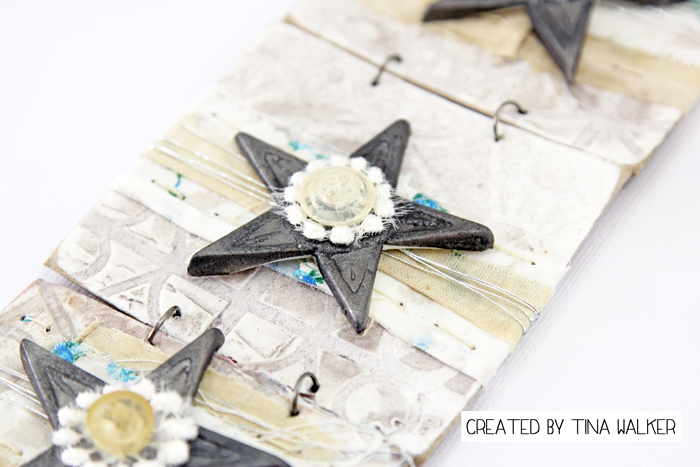
After I was done creating my mini books, I had several pretty scraps that were too nice to throw away. So I created a mini hanging, using the leftover stenciled chipboard and fabric pieces. Bonus!
nov-tw16

nov-tw17

What good things are happening to you? Do you create art to celeberate? I’d love to hear about it! Thank you for taking time today to take a peek at my projects. See you next month.


Thank you Tina for these gorgeous ideas!  I’m gathering my own collection of papers to turn into some mini books now. Besides some vintage fabric, vintage buttons, vintage papers and gun metal metallic casting powder, here are the supplies Tina used – note that some of the links are affiliation links:

supplies


Maybe you will even play along with us -I would love to see how you interpret our monthly themes. Email me how you used my stencils and stamps with the theme and email me an image – I would love to share your projects in my “n*Spiration From Around the Globe“.

See you next time for another project from the Creative Squad and DON’T FORGET: As we are celebrating the launch of my new website, everything in the n*Studio Store and all Online Workshops are 20% off until Sunday November 6th!  Use the coupon code NEWNAT20 during checkout to take advantage of the savings!

nstudiowebsitelaunch-coupon-code-graphic

Comments (1)

  • Joi@RR

    |

    Your mini-books are darling Tina but my fav is the wall hanging… so pretty – love the stars and stitching.

    Not too many celebrations at our house since it’s just the two of us now but… since I paint every day, if I was celebrating I probably wouldn’t paint! I would be more likely to write about it!!!

    Thanks bunches for such lovely inspiration with these great patterns. j.

    Reply

Leave a comment

Actually, I can or … In my Art Journal today

actuallyican_natkalbach01

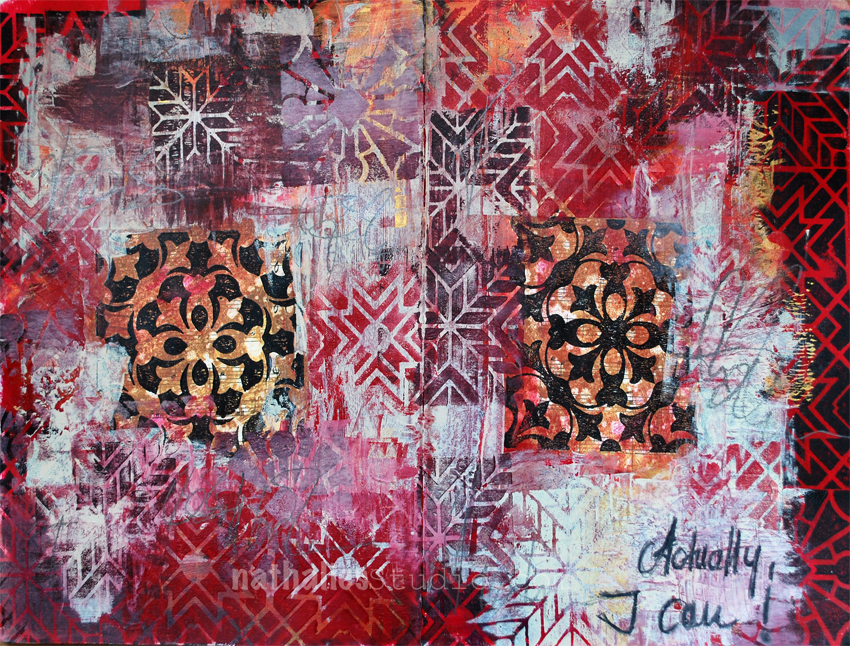
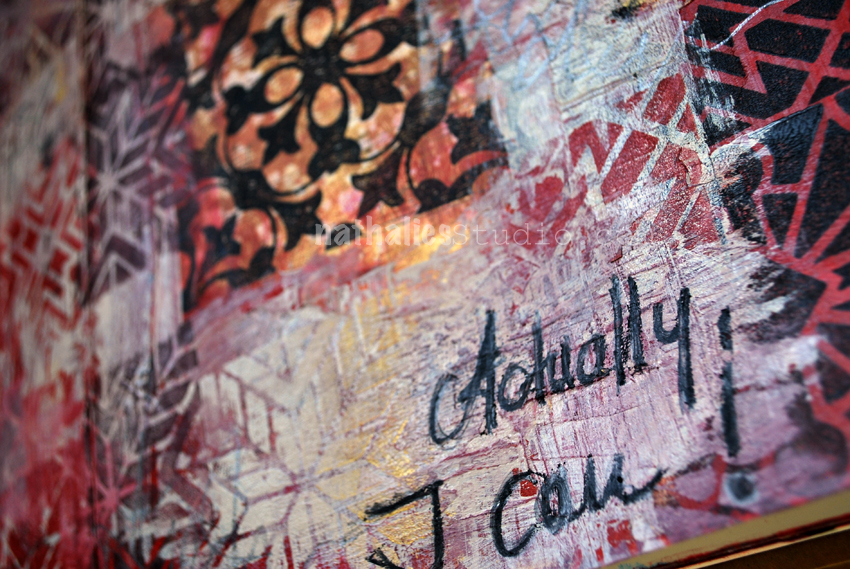
Actually, I can!

Sometimes, when you think things are just not working out and you want to give up, this is a good reminder. As you can see I was in the mood for a grungy art journal spread.

actuallyican_natkalbach02

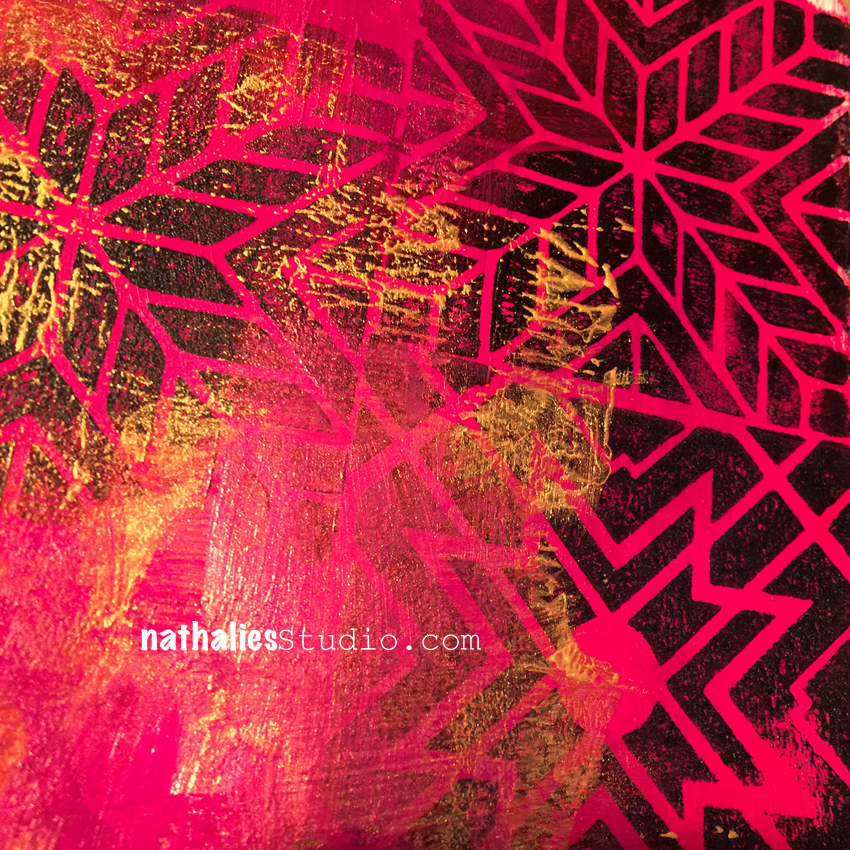
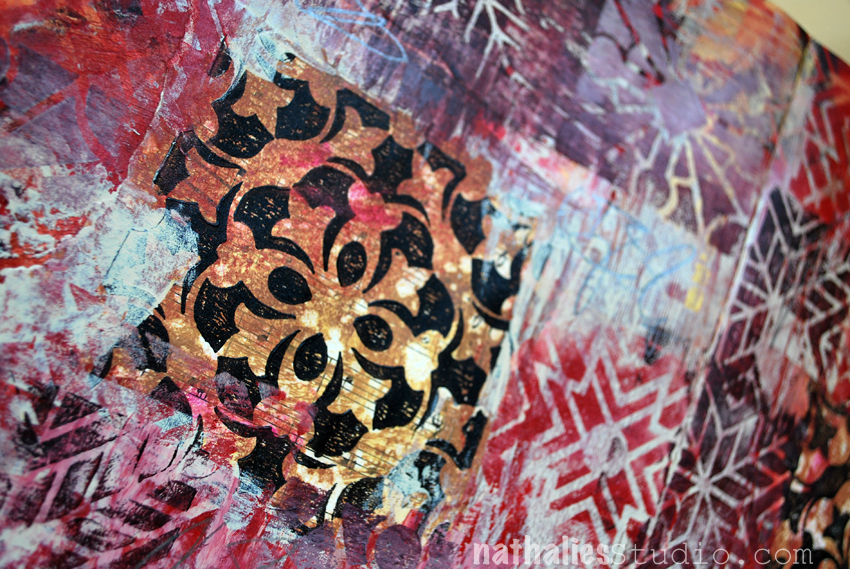
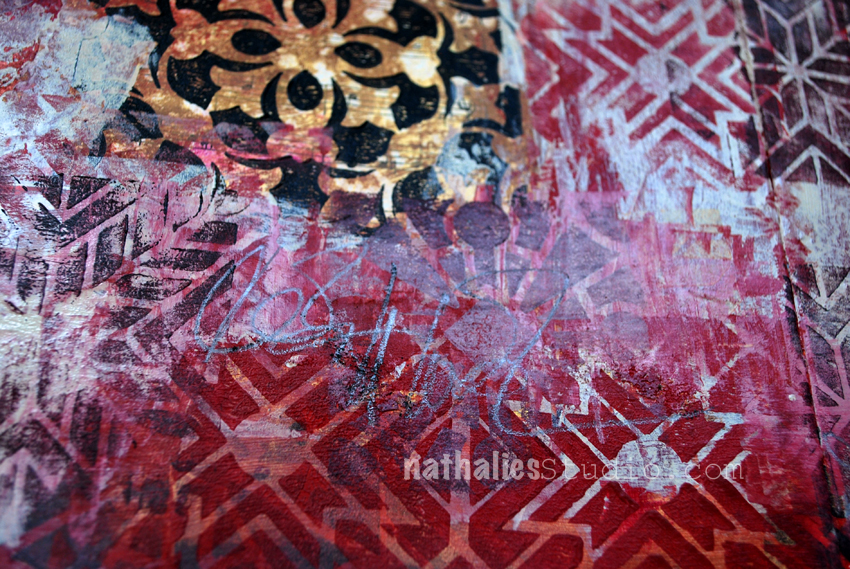
I painted the art journal background background in different red and magenta acrylic paints and stamped a border using the Toledo, Santiago, and Buenos Aires  Foam Stamps and black acrylic paint.

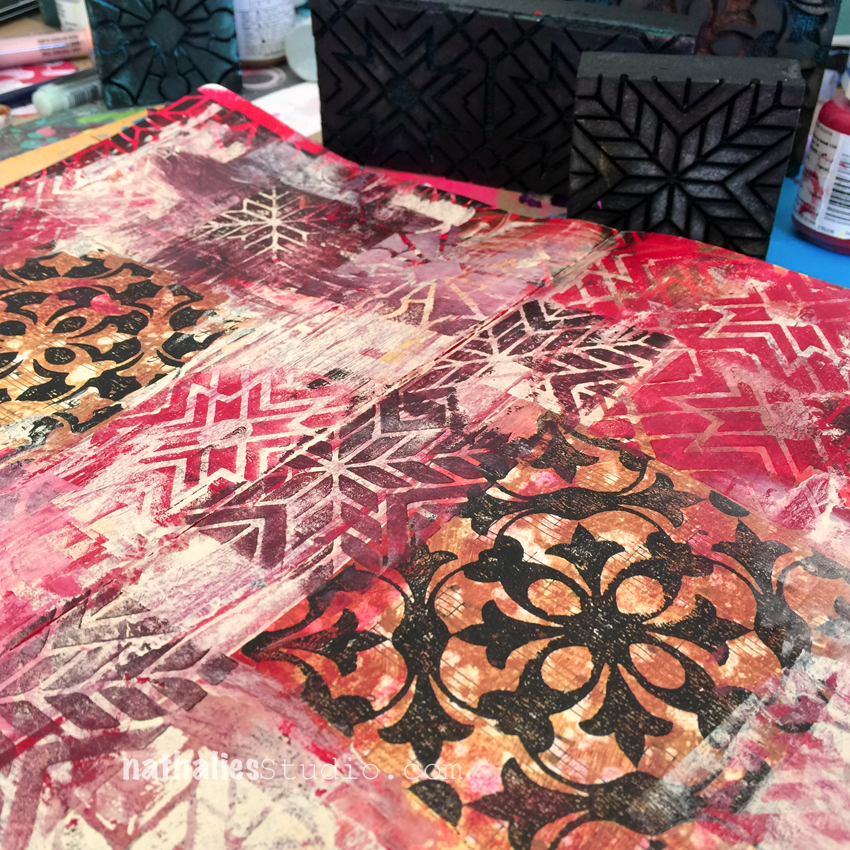
Next, I layered gesso and unbleached titanium and scraped away some parts. Then I stamped with the same foam stamps using the red and magenta colors of the background on top. I stamped mixing different tints and shades with the colors I already used but also incorporated gold and copper in between.

actuallyican_natkalbach03

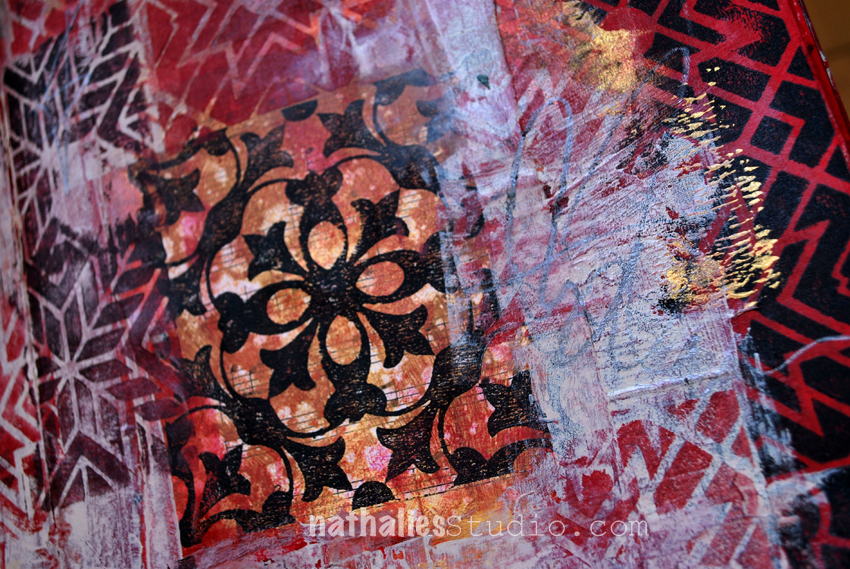
For the middle section of each side of my journal spread, I painted a music sheet with gold and copper acrylic paint, and then stamped using the positive and the negative Stamp of the Versailles set and black paint on top of it.

actuallyican_natkalbach05

I tore the music sheet up and pasted it to the spread left and right and added  a couple more layers of stamping and over-painting.

actuallyican_natkalbach04

I added some charcoal pencil marks and wrote out the text.

actuallyican_natkalbach06

I love the result and the weathered pattern look.

actuallyican_natkalbach07

I felt so much better when I was done with this spread  – yeah for art journaling *wink

Here is what I used for the page – some links are affiliate links:


Wishing you a wonderful day and – hey – remember “You actually can!”

Leave a comment

Today is the Day – Marsha Valk

cs-october-theme

Today, Marsha Valk from my Creative Squad is sharing two brilliant projects to help us get organized!  She is using my new Santa Fe, Batik Pattern 3, and Buenos Aires Tile foam stamps, and this month’s theme: “Today is the Day.”  I invite you to join me and my Creative Squad to stop procrastinating and to make today the day you finally tackle that artsy thing you’ve been meaning to get to for so long.  Start that new project you’ve been planning for months.  Try out that new product you bought ages ago.  Experiment with that new technique you read about last year.  Try it!  Today is the Day!


marsha-october-headshot

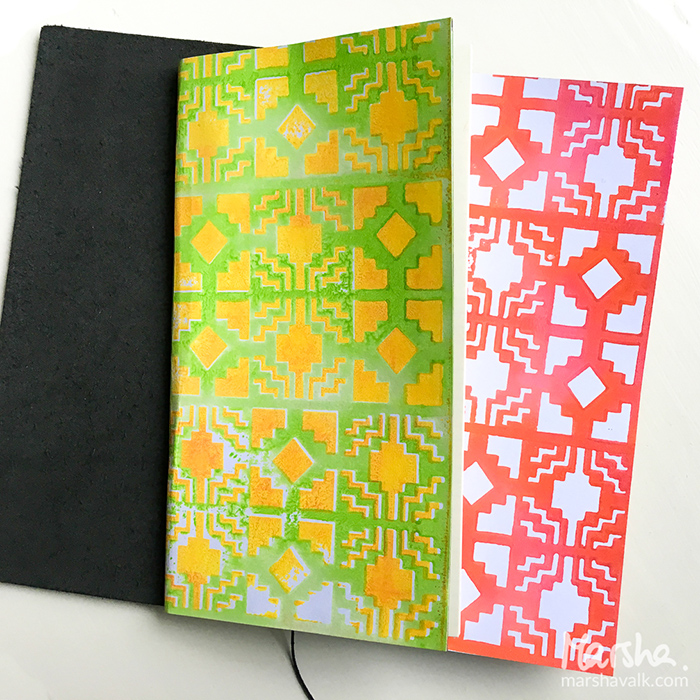
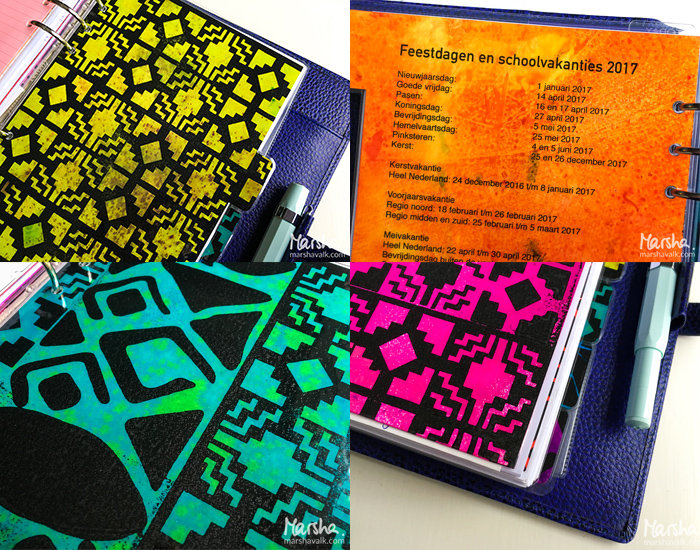
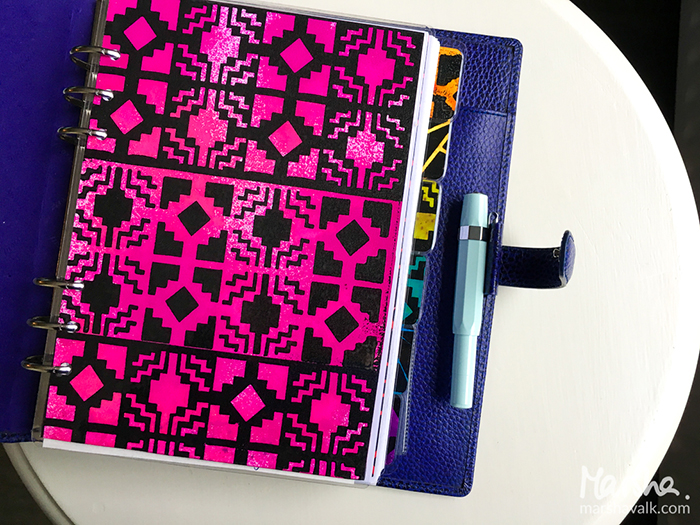
Today is the day that I got organized and ready for 2017! I know it’s still early days, but my first try-outs with the new Art Foamies ended up as covers for a couple of Travelers Notebooks and that inspired me to create new planner dividers for my Filofax planner in similar patterns.

marshavalk_nstudio_todayistheday-14

marshavalk_nstudio_todayistheday-5

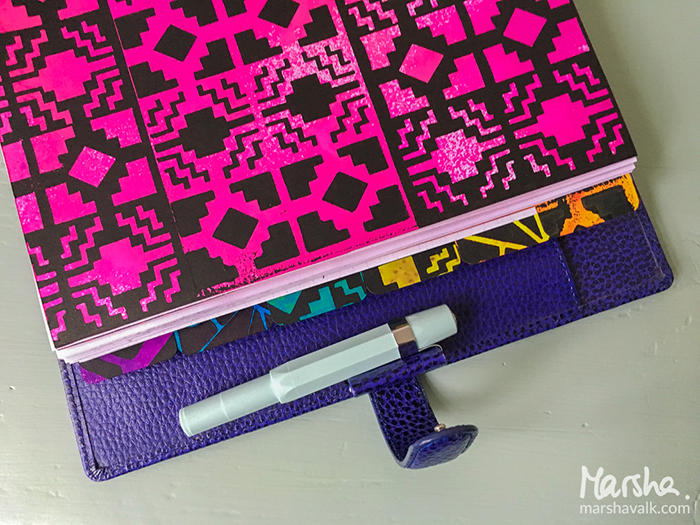
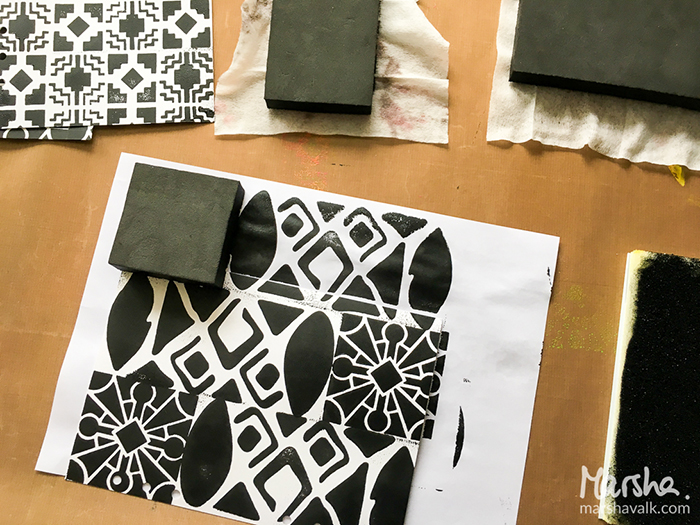
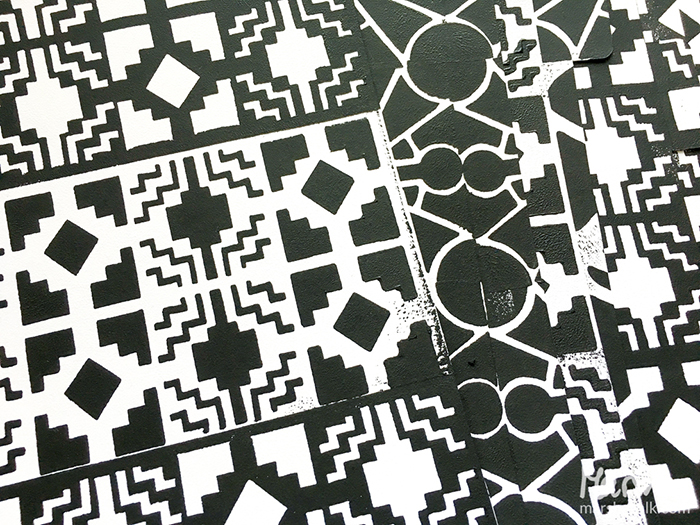
I bought a Silhouette cut-file to cut the tab dividers months ago, so this was the chance to finally put that to use too. I cut the tab dividers from sturdy cardstock and then I stamped black acrylic paint patterns onto them with the Santa Fe, Batik Pattern 3 and Buenos Aries Tile Foam Stamps.

marshavalk_nstudio_todayistheday-1

marshavalk_nstudio_todayistheday-2

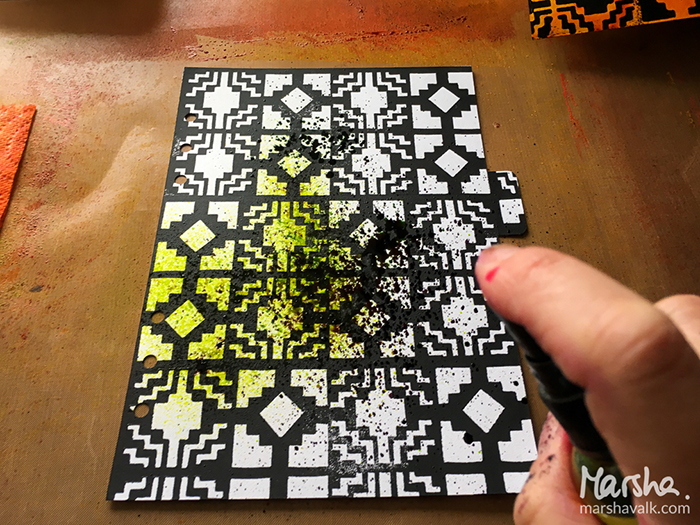
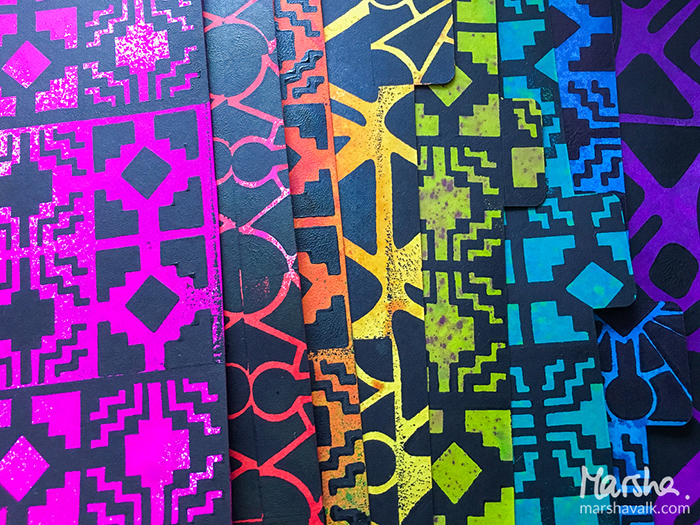
Once the paint was dry I applied spray ink in rainbow colours on top of the patterns so that I could have 8 tabs in rainbow order. I hadn’t really used my spray inks in a while and it was fun to get inky again!

marshavalk_nstudio_todayistheday-3

marshavalk_nstudio_todayistheday-4

I took the new divider tabs for a test run first. I like to print handy stuff like school holidays on the back of my tabs, so I did that first before I laminated them all. I used A5 pouches for the two dividers without tabs and A4 pouches for the ones with tabs. I just trim the excess after laminating.

marshavalk_nstudio_todayistheday-9

marshavalk_nstudio_todayistheday-6


Marsha just made organization look really awesome!  I love how she used black paint to make the stamp designs extra bold against those beautiful ink colors.  Here are the supplies Marsha used – note that some of the links are affiliation links:

supplies

Maybe you will even play along with us -I would love to see how you interpret our monthly themes. Email me how you used my stencils and stamps with the theme and email me an image – I would love to share your projects in my “n*Spiration From Around the Globe“.

See you next time for another project from the Creative Squad!

Comments (4)

  • Dee

    |

    Love these, the black makes things pop!

    Reply

  • Michelle Rydell

    |

    Great idea Marsha! I love how the bright colors really made the designs pop!

    Reply

    • marsha.

      |

      Thanks Michelle!!

      Reply

Leave a comment