Blog: Foam Stamplifier Challenge

Foam Stamplifier Challenge Prompts 8-10

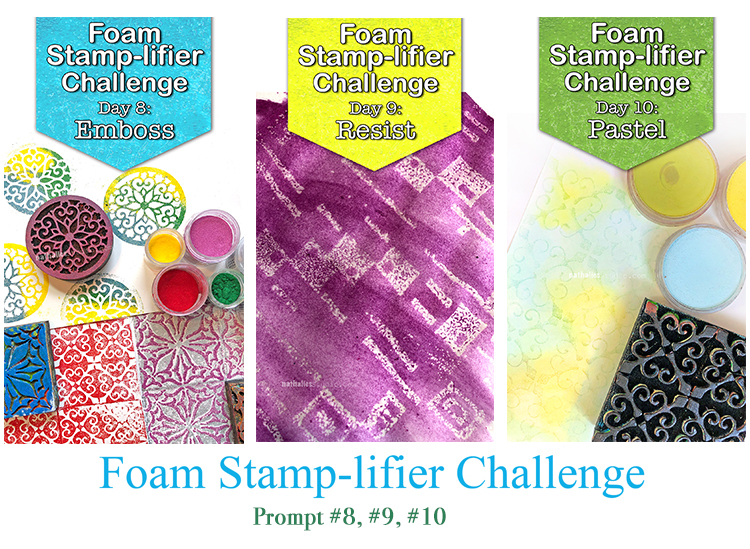
Day 8 – Emboss

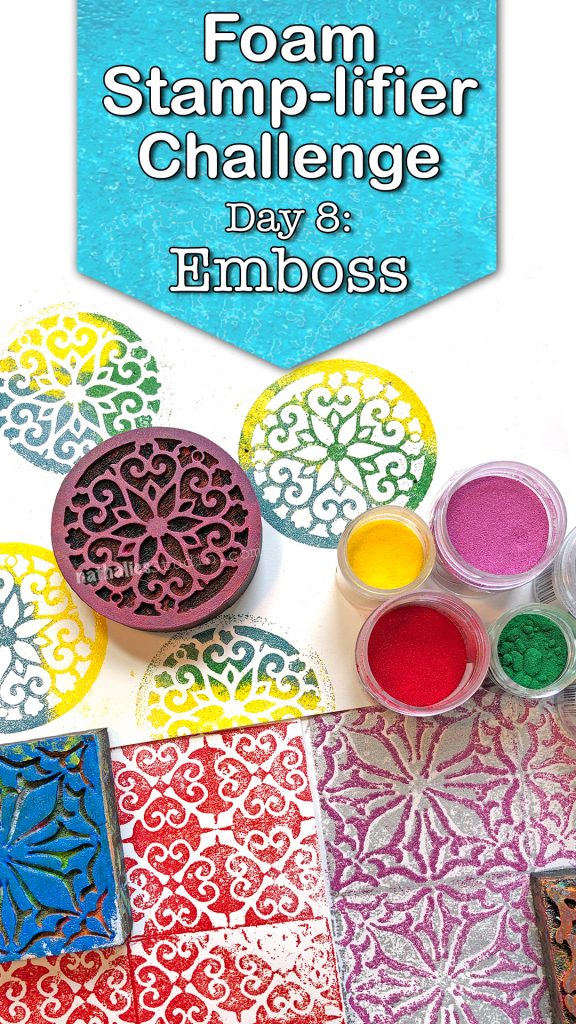
I love to emboss with my foam stamps. The foam surface creates some added texture even if you use super fine embossing powder.
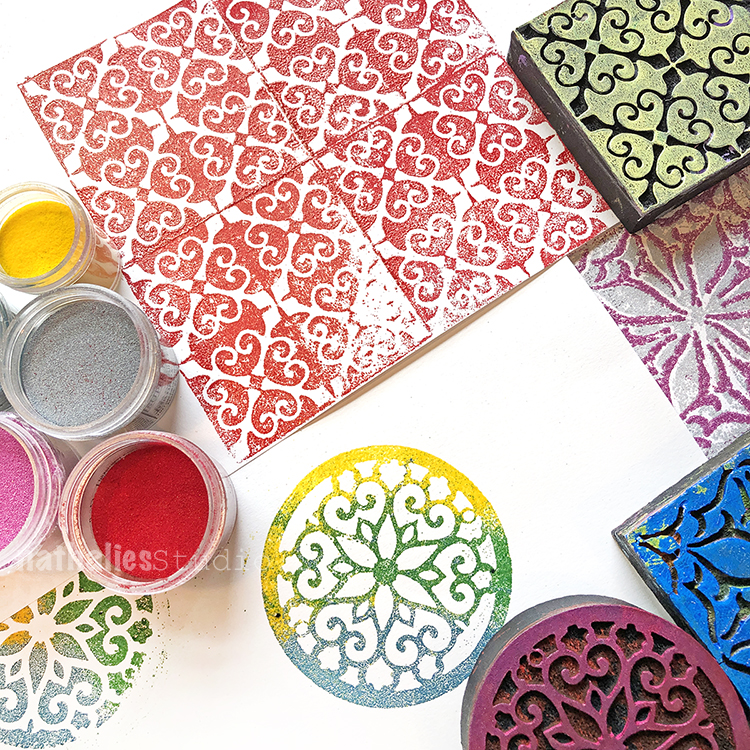
Simply press the clear embossing pad onto the foam stamp and then stamp on paper. You can add just one solid color of embossing powder to your image and then heat emboss.
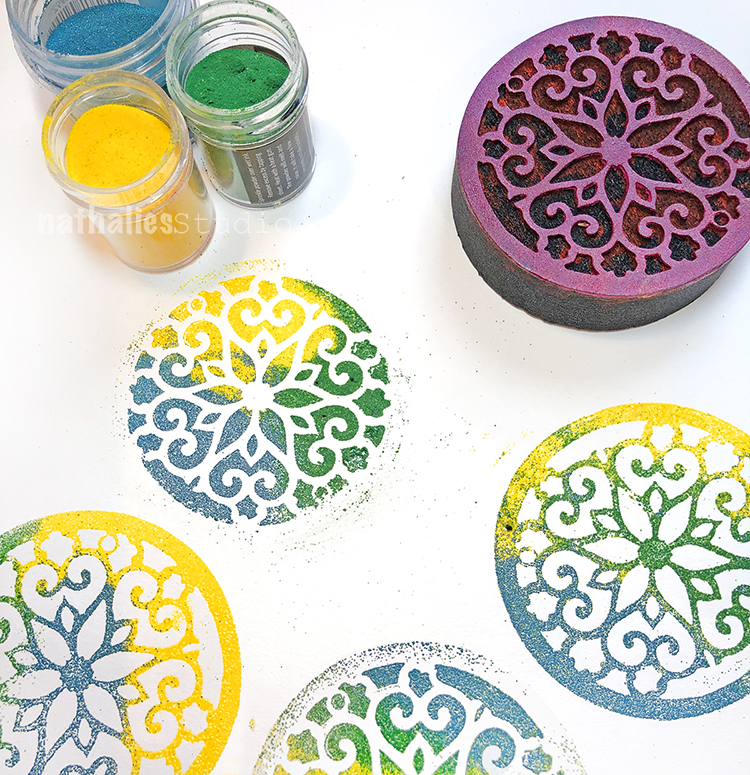
Or for even more fun, add several different colors of embossing powder and heat emboss one after the other.
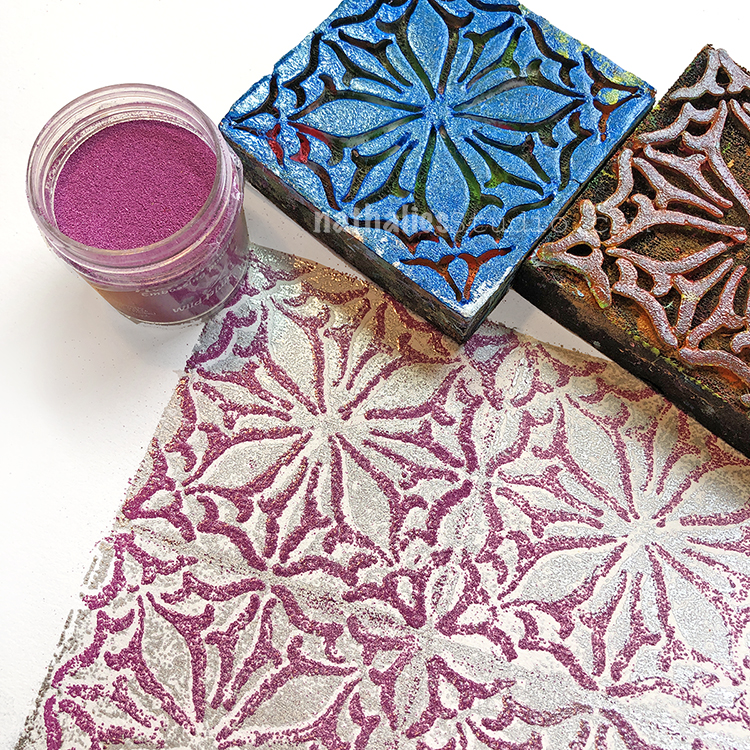
Another fun way to use embossing powder is to use the positive and negative sets and layer the embossing. I hope you try it

Day 9 – Resist
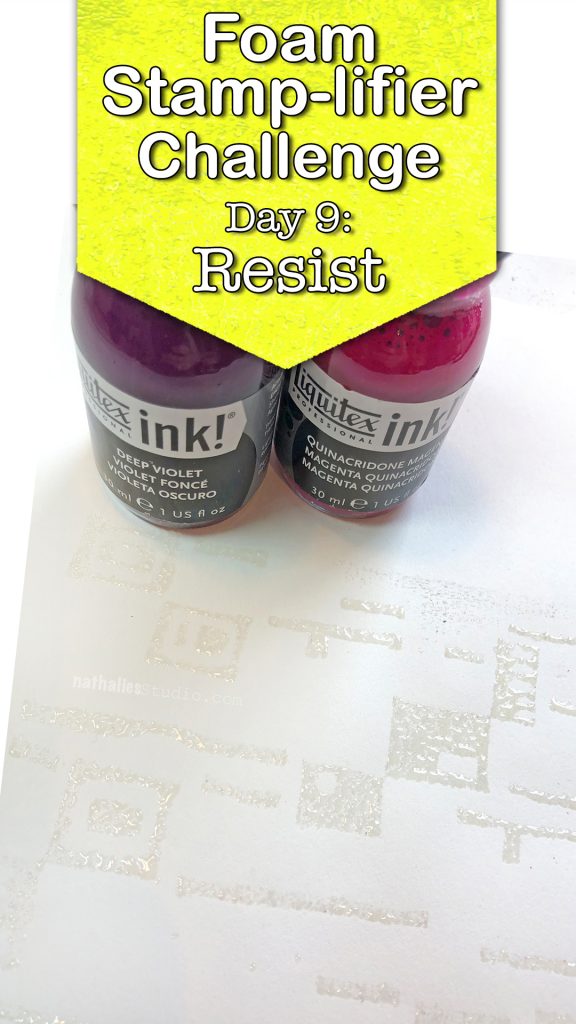
I am a huge fan of resist techniques and this has always been one of my favorite ones.
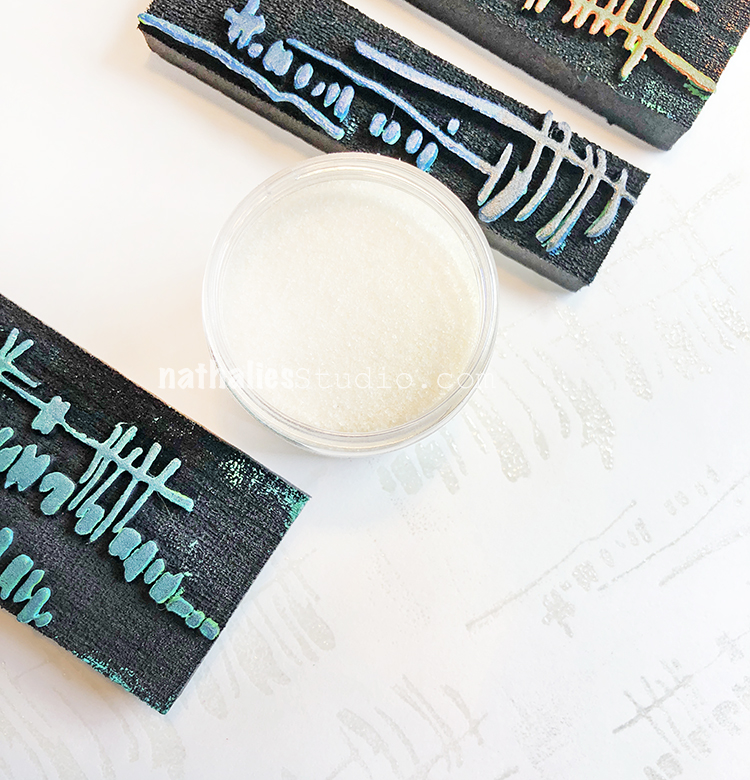
Apply clear embossing ink to your foam stamp. Stamp onto paper. Sprinkle UTEE (ultra thick embossing powder) on top and heat emboss. Let cool and then apply a very thin layer of acrylic paint or acrylic ink over the surface.
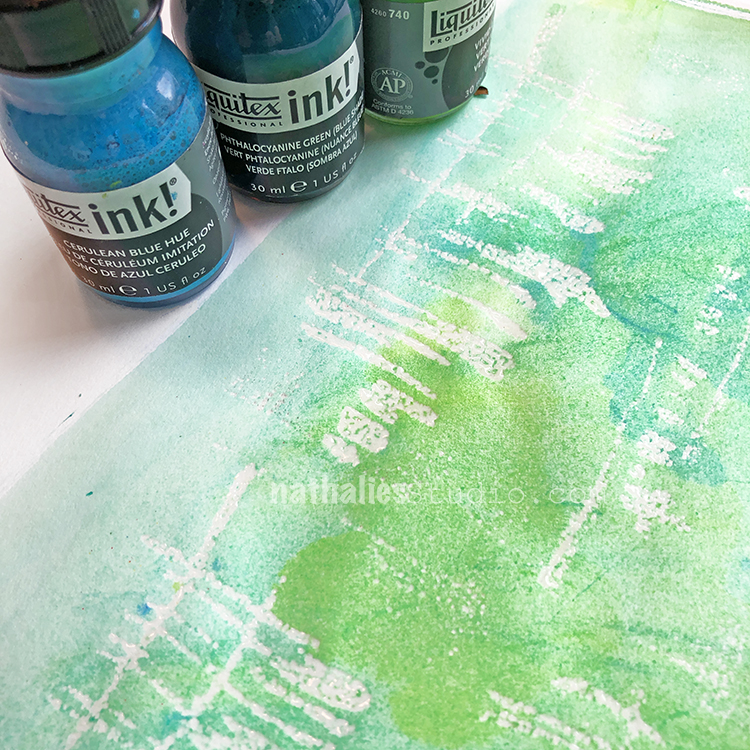
The paint or ink will dry slower on top of the UTEE as that area will resist the paint. Use a moist rag or a baby wipe and gently wipe over the raised UTEE pattern to remove the paint.
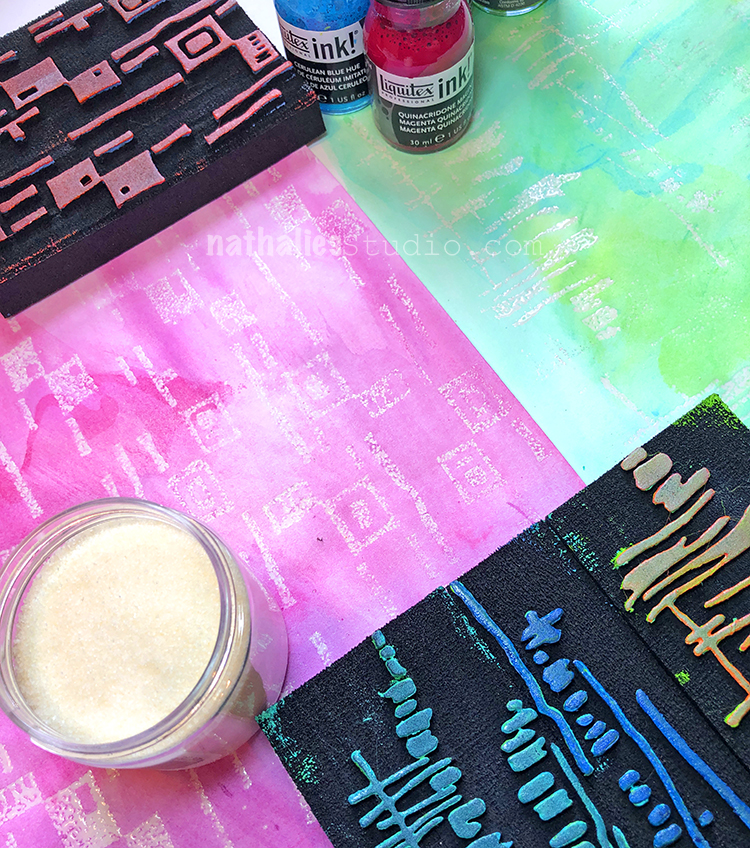
What remains is a wonderfully textured clear pattern.

Day 10 – Pastel
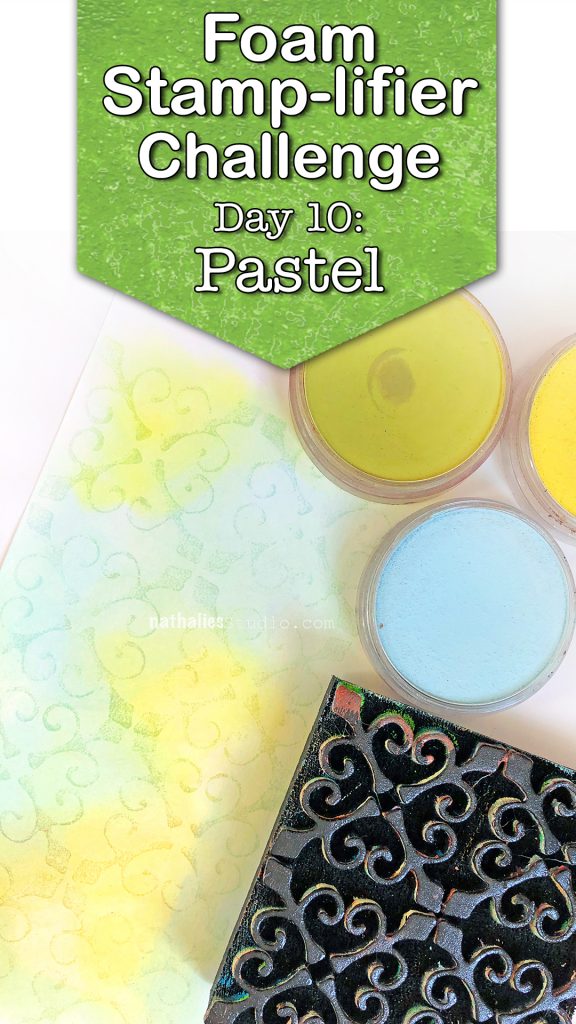
I love using Pastels with my foam stamps. In order to make the pigments stick you need a little trick though. I usually use a clear embossing ink pad and apply it to the stamp, then I stamp onto paper.
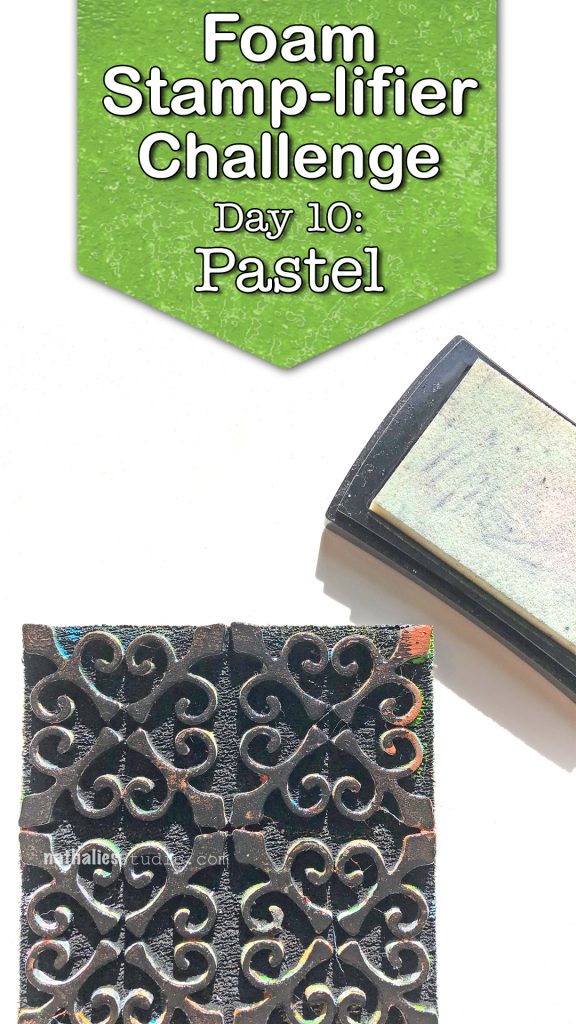
My favorite pastels are PanPastels but you can use over pastels as well.
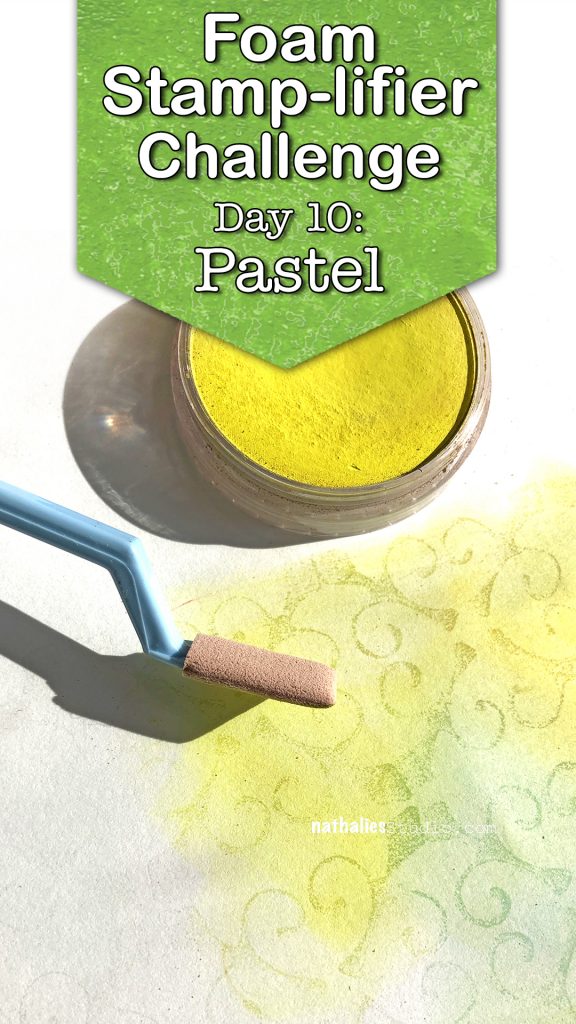
I apply the pastel with a tool over the stamped surface and wherever the embossing ink is on the paper the pastel will accumulate more and collect more of the pastel.
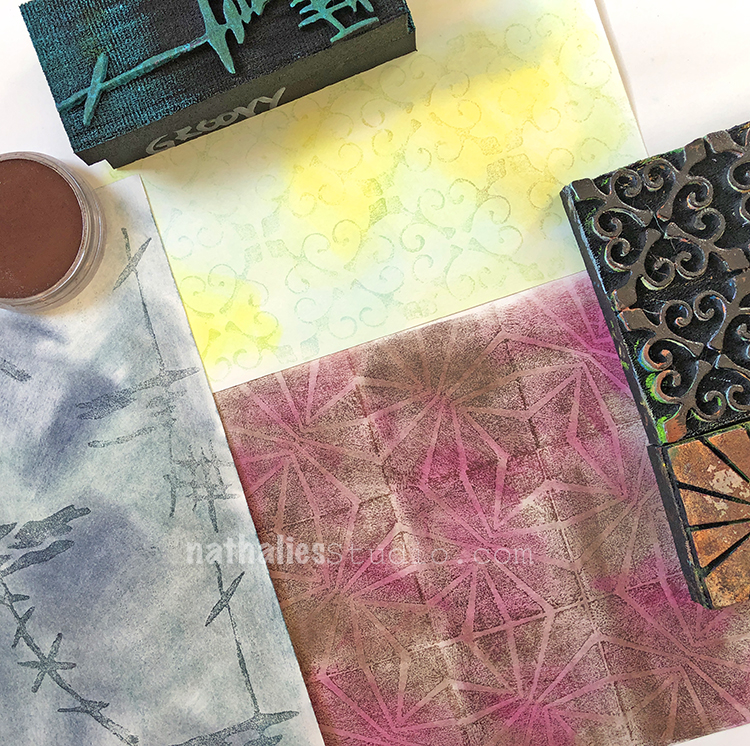
The stamped design will appear darker.

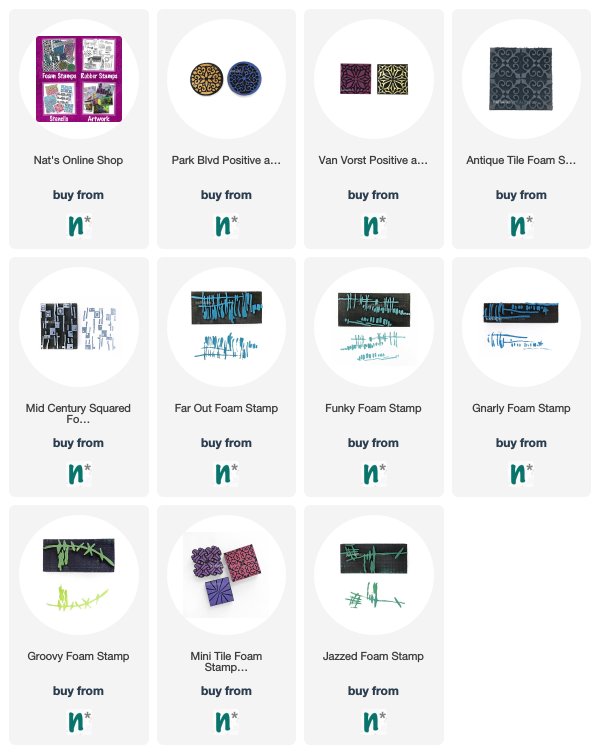
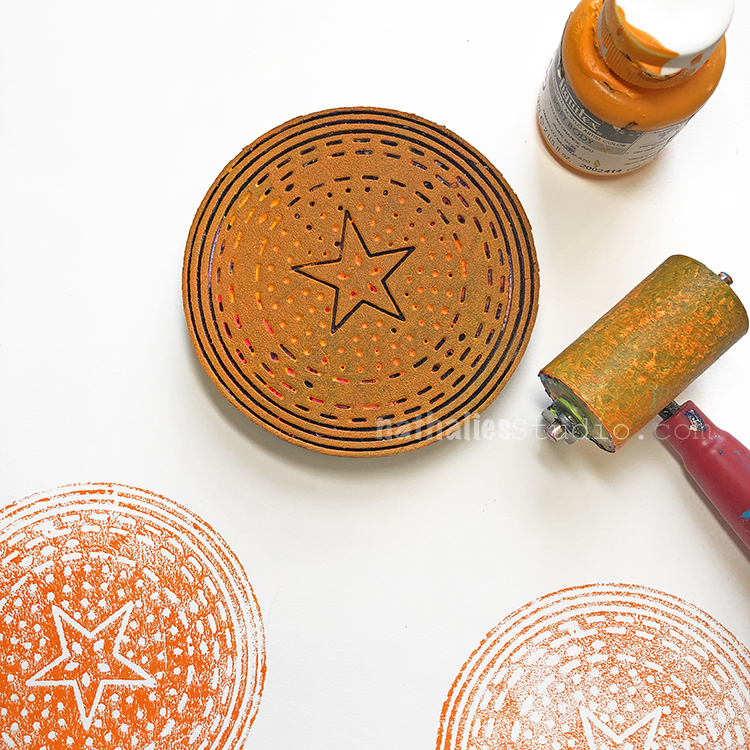
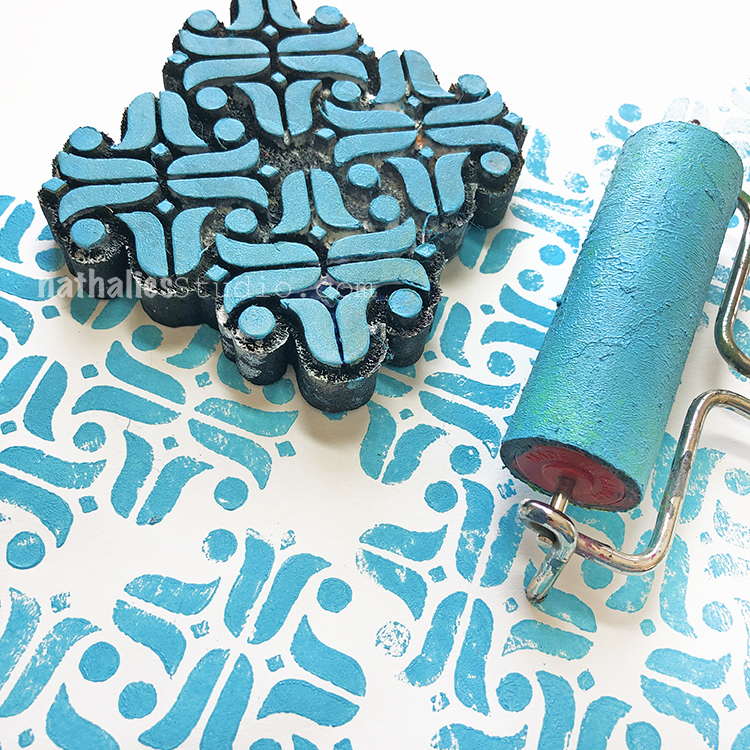
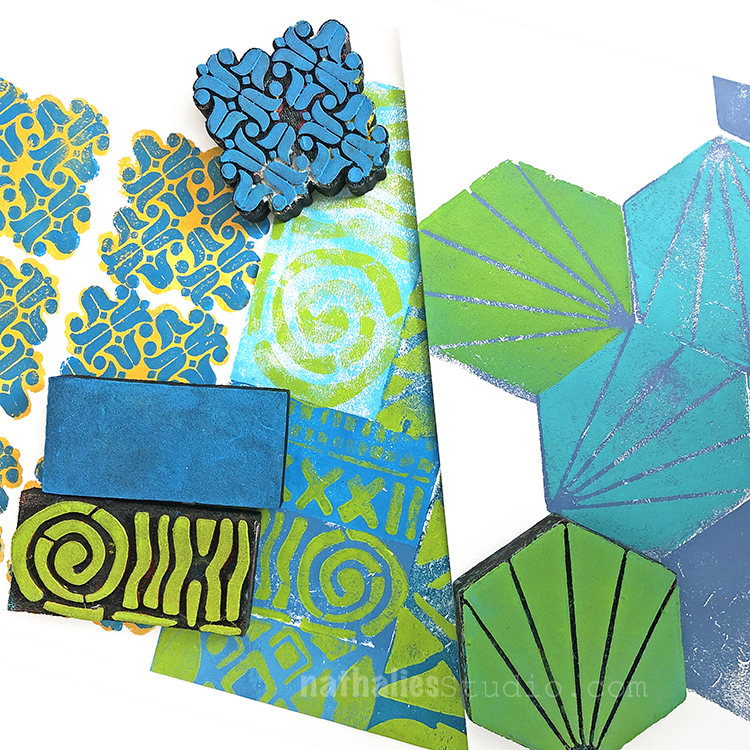
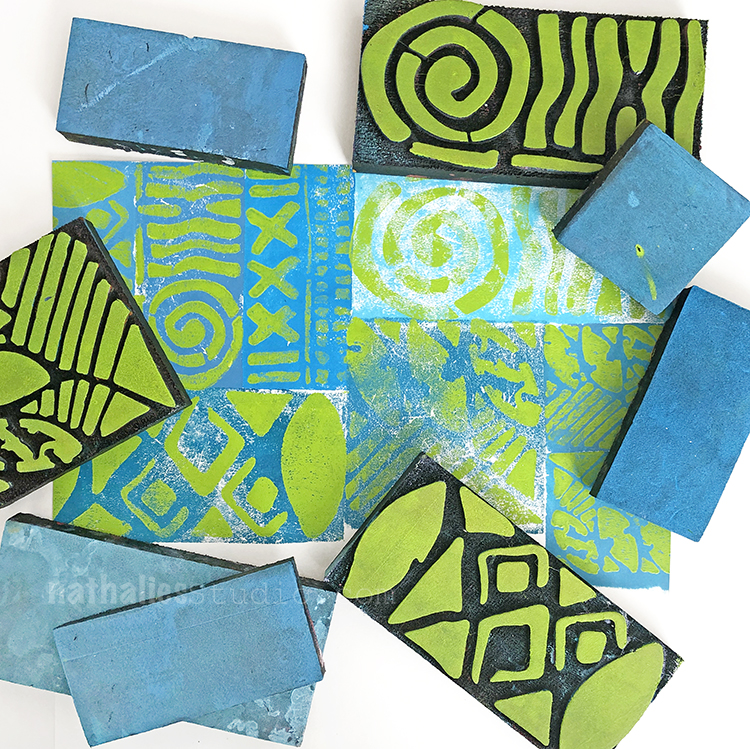
Here are the foam stamps I used for those prompts. Hope you enjoying the Foam Stamplifier Challenge!


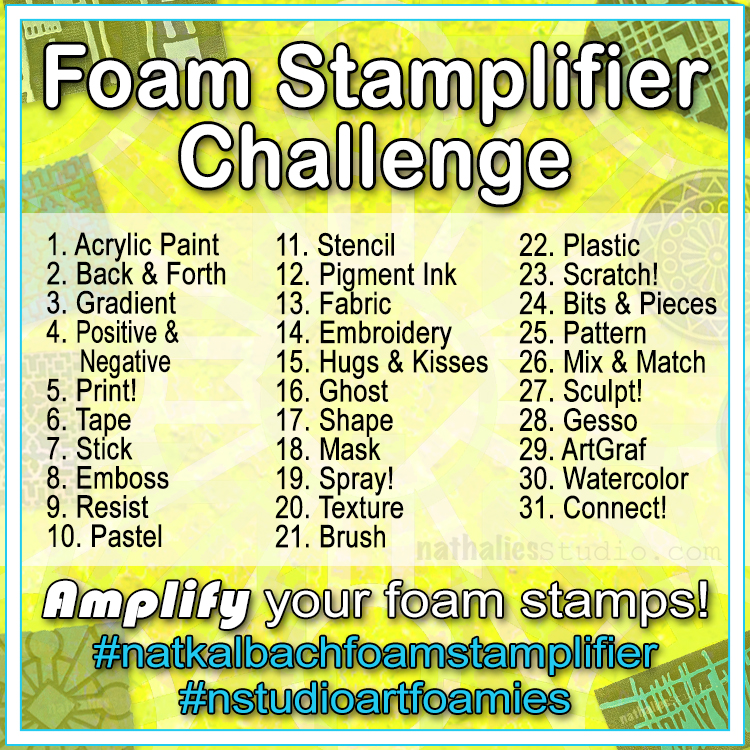
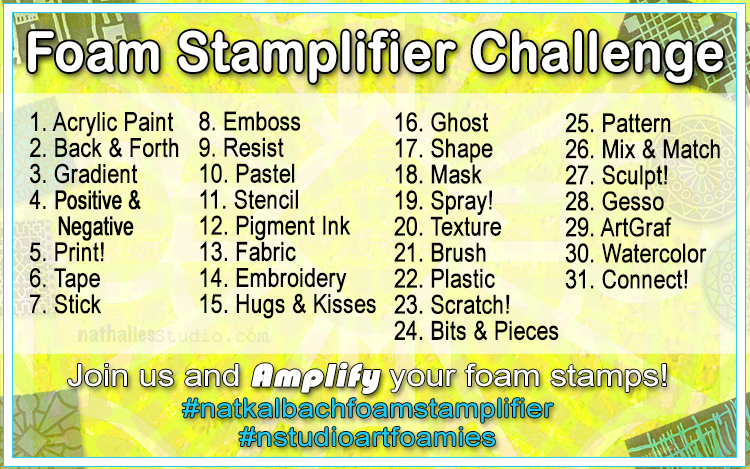
In case you missed the prompt list  here you go:
Leave a comment

Foam Stamplifier Challenge with the Creative Squad – Tania Ahmed


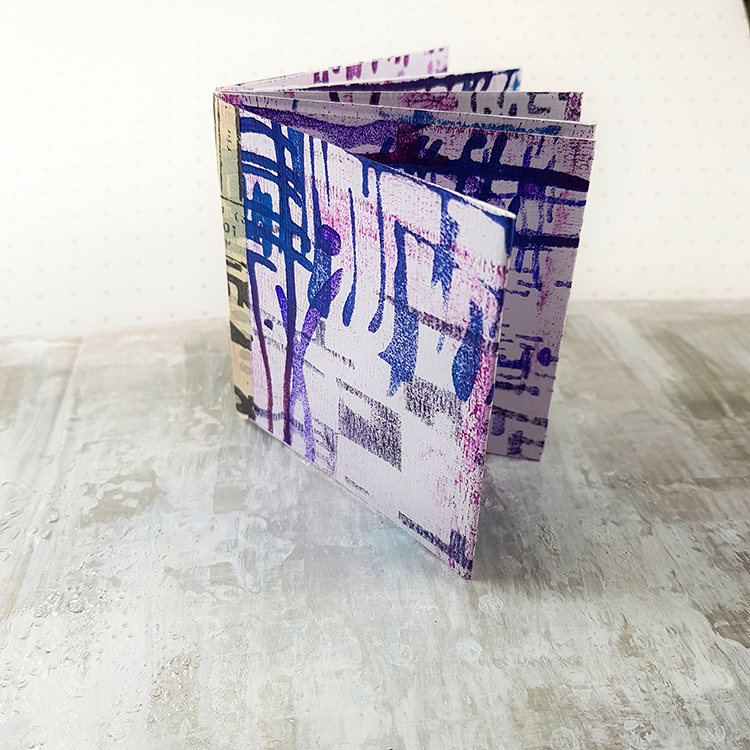
This month my Creative Squad is playing along with my new Foam Stamplifier Challenge: All month long you can follow my daily prompts on Instagram and on the blog to amplify your foam stamps!!! Today Tania Ahmed is following the prompt Print! She’s using my new Foam Stamps along with her gelli plate for monoprinting and then she shows a great next step for that monoprint :)


This month the Creative Squad was asked to play along with Nat’s Foam Stamplifier Challenge and my prompt was Print!

I love printmaking and I love Art Foamies stamps, so it was almost as if this prompt was made with me in mind, haha!

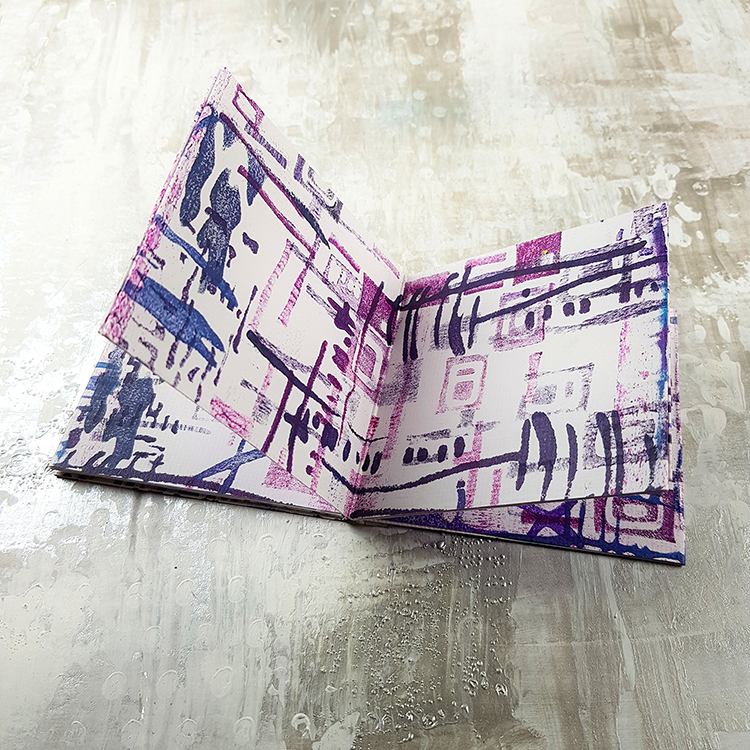
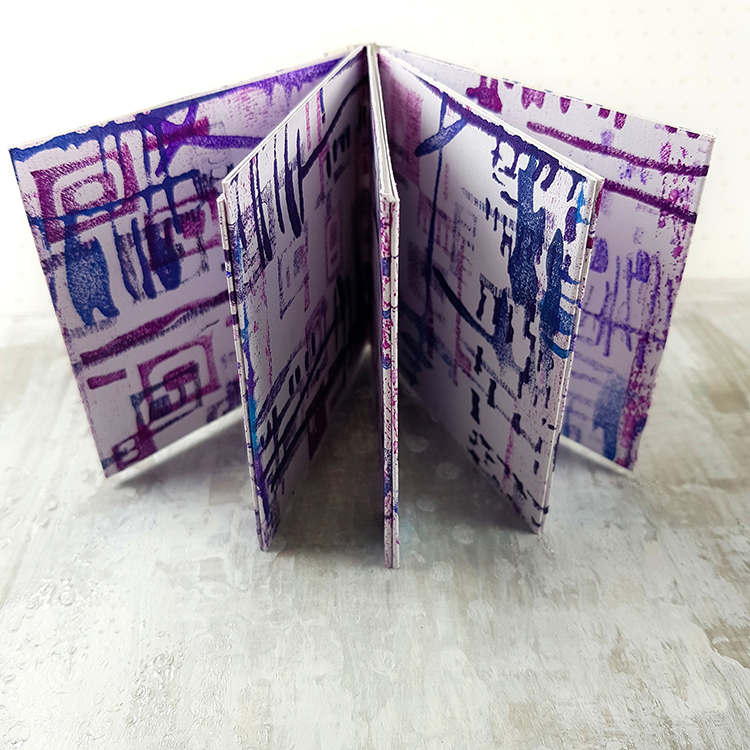
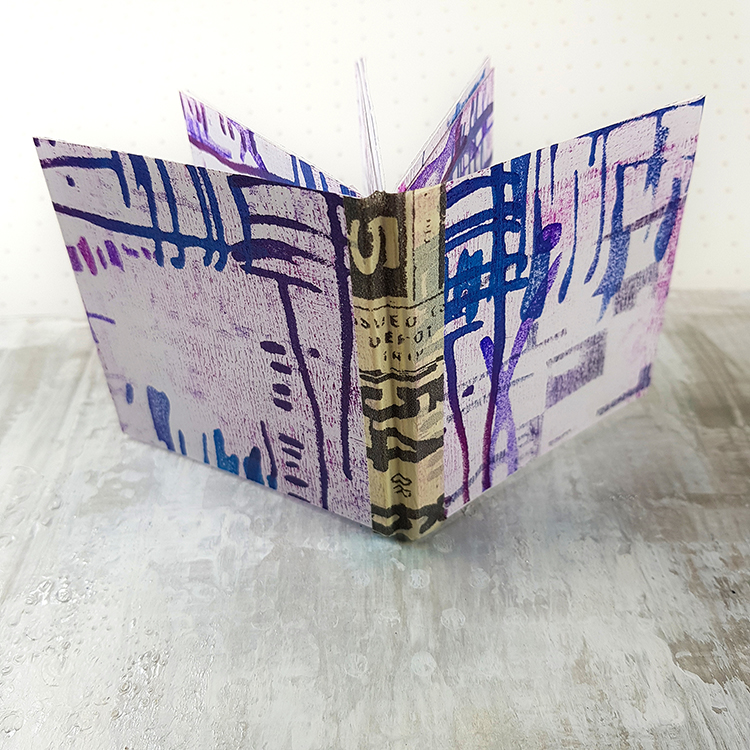
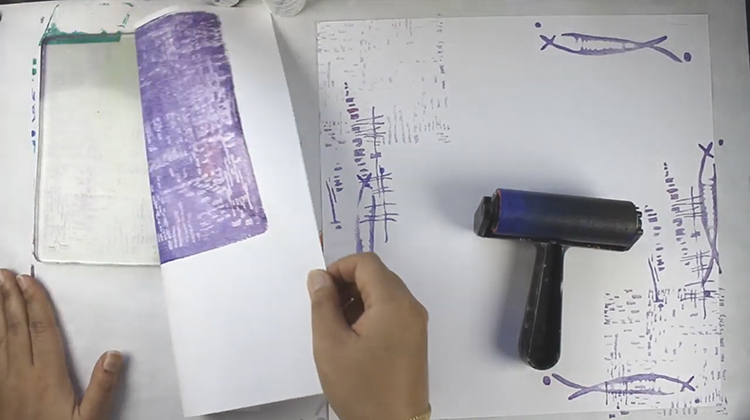
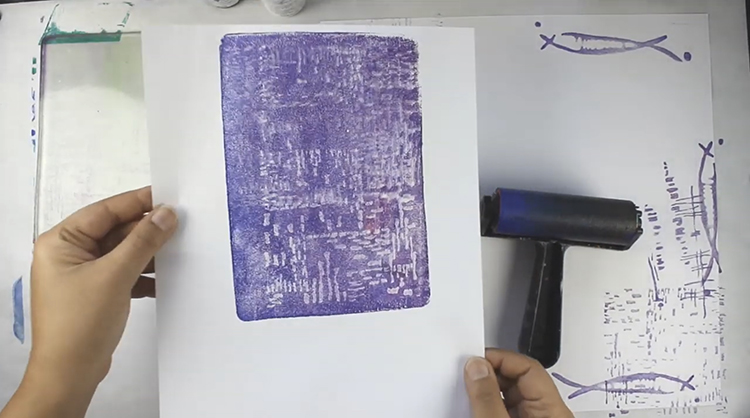
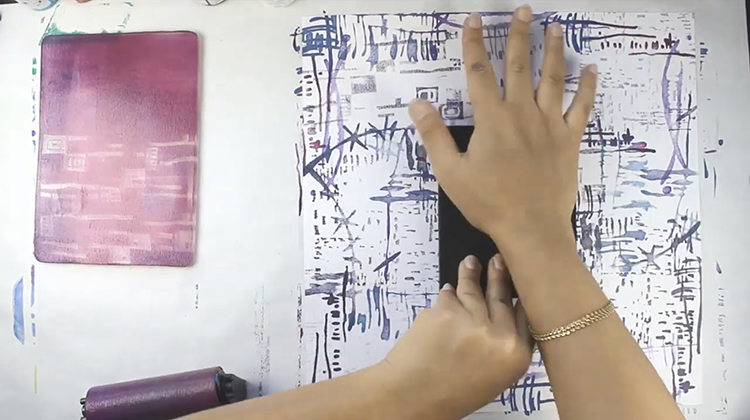
I made a video to show how I put together a little mini album made using 12×12 cardstock that stamped on using Nat’s newest Art Foamies release and a 5×7 Gelli Arts® plate.


Here’s how I put the mini album together:

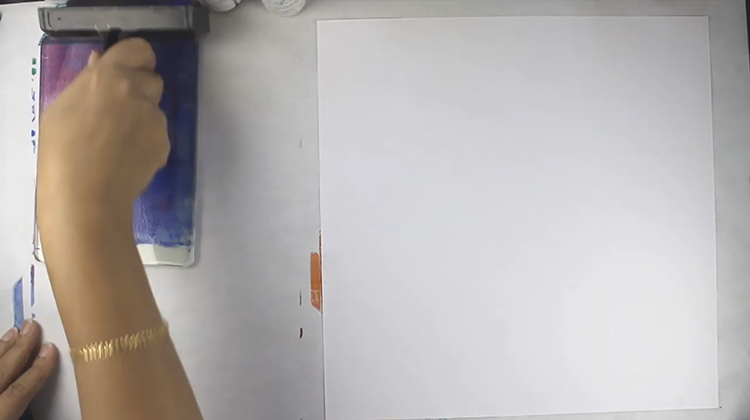
1 Apply a thin layer of acrylic paint to Gelli Arts® plate.

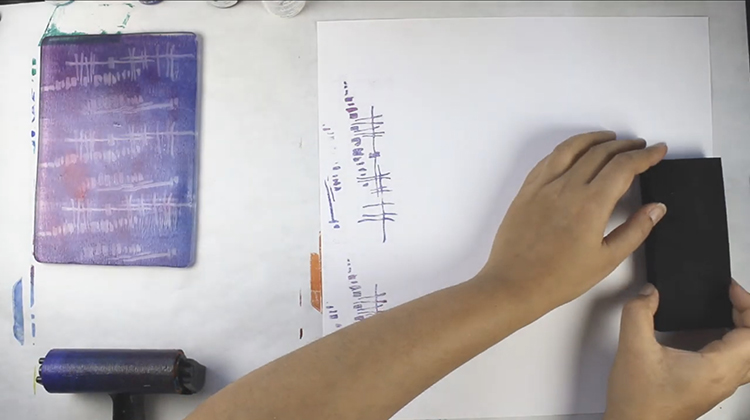
2 Use the Gelli Plate to ink the Art Foamies and then stamp on to cardstock and repeat until the paint just begins to dry on the plate.

3 Pull a print with the remainder of the paint that is left on the plate.

4 You can use this clean off paper for collages.

5 Apply more paint to plate and repeat steps until you are happy with your print.

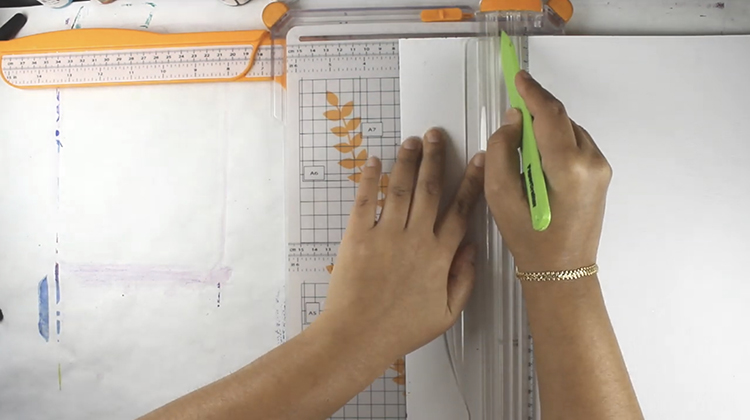
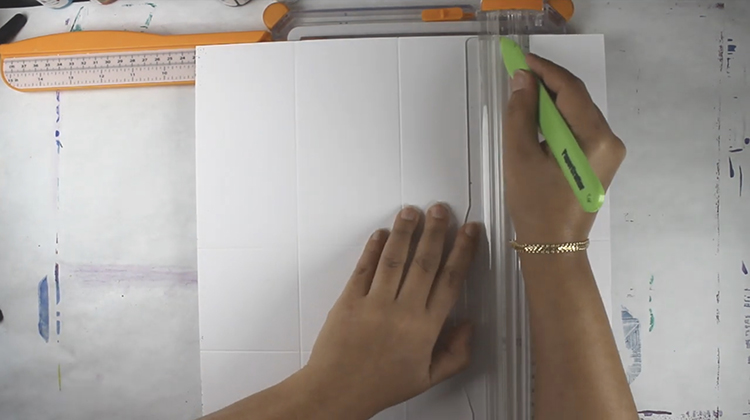
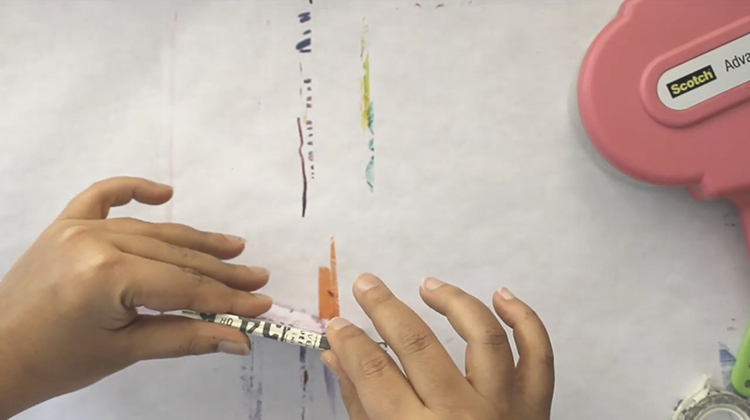
6 Score your cardstock at 3”, 6” and 9”.

7 Rotate paper 90 degrees and score again at 3”, 6” and 9”.

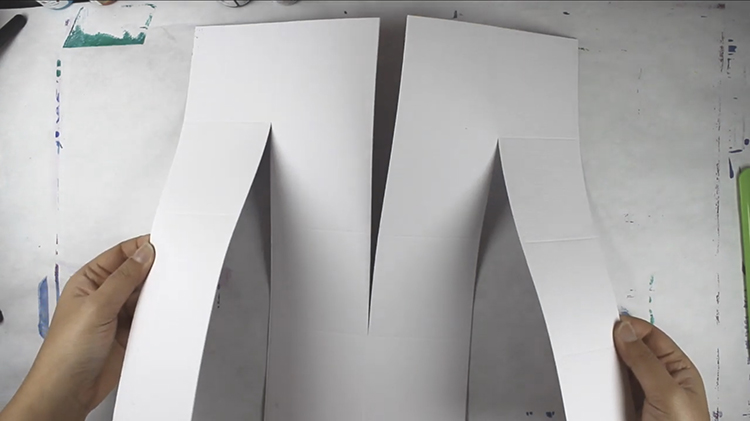
8 Cut up to the score lines as shown above.

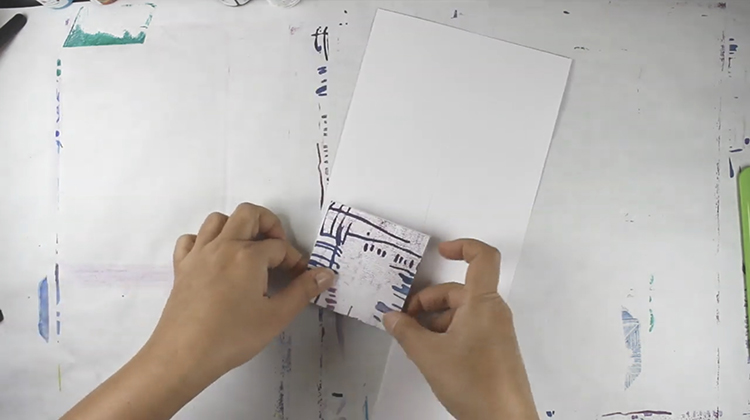
9 Accordion fold the paper which will form a little 3” x 3” journal/album.

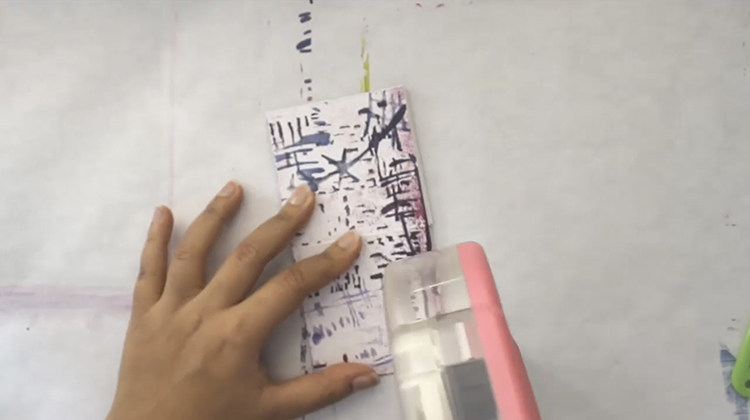
10 Tape or glue the backs of the pages together to make it a little more sturdy. You get leave some sides free to use as pockets.

11 To finish off the book spine, add washi tape for decoration!


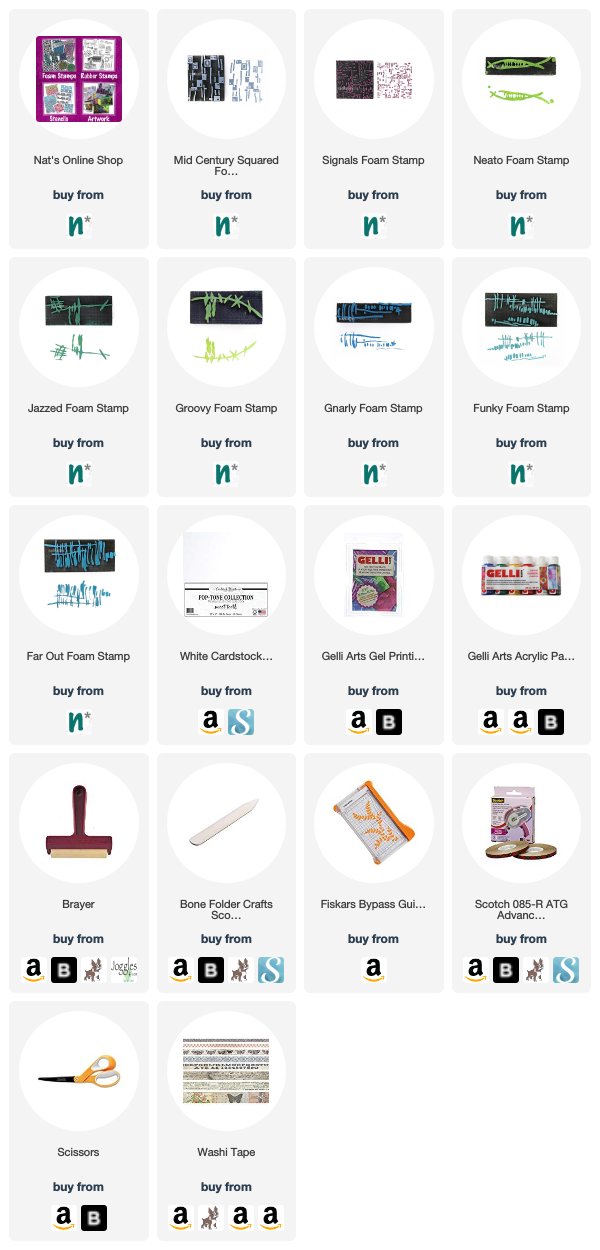
Thank you Tania! What an cool little book and a great way to use a monoprint! You can find my Foam Stamps in my Online Shop. Here are some of the supplies that Tania used:


Feel inspired? I hope you join us for the Foam Stamplifier Challenge this month. As you play along, don’t forget to tag me when you share your creations – I would love to share your projects in my next  “n*Spiration From Around the Globe“.

Leave a comment

Foam Stamplifier Challenge Prompts 1-2

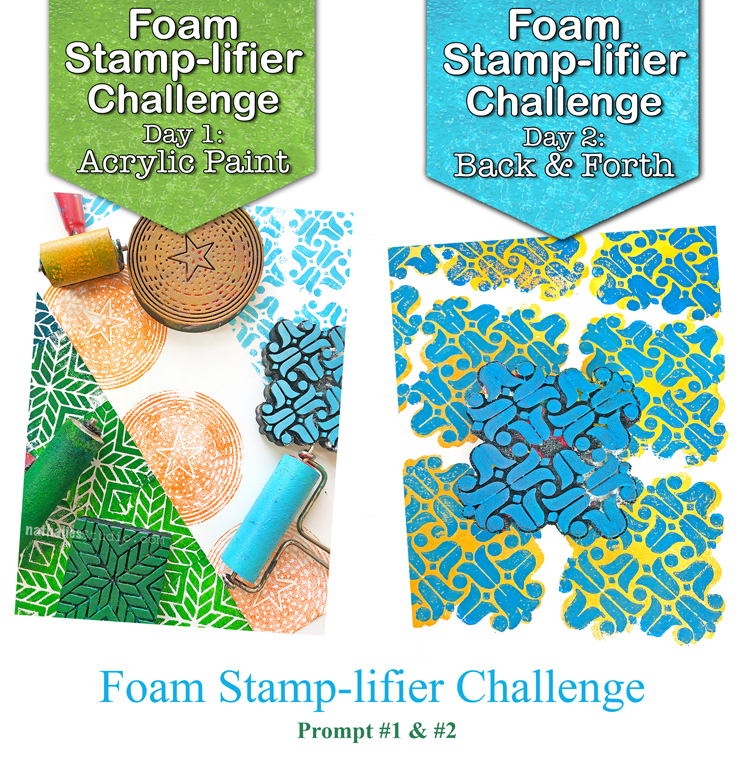
Are you in with me for the Foam-Stampflier Challenge to make the most of your Foam Stamps? Here are the first two days:

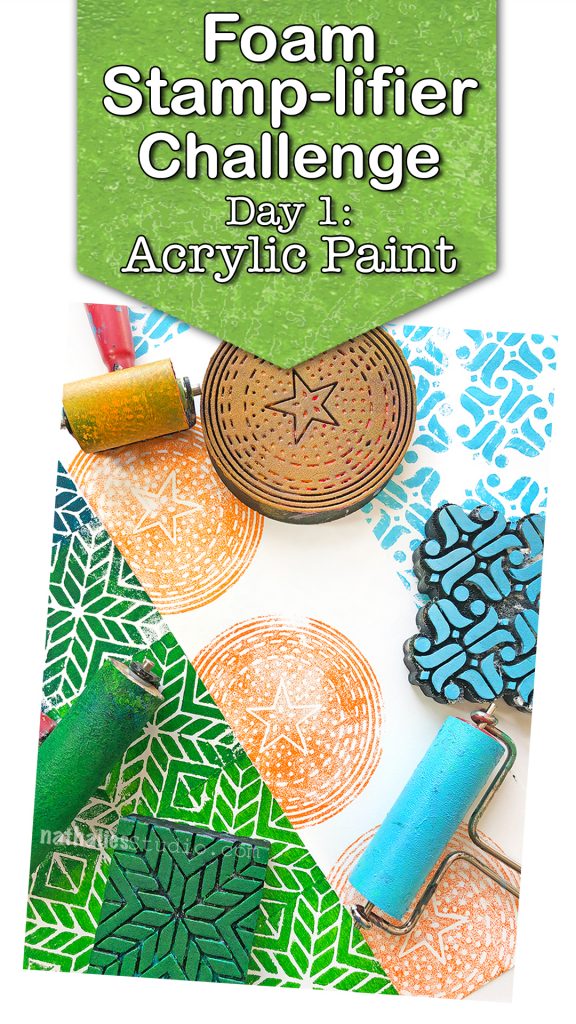
Day 1 – Acrylic Paint

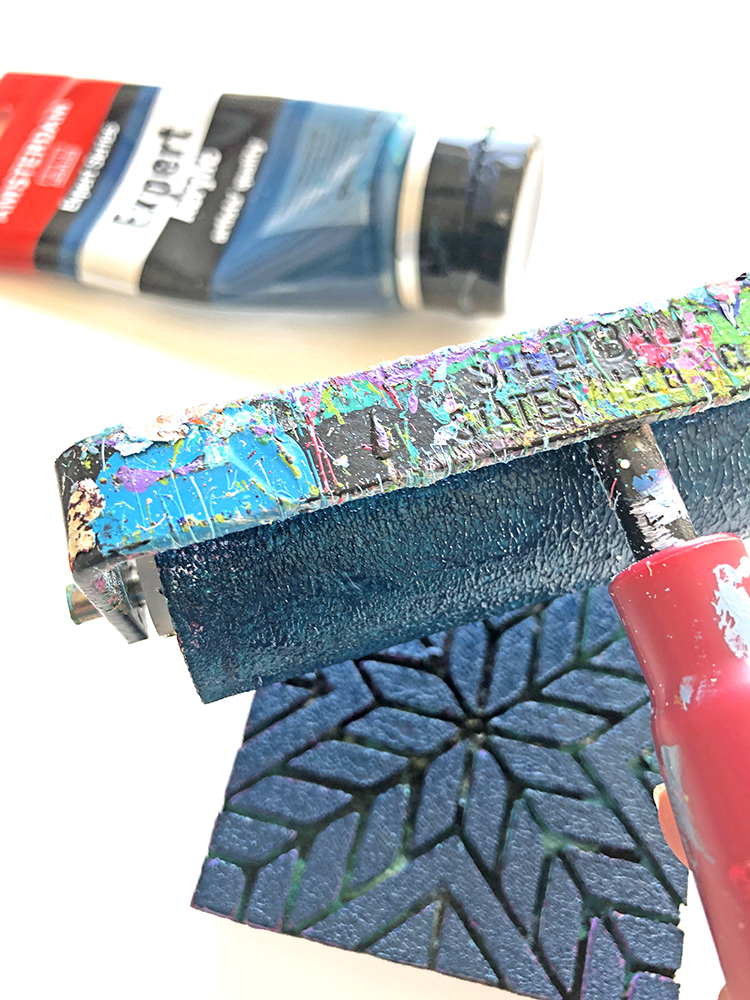
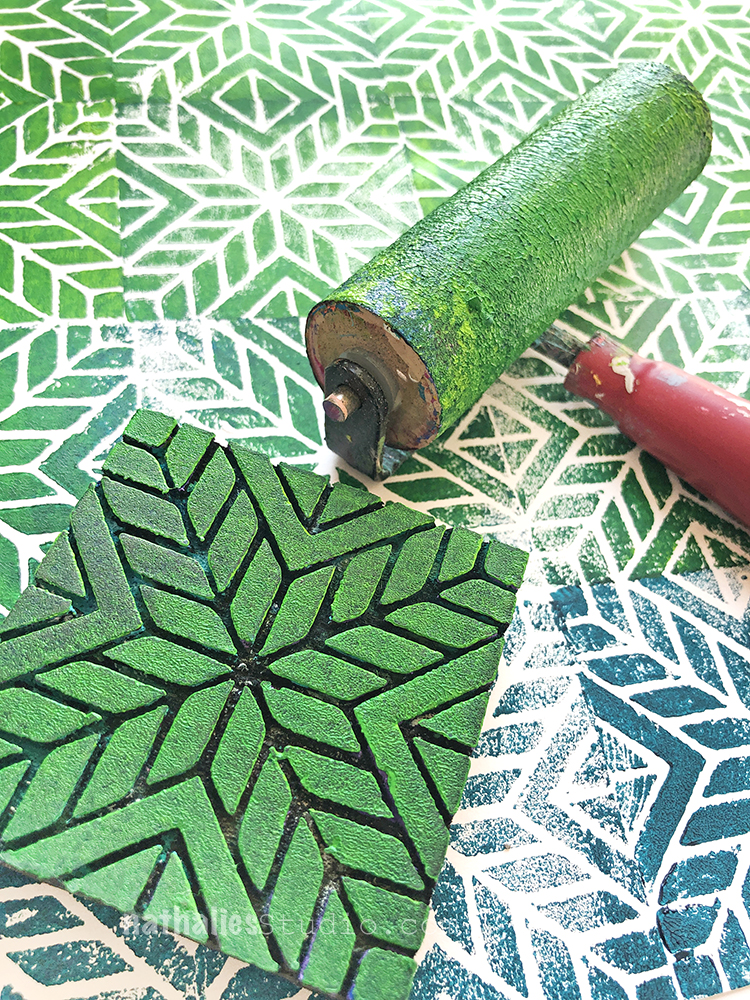
Yeahhh easy one- but hey- the reason why I am so in Love with foam stamps. I do love acrylic paint and I do love stamps. I usually just roll out some acrylic paint on a palette with a rubber brayer.


Making sure I cover the whole role of the brayer with my paint. I then transfer the paint on my brayer onto my foam stamp making sure that I cover the whole design evenly.


And then I start stamping.

I love the texture that the foam stamps due to their softness create with the paint and that not every single image is the exact same.

Now do I clean my foam stamps? Nope …I gave up. But do I recommend for you to clean them? Yep :)Here is a little video where I talk about it. But in short:  Just rinse them under some water – in between steps “park them on a piece of wet cloth a or a moist baby wipe and if you want to a be a bit more thorough, use a super soft veggie brush. Why? you ask! Fair question, well you know they are foam stamps and they can be amplified in so many ways do to their softness and structure but if you just keep adding acrylic paint on top over and over again and gunk them up with basicially sheets of plastic, the get harder and harder and loose they properties of a foam stamp. It also gets harder to stamp good images as they “smoosh” easier over the paper if they are covered with acrylic paint. But …hey up to you – you are the Boss Applesauce!

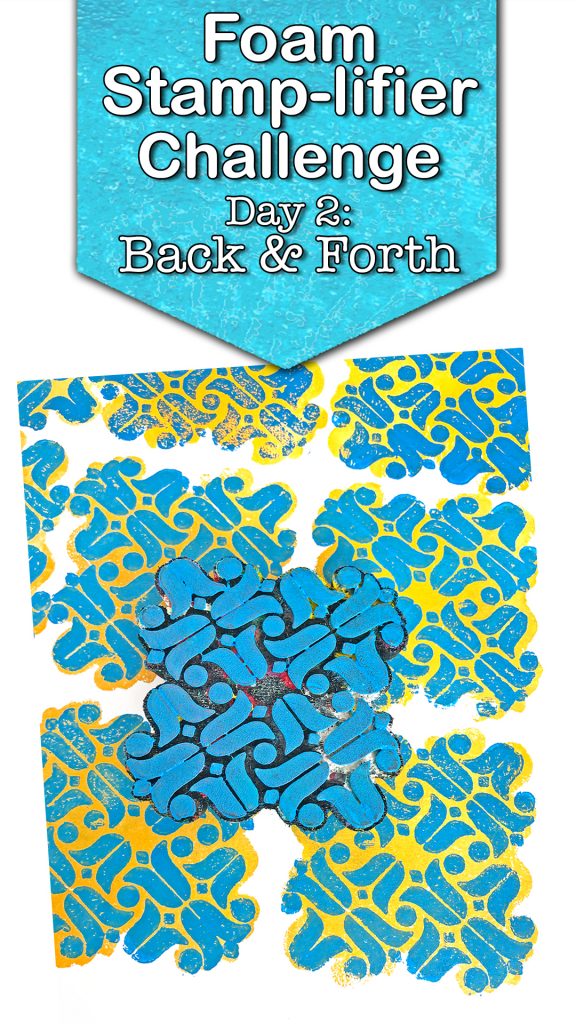
Day 2 – Back & Forth

I love to amplify my Foam Stamps by also using the backs of the stamps.

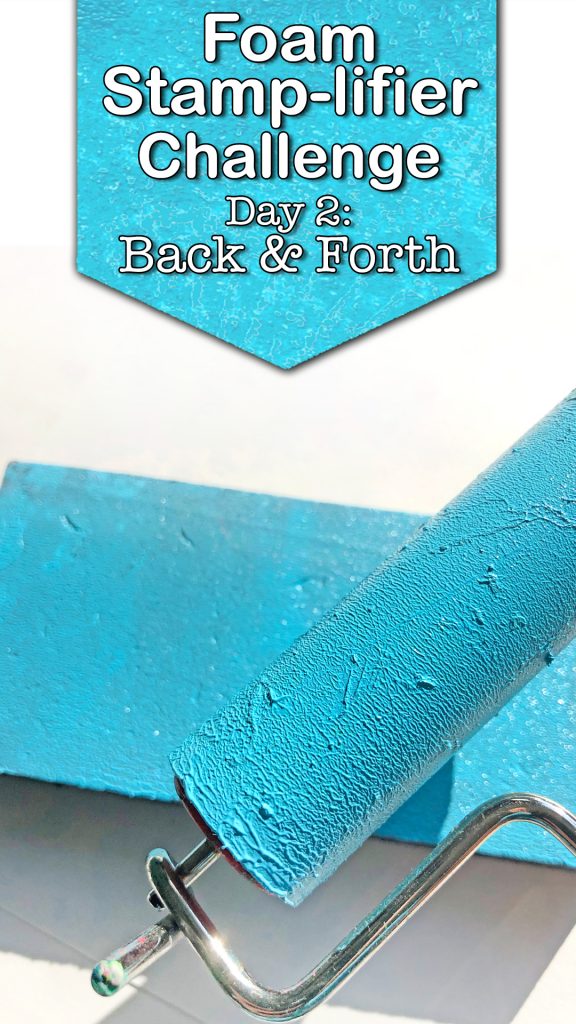
I apply the acrylic paint to the solid back side of the stamp – often choosing a nice corresponding color –

stamp and then flip the stamp to the pattern side, apply the paint there and stamp over the previously solid stamped shape.

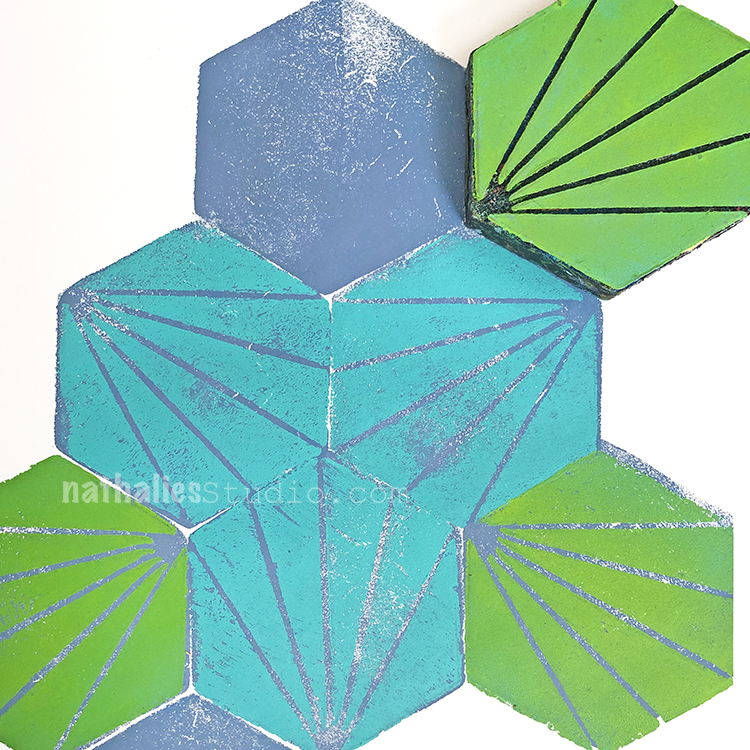
This works with all the rectangles, squares,

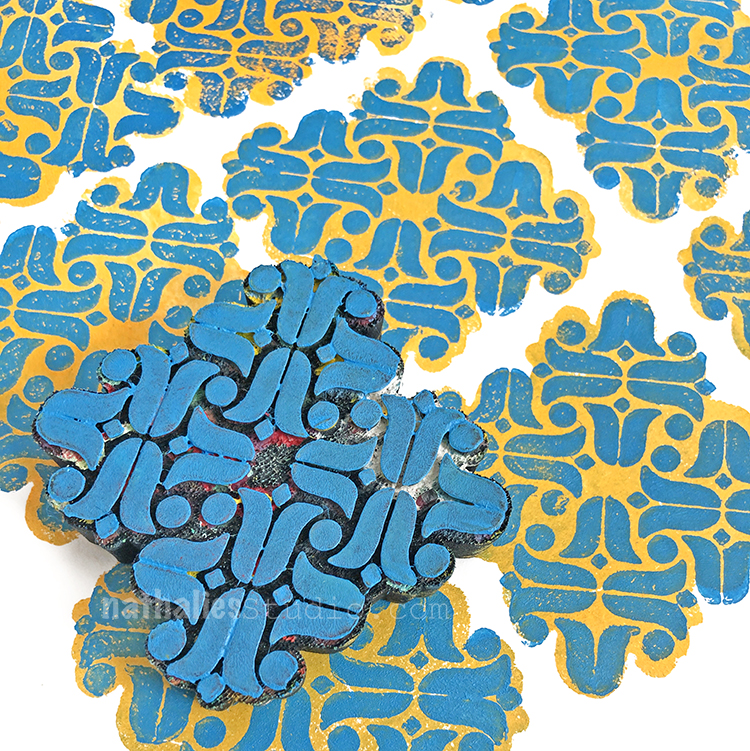
hexagons but even with other shapes like the oddly shaped Amsterdam Stamp as long as the shape is symmetric.


Here are the Foam Stamps that I used in the prompts:

Have you missed the prompt sheet? Here you go – I hope you will play along:

Leave a comment

Come Play Along: Foam Stamplifier Challenge

Come and join me in the Foam Stamplifier Challenge throughout the Month of March to amplify your foam stamps and make the most of them.

I love the versatility of foam stamps – one of the reasons why having my own line of foam stamps was always a big dream of mine and I am so stoked that for several years this dream became reality with ArtFoamies. In 2012 I offered an Online Class called  “Foam Stamplifier” and I thought I should pick up the theme and name of my workshop and push it even further in this Challenge.

I hope you will play along! I will show each day on my instagram account  (and every couple days on this blog) how you can amplify your foam stamps prompted by the key words in the prompt sheet. You can either try the same things or just try and do your own approaches  following along with the prompts. I so hope you will share what you do and if you post on instagram, I hope you will use the hashtags #natkalbachfoamstamplifier and/or #nstudioartfoamies .

I hope you are in with me in March to amplify your Foam Stamps!

Leave a comment