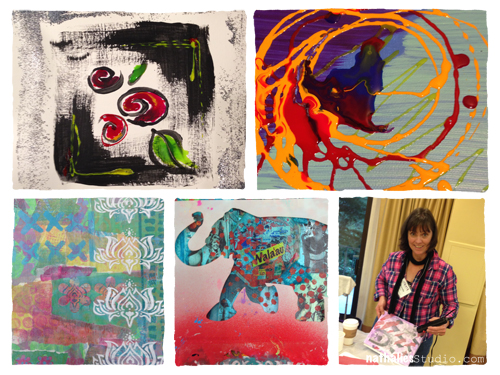
Blog: Mixed Media

Bloopers or … Working hard on CJS15!

Have you signed up yet for Creative JumpStart 2015? Don’t miss out on it!

CJS15

We are working really hard on it ….how about some bloopers ;)

Bloopers CJS 2015 from Nathalie Kalbach on Vimeo.

No worries my friends…. we made it :) All videos are in and awesome!

So what are you waiting for – sign up!

For only $25 you’ll get:

  • A series of 25 technique based videos from 23artists from around the world.
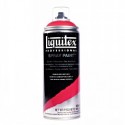
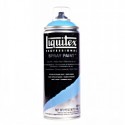
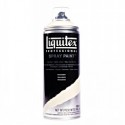
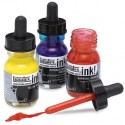
  • 7 chances to win amazing prizes from Liquitex on days that a video is not posted.
  • Unlimited Access to all 25 videos until November 2015.
  • Information about new creative and innovative products you might not have used before.

Wishing you an creative day!

hugs


Comments (4)

  • annrea1

    |

    Signed up again! Love to start my year off with you!

    Reply

  • JoAnn

    |

    Loved your bloopers – can’t wait for it to start!!

    Reply

  • Sue Clarke

    |

    Cant’ wait for the new creative year!

    Reply

Leave a comment

Photos of the Mixed Media Workshops at ESS in Florida

NatKalbach_ESSWS01_01

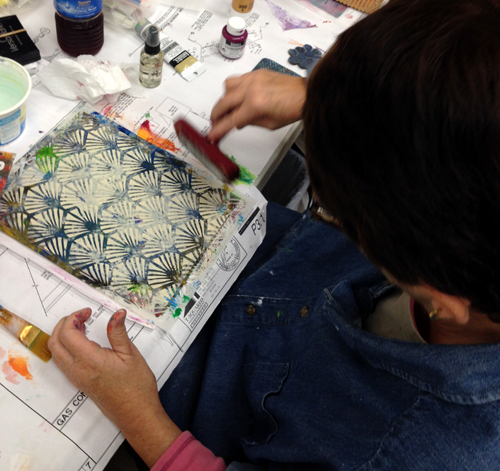
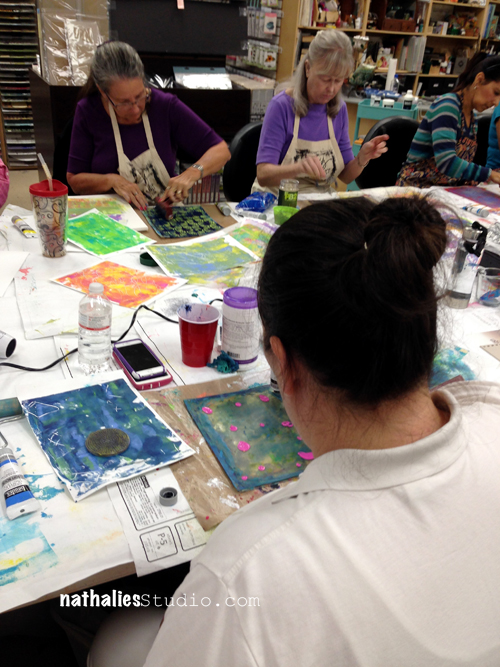
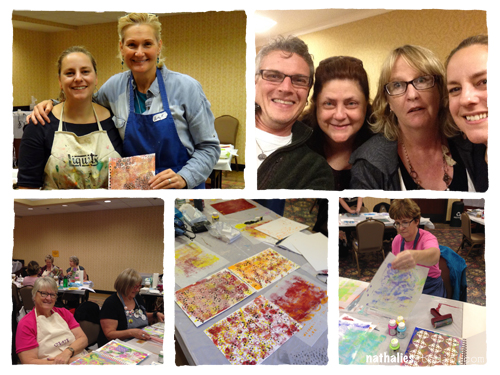
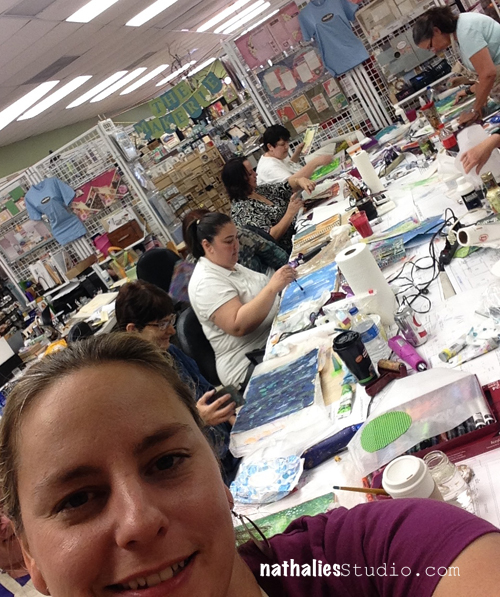
I had such a great time with my Mixed Media Workshops at Everything Scrapbook and Stamps in Florida. Thanks to Michelle for bringing me back and being such a great host :) Here are some pictures of the three days I taught there:

NatKalbach_ESSWS02

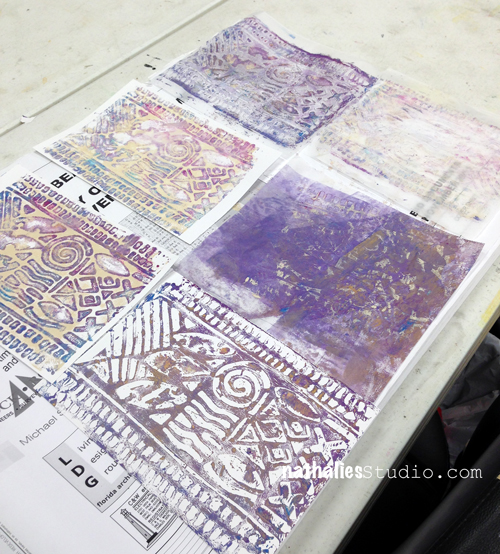
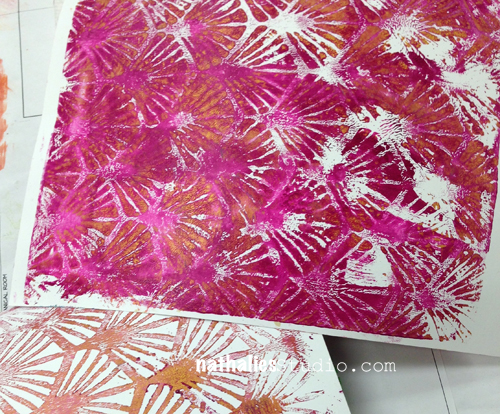
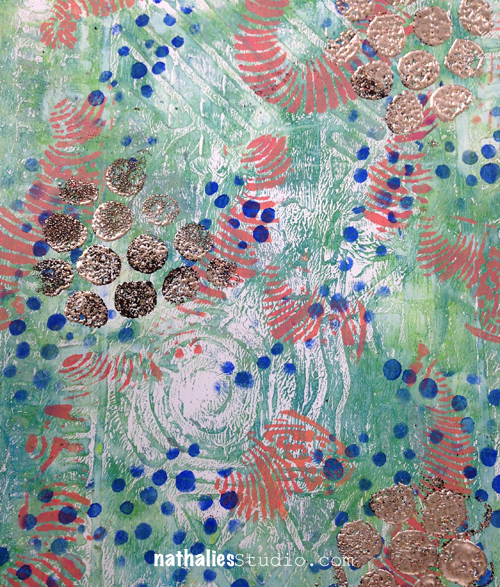
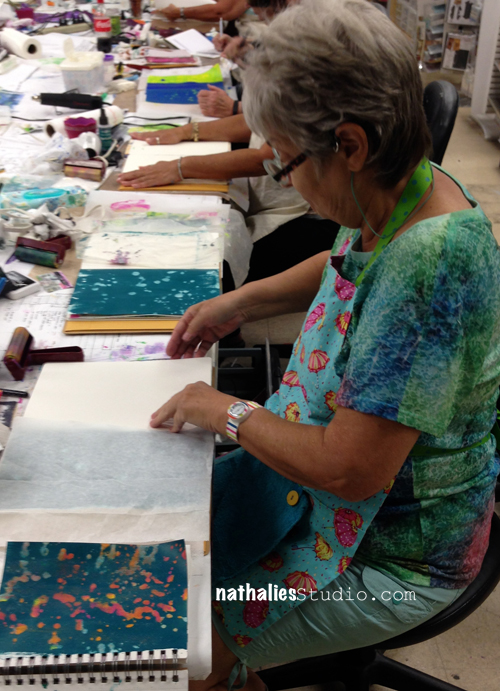
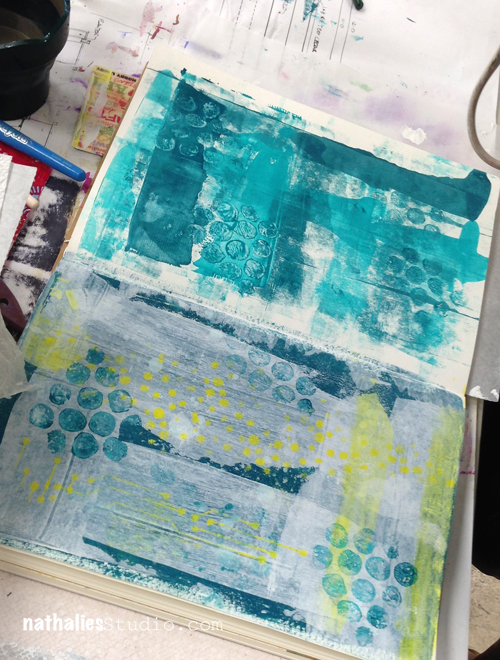
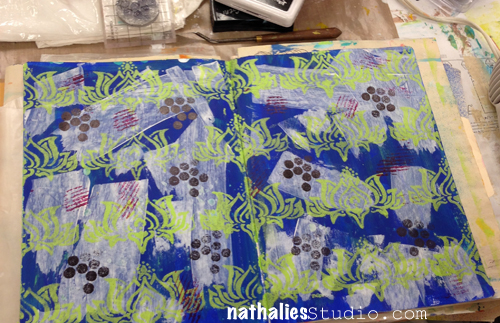
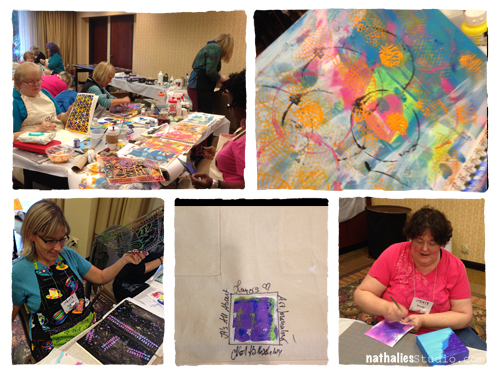
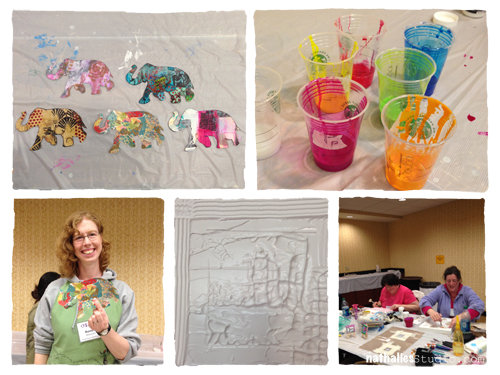
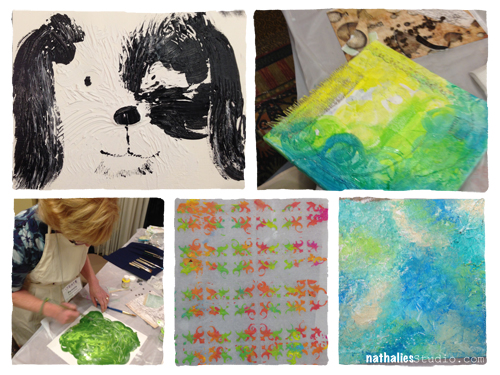
Friday I taught a Mono printing Class – lot’s of fun and texture and I loved seeing my stencils and stamps being used so much :)

NatKalbach_ESSWS03

NatKalbach_ESSWS01

NatKalbach_ESSWS04

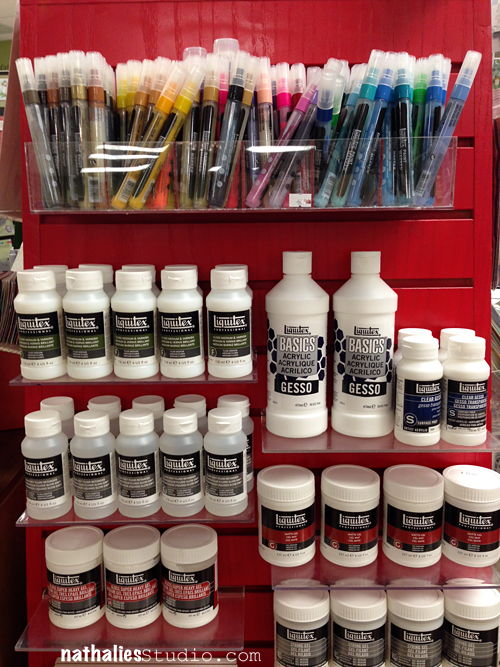
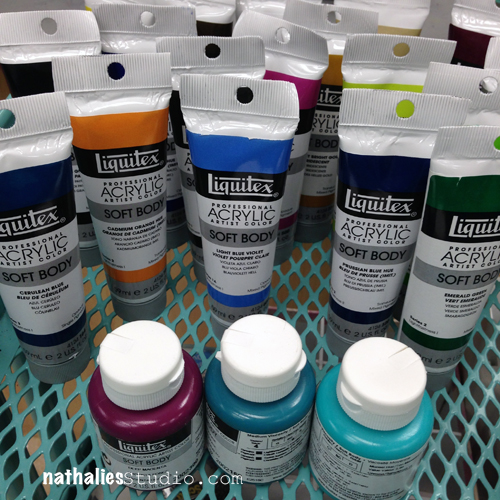
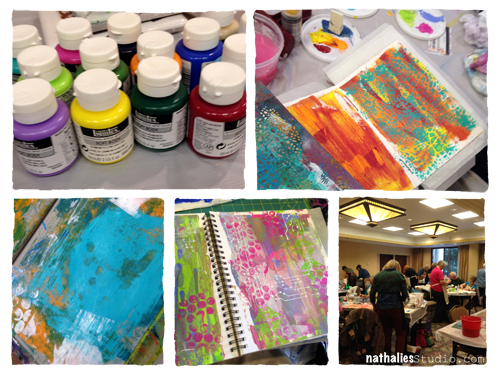
and we used loads of Liquitex Acrylic Paints.

NatKalbach_ESSWS06

NatKalbach_ESSWS07

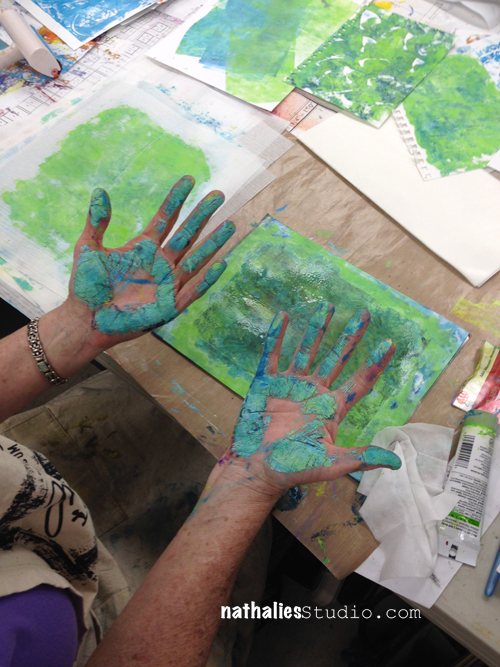
And everyone was hands on :)

NatKalbach_ESSWS08

NatKalbach_ESSWS09

NatKalbach_ESSWS10

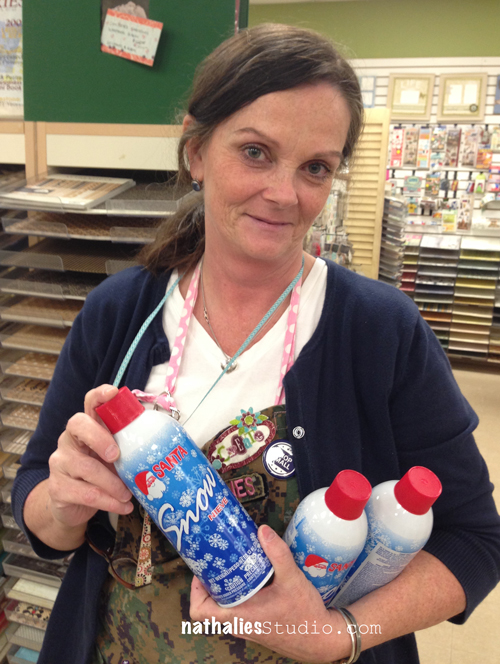
In between I learned that this is the only snow you can get in Florida ….sounded good to me with the arctic weather back home and comfy 86F at Lake Worth :)


NatKalbach_ESSWS05

Saturday I taught my Artvergnugen art journal class. My nifty students had practiced how to say Artvergnugen and were even able to show me :) Made me laugh big time!

NatKalbach_ESSWS12

We had an awesome day playing with paint and creating layers upon layers in our art journals

NatKalbach_ESSWS11

NatKalbach_ESSWS13

NatKalbach_ESSWS14

NatKalbach_ESSWS15

NatKalbach_ESSWS16

NatKalbach_ESSWS17

NatKalbach_ESSWS18

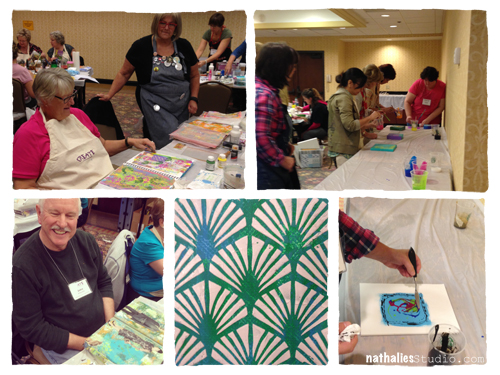
Sunday I taught a Collage Class- and I loved loved loved all the different results- it was loads of fun !

NatKalbach_ESSWS20

NatKalbach_ESSWS21

NatKalbach_ESSWS22

NatKalbach_ESSWS23

NatKalbach_ESSWS24

NatKalbach_ESSWS25

Thank you to all my amazing students for coming, being so amazingly creative and making me laugh! Until next time :)

Have a gorgeous day

Nat

Comments (4)

  • Sue Clarke

    |

    Just look at all that marvelous Liquitex products!
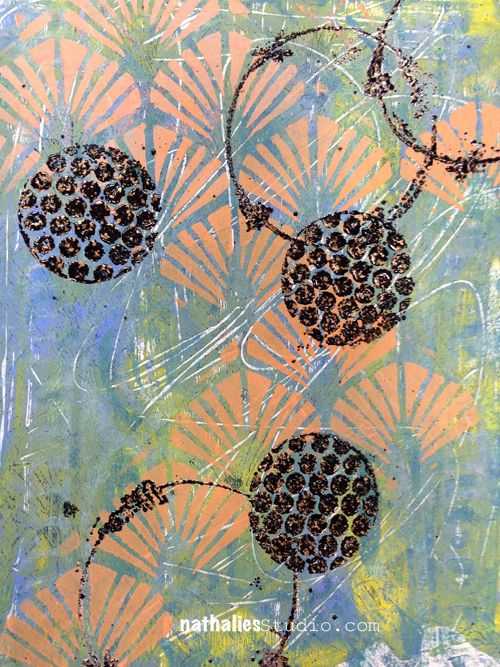
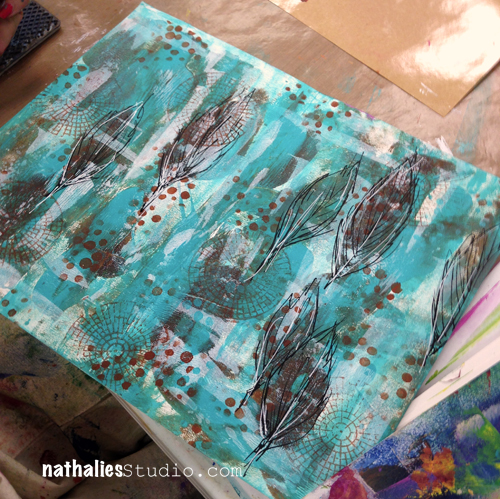
    My favorite is the page with the teal and brown feather stamp!!!

    Reply

    • nathalie-kalbach

      |

      Not Stamped Sue- she hand drew it over the texture stamped images- pretty cool huh?

      Reply

  • Belinda Basson

    |

    Wow, they look like they had loads of fun and great projects to take home too!

    Reply

  • Laura Strack

    |

    Looks like you all had so much fun! I can hear you laughing, right now, at their little English/German lesson. That’s hilarious!!

    Reply

Leave a comment

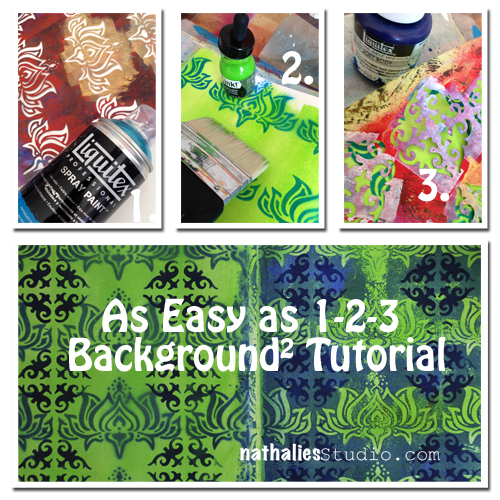
As Easy as 1-2-3 Background² Tutorial

NatKalbach_Easy123Background

Today I am showing you how to make a background- actually two different backgrounds – for an art journal spread as easy as you count to 3…or almost as easy ;)

NatKalbach_Easy123Background01

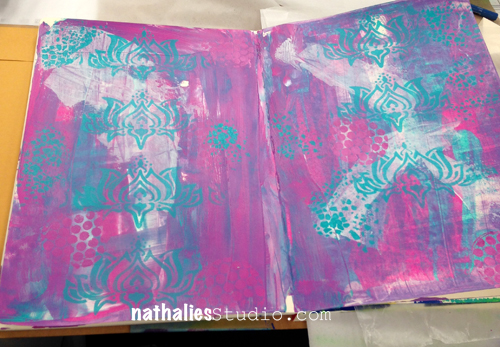
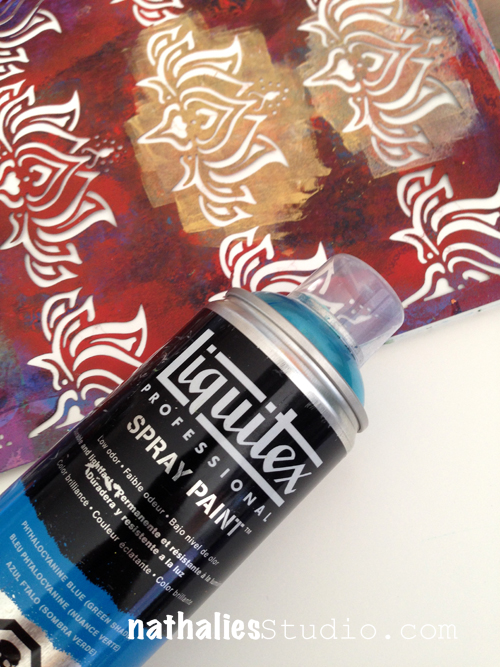
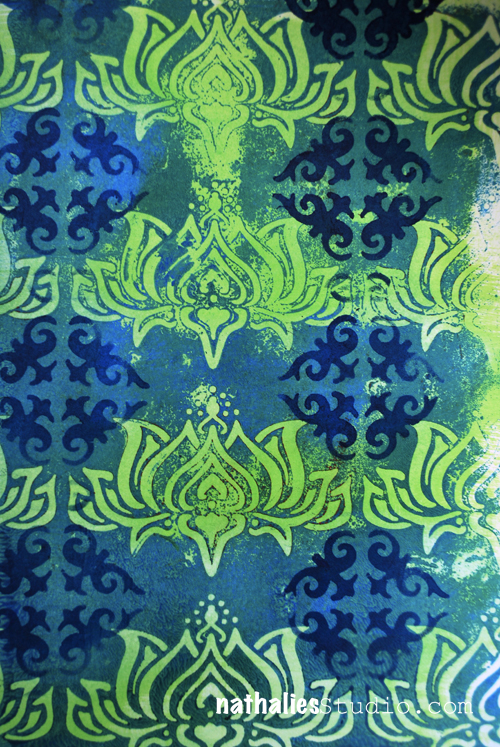
Picking my art journal, my Lily Wallpaper Stencil and Liquitex Spray Paint I start by spraying over the stencil over the left spread of my art journal.

NatKalbach_Easy123Background02

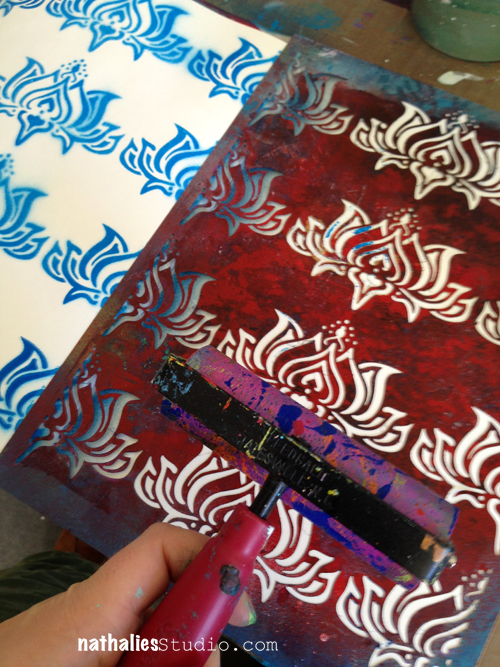
Using the paint on the stencil for a negative imprint, I simply flip the stencil over to the right side and brayer over the back of my stencil

NatKalbach_Easy123Background03

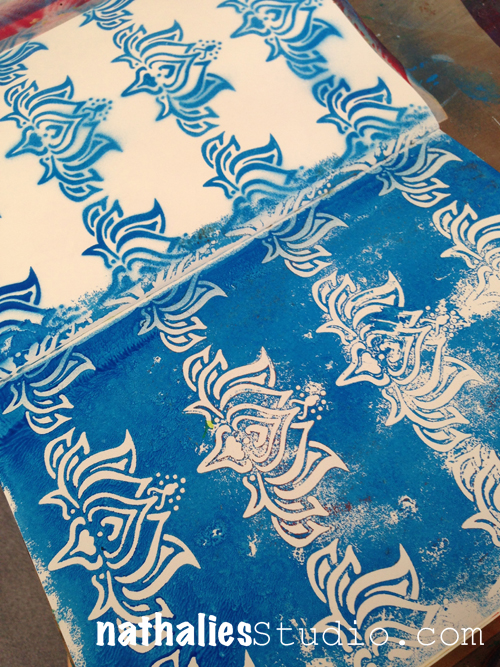
You can use the flip over step of course on a total different spread- because essentially these are actually two different background starters with the same techniques and materials. But I like to work in a double spread on my art journal and I like it when the sides are similar – like here in pattern, but still have  some interesting differences.

NatKalbach_Easy123Background04

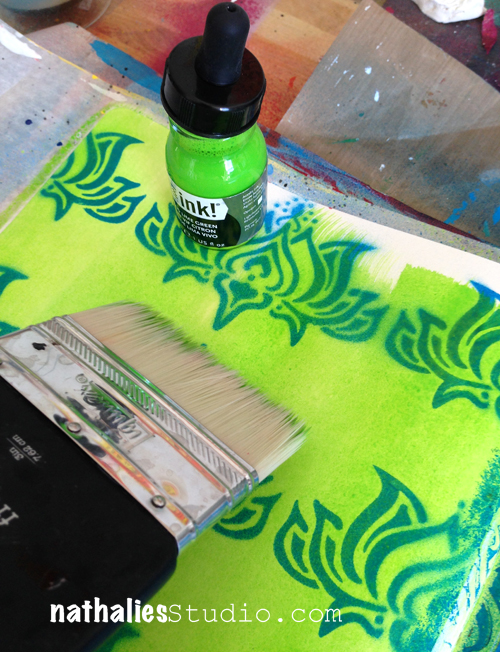
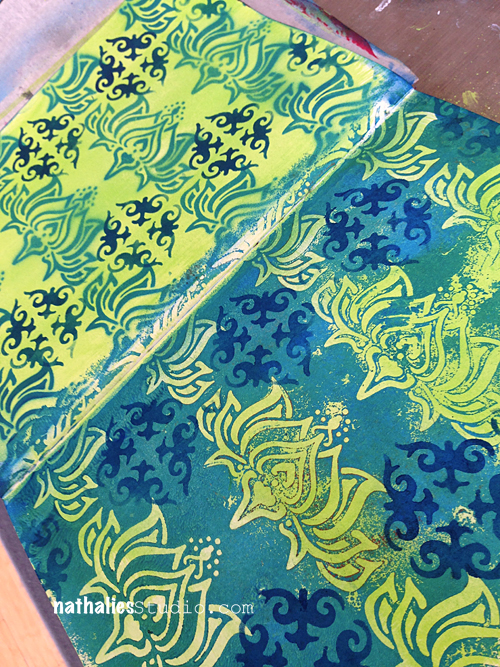
Using a big brush I spread a thin layer of Acrylic Ink over the spread. I love how the effect  – on the left side the lilly design is more bound in

NatKalbach_Easy123Background05

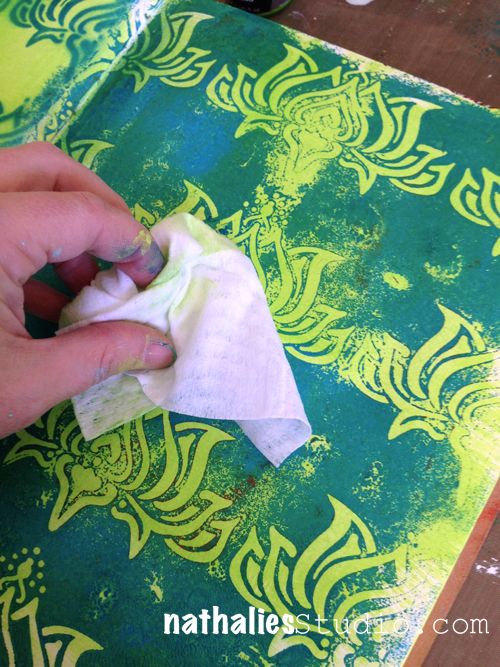
while on the right, by taking some of the ink off with a baby wipe, the blue spray paint color pops even more.

NatKalbach_Easy123Background06

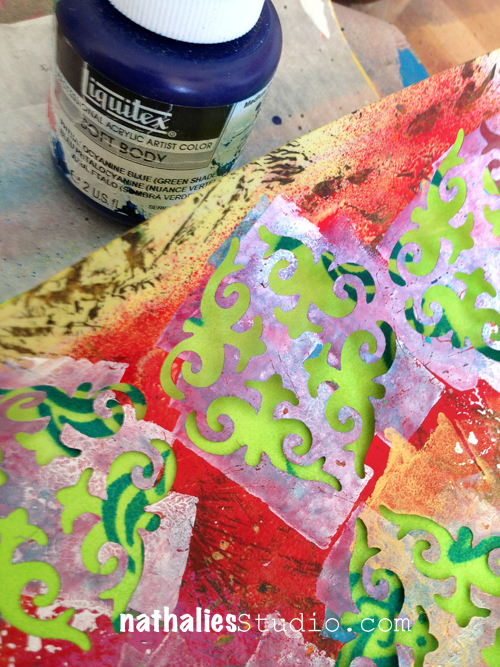
I picked the same blue as a Soft Body Acrylic Paint as I used as a Spray Paint (Phthalocyanine Blue (Green Shade) for the next step. Layering my Ornament Stencil over the empty spaces of my Lily Background I stenciled single ornaments in.

NatKalbach_Easy123Background07

And done is/are my background(s)

NatKalbach_Easy123Background08

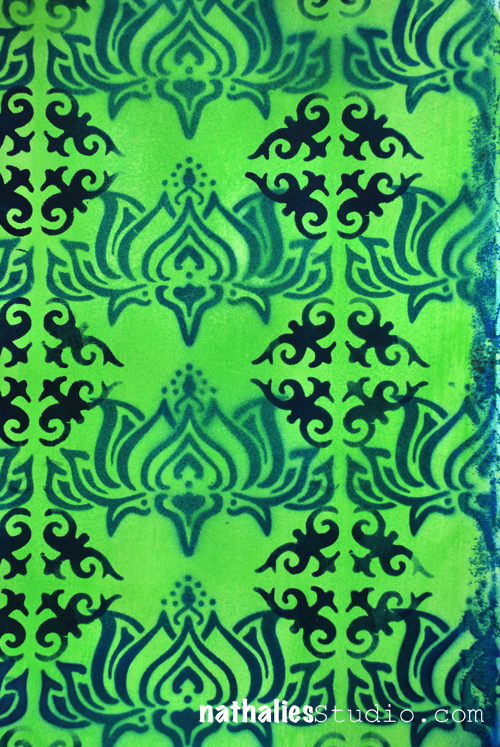
Here is the background 1 …and

NatKalbach_Easy123Background09

Easy, wasn’t it? I will show you in a couple days, what I actually did in my art journal with these two backgrounds.

Here is a complete list of the supplies I used

nSupplies


Have an amazing day


Comments (6)

  • Christy Tremblay

    |

    REALLY Cool!!!
    I am going to have to try this. Thank you for sharing and the nice pictures!

    Reply

  • sécotine La Petite Française

    |

    thanks so much for sharing your amazing work!!! love to play with the transparences of liquid acrylic paint!

    Reply

  • Sue Clarke

    |

    Sweet and you make it look so easy.

    Reply

  • Jani Franck

    |

    I love how the layering works – gorgeous technique, thanks for sharing :)

    Reply

Leave a comment

Layered Art Journal Page Tutorial

NathalieKalbach_Remember01

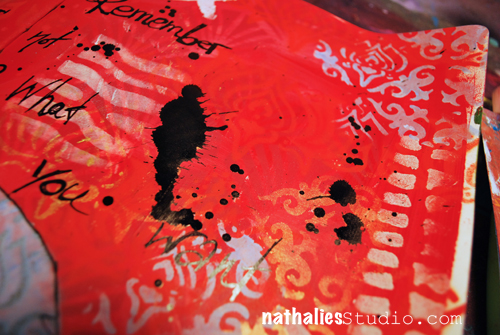
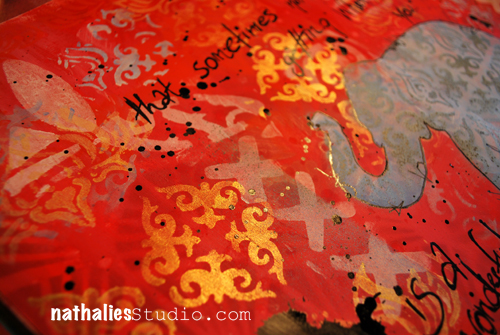
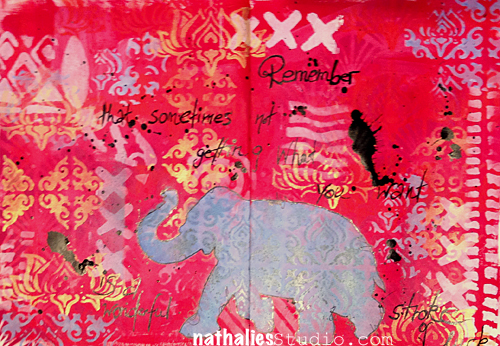
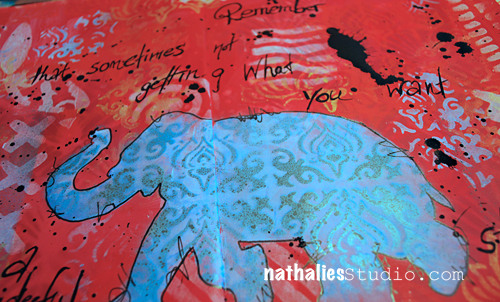
“Remember that sometimes not getting what you want is a stroke of luck” – Dalai Lama

And sometimes you won”t find out about that until much later… ;) For this spread I wanted a layered look to go with this quote. Let me share with you how I worked on this art journal page
Nathalie_Kalbach_Elephant_Stencil_01

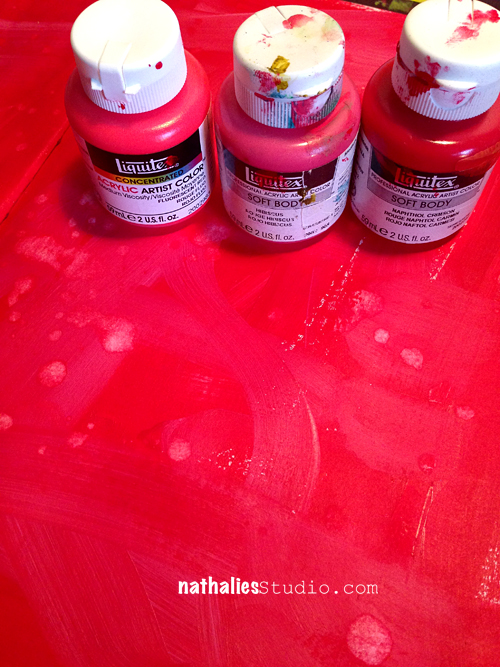
I chose three vibrant but close red /pinkish Liquitex Soft Body Paints: Naphthol Crimson, Fluorescent Red and Hibiscus and dry brushed and blended them together on the blank page.
Nathalie_Kalbach_Elephant_Stencil_02

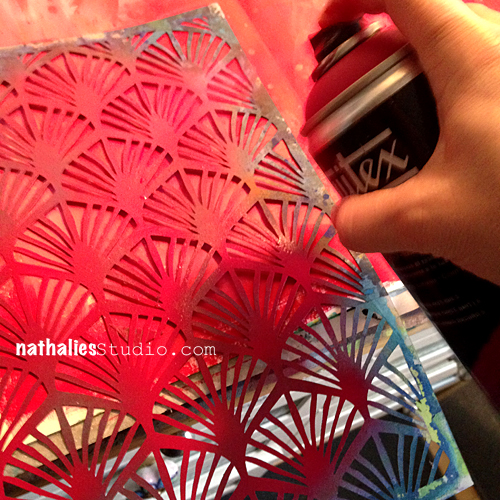
Using the Art Deco Wallpaper Stencil I designed for StencilGirl Designs I spray painted here and there a second layer with Cadmium Red Deep Hue 5 onto the spread.
Nathalie_Kalbach_Elephant_Stencil_03

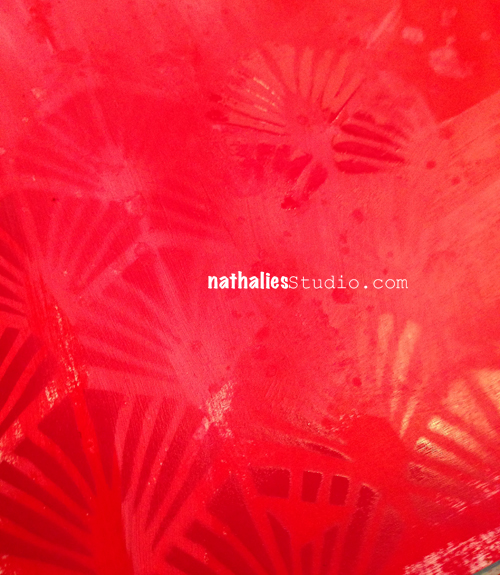
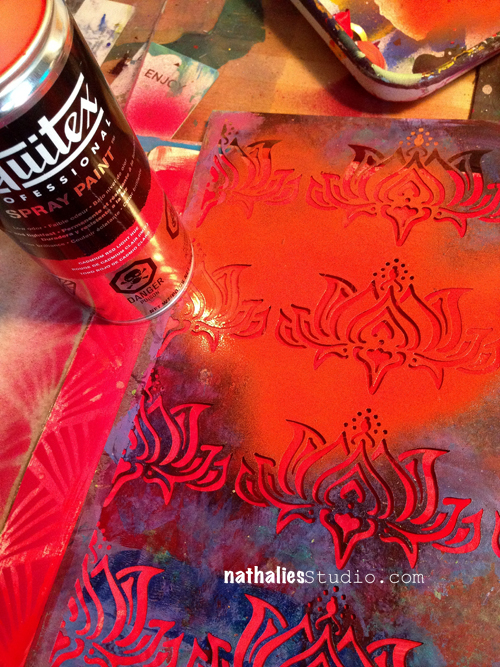
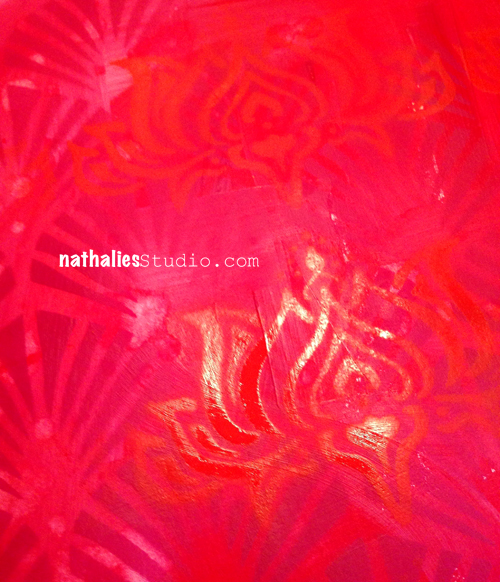
The result was very subtle as  I used the same color scheme as for the background but exactly that gives it so much dimension and depth. So I grabbed my Lilly Wall Decor Stencil and sprayed over it with Cadmium Red Light Hue.
Nathalie_Kalbach_Elephant_Stencil_04

I just love the crisp stenciling effects with those spray paints!
Nathalie_Kalbach_Elephant_Stencil_05

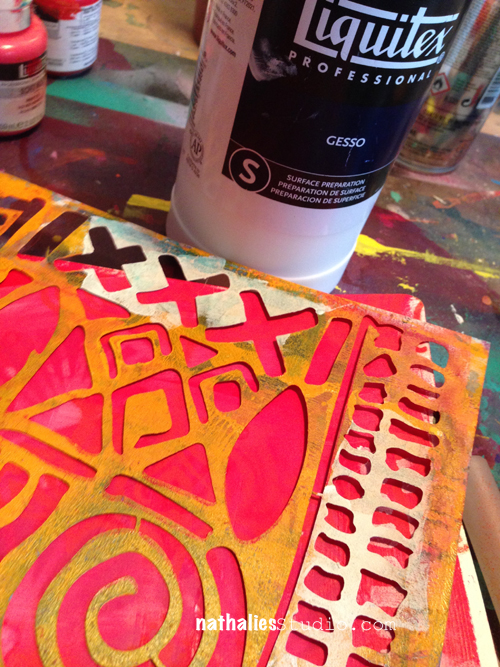
For my next layer I wanted to tone down the brightness a bit and was going for a white. But I also didn’t want a shiny white to not pick up on the brightness of my background and so I chose Gesso instead of Acrylic white paint to use with my Batik Stencil.
Nathalie_Kalbach_Elephant_Stencil_06

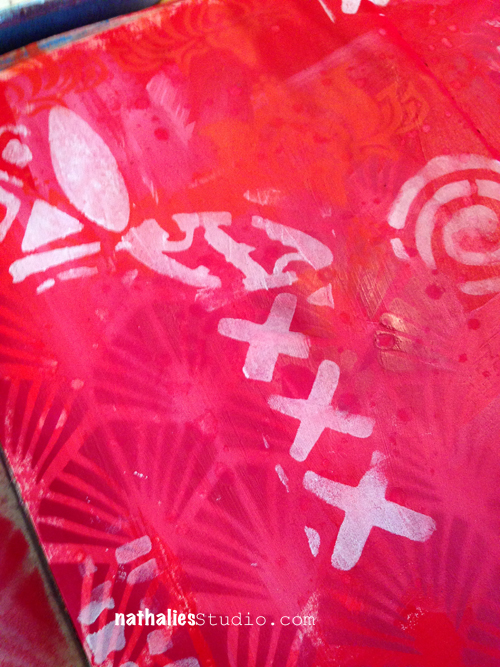
I used only parts and bits of the Batik Stencil here and there.
Nathalie_Kalbach_Elephant_Stencil_07

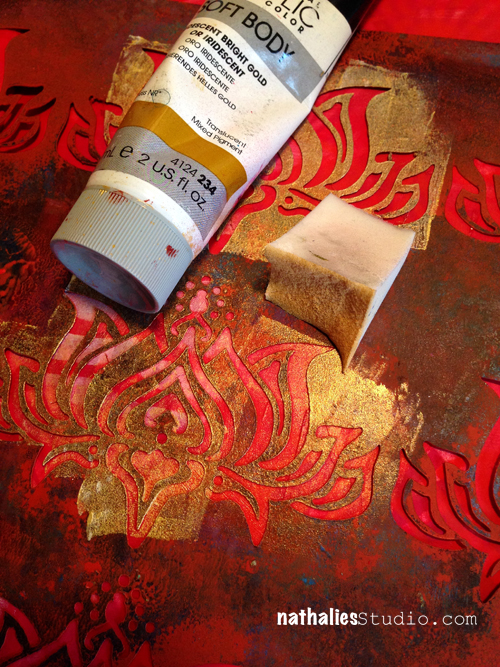
For my next layer I picked up the Lilly Stencil again – Repetition of Patterns is also a good way to layer and I had already used the Lilly Stencil AND I knew I was going to use my Elephant Stencil that has the Lilly in a smaller form as a pattern too :)
Nathalie_Kalbach_Elephant_Stencil_08

I used Iridescent Bright Gold and used a cosmetic sponge to stencil through. BTW the sad looking foamy thing on the right is the cosmetic sponge. It looks like this because I use it several times cutting off the tip for new colors to make the most of it.
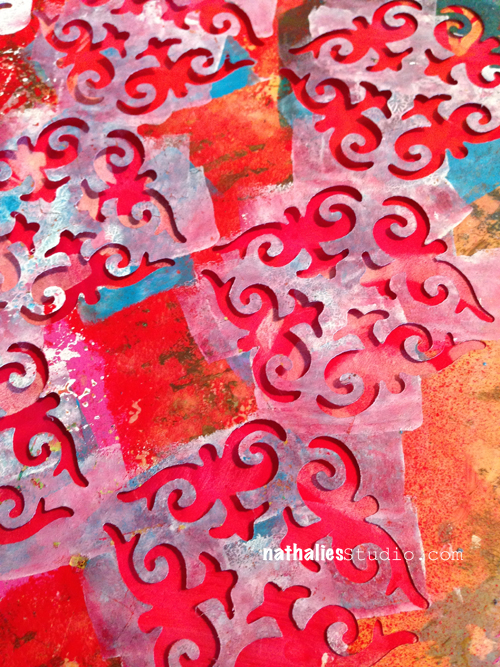
Nathalie_Kalbach_Elephant_Stencil_09

And since I was talking about repetition : As the Elephant Parade Stencil also has small parts of my ornament stencil included, I pulled out the Ornament Wallpaper Stencil and stenciled with gold here and there.
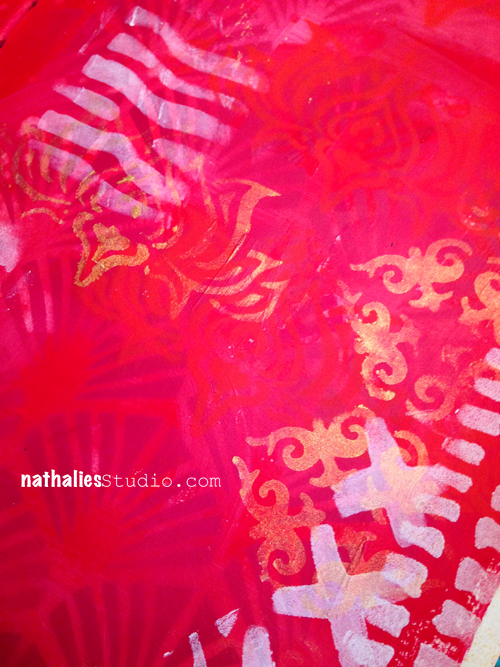
Nathalie_Kalbach_Elephant_Stencil_10

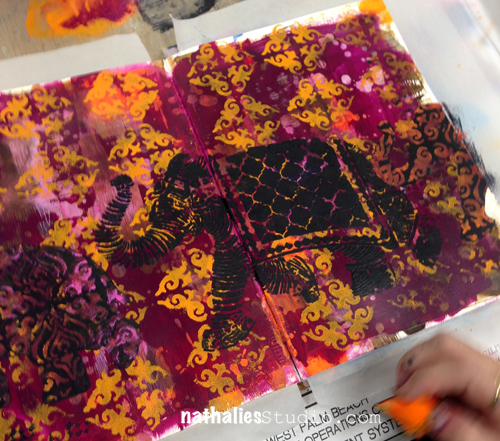
I wish the photos could do the gorgeous golden color justice…but you just have to take my word for it…it is amazing in real life! Then it was time to get the big guns…eh Elephants out. My Elephant Parade Stencil.
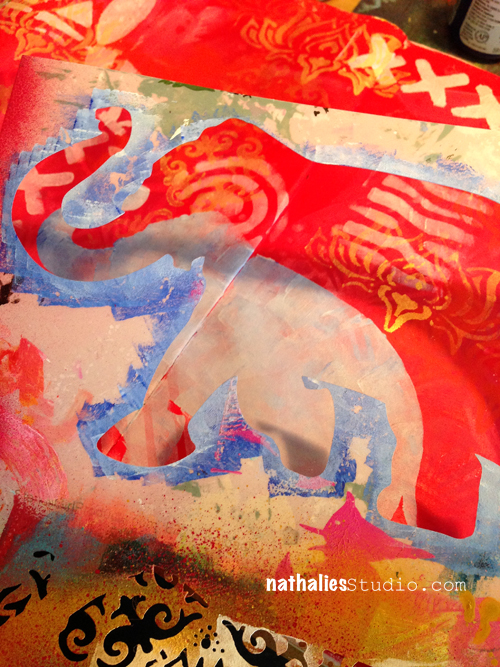
Nathalie_Kalbach_Elephant_Stencil_11

I mixed some gesso with a drop of Ultramarine Blue and stenciled through the Elephant Silhouette part.
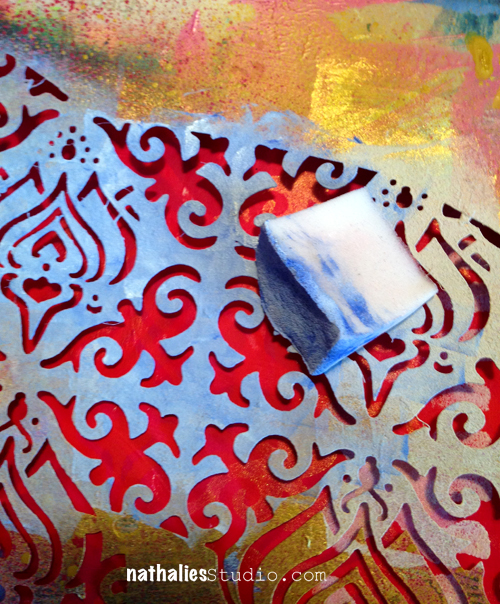
Nathalie_Kalbach_Elephant_Stencil_12

I may repeat myself…but remember …I was talking about repetition? Using the patterned Elephant part of the stencil showing parts of the Ornament and Lilly Stencil I used the leftover paint and stenciled some of the images here and there onto my art journal page.
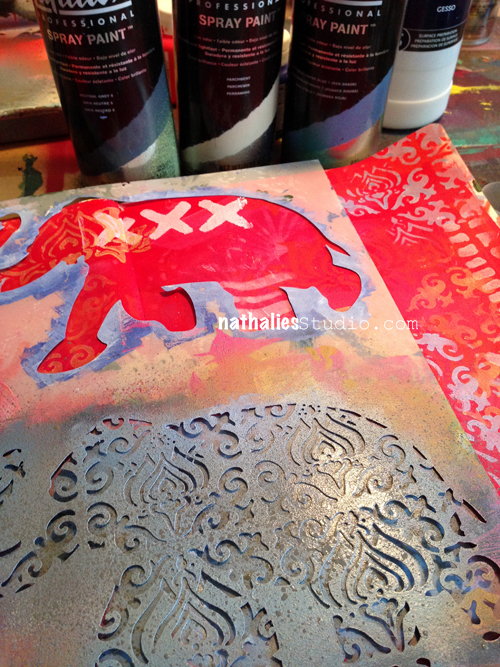
Nathalie_Kalbach_Elephant_Stencil_13

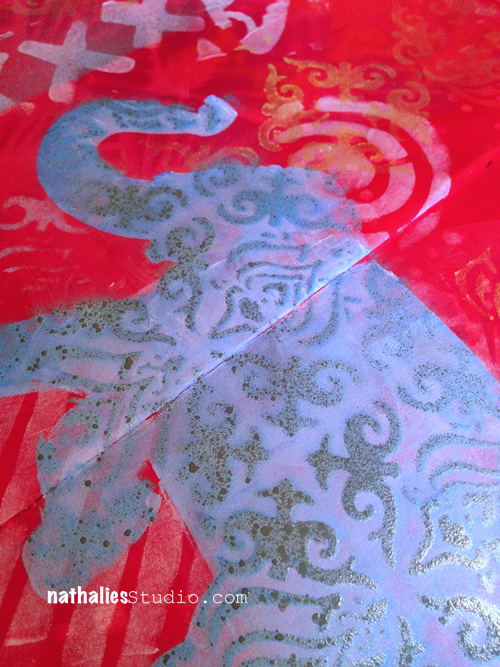
Then I layered the patterned elephant stencil part over the area where I created the elephant silhouette and sprayed over with three different spray paints  – variating the pressure and areas to get color graduation and more dimension. I used: Parchment, Phthalo Blue and Neutral Grey.
Nathalie_Kalbach_Elephant_Stencil_14

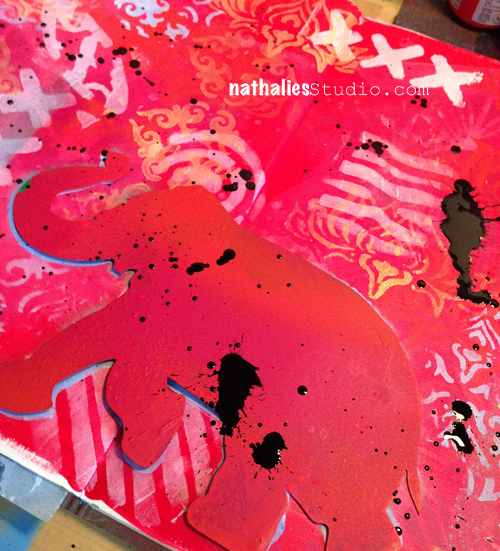
To get a bit contrast in I knew I needed some black in the page and since I do love to make a mess…I grabbed my Splatter tool and some black acrylic ink. To make sure that I was not getting any splatters into my elephant, I shielded it off with the elephant mask that is also part of the Elephant Parade Stencil. YES…three in one : Mask, Silhouette and Stencil – pretty pretty cool- if I dare to say so ;)
Nathalie_Kalbach_Elephant_Stencil_15

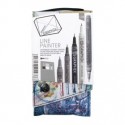
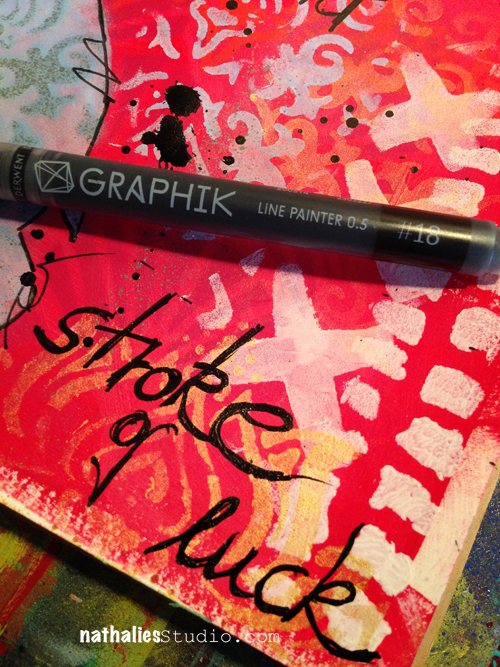
And then I used my new found Love… I had tested the Derwent Graphik Line Painter already in spring at NAMTA and I couldn’t wait for it to finally be available. LOOOOOVEEEE – I am a nerd for a really good black journaling pen and this one writes beautifully and without any problems on dried (!) acrylic backgrounds and it is permanent once dried. Awesome journaling and sketching pen – the black is one numbered #18.
Nathalie_Kalbach_Elephant_Stencil_16

Here are some details of the finished page
NatKalbach_RememberLuck02

NatKalbach_RememberLuck03

NatKalbach_RememberLuck04

Hope you liked the little layering tutorial – I won’t lie – it takes some time and usually …I would even go for more layering before adding the final focal points on my spread :)

Here is a list of all the supplies and colors I used

nSupplies


Have a gorgeous day:)
Comments (1)

  • Sue Clarke

    |

    Nice layers and I’ll have to try working with multiple shades of the same color for a change. I must search for that new black pen as well.

    Reply

Leave a comment

Join me in Florida, Lake Worth for Mixed Media Workshops

There are a couple seats still open for my Mixed Media Workshops at Everything Scrapbook & Stamps November 14-16, 2014 in Lake Worth, Florida. Come and join me :)

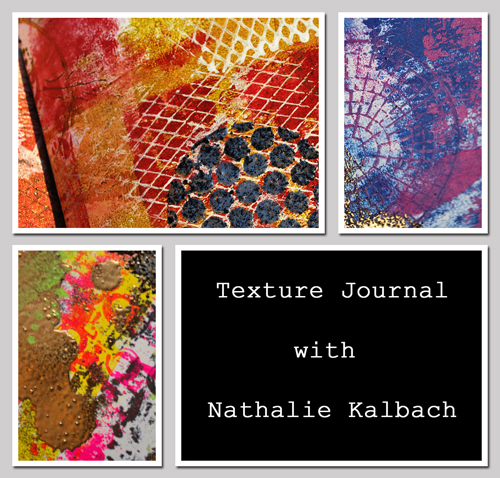
Friday 14, 2014 – Texture Journal – 6-9pm

Texture-Journal-WS

Create wonderful texture pages with mono printing, stenciling and stamping techniques, encrust them with different Embossing Media and bind them together in a beautiful tactile art journal.

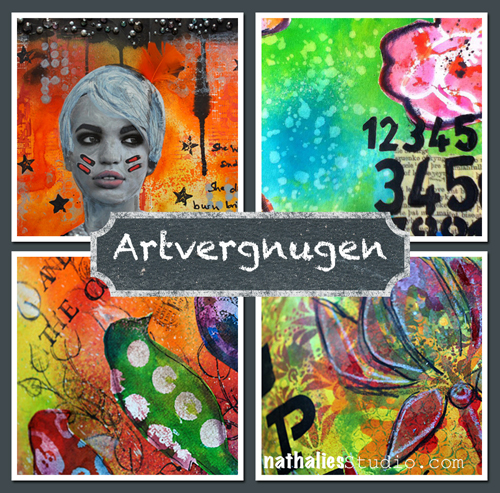
Saturday 15, 2014 – Artvergnugen – Art Journaling Class – 10.30am – 4.30 pm 

NatKalbach_ArtvergnugenAd

It starts the moment you sit down, an experience that is distinctly Art Journaling. A quick exhilaration, a sense of control, the art media’s surprising responsiveness as if they were simply an extension of you.

There is a word for this creative experience: Artvergnugen ! Artvergnugen is what makes your journal a piece of art.

Join Nathalie for a one-day workshop and play with different art media and supplies. Learn techniques, tips and tricks to take your art journaling further and turn it into Artvergnugen.

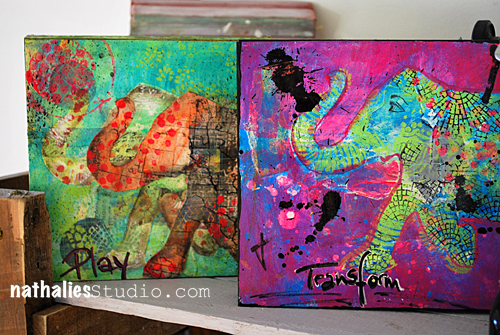
Sunday 16, 2014 – Play Transform: Mixed Media Collage – Noon- 6pm

NatKalbachCollages

In this one-day workshop Nathalie will share her favorite techniques to create background papers using paints, stencils, and stamps. Layered up it will turn into a fun Mixed Media Collage. Nat will share her fun and easy peasy collage techniques, talk a bit about composition and make a sticky business a creative new passion for you.


We will play with loads of fun acrylics, techniques and ideas in those workshops – don’t miss it .

Have a gorgeous day


Leave a comment

NOT a Battle … or In My Art Journal Today

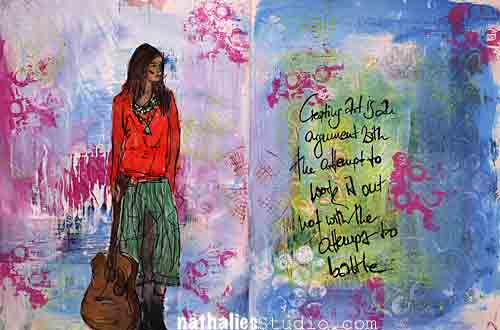
NatKalbach_NotABattle01

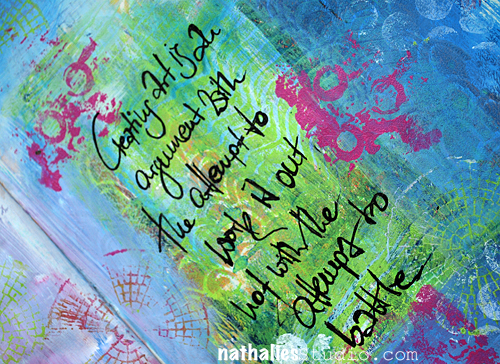
Creating art is an argument with the attempt to work it out, not with the attempt to battle. (smarty pants Nat)

This is my view on creating art and using art media  .

NatKalbach_NotABattle02

Lot’s of soft color layering and stamping -Journaling written with Bamboo Sketching Pen and Acrylic Ink.  I like how this turned out.

here is what I used:

nSupplies


Hope you have no battles today :)
Comments (3)
  • Stampendous Stamps

    |

    Nathalie, this is just gorgeous! The colors are so vibrant and yet calming! Love your quote for the day, good advice for all! Thanks for sharing with your terrific stamps you designed for us!

    Reply

    • nathalie-kalbach

      |

      awee- thank you so much! I love my stamps – thank you for making my dream possible :)

      Reply

  • Jackie P Neal

    |

    Beautiful spread Nat! xo

    Reply

Leave a comment

Photos of CREATE in Seattle

NatKalbach_Create_Seattle

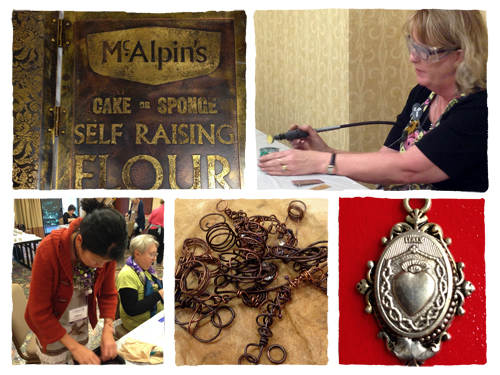
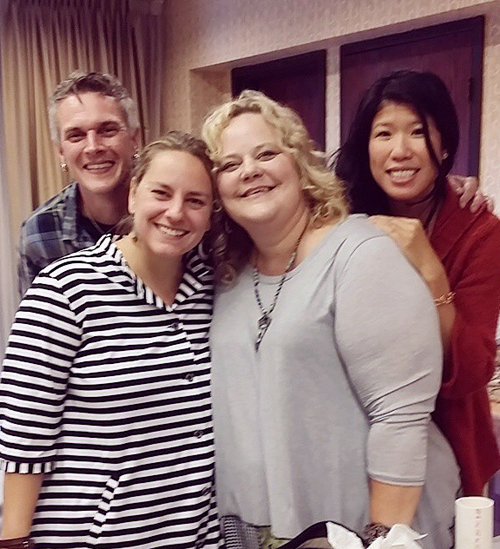
It was such a fun trip and event at CREATE Mixed Media in Seattle. I taught four classes but arrived early the day before and Elena made sure I was visiting classes WAY OUT of my comfort zone for a couple hours myself – Jewelry Making and Metal working is not something I usually dabble in.

NatKalbach_Create_Seattle01

It is always good as a teacher to do something out of your comfort zone to get reminded how that feels for your students– and I enjoyed my awesome teacher friends Jen Crossley , Jen Cushman and Kristen Robinson (thanks Kristen for pretending I made the pendant using the torch myself- hahahah).

NatKalbach_Create_Seattle02

And at least we took a photo here accompanied by John Creighton Petersen – what a highlight of the event to have met him :)

NatKalbach_Create_Seattle03

My first clas was an all day Art Journal class called “It’s All About The Layers” and we did layer up indeed. It was a blast.

NatKalbach_Create_Seattle04

The second one was also an all day class called “Acrylic Media Demystified” and that is easily my favorite class to teach. We had so much fun playing with loads of different Liquitex acrylic media and techniques.

NatKalbach_Create_Seattle05

As always at those events I was just amazed by my students. Their talent, their personalities, their stories and the amazing work they do when they are not creative. Thank you for sharing your stories !

NatKalbach_Create_Seattle06

Without exaggeration I can say that meeting my students and other Mixed Media Teachers is besides arting my favorite thing in the world :)NatKalbach_Create_Seattle07

In the evening after my six hour class I taught another 3hour class- a Texture canvas – accompanied by a mean high wind hauling outside and a lot of flickering lights.

NatKalbach_Create_Seattle08

And sunday morning I taught a Texture Art Journal Technique class. I was in awe that my students were still ready to keep going after some of them had taken classes since Wednesday every day and night!

NatKalbach_Create_Seattle09

Thank you Liquitex for the support- that was awesome ! This was the last CREATE event of the year. My last two in-person classes for the year will be in November 14-16 in Lake Worth, Florida at Mixed Media at Everything Scrapbook & Stamps and November 21 in NYC at The InkPad. If you are in the area- maybe you want to join us :)

I wish you an amazing day


Comments (2)

  • Jackie P Neal

    |

    How much fun was had there Nat?!!!!
    I love Jen Crossley! How lucky to take a class with her!! And thanks for introducing me to John Creighton Petersen – I had never hear of him before , but now I am a fan!

    Reply

  • Sue Clarke

    |

    So much inspiration and I see elephants every where.

    Reply

Leave a comment

In The Same Boat? Canvas

NatKalbach_InTheSameBoat01

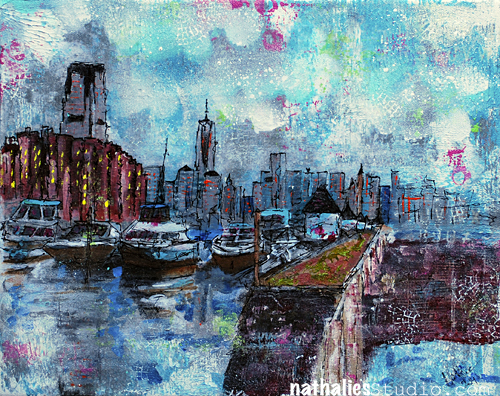
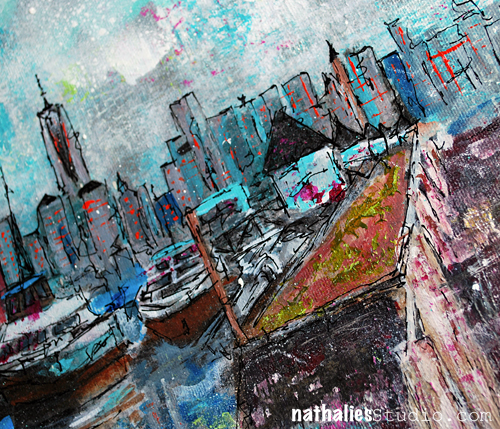
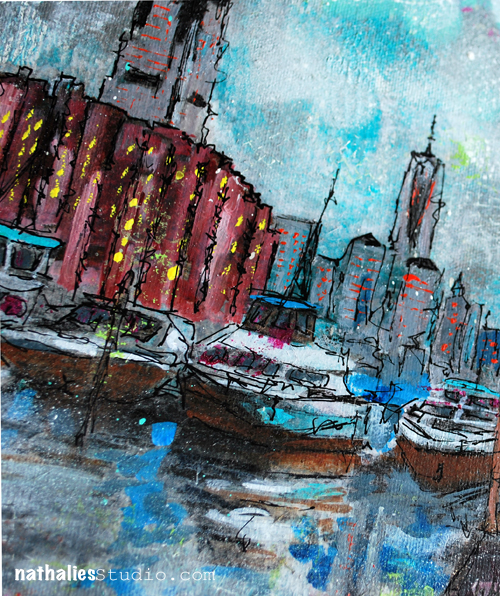
One of my favorite views in Jersey City at Liberty Landing . At least the view is accessible for everyone :)

NatKalbach_InTheSameBoat02

I played with different paint viscosities to achieve a different kind of texture. Fun.

NatKalbach_InTheSameBoat03

Here are the materials I used:

nSupplies


What is the place with your favorite view?

Nat

Comments (9)

  • Ursula

    |

    Hallo Nat, – super eingefangen. Ich sehe mich schon wieder auf dem Boot, die Skyline abfahren – LG Ursula

    Reply

  • Gina Sismilich

    |

    Absolutely gorgeous – you get better and better!

    Reply

  • Jackie P Neal

    |

    Nat, Absolutely stunning is what I have to say!
    My favorite view is from a bluff over looking Lake Ontario- up North of where I live- I’ll send a picture next time I go! “)

    Reply

    • nathalie-kalbach

      |

      That sounds like an amazing view!!!! Yes I wanna see :)

      Reply

  • Stephanie Schütze

    |

    Nat, das ist ein wunderbares Bild! Tolle Farben und die Boote sind der Hit! Es passt einfach alles! Toll! Liebe Grüsse über den grossen Teich, Stephanie :-)

    Reply

    • nathalie-kalbach

      |

      Stephanie, vielen lieben Dank :) Ganz liebe Grüße zurück über den Teich- hoffe der Herbst lässt sich gut an :)

      Reply

  • Nurse Ratchet

    |

    There are no words coming to me that adequately express to you how much I adore your amazing city scapes!!

    Reply

Leave a comment

Countdown to CREATE Seattle Workshops

10107-Create-teaching-SE

Only a couple more days till the CREATE Mixed Media Retreat in Seattle starts.

I am teaching four classes there:

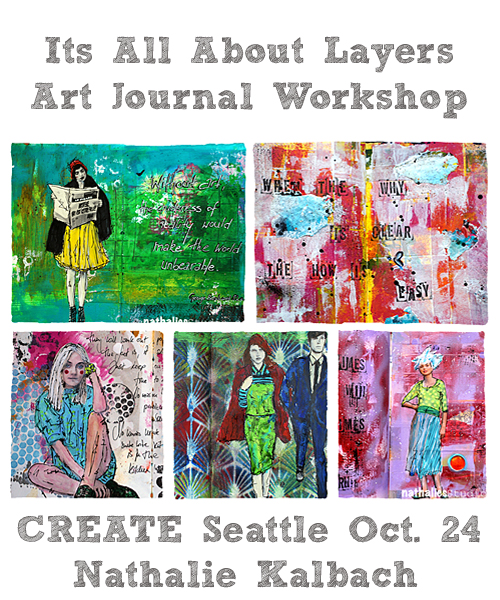
ART JOURNAL CLASS: It’s All About Layers – Friday, October 24 • 9am-4pm

only 4 seats left!

NatKalbachLayersWS

Create depth and dimension by adding several layers with different acrylic paint and other media to achieve intriguing art journal pages. Learn about different media and playfully explore how to express yourself in your art journal. It’s all about the layers—so come and join me!

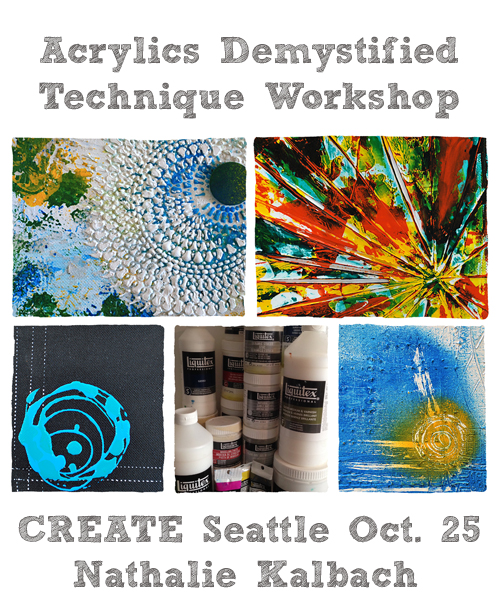
TECHNIQUE CLASS: Acrylics Demystified – Saturday, October 25 • 9am-4pm

NatKalbachAcrylicsDemystified

Explore all kinds of different Liquitex Acrylic Media – from Dumbledore to Merlin, from Acrylic Paints to Acrylic Inks, from String Gel to Pouring Medium, from Modeling Paste to Stucco and other fun stuff. Learn their magic– and put an end to mystery on how to use these amazing helpers in your Mixed Media and/or Art Journaling projects. Learn not only how to use Acrylic Media and when to use them but also put your own spell into 3 abstract canvases during the class. You will for sure have as much fun waving your new magic acrylic wand in the future as Nathalie!

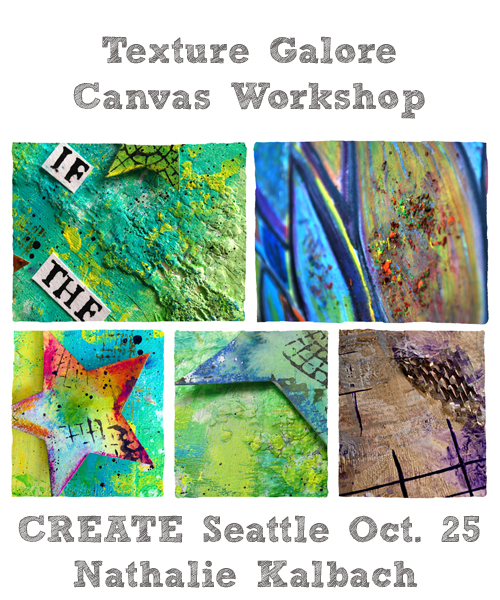
CANVAS CLASS: Texture Galore Canvas – Saturday, October 25 • 6-9pm

NatKalbachTextureGaloreWS

In this workshop you will create a stunning and unique canvas that will be a wonderful home decor item. Learn how to create dimension and texture with tissue paper, items of daily life, acrylic paint, lace, burlap, and gesso. Learn how to reveal the interesting and eye-catching texture with acrylic paints, art bars and acrylic inks and add some fun stamping techniques on top.

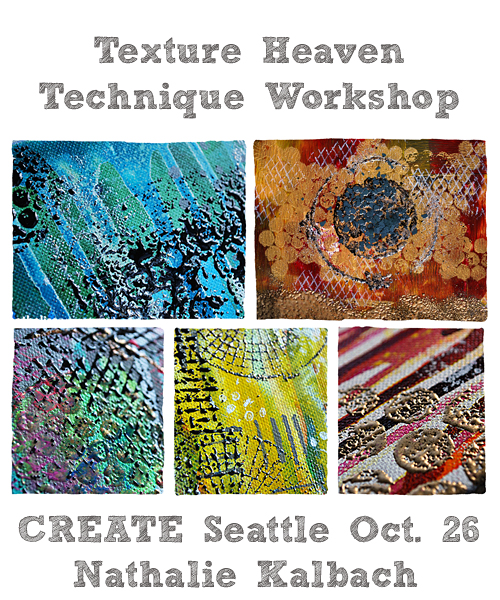
TECHNIQUE CLASS: Texture Heaven – Sunday, October 26 • 9am-12noon

NatKalbachTextureHeavenWS

Create wonderful texture pages with mono printing, stenciling and stamping techniques, encrust them with different Embossing Media and bind them together in a beautiful tactile art journal.

There are many amazing classes at the CREATE Event in Seattle – check it out and sign up here! I hope I will see you there.

Have a great day!

Comments (2)

  • Kathy

    |

    Can’t afford the $700 airfare but sure would love to take some of these classes! Maybe an online layers?

    Reply

    • nathalie-kalbach

      |

      Thinking about it- but I have so many ideas for online workshops- LOL- I need to find the time ;)

      Reply

Leave a comment