Be Kind, Always – Art Journal

I loved playing with my new and secretly new favorite Hamilton Stencil and tons of spray paints.

I pasted a piece of deli paper on top on which I had drawn.

I love how reapplying the stencil and spray partly with different colors and then repeating the process a couple times makes the pattern look so dimensional. It is my favorite thing about using spray paint.

Here are some of the supplies that I used:


Leave a comment

True Blue – Tania Ahmed


Happy Tuesday from my Creative Squad! Today we have a post from Tania Ahmed, sharing with us an awesome way to use my Star Struck stencil and Large Circle Jumble rubber stamps to decorate the cover of an art journal. Check out the video below to see Tania’s technique. This month’s theme is: True Blue – Blue is the color of honesty and serenity. It’s calming and has even been shown to promote healing. It reminds us of the water and the sky. Let’s slow things down this month and bask in the tranquility of the color blue.


Our theme this month was True Blue, and for us to use any of Nat’s new Stencil Girl designs which I had been looking forward to having a play with as soon as I saw the designs! Blue also happens to be one of my favourite colours and I use almost any excuse I can get to use it in my projects! :)

I had an art journal that I made last year in a workshop that I attended with Nat and her friend Birgit Koopsen which I still use to test new techniques. I still hadn’t made a cover for it, so I decided that it was about time that I decorated it.

I made a video showing how I decorated my art journal cover:

When I saw the Star Struck Stencil, I was immediately reminded of Japanese fabric and I knew that I wanted to create a print which looked like vintage cloth. I had an image of furoshiki wrapping (Japanese art of wrapping gifts and parcels with fabric) in mind and I set out to see how I could create a project as an homage to the technique.

I started by taping down a sheet of printer paper to the stencil and created a rubbing of the stencil using Faber Castell Gelatos. You can create rubbings using pencils, pastels, crayons, anything that you have in your stash! Experiment with different pressures and papers to see what effects you can get. I tried the technique on printer paper, cartridge paper and thick cardstock. The thinner the paper, the better impression you will get!

Printer paper

Cartridge paper

Heavy cardstock

Thank you so much for watching and reading and have a great day!


Thank you Tania! I loved watching how the stencil rubbing transformed – it really does remind me of the textiles I saw in Japan. You can find my Star Struck stencil and Valley Road stamp in my Online Shop. Here are some of the other products that Tania used:


Feel inspired? Working on something yourself that you’d like to share?  I love to see how you interpret our monthly themes. Email me how you used my stencils and stamps with the theme and email me an image – I would love to share your projects in my next  “n*Spiration From Around the Globe“.

SaveSave

Leave a comment

Things will work out – Art Journal

Love how this one turned out- see it all works out ;)

I used my new Broadway Stencil and with a Distress applicator I added some Distress Oxide ink through the stencil. I used different colors.

For the right page of the spread I applied some Distress Oxide ink with the applicator, then washed the applicator out and while the foam was still wet, rubbed lightly over the stencil

which resulted in a nice subtle pattern – love this!

I painted with some artgraf charcoals on top and added some gouache here and there.

I added some journaling with the artgrafs into the openings on the left and used a thin wet brush to go over to desolve it a bit.

I love how this turned out. Fun to play with those Distress Oxides.

Here are some of the supplies I used:


Leave a comment

Best Days – Art Journal

“What a wonderful thought it is that some of the best days of our lives haven’t happened yet.”

I painted the background with some copper, magenta and white paint

and stamped some marks using some stamps from my Embroidery Stamp Set.


I transferred a photo to the background and painted with inks and gouache over it.

Here are some of the supplies I used besides Acrylic paints:


Comments (2)

  • Sue Clarke

    |

    Love the words! The colors are great together as well Nat.
    It strikes me that there are no longer colors that I think of as “your colors” anymore…you use them all!

    Reply

    • nathalie-kalbach

      |

      wohooo Mission accomplished – I am using aaaaaallll the rainbow :)

      Reply

Leave a comment

Announcing a NEW Online Workshop: BYO Art Journal

Today my newest Online Workshop goes on sale: BYO Art Journal! That stands for Build Your Own Art Journal just in case you were wondering :)

I will show you step by step how to build your very own art journal. I actually make a lot of my own art journals using this method! What will you get? You will learn how to make some patterned background pages for within and one-of-a-kind covers for the outside. Then you’ll learn a versatile book binding technique to pull everything together. Finally we’ll discuss various creative methods for finishing up your pages. If you have always wanted to create a custom art journal instead of buying the same off-the-shelf one that everybody else has, this is the workshop for you!

You will get 6 downloadable video lessons – approximately 1.5hours of content!!! You can find all the details for BYO Art Journal HERE.

Watch the promo video to learn more:

Early Bird Offer: Sign up NOW through Monday, October 1st at 11:59pm EST and save $10. That means BYO Art Journal can be yours for $49USD! On 10/2/2018 the workshop will return to it’s regular price of $59USD.

The workshop begins Monday, October 1st with the first lesson and additional lessons will be uploaded every Monday and Thursday. You can follow along with us or work at your own pace as lessons are up. I will pop into the classroom comments section daily while the lessons are going up to answer your questions. And at the end we will have an online gallery where you can share YOUR new art journals :) Throughout we’ll be sharing stuff online using #byoaj

Join us and create an art journal that is just as unique as the artwork within.

Leave a comment

Watercolor Stenciled Thank You Card

I am really enjoying playing with watercolor and stencils – I love the way a stencil helps you for the design but I love the loose look of watercolor.

I taped down the Valley Road Stencil and then started coloring in the pattern with different colors. The trick is to be less generous with water which seems to be a bit counter intuitive when using watercolors :)

Lift the stencil and there you go –

So much fun!


Leave a comment

Never Stop Dreaming – Maura Hibbitts


Welcome to a post from Maura Hibbitts from my Creative Squad! Today Maura is sharing with us an art journal spread that reminds us of all the strong momen who have come before us! Maura is using my Mesa Verde and Downtown stencils and my Actually I Can stamp set. This month’s theme is: Never Stop Dreaming – This month we’re sending a message of confidence and empowerment to all those in the world (near and far and maybe even you!) who have been told “You can’t”, “That’s not possible”, or “Not you”. Actually we can and we will! And we’ll never stop dreaming either :)


When I looked at this month’s theme, I began to think about all the dreams we women have in our lives…family, friends, career, health, financial, pets…so many things touch our lives. I know my mother encouraged me to become the person I am today, and I am thinking her mother did the same for her. It could be our relatives cheering us on, or friends, but just think of the many generations of women behind each of us who have believed in the next generation.

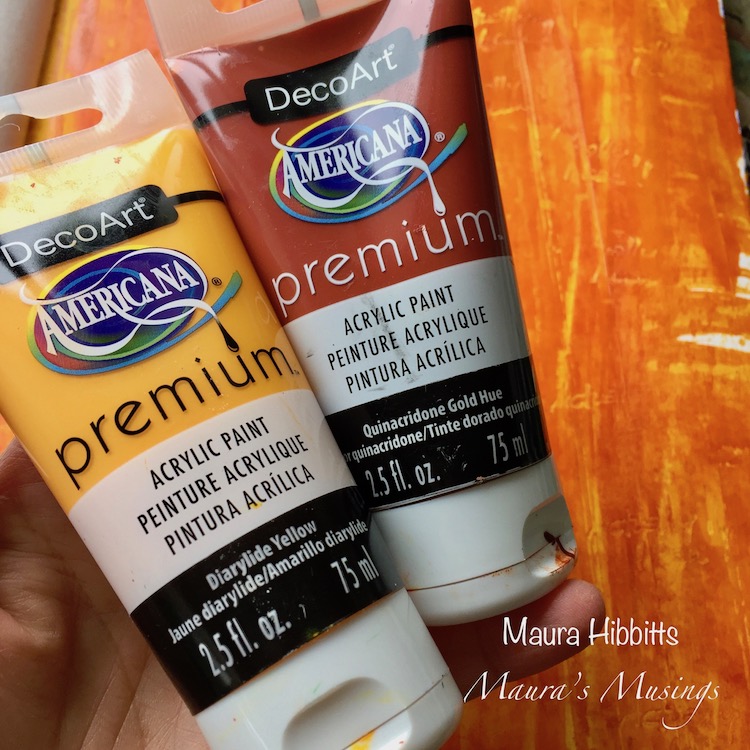
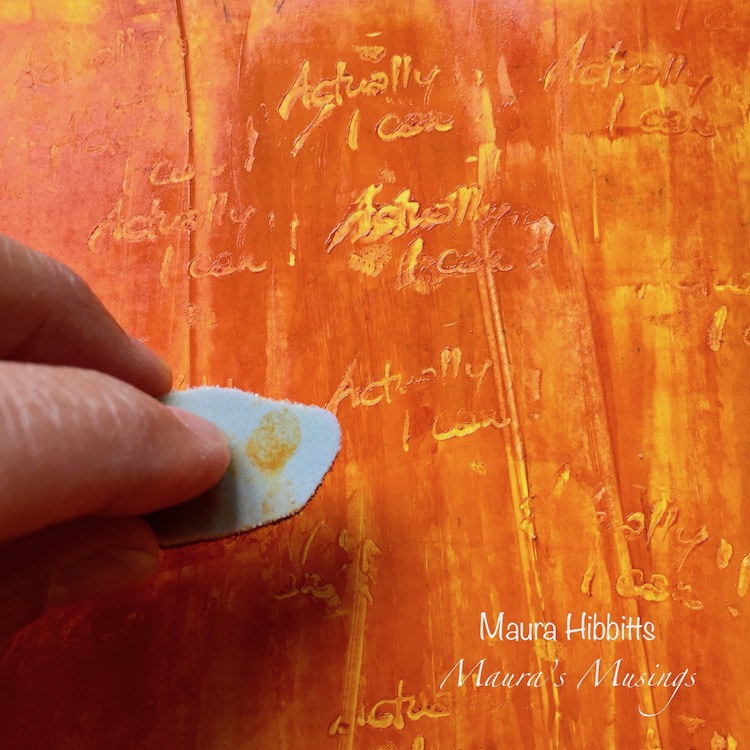
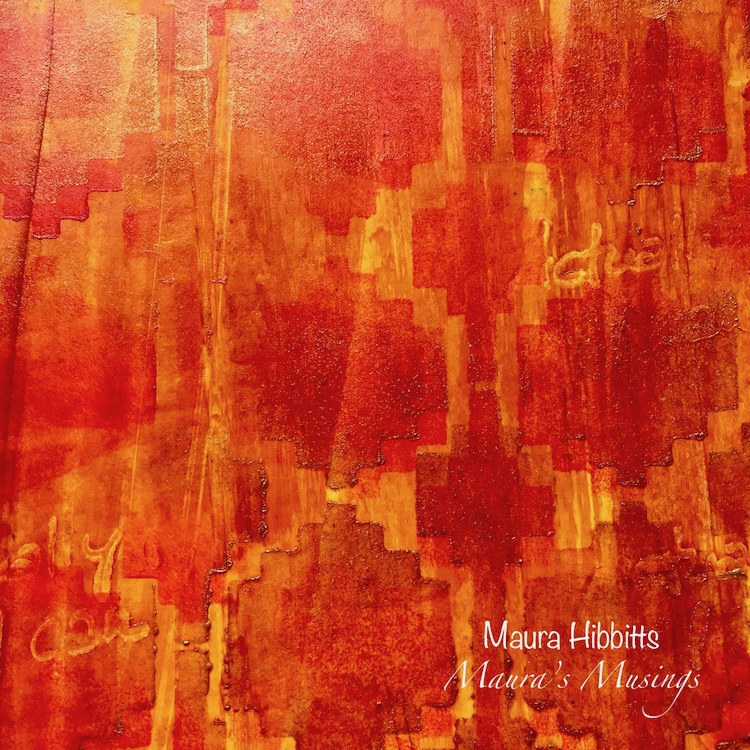
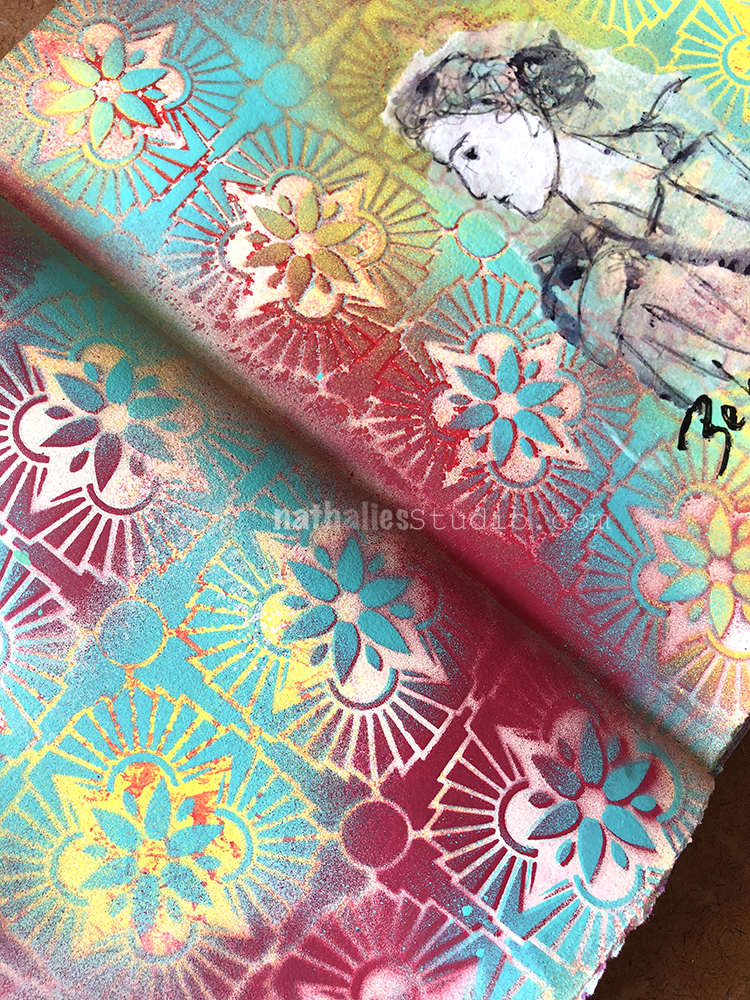
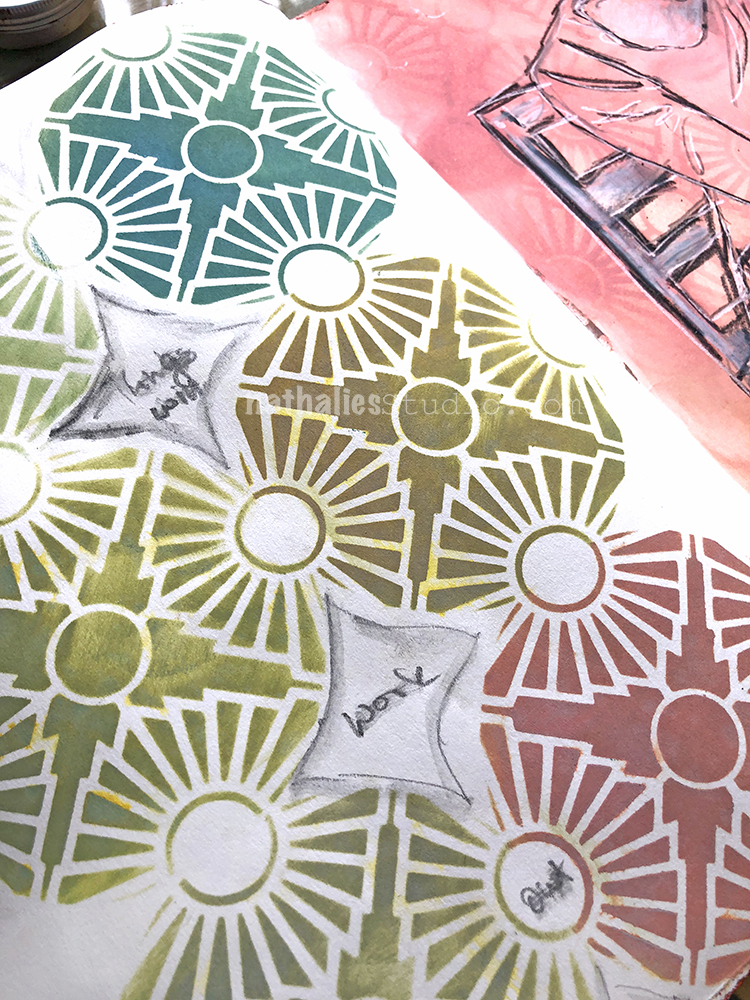
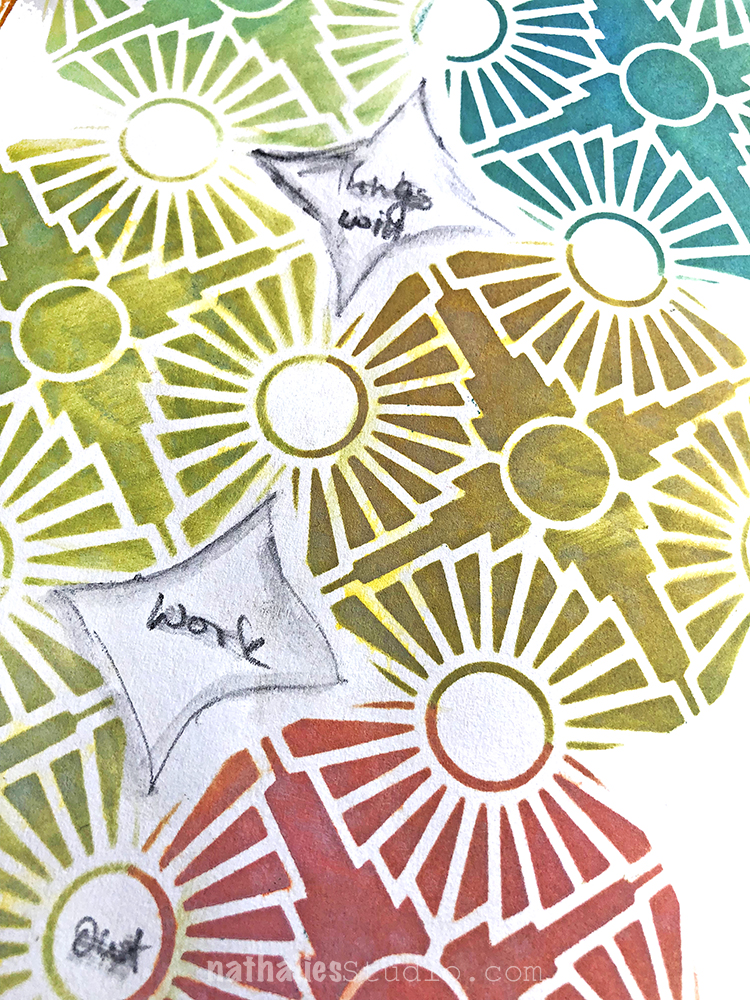
I headed to my art journal, and scraped a layer of Diarylide Yellow and Quinacridone Gold down my page with a key card. Before the paint dried, I stamped in Nat’s “Actually I can” rubber stamp a number of times.

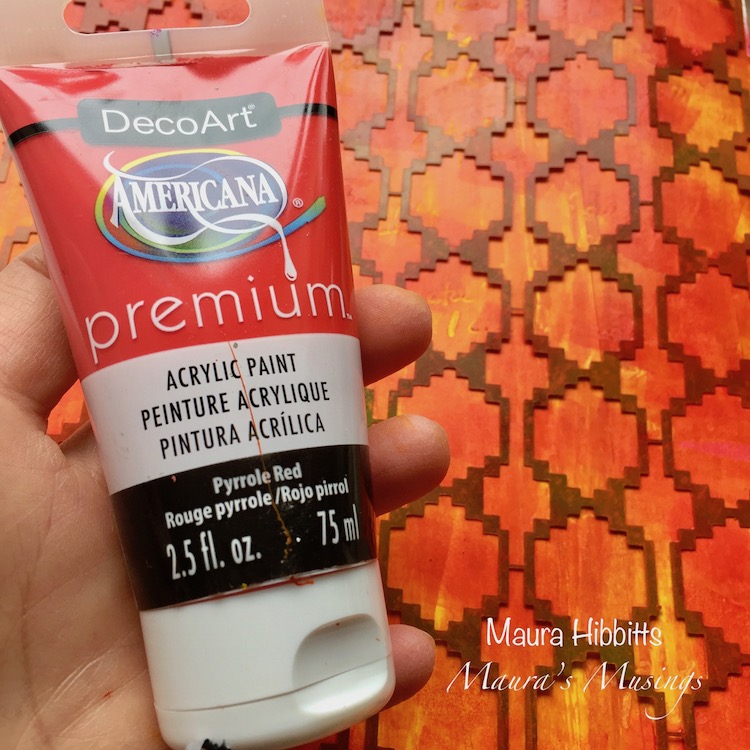
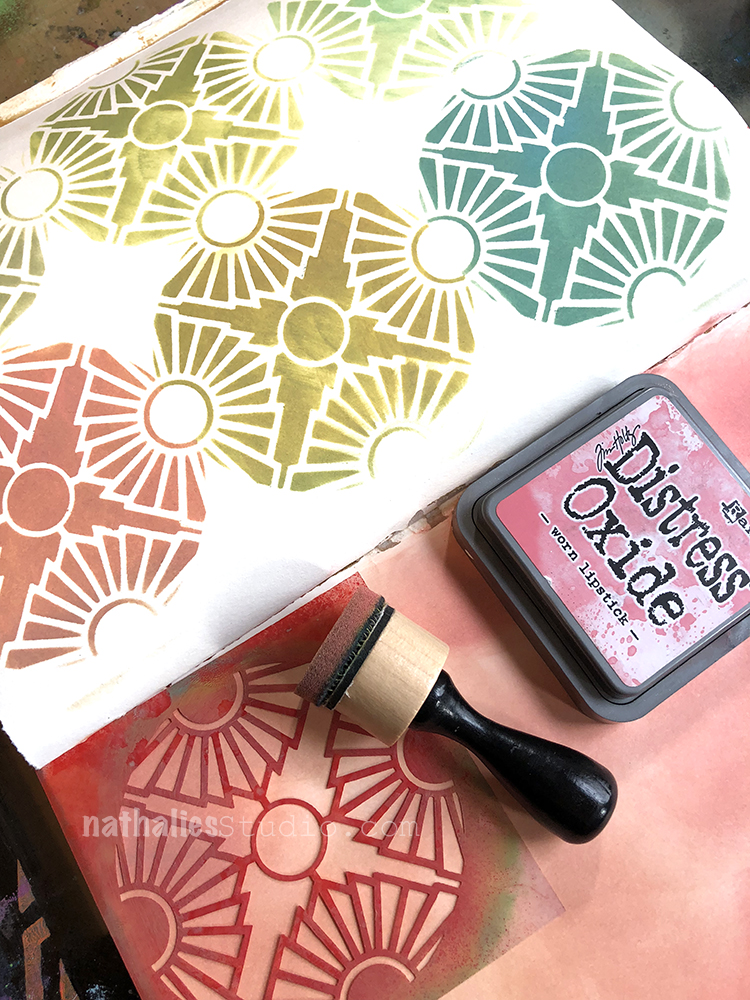
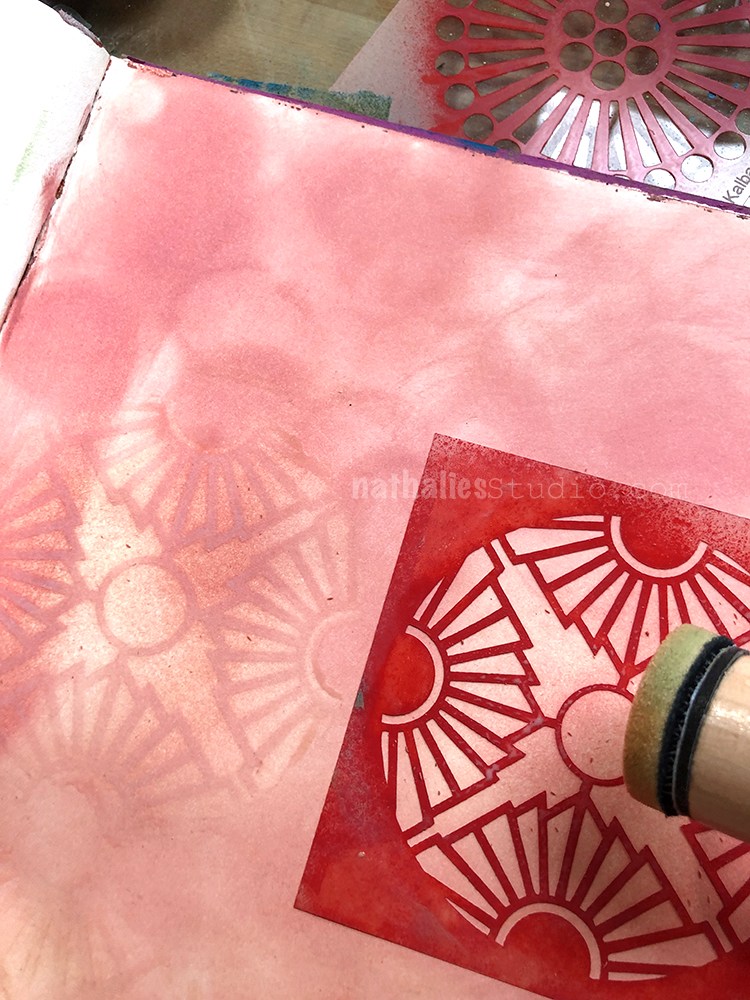
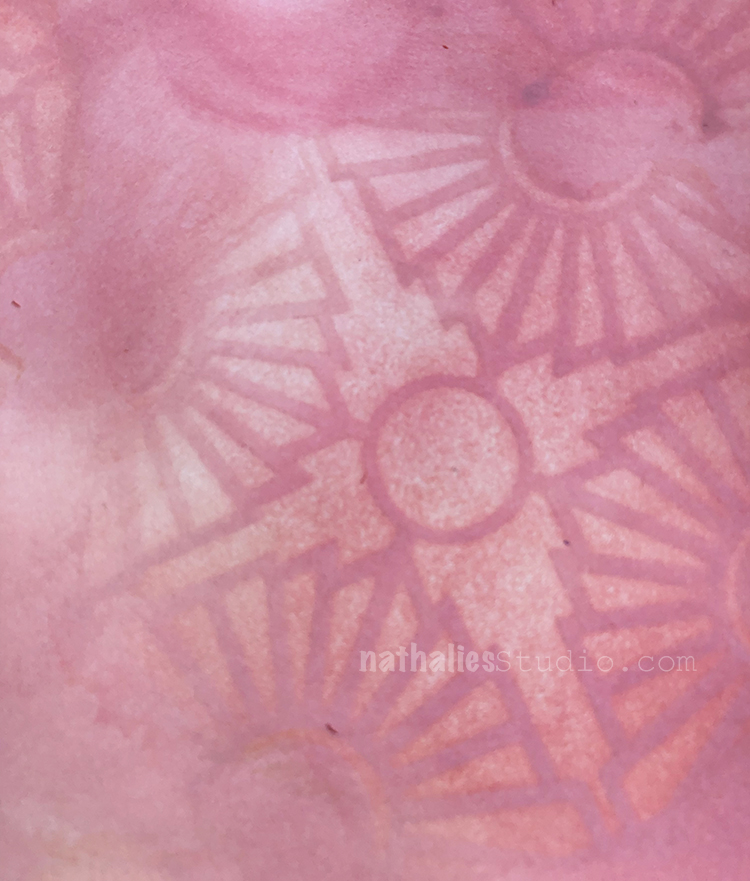
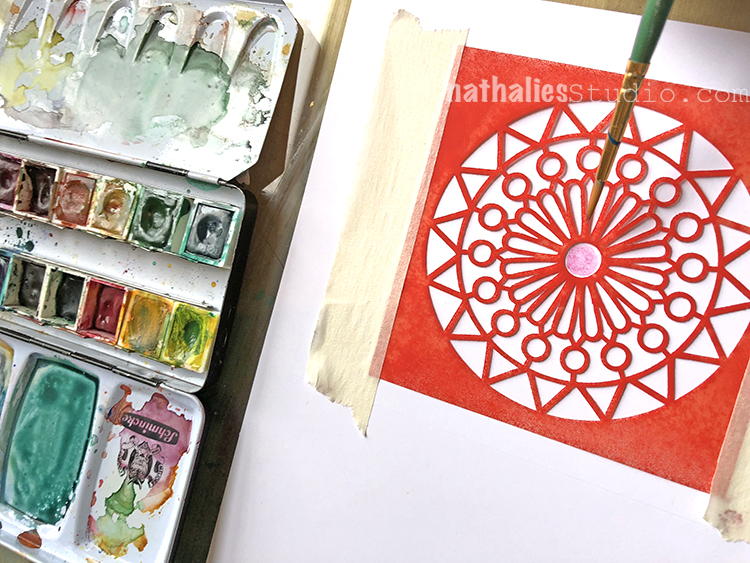
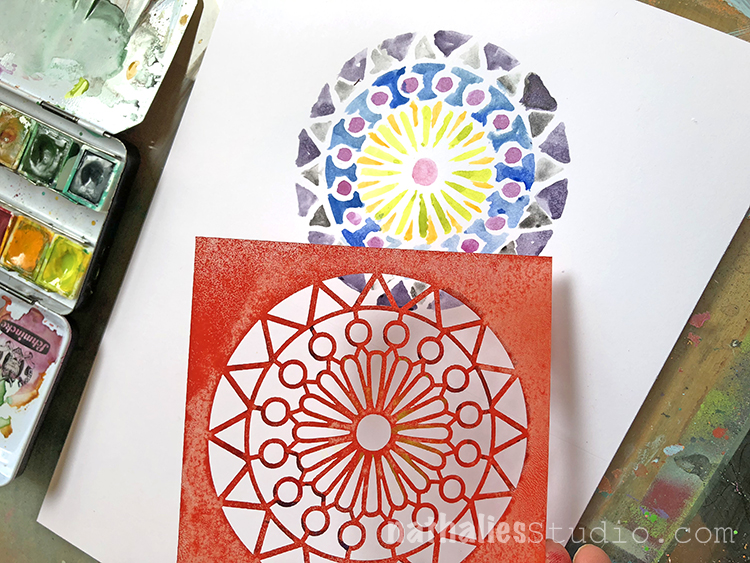
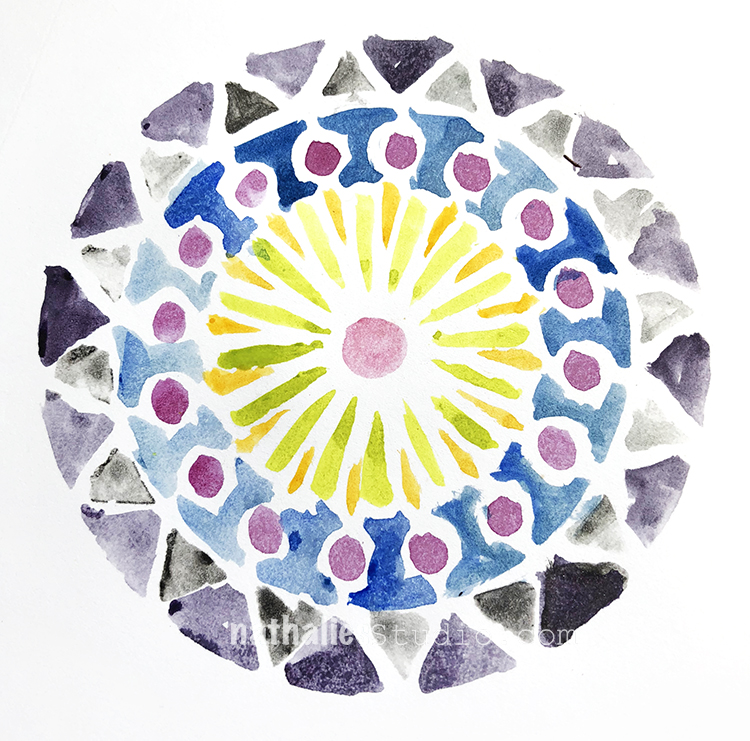
I added my next layer using the Mesa Verde stencil and some Pyrrole Red, using a light touch.I worked in a random fashion and left some areas open.

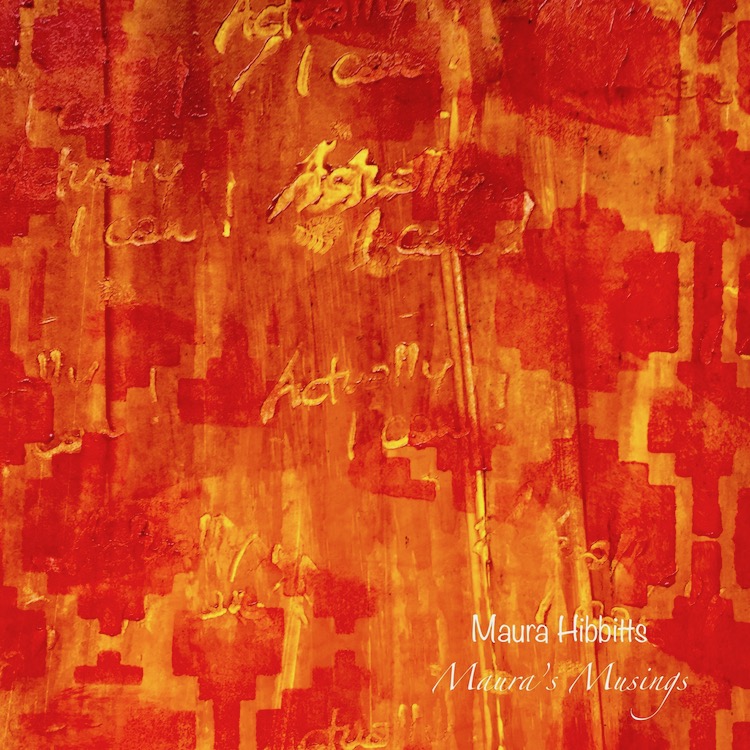
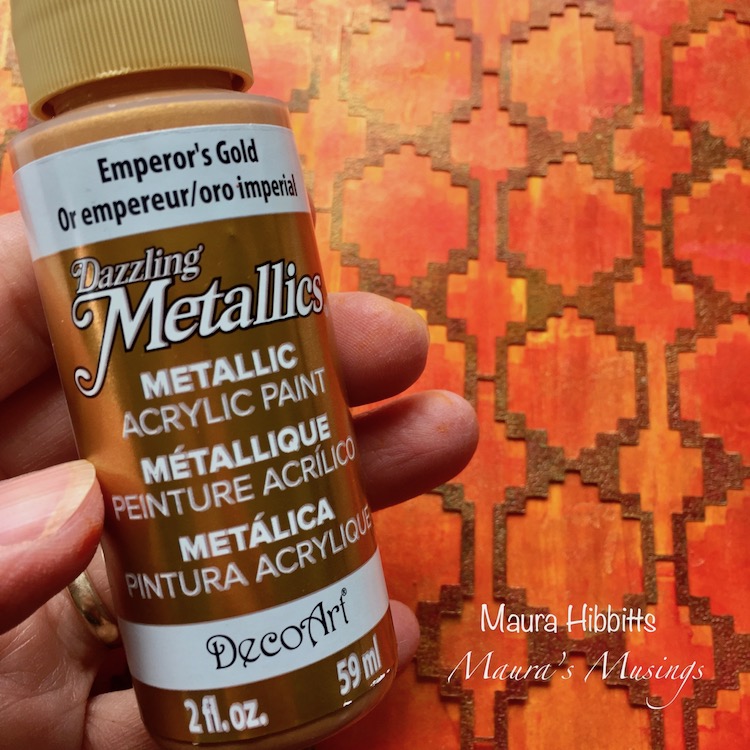
Then, I shifted the stencil down slightly and sponged in a layer of gold. Now I have a shadow effect.

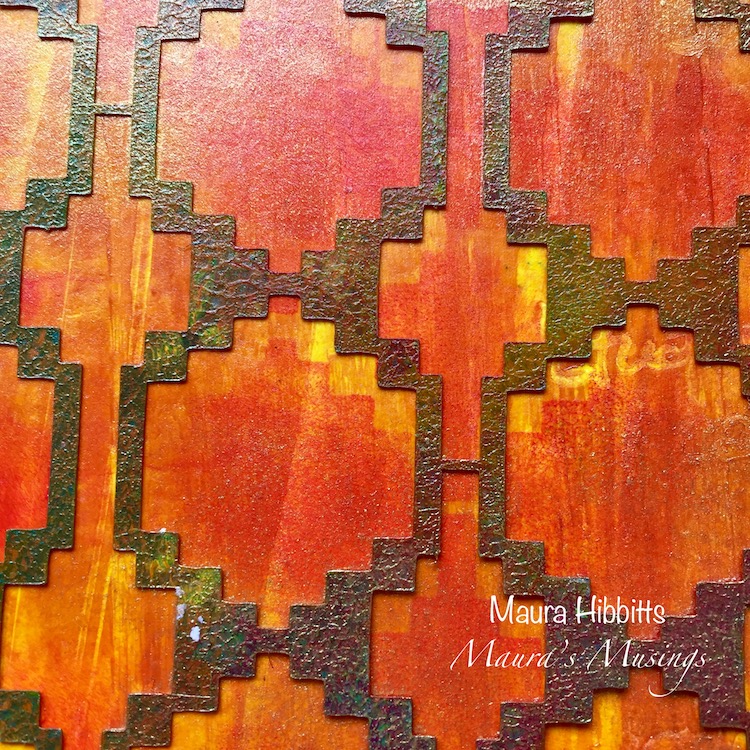
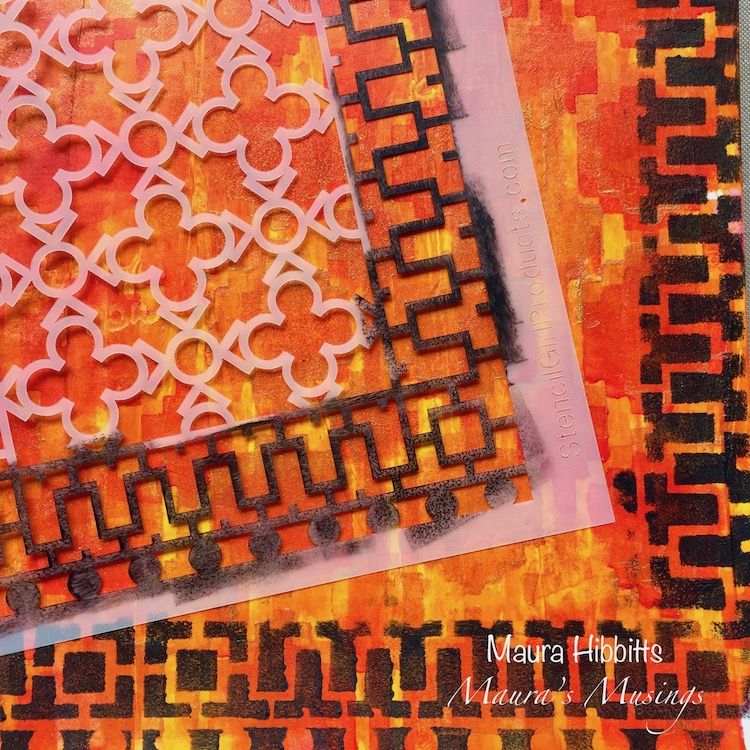
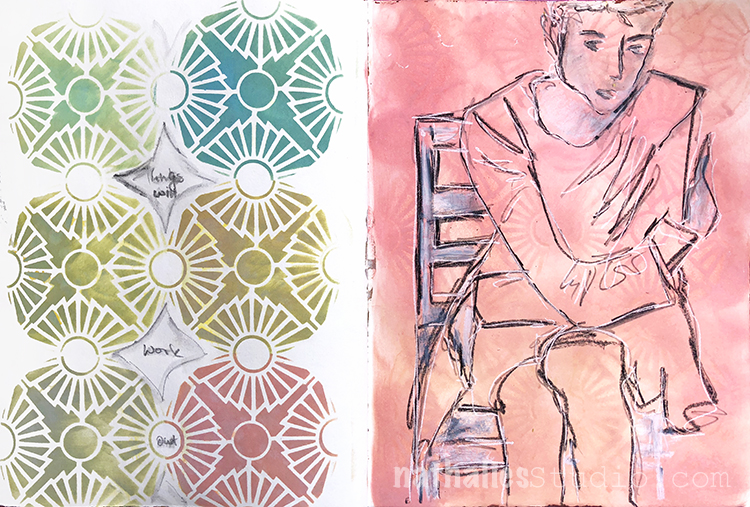
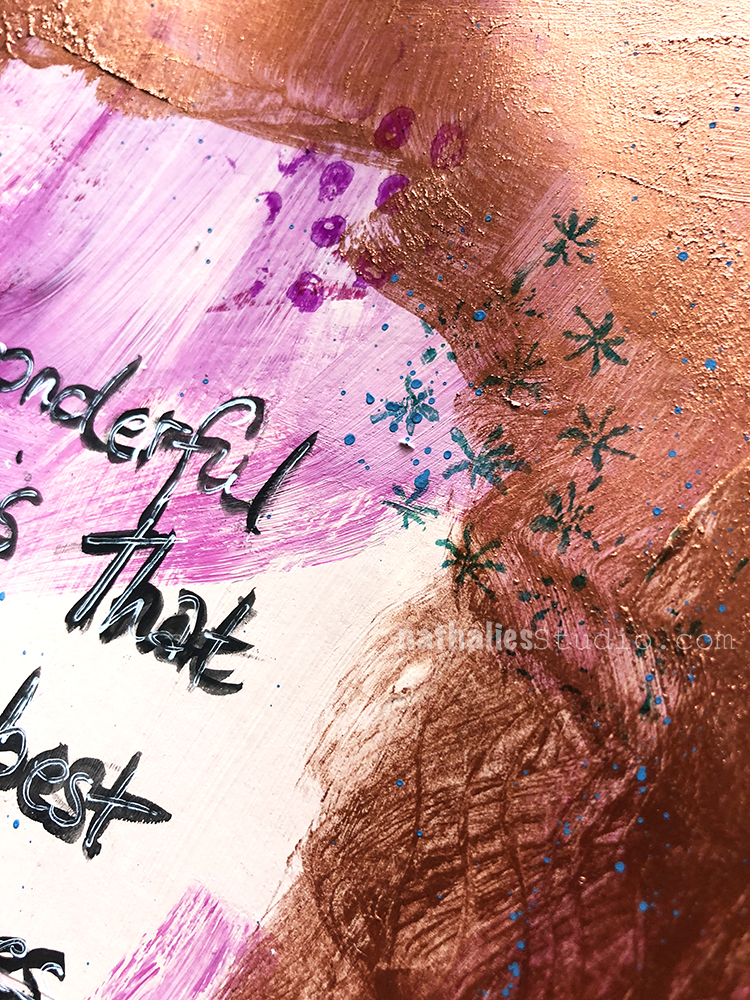
Time to add a border to my page with Nathalie’s new Downtown stencil. As you can see, I just used part of it to make my border with black.

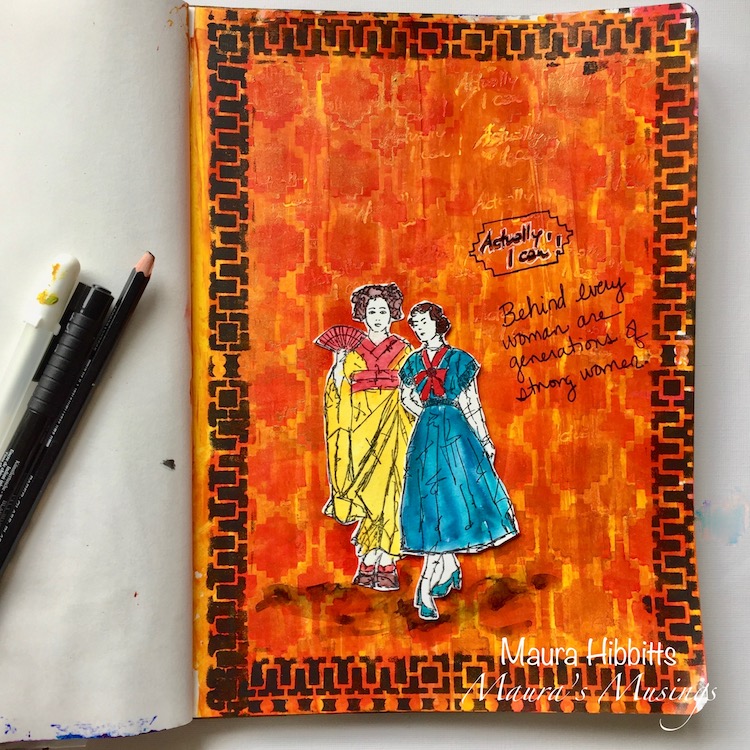
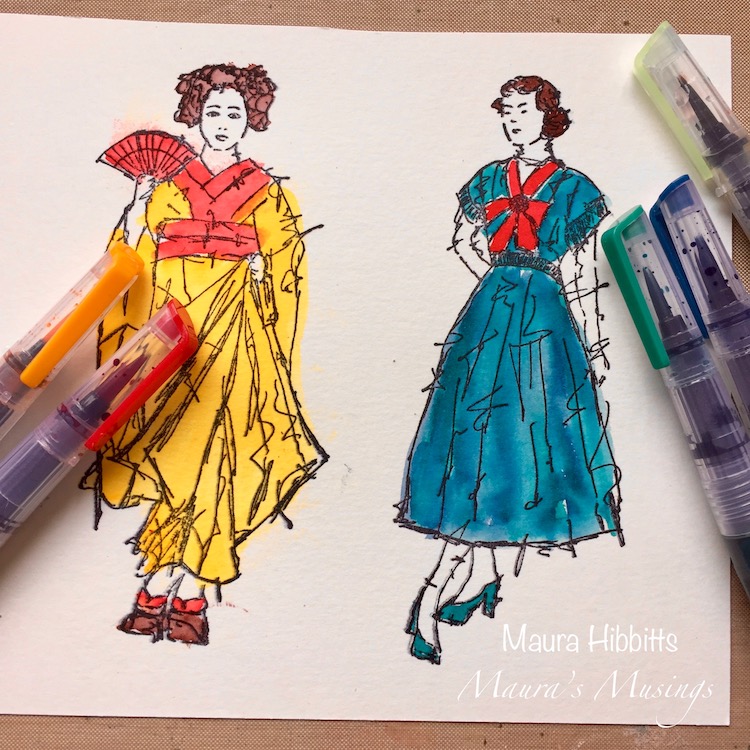
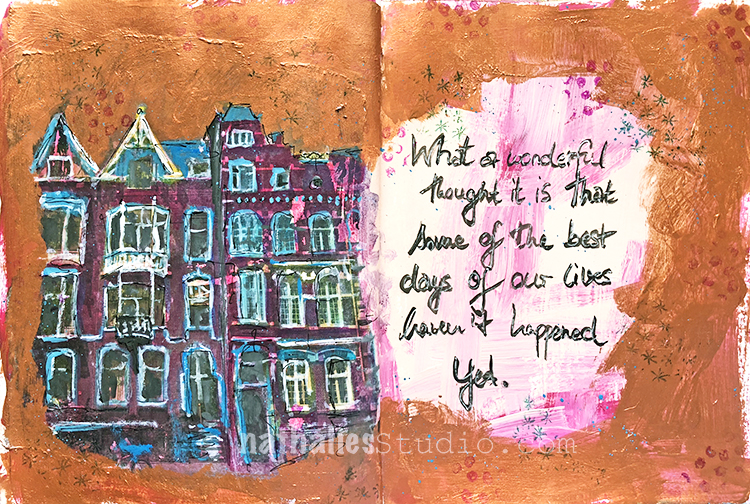
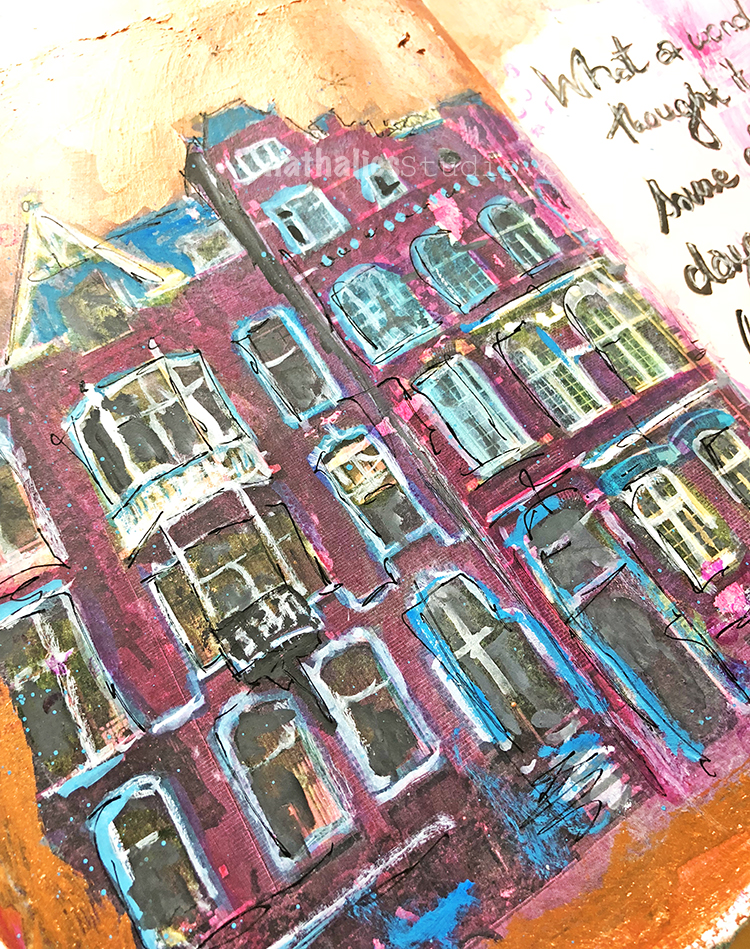
Now comes the fun part – stamping and coloring these two lovely ladies, Maiko and Millie. I wanted to tie in some of the same colors in both of their outfits to help link them together.

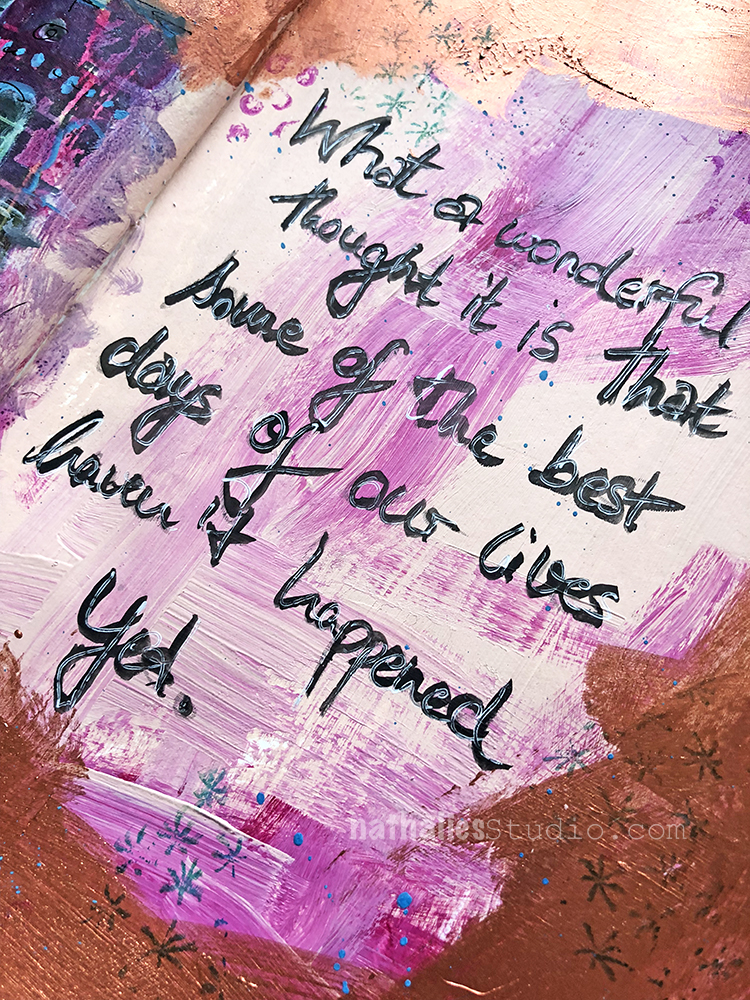
Time to put it all together! I put Maiko, in traditional dress behind Millie, to represent the previous generations of women. I stamped “Actually, I can” with black ink, and outlined it a bit with a white pen, and added my own thoughts. I also used the Mesa Verde stencil with the black pen to create the word box, by outlining one side, and moving it to “stretch” it. Finally, a shadow under the ladies to create a bit of depth with a graphite pencil and water brush.

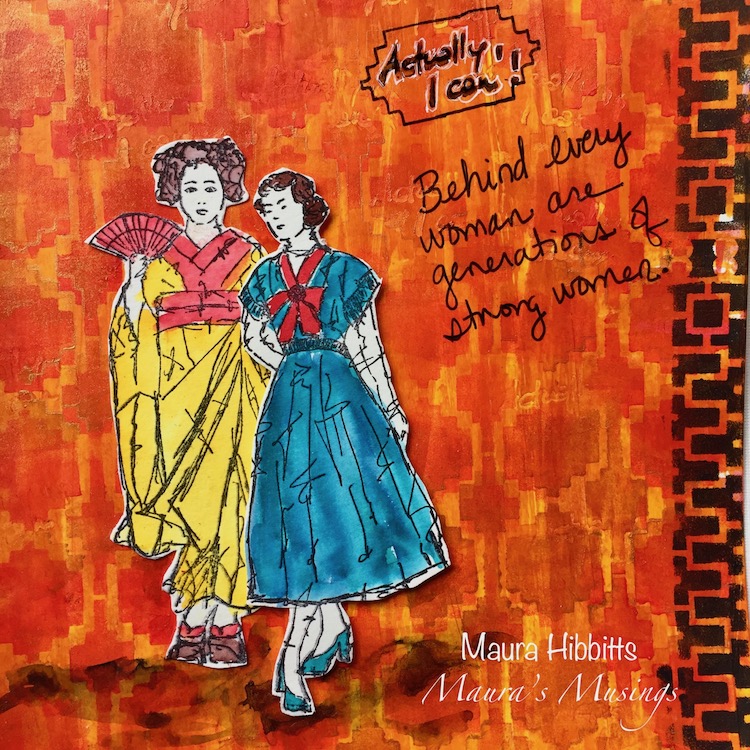
Think of the many generations behind each one us, and Never Stop Dreaming!


Thank you Maura for such a thoughtful project! You can find my stencils and my stamps in my online shop. Here are some of the other supplies that Maura used:


Feel inspired? Working on something yourself that you’d like to share?  I love to see how you interpret our monthly themes. Email me how you used my stencils and stamps with the theme and email me an image – I would love to share your projects in my next  “n*Spiration From Around the Globe“.

Leave a comment