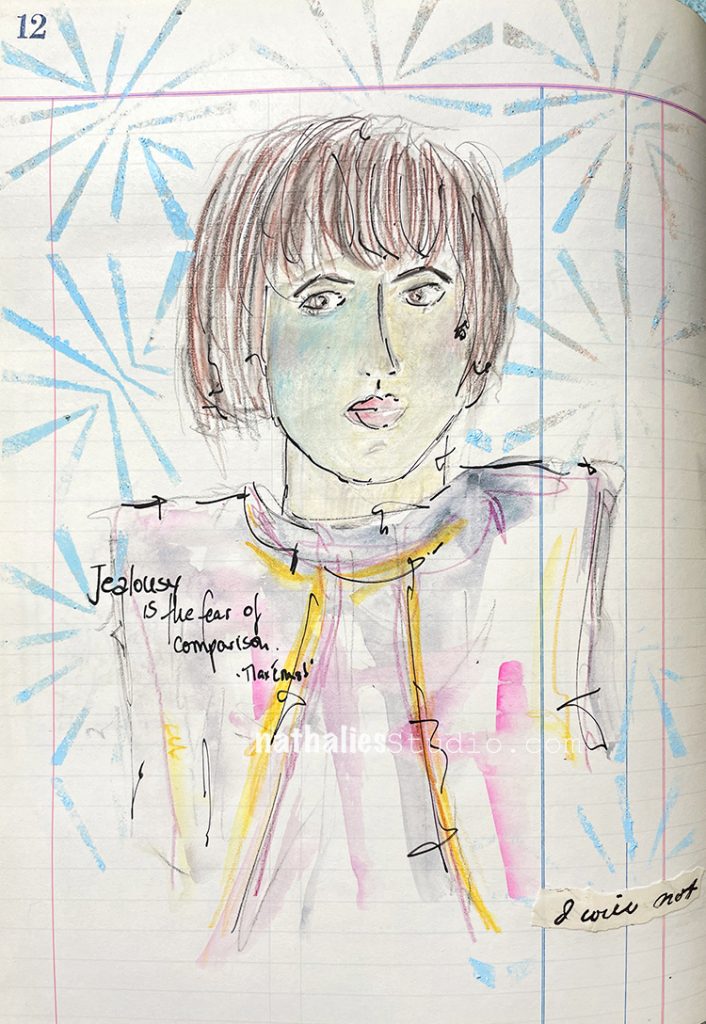
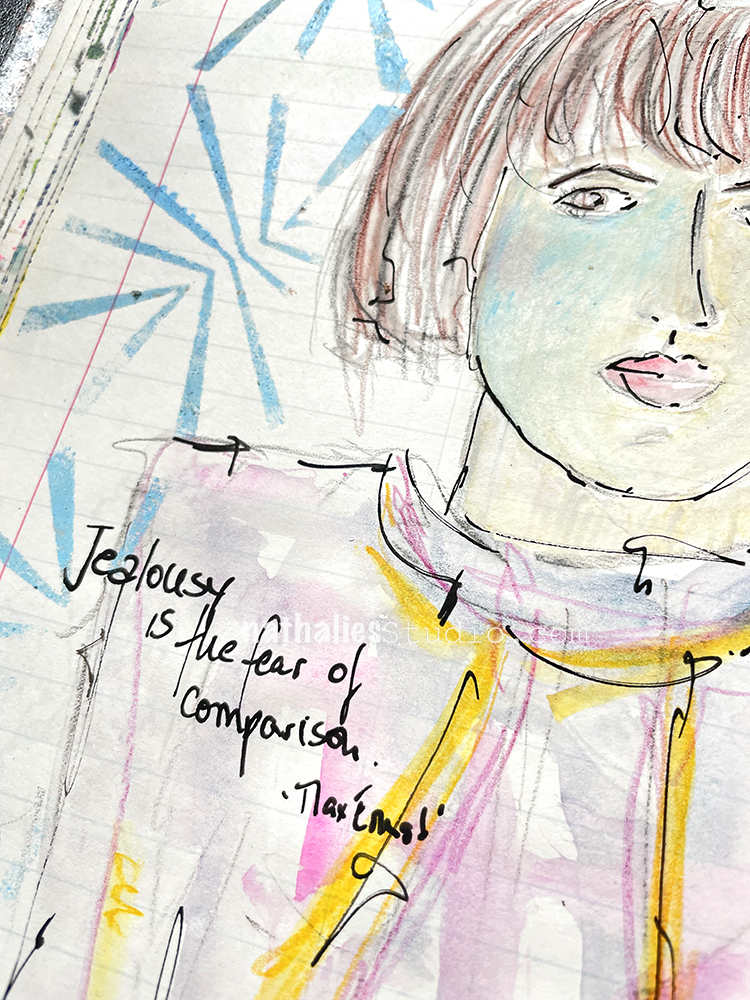
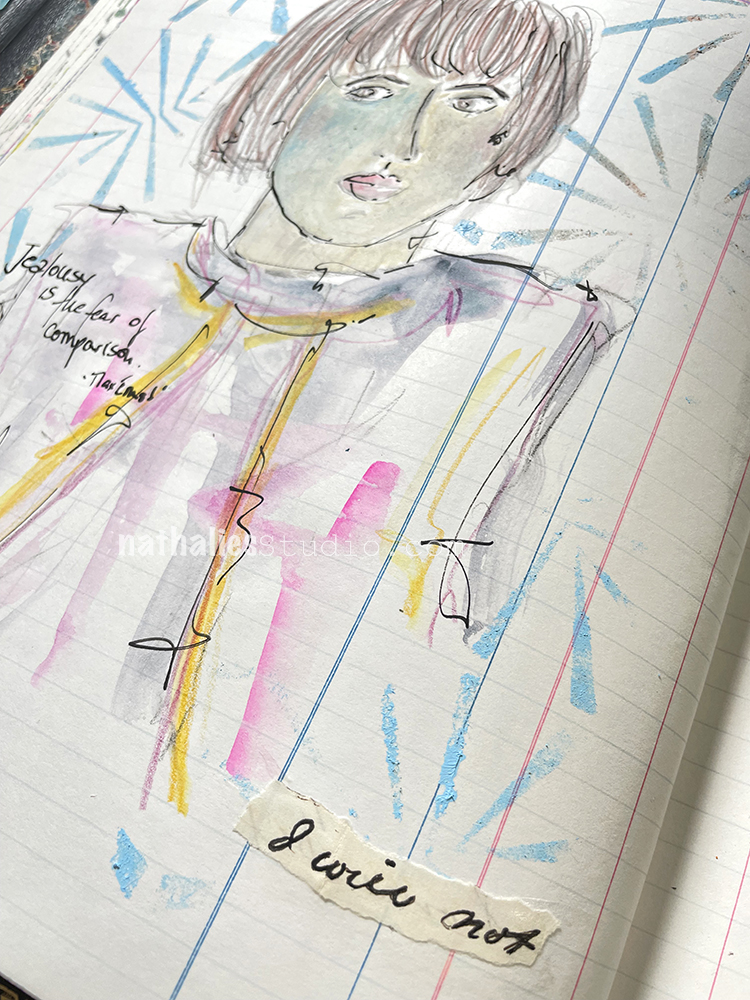
I sketched into my ledger with a Derwent pencil, added some watercolor, and colored in the hair and face with Caran D’ache Museum Aquarelle pencils. I used a super fine point Posca marker for the journaling.
The background is my Beacon stencil used with acrylic paint and a cosmetic sponge.
Hello from my Creative Squad! Today we have a post and video from Riikka Kovasin who is sharing a trio of festive masks using my Art Deco Empire and Batik stencils and our theme: Masquerade Party – Let’s play with disguises, the technique of masking, or maybe creating a bit of mystery this month. Not everything is what it seems, and it can be an interesting artistic trick to obscure or reveal in your artwork.
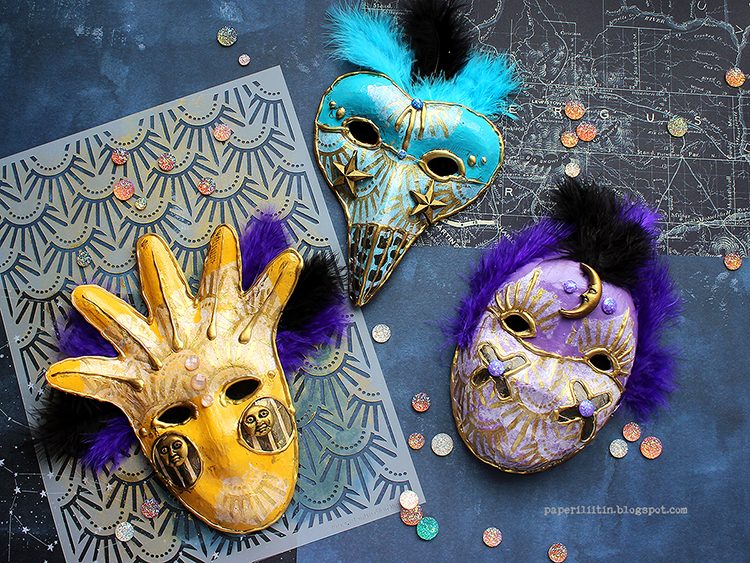
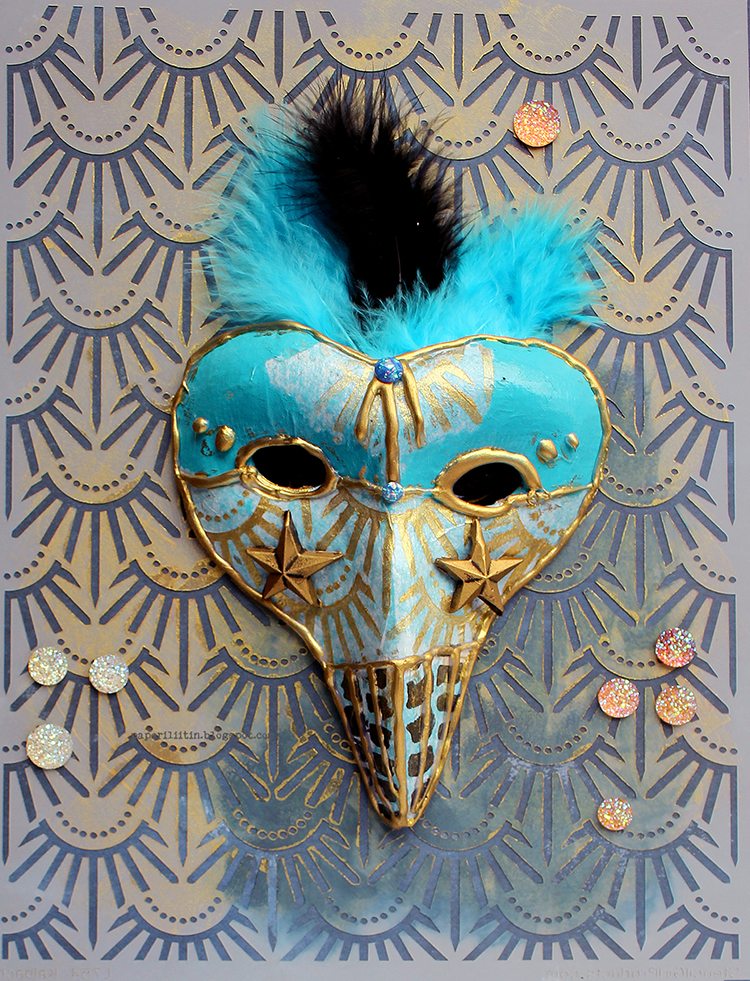
Sun, Moon and Stars
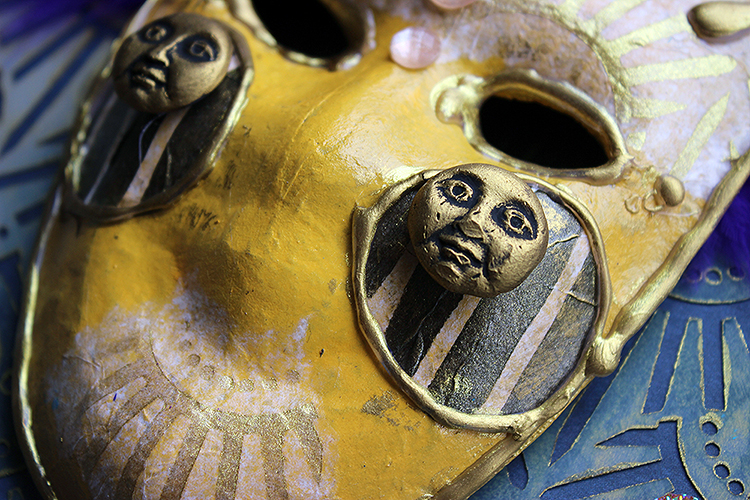
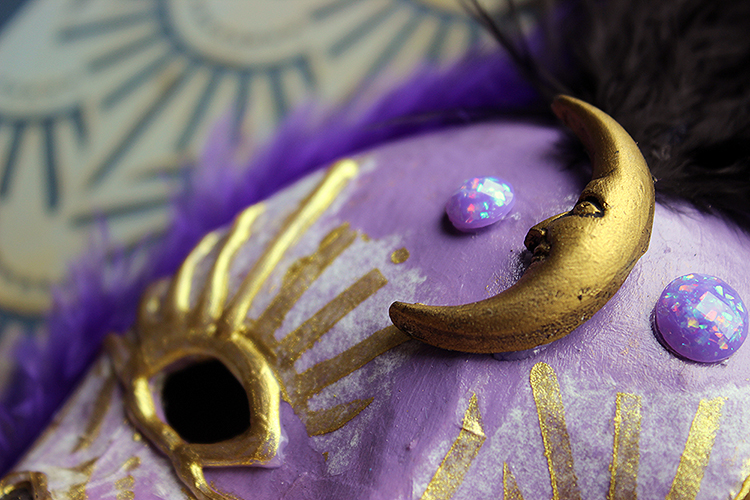
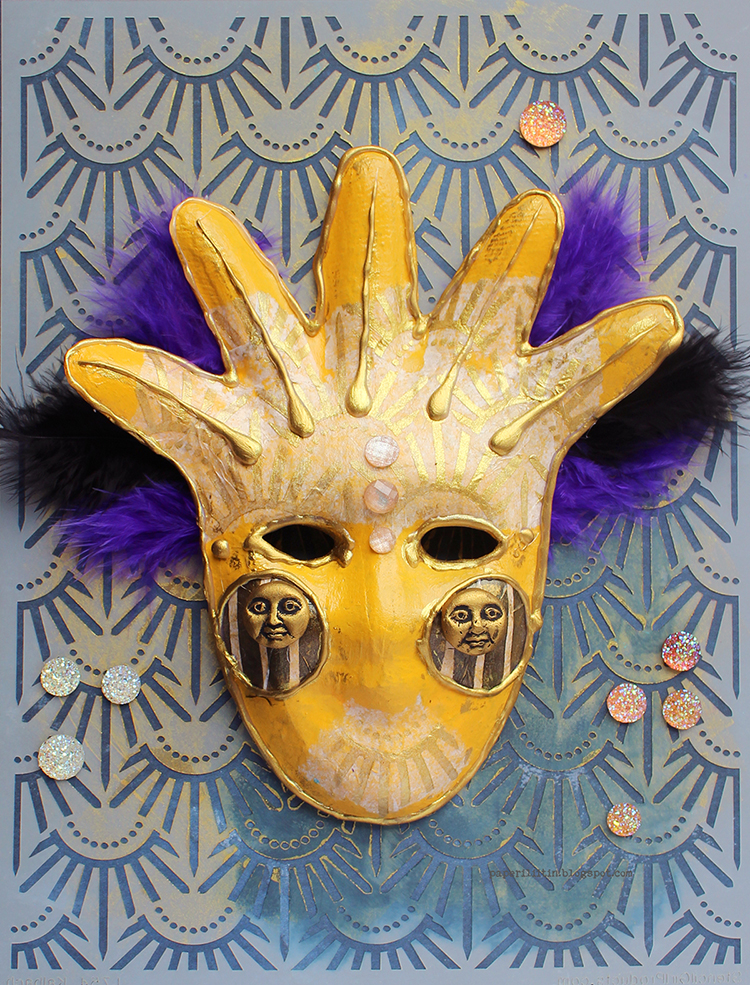
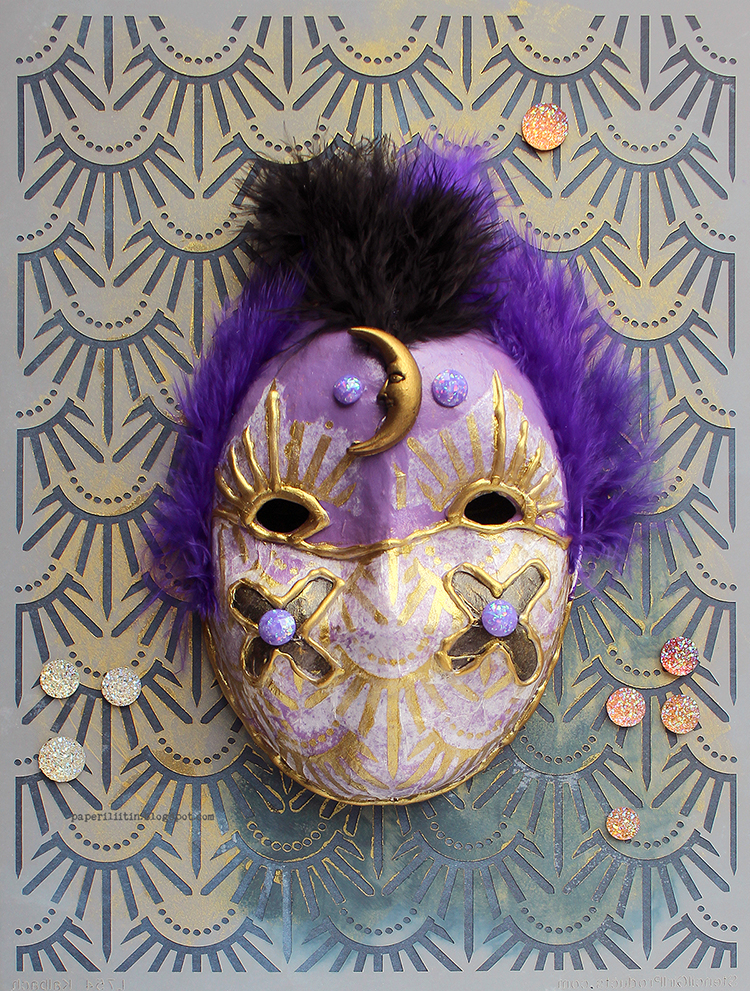
Hi there! It’s Riikka here today sharing my October project. As you can see, I took quite a literal approach to the “Masquerade Party” and decorated some small paper maché masks with acrylic paints and self-made decoupage paper.
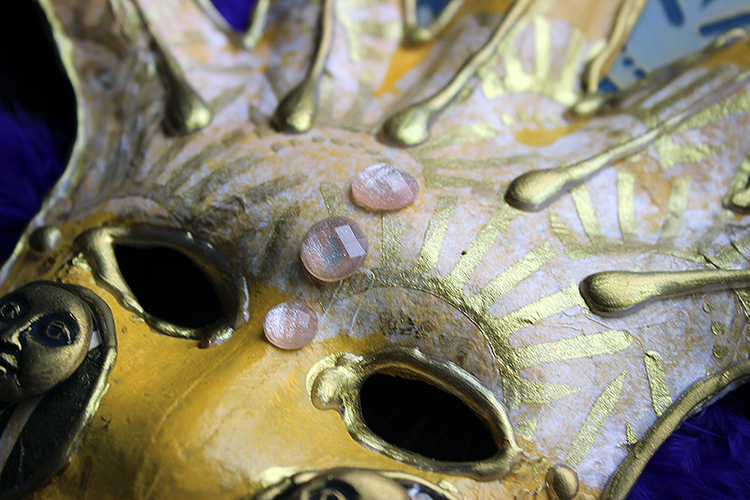
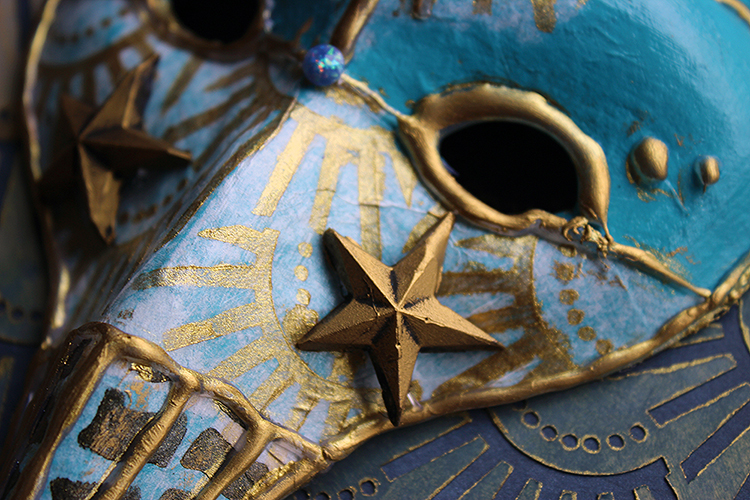
My inspiration for these masks were the Venetian carnival masks. Maybe it was the shape of the paper maché masks that led me there as they echo the shapes of the Venetian masks. The one I decided to make the sun has a little bit of harlequin in it whereas the one I decorated with stars has the “Dottore della Peste”, the plague doctor shape in it. With the carnival masks in mind I used bright colors and gold touches in the masks even though they are maybe a more modern addition to the whole thing. The traditional commedia del’arte masks where some of the masks have their origin were much simpler.
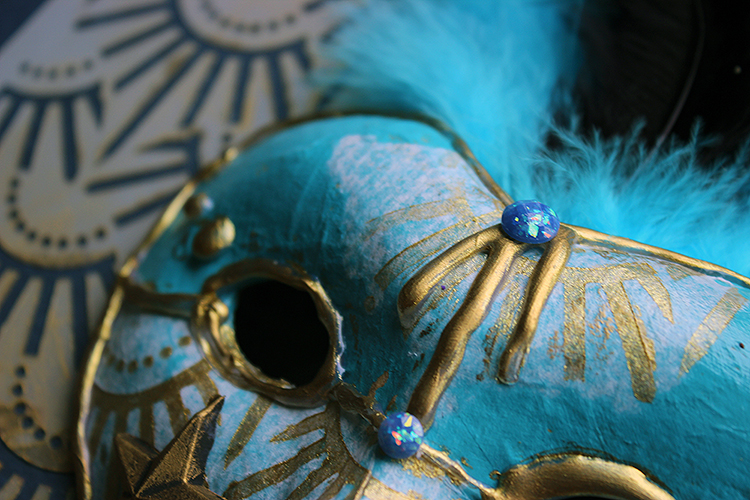
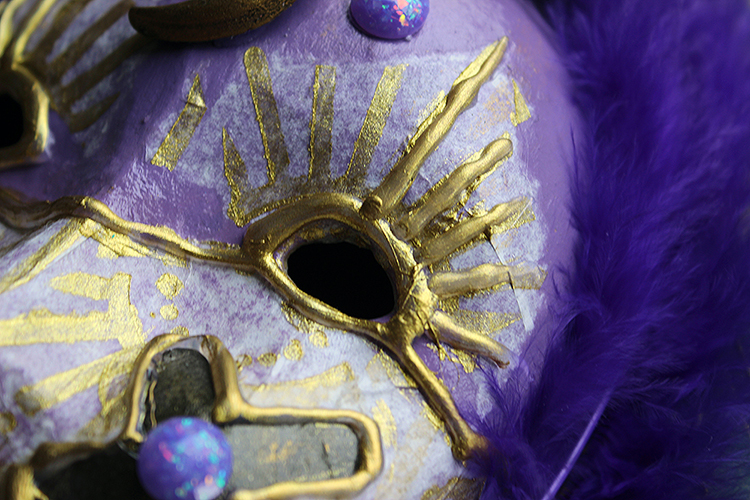
To get some pattern to my masks I used tissue paper as wrapping a stencil around such a dimensional shape can be quite challenging. Patterning tissue paper is an easier way to get pattern wrapped around the shape. Depending on the tissue paper, the color you’re laying it on top of, and the medium you use, you might get the paper to completely disappear. Here I used a soft body gel medium to adhere the pieces I first patterned using a golden acrylic paint and black gesso. For the patterns I used two Nathalie’s stencils – “Art Deco Empire” and “Batik”. I used golden acrylic with the “Art Deco Empire” as the pattern reminds me of a sunburst and black with the “Batik” to have some contrasting pieces for the masks. I used those just as accents, adding just a tiny detail to each mask.
As you can see, the tissue paper doesn’t completely disappear in my masks. On top of the lighter surfaces of yellow and turquoise it’s a bit more faded to the background than with the lilac. If you are trying to hide the tissue paper completely, one way to help is to have a frayed edge rather than a straight cut one. An easy way to do it is to use a wet brush. Trace the desired shape onto the tissue paper with a wet brush and then you can tear the piece loose. Paper is most brittle and soft when it’s wet and you’ll be able to get exactly the shape you want, to control the place where the paper tears.
To keep with the Venetian theme, I decorated my masks with some crystals and feathers. I chose to cut out the part with the feathers from the video as they were giving me a hard time. Or rather, I couldn’t decide how to put them on the mask. I added some several times to the Moon mask before getting the idea of attaching the feathers to the back of the masks, which worked nicely. I should have taken a peek at the modern-day Venetian masks for inspiration at that point!
As I had three masks, I wanted something to combine them into a series. Inspired by the sun like appearance of one, I decided to make a celestial triplet of the Sun, the Moon and stars. I made the focal embellishments for each using a silicone mould and casted the decoration using hot glue. There’s a quick Reels in my Instagram account showing that, if you wish to see HERE. But it’s really easy! You just need to remember that the embellishment is out of hot glue so it will melt for example in case you dry the project with a heat tool!
Thank you for stopping by today! I’ll be seeing you again next month!
Thank you Riikka – gorgeous, rich colors on these masks and I love the drama you create with them!
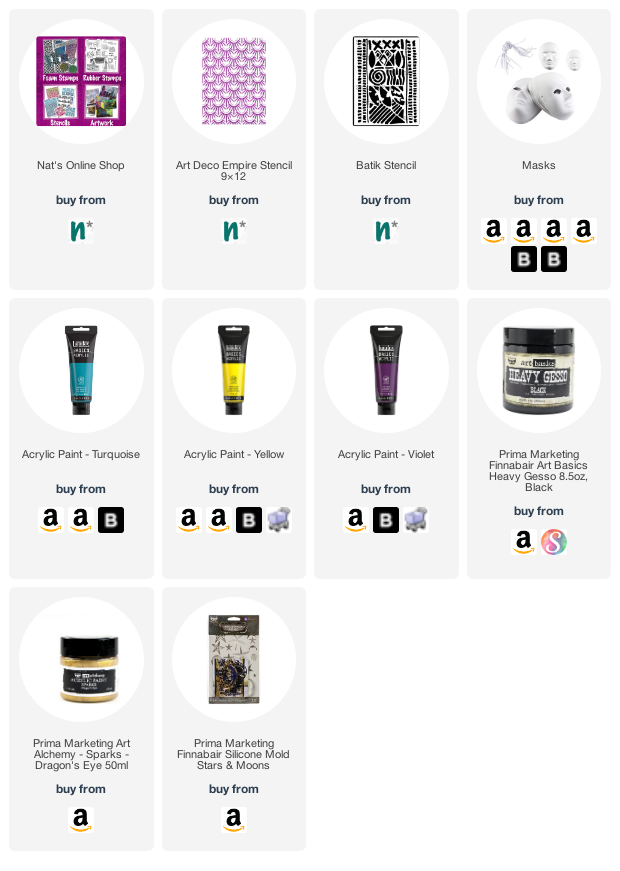
Give it a try: you can find all my Stencils in my Online Shop and here are some of the supplies Riikka used:
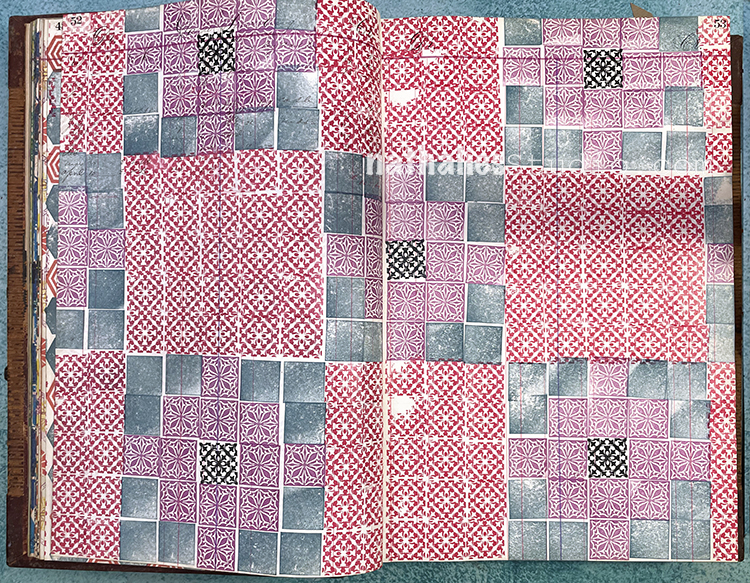
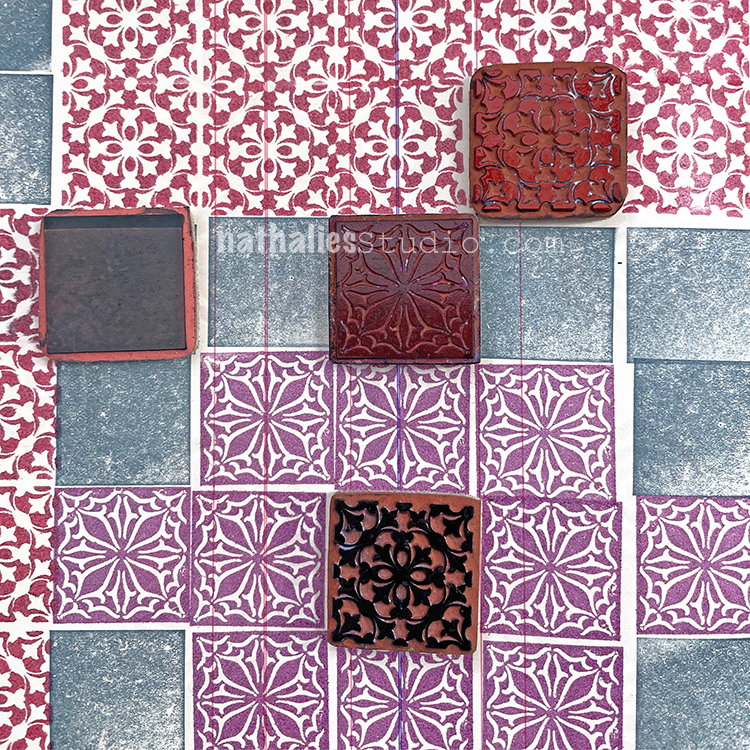
Happy Monday! Time for another pattern in my big vintage ledger. Today I’m using my Solid Square Small and my Floral Tile Small cling rubber stamp set. I decided to carry the pattern over to the next page too so you can really get a feel for it.
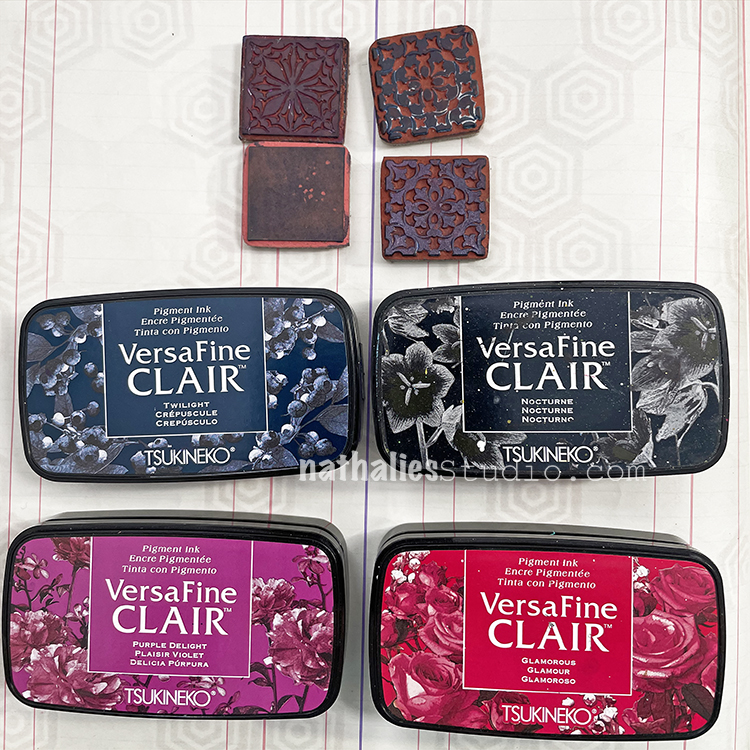
Here is another look at the finished pattern and those stamps and ink pads I used:
Your turn to give it a try! Here are the supplies I used:
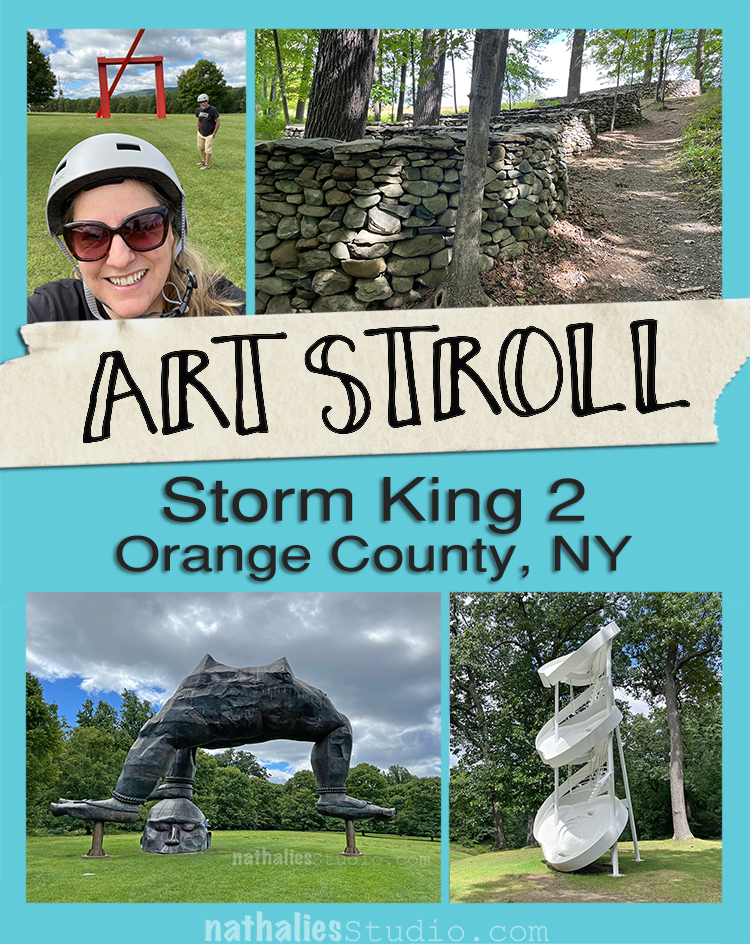
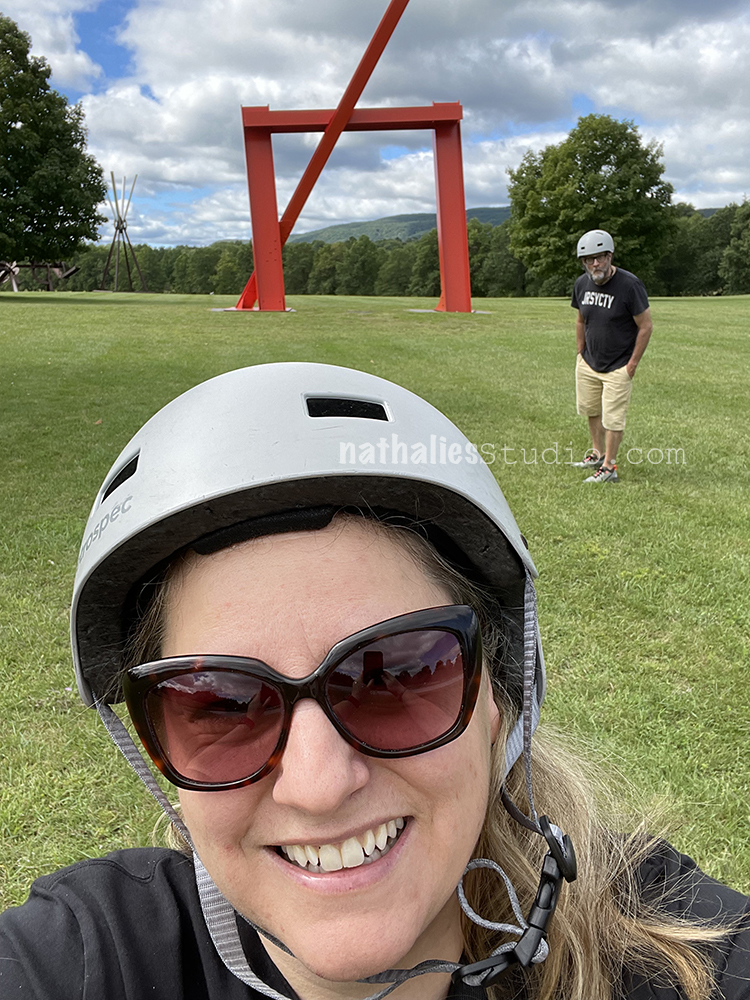
Yeah we made it back to Storm King and this time we knew we wanted to rent bikes to be able to see more of the vast area. You cannot bring your own bikes but it was ok to rent the bikes.
I loved being able to just leave the bikes at the side of a sculpture and then walk up to it – given that it was a pretty hot day once again (last time it was even hotter we were there) the bike ride also created some nice breeze LOL.
I think this one was called the frog …
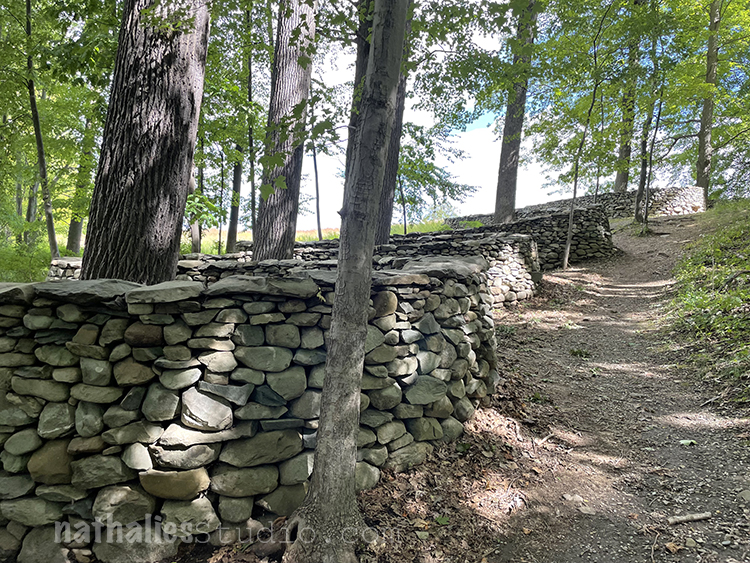
I loved this stone wall weaving in and out along the tree line
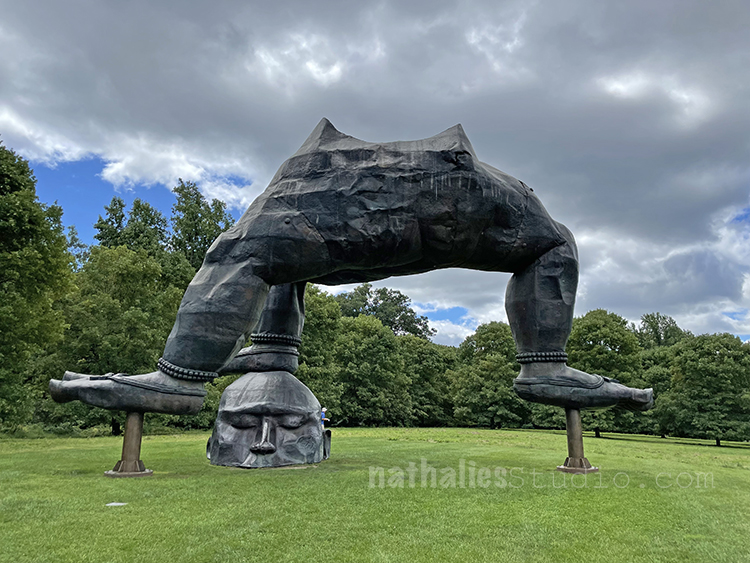
Three Legged Buddah by Zhang Huan, 2007 – gorgeous
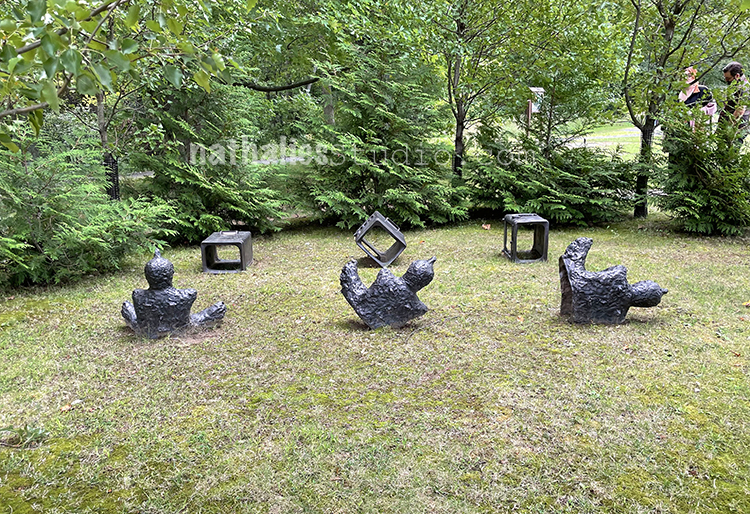
This little scene was charming …It is so fun to walk or bike around and look out for the artwork. I think sculpture gardens might be one of my favorite things!
Last time we didn’t make it up close to this one – It almost invites you to climb- I wonder how many kids are tempted.
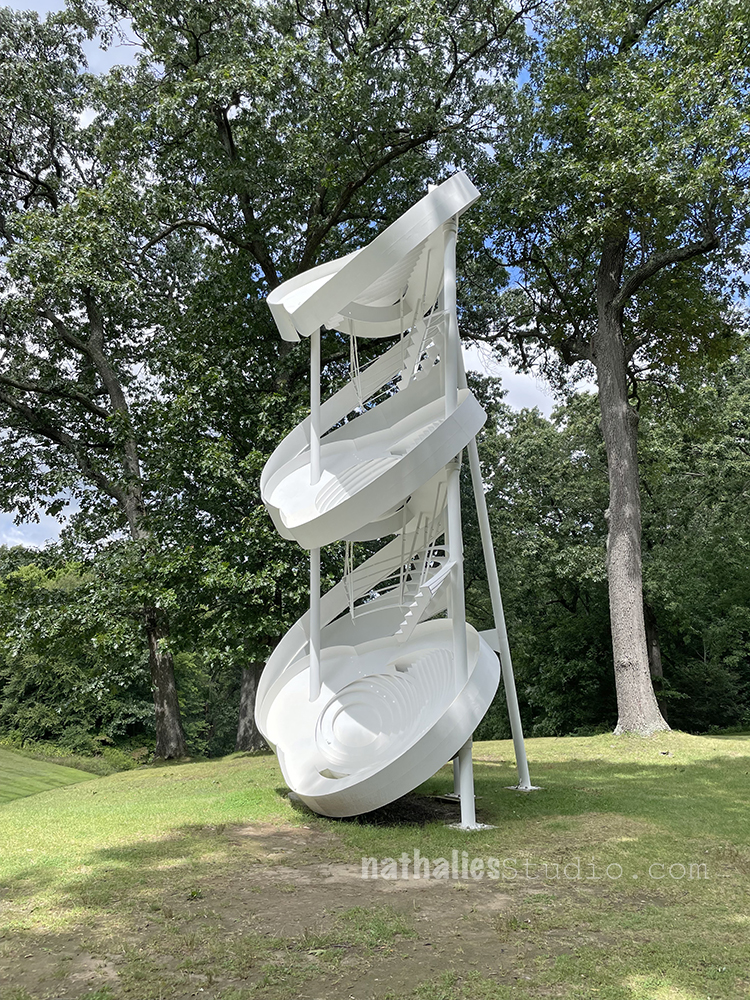
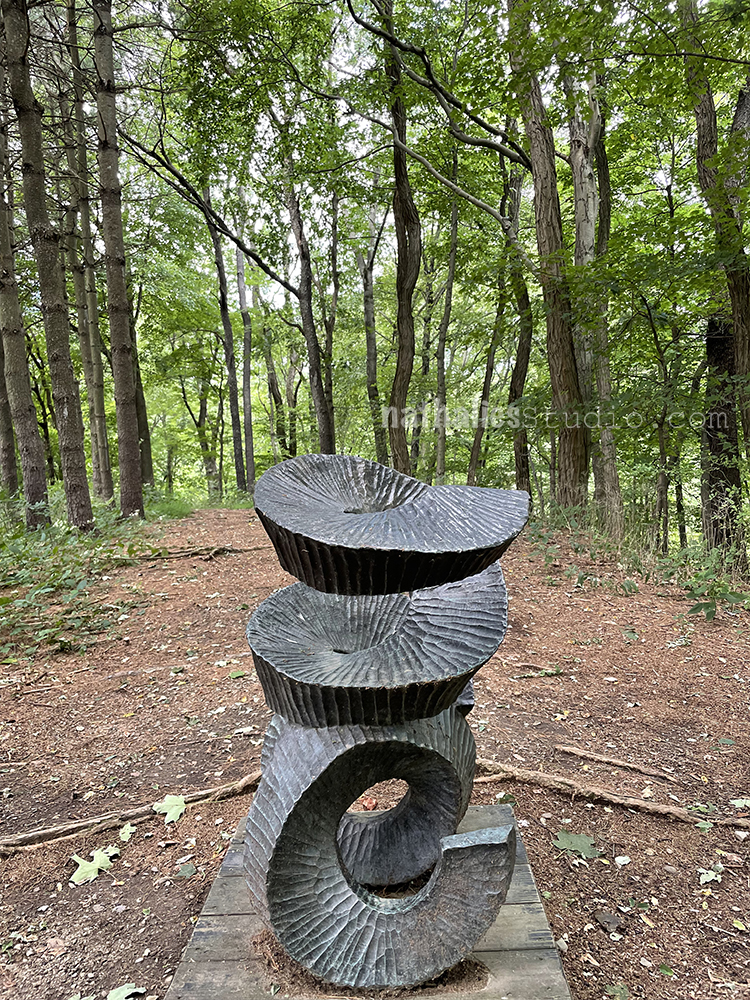
Helixikos Number 3, 1969 – I wonder where Number 1 and 2 are ;) I loved this sculpture – it wants to be touched but I was a good lady :)
Almost missed this one…
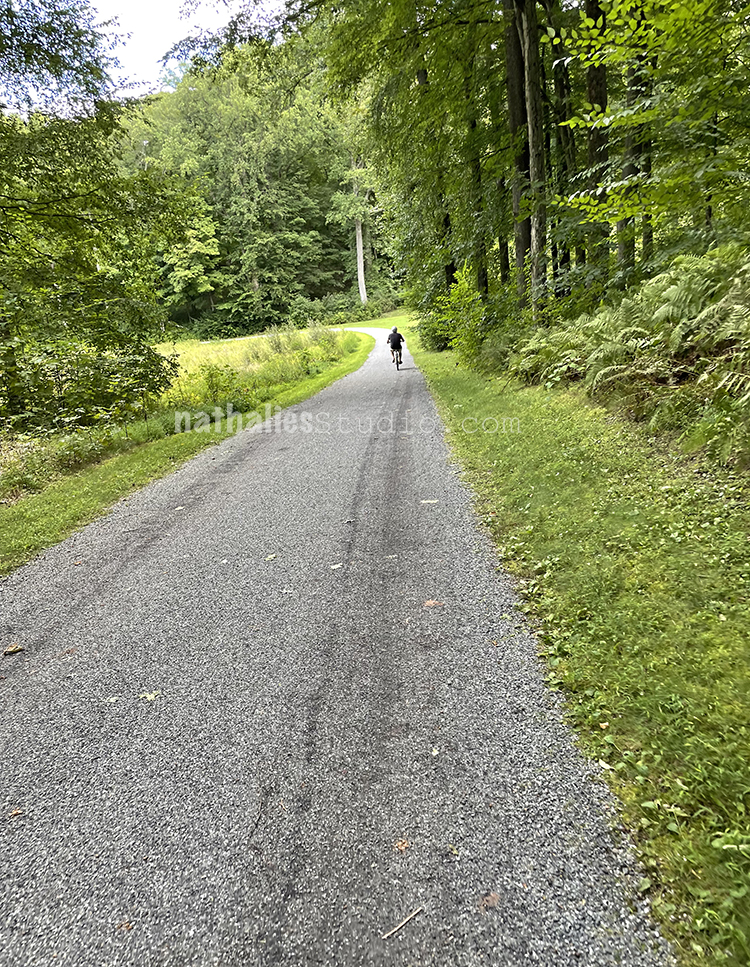
because this Dude is riding too fast ….slow down man- you miss the artwork!
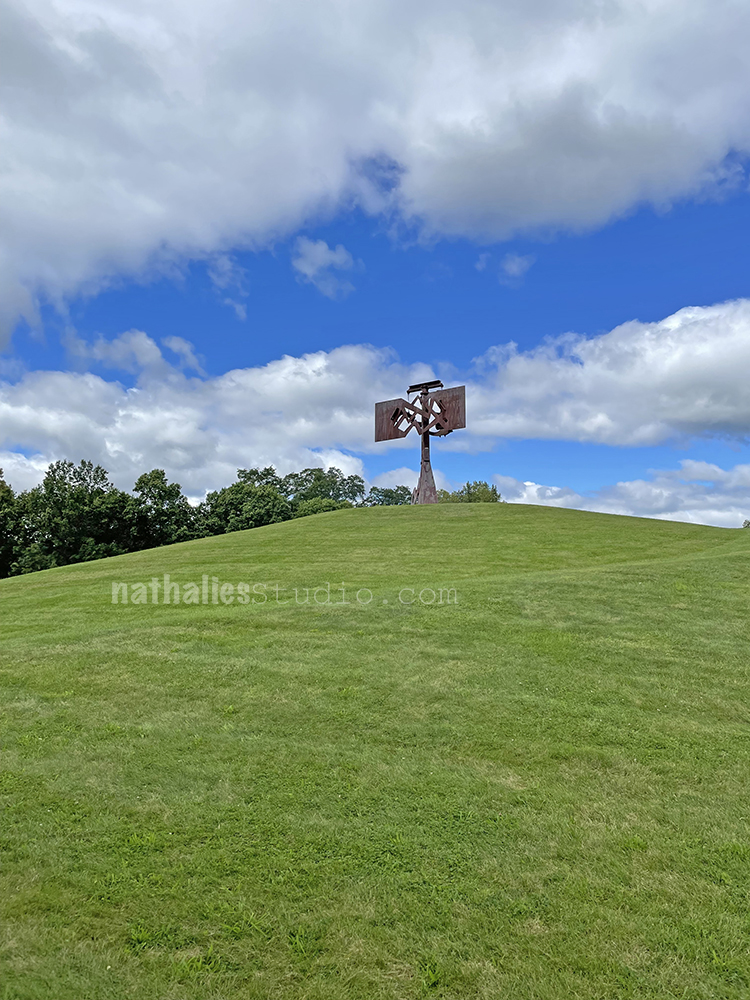
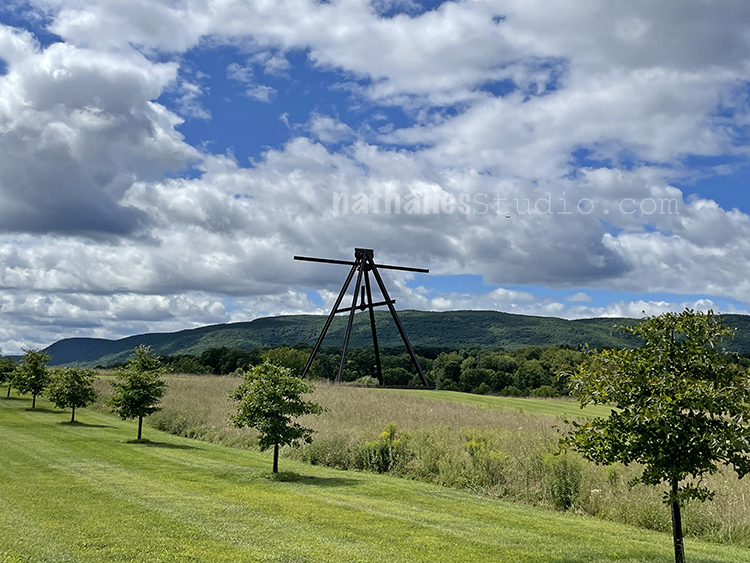
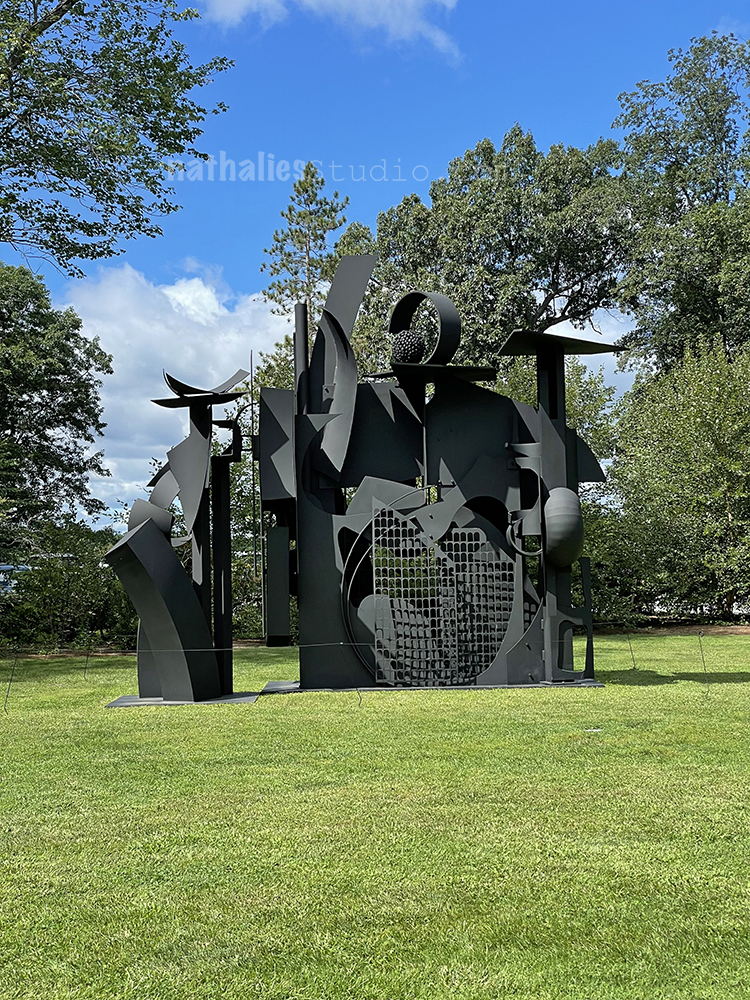
Doesn’t this just look as if it belongs into the landscape?
I love the different layers and textures on this one.
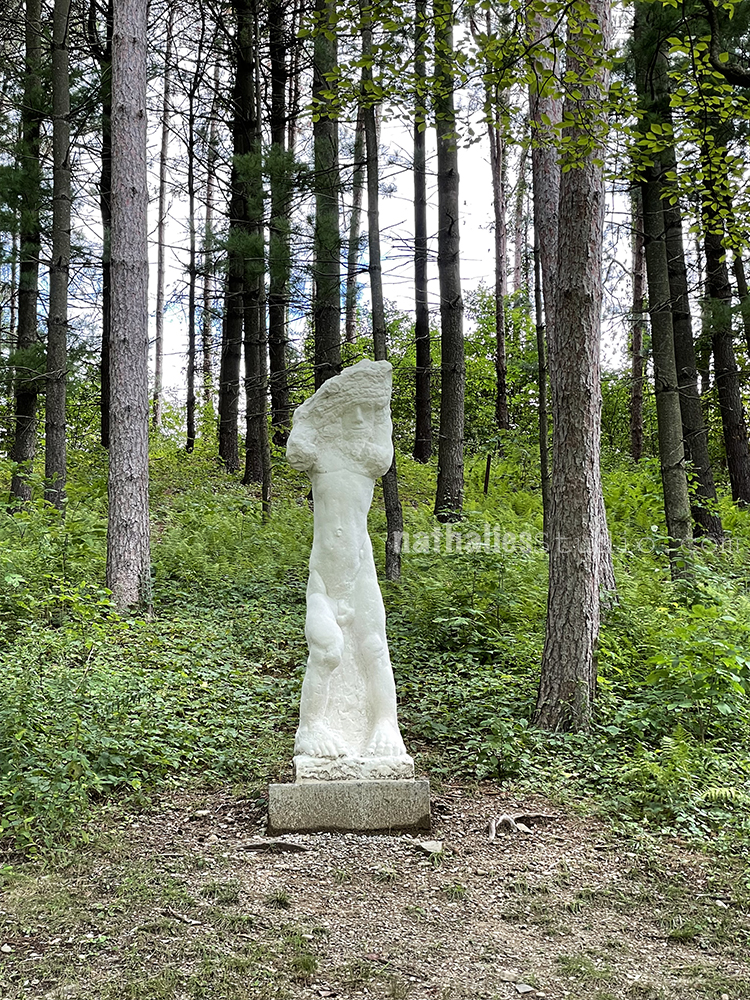
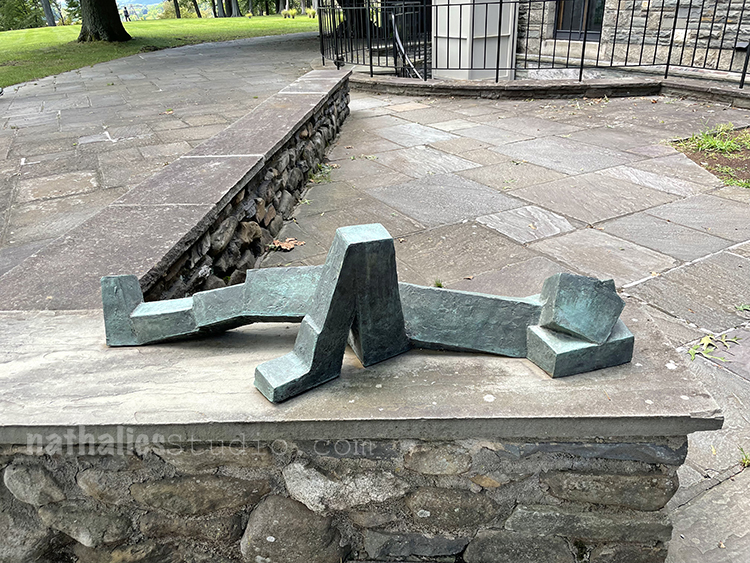
Reclining Man by Josef Pillhofer from 1964 made me smile – hard to photograph but I think you get the picture.
Most of the Gallery was closed – I think because of covid- but the outside art was more than enough to spend hours there. We saw way more art but I didn’t want to be repetitive with what I showed in my post a while ago – even though seeing things again was amazing. Definitely a great place to visit and I am sure we will be a back in a couple years and maybe in a different season again.
I can’t imagine a kid not trying to climb that white piece that looks like a crazy slide with rings. LOL
Helixikos Number 3 I would love to have in my yard!
Thanks for sharing your stroll Nat.
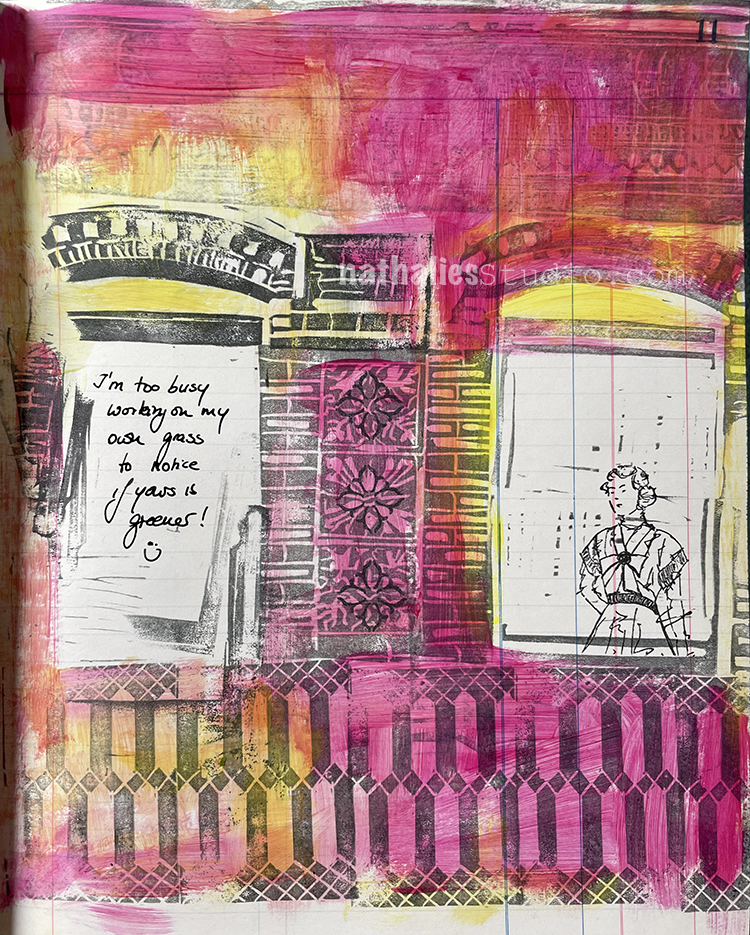
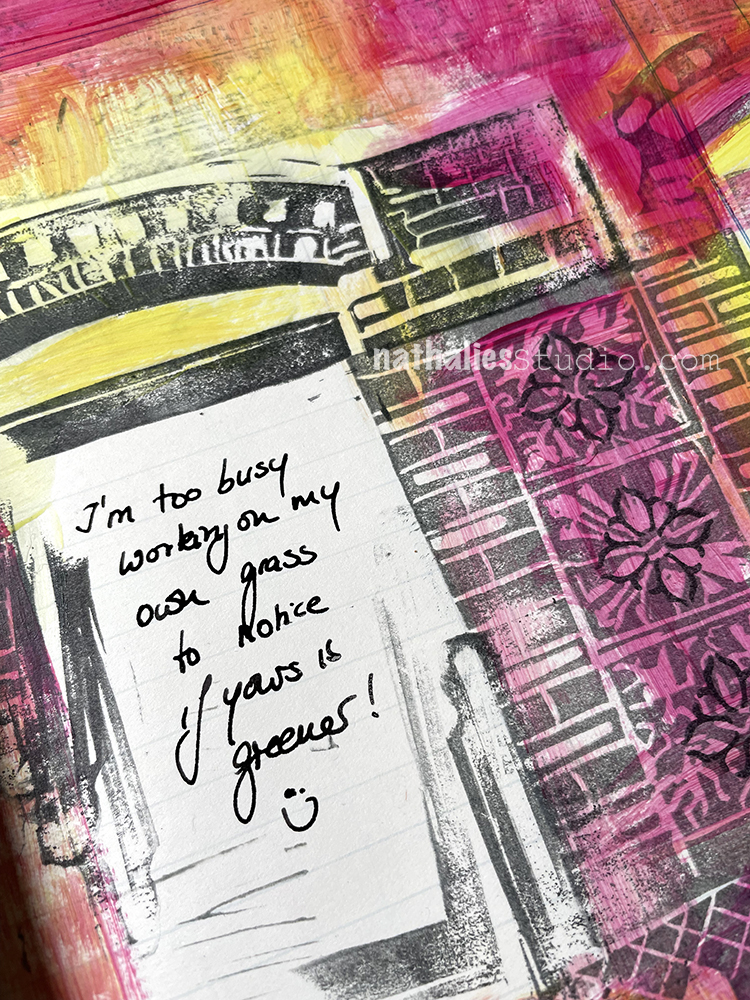
“I’m too busy working on my own grass to notice if yours is greener!”
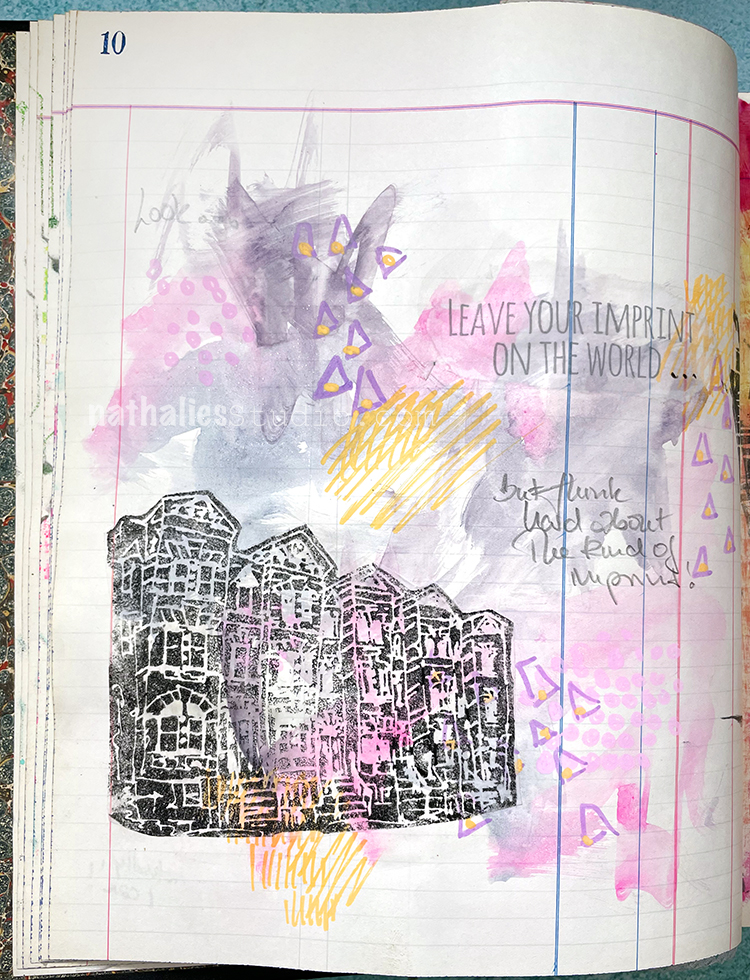
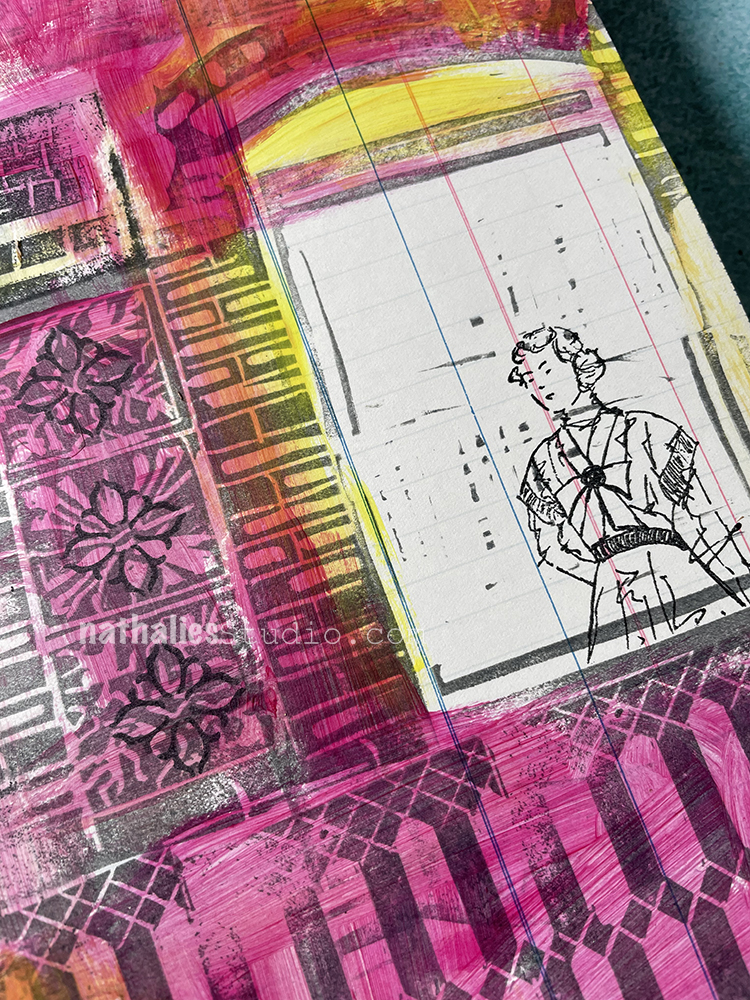
I thought it would be fun to pull out some of my hand carved stamps again and put them together. There are about 5 hand made stamps in the background which I stamped with a black ink pad. Then I used some magenta and yellow paint and created a glaze with matte medium, spreading it over the background.
I stamped one of my Fan-fare stamps as well as the lady from my Actually I Can set inside the window and added some journaling with a fountain pen.
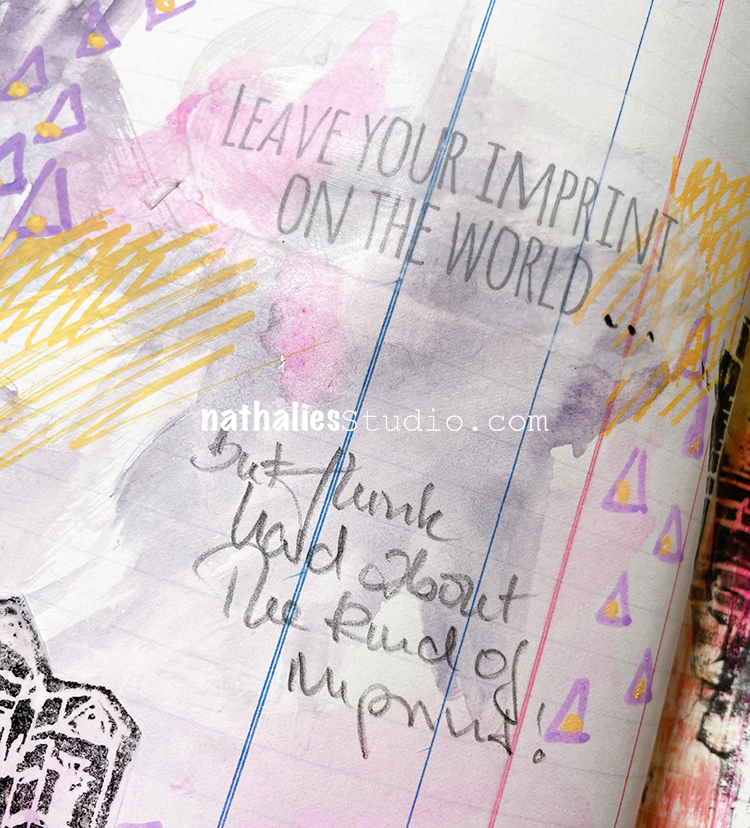
“Leave your imprint on the world… but think hard about the kind of imprint!”
We can make so many… the environment, our loved ones, society, etc.
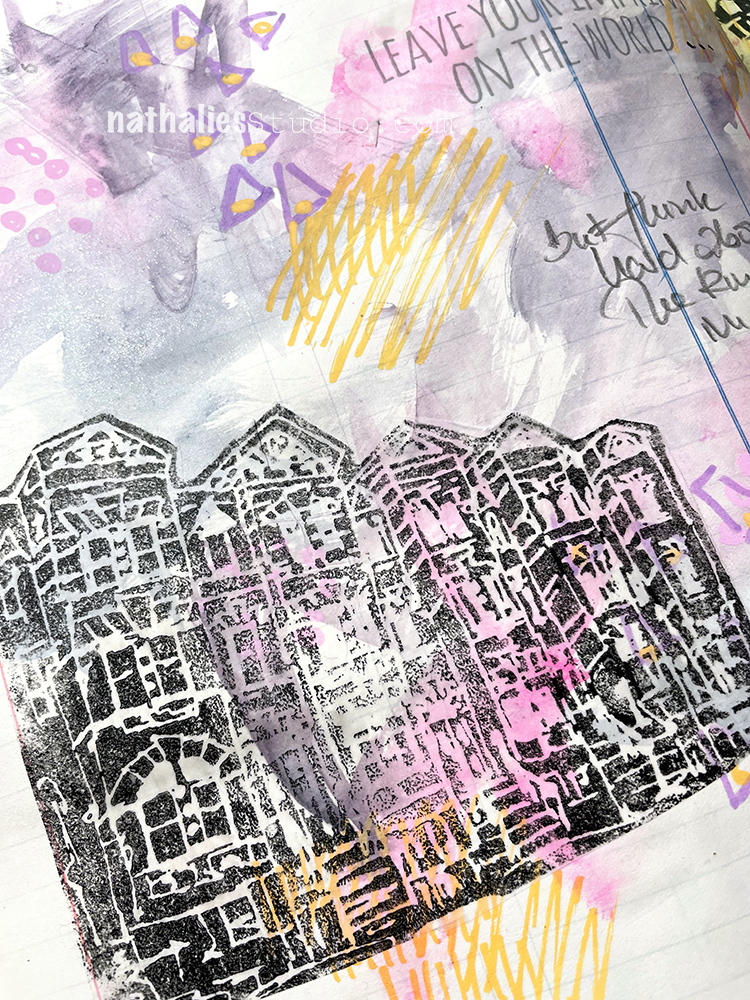
For my background I used Daniel Smith tube watercolors – they were dried up on a palette and I wanted to use them up before they went bad. Then I made some marks – triangles, dots etc. – with Posca markers. I was really just playing around and it felt good.
For a focal point I stamped my Row Houses foam stamp with acrylic paint.
The printed portion of the quote is from tissue paper that was part of the packaging of some shoes I bought and I liked it… but then thought a bit deeper about the implication of the quote and wanted to add that too.
A Look Back – Today I’m looking at art journal spreads, projects, and even an old layout from 2009 where specific songs inspired me to create. I have always been a big fan of alternative and punk music but lots of times a song from an entirely different genre will inspire me. Poetic lyrics definitely catch my… ear lol
A Look Back is a blog series to show you some projects and posts that you may have missed – sometimes going WAY back in the archive. I think it will be fun to revisit a few ideas that we haven’t seen for a while. I’m excited to see how a little look back might inspire something new in the future :)
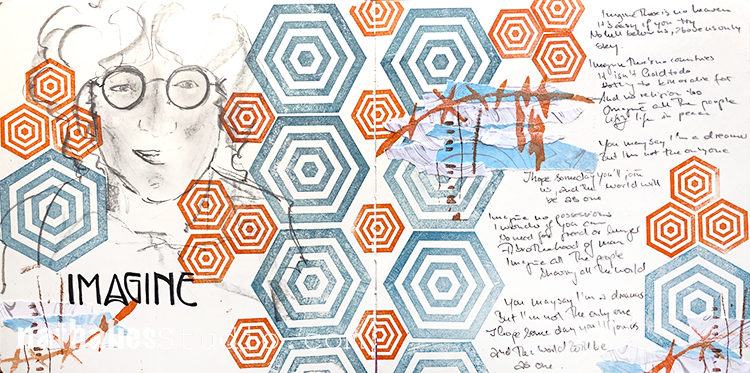
I created this art journal spread in 2019 after watching a doc on John Lennon and Yoko Ono. I think this song (“Imagine”) in particular always resonates when we are going through a period of strife. I felt the need to copy down a lot of the lyrics (maybe all of them), filling in the empty space I created using my Hex Set Small and Hex Set Large stamps.
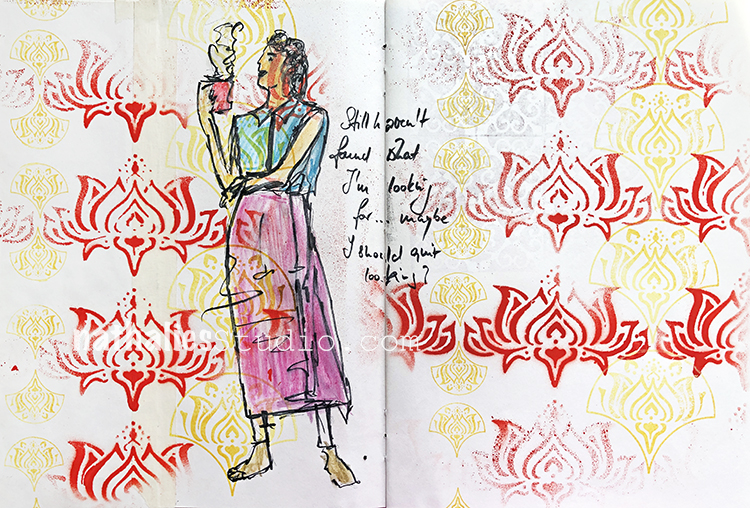
Also in 2019 I joined a challenge by my friend Tina Walker called The Stencilfied Journal and it was a series of about 25 song prompts to get inspired by. The above one was U2’s “I Still Haven’t Found What I’m Looking For” – and as a U2 fan I had no trouble finding inspo in that. I created a background with my Lily Wallpaper stencil and my Fan-tastic Large and Fan-tastic Small stamp sets and then put in my contemplative figure who is wondering, “maybe I should quit looking?”
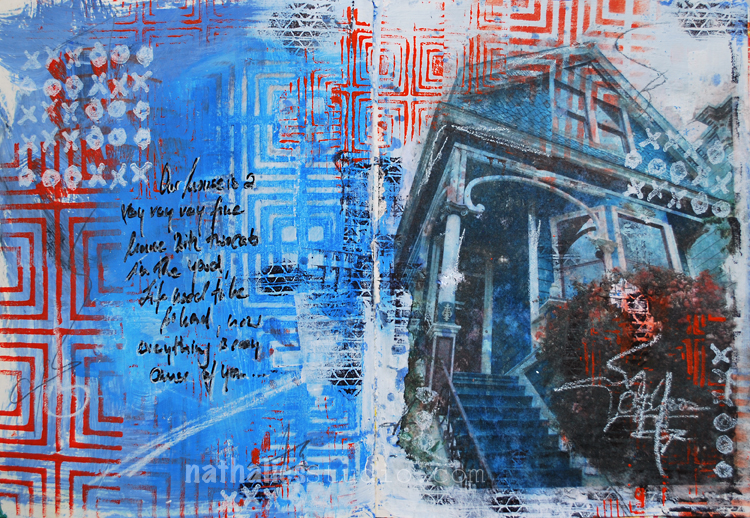
As you know, I always have my eyes open for architecture and one time in San Francisco I saw this great house, snapped a pic of it, and later put it in this art journal spread as a transfer. The Crosby, Stills, Nash, and Young song “Our House” often comes to mind when I see a lovely home so it all came together in this spread in 2017. I added my Manhattan stencil, Love Knots rubber stamp, and my Tread rubber stamp too. Now where are those two cats…?
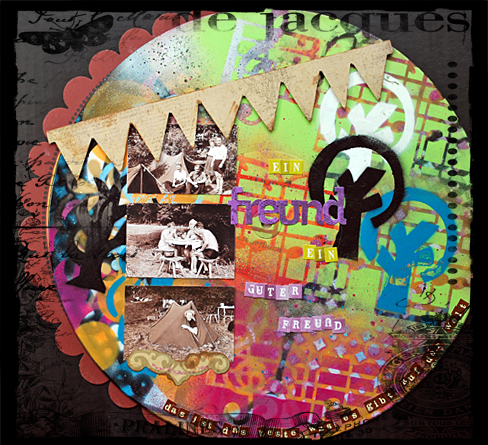
Time to go back in time to 2012 and this collage I created on an old record, inspired by the German song “Ein Freund, ein guter Freund” – a song that came to my mind when I was going through old photos of my Aunt Margo and her friends on a camping trip in 1949. She had shared some of the funny stories of that trip with me and I loved thinking about her and her good friends going on a rather madcap adventure when they were young :)
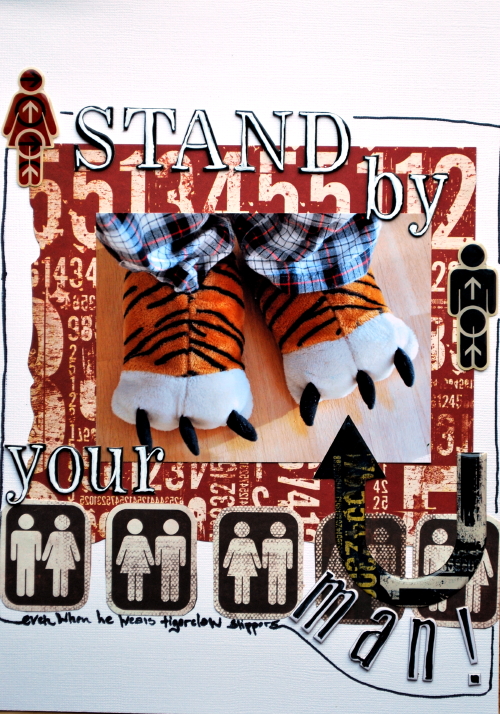
And now I take you alllll the way back to 2009 and this layout inspired by “Stand By Your Man” (as performed by the incomparable Blues Brothers) and featuring some ridiculous slippers that my husband had back then. I don’t know about those slippers but I still dig some of the collage elements I brought into this.
I hope you enjoyed this look back on some artwork inspired by songs. Here are some of the supplies I used:
Hello from my Creative Squad! Today we have a post from Judi Kauffman who is kicking off our new monthly theme for us: Masquerade Party – Let’s play with disguises, the technique of masking, or maybe creating a bit of mystery this month. Not everything is what it seems, and it can be an interesting artistic trick to obscure or reveal in your artwork.
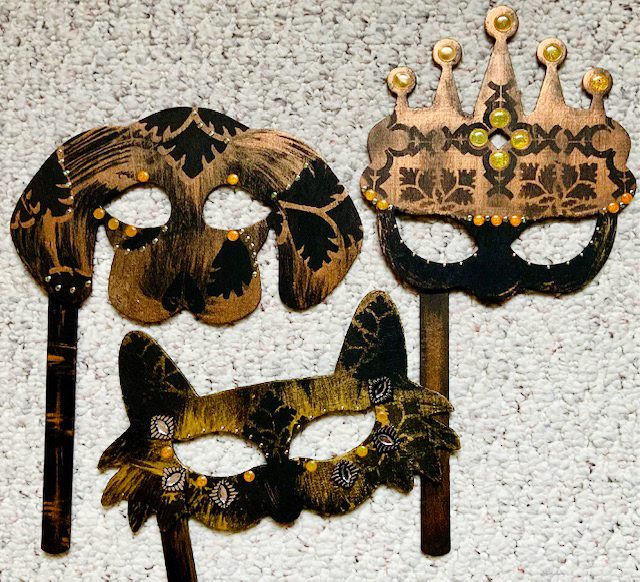
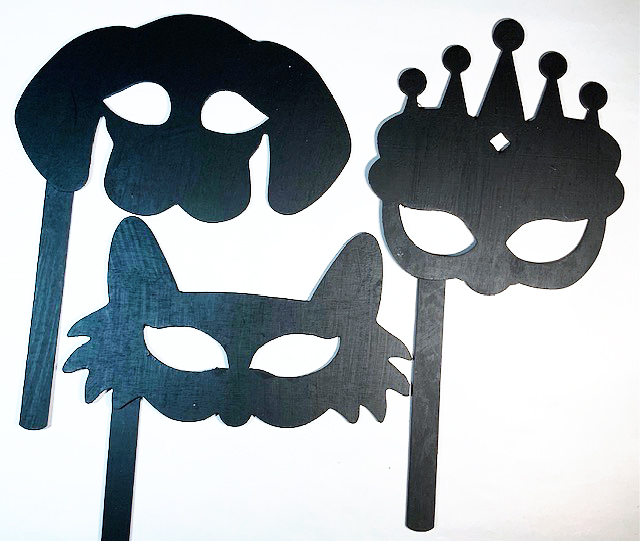
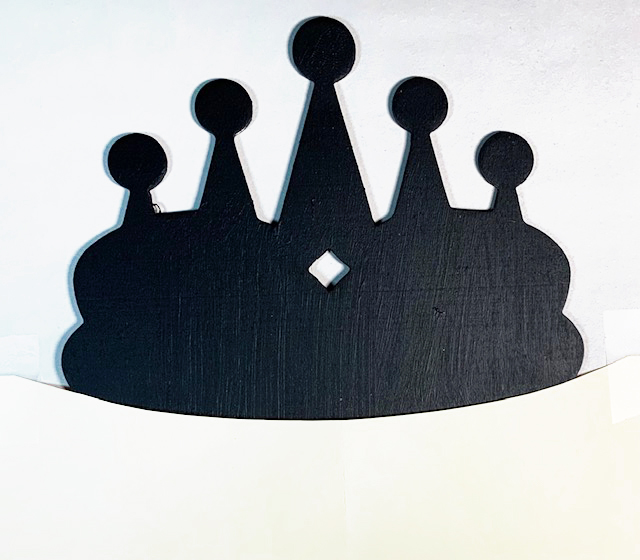
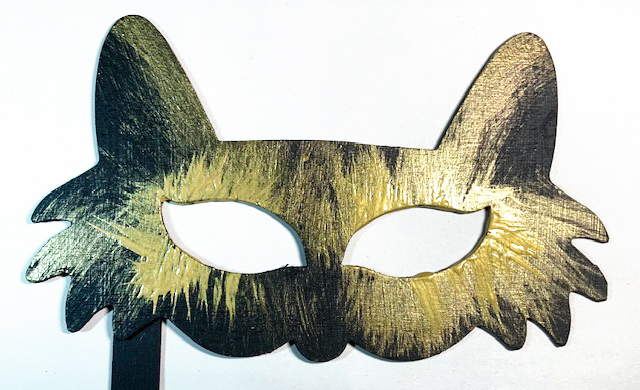
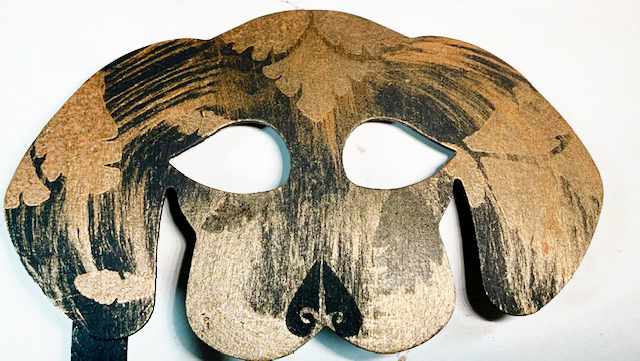
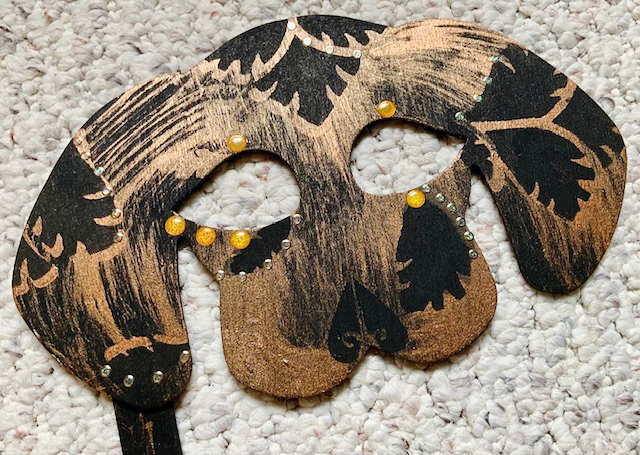
I love Halloween! How could anyone NOT embrace a holiday that’s all about costumes, cards and candy? When I heard about the theme for this month’s Creative Squad projects – Masquerade Party – I knew right away what I wanted to do: stenciled masks! I dug into my craft stash, found some cheap wooden masks that I’d purchased ages ago, picked a pair of stencils, got out the paints and I was off and running…
If you can’t find masks like these, hand- or die-cut your own from mat board or chipboard. There are many free mask templates available online.
Let’s get started:
Paint masks with black gesso.
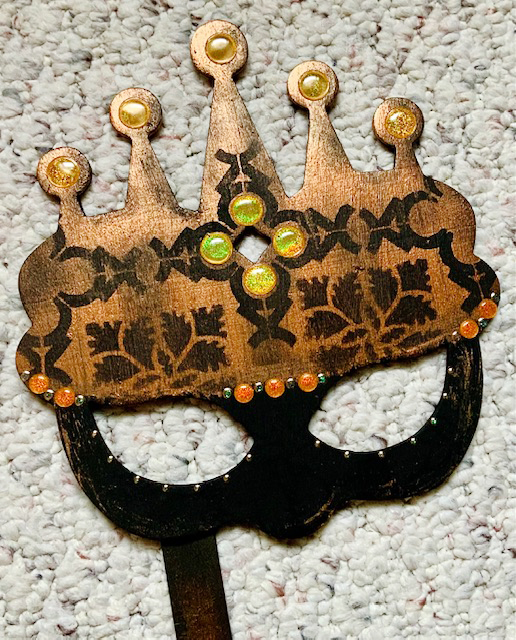
For the crown: Mask a curved area above the eyes.
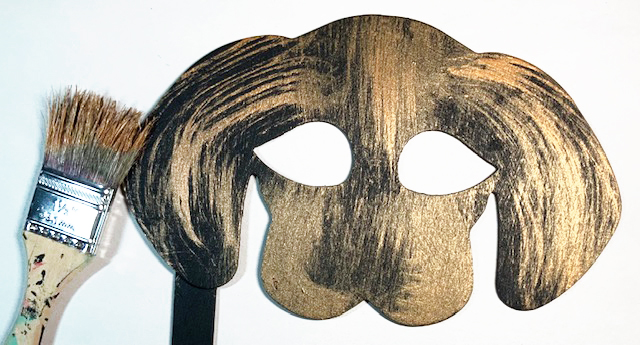
Brush the masks with a metallic paint in a color of your choice.
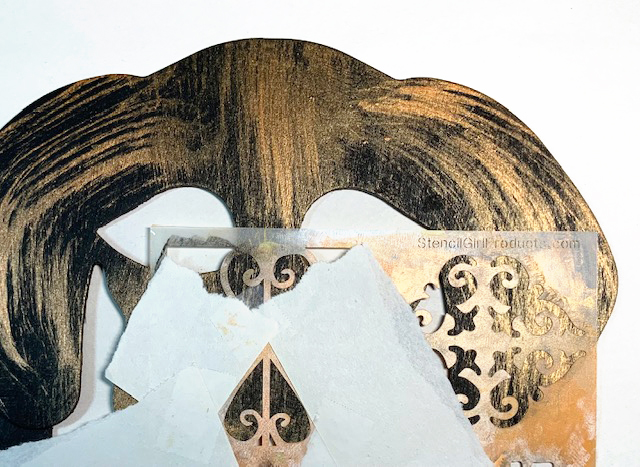
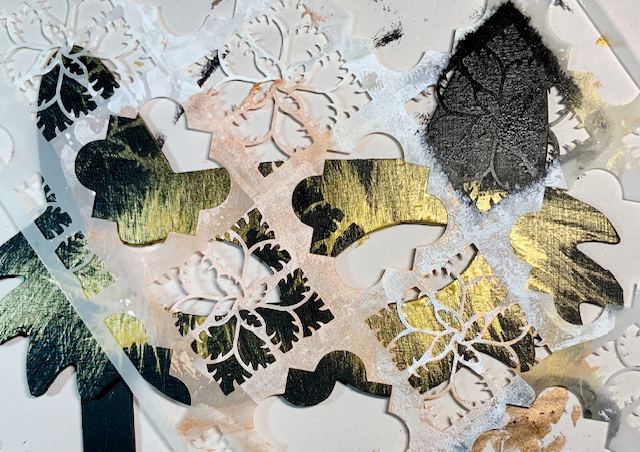
Position stencils as shown or as you prefer and use a stencil brush with metallic and black paints to add patterns.
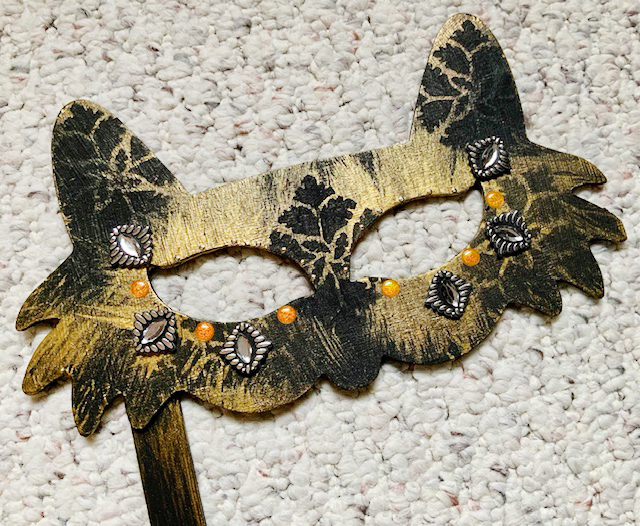
TIPS: *Look for portions of the stencils that please your eye, like the section forming the dog’s nose! *Layer the paints: Stencil in black on black (like the lower section of the crown mask), stencil in black over previously stenciled bronze (like on the dog’s face). * Add smudged-on black paint to the crown to tone it down and give it an antique look.
Embellish masks with adhesive-backed gems and glitter dot stickers.
Other options: Remove the sticks and hang or frame the masks as wall art. Stencil lightweight paper masks and adhere into an art journal. Stencil small scale masks onto card fronts.
Thank you Judi – I love the opulence of these masks and also how carefully you chose the placement of the stencils.
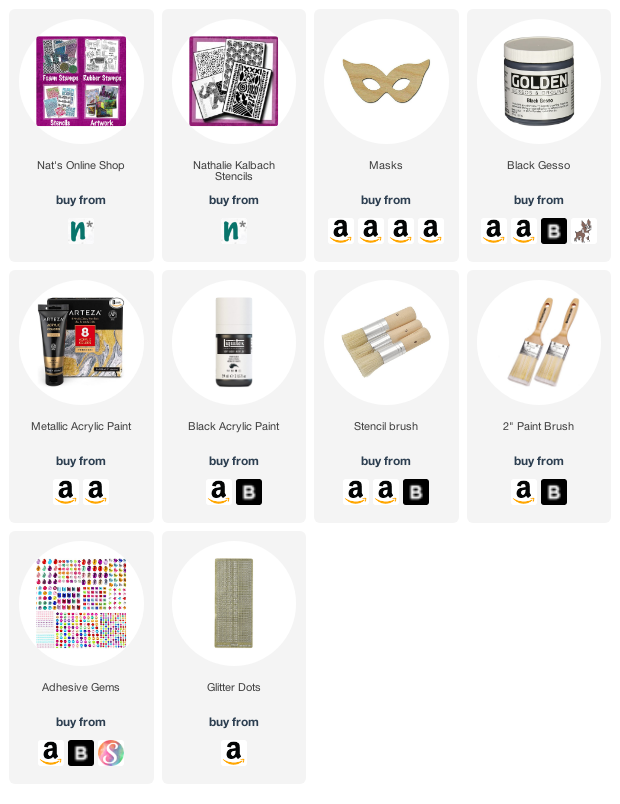
Give it a try: you can find all my Stencils in my Online Shop and here are some of the supplies Judi used:
Happy Monday! Time for another pattern in my big vintage ledger! Today I’m using my Solid Hex Small and one of the stamps from my Hex Set Small cling rubber stamp set. Sound familiar? This is the second pattern I did in a row using just these two stamps and two ink pads (check out last week’s Pattern Monday). It’s pretty cool the variety that is possible if you play around a bit :)
Here is another look at the finished pattern and those stamps and ink pads I used:
Now it’s your turn to give it a try! Here are the supplies I used:
I can’t imagine a kid not trying to climb that white piece that looks like a crazy slide with rings. LOL
Helixikos Number 3 I would love to have in my yard!
Thanks for sharing your stroll Nat.
Reply