Blog: Lady Liberty

Don’t be a Litterbug – Art Journal

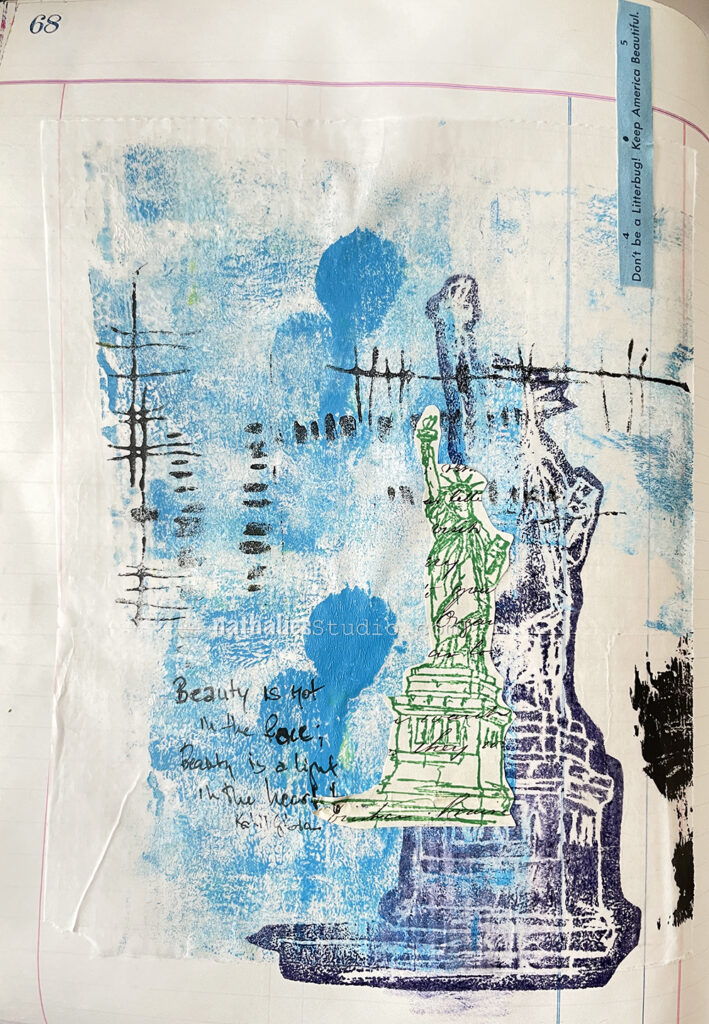
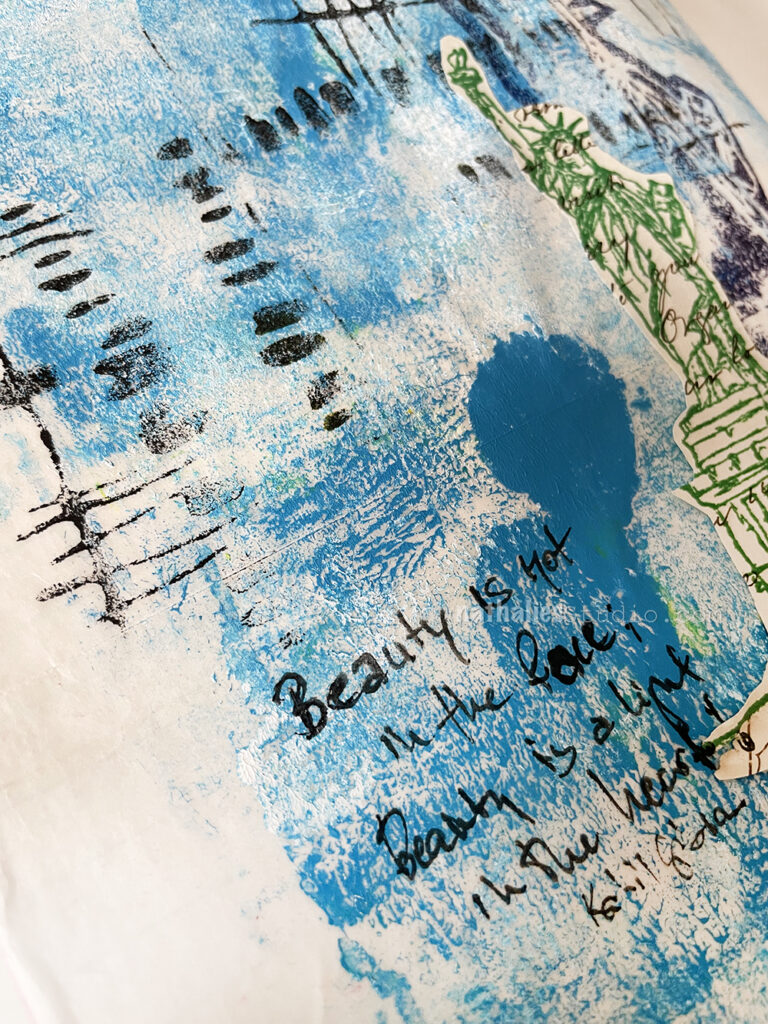
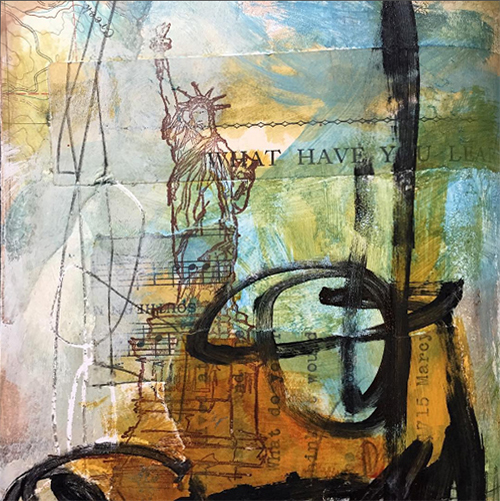
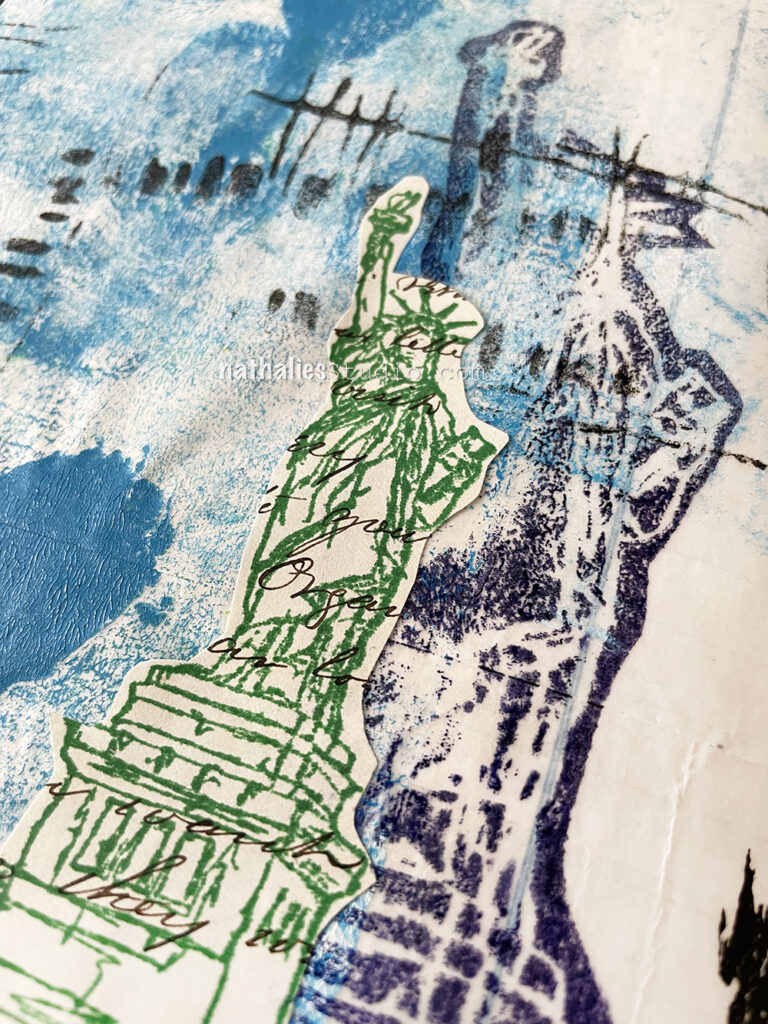
In this art journal page I took advantage of some painty grunge on a deli paper piece that I had used to dab off some excess paint from a gel plate, as well as some stamp marks from my foam stamps.

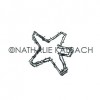
I adhered the piece for a background into my ledger art journal and stamped on top with Versafine and the Lady Liberty foam stamp. Next I stamped the Lady Liberty rubber stamp in green on an old letter and adhered that too. The “Don’t be a litterbug” is from an old road map…a paper road map… wow, what a blast from the not so far past LOL.

The journaling is supposed to read:

“Beauty is not in the face; Beauty is a light in the heart!” The pen died on me though and I made a little mistake, but oh well ;)

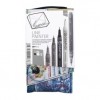
Here are some of the supplies I used:

Leave a comment

Pattern Monday 06 – Video from my Ledger

Happy Monday everyone – time for another pattern in my big vintage ledger! For this one I used my Lady Liberty and Hope Tag stamps. I’m getting ready for July 4 in the US with this one :) Check it out in the following video:


Here is a look at the finished pattern and the stamps I used:

Now it’s your turn. Here are the supplies I used:

Leave a comment

Wild and Free – Emilie Murphy

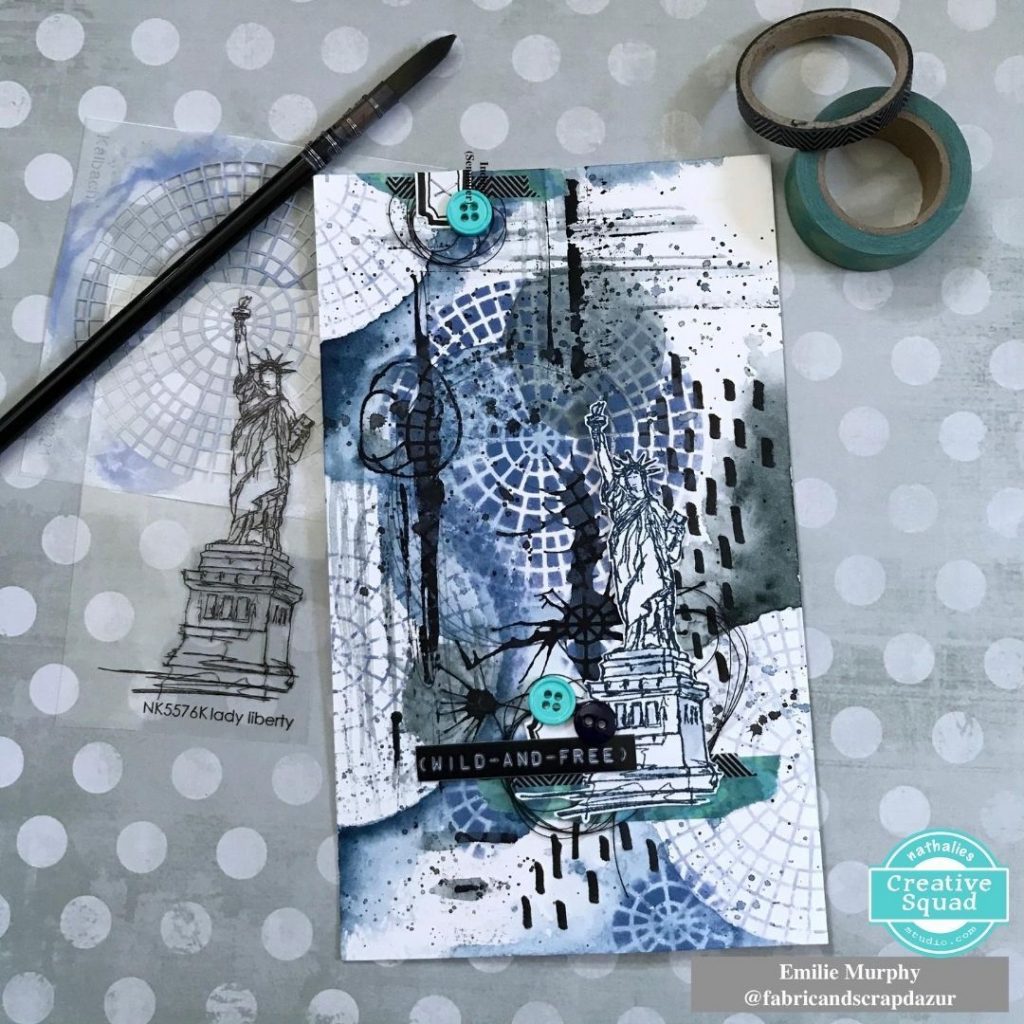
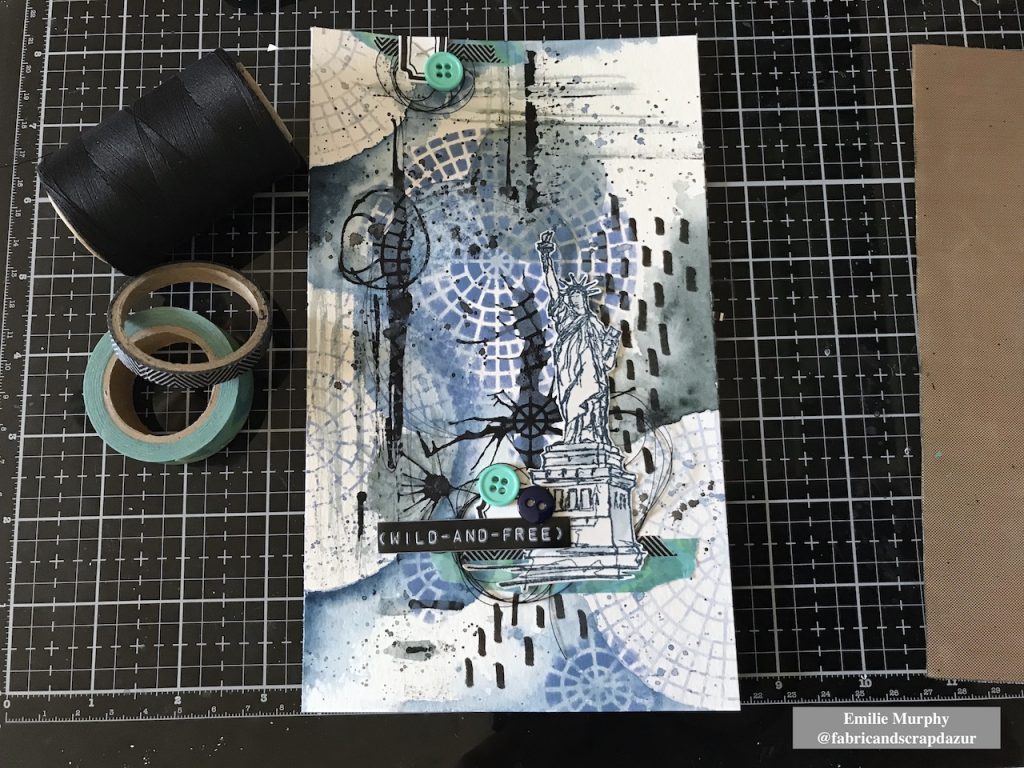
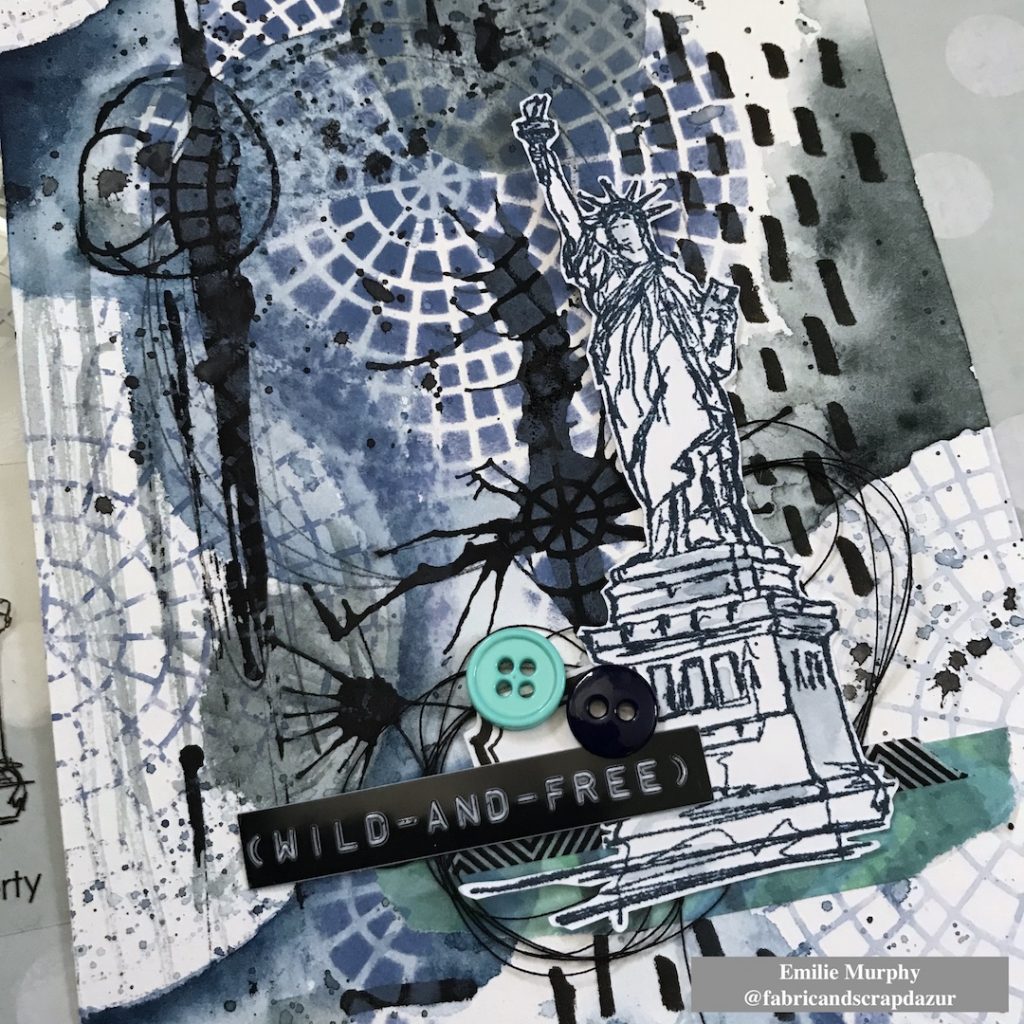
Hello from my Creative Squad! Today we have Emilie Murphy with us using my Lady Liberty stamp and my Central Ave 4×4 stencil and sharing her fresh and funky take on our theme: Wild and Free – After so many months of careful living, it’s time to go Wild and Free… In our Art! Go a little crazy in there and live it up with bright colors, exuberant mark making, bold colors – however you want to go a bit bananas. It’s time to let loose!


Hi there! Hope you are doing well and enjoying the summer so far.

My first thought of “Wild and Free” theme was to use Nathalie’s stamp “Lady Liberty“, well known symbol of Liberty and emblem of New York City. Lately, I got nostalgic about my trip there, already ten years ago. I had spent such a great week in this fantastic and energetic city.

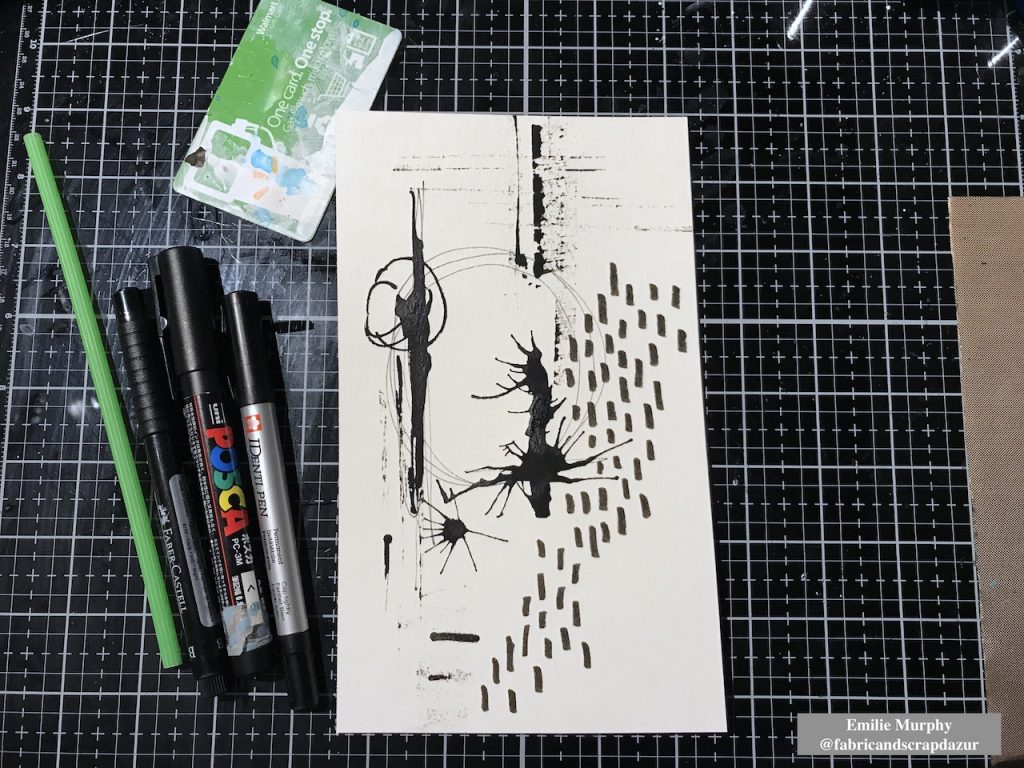
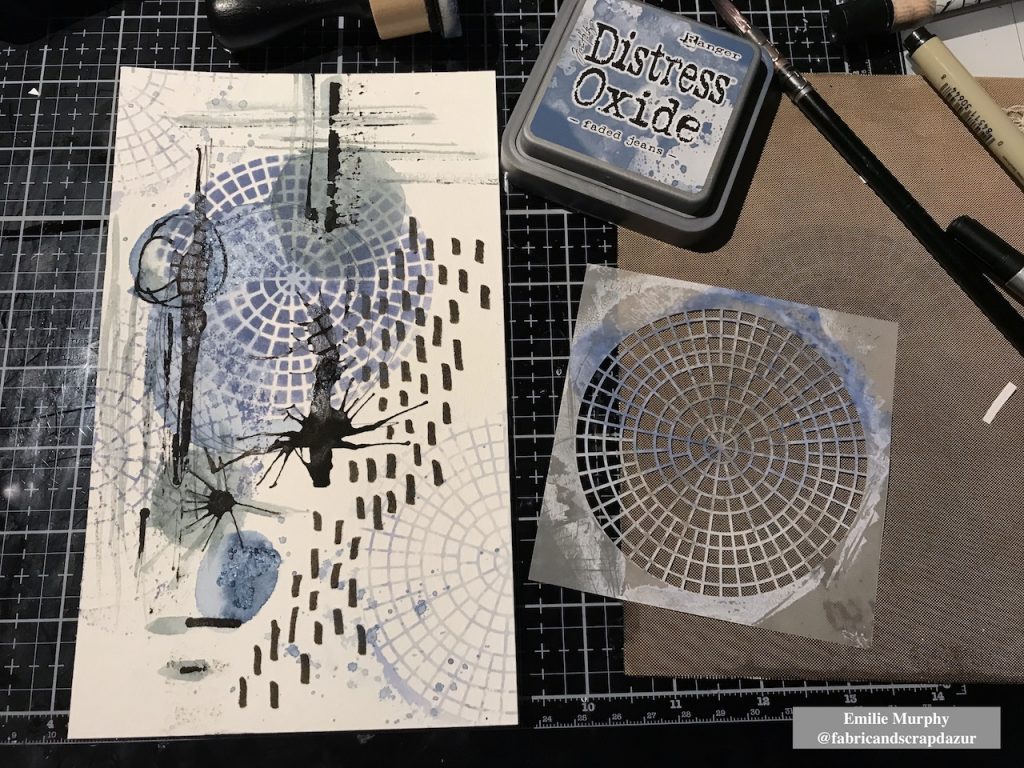
I started my page making some marks with permanent black pens on watercolor paper. I used a Posca pen to make blobs of black paint that I spread with a plastic card and straw.  I let it dry completely.

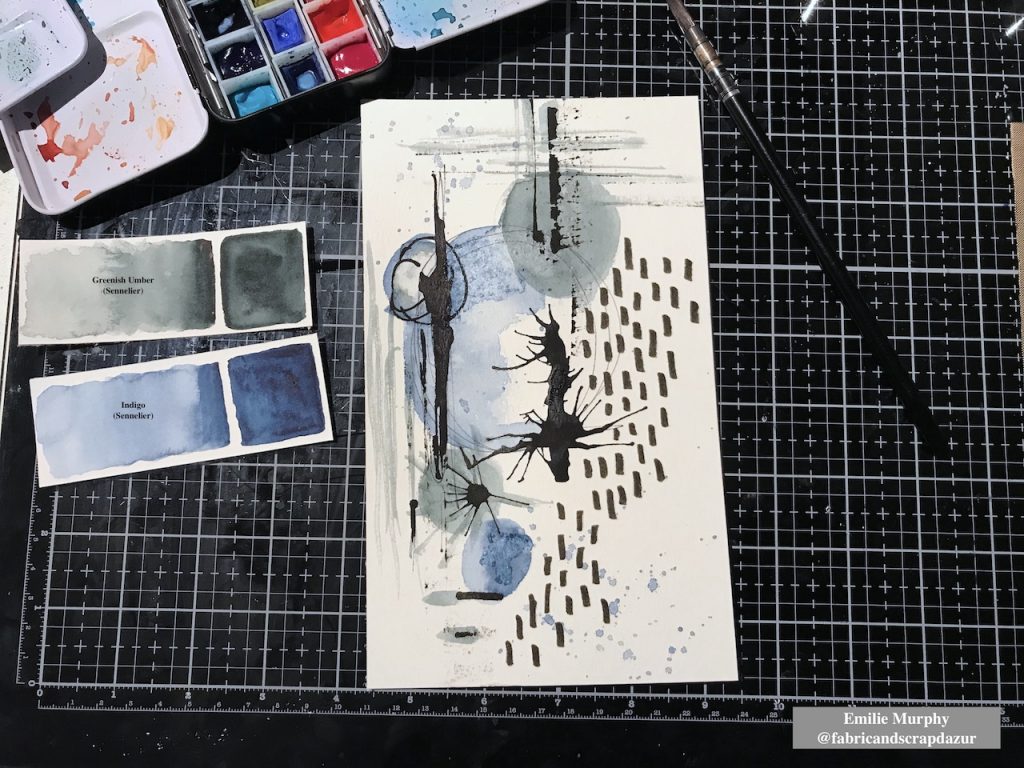
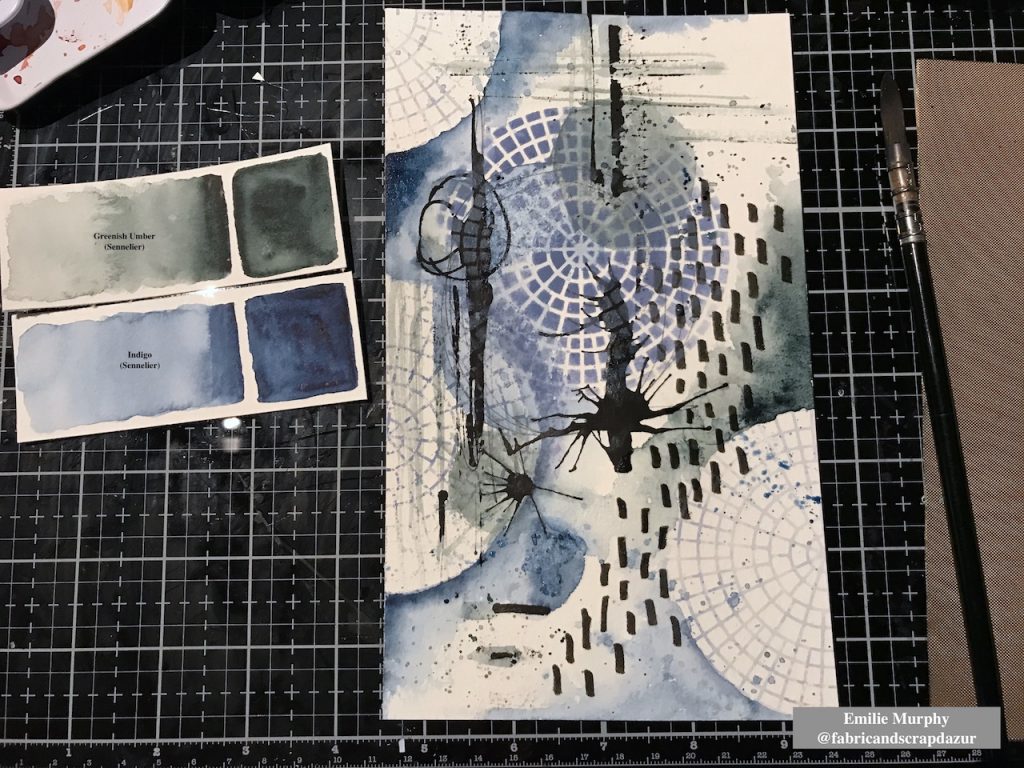
Then I applied some watercolor and limited my colors to two ones with kind of neutral tone. I slightly sprinkled a little bit of salt in some wet area because I love the effect when it dries.

I decided to work on my background with the “Central Ave” 4×4 stencil. I first laid down my stencil and applied distress oxide ink directly through the stencil with a foam tool. Then, as I wanted to keep some blank less busy areas, I applied distress oxide ink on my stencil and spritzed a mist of water then laid down my stencil on the paper. I let the stencil down few seconds before removing it. As a result the paper absorbs the ink and you get a light negative print of your stencil. That is a cool effect giving a kind of ghost print.

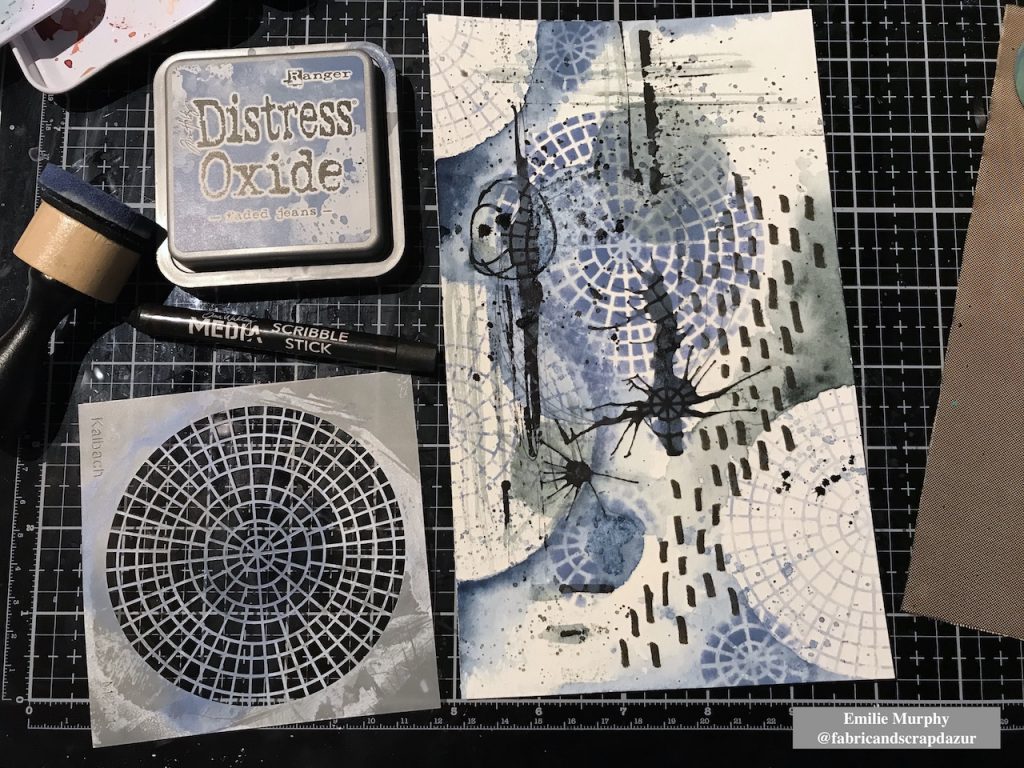
In order to unify all together the different areas of my background, I added more watercolor in order to make pop the stencil pattern out and get some circles.

I introduced smaller circle shapes made only with the central part of the stencil. I think it brings an interesting dynamic to the background having different sizes of circles. It’s amazing what we can do with this simple stencil. I also added some black splatters with a water-soluble crayon. I can’t help myself… I love splatters!

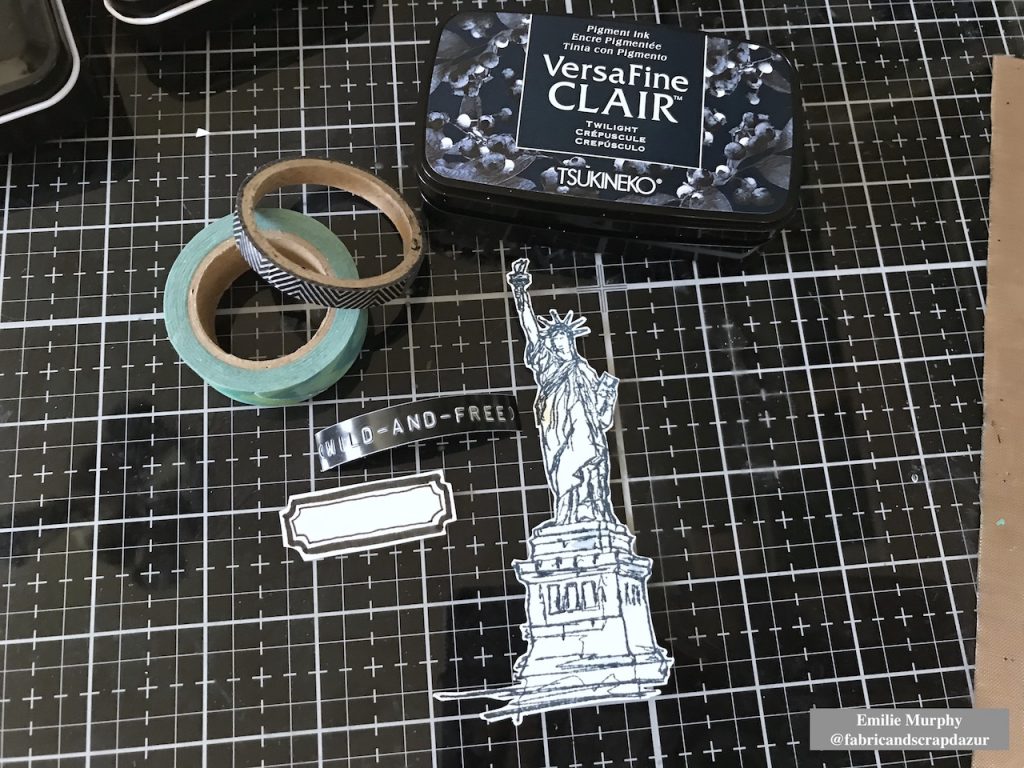
Then I prepared my focal image. I stamped the “Lady Liberty” stamp with VersaFine Clair ink. It is just a matter of preference. I could have used also archival ink. I gathered few other elements with coordinated colors that I wanted to add like a handmade label, a couple of Washi tapes, black thread and buttons. The “wild and free” sentiment has been made with a hand-label tool.

Finally, I assembled all the elements the way I wanted to finish my page.

Hope you have enjoyed this easy and pretty quick tutorial. I made the choice of doing a journal page but this could have been also great as a card.

Have a good rest of the week and see you next month!


Thank you Emilie – love how you tied everything together with the splatters, colors, and mark making!

Give it a try: you can find all my Rubber Stamps and Stencils in my Online Shop and here are some of the other supplies Emilie used:

Play along with our monthly themes and weekly projects! Working on something yourself that you’d like to share?  Email me how you used my stencils and stamps with the theme and email me an image – I would love to share your projects in my next  “n*Spiration From Around the Globe“.

Leave a comment

Inspiration from Around the Globe – November 2018

Ready for some inspiration? Today we have some projects from around the globe. It’s always fun to see how you’re using my stamps and stencils and I am so happy to share some examples today. So let me know if you’re doing something cool with my products, tag me on social media, and you might see yours on the next Inspiration from Around the Globe!


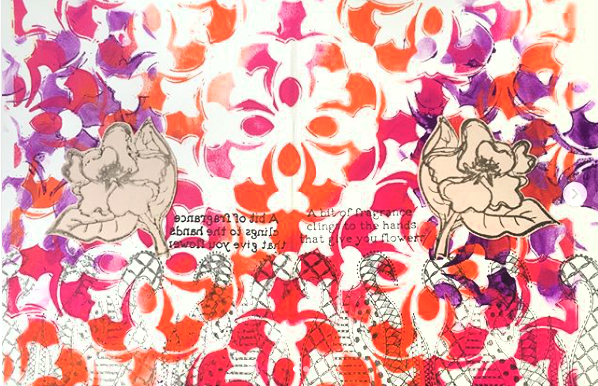
First we have Addi Mahajan from India using my Versailles stencil as a background in her vibrant art journal page.

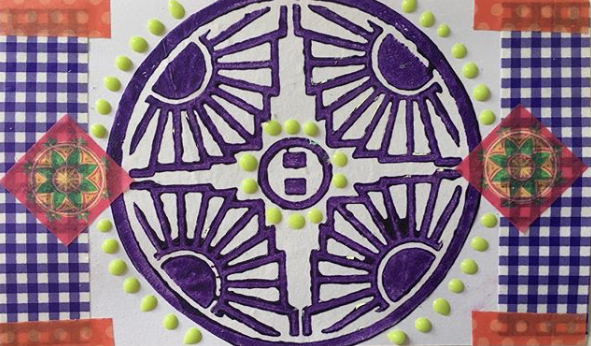
Linda Edkins Wyatt from the US is using my Broadway foam stamp on this index card composition for a bold focal point.

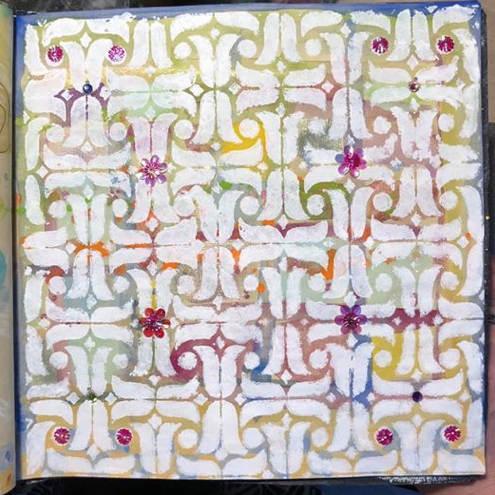
And here is Karen D’Angelo from the US using my Amsterdam stencil for some unifying all-over pattern.

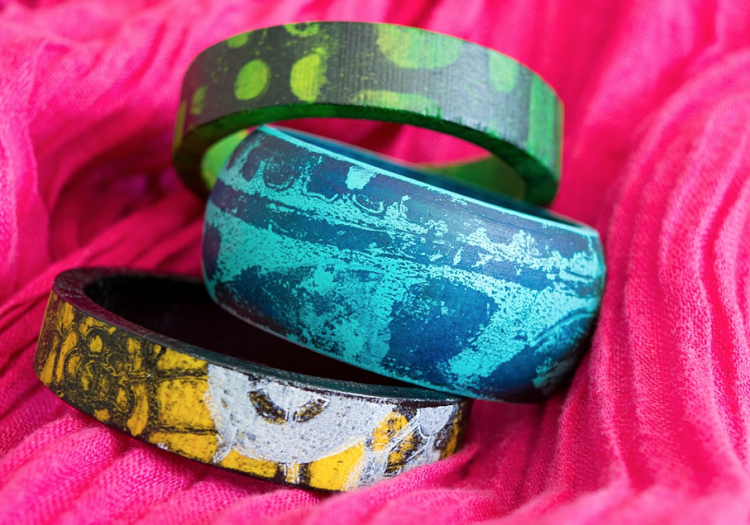
And Marsha Valk, a Creative Squad alumni from the Netherlands, and a funky blue bangle bracelet she decorated using my Batik stencil.

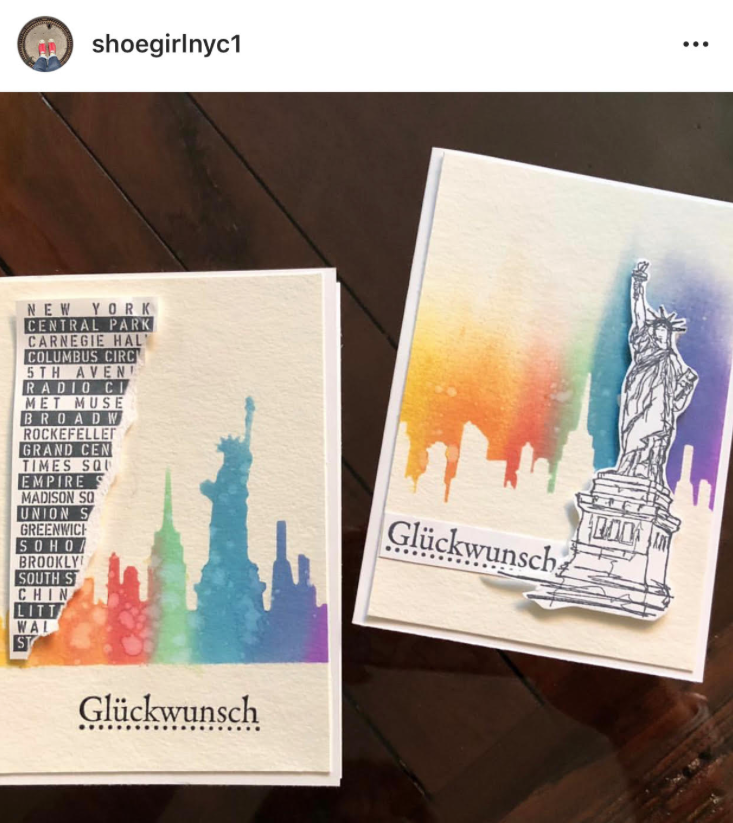
And finally, my friend Liz from Germany who made a card with my Lady Liberty stamp. Love it!


If you’re working on something fun with my stamps or stencils, be sure to tag me and share! I’d love to see! You can find all my stencils, rubber stamps, and foam stamps in my Online Shop. Here are some of the supplies used in this post:


Leave a comment

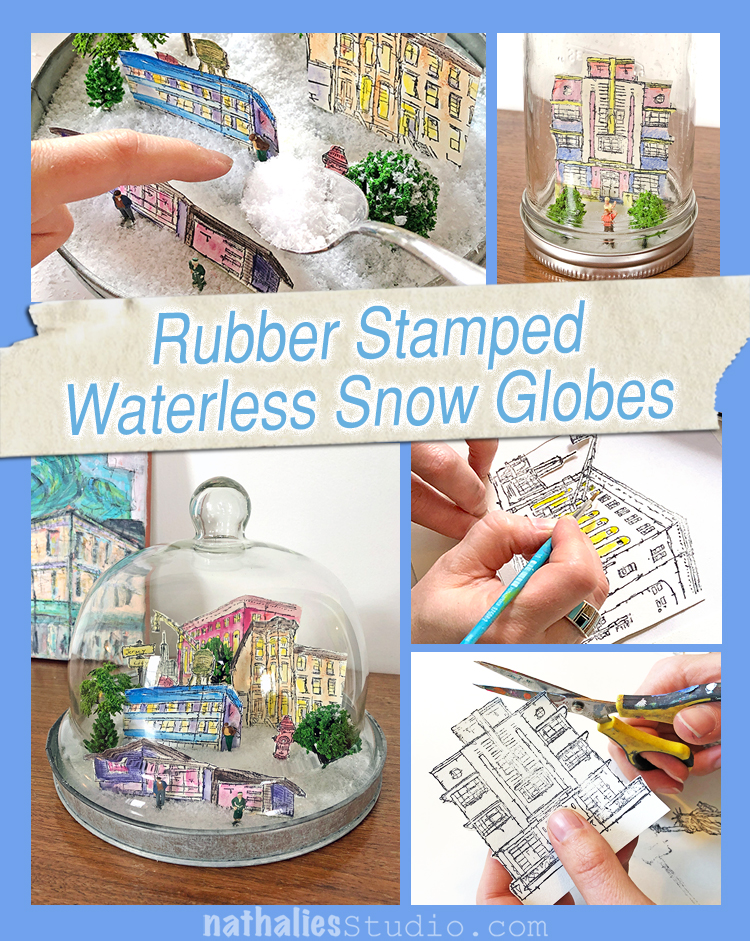
Rubber Stamped Waterless Snow Globes – DIY Playdate

This is my favorite Play Date with Kim yet!!! Seriously, I geeked out on this and had too much fun making a little Winter Wonderland under glass. We knew we wanted to do snow globes and waterless is the way to go – easy peasy and sooooooo cute! Here we go – waterless snow globes filled with little rubber stamped scenes to warm your heart this holiday season and into the winter beyond.
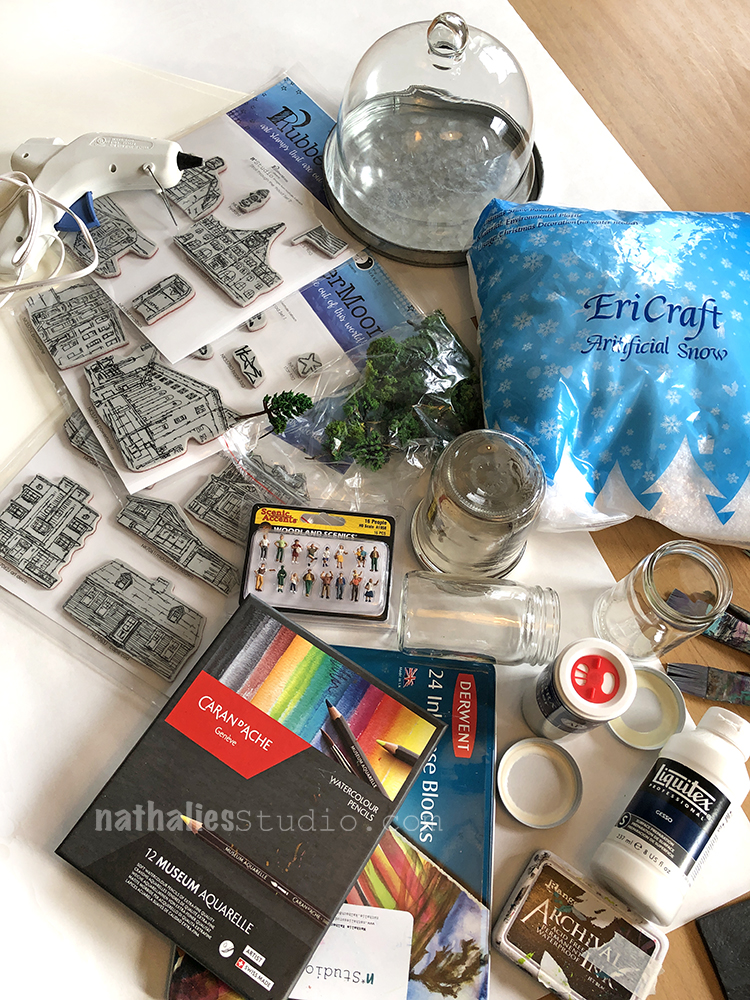
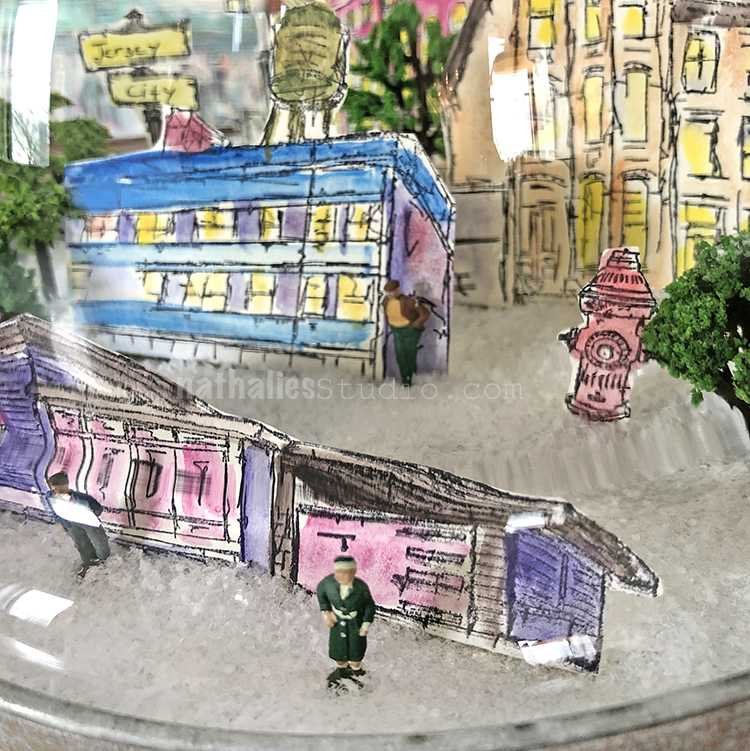
You’ll need a jar or cool glass cheese dome like I found. The size of the jar and lid will determine what rubber stamps you can use. We went right for my Stroll Around the Block house stamps, and the little street elements and buildings in my My Home is my CastleStroll Through the Hood 1 and 2 sets. Then we got some fake snow, some tiny trees and tiny people, heavy card stock, archival ink, colored pencils and ink blocks to color our stamped images, scotch tape, a hot glue gun and scissors. How many accessories you want to add is up to you – there are so many choices when it comes to miniature scenery – plants, animals, different people, etc.
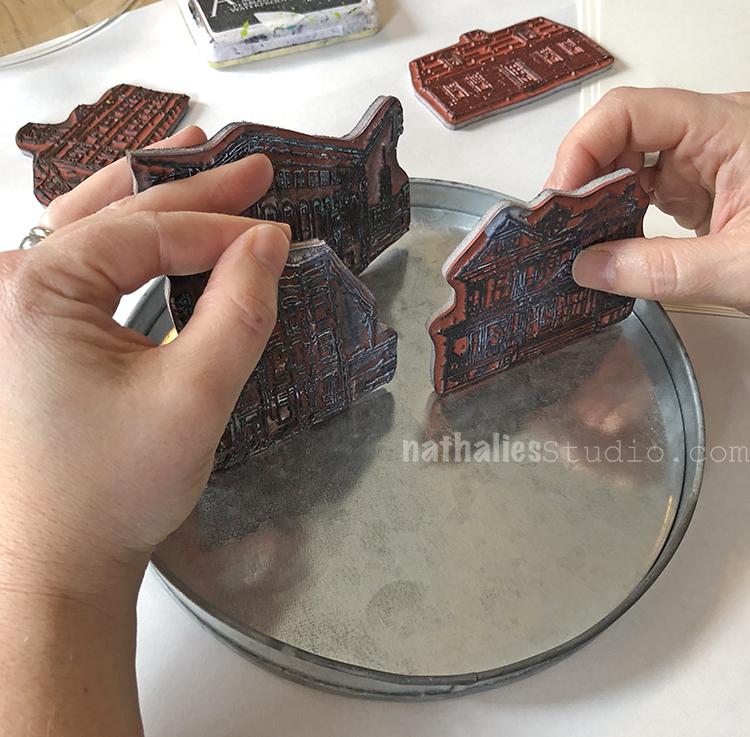
My cheese dome was wide enough to have a little city scene in it, so I played with various arrangements to see what fit. Here I am testing out my Powerhouse, Queen Anne, and Brownstone stamps. You can use the stamps to see what will actually fit in your jars.
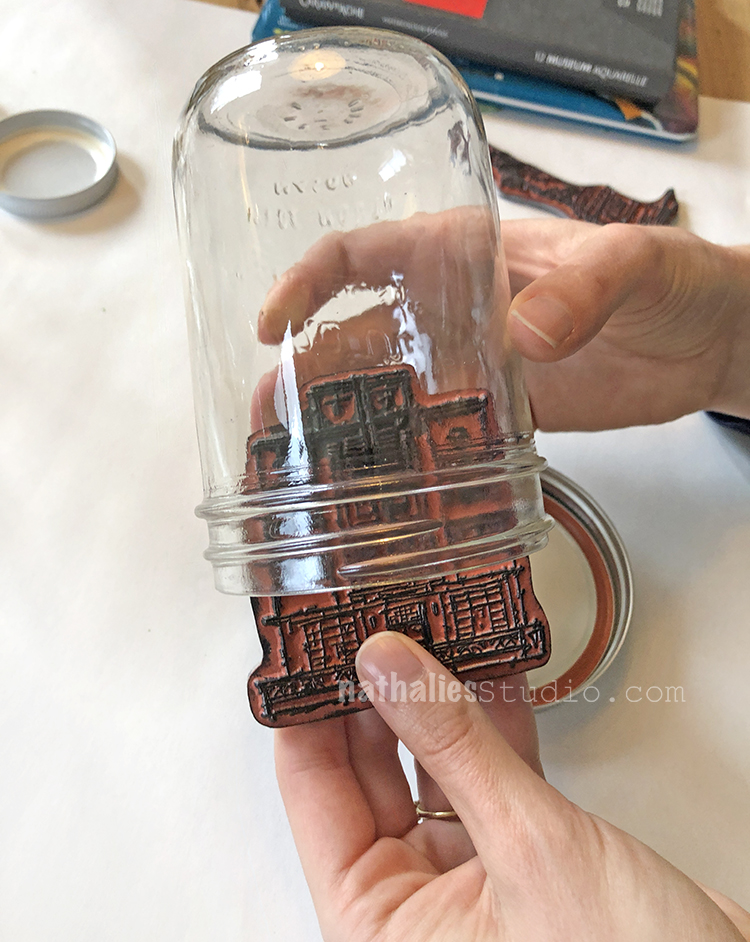
Kim had a canning jar that she found the Art Deco image would fit right into.
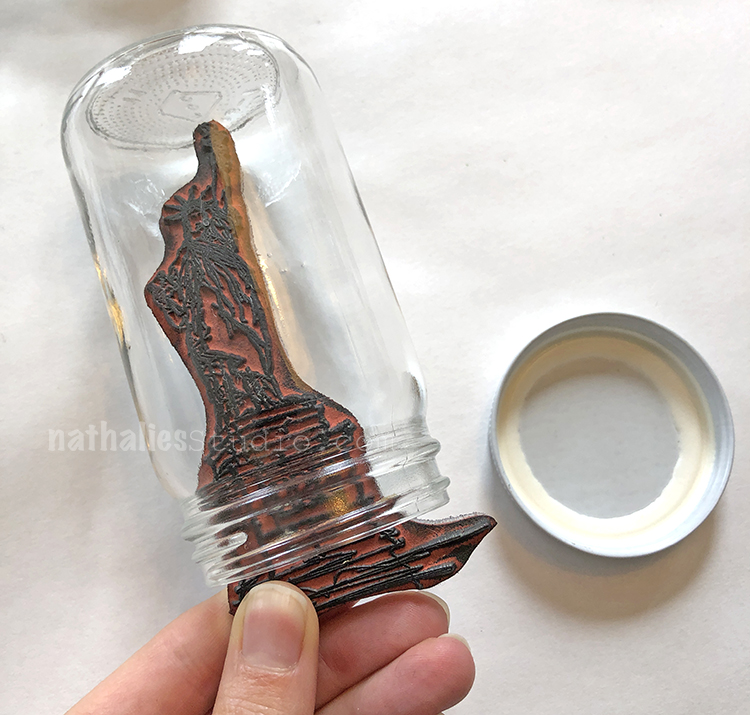
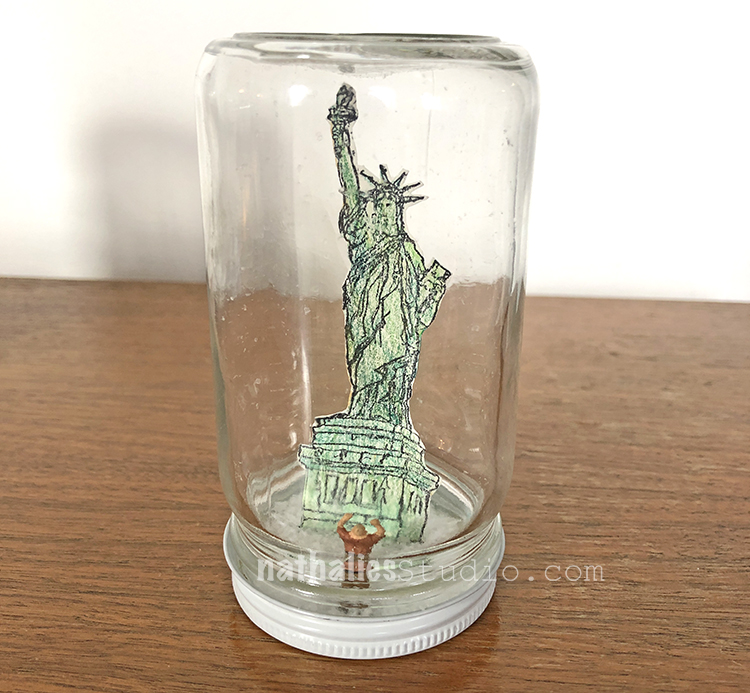
And another smaller jelly jar for a Lady Liberty snow scene :)
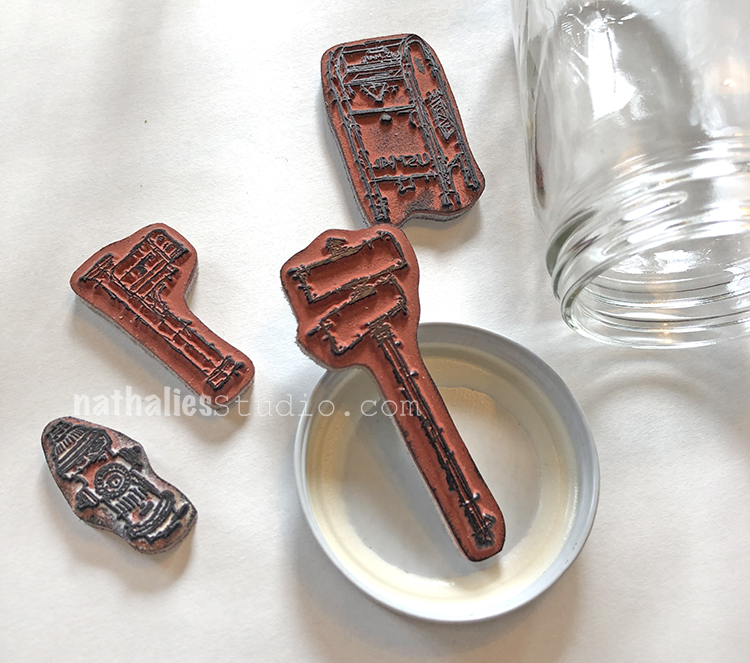
If you have small jars like baby food jars, you can choose small stamps like my Hydrant, Snail Mail, Mailbox, or Street Sign stamps.
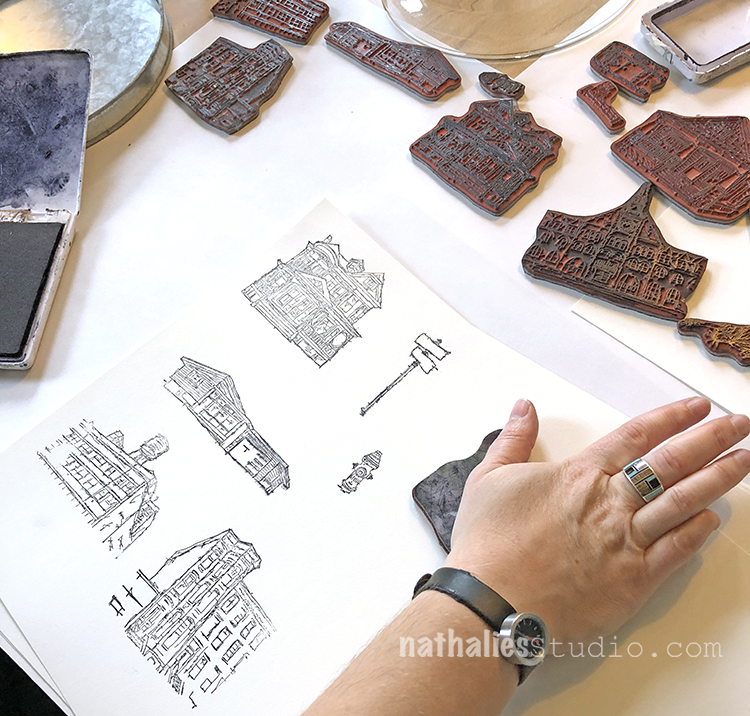
Ok time to stamp! I’m using a few different stamps to build my snow globe neighborhood.
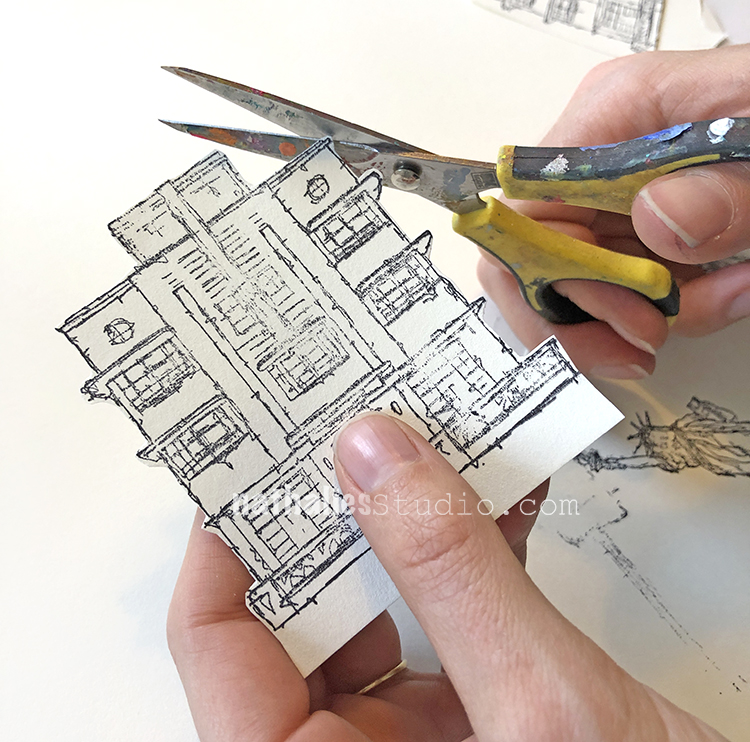
Next you cut them out, leaving a “foot” at the bottom to fold over and tape onto the lid. You can cut them out before or after you color them.
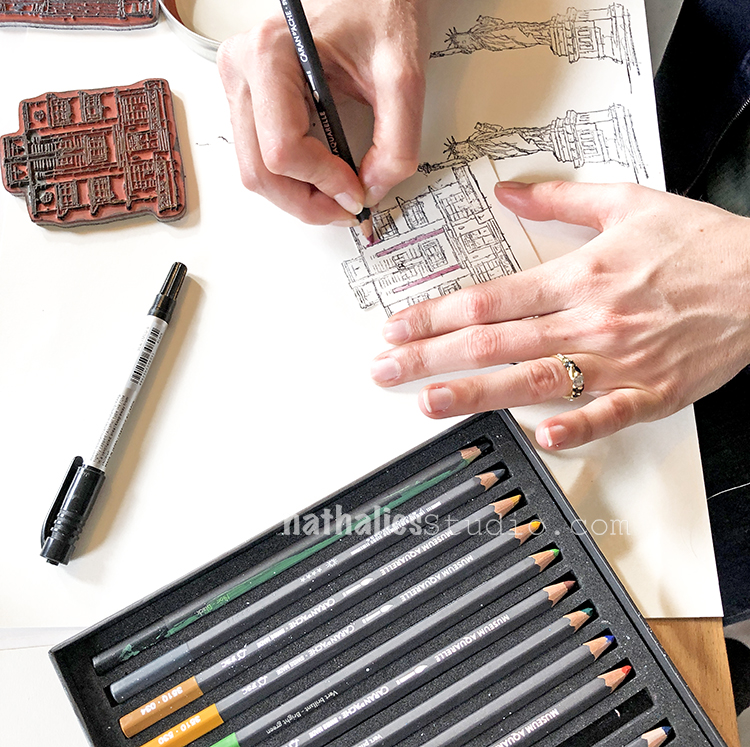
Color your stamped images with watercolor pencils – after all these snow globes won’t have any water :)
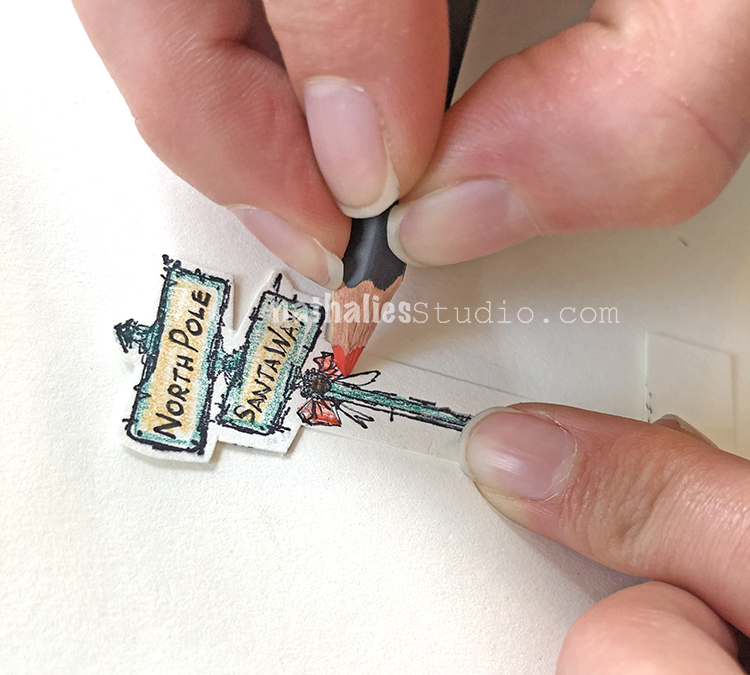
Kim added some seasonal details to the Street Sign stamp.
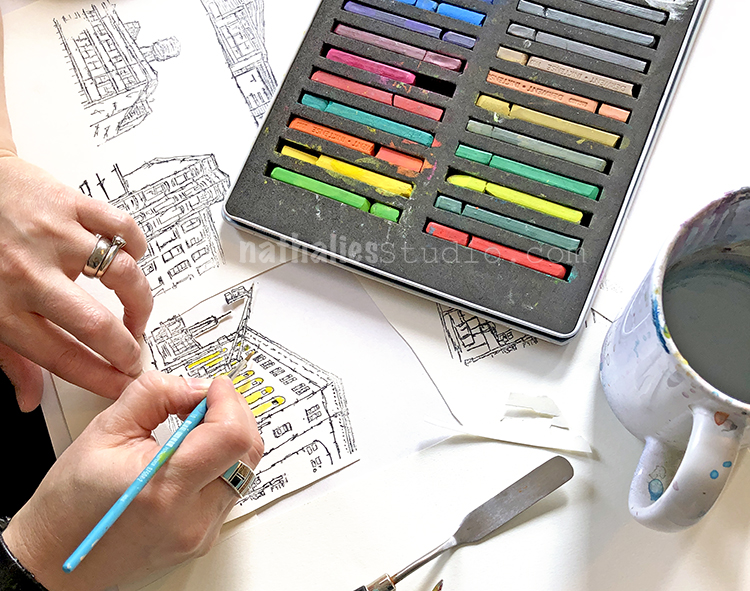
I love to use Derwent Inktense blocks with water and a brush, almost as watercolors to color in my stamps. They have beautiful rich colors and you can use a fine brush to get very detailed with them. Here I am adding some color to my Powerhouse stamp.
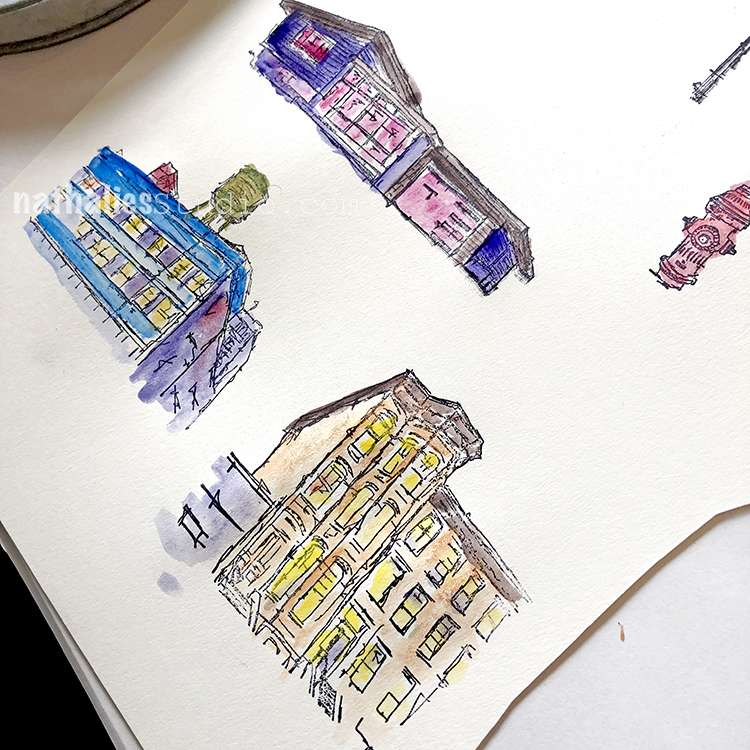
I chose a lot of different colors for my snow globe scene.
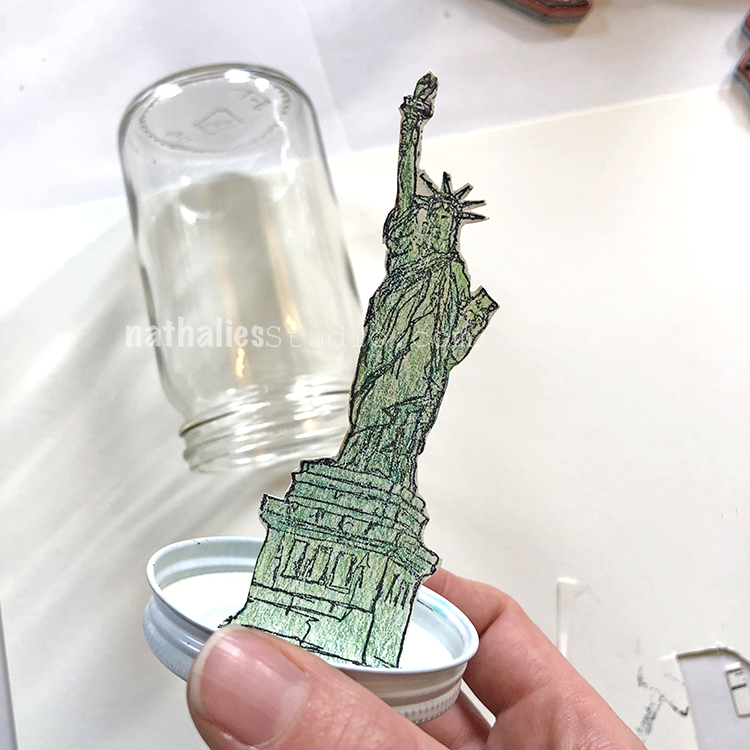
Use some tape to tape the image into the lid. Here is Lady Liberty, ready for winter I hope lol
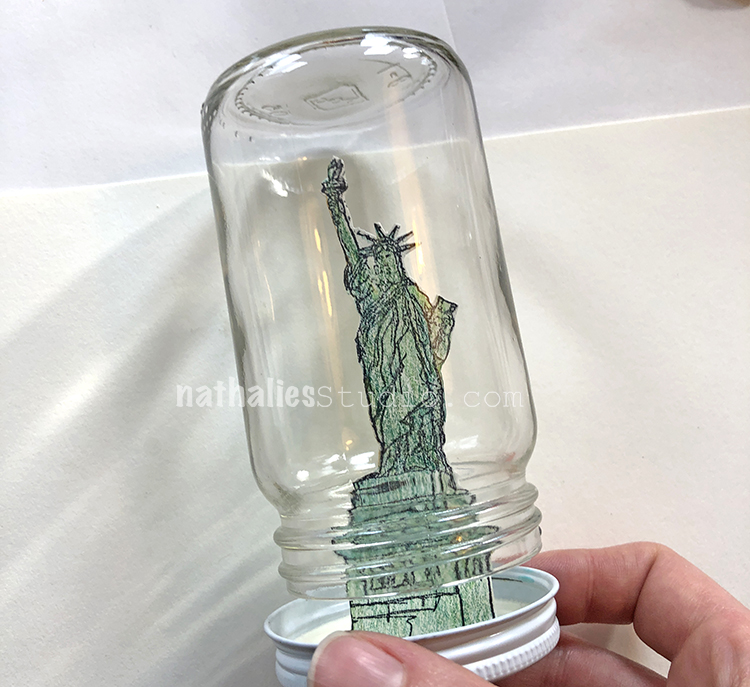
She just fits.
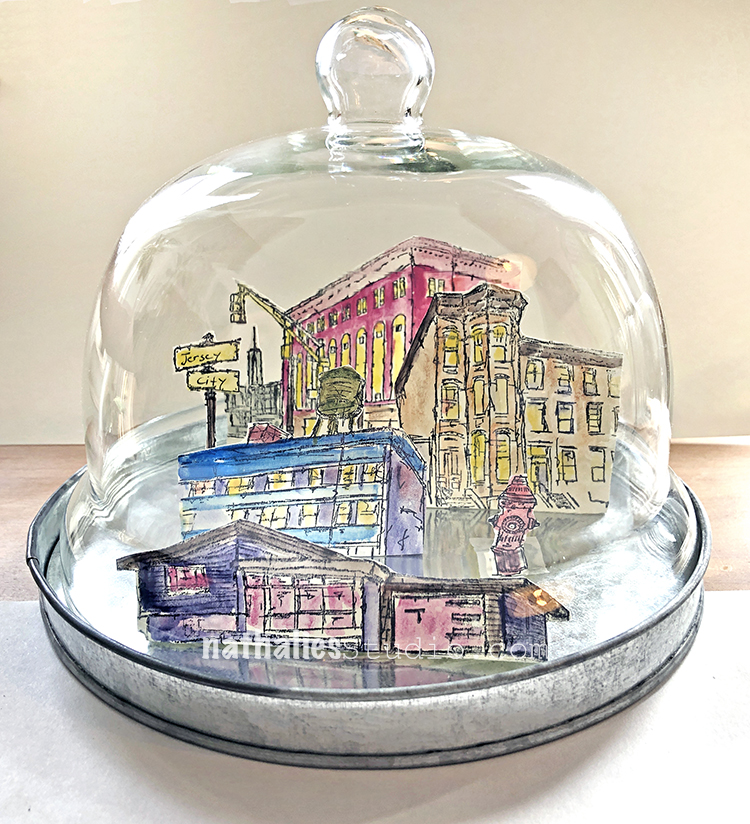
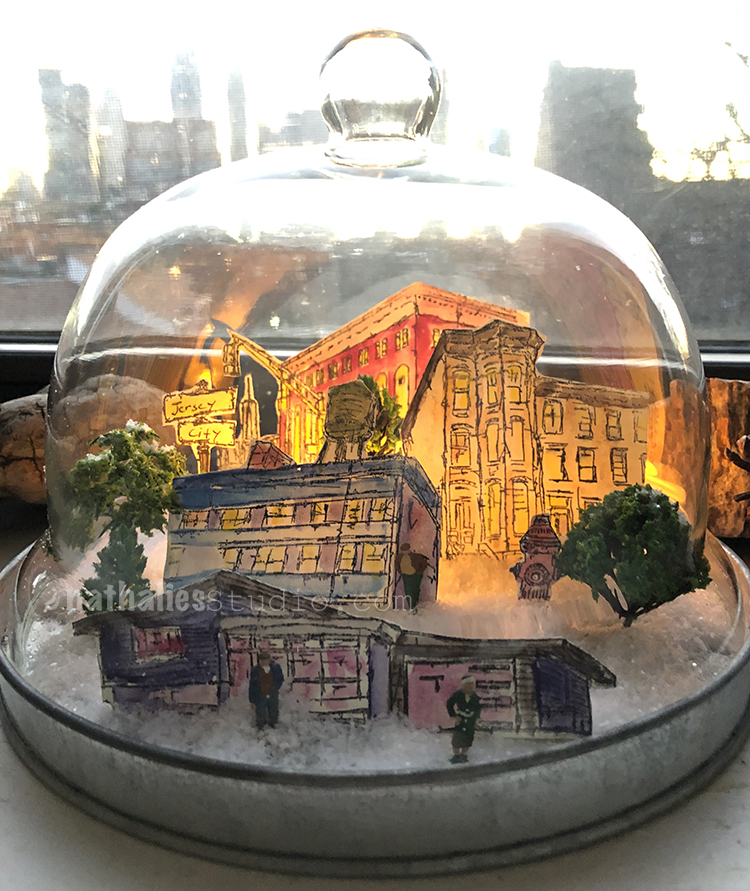
Here is my scene and SQUEEEEEEL it is coming together so amazing!!! This was a test to make sure the lid fit.
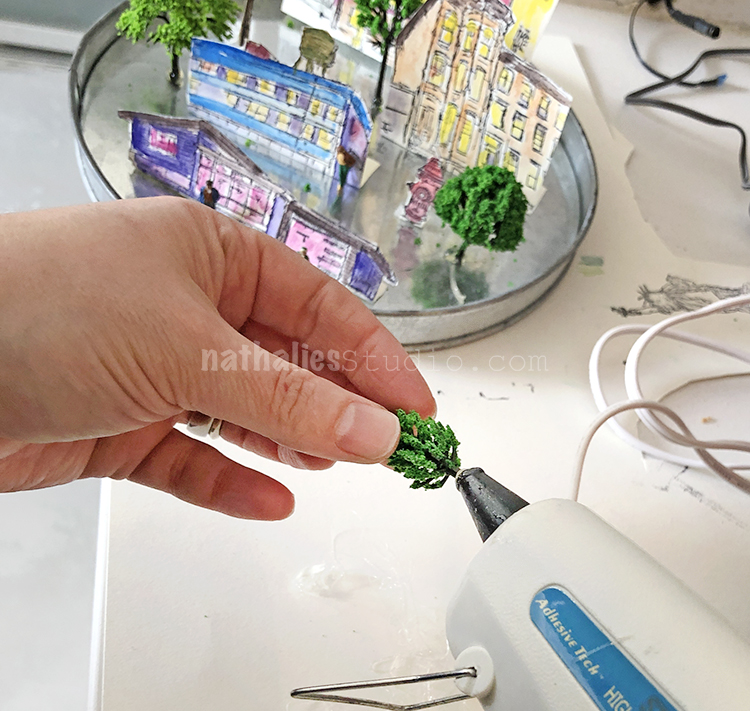
Now I glued in some trees and shrubs with hot glue.
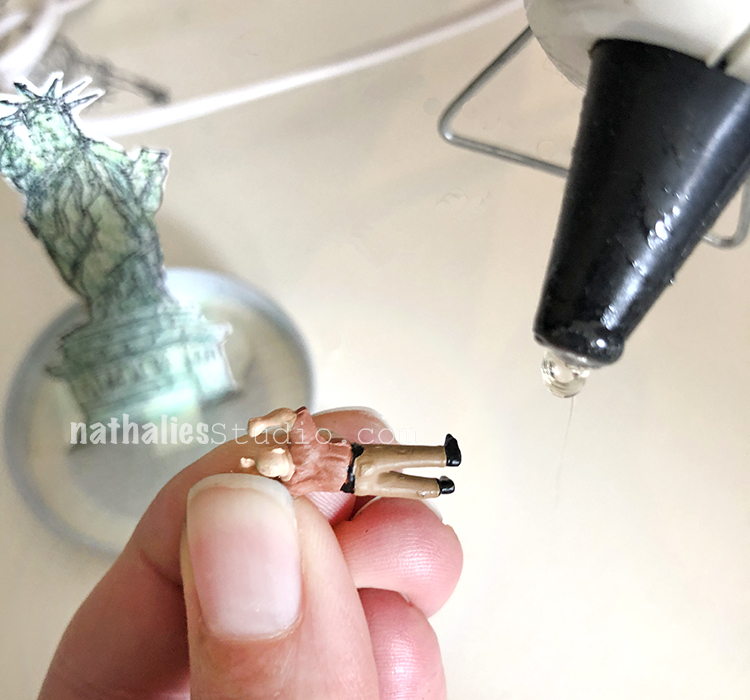
And people to bring your snow globe to life.
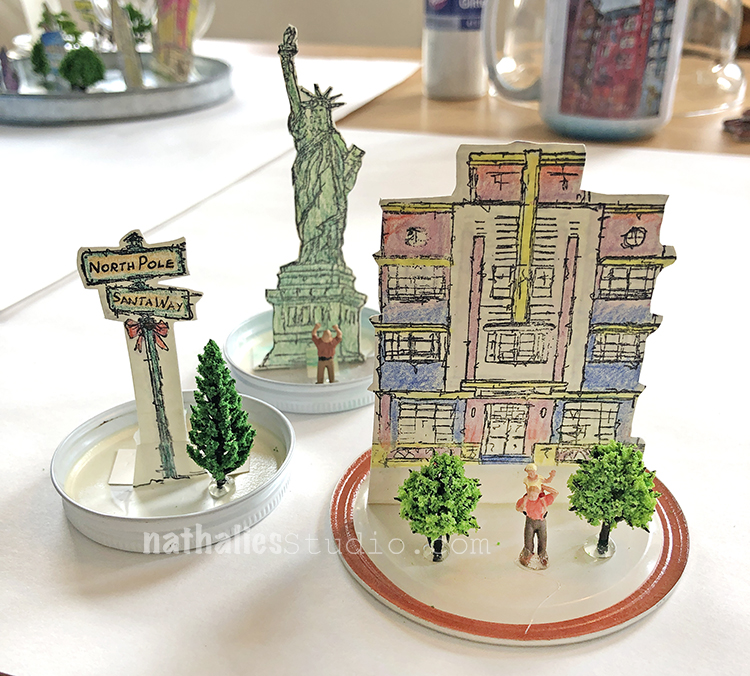
Kim put together 3 scenes.
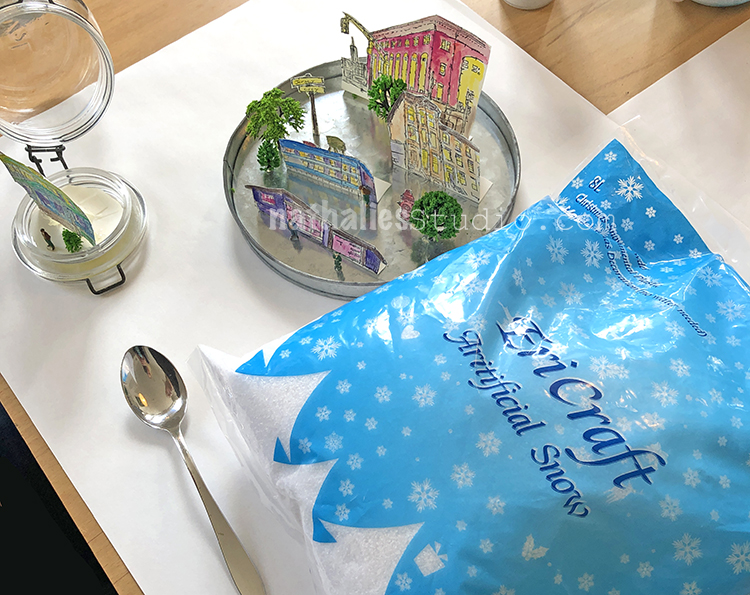
Time for the blizzard!!!
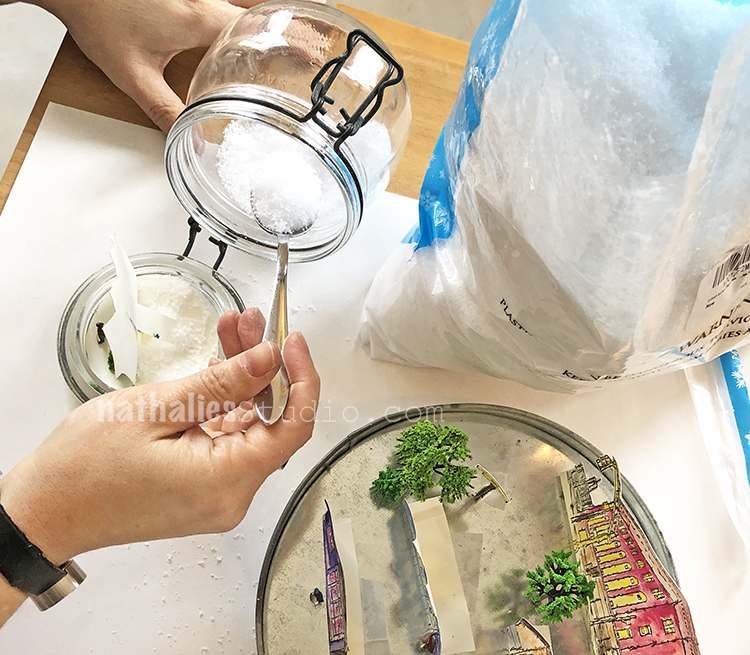
Just spoon some snow into the jars.
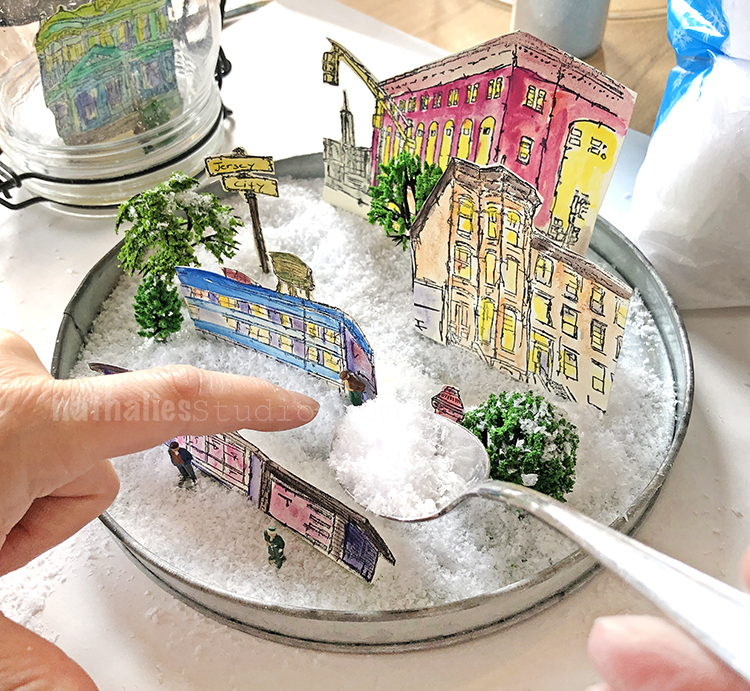
Or gently spoon around the elements in the cheese dome.
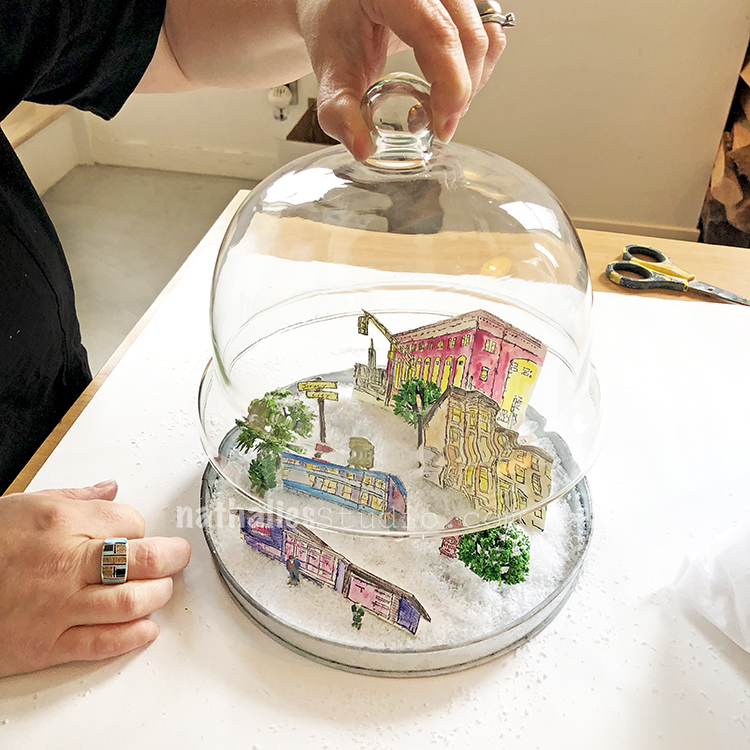
On goes the lid
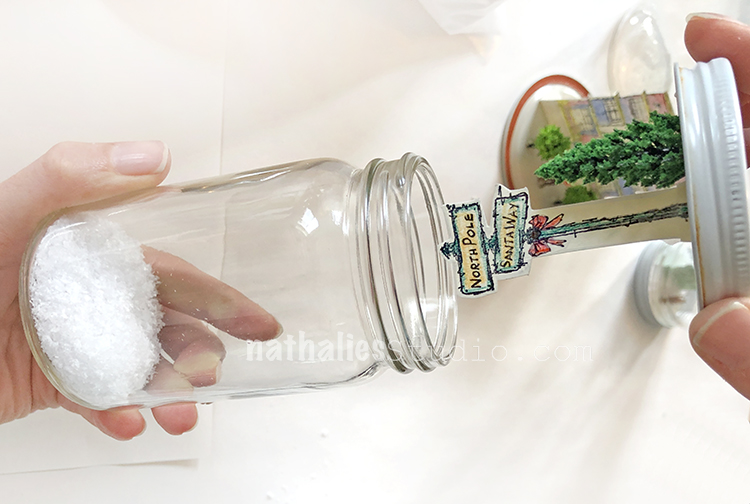
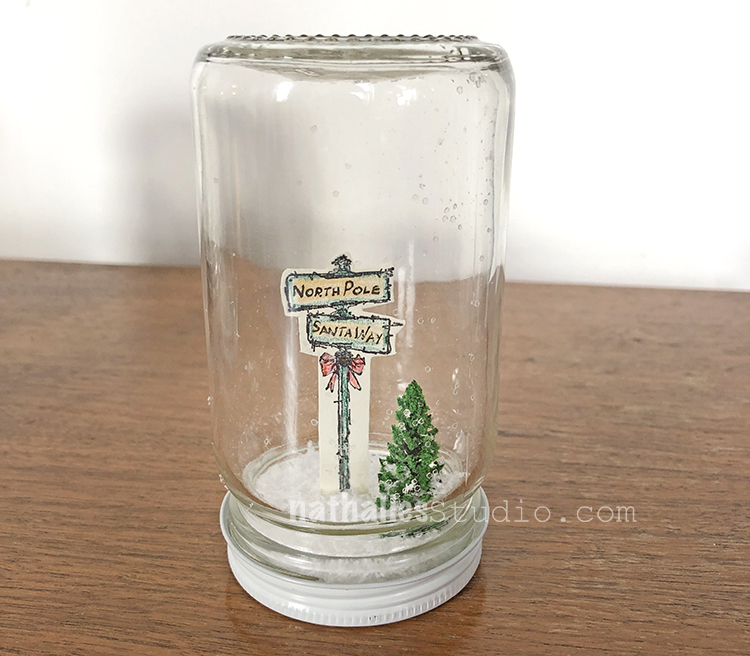
Kim assembled her North Pole snow globe :)
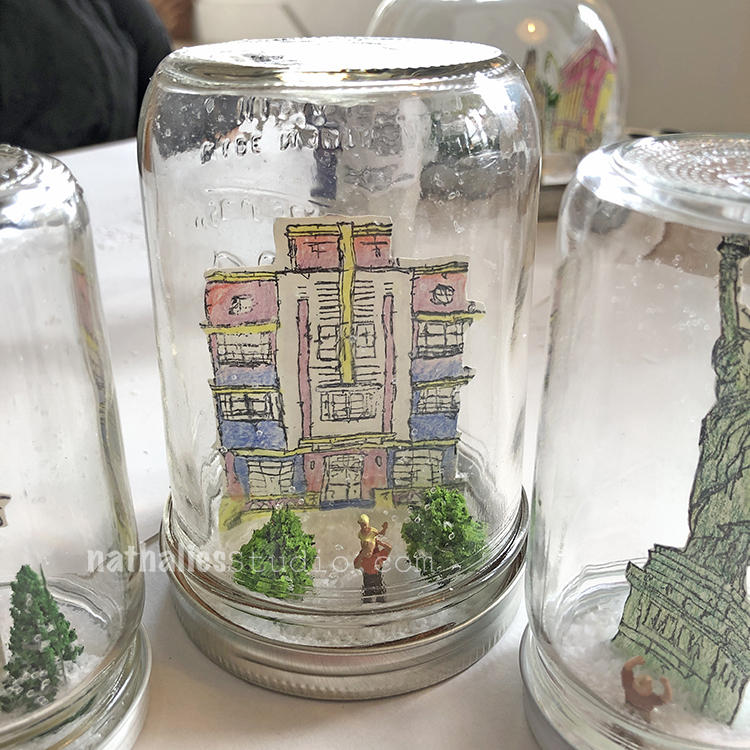
This is where we realized that for lidded jars, you may want to build your scene up a bit so it sits above the bumpy rim at the bottom of the jars. You could cut out a cardboard circle and paint it white and stick it in the lid first, then put buildings etc on top. We would definitely do that next time. Also if your jar has a colored lid, you may want to paint it with gesso before you begin.
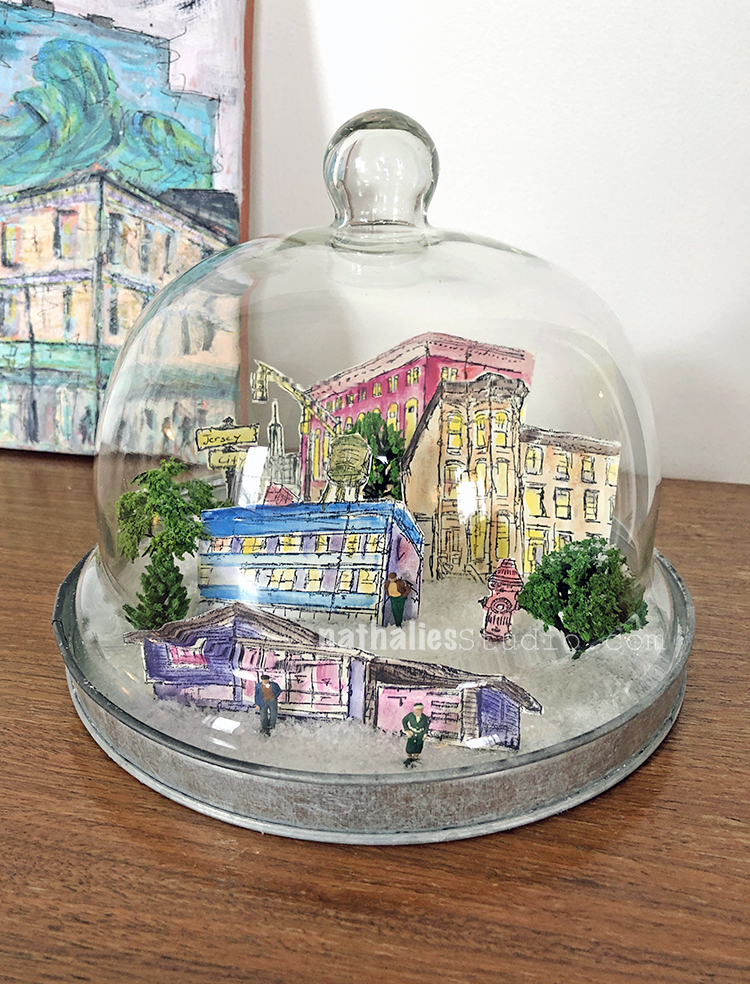
But oh WOW this was sooooo fun! And looksie at my little winter wonderland!!! What a success and done in under 2 hours.
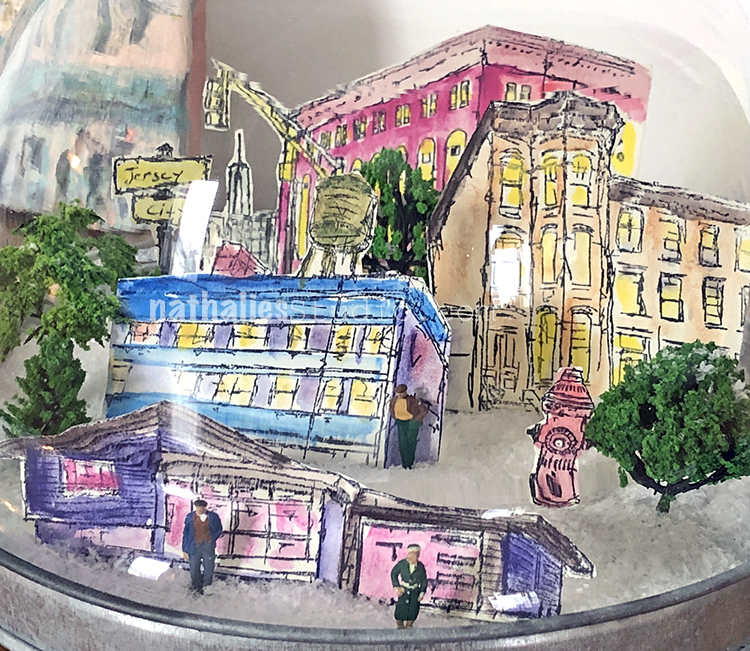
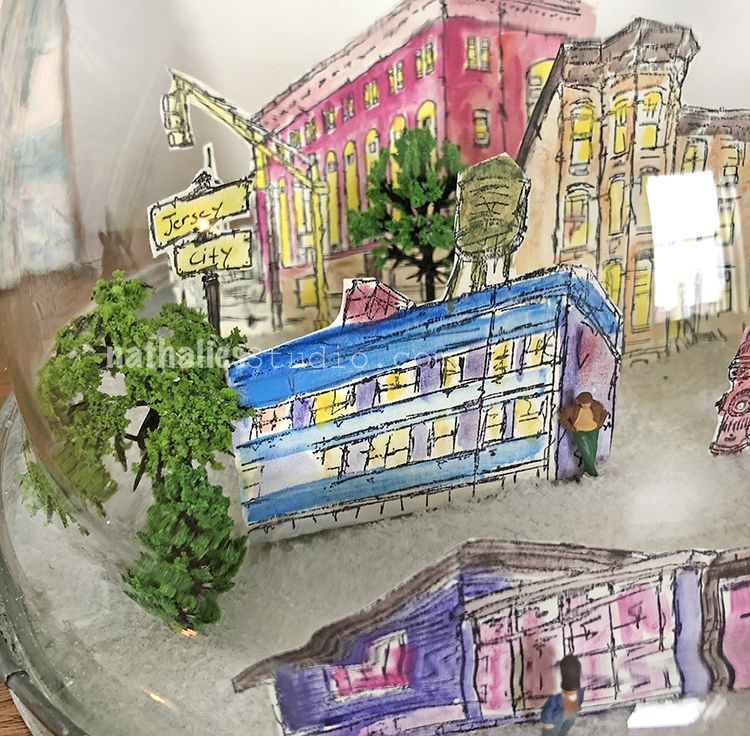
Take a stroll through my snow dome :)
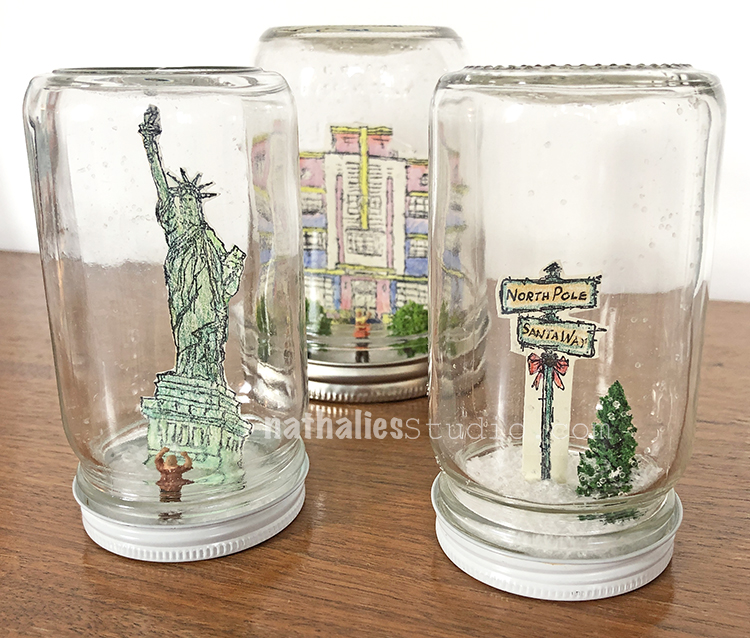
Kim’s waterless snow globes – waaaaay cute!
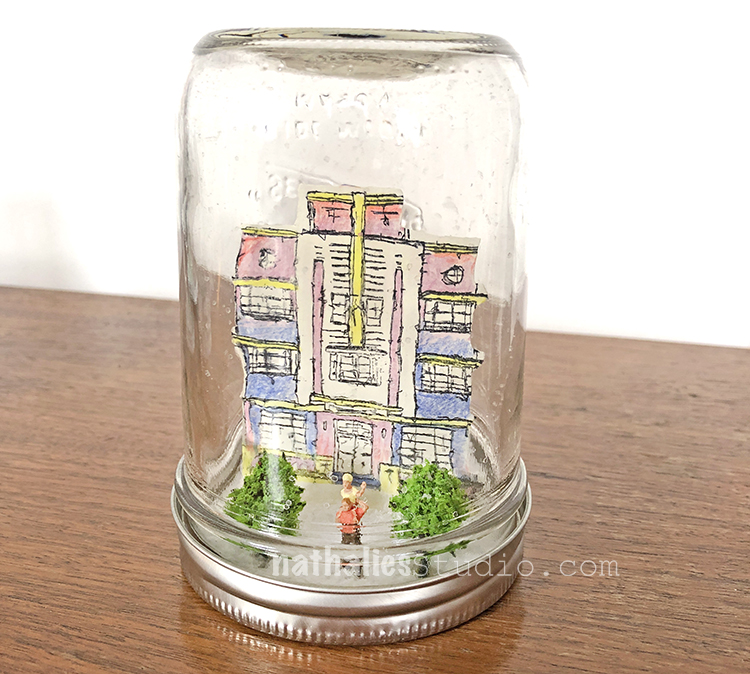
That guy in the bottom cracks me up!
And for even more fun, I added a small battery operated tea light into the back of my snow globe so now it glows at night. Ooooooo!

I hope you try this project and I hope you have as much fun as we did. It’s a nifty way to get into the holiday spirit :)

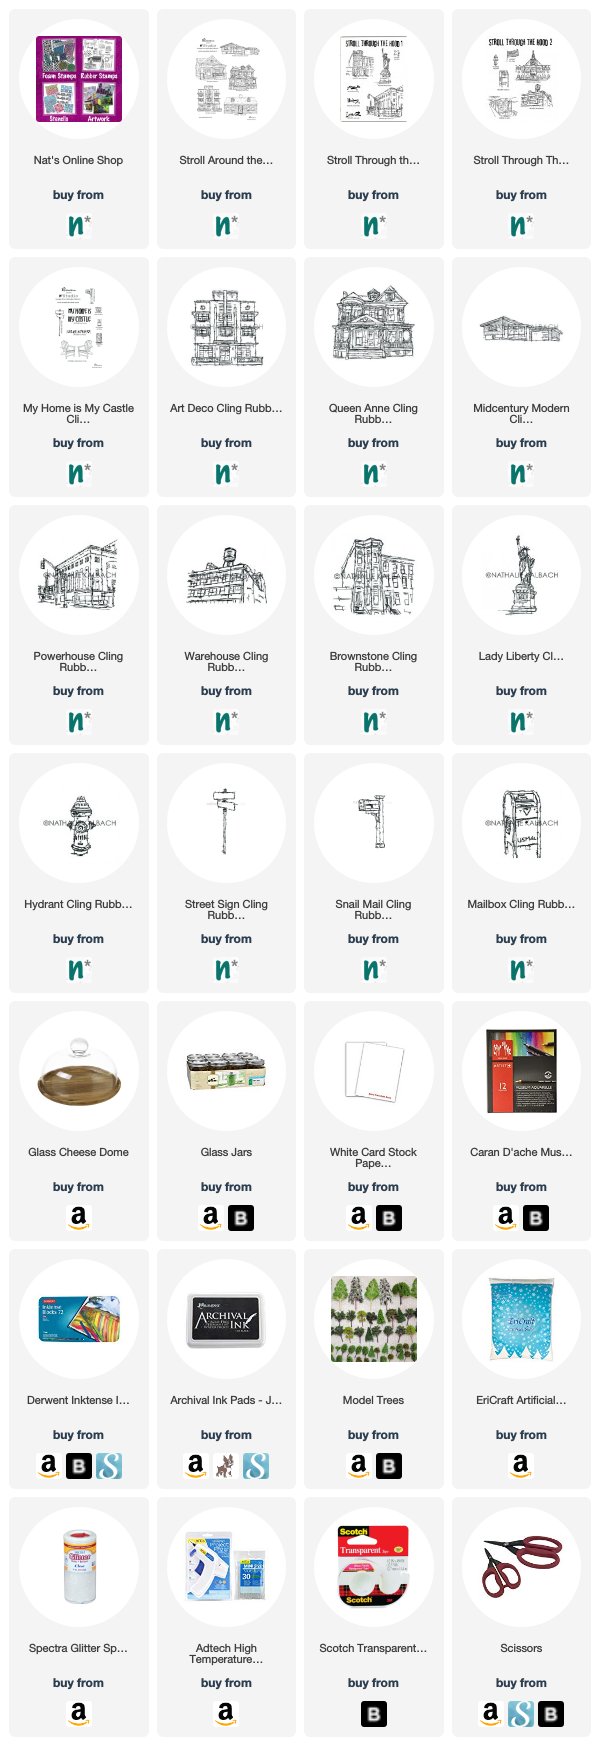
In addition to my Rubber Stamps from my Online Shop, here are some of the supplies that we used:

 

Comments (4)

  • Sue Clarke

    |

    Love love love these Nat!
    Now maybe make some on shrinky material and you can use water too???
    Super fun project that you and Kim made.

    Reply

    • nathalie-kalbach

      |

      Great Idea Sue! We really wanted to have no glycerin or water involved – it was so much easier and gives more possibilities to add candles and use a cheese dome too :) It was so quick and I bet it is fun to make with kids too!

      Reply

  • stresso

    |

    oh my gosh – how fun!!!

    Reply

Leave a comment

This Must Be the Place – Josefine Fouarge


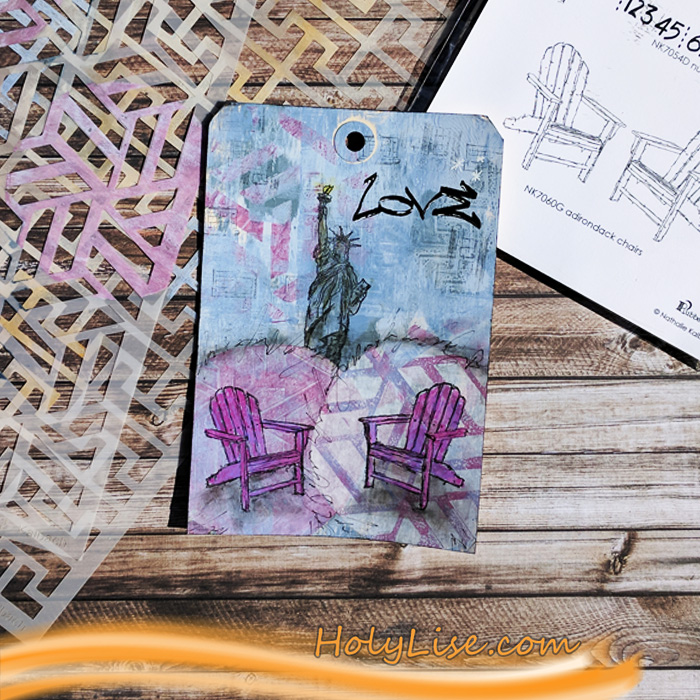
Hello from my Creative Squad! Today Josefine Fouarge is showing us how just playing around can loosen up your creativity and yield some beautiful results. Her tag uses stamps from my My Home is My Castle set, including the Adirondack Chairs and Windows and Door stamps, along with our February theme: This Must Be the Place –We’re all on a journey to somewhere or something. Sometimes we’re just making preparations for simple things like dinner or weekend plans. Other times we’re aiming for bigger goals, bigger places. Whether it’s a location or a state of mind, you’ll know when you get there. Where are you headed?


Even small pieces of art can tell a big story. I love working on tags and playing with the smaller real estate. This one was the perfect size to create some dimension without it looking too busy.

Do you want to hear the story of this tag? Then read till the end ;)

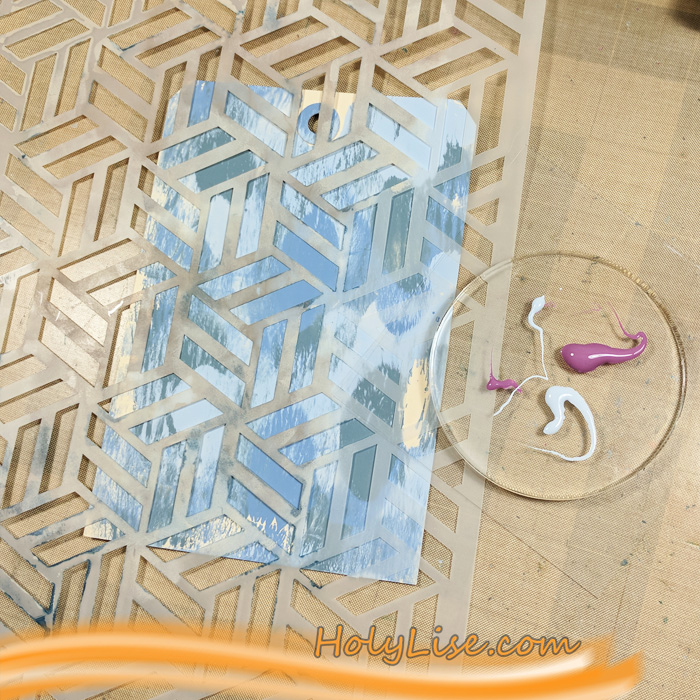
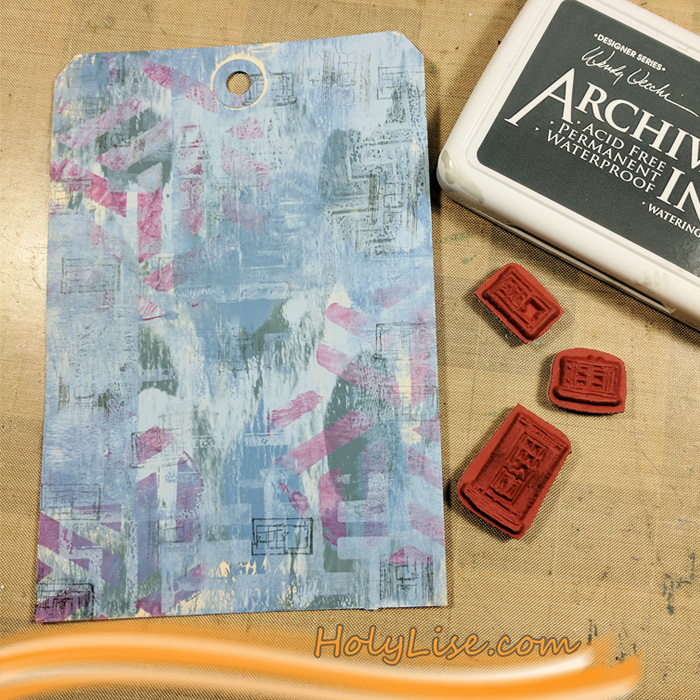
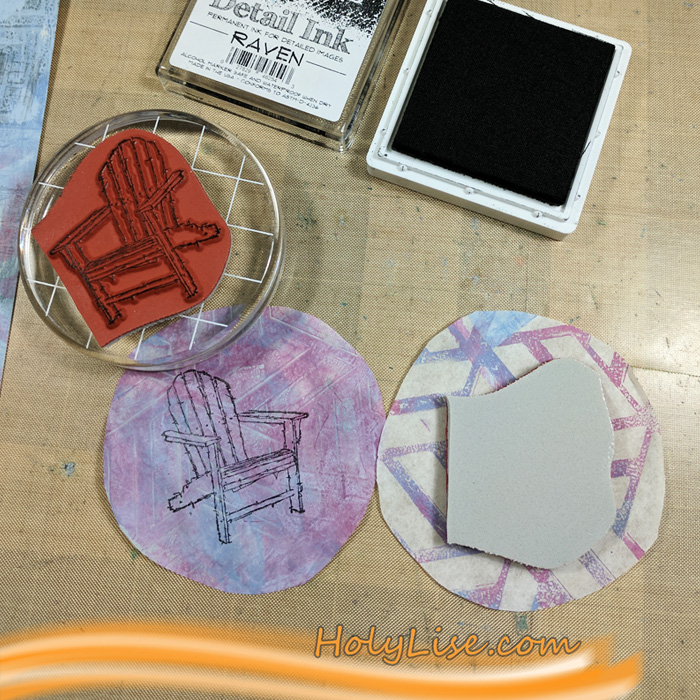
I started with a mono printed background. I used a 5×7 Gel Press and added several colors of PaperArtsy paint on top. The second layer uses the same technique, but in a slightly different way. This time I used one of the Petite Gel Press plates and added the paint through Nat’s Kassel and the Hamburg stencils. First the round one and then again with a square plate. While I was at it, I created a few more backgrounds on sandwich paper, some of them which I used for this project later on.

So far, I was “just playing around”. That’s what I like about mono printing – you don’t need a goal. But here I started to see what I wanted my project to look like. I was envisioning a porch with other houses and a scenery in the background. I didn’t want to stamp actual houses, so I created the idea of them by stamping the Windows and Door from the My Home is My Castle set.

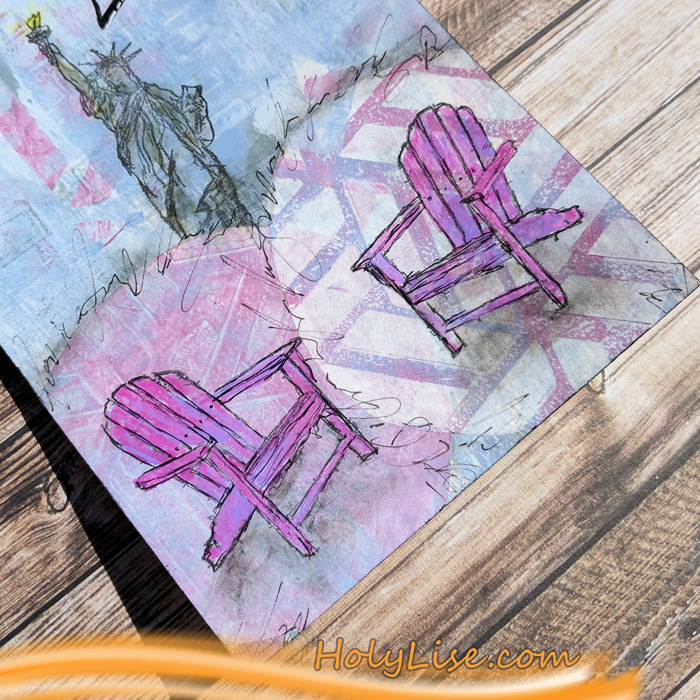
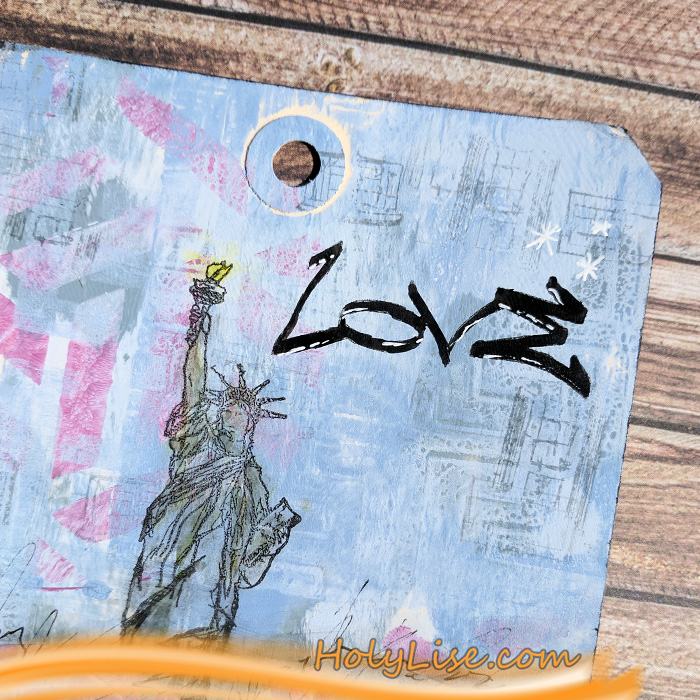
I needed something in the background though. After looking at all the houses and buildings from Nathalie’s stamp sets, I picked Lady Liberty. I stamped her with black ink and colored her lightly with Pitt pens in grey and green.

Then I cut out a few circles from the other backgrounds and stamped Nat’s Adirondack Chairs on two of them. I adhered both to the bottom of the tag and colored the chairs with Liquitex Paint pens.

I added some shadows around the chairs and the circles and scribbled a love poem from Shakespeare around the circles as well.

Now that I had my porch with the two Adirondack chairs I needed a sentiment. I imagined an old couple sitting on that porch, enjoying their lives together. They have seen everything they wanted and are now spending the rest of their days together, just the two of them. “This must be the place.” Yes, the Love sentiment was the perfect finishing touch.

Here is the finished project. Can you see them sitting there, smiling?

Thanks for stopping by. See you next month  :)


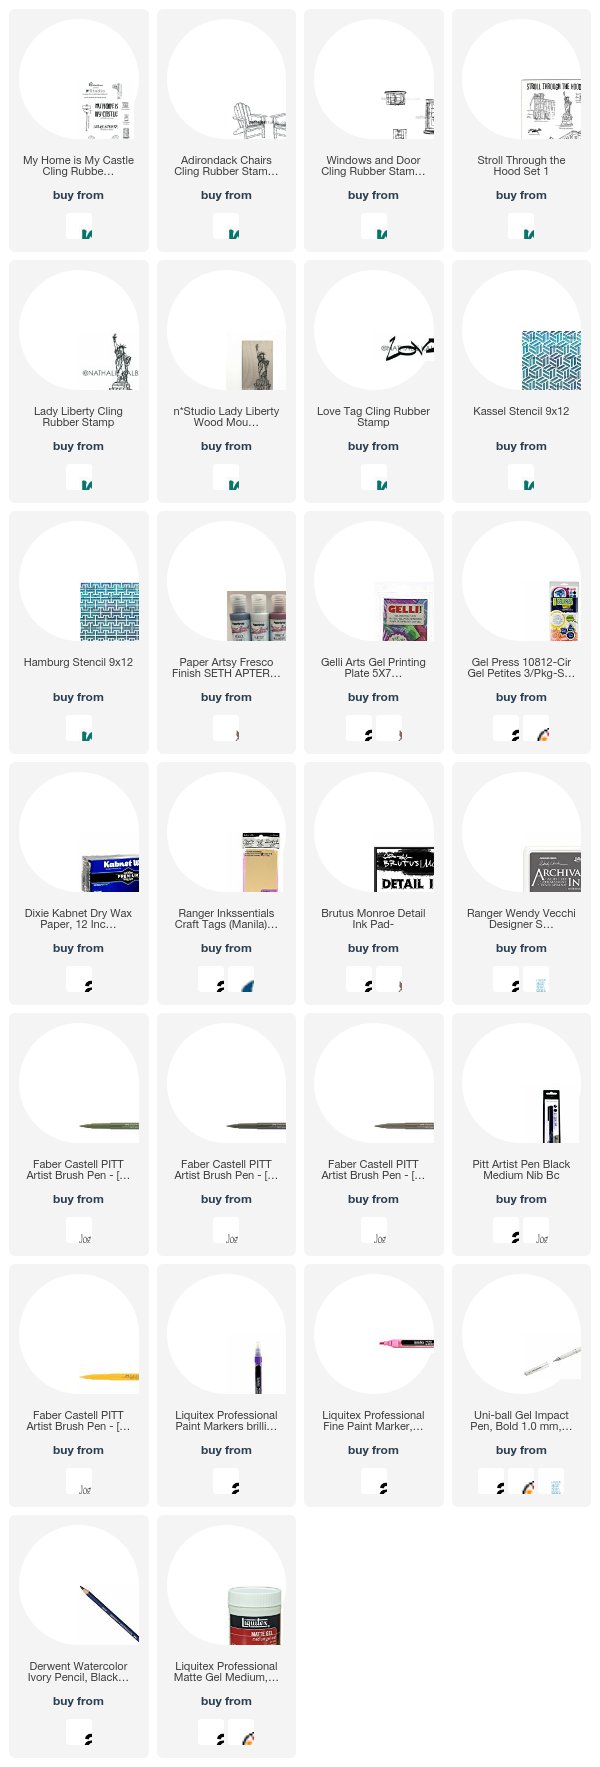
Thank you Josefine – your story made us feel very warm and fuzzy! Josefine used the following supplies in her project:


Play along with us too: I love to see how you interpret our monthly themes. Email me how you used my stencils and stamps with the theme and email me an image – I would love to share your projects in my next  “n*Spiration From Around the Globe“.

Follow our new Creative Squad page on Instagram @NatsCreativeSquad and see even more projects from our awesome team of artists!

Comments (7)

  • Seth

    |

    Thanks for choosing my colors here Josefine. The tag looks mighty fine!

    Reply

  • maura

    |

    Great tag and love the story you wove in to it Josefine! Maura

    Reply

  • Clavell

    |

    I love the ‘story’ you wove into this tag…very sweet and very clever!♥

    Reply

    • Josefine Fouarge

      |

      Thanks :) that’s what I imagined while creating the tag ;)

      Reply

  • Sue Clarke

    |

    LOVE these colors together Josefine!

    Reply

Leave a comment

Golden Gate – Art Journal Page

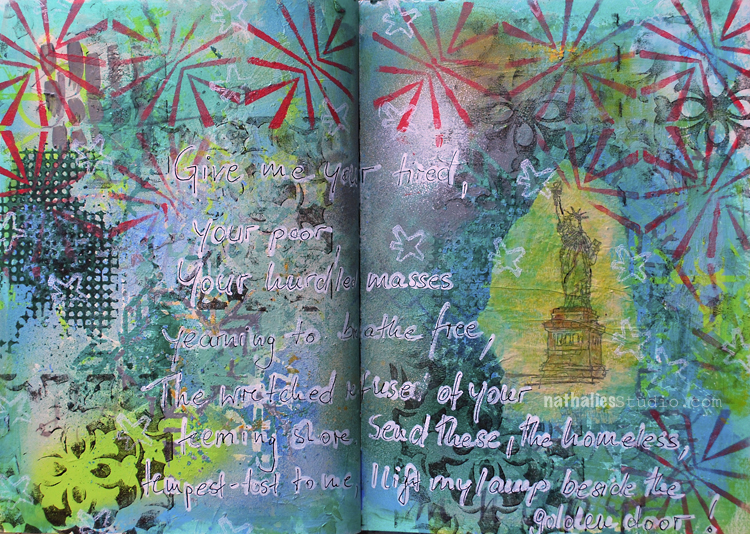
“Give me your tired, your poor,
Your huddled masses yearning to breathe free,
The wretched refuse of your teeming shore.
Send these, the homeless, tempest-tossed, to me:
I lift my lamp beside the golden door.”

Emma Lazarus

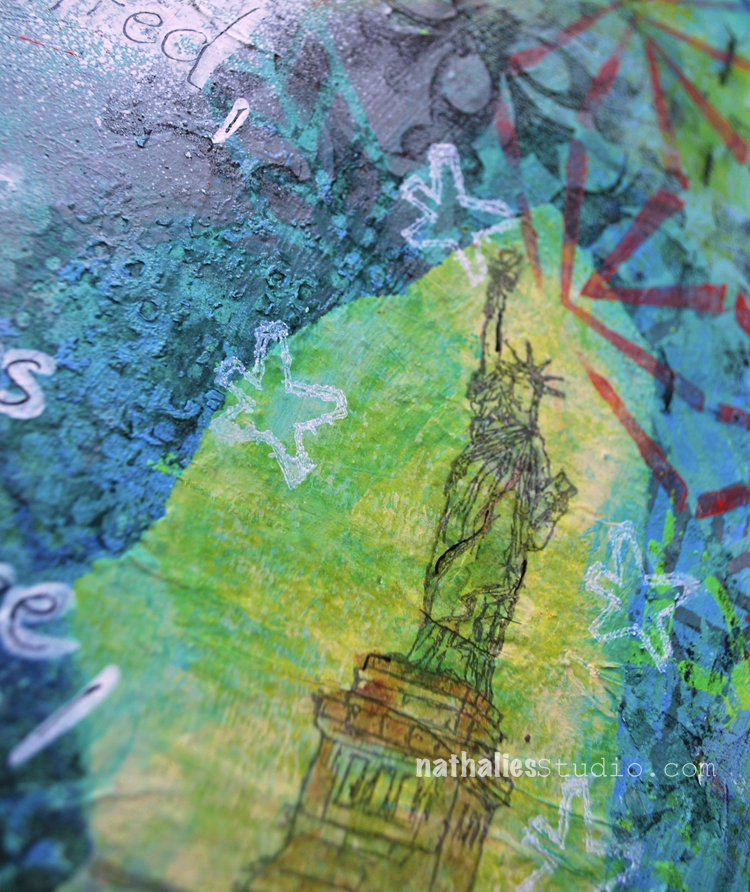
Lady Liberty is right at my front door …well I used to see her until last year from my studio window- but now a tall new building is blocking the way. I love to take the bike in the summer and go out to Liberty State Park and enjoy a view of her. What a wonderful symbol she is.

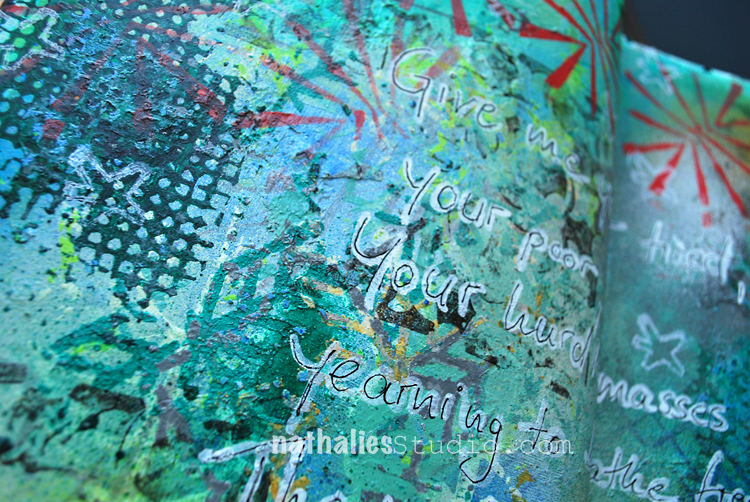
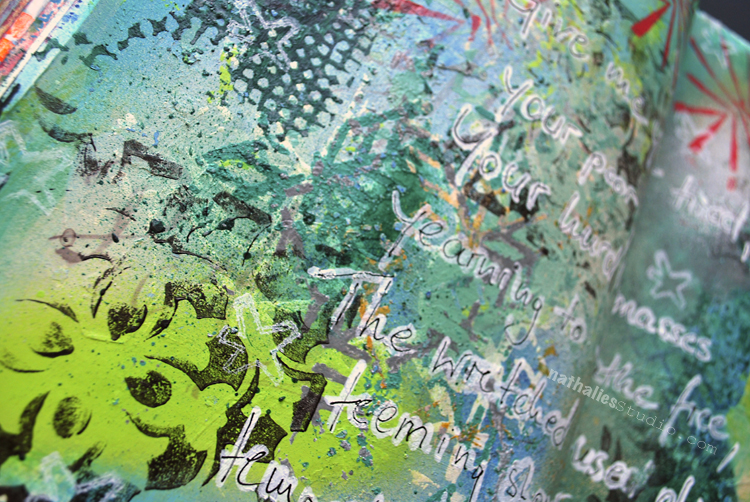
It was freeing and good to create this page springing from a crazy mash up of added paints, patterns, texture and colors. I thought that was fitting for this page.

Here are some of the supplies I used – some are affiliate links:


Comments (2)

  • Torsa Saha

    |

    Wow!! Stunningly beautiful!!

    Reply

Leave a comment

Inspiration From Around the Globe! January 2017

This Tuesday we’re taking a short break from our Creative Squad (they will be back next week with a new February theme to play with!) to bring you some amazing projects from around the globe. My stamps and stencil designs are available for purchase online and maybe even in your local craft store, so crafters and mixed media artists and art journalers from around the world are using them. I am always excited to see how YOU use my products in your own projects. I am even more excited to share some of the beautiful and creative examples of these projects with you today. Enjoy this inspiration from around the globe!


Mary Beth Shaw had some fun with my NEW Lady Liberty Cling Rubber stamp in her art journal in Missouri, USA.

From Virginia, USA, Dana Tatar created this fun mixed media board using my Bird Foam Stamp set and she cleverly used the trouser stamp from my Fashion Dame Stamp set to create the purple stripes in the background.

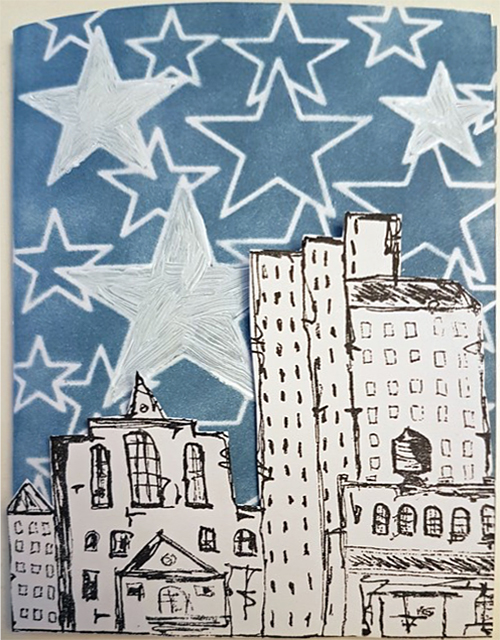
Gunvor Andersson Storck in Sweden brings us a really cool Happy New Year card using my Urban Scribble Foam Stamp set.

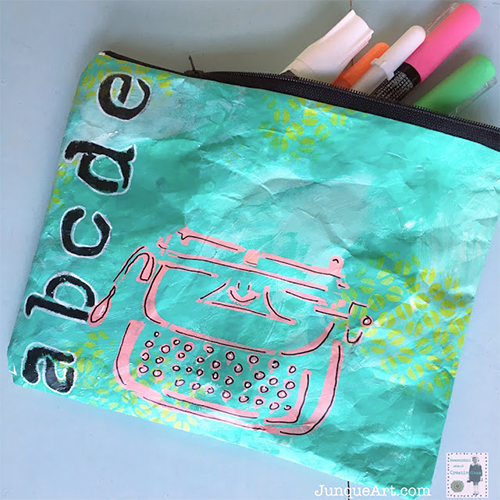
From the USA, Cindy Gilstrap has created a cute pencil case using my Typewriter stencil.

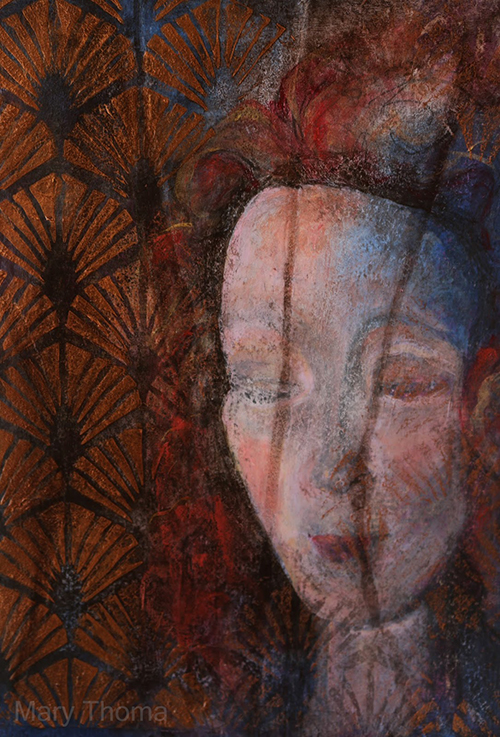
Mary Thoma from Oklahoma, USA has used my Art Deco Wallpaper stencil to create a background in this beautiful mixed media piece.

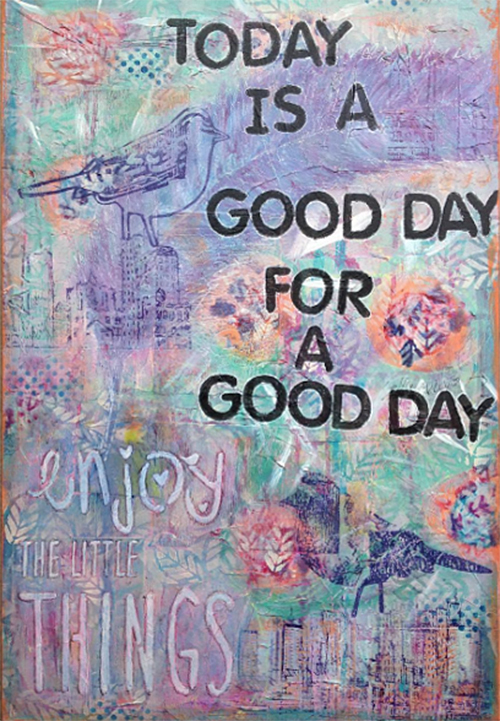
From the Netherlands, Jacqueline van Zuiden created this uplifting mixed media piece using my Bird Foam Stamp set and my Urban Scribble Foam Stamp set.


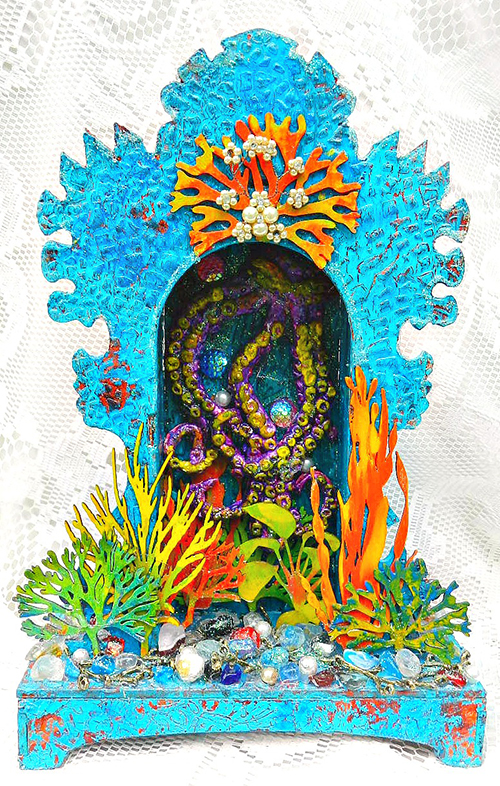
Finally, Kristie Taylor shares this amazing underwater shrine with us and in the video above she shows how she used my Crackle stencil to create such gorgeous texture.


Join us again next Tuesday for another great project from one of our Creative Squad members! They will be working with a new theme for February. And in the meantime, share with me what you’ve been working on with my stamps and stencils. I would love to feature your project in an upcoming post!

Try some of the above techniques for yourself with these n*Studio supplies:


Leave a comment