Blog: Rubber stamp

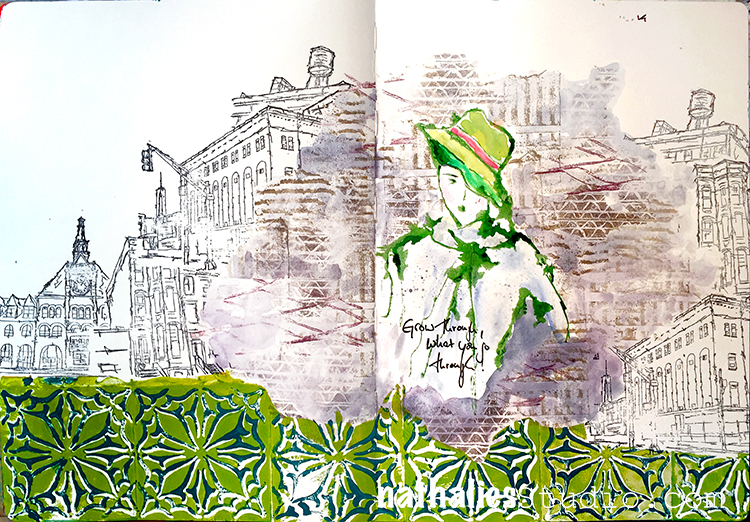
Go and Grow – Art Journal Spread

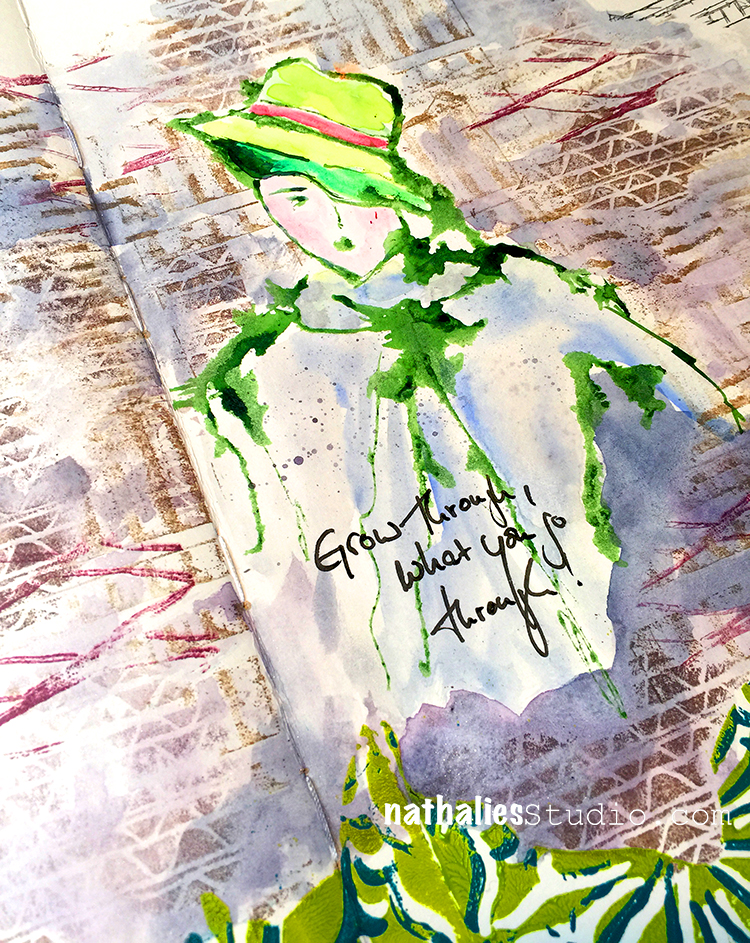
Grow through what you go through ….still wading through it LOL

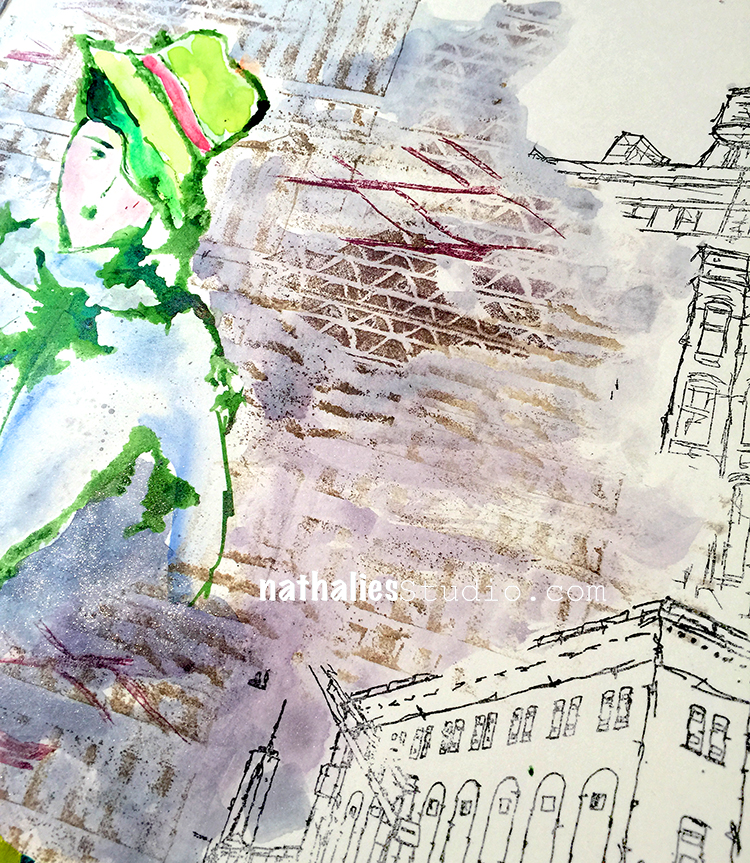
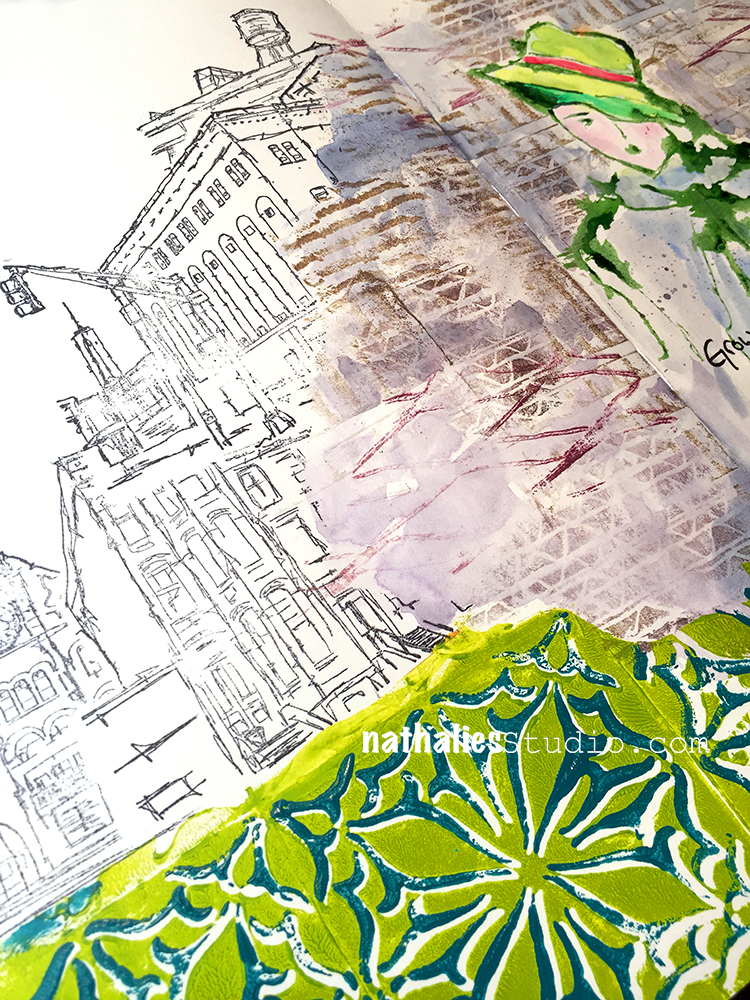
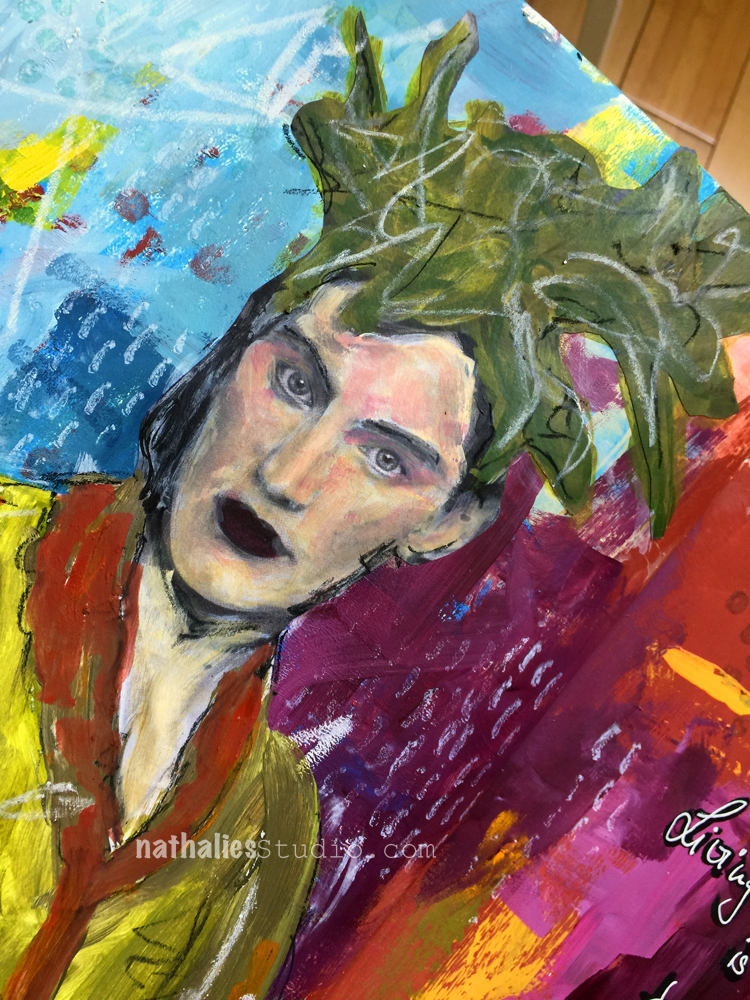
I do have to say I love how this turned out …I did the lady with a bamboo sketching pen and then added the textured background with sepia ink and the Cardboard RubberMoon Stamp Set. Don’t I wish I looked that elegant with a hat …but alas…I do not ;)

Then I colored the lady and stamping in with some watercolor and added the Stroll Through the Hood Set 1 and 2 RubberMoon sets in black with ink.

Using my new Van Vorst Positive and Negative ArtFoamies Stamps with acrylic paint, I added a ground on the bottom picking up the green color from the lady :)

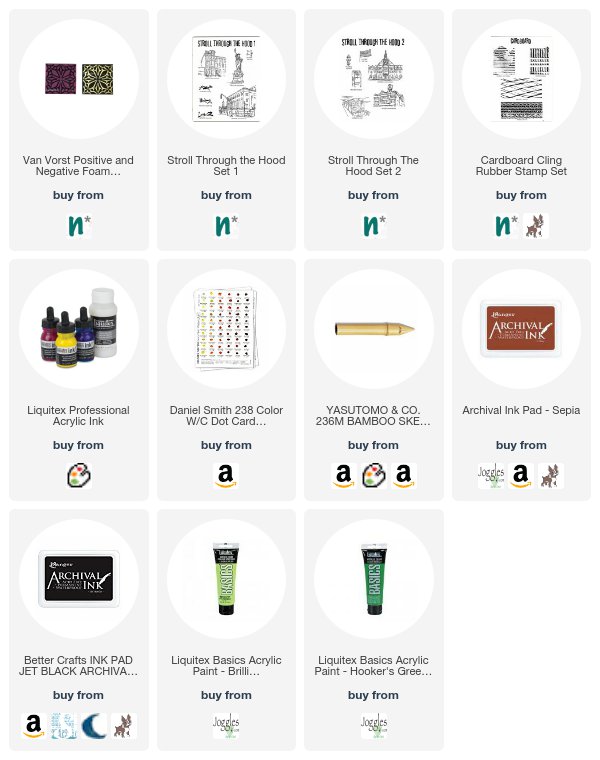
Here are the supplies I used for this Art Journal Page:


Hope you are having a very wonderful day!

Comments (2)

  • Karen Bearse

    |

    Very unique & different I really like it. Cool sketch

    Reply

Leave a comment

Living with Changes – Art Journal

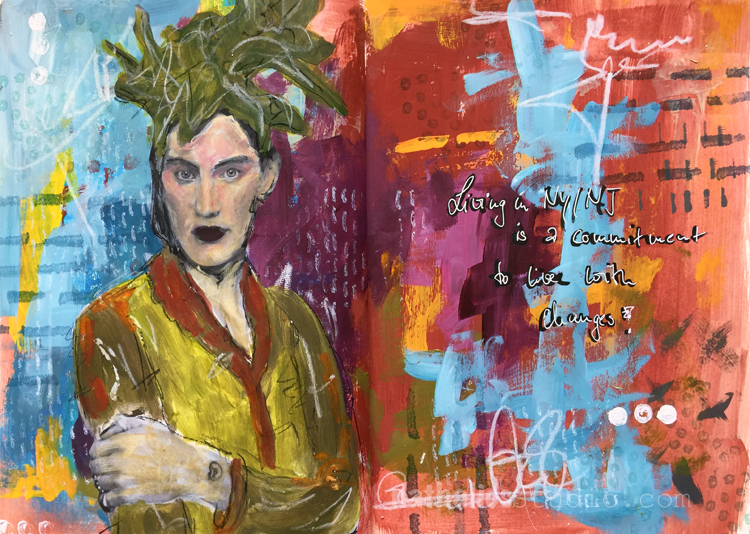
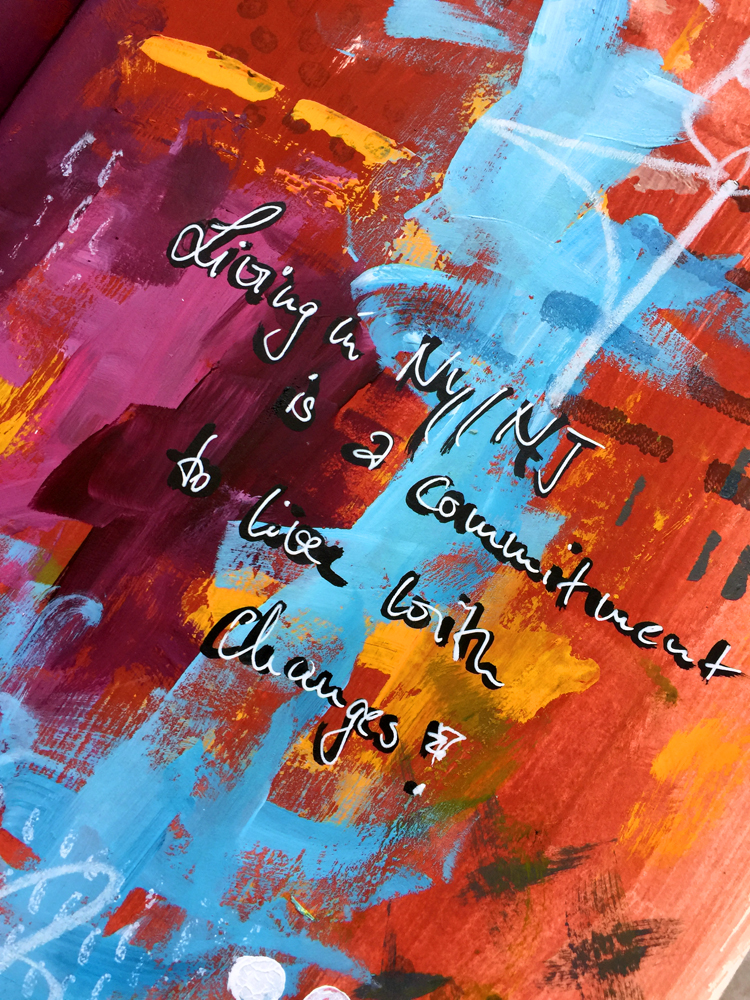
I truly believe that living in the NYC metropolitan area is a commitment to live with changes! It is energizing and inspiring and sometimes also tiring. But that is what you signed up for – nothing for granted :)

I used this spread to play with the new acrylic paints I made in the Kremer Pigments Hands-On Acrylic class I wrote about yesterday. I really love how they turned out and how vibrant they are. I added some stamping with my Embroidery Stamps and marks with China Markers.

Here is a supply list –  – some links are affiliate links:


Wishing you a gorgeous day!

Comments (4)

Leave a comment

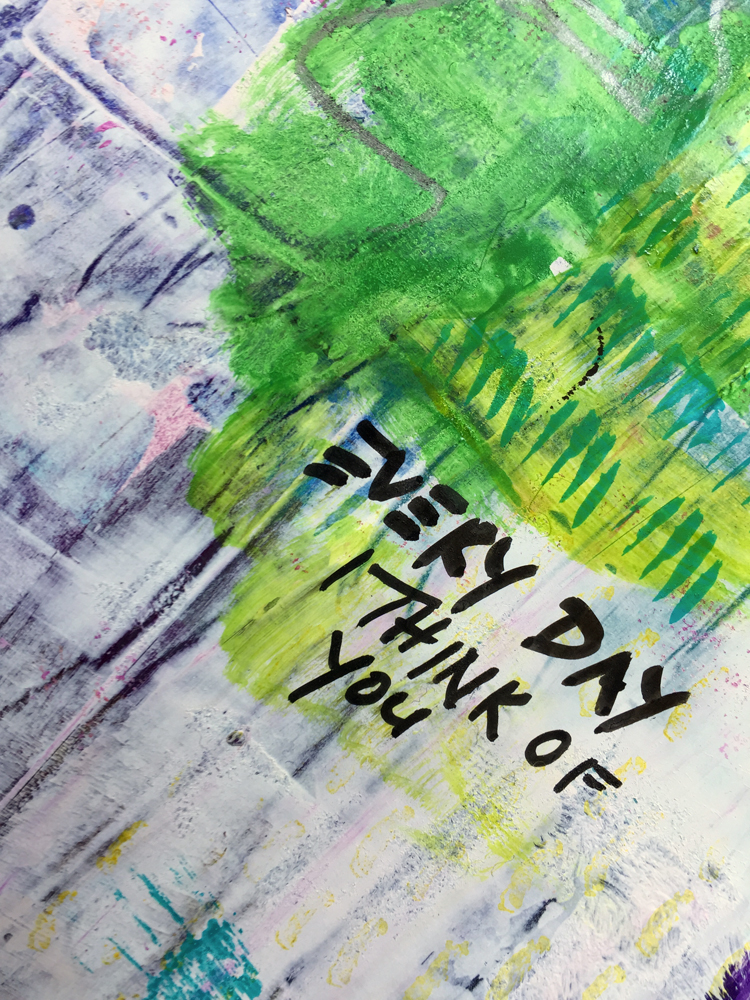
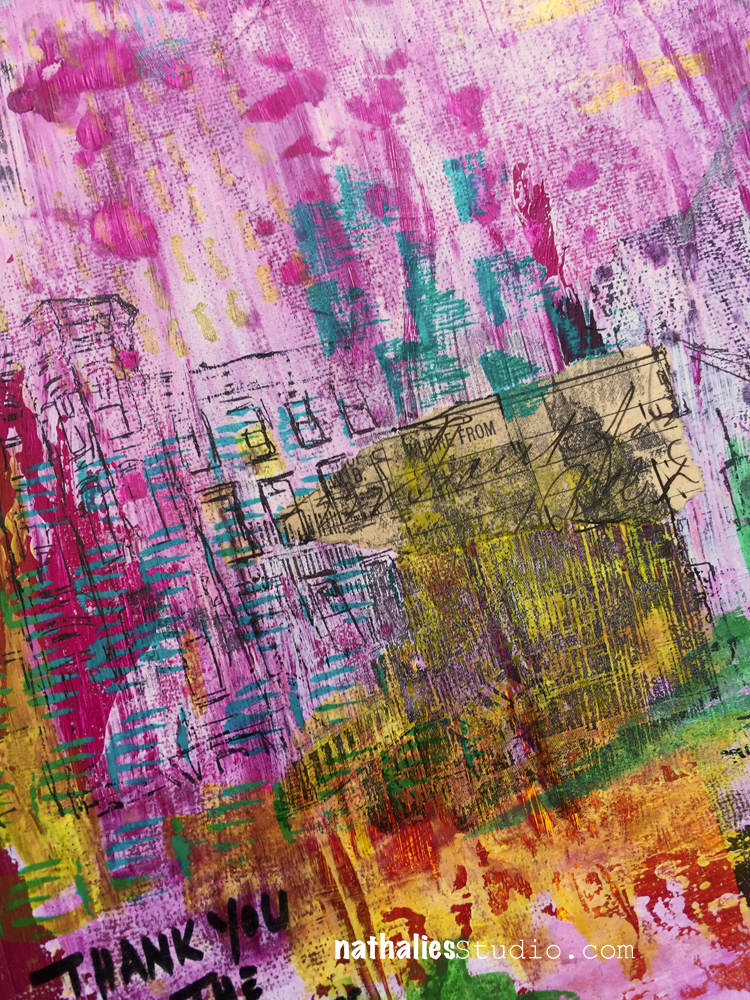
Every Day I think of You – Art Journal

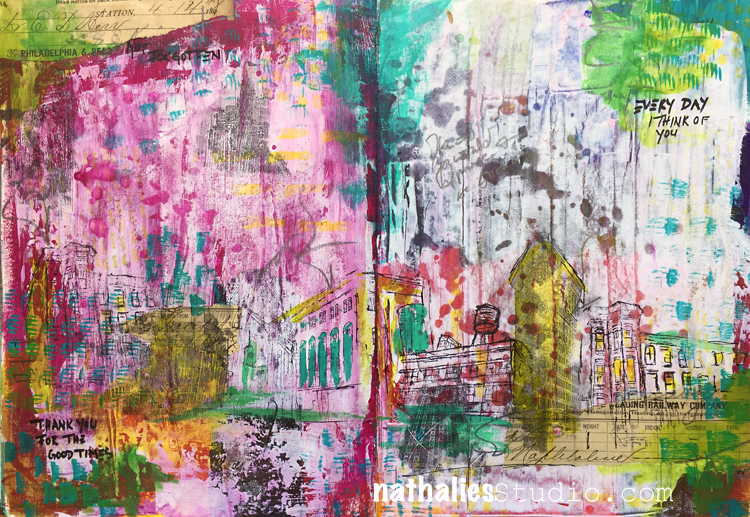
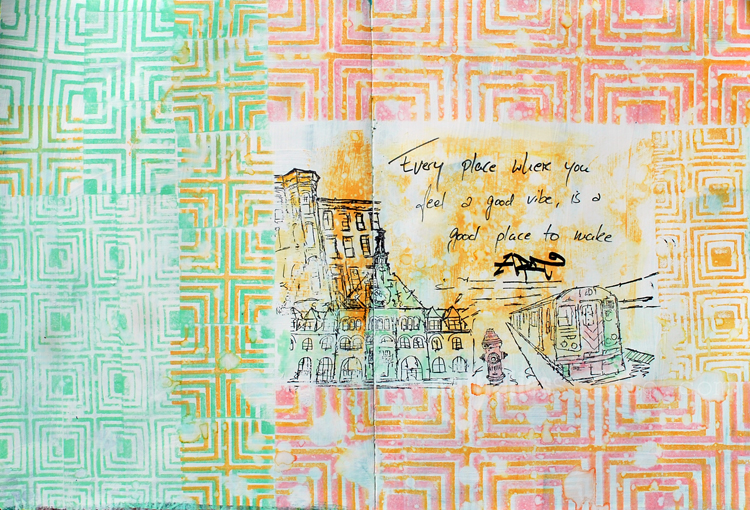
I am sure we all have a person in life that left a certain mark on us. I had many such persons in my life and one very special one  I am thinking about every day is my step father. He was a wonderful person and influenced me in many ways. I was thinking of him when I created this spread.

He loved old buildings and antique stores, he restored old furniture as one of many hobbies and I guess my love for old “schtuff” comes from him :) He was also a very encouraging men – although …doing math homework with him was a night mare – he wasn’t very good in explaining that in a way we wouldn’t end up fighting – LOL.

His Birthday (on Independence day) was just a day before mine and so every year at the beginning of July I think of him even more strongly. He would always re-use my gift wrapping as a joke for my present  and we would laugh silly about it because you know …sometimes it was really ill fitted for my present ;) How blessed I am to have had him in my life. I think he would have loved where I live right now – I can see him taking a bike tour through the city (he used to do bicycle races when he was younger and later he joined the Tour De France almost every year as a bicycling spectator). I am sure he would point out some fun things on a bike-stroll through the hood ;)

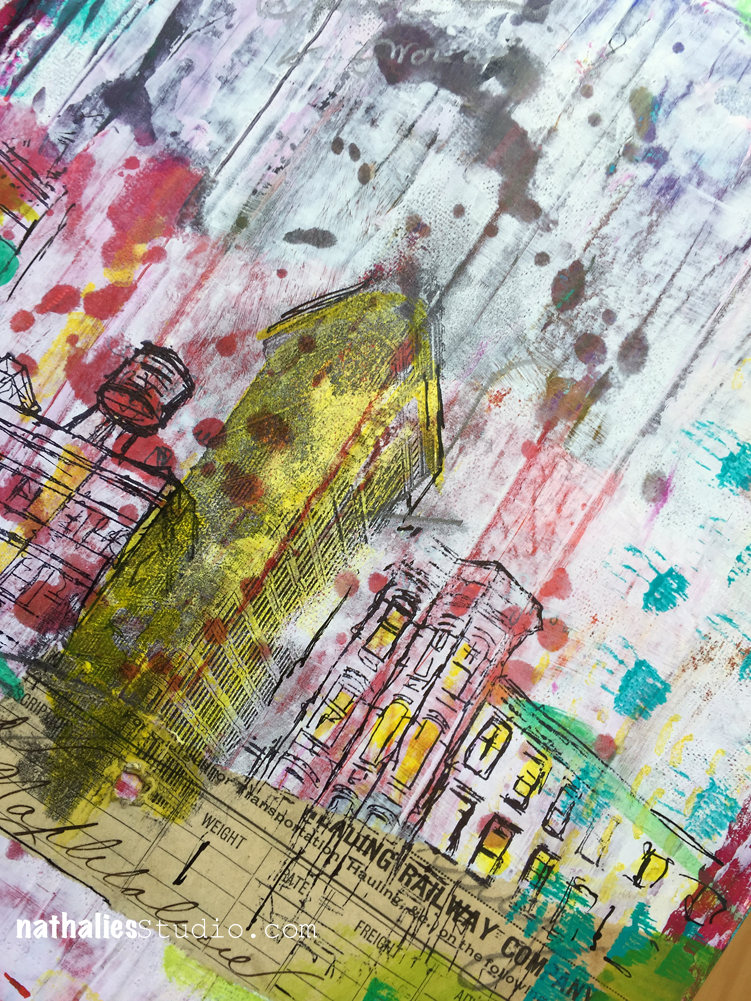
I combined some image transfers with my Stroll Through the Hood stamps. I like it as it is and I decided to not do a lot of journaling – I know the story behind it – well and now you do too . This was a fun and a good spread to do.

Happy Birthday Dad ….P.S. I still don’t use that stupid Algebra, you told me I would need in my future life, but maybe just in your honor I throw it onto an art journal spread in the background this week  ;) P.P.S – yes I am wearing a helmet when I ride my bike ;) P.P.P.S I miss you


Comments (5)

  • k-bearse

    |

    What a nice tribute to your father. Love the aj page-so colorful!

    Reply

  • Donna B.

    |

    I love this tribute to your Dad and all the thoughts behind it!! Good for you! And yes, Happy Birthday to you – a few days early. Maybe someone will again wrap a present for you with wrapping paper that doesn’t quite fit so you can be reminded of your Dad. Wouldn’t that be a kick? :)

    Reply

  • Sue Clarke

    |

    What a special way to celebrate his Birthday month of July and to create and remember him.

    Reply

  • JoAnn

    |

    What a beautiful way to honor your stepfather. Loved it!

    Reply

  • Jean Goza

    |

    Love the painting and the beautiful story behind it. Birthday greetings to you as well!

    Reply

Leave a comment

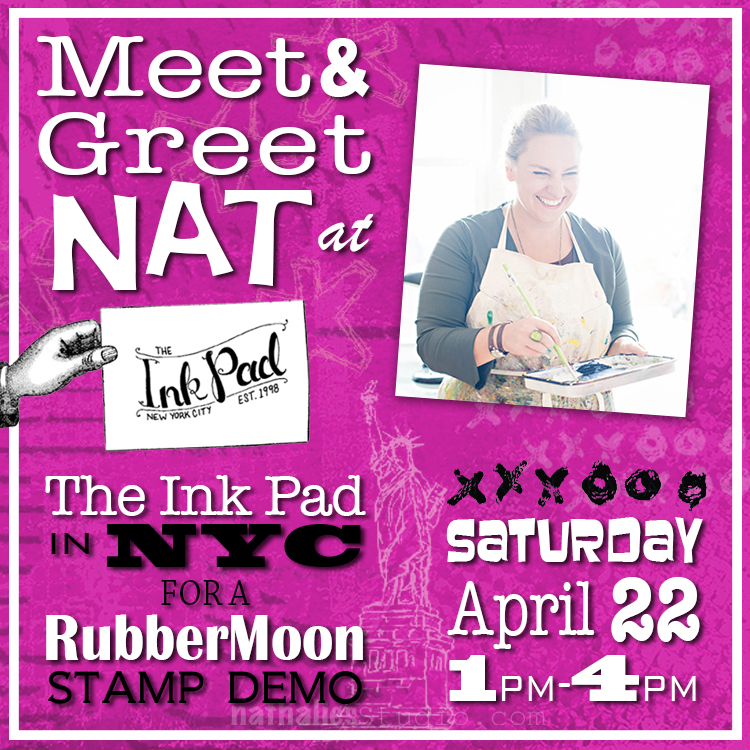
Meet & Greet Nat – Stamp Demo @ The Ink Pad April 22

Meet me at The Ink Pad in NYC for an afternoon of fun product demos, stamping techniques, and tons of inspiration! I’ll be there to answer questions, talk art-making, and to demo lots of mixed media techniques using some of my new rubber stamps with RubberMoon.

Saturday, April 22, 2017: 1pm – 4pm

Looking forward seeing you there!

Leave a comment

Creative Ice Breaker – Morning Art Journal Play Video #8

In the mornings I play in my art journal to get myself into the creative groove and break the ice – so to speak- and get ready to paint. I recorded and fast forwarded my morning ritual for this video – and hope you enjoy it. Take it as what it is – a morning art journal play- not a tutorial.

Creative Icebreaker #8, April 2017 from Nathalie Kalbach on Vimeo.

Here is the art journal spread I created in the video

Here are the supplies I have used in my Creative Ice Breaker video above – some links are affiliate links.Please note that my Manhattan Minis will be available soon- some select stores carry them already (The InkPad, Scrapbook Centrale) and I will soon too :) )

I hope you enjoyed the little glimpse into my morning warm up play! Have a wonderful and creative day!

Comments (2)

  • Sherry Canino

    |

    I love your creative ice breakers they are so fun to watch you create!!! Thanks for sharing and such a beautiful page !!! xxoo

    Reply

    • nathalie-kalbach

      |

      Awe- thank you Sherry! have a gorgeous and sunny weekend

      Reply

Leave a comment

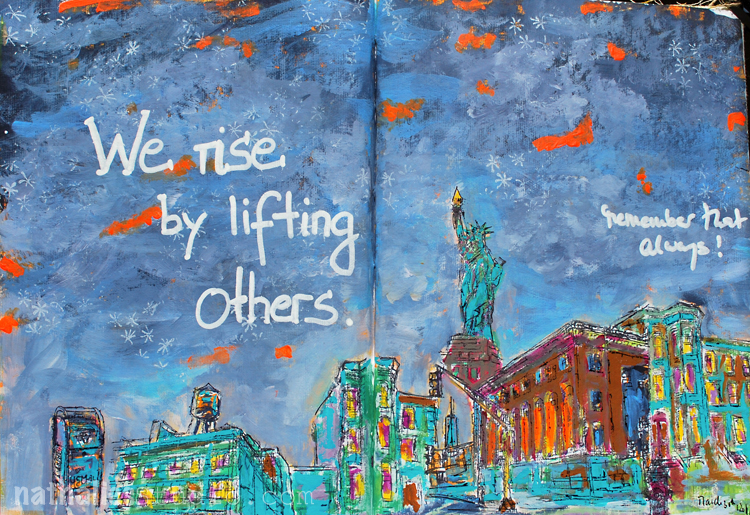
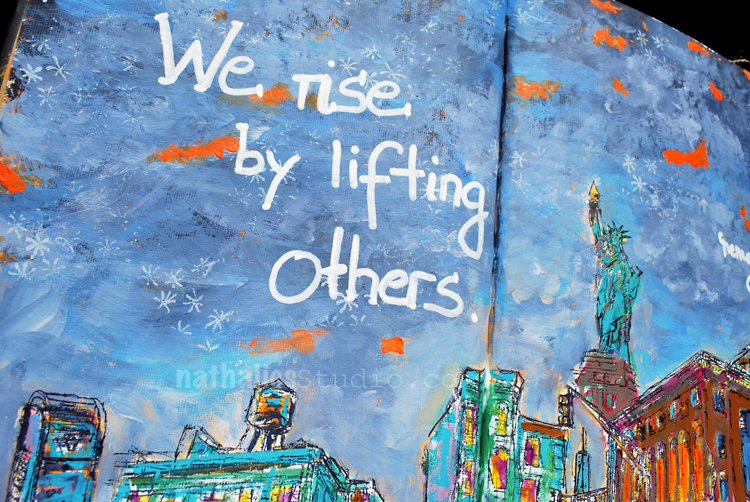
Lift Others – Art Journal Spread

Lots of things are going through my mind lately and this quote in my art journal truly resonates with me.

I just received my new Dina Wakley Art Journal yeahh. I was so impatient to finally hold it in my hands ever since I saw it at the AFCI (former CHA) show in January. If you haven’t seen the journal yet, it has different surfaces including burlap, canvas, cotton rag, watercolor paper, and kraft paper. It won’t be my everyday journal, as I love to work in double spreads, but it is a great journal for forcing me out of my box with its fun opportunities and possibilities of paint applications. I am so stoked about it.

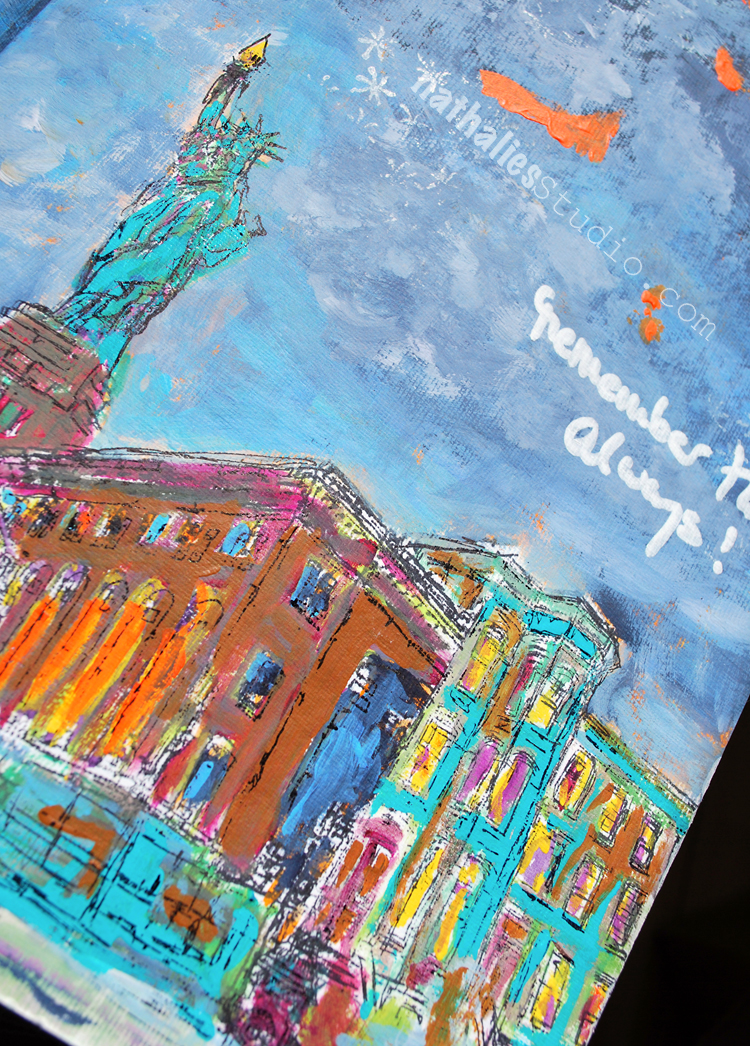
This spread was created on a watercolor spread in the book- I love the texture . I also played with some of Dina’s paints. I layered my hood stamps and colored them in.

For the stars in the sky I used my Star Fish stamp with some white ink and finished the spread with the quote written with a white sharpie.

Here are some of the supplies I used for this spread:


I wish you are wonderful day <3

Comments (2)

  • Torsa Saha

    |

    Beautiful page !! ??

    Reply

Leave a comment

Say It Like You Mean It – Cheiron Brandon


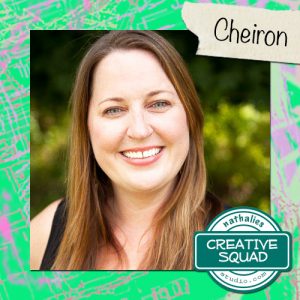
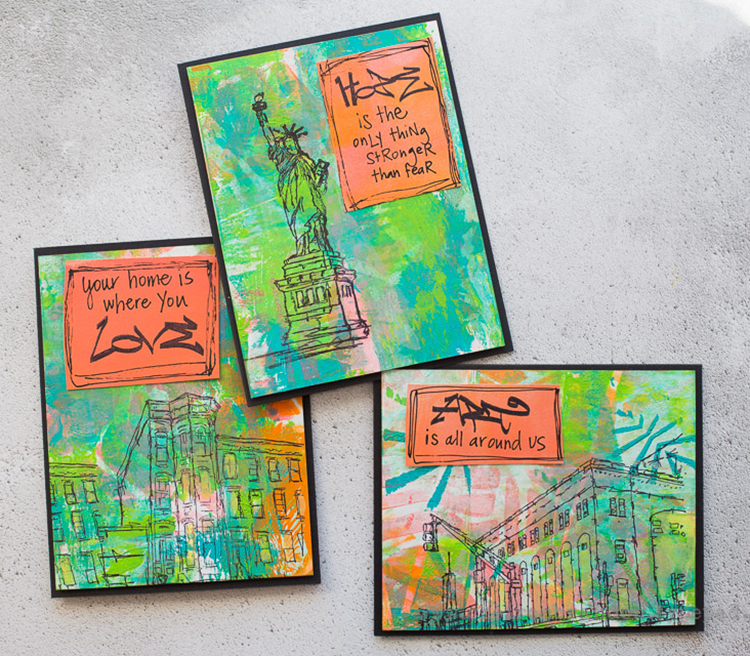
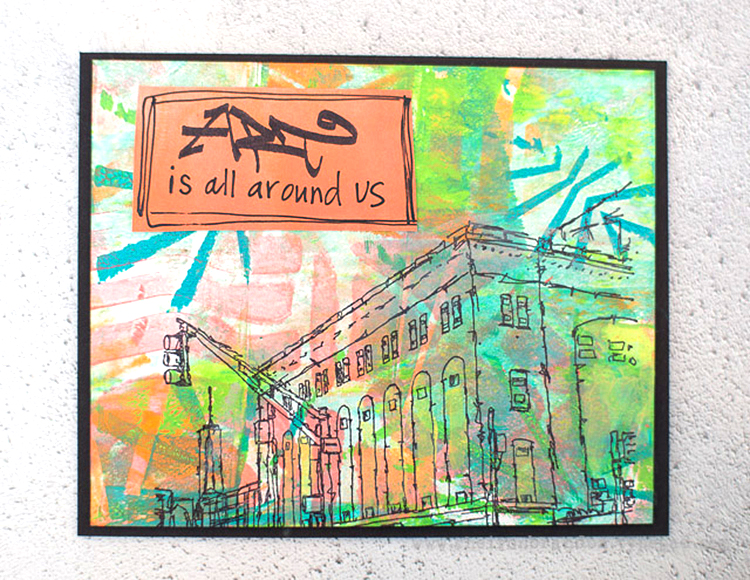
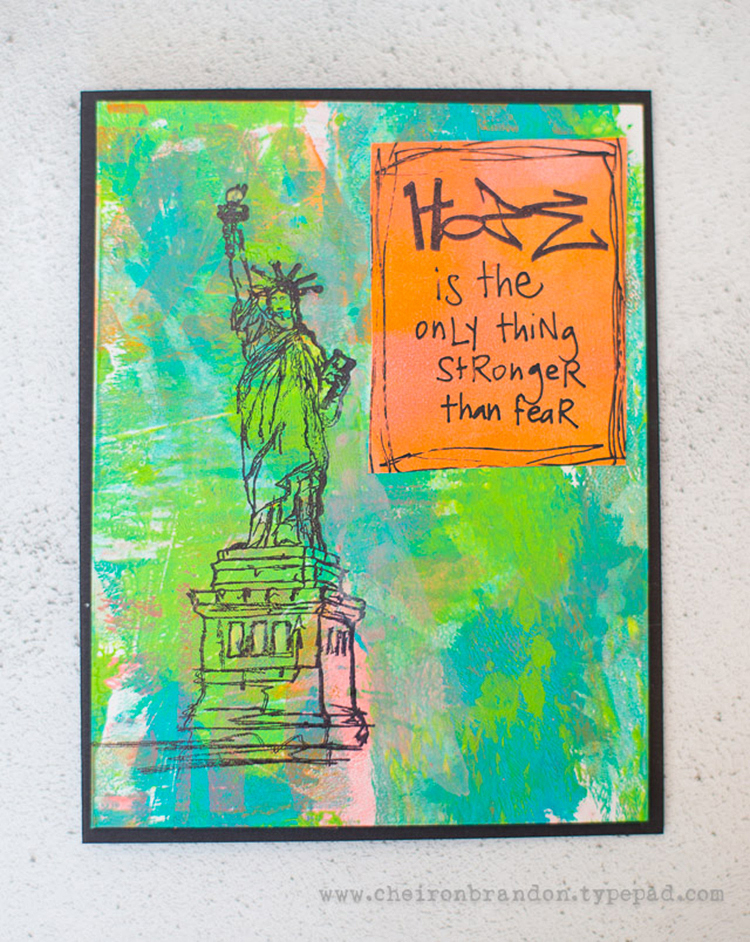
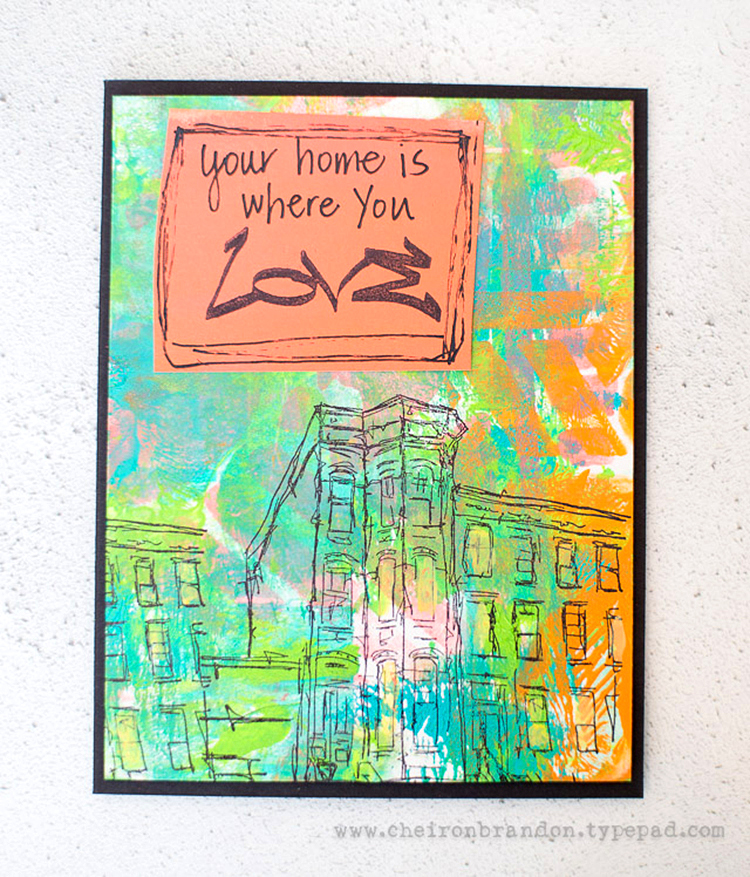
Happy Tuesday! This week Cheiron Brandon from my Creative Squad is sharing 3 gorgeous cards that use my Stroll Through the Hood #1 cling stamp set, and my Beacon and Kassel stencils. Cheiron took a more subtle, but also uplifting, approach to this month’s theme Say it like you Mean it – Let your unique voice be heard and tell us what’s on your mind. Be bold. Be yourself. We all have something to say and sometimes we need to shout it!


Hi there! Cheiron here with my post for the March theme… Say it Like You Mean it. I know it is great to be big and bold and say what you mean, which is what I do almost all of the time. Today I thought I’d go a bit smaller with some subtle messages that can be sent in the mail. I love Nat’s new stamps, especially the graffiti words from Stroll Through the Hood #1 and I have incorporated them all into a set of gelli printed cards for you today.

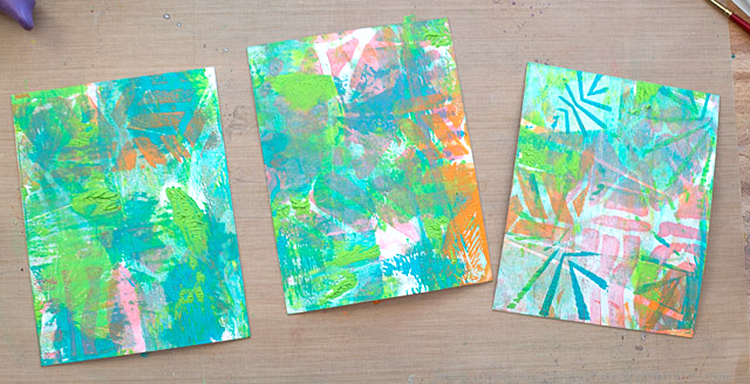
I gelli printed a few panels using the Beacon and Kassel stencils to serve as my background:

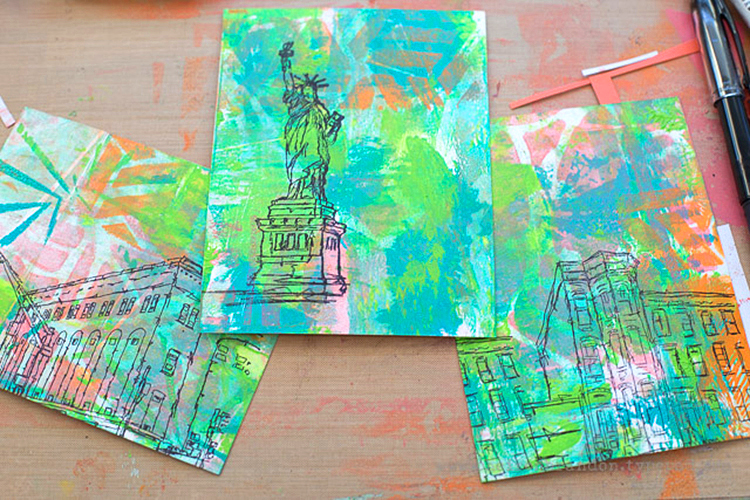
Then I stamped the Powerhouse, Lady Liberty, and Brownstone stamps onto each:

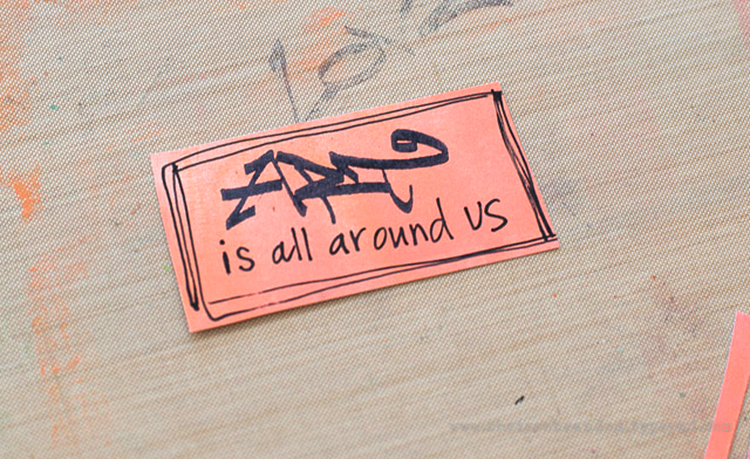
I painted some printed paper with a brayer then stamped it with the different tag stamps: Art, Hope, and Love, and added some handwritten words and outlining to make little quotes for my cards.

I then mounted each gelli printed panel onto a black card base, then adhered the quote to each. Such a simple way to send a thoughtful message.


Thank you Cheiron for sharing such lovely designs with us – those colors are absolutely gorgeous. And I couldn’t agree more with your quotes. In addition to various papers, adhesive, and a black pen, Cheiron used these supplies – some links are affiliate links:


Play along with us! I love to see how you interpret our monthly themes. Email me how you used my stencils and stamps with the theme and email me an image – I would love to share your projects in my “n*Spiration From Around the Globe“.

Comments (1)

  • Michelle Rydell

    |

    These are beautiful Cheiron! and so do-able! Thank you!

    Reply

Leave a comment

Say It Like You Mean It – Tina Walker


Hello from the Creative Squad! This week Tina Walker is kicking off a new theme for us with a beautiful and very meaningful book that I am so happy to share with you today. Along with my new Stroll Through the Hood #1 cling stamp set, Tina created something very powerful using the new monthly theme Say it like you Mean it – Let your unique voice be heard and tell us what’s on your mind. Be bold. Be yourself. We all have something to say and sometimes we need to shout it!


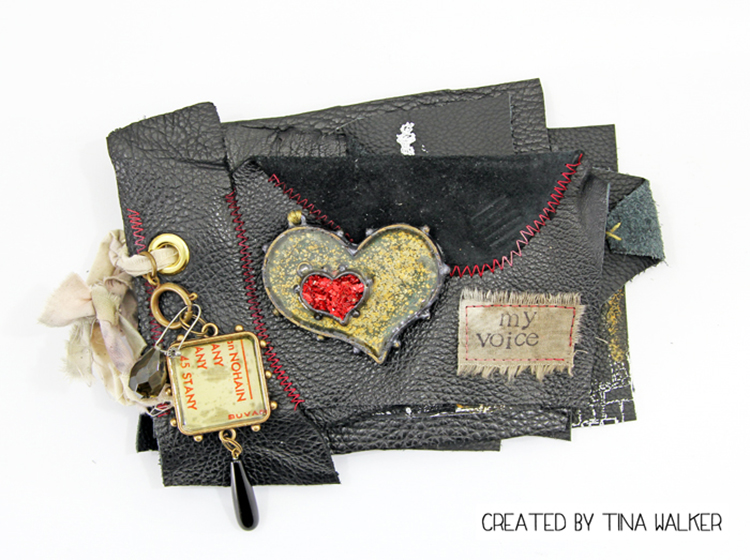
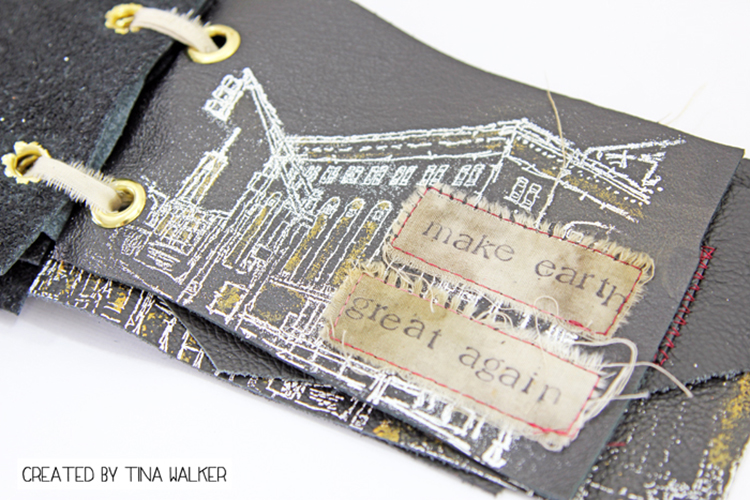
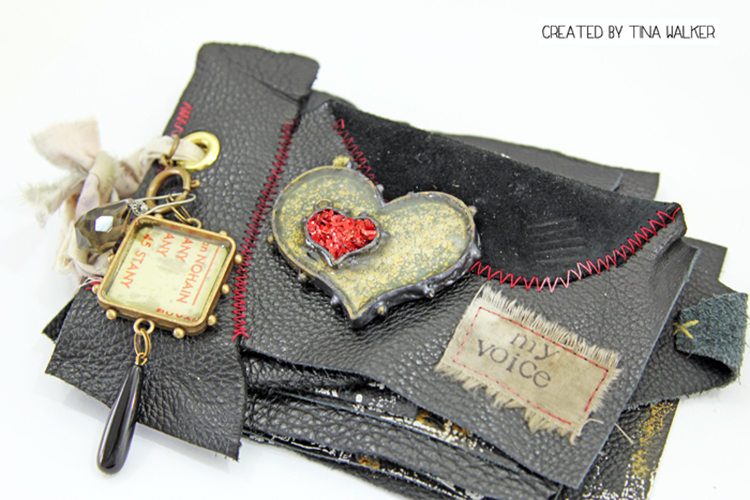
Hi! Tina Walker here today with my take on this month’s theme, ‘Say it like you mean it’. The U.S. is in a pivotal period of transition and the theme this month is a perfect way to support and vocalize my feelings and thoughts. I am saddened by what is occurring in the current administration and I am standing up and fighting for my rights and the rights of others. I am incredibly proud of my project and it is one of the favorite things I’ve made in many years. It really does prove that when you are passionate and inspired, creating reflects a piece of your heart.

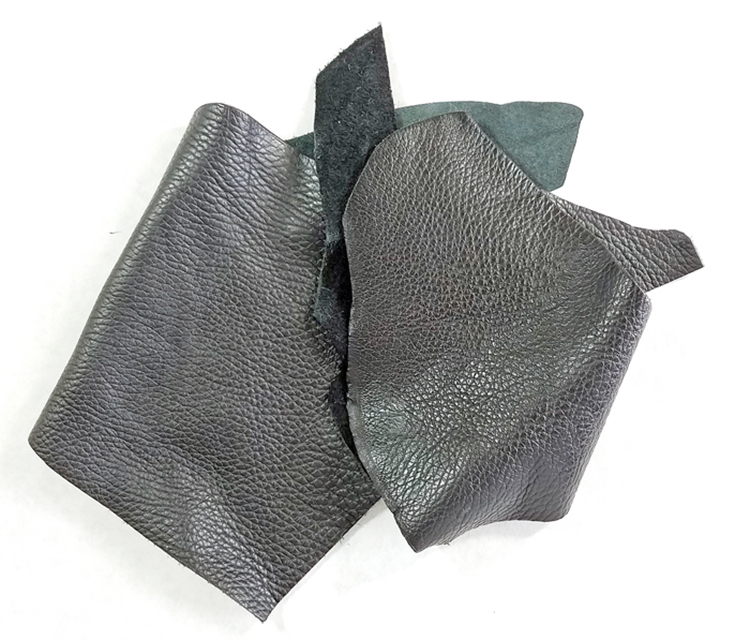
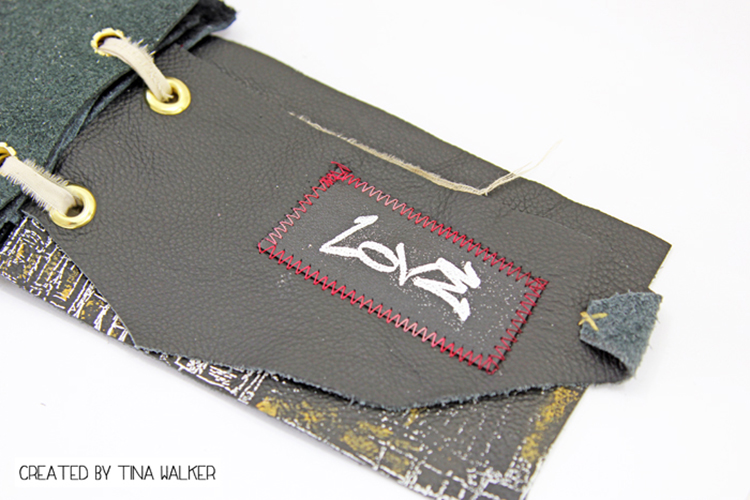
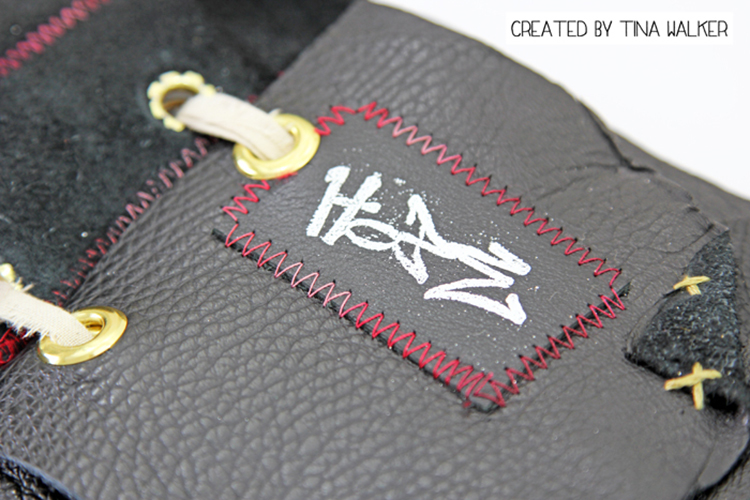
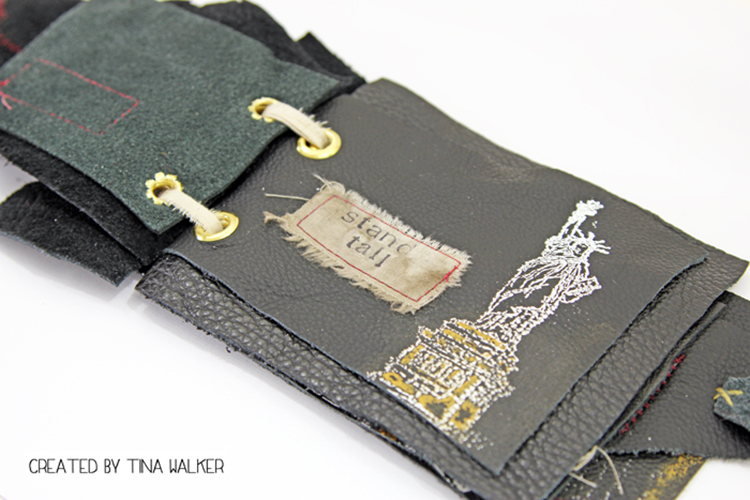
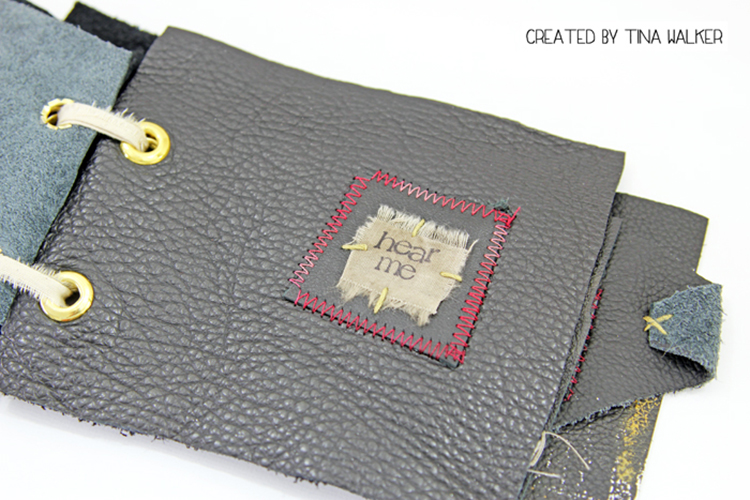
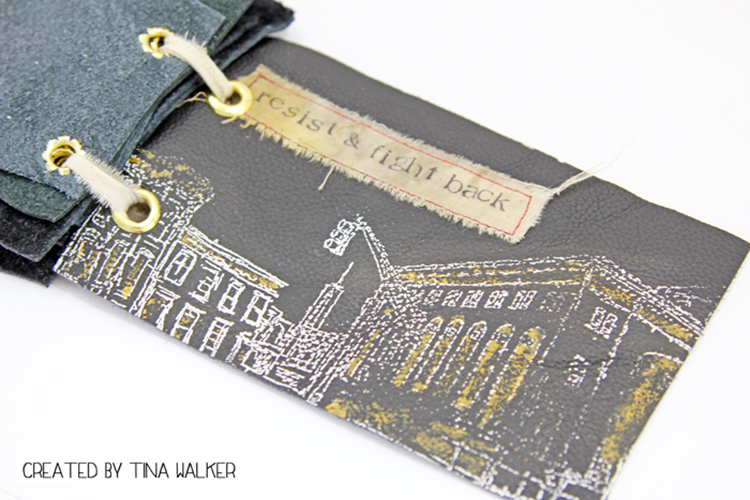
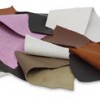
The pages for MY VOICE mini, are scraps of black leather. I cut them into various rectangle shaped pieces, both small and large.

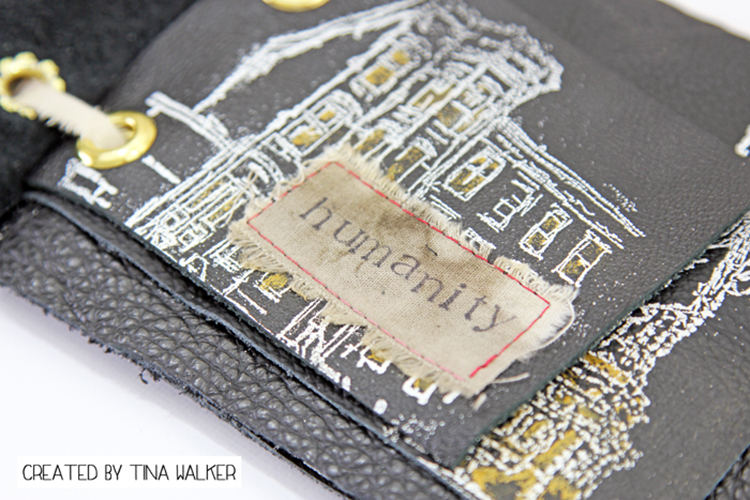
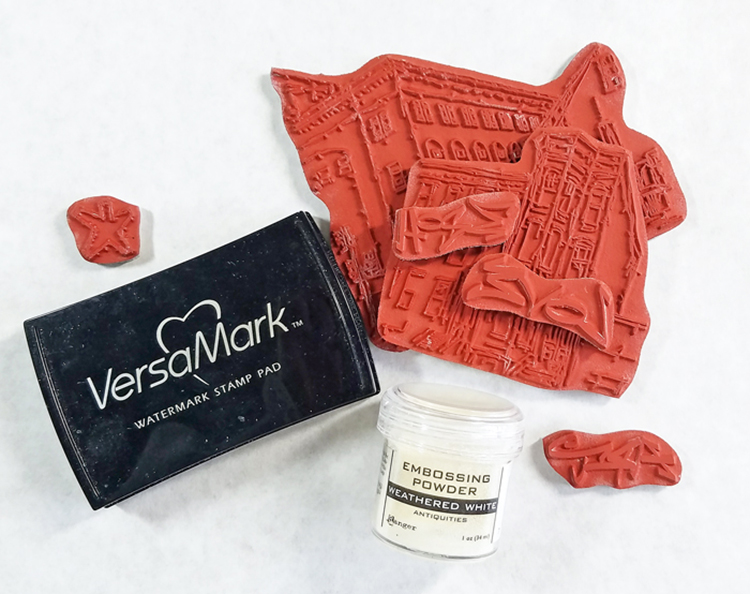
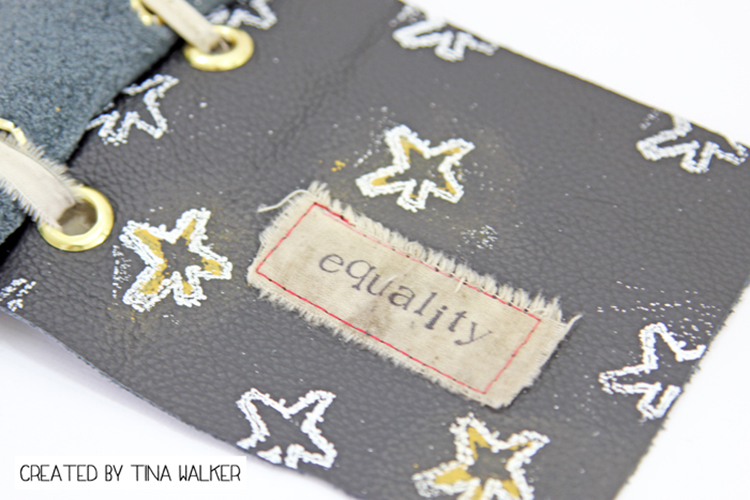
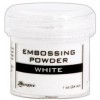
Using stamps from the Stroll Through the Hood #1 collection, heat emboss each page with the various stamps from the set. I really love the white embossing against the black leather.

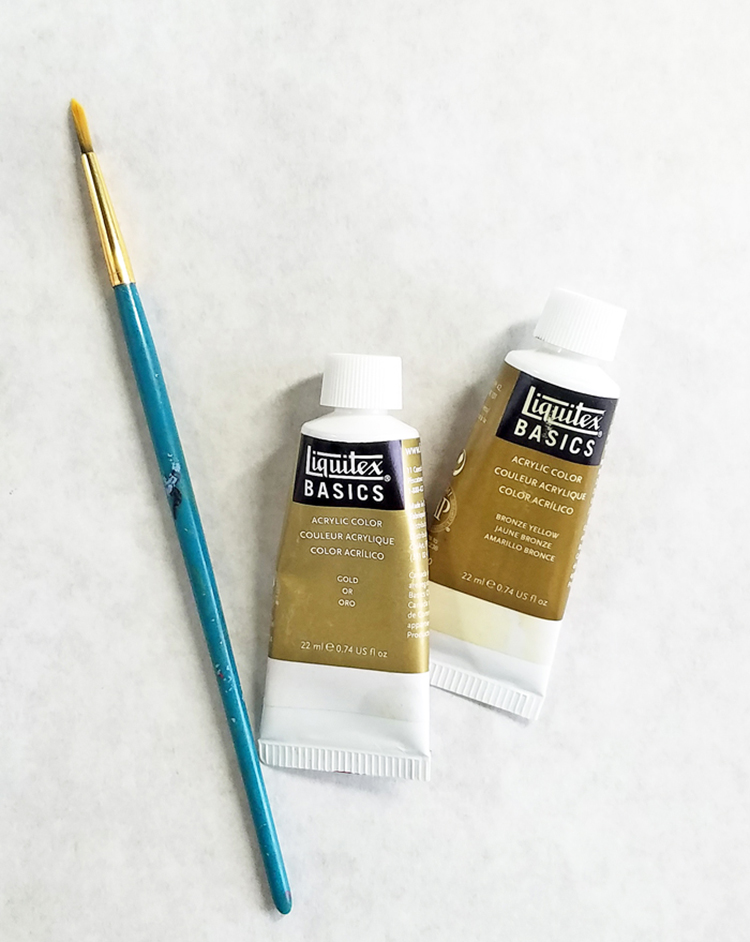
For just a bit of color, dry brush several sections of each stamped image. The idea is not color the image, but add highlights.

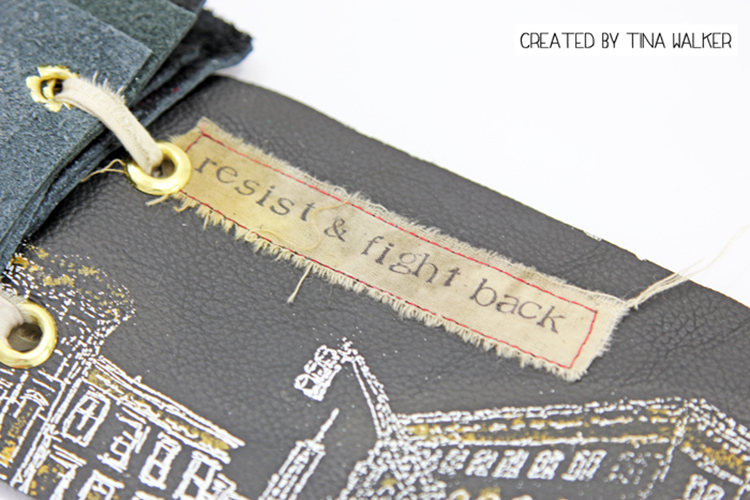
I am a person of few words. Instead of filling my mini with paragraphs and paragraphs of many words, I choose several that say exactly how I feel. My words of support and protest are stamped on scrap pieces of fabric. Machine stitch the journal strips to the leather pages.

Using small scraps of leather, heat emboss the graffiti words from the stamp collection and stitch to the pages with a decorative zig zag stitch.

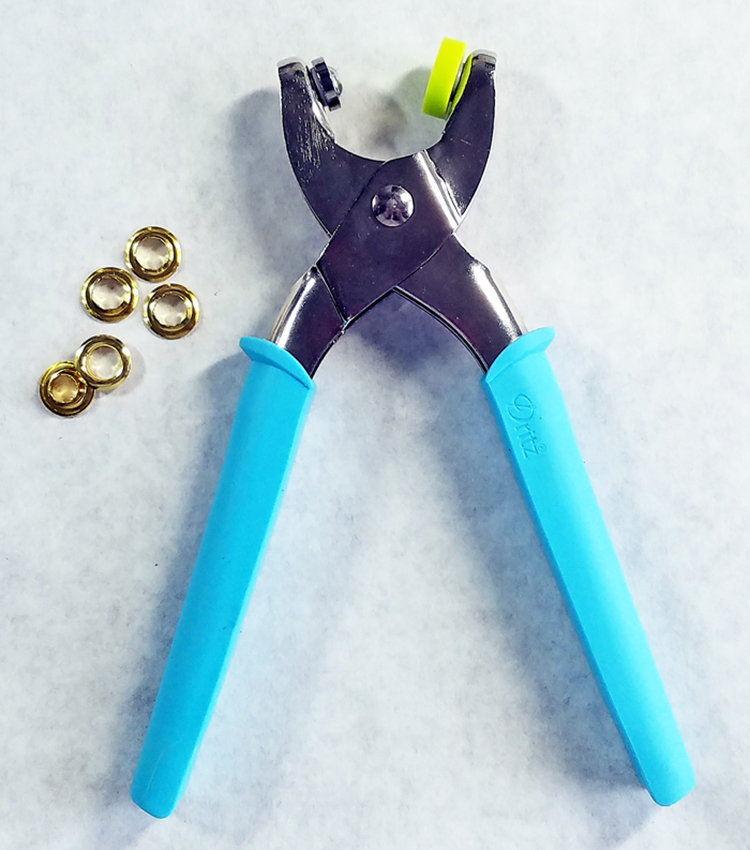
The binding for my mini are large eyelets. It was a challenge to get the large eyelet holes through the leather, but in the end, it was worth it.

Do you create and put your thoughts and feelings to paper or fabric? Do you find personal liberation when writing or creating with your feelings? I’d love to hear how you voice your mind.


Wow. Thank you Tina for a such an honest and meaningful project. You are right – when passion and creativity come together in art, something truly special comes out of it. In addition to scrap fabric, a sewing machine, and various embellishments and jewelry, Tina used these supplies – some links are affiliate links:


Play along with us! I love to see how you interpret our monthly themes. Email me how you used my stencils and stamps with the theme and email me an image – I would love to share your projects in my “n*Spiration From Around the Globe“.

+ Expand this article
0comments

Leave a comment

From Small Beginnings – Michelle Rydell

CS September Theme 2

Happy Tuesday!  It’s time for my Creative Squad to share a project with you with this month’s theme: “From Small Beginnings”. Throughout the month of September, the team has been using my n*Studio Stamps to interpret the theme. The change in seasons and the childhood ritual of Back to School in September has me thinking about starting new things – new projects, learning new things, and meeting new people, and all the excitement and challenges that come with all of these “new”s. For this theme, From Small Beginnings, my Squad has thought about the process of starting something new and the very first steps they took. I asked them, how did you experience a Beginning?

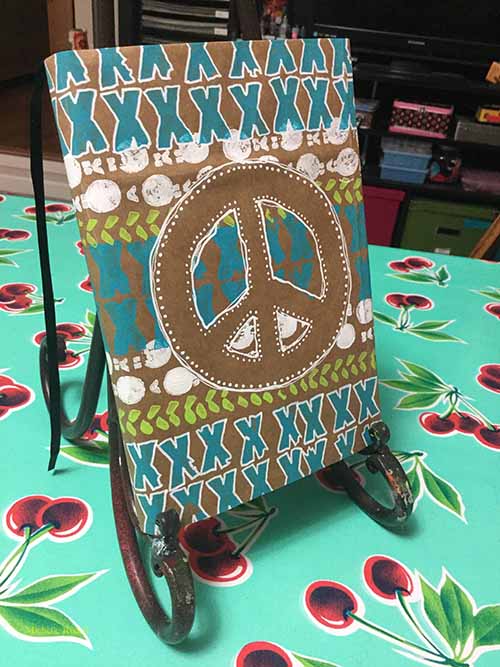
So this week we have a very fun Fauxbonichi book cover from Michelle Rydell that definitely brings back those childhood memories!

—————————————————————————————————
Michelle September Headshot

Oh my gosh I had so much fun with this month’s project!  September and “Small Beginnings” made me think of going back to school as a kid, and that made me think of one of my fave things about that – making covers for my textbooks out of paper bags!  Did you do that too?

I decided to make a cover for my Fauxbonichi – and use the “Marks” stamp set to decorate it…

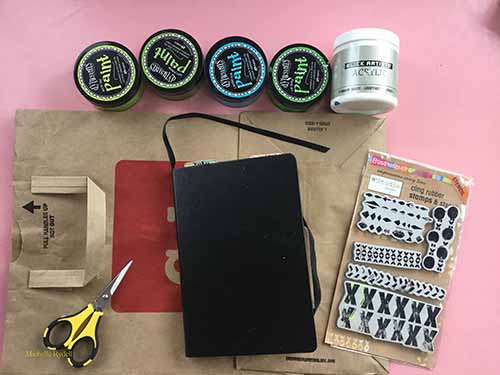
I gathered together the basic materials for the project…
rydell-beginnings-1

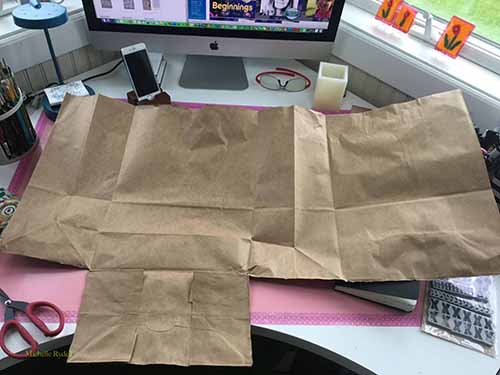
I cut the grocery bag open so it would lay flat…
rydell-beginnings-2

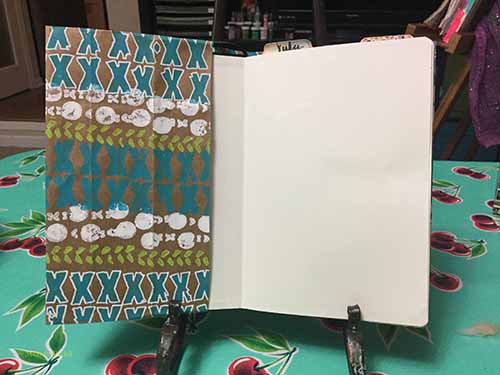
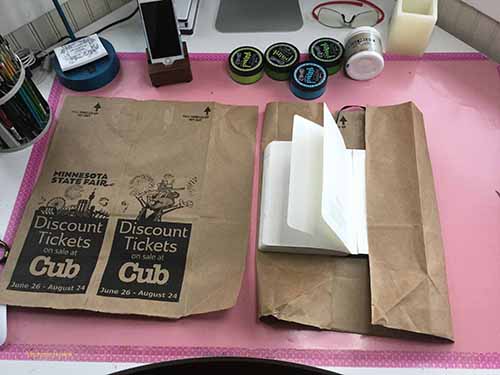
I placed my notebook on the grocery bag and figured out how wide I would need it to be, to cover the width of the book and folded flaps on the front and back covers, and then cut off the extra…
rydell-beginnings-3

At this point, I had to do a youtube search, so I could remember how to fold it. (it’s been awhile – ha!).  Once I got the folding done I took a white pastel pencil and lightly marked where the spine was and which part was the Front cover.  Then I took the cover off the book, and got ready for the fun part – decorating!
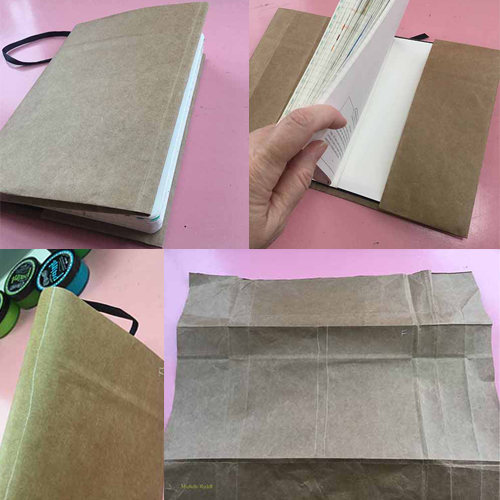
rydell4and5

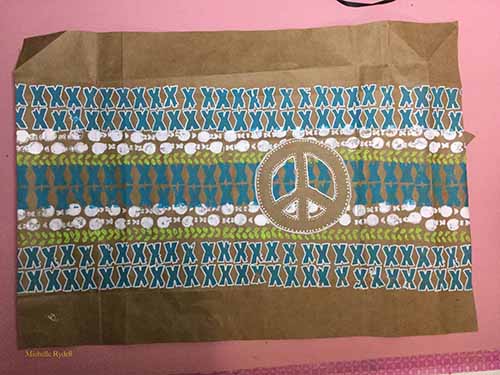
Using a roll of masking tape as a template, I cut a peace sign out of the extra paper, and lightly taped it on the front cover to use as a mask.  Then I started stamping horizontal stripes with the various stamps in the “Marks” set…
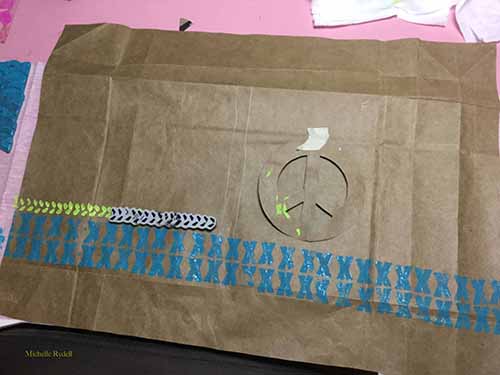
rydell-beginnings-6

When I got to the peace sign, I stamped right over the top of it…
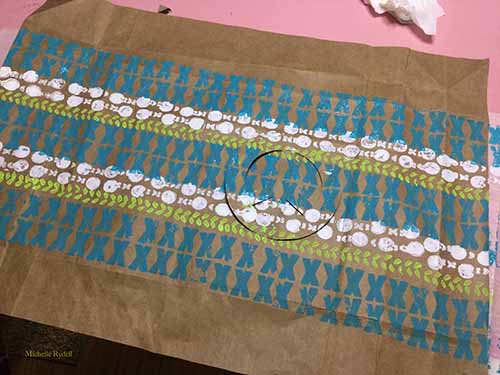
rydell-beginnings-7

When the stamping was done, I removed the peace sign, and this is what it looked like…
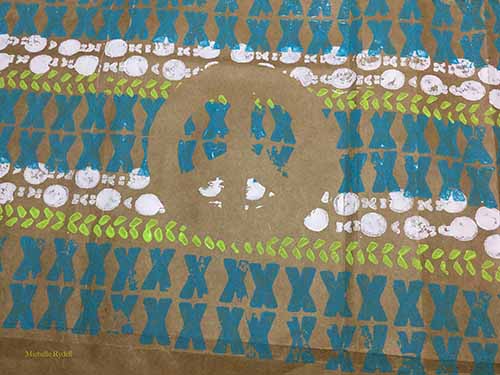
rydell-beginnings-8

The last step was to put on some finishing touches with a fine point paint marker.  I’m so happy with how it turned out!
rydell-beginnings-9

rydell-beginnings-10

rydell-beginnings-11

—————————————————————————————————

I love Michelle’s book cover – it’s such a cool idea that I haven’t thought about in a very long time and what a great place to use the stamps to make a field of pattern.

In addition to a brown grocery bag and her Fauxbonichi, Michelle used the supplies listed below (some are affiliate links):

supplies

Maybe you will even play along with us -I would love to see how you interpret our monthly themes. Email me how you used my stencils and stamps with the theme and email me an image – I would love to share your projects in my next “n*Spiration From Around the Globe“.

See you next Tuesday for another project from the Creative Squad!
Comments (5)

  • Sue Clarke

    |

    LOVE this cover Michelle and like Marit I used to cover my textbooks as well (so this post brought back some cool memories too)!

    Reply

  • Meg

    |

    This is so fun, Michelle! I completely forgot about covering books in school. I wonder if I have any pictures of the covers I made back in the day. Love your project.

    Reply

  • Marit

    |

    Oooh, I remember covering my schoolbooks (I also enjoyed it, years later, to help my son with this…!) It was the second-best thing at the beginning of the school year. (The best was ‘buying and initiating my new school-planner!)

    Reply

  • Julie Tucker

    |

    Ohhhhhhhhhh this is just FABULOUS! LOVING that peace symbol!!!!!!!!!!!!!!

    Reply

Leave a comment