Blog: Stencil Girl Products

n*Studio + StencilGirl present: Latin Impressions

nathalie-nov-sq-graphic

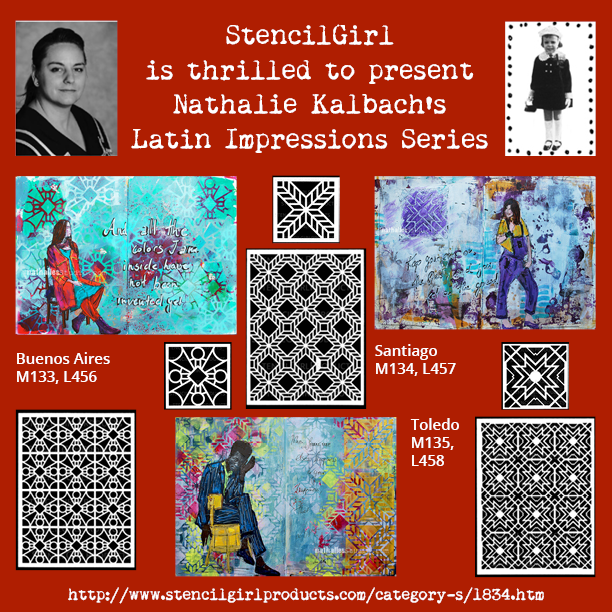
I am super excited that I have six new Stencils being released today with StencilGirl Products.

Let me tell you a little bit about those stencils

n*Studio and StencilGirl Fall Release: Latin Impressions from Nathalie Kalbach on Vimeo.

The Creative Squad has been busy with the new stencils as well, check out their amazing projects:

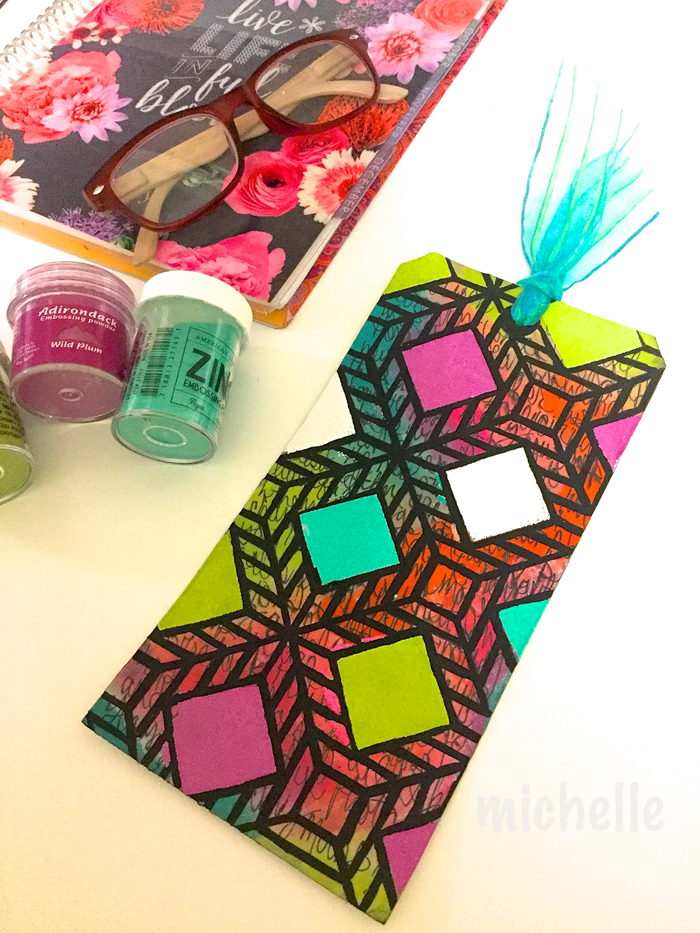
Here is Michelle’s beautiful book mark using the Santiago Stencil.

michellerydellelatinimpressions

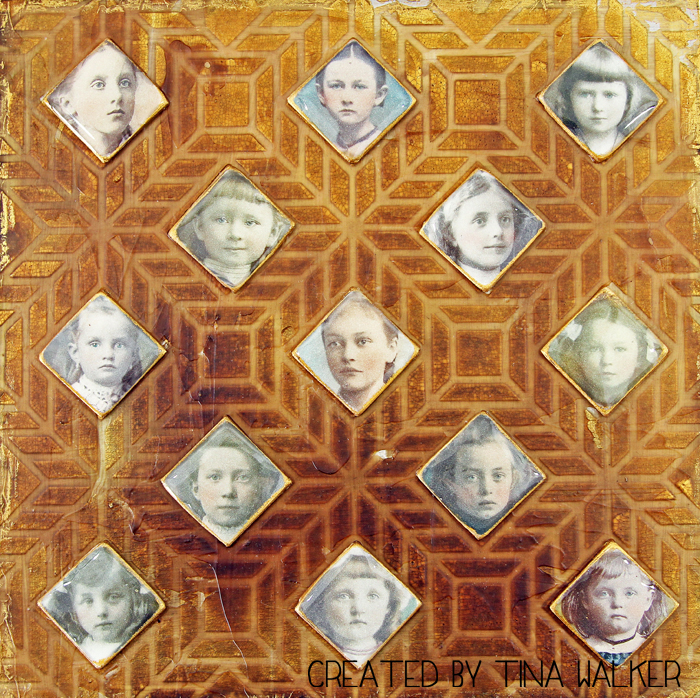
And Tina did a really cool Faux-Encaustic project using the Santiago Stencil as well.

img_5002a

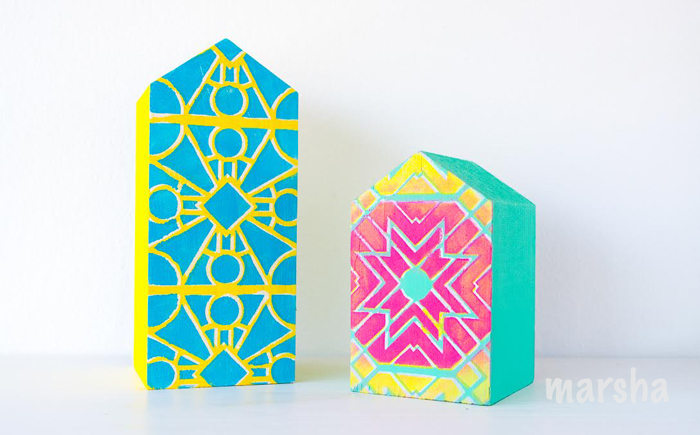
Marsha did these super cute colorful wood block houses using the Buenos Aires and the Toledo Stencil.

marshavalklatinimpressions

I hope you like my new Stencil Designs! Which one is your favorite?

The Stencils are available in the shop now and …don’t forget there is still the Website Launch Party on and you get 20% off in the Shop and on Online Workshops – use the Coupon Code NEWNAT20 when checking out!

nstudiowebsitelaunch-coupon-code-graphic

Have a wonderful day!


Comments (5)

  • Jill

    |

    Can’t wait to get my hands on these babies! I absolutely love your journal pages.

    Reply

  • stresso

    |

    Woo hoo! Loving these. Congrats on the release

    Reply

    • nathalie-kalbach

      |

      Thank you so much Stephanie :) have a wonderful rest of the week! Nat

      Reply

  • Joi@RR

    |

    COMPLETELY AWESOME – love them all. And so excited for you Nat. Great projects from all the design team too. Just WONDERFUL. Xj.

    Reply

    • nathalie-kalbach

      |

      Thank you so much Joi! They are really fun to work with and I love the creative squad’s projects a lot too :) Nat

      Reply

Leave a comment

The 3 Stages of Change or … In My Art Journal Today

Change_01_NatKalbach

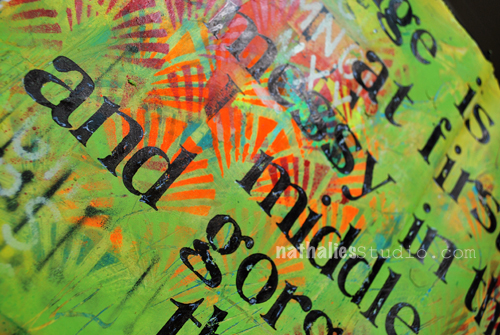
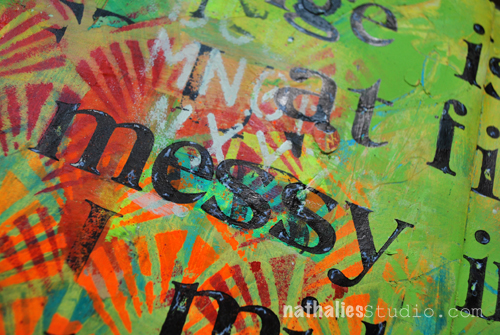
Change is hard at first, messy in the middle and gorgeous at the end.

Lots of changes in my life and lots of changes this year …all of the old ones turned out gorgeous in the end and so I am confident this will be the same for the new changes – I am confident :)

Change_02_NatKalbach

For this art journal spread I broke out my acrylic spray paints again – I so love them. The Liquitex Spray Paints I used, are low odor, but you still have to work in a very well ventilated area and I usually wear a mask if I spray a lot. I had a background from an old paint-scrape-off paint, which I totally covered with spray paint, and layered over with the Art Deco, Circuit and some Alphabet Stencils.

Change_03_NatKalbach

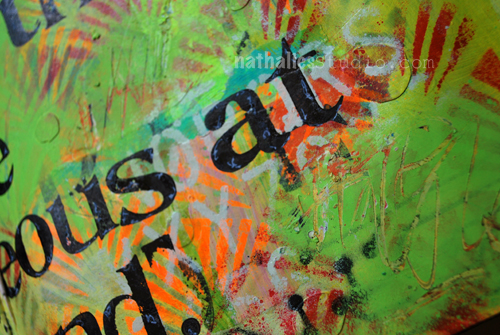
While the Spray Paint was still wet I used the back of a brush and added some word scribbles. I used my old vintage sign maker stamp set to try out the lower case letters in there (oh man I love it) and added some white marks with a white signo pen and filled in some of the irregularities in the letters with black marker.

Change_04_NatKalbach

Are you good in dealing with Changes?

Here are the supplies I used for this art journal spread- some of the links are affiliate links:

SuppliesCJS


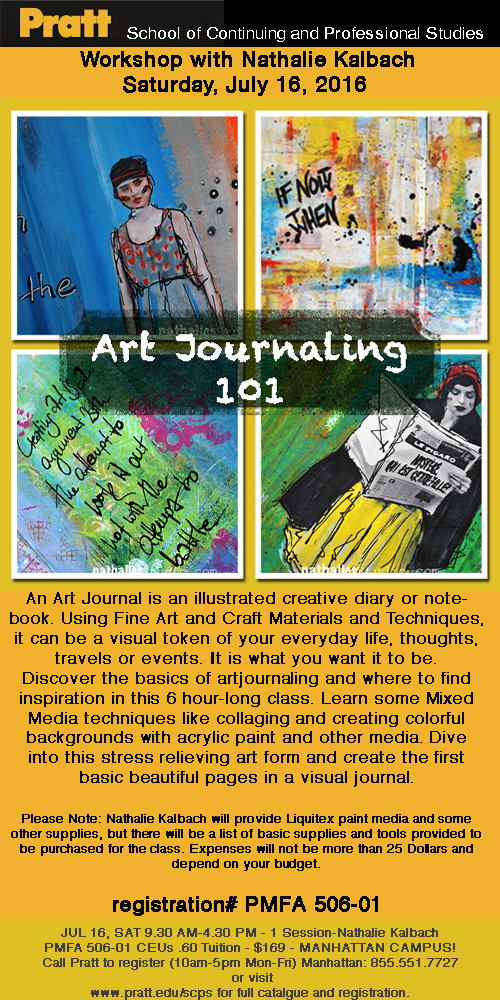
P.S. If you are in the New York City Area – I am teaching an Art Journaling 101 Class at the Manhattan Campus at Pratt on July 16th! It is a very fun and great place to come for a class – here are the details:

Comments (4)

Leave a comment

Don’t Suck or … In My Art Journal Today

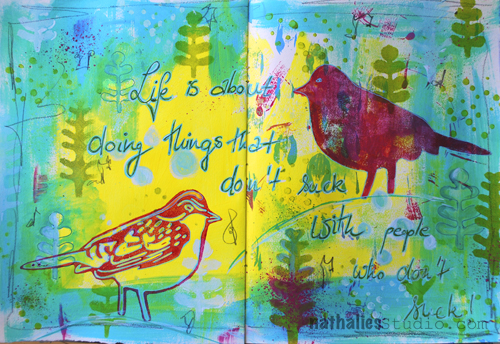
NatKalbach_AJfun

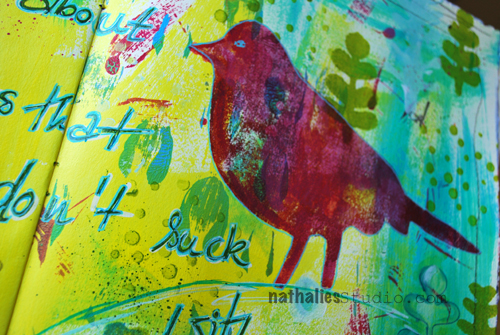
“Life is about doing things that don’t suck with people who don’t suck!”

so true – isn’t it? Tell you, what didn’t suck – playing with paint and doing a happy colored art journal spread :)

NatKalbach_AJfun02

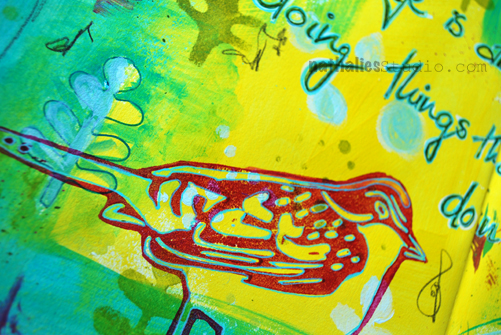
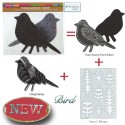
I played with my Bird Foam Stamp Set. I used the frond stencils and masks with acrylic paint on the background. Stamped the two sides of the included foam stamp- one side is solid and one is patterned. for the solid side I used a magenta color by decor art which is translucent and applied it very thin to my stamp with a brayer as I wanted the background to still show through and create the pattern of the bird. I love the outcome.

NatKalbach_AJfun03

I traced the lines of the patterned foam stamped bird with a Graphic Painter Pen by Derwent- just to make it pop a bit. The flicks of paint you see here and there are actually also made with the Graphic Painter Pen – if you blow the side of the pen you can get some fine color mist spreading out- it is fun  to do  and looks awesome.

Here are the links (some are affiliate links) for the supplies I used:


Hope you have a wonderful day and some time to create something!

Comments (2)

  • Joi@RR

    |

    Hehehehhe – YES Nat – it’s true!!! Love this!! AND… you are using DecoArt.. I’m surprised! YEAH!!! Luscious background. And your bird stamp is just so versatile. Adore your birds!! XXj.

    Reply

    • nathalie-kalbach

      |

      Thank you Joi. Yes- I do have some deco art paints and like using them in an art journal or for mono printing.

      Reply

Leave a comment

If it Scares You or … In My Art Journal Today

NatKalbach_GoodThing01

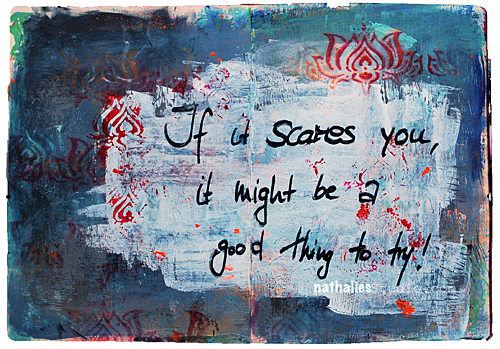
If it scares you, it might be a good thing to try!

I believe that is true – almost every time, I thought of something I would love to do or achieve and it sounded scary it was a good decision …like quitting my paralegal job to become an artist…or moving to the U.S. … So time for me to encounter another thing that scares me – we shall see ;)

NatKalbach_GoodThing02

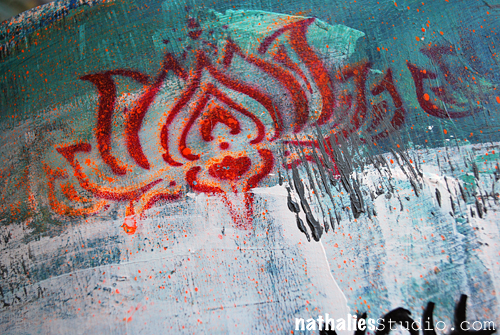
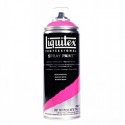
This was a quick page in the morning – I had painted the background a couple weeks ago and had experimented with glazes. It got a bit dark in the process, so I added a huge field of white gesso scratched on with an old hotel key card. Later I spray painted using my StencilGirl Products Lilly Stencil and two different colors of Liquitex Spray Paint. Sometimes Art Journaling doesn’t have to be a long process- remember – you are the boss apple sauce ;)

nSupplies


Leave a comment

I am in Love … or In My Art Journal Today

NatKalbach_InLove01

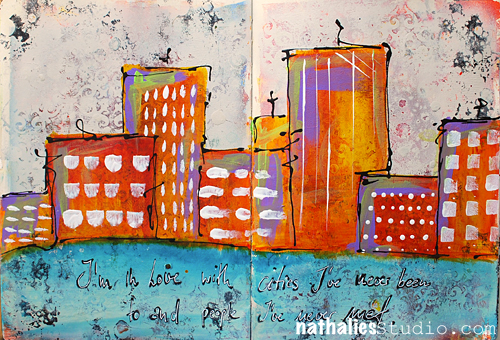
I’m in Love with cities I’ve never been to and people I’ve never met.

It is true. I love to travel and I love to meet new people …but I also love to go back to places and to see people I know again.

NatKalbach_InLove02

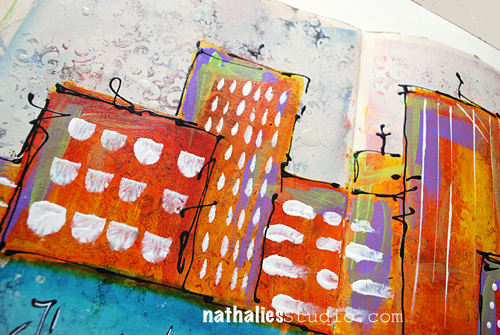
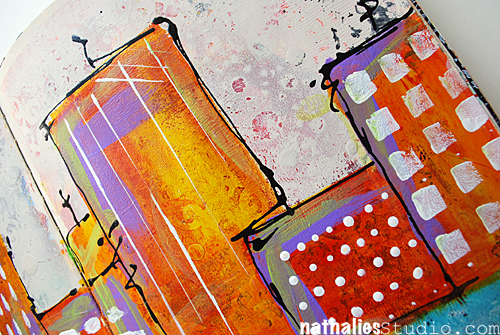
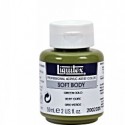
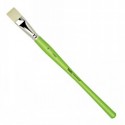
I love the texture of this spread. I had painted the background with red and yellow acrylic paint and stenciled with my Ornament Wallpaper Stencil and some Spray Paint. The spray paint left a nice dimension on the background. So I lightly covered the whole spread with Liquitex Titanium Spray Paint – leaving the painted area peak through a bit but also create a nice textured area of the stencil. It gave it a bit of a grungy shabby chic look….if I want to label this look – LOL . Then I took some Liquitex Acrylic Inks and started painting the city skyline as well as the water- choosing contrasting colors to make it more pop. I mixed the Yellow Azo and Naphthol Crimson for a nice orange right on the spread, as the spray painted area was less absorbent than paper and left me longer time to work on it. I added some green and purple accents in the houses with Soft Body Paints. For the Windows and marks in the houses I used my Filbert brush and Fan Brush in different ways- it was fun to limit myself to the brush as a tool in creating those elements.

NatKalbach_InLove03

I used a Fine Line Applicator filled with Black Acrylic Ink and Black Soft Body Paint and added the scribbly lines around the houses. The quote was written with a black marker and then overwritten with a white Signo pen.

Do you like to travel?

Here is a list of all supplies I used:

nSupplies


Have a wonderful day

Comments (7)

  • Joi@RR

    |

    I only like to travel – WITH YOU!!! I seldom leave the ranch but I soooo love your posts when you travel Nat. Oh well heck – I love all your posts but I do enjoy seeing all your photos of the sights and the things that you do. AND… you know – I always love your skyline projects. This one is no exception. LOVE LOVE the bright colors and the wonderful backgrounds. Great way to start my week – seeing your SUPER FINE post. Hugs. j.

    Reply

    • nathalie-kalbach

      |

      Joi – I see- I want to see pictures of a real ranch in the States- share some pictures with me :) Have a gorgeous day and hugs to you too, Nat!

      Reply

  • cat2468

    |

    Hey Nat!!
    I am a country girl who grew up on a farm. So it never ceases to amaze me how drawn I am to cityscapes……especially yours!! And the large piece you did before you moved here (sorry, my memory sucks these days!!) it was a waterfront/city painting for a contest?) despite my embarrassment I shall forge on to tell you how much that piece blew me away!! Maybe that’s where my memory went!!! Love your work and teaching style!! Hope to catch more on-line classes!l. Having trouble getting this comment to post!!! I’ll try later!!!
    Cat

    Reply

    • nathalie-kalbach

      |

      hi Cat, thank you so much for your wonderful words. I did a couple paintings before I moved to the States- maybe you find the particular one here in the gallery: http://nathaliesstudio.com/ngallery/ I hope I see you in class :) Have a wonderful day!!!

      Reply

  • cat2468

    |

    Hey Nat!!
    I am a country girl who grew up on a farm. So it never ceases to amaze me how drawn I am to cityscapes……especially yours!! And the large piece you did before you moved here (sorry, my memory sucks these days!!) it was a waterfront/city painting for a contest?) despite my embarrassment I shall forge on to tell you how much that piece blew me away!! Maybe that’s where my memory went!!! Love your work and teaching style!! Hope to catch more on-line classes!
    Cat

    Reply

  • Sue Clarke

    |

    I love to travel and wish that I could do more of it.
    It’s so fun to meet new folks and see that we are really after the same things in life.
    Plus the different designs and colors in different areas are inspiring.
    Nice colors in this art journal page Nat.

    Reply

    • nathalie-kalbach

      |

      Thank you Sue! I love that we can find so many things in common with many other people we have yet to meet :)

      Reply

Leave a comment

XOXO … or …In My Art Journal Today

NatKalbach_XOXO01

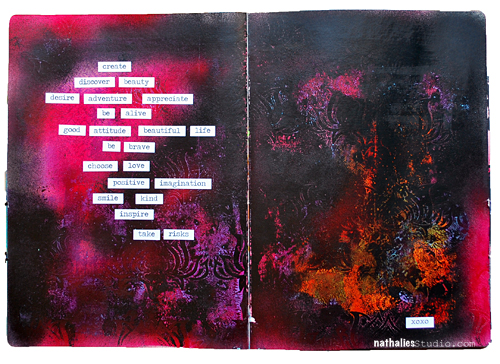
create, discover beauty, desire adventure, appreciate, be alive, good attitude, beautiful life, be brave, choose love, positive imagination, smile, kind, inspire, take risks !

XOXO

NatKalbach_XOXO02

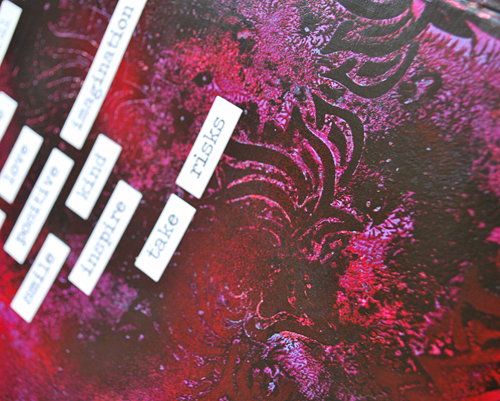
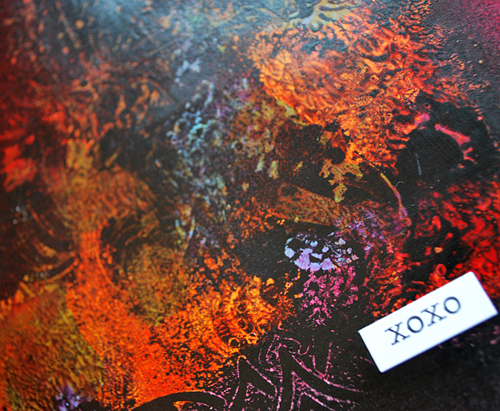
I used one of my favorite quick texture techniques for the background. I painted the background with different Soft Body paints, let it dry, and then used Liquitex Spray Paint over it in black and magenta. Using my Lilly Wallpaper Stencil I pressed into the still wet spray paint and lifted the stencil off right away – sometimes I just pressed the stencil down, sometimes I moved it a bit. The pressing and lifting actually lifts off the spray paint under the Spray Paint creating a gorgeous stencil effect revealing the background again (picture above). The pressing and moving creates a wonderful marbled effect (picture below).

NatKalbach_XOXO03

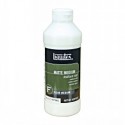
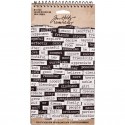
I used some Tim Holtz Ranger Stickers (supplies in detail below) and since they wouldn’t stick for a long time on the acrylic painted background I applied some Matte Medium underneath and on top the sticker area.

Here are the supplies I used

nSupplies


Have a beautiful day!

Comments (3)

  • Sue Clarke

    |

    LOVE the colors and the texture.
    I’ve been playing around more with paints these days in my art journal.

    Reply

  • Joi@RR

    |

    I can always count on you Nat for some new teachings!! Wow – this is soooo fun. Your background is FABULOUS… you did it so wonderfully. Ok – going to read this again…. love it. Thanks bunches… happy weekend. j.

    Reply

    • nathalie-kalbach

      |

      Glad you like it Joi – hope you will give it a try- it is really fun! <3

      Reply

Leave a comment

Europe Workshop Tour- Part 2 – ArtMesa Workshops in Madrid

ArtMesa_01

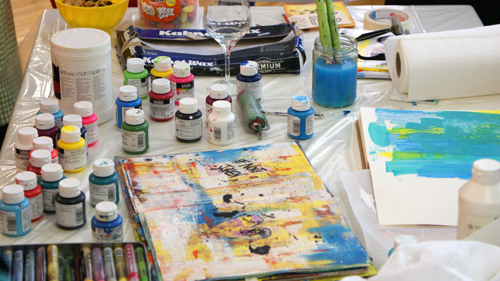
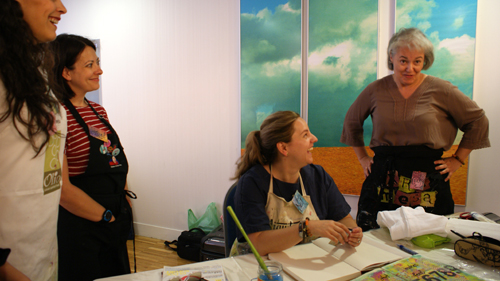
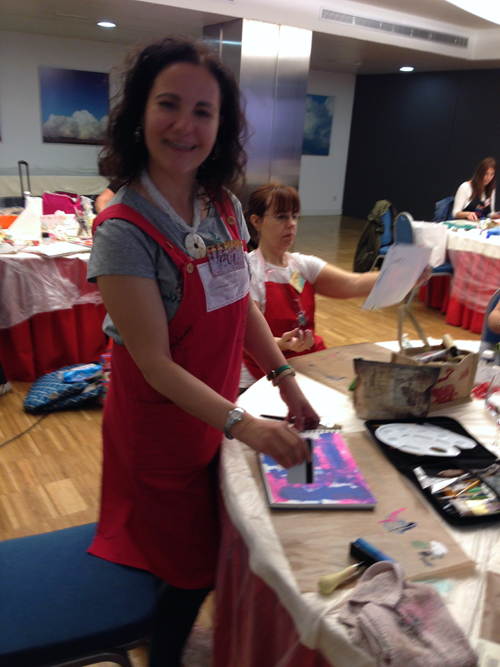
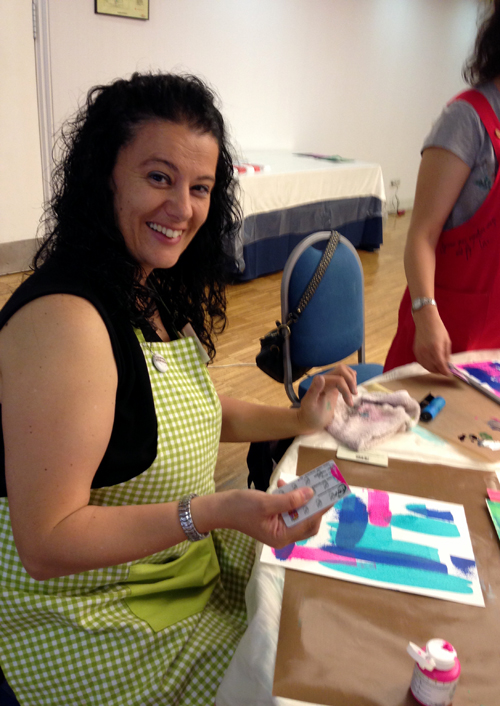
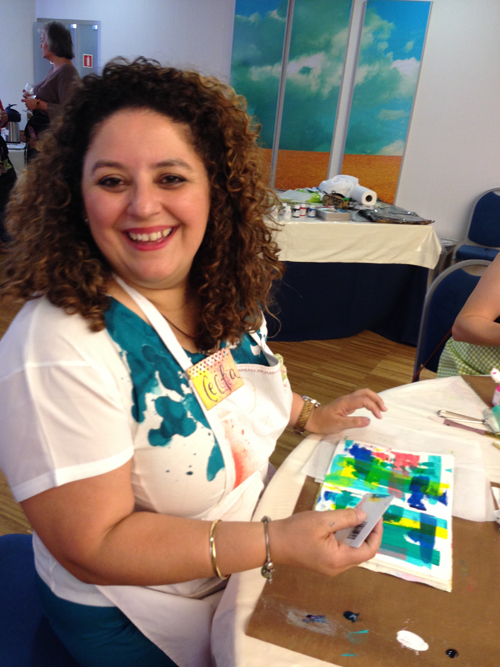
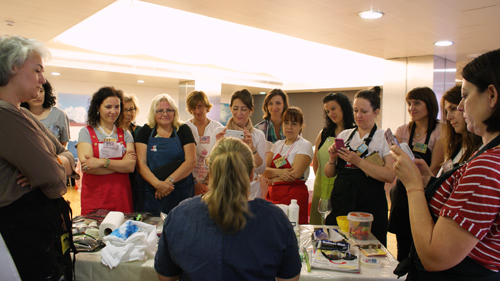
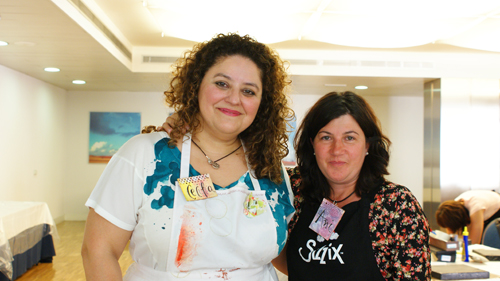
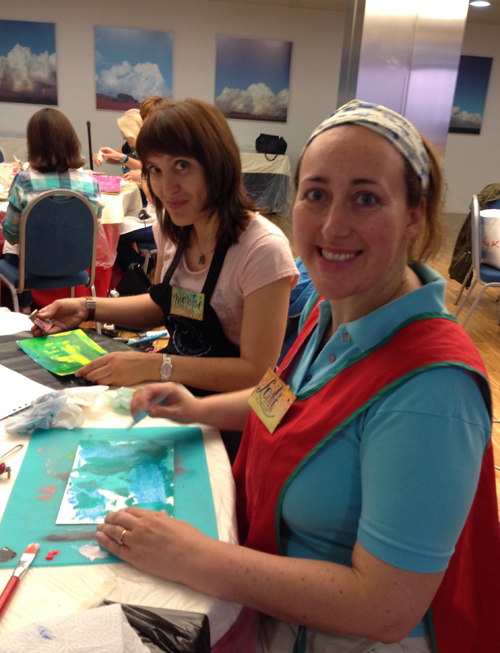
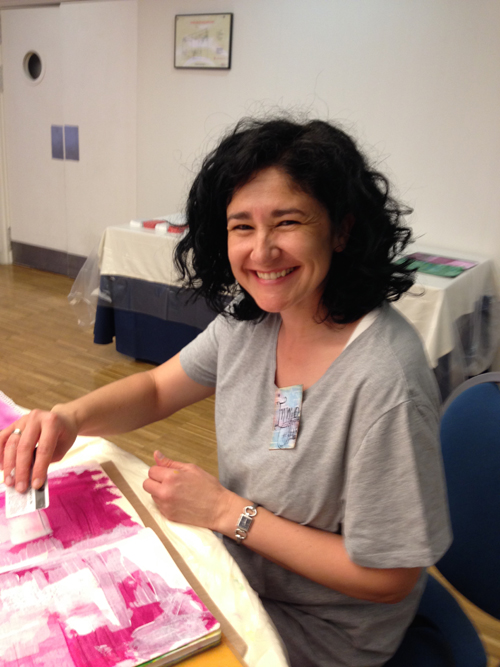
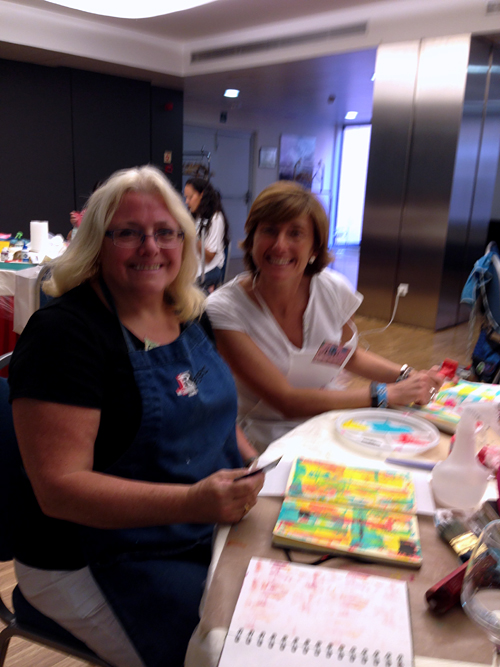
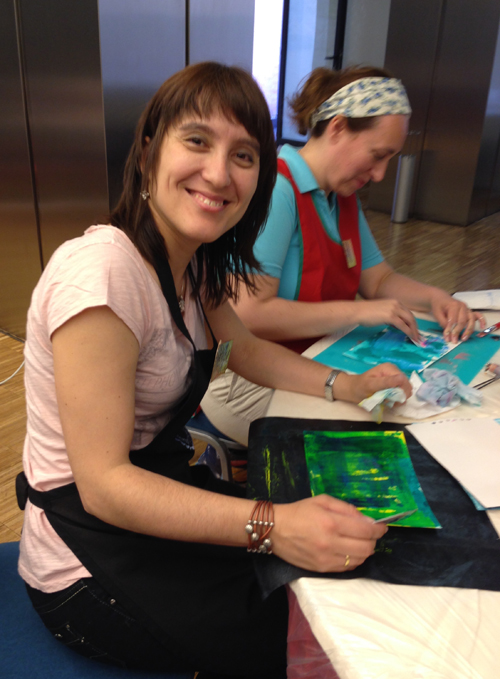
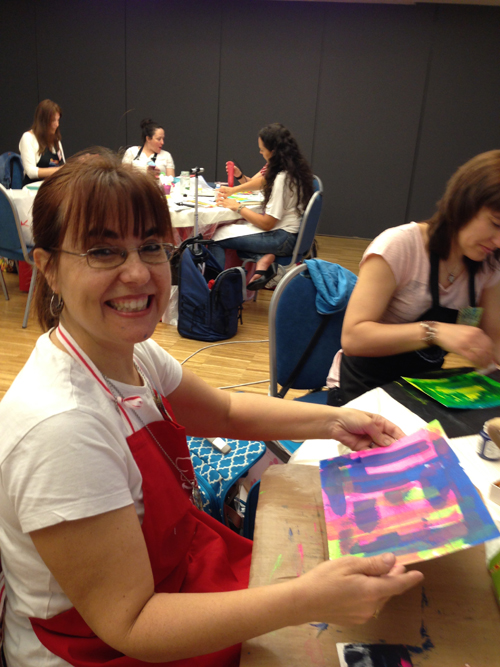
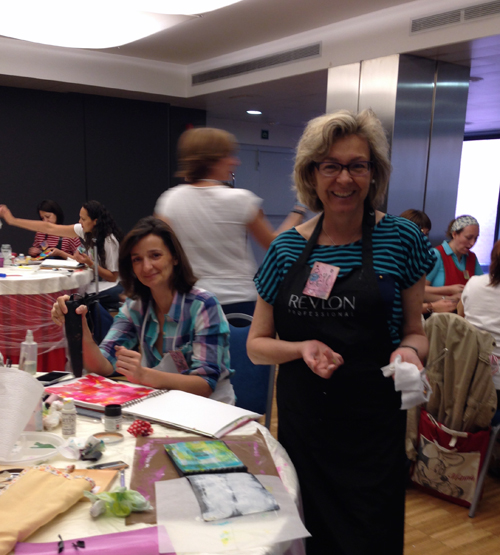
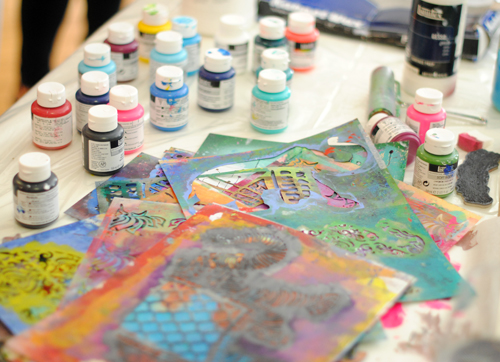
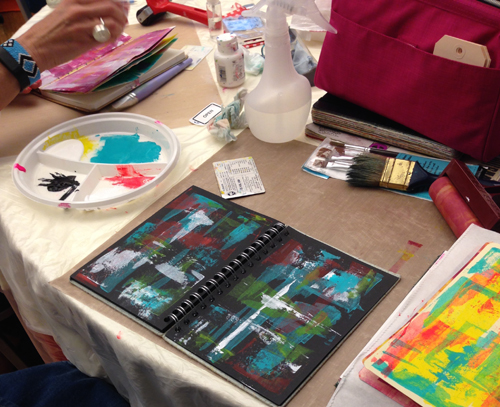
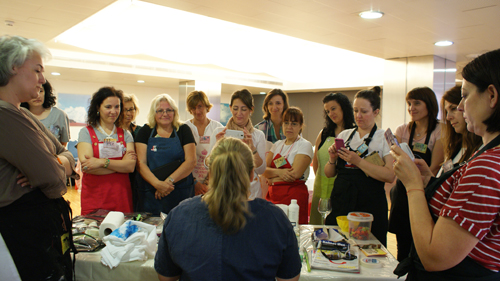
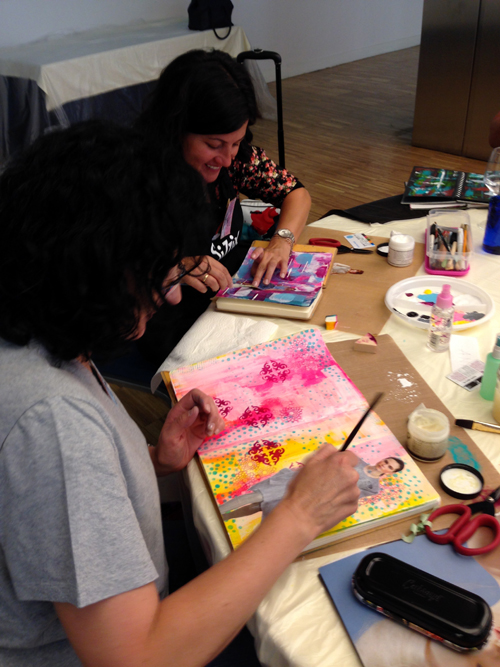
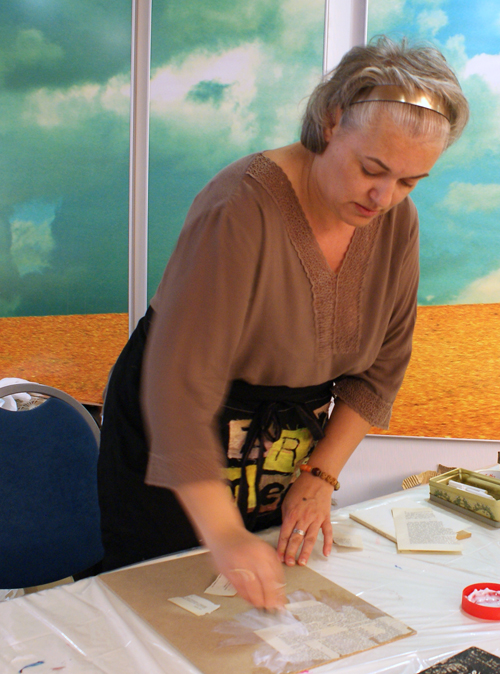
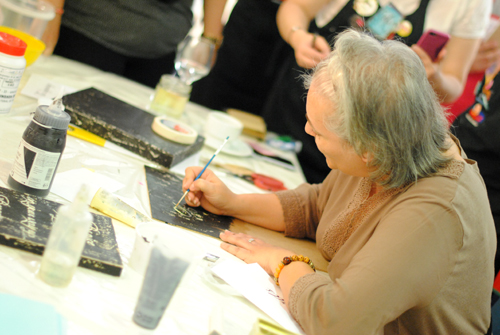
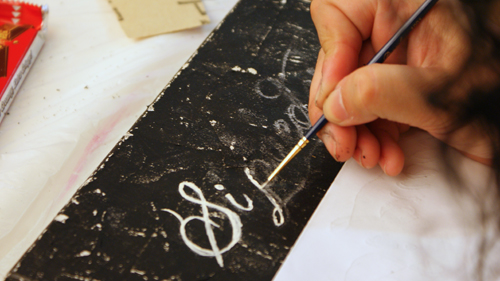
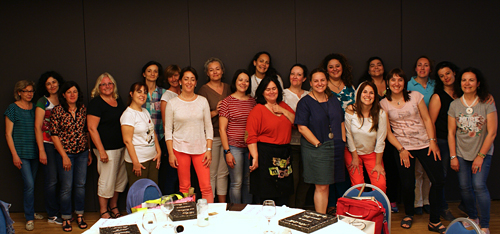
What a fun time we had at our Art Mesa Mixed Media Workshops in Madrid. We had students coming from all over Spain – Madrid, Barcelona, Salamanca, Malaga, Valencia etc. We had a fantastic group of students and it was so good to see so many familiar faces again too! As always my sweet friend Cuchy rocked the organization, translated my workshop and held her own workshop – what a trooper and amazing friend she is !!!

ArtMesa_02

ArtMesa_03

ArtMesa_04

ArtMesa_05

ArtMesa_06

ArtMesa_07

ArtMesa_08

ArtMesa_09

ArtMesa_10

ArtMesa_11

ArtMesa_12

ArtMesa_13

ArtMesa_14

ArtMesa_15

ArtMesa_16

ArtMesa_17

ArtMesa_18

ArtMesa_19

ArtMesa_20

ArtMesa_21

ArtMesa_22

ArtMesa_23

ArtMesa_24

ArtMesa_25

And …as a special surprise the girls started singing during the workshop – FUN

Hope you didn’t get too dizzy from the video – LOL -I could have warned you …but then…where is the fun ;) ?

Thank you Spain!!! It was awesome! Until the next Art Mesa ;)

ArtMesa_26

Next up will be a short trip to Germany :)

Leave a comment

Elephant in the Room … in a good way

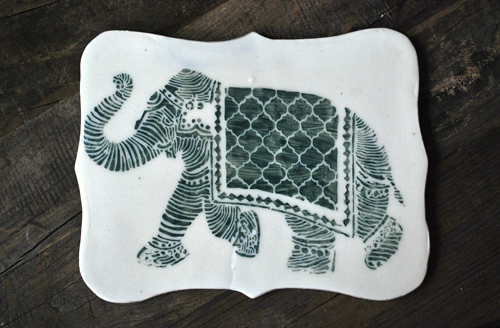
Last week I was surprised by Sandy and Judi with two amazing projects using my StencilGirl Products Elephant Stencils.

NatKalbach_SandyPottery01

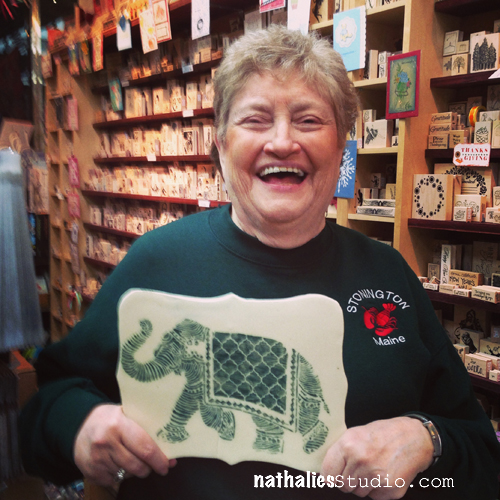
Sandy came to my class at The Inkpad on Friday and had this amazing piece of pottery as a present for me in her hand. She used my Elephant March Stencil with it. I love love love it. She burned it in the Kiln and it can be used as a cutting board or hot plate or just as an amazing home decor item . Here is Sandy  – thank you Sandy- you made me so happy- I smile every time I see it on the table!

NatKalbach_SandyPottery02

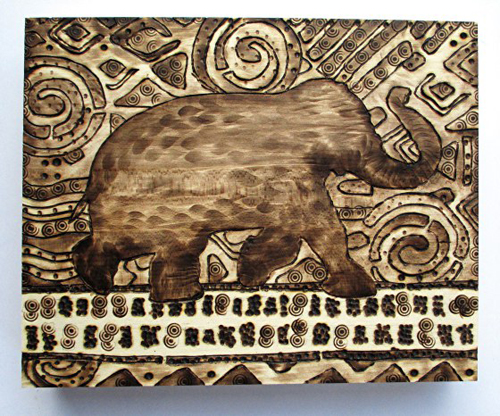
And here is an amazing Wooden Canvas that Judi Kauffman created with my Elephant Parade and Batik Stencil. LOOOVEEE it!

WalnutHallowelephant-1-kauffman

Judi wrote a great instruction on how to create this canvas. Judi you are just amazing!

FBCYBER

Speaking of Stencils :) Don’t miss out on the awesome Cyber Monday Deals December 1st on StencilGirl Products Stencils including all of my Nathalie Kalbach stencils !

StencilGirlCyberMonday Deal

And speaking of Cyber Monday December 1st! There will be a big announcement coming on Monday on my blog :) So do not miss out on it – HINT: a lot of people asked me already if there will be something coming this year ;)

Have a gorgeous weekend!

Comments (2)

  • whyducks

    |

    Fabulous work girls, I have bought it to paint on the top of a chest of draws, but haven’t got around to it yet! :(

    Reply

    • nathalie-kalbach

      |

      That sounds so cool- please share with me when you are done with it :) Have a wonderful weekend!
      nat

      Reply

Leave a comment

Layered Art Journal Page Tutorial

NathalieKalbach_Remember01

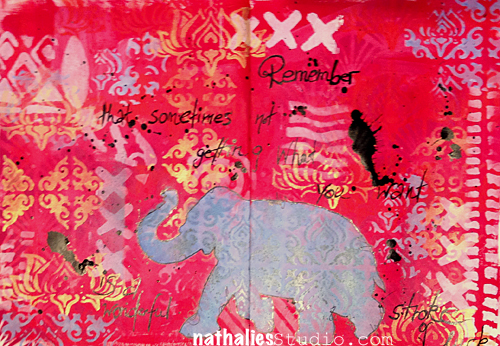
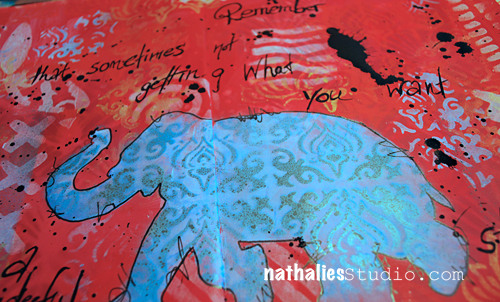
“Remember that sometimes not getting what you want is a stroke of luck” – Dalai Lama

And sometimes you won”t find out about that until much later… ;) For this spread I wanted a layered look to go with this quote. Let me share with you how I worked on this art journal page
Nathalie_Kalbach_Elephant_Stencil_01

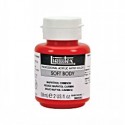
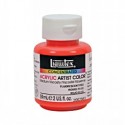
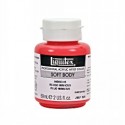
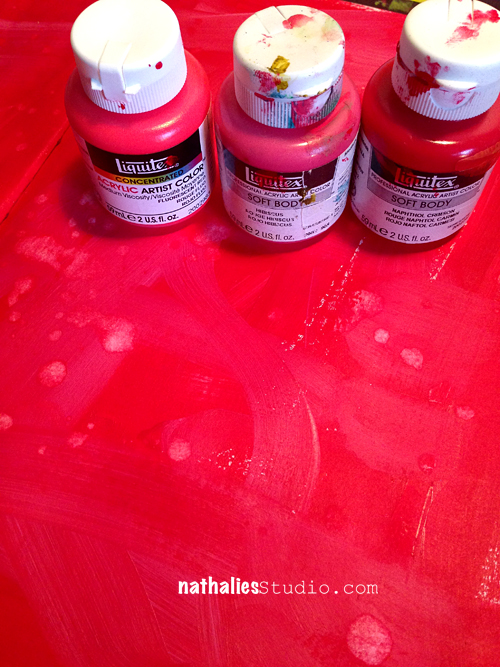
I chose three vibrant but close red /pinkish Liquitex Soft Body Paints: Naphthol Crimson, Fluorescent Red and Hibiscus and dry brushed and blended them together on the blank page.
Nathalie_Kalbach_Elephant_Stencil_02

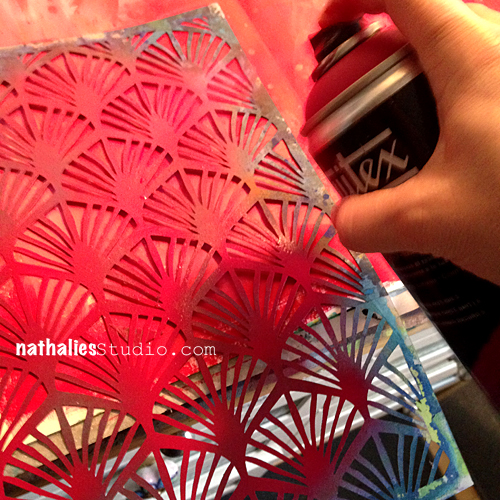
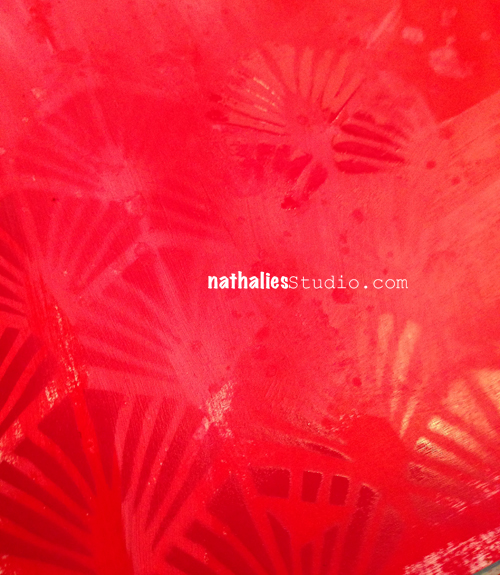
Using the Art Deco Wallpaper Stencil I designed for StencilGirl Designs I spray painted here and there a second layer with Cadmium Red Deep Hue 5 onto the spread.
Nathalie_Kalbach_Elephant_Stencil_03

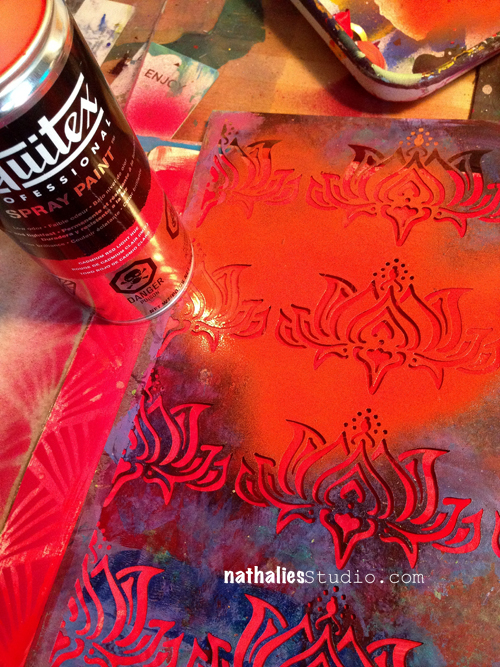
The result was very subtle as  I used the same color scheme as for the background but exactly that gives it so much dimension and depth. So I grabbed my Lilly Wall Decor Stencil and sprayed over it with Cadmium Red Light Hue.
Nathalie_Kalbach_Elephant_Stencil_04

I just love the crisp stenciling effects with those spray paints!

Nathalie_Kalbach_Elephant_Stencil_05

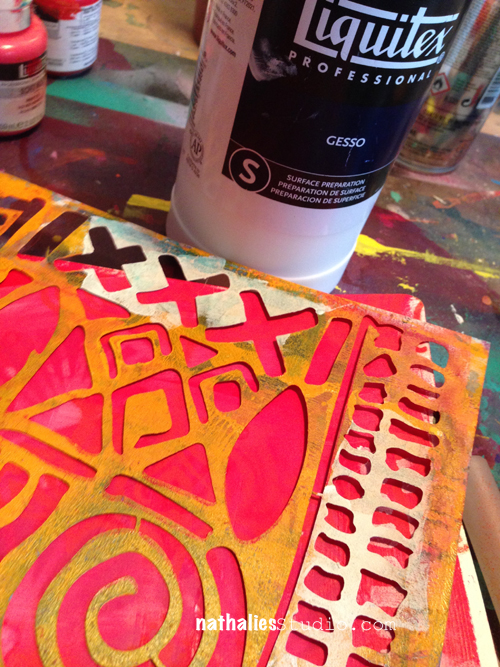
For my next layer I wanted to tone down the brightness a bit and was going for a white. But I also didn’t want a shiny white to not pick up on the brightness of my background and so I chose Gesso instead of Acrylic white paint to use with my Batik Stencil.
Nathalie_Kalbach_Elephant_Stencil_06

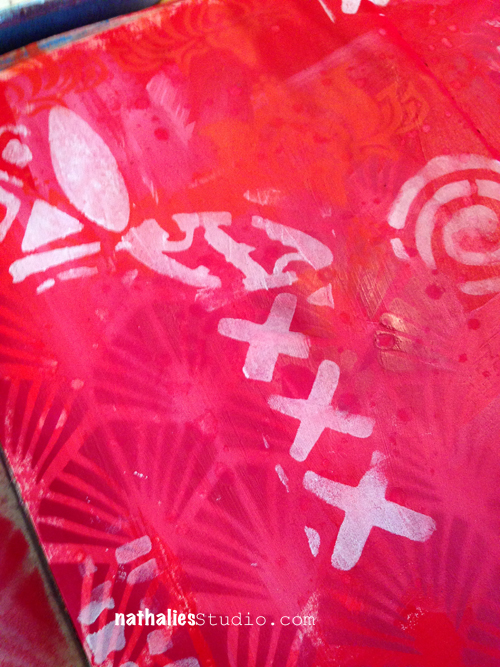
I used only parts and bits of the Batik Stencil here and there.
Nathalie_Kalbach_Elephant_Stencil_07

For my next layer I picked up the Lilly Stencil again – Repetition of Patterns is also a good way to layer and I had already used the Lilly Stencil AND I knew I was going to use my Elephant Stencil that has the Lilly in a smaller form as a pattern too :)
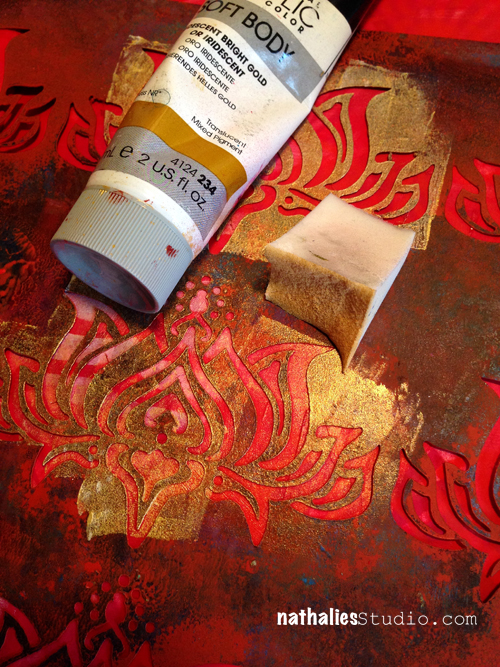
Nathalie_Kalbach_Elephant_Stencil_08

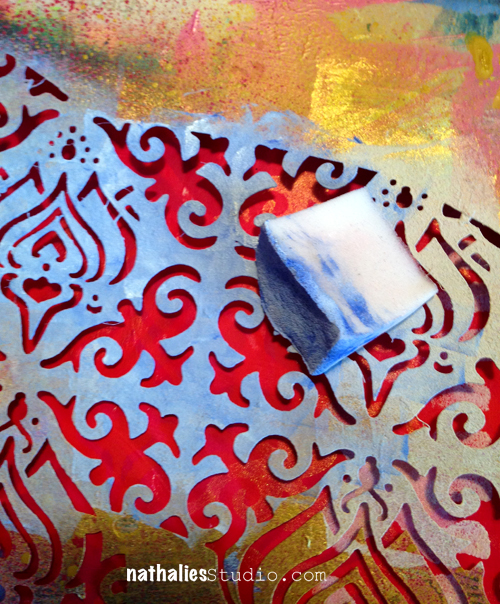
I used Iridescent Bright Gold and used a cosmetic sponge to stencil through. BTW the sad looking foamy thing on the right is the cosmetic sponge. It looks like this because I use it several times cutting off the tip for new colors to make the most of it.
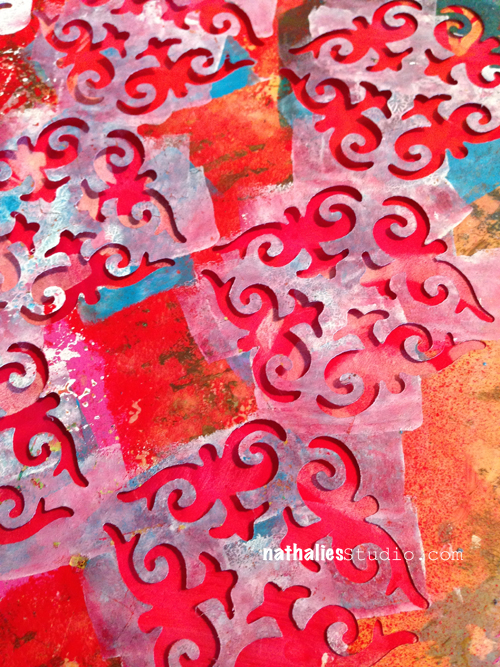
Nathalie_Kalbach_Elephant_Stencil_09

And since I was talking about repetition : As the Elephant Parade Stencil also has small parts of my ornament stencil included, I pulled out the Ornament Wallpaper Stencil and stenciled with gold here and there.
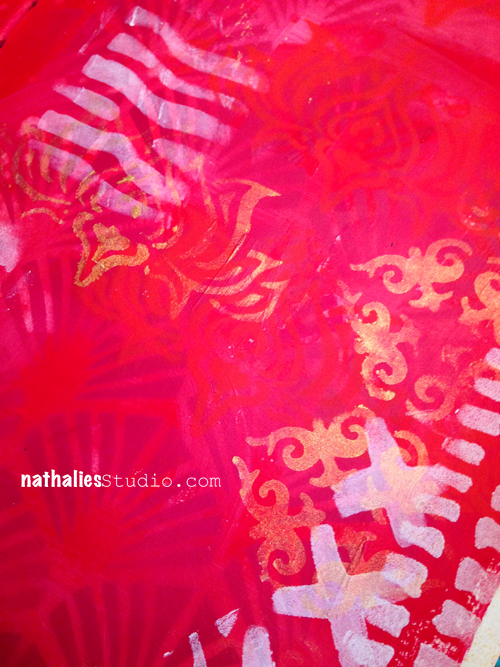
Nathalie_Kalbach_Elephant_Stencil_10

I wish the photos could do the gorgeous golden color justice…but you just have to take my word for it…it is amazing in real life! Then it was time to get the big guns…eh Elephants out. My Elephant Parade Stencil.
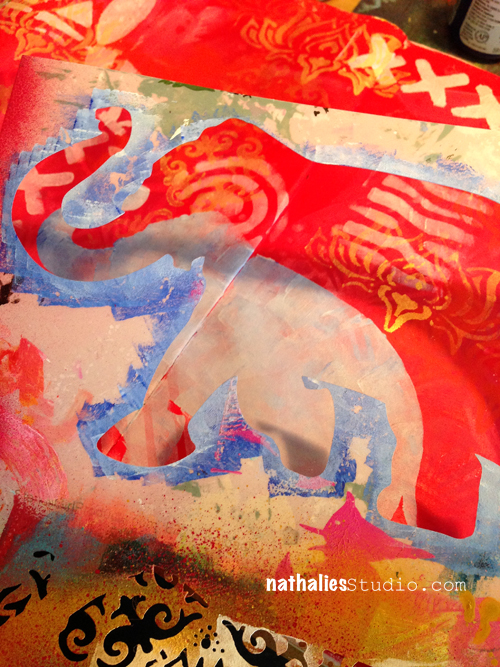
Nathalie_Kalbach_Elephant_Stencil_11

I mixed some gesso with a drop of Ultramarine Blue and stenciled through the Elephant Silhouette part.
Nathalie_Kalbach_Elephant_Stencil_12

I may repeat myself…but remember …I was talking about repetition? Using the patterned Elephant part of the stencil showing parts of the Ornament and Lilly Stencil I used the leftover paint and stenciled some of the images here and there onto my art journal page.
Nathalie_Kalbach_Elephant_Stencil_13

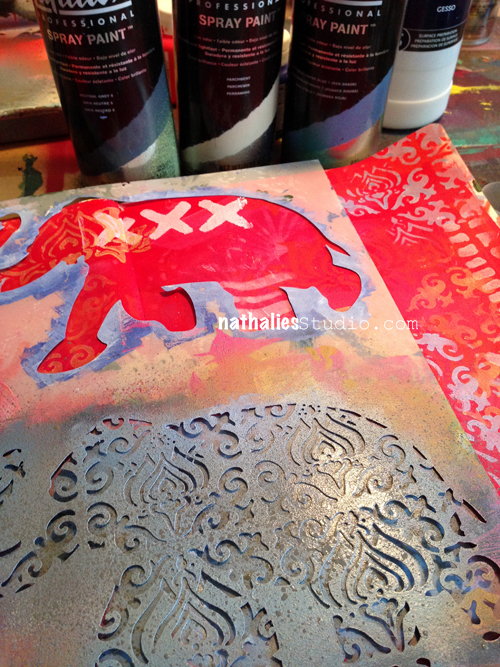
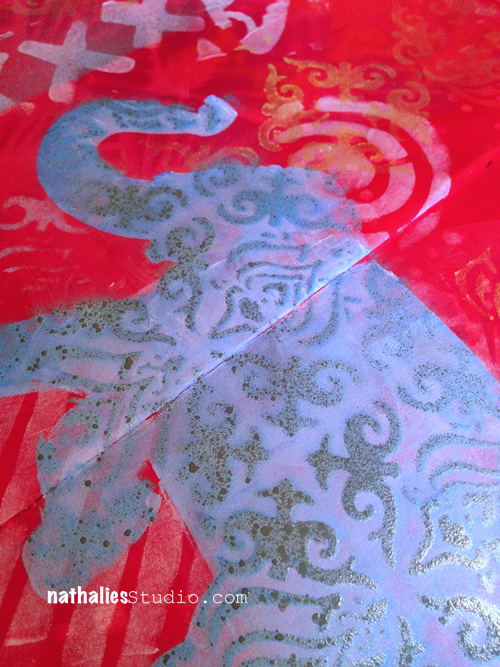
Then I layered the patterned elephant stencil part over the area where I created the elephant silhouette and sprayed over with three different spray paints  – variating the pressure and areas to get color graduation and more dimension. I used: Parchment, Phthalo Blue and Neutral Grey.
Nathalie_Kalbach_Elephant_Stencil_14

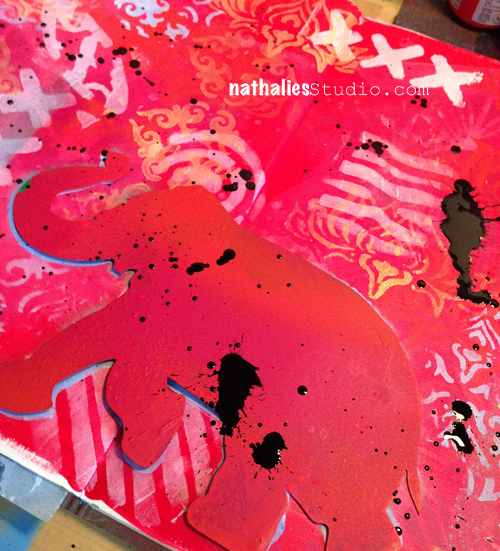
To get a bit contrast in I knew I needed some black in the page and since I do love to make a mess…I grabbed my Splatter tool and some black acrylic ink. To make sure that I was not getting any splatters into my elephant, I shielded it off with the elephant mask that is also part of the Elephant Parade Stencil. YES…three in one : Mask, Silhouette and Stencil – pretty pretty cool- if I dare to say so ;)
Nathalie_Kalbach_Elephant_Stencil_15

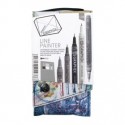
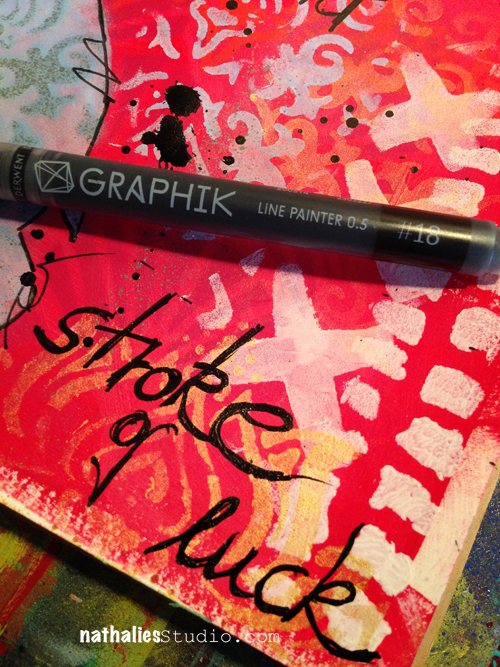
And then I used my new found Love… I had tested the Derwent Graphik Line Painter already in spring at NAMTA and I couldn’t wait for it to finally be available. LOOOOOVEEEE – I am a nerd for a really good black journaling pen and this one writes beautifully and without any problems on dried (!) acrylic backgrounds and it is permanent once dried. Awesome journaling and sketching pen – the black is one numbered #18.
Nathalie_Kalbach_Elephant_Stencil_16

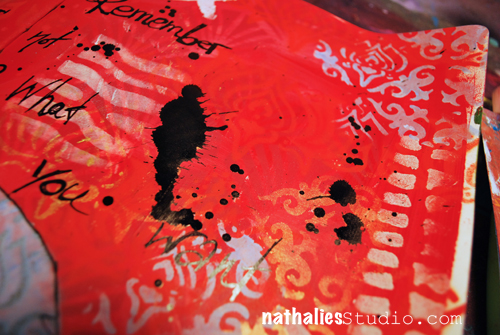
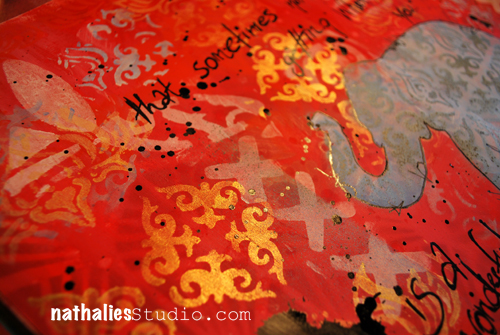
Here are some details of the finished page
NatKalbach_RememberLuck02

NatKalbach_RememberLuck03

NatKalbach_RememberLuck04

Hope you liked the little layering tutorial – I won’t lie – it takes some time and usually …I would even go for more layering before adding the final focal points on my spread :)

Here is a list of all the supplies and colors I used

nSupplies


Have a gorgeous day:)

Comments (1)

  • Sue Clarke

    |

    Nice layers and I’ll have to try working with multiple shades of the same color for a change. I must search for that new black pen as well.

    Reply

Leave a comment