Blog: Stencils

You Have The Power – Art Journal

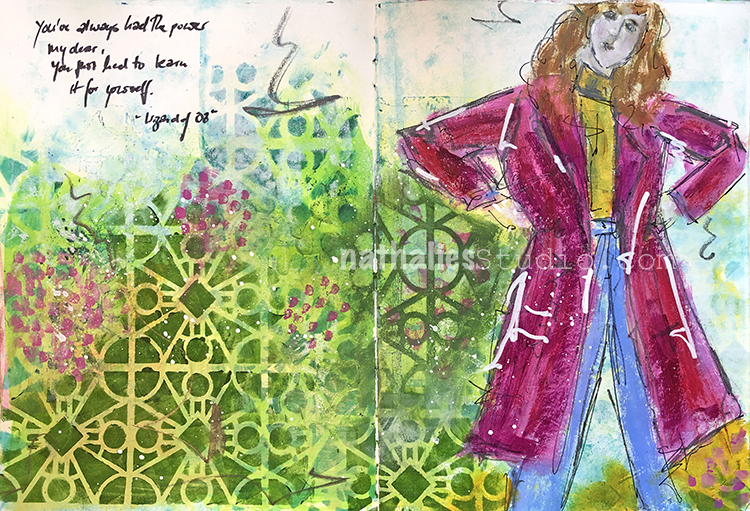
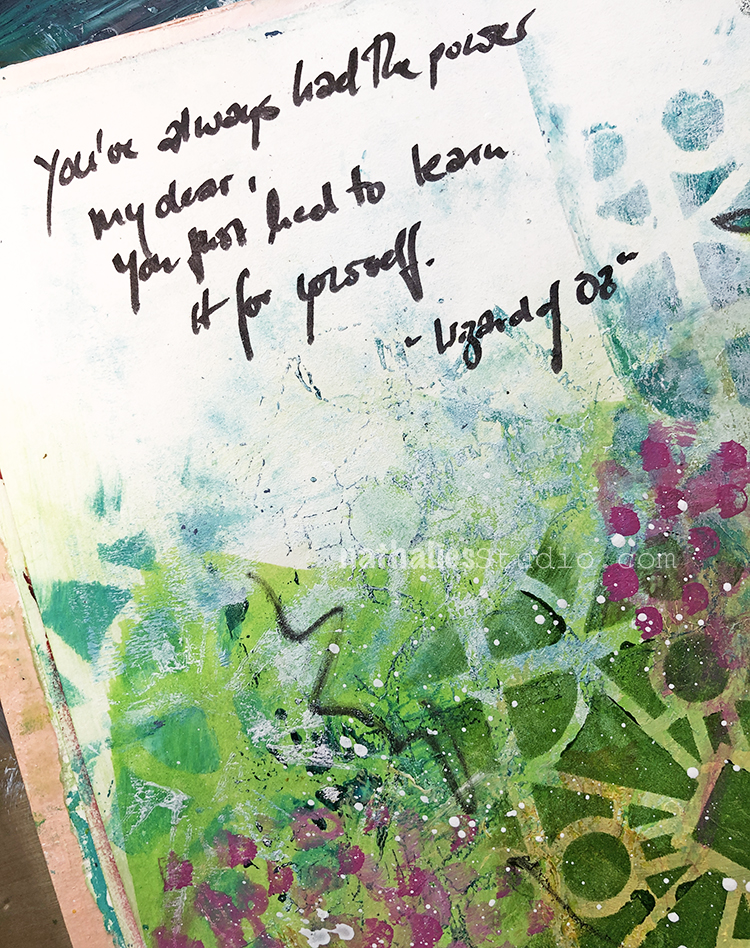
“You always had the power my dear, you just had to learn it for yourself.” – Wizard of Oz

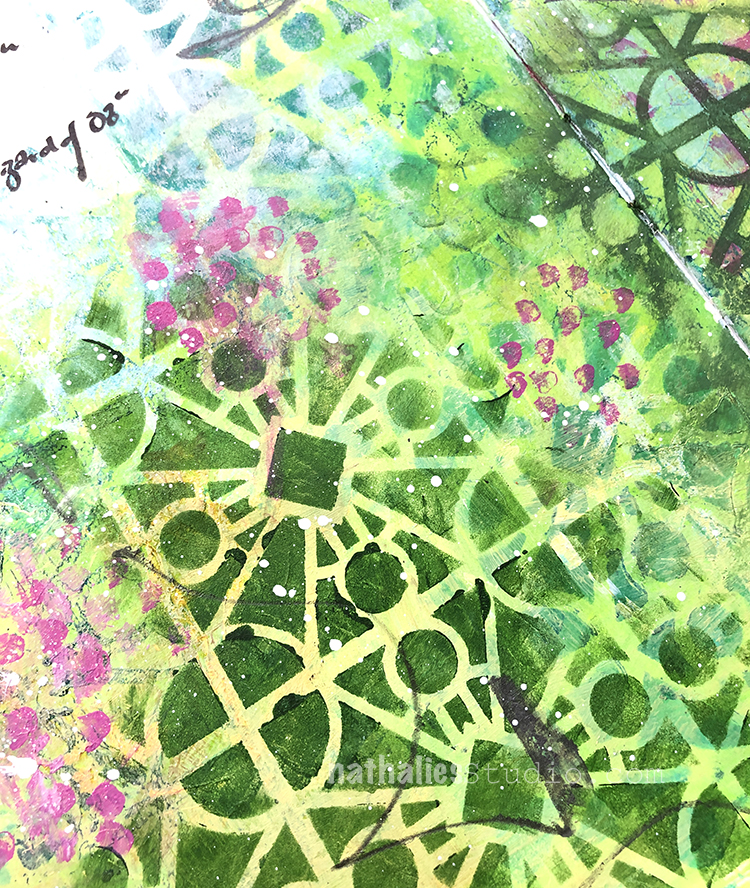
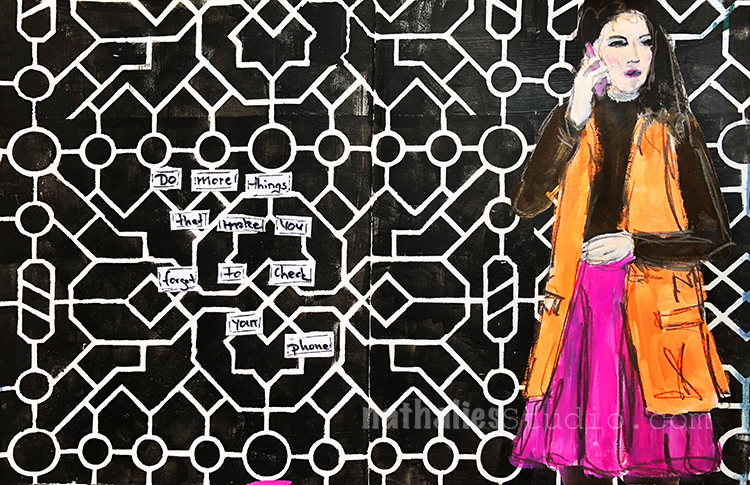
I guess I am already ready for spring – I wish I had the power to make it come fast ;) I played with different green acrylic paints and my Buenos Aires Stencil.

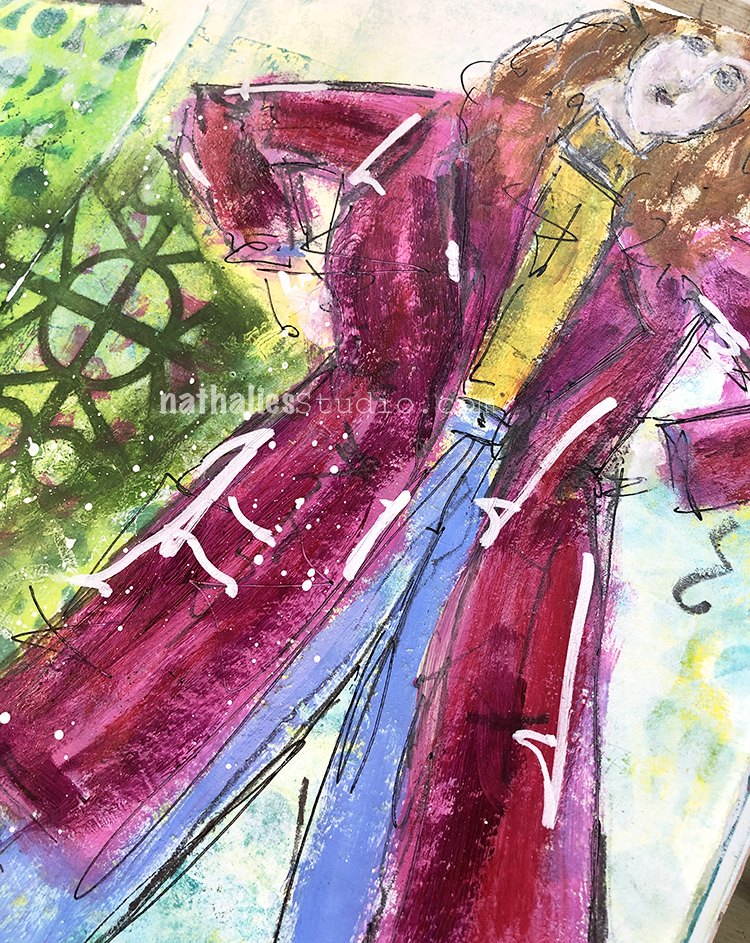
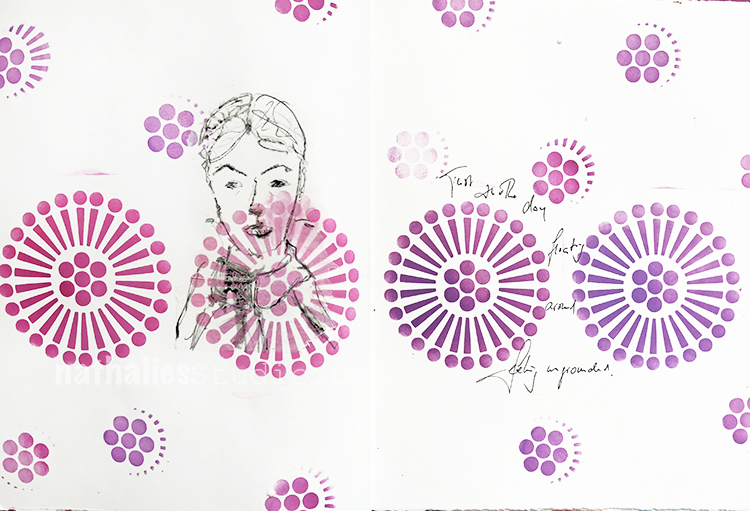
I painted the lady with acrylic paints and added some scribbles using pencils and pens.

Some mark making in pink for some color pop – this was fun to make.

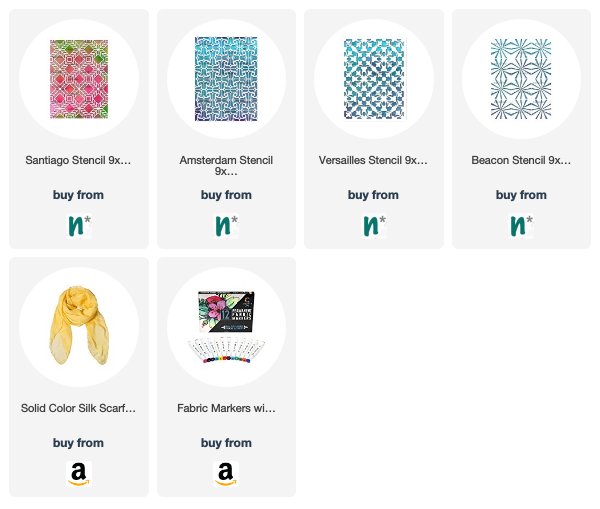
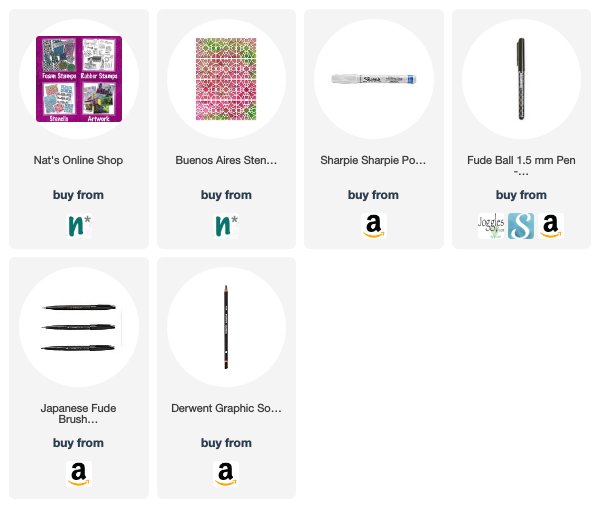
Besides acrylic pains I used the following:


Leave a comment

I Heart You – Card

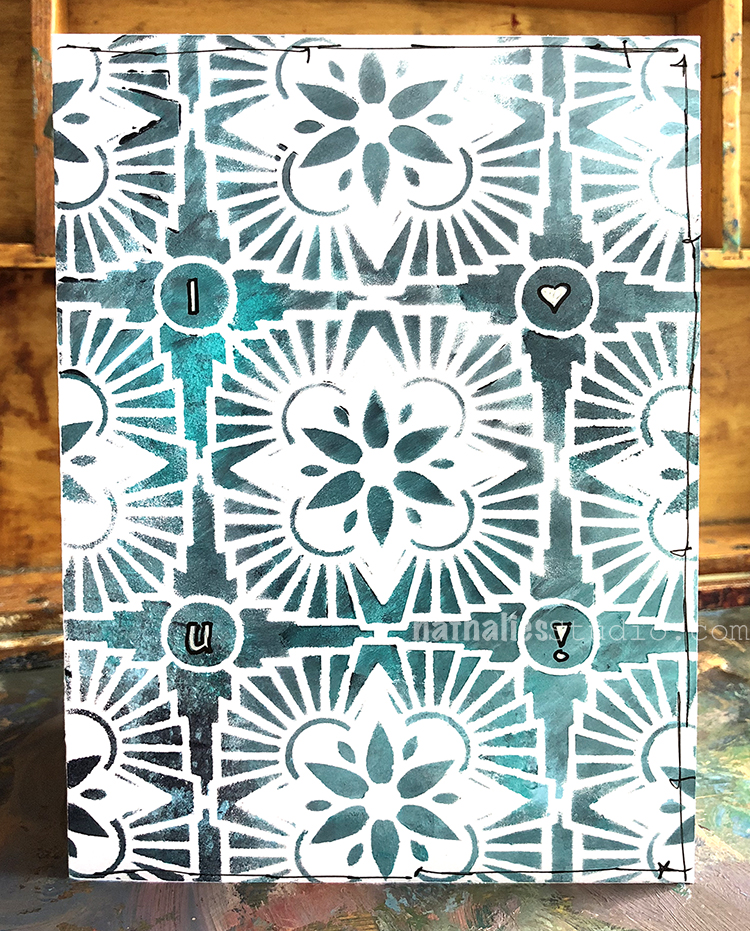
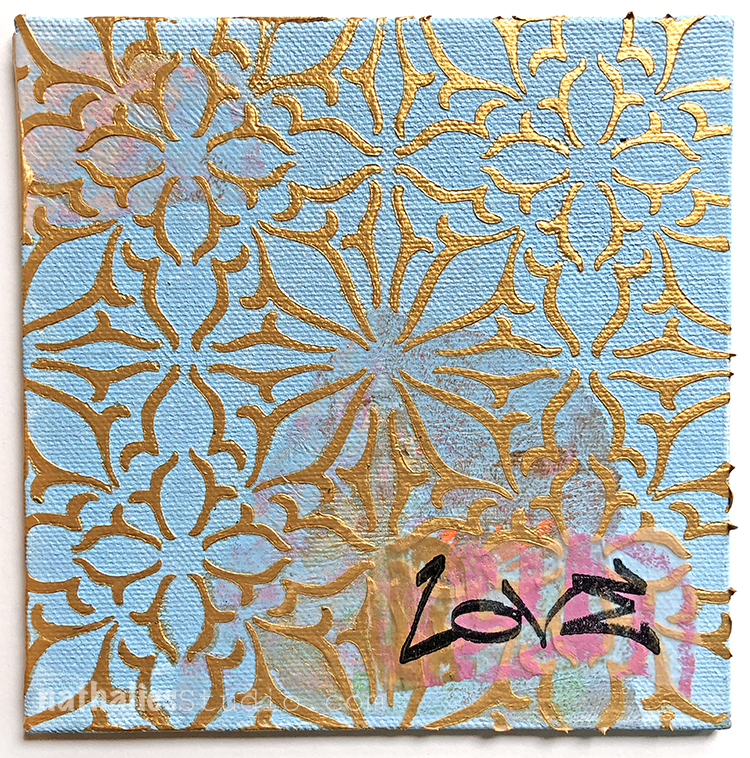
Have you told someone “I love you” today? Here is a quick card for this :)

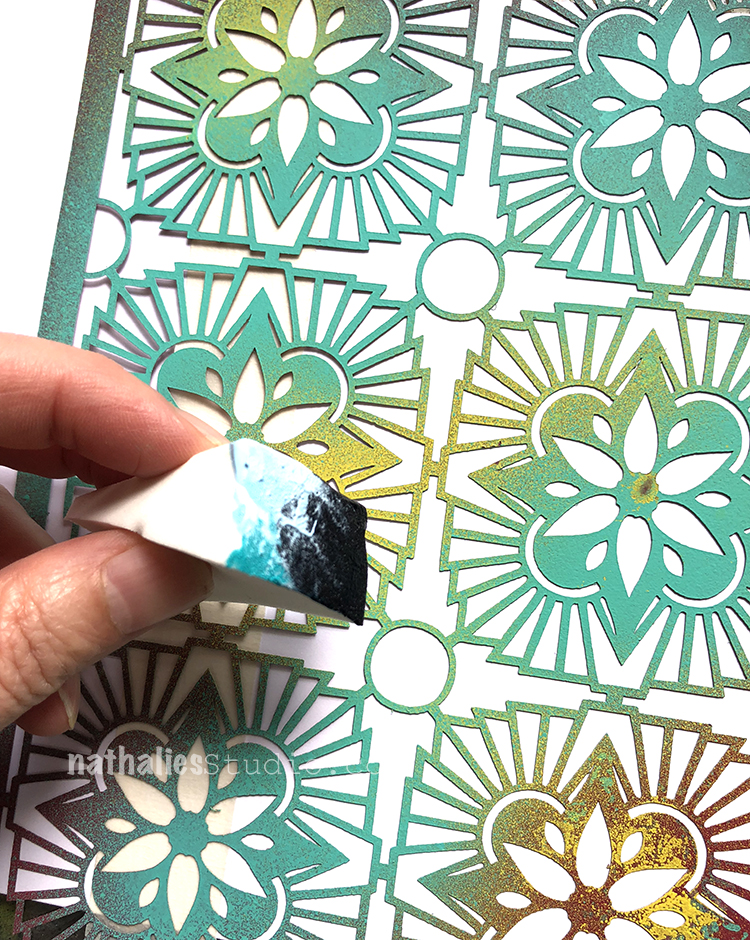
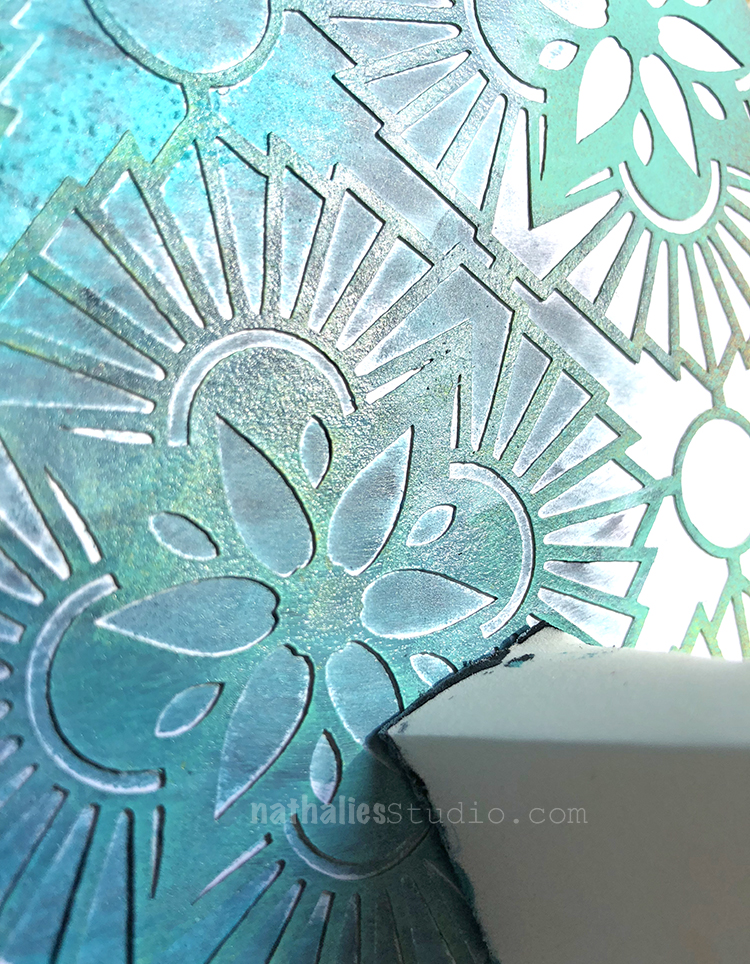
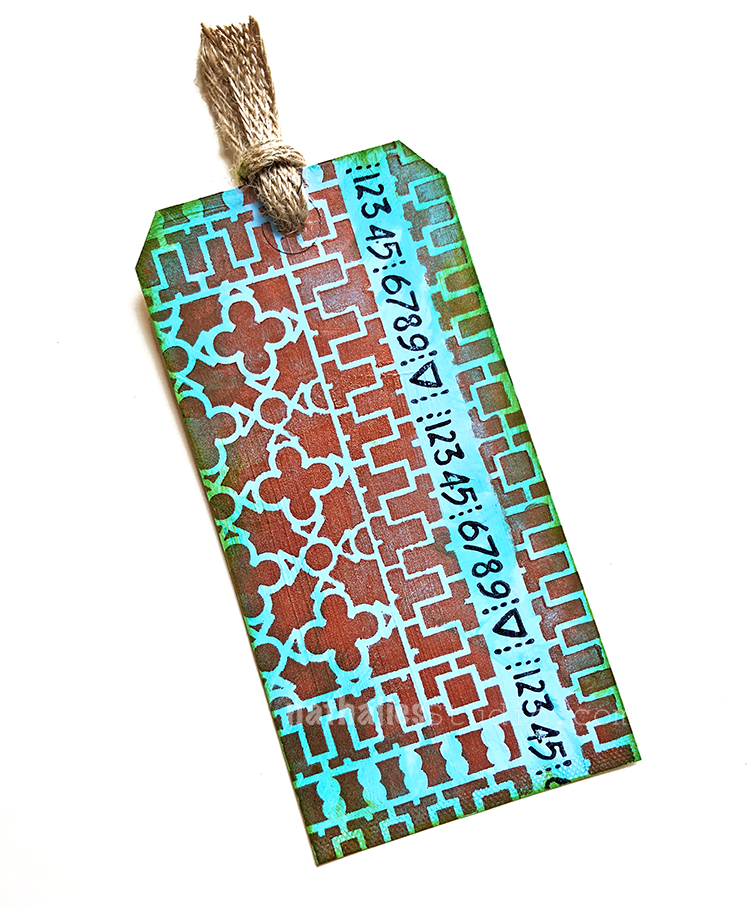
I used three different acrylic paint colors: teal, black and white, and squeezed out each color in a pea size next to each other. Than I dabbed my cosmetic sponge in it so that each color was on the sponge.

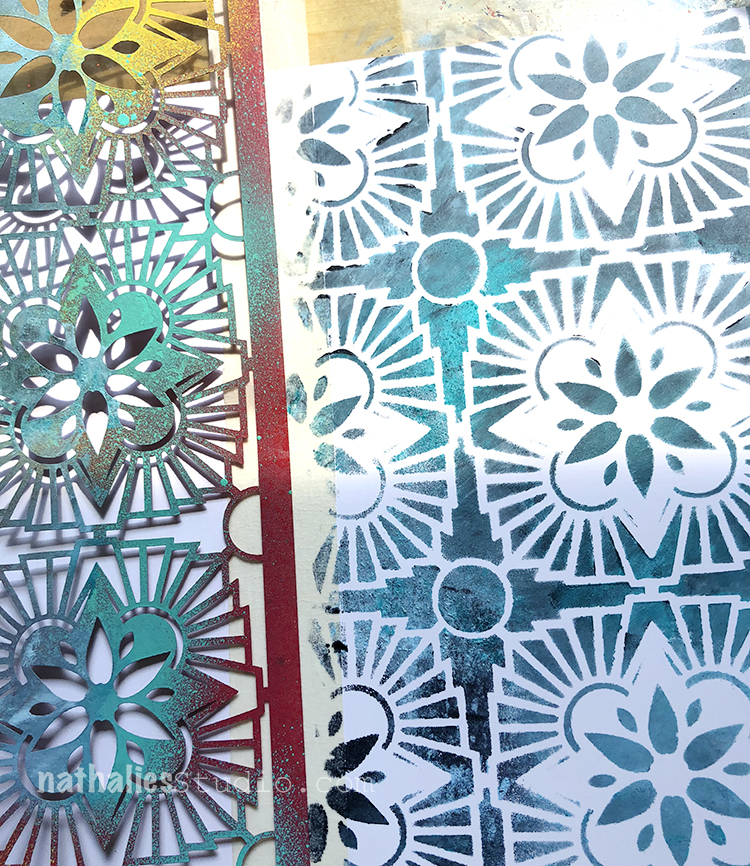
Mixing the colors slightly as I dabbed over my Hamilton Stencil I created some subtle color variations.

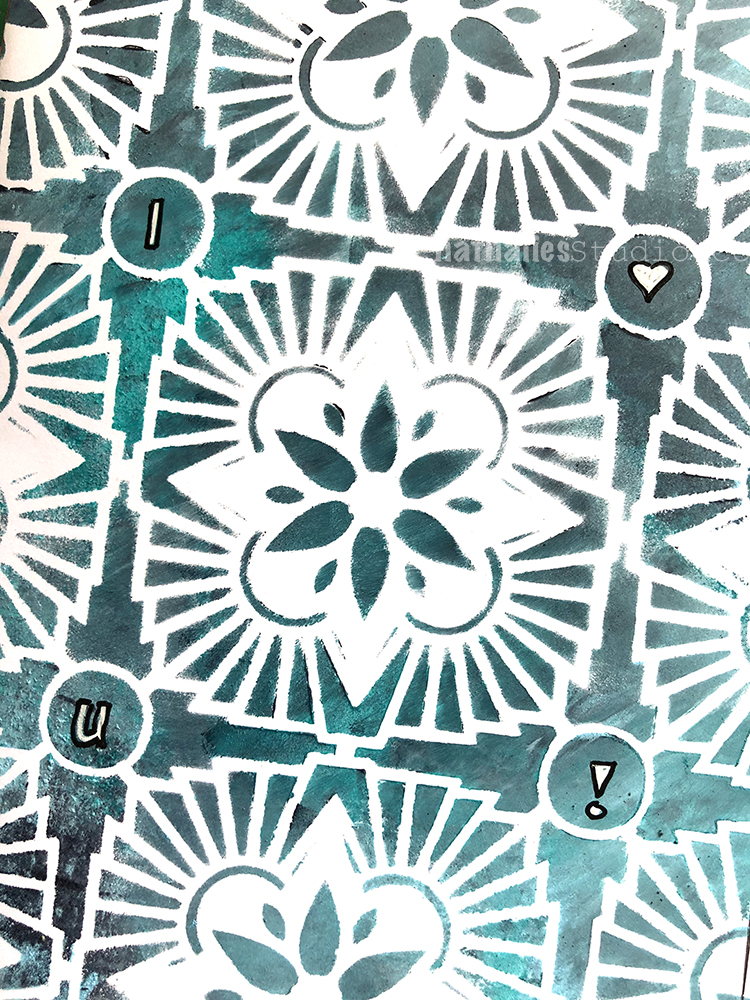
Love the pattern and colors

I added my message to my special someone in the circles and done :) Who are you telling today I love you?

Here are some of the the supplies I used


Leave a comment

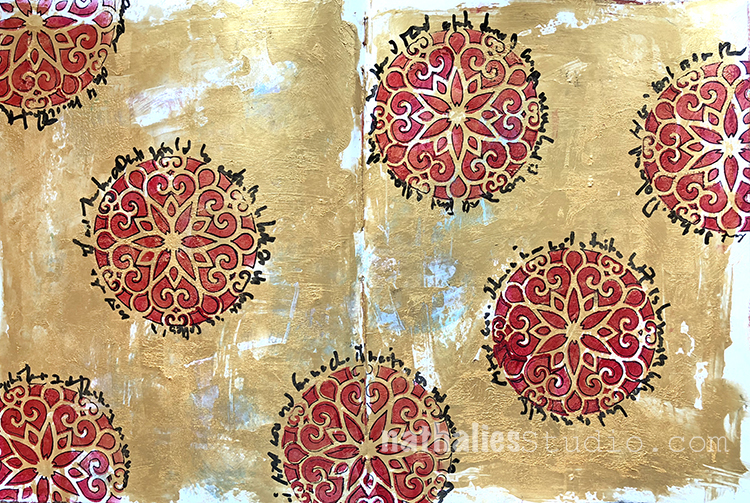
All That Glitters is Not Gold – Art Journal

Something to remember ! :)

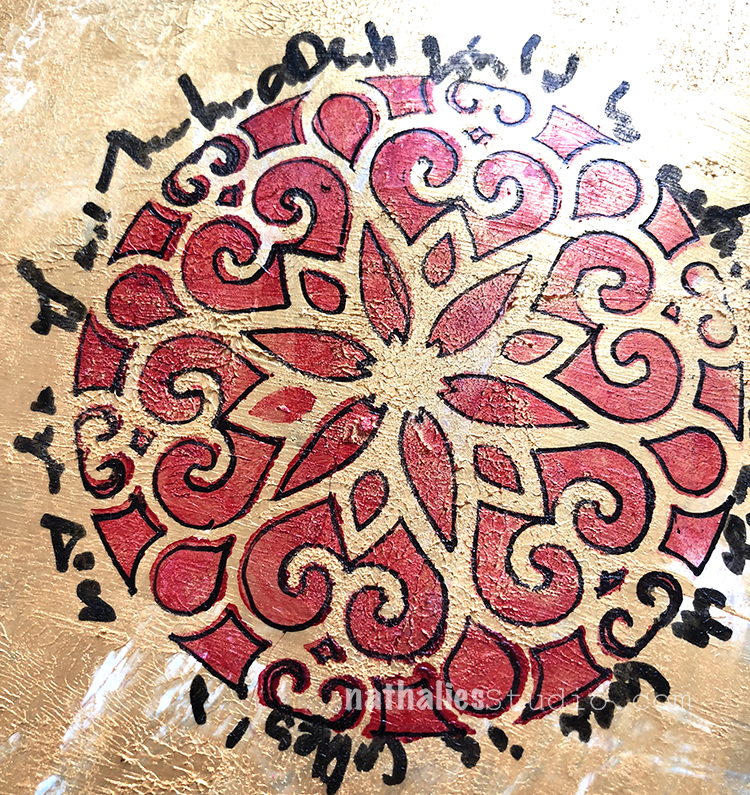
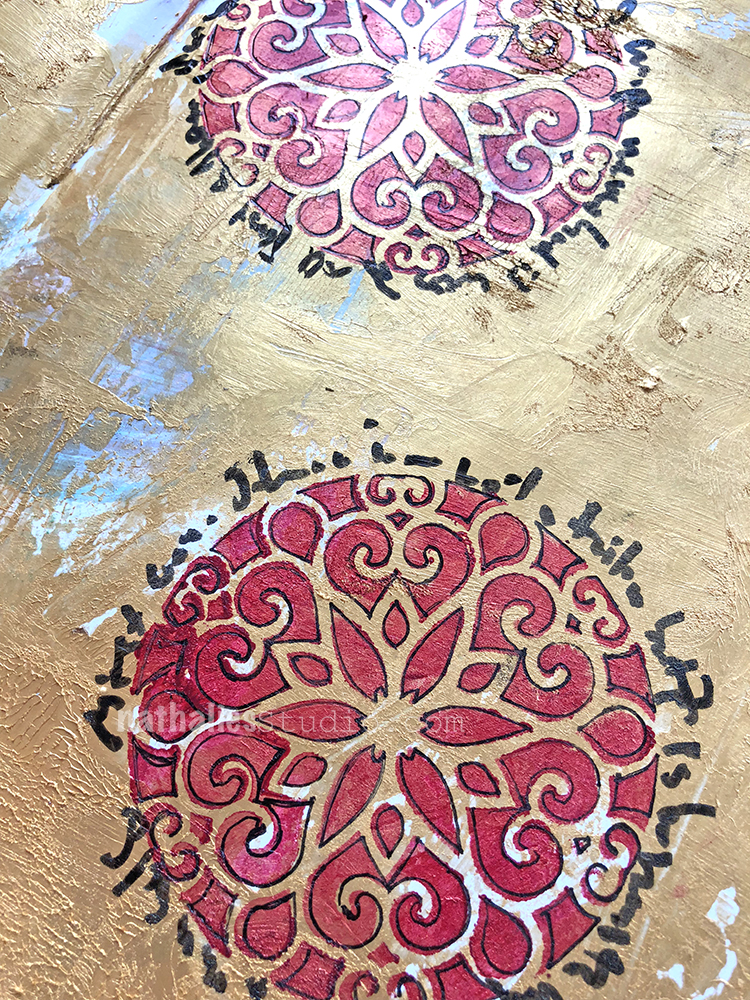
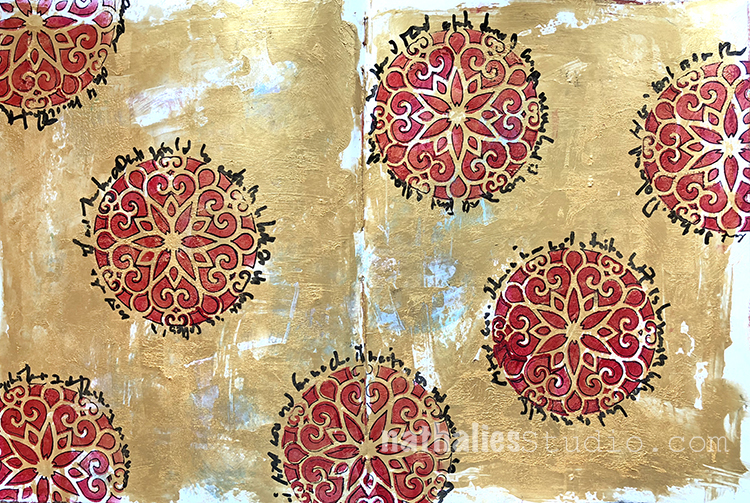
Painted the background with white and gold gesso and stenciled on top


in red using my Park Blvd Stencil. In order to make the design pop more I  layered the stencil back on top after the paint dried and traced the pattern inside the openings.

Love the red and gold although I am not really big fan of gold – like say with jewelry etc.

Here are some of the supplies I used for this spread:


Leave a comment

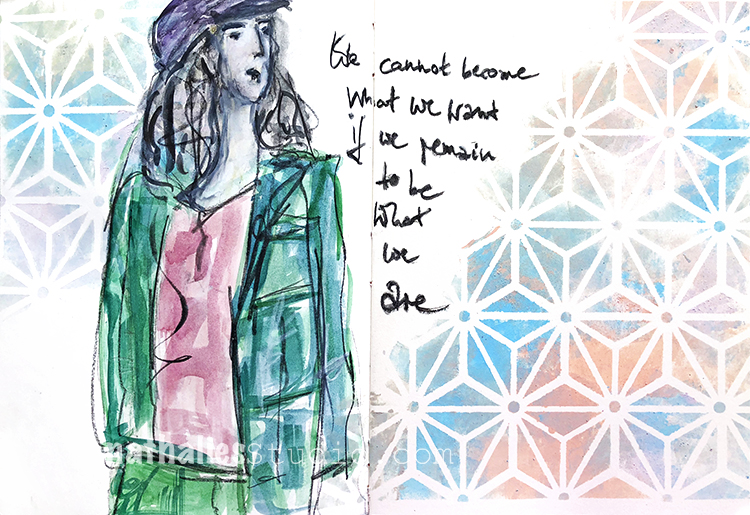
Don’t stand still – Art Journal Spread

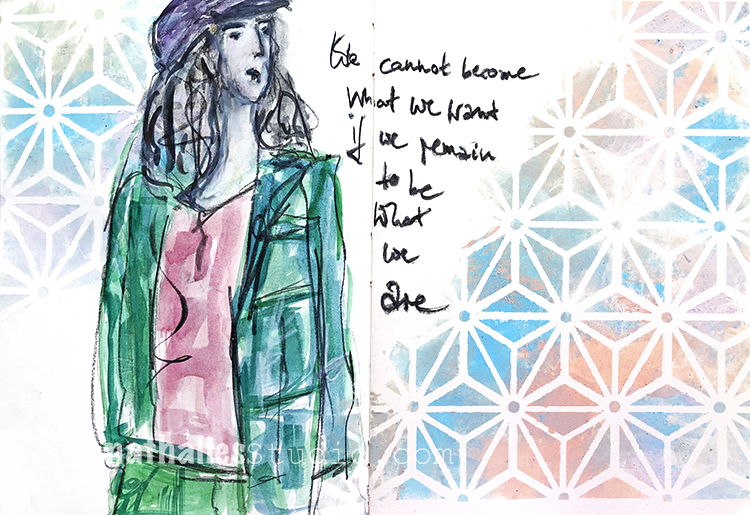
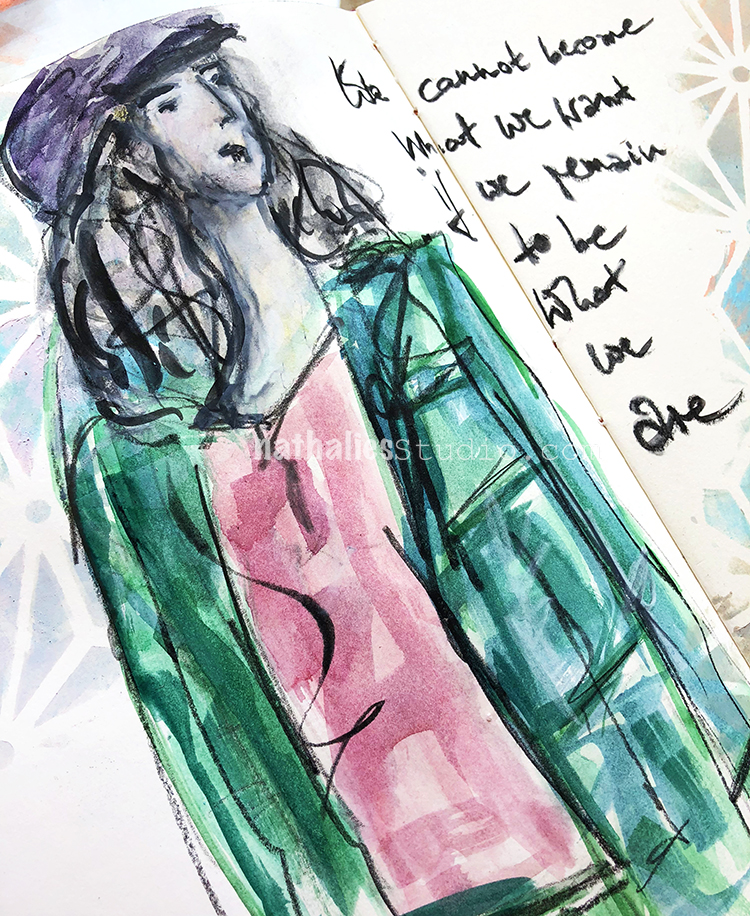
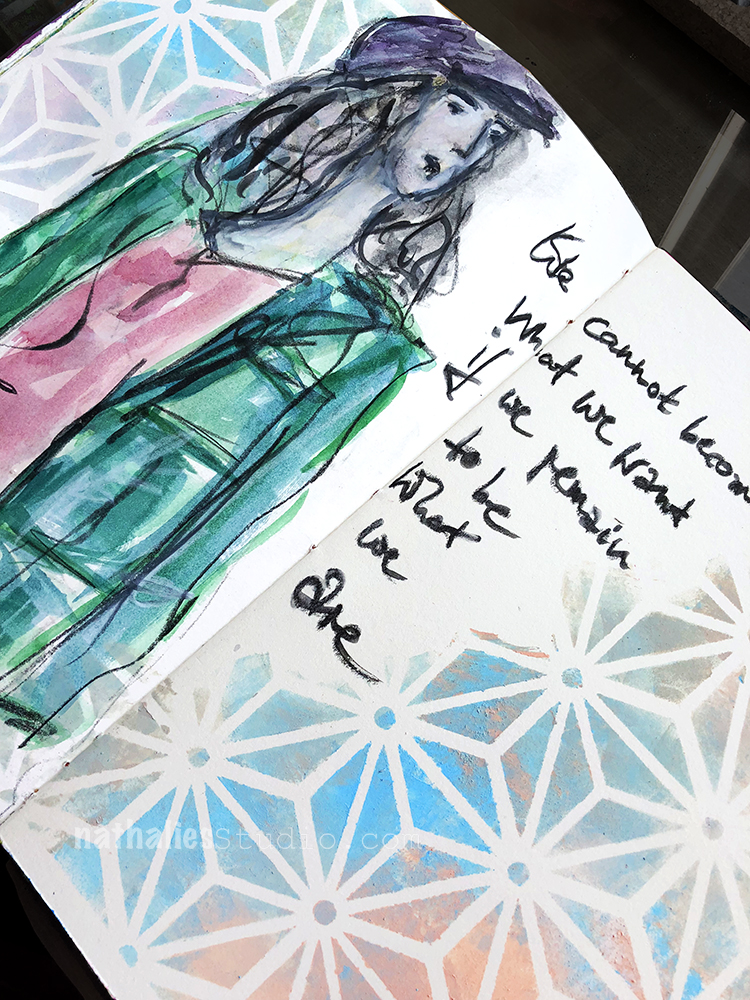
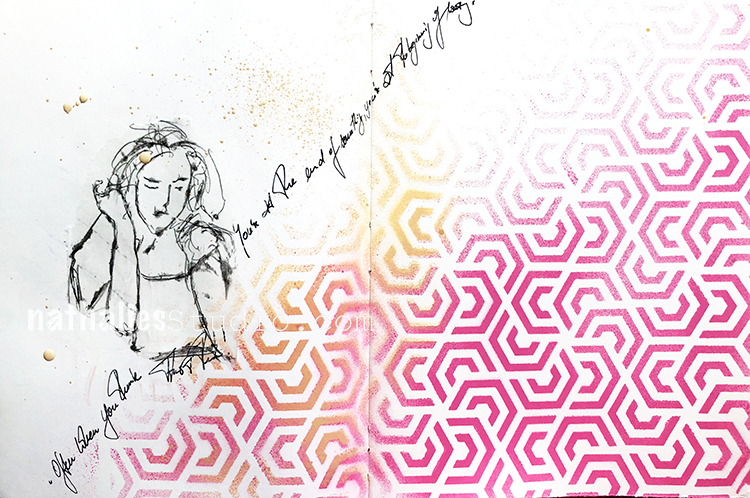
We cannot become what we want if we remain to be what we are.

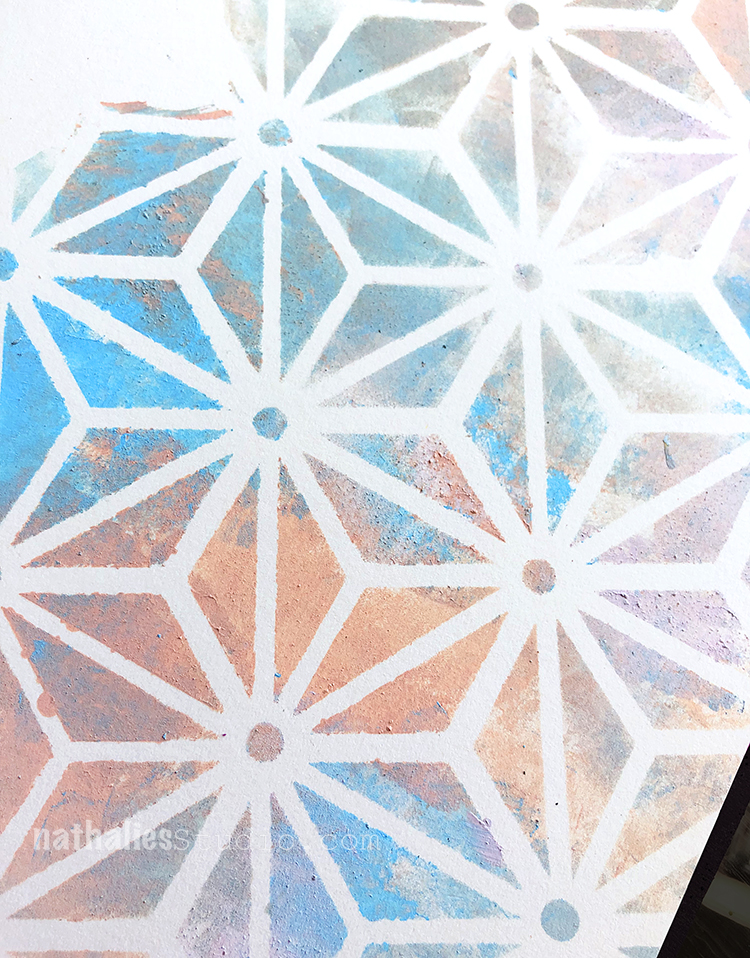
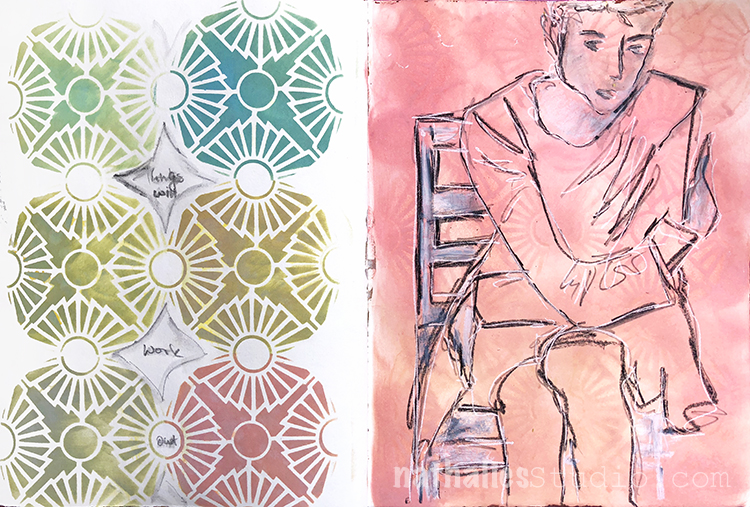
Using the new Star Struck stencil I dabbed a cosmetic sponge in different colors of acrylic paint and then pounced them through the stencil.

I sketched the lady and painted her using watercolor and gouache.

I really like how this turned out – I really have to do more with watercolor and gouache.

Here are some of the supplies I used:


Comments (2)

  • Shasta Matova

    |

    That is a beautiful and thought provoking quote, and you have showcased it so well.

    Reply

Leave a comment

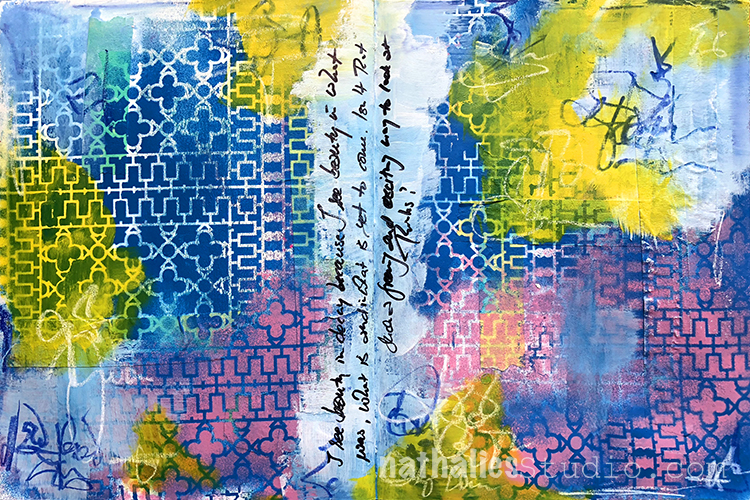
Decay – Art Journal Spread

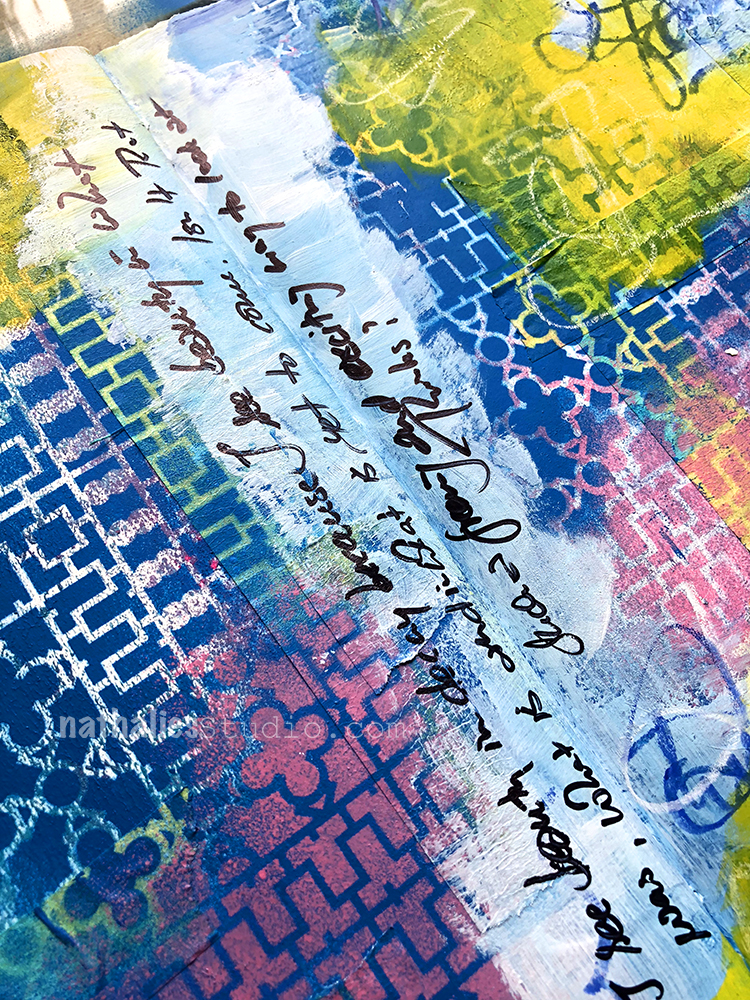
I see beauty in decay, because I see beauty in what was, what is and what is yet to come. Isn’t that such a freeing and exciting way to look at things?

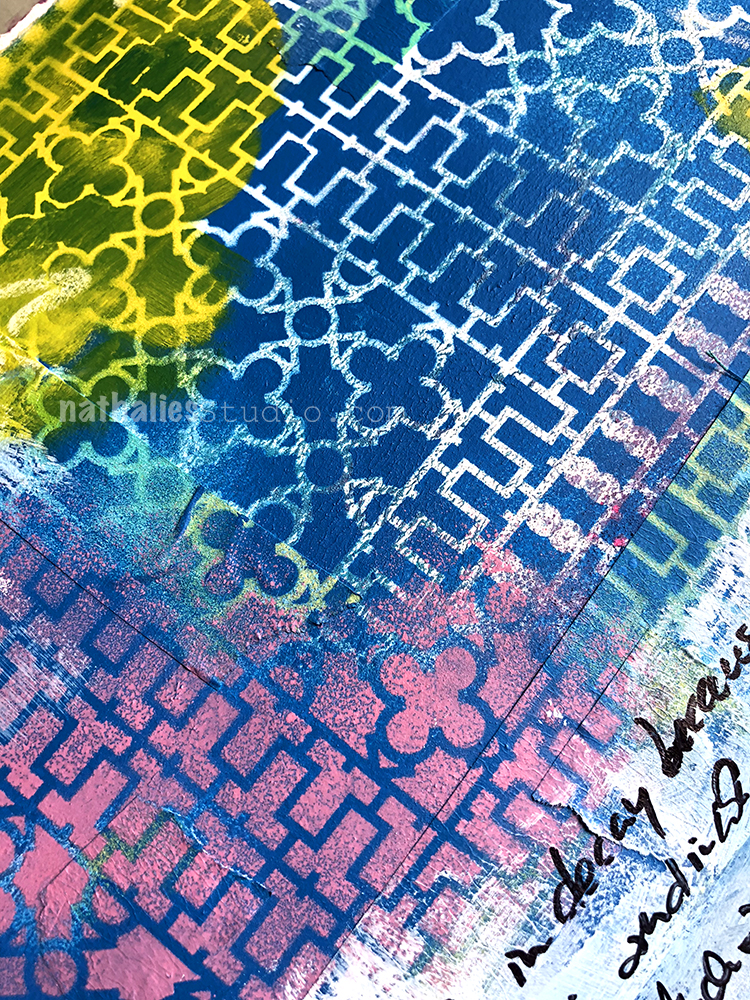
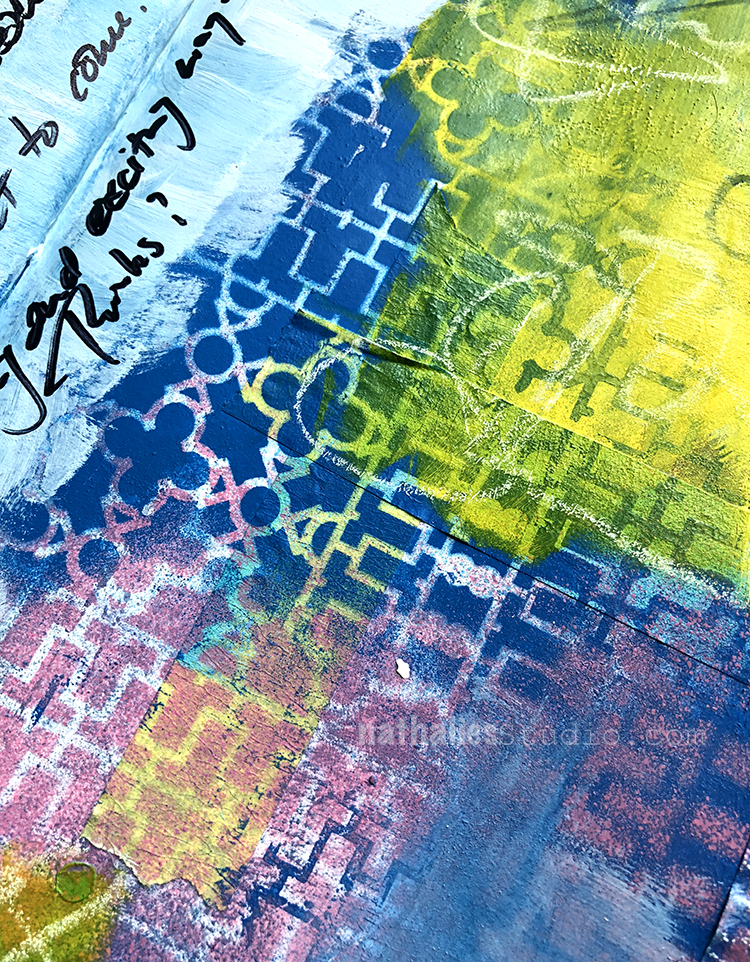
I used my new Downtown Stencil over a background which I had painted and also adhered masking tape too.

I love the pattern – well yeah —-um I am partial I guess ;)

Do you find beauty in things that are showing age or decay?

Here are some of the supplies besides acrylic paints that  I used:


Comments (2)

  • Sue Clarke

    |

    Yes I do, as long as it’s not me. LOL
    Especially decaying trees and old remains of stone/brick buildings.
    I like to imagine the lives that they’ve had!

    Reply

Leave a comment

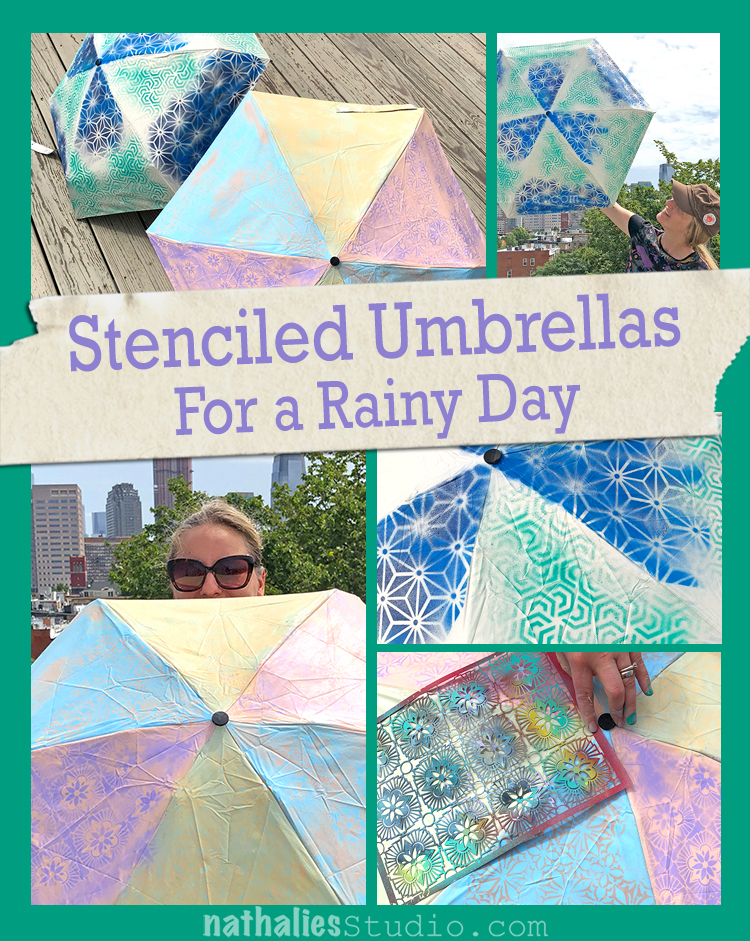
Stenciled Umbrellas for a Rainy Day – DIY Play Date

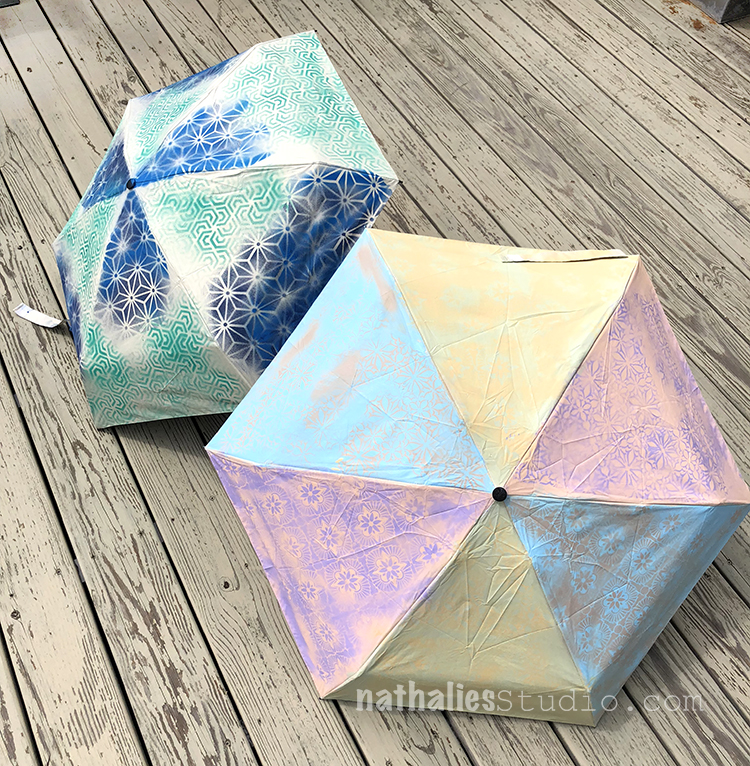
Did you know you can stencil on an umbrella and turn it into a work of art? You can and it is a fun project. Kim and I got together on a sunny day to transform a couple umbrellas into something that will brighten any rainy day we encounter.

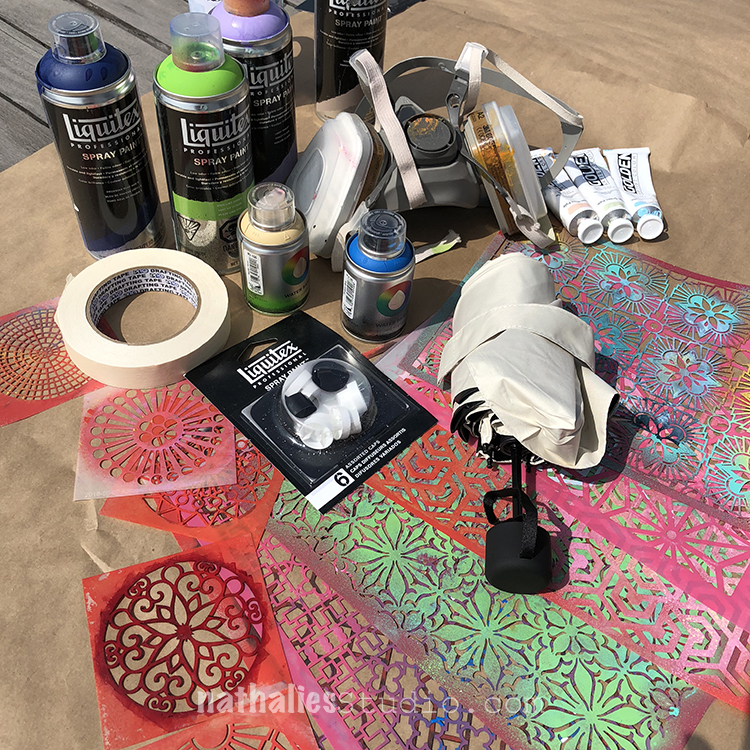
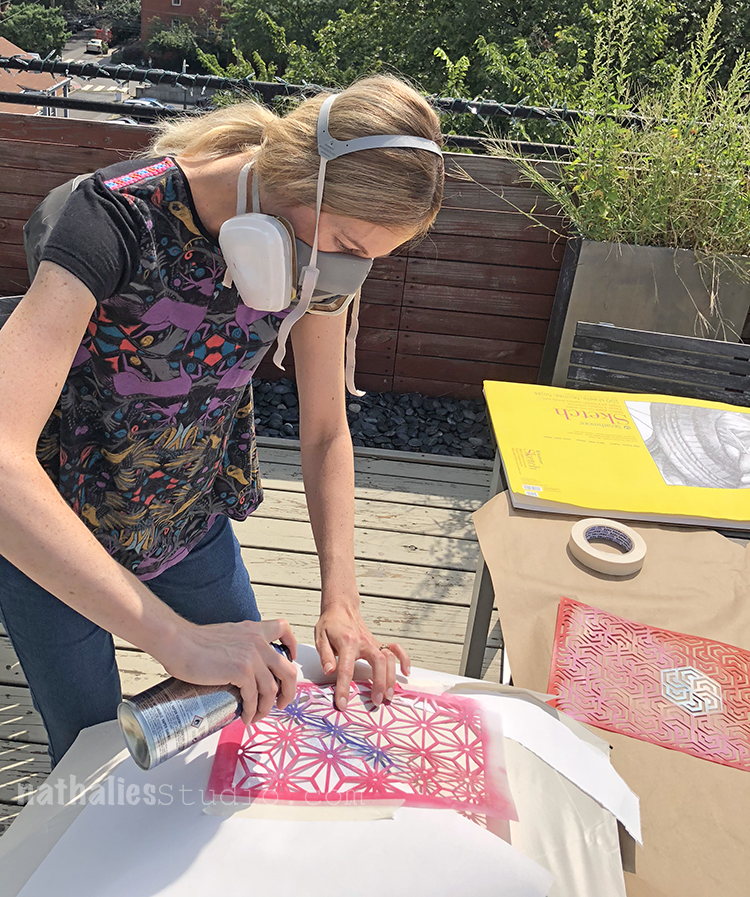
We chose white umbrellas as our “blank canvas” and some of Nat’s new stencil designs. We worked outside with acrylic spray paint (and proper protection – face mask) and each tried a different way to approach the project.

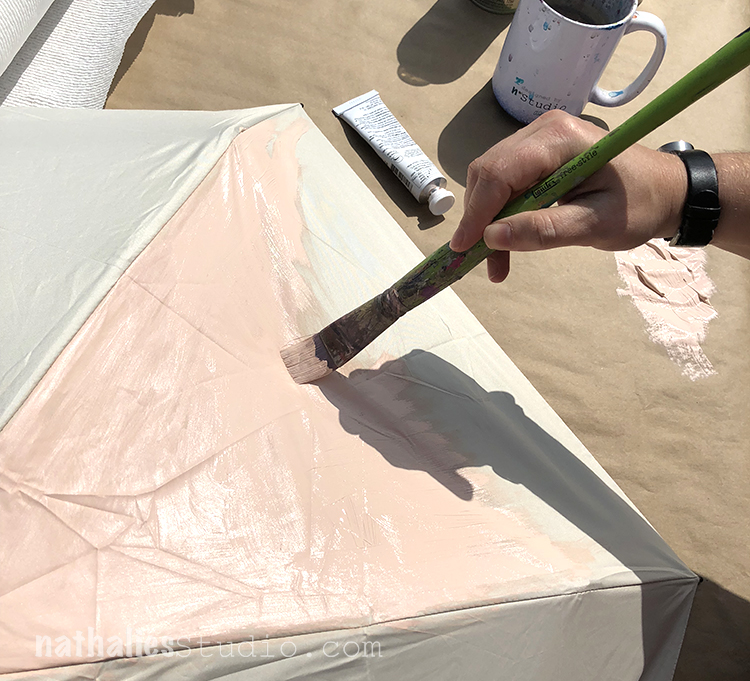
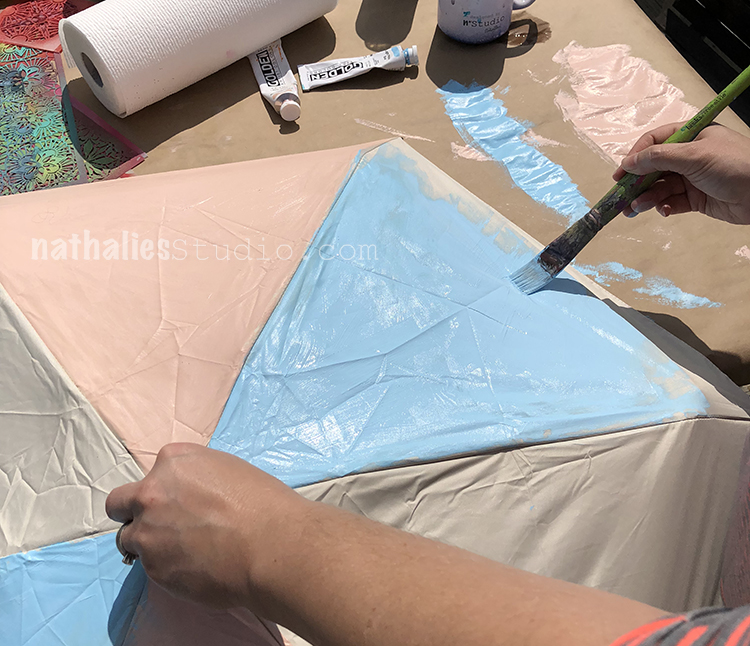
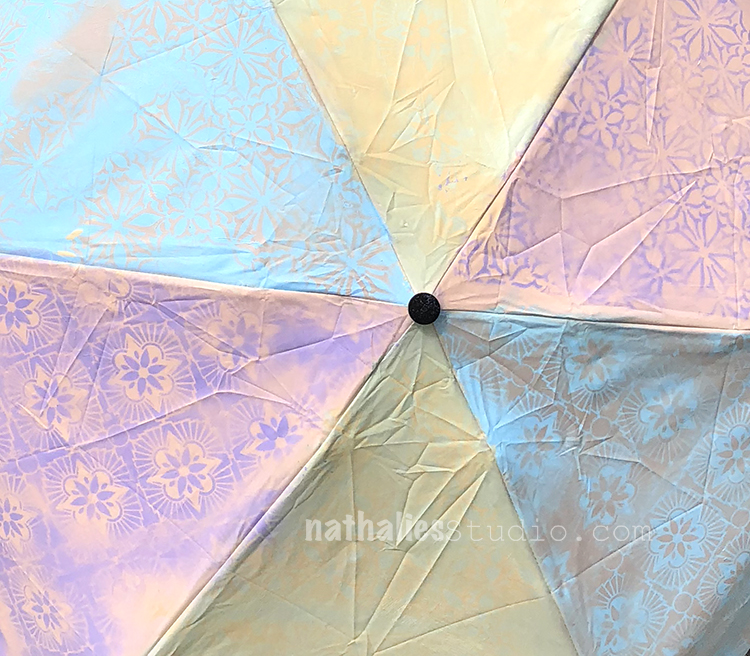
I began by painting my umbrella with heavy body paint to create a new background color.

I chose three different colors to alternate on the panels. This is a great way to make your umbrella any color you want.  BUT I learned the paint definitely stiffens the fabric and makes the umbrella hard to wrap up when you are all finished. I could almost not get the velcro tie around it in the end. Oops. It’s still doable, but tight.

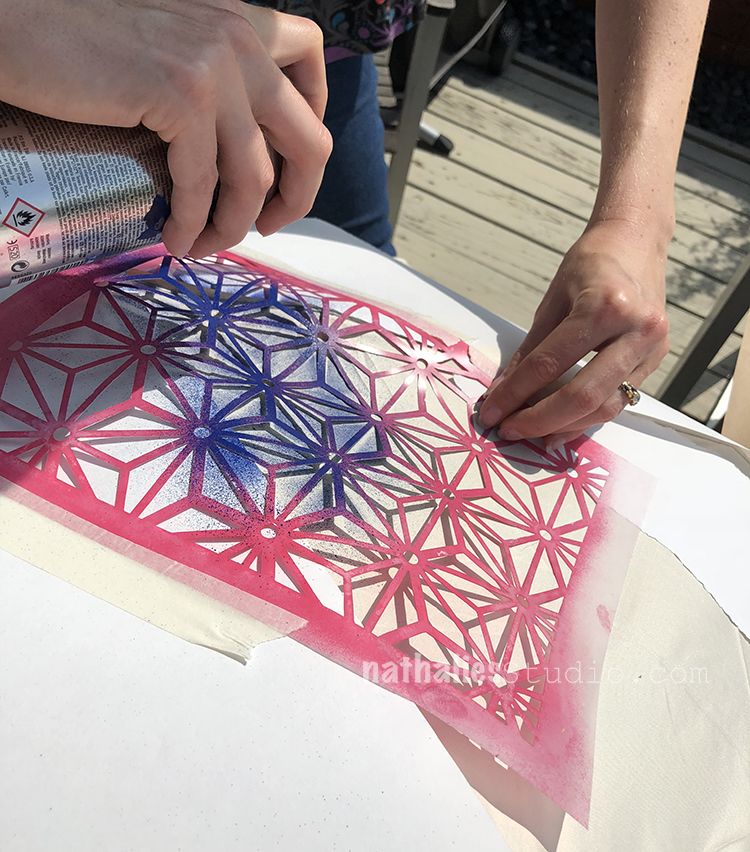
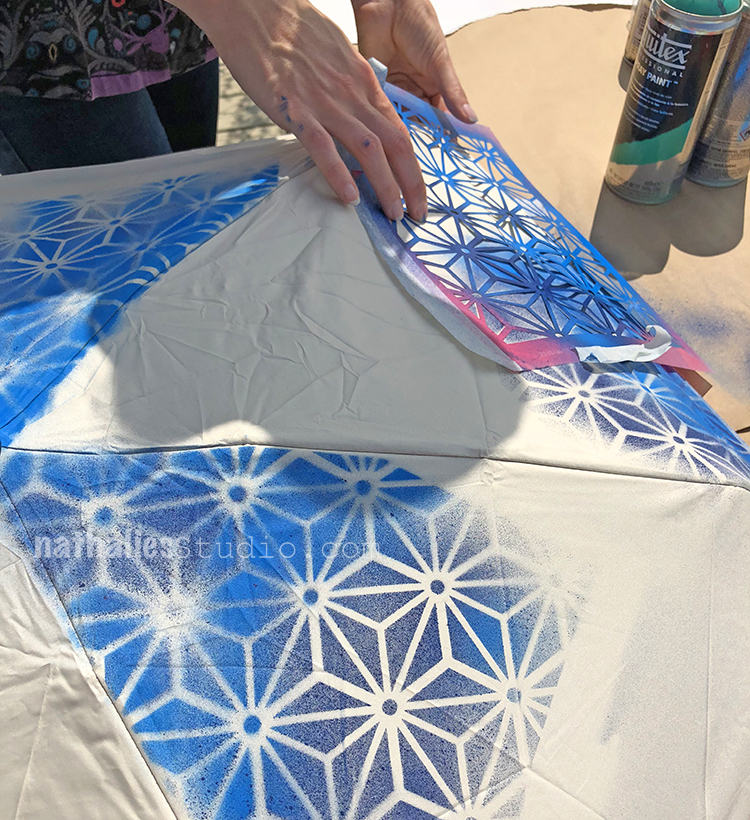
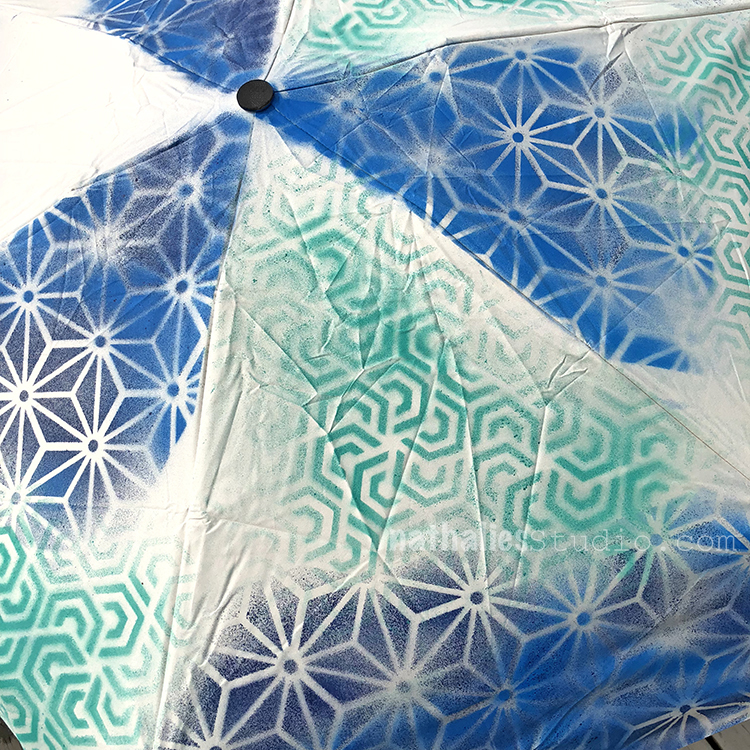
Kim decided to spray paint directly on the fabric. She taped down the stencil and some paper as a mask. She began with my new Star Struck stencil and some blue paint.

The 9×12 stencils are a nice size to cover a large area with color and pattern.

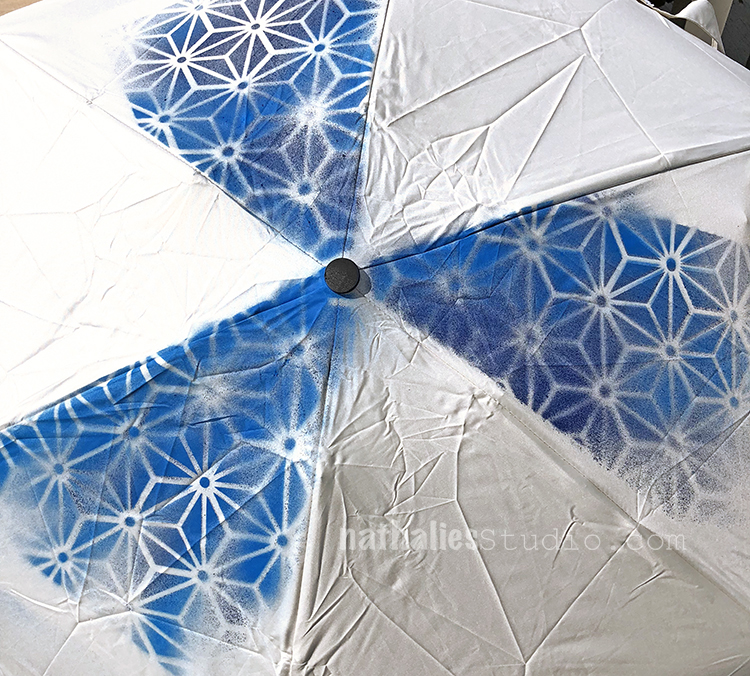
She covered the top of 3 alternating panels with a couple colors of blue. The Star Struck stencil almost looks like umbrellas so it works nicely.

She then moved to the bottom to add more.

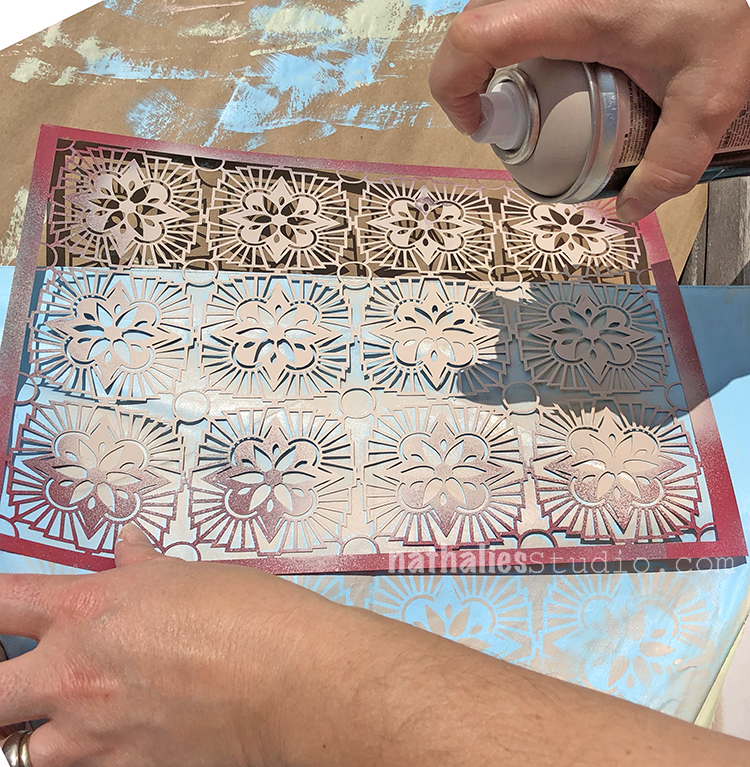
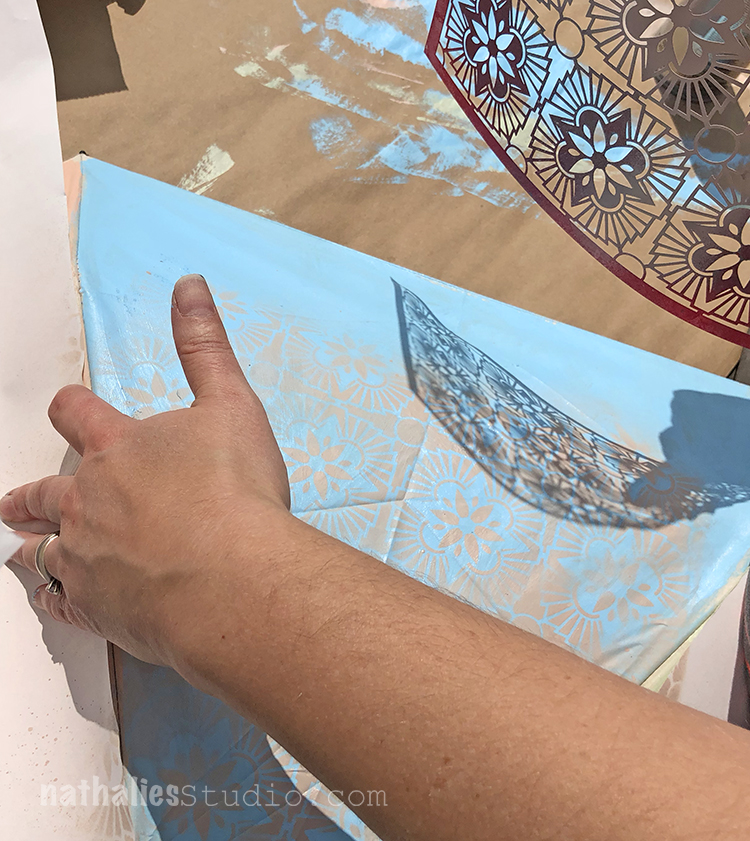
I chose my new Hamilton stencil – absolutely loving this pattern!!! I used a buff color on the blue panels.

I lined up the pattern and covered the whole panel with the design.

On some panels I used Hamilton and on others I used my new Van Vorst stencil – both are beautiful and delicate designs.

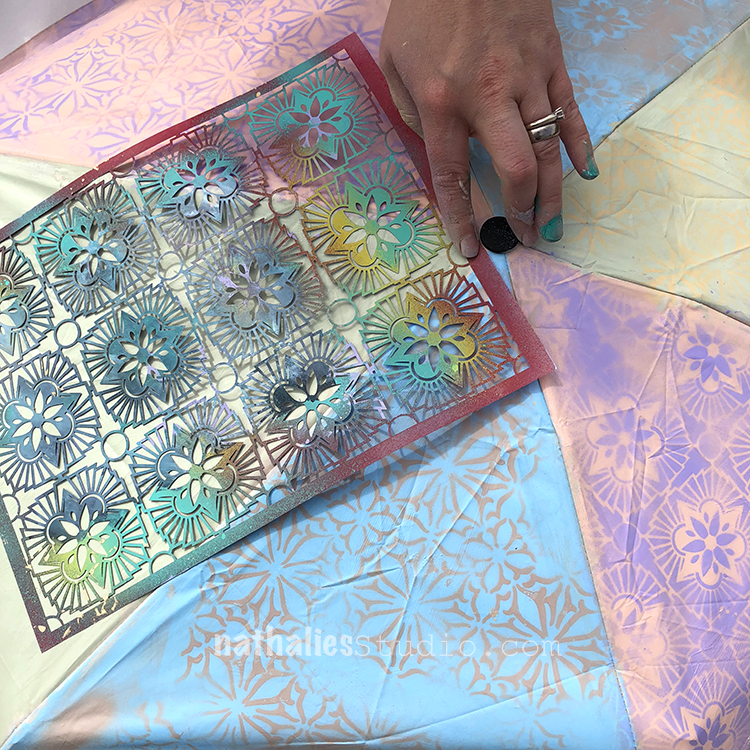
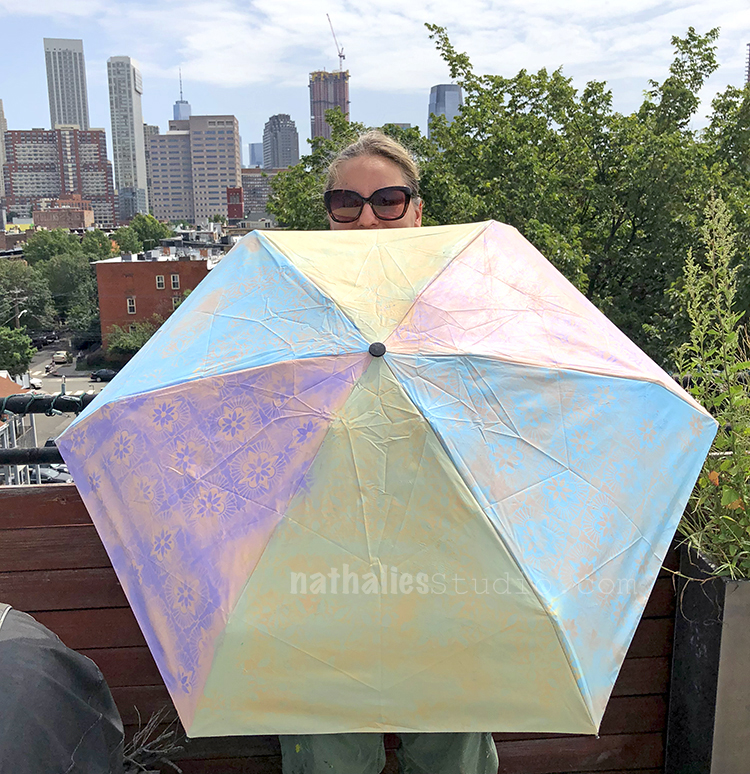
Here is my umbrella with the patterns. I might add more to the yellow panels – I chose a very subtle color for that one and it’s hard to see it once it dried.

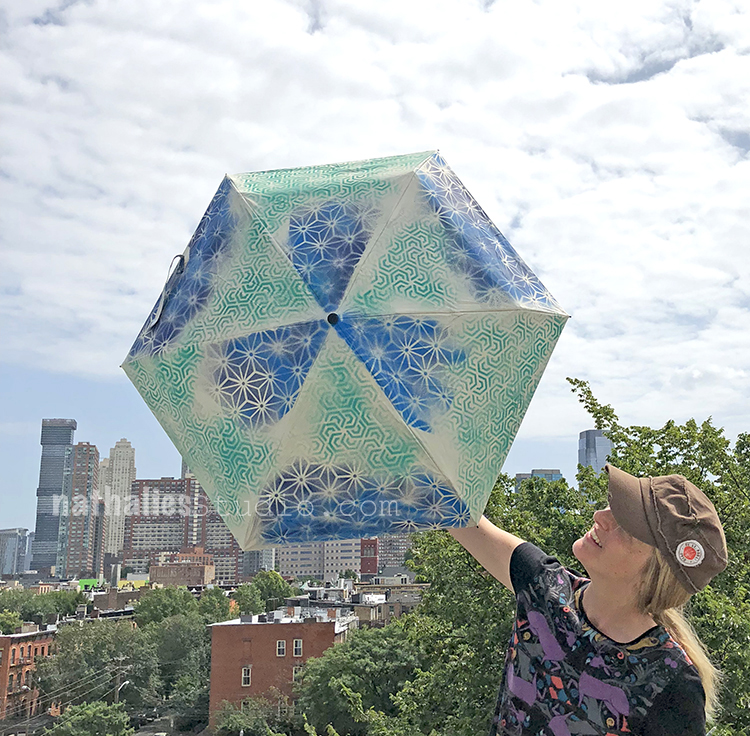
Kim added green with my new Flower Maze stencil and just blended one pattern into the other.

Peekaboo :)

Looks great and all ready to brighten up a dreary day!

So you have lots of options when you start with a white umbrella. You could choose colors and coordinate it with your rain coat or rain boots or you could just aim to make something that makes you smile on a rainy day :)

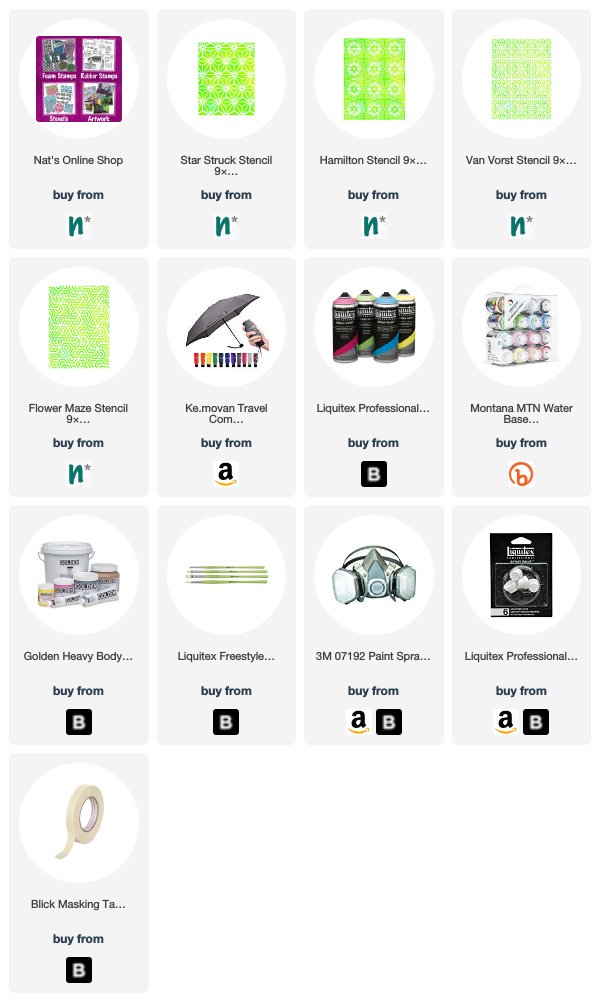
You can find my new stencils in my shop here, as well as all my other products. Here are some of the supplies that we used:


Comments (4)

  • LindaLubovich

    |

    If you add textile medium to the acrylic paint you’ll avoid the stiffness you experienced when you base-coated your umbrella. Hi from San Jose.

    Reply

    • nathalie-kalbach

      |

      Great tip Linda, thank you! In this case on of the main problems was that I used heavy body paint which just made a too thick of a coating so that the string to tie it together became to short. Kim didn’t have the same problems using just spray paint.

      Reply

  • Sue Clarke

    |

    Clever and colorful…did you put anything on to preserve the paint…so it doesn’t run in the rain?

    Reply

    • nathalie-kalbach

      |

      thank you Sue. Since Acrylic paint is water proof I did nothing else to it- it should be stay as is :)

      Reply

Leave a comment

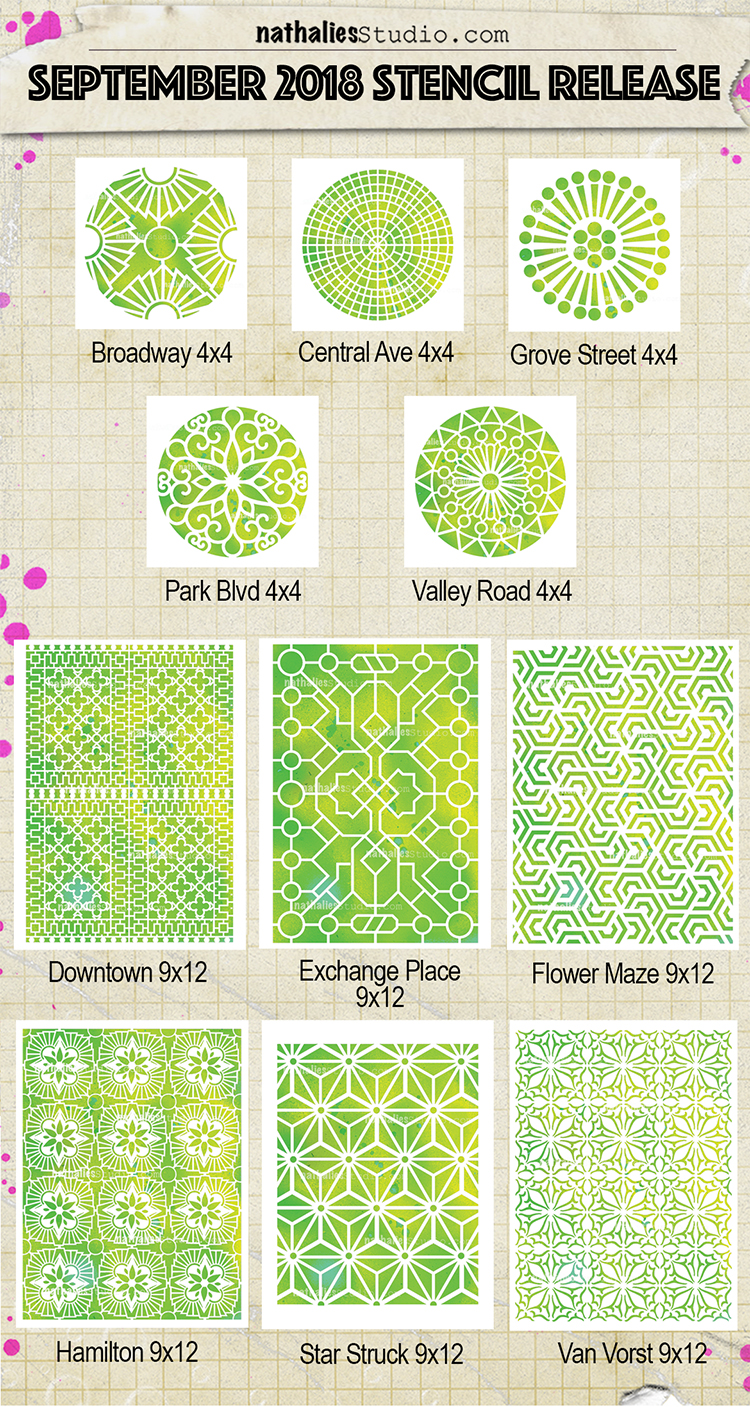
New Stencil Designs! September 2018

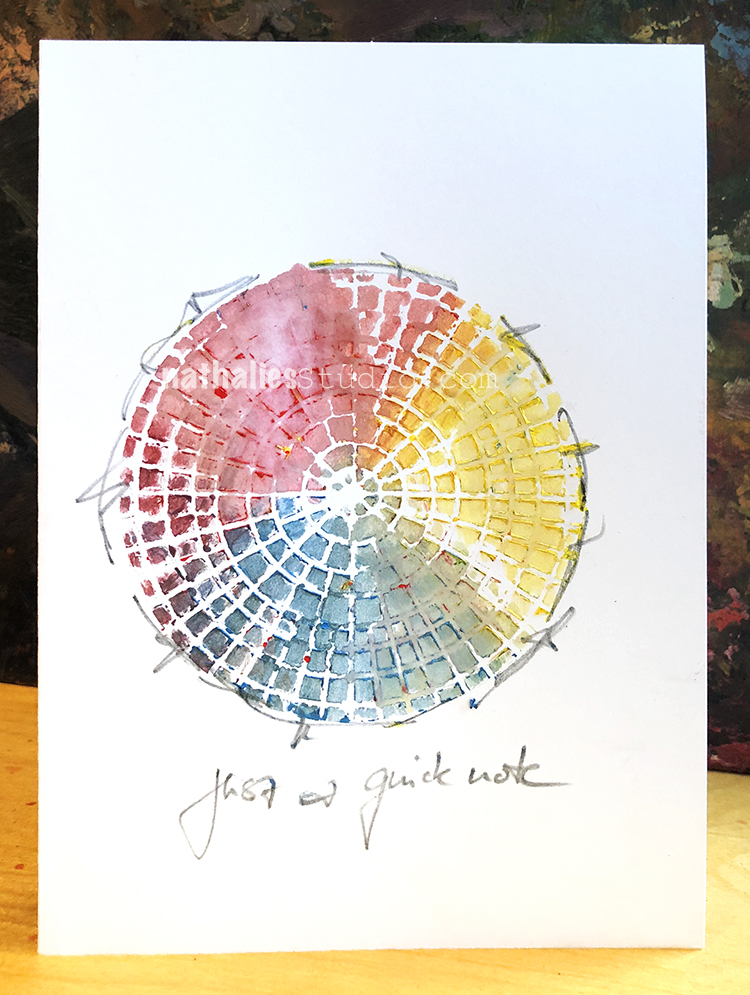
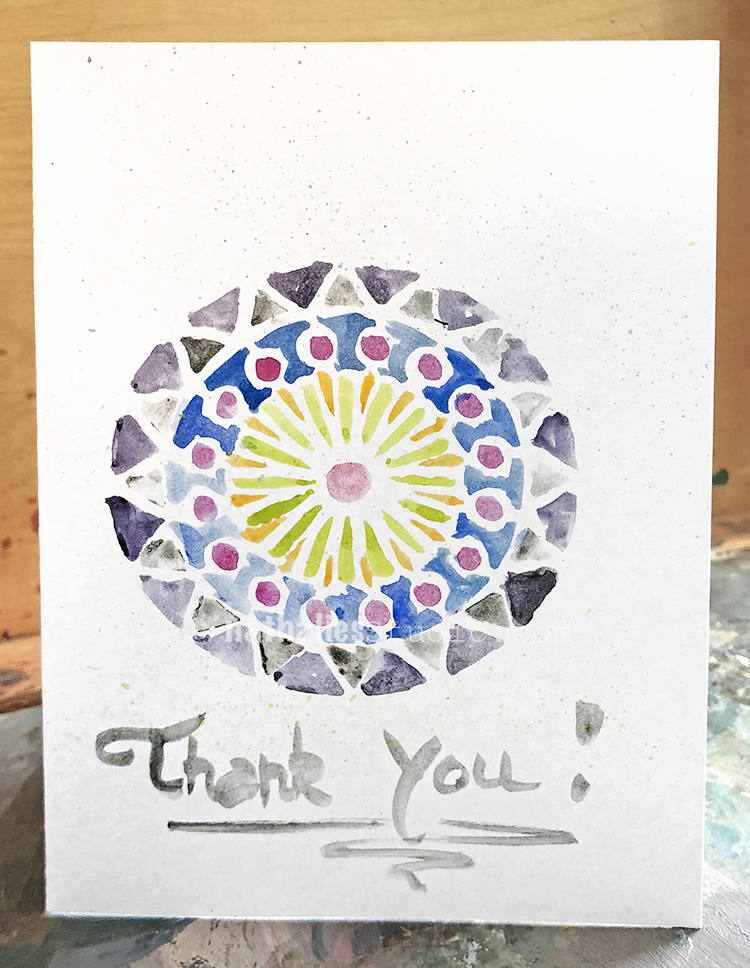
Today I am releasing 11 new stencil designs with StencilGirl Products and am over the moon to be able to share them with you finally! You can check them out now in my Online Shop.  I’ve been playing with them for the past month and wow am I loving these new patterns.

Of course I love using the big ones as backgrounds in my art journal, but you don’t have to stop there with these guys. Here are a couple fun ideas to inspire you – I will show the details later this month:

Star Struck

Above the Exchange Place Stencil – loving it.

Downtown Stencil .

Art Journal Spread using Flower Maze.

Hamilton

Van Vorst


For the small round ones, I created the samples below:

Grove Street.

Broadway

Park Blvd

Central Ave

Valley Road

I hope those new stencils make you as excited as me :) Do you have any favorites???

Come and join me as I talk about the stencils and a few other exciting developments TODAY, September 6th at 2pm EST on Facebook Live:


Comments (4)

  • stephanie

    |

    Congrats! These are great. What did you use for the Central Ave card? Pan pastels?

    Reply

    • nathalie-kalbach

      |

      Hi Stephanie- sorry for the late reply – I used Woody Stabilo Pencils with the stencil- I will show a step-by-step this coming week :)

      Reply

  • Sue Clarke

    |

    Flower Maze and Star Struck if I must just pick one or two.
    I appreciate you showing your samples since it gives me so many ideas on how to use them.
    It’s so wonderful to see your success.
    May you sell many new stencils!

    Reply

    • nathalie-kalbach

      |

      Awe thank you Sue! Love those two too- …well I guess am biased LOL

      Reply

Leave a comment

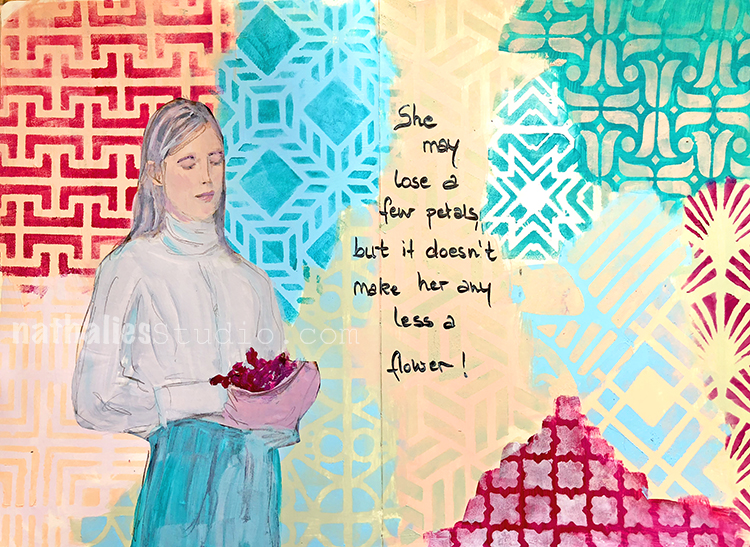
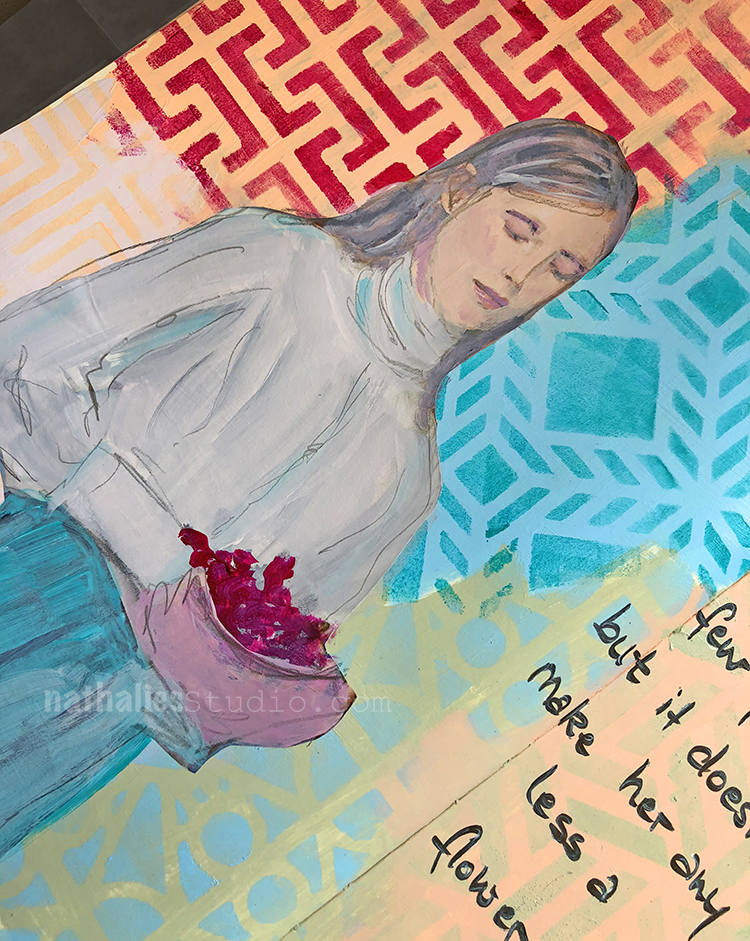
Always a Flower – Art Journal

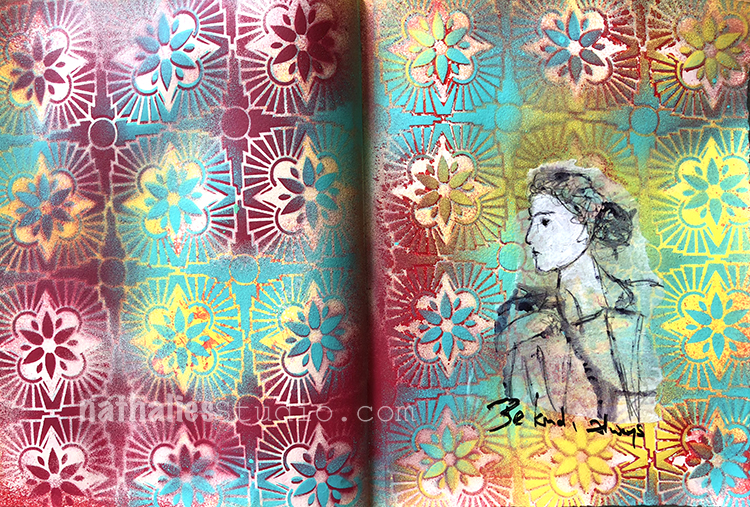
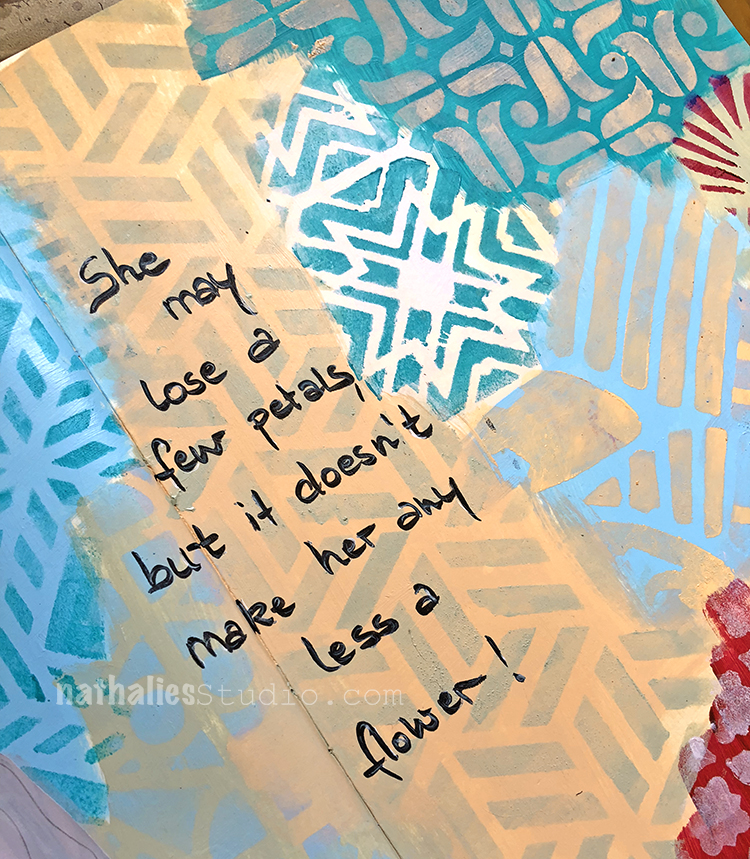
Loved making some color swatches into my art journal with some new acrylic paints and then using a variety of my stencils on top of them.

I do love those new colors – there are not my usual style but I wanted to get something that gets me out of the box :)

I also love the quote! This was a quick and easy journal page to play with paint and stencils.

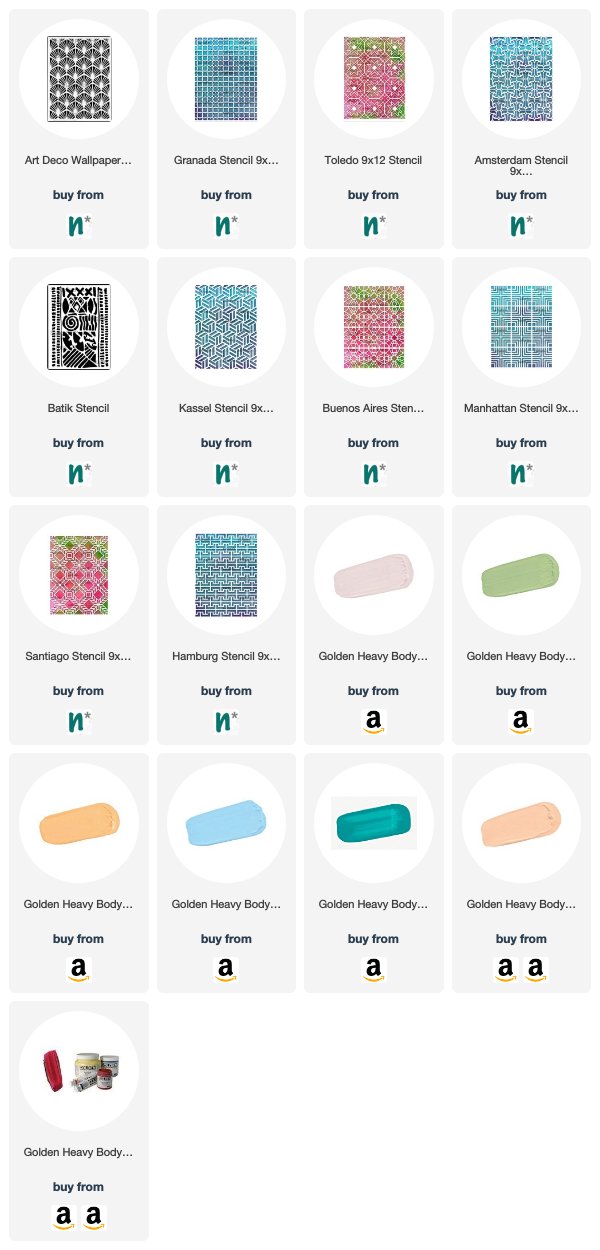
Here are the supplies I used


Comments (2)

  • Sue Clarke

    |

    I like those colors together as well. Great quote and definitely out of your usual color comfort zone Nat.
    Thank you for another inspiring post.

    Reply

    • nathalie-kalbach

      |

      Thank you Sue! Yeah def. need to use those colors a bit more :)

      Reply

Leave a comment

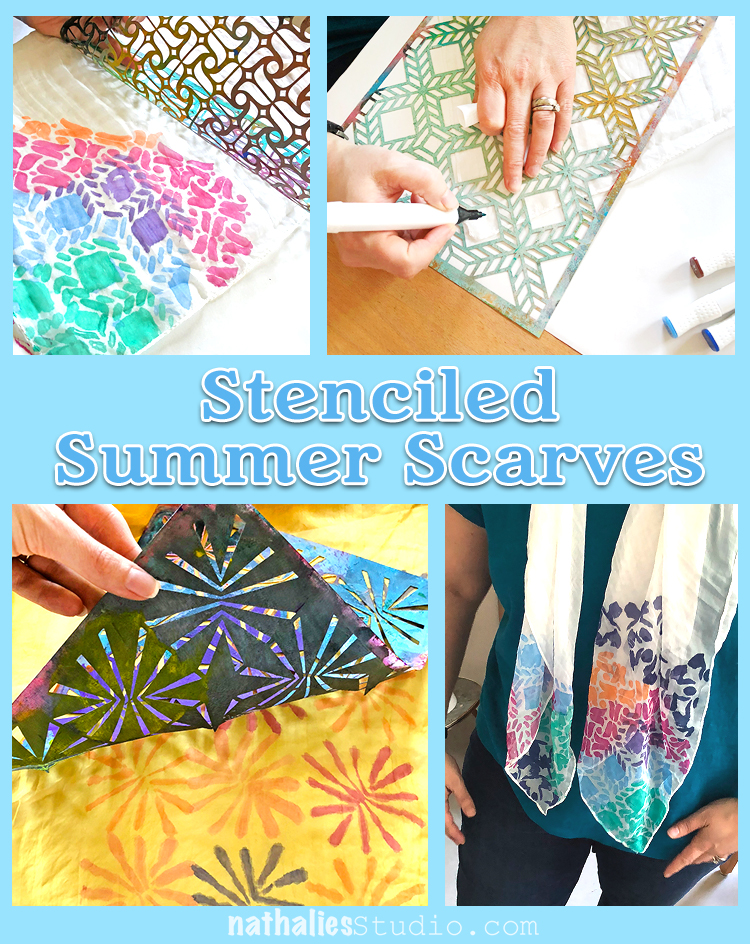
Stenciled Summer Scarves Tutorial

Last week Kim and I got together for a little stenciling playdate. We had already done some things with fabric paint but this time I was wanting to try fabric markers.
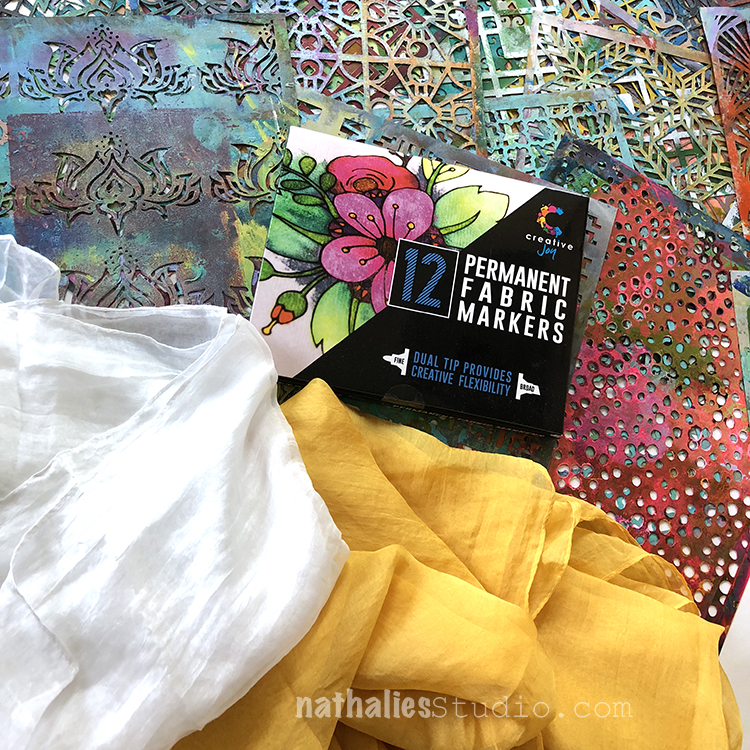
I found this nice set of non-toxic permanent fabric markers with both a fine and a broad tip ends and some silk scarves online. I chose a white scarf as my backdrop and Kim went for yellow. We gathered all my stencils to decide what patterns we might like.
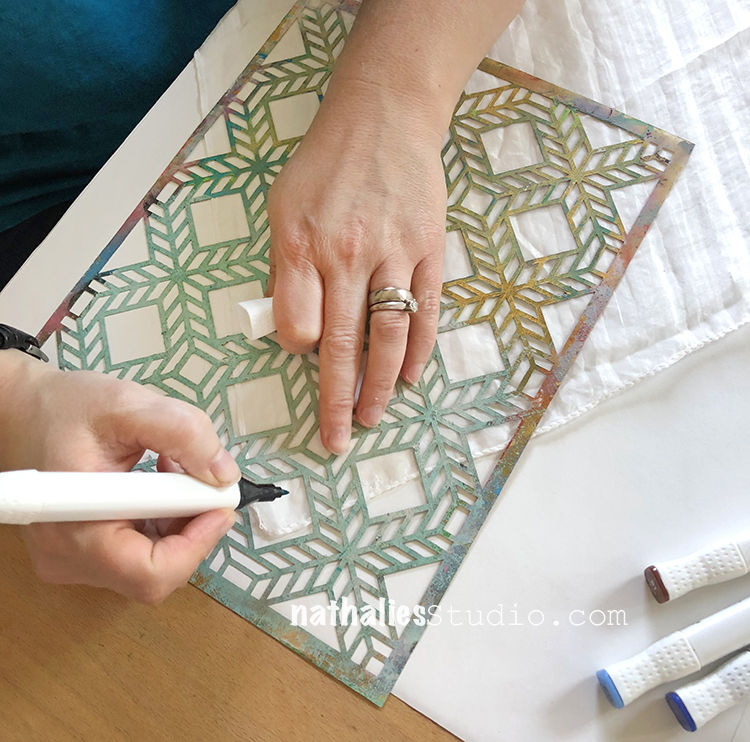
I jumped right in with my Santiago stencil – trying to decide how best to line it up. These are large square scarves so we decided to decorate the corners so you can see the design as it’s wrapped around your neck.
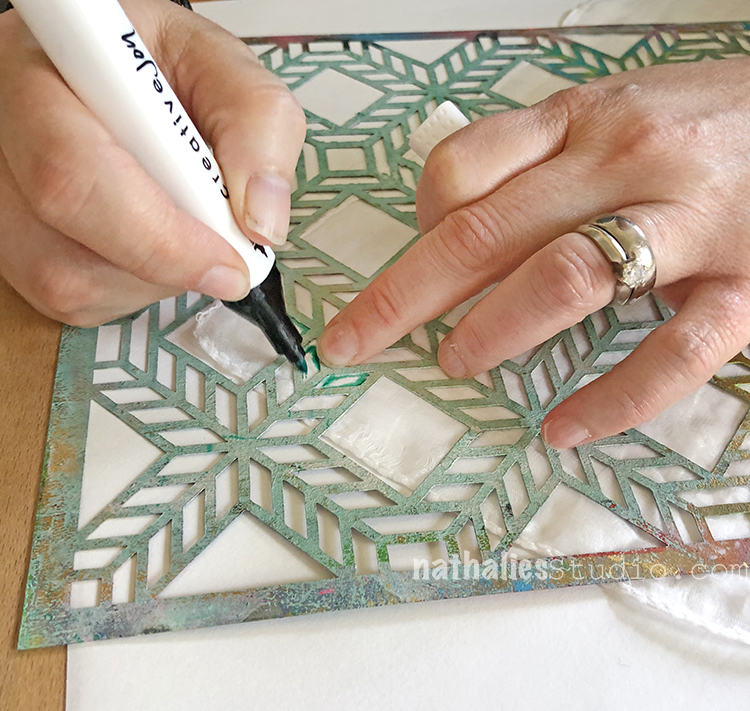
The fine tip end worked nicely with the stencil and the colors were pretty and bright – especially on the white scarf. The thin and smooth silk fabric was a bit tricky to hold down and we found you had to really hold the stencil and fabric in place to keep the pattern lined up. Another trick on thin silk – use very little pressure with the marker – it doesn’t take much ink to make a mark.
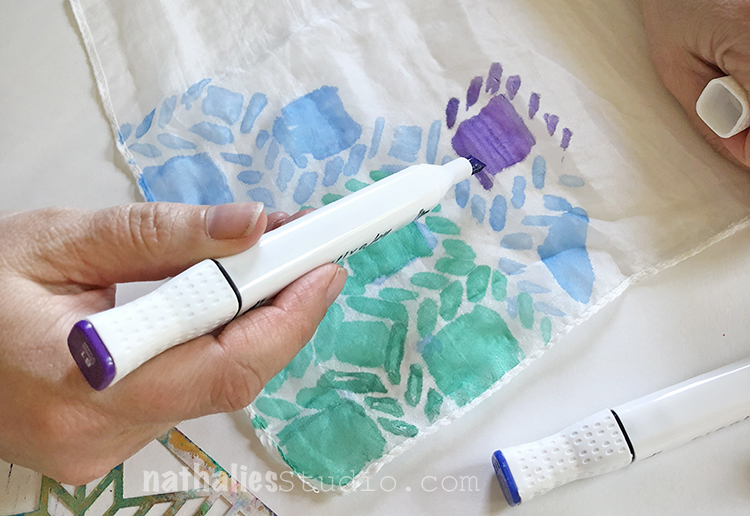
The ink spreads and gives a watercolor look to the design. This is maybe not a project for the very fussy – the silk and markers produce a more hand-painted look than precise line. I found the broad end of the marker worked well for filling in large areas of the design. As you can see, I switched colors several times with the same stencil.
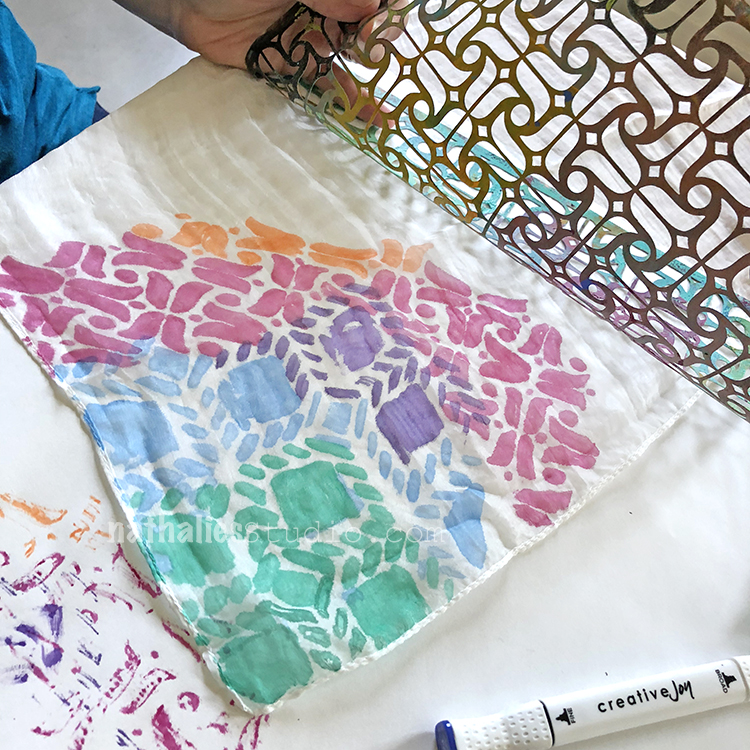
Another tip: make sure you have paper or some protective surface underneath the scarf to catch the pigment that bleeds through. I added another stencil here: Amsterdam, and a few more of the marker colors. My tactic was “more is more”.
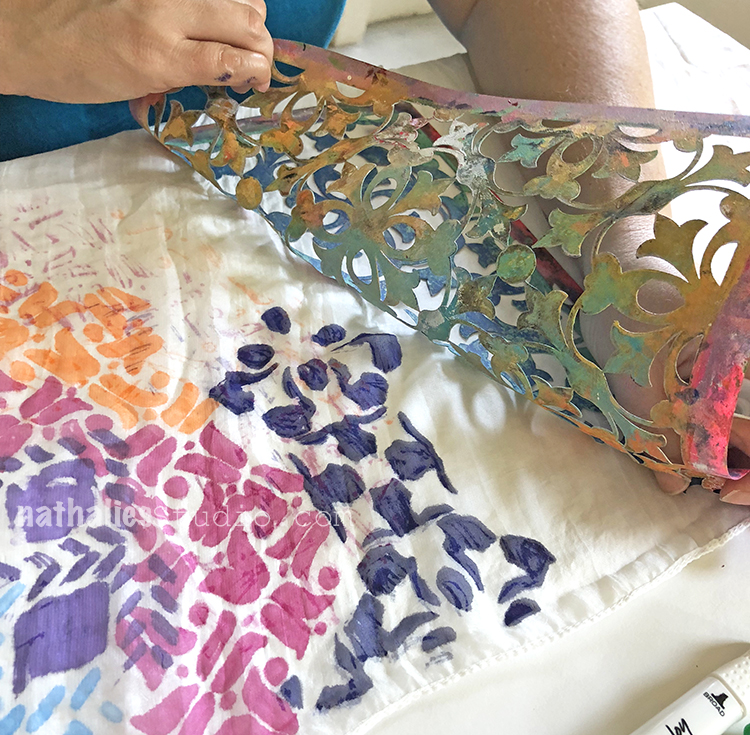
And finally I added a bit of the Versailles stencil and one final color. You can see that this scarf is thin and translucent (those marks near the orange pattern are actually on the paper underneath) and the markers are transparent too.
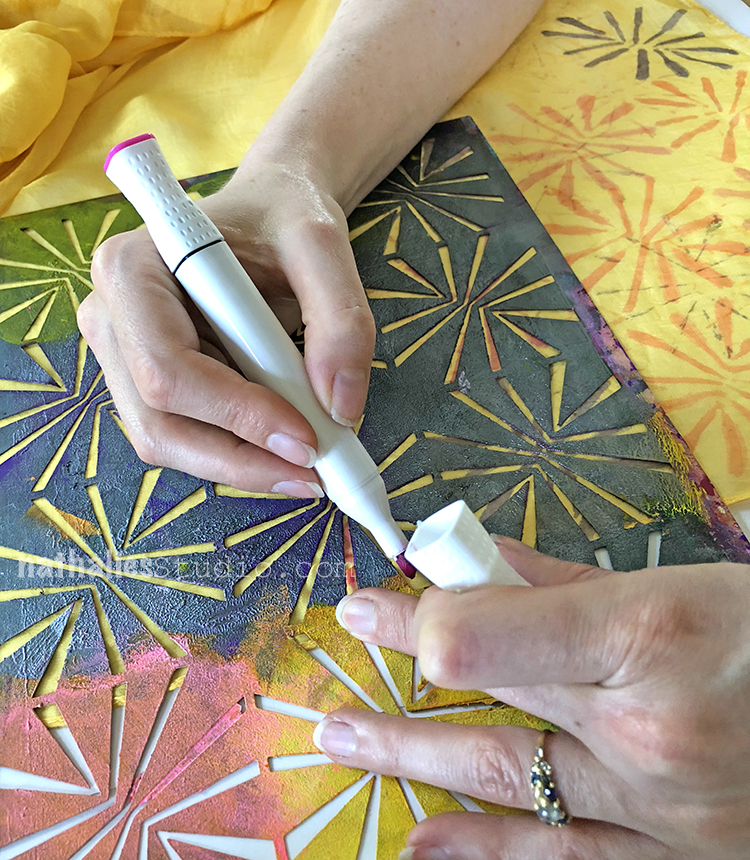
Kim chose to use only the Beacon stencil on her yellow scarf.
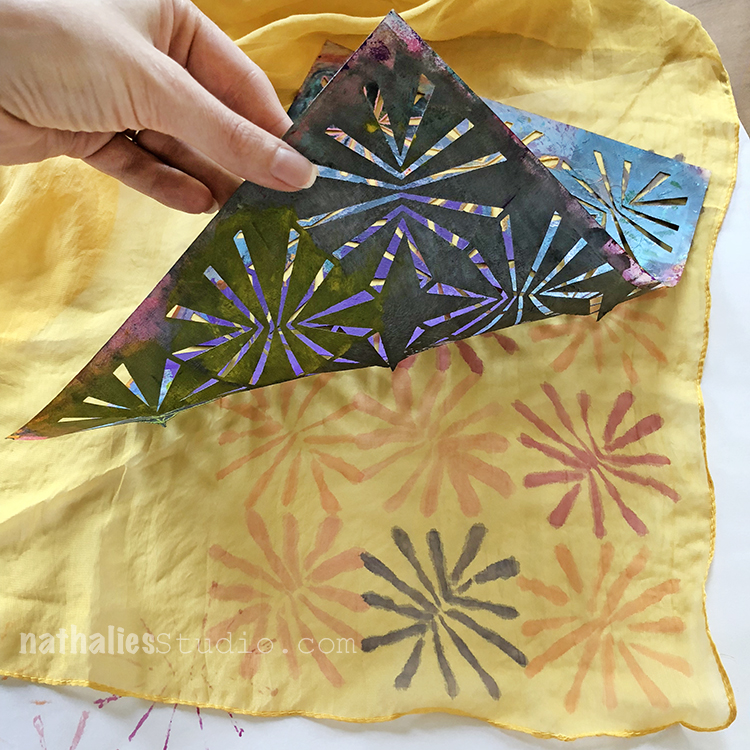
The designs look like flowers and she stayed with pinks, orange, and purple colors. Again, she worked on the corners of the scarf.
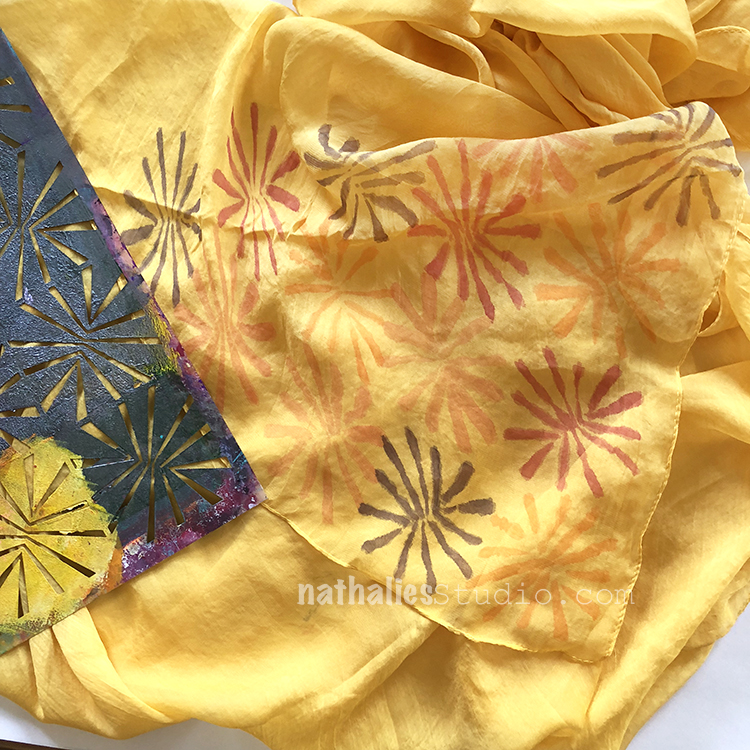
Here is her field of flowers when she was done. You can see the markers bleed on the thin silk, but it gives a pretty painted look.
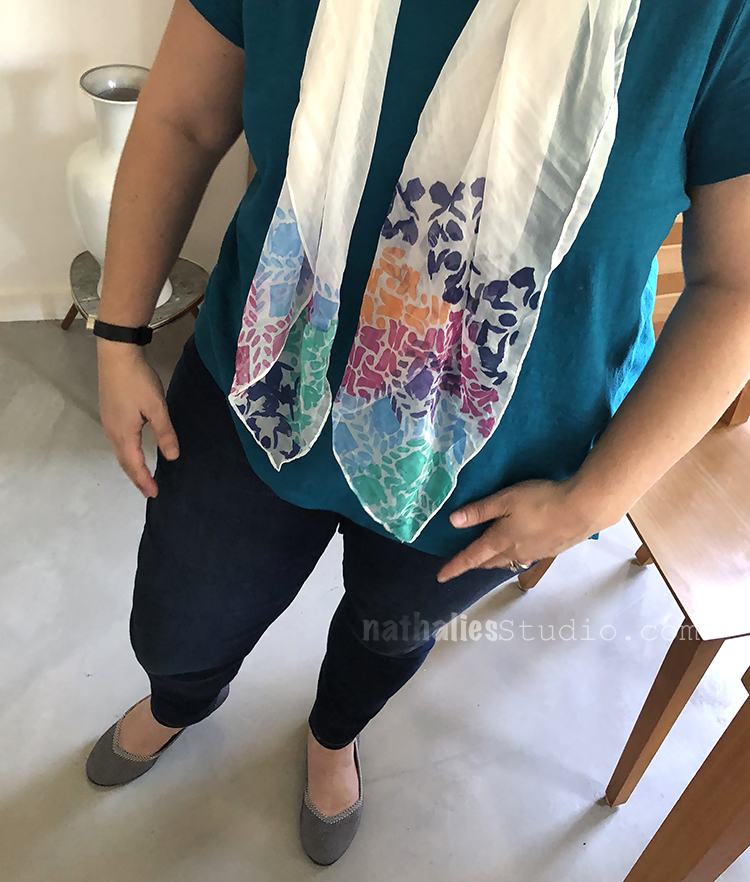
My scarf is a colorful collection of patterns and so unique!
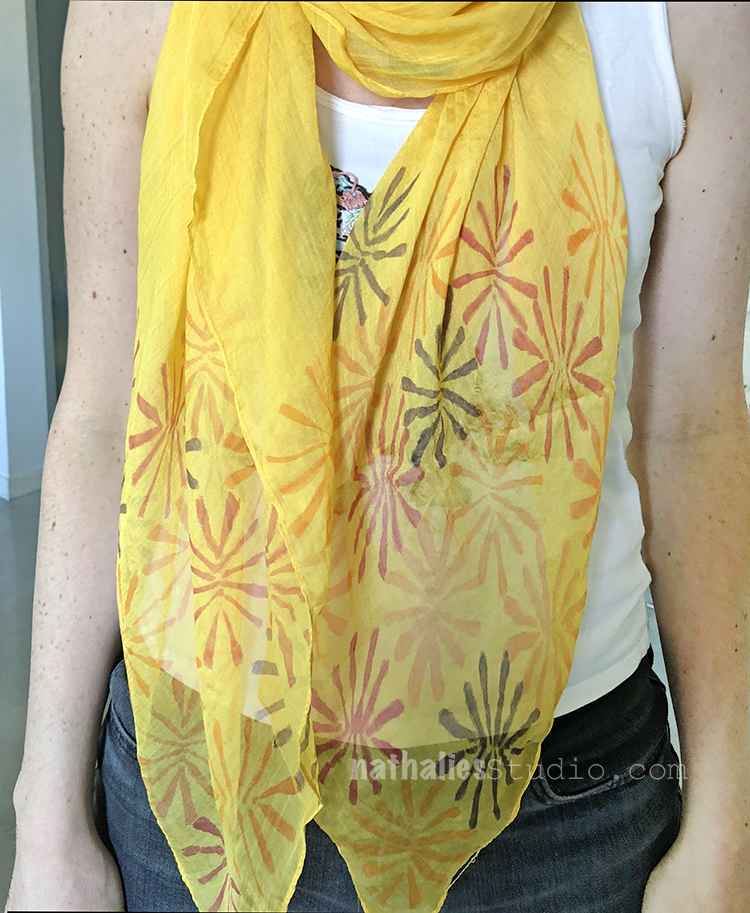
And here is the final result for Kim, a one-of-a-kind scarf for summer! This was a fun and easy project and just took an hour or so. I also really liked the color selection of the marker set so I’m definitely going to try them on some other things too. I hope you try it and share your results with me!

Here are some of the supplies we used for this project:


Comments (1)

  • stephanie

    |

    What a fun project! Both scarves are lovely

    Reply

Leave a comment