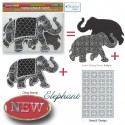
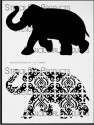
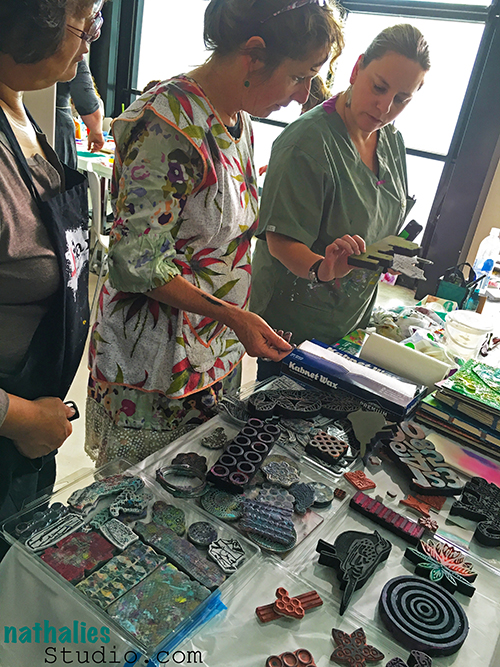
Happy Tuesday! It’s time for my Creative Squad to share a project with you with this month’s new theme: “Elephants Never Forget”. Throughout the month of May, the team will use my new Elephant Foam Stamp, Rubber Stamp and Stencil Set to interpret the theme. I asked them to draw from a childhood memory, and to use the elephant as a symbol of something that fascinated them as a child, inspired awe, or just got their little brain all wrapped up with wonder. And if you want to hear a little bit about my childhood, you can read about my personal connection to elephants here (just scroll down to “WHY an elephant…”) :)
Today we have a super vibrant art journal page from Gwen Lafleur. As a travel enthusiast, her interpretation of the theme is definitely close to my heart.
—————————————————————————————————

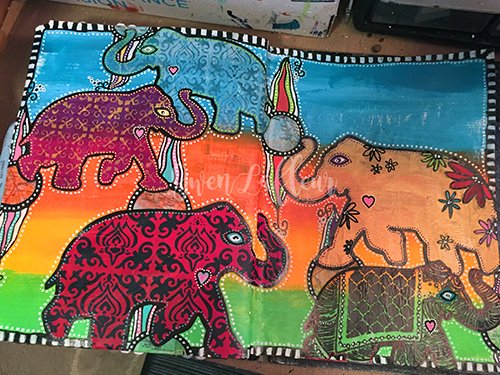
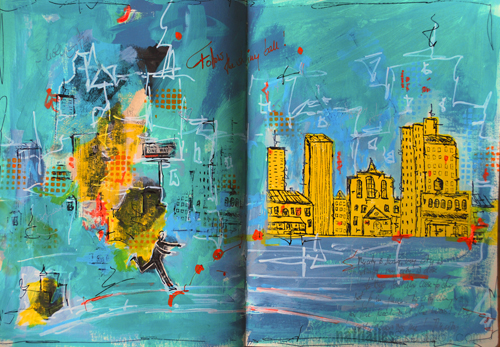
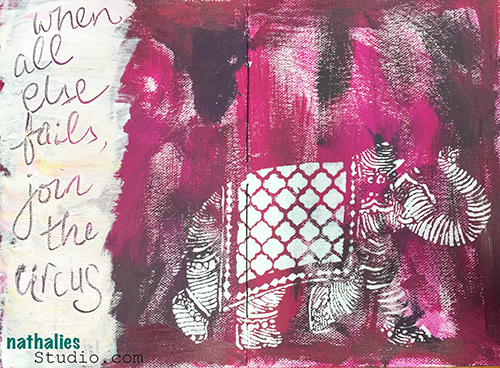
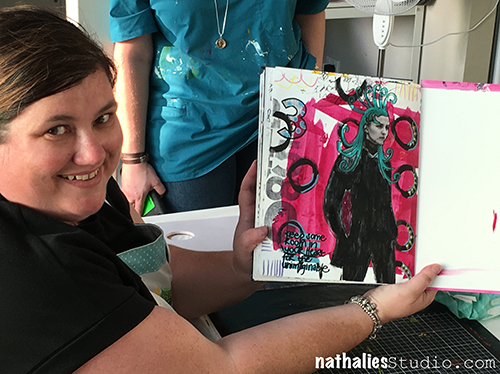
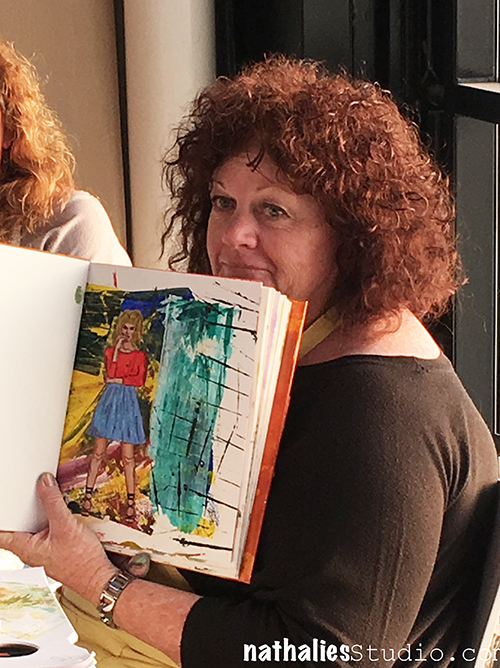
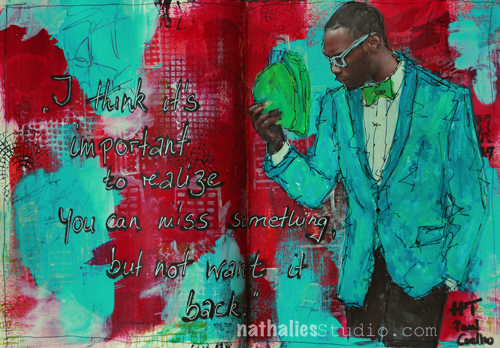
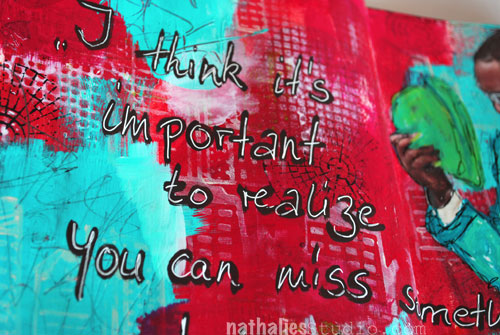
With this month’s theme of working from a childhood memory that fascinated me, the Elephant Stamp & Stencil set couldn’t have been more perfect! In my art journal spread, the elephant represents this memory and the object of my childhood inspiration perfectly. The memory that jumped out at me was one of me laying on the floor of our living room on my stomach poring over a book. Not just any book, but “Lands and Peoples of the World.” I was obsessed with it, and this particular scenario played out many times. Looking back, the book probably wasn’t all that great – the cover was brown with a photo of a tribe of some kind, and most of the pages were black and white. I’m guessing it was printed in the 70s. But it enthralled me completely. I can’t remember precisely what it was that I loved about it, but I think just the idea of all of those places and cultures that were so different from what I knew, really captured my imagination. As an adult, I’ve been blessed to take that fascination and act on it, traveling all over the world and seeing many of those places and cultures first hand. I’ve since looked for it at my parents’ house on many trips home, and have finally accepted the fact that the book is gone, but the memory remains. As for that childhood fascination with exotic locales? Some things never change!
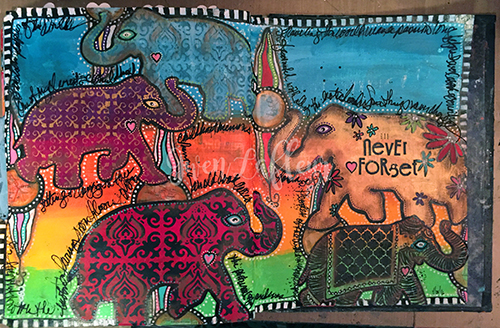
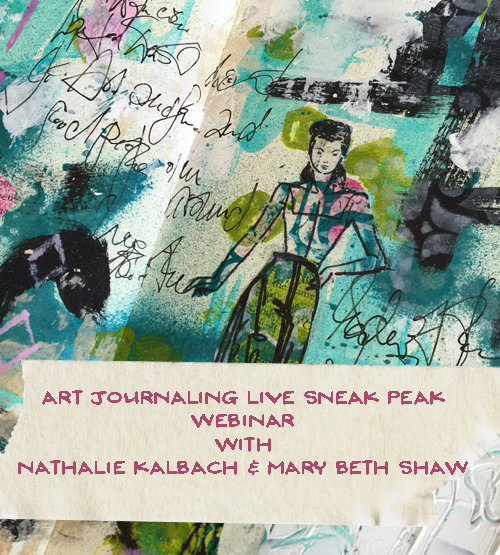
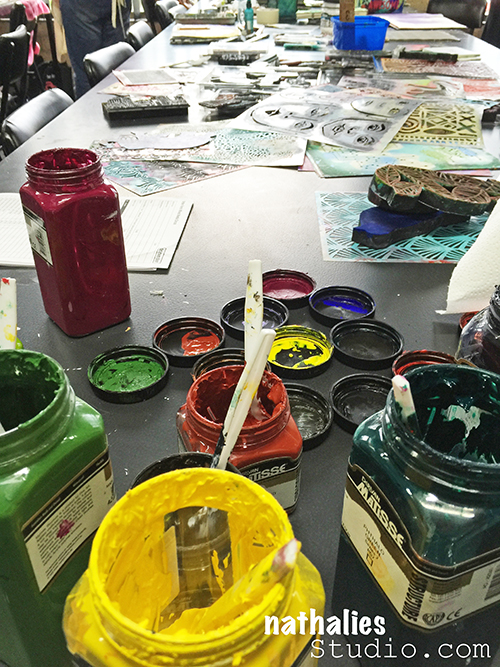
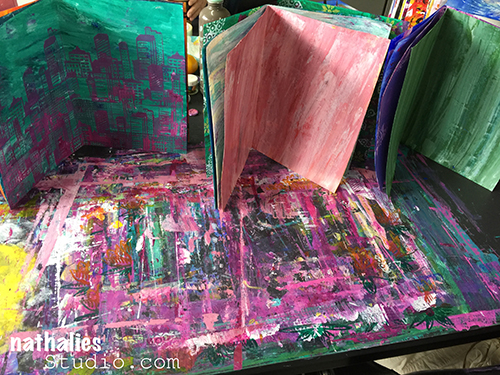
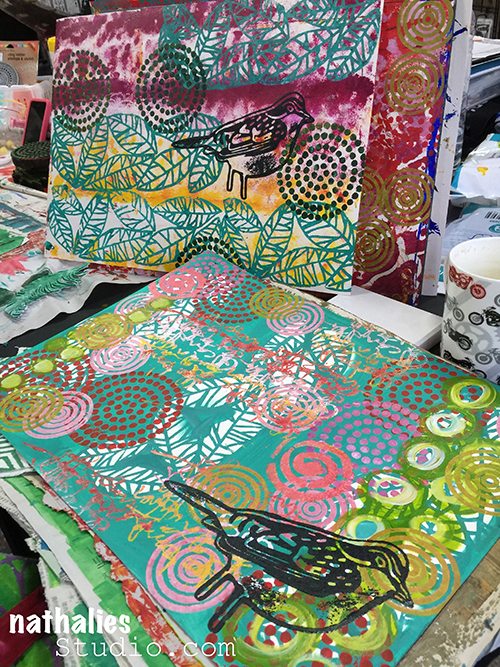
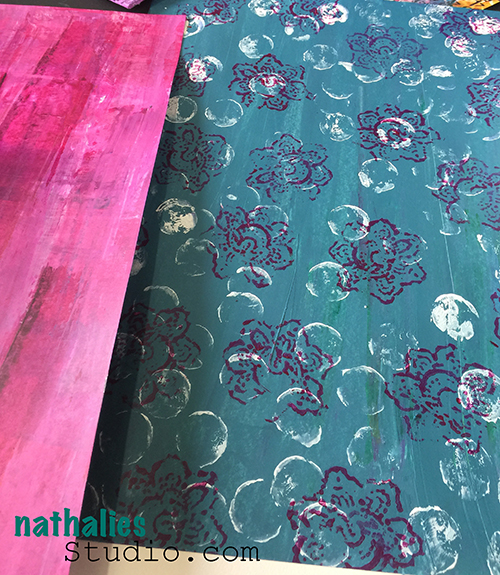
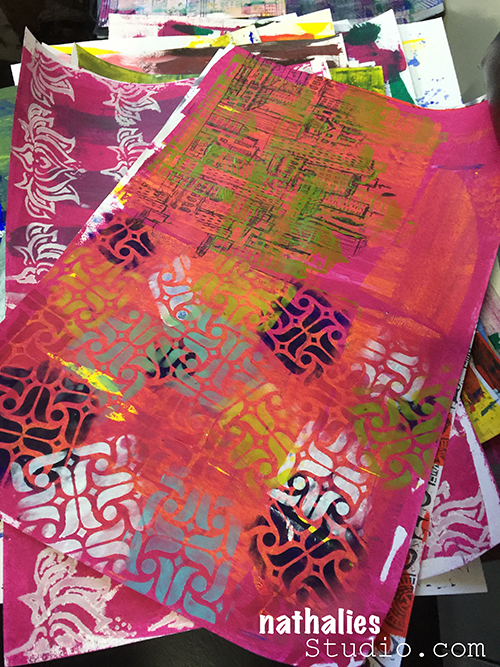
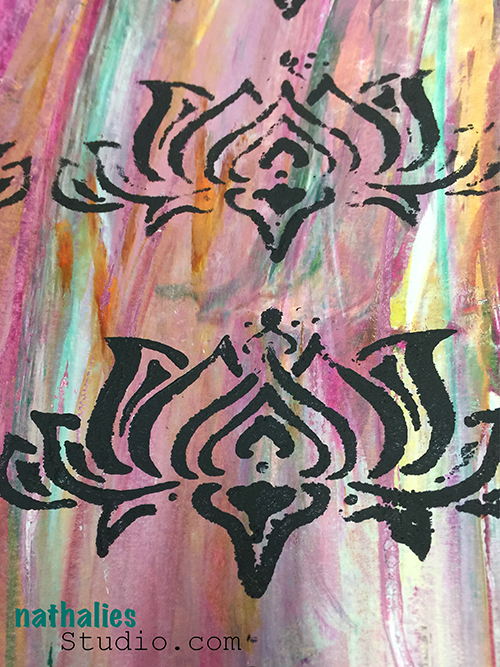
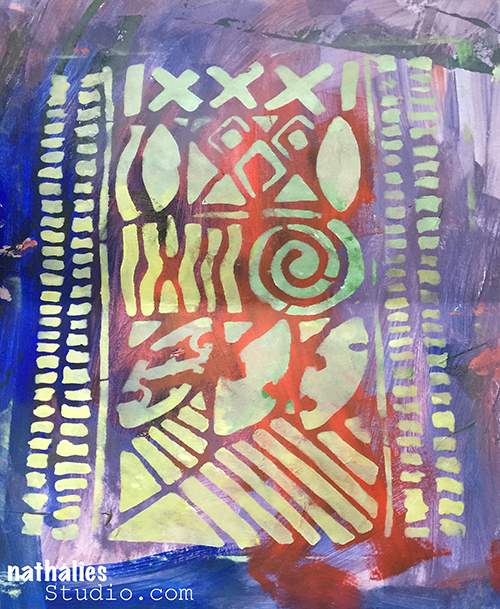
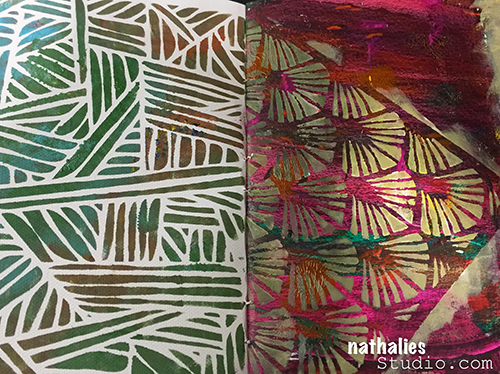
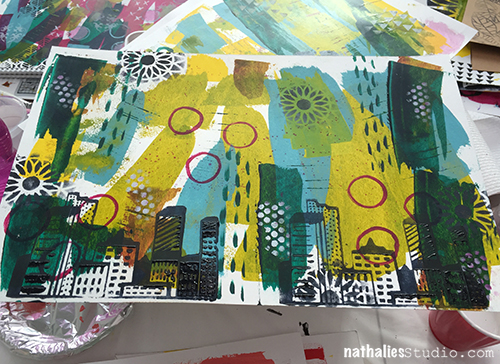
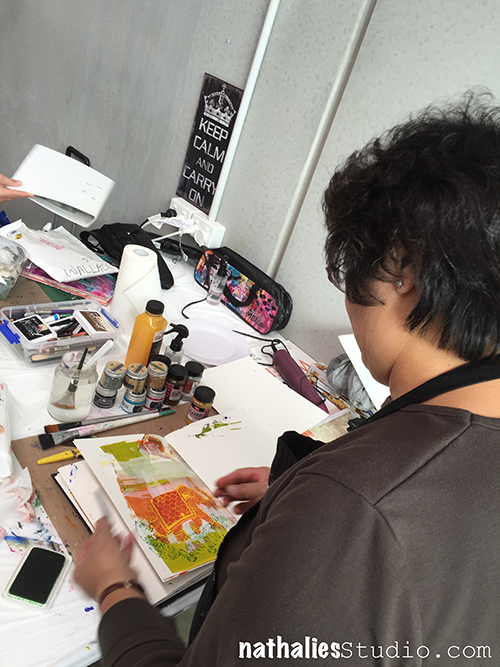
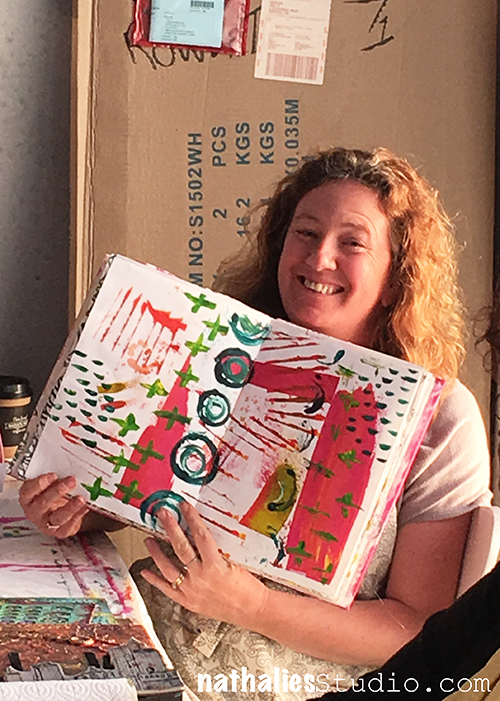
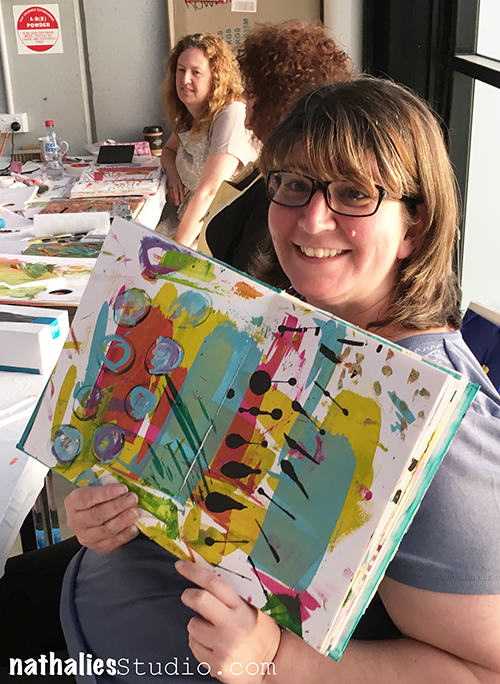
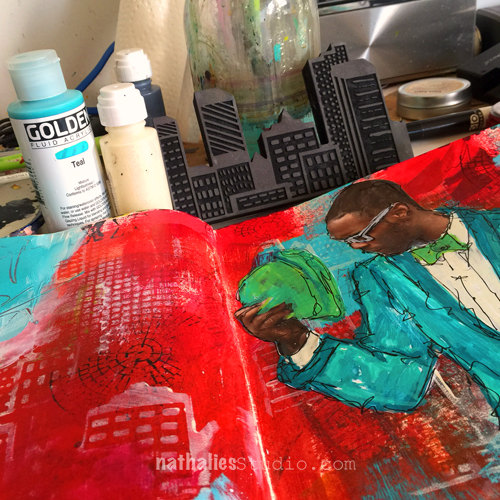
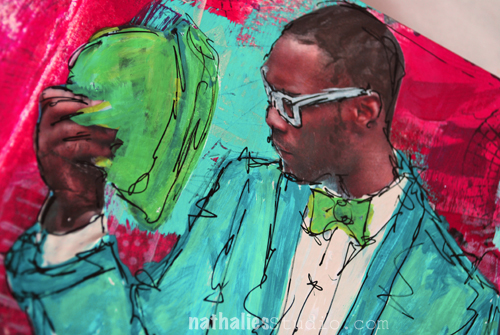
For my art journal pages, I decided I wanted to go really bright to represent all of the intense colors and patterns of many of the places I dreamed about visiting and have since gone to. I painted some stripes of paints in different shades of blue, yellow / orange, and green acrylic paint – all different brands, I just randomly grabbed what I had.
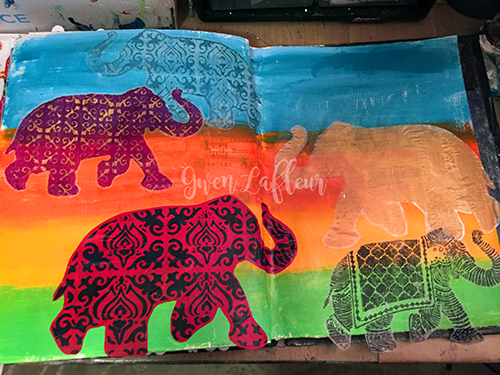
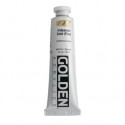
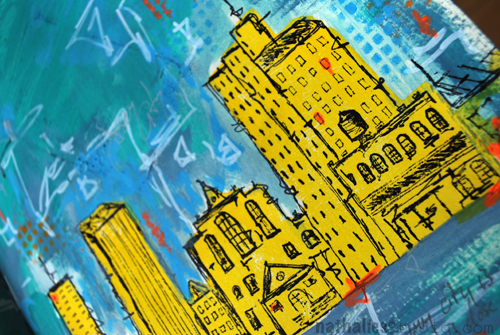
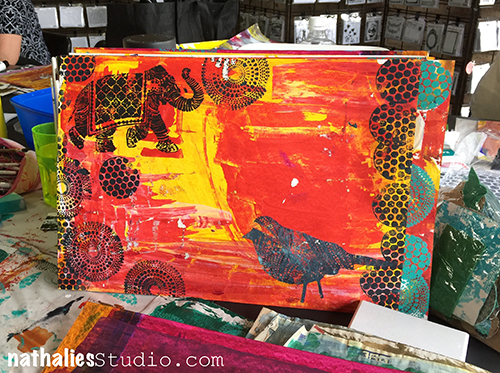
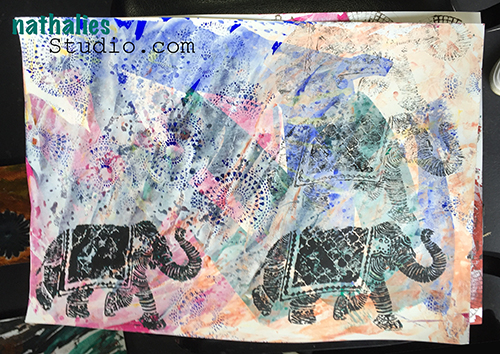
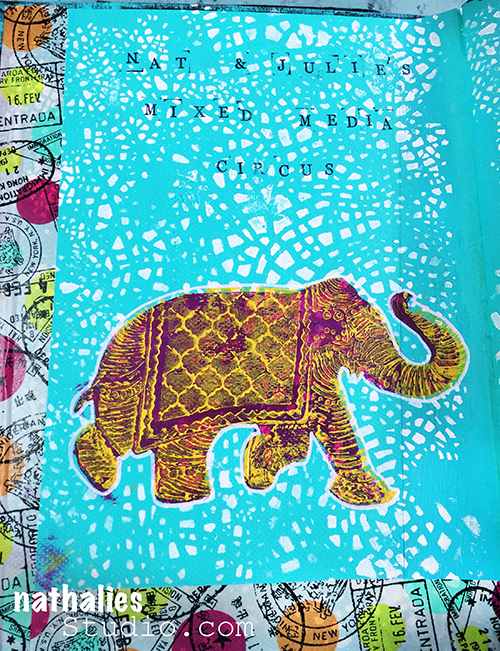
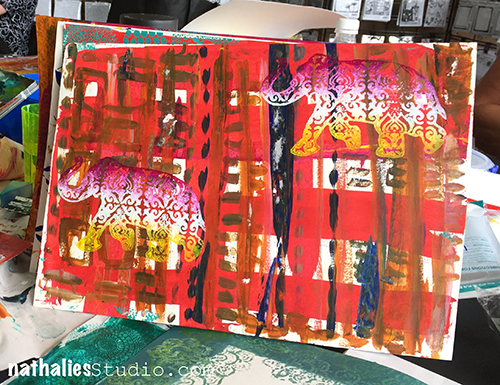
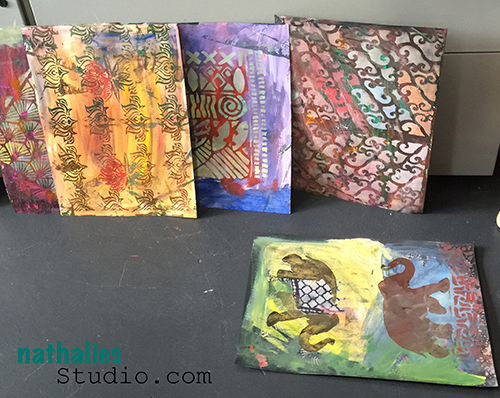
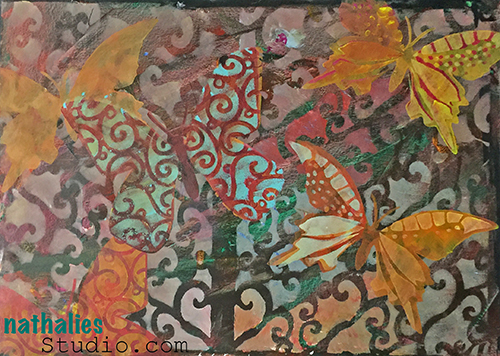
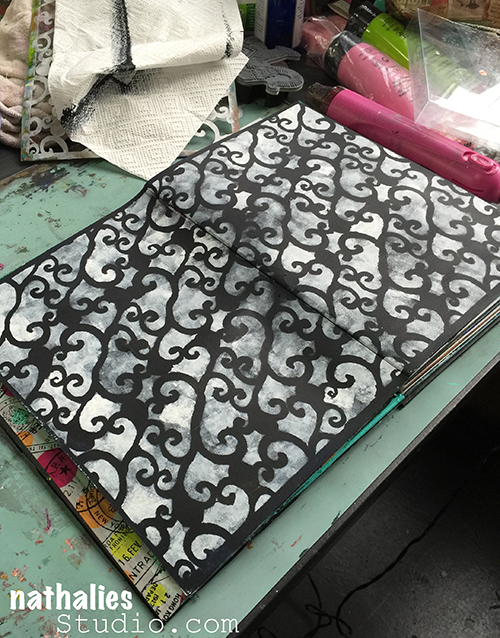
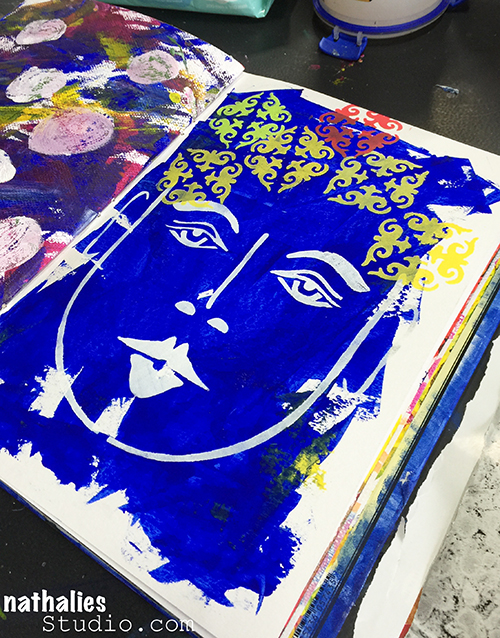
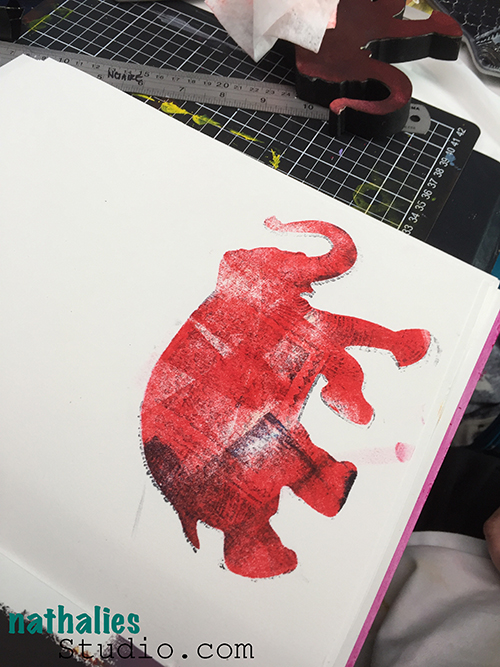
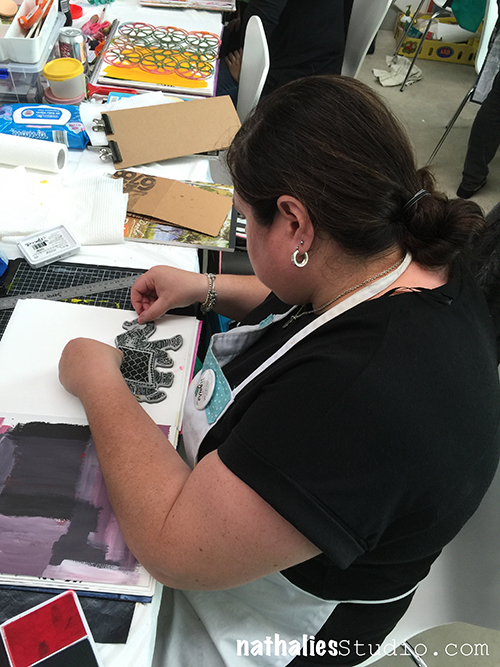
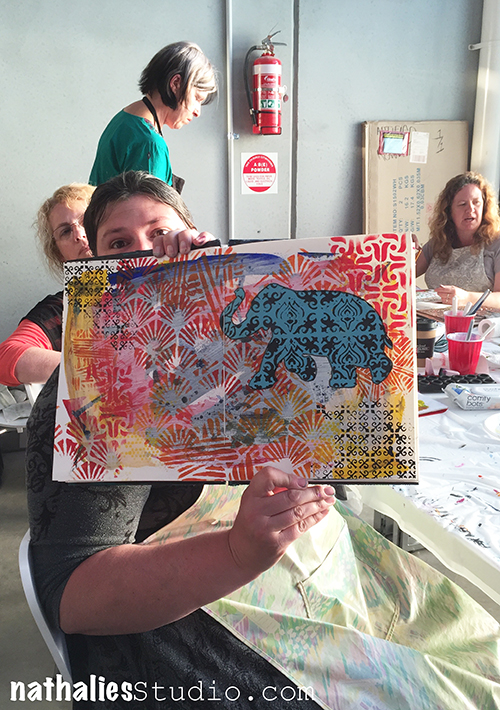
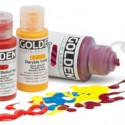
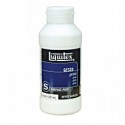
Then I used all three of the stamps in the set to stamp out elephants on to deli paper. I used paint with the foam stamps and black Archival Ink with the rubber cling stamp. I used the stencil from the kit on top of the plain stamped elephant to add some pattern with gold paint. Then I pulled out Nathalie’s Elephant Parade stencil that matches this set and stenciled the larger open elephant with Golden Gold Iridescent heavy body paint, and I stenciled the patterned version with black acrylic paint onto a red background. I cut out each elephant and adhered them onto the background with Golden Matte Medium.
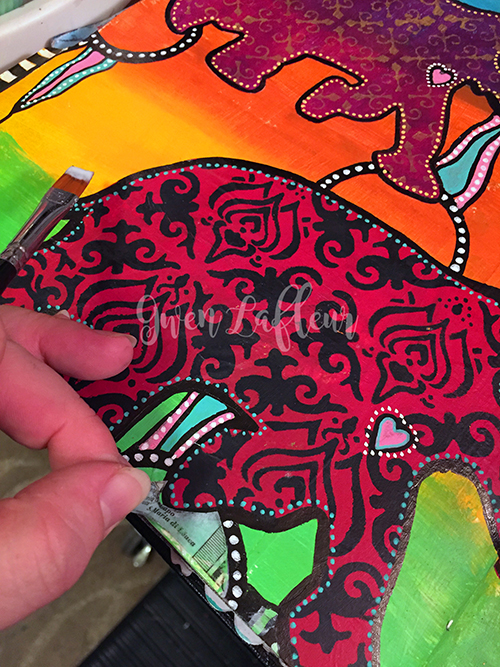
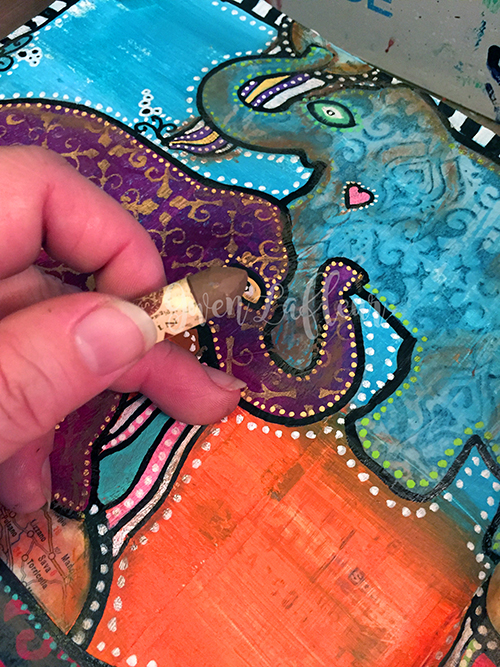
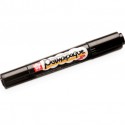
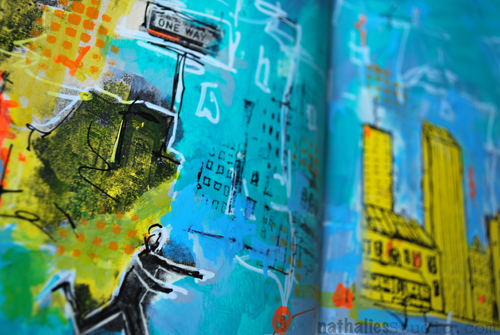
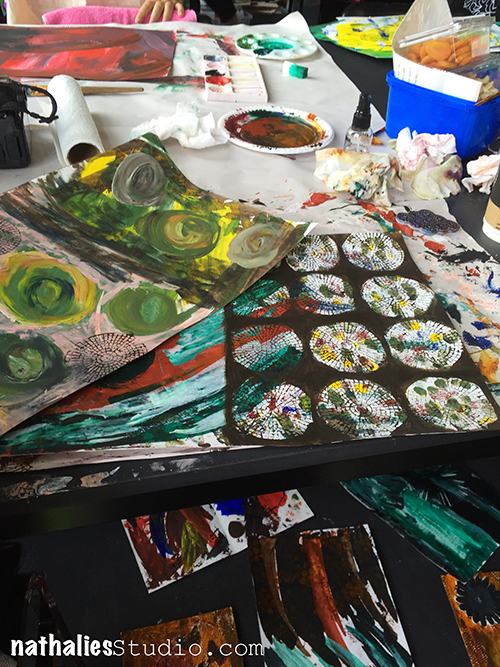
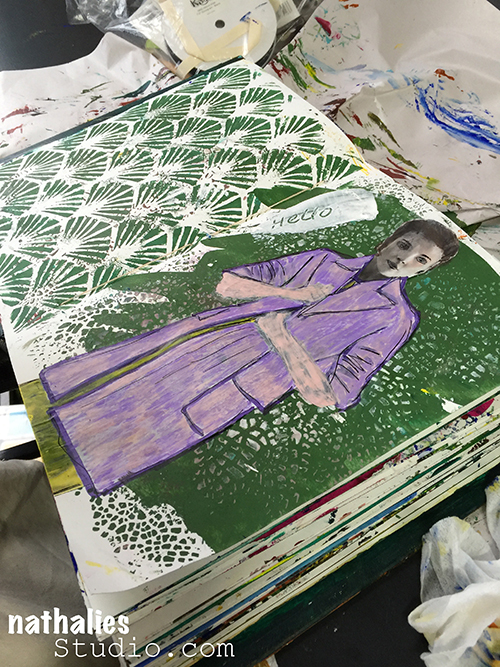
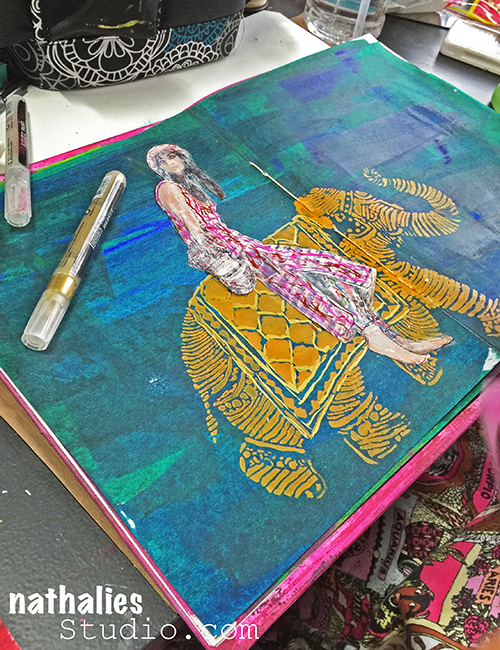
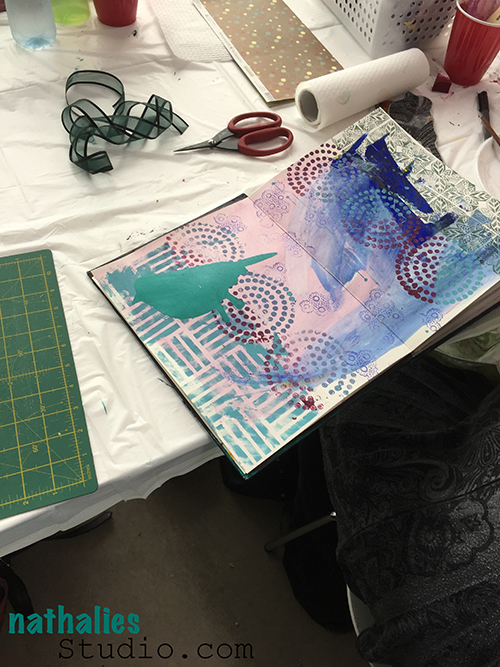
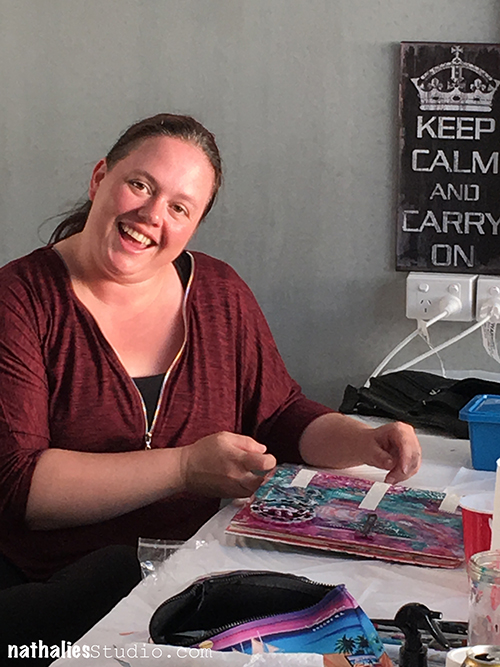
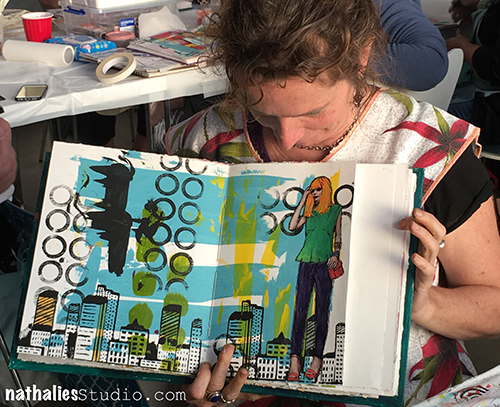
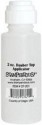
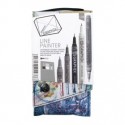
Next, I started adding details. I used a black PermaPaque marker to outline each elephant. I also added some embellished circles to connect and ground the images. I colored in the different sections with various paint markers and started adding dots. I knew I wanted to use maps on the page to reinforce the theme, and I wanted to put them in the middle of each of the circles. Since I needed to be able to see through and trace the area to cut out, I decided to do a quick packing tape transfer. I just put two strips of clear packing tape over a section of a map. Then I soaked it in warm water until the paper on the back started to pill when I rubbed it. I gently rubbed off all the paper leaving just the image on the tape. This made it pretty transparent, so I traced the shape of the circles onto the tape with a Stabilo All pencil and cut them out, then adhered with more matte medium.
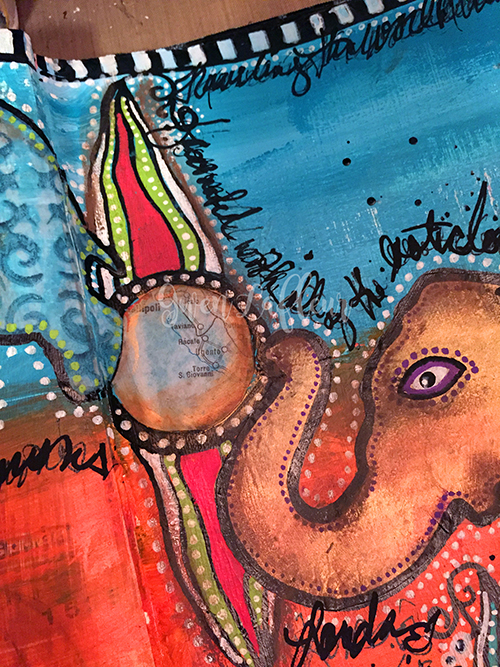
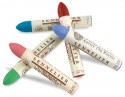
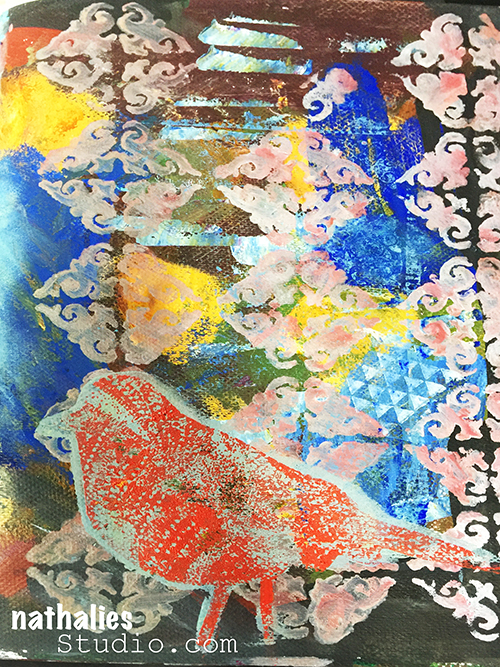
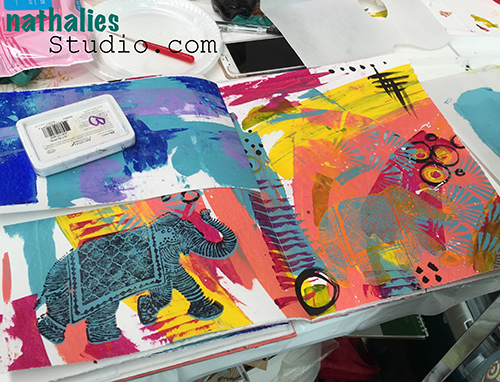
For the third phase, I added white dots around everything to create unity on the page, and went through and added a bit more detail here and there. To add depth to the piece, I used oil pastels to put in a bit of shading. I really like using these on top of acrylic paints; you just have to be careful not to put them where you want to add more layers or acrylic or do any writing – the paint won’t stick to it and the pens won’t write on it, so this needs to be one of the top layers.
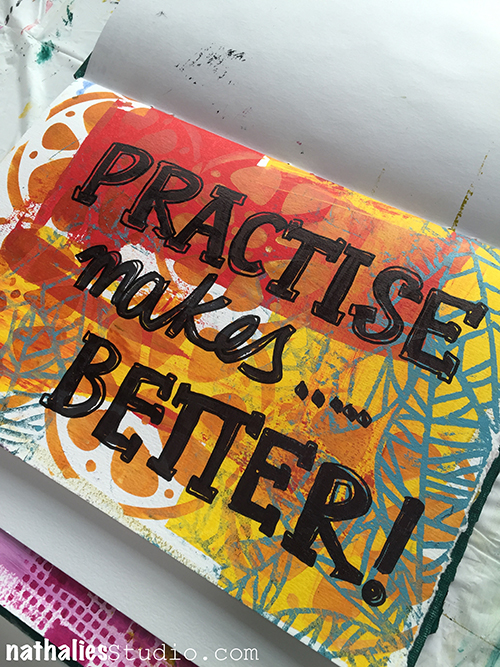
Finally, I used some old rubons to add a title to the page, then just went around randomly adding writing around the elephants and journaling about this memory.
I hope you enjoyed today’s project! I’m really looking forward to hearing about the rest of the team’s memories, and hopefully some of you will play along as well!
—————————————————————————————————
Oohhh this is so much fun! I love all the ways Gwen incorporated the Elephant stamp in her page and her use of pattern definitely suggests exotic far-off places. I hope she finds that book again!
Besides the supplies listed below, Gwen also used acrylic paint, markers, maps, clear tape, and old rubons:

And maybe you will even play along -we would love to see how you interpret the theme. Email me how you used my stencils and stamps with the theme and email me an image – I would love to share what you did at the end of the month!
See you next Tuesday for the another project from the Creative Squad, with the theme Elephants Never Forget.


![BLOG TEMPLATE[20]](/app/uploads/2016/04/BLOG-TEMPLATE20-e1461258192673.jpg)
![STM_NatNfriendsHop_prize[8]](/app/uploads/2016/04/STM_NatNfriendsHop_prize8-e1461258396352.jpg)


Comments (2)
Joi@RR
| #
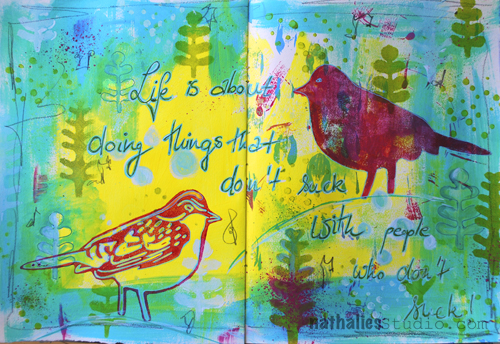
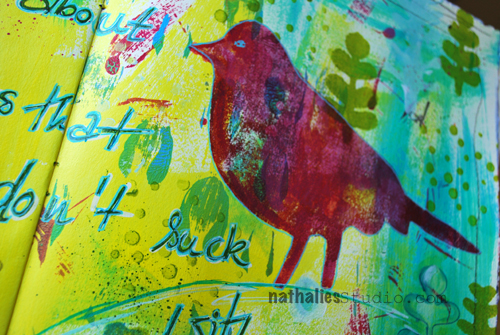
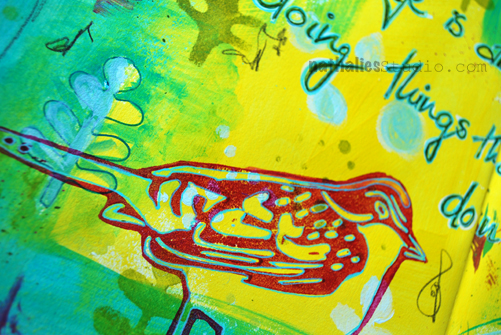
Hehehehhe – YES Nat – it’s true!!! Love this!! AND… you are using DecoArt.. I’m surprised! YEAH!!! Luscious background. And your bird stamp is just so versatile. Adore your birds!! XXj.
Reply
nathalie-kalbach
| #
Thank you Joi. Yes- I do have some deco art paints and like using them in an art journal or for mono printing.
Reply