nathalie-kalbach

designed by n*Studio features: The Envelope, Please! By Judi Kauffman

One of the things that make me really giddy is when I spy someone using my stamps by Stampendous or also my Stencils with StencilGirl Products :) So, once in a while I feature the work of those wonderful talented people with a series called: designed by n*Studio features:…..

And today I feature: Judi Kauffman. Judi has no blog – so please leave some love for her here :)

I am so happy to have my friend Judi Kauffman back for another feature!

JudiAndPuppies


Here is what she has to show and tell:
Nat_9-2015-I1

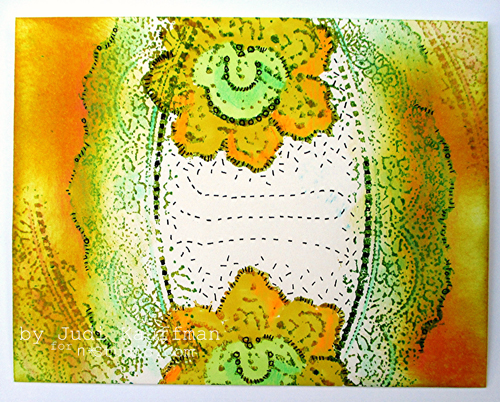
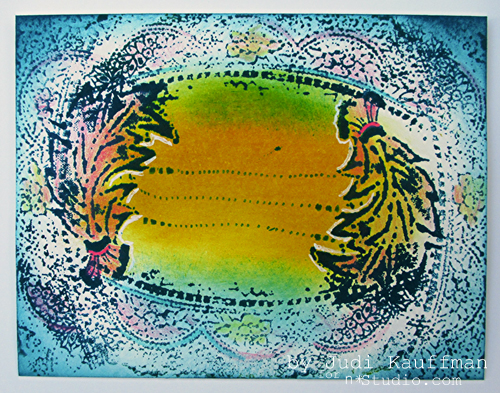
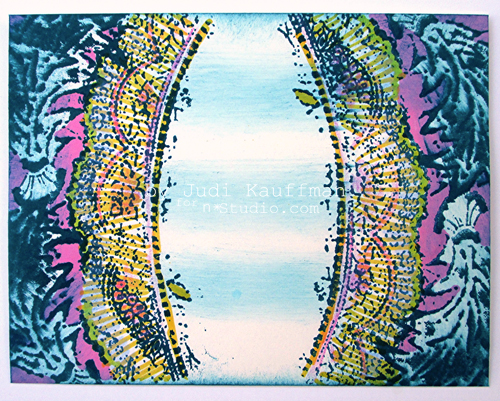
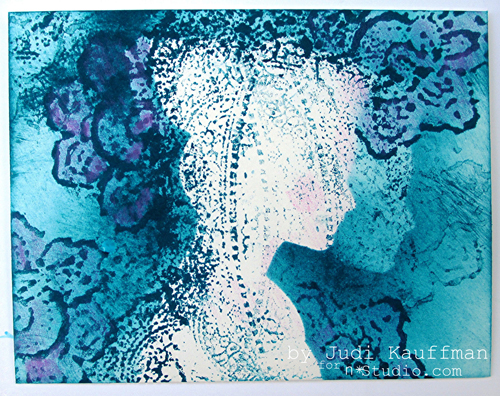
Thank you for inviting me to be your guest designer, Nathalie. When I saw your new Fiesta stamp set, the first thing I thought about was envelopes! A decorated envelope makes any card or letter extra special and the stamps and stencils in the set are the perfect fit in every way.
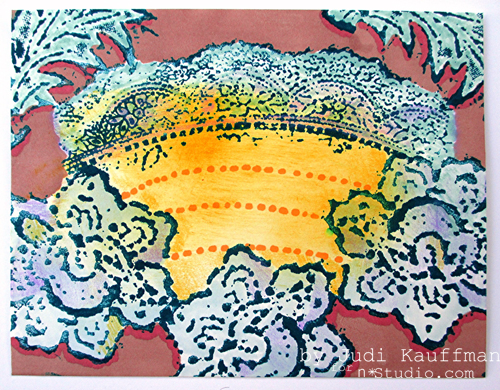
Nat_9-2015-D

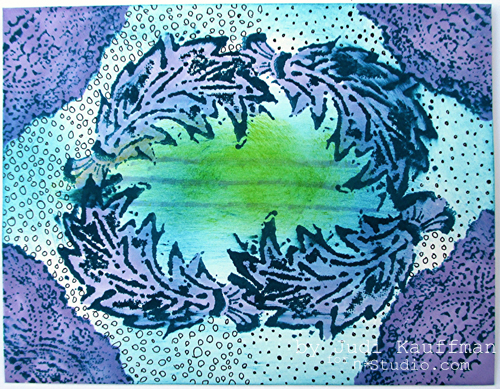
The stamps provide a great combination of lacy and floral elements, bold as well as soft-edge, large and small – just right for mixing and matching, layering and overlapping. The silhouette stencil and masks of a lady and gentleman dressed in their finery sparked all sorts of ideas and added to the possibilities.
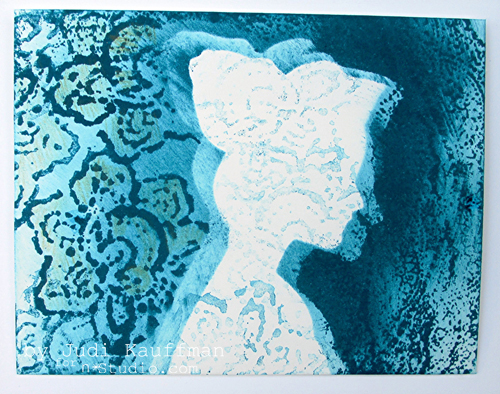
Nat_9-2015-A

Given that envelopes are meant to be ephemeral, tossed after they’ve done their job of carrying correspondence, I like to decorate them quickly, working in big batches. Ideas beget more ideas; before you know it there are a couple of dozen envelopes ready to use, a series of one-of-a-kind creations that take only a few minutes each.
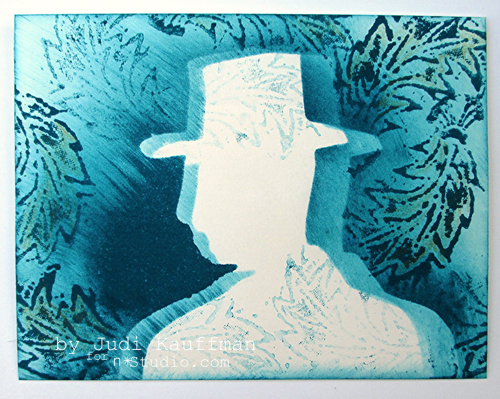
Nat_9-2015-B

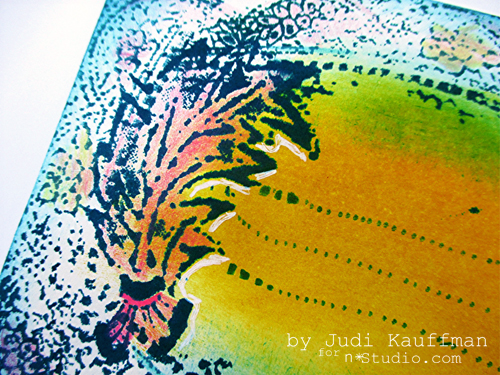
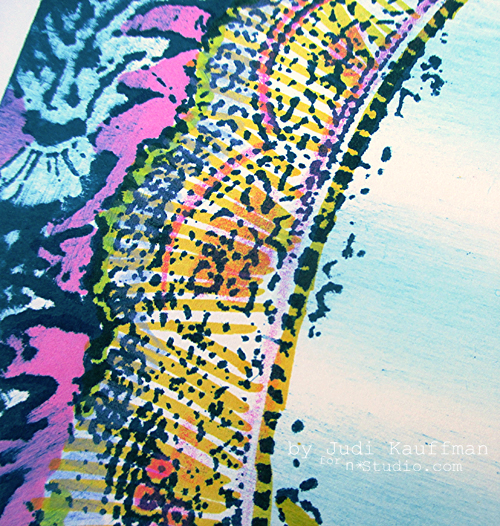
Sometimes all I do is stamp and smudge and call it a day. But other times I take the envelopes beyond the initial stamping and smudging: Markers and pencils and pens come out to play!
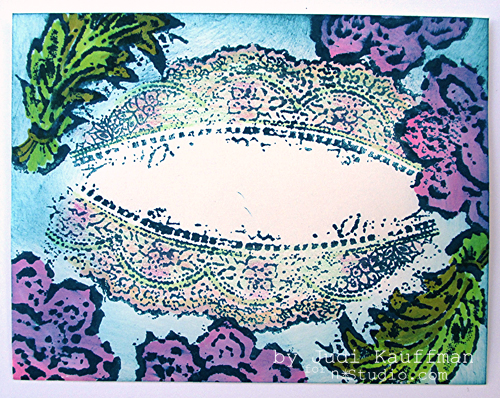
Nat_9-2015-E

Instructions:

  1. Spread out some newsprint to protect the work table. (Save the newsprint to use for collage, it will have partially-stamped images and lots of smudged color on it!)
  1. Temporarily mount the stamps on acrylic blocks. Using a dark color dye-based ink (sepia, stream, or denim, but not black) stamp a series of envelopes making sure to leave an area for writing the recipient’s name and address. Envelopes shown are A2 size. Substitute #10 or any other size you prefer.
  1. Using artist’s sponges smudge the same ink and other ink colors over and around the stamped areas.
  1. Use the silhouette masks to create open areas toward the center of some of the envelopes as shown.
  1. Stamp some more envelopes using lighter colors.
  1. Use markers, pencils and pens to add bold accents or subtle color blends, highlight and bring out areas within the design, and create doodle patterns. If you enjoy wet media make sure to stamp with permanent inks and use watercolors, acrylic paints, and mists to accent the envelopes (in addition to, or instead of, the markers, pencils and pens).
  1. For the finishing touch, choose postage stamps that coordinate with the colors and designs on the envelopes.
  1. While you’re at it: Stamp some cards, create some collage papers, or work on art journal pages using the same design strategies and supplies.

A list of the supplies is at the bottom. Here are some more samples:
Nat_9-2015-C

Nat_9-2015-F

Nat_9-2015-G1

Nat_9-2015-G2

Nat_9-2015-H

Nat_9-2015-I2

Thank you so much Judi – I love this unique idea for using my stamps for Mail Art! You are amazing!

Here are the supplies that Judi used besides Dye-based inks in assorted colors; Artist’s sponges; White, off-white or ivory envelopes in A2 size (or any preferred size); Acrylic blocks, Winsor & Newton ProMarker :

nSupplies


Comments (6)

  • judi kauffman

    |

    No, they’re standard poodle puppies, Cheryl.

    Reply

  • Toni

    |

    Awesome, colorful work! What did you use for stamping and with the stencils, Judi?

    Reply

    • judi kauffman

      |

      Toni, I used Ranger dye based inks for stamping and smudging, then ProMmarkers and Sakura pens and Prismacolor pencils to add more color and line work in selected areas. Smudging was done with a round artist’s sponge, found in the fine arts aisle of a craft store.

      Reply

  • stephanie

    |

    Great ideas for envies! Thanks.

    Reply

  • Cheryl

    |

    Hi Nat and Judi,

    I love decorated envelopes. Great job. Can’t wait to try this technique.
    Now, the dogs that are with Judi in the photo – are they Affenpinschers?

    Cheryl

    Reply

    • judi kauffman

      |

      No, they’re standard poodle puppies, Cheryl.

      Reply

Leave a comment

If it Scares You or … In My Art Journal Today

NatKalbach_GoodThing01

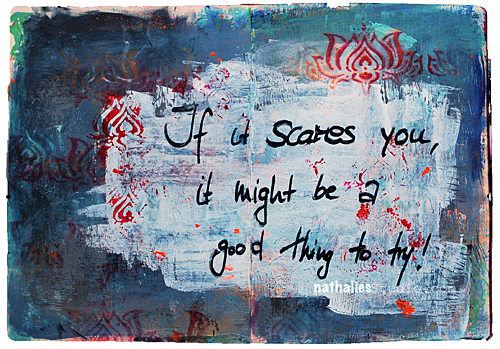
If it scares you, it might be a good thing to try!

I believe that is true – almost every time, I thought of something I would love to do or achieve and it sounded scary it was a good decision …like quitting my paralegal job to become an artist…or moving to the U.S. … So time for me to encounter another thing that scares me – we shall see ;)

NatKalbach_GoodThing02

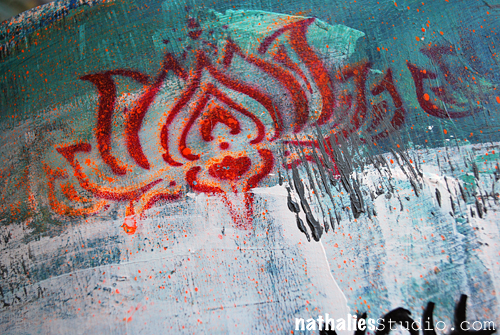
This was a quick page in the morning – I had painted the background a couple weeks ago and had experimented with glazes. It got a bit dark in the process, so I added a huge field of white gesso scratched on with an old hotel key card. Later I spray painted using my StencilGirl Products Lilly Stencil and two different colors of Liquitex Spray Paint. Sometimes Art Journaling doesn’t have to be a long process- remember – you are the boss apple sauce ;)

nSupplies


Leave a comment

Art Tapas – Bite Sized Tips for the Mixed Media Artist – Tip #4 Watercolor Storage

Art Tapas are short videos (1- 3 mins) that will give some practical tips or advice about anything that is related to tools, art supplies or processes and any Mixed Media or Hobby Artist might appreciate. Lots of times these reflect some mistakes that I made along my journey, so to speak, things that I learned the hard way and sometimes they are just some things that I would have loved to have known when I actually started in Mixed Media.

Watercolor Storage

Art Tapas Watercolor Storage from Nathalie Kalbach on Vimeo.

I hope you enjoyed this art tapa which was brought to you with the help of my awesome watercolor artist friend Mario Robinson. Check his website out -and if you love watercolor – his classes. He is not only an amazing artist, he is also super cool and fun and a great teacher! If you have questions that you would love to have answered in some of the Art Tapas videos- let me know and I might just cook one up for you to nibble on :)

Happy Creating !

Comments (2)

  • Crystal

    |

    I had older watercolor tubes of paint, so I thought to use them, squeeze them all out neatly in a large pallet I have. Well within a couple of months, they got moldy. Not every color, but most of them. I even had the pallet cover over it never ever thinking they would mold. So I spent an hour washing out the whole pallet.

    Reply

Leave a comment

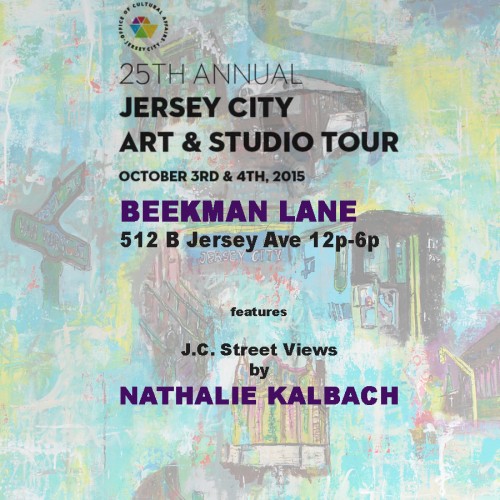
Jersey City Art & Studio Tour 2015, Oct. 3rd&4th

JCASTBeekmann

If you are in the area, I would like to invite you to visit one of my favorite stores in Jersey City – Beekman Lane on Jersey Ave next weekend. Julia and Lori are having my artwork inspired by Jersey City in their store as part of the Jersey City Art & Studio Tour.  You can find the whole map and all stops for this event here – we are Number 31 on the Downtown listing.

It is a pretty amazing event that is worth a visit, there is so much insanely great artwork and talent in this city, that I hope you plan to explore and I would be stoked if you would include me on your art-tour :)
Have a wonderful week

Comments (1)

  • Sue Clarke

    |

    Wish I lived closer…have fun!

    Reply

Leave a comment

Stroll Through The Hood – September 2015

I did some nice bicycle strolls through the hood this month – although I have to admit – I am still a bit scared riding my bike in this city. The streets are insanely bad and are pot hole traps and the car drivers basically never watch out for bicyclists. But anyway …let’s go!

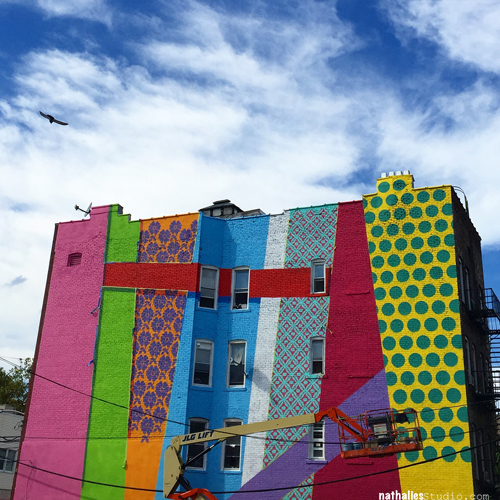
NatKalbach_JerseyCity01

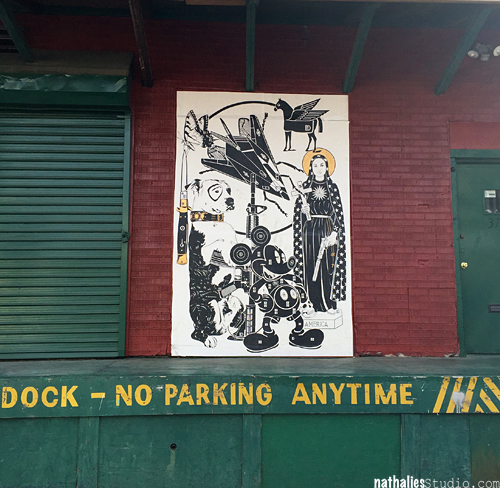
I loooooveee this- here it is still in progress. Mural by Hellbent close to Journal Square in Jersey City.

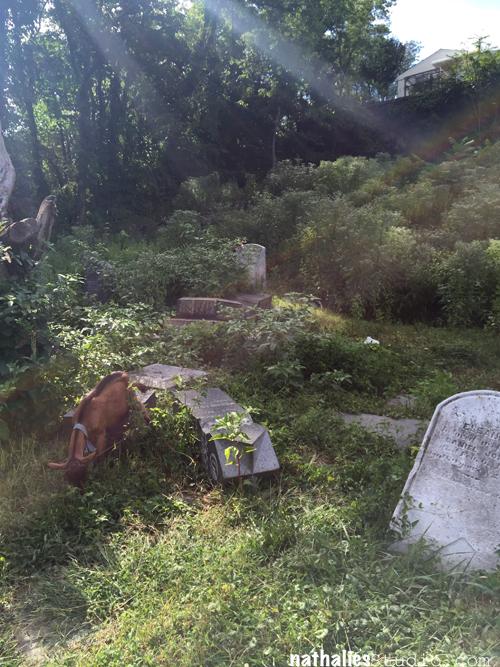
NatKalbach_JerseyCity02

This was taken at the Historic Jersey City and Harsimus Cemetery. Prior to it’s creation in 1829 it was the site of multiple Revolutionary War skirmishes and an ammunition storage during the War in 1812. Now it is inhabited by goats and maybe ghosts? :) Apparently there is a Halloween Candle Light Crawl scheduled on Halloween – you won’t find me there- I would probably pee my pants- LOL

NatKalbach_JerseyCity03

Dylon Egon ‘The Evolution of Modern American Man’ – love his work!

NatKalbach_JerseyCity04

The last couple months we had dinner almost every evening on our deck enjoying the city view -I will miss this for sure as it is getting colder.

NatKalbach_JerseyCity05

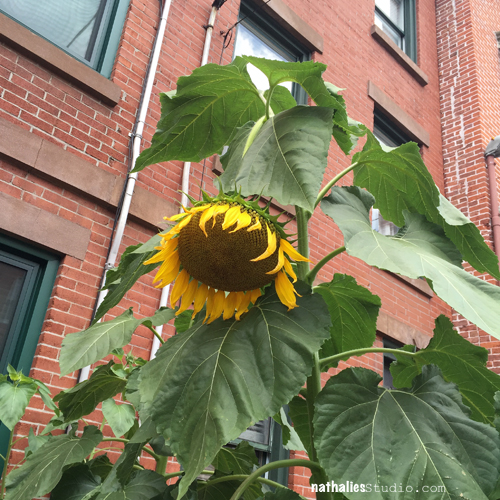
Have I mentioned before that EVERYTHING is bigger in America? Well …I am not the tallest person, I admit , but I took a photo of this sunflower looking up, it is like a huge shower head- LOL. FUN

NatKalbach_JerseyCity07

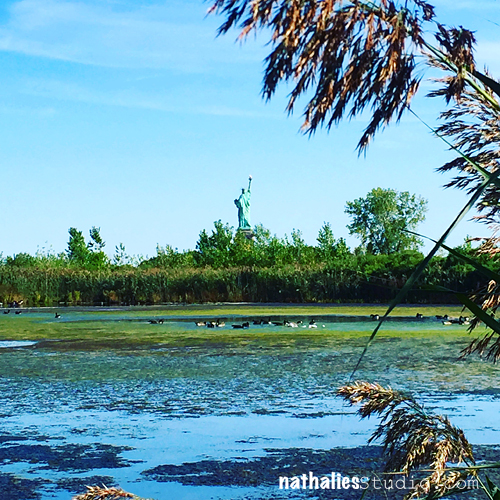
Another bike tour through the Liberty State Park – sneaking up from behind on Lady Liberty :)

NatKalbach_JerseyCity08

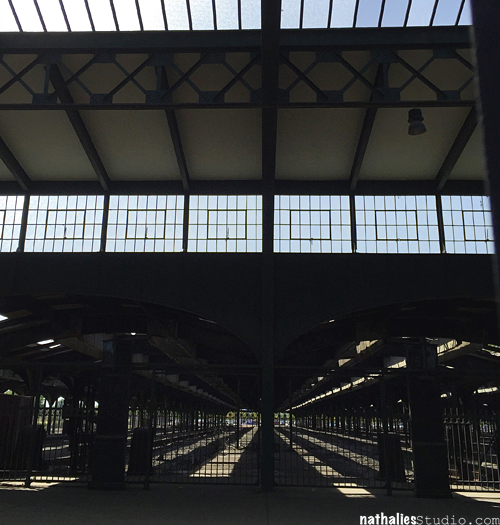
Fascinating lines and lights – the old Railway Station where immigrants coming from Ellis Island would head out to all other places but NYC in the States.

NatKalbach_JerseyCity09

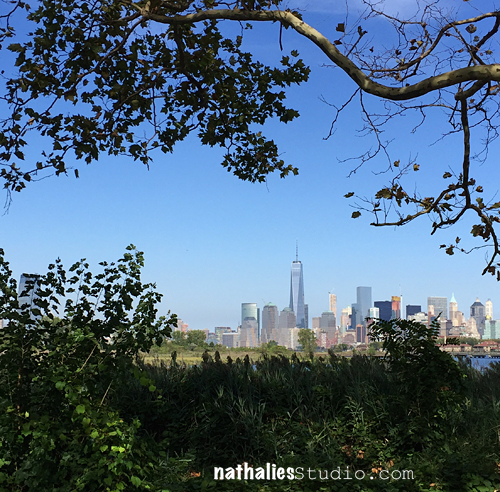
just loved this view Jersey City,The World Trade Center and Manhattan…and look at the heron …I am amazed that these places exist – little oases in buzzing cities ….

NatKalbach_JerseyCity10

Another view of Manhattan … now…who has the best views of Manhattan? Yes ….we in Jersey City have ;)


NatKalbach_JerseyCity06

And things like this make my  day :) Hope you have a beautiful day too! Thanks for strolling with me through my hood!


Comments (6)

  • Barb J

    |

    These are terrific pictures. You have a fabulous view of many fantastic places right outside your door. Thanks for sharing.
    Barb

    Reply

  • Audrey

    |

    I really enjoyed the cemetery. It would be sooooo cool to do the Halloween Candlelight Crawl.

    Thanks for sharing your adventures and your inspiration.

    Reply

    • nathalie-kalbach

      |

      hehehe- yeah the Halloween Candlelight Crawl – still don’t think I could do that. Thanks for visiting!

      Reply

  • Sue Clarke

    |

    Wonderful stroll to see while eating my cereal this morning!
    Love that first colorful mural. And the view from your place is incredible.

    Reply

Leave a comment

designed by n*Studio features: Stampendous Design Team
One of the things that make me really giddy is when I spy someone using my stamps by Stampendous or also my stencils with StencilGirl Products :) So I thought once in a while I would feature the work of those wonderful talented people with a series called: designed by n*Studio features:…..

And today I feature: The Stampendous Design Team – and since it is a bigger design team …here a  couple :)

Janelle Stollfus

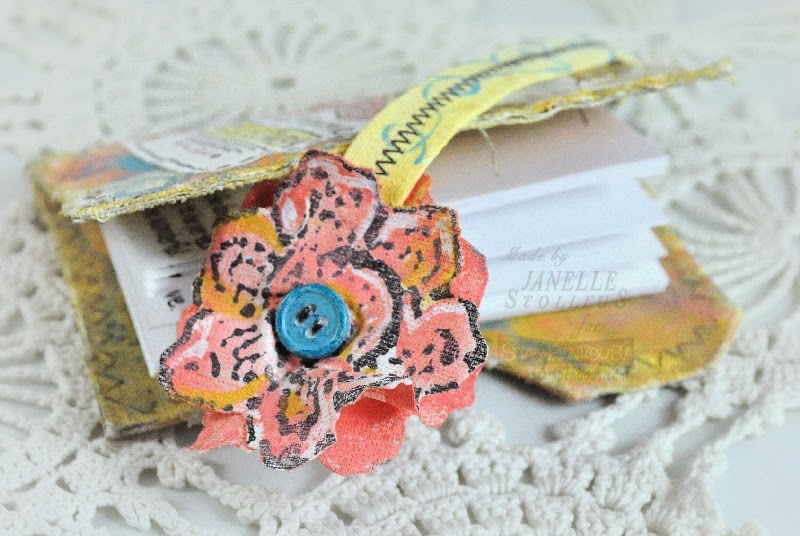
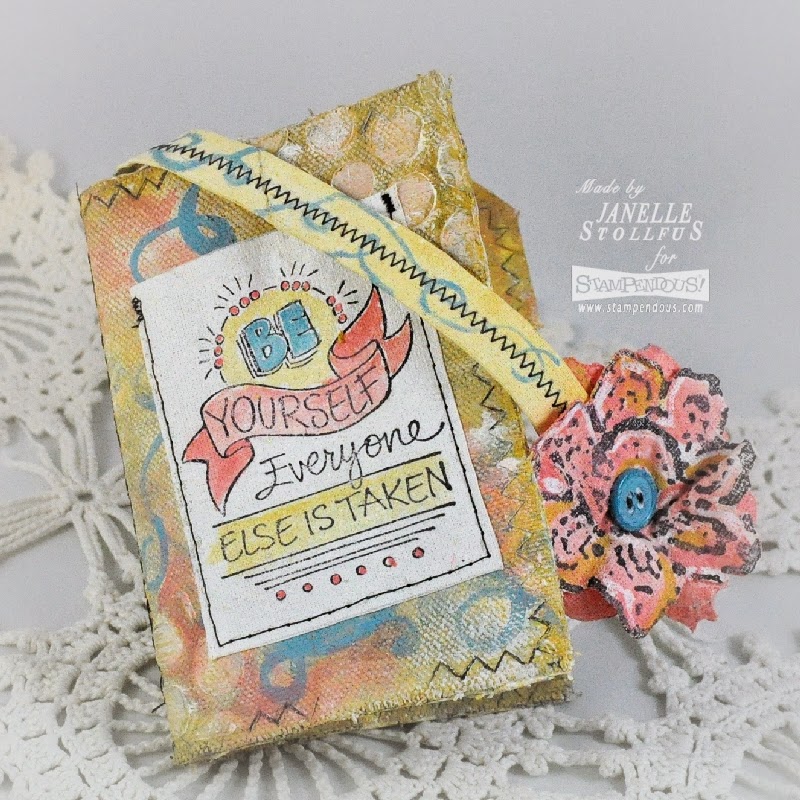
Janelle is part of the Design Team since 2011 and I spied this wonderful notebook she created, using my Fiesta Stamp Set for the flower .

Love how she stamped the flower on painted canvas and then cut it out and layered it for a dimensional book mark – so clever and beautiful!

Check out her blog post including a tutorial on how to create the notebook on her blog here.

Lea Fritts

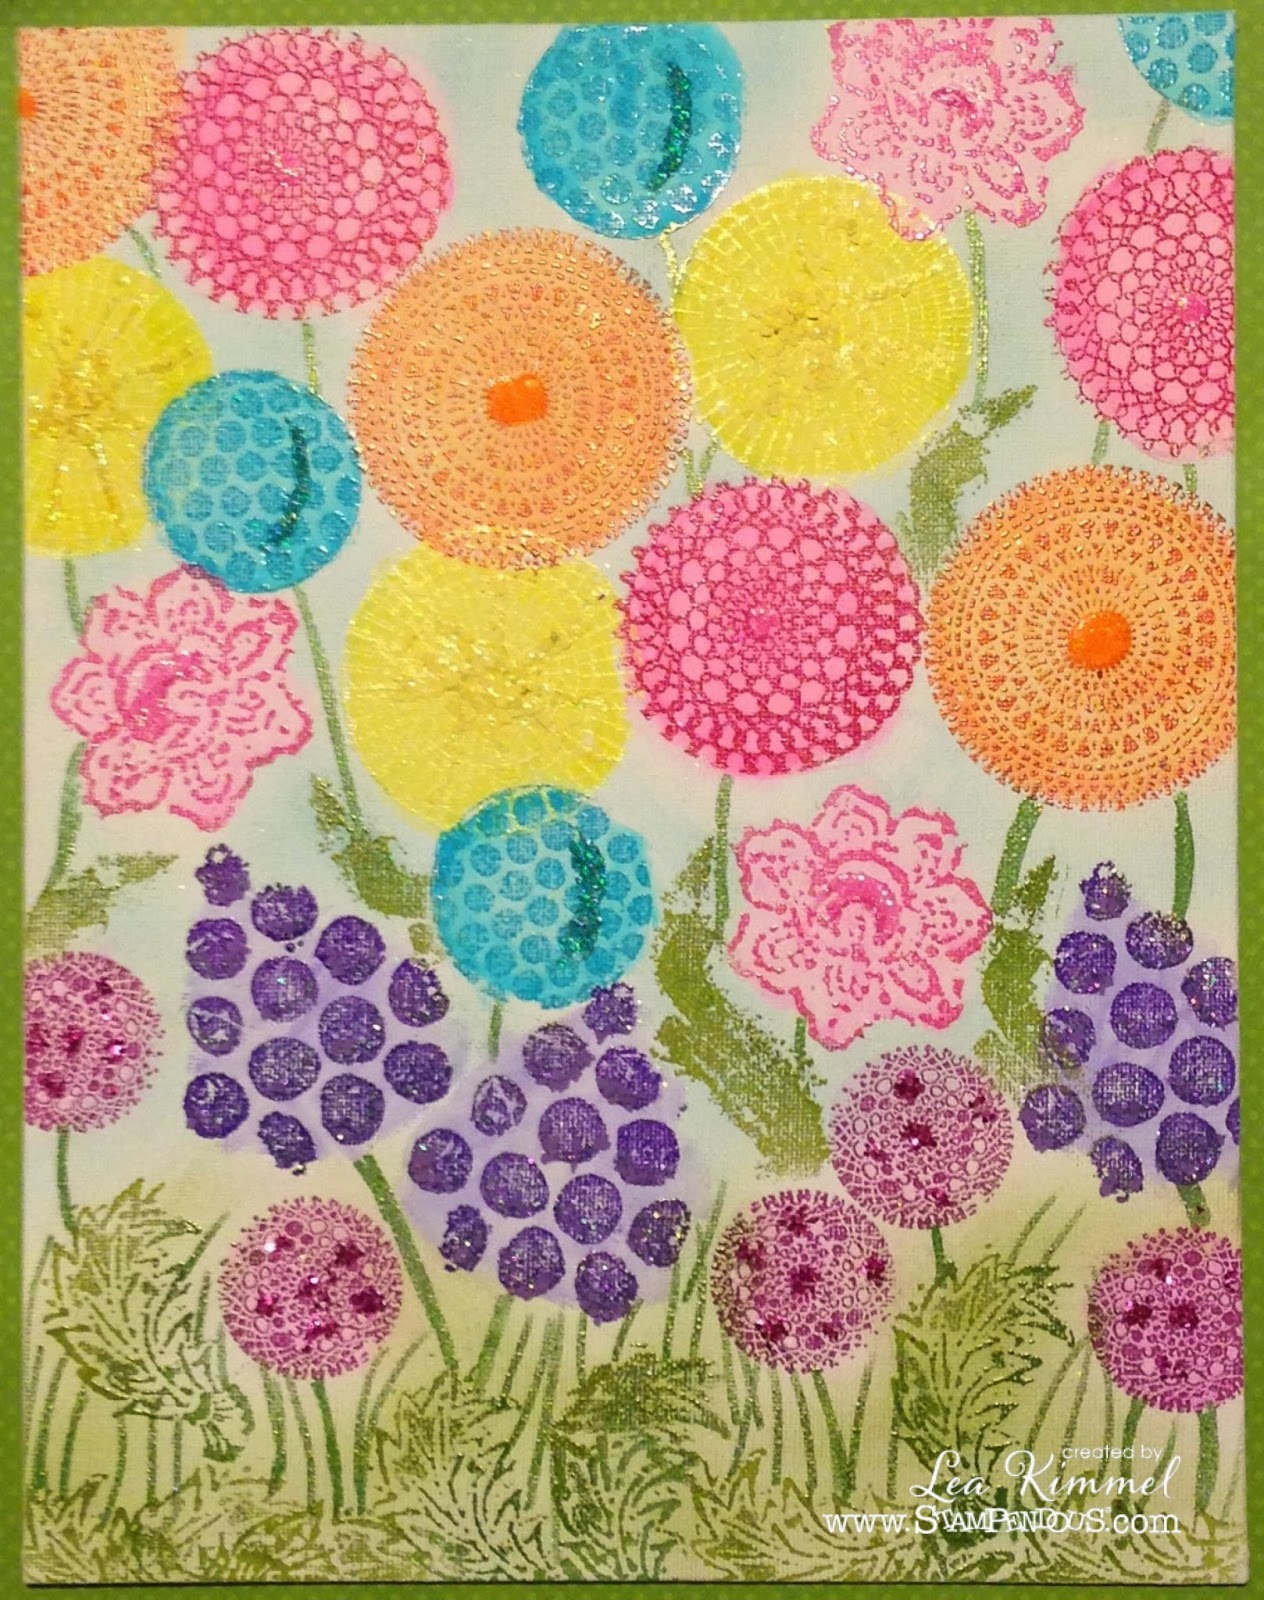
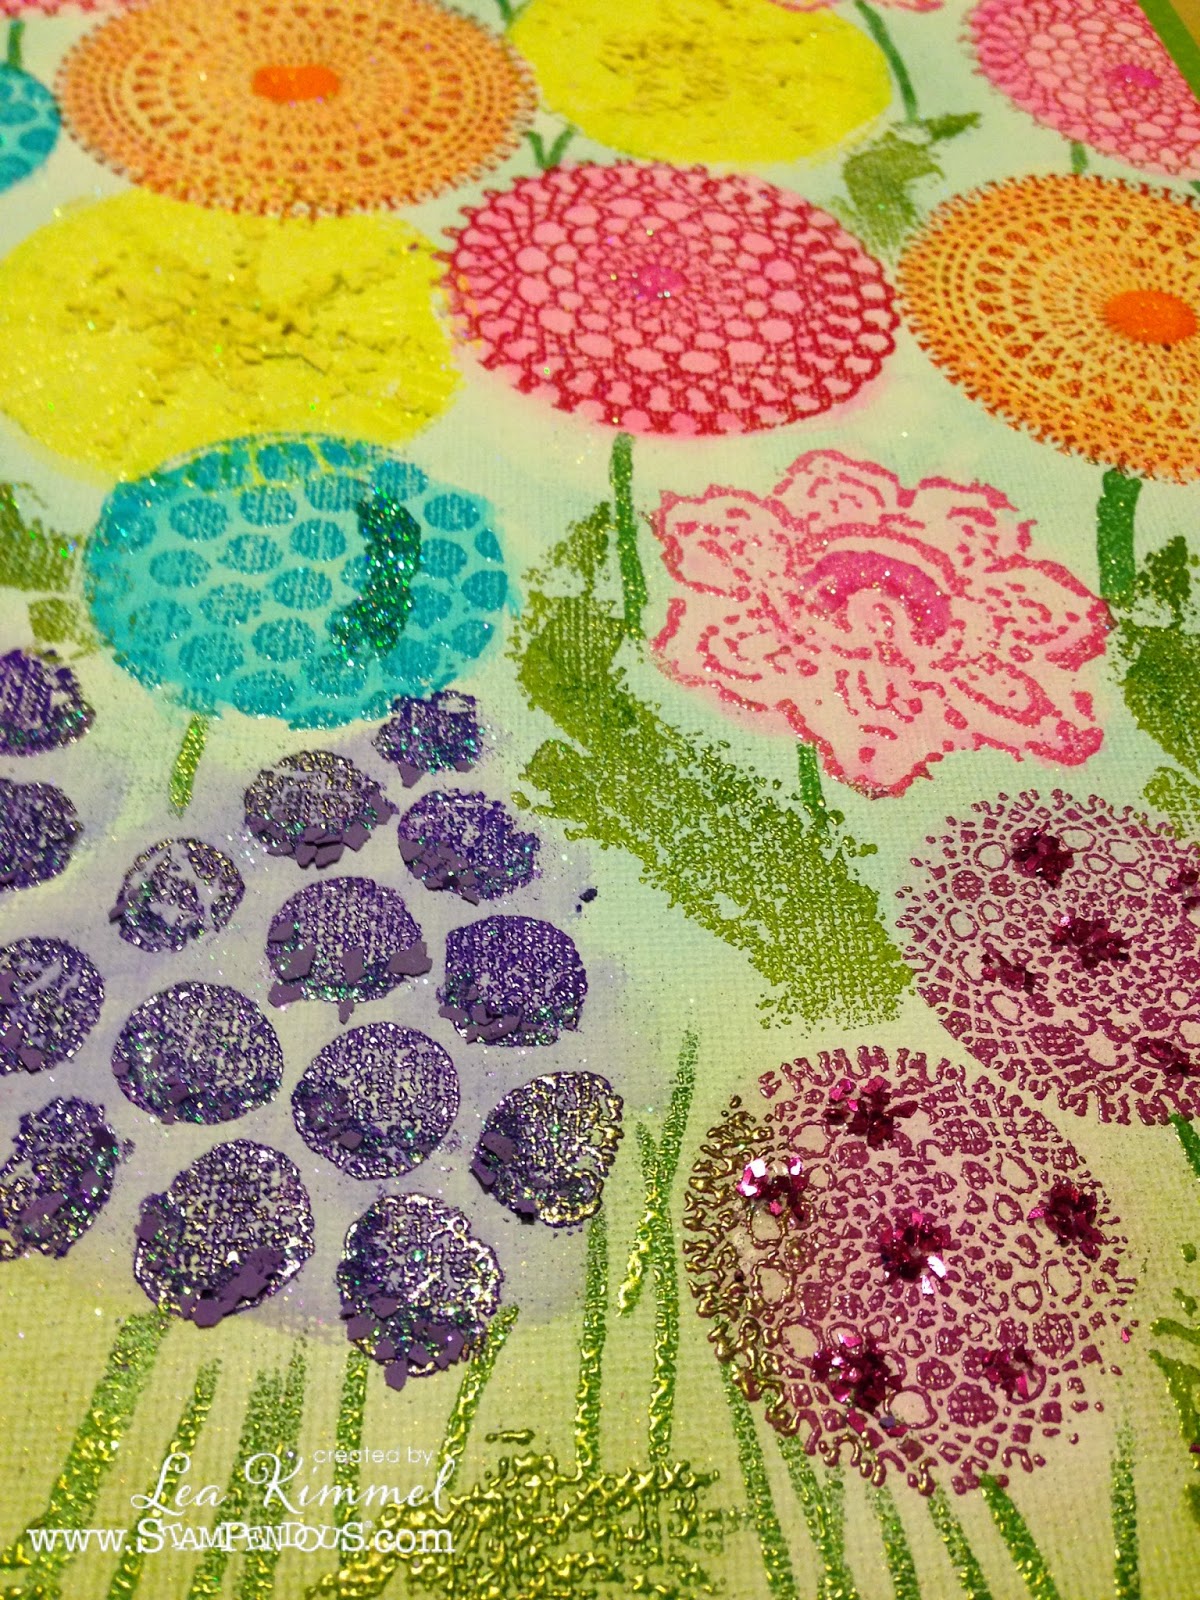
Lea is part of the Stampendous DT since 2012 and I found this fun Garden Canvas she created using my Fiesta, Kaffee Klatsch, Mish Mash, Wired and Grunge Stampset.

I love how Lea used all the different stamps and created this whimsical garden – I also love the texture and the happy colors. Here is what she used and how she did it.

Wendy Price

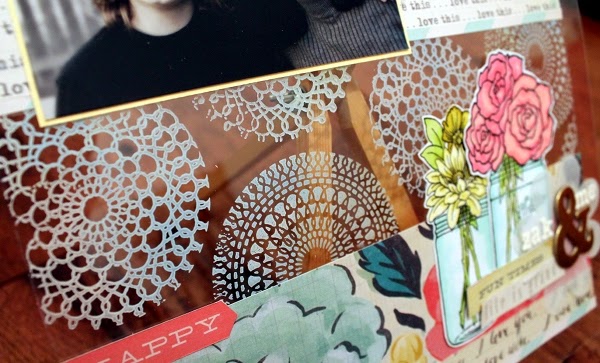
Wendy is part of the Design Team since 2009. I love her darling scrapbooking layout using my Kaffee Klatsch Stamp Set on an acrylic sheet.

I love how the stamps look really lacy on the sheet- beautiful. You can see what she used and how she did it, here.

Pam Hornschu

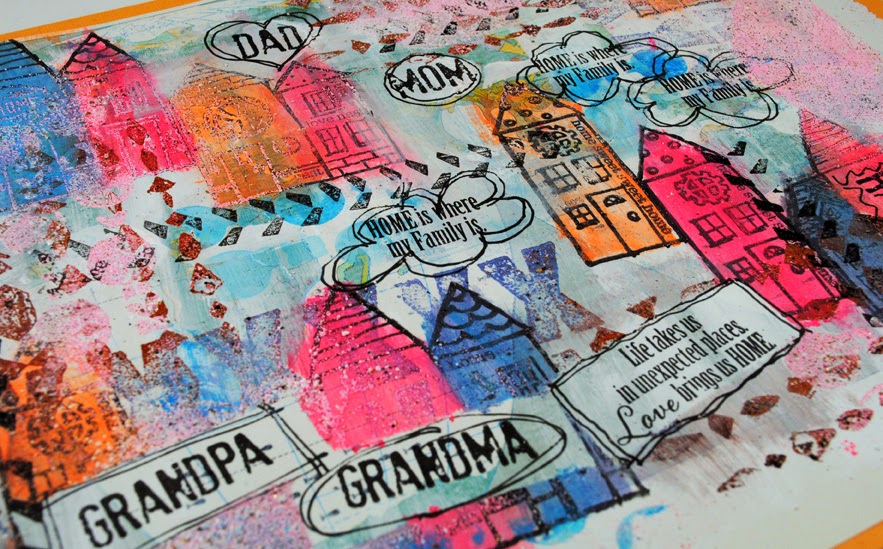
Pam is part of the Design Team since 2002 – WOW! Given my obsessions with houses and cityscapes – I was delighted to spy this piece by Pam using my Mark Maker Stampset.

I love how she used some of the stamps in the set to mimic roads and how she used some others with embossing powder for the background. You can read what she used and how she created these happy houses here.

I love how all four of them incorporated the stamps in their own styles and so differently. Thank you to the Stampendous Design Team for using them and  doing such wonderful work- you girls rock!

Here are the stamp sets that they used:

nSupplies


;

Comments (4)

  • Joi@RR

    |

    What a great idea Nat – so fun to see how others have used your stamps and stencils. Love the first two – sooo great. But my fav is the house one because it really does remind me of you and your type of art. The way she used your stamps so uniquely is wonderful. Thanks bunches for sharing these really awesome pieces of art with us. Your products look WONDERFUL in all of these. X j

    Reply

  • Wendy

    |

    Thanks for the mention, Nat! I love using your stamp sets on layouts! They make the perfect background!

    Reply

  • Lea Fritts

    |

    Thank you, Nat, for sharing my art on your blog today! It’s such a thrill to see it here. By the way, I named my flower garden, “Nathalie’s Garden.” Don’t know if you saw that on my post or not but, I thought it was only fitting to name it after you! Thanks again, my friend!

    Reply

  • Janelle Stollfus

    |

    Oh thank you Nathalie for the mention. I so enjoyed creating that notebook with the Fiesta Stamp Set!

    Reply

Leave a comment

Must-Have Mixed Media Supplies – Gesso

GessoNatKalbach

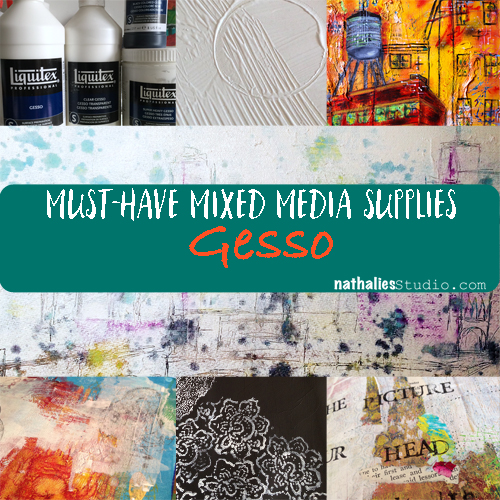
Last month I talked about my absolute favorite and ultimate must-have mixed media supply: Acrylic Paint, but there is more :) Another must-have for me is Gesso. In fact my students know me referring to Gesso as Dumbledore because it is a versatile helper that can put magic spells on your art work, or under…or in between … In any event it is an mixed media ally you want to have in your stash!

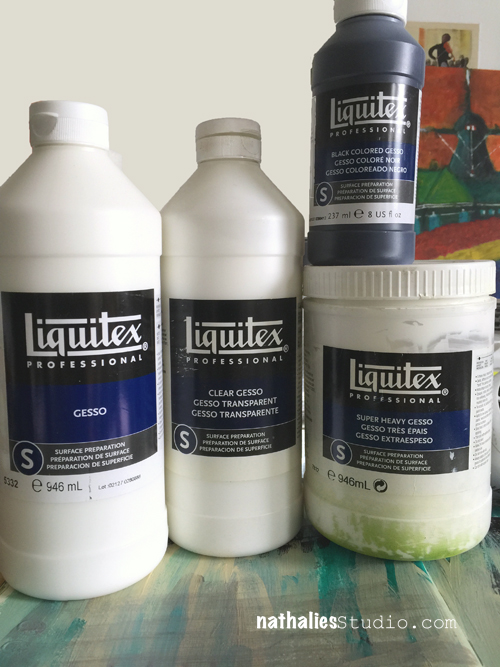
NatkalbachGesso01musthave

So now there are a couple different Gessoes on the market but before I get into that let’s talk about

What I love about Gesso:

  • It can be applied to many surfaces like canvas, fabric, wood etc. and creates a prepared surface that can be painted on
  • It gives  tooth. So you can paint also surfaces where usually paint would not grab on- for example metal. Or you can prepare it for Charcoal and Pastels
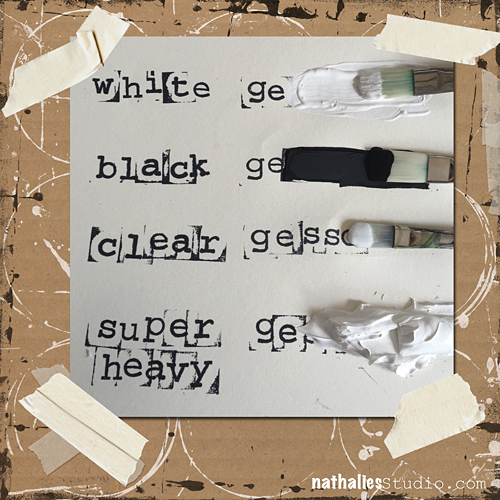
  • There is thicker Gesso and thinner Gesso. You can find white, black and clear Gesso – there are even other colored Gessoes but I would say these are the most used ones
  • You can add color to it
  • It seals absorbent surfaces so that paint does not bleed – most of the pre-stretched canvases you buy in store are already primed with Gesso. You can also use it to turn a thin book paper book into an art journal
  • It is an amazing medium to add texture with tools and household items, embedding supplies or by using it with stencils etc.
  • It is the cure whenever something went totally wrong…just paint over with gesso ….I told you…it’s Dumbledore :)
  • White Gesso is the cheapest white paint and is matte – sometimes I don’t want this super shiny bright white and so I use the matte chalky looking white gesso
  • It is amazing to tone down or change colors of your backgrounds for example in collage with a so called white wash
  • there is a huge amount of techniques including resist techniques with gesso that you can do -ahhh- happy mixed media land

Here are some examples using Gesso:

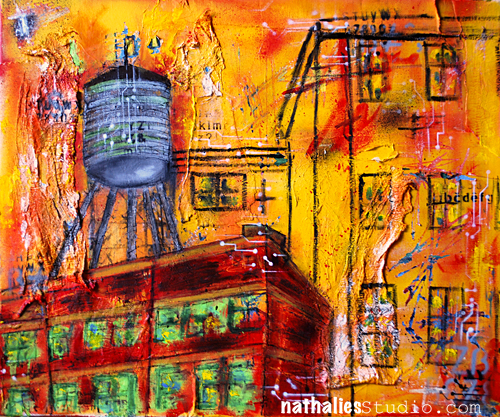
Canvas: White Gesso over a textured  and collaged background painted over with Acrylic Paints and Oil Bars

NatKalbach_Watertower01

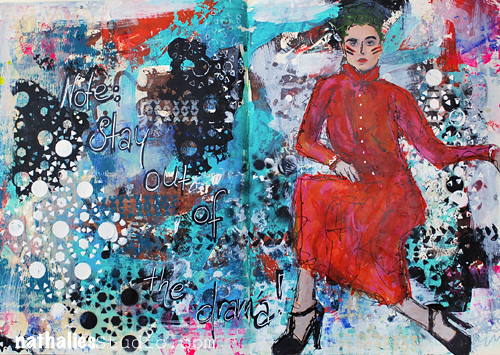
Art Journal Spread: Super Heavy Gesso through the Stencil included in my Stampendous Kaffee Klatsch Stamp Set

Natkalbach_OutofDrama01

Canvas: nice texture through stencil on canvas with Super Heavy Gesso

NatKalbach_LAbstract03

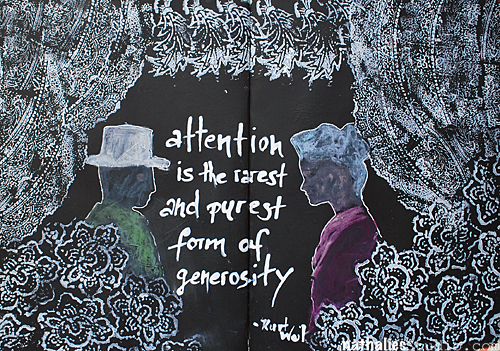
Art Journal – black gesso background with Derwent Art Bars (watersoluble wax bars) and my Stampendous Fiesta Stampset and Stencil

NatKalbach_Attention01

Canvas: Gesso on canvas partly taken off then scratched into and painted partly over with acrylic ink

NatkalbachGesso02musthave

Art Journal Spread- toning down areas in art journal with Gesso spread with hotel key card

Art Journal Spread: Texture created with Gesso and then painted over with Acrylic Paint

I could go on and on because I really use Gesso all the time and there are so many ways to incorporate it into your art work!

Now… Which Gesso do I use?

First off – Disclaimer: I am a Brand Ambassador for Liquitex so naturally I tend to recommend Liquitex products. But my love for Liquitex Brand acrylics began long before I began working with the company and it is a genuine love for their products. In fact I was playing with their paints and acrylic media back then in Germany and I was just having the best of times and I shared this with the world. And that is how the relationship with Liquitex many years ago began

Gessoboard_natKalbach

As always in this series- the answer to this question is based on my preferences, my style and my experiences – what is right for me, might not be right for you

  • I do use mostly white gesso
  • If I want to create a colored Gesso I add Acrylic Paint or Ink to clear Gesso as it does not tint my color
  • I use black Gesso if I want to make colors that I use on top pop especially when I use Pan Pastel or Derwent Art Bars (water-soluble wax bars) on top
  • I use Liquitex Professional Gessoes  because I love the consistency and coverage.
  • I use either the thin liquid Gesso or I go the total opposite and use the Super Heavy Gesso especially when I use it with Stencils or for sculptural texture
  • I used to buy big buckets of white Gesso – which makes sense if you use them up in a workshop right away with lot’s of students, but now I use the 946 ml/32 oz ones at home and when I travel I use the 118 ml/4oz bottle. I just refill the small bottle now from the big one.
  • When you start out and you just want to get a feel for Gesso – the Liquitex Basics Gesso is a good start, but the consistency is a bit more gritty and that might not what you like – if you don’t, I would rather recommend the Professional one.

How about a fun tutorial video where I use Gesso to create texture?

Playing with Gesso and Acrylic Ink

You can find the supply list for the video here .

Some useful tips when working with Gesso: 

  • Any tool from brushes to texture tools or else you use with Gesso, needs to be rinsed with water right away in case you want to reuse it. If you cannot do that, store the tools in a water container until you can clean it as dried gesso will ruin your tool.
  • The same applies for stencils also because the gesso will actually clog the bridges of your stencils – so here is an exception to my rule that I do not clean my stencils.
  • Don’t pour thick gesso water down the sink drain – it can clog your sink …maybe not today, maybe not tomorrow- but maybe Thanksgiving or any other holiday- been there….done that – trust me ;)
  • Clean your tools you used with gesso first into a rag or paper towel so that most will end up in your garbage. Better yet – clean them on not yet filled art journal pages and let the magic happen later.
  • You can water down gesso but you should not use more than 25% water– if you need to thin it more, use an equal amount of water and Liquitex Fluid Matte Medium. That way the gesso won’t be broken down by the water which can affect the gesso’s ability to stick to your surface.
  • If you use Clear Gesso for the first time…do not freak out :) It comes out of the jar milky white- but it dries clear

Here is a list of the supplies that I mentioned throughout this Must-Have Mixed Media Supplies – Gesso Post

nSupplies


I hope you enjoyed the second installation of my Must-Have Mixed Media Supplies. See you next month for the third part!
Happy Creating

Comments (5)

  • ari

    |

    very interesting and useful, thank you!

    Reply

  • Sue Clarke

    |

    Nice summary. I found out about gesso either from you or Julie and it is a must have supply for me now. The variety packs are a nice way to try the different kinds without a huge investment.

    Reply

  • JoAnn Campisi

    |

    Thanks for the info – didn’t know about Professional Liquitex Gesso – I have always used the regular. Will definitely try it out.

    Reply

Leave a comment