Get ready to go on another exciting Artful Adventure with us! Through 5 lessons you’ll learn a variety of fun and innovative ways to translate elements of Klee’s playful signature style into your own unique art journaling and artwork.
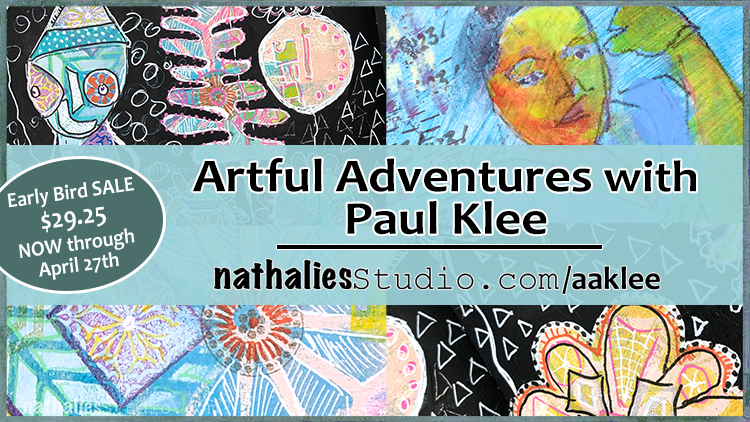
Sign up NOW to enjoy great pricing: Early Bird pricing – 25% off the regular price of $39, so just $29.25!!! – now through April 27th.
Check out the promo video:
Sign up now through Monday, April 27th and get the workshop for just $29.25. Throughout the workshop I show you ways to pull off Klee style elements that are fun to experiment with and can add a touch of whimsy and individuality to your own artwork. We’ll learn an image transfer technique, ways to build backgrounds with color and pattern, and discover the freedom of letting loose and even covering things up, all inspired by the artwork and techniques of Paul Klee.
Class begins on Monday April 27th. If you are ready for another Artful Adventure, Sign up TODAY.
Hello from my Creative Squad! Today we have an art journal page (and how-to video so you can watch it come together) from Nicole Watson that is a really lovely celebration of spring :) She is using my Santiago 9×12 and Kyoto stencils with this month’s theme: Weather Report – Let’s talk about the weather! Do you love thunderstorms? The crisp air of Autumn? A good snowstorm? Are you a fan of endless sunshine? Create something inspired by that go-to topic of small talk – the weather!
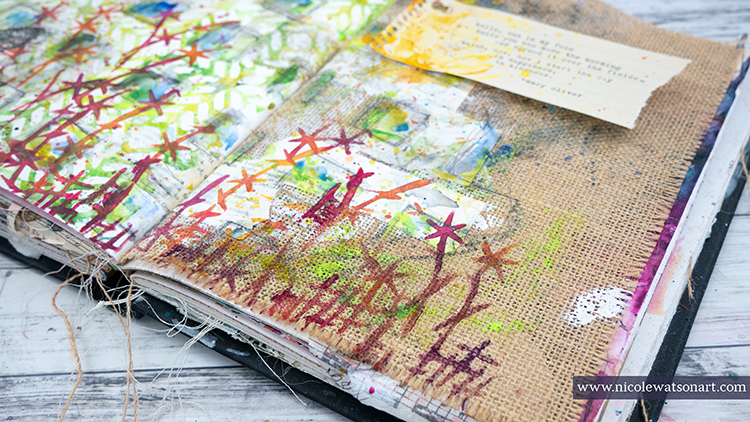
Spring in Texas is probably my favorite season. The weather is beautiful, the sun is warm but not too hot, and the wildflowers are blooming everywhere! I’m almost afraid to admit that I have spent more time outside working in my garden and photographing nature than in my studio. So, I decided to bring that weather and nature inside to my studio with these journal pages.
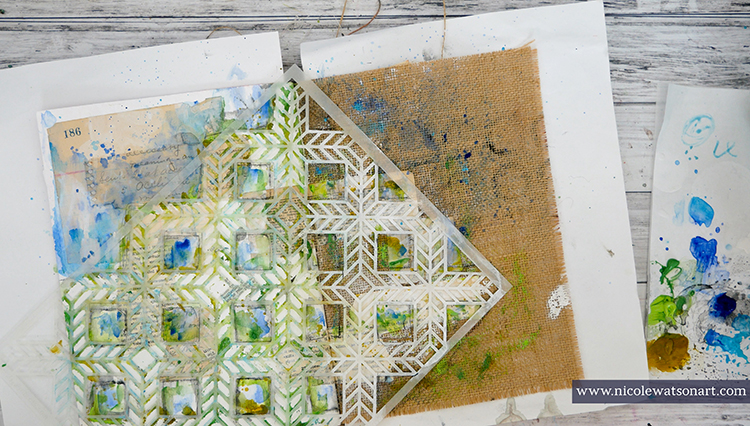
Nat challenged us this month to use only her stencils. I love challenges like this as it forces me to think outside the box and use supplies in a new way. Looking over my stencils, I decided that her Santiago stencil reminded me of garden lattice or a trellis and that I could potentially turn the images from her Kyoto stencil into flowers.
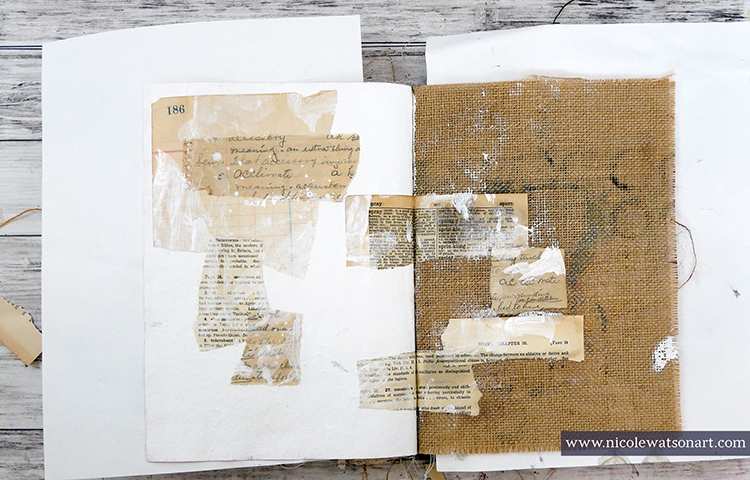
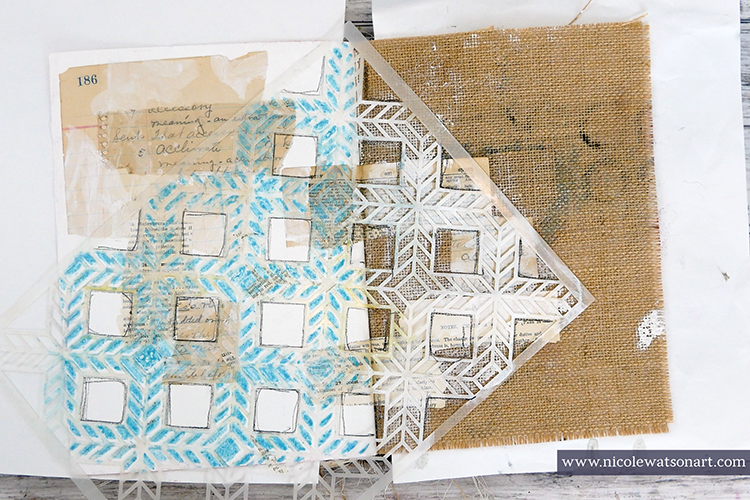
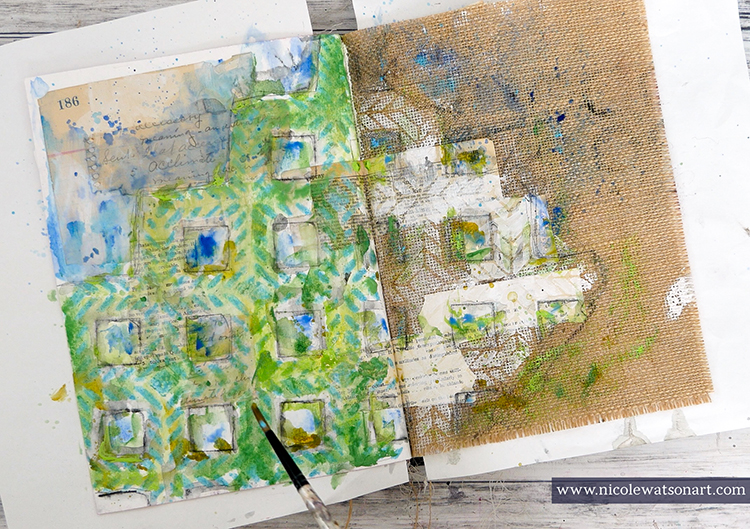
First, I gessoed my page and stuck down some ephemera with matte medium. I put the ephemera on the gessoed page and also the burlap page. Then, I added some bits of gesso on top the ephemera.
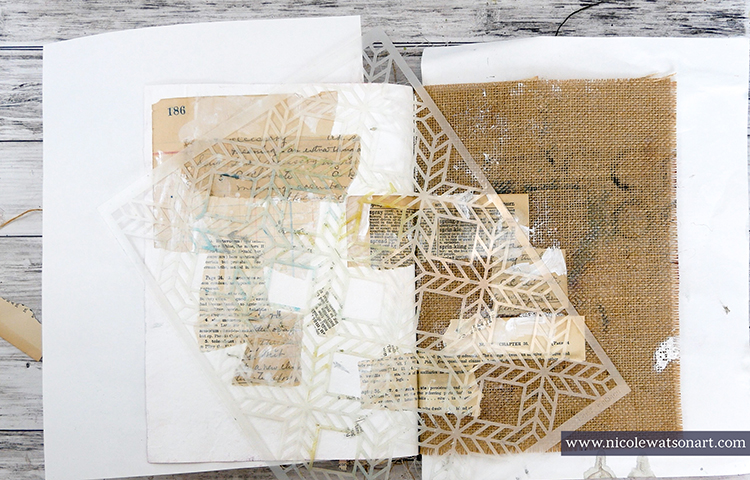
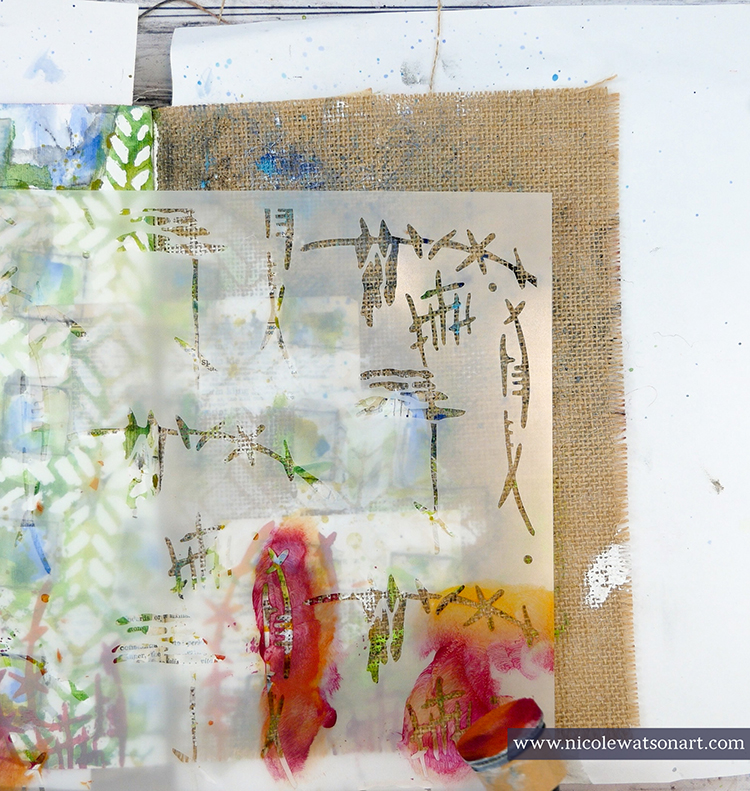
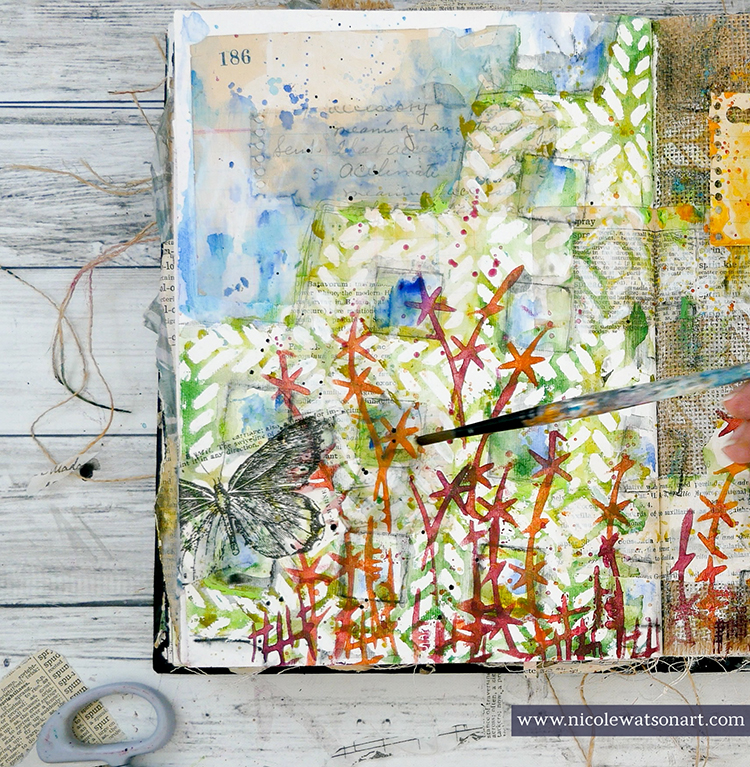
I wanted the lattice to remain white and have a watercolor effect so I decided to use a masking fluid pen inside the stencil shapes. I didn’t necessarily want it to be perfect, so I didn’t trace the insides perfectly. On the burlap side, I sponged some gesso through the stencil. Several times throughout the process of creating the pages, I touched up the masking fluid to make it thicker or define places a bit more.
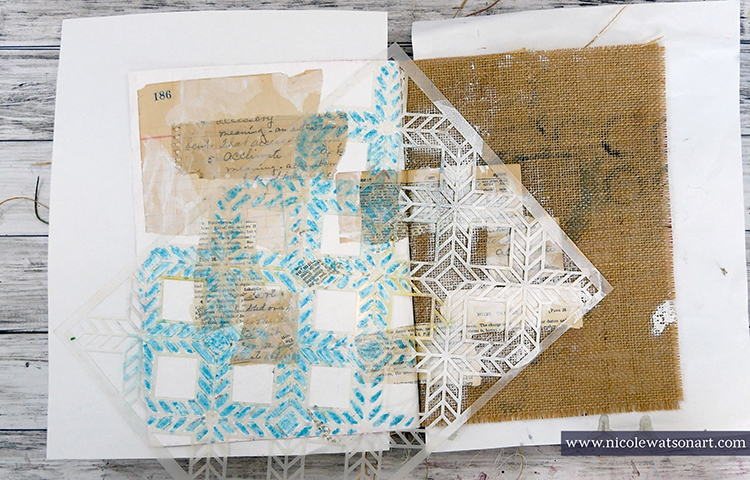
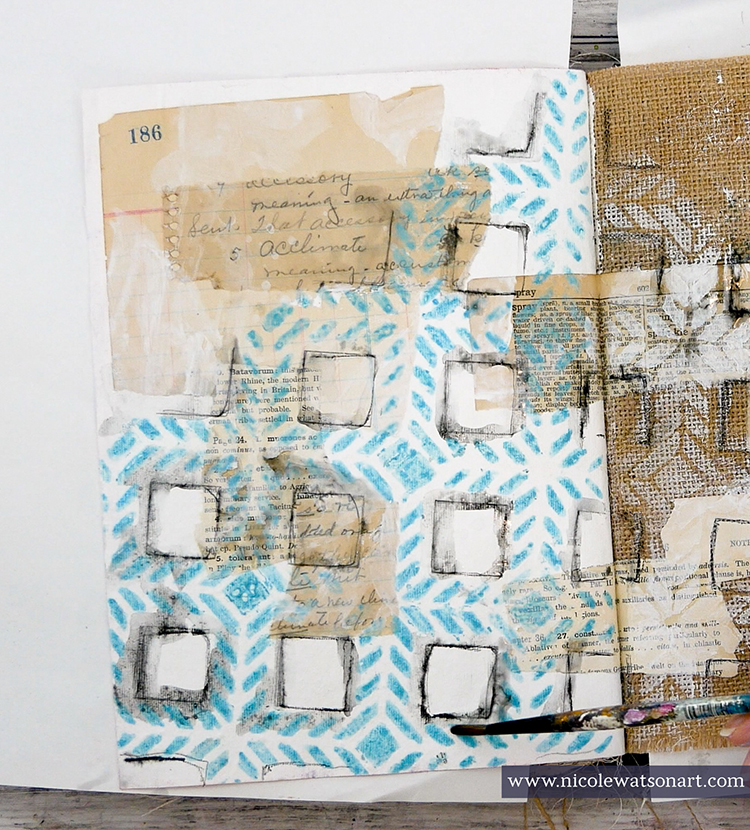
Next, I wanted to add some shadowing around my lattice and grabbed my stabilo all pencils to trace around the entire image and inside the squares that I didn’t use the masking fluid. I placed the stencil back on my pages to make it easier to trace. After activating the stabilo with water, I began the process of adding color.
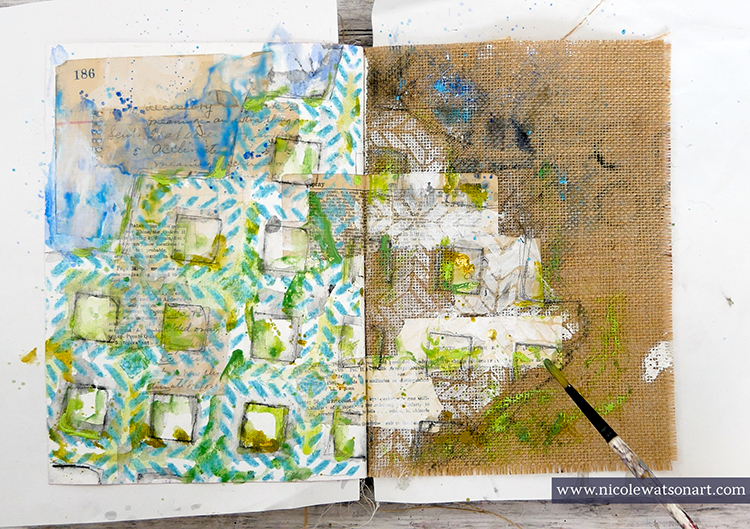
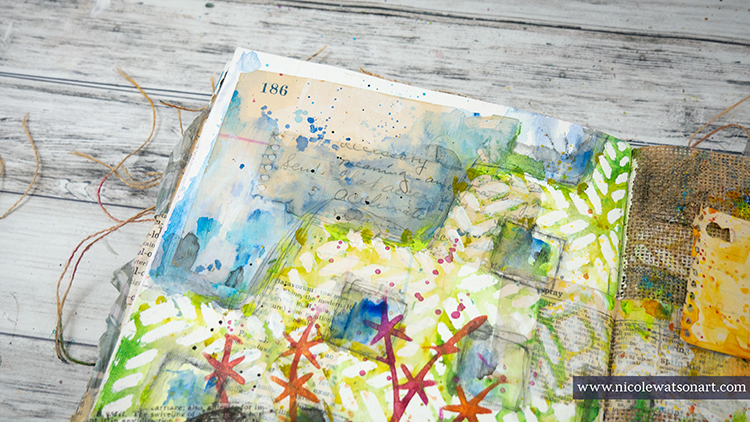
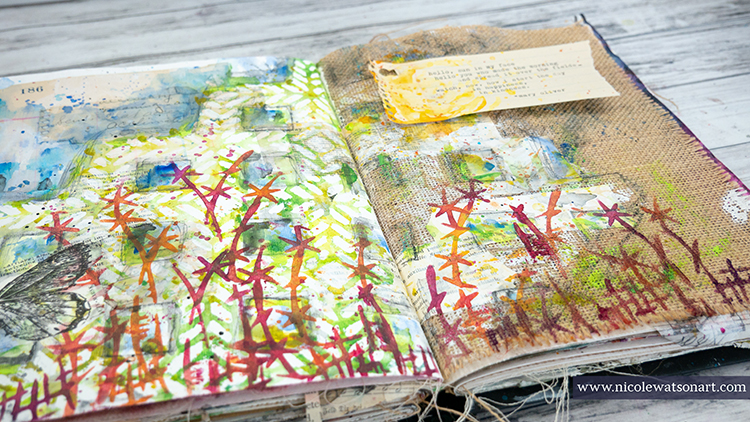
Loosely painting with watered-down acrylic, I added blues on top the stenciled area and inside the large squares (for sky) and greens in the stencil. I did this process in a couple layers to build the color. I wanted the areas to be free, loose, and “watercolory” looking. I also added color to the burlap side.
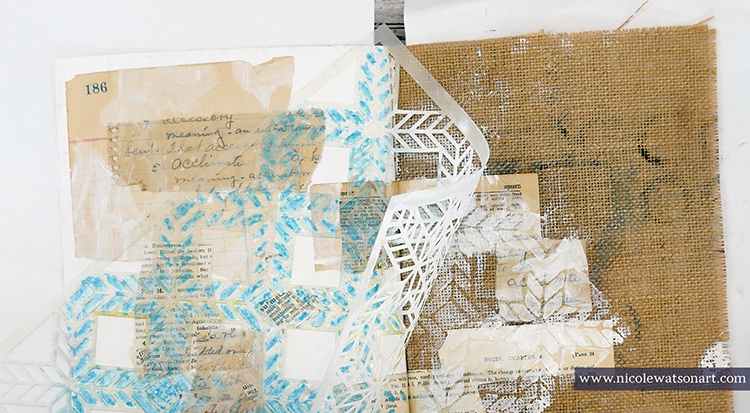
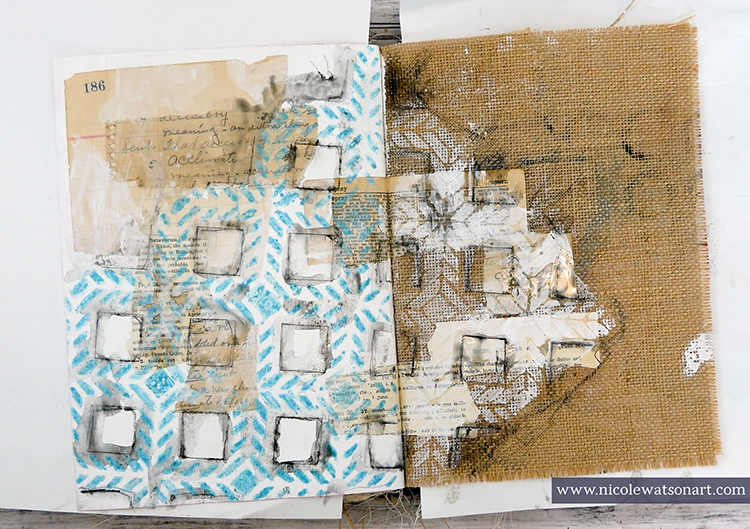
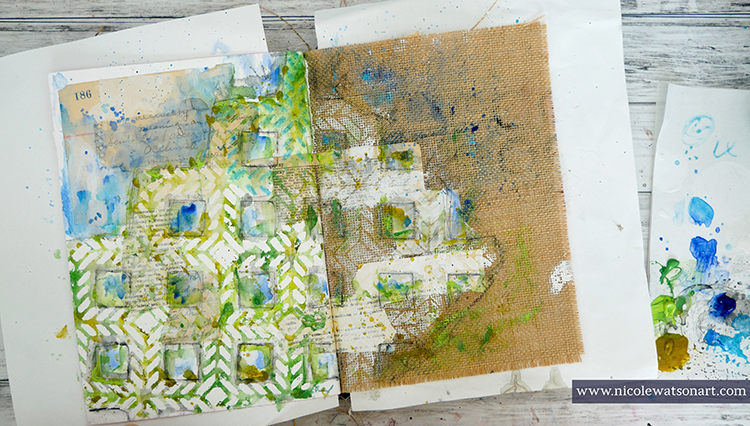
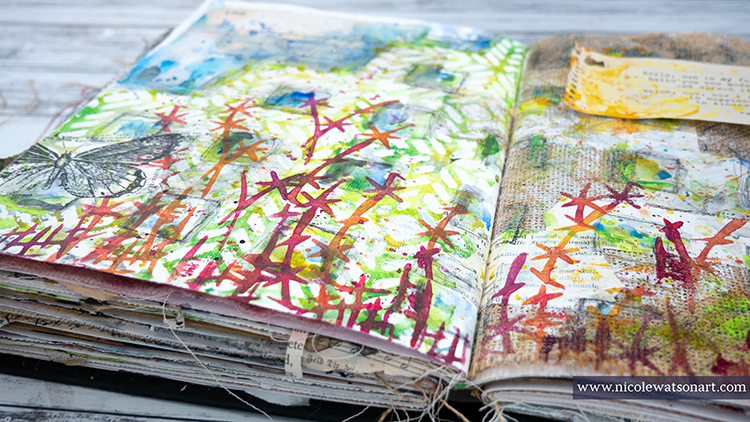
When I was done adding layers and the paint was completely dry, I began removing the masking fluid. You can use your fingers to do this, but a rubber cement eraser makes the process so much easier!
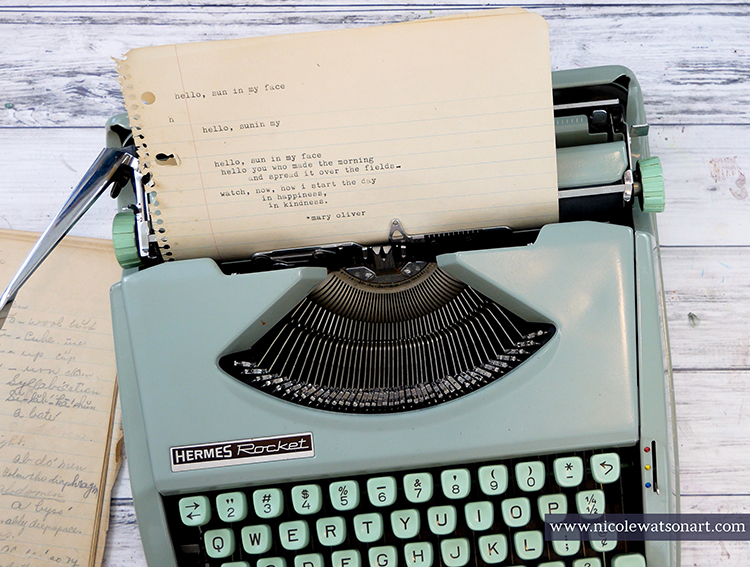
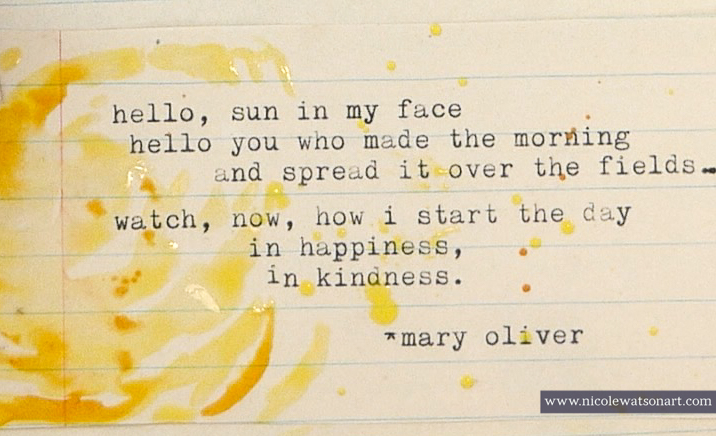
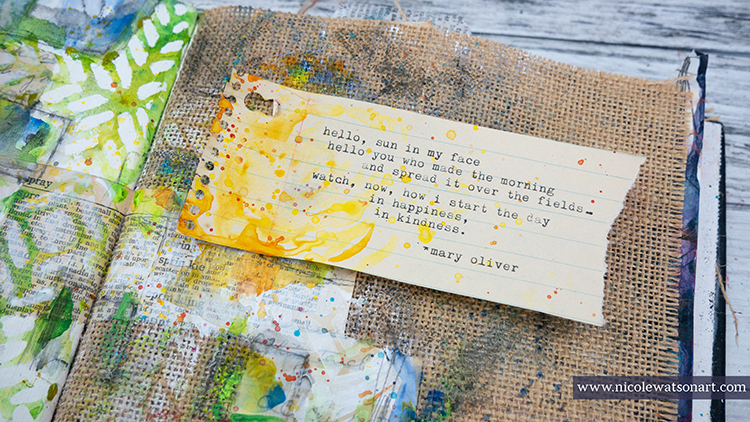
I noticed that the places where I had ephemera under the masking fluid didn’t really stand out, so I placed the Santiago stencil back in the original position and painted in some of these areas with watery gesso. I also touched up the burlap gesso a bit as well. While I waited for the gesso to dry, I typed up a little poem by Mary Oliver to put on the pages.
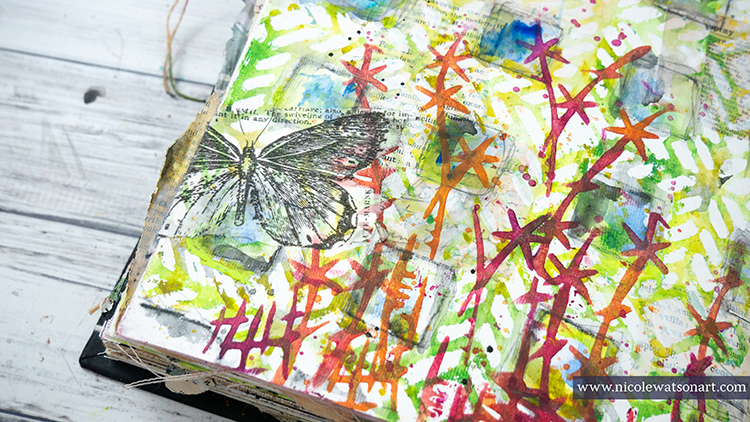
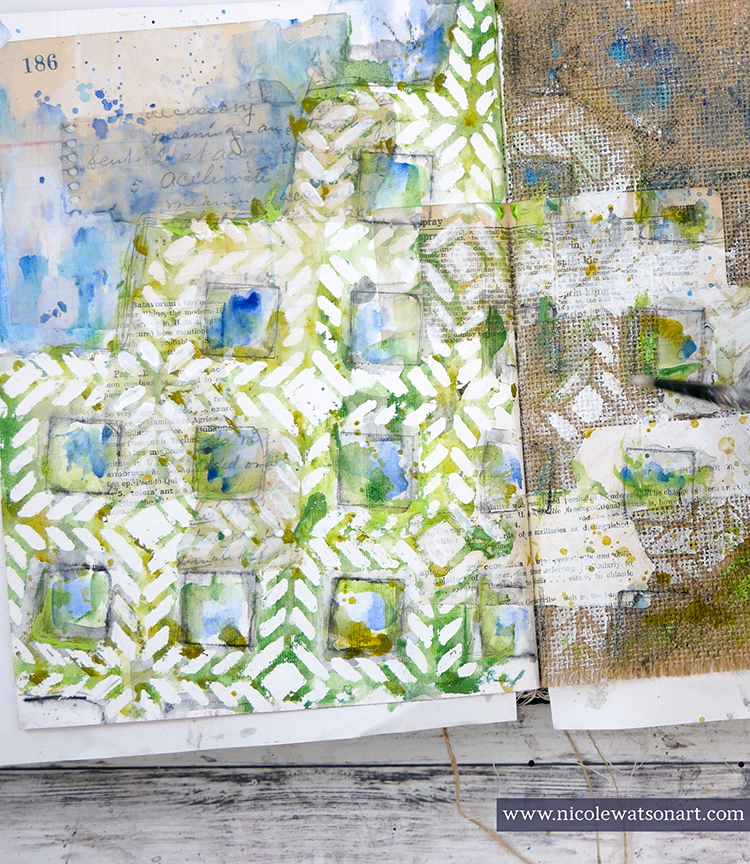
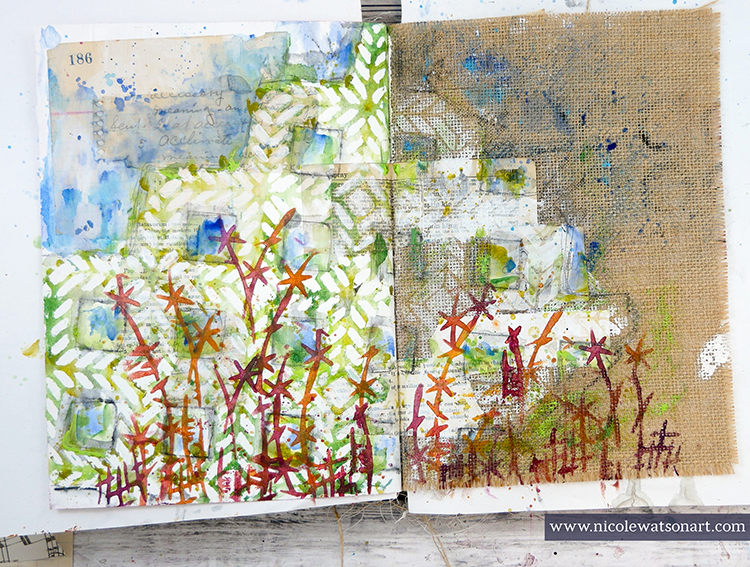
Finally, it was time to add some flowers to my page. I used my sponge applicator through the Kyoto stencil to create whimsical flowers in shades of red, orange, and purple.
To finish the page, I added a butterfly, a little sunshine on my poem, and a bit of shading with some stabilo.
Life is definitely not what we expected it to be right now! Spending time outside in the sunshine, in my studio, going on walks, taking photos, and enjoying the weather help bring focus to what is important. They, like Mary Oliver’s poem, bring happiness and kindness to my days.
Thank you Nicole – I love how you interpreted the Kyoto stencil as a floral element! Thank you so much for bringing some sunshine to our day!!!
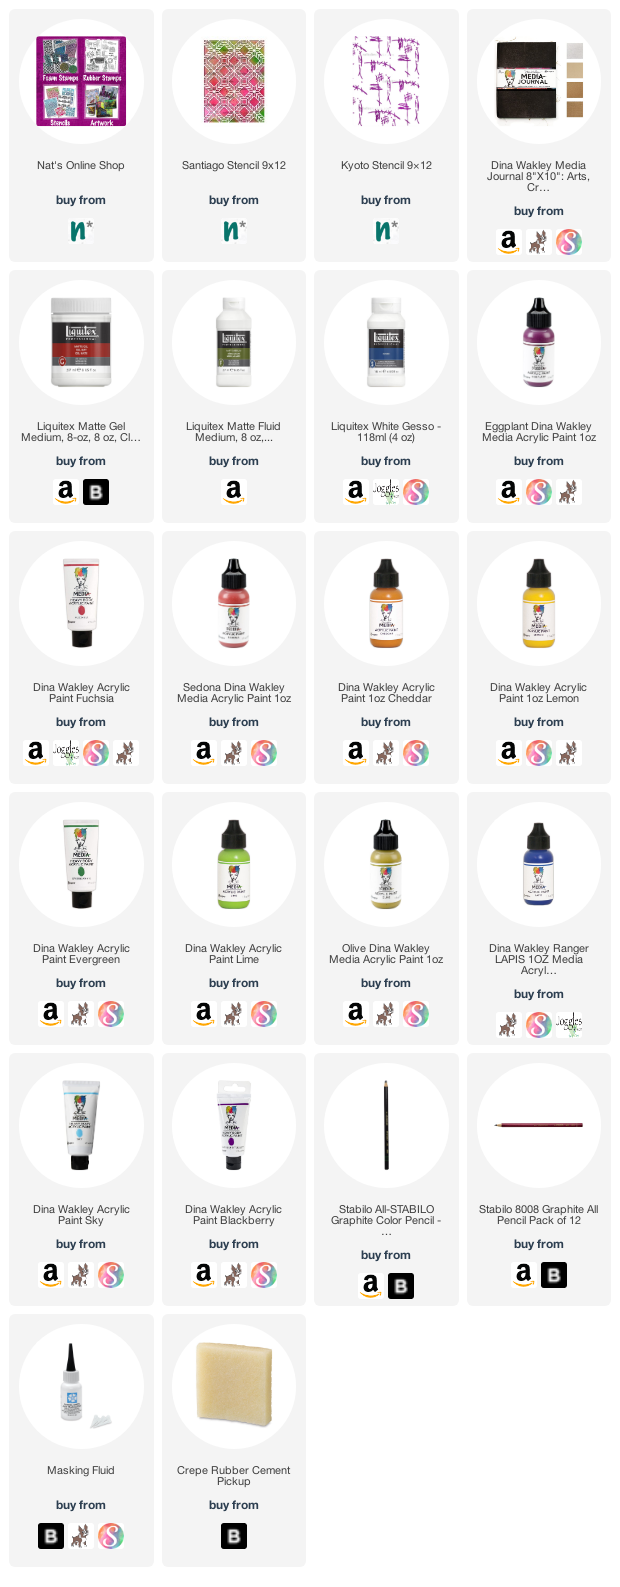
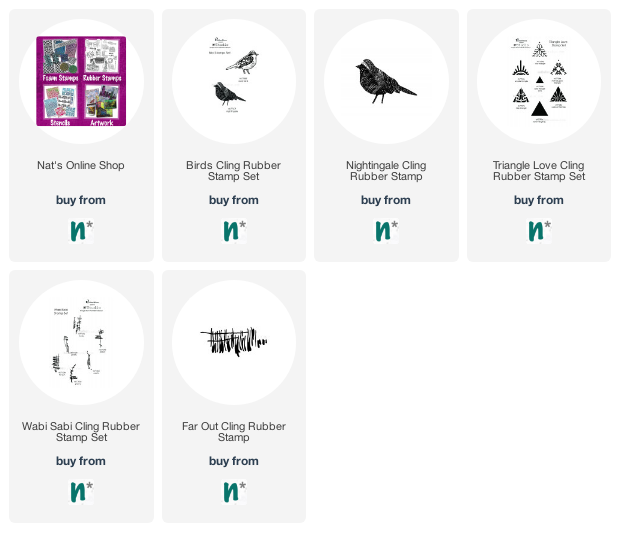
Want to give Nicole’s project a try? You can find all my Stencils in my Online Shop. In addition to her cool vintage typewriter, here are some of the other supplies Nicole used:
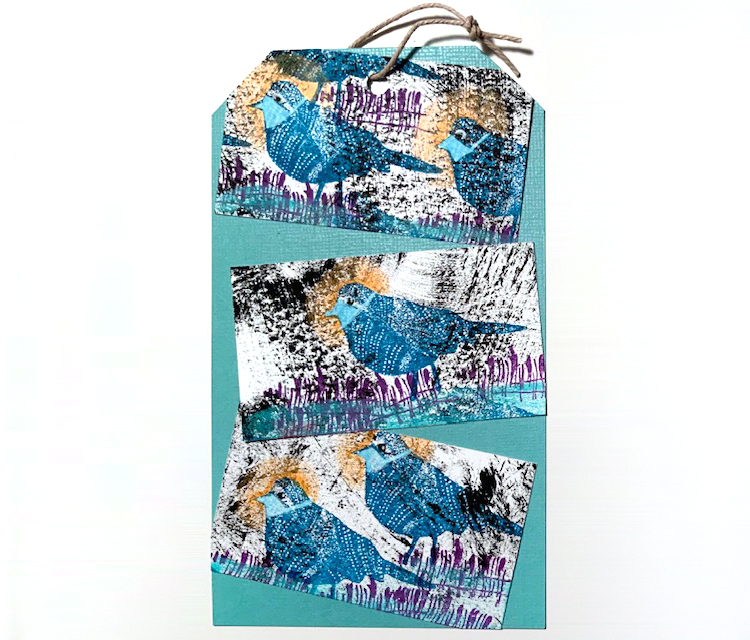
Today I have some lovely cards, envelopes and a tag to share with you from Creative Squad member Judi Kauffman. When Judi received her rubber stamps in the mail, her super creative mind went right to work and I just love the results!
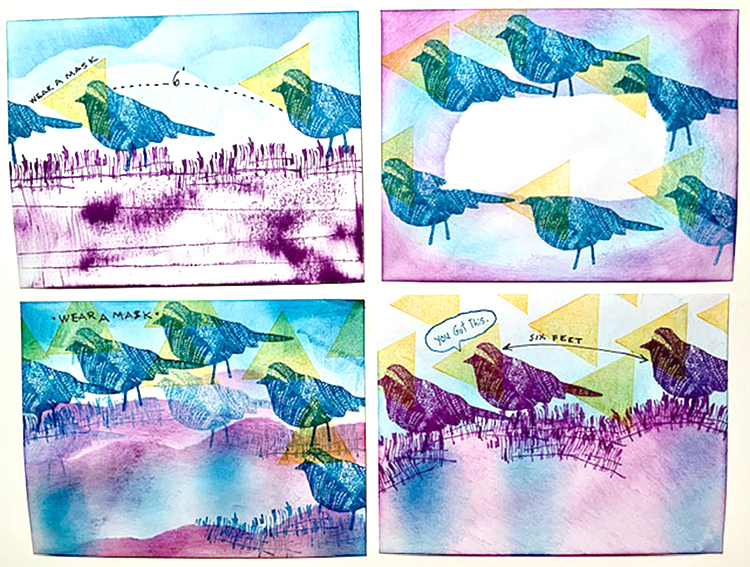
What a treat to get Nathalie’s new stamps in the mail – her signature style in a petite and very versatile size! I reached for a stack of envelopes, my go-to with all new stamps, got out some colorful inks, and when I looked at the finished batch I was shocked to see how my worry about covid-19 had taken over. The triangles I’d stamped on and around the Nightingale looked like masks and on most of the envelopes the birds looked like they were practicing social distancing.
I stamped three business cards for the tag, this time using white ink to paint tight-fitting masks on the birds. It really is scary how our subconscious takes over. I set out to make something spring-like and happy! But the cosmos had other ideas.
I love ‘Far Out’! In fact, I love all of them. It’s a new thing to have the petite size and I think that’s a feature worthy of attention.
Thank you Judi! It is funny how what is pressing in our minds can come through in our artwork. Regardless, these are a wonderful abstract use of the stamps and in any other time would just be really awesome compositions!
Love the designs. I am one of the lucky friends of Judi to receive her “bird” envelop. She always amazes me with her creativity and now more so using her subconscious thoughts. I am a firm believer that our actions are a result of our inner thoughts.
Kudos to Judi!
So happy to share with you today a special video interview I did with one of our Creative JumpStart 2020 teachers: Tonia Jenny. This is Tonia’s first year teaching with CJS and I am very happy to be chatting with her again to see what she is up to these days. In this interview Tonia talks about how she is taking advantage of more time at home both with art, craft, and with some culinary adventures. Tonia also discusses some of the projects on CJS that she is excited to try, she describes a bit more about her own lesson including possible variations on the process, and even shows us a special variation on the idea as a response to the reality of present times. I hope you enjoy this uplifting conversation.
Thank you Tonia!
You can learn more about Tonia (including links to her social media) on her website.
Sign up now for Creative JumpStart 2020 if you haven’t yet and make use of our special sale now – just $45 through the end of April 2020. If you have already jumped into the classroom, check out some of the tutorials and also work of other students again. There is so much inspiration in there: 31 different mixed media lessons from 31 Super Hero Artists like Tonia. Hope to see you in the CJS classroom soon :)
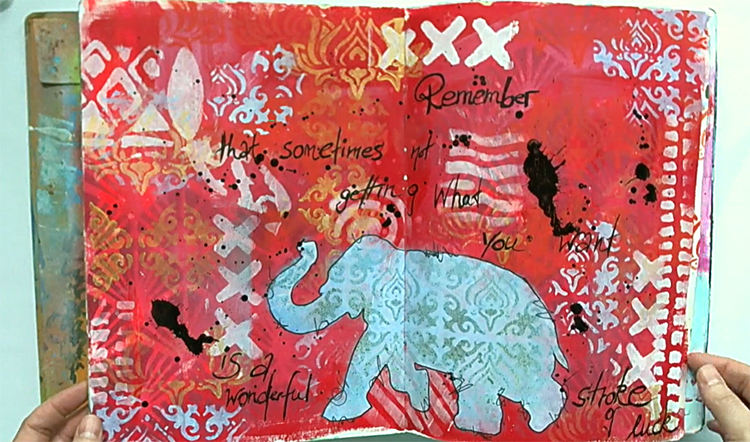
A Look Back – This time I’m looking at Art Journal Flip Through videos! I’ve been art journaling for years and have filled up quite a few. It’s kinda neat looking back through the old ones and seeing how my style has evolved. CLick on the links to visit the original posts and watch the videos.
A Look Back is a blog series to show you some projects and posts that you may have missed – sometimes going WAY back in the archive. I think it will be fun to revisit a few ideas that we haven’t seen for a while. I’m excited to see how a little look back might inspire something new in the future :)
First up is a Flip Through from way back in 2014. You can watch the video HERE and see what I was working on back then. There were definitely some grungy backgrounds that I still love to this day :)
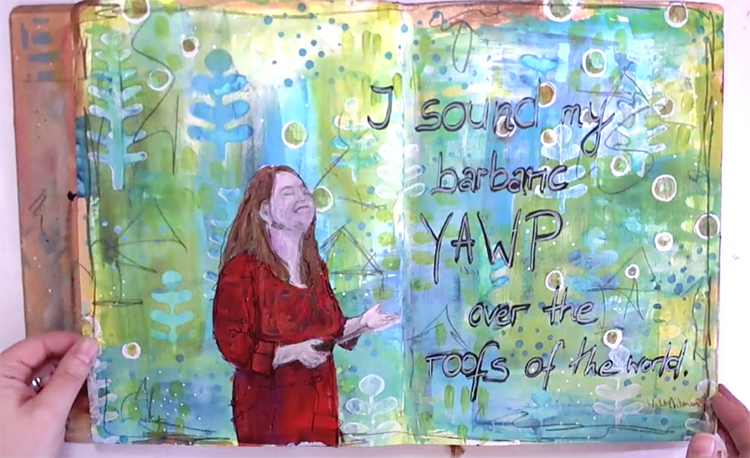
The next one is a journal that began in late 2014 and wasn’t filled until 2017 – I was working in 4-5 journals at one time so they could take a while to fill. Check out the video HERE to see my style change over the years.
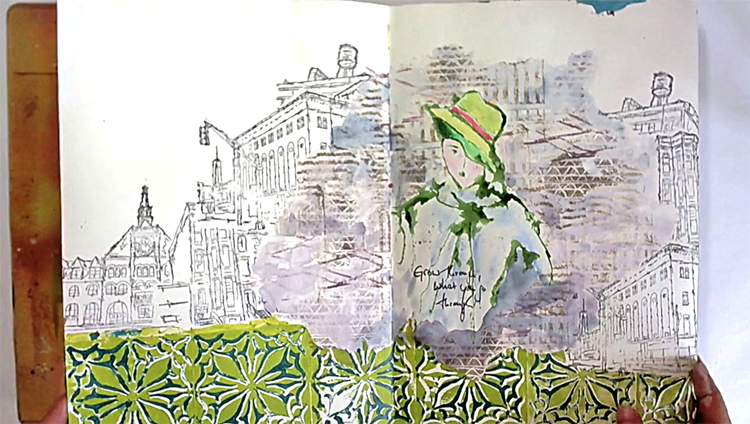
This one I began in 2015 and finished up in 2017 – I remember working on so many of these pages. You can watch the flip through HERE.
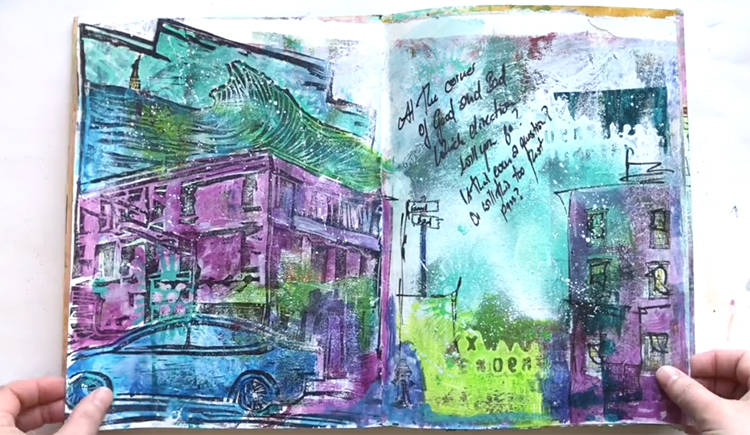
Now moving through time, this one I began in 2017 and finished in 2018. It spans the time when I traveled to Japan and I think you can see that influence in some of the pages. Watch the flip through HERE.
Finally I had this art journal from 2018 to 2019, so the stuff in here is still very fresh in my mind. Check out the video HERE.
I hope you go back with me and watch some of these videos to see what I worked on through the years. And I hope it inspires you to look through your old art journals too. I think we can learn quite a bit by seeing where we’ve come from.
Please join me today, Friday April 17th at 12noon EST for one of my Facebook Live Kaffeeklatsch Get Together chats! I’ll be sharing a new painting and talking about some other things. Most importantly I love “seeing” all of you there and it gives me a sense of our wonderful creative community. Please come by and say Hi and let me know what you are up to :)
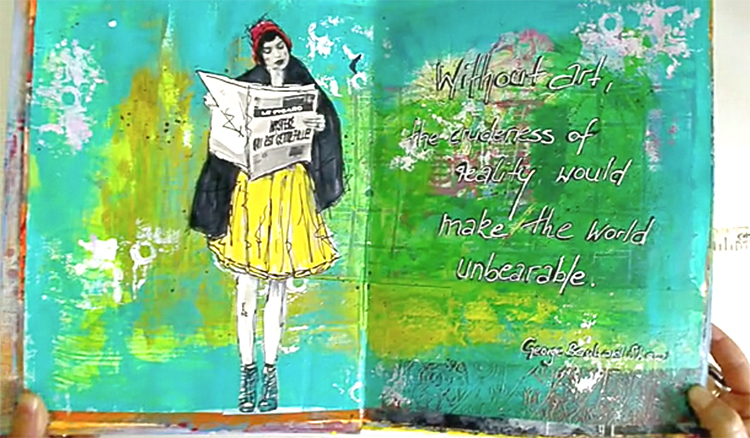
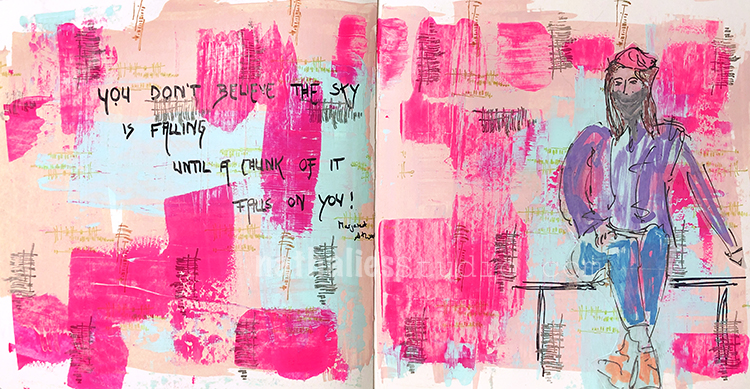
“You don’t believe the sky is falling until a chunk of it falls on you!” – Margaret Atwood
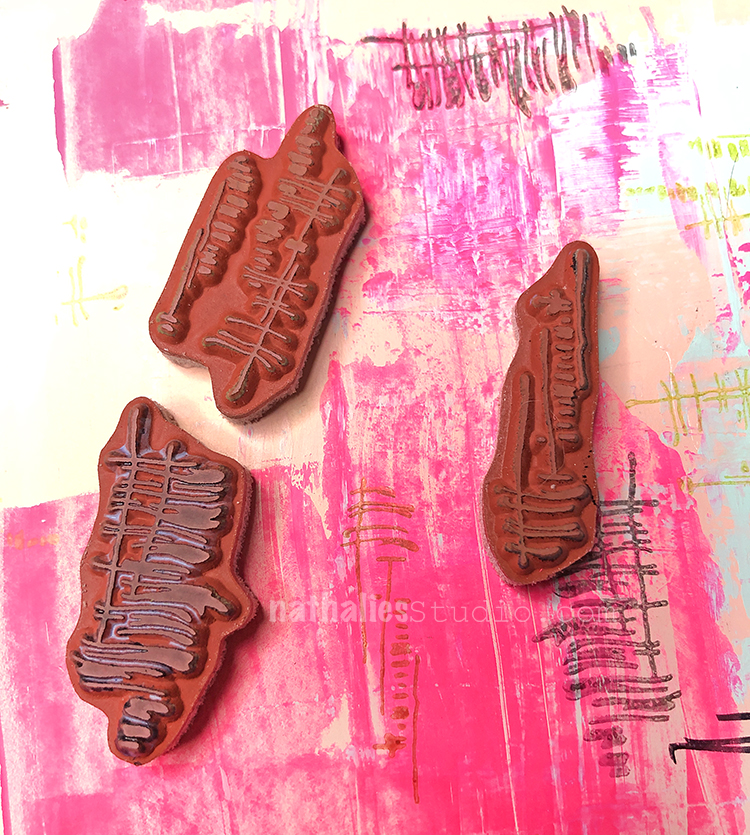
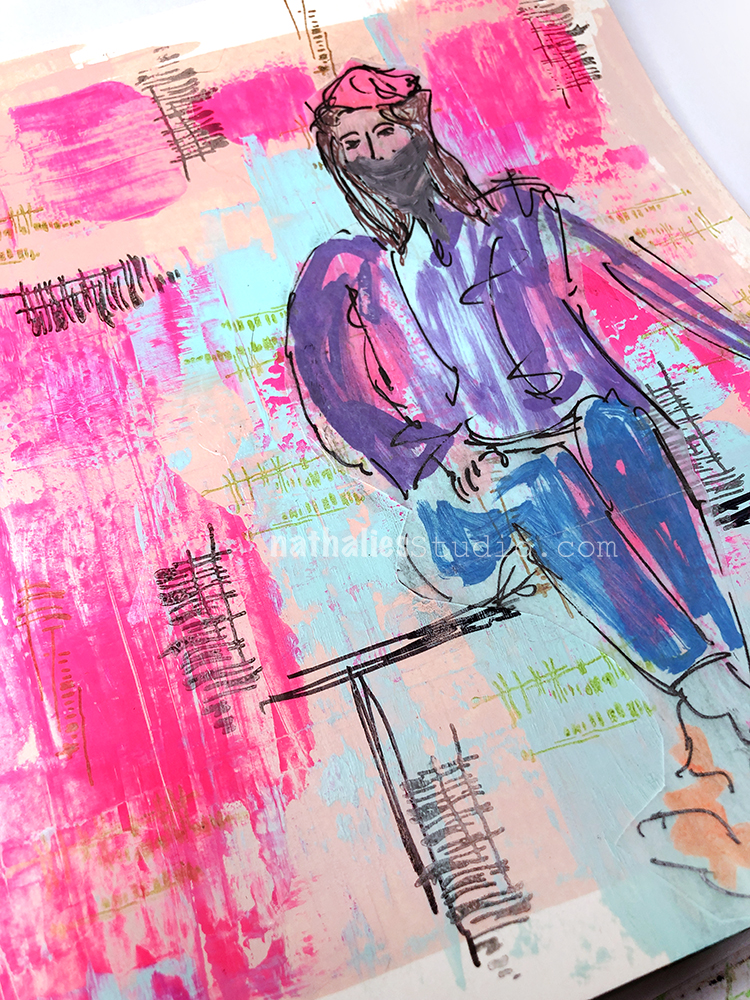
My background is acrylic paint and then some of my new Wabi Sabi rubber stamps and MoonLight Duo ink pads.
I used a fude pen for the journaling…
And I sketched my figure in ink.
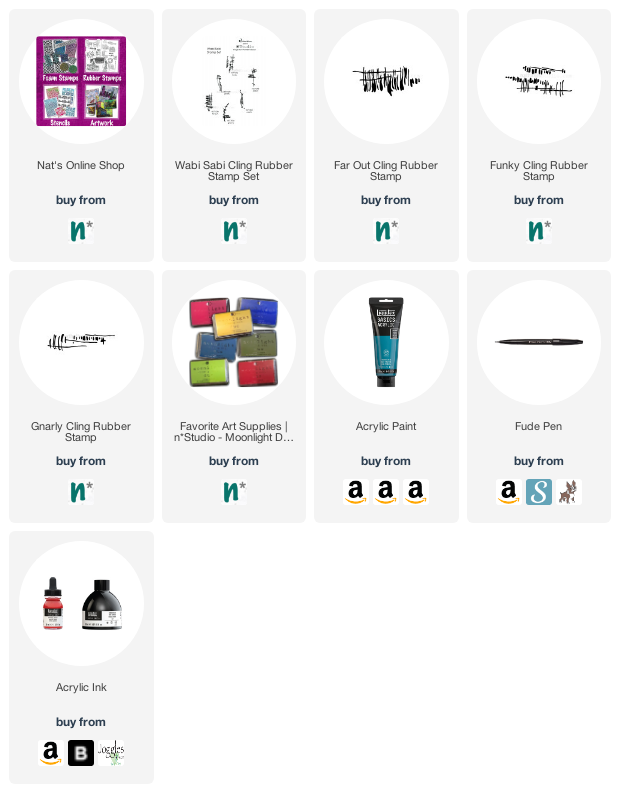
Here are some of the supplies I used:
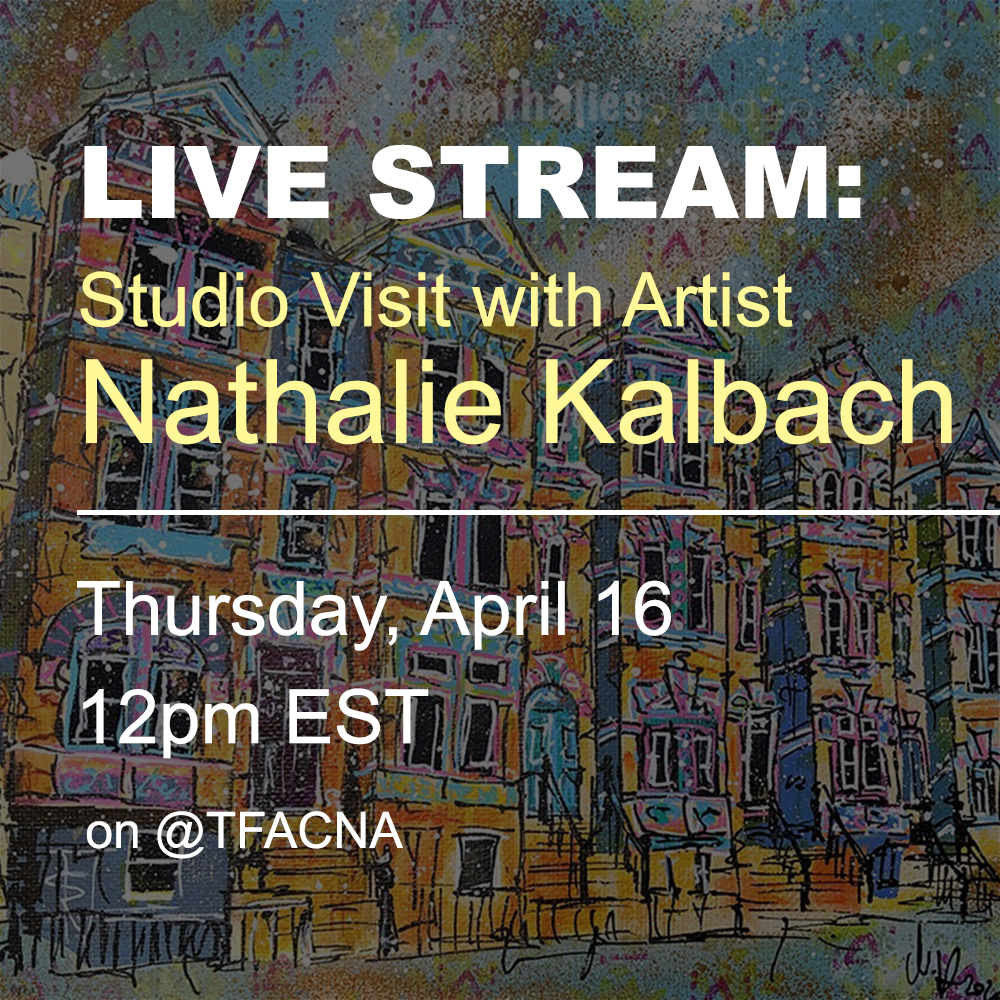
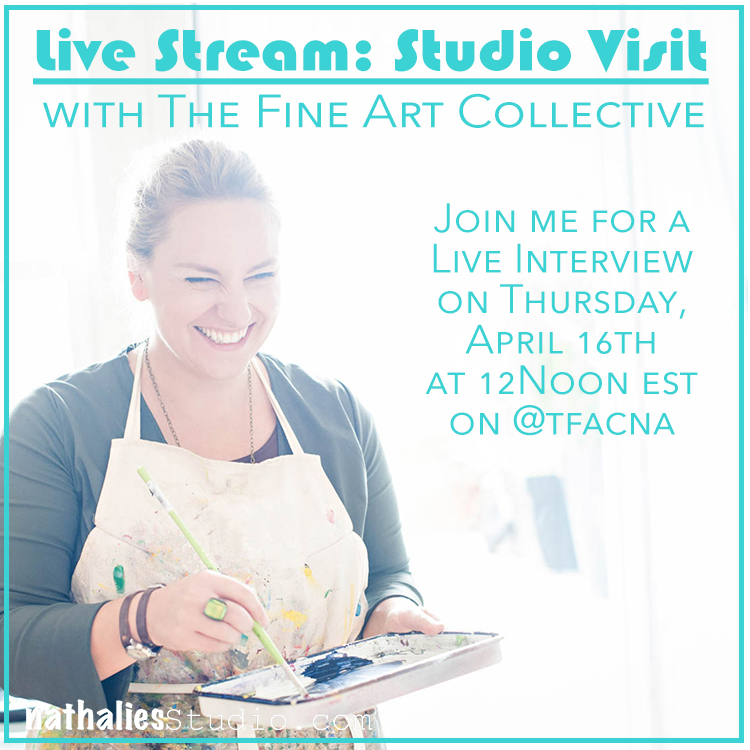
Tune in at 12noon EST today to catch my Live Stream interview on The Fine Art Collective instagram @TFACNA. Artist and friend Jimmy Leslie will be interviewing me and we’ll open it up to questions from viewers too! Join us!
And… tomorrow, Friday April 17th at 12noon EST please join me for a Kaffeeklatsch Get Together chat LIVE here on Facebook. I’ll be showing a new painting that I’m working on and also talking about some of the Artist in Residence interviews I’ve been doing.
This is a fun thing that is happening tomorrow: my friend Jimmy Leslie is interviewing me for The Fine Art Collective! It will be on their Instagram live story feed here @TFACNA, so tune in tomorrow, April 16th at 12noon EST.
The format will be very cool – a split screen with Jimmy and myself, I will be in my studio, answering questions from Jimmy AND you! So stop by and get in on the conversation.
A little about TFACNA – “The Fine Art Collective North America is part of a global network of artists & technical experts dedicated to sharing art materials knowledge & skills.” It’s a great resource and I’m honored to be sharing my story with them :)
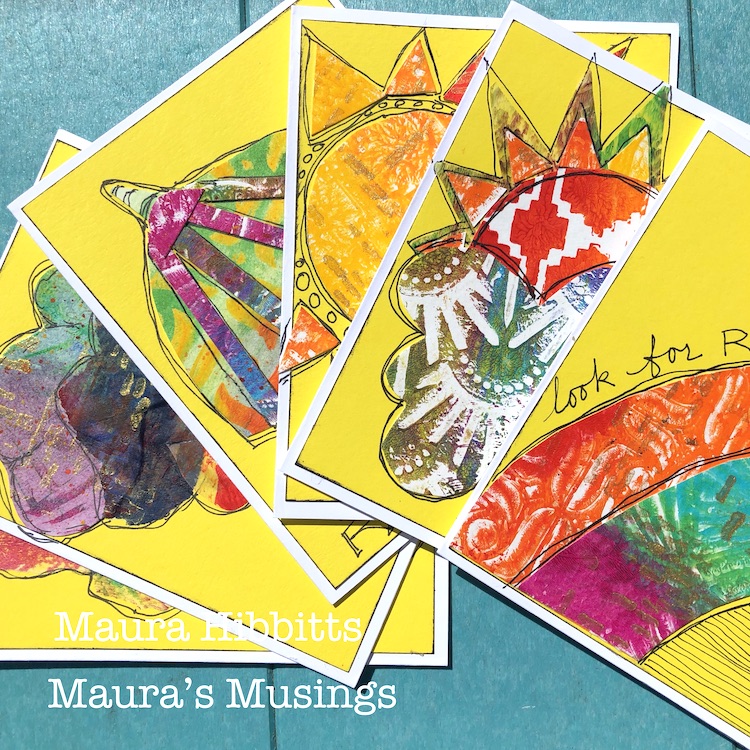
Hello from my Creative Squad! Today we have a series of cards from Maura Hibbitts that are sure to brighten your day even in these difficult times. Maura is using my Amsterdam 6×6, Mesa Verde, Art Deco Wallpaper, Signals, and Art Deco Empire stencils. The theme this month is: Weather Report – Let’s talk about the weather! Do you love thunderstorms? The crisp air of Autumn? A good snowstorm? Are you a fan of endless sunshine? Create something inspired by that go-to topic of small talk – the weather!
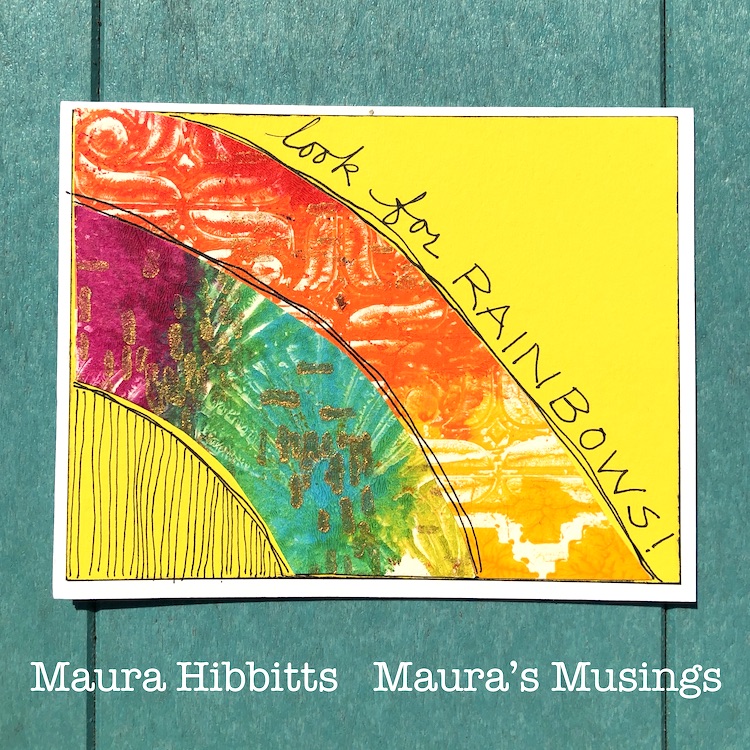
April certainly is a month of changeable weather! One day it can feel like a beautiful spring day full of sunshine and warmth (and I certainly want more of these kind of days!). The next can bring in snow and cold, but luckily these storms don’t last too long and the snow melts away quickly. And of course, there is the saying about April showers bringing May flowers, but be sure to check for rainbows too! So, check the weather report before you head out!
I’ve been making and sending out cards to let people know I am thinking about them during these difficult times, so I knew I wanted to use this month’s theme to make some more cards.
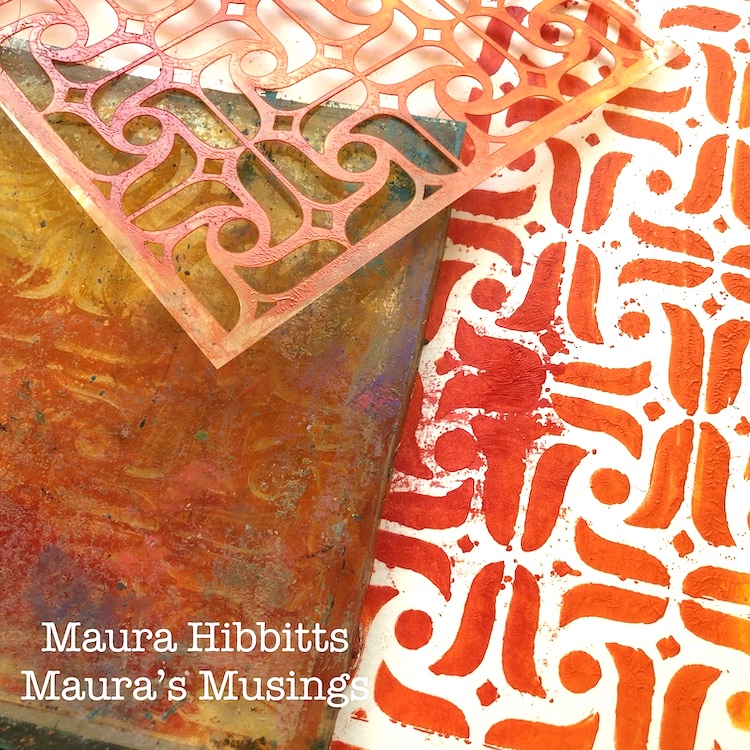
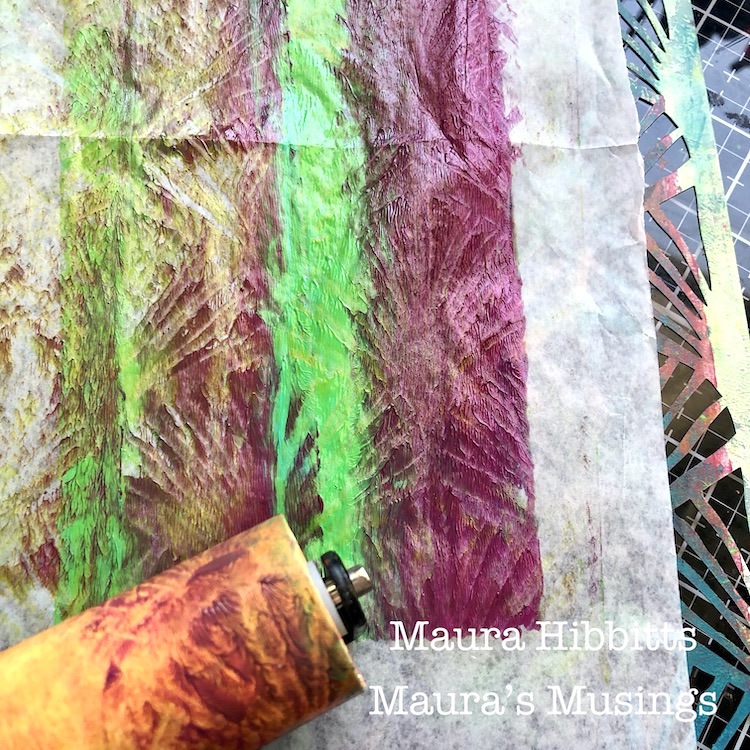
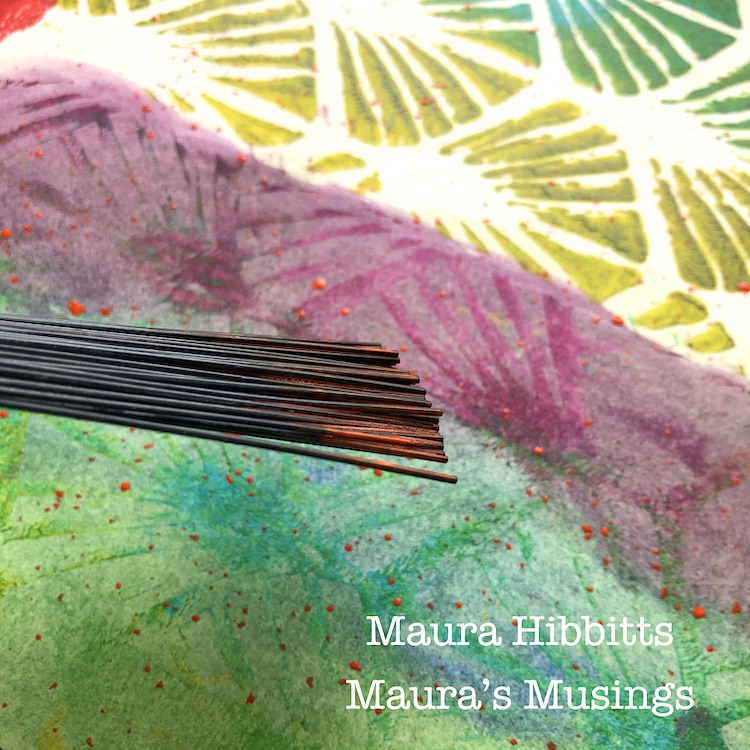
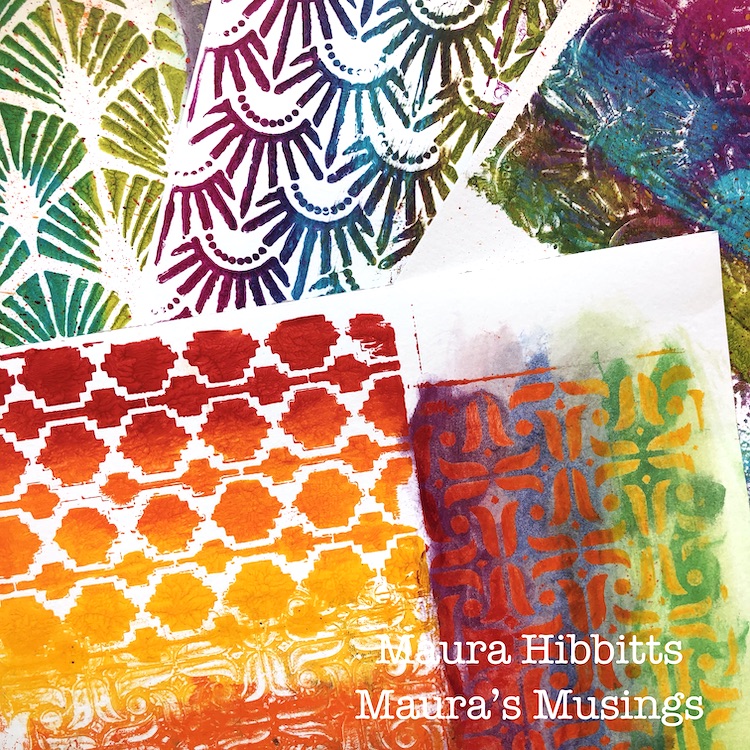
I started off with an array of rainbow colors, my gel plate, and several of Nathalie’s stencils to create some papers to use for the project. I used a brayer and a mix of red, orange and yellow along with a stencil, like the Amsterdam stencil here. First time the stencil goes on the plate and the paper on top; then put the painty stencil on paper, and third take another print off the plate. I used watercolor paper to do this.
I also keep some deli paper handy when I am printing to use for excess paint. Quite by accident, I happened to have the deli paper sitting on a stencil, and when I rolled the brayer over it, it picked up the pattern.
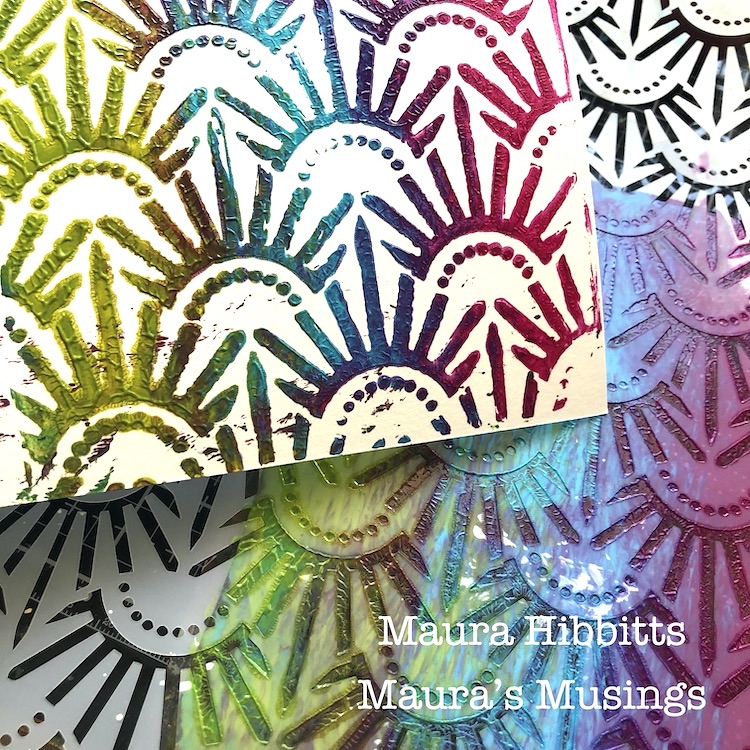
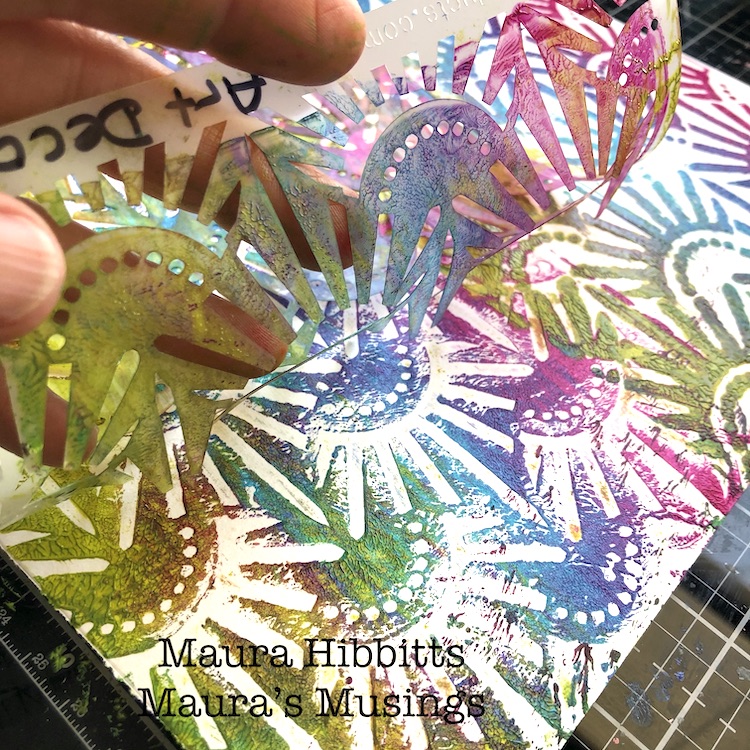
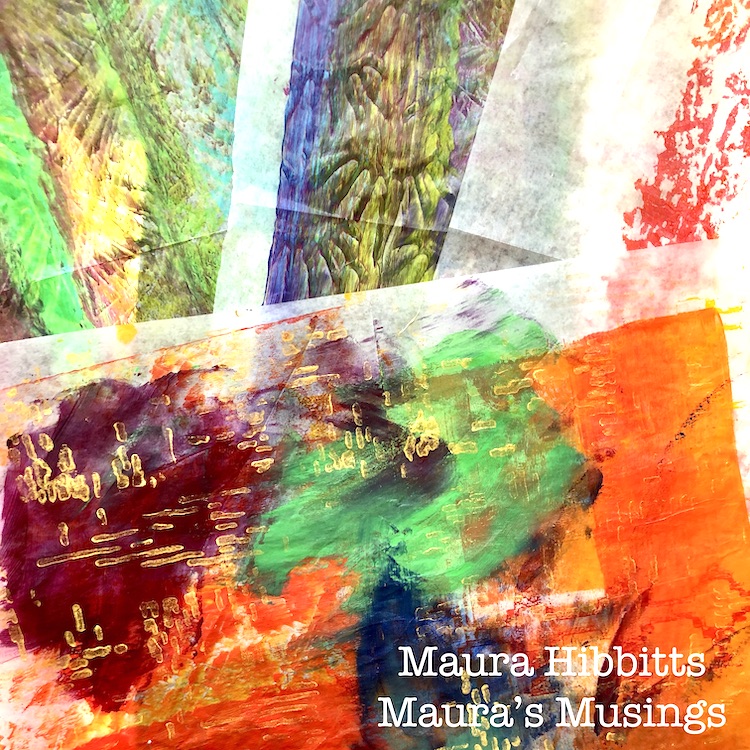
I repeated the printing process with the green, blue and purple blend on watercolor paper and deli paper. First print here is off the plate with the Art Deco Empire stencil, and the second is printing with the stencil.
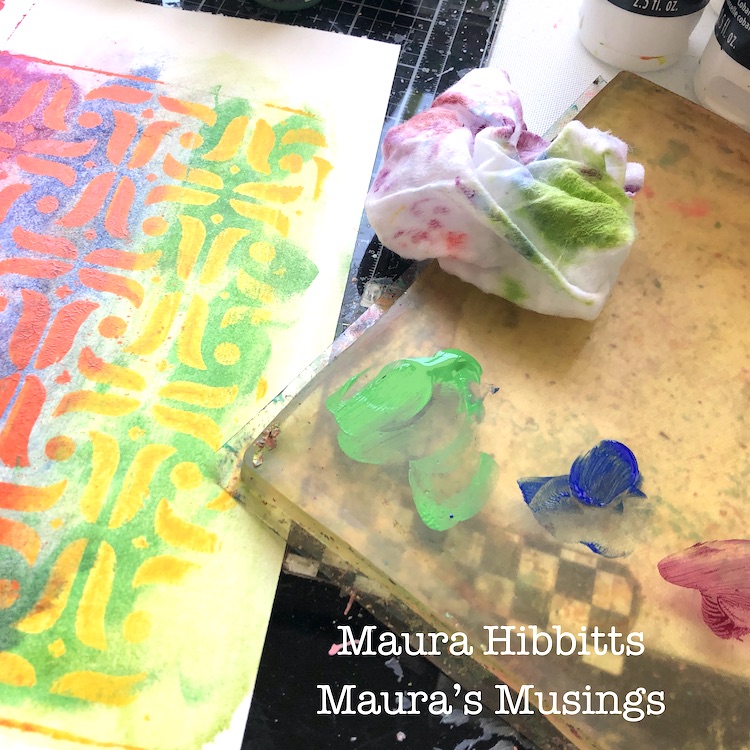
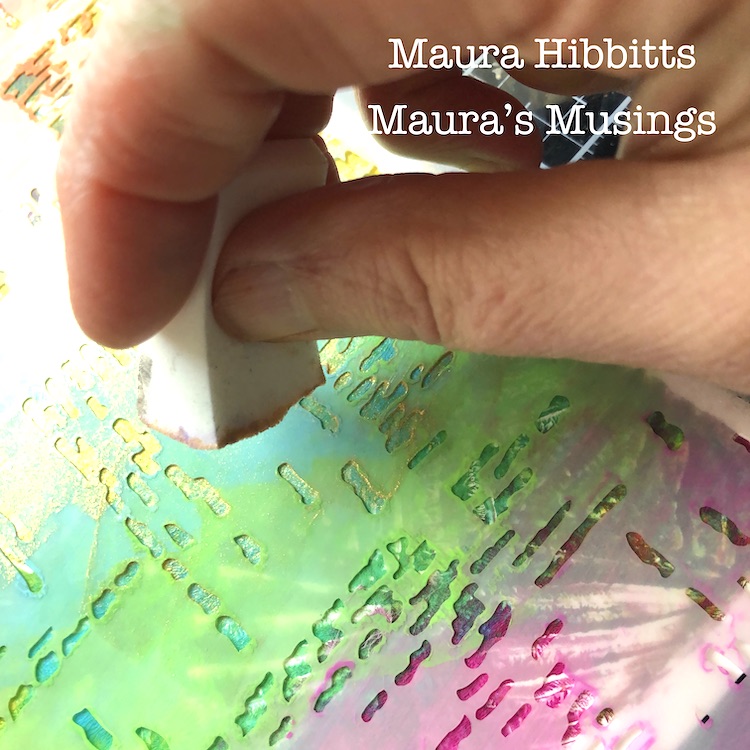
I decided to add in more color with a rainbow mixture of fluid acrylics. Here, I blended in the opposite group of colors with a baby wipe. Since the heavy body acrylic was dry, it acted like a resist, so all colors now show.
On some of the printed papers, I used a splatter brush and fluid acrylics to add a subtle layer of color.
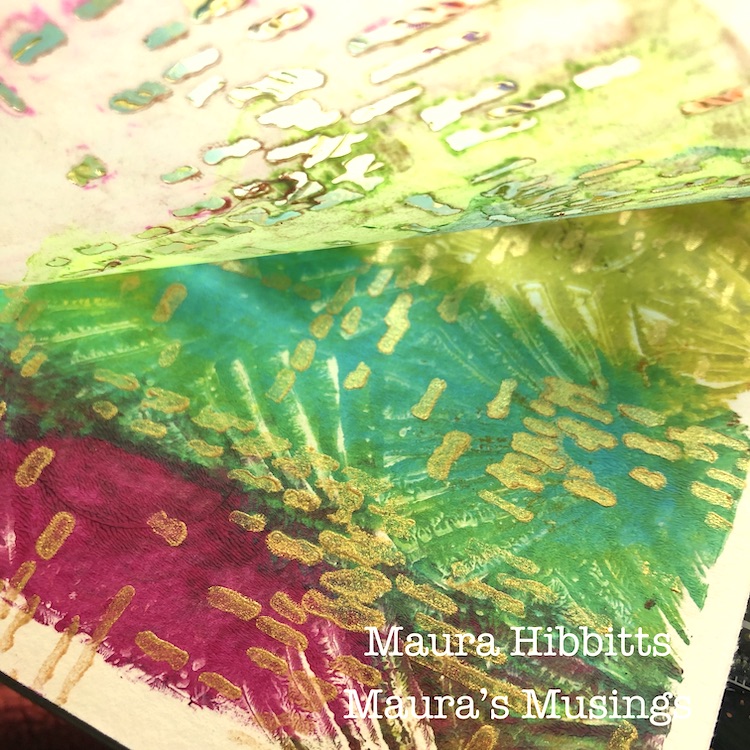
Gold accents always take it up a notch, so I used the Signals stencil with gold paint to add a shimmery layer to some printed papers.
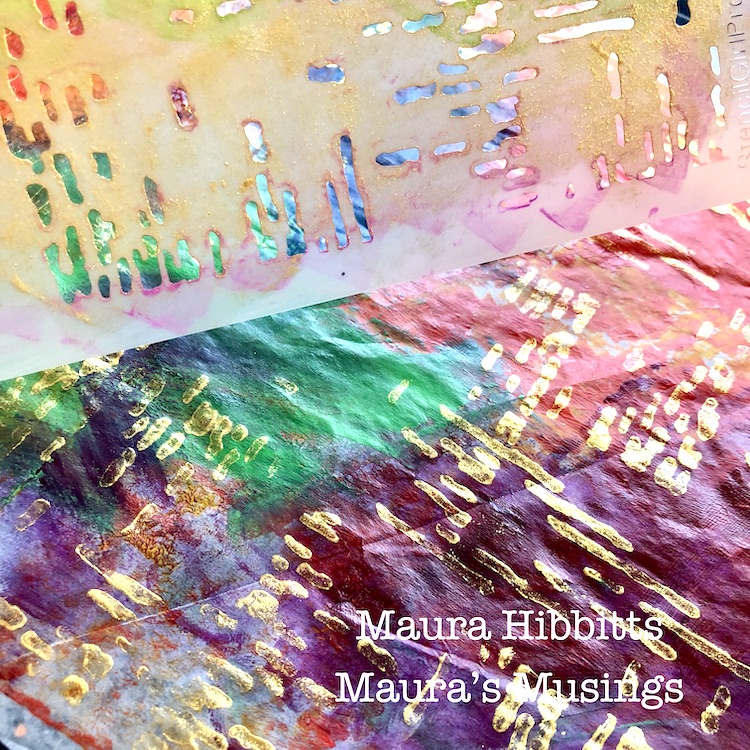
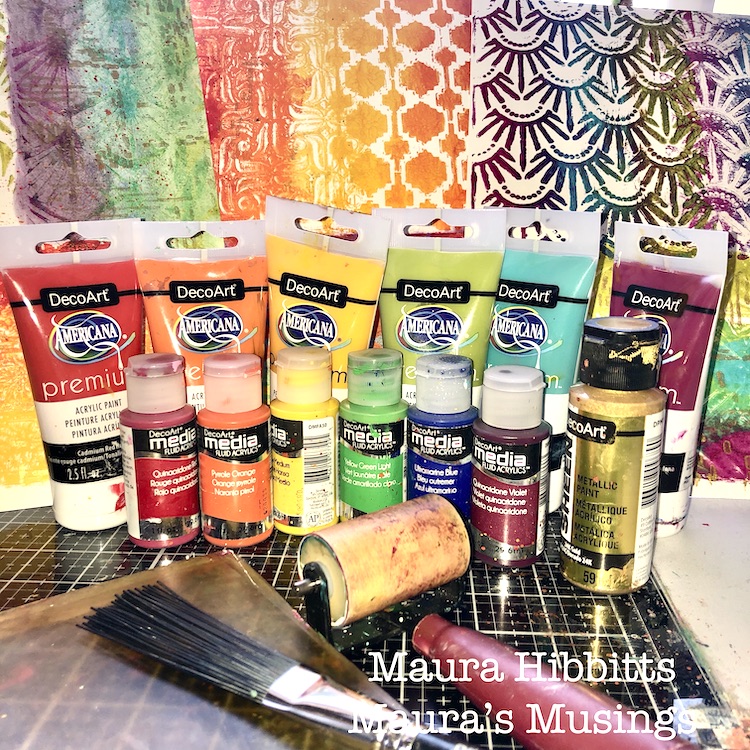
Now I have a mix of rainbow painted watercolor sheets and deli papers to use for my cards. Plus, a quick look at some of the rainbow assortment of supplies I used.
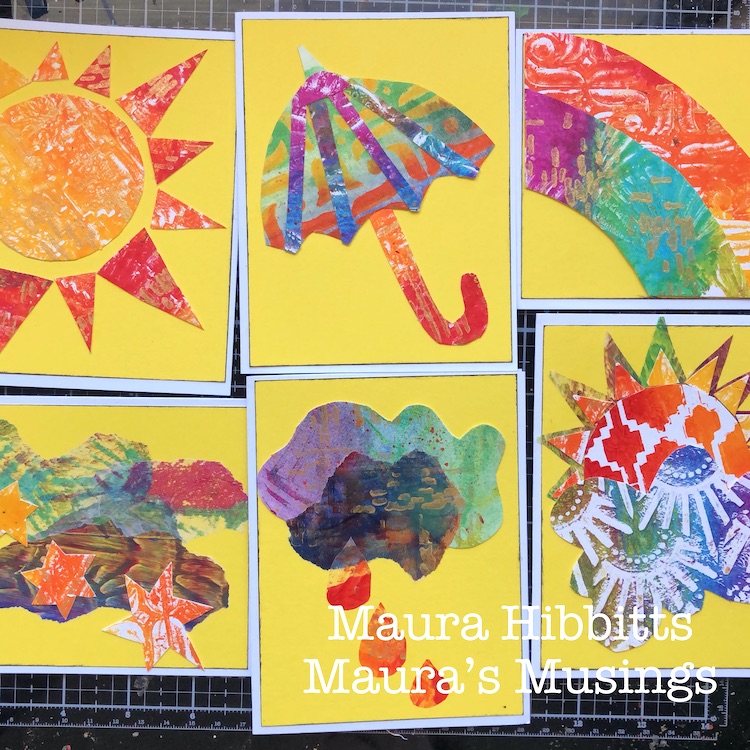
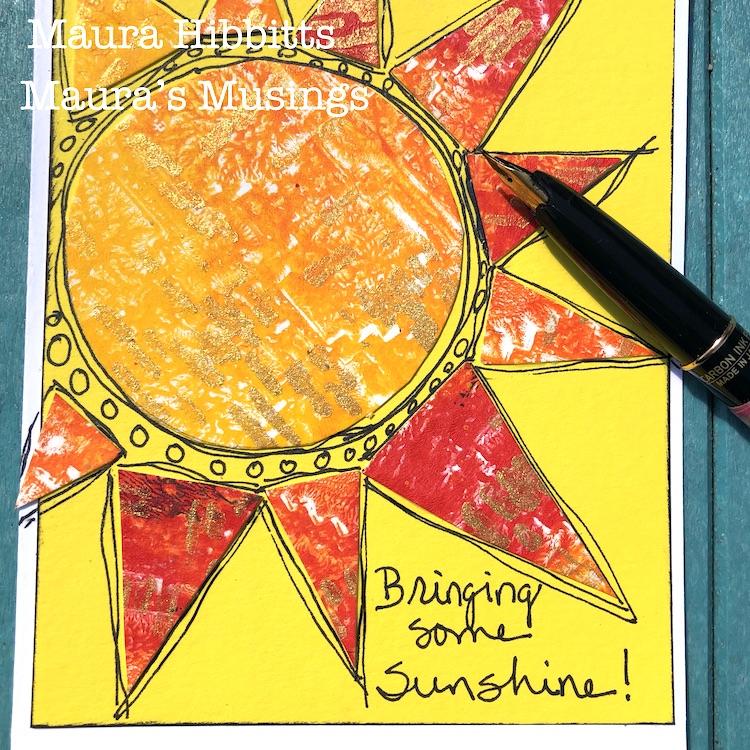
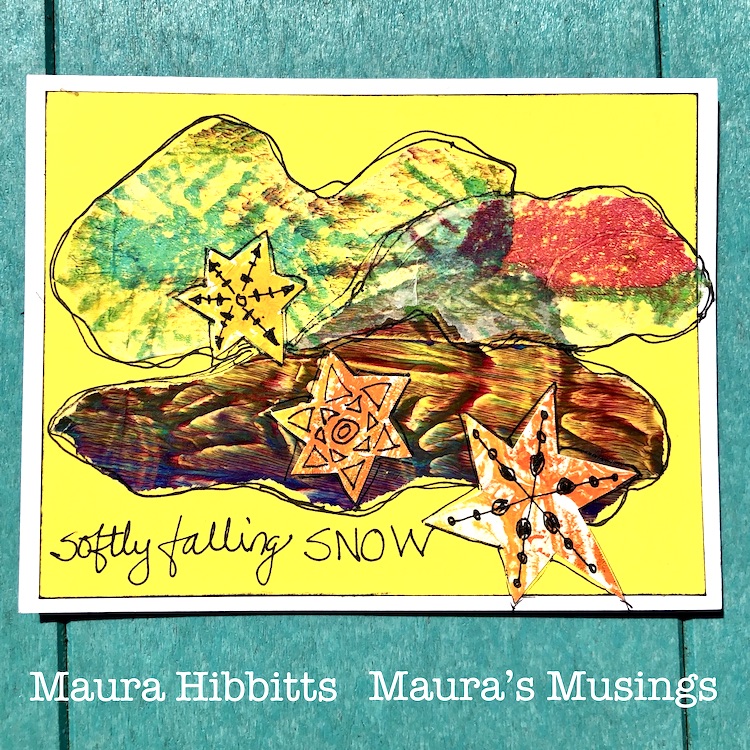
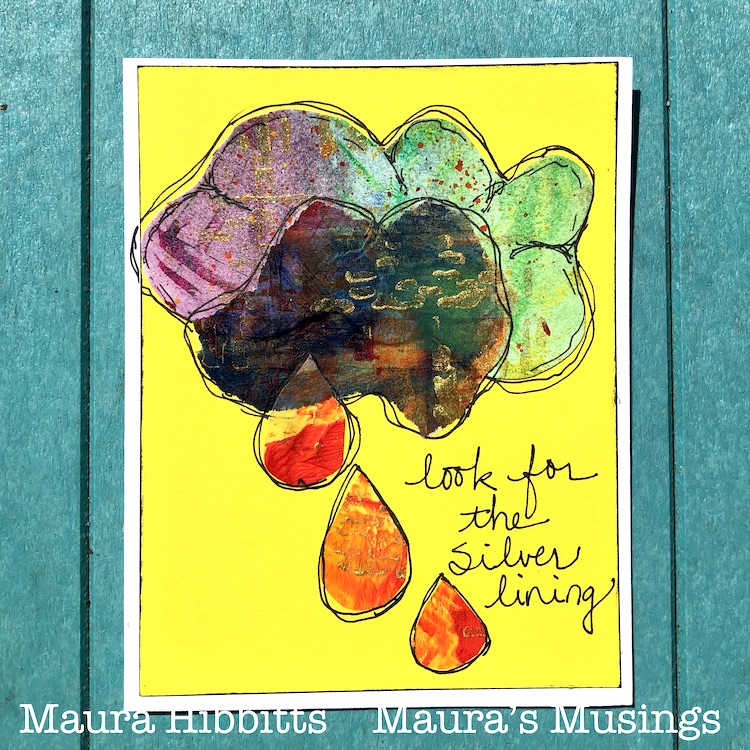
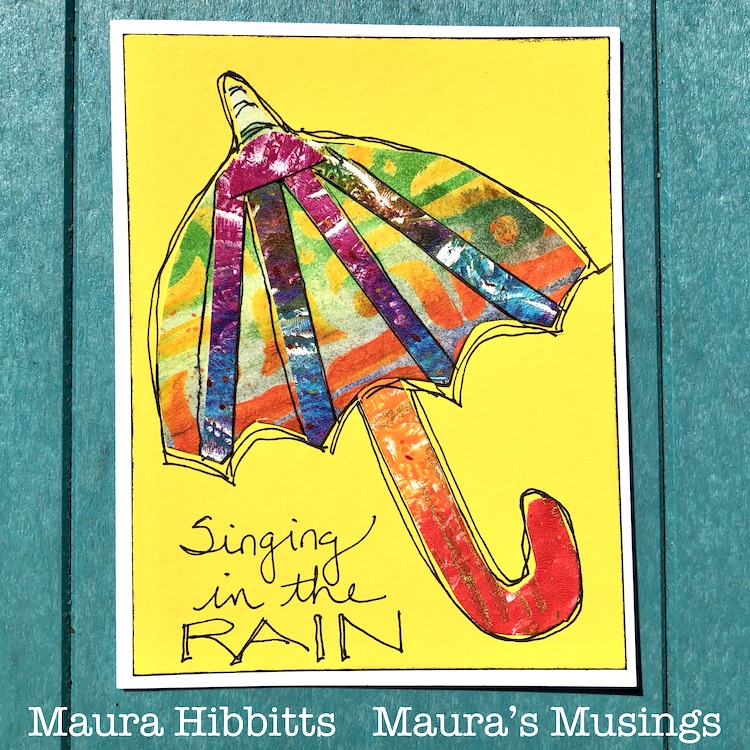
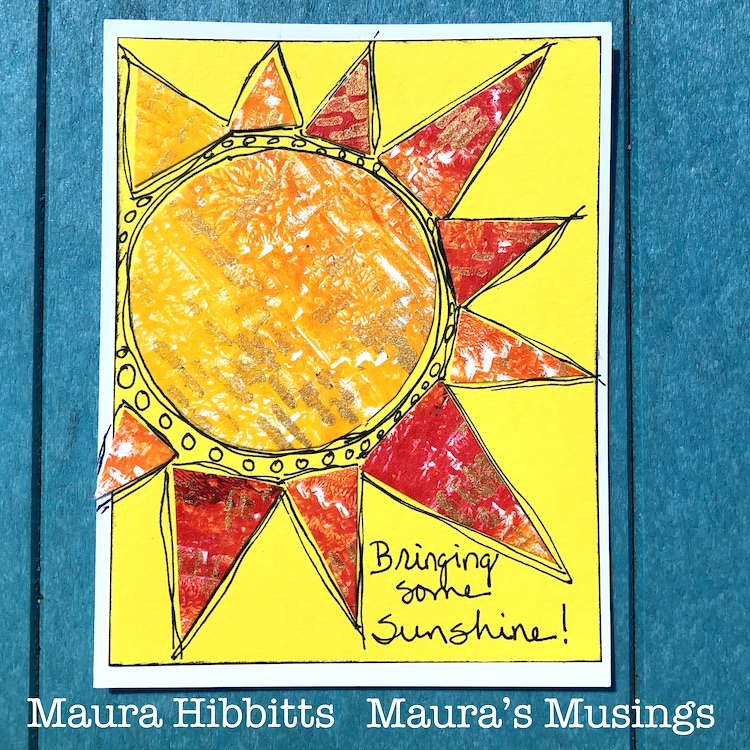
Now, the fun begins! I cut out all kinds of shapes related to weather and pieced them together to make my images….sun, clouds, an umbrella, snowflakes, raindrops, and a rainbow. I did use a pencil to sketch out a few. I adhered the heavier paper with tacky glue, and the deli paper with matte gel medium. Oh, and I had previously used the paper trimmer to cut white card stock for the base, and yellow for the background, which I edged with black ink.
Once the cards were dry, since it was such a beautiful day, I headed out to the deck to do the doodling on the cards. I am using a carbon ink pen, but any black permanent pen will work. I also added in thoughts about the weather.
Softly falling snow (well, I hope not, lol!)…The sun shines behind the clouds…Singing in the rain…Look for the Silver lining…Bringing some sunshine…and Look for rainbows! I hope these thoughts and the rainbow colored cards will bring some much needed encouragement into our lives right now. Be well, be healthy, and find joy in April’s weather! – Maura
Thank you Maura for lifting our spirits today!!! These cards are so happy and beautiful.
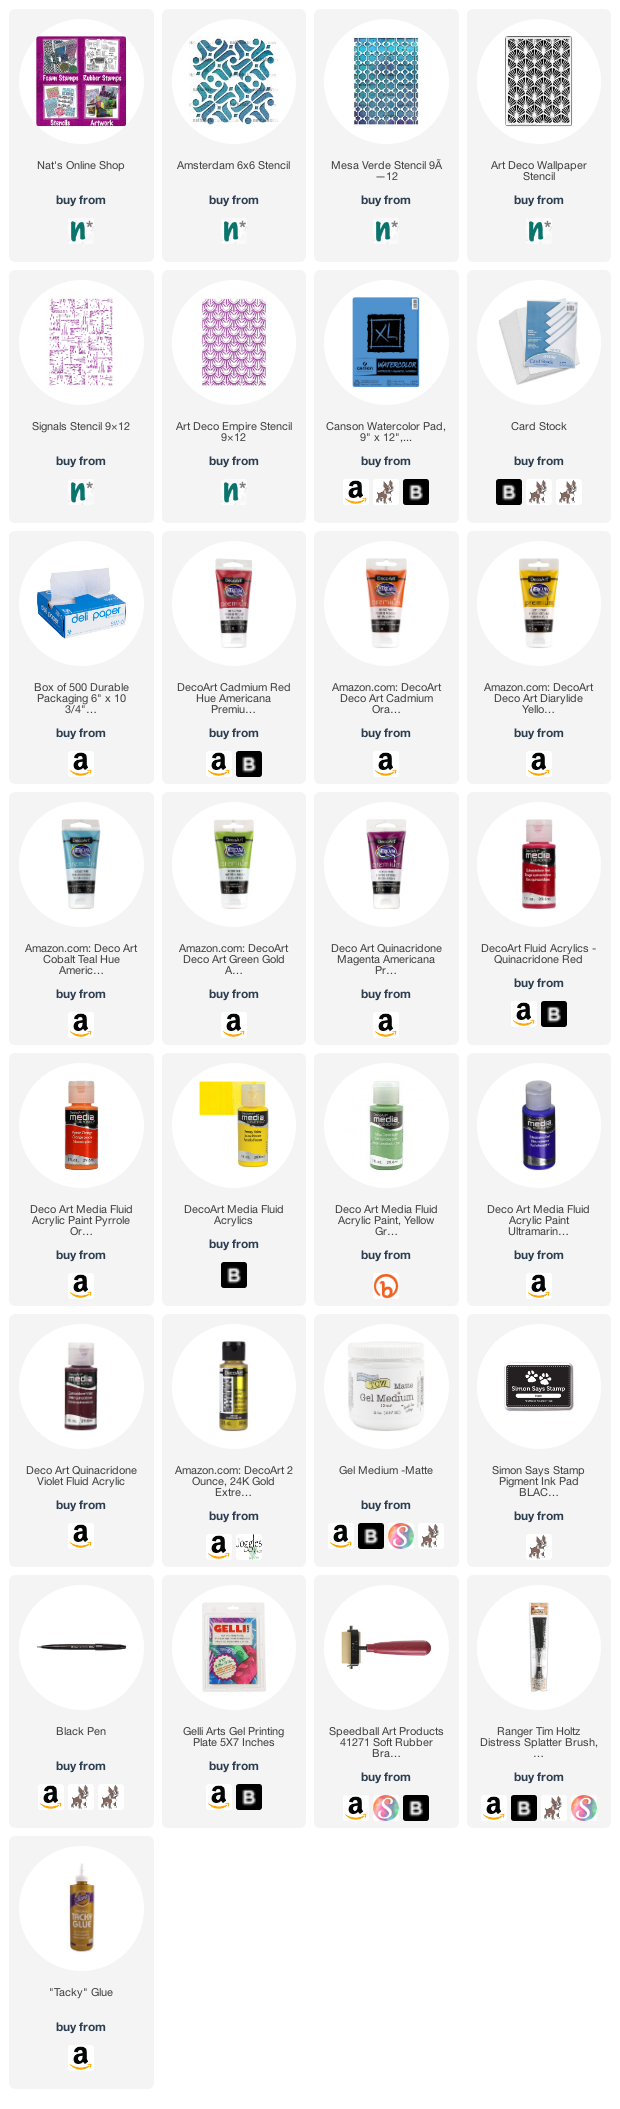
Want to give Maura’s project a try? You can find all my Stencils in my Online Shop. Here are some of the other supplies Maura used:
Feel inspired? Working on something yourself that you’d like to share? I love to see how you interpret our monthly themes. Email me how you used my stencils and stamps with the theme and email me an image – I would love to share your projects in my next “n*Spiration From Around the Globe“.
When I received my new RubberMoon Stamp Designs I once again couldn’t stop making samples and patterns (remember last year’s April Patterns — well it happened again this year lol). I decided to record a short video for some of them and post them on my Instagram.
These videos are short and sweet – You can see what I use and how I pull the pattern together. I hope it inspires you to give some of them a try and maybe come up with your own too.
Here is a recap of Patterns 1-7 – I hope you enjoy :)
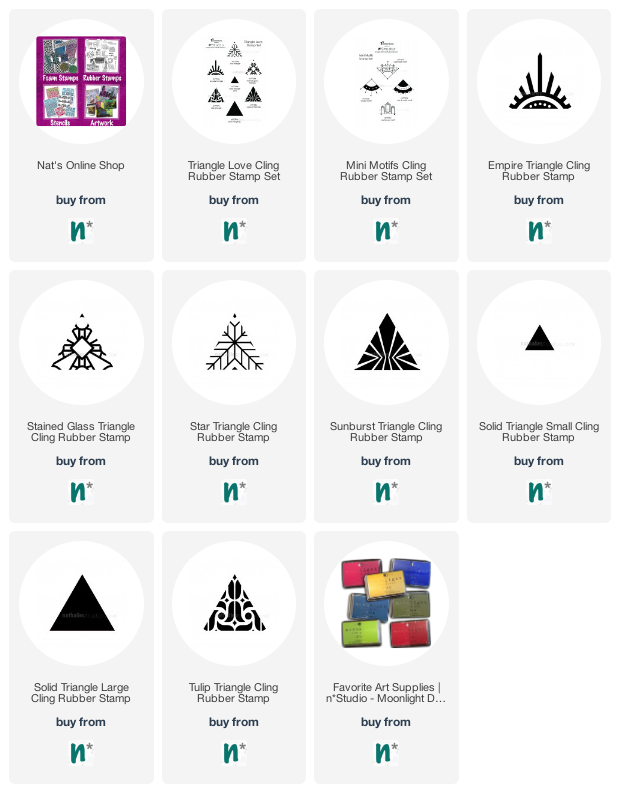
First up is a simple but very bold pattern using the Empire Triangle stamp from my Triangle Love stamp set:
Video 02 is a super easy pattern using my Stained Glass Triangle from my Triangle Love stamp set:
Next up is an argyle style diamond pattern using my Star Triangle stamp from my Triangle Love stamp set:
Video 04 is using my Sunburst Triangle stamp from the Triangle Love set to create hexagons:
Video 05 shows 2 border patterns and a loose field of pattern, all using stamps from the Triangle Love Set:
Next up is a pattern using my Mini Motifs stamp set – 3 stamps from that set that fit nicely together:
Video 07 is using the Tulip Triangle from my Triangle Love set and it is neat to watch the hexagon transform into a star and then into a larger hexagon:
Here are some of the stamps I used for these patterns:


Love the designs. I am one of the lucky friends of Judi to receive her “bird” envelop. She always amazes me with her creativity and now more so using her subconscious thoughts. I am a firm believer that our actions are a result of our inner thoughts.
Kudos to Judi!
Reply