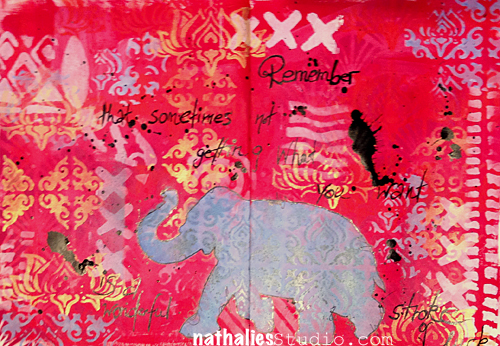
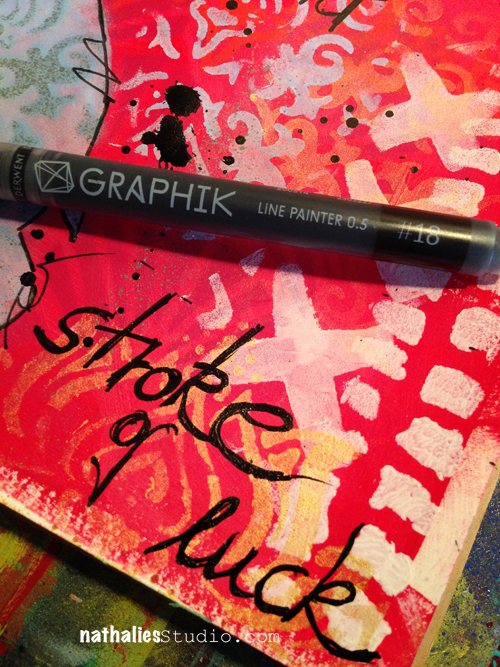
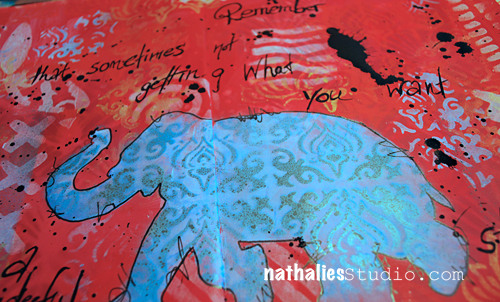
“Remember that sometimes not getting what you want is a stroke of luck” – Dalai Lama
And sometimes you won”t find out about that until much later… ;) For this spread I wanted a layered look to go with this quote. Let me share with you how I worked on this art journal page
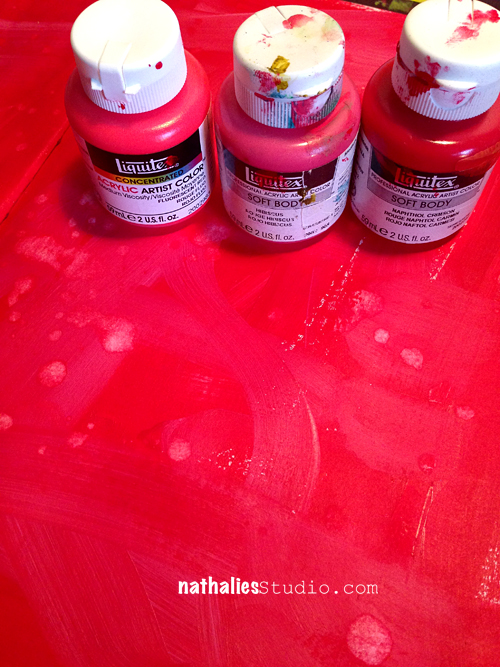
I chose three vibrant but close red /pinkish Liquitex Soft Body Paints: Naphthol Crimson, Fluorescent Red and Hibiscus and dry brushed and blended them together on the blank page.
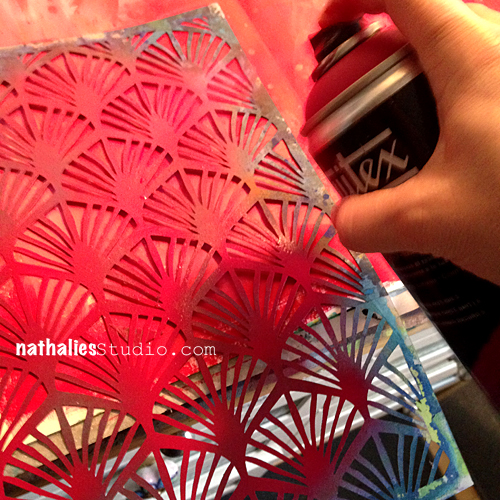
Using the Art Deco Wallpaper Stencil I designed for StencilGirl Designs I spray painted here and there a second layer with Cadmium Red Deep Hue 5 onto the spread.
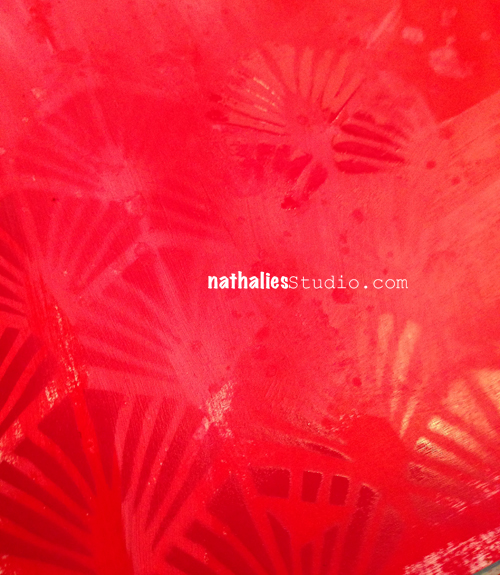
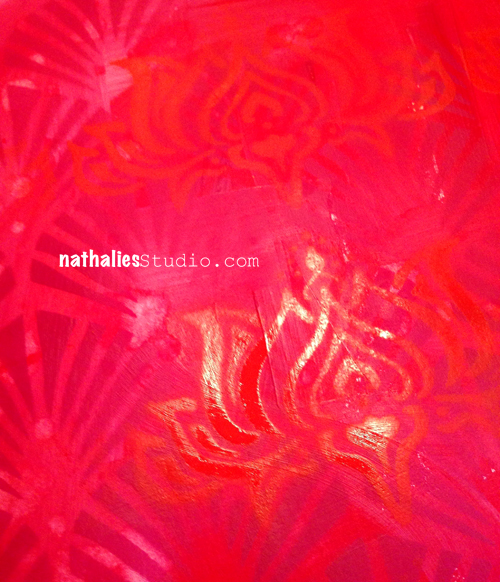
The result was very subtle as I used the same color scheme as for the background but exactly that gives it so much dimension and depth. So I grabbed my Lilly Wall Decor Stencil and sprayed over it with Cadmium Red Light Hue.
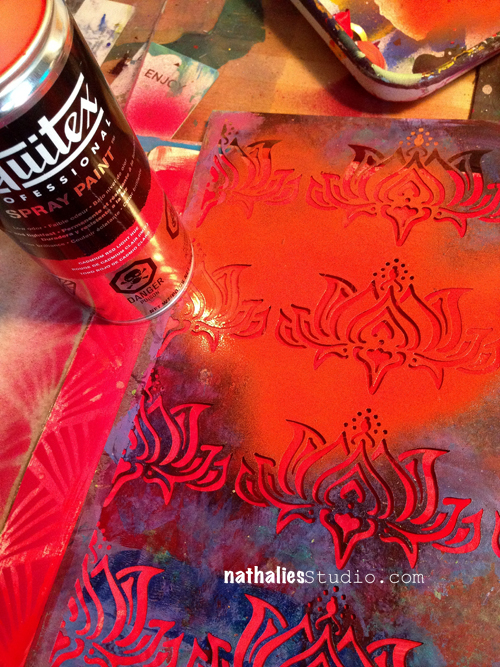
I just love the crisp stenciling effects with those spray paints!
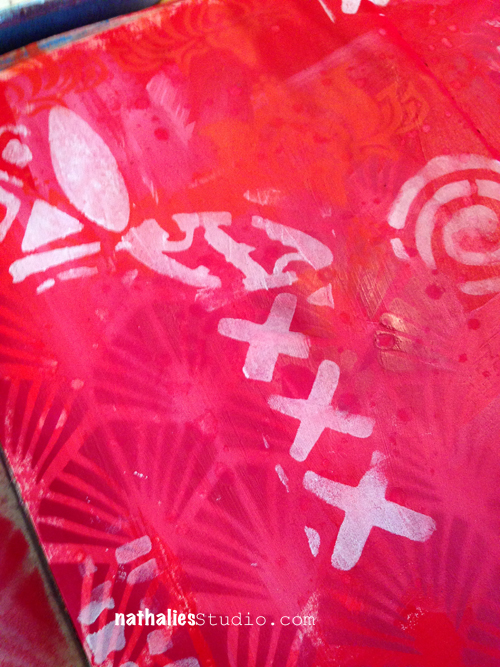
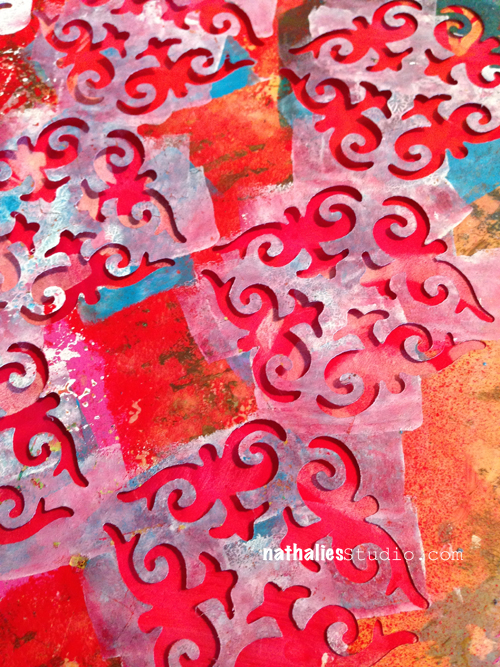
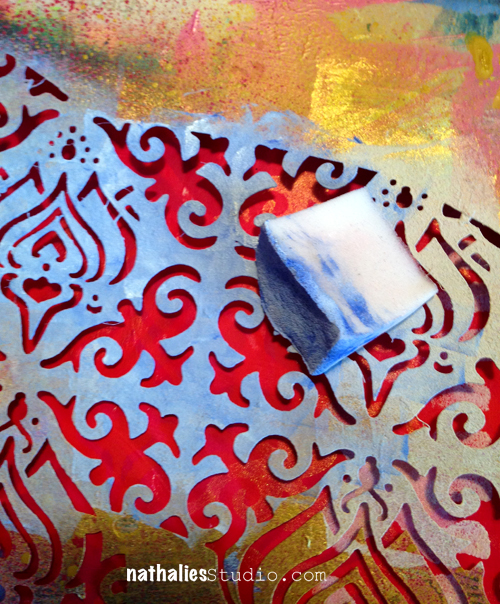
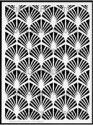
For my next layer I wanted to tone down the brightness a bit and was going for a white. But I also didn’t want a shiny white to not pick up on the brightness of my background and so I chose Gesso instead of Acrylic white paint to use with my Batik Stencil.
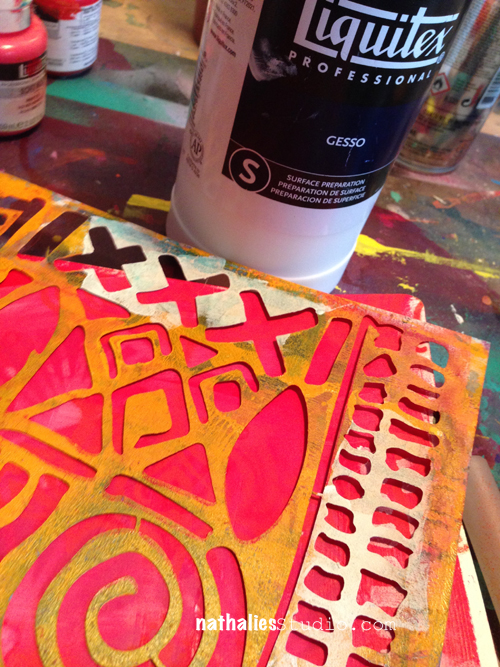
I used only parts and bits of the Batik Stencil here and there.
For my next layer I picked up the Lilly Stencil again – Repetition of Patterns is also a good way to layer and I had already used the Lilly Stencil AND I knew I was going to use my Elephant Stencil that has the Lilly in a smaller form as a pattern too :)
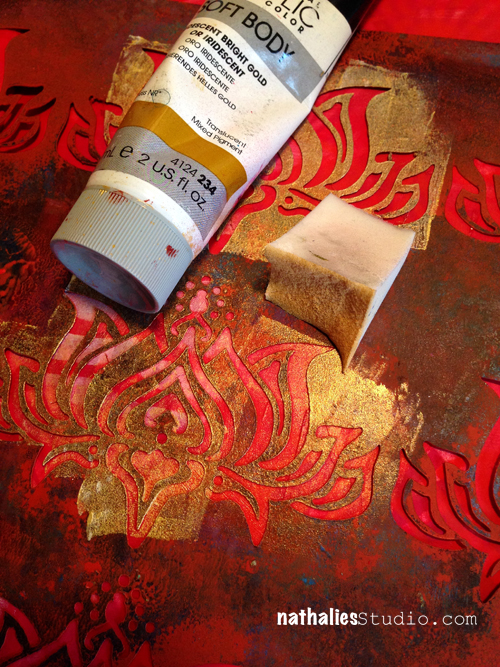
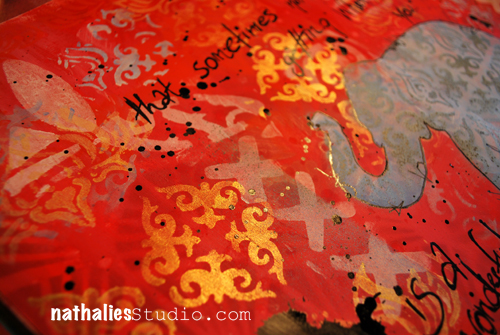
I used Iridescent Bright Gold and used a cosmetic sponge to stencil through. BTW the sad looking foamy thing on the right is the cosmetic sponge. It looks like this because I use it several times cutting off the tip for new colors to make the most of it.
And since I was talking about repetition : As the Elephant Parade Stencil also has small parts of my ornament stencil included, I pulled out the Ornament Wallpaper Stencil and stenciled with gold here and there.
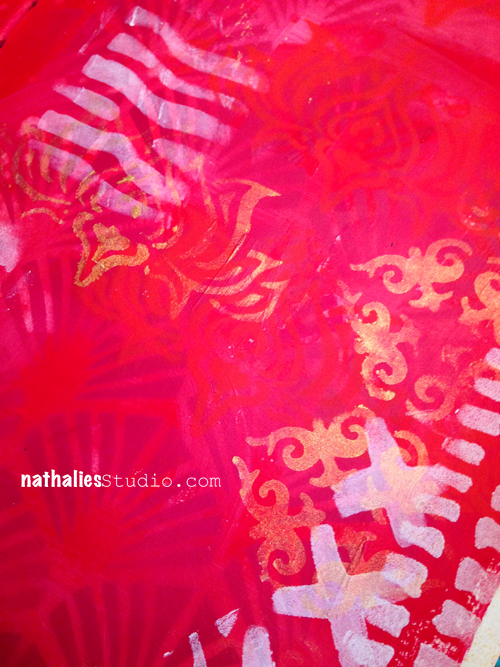
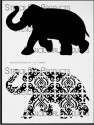
I wish the photos could do the gorgeous golden color justice…but you just have to take my word for it…it is amazing in real life! Then it was time to get the big guns…eh Elephants out. My Elephant Parade Stencil.
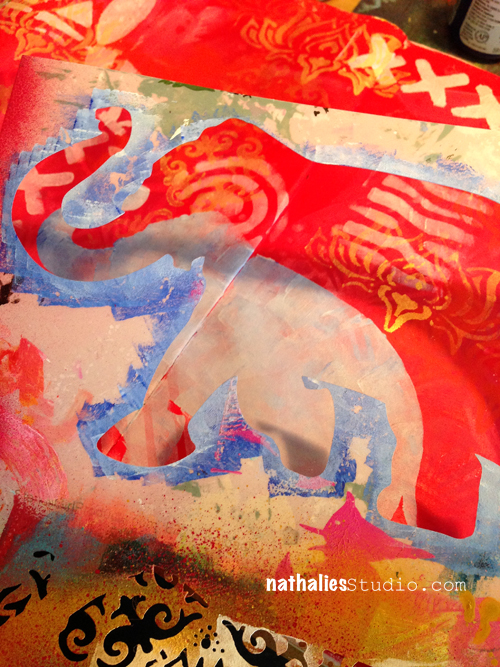
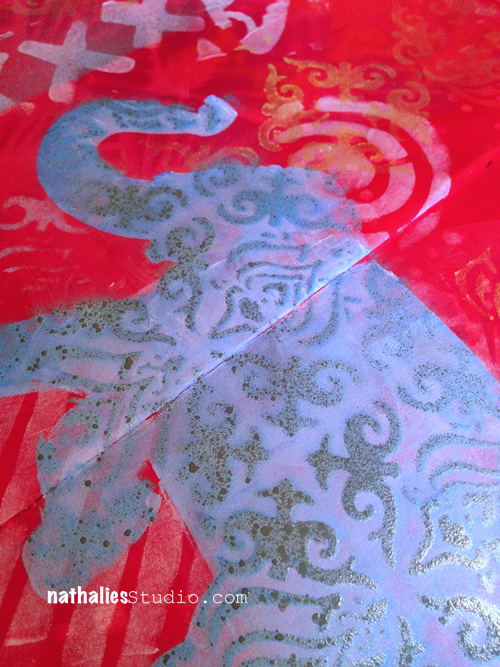
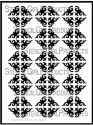
I mixed some gesso with a drop of Ultramarine Blue and stenciled through the Elephant Silhouette part.
I may repeat myself…but remember …I was talking about repetition? Using the patterned Elephant part of the stencil showing parts of the Ornament and Lilly Stencil I used the leftover paint and stenciled some of the images here and there onto my art journal page.

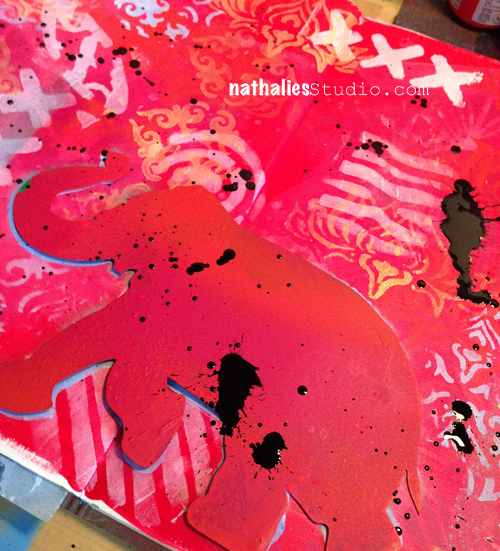
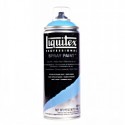
Then I layered the patterned elephant stencil part over the area where I created the elephant silhouette and sprayed over with three different spray paints – variating the pressure and areas to get color graduation and more dimension. I used: Parchment, Phthalo Blue and Neutral Grey.
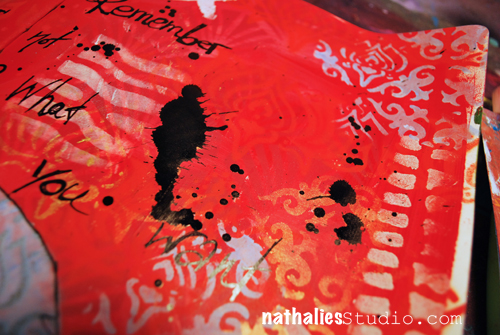
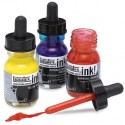
To get a bit contrast in I knew I needed some black in the page and since I do love to make a mess…I grabbed my Splatter tool and some black acrylic ink. To make sure that I was not getting any splatters into my elephant, I shielded it off with the elephant mask that is also part of the Elephant Parade Stencil. YES…three in one : Mask, Silhouette and Stencil – pretty pretty cool- if I dare to say so ;)
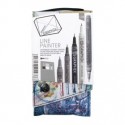
And then I used my new found Love… I had tested the Derwent Graphik Line Painter already in spring at NAMTA and I couldn’t wait for it to finally be available. LOOOOOVEEEE – I am a nerd for a really good black journaling pen and this one writes beautifully and without any problems on dried (!) acrylic backgrounds and it is permanent once dried. Awesome journaling and sketching pen – the black is one numbered #18.
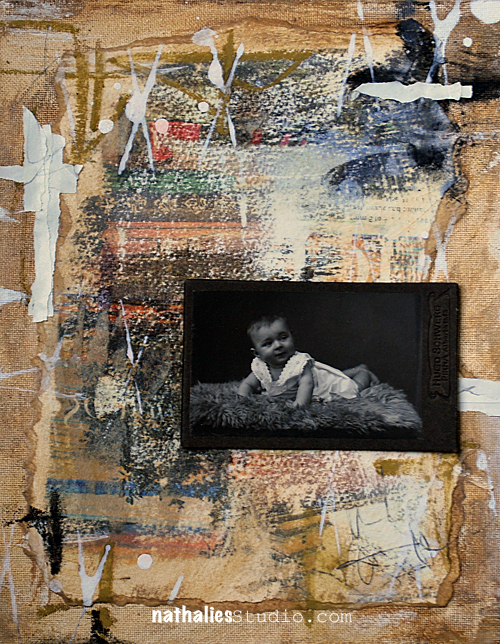
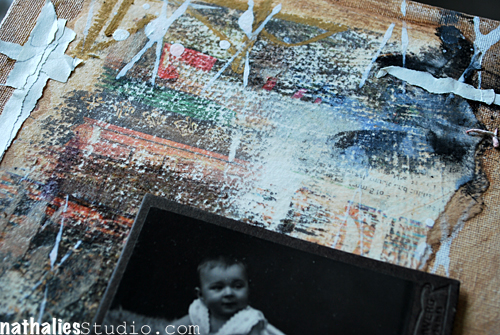
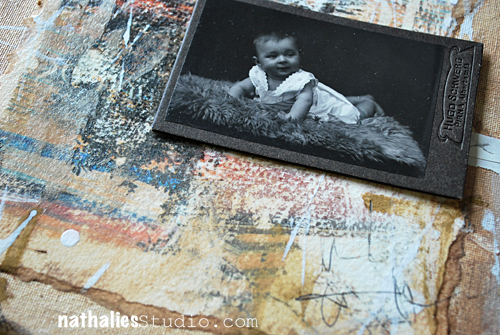
Here are some details of the finished page
Hope you liked the little layering tutorial – I won’t lie – it takes some time and usually …I would even go for more layering before adding the final focal points on my spread :)
Here is a list of all the supplies and colors I used

Have a gorgeous day:)


Comments (2)
Joi@RR
| #
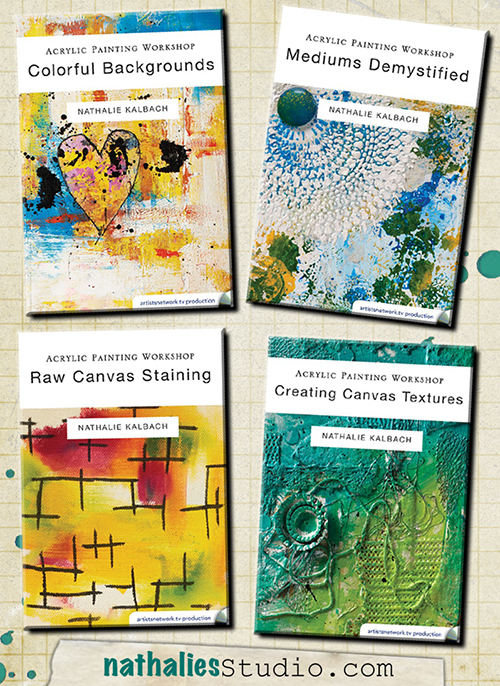
ALL OF THEM sound the most interesting Nat because YOU are teaching them! Perhaps the colorful backgrounds would be my first choice but not sure that’s right either!!!!!!!!!!!!!!!! SUPER choice of topics. So excited that you did these. I know they will be a great resource for us all. XXj.
Reply
nathalie-kalbach
| #
Awe- thank you Joi !!!!
Reply