Blog: Easter

Happy Easter! Happy Spring!

Happy Easter! Happy Spring! This time of year always gives me a little boost – the air is warming, the parks are greening up, the farmer’s markets will be opening up soon, and flowers are in bloom. I usually also feel more inspired and I am in the mood to create. Are you feeling some new creative energy too? How about a roundup of Spring and Easter themed projects to give you some ideas?
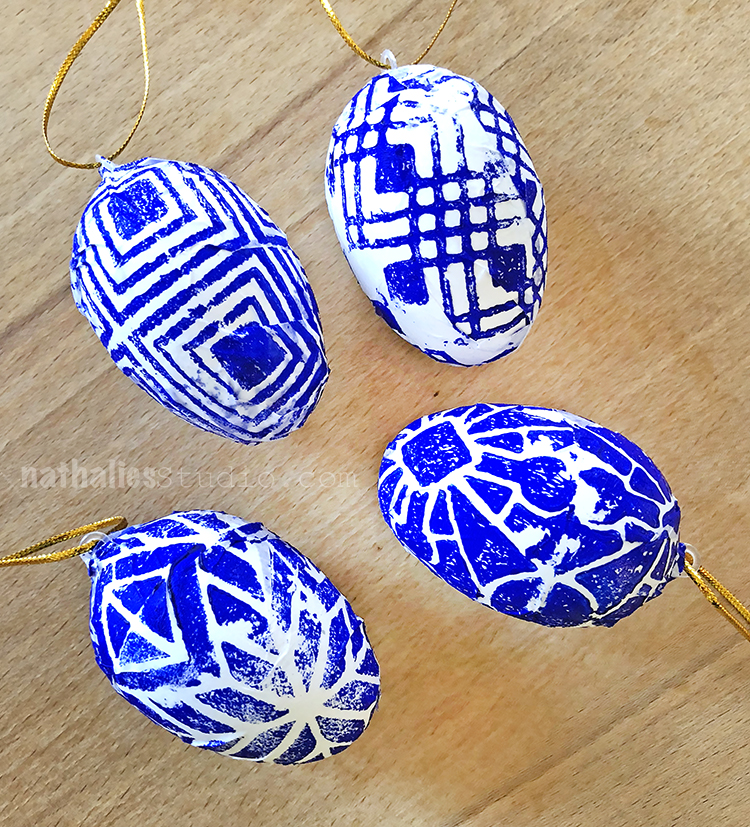
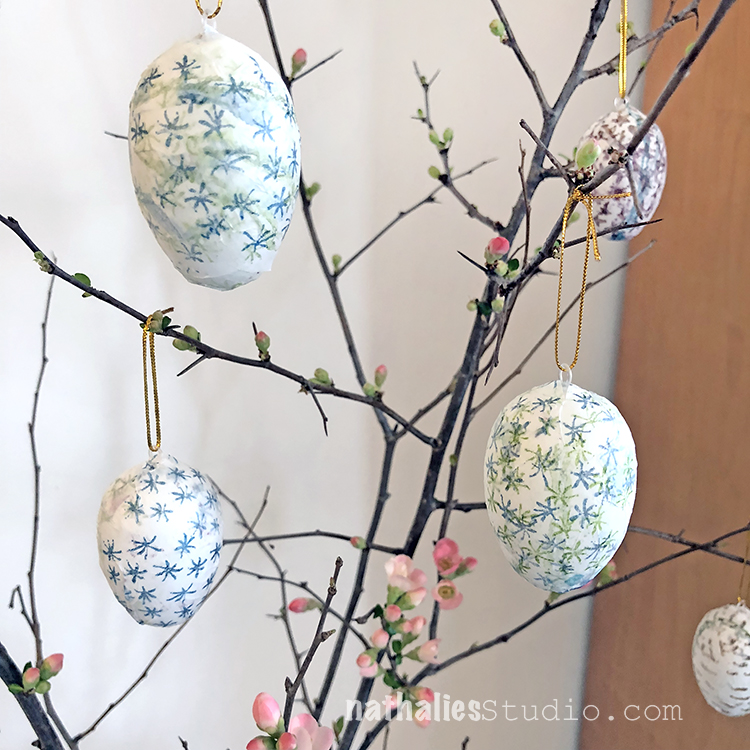
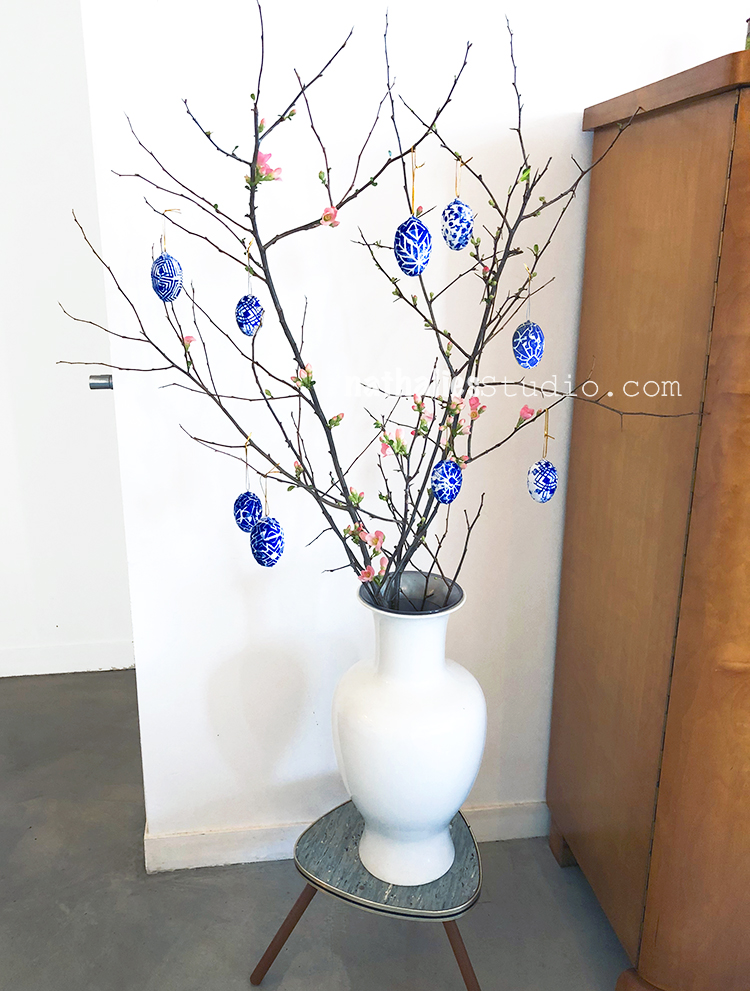
Creating these classic Easter decorations is one way to celebrate the season. In this project we covered hanging eggs with collage papers that we made using my Buenos Aires and Santiago foam stamps and my Embroidery rubber stamps. Store bought hanging plastic eggs can easily be personalized with stamps using color and pattern to suit your style.
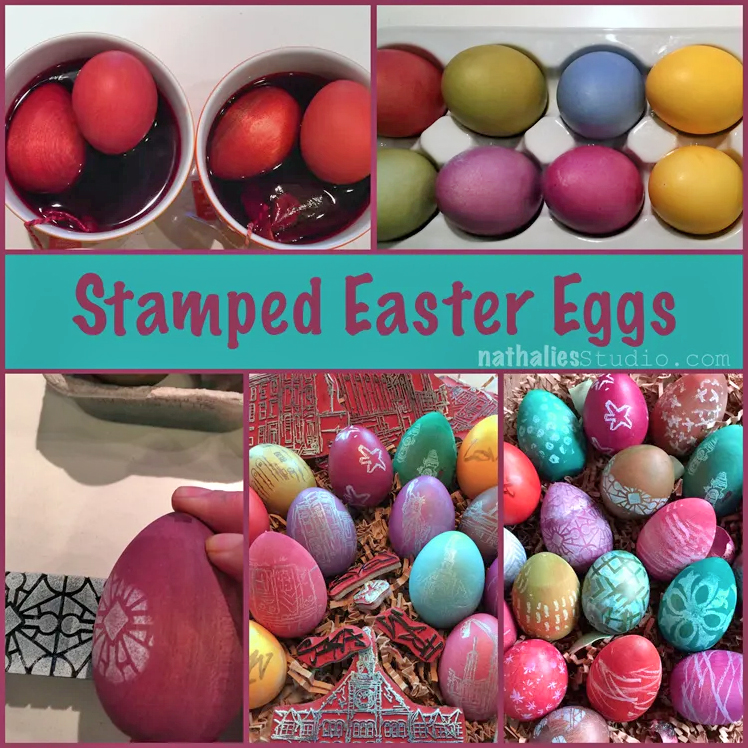
Do you and your family love dyeing Easter Eggs? Take your tradition to the next level and possibly even create future heirlooms with my tips in this post. I show how to decorate wooden eggs, blown out eggs, and hardboiled eggs in beautiful deep colors and contrasting stamped patterns and designs.
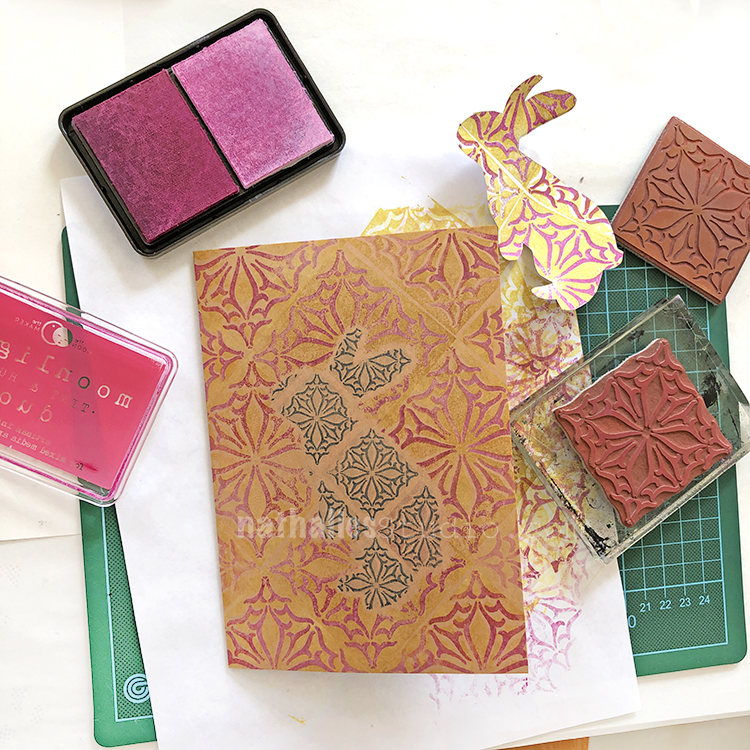
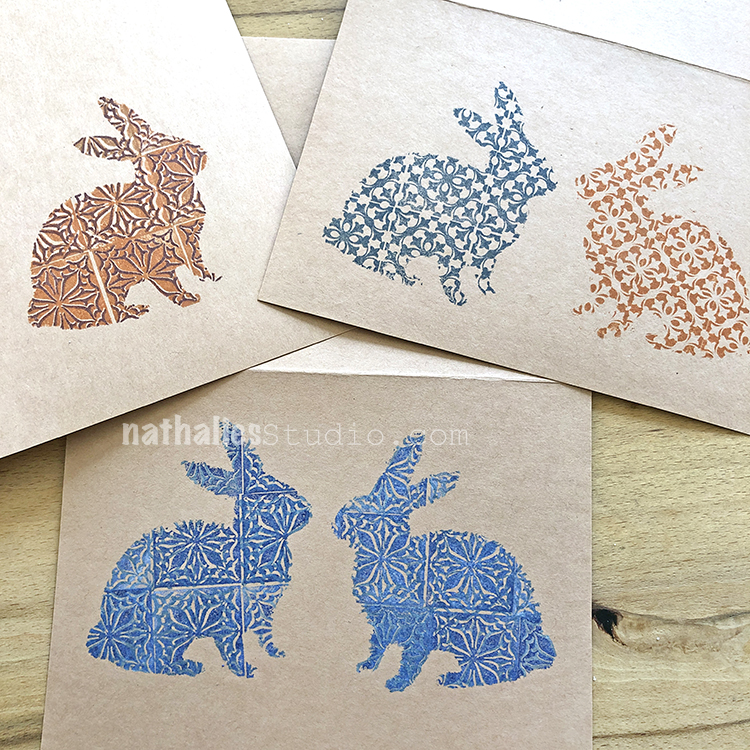
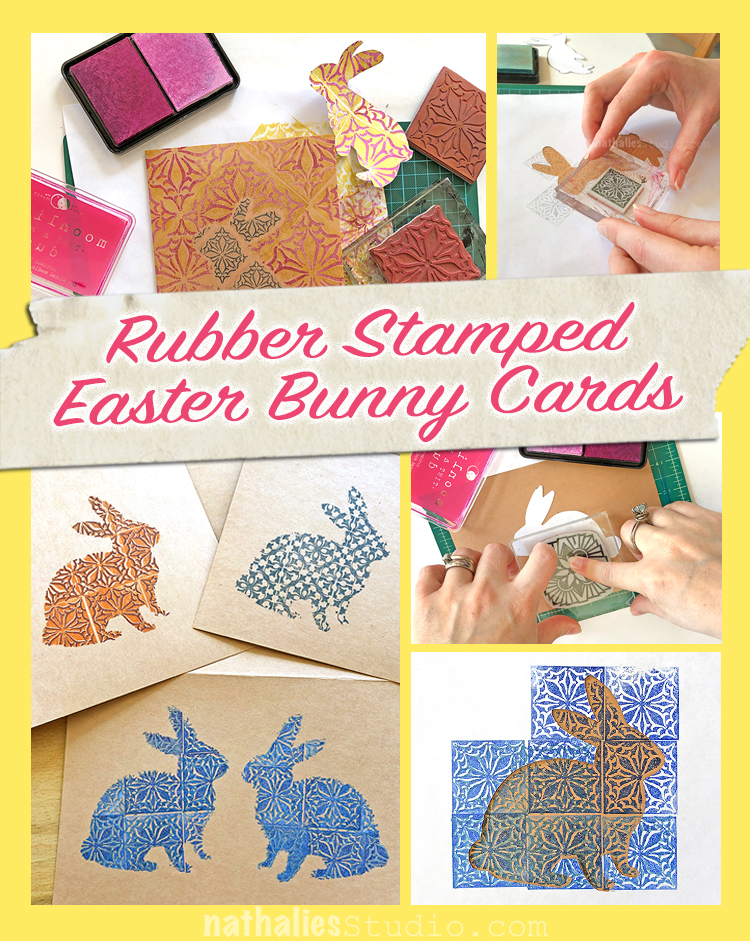
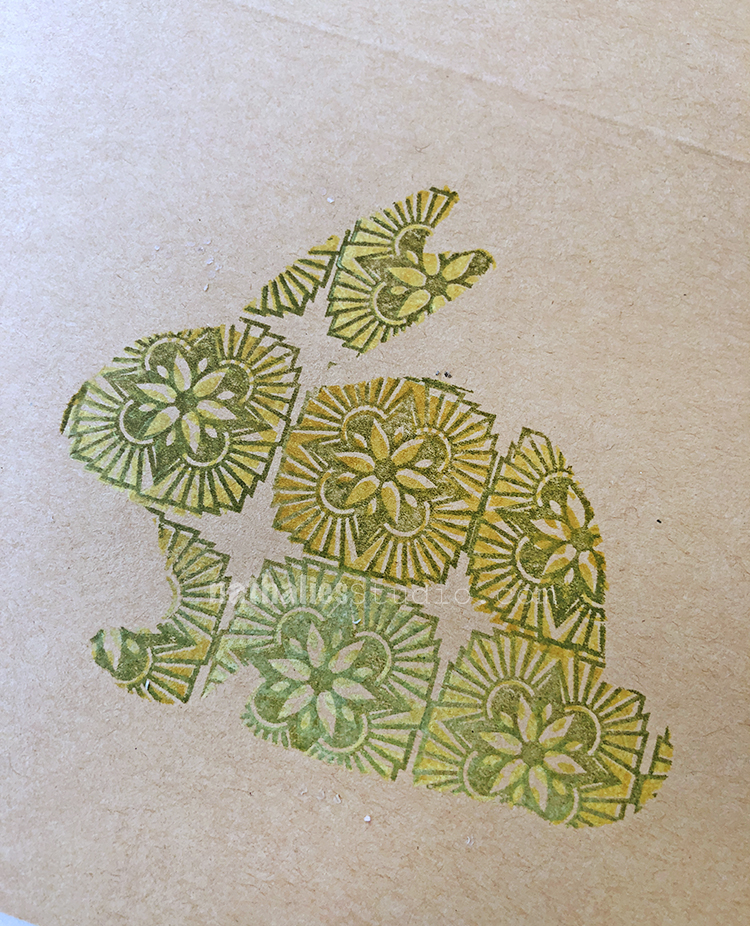
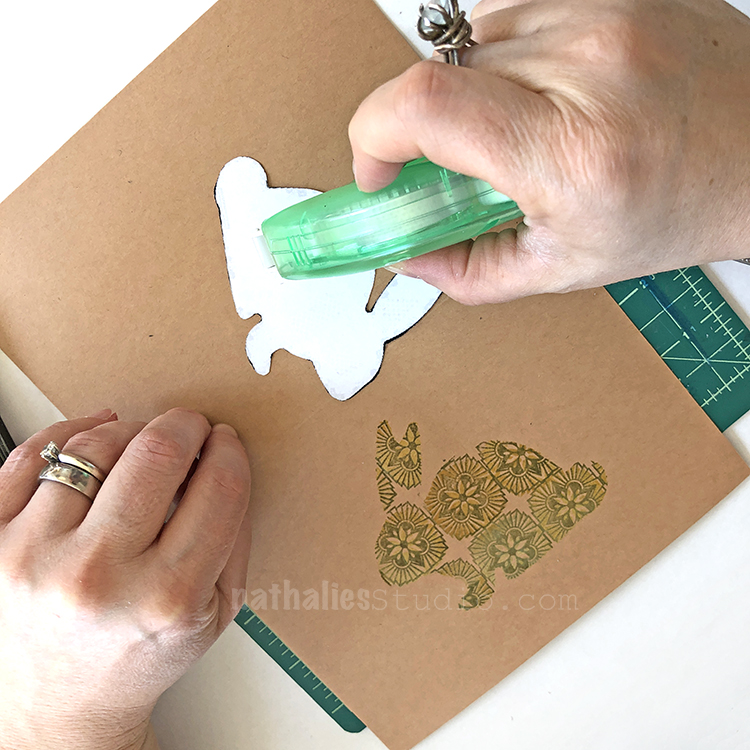
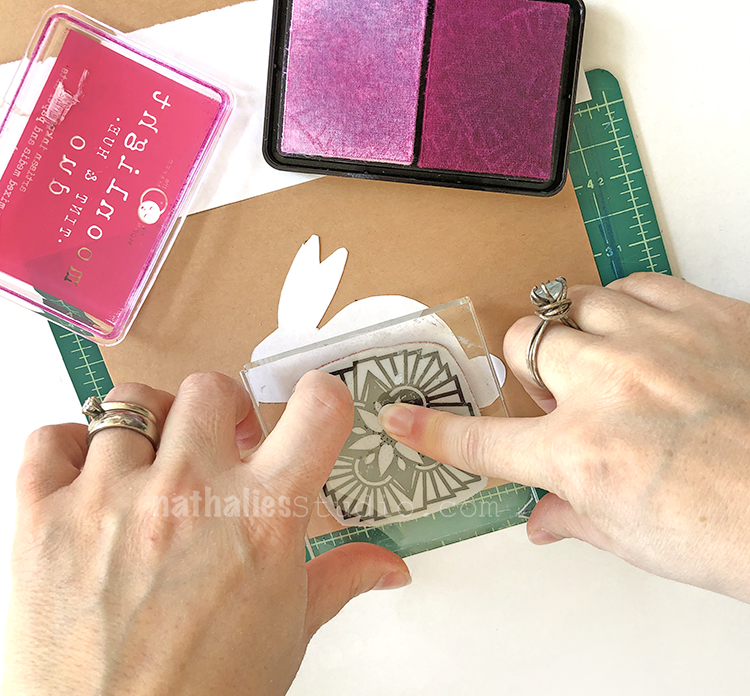
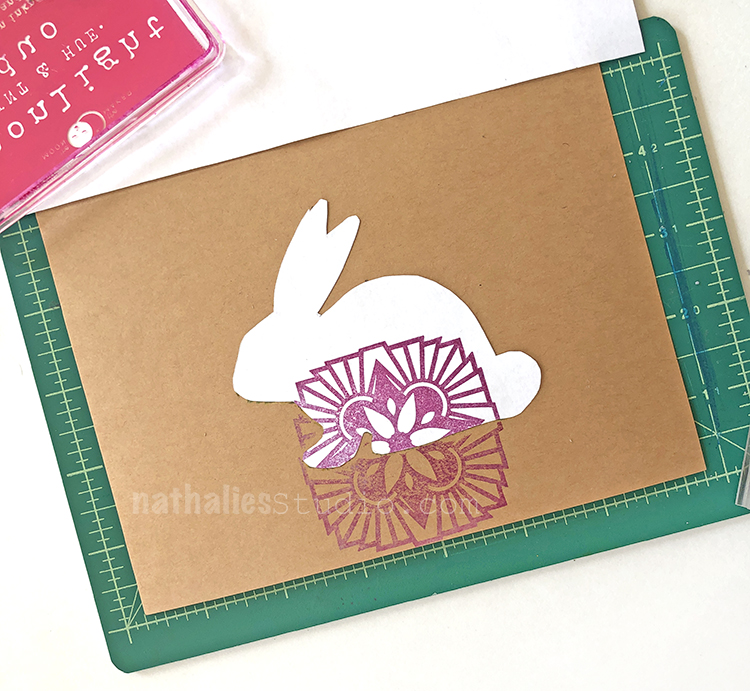
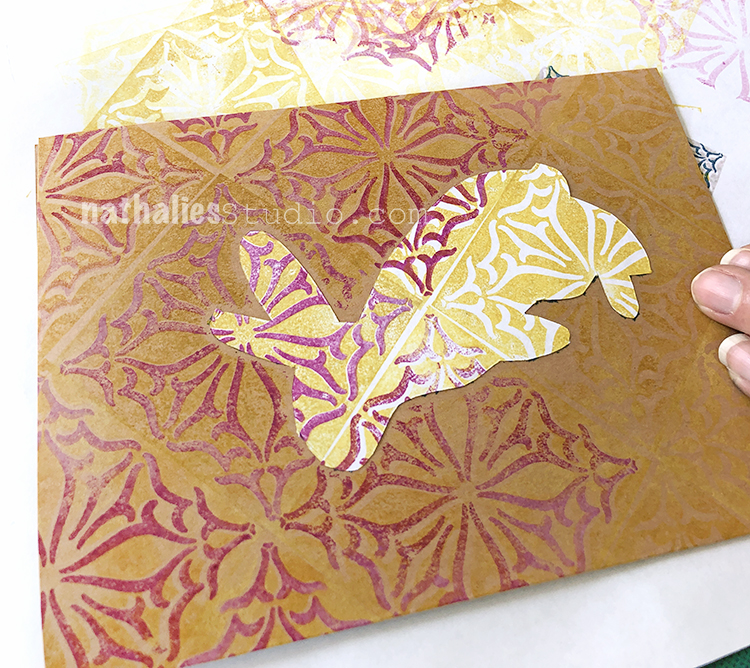
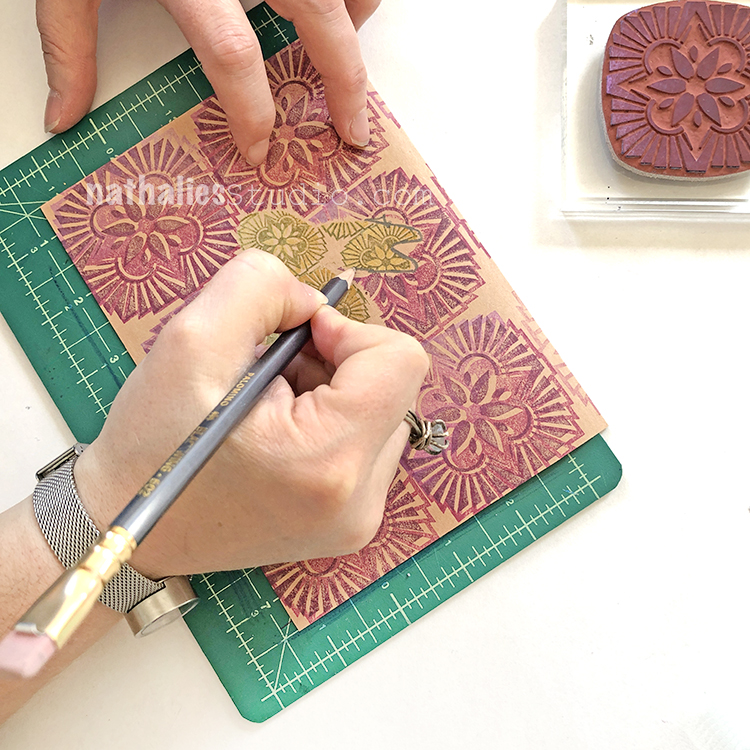
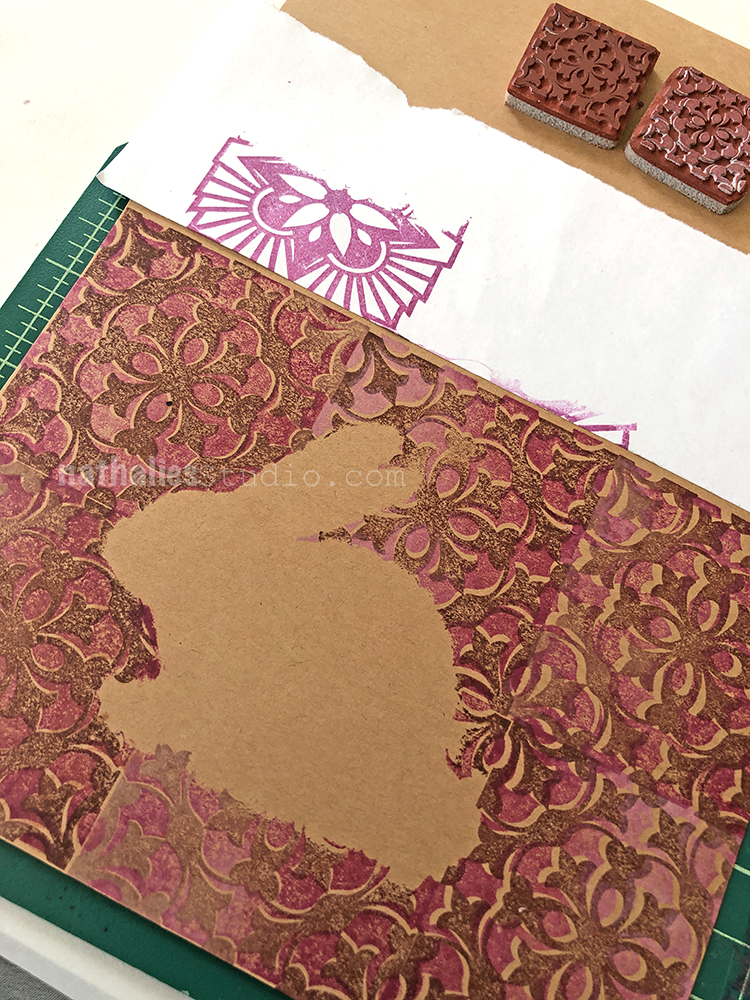
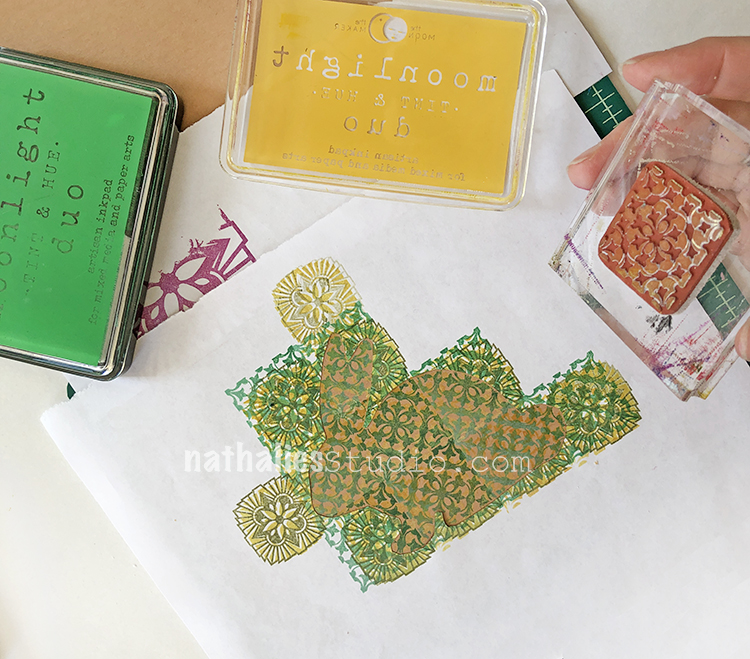
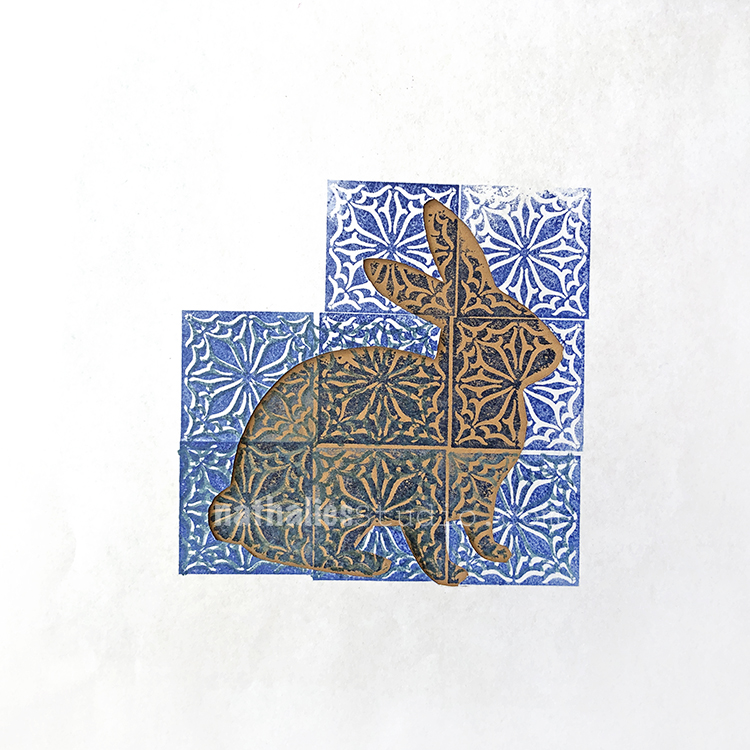
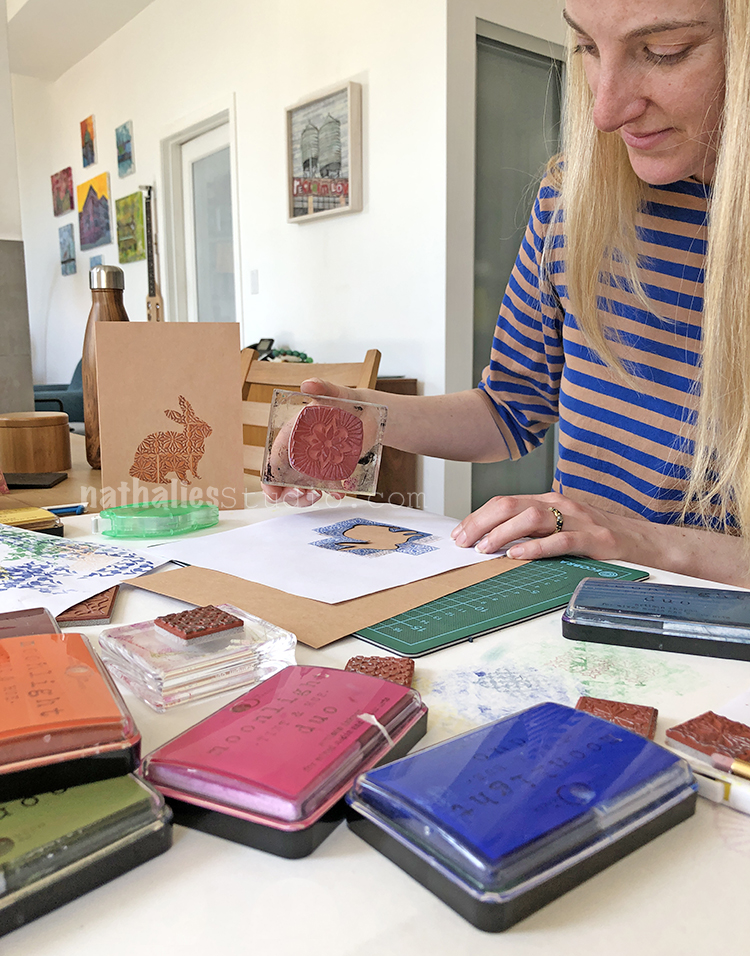
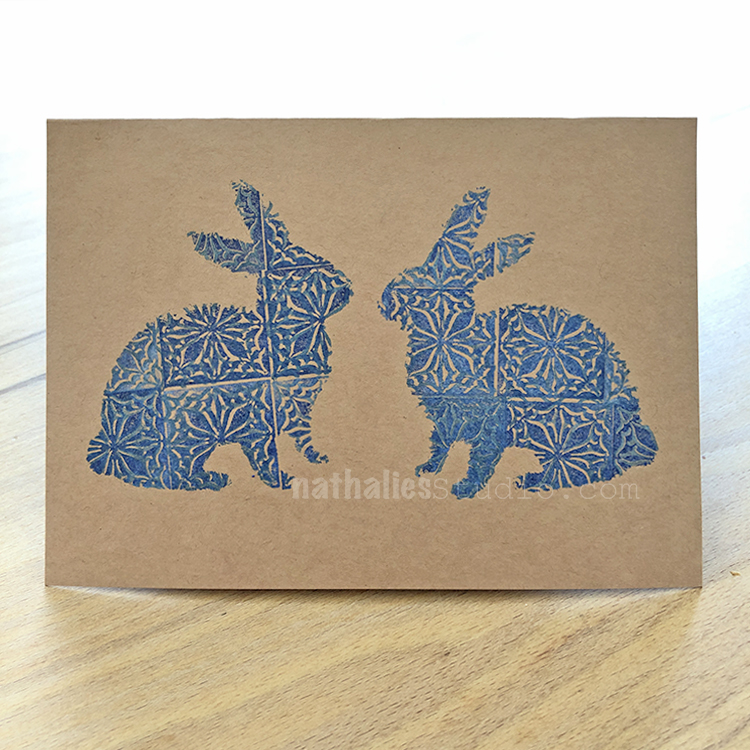
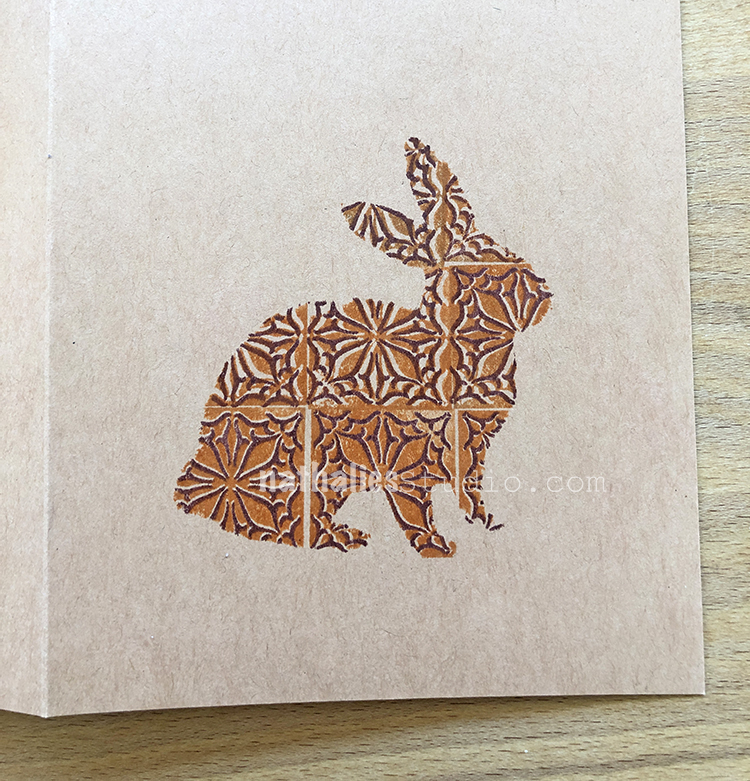
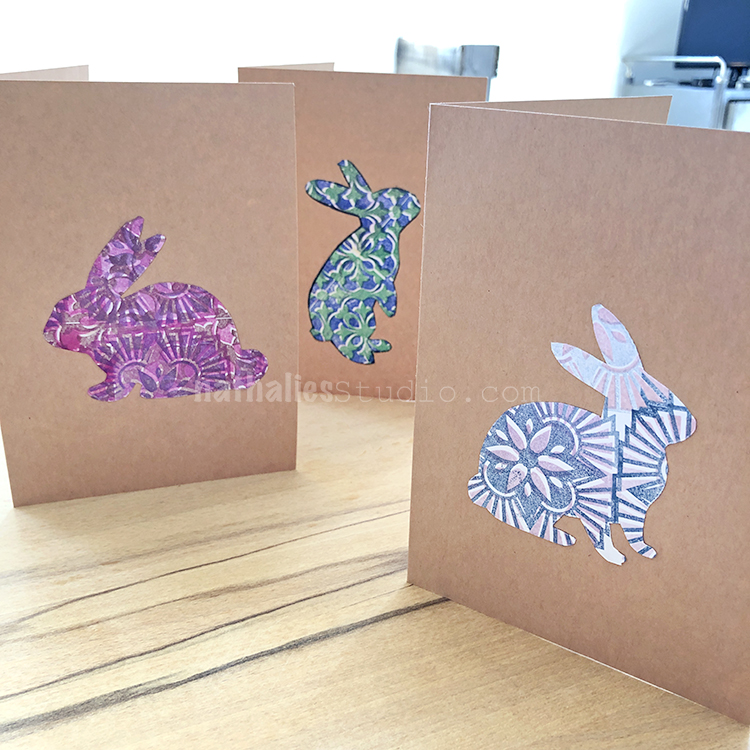
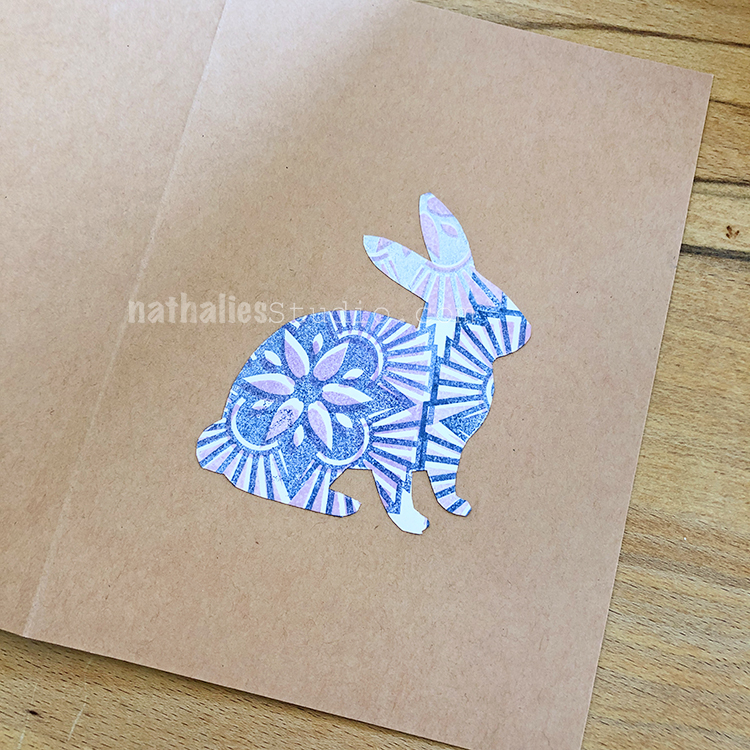
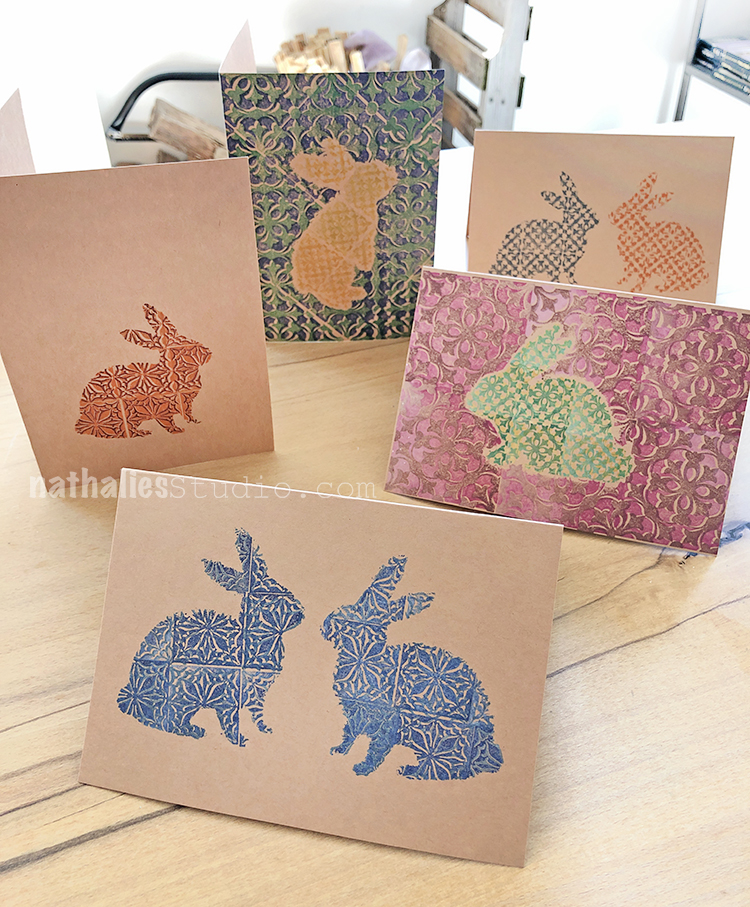
Cards are another way to get creative this time of year. We created bunny silhouettes and turned them into stencils and masks for this stamping project using my Floral Tile Small and Large stamp sets. You need just a few colors of ink and some pattern stamps to fill in the bunny shape.
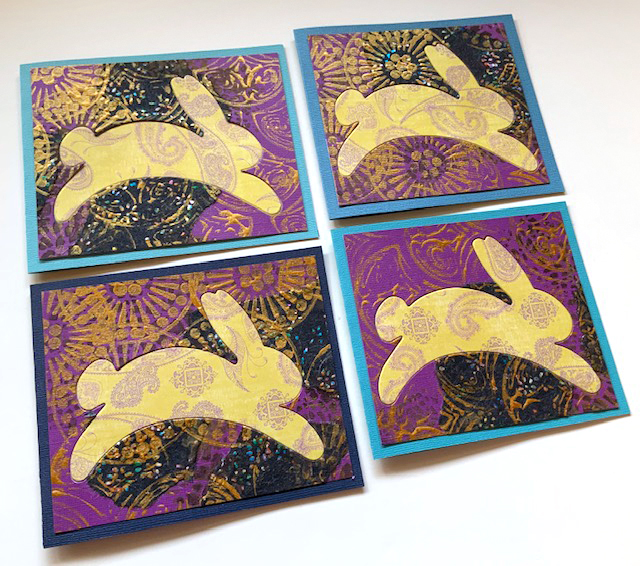
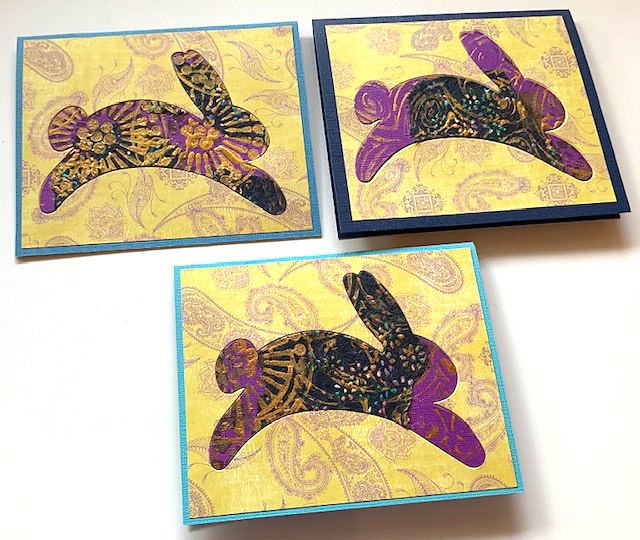
Our Creative Squad member Judi Kauffman used a bunny die to turn out a whole bunch of stamped Easter cards. See her technique here for stamping with my Grove St foam stamp and using scrapbook papers in seasonal colors.
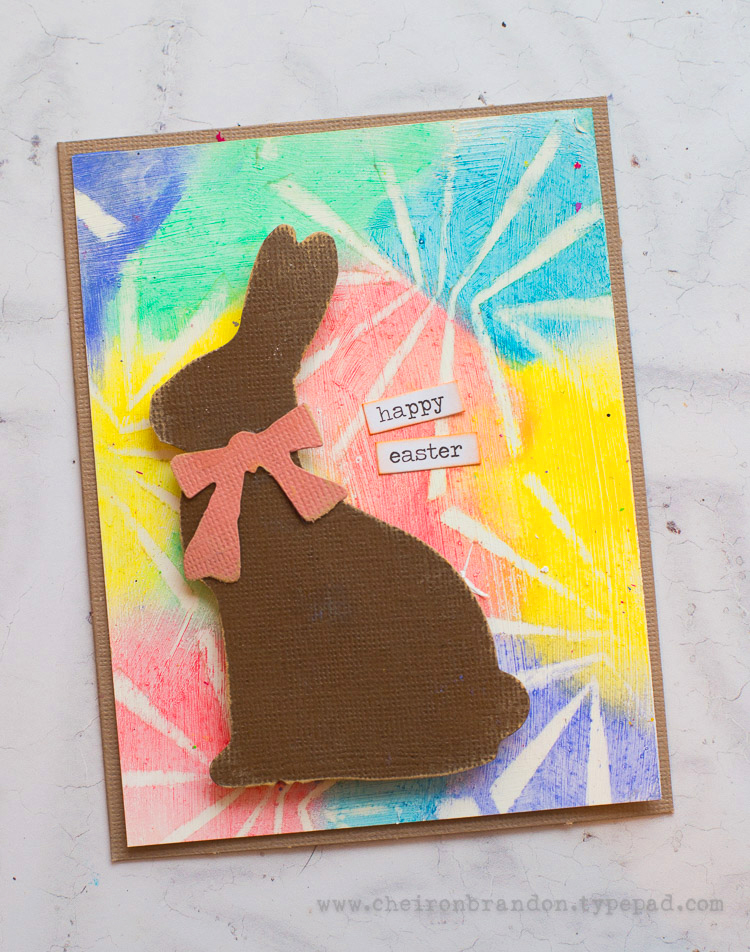
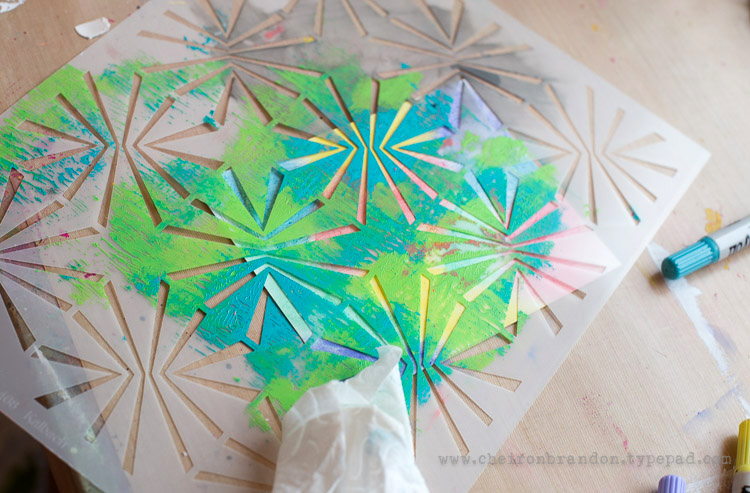
Another Creative Squad member Cheiron Brandon shared this project with us using my Beacon stencil, happy spring colors, and a bunny die cut for her Easter card creation.
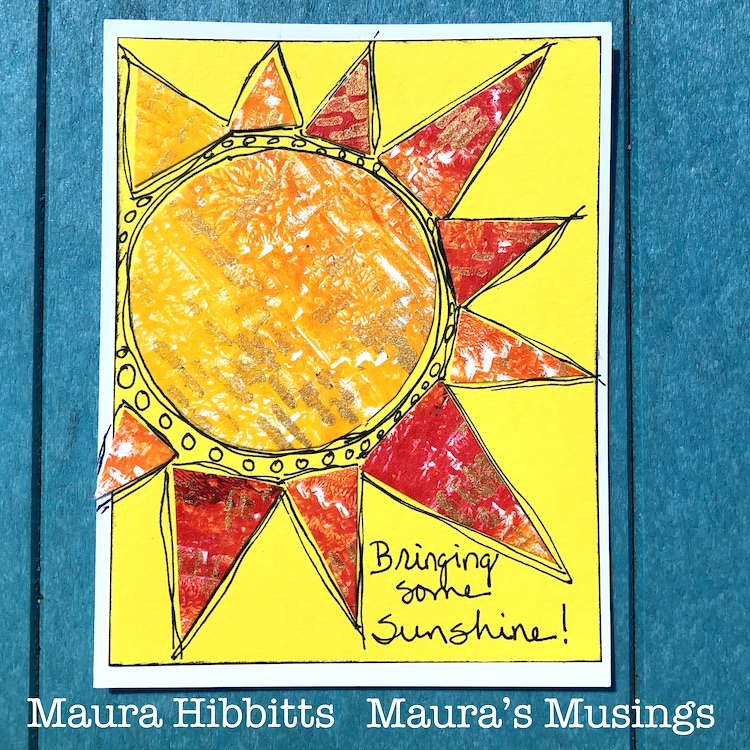
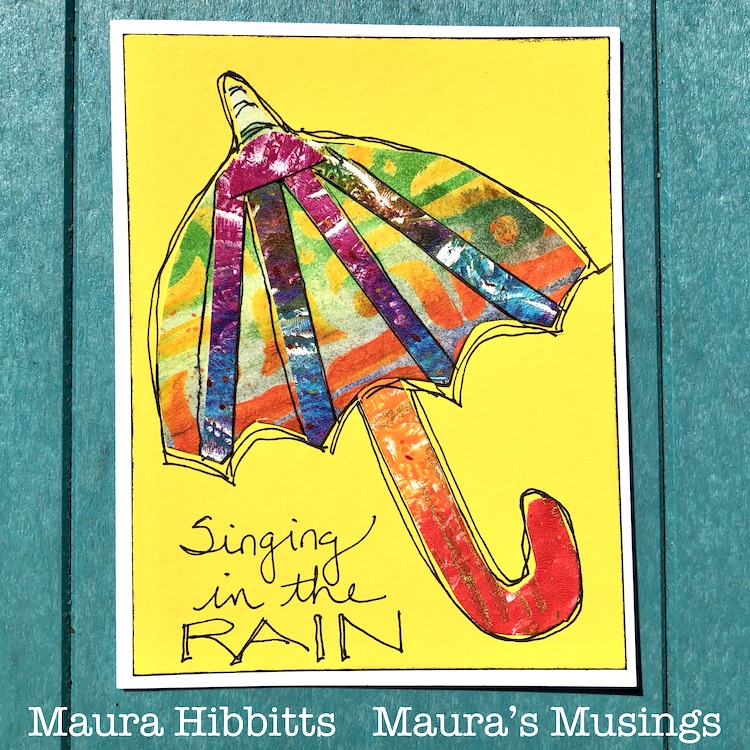
Even if you don’t celebrate Easter, there is plenty to be happy about when it’s Spring. More sunshine and even a rain shower or two mean more flowers, so bring them on as Creative Squad member Maura Hibbitts has in these fun seasonal cards. She’s using my Signals and Amsterdam stencils for all that texture and pattern.
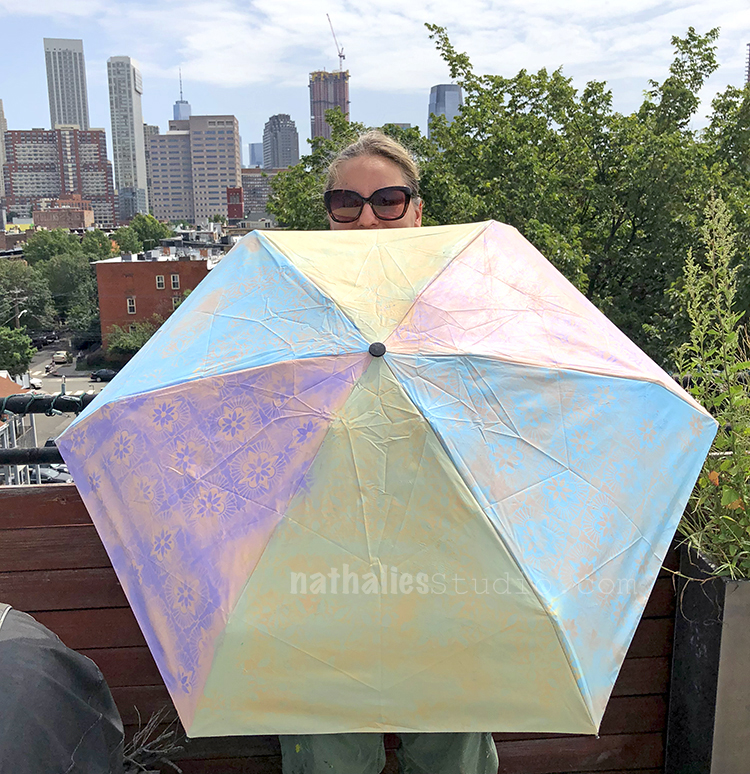
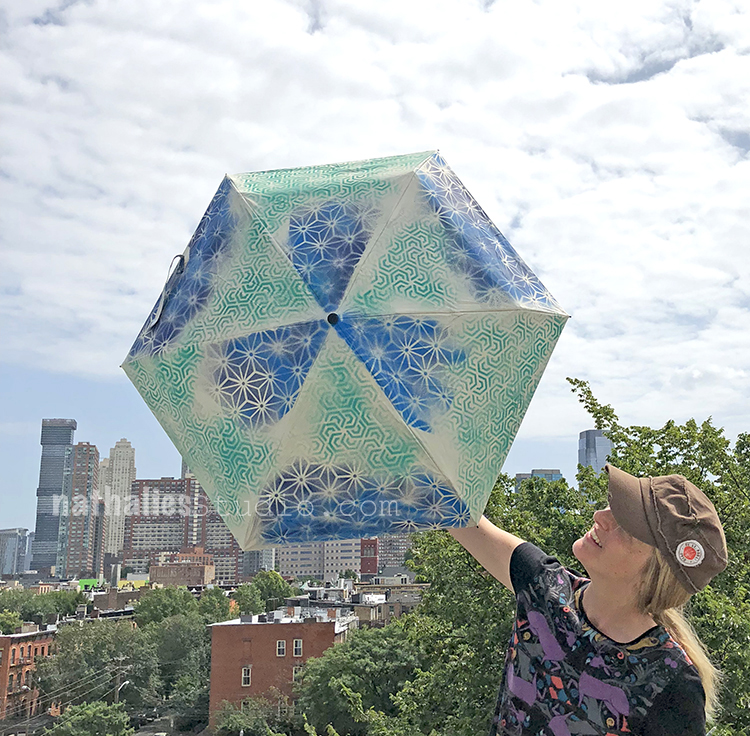
Did someone call for rain? Just another excuse to grab a stenciled umbrella like I made here in this play date with Kim. You can buy plain white umbrellas, or start with any color, and use spray paint and stencils like my Hamilton, Star Struck, and Flower Maze.
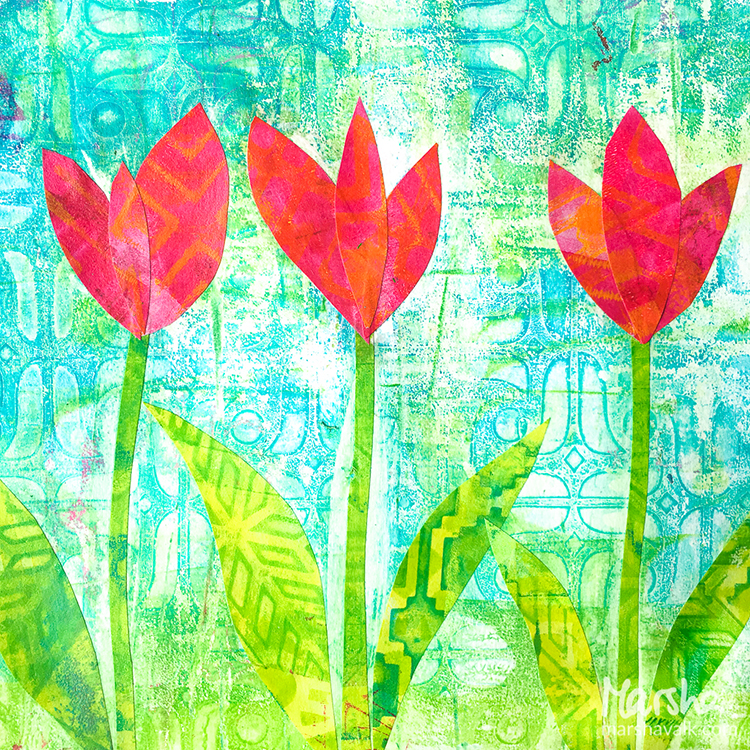
When the sun returns it’s time to head back outside and admire all the blooms out there. Creative Squad alum Marsha Valk created this mixed media piece by collaging some stenciled papers using my Amsterdam, Santiago, and Mesa Verde stencils. There is nothing like brilliantly colored tulips to lift your spirits this time of year.

I hope you enjoyed some of these Easter and Springtime projects and that you feel excited to try a few of the ideas. Happy Easter! Happy Spring!

Here are some of the supplies I used for these projects:
Comments (1)

  • Sue Clarke

    |

    I just love the shapes of the bunnies on those cards Nat.
    I used to have cards (purchased) that had the sentiment:
    Happy Easter! Happy Spring! Happy Happy Everything!
    Yes! This time of year promises new hope…and my mood reflects it.

    Reply

Leave a comment

Easter Inspiration from my Creative Squad

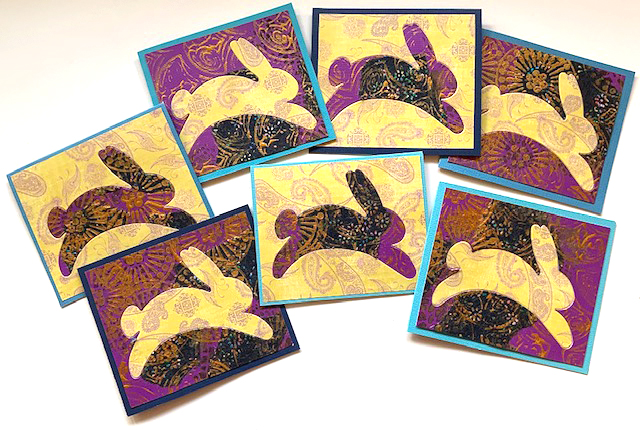
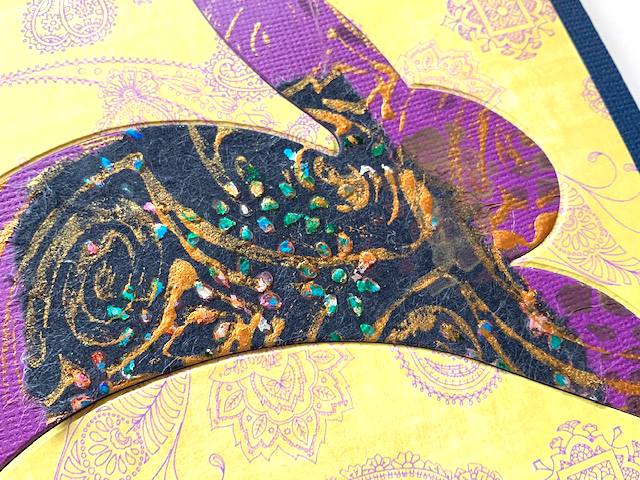
Today I have some very cute Easter cards to share with you today from Creative Squad member Judi Kauffman.  Judi is on a roll revamping her calendar pages into new projects. Remember back in December she created a monthly calendar, with the goal of reusing the pages once the month was passed? Well here we have the February page, turned into some sweet bunny cards, and a couple other items too.

From Judi:

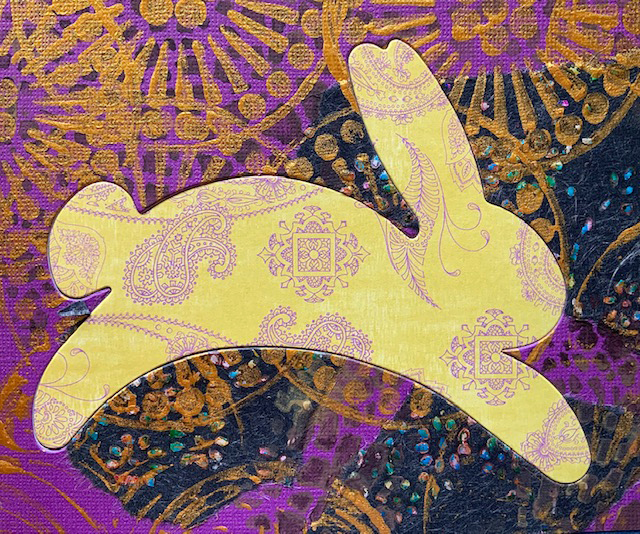
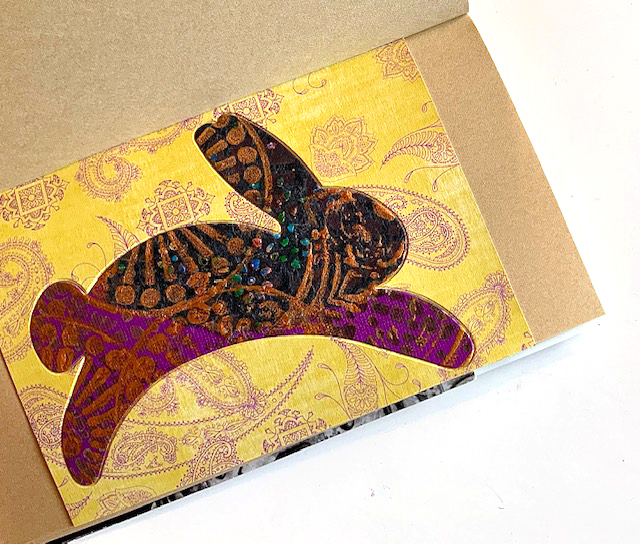
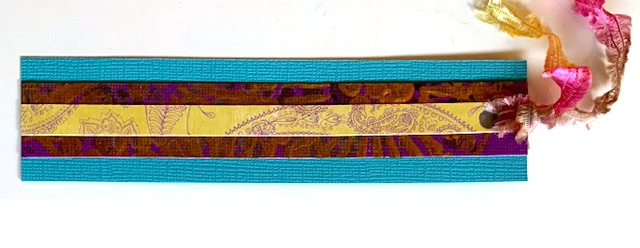
“I used my inlay technique* to turn the February calendar page into seven Easter cards, one Traveler’s Notebook page, and used a remaining scrap for a bookmark. I considered simple egg shapes, but couldn’t resist the bunny. (Die from AccuCut)”

*Judi Kauffman’s Inlay Technique: Die cut a simple shape from two or more coordinating sheets of stenciled/stamped paper and purchased patterned paper. Make sure there will be good contrast. Inlay the positive image (shown: a bunny) so it fits into the opening on a contrasting background. Glue both pieces in place on a piece of board, a card front, into an art journal, or on mat and frame.

Thank you for sharing Judi!

Here are some of the supplies Judi used:


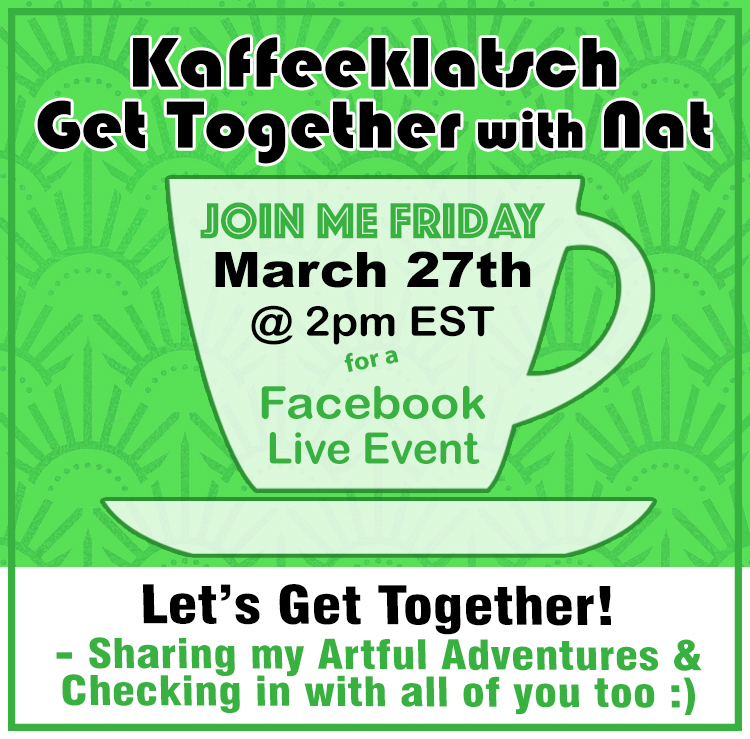
And I hope to see you tomorrow, March 27th at 2pm on Facebook for a Live chat. I would love to hear from you and learn about how you are doing these days. Please join me and say HI!

Leave a comment

Rubber Stamped Easter Bunny Cards – DIY Play Date

Hippity Hoppity :) Kim and I got together for a Play Date with some of my new Rubber Stamps for the upcoming Easter holiday. We had a nice morning stamping some Easter Bunny Cards for friends and family.

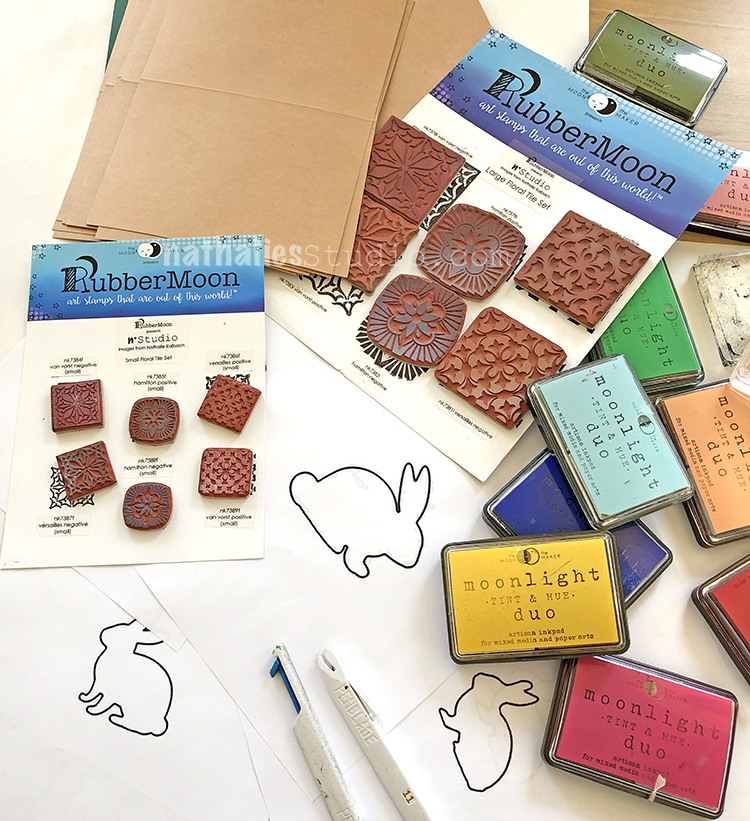
For supplies we had my new Floral Tile Large and Floral Tile Small stamp sets, blank cards, colorful ink pads, some bunny images we printed off the internet, a craft knife, and repositionable tape.

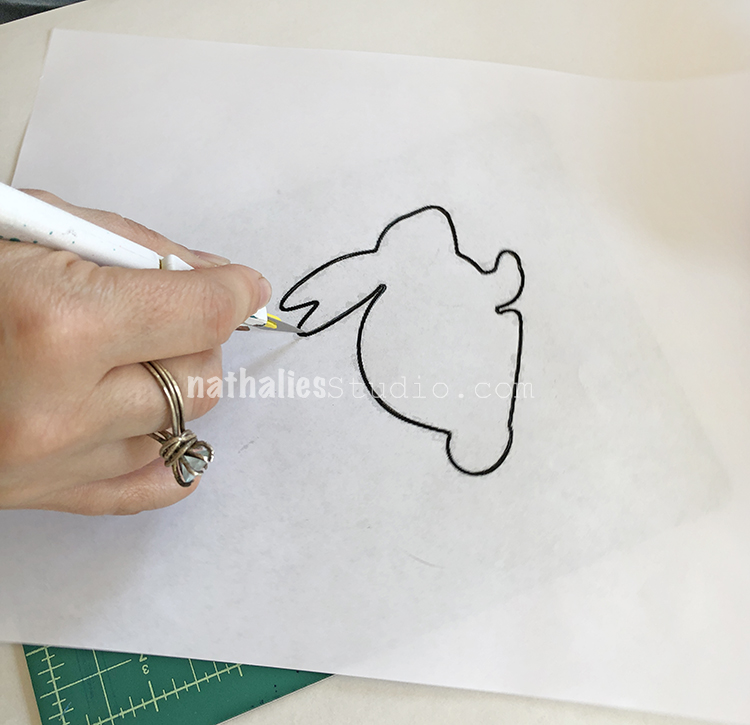
First we carefully cut out some rabbit shapes, leaving both the outside and inside intact. These became our stencils and masks.

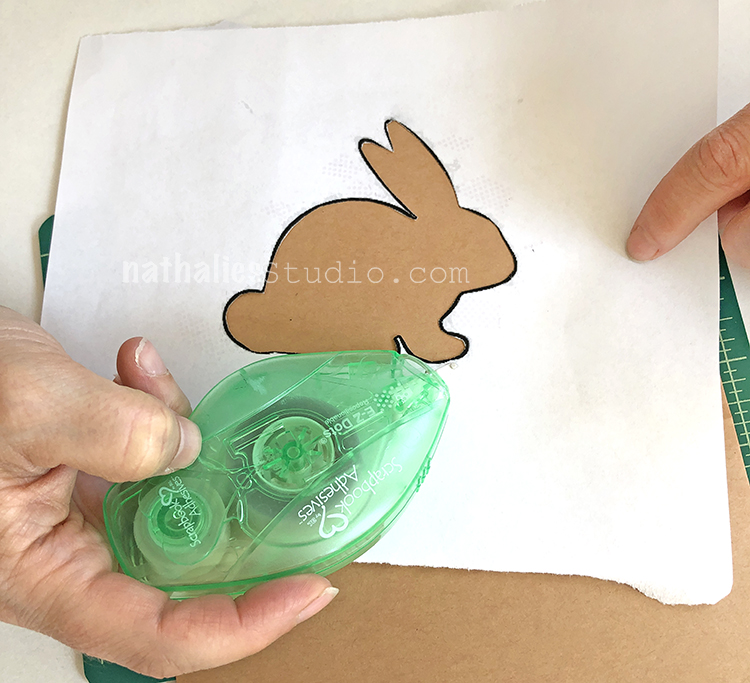
We used Scrapbook Adhesives E-Z Dots to temporarily stick our stencil to the front of the card. I love this tape – it’s easy to apply, sticks well, and comes off easily too!

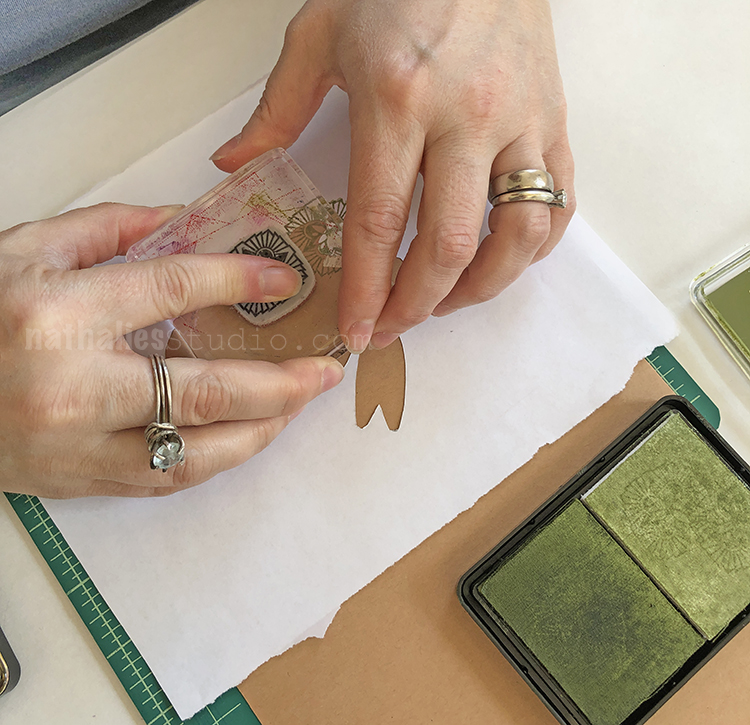
We stamped into our bunny “stencil” with stamps from my Floral Tile Small set – the scale is just perfect for tiling into small areas. Here I am using one of the Hamilton designs.

Kim began with one of the Van Vorst designs from the Floral Tile Small set.

I used both the Positive and Negative Hamilton stamps from the small set and filled in the entire bunny.

And here is the big bunny reveal! Now to fill in the rest…

Put a bit of repositionable tape onto the bunny mask and place on top of your stamped image.

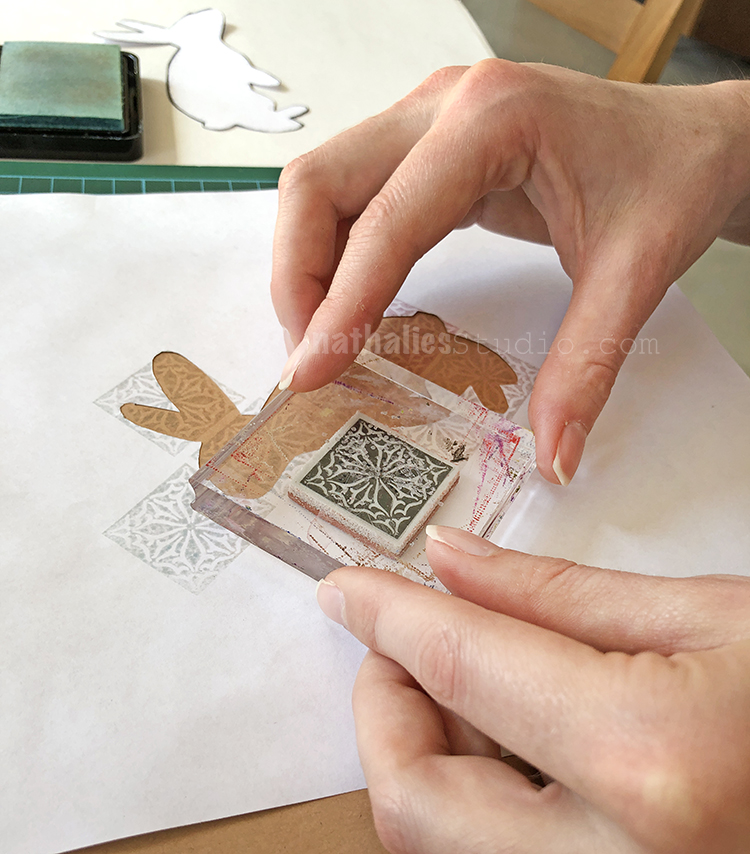
Begin filling the area around the bunny. Here I decided to use the Hamilton stamps from the Floral Tile Large set.

It becomes quick work with the large size stamps.

Kim worked with the Van Vorst stamps from the Floral Tile Large set to fill in the area surrounding her masked off bunny.

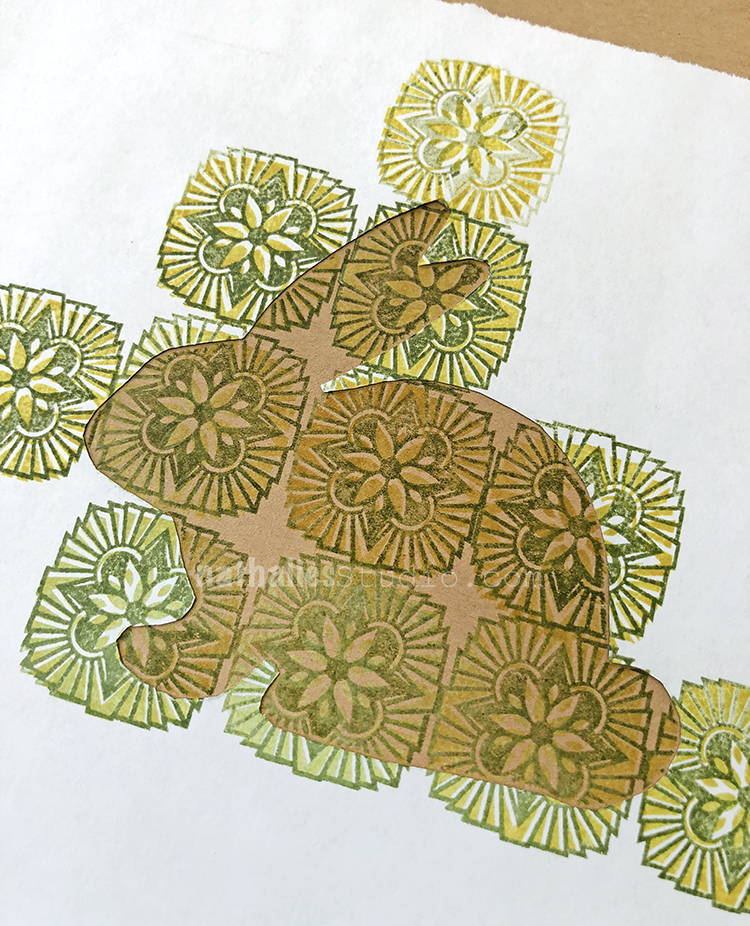
Looks pretty awesome when it is all done!

I experimented with outlining the bunny too – there are a lot of ways you can take these cards to another level.

Another card beginning with the outside, using the Versailles Positive and Negative stamps from the Floral Tile Large set.

And another using the Versailles Positive and Negative stamps from the Floral Tile Small set.

A very sweet bunny in blue using the Van Vorst Positive and Negative stamps from the small set. This dense pattern worked really well to define the bunny shape.

Kim getting into it – so fun with a lot of different stamp pad colors to choose from!

In the end we made quite a few cards – some that are really wonderful!

I just love this one I made with 2 bunnies!

Kim made a sweet orange one…

So fun to play with different iterations!

And then I realized that the stamped bunny masks should not go to waste – they looked great on the cards too!

Last one :)

We hope you try some of these techniques with my new stamps. Try mixing up different colors, playing with the positive and negative designs, and work with both sizes. We had a blast and can’t wait to spread a little Easter cheer with our cards.

You can find my rubber stamps in my online shop. Here are some of the supplies that we used in this play date:


Don’t forget! Now is a great time to shop in my Online Store and use the coupon code SWEEPSALE to get 20%off all physical products. Hurry! The sale ends April 15th at 11:59pm EST.

Leave a comment

Springtime Stamping: Easter Eggs!

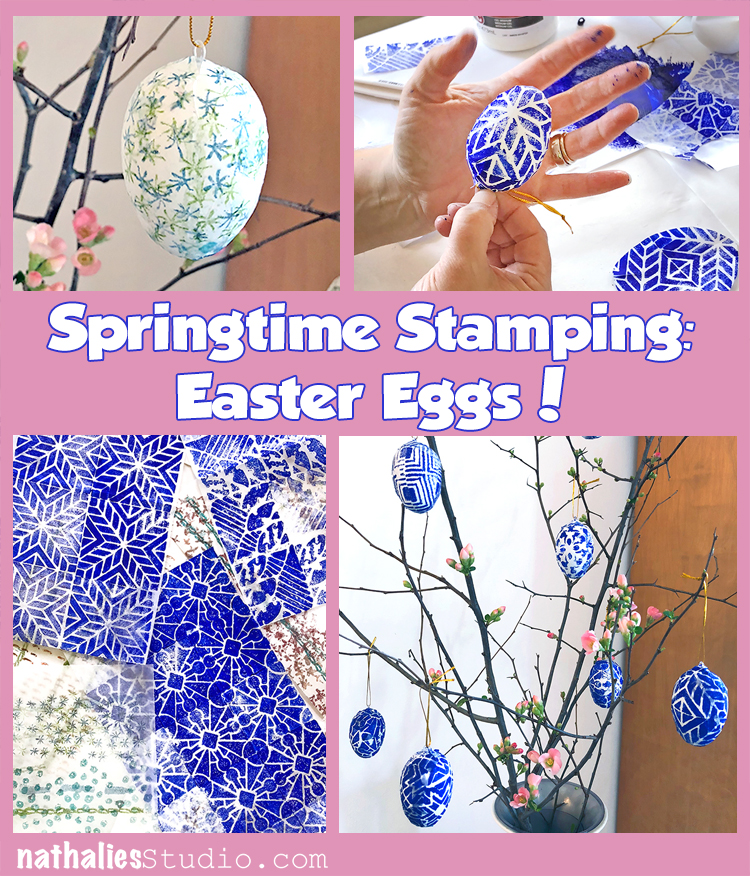
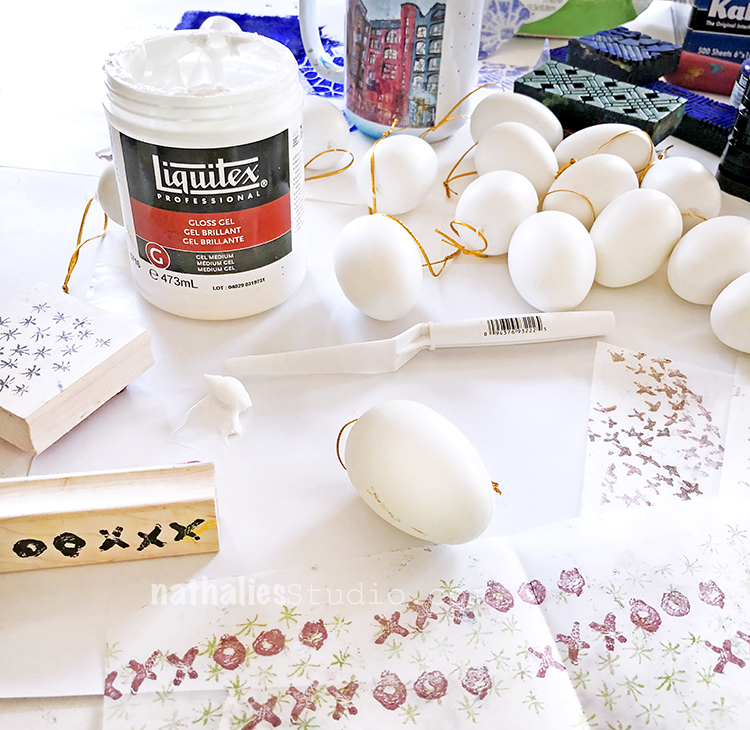
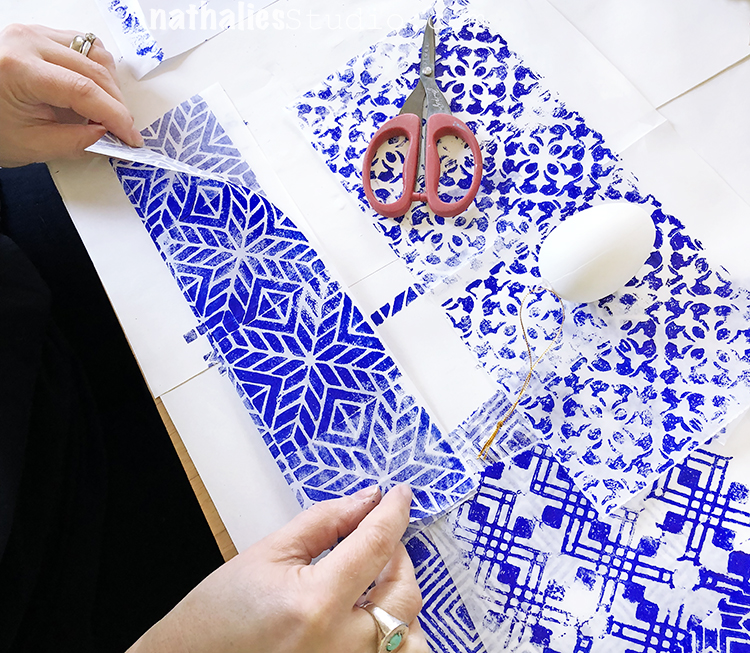
This year I wanted to mix it up with an idea for coloring Easter Eggs and decided that stamping might be fun. So Kim and I had a play date and decorated a bag of plastic hanging eggs with lots of stamped deli papers.

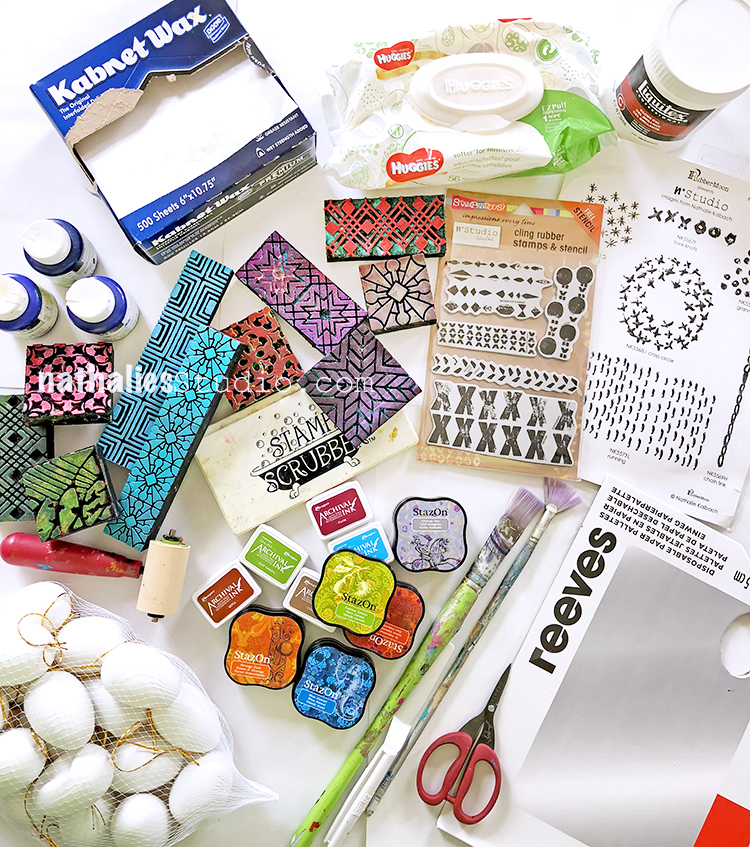
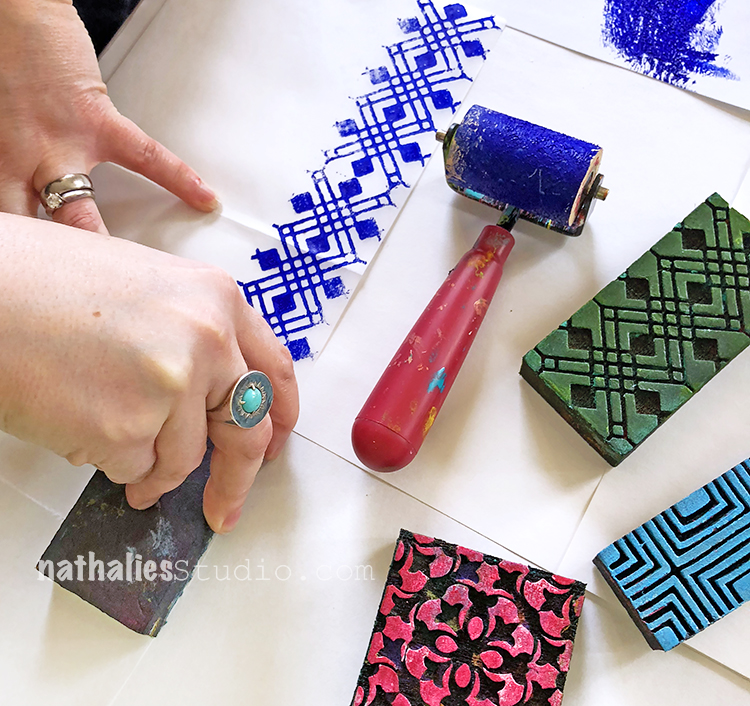
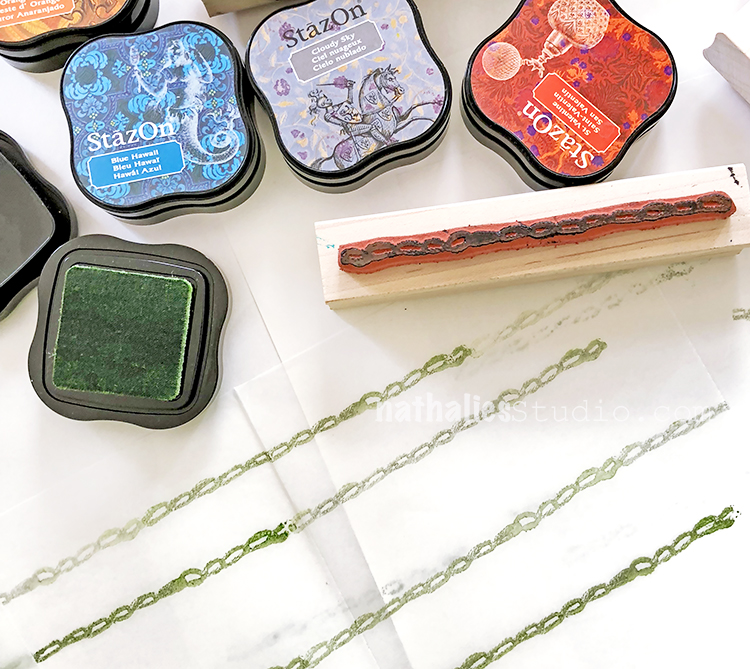
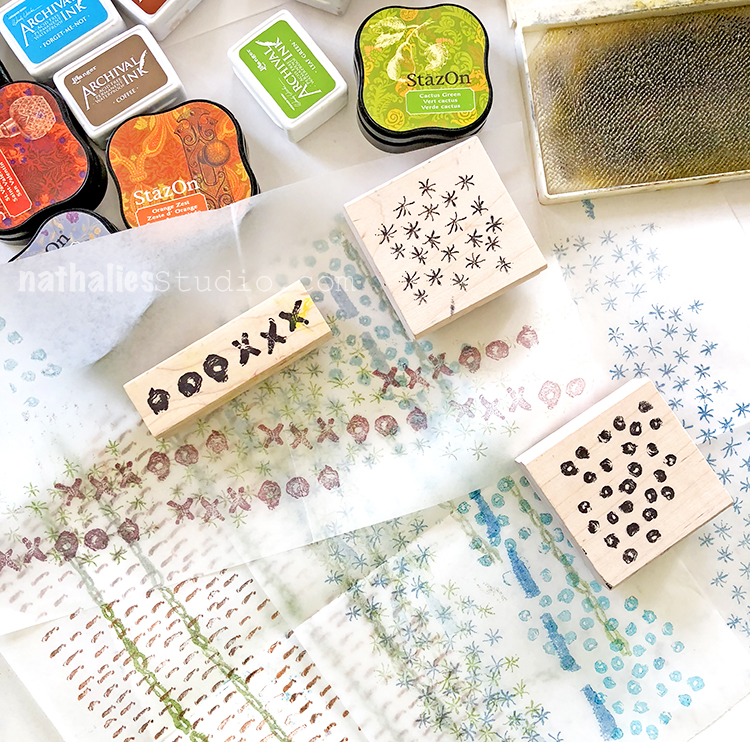
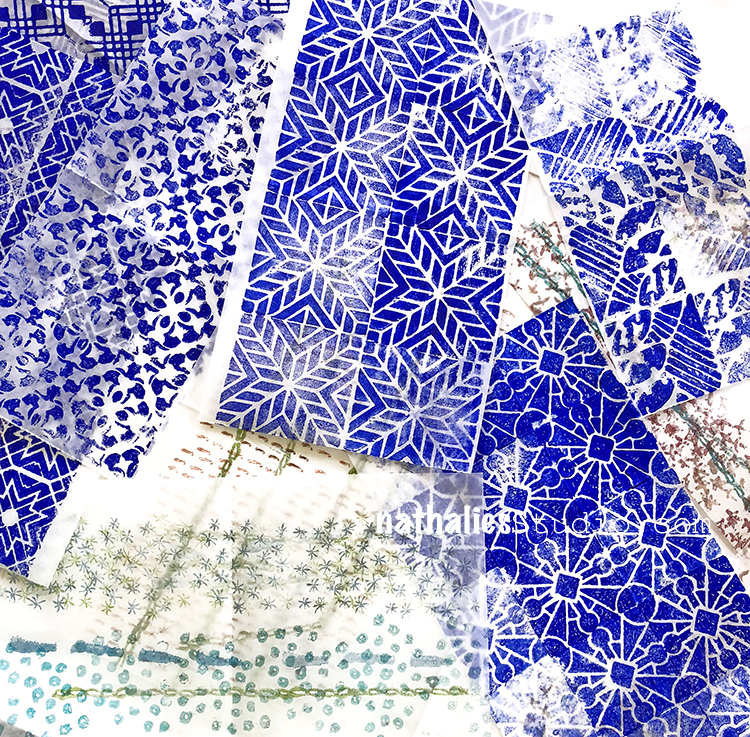
To match my blue and white dinnerware, I decided to use all shades of blue acrylic paint and some of my mini ArtFoamies. Kim chose some cheery colored StazOn and Archival ink pads and stamps from my Embroidery and Marks stamp sets. We found that smaller scale patterns work best for this. This would also be an interesting way to use any collage papers you have been saving that are deli paper or tissue paper – thin paper is easier to decoupage on the eggs.

Then we stamped the full length of the deli paper – our deli paper is 6″x10.75″. Here I am using my Mini Chicago foam stamp set.

Kim used my Chain Link stamp from the Embroidery set.

More blue soft body acrylic and my Buenos Aires Border foam stamp for me…

…and then I used the Mini Buenos Aires Tile. Loving how saturated the blue is…

Kim layered up some rubber stamps – here are Love Knots, Starfish, and Grannies

We stamped up a bunch of papers :)

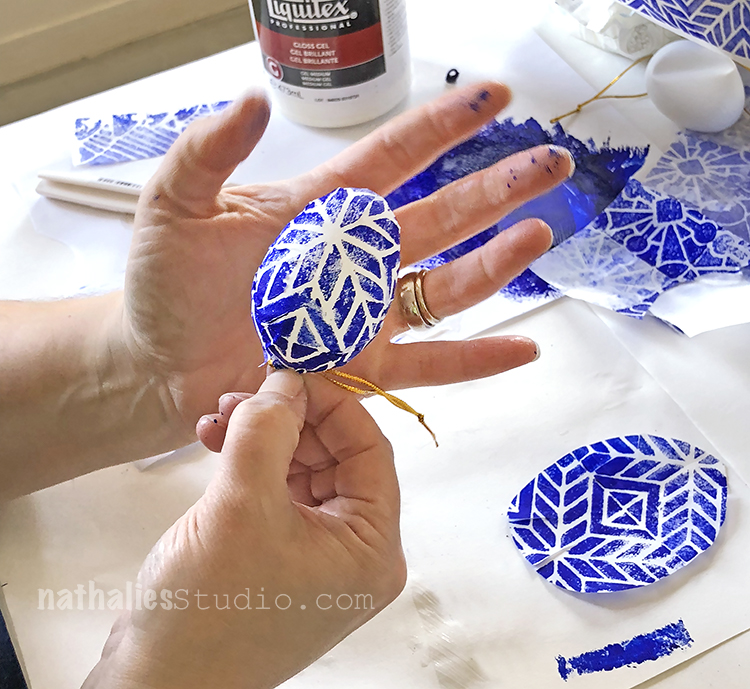
We used Liquitex Gloss Gel Medium to decoupage onto the eggs.

To figure out the best way to cover the eggs, we had some trial runs. You may need to play around with it depending on how big your eggs are. Here I tried a bit of paper stamped with my Mini Batik Pattern 4 stamp.

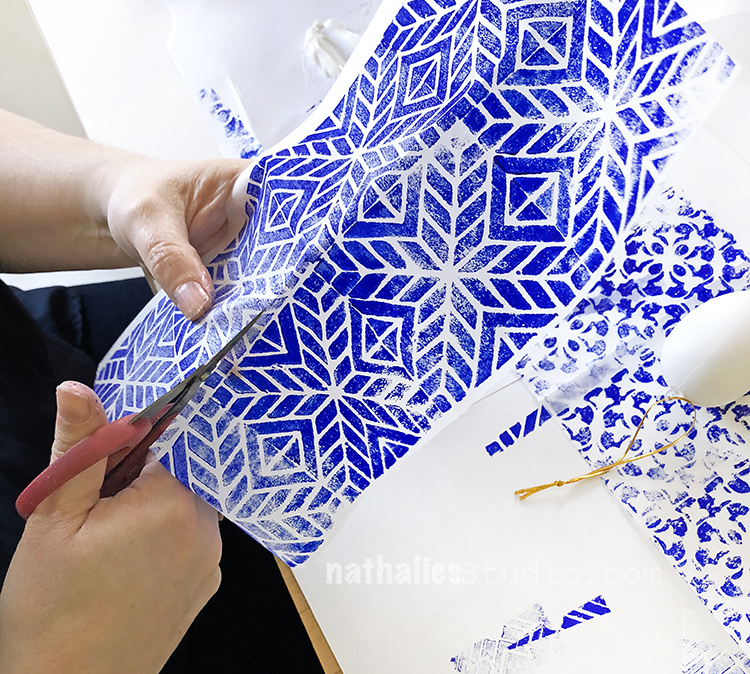
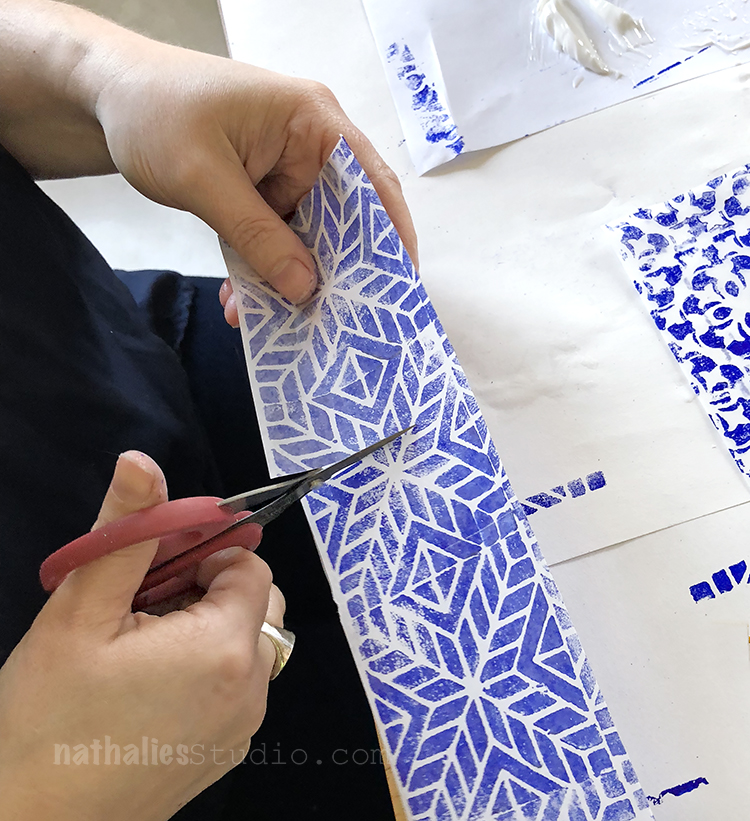
To fit our egg size (see the link at the end of the post for what plastic eggs we used), we folded the deli paper in half lengthwise. I chose a paper stamped with my Santiago foam stamp.

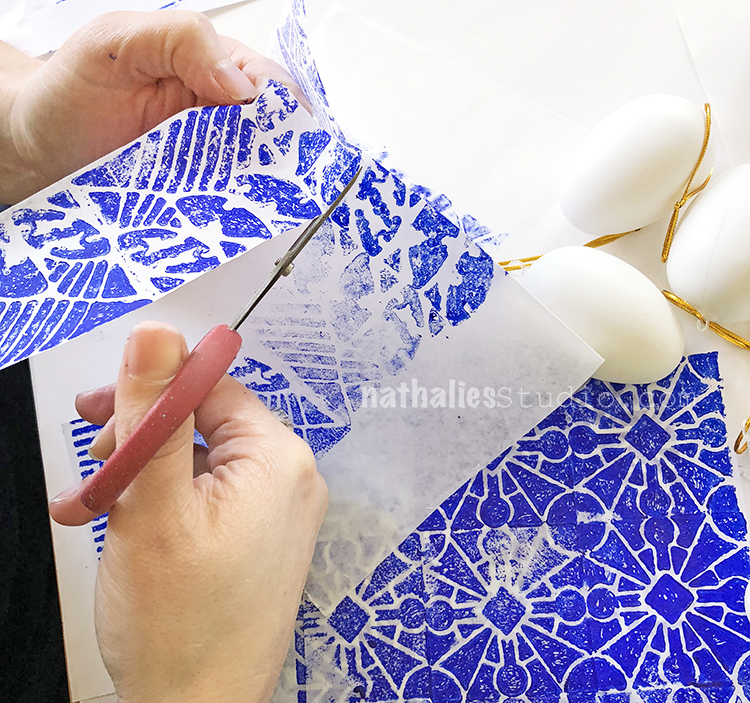
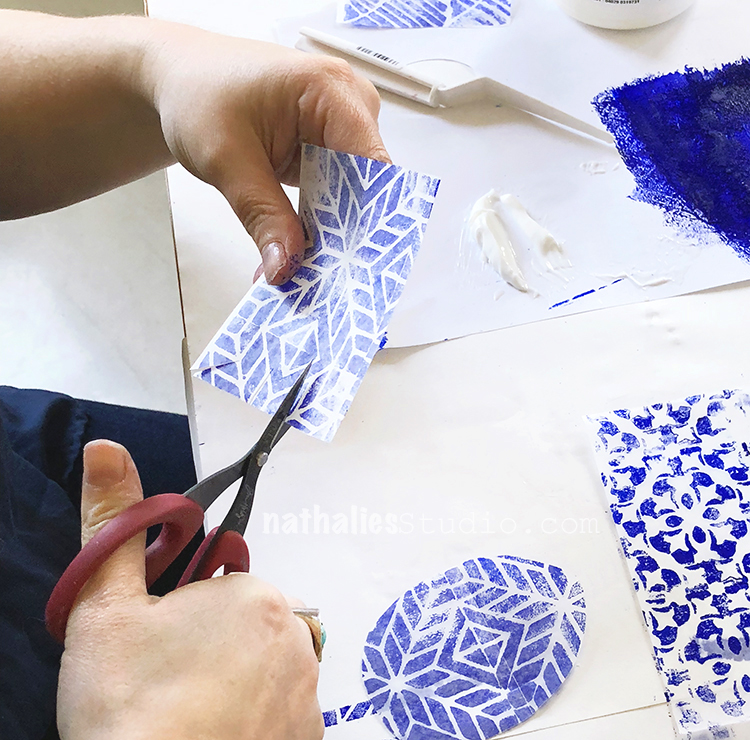
And cut it down the fold to make 2 strips, each 3″x10.75″.

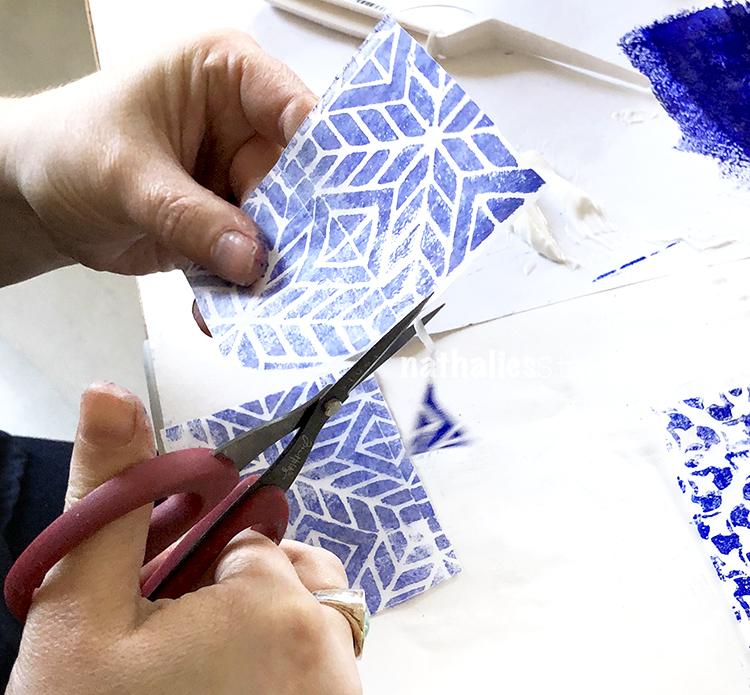
I cut off a 4.25″ long piece. This will be the first piece I decoupage on the egg.

And with the leftover I cut a 3.5″ egg shape.

Both the rectangle and the egg shape get .75″ cuts in them, all around the edges and at the corners. This helps the paper conform to the curve of the egg.

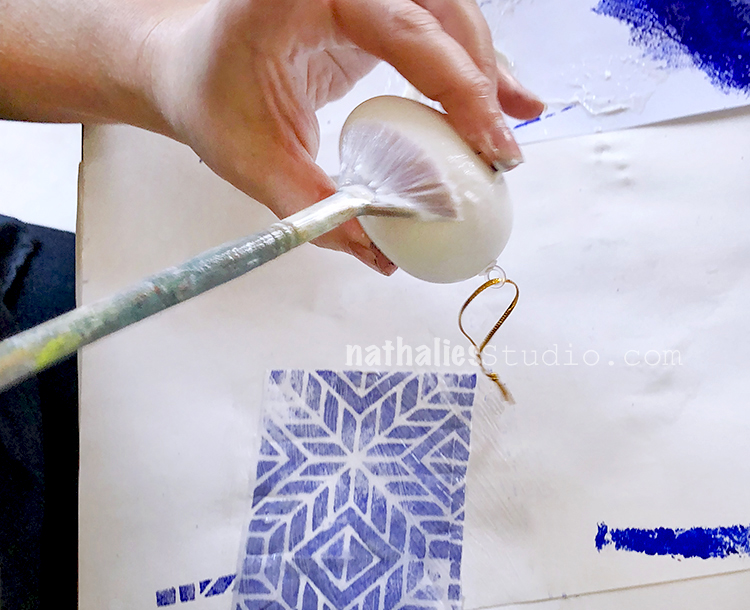
The egg and the paper got a coat of gel medium…

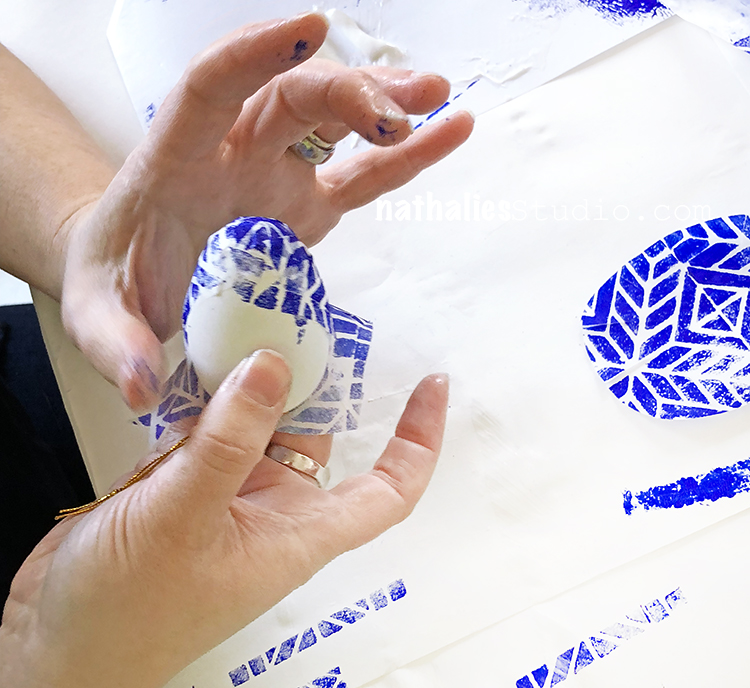
…and then the messy task of applying the paper. First put the rectangle with the 3″ edge at the hook end and go around lengthwise until you wrap over the bottom of the egg. You will be overlapping your cut edges so some of the pattern does get obscured along the edges.

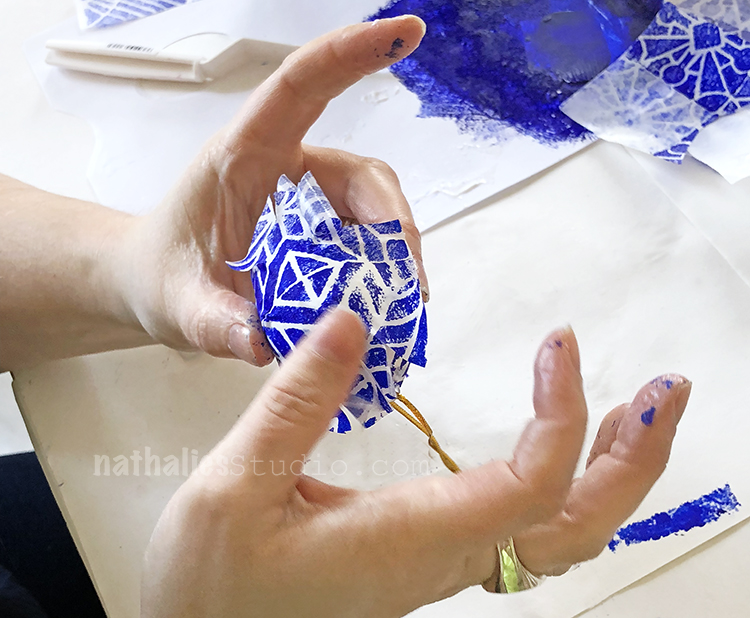
The front face of the egg has the pattern nicely. Next up is the egg shaped paper…

After a coat of gel medium on the back of the paper and egg, apply the egg shaped paper over the gap and again, overlap and smooth the cut edges around the sides.

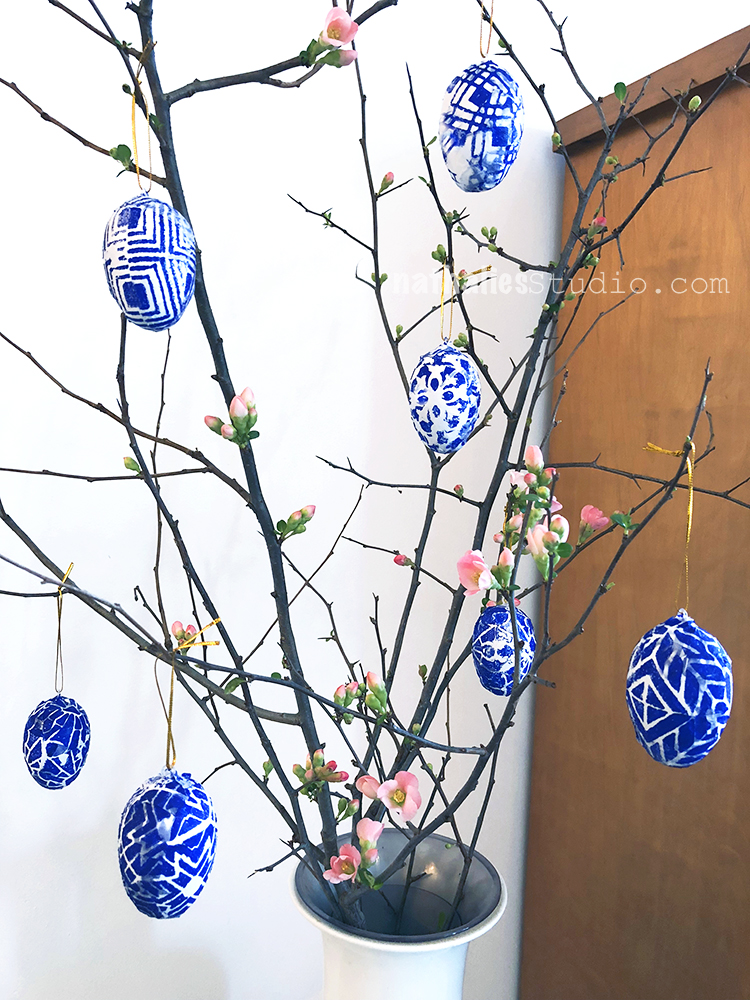
Here are some of the eggs I created, ready to hang. The patterns are (clockwise from top left) Manhattan border, Mini Chicago, Mini Buenos Aires, and Santiago.

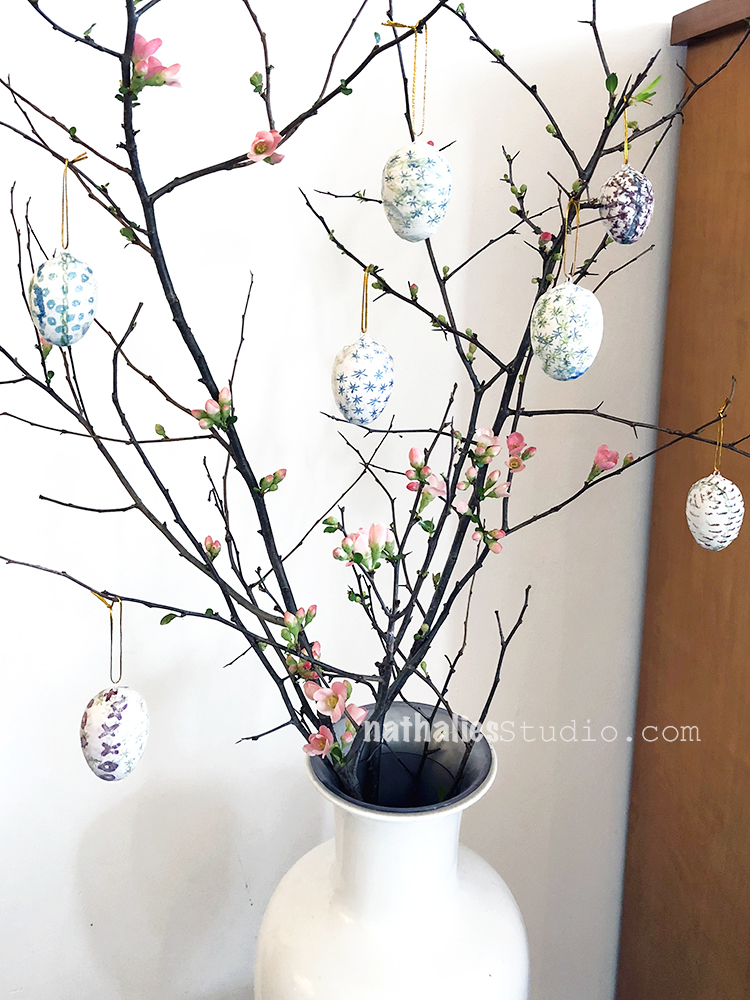
I picked up some flowering branches at the local market (not sure if they are dogwood maybe?) and set up a very lovely display in my dining room.

A closer look.

Kim’s set are very pretty too with the delicate patterns.

I like how the Starfish stamp ones turned out.

Here are some of the supplies we used:


Hope you stamp some eggs this year too!

SaveSave

SaveSave

Comments (1)

  • Deb

    |

    Love it! Very clever, fun project. Thanks for sharing.
    I love reading your blog posts and look forward to them in my daily email browse! Always brightens my day.?
    Deb

    Reply

Leave a comment

DIY – Stamped Easter Eggs

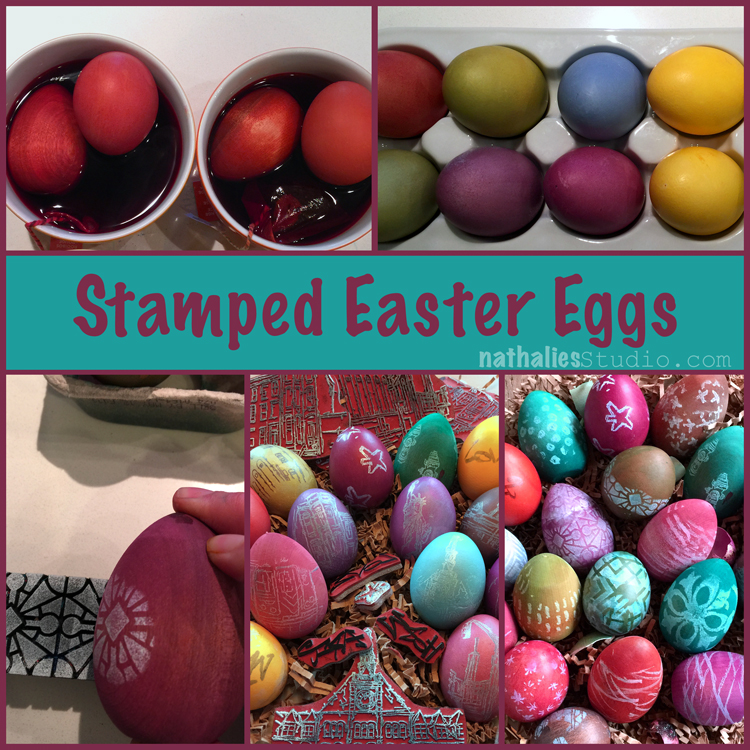
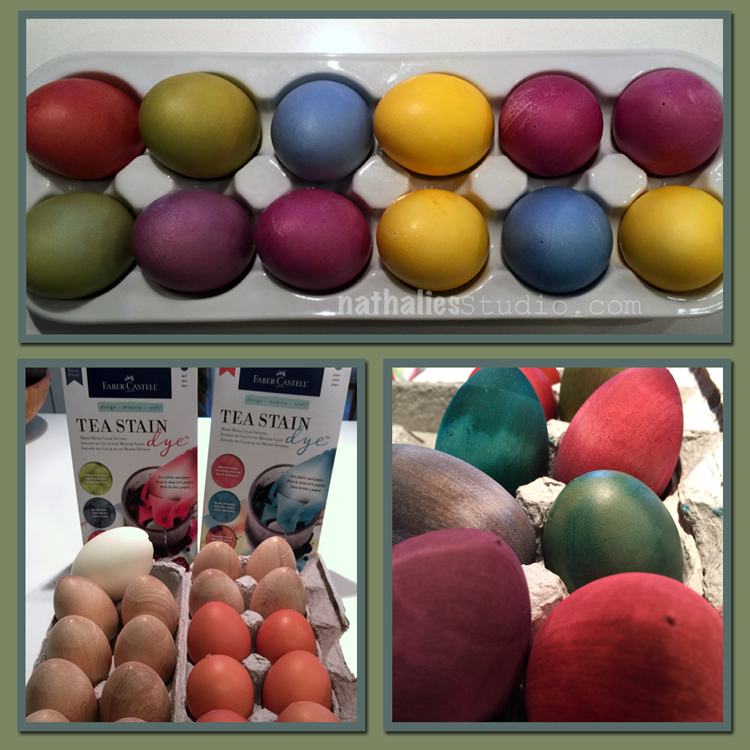
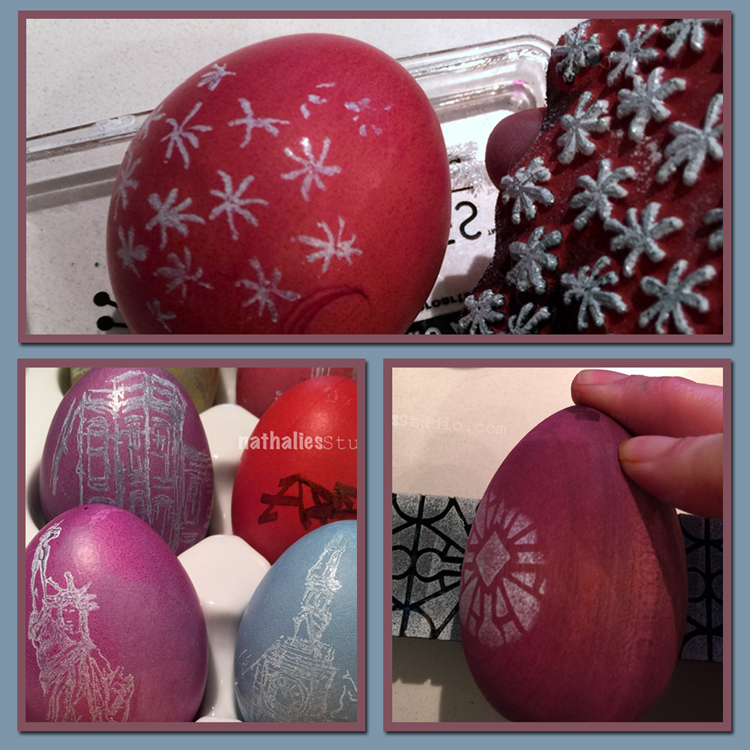
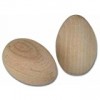
For the upcoming Easter Holiday I decided to dye some eggs. I bought some wooden eggs, blew out some brown eggs and cooked some white eggs to have a variety to play with.

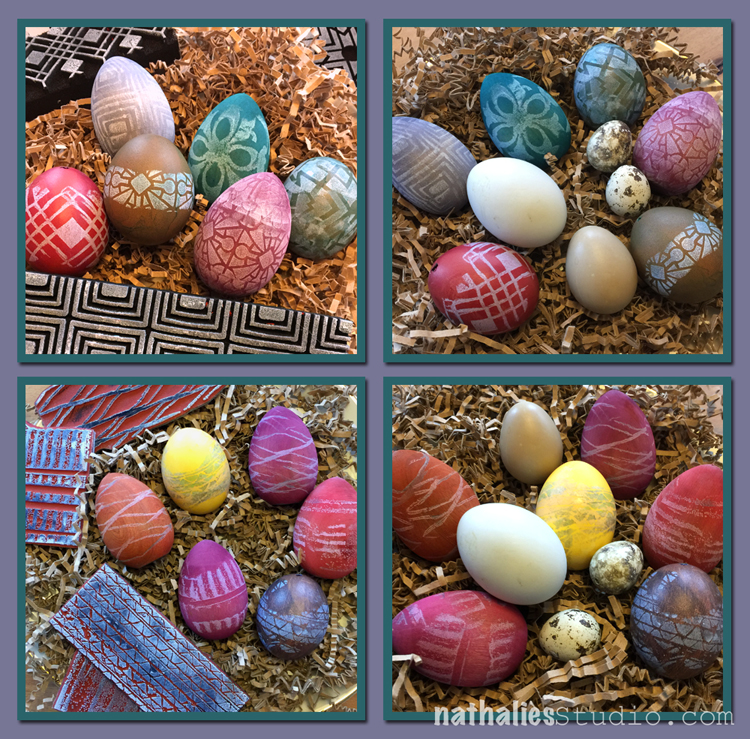
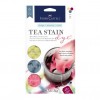
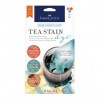
I dyed the cooked white eggs with some natural dyes (Yellow/Orange (Annatto extract), Purple (Radish), Blue (Cabbage) – see picture on top of the collage. For the blown out brown eggs and the wooden eggs I wanted to try the new Tea Stain Dyes by Faber Castell, which are not suitable for food. They are meant to dye fabric and paper but I thought it should work with wood and egg shells too. I loved how the colors came out with these dyes, especially on the wooden eggs, the brown eggs were a bit tricky with the light green, but it was all good. Both dyes resulted in colors that I was super happy with.

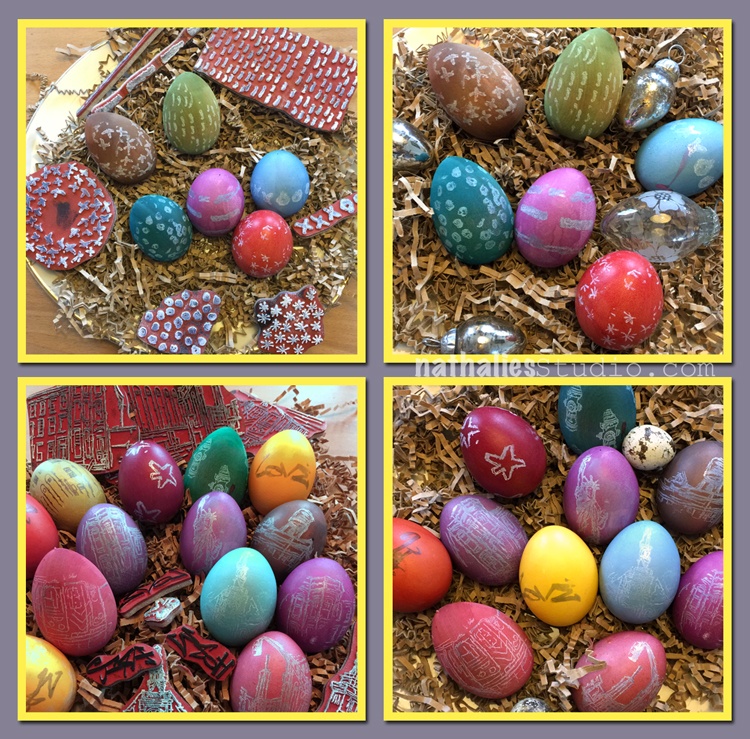
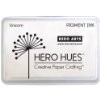
I stamped the eggs with a white pigment dye stamp pad – using my inked cling rubber stamps by wrapping those carefully around the egg, and using some of my foam stamps by rolling the egg over the inked stamp.

On the top row you see the eggs stamped with my ArtFoamies foam stamps – I love how they turned out- the impression is bold.

On the bottom I used my Cardboard Cling Rubber Stamp Set. I loved especially how the Tread stamp gave a look of rubber bands but I do love ever single one. The yellow of course was a bit tough with white ink …so I used an archival ink on top which made it a bit smudge. Oh well.

Next I tried my Embroidery Cling Stamp Set – ohhhhh- i so loved the look of this. The different stitches came out really well on the eggs.

On the bottom you see eggs used with the Stroll through the Hood Cling Stamp Sets -see the Hydrant pattern – I was geeking out- LOL- I know it is random but I love it.

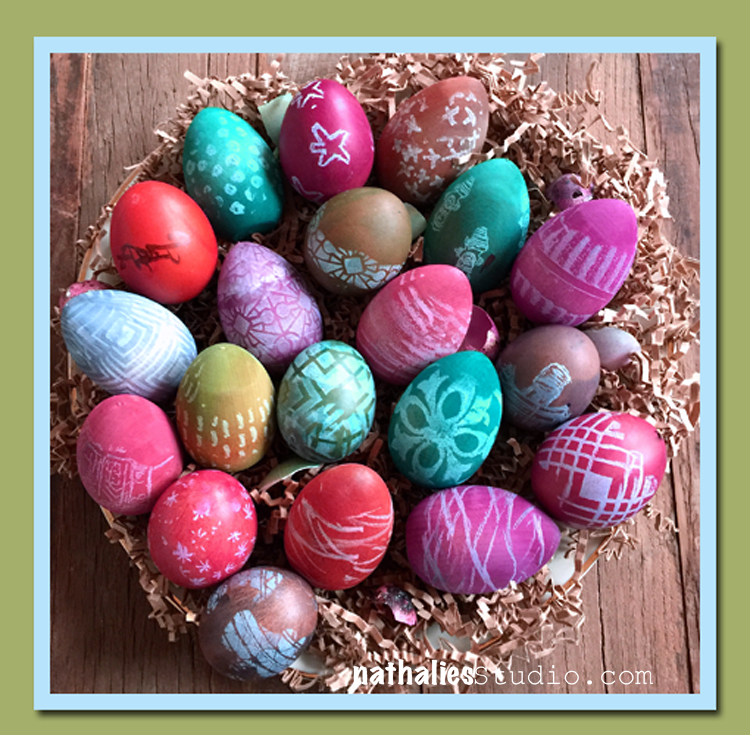
Here you have a couple of the eggs as decoration on my table. The cooked eggs are in the fridge waiting to be consumed in the next couple days ;) That was super fun to make, so easy ! I hope you like them and give these a try :) Here is the supply list of what I used besides some brown and white organic eggs:

Comments (4)

  • stephanie

    |

    great eggs!

    Reply

  • Joi@RR

    |

    Heheheh – love your EASTER PARADE of EGGS Nat! They are GORGEOUS. Your stamps are perfect on them. Xj.

    Reply

    • nathalie-kalbach

      |

      thank you Joi, I am so glad you like them :) Have a wonderful start into the week! <3

      Reply

Leave a comment

Follow the White Rabbit …or Frohe Ostern

hop

Happy Easter and welcome to the Easter blog hop! Today is the day when we tumble-down the rabbit’s hole and hop after the White Rabbit. The rabbit hops from blog to blog, from country to country all around the cyber scrapbooking world!

Although the countries and styles vary and designers participating had a free choice what to create for the hop, the pieces of art have all something in common. If you’re familiar with Alice in Wonderland, you might remember that the White Rabbit, which Alice followed and found the Wonderland, had a pocket watch. So in this hop the common theme is the time piece. You can find an interpretation or a way to incorporate a clock in every creation! Inspiring, right?

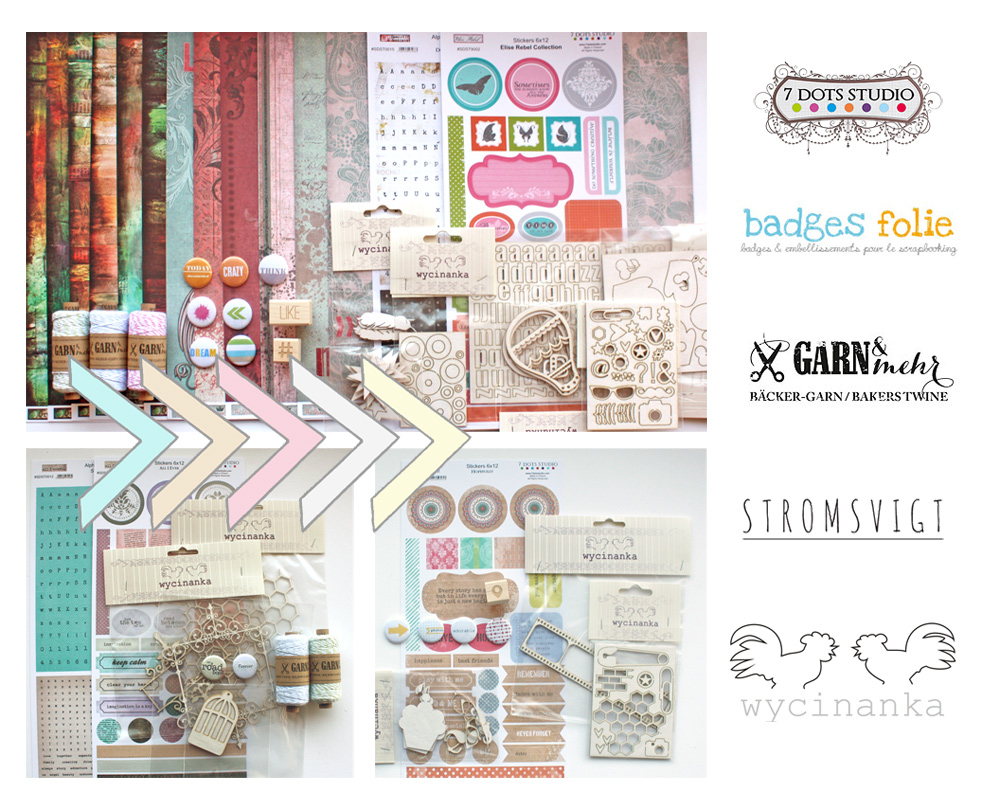
So please hop along and remember to leave a comment at every stage! That way you ensure as many tickets for the raffle as possible. You’ll have just a week to participate (to April 8th at noon GMT) for the giveaway put together from donations from 7 Dots Studio, BadgesFolie, Garn&Mehr, Stromsvigt and Wycinanka.

So enjoy the hop and find the inspiring Wonderland of scrapbooking!

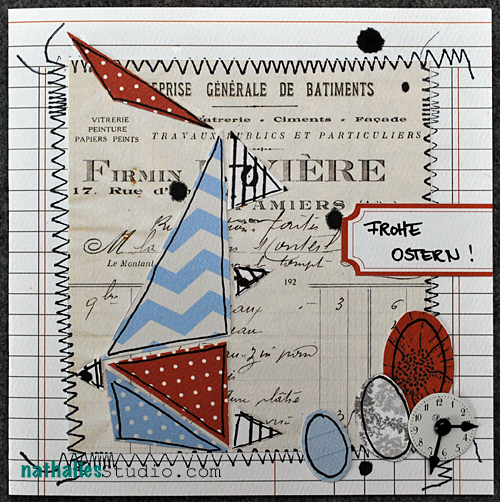
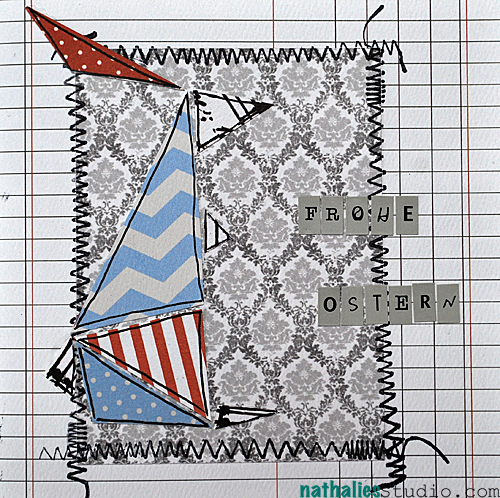
So here is my take on the Follow The White Rabbit Easter Hop – I was inspired by the cute logo so I had to use this for my easter cards :)

EasterCard01

Supplies: Theresa Collins Stationary Noted Paper Collection, Autumn Leaves Stamps, Prima Marketing Clock, Liquitex Acrylic Ink, Scrapbook Adhesives by 3L E-Z Squares, Ranger Archival Ink
EasterCard02

So now follow the other links and comment in order to be able to win one of the awesome prices :)

palkinnot

Here are the hop stops:

Happy Easter for those of you who celebrate Easter and a wonderful day for all of you!

hugs

nat


uberMedia
Über*Media is my series of online workshops that is dedicated to different kinds of media that cross a variety of materials. I also teach project based online workshops which you can find here.

Comments (70)

  • Paula

    |

    Beautiful cards, I love the fresh colors!

    Reply

  • kiala

    |

    Surprising and lovely bunny card!

    Reply

  • Cecilia

    |

    It´s a funny rabbit. I love your work always

    Reply

  • Helen

    |

    Such a fun and happy project. Happy Easter :)

    Reply

  • Anski

    |

    Looks amazing, really fun how you used the logo! :)

    Reply

  • scrapvat

    |

    This is the coolest little bunny ever… love how you created it. Awesome!

    Reply

  • elina.

    |

    Cute Easter cards! I like especially the one below. :) It actually reminds me of an old childrens program, Kössi Kenguru, in Finland! :)

    Reply

  • Ellihe

    |

    Funny bunnies & nice cards :)

    Reply

  • Sofia.V

    |

    There’s cute, fun and creative at the same time!

    Reply

  • lehtipollo

    |

    Ooh, fantastic and so creative!

    Reply

  • Svetlana V

    |

    Cool project! Thanks for sharing !

    Reply

  • versq

    |

    First time visiting your blog. Thank you for inspiration! :)

    Reply

  • Екатерина_М

    |

    хи-хи)) парусник))) это же зайка))))
    а на лодочу все же похоже))

    Reply

  • linda trapp

    |

    terrific card, love the composition and color choice

    Reply

  • Denise Bryant

    |

    Love your mixed media card!

    Reply

  • laura m.

    |

    Lovely card! Thanks for sharing :)

    Reply

  • eilaeila

    |

    Hey hey hey Miss Sunshine! Hope all’s got with you and your auntie M. Ha ha you got me here, thought I’d find one of your fabbo mixed media canvases! these cards are so so cute, really love the graphic sails and sweet colours. Hope your long weekend was a really good one!! xoxoxoxox

    Reply

  • Miharu

    |

    So great… :) Beautiful!

    Reply

Leave a comment

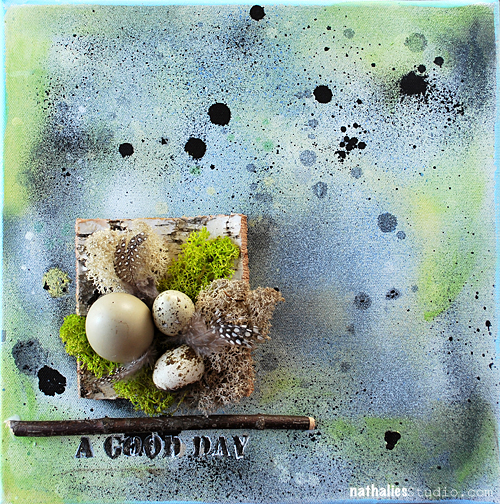
A Good Day or…Spring Texture Canvas

EasterCanvas_NatKalbach02


It was time to get some spring feeling into the house. Outside a constant freezing cold breeze alternating with snow flakes make it hard to believe that I am on track with the right date. I might have missed something…probably spring was just postponed this year ;)

I had a lot of fun playing around with some stuff I had at hands though…so that made up for the weather.

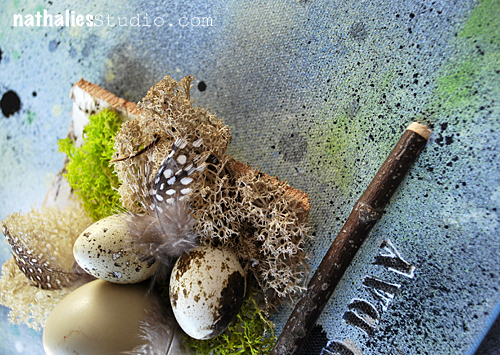
EasterCanvas_NatKalbach03


A different kind of texture…making me happy..I am just a dork when it comes to texture- LOL

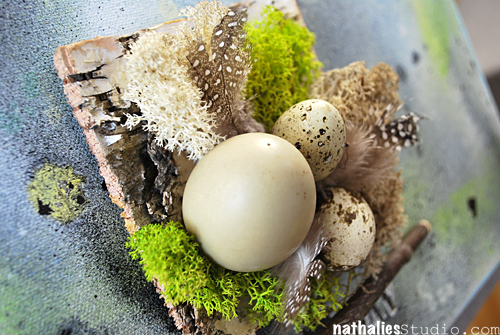
EasterCanvas_NatKalbach04


Used: Liquitex Professional Spray Paints, Liquitex Acrylic Paints, Liquitex Professional Paint Markers, Liquitex Gel Medium, Signo Pen, Birch Panel, Norwegian Reindeer Moss, Eggs, Feathers, Branch

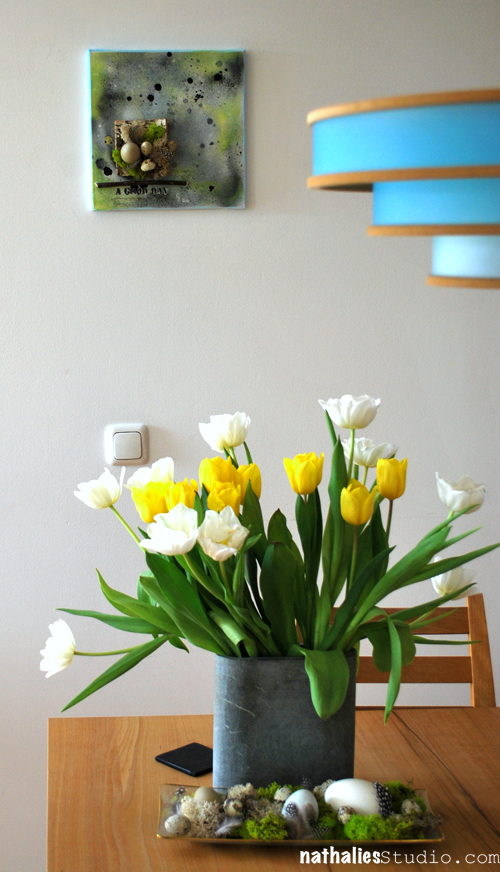
EasterCanvas_NatKalbach01


I am ready dear spring…VERY ready…

Wishing you a gorgeous sunny spring day :)

Nat


Comments (23)

Leave a comment