Blog: Foam Stamps

Keep the Rhythm – Art Journal

“I need to be alone for certain periods of time or I violate my own rhythm.” Lee Krasner

So true- while I am a very extrovert person – I also love long stretches of alone time :) For my rhythm of the journal page I used the Midcentury Squared foam stamp with UTEE and then added some acrylic ink on top. Then I used ink to draw the lady .

On the left here i used Watercolor and added it to my foam stamp – Love the look. the Signal foam stamp on the right was stamped with acrylic paint.

A true mixed media page :)

Here are some of the supplies I used:


Leave a comment

Feel the Rhythm – Tania Ahmed

Welcome to a post from my Creative Squad! Today we have Tania Ahmed with a wonderful card and a video to show exactly how she puts it together. She is using my Exchange Place and Far Out foam stamps for this one and our theme for April: Feel the Rhythm – We’re thinking about patterns this month and using stamps to create a rhythm of marks. Show us your sense of rhythm!


It’s funny how mistakes can turn into happy accidents :) I had one such moment when I was filming this video and realized that my Art Foamie was not clean!!! As always I simply said an “oh dear” and thought let’s just go with it, haha!

My Exchange Place Art Foamie had been previously inked with Aquamarine Archival Ink and Fossilised Amber Distress Archival Ink which is what the Embossing Ink picked up when I stamped it. In the end I loved the effect and I hope you enjoy the video!

Nat’s latest Art Foamies release are so much fun to work with if you enjoy mark making with stamps and of course they all are a joy to work with as the impression is always gorgeous. 

Please do let me know if you have any questions and I will answer them as best as I can!

Steps:

1 Ink Exchange Place Art Foamie with Embossing Ink

2 Ink Far Out Art Foamie with Picked Raspberry Distress Archival Ink and stamp this on to the Exchange Place Art Foamie. 

3 Stamp the ink Exchange Place Art Foamie on to white cardstock and heat emboss with Clear Matt Embossing Powder. Heat set the embossing powder 

4 Apply Walnut Stain Distress Ink to white spaces and wipe off excess ink with damp kitchen towel

5 Trim cardstock Panel and distress edges and apply ink if desired

6 Assemble card!


Thank you Tania! I love how you “kissed” the stamp with clear embossing ink with a colored inkpad! Want to give it a try too? You can find all my Foam Stamps in my Online Shop. Here are some of the supplies that Tania used:


Feel inspired? Working on something yourself that you’d like to share?  I love to see how you interpret our monthly themes. Email me how you used my stencils and stamps with the theme and email me an image – I would love to share your projects in my next  “n*Spiration From Around the Globe“.

Leave a comment

Foam Stamplifier Challenge Prompts 25-28

Day 25 – Pattern

It is so much fun to create pattern with Foam Stamps- there are so many ways to use them to do that. Sometimes lining up the same stamp next to each other in different directions creates different patterns. Sometimes combining different foam stamps create a nice pattern cohesive pattern like my new mid century patterned foam stamps.

I also love creating tile patterns with my stamps and just thinking of the ways I can amplify one foam stamp and create different outcomes makes me all giddy. 

Day 26 – Mix & Match

Another way to use the foam stamp is to layer different foam stamp patterns on top of each other.

I love to use the same pattern as a big and small pattern to layer on top of each other.

Or as you can see my Creative Squad member Tania created a really cool layered Holiday card by printing the Clam Hex Stamp next to each other and then layering the Circle Drive stamp in the middle – I just love what she did there.

Or sometimes just stamping the positive and negative stamps- like the Santa Fe stamp on top of each other by layering them in opposite directions will create a fun new layered design. Just play with it.

Day 27 – Sculpt

I love using my foam stamps when sculpting little plates or bowls with air-drying paper clay. I rolled out my paper clay as you would roll out dough, put a plate or bowl of my desired size on top and then cut the clay around the edges.

I then pressed my inked up foam stamps into the clay to create texture and pattern with a faint of color.  For the bowl shapes, I put the clay disk into the bowl, shaped it to my liking and then let it dry overnight. I love these little pieces; they make great gifts and can be used to hold jewelry or other little tidbits.

Day 28 – Gesso

Gesso is such an awesome medium. One of my favorite techniques with Gesso and foam stamps is to paint a layer with gesso, and then press the stamp into the gesso while the gesso is still wet.

Remove the gesso from the foam stamp after each print. Then let the imprinted surface dry. The magic starts when you add a thin layer of acrylic paint on top of the surface.

The paint gets more resisted on the raised gesso areas and accumulates in the grooves revealing the pattern and texture in a really beautiful way. Sometimes I let the paint dry and even add another different color – again needs to be fairly thinned down! – on top.

Here are the different foam stamps I used for these prompts


Leave a comment

Foam Stamplifier Challenge with the Creative Squad – Josefine Fouarge


This month my Creative Squad is playing along with my new Foam Stamplifier Challenge: All month long you can follow my daily prompts on Instagram and on the blog to amplify your foam stamps!!! Today Josefine Fouarge is following the prompt Pigment Ink. She’s using my Maze Hex, Space Oddity, and Weave foam stamps to create some gorgeous cards. And this will be Josefine’s last post with the Creative Squad so we would like to say a HUGE thank you to her for her awesome projects and wish her the best on all her future ventures :)


I love foam stamps which is why Nat’s challenge is so much fun. I hope that you’re getting a lot of inspiration from all the posts and enjoy playing along.

Tuesday is Creative Squad day and of course, we are playing along. Today’s prompt is Pigment Ink and I picked my favorite – Distress Oxide (technically, it’s a hybrid between Pigment and Dye Ink, but sometimes you have to be a rebel ;) ).

To add a third favorite, I chose the hexagon designs and the Weave design from Nat and I decided to create a set of notecards. I ran out again, so I needed a few quick and easy ones. I prepared a few card bases and decided to stamp directly onto them.

I went with two colors per stamp design and applied the first one directly onto the Maze Hex foam stamp.

Then I added the second color. I don’t worry about which color to use first since I always go back with the first color and blend both together.

Because Oxide’s are water reactive, I added water directly on top of the ArtFoamie. You can stamp without adding moisture. I did it, because I really like the effect.

I varied the way of the ombre effect. For some I went from left to right and for the Space Oddity foam stamp from the middle to the outside.

Once I was done with the backgrounds, I started decorating the cards. That can be as simple as adding an outline with a black fineliner…

…or some dots and lines using an acrylic marker.

You can also use die-cuts or magazine cut outs to decorate the cards. For this one, I used a picture from a magazine ad and adhered it with gel medium. Usually, I would add the gel medium to the background, the back of the picture and all over the card to seal it. Since I used Distress Oxides, I just added it to the back of the picture. Otherwise the ink would have moved.

Then I decorated the picture with dots and lines.

It always surprises me how you can create great looking cards with just a bit of stamping and adding dots. They all look different but started out in very similar ways.

Foam stamps are so versatile and work for every style – from clean and simple to super grungy and are great for cards, art journal pages and so many other mixed media techniques.

Don’t forget to join the Foam Stamplifier Challenge over on Instagram and share your own projects using foam stamps.


Thank you Josefine – I love how the foam stamps work with ink!  You can find my Foam Stamps in my Online Shop. Here are some of the supplies that Josefine used:


Feel inspired? I hope you join us for the Foam Stamplifier Challenge this month. As you play along, don’t forget to tag me when you share your creations – I would love to share your projects in my next  “n*Spiration From Around the Globe“.

Leave a comment

Foam Stamplifier Challenge with the Creative Squad – Tania Ahmed


This month my Creative Squad is playing along with my new Foam Stamplifier Challenge: All month long you can follow my daily prompts on Instagram and on the blog to amplify your foam stamps!!! Today Tania Ahmed is following the prompt Print! She’s using my new Foam Stamps along with her gelli plate for monoprinting and then she shows a great next step for that monoprint :)


This month the Creative Squad was asked to play along with Nat’s Foam Stamplifier Challenge and my prompt was Print!

I love printmaking and I love Art Foamies stamps, so it was almost as if this prompt was made with me in mind, haha!

I made a video to show how I put together a little mini album made using 12×12 cardstock that stamped on using Nat’s newest Art Foamies release and a 5×7 Gelli Arts® plate.


Here’s how I put the mini album together:

1 Apply a thin layer of acrylic paint to Gelli Arts® plate.

2 Use the Gelli Plate to ink the Art Foamies and then stamp on to cardstock and repeat until the paint just begins to dry on the plate.

3 Pull a print with the remainder of the paint that is left on the plate.

4 You can use this clean off paper for collages.

5 Apply more paint to plate and repeat steps until you are happy with your print.

6 Score your cardstock at 3”, 6” and 9”.

7 Rotate paper 90 degrees and score again at 3”, 6” and 9”.

8 Cut up to the score lines as shown above.

9 Accordion fold the paper which will form a little 3” x 3” journal/album.

10 Tape or glue the backs of the pages together to make it a little more sturdy. You get leave some sides free to use as pockets.

11 To finish off the book spine, add washi tape for decoration!


Thank you Tania! What an cool little book and a great way to use a monoprint! You can find my Foam Stamps in my Online Shop. Here are some of the supplies that Tania used:


Feel inspired? I hope you join us for the Foam Stamplifier Challenge this month. As you play along, don’t forget to tag me when you share your creations – I would love to share your projects in my next  “n*Spiration From Around the Globe“.

Leave a comment

Stamped Tea Towels Workshop at Kanibal & Co in Jersey City, NJ

Join me in my home neighborhood of Jersey City, at one of my favorite local boutiques: Kanibal & Co., for a workshop. This is my second time teaching at this awesome little shop and last time we had such a great time, I’m very excited to be back!

The workshop will be held on Saturday March 9th, 2019 from 12noon – 2pm at 197 Montgomery Street in Downtown Jersey City. Space is VERY limited on this one so sign up early to reserve your spot!

We’ll be customizing some tea towels with foam stamps – something that is fun to do to spruce up your kitchen or to make as gifts. You can register here.

Here is the official description :)

Foam stamps are a fun and easy way to block print on fabric. Join me as I demonstrate how to work with foam stamps and fabric paints. Working with color and pattern, students will learn how to create custom textiles. Each participant will create two unique tea towels to take home. Refreshments will be served.

Join us! Create! Get crafty! Play with foam stamps! And get inspired to personalize fabric with paint and foam stamps :) Sign up here.

Comments (1)

  • Cindy Gay

    |

    Natalie-this is such a great idea!

    Reply

Leave a comment

Foam Stamp and Shrink Film Earrings – DIY Play Date

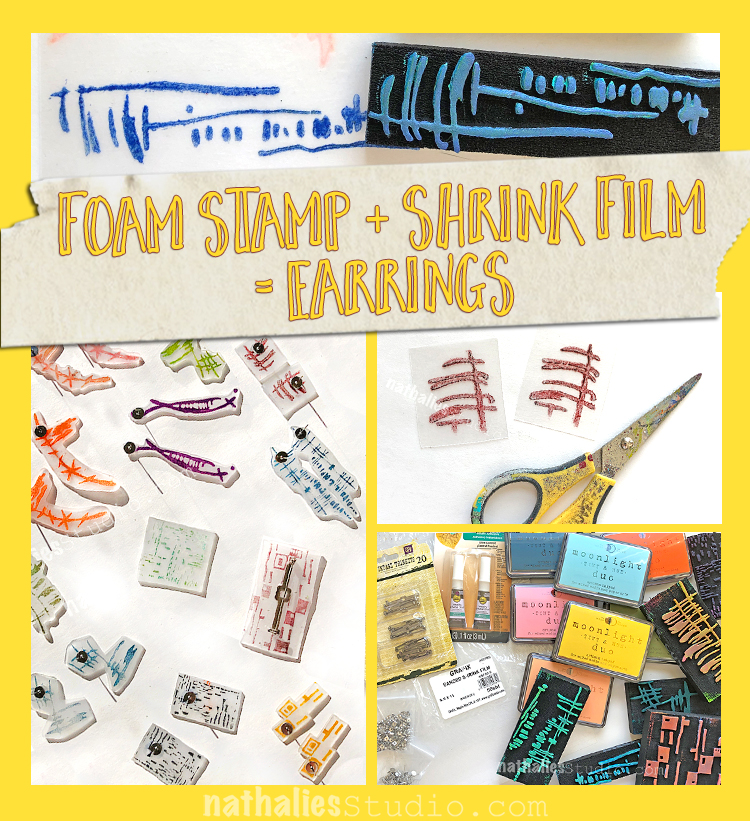
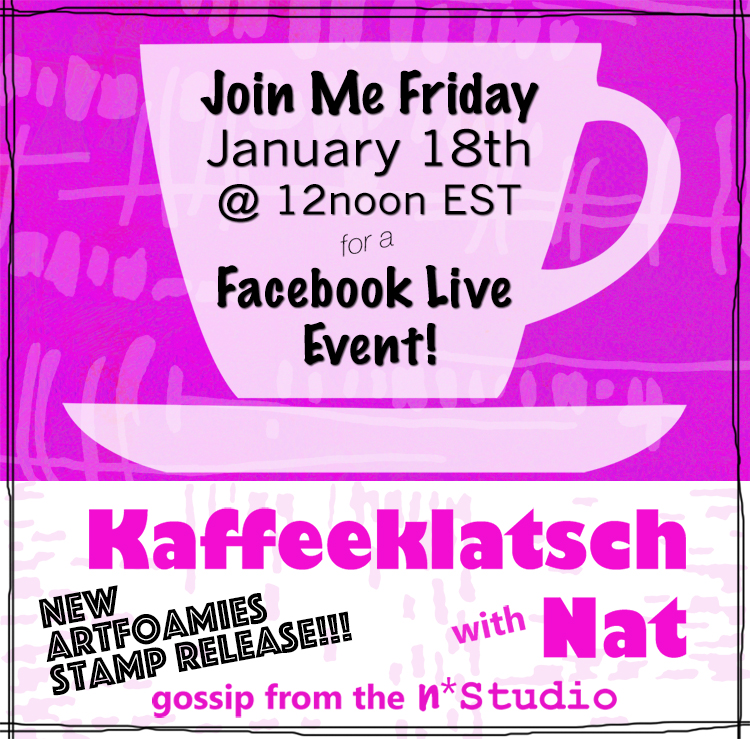
Earlier this week my friend Kim and I got together for a little play date with my new Foam Stamps. This time we made some really nifty shrink film earrings and brooches that I’m excited to wear!

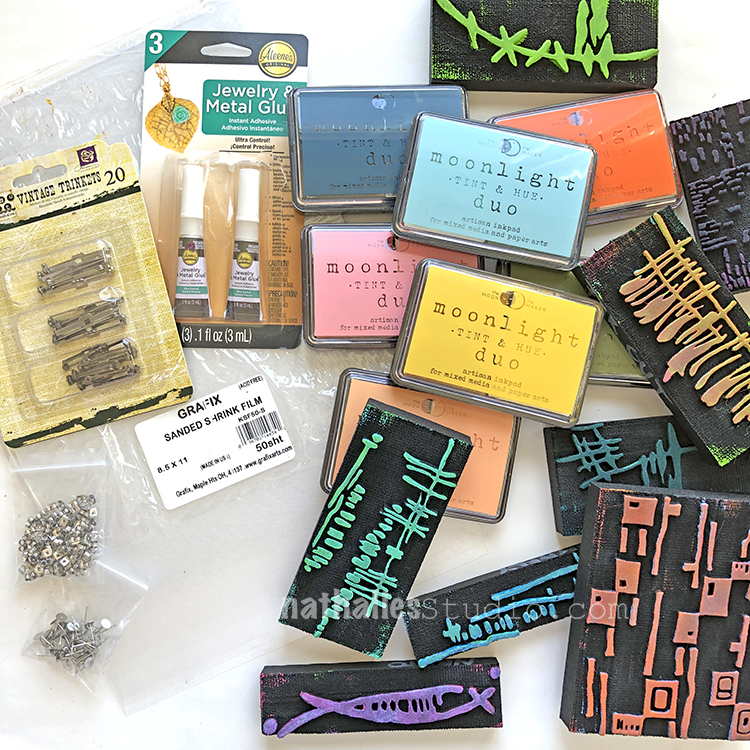
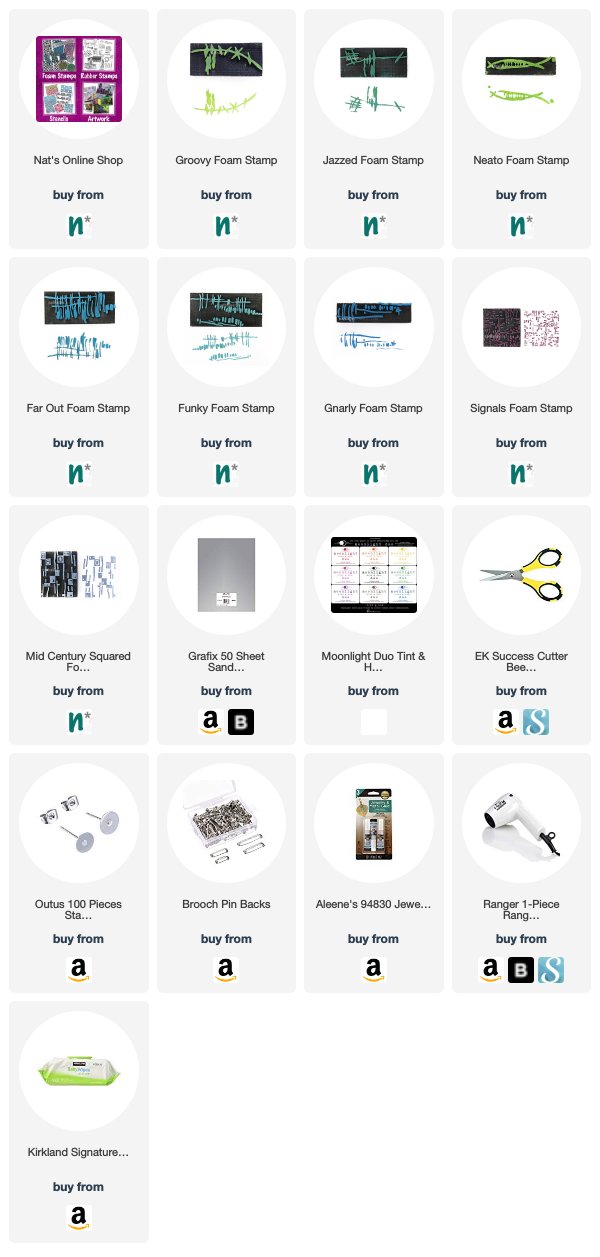
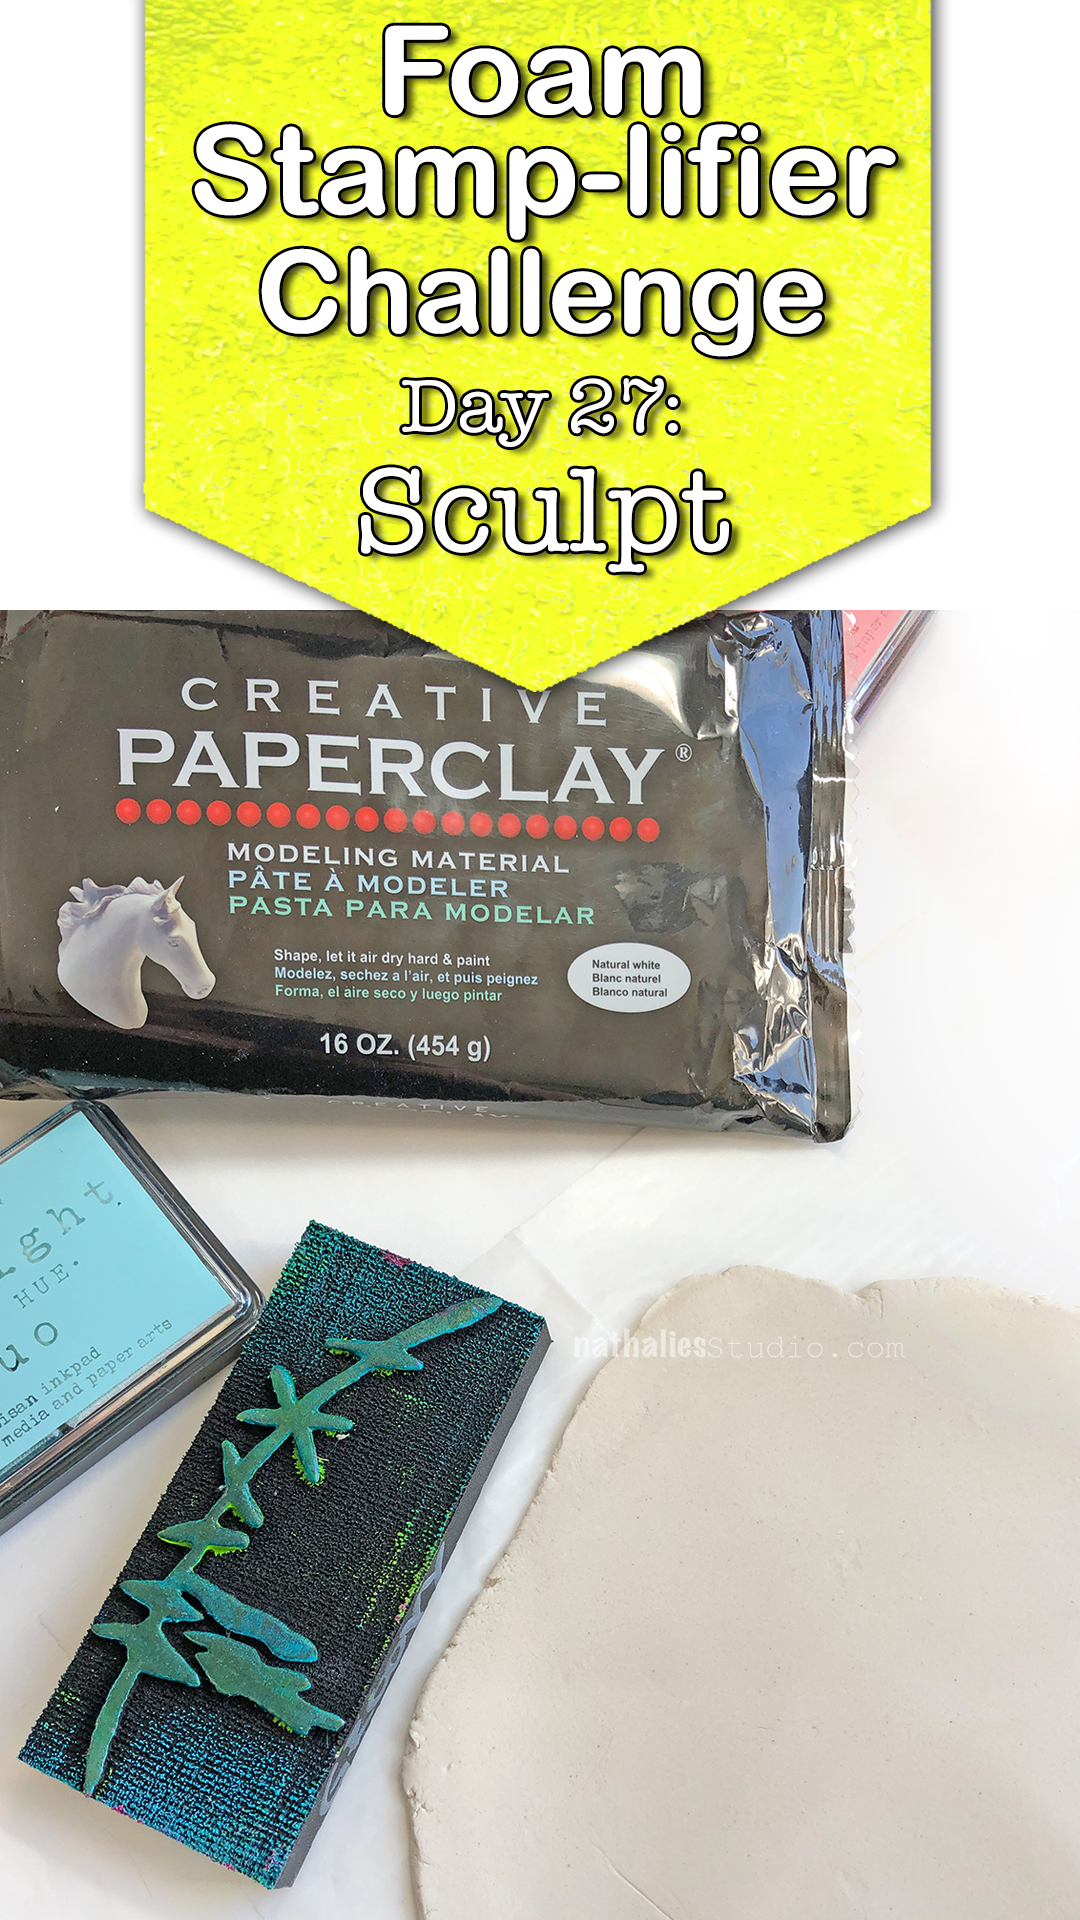
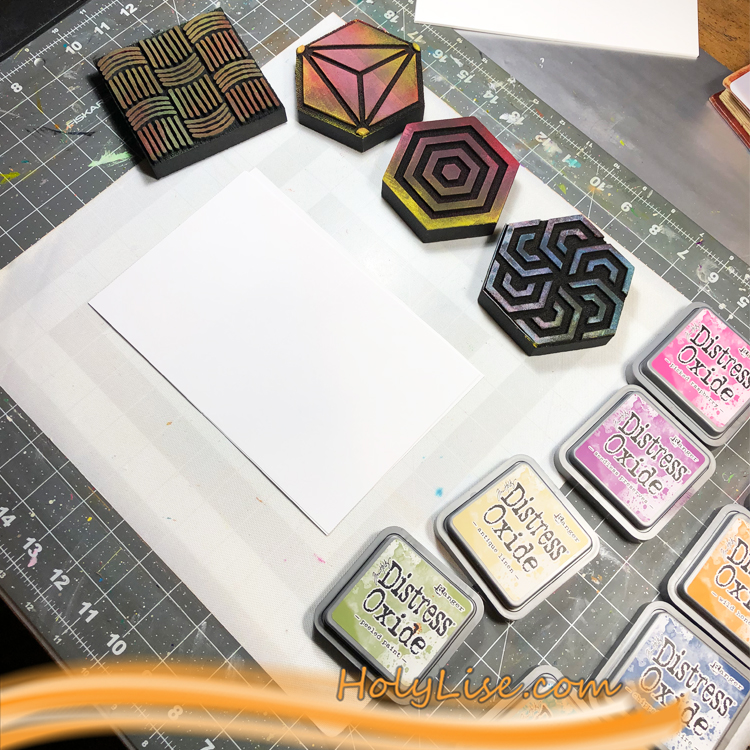
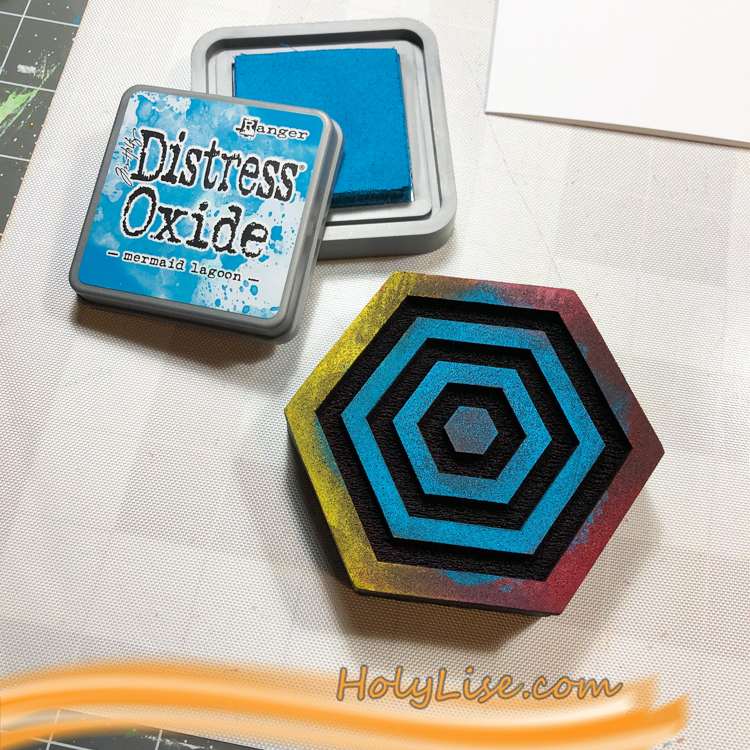
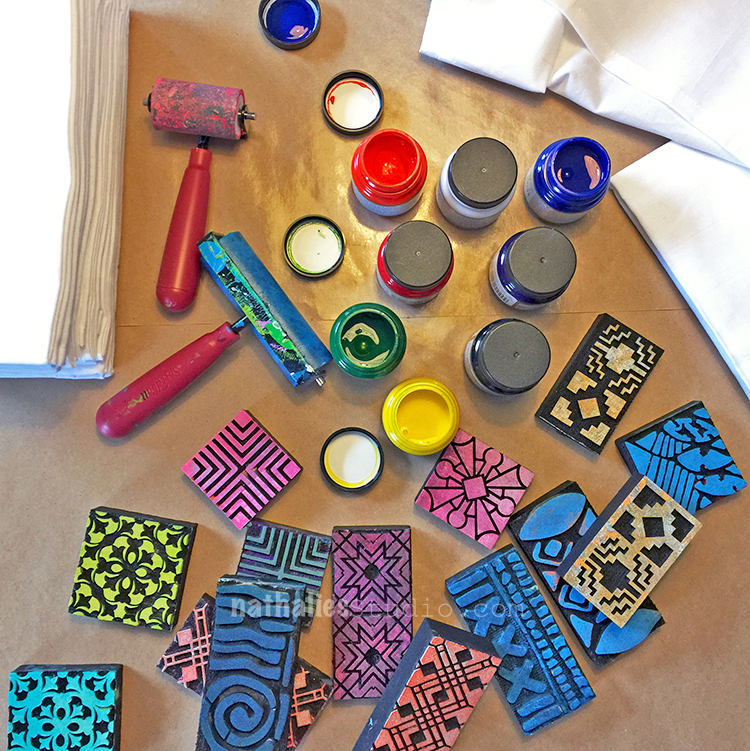
Here are the supplies – we used my new ArtFoamies designs, Moonlight Duo ink pads, shrink film, jewelry adhesive, scissors, a heat tool, and earring and pin backs.

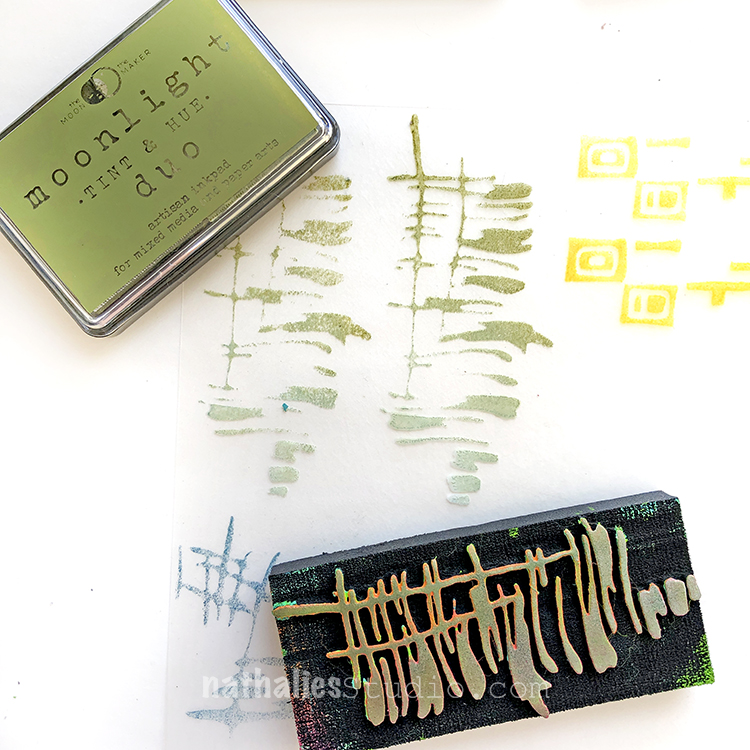
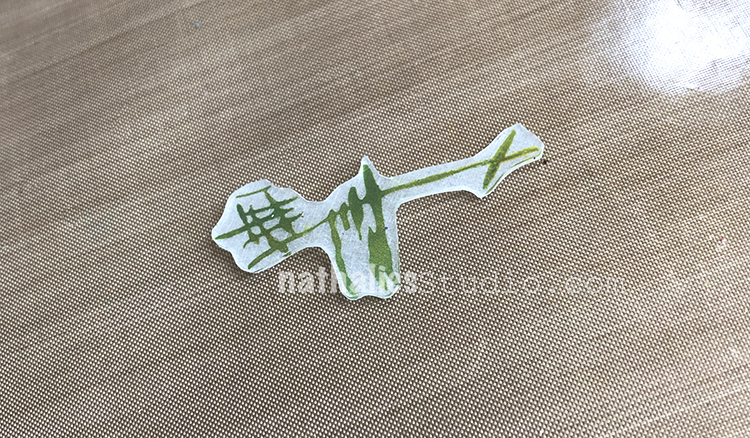
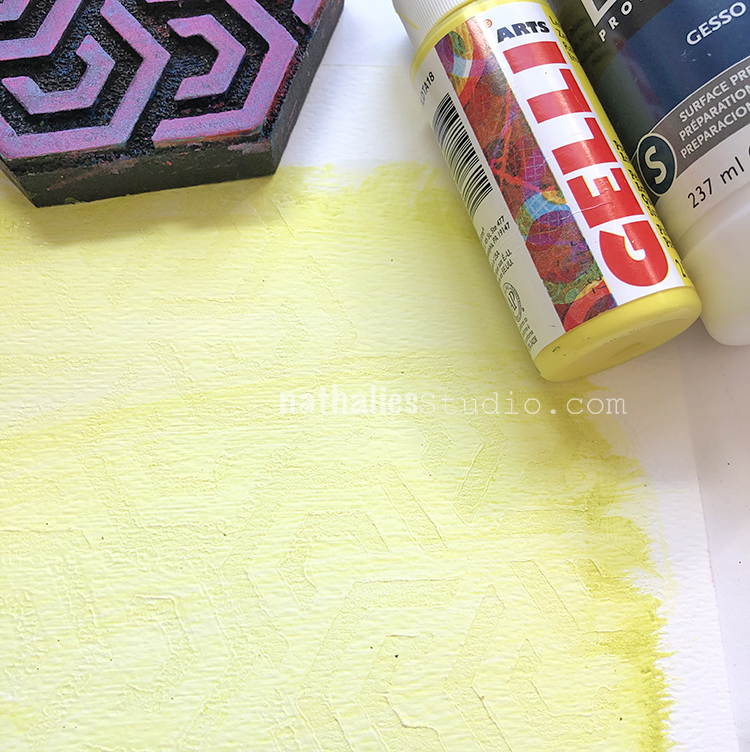
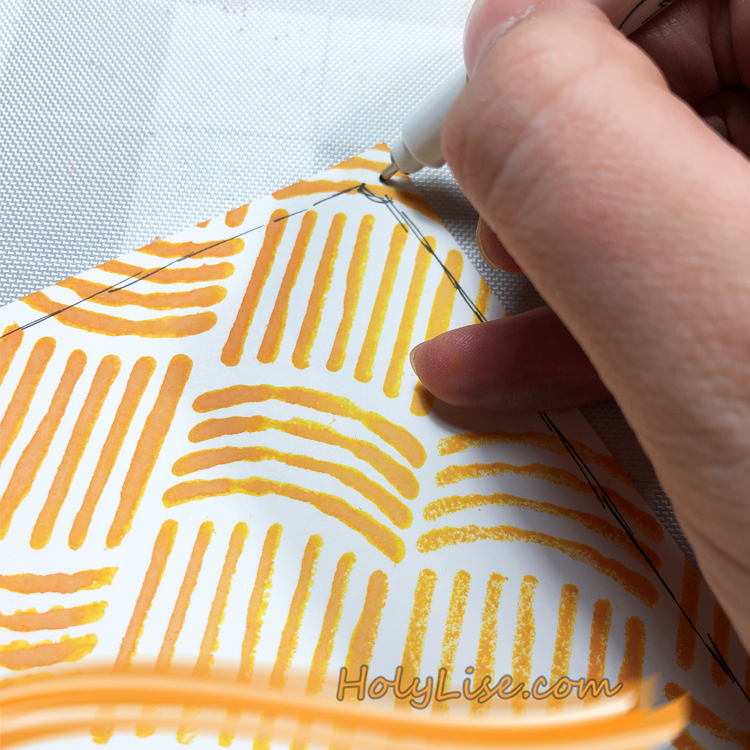
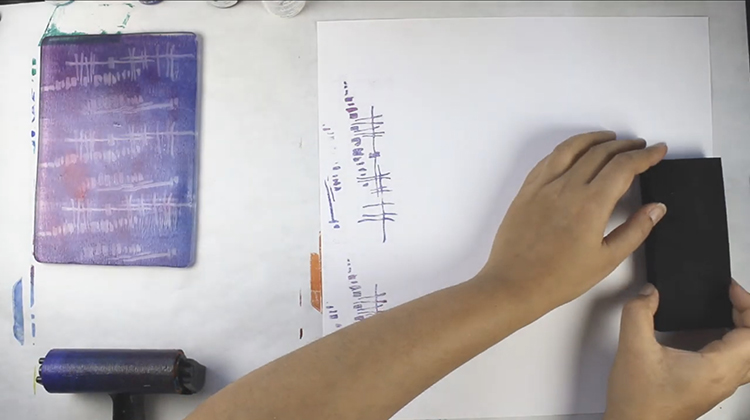
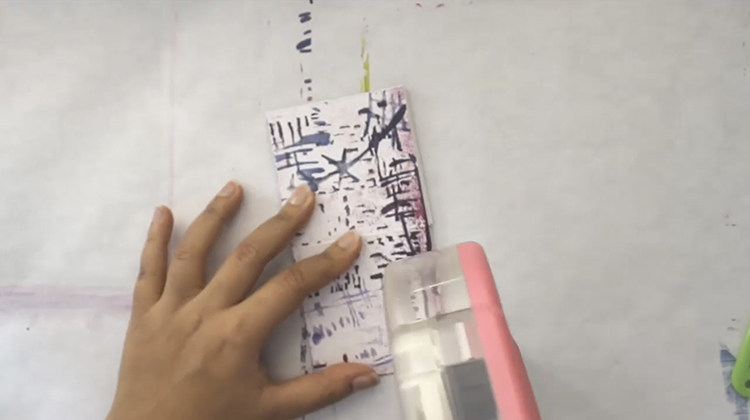
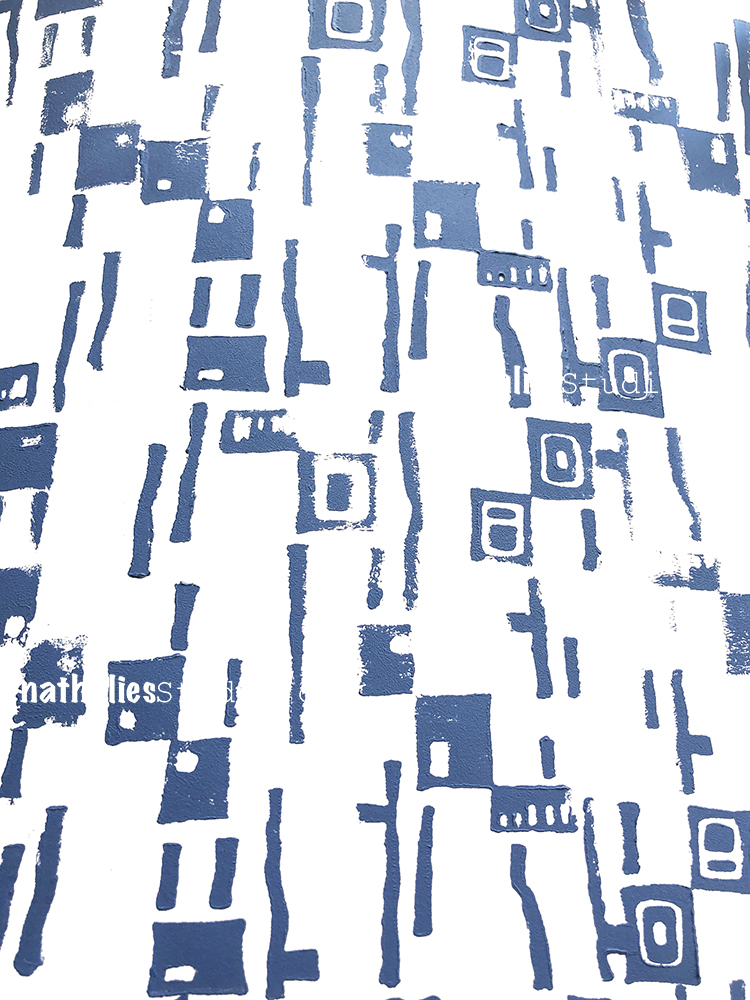
Here Kim stamped on shrink film my Far Out foam stamp in green and just a bit of my Mid Century Squared stamp in yellow.

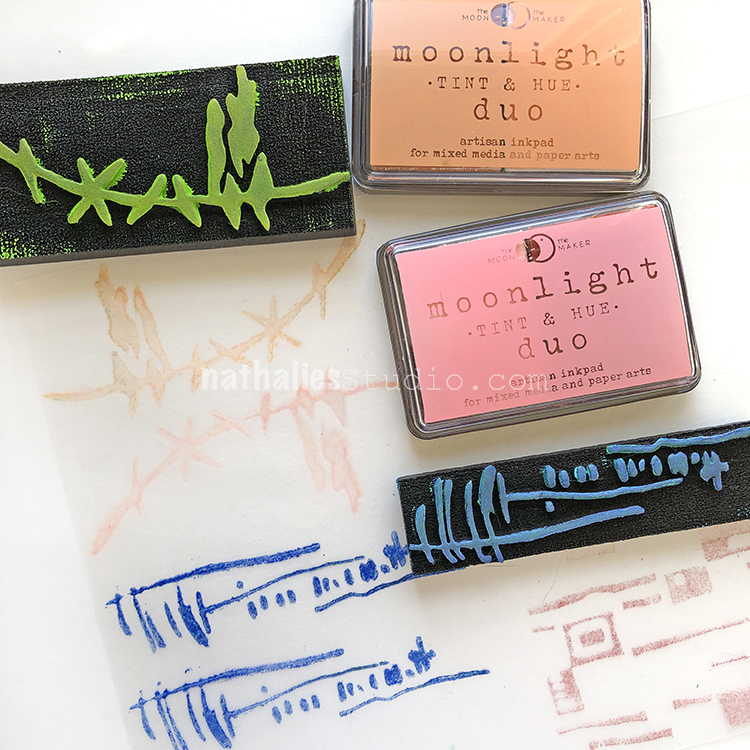
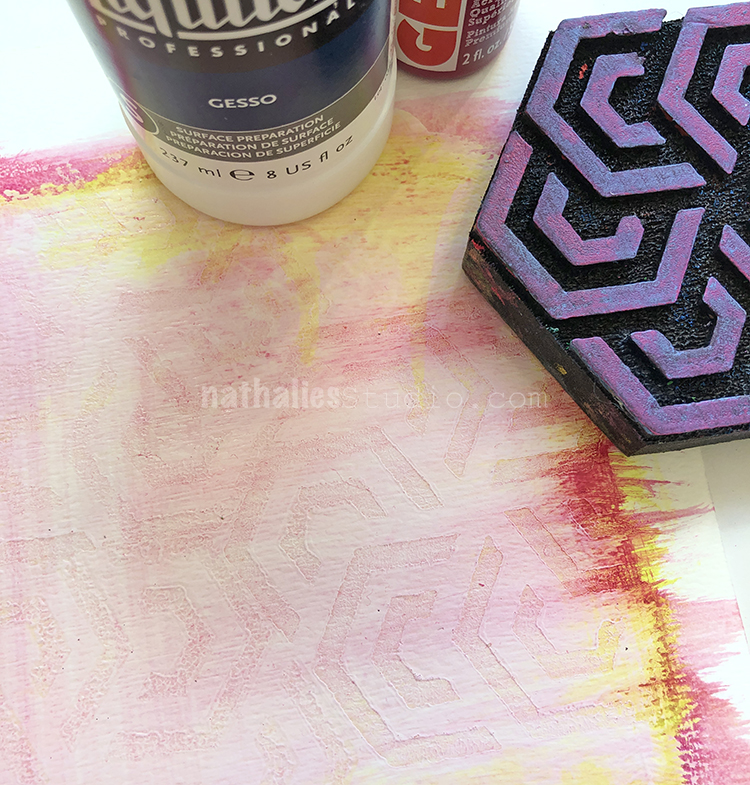
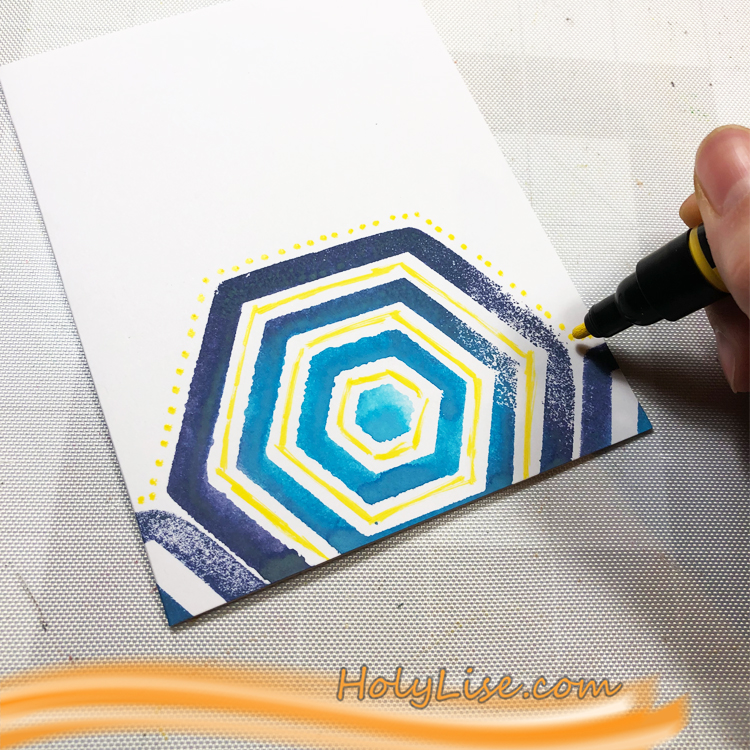
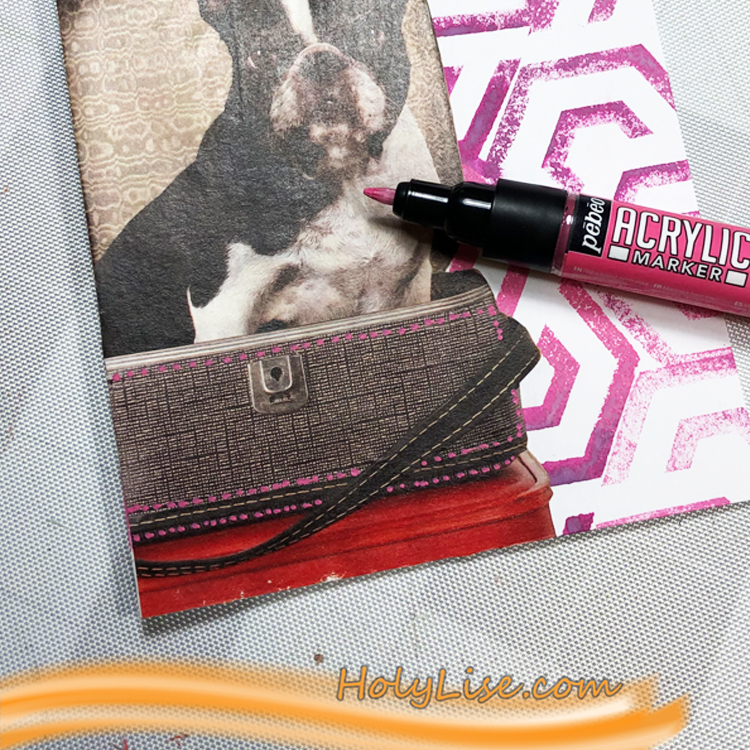
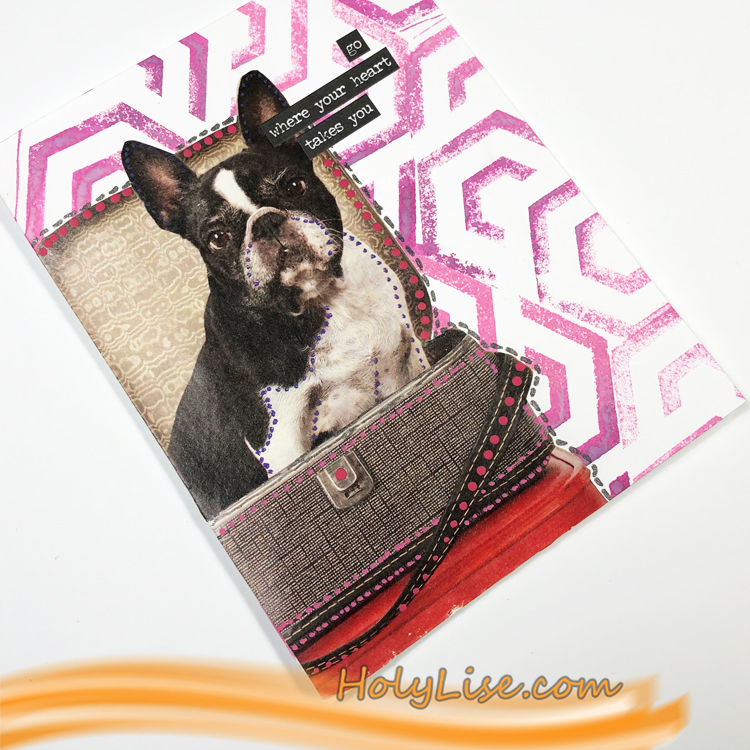
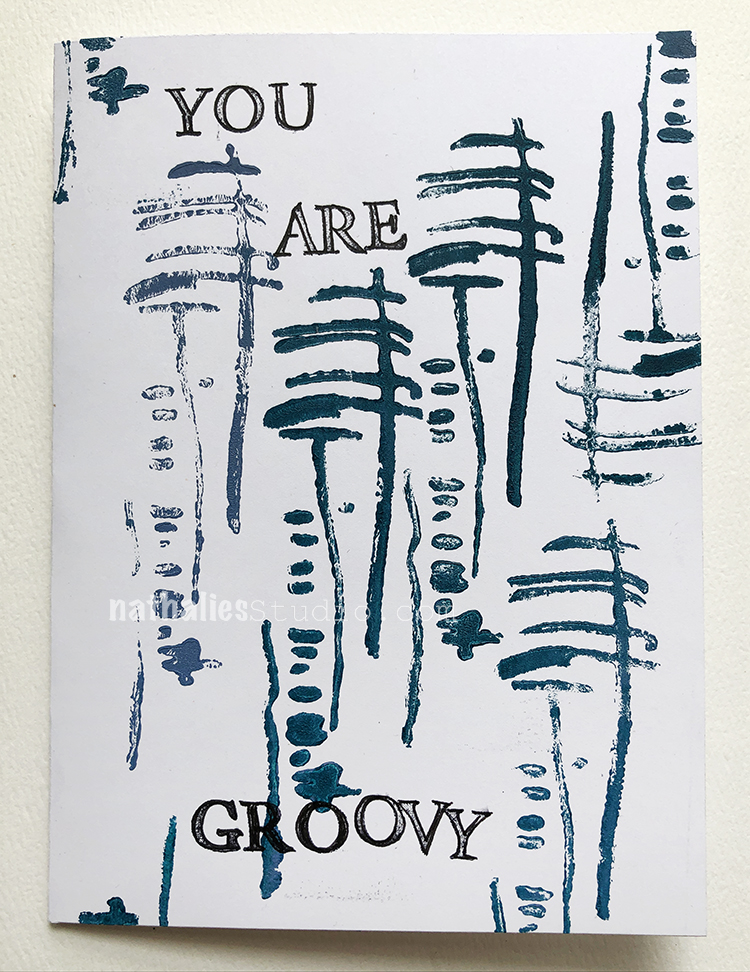
I stamped Groovy in peach, Gnarly in blue, and a bit of the Mid Century Squared in pink.

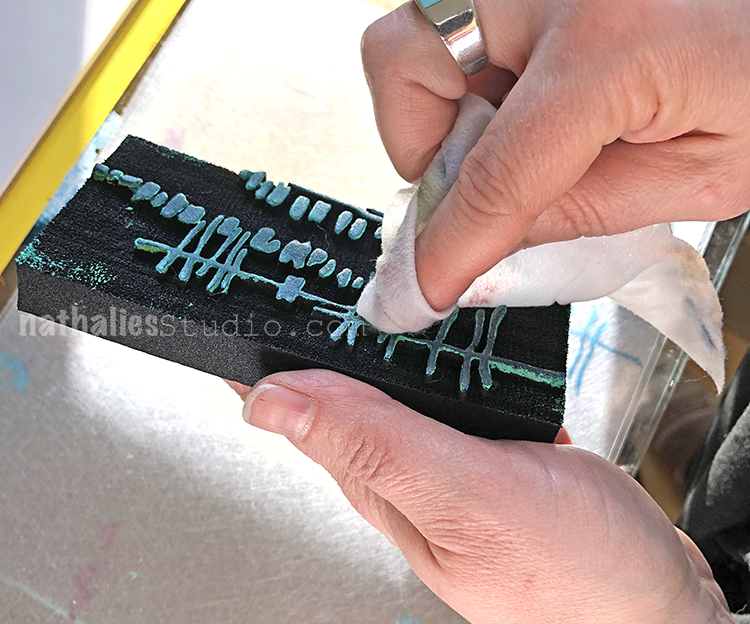
It’s a good idea to gently wipe off your stamps with a baby wipe so you don’t contaminate the ink colors.

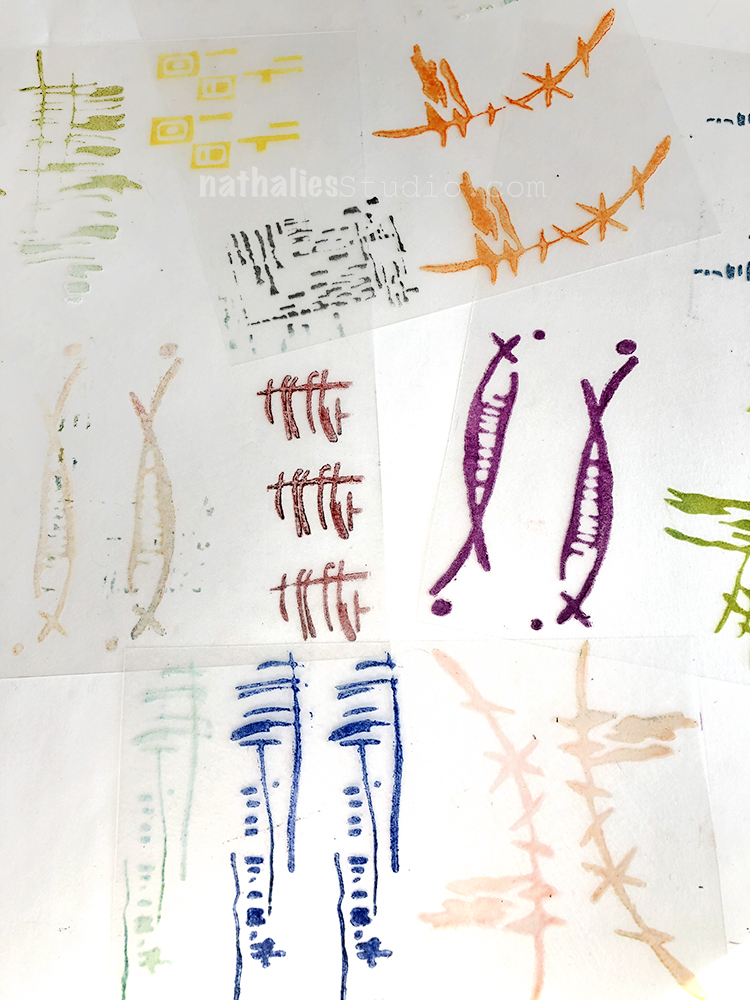
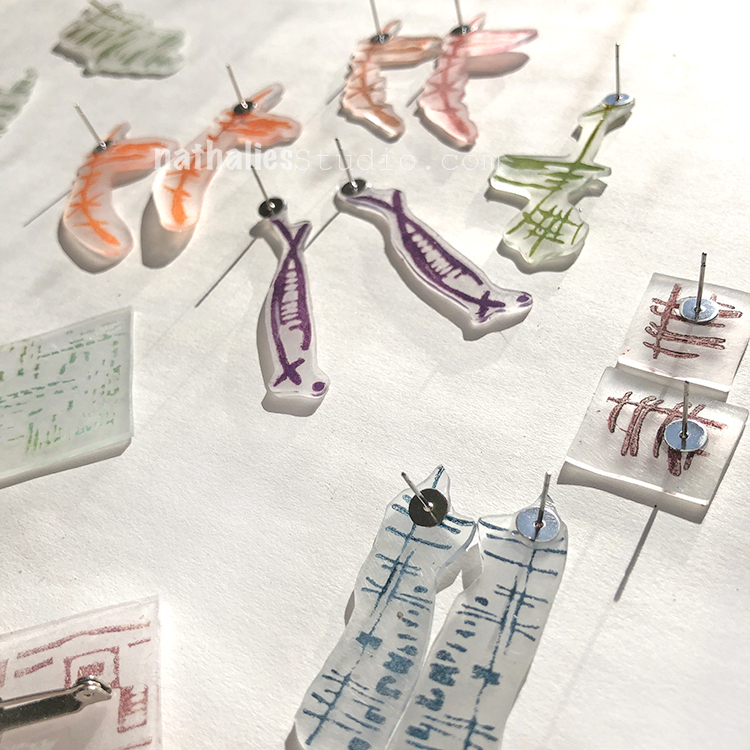
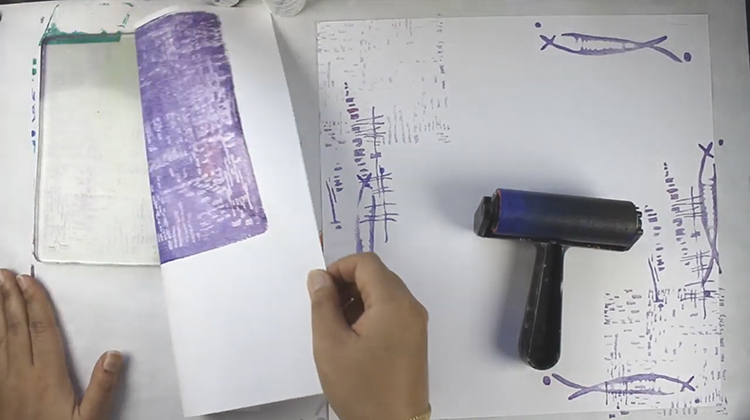
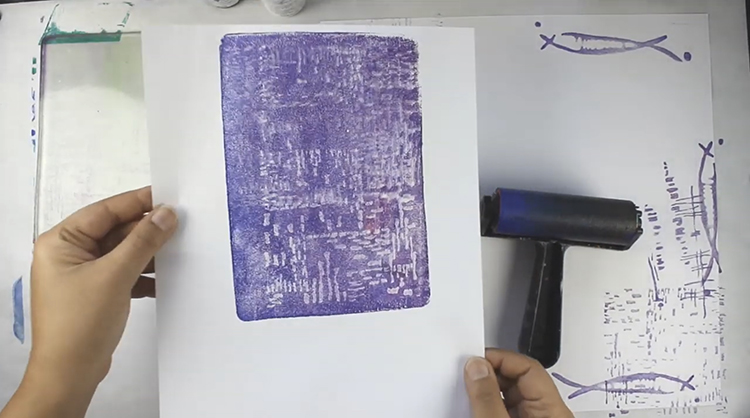
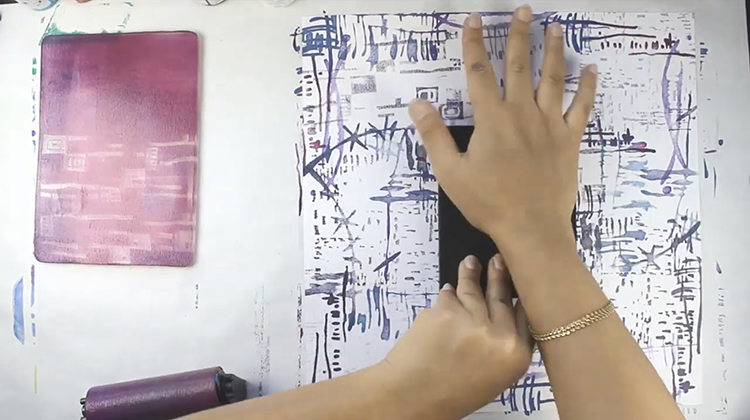
We stamped lots of different pairs onto the shrink film.

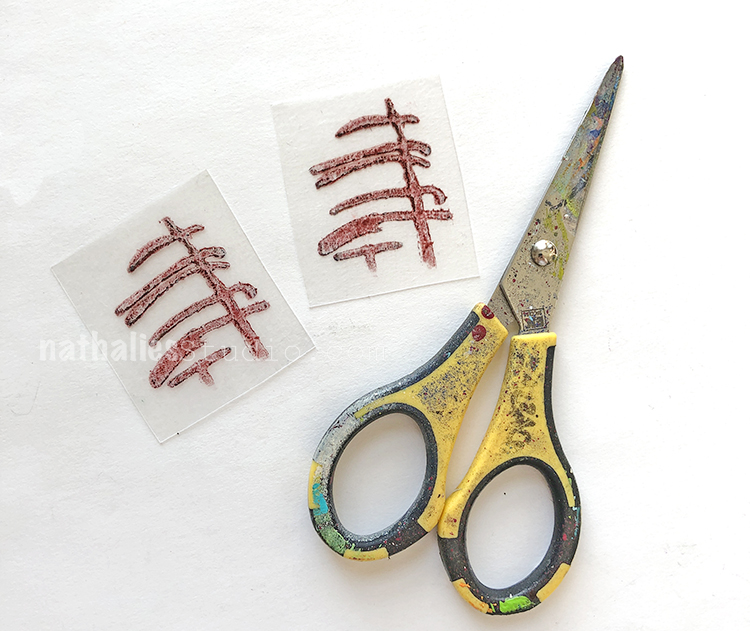
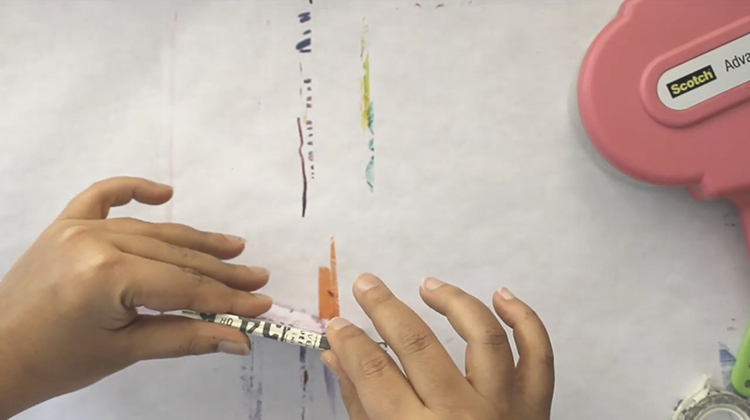
Time to cut out. Here Kim stamped just one end of my Gnarly stamp and cut it into a rectangle.

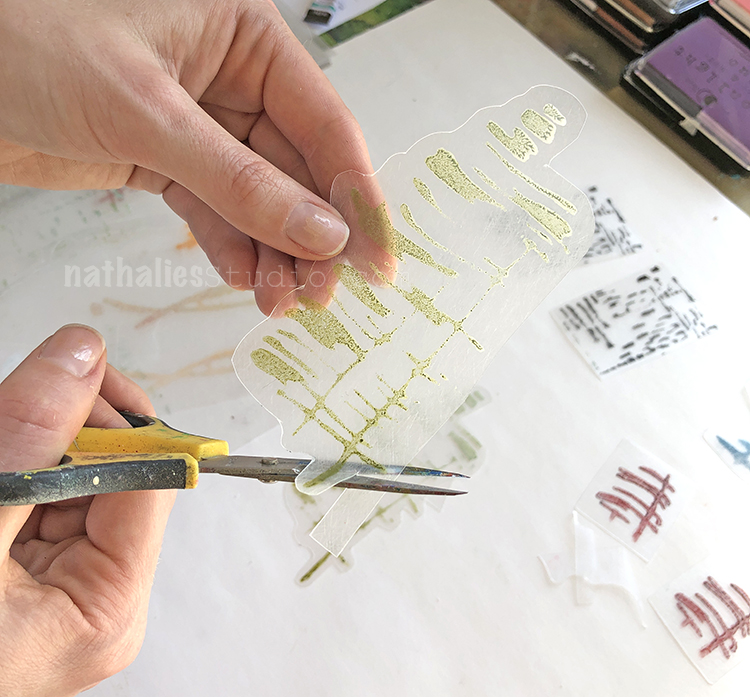
You can also fussy cut them out. Here is my Far Out stamp.

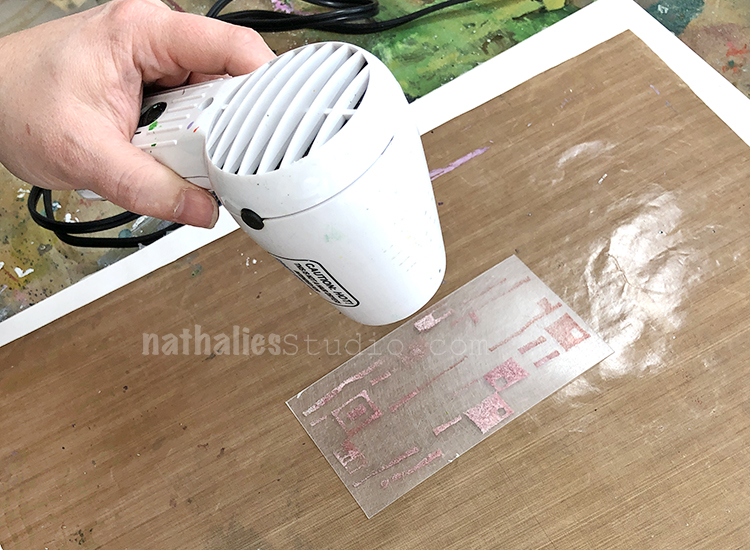
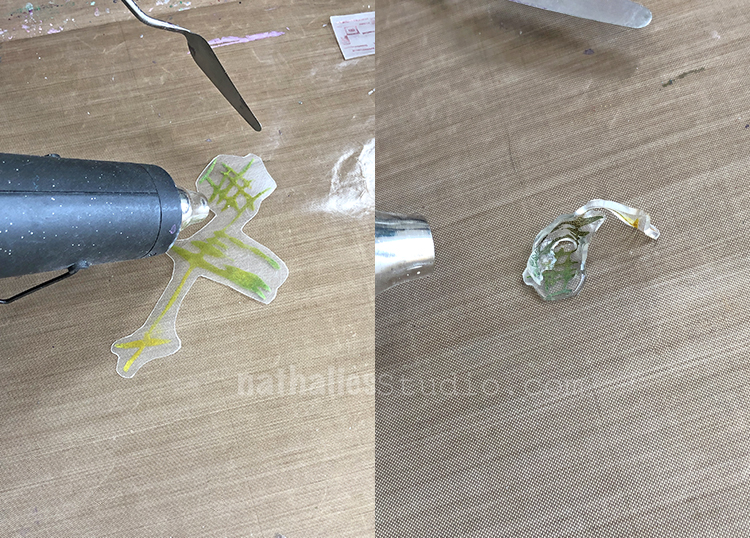
Time to shrink the shrink film :) Work on a clean craft mat over a surface that can get hot. Gently move the heat tool around, evenly heating the film. I started with my Mid Century Squared stamp in pink.

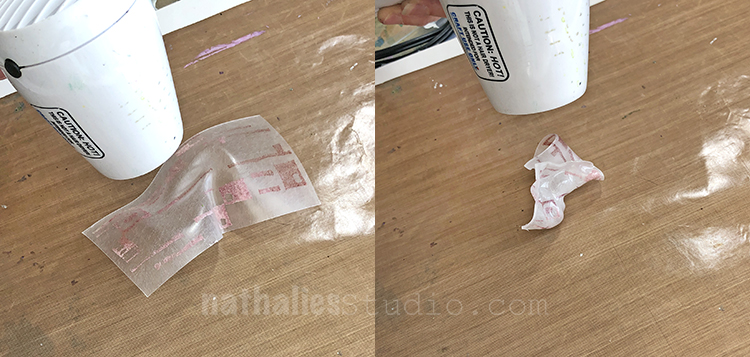
It will start to buckle and curl and can get pretty gnarled up. Move the heat tool around, hitting every side and surface to shrink it evenly. Be careful! It can get hot!

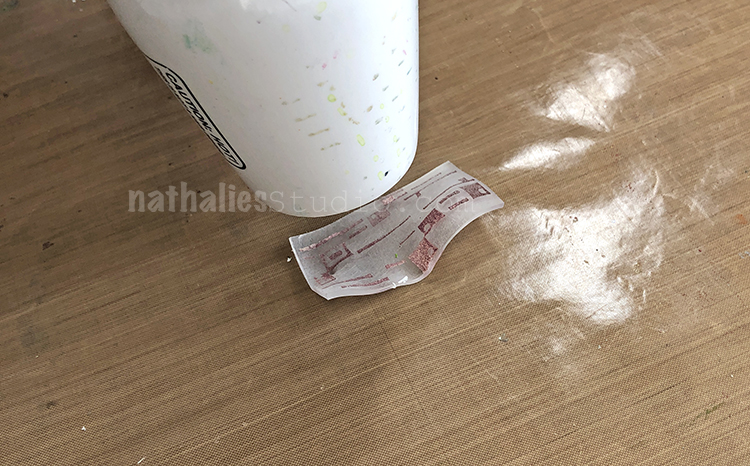
By moving the heat tool around and flipping over the shrink film and heating it evenly, it will start to calm down and flatten.

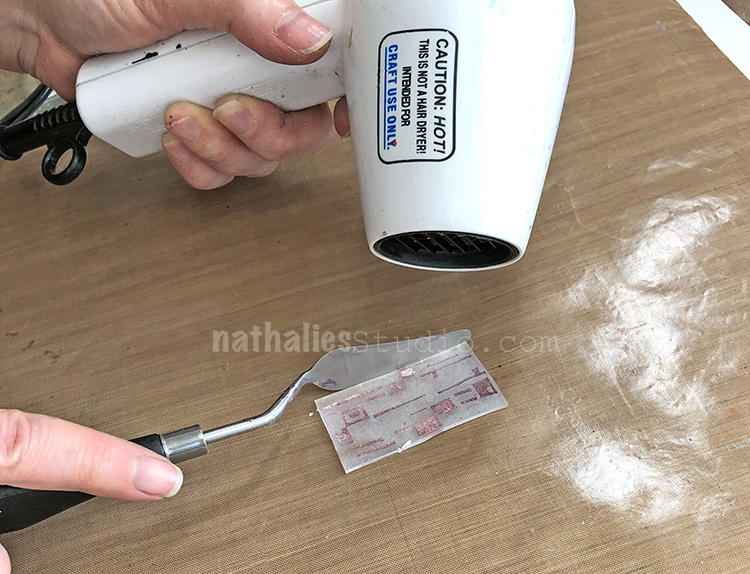
A clean palette knife is useful in flipping the piece over, and gently flattening it out.

We tried a more powerful heat tool and actually melted and ruined the piece – it was too hard to heat it gently and evenly and it curled up and melted before we could flatten it out. This was the Jazzed design.

We used the lower power heating tool on the second Jazzed piece – so cute!

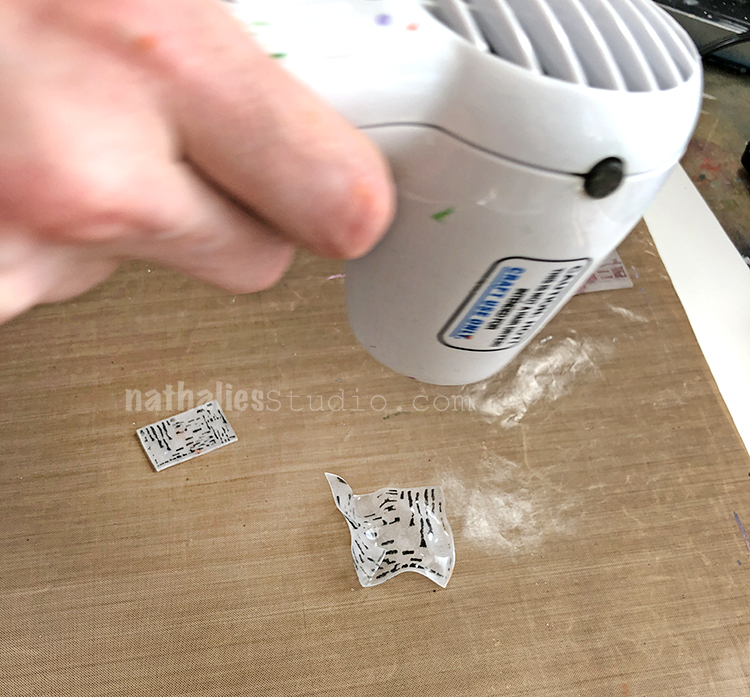
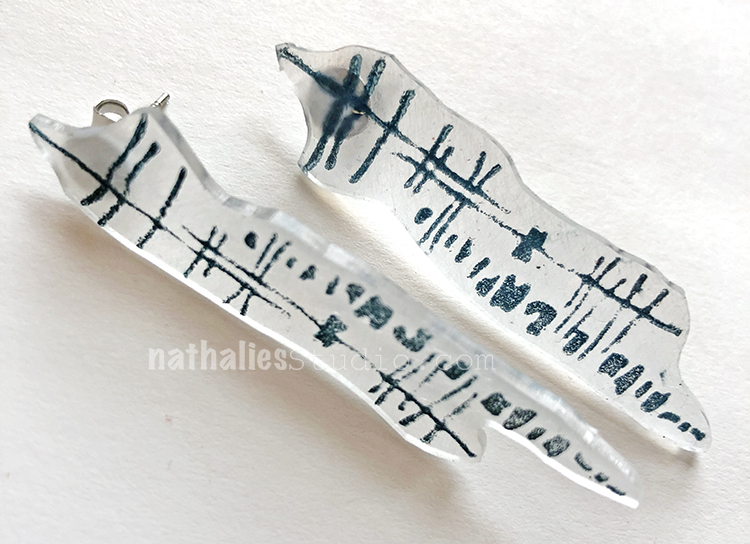
Kim did a pair with just a section of my Signals stamp in black ink.

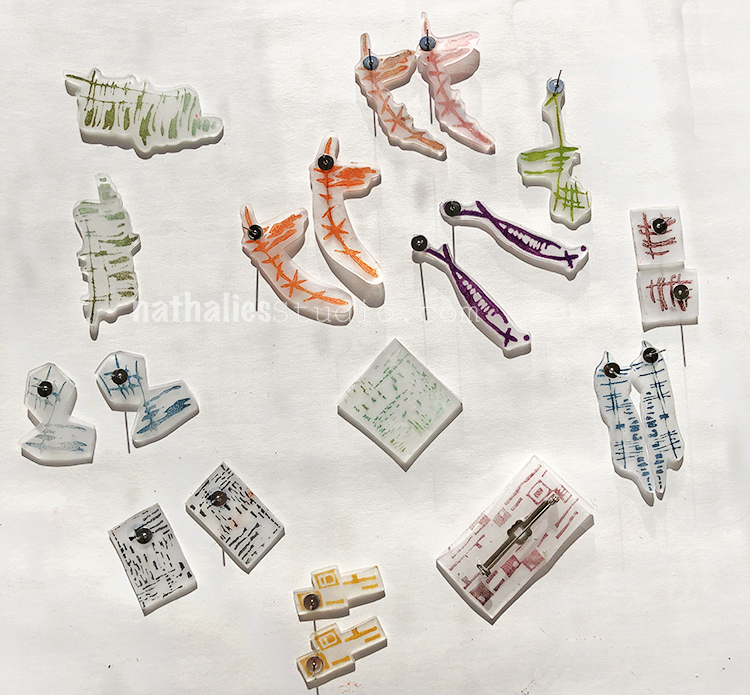
In the end we used the jewelry adhesive and glued them onto the earring post backs and the brooch pin backs.

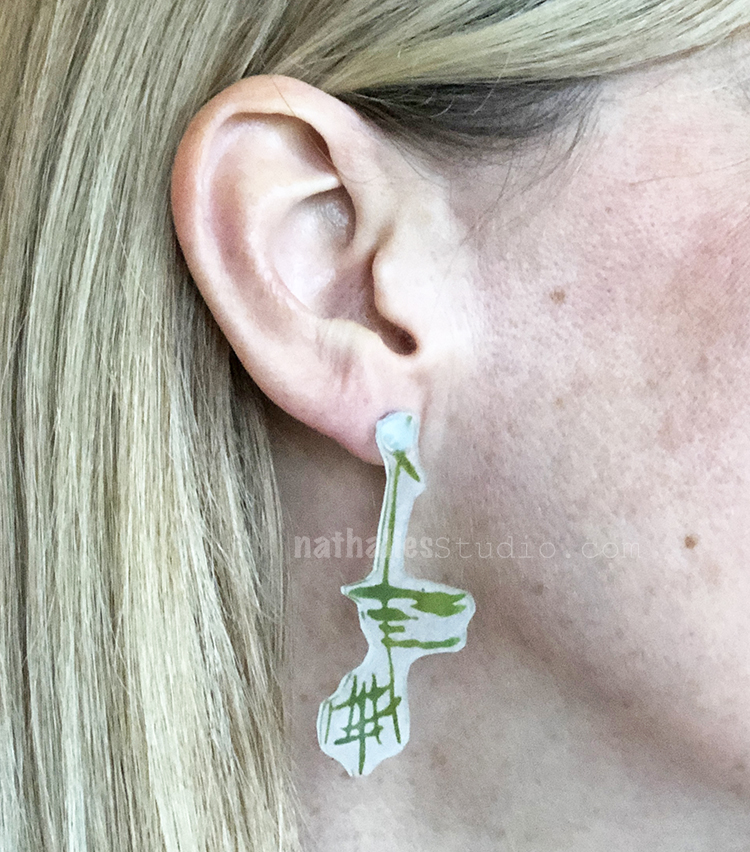
Here is the Jazzed design in green.

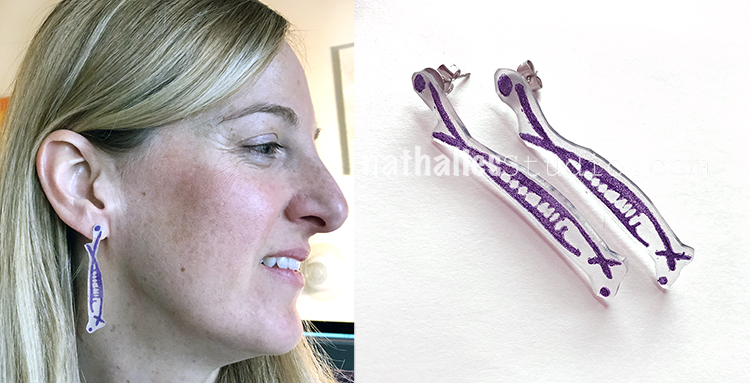
Kim wearing some purple Neato earrings :)

These are part of the Funky stamp – love these in dark blue/green.

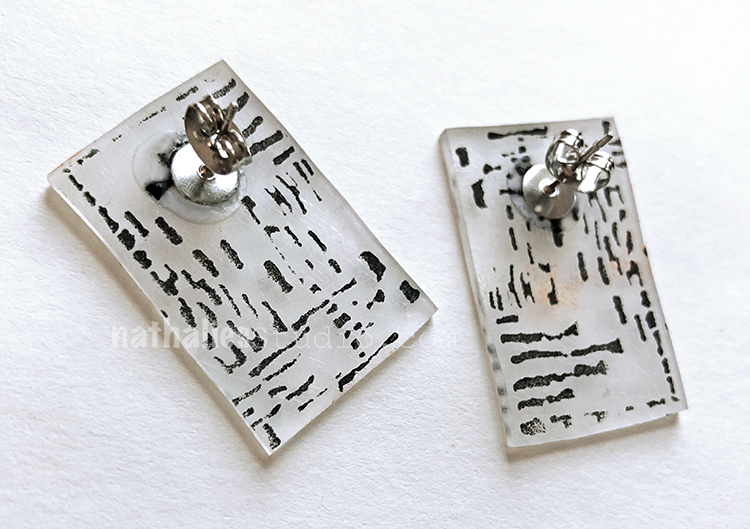
Kim’s little black earrings with part of the Signals stamp.

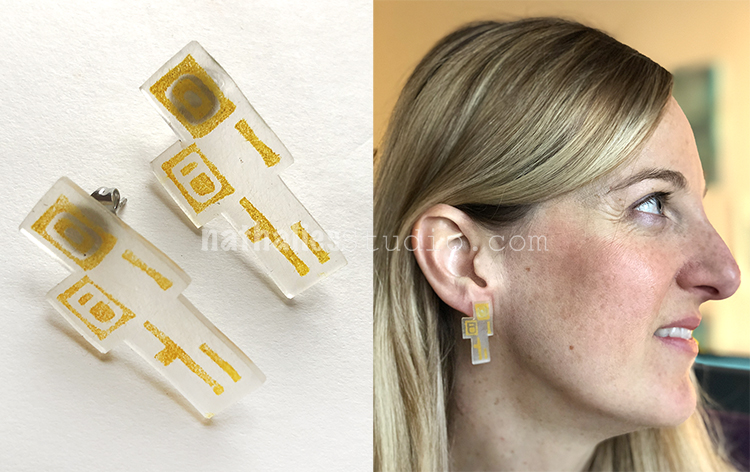
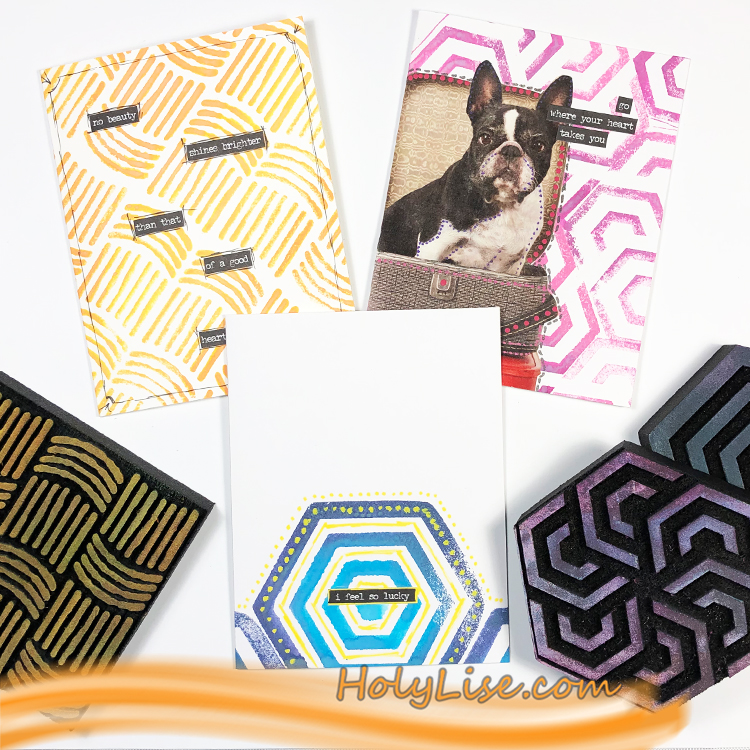
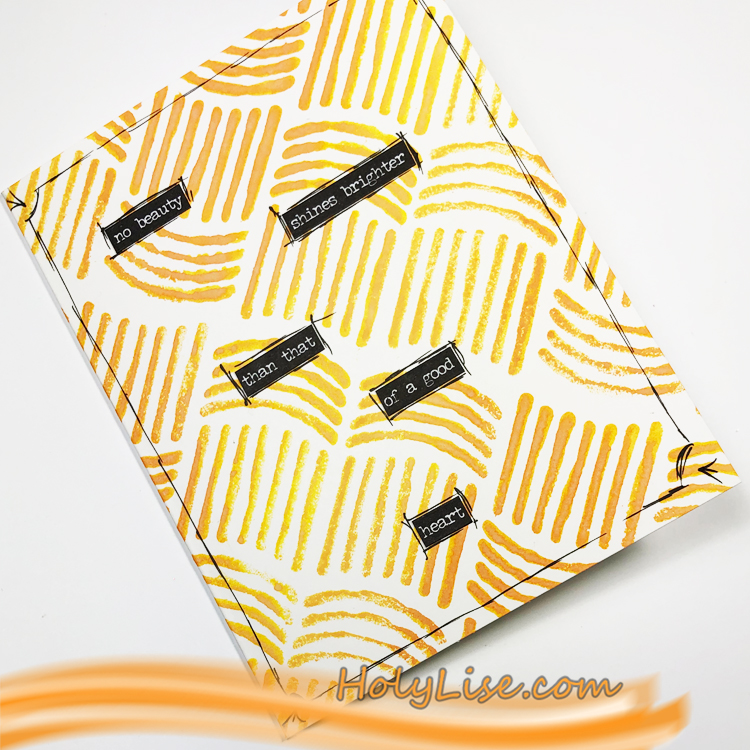
And one of my favorites – part of the Mid Century Squared stamp in yellow.  So in the end we made some pretty cool looking earrings and brooches for us and our friends!

Give it a try! It’s a fun project for a morning or afternoon and you can definitely play around with how you use the patterns.

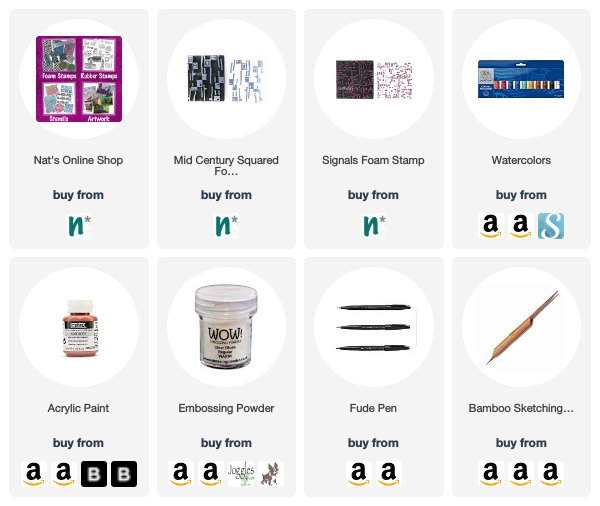
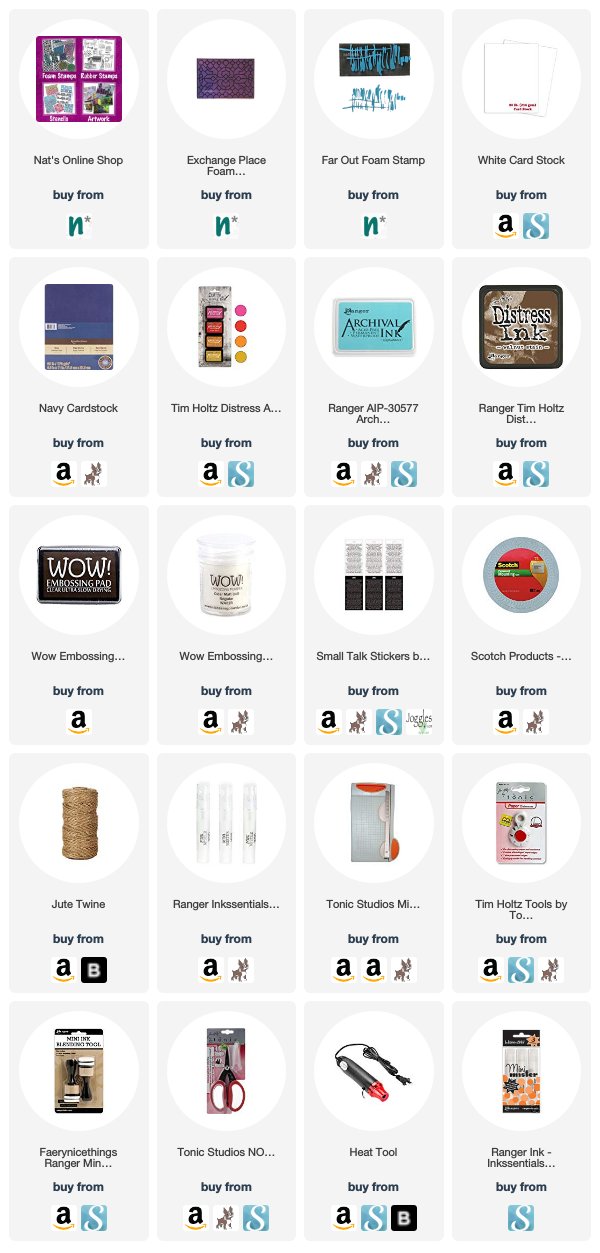
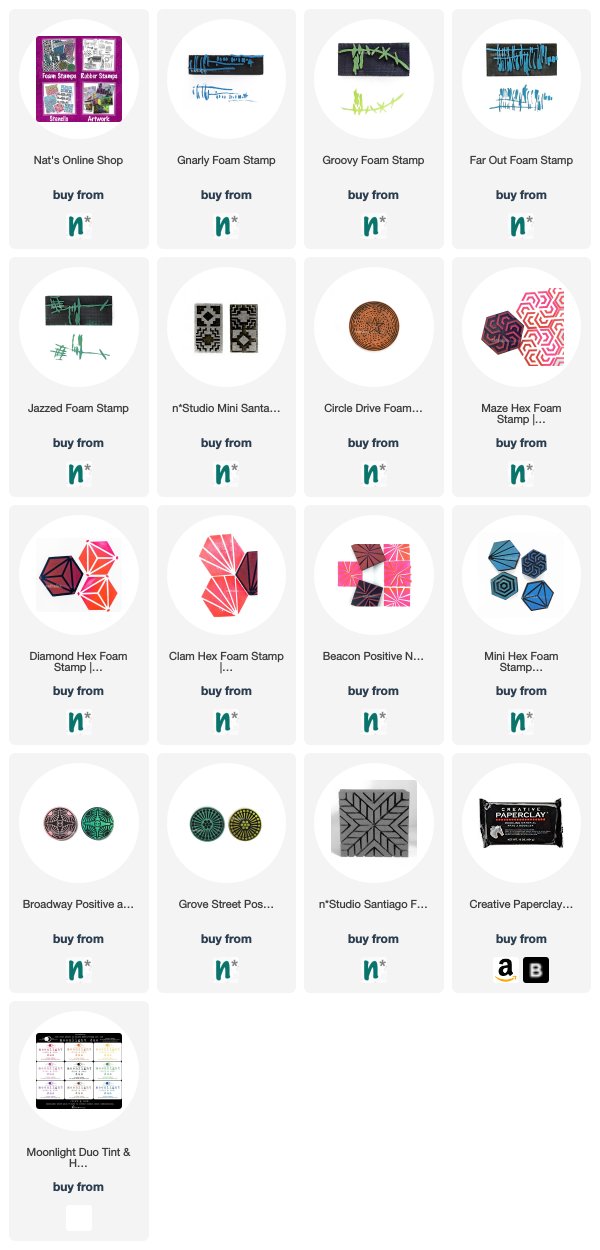
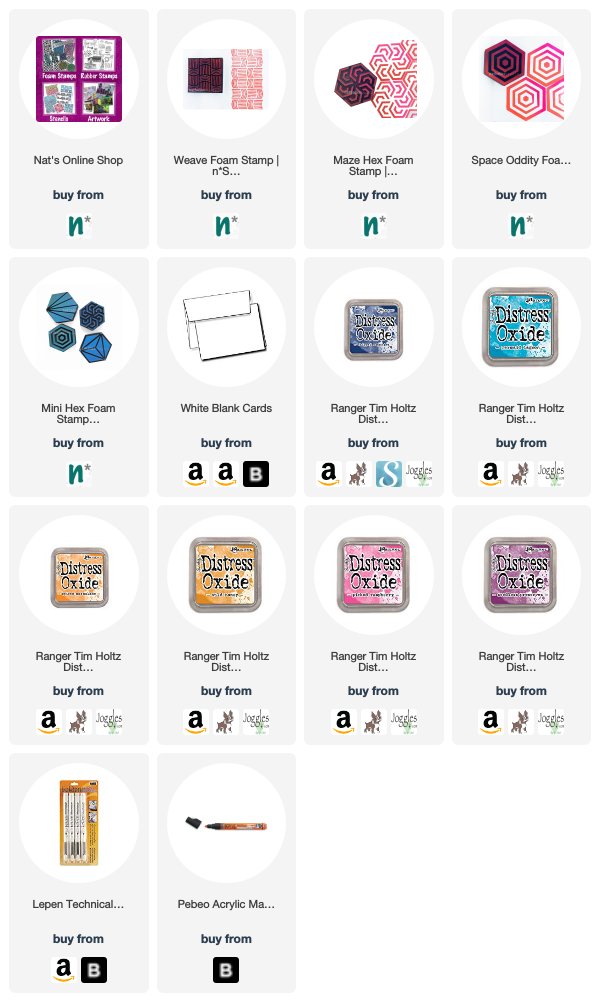
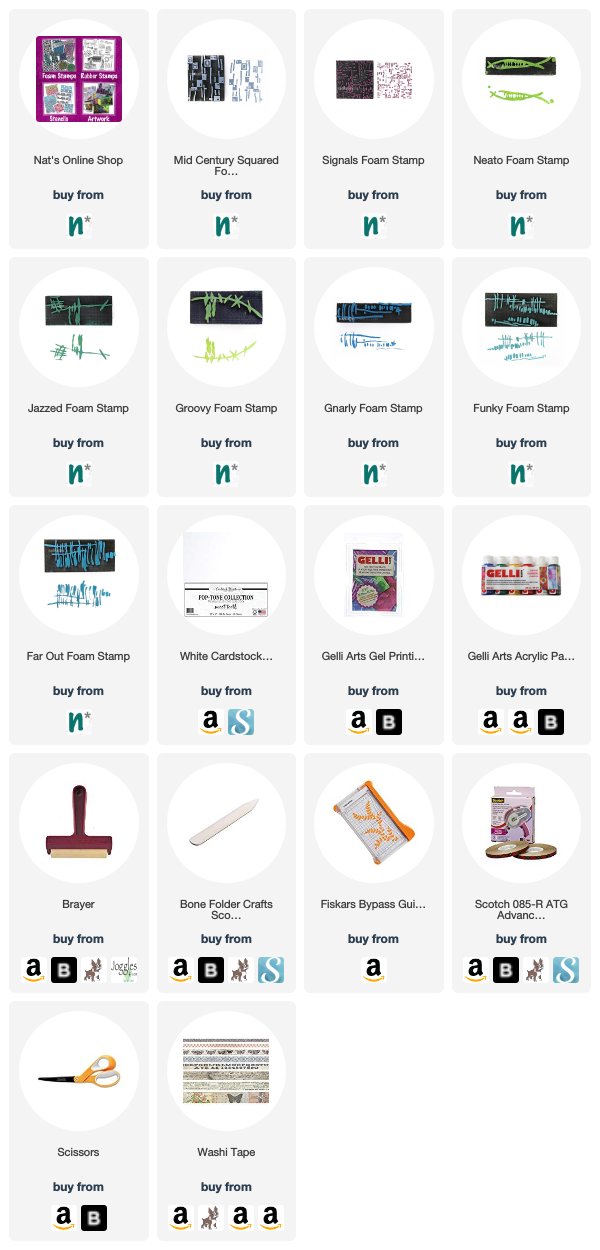
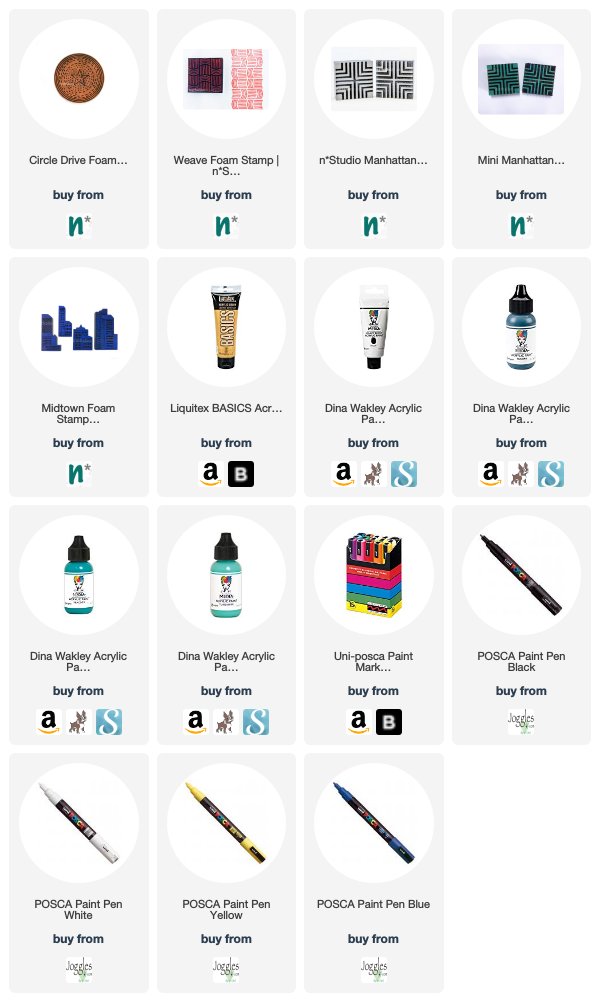
In addition to my Foam Stamps from my Online Shop, here are some of the supplies that we used:


Leave a comment

New ArtFoamies Stamps! Winter 2019 Release

My latest ArtFoamies foam stamp designs are here!!! These are all based on some cool mid century vintage stamp rollers I found in an antique shop in Germany. They are abstract, great for pattern and mark making, and I’m not gonna lie – they’re my new favorite stamps!!!

Here is the bunch :)

These play really nice together: Far Out, Funky, and Gnarly.

Gnarly used in this “You are Groovy” card.

Here is Far Out in some flaming hot red on a card.

Signals is perfect for all over pattern.

Here are Groovy, Jazzed, and Neato all together.

And here is Mid Century Squared repeated for a fun pattern too.

Join me this Friday January 18th at 12noon EST on Facebook for one of my LIVE Kaffeeklatsch chats. I’ll be showing the stamps and chatting with you as we go. It’s a lot of fun and I’d love to see you there.

Comments (2)

  • judy bliss

    |

    these are fantastic.

    Reply

  • Sue Clarke

    |

    Far Out…I am in love with all of these!
    On my wish list right now Nat.

    Reply

Leave a comment

Warm Wishes – Josefine Fouarge


Warm Wishes from the Creative Squad’s Josefine Fouarge today! She is sharing a beautifully layered tag, inspired by the quiet evenings this time of year and using my Circle Drive, Midtown Set, Weave, and Manhattan foam stamps. The theme is Warm Wishes – For many cultures around the world, December is a holiday season filled with celebrations and good cheer. The Creative Squad is taking this month to send Warm Wishes to all our readers!


Can you believe that the year is nearly over? Where did it go? One good thing about the end of the year though is the holiday season. Time to calm down a little, plus I always enjoy the quiet nights. Those were the inspiration for my December project for the Creative Squad.

I used a chipboard tag as my base and covered it in patterns using several ArtFoamies designs from Nathalie and paints. You can see it here:

Nathalie’s designs are great for layering. Even though they are all different, it doesn’t look “too much” when you layer a few patterns on top of each other.

It’s actually really interesting. You can look through all of them and see the bottom layer shining through.

Warm wishes from the Creative Squad. I hope you can enjoy your holidays in the upcoming weeks and get a great start into the new year.


Thank you Josefine and we wish you a wonderful holiday season and happy new year too :) Here are some of the supplies that Josefine used:


Feel inspired? Working on something yourself that you’d like to share?  I love to see how you interpret our monthly themes. Email me how you used my stencils and stamps with the theme and email me an image – I would love to share your projects in my next  “n*Spiration From Around the Globe“.

Comments (1)

  • Pami

    |

    Oh, so inspiring! Had to start right away with some tags :-)

    Reply

Leave a comment