How about a little Love Story? Once upon a time an artist named Nat was introduced to ArtFoamies foam stamps and fell hard for this mixed media tool – she even became a designer of foam stamps and the rest is history!
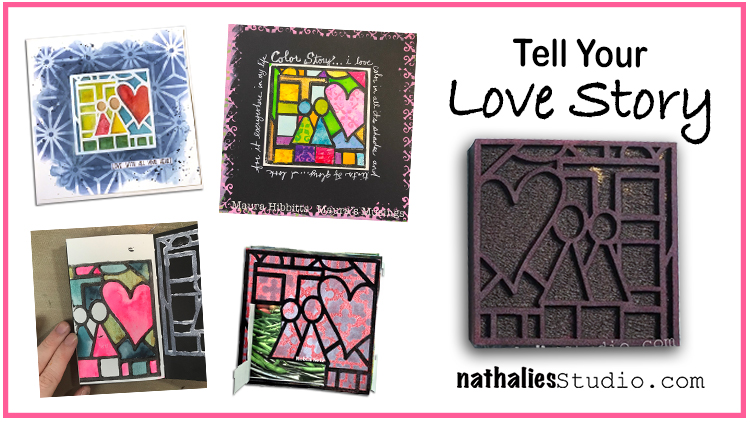
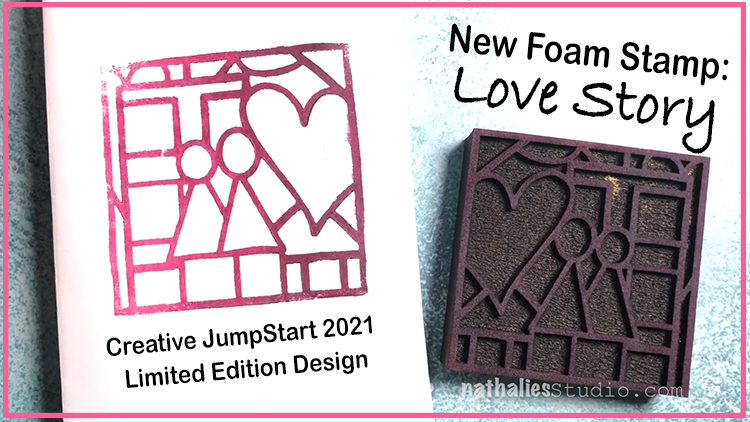
Haha ok that’s just the short version but today I’m here to talk about my special Love Story foam stamp that I made for Creative JumpStart this past year. It’s a limited edition foam stamp and it’s only available through the end of 2021 so time is running out if you haven’t gotten one yet. Let’s see some of the cool projects inspired by it this year:
My Creative Squad got to play with this stamp in January this year and I love Maura’s Color Story project here where she used the Love Story foam stamp as if it were stained glass with paint and collage. Pretty cool way to make the design pop and to use up some collage papers too!
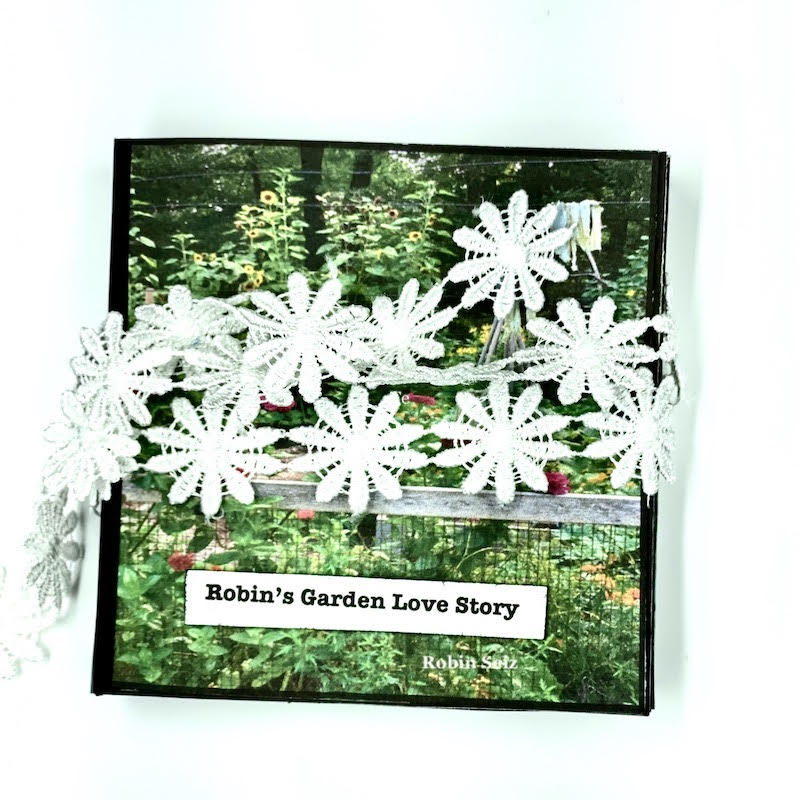
Robin used Love Story to create this mini book project about her love of gardening. She used elements of the stamp as little peek-a-boo doors into her garden and all the wonderful things she grows there.
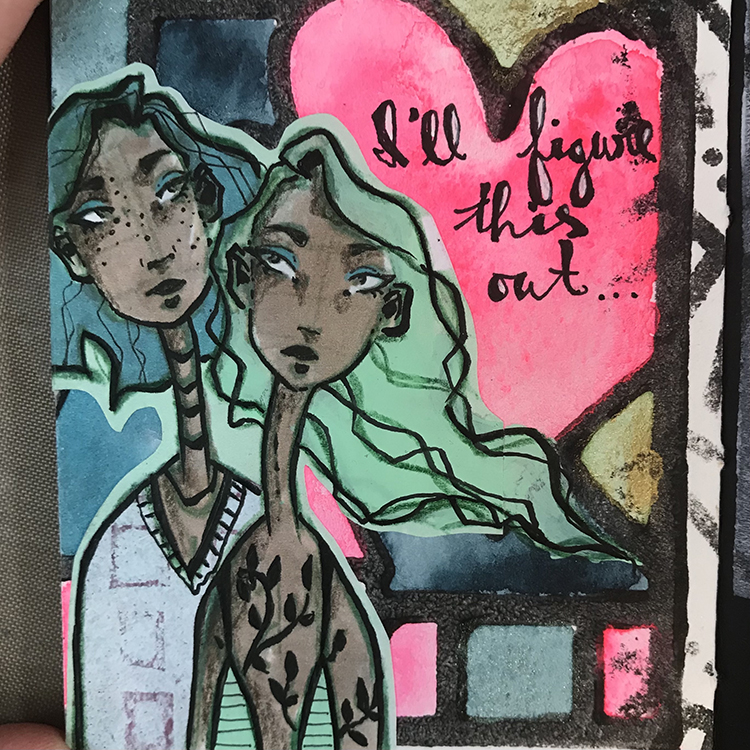
Jordan worked in her art journal and used Love Story as the backdrop and facing page design to help her tell the story of her journey as an artist. You can see how she builds this composition in the original post here.
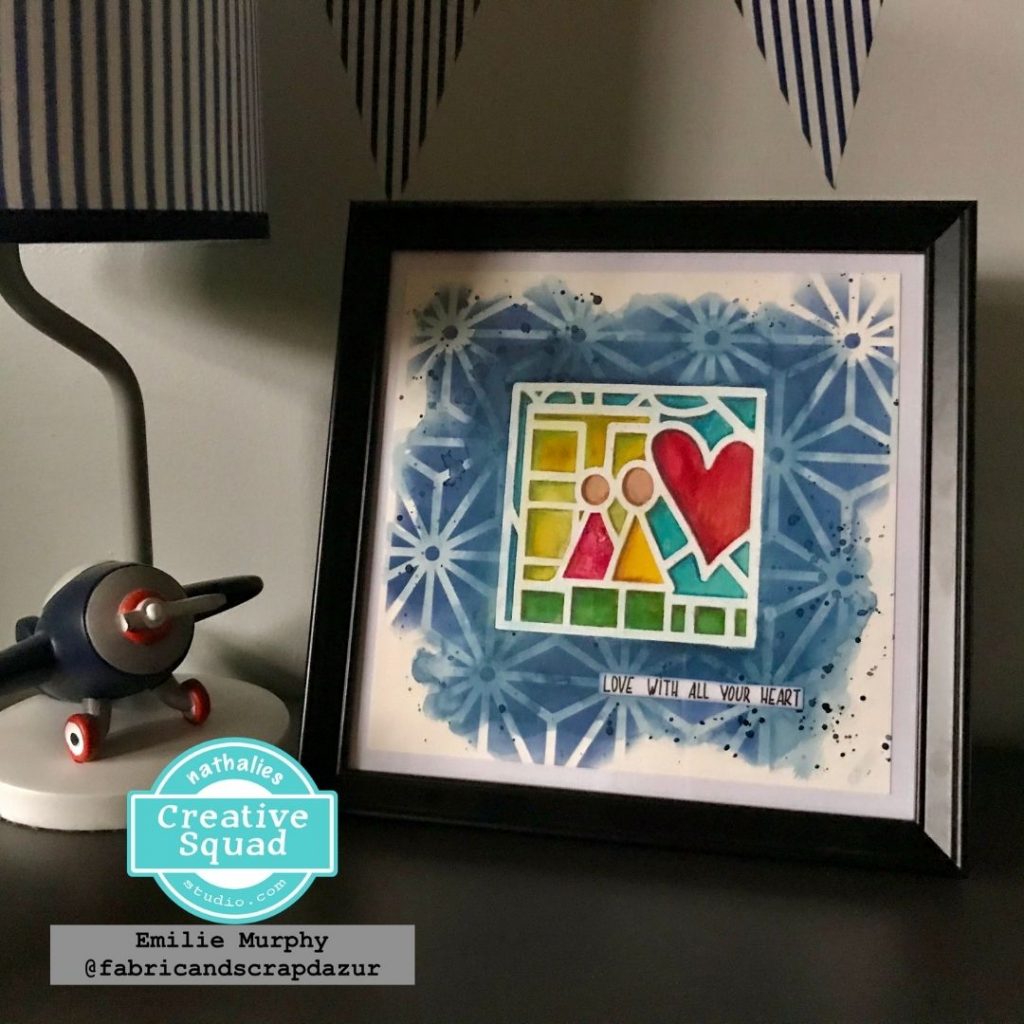
Emilie created a gorgeous piece of art for her son’s room with Love Story and we just love how she used white embossing powder and watercolor with the stamp. See how it comes together in this post.
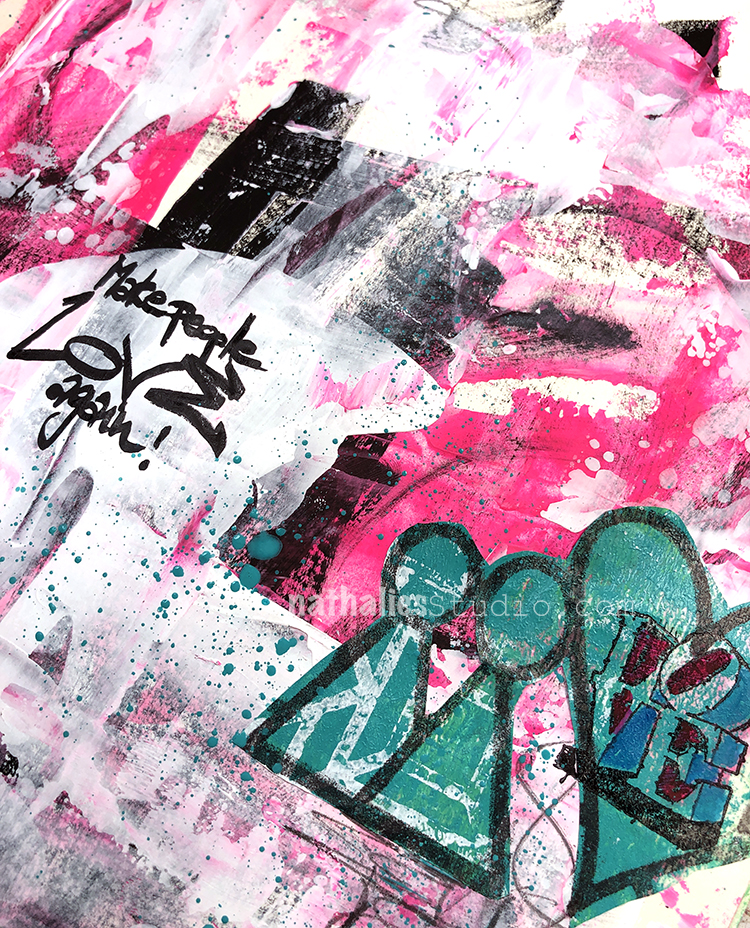
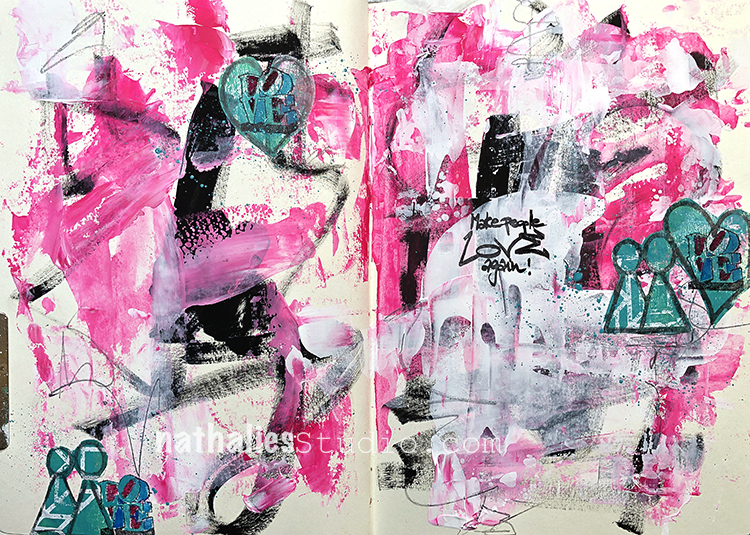
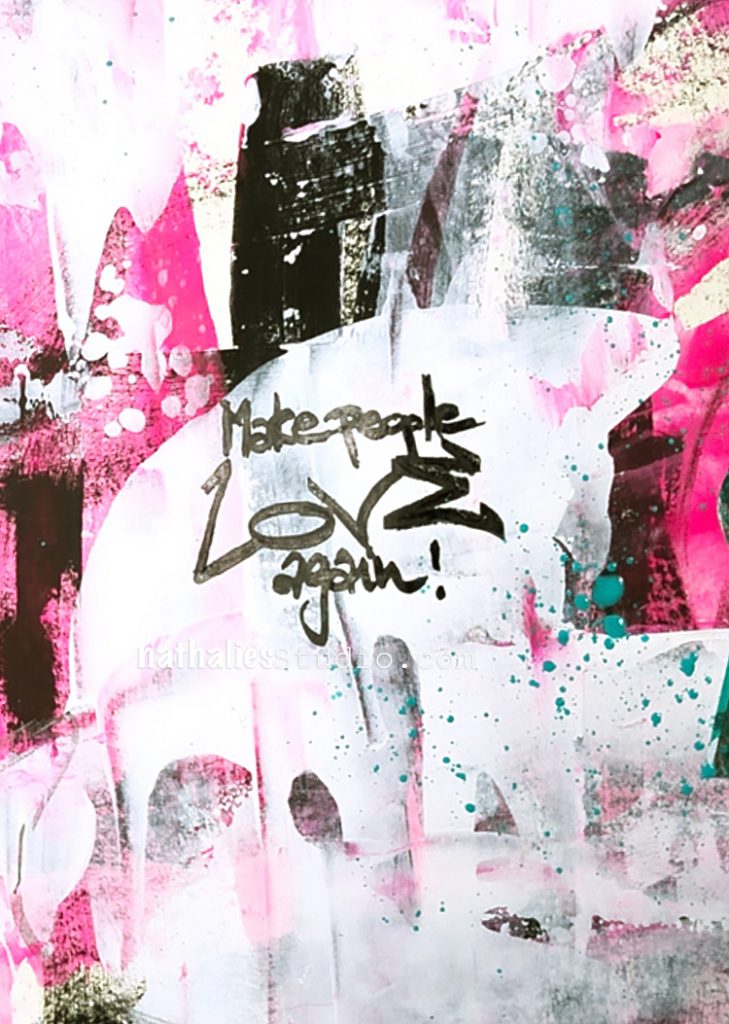
I like to take elements from the Love Story foam stamp and collage them into an art journal page as I have in this spread. Isn’t it crazy how just a few simple shapes can still tell a story?
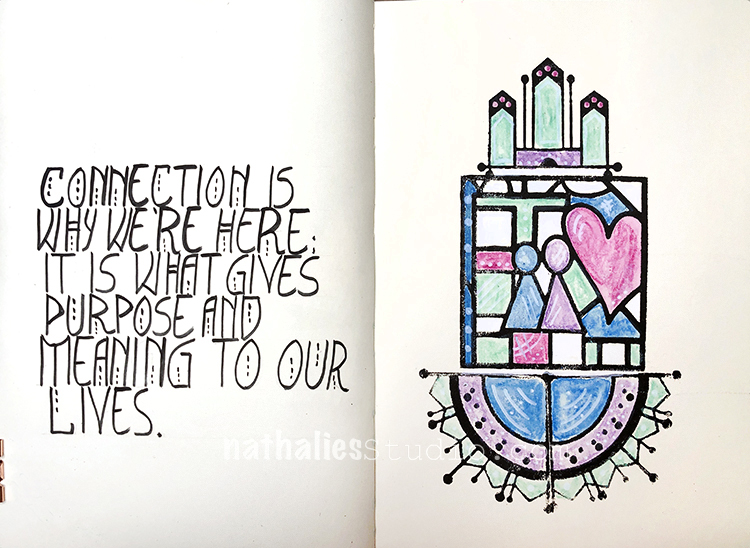
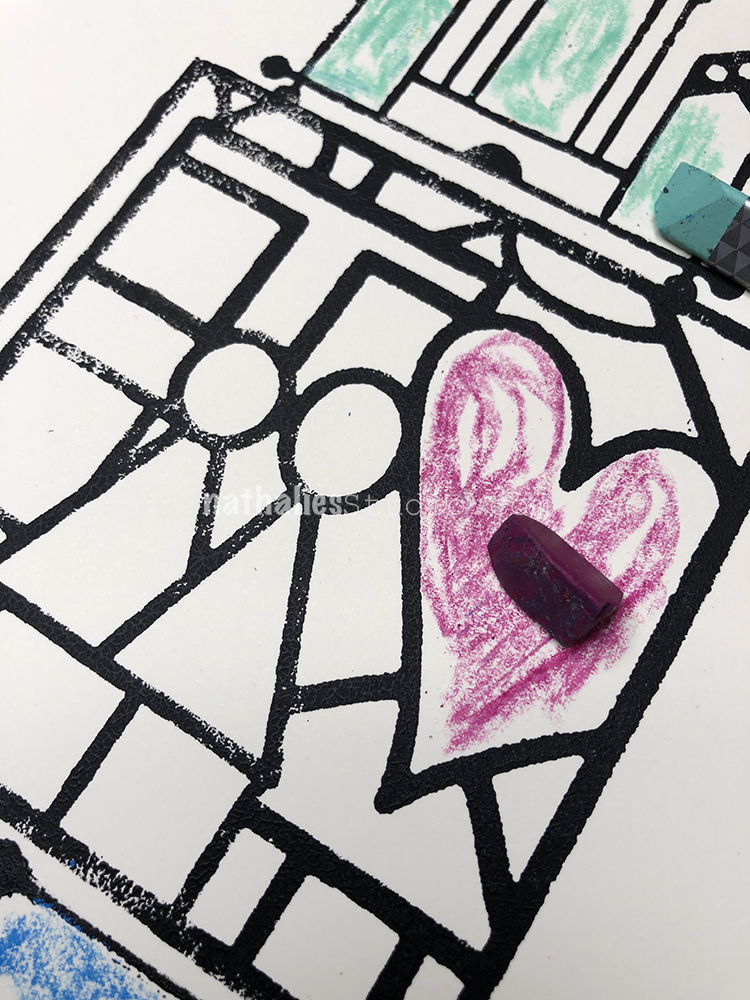
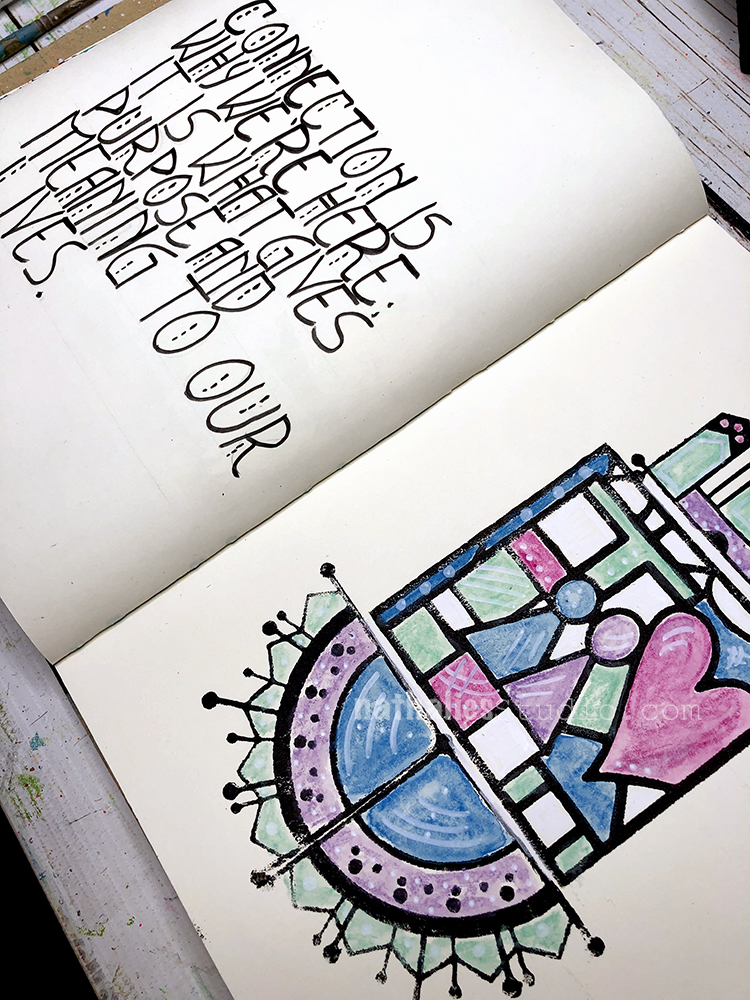
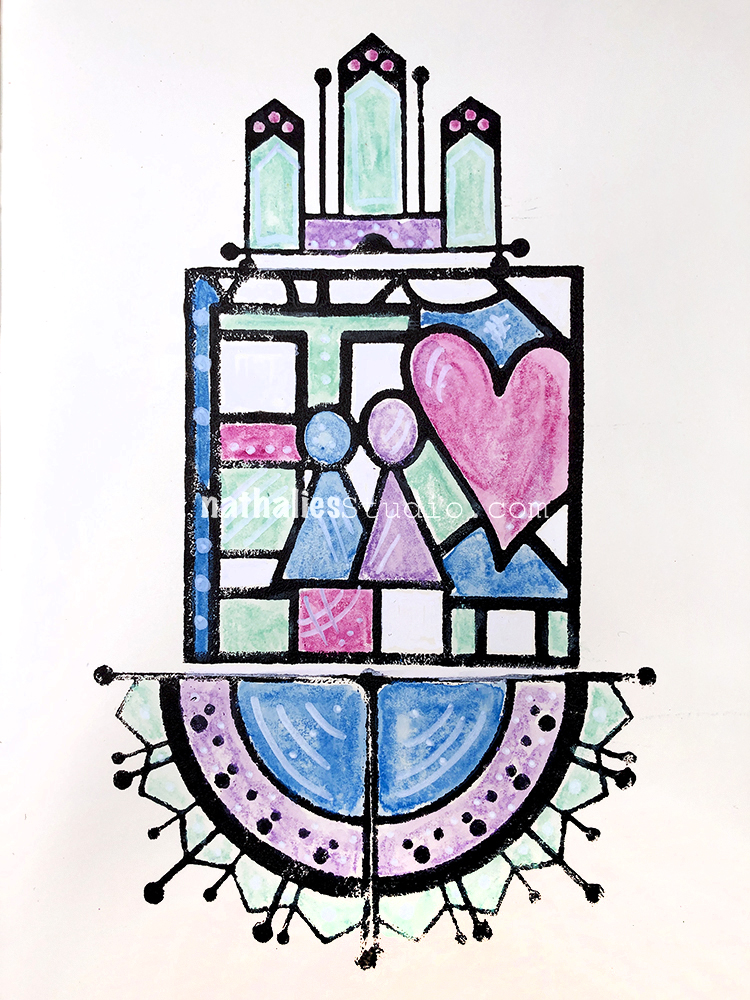
And finally here is Love Story in a simple but bold arrangement with a couple of my Mini Motifs foam stamps too. Just black ink and water soluble crayons and ta-da – pretty nifty design for this art journal page.
Just a few of these stamps are left here in my shop so hurry in and start telling your Love Story too!
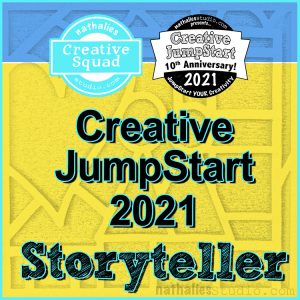
Hello from my Creative Squad! Today we are jumping with Jordan Hill, who is using my Love Story foam stamp and Art Deco Empire stencil to tell a story in her art journal. This month’s theme is: Storyteller – This month we’re playing along with Creative JumpStart 2021 and the theme Storyteller. We’re using our artwork, our color and material choices, and our personal style to tell a Love Story.
Hello everyone, I’m super excited to be back with my project for this month’s theme of storyteller!
For this particular prompt, I did quite a lot of reflection before I actually got to work. The word ‘storyteller’ is so incredibly complex and can mean so many different things, I wanted to make sure I was accurately portraying what it means to me. When I think of the word ‘storyteller’, the main theme that comes to mind is the idea of a journey.
My work is a collection of a variety of things that are important and have meaning to me, many of which I have collected over my own journey as a creative person. This collection of ideas is a representation of my story as an artist, and that’s what I wanted to try to express in this month’s project. Let’s get into it!
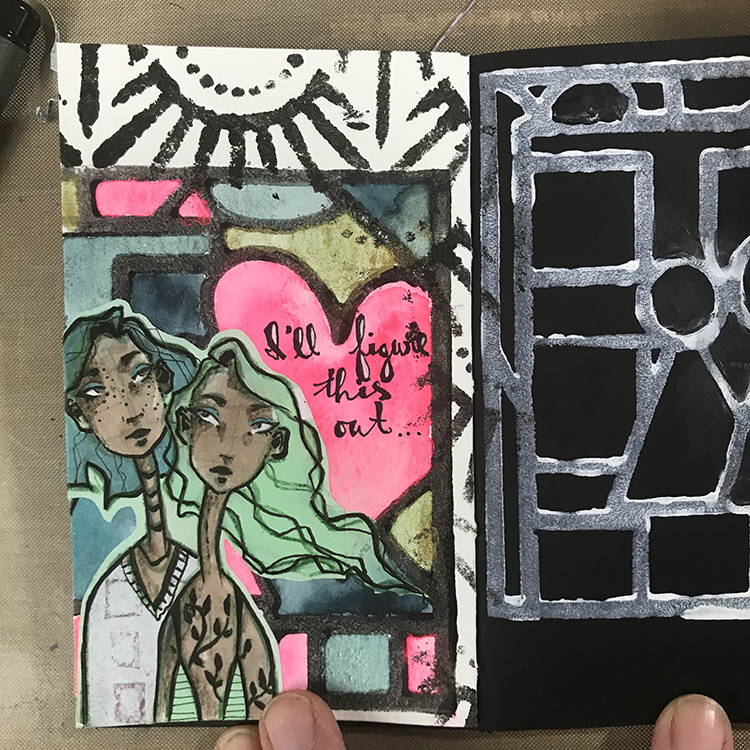
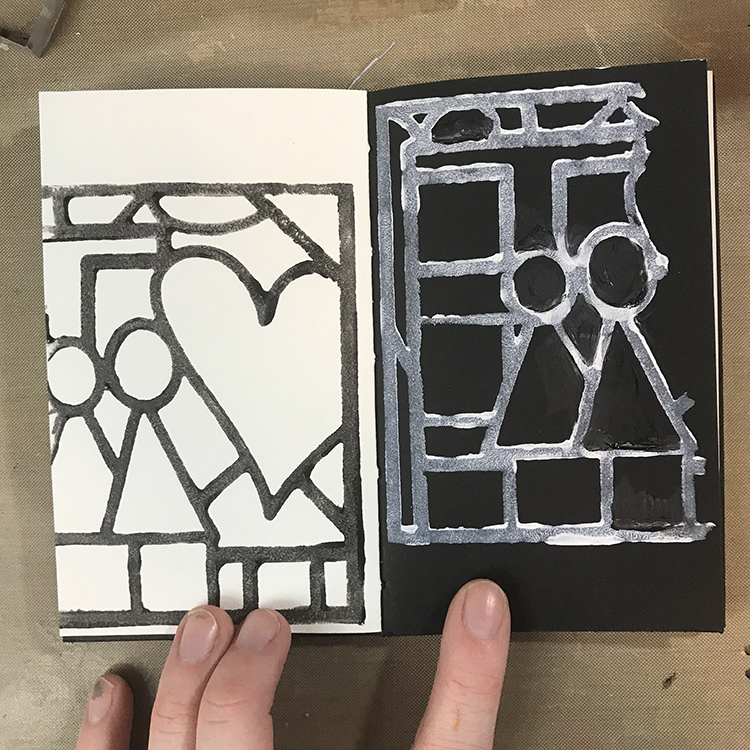
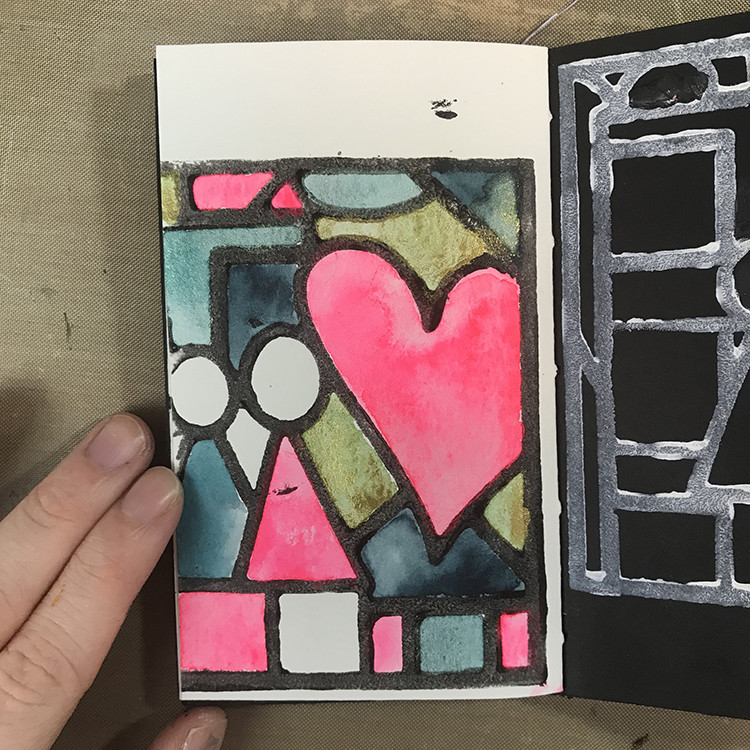
The first thing I did in order to get this page started was pick out a fresh spread in one of my art journals (I chose the journal I created for last month’s project – one of the many parts of my creative journey). Then, using Nathalie’s “Love Story” Foam Stamp, I stamped the design twice, once on each page. On the white page, I used black acrylic paint, and on the black page I used white. This gave me a fun starting point!
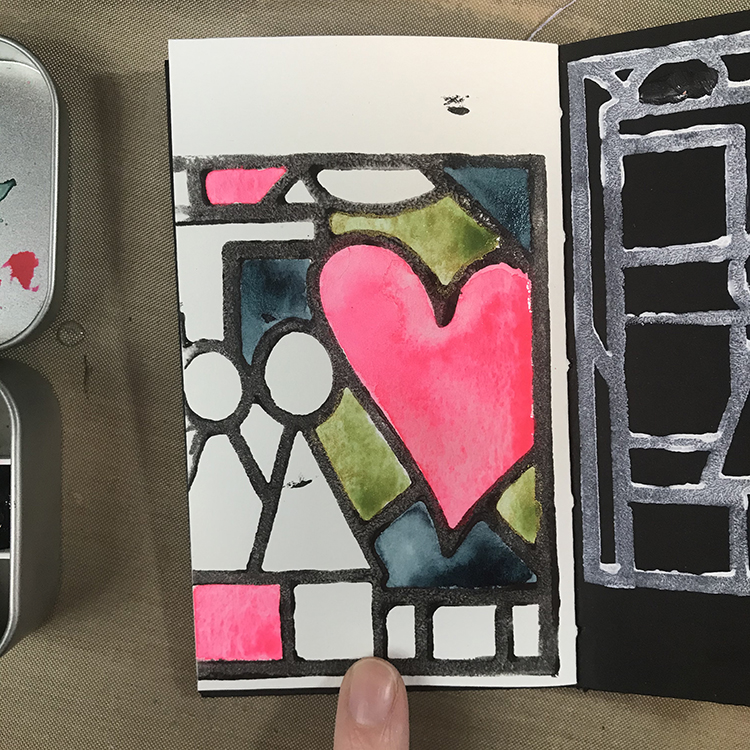
Next up, I knew that I wanted to fill in some of the different spaces with watercolor. The colors I used for this spread were primarily handmade watercolors that I made myself, which is another step in my story that I wanted to document.
I didn’t fill in all of the sections, since I knew I was going to add a piece of collage on top. As I was filling in the spaces, I tried to incorporate the same colors in several different areas in order to keep everything cohesive and lead your eye around the page.
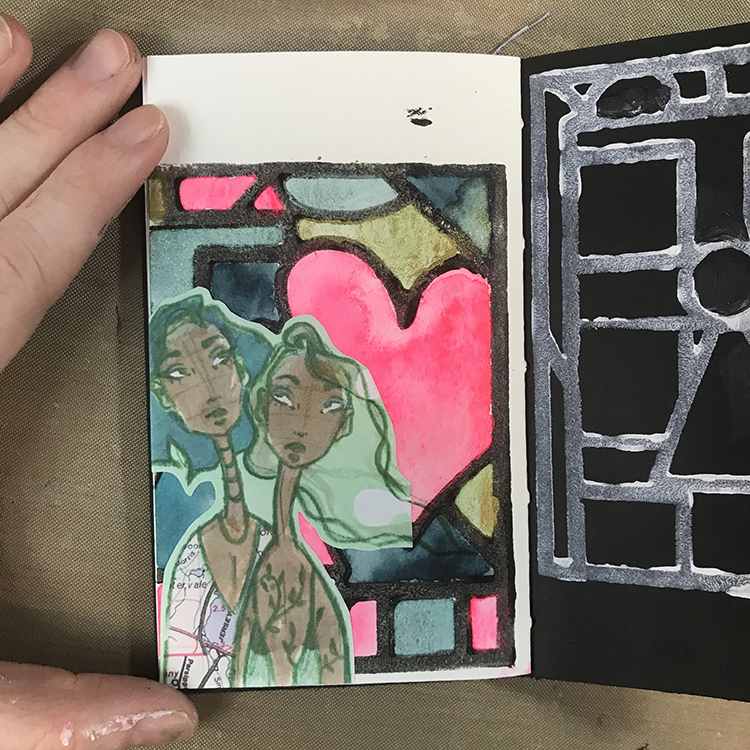
After the watercolor was completely dry, I glued down a piece of collage that was yet another part of my story. This particular image was a previous mixed media piece that I scanned in and printed out to reuse in future work.
Once the collage piece was glued down, I wanted to incorporate it a bit better into the page. The first thing I did in order to achieve this was extend the shape of the hair. When I was cutting out my image, the figure on the right had hair that ended in a straight line. Using the same color of acrylic paint, I extended the lines of the girl’s hair. I also added some of the same acrylic paint to that girl’s shirt. I then used a colored pencil to redefine some of the lines that I had lost through adding paint.
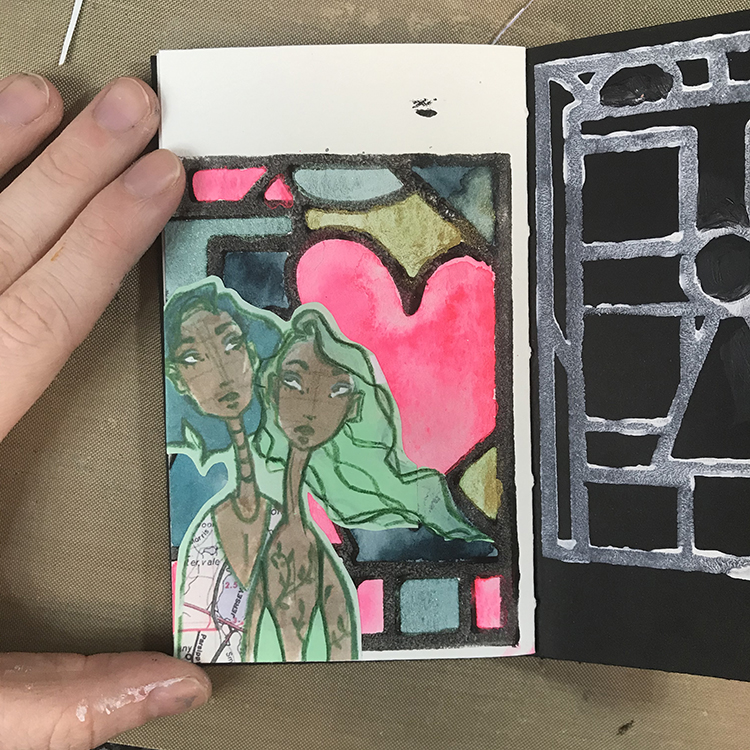
Once I was happy with the hair, I then got to work on the details. First, I used Nathalie’s “Art Deco Empire” stencil to add some additional interest to the areas of the background (primarily the top and side) that hadn’t received a lot of love yet. I really like the way this stencil ended up looking like an extension of the original stamped image.
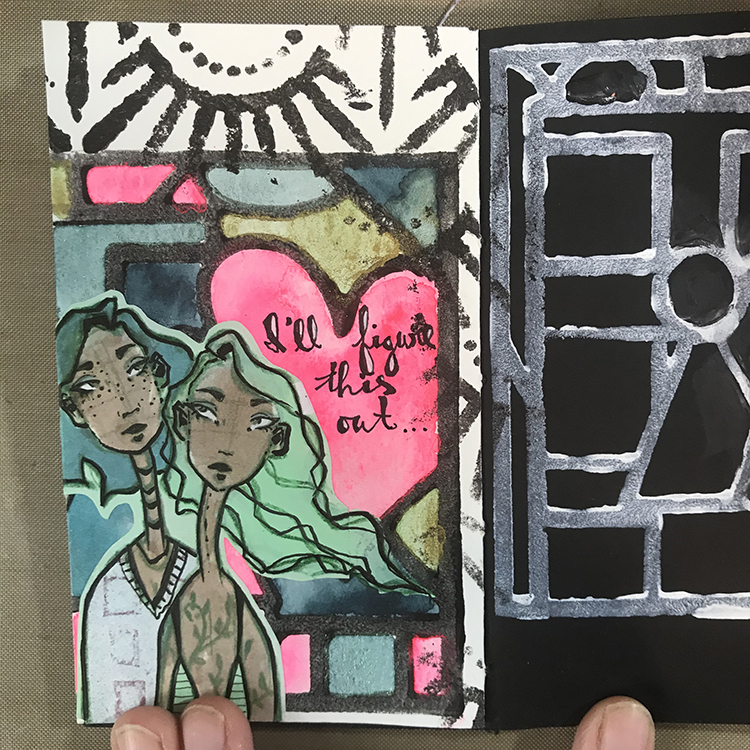
Next, I cut a piece of gelli printed paper to use for the shirt for the girl on the left. The map piece I had used for the original illustration wasn’t working for me anymore and I felt this choice was a lot more neutral. Then, using an ink pen, I started adding details. I traced over almost all of the original line work I had done in pencil and added some stripes and a collar to the shirts. I also gave the girl on the left freckles where she didn’t have them before.
This is also the stage where I added words; these ones are words I pulled from a journal where I simply dump my thoughts. As I wanted to continue the idea of the “storyteller” theme, I scanned through and latched onto this particular group of words. It just felt fitting.
For the final details, I added some colored pencil to the shadowed areas of the faces and traced over the (originally green) vine tattoos of the figure on the right with an ink pen. This gave the figures the final amount of depth I felt they needed in order to call them done!
In the end, I think that the combination of the stamped image and the watercolors as a background is very interesting and it reminds me of stained glass, which I like. I hope you enjoyed my project for this month and consider giving it a try yourself!
Thank you Jordan – love the combination of the bold stamped background with your detailed collage element figures!
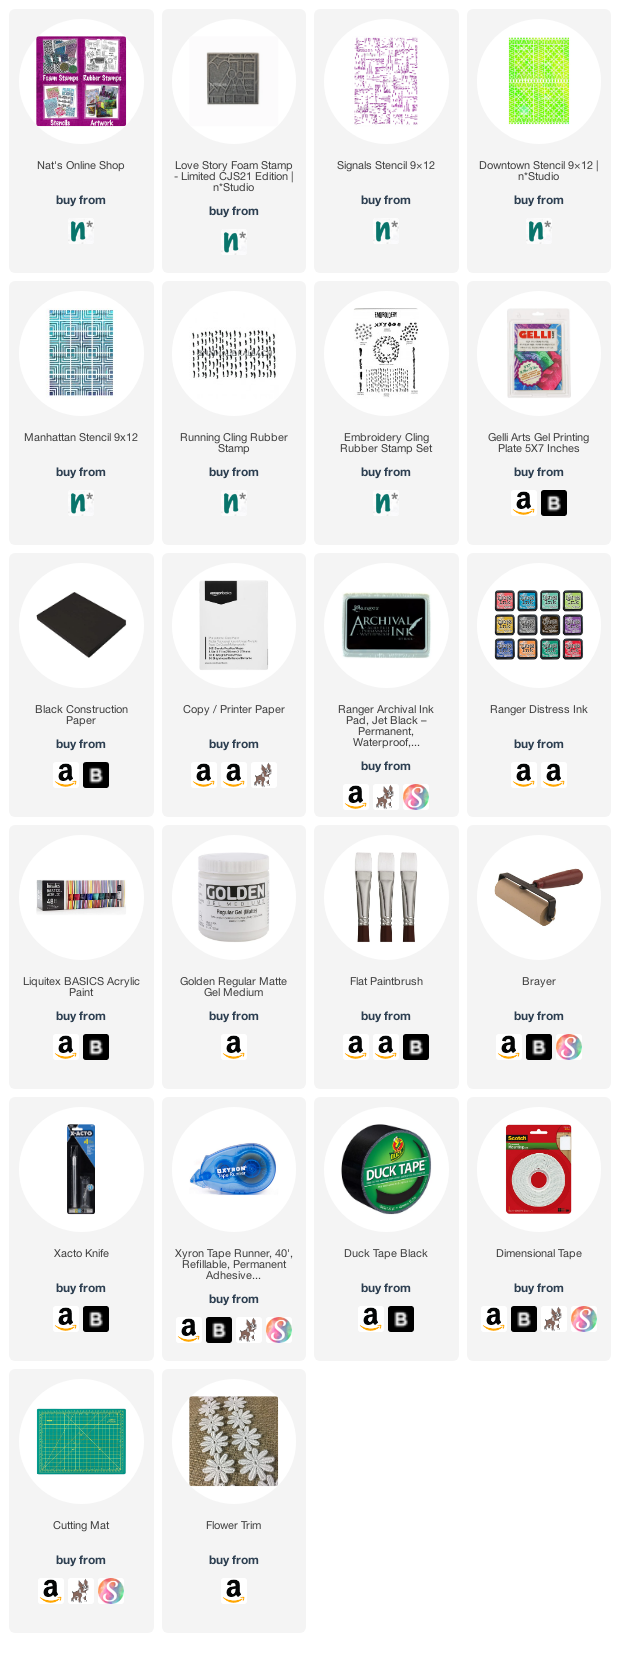
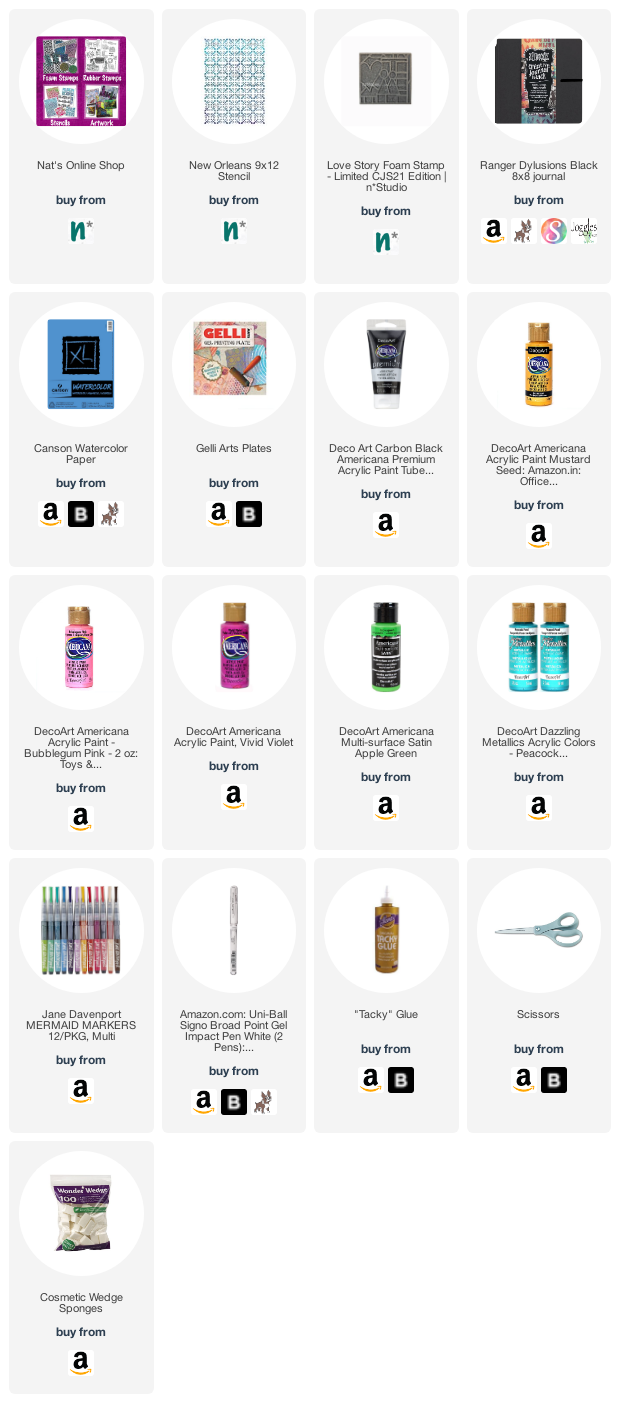
Give it a try: you can find all my Foam Stamps and Stencils in my Online Shop and in addition to her collage element, here are some of the supplies Jordan used:
Don’t forget to check out Nat’s Creative Squad on Instagram too: Each week we post projects, ideas, and inspiration for mixed media art.
Jordon, thanks for sharing your post and your story. I love how you used the collage element with Nat’s stamp. The figures have so much personality with the detail you added!
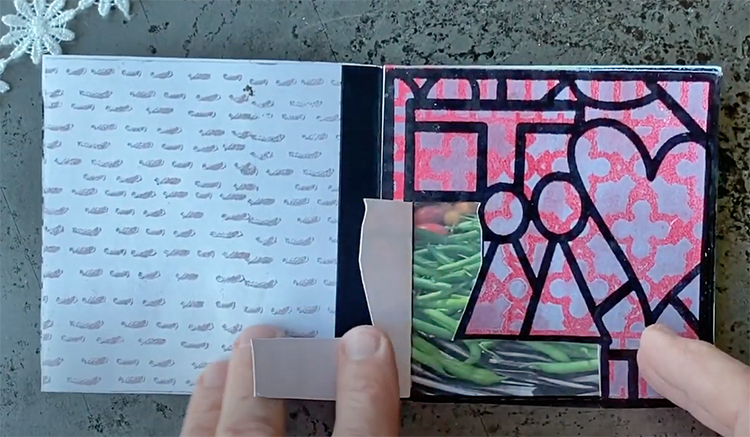
Hello from my Creative Squad! Today we have Robin Seiz sharing a mini book project with us that tells her Love Story about gardening. Robin is using my Love Story foam stamp as well as my Signals, Downtown, and Manhattan stencils and my Running rubber stamp. Our theme is: Storyteller – This month we’re playing along with Creative JumpStart 2021 and the theme Storyteller. We’re using our artwork, our color and material choices, and our personal style to tell a Love Story.
Happy New Year Friends!
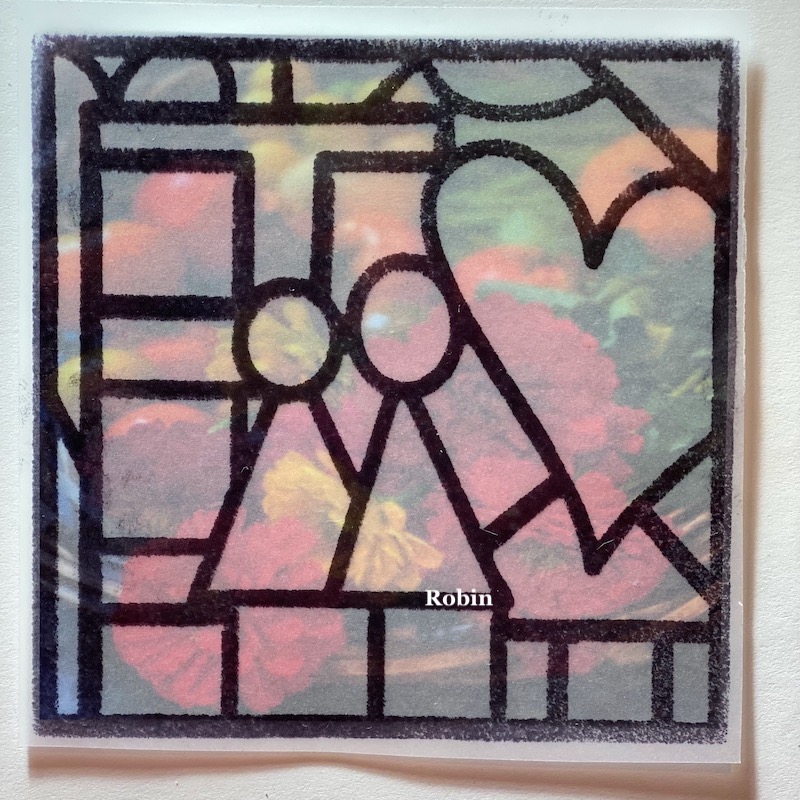
I hope you are having as much fun as I am playing along with Creative Jump Start 2021. I must admit, I often come into my studio without a purpose. I choose materials that move me in the moment and I create. I have to be honest that I don’t often think about the story that I am telling. It’s something that I have struggled with through the years and wanted to learn how to do. This themed project — Tell Your Love Story — gave me the breakthrough that I was looking for and a way to tell a story through my art. I thought for weeks about what story I wanted to tell and as I looked at the beautiful Love Story artfoamie that Nathalie created, I saw two women looking out a window and I immediately knew the Love Story I wanted to tell. It’s about my love for gardening and how it came to be.
I have created this video which tells my story and includes a flip through of my final mini-book project.
Below, I’ll take you through the tutorial so you can create your own mini-book.
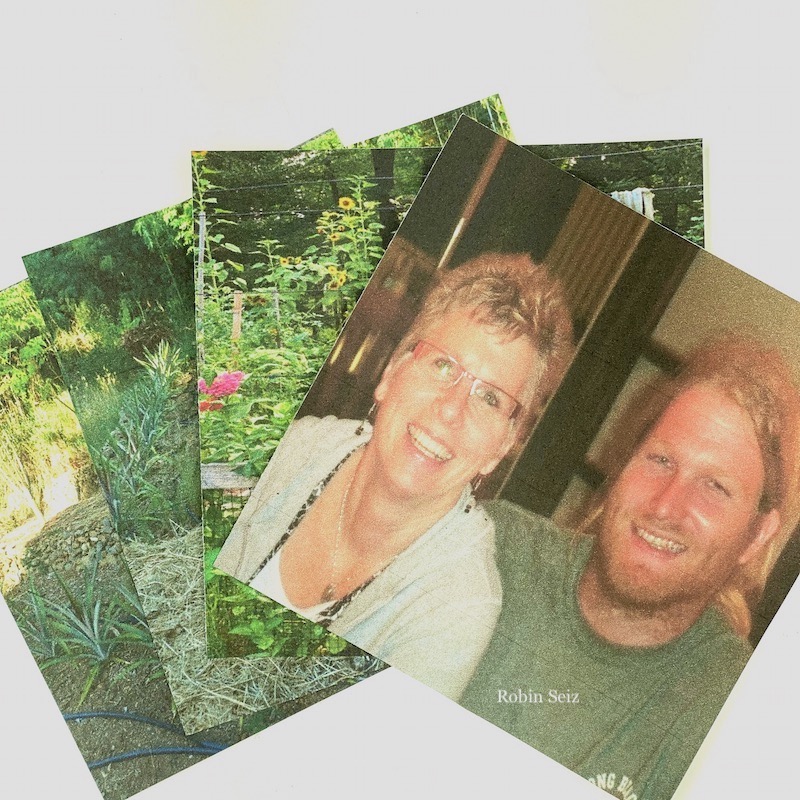
I began with scouring my pictures for just the right ones. I printed them on regular copy paper and cut them to 4” x 4”; the size of Nat’s Love Story foam stamp.
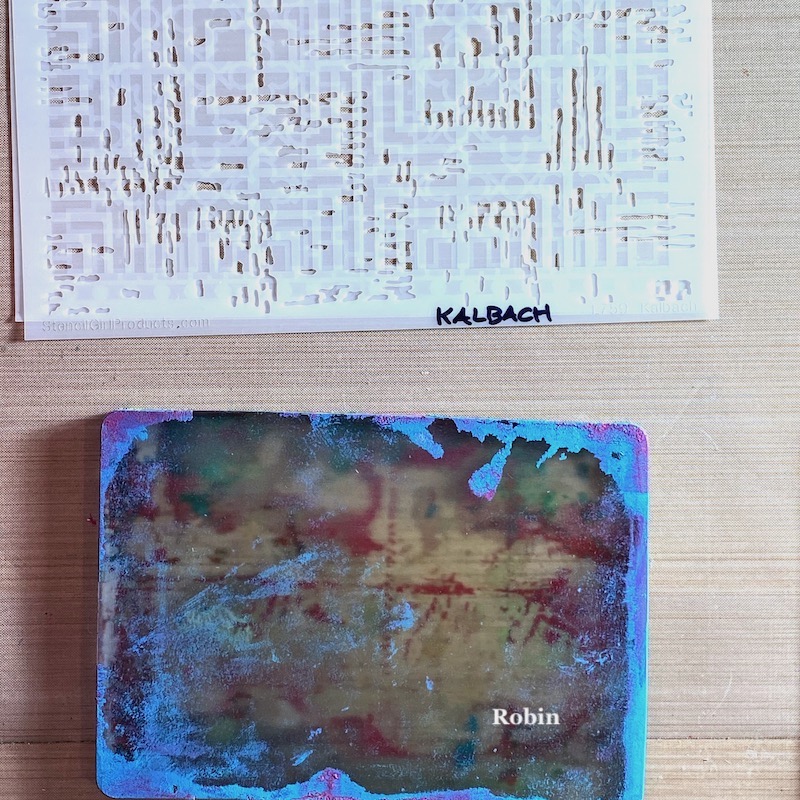
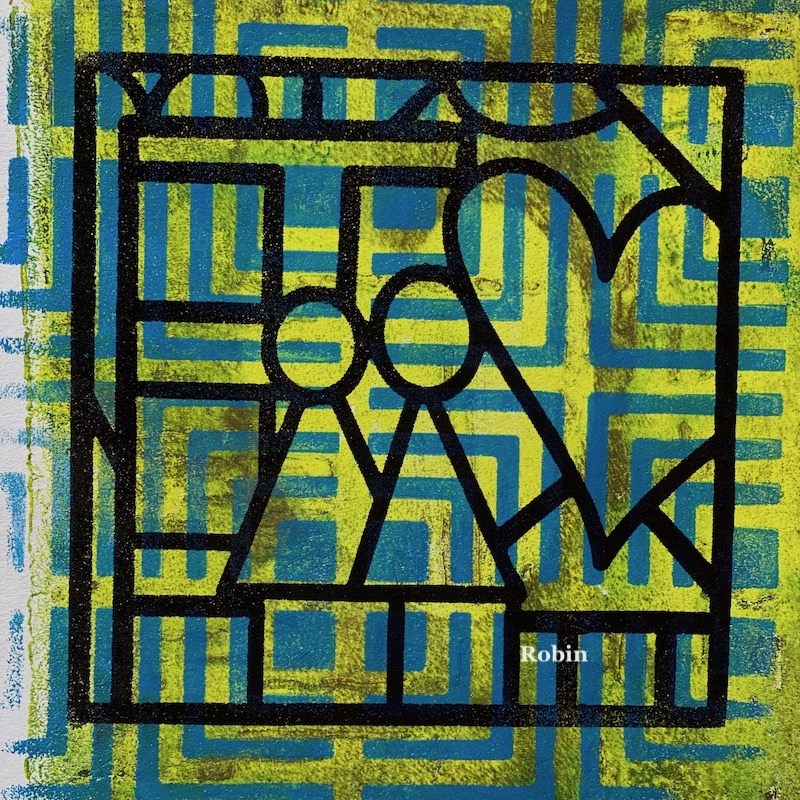
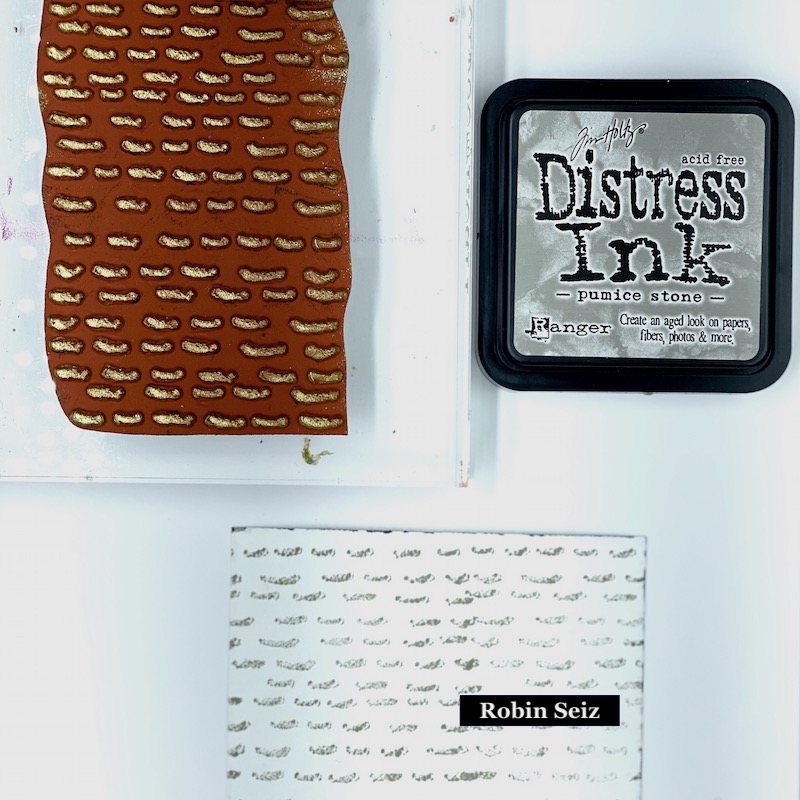
My Gelli plate is by far the tool I love the most in my studio. Whenever I can, I include it as part of my work. I printed a bunch of papers using a bold base layer and then a contrasting layer using 3 of Nathalie’s stencils, (Signals, Downtown, and Manhattan) which all looked to me like the layout of a garden with rows.
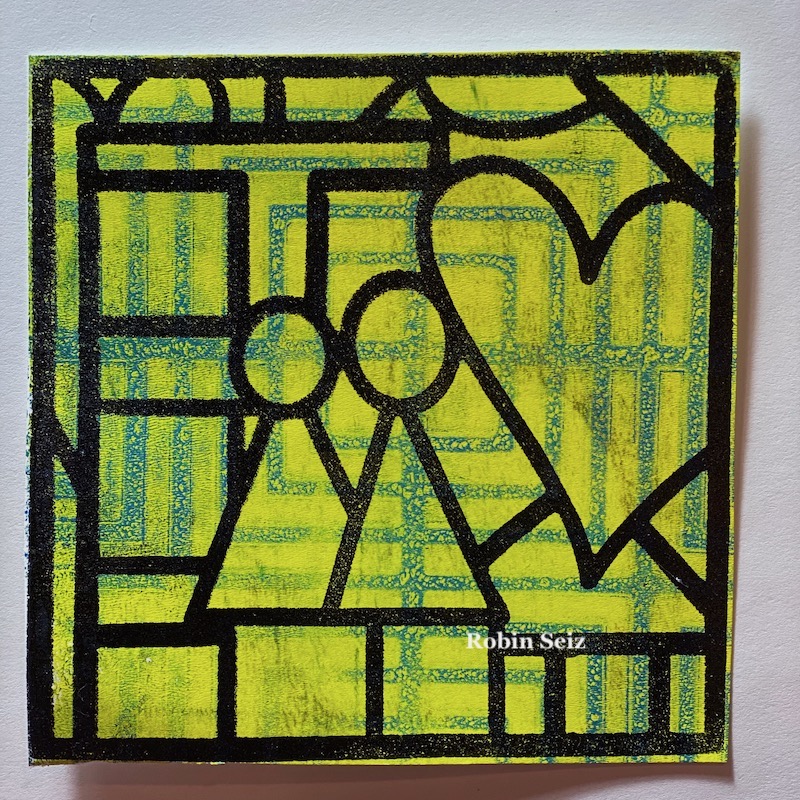
I stamped the Love Story artfoamie on each Gelli print with a black permanent ink.
I trimmed the paper to the same 4”4” size of the artfoamie.
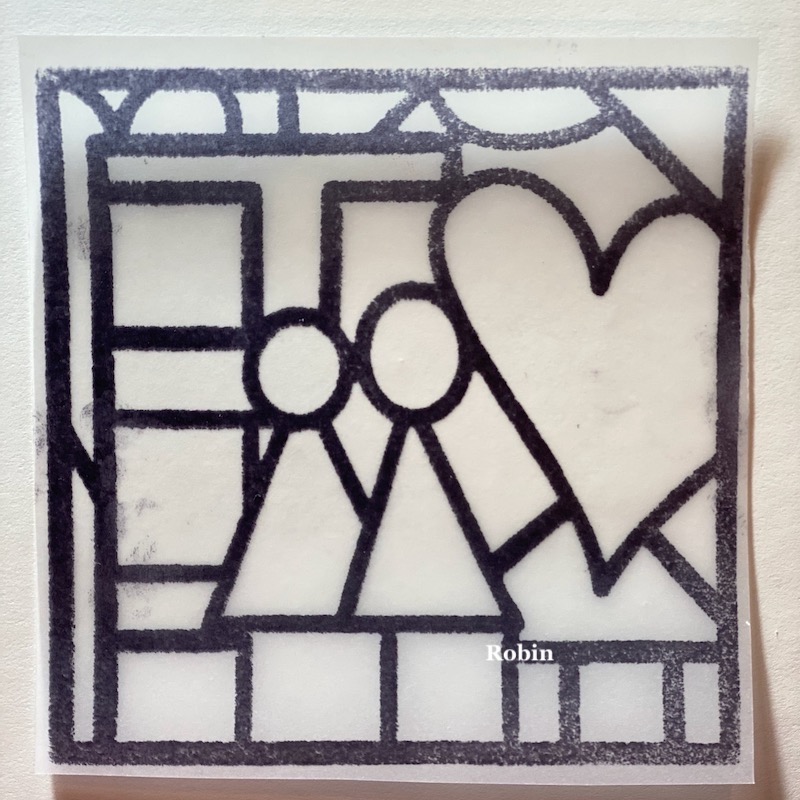
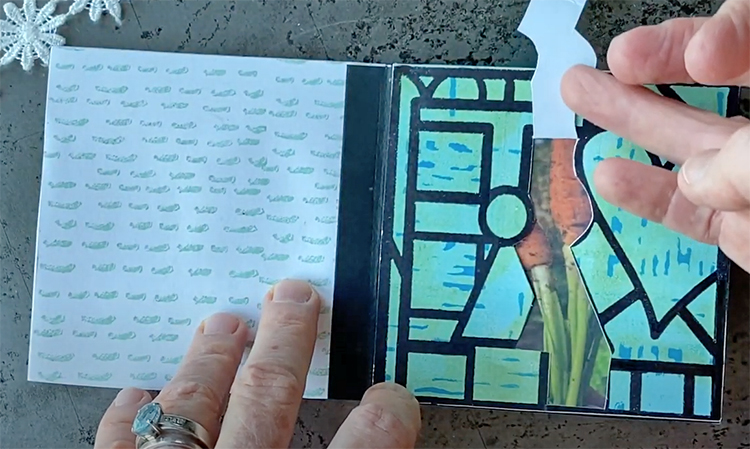
Since I wanted you to be able to peek inside my garden, I had to plan what I wanted you to see. In order to do that, I stamped the Love Story artfoamie onto a piece of tracing paper and cut it to 4”x4”.
I lined up the tracing paper over each picture and planned what area should be cut out, remembering this would be a like looking through a window.
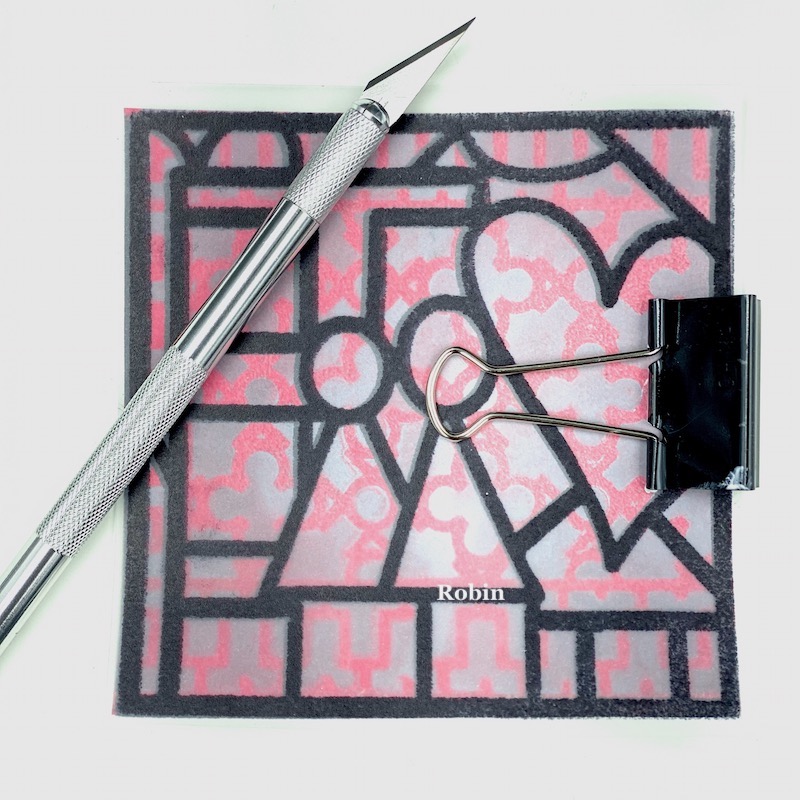
Next I used an Exacto knife to make the cuts through the Gelli prints. Let me just say, the Exacto Knife is a bit intimidating to me, so I went slowly making sure my fingers were out of the way and I was moving the paper around the curves as much as I could. I used a cutting mat for this step. This step was the most time consuming; or at least it felt that way. In the picture below, I have the tracing paper lined up over the gelli print with the picture underneath, but I had to remove both the tracing paper and the picture and ONLY cut on the Gelli print. If truth be told, I did forget this once or twice and had to reprint a few pictures. :o)
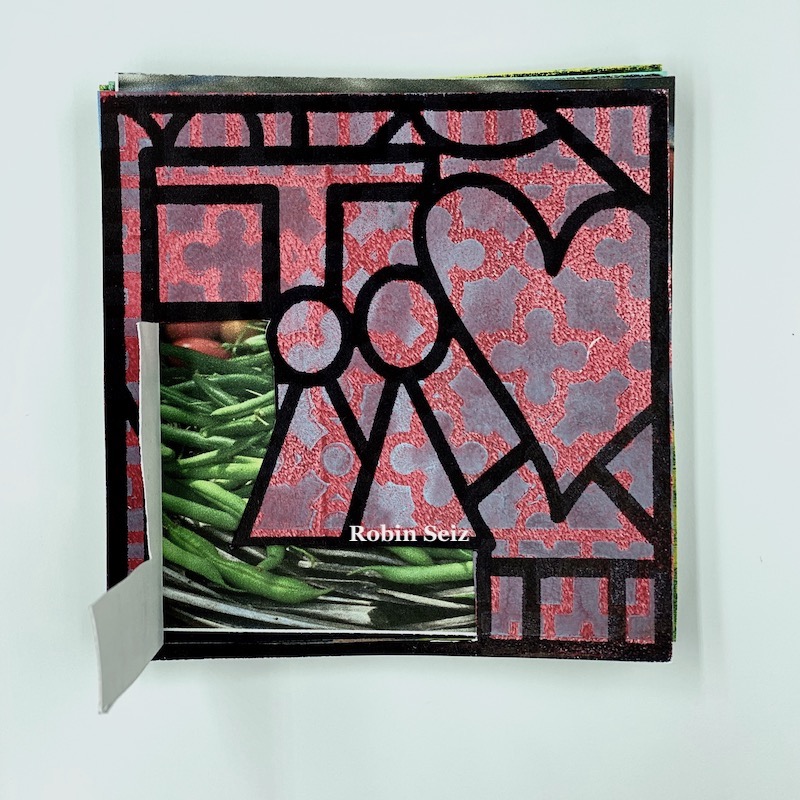
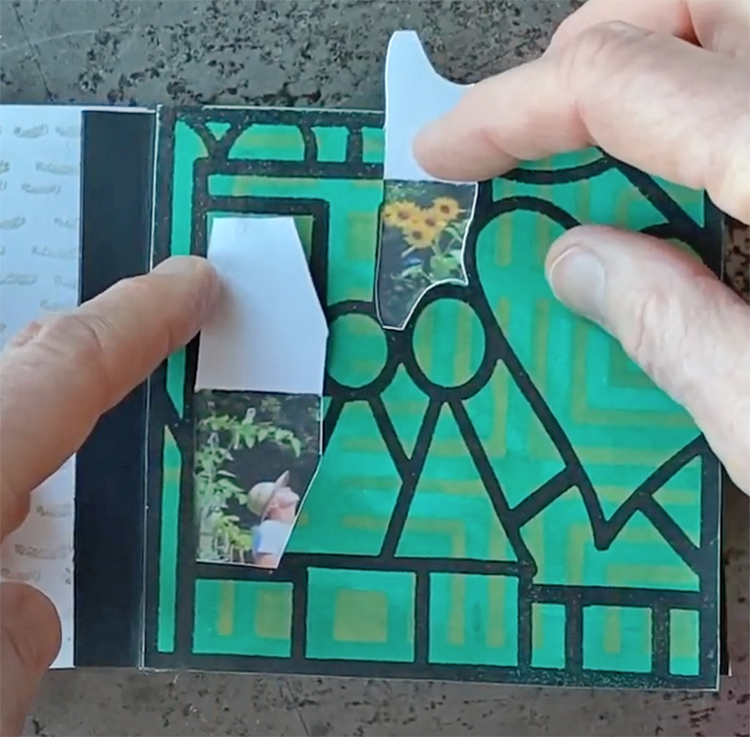
This left me with exactly what I was hoping for — a peek into the garden through the window.
Next I glued the cut Gelli Print to the corresponding picture so the window would come to life.
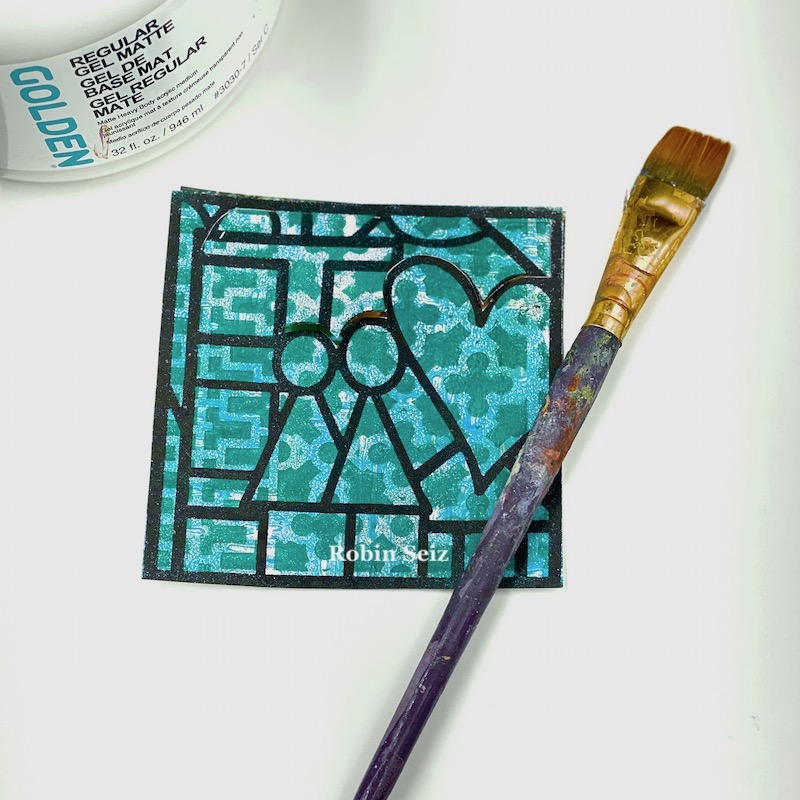
Once all the pages were complete, I wanted the backsides to have some kind of interesting design, but nothing that would compete with the Gelli prints. I used the Running stamp from Nathalie’s Embroidery set. This stamp reminded me of rows in a garden.
Now it was time to put it all together. Bindings can be a challenge and this mini-book wasn’t created on sturdy paper. I wanted a simple way to put it together that wasn’t going to be too bulky. I cut 4”x1” strips from black construction paper and folded them in half. They were glued to each page to make a signature. These signatures where then glued together. To keep all the signatures together, keep it strong, and finish it off, I cut a piece of black duct tape and adhered it to the front, around the signatures and to the back of the book. To finish it off, I tied some pretty ribbon around the outside to keep it closed and bring the garden to life.
I hope you enjoy this project as much as I enjoyed doing it. I loved telling you my Love Story.
Thank you Robin – what a beautiful way to represent one of your passions and I love the element of discovery that the book has with those interactive windows.
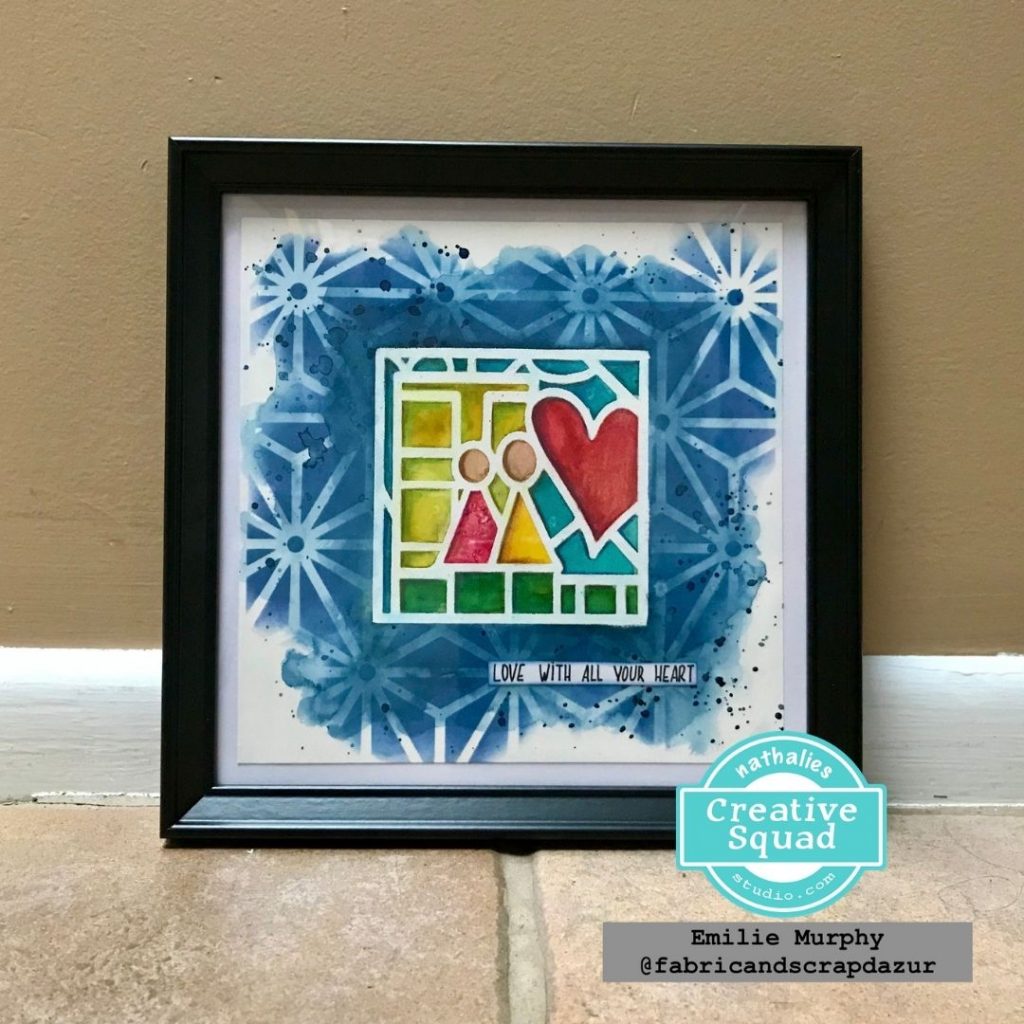
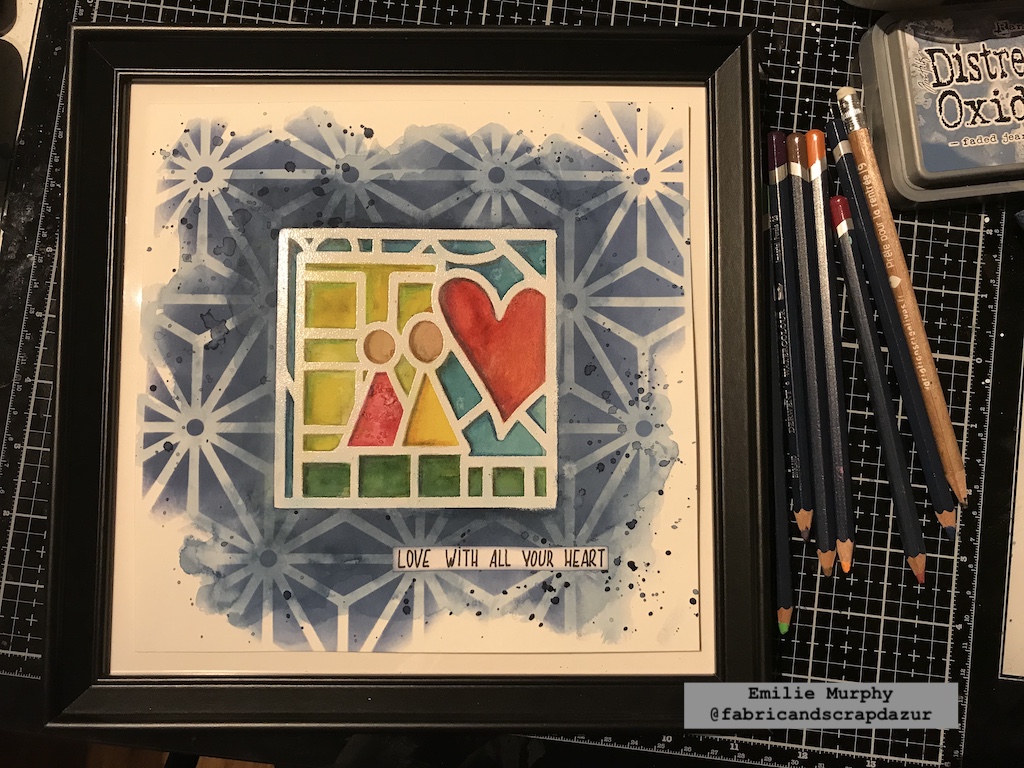
Hello from my Creative Squad! We have a fantastic mixed media painting from Emilie Murphy who is using my CJS21 limited edition foam stamp Love Story, my Star Struck stencil, and our theme: Storyteller – This month we’re playing along with Creative JumpStart 2021 and the theme Storyteller. We’re using our artwork, our color and material choices, and our personal style to tell a Love Story.
“Love with all your heart”
Hi there! And Happy New Year everyone!
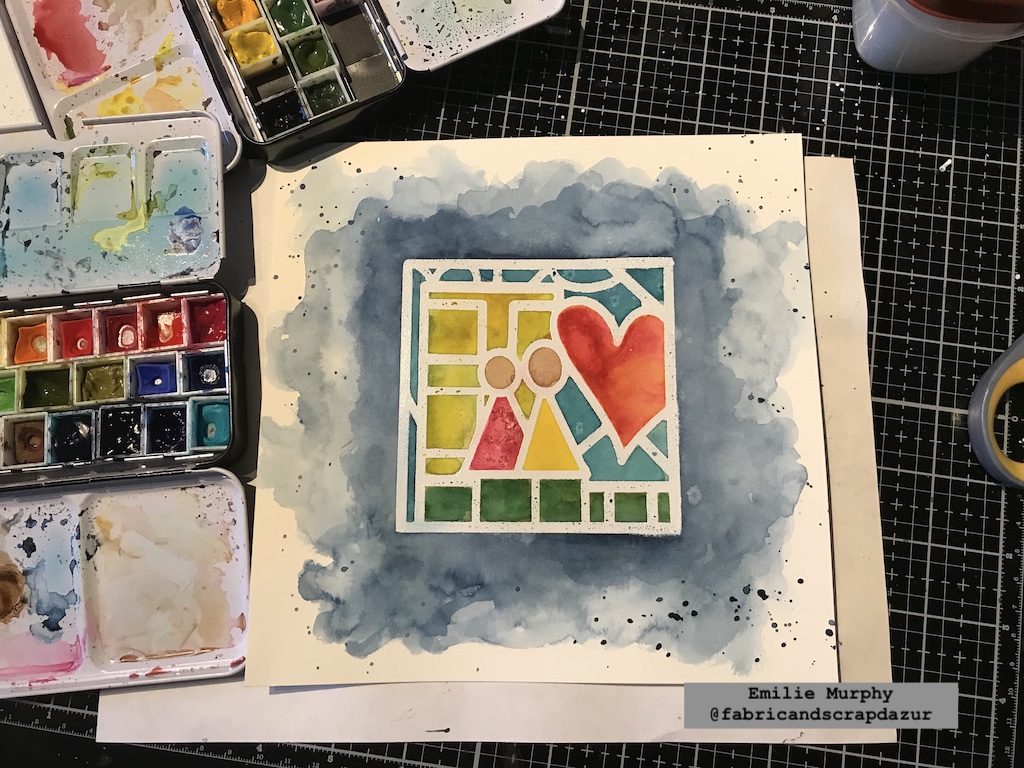
Let’s start the year off by playing along with Creative JumpStart 2021 using the limited edition “Love Story” foam stamp. I decided to paint a simple illustration with watercolors. So let’s jump!
I worked on an 8×8 piece of Hot Press watercolor paper, because I wanted to have a smooth surface but it will also work great on cold press watercolor paper as well.
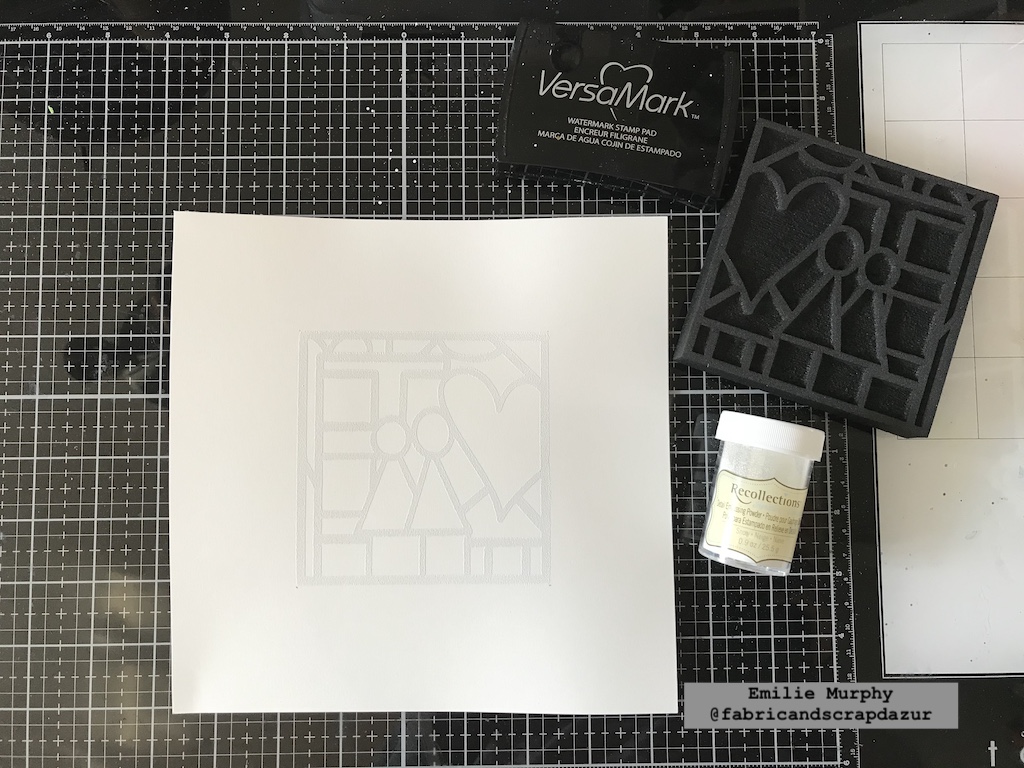
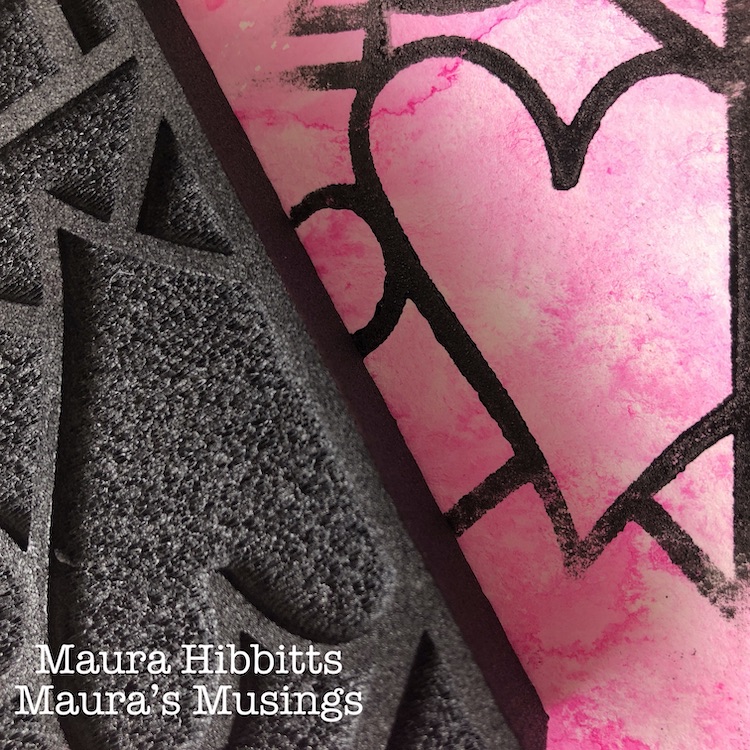
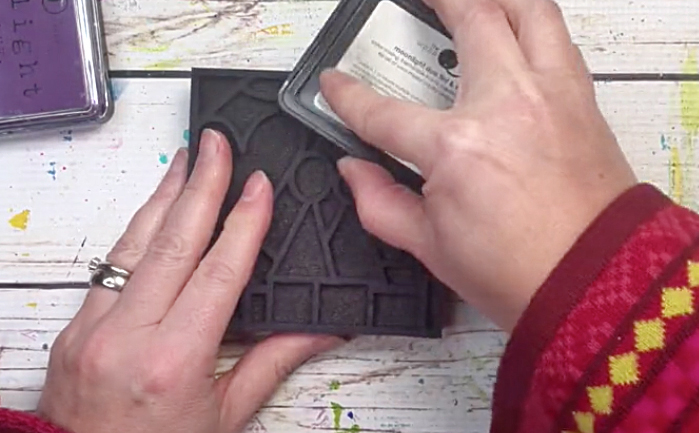
The first thing I did was to apply VersaMark ink on my Love Story foam stamp to emboss it with white embossing powder. That’s a great technique of “resist” when using watercolors.
Next, I painted the interior of the stamp with bright watercolors. Don’t hesitate to apply enough watercolor pigment because the watercolors get lighter when it dries. I sprinkled some salt on the pink triangle shape to add some texture. I did the same thing on the heart but it didn’t show up when it dried. Probably because my surface was too wet and/or I didn’t put enough salt on it. Just so you know.
Salt is a nice way to add texture, which adds a little bit of interest when using with watercolors.
I let dry, then, I applied some indigo watercolor to the exterior. I left some white space on purpose and added more watercolor pigment along the exterior edges of the stamp.
What I recommend is to work in layers. First, apply a layer of watercolor, let it dry slightly, then add some more and so on.
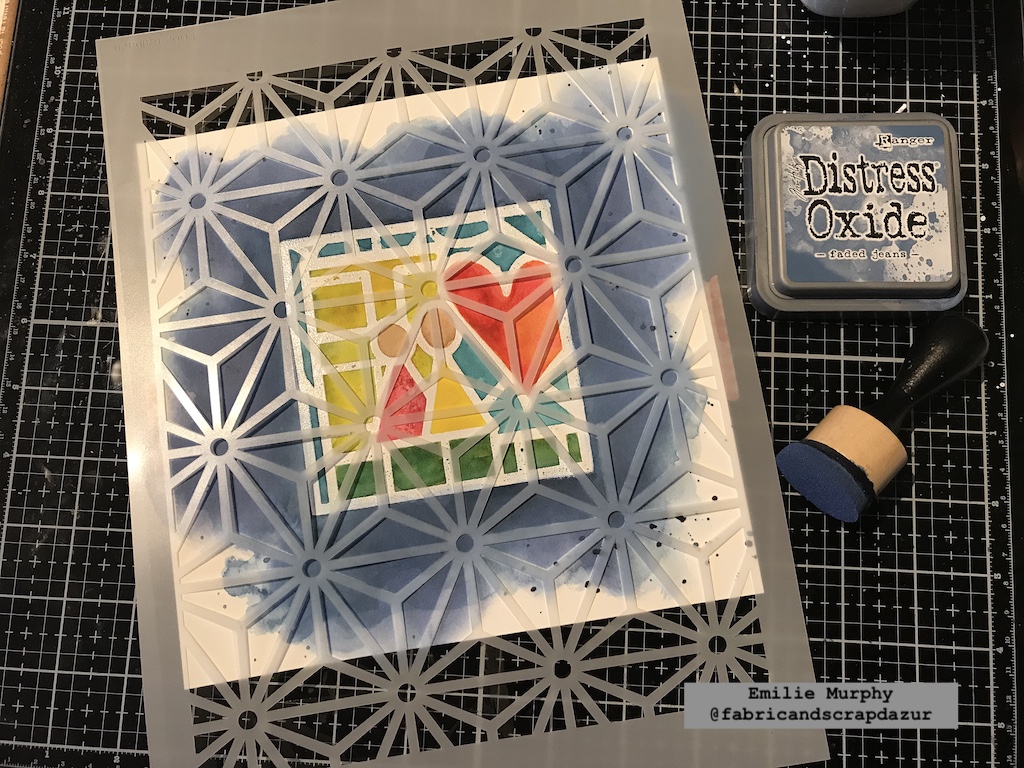
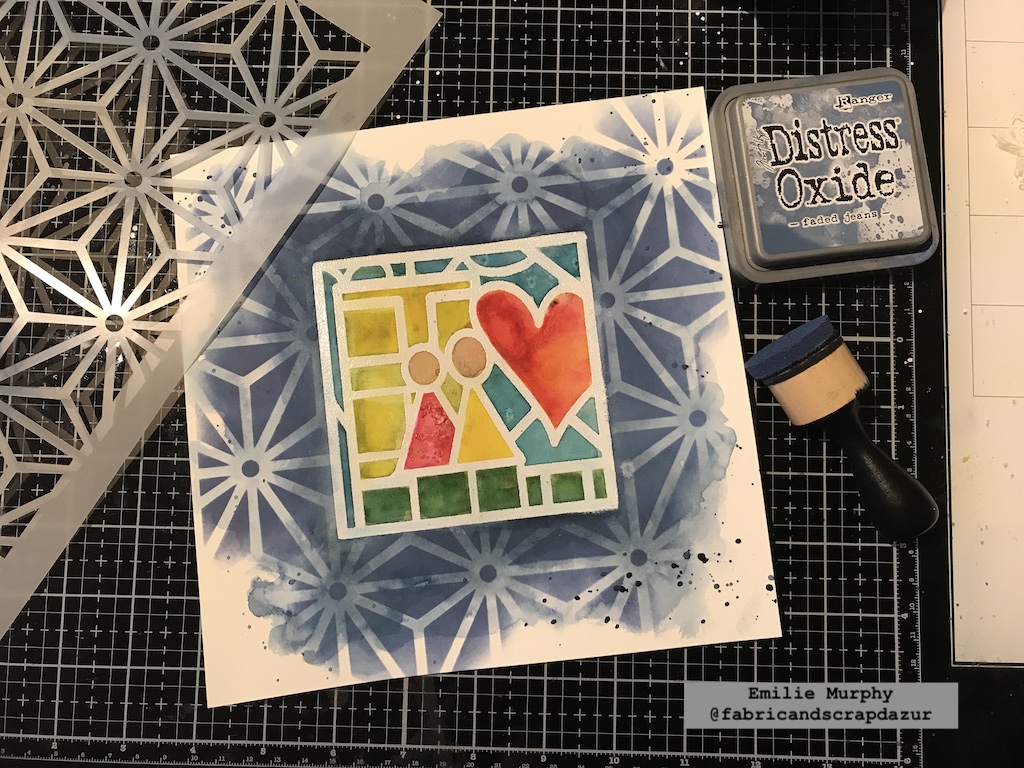
To add some interest to the background, I laid down the “Star Struck” stencil and applied some “Faded Jeans” Oxide ink with a foam applicator, only over the layer of watercolor. I slightly went over the top right corner and bottom just to give an irregular look while still leaving white space.
I really love the result. The distress or oxide inks work beautifully with watercolors.
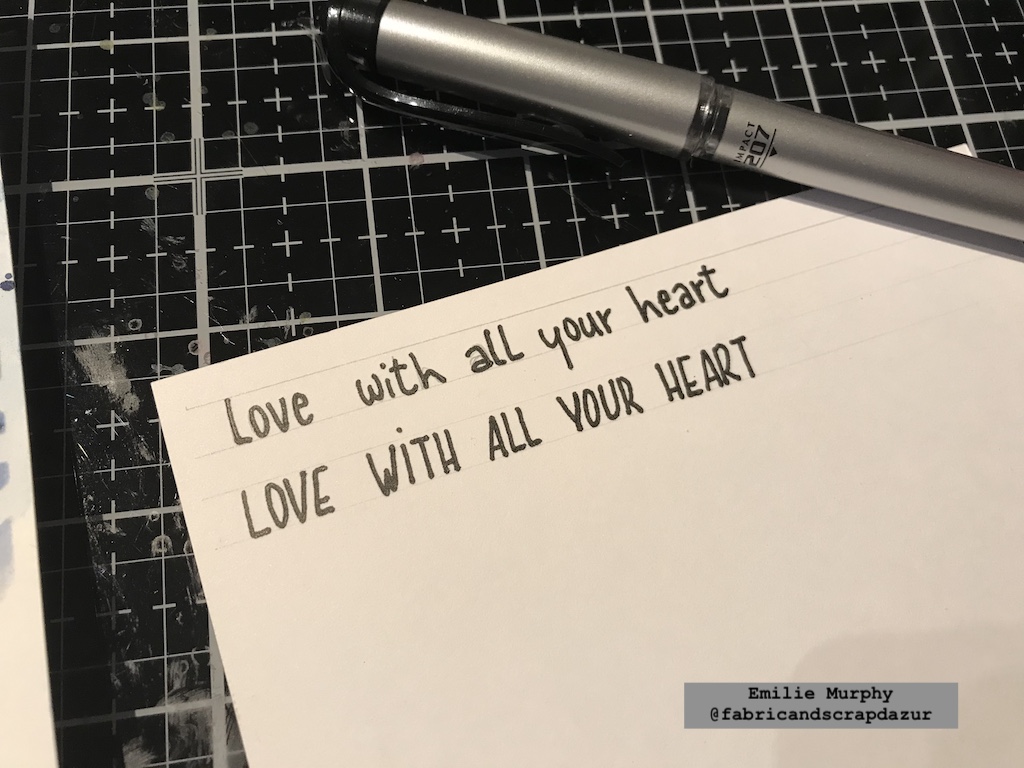
At that point, my painting needed a title. I simply wrote down by hand the sentiment on a piece of white cardstock. I chose the uppercase style by preference.
I slightly inked the edges of my sentiment with some oxide ink. Before gluing it down, I applied some splatters with indigo watercolor hiding my stamp image.
Finally I used some watercolor pencils to add some depth to the image and get a dimensional effect. I first applied a similar color inside each shape to get more depth. Then, I used a brown color to enhance the left and top edges of each shape to get the dimensional effect.
And voila!
I decided to frame this painting and put it in my son’s bedroom. This painting can make a great gift for someone you love.
It would make a nice greeting card or art journal page as well or whatever you’d like to try and make.
Hope it gets you inspired. What about starting the year of 2021 with some fun and creativity!
Have a good rest of the week and see you next month!
Thank you Emilie – absolutely love this piece and that it now has a place in your son’s room – lovely!
Give it a try: you can find all my Foam Stamps and Stencils in my Online Shop and here are some of the supplies Emilie used:
Don’t forget to check out Nat’s Creative Squad on Instagram too: Each week we post projects, ideas, and inspiration for mixed media art.
Emilie. As always, your piece is beautiful! I love the colors and how you used the stencil in the background. It’s so fun that it’s framed and in your sons room!!!
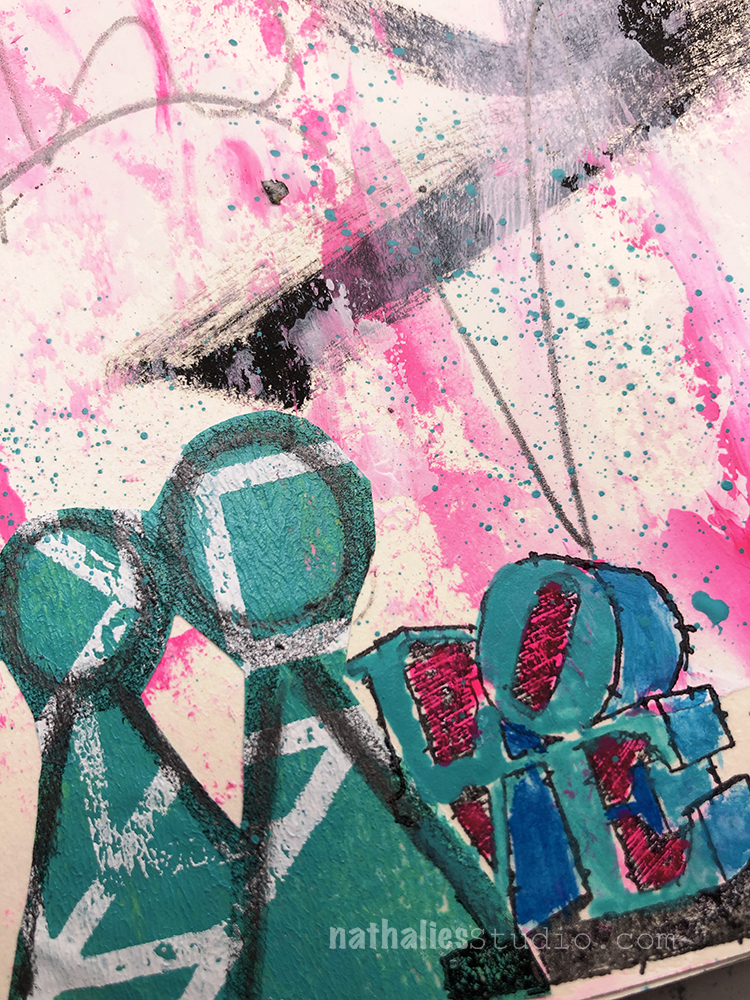
I created big brush strokes and used a palette knife with white gesso, black gesso and pink acrylic paint. Then I stamped my Love Story foam stamp on some left over collage paper and cut it out and pasted it.
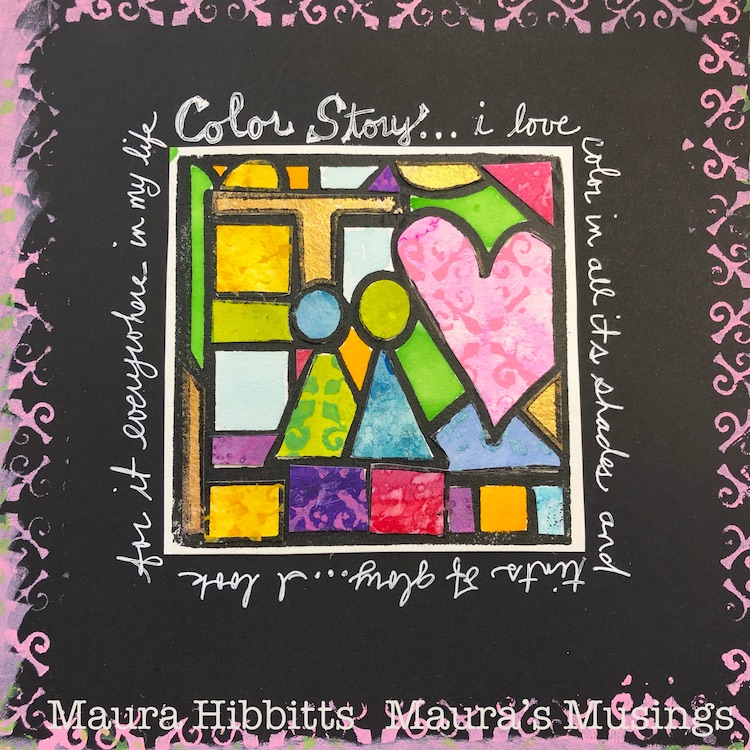
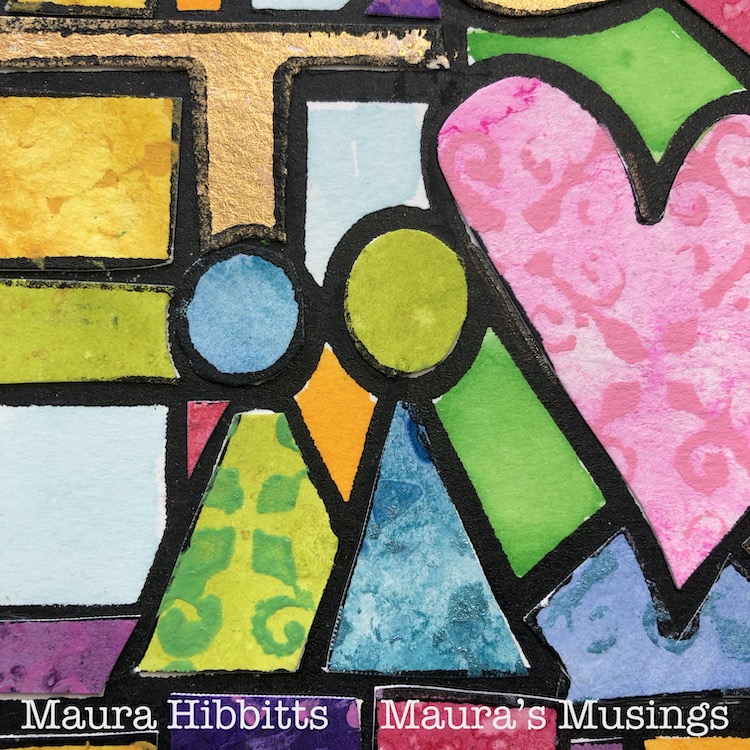
Hello from my Creative Squad! We are kicking off January 2021 with a gorgeous “Color Story” piece from Maura Hibbitts, who is using my CJS21 limited edition foam stamp Love Story, my New Orleans stencil, and our theme: Storyteller – This month we’re playing along with Creative JumpStart 2021 and the theme Storyteller. We’re using our artwork, our color and material choices, and our personal style to tell a Love Story.
Wishing you a new year of health and joy (and yes, the little joys count)! I am so glad to see the door closed on 2020, and am hopeful this year will bring better changes to us all. One of those changes is Creative Jumpstart which I look forward to each year in January to get my creative mojo revved up. This year, the 10th anniversary of CJS, promises to be amazing! Nathalie, you have outdone yourself organizing a wonderful 45 days of creativity with an awesome array of artists. I’m having fun so far, thank you!
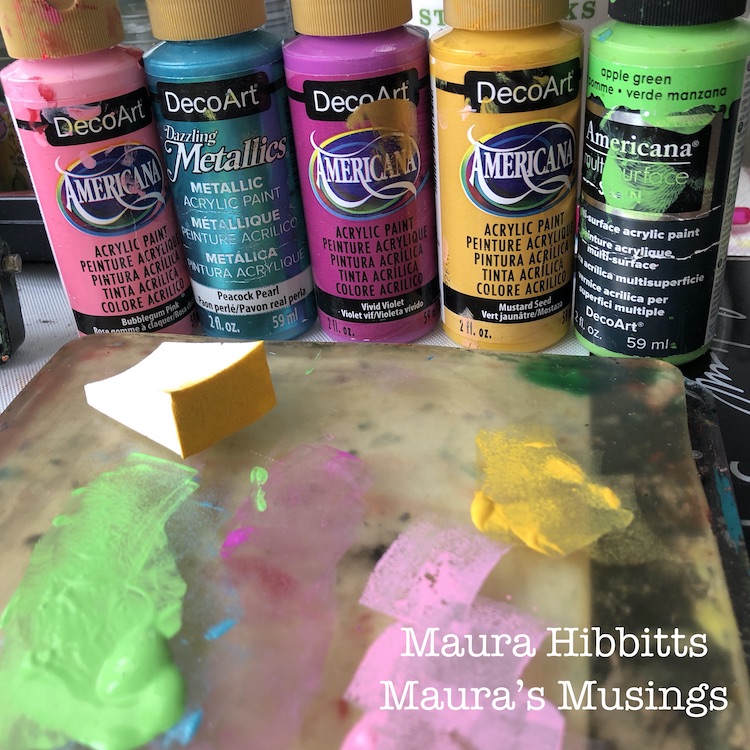
The theme of CJS21 is Storyteller. I love being able to tell a story with my art, and my story today is all about my love of color. I am “fatally” attracted to color…I seek it out around me, I have to wear it, I am compelled to buy it…one bottle of green paint is not enough, I have to have ten shades of it! I love observing the myriads of color in the natural world around me. I love playing with color, dressing myself in bold colors and patterns, photographing it, seeking it out in my travels, and even dreaming in color.
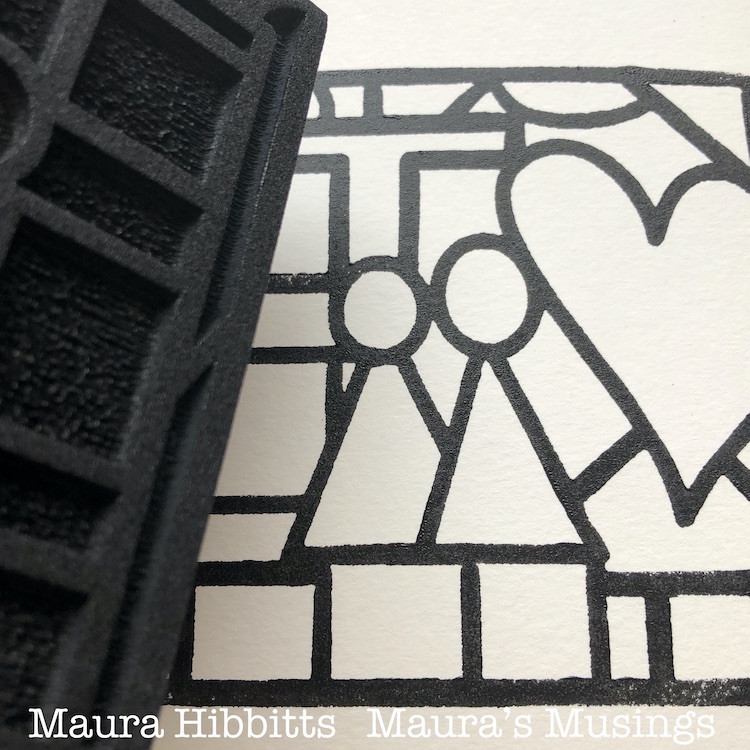
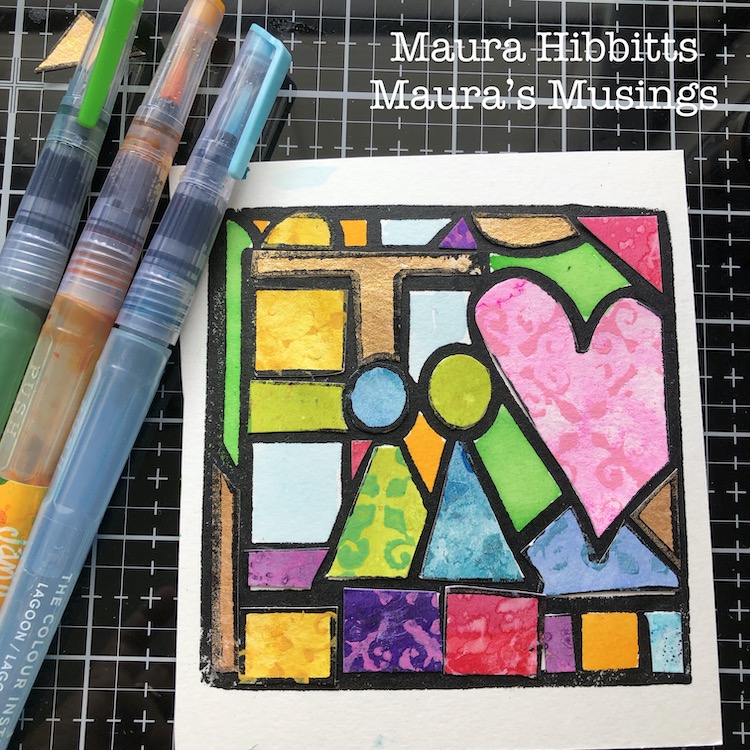
So, with my love of color in mind, I looked at the beautiful Love Story Art Foamie stamp Nathalie designed for CJS21, and envisioned it in all its colorful glory. I began by stamping the image onto watercolor paper with my gel plate and black paint for a bold frame.
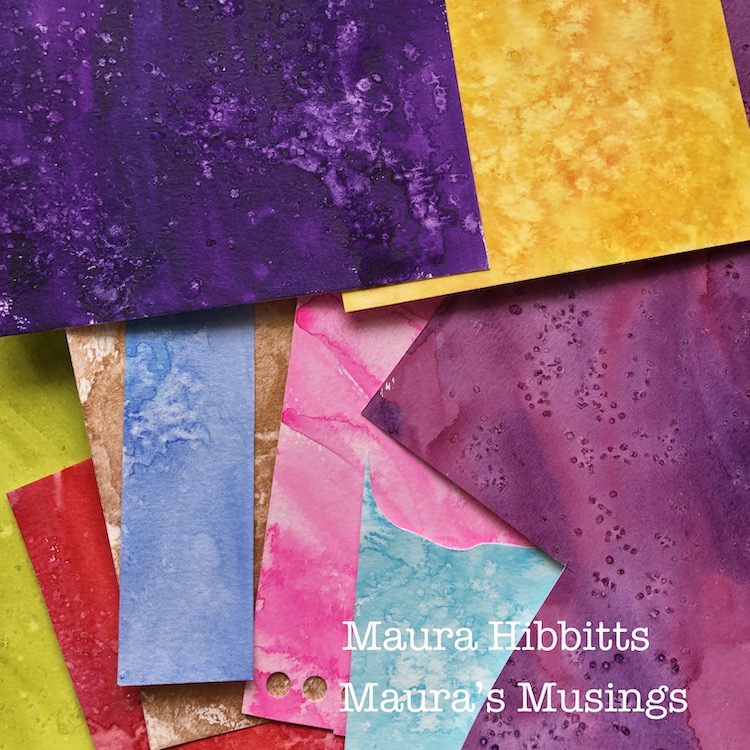
I pulled out an array of watercolor papers I’d made with my watercolor paints, gouache, and salt for another project. (You could easily substitute colored card stock.) I stamped different areas of the Art Foamie image onto each color.
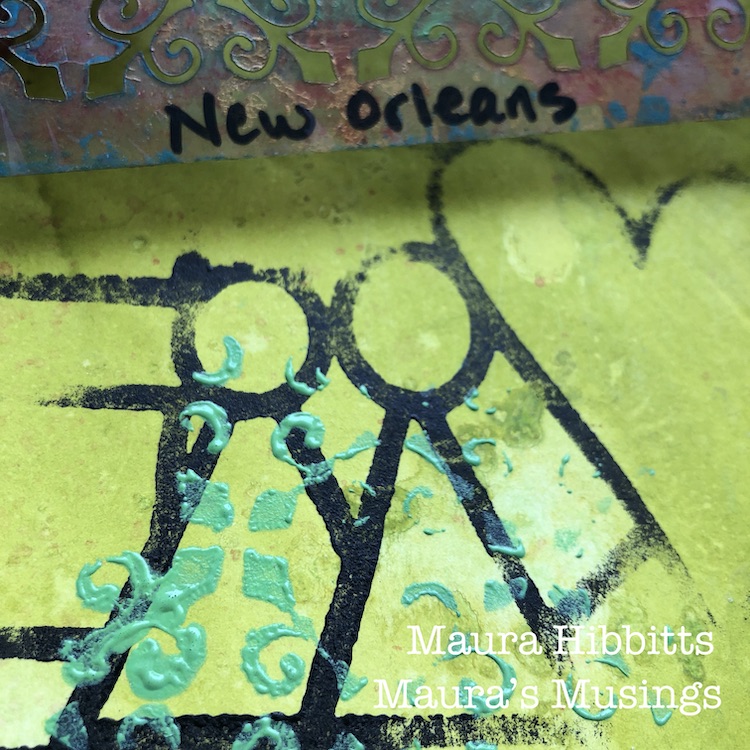
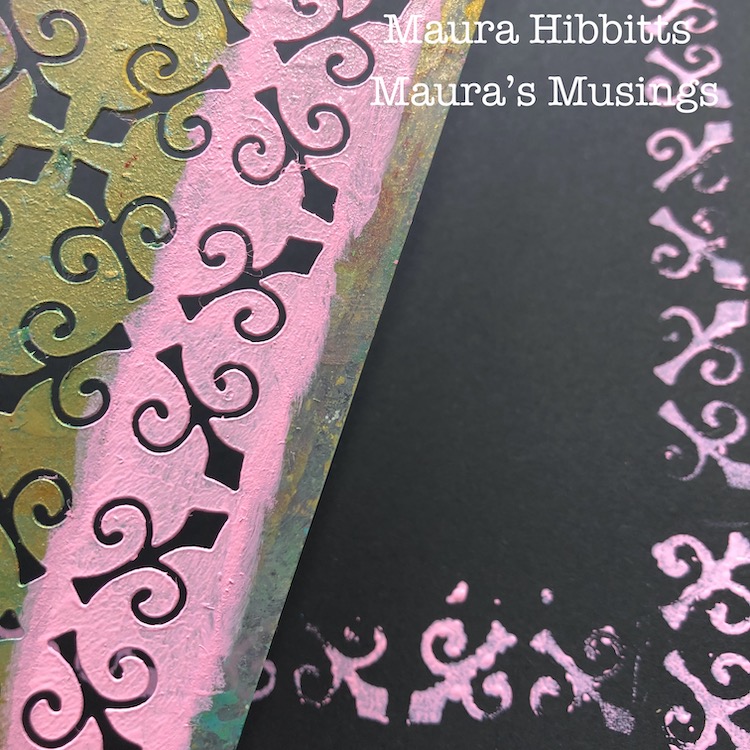
I wanted to add more texture to my pieces, so added another layer with the New Orleans stencil and a variety of paints. I really like using a cosmetic sponge to apply my paint through the stencil. Let dry. (Be sure to tap off excess paint from the sponge first, so you will get a nice crisp image).
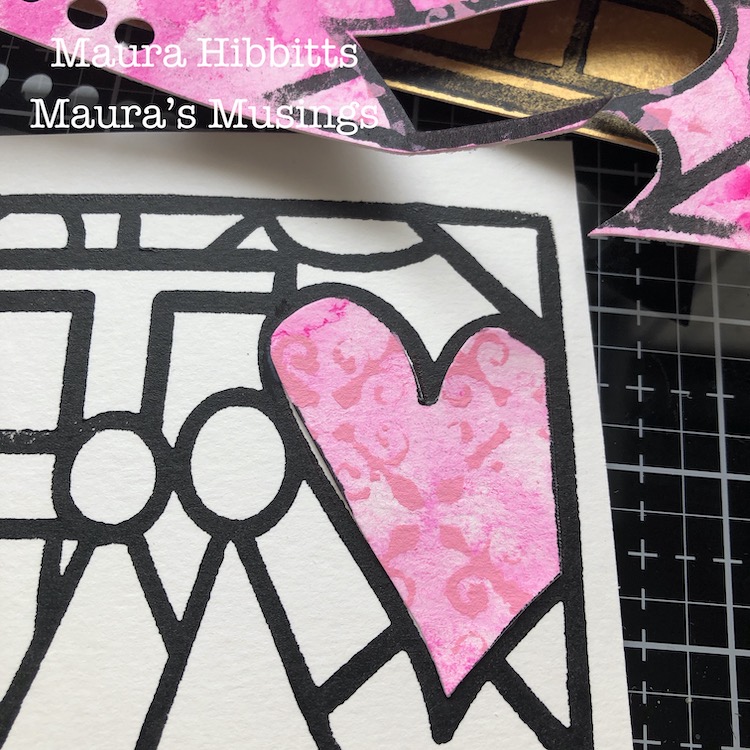
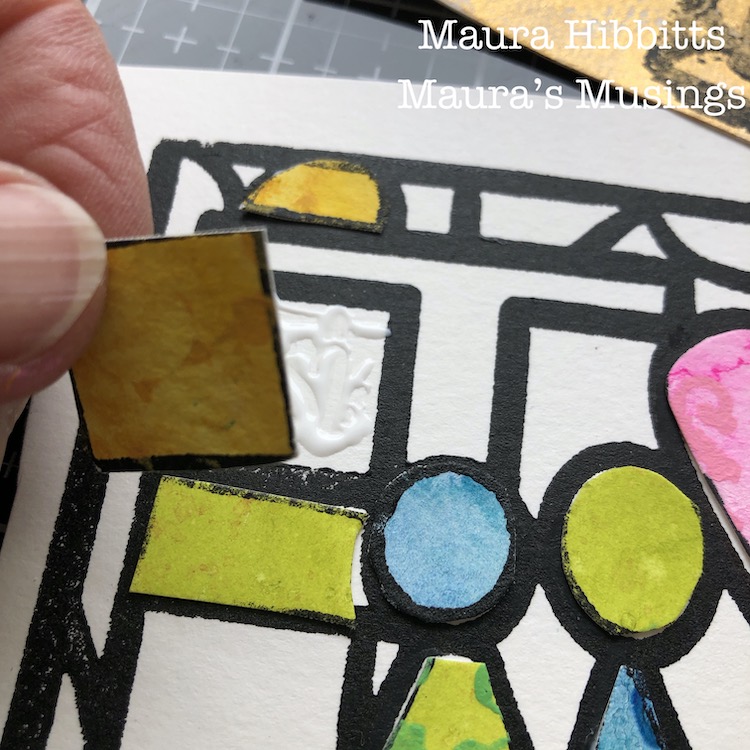
Next up, cut out the colorful pieces, and fit them into place on the original stamped image. I used a tacky glue to hold them in place, since they are heavier papers.
I purposefully left some spaces white, so I could also add in some watercolor…after all, I hadn’t yet used every color!
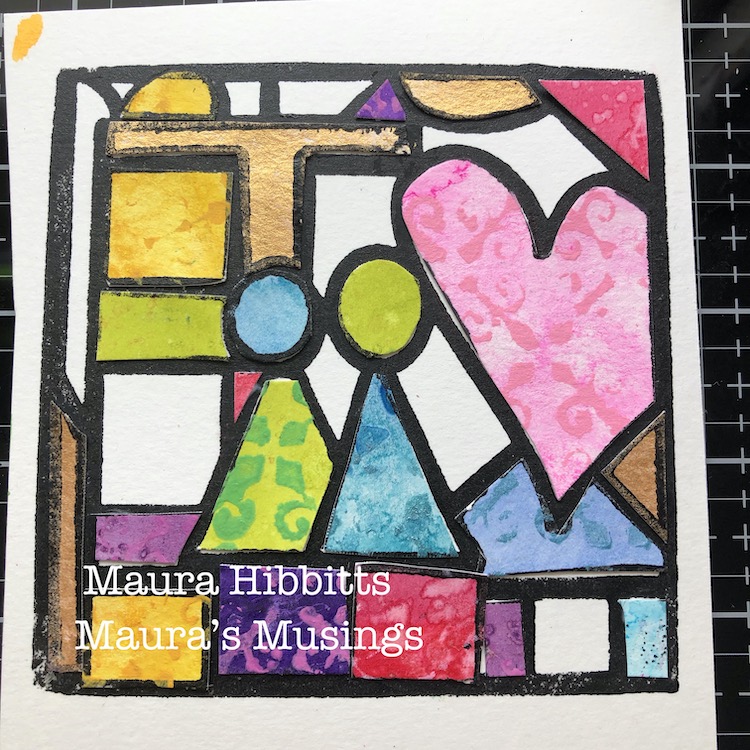
I headed to my square black journal, and created a frame with the New Orleans stencil, pink and a bit of green paint.
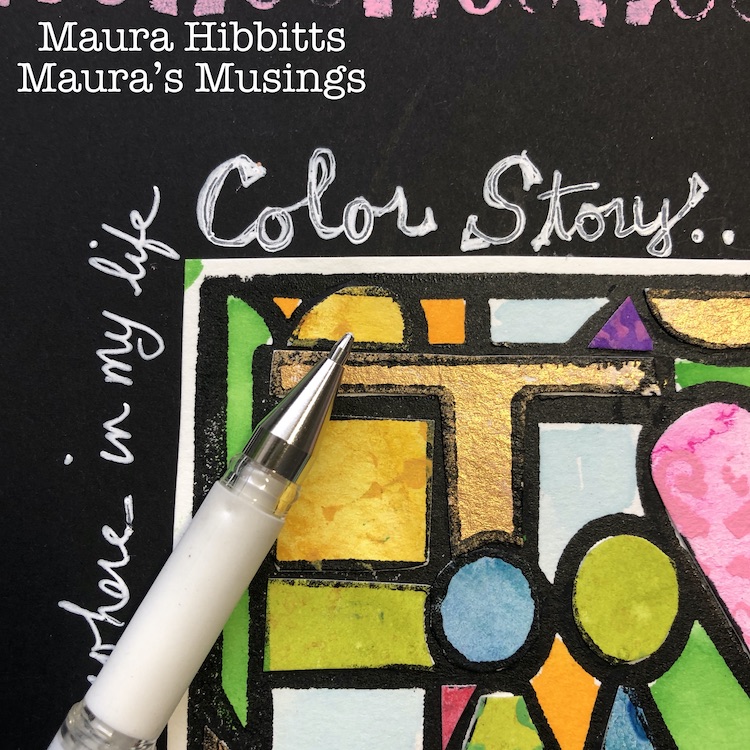
I trimmed my Color Story piece, adhered it to the center of the page in the journal, and my final step was to journal around it with a white pen.
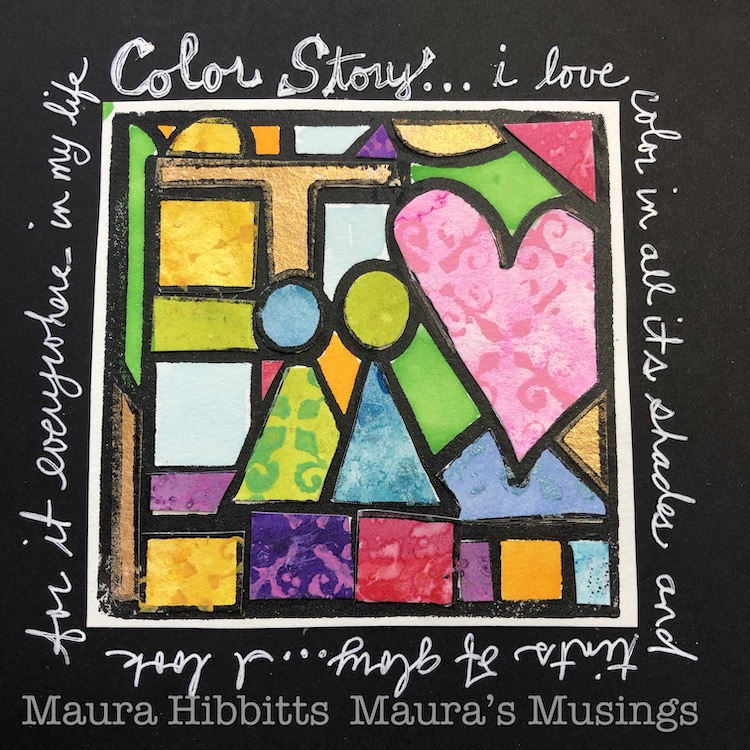
When I step back and look at my image, it reminds me of stained glass, with its bright array of colors. If you look closely, you can see the stenciled texture, as it is very subtle on some pieces. I like how it stands out on the black background in my journal.
“Color Story…I love color in all its shades and tints of glory…I look for it everywhere in my life” I hope this year is a colorful year for you, filled with stories. Maura
Thank you Maura – we love the bold stained glass effect you created with your Color Story!
Give it a try: you can find all my Foam Stamps and Stencils in my Online Shop and in addition to watercolor papers from her stash, here are some of the supplies Maura used:
Don’t forget to check out Nat’s Creative Squad on Instagram too: Each week we post projects, ideas, and inspiration for mixed media art.
Maura, I love how you used this stamp! The texture in this project is sooo yummy! The color on black… and the variety of colors…. it all just fits together so beautifully! What a great start to our squad posts! Bravo!
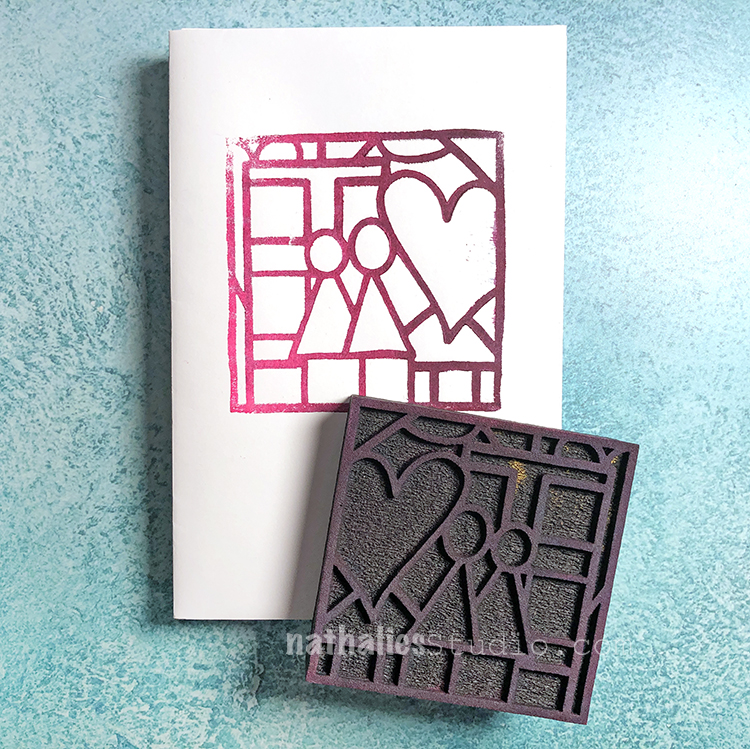
Exciting news! I’ve designed a Limited Edition Foam Stamp for Creative JumpStart 2021 Storyteller edition called Love Story. It represents my love for art and my love for all of you: my artsy community!
This stamp will only be available for purchase through December 2021 so grab yours HERE, and if you haven’t signed up for CJS21 yet, do that HERE so you can access a quick tutorial up in the CJS21 classroom. It shows you three new techniques to use this stamp.
In the tutorial, I show you how to create the world’s easiest accordion fold book (using just some extra envelopes I had laying around) and three stamping techniques to help you use your imagination and tell YOUR Love Story.
Love Story is only available for a limited run so hurry into the shop.
And if you haven’t signed up for Creative JumpStart 2021 yet, there is still time to do that too – check it out here, and get access to the Love Story tutorial.


Comments (1)
Robin
| #
This is such a versatile artfoamie! I love it!
Reply