Blog: Paint

Cocoa Daisy Kits Project Art

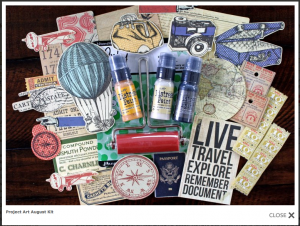
My friend Christine has recently introduced an Project Art Kit into her Cocoa Daisy Kit Club. A Project Art Starter Kit includes all necessary items to start you on artjournaling and each month there is a Project Art Kit released. So love this idea and concept! I was a happy camper to be invited to play with the August Project Art Kit.

Bildschirmfoto 2013-08-20 um 15.09.36


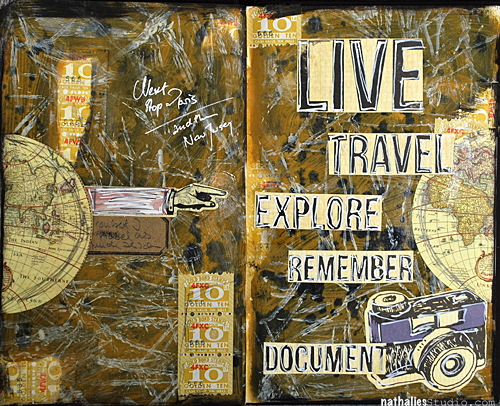
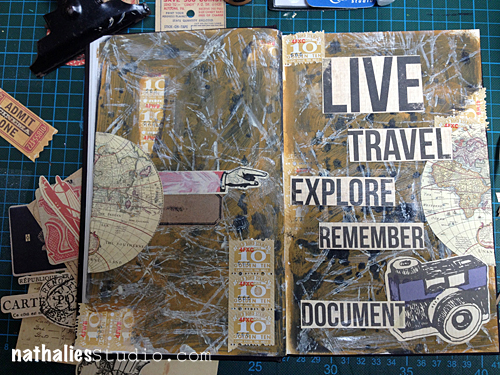
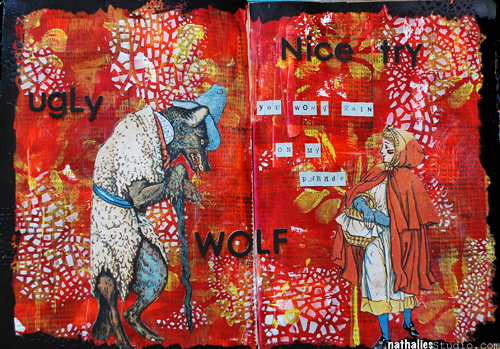
Yumminess -first of all it comes with a brayer…and if you know me…you know I tell everyone who wants to know or can’t walk away fast enough, that a brayer is one of my favorite tools. And then the gorgeous tags and the Ranger Distress Paints. But ok…let me first show the spread in my art journal I created

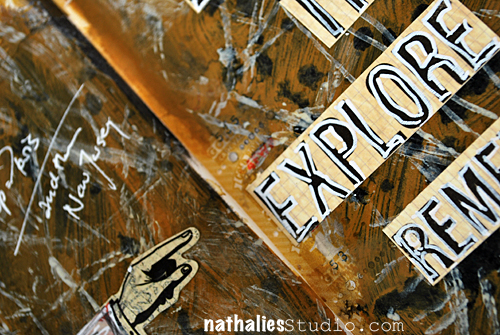
NathalieKalbach_Explore01


Grungy…as I like it :) Now…let’s see how this page came together.

NathalieKalbach_ExploreTut01


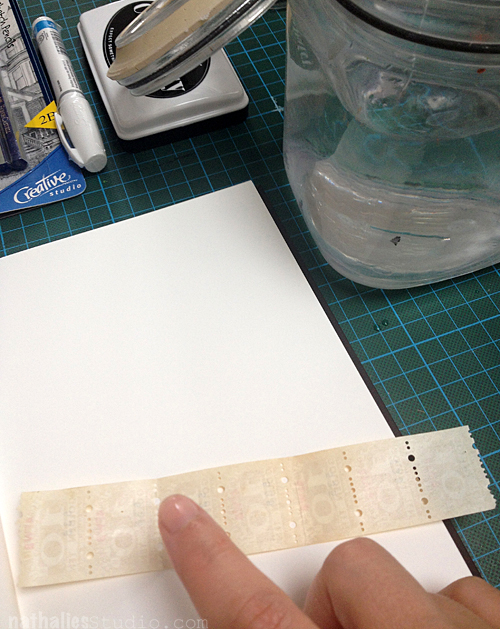
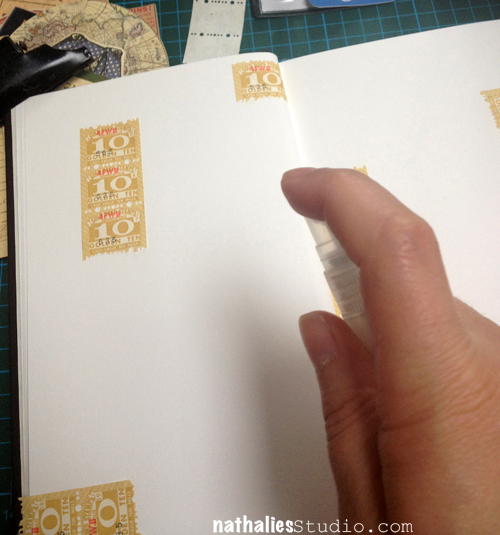
I took the vintage savings booklet stickers and realized that they are actually like stamps have an adhesive in the backing, which you can activate with water. So I simply took a couple, spread some water on the back with my finger and then adhered them to the page.

NathalieKalbach_ExploreTut02


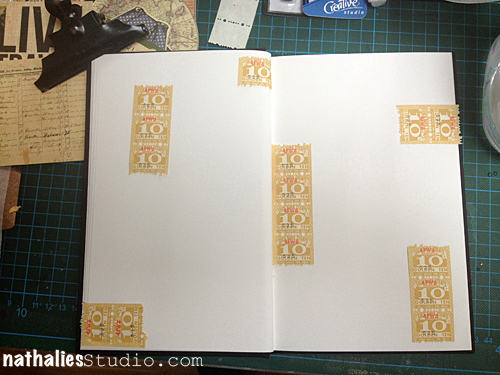
Now there…better. I often times do things like this so that the terrible “don’t ruin the white page in my beautiful journal”-fear  cannot creep up on me ;)

NathalieKalbach_ExploreTut03


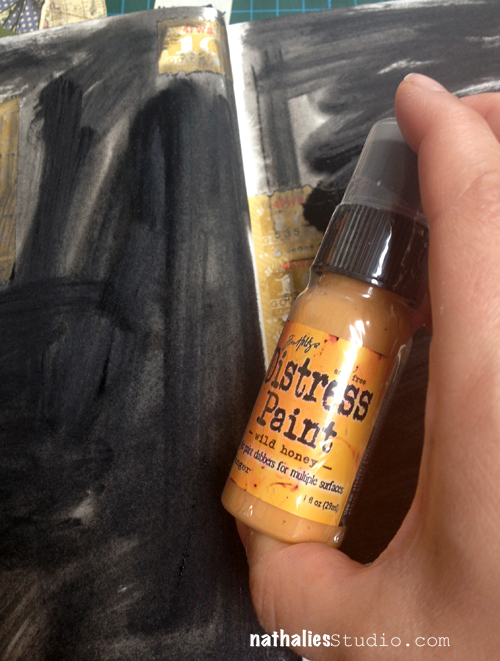
I took a water mister and applied some water spritzer to the paper in order to have the paint not soap right in. I used the Black Soot Distress Paint and spread it across the pages, making sure to no entirely cover up the savings stickers. Don’t forget to shake your Distress Paints before you use them – and do not squeeze them too tight, so that the paint is not leaking out on the bottom of the cap. It runs by itself no force needed.

NathalieKalbach_ExploreTut04


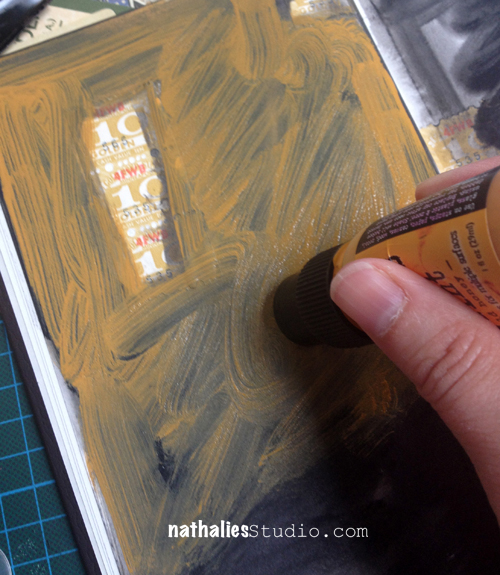
After the Black Soot dried, I took the Wild Honey and applied it right over the black – you want to work quickly- as the paint shouldn’t dry.

NathalieKalbach_ExploreTut05


If you are in a very hot or sunny area of the world- you might start with the one half of the book first and do the other half later.

NathalieKalbach_ExploreTut06

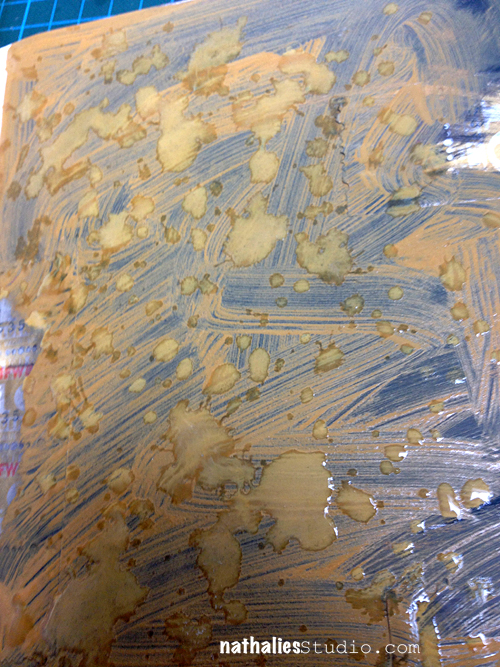
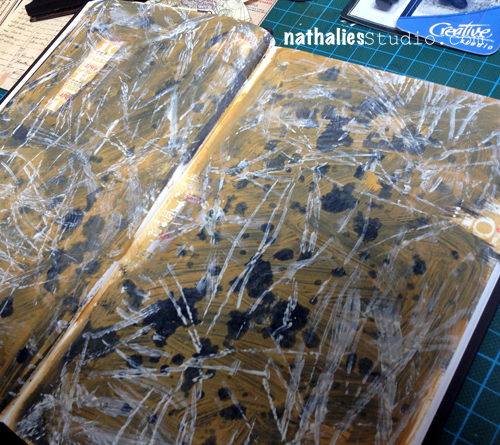
Next I cupped my left hand and spritzed some water through the water mister into it and then flicked the water over the wet paint. You want to have the area not covered with the water drops dry and the water drops still wet- you can see this pretty well in light.

NathalieKalbach_ExploreTut07


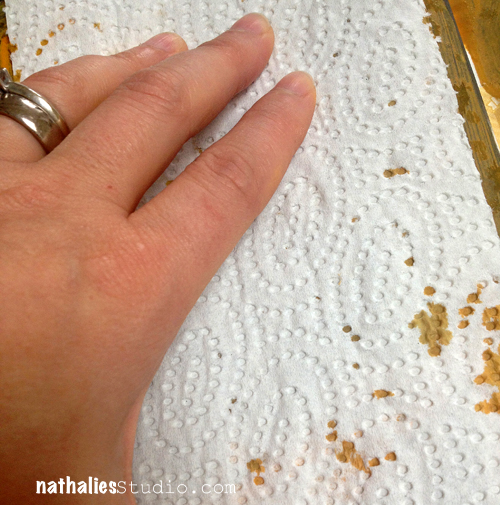
Then you take a paper towel and layer it over the page- press it down and lift off the water drops – which will also lift the Wild Honey paint lifted in those areas.

NathalieKalbach_ExploreTut08


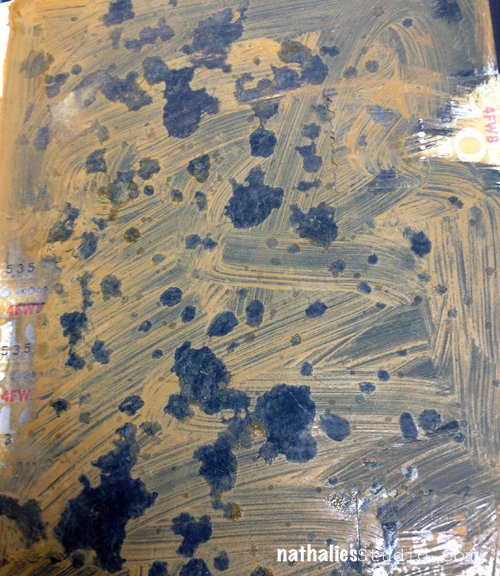
Now- how cool is this speckled look?

NathalieKalbach_ExploreTut09


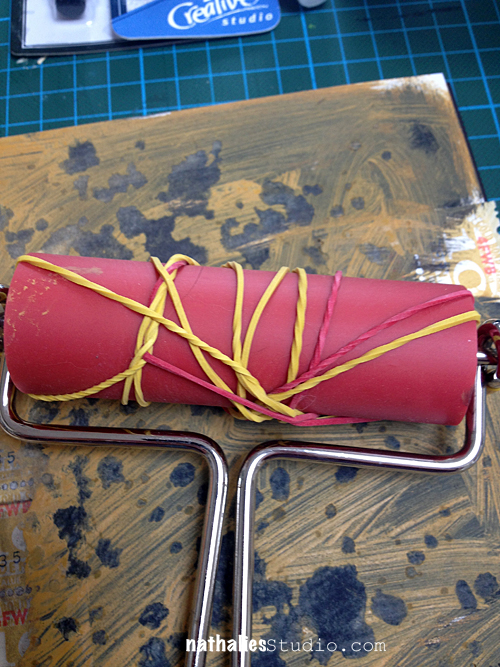
Next I took a couple rubber bands, took of the roller of the brayer – wrapped the rubber bands in a “kinda fancy” way around the roll and snapped it back into the handle.

NathalieKalbach_ExploreTut10


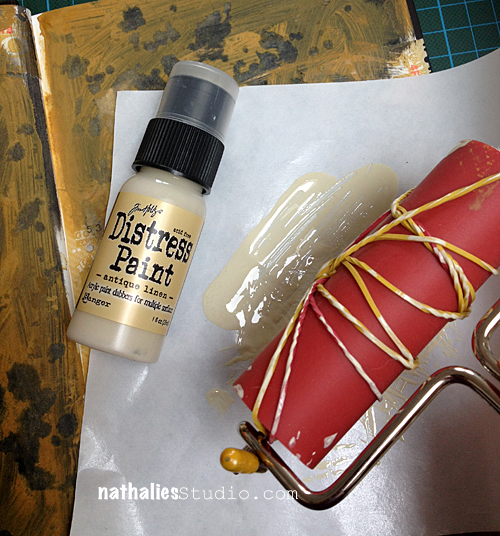
I put some Antique Linen Paint onto a piece of freezer paper (you can use a palette or do it on a craft mat – anything that is a surface where the paint doesn’t dry too fast) and then rolled the brayer with the rubber bands through it

NathalieKalbach_ExploreTut11


And then I rolled it like a maniac over the pages- that was fun – and I love the result :) It also lightens up the whole page.

NathalieKalbach_ExploreTut12


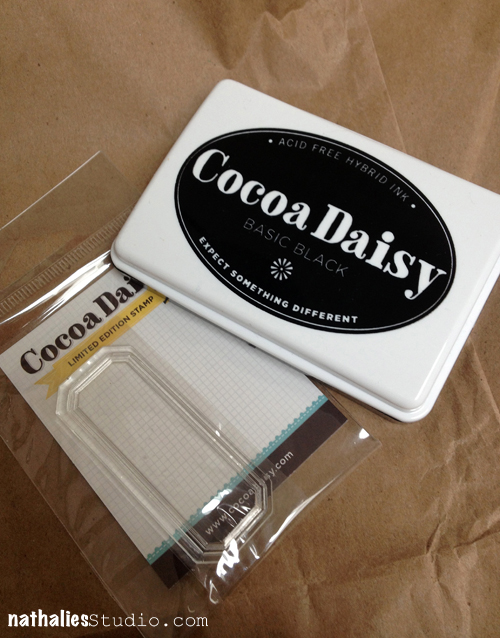
I love using packaging stuff – and as the kit comes in these beautiful kraft paper bags, I stamped with the Cocoa Daisy Hybrid Ink on the Stamp – also both in the Starter kit on top of the bag and then cut the image out.

NathalieKalbach_ExploreTut13


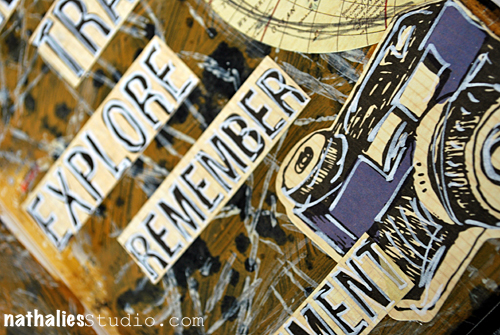
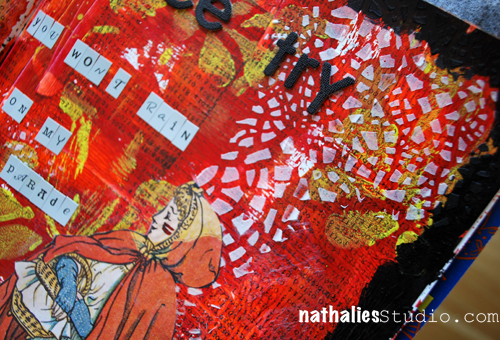
then I layered some of the travel die cuts, the rest of the savings stickers and the stamped lable and applied them with Gel Medium. As you can see I cut the tag apart, as I wanted to spread the words out more and also wanted to show more of the background.

NathalieKalbach_Explore02


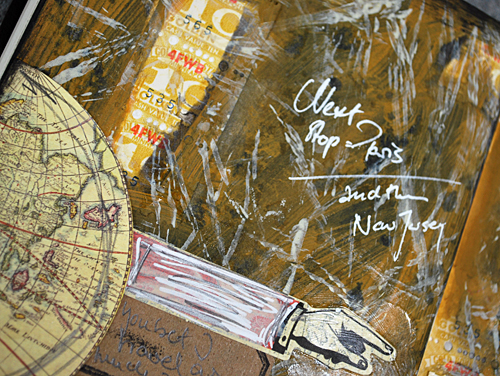
I made some marks with the pencil and the sharpie which are included in the starter kit .

NathalieKalbach_Explore03


It ties the elements together with the rest of the page

NathalieKalbach_Explore04


Love the many possibilities of the kit – and how ever you layer the colors- the result will always be different. Hope you enjoyed this little tutorial for your Project Art Kit.

Have a wonderful day


Nat


LogoBlogSignature


Comments (8)

  • ลngεŁล

    |

    WOWW! Me encanta!!! El fondo queda increible!!! Muchos besitos

    Reply

  • Louison

    |

    Thanks for sharing!! Your page is so beautiful!!!

    Reply

  • Mila

    |

    I love this page!! and I love working with the rubber chicken on the roller and also use them as stamp.
    Hughs

    Reply

  • Kathy P

    |

    Awesome work, Nat….love that brayering idea! Hopped over to Cocoa Daisy, too….I am going to have to subscribe to that PL kit! Very cute things in there!
    And welcome to the East Coast!!!

    Reply

  • Sue Clarke

    |

    What fun and I keep on forgetting to do the elastics on the brayer technique. I must try it soon.

    Reply

  • Jean A Marmo

    |

    Never thought to put rubber bands on a brayer! How cool!!!

    Reply

  • lisa

    |

    Love this Nat. What fab techniques x

    Reply

Leave a comment

Stencil Blog Hop – Elephant March Stencil

NatKalbachStencilbloghop


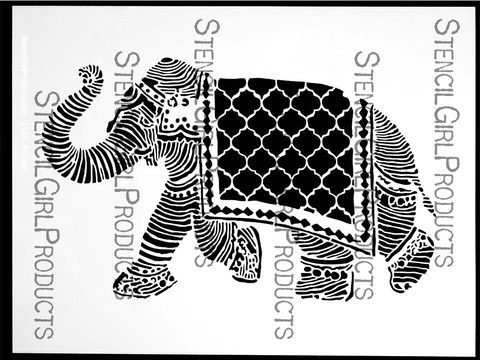
Welcome to my 7th Stencil  Blog Hop! This time I invited 4 wonderful artist friends to hop along with me and show case my StencilGirl Products Elephant March Stencil. It is a 9×12 inch stencil.

NathalieKalbach_Elephant


And I give away one Elephant March Stencil! Comment here for an entry into this giveaway! And if you also comment on all the other listed blogs I will  give you an entry into the giveaway for each blog you comment on–how cool is that! You have five chances to win it. Leave a comment on each of the listed blogs and on my blog  and let us know how you like the projects and I will pick randomly one lucky winner. You have time to comment till September 18, 2013 – midnight EST.

 Edited on September 23,2013: Congratulations Sharon Johnson – you win the Elephant March Stencil. Please contact me by October 10th, 2013 with your snail mail addy. -Nat

Here are my friends joining me this time :

Carolyn Dube wonderful artist and Stencil addict…give her a stencil and she does magic

Maria McGuire rocks the StencilGirl Talk blog and all kinds of beautiful projects

Marsha Valk Marsha my sweet and talented friend from the Netherlands

Jessica Sporn an amazing Mixed Media Artist and Illustrator who is soon an almost neighbor of mine ;)


WHY an elephant Stencil? I love elephants and we have a lot of family connections with elephants! My uncle Gerd used to work as a zoo keeper at the zoo in Wuppertal. His stories of the elephants always fascinated me the most. And as a little child my grandaunt Margot used to tell me the story of the Tuffi a female circus elephant who jumped out the famous monorail in Wuppertal into the river in 1950 (no elephant seriously hurt!). And I loved all kinds of stories elephant related…and Elephants can be represent so many things..memory, strength,  mental strength, fun, intelligence. Need more reasons or an elephant stencil? Nope- LOL- ok…let’s continue on

Check out some samples here:

Bildschirmfoto 2013-09-03 um 19.11.52

Here is what I created for today:

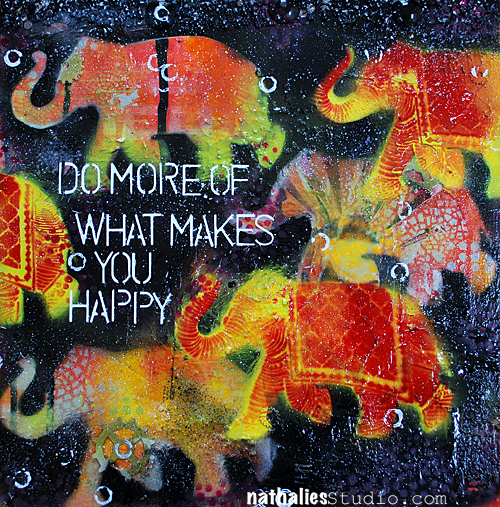
NatKalbachHappy01

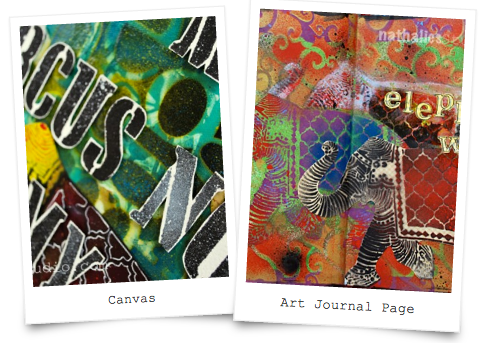
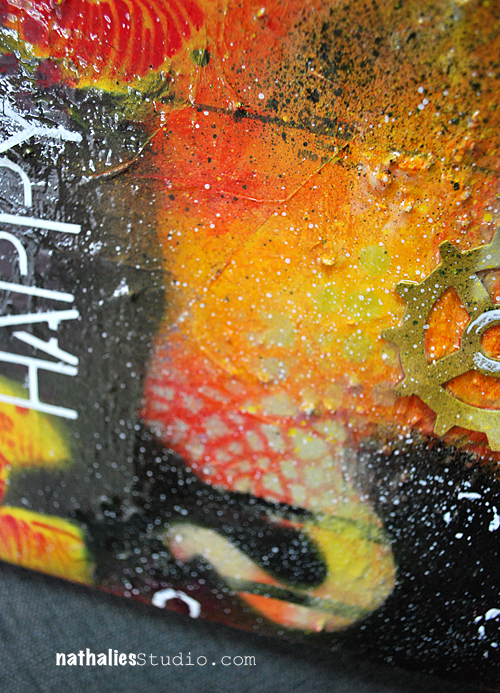
Loved working on this big canvas and applying layered stencils and collage elements and then spray paint – there is a lot of texture on this canvas.

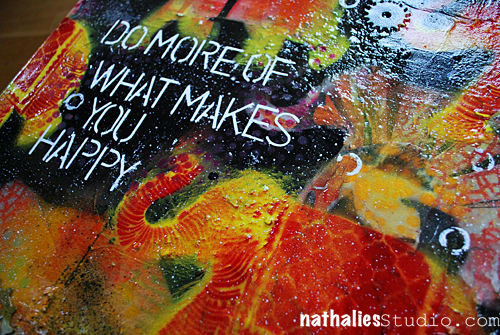
NatKalbachHappy02


So much fun how different all the elephants turned out

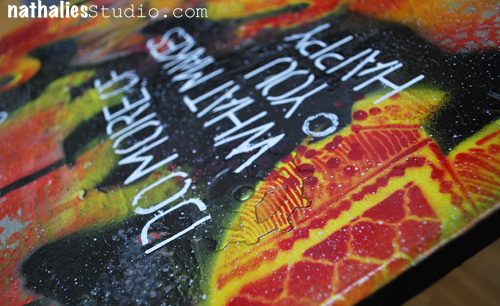
NatKalbachHappy03


They make me really happy

NatKalbachHappy04

Here are the supplies I used:

nSupplies

Now hop on over to my friends and check what they did and comment for some changes to win the stencil :)

Carolyn Dube

Maria McGuire

Marsha Valk

Jessica Sporn

Have a wonderful day

hugs

nat


LogoBlogSignature


Comments (71)

  • Miriam

    |

    Love this elepant ,it is can be customed my iphone case ,it is magic.

    Reply

  • Elina

    |

    Love this elephant! I would love to use it on fabric – it would make a plain T shirt very special!

    Reply

  • Carmen Lucero

    |

    The colors you used on the stencil are fab!! Just like indian fabric. Thanks for the chance!

    Carmen L

    Reply

  • Karen

    |

    Beautiful, elephants are my favorite animals. I have a collection.
    Thanks for the give aways.
    Karen
    matthews.karen22@gmail.com

    Reply

  • Rachel Parris

    |

    I am such an elephant fan! I love your stencil and would, of course, love to win it.

    Reply

  • Betti Zucker

    |

    Elephants! Wow! Wonderful! and Indian print ones…. fabulous

    Reply

  • Pattyb

    |

    love all of the different design elements in your elephant stencil! Makes it so versatile! Thanks for posting your work….love it! So hope you are enjoying your new home!!!!! and WELCOME HOME!!!! and oh yeah…thanks for a chance to win your stencil!

    Reply

  • susan reiser

    |

    My favorite stencil yet! Maybe I’ll win something!, gfeat work, beautiful.

    Reply

  • Andrene

    |

    I love all the designs within the elephant – great for dimension and texture! Another awesome stencil.

    Reply

  • marykay

    |

    love this. love the morrocon feel and beauty of this piece. great stencil. I’d love to have it. thanks for showing us all this

    Reply

  • Cat

    |

    Fabulous stencil. I love the elephant!

    Reply

  • Cindy J, Holland

    |

    Thank you for that wonderful opportunity to win that great stencil! I like elephants, and this one is very detailed. That’s what I like most about it.

    Reply

  • Gunvor

    |

    Love the stencil. Like you say, elephants are symbols for soo many things. And your canvas is absolutely fabulous! I love the bright colours and the contrasting dark back ground that looks almost like a starry night! BTW, my German teacher in High School (Frau Brauer) often told us about the Zoo in Wuppertal and the elephants so it’s a small world ;)

    Reply

  • Pat Upton

    |

    I really love your elephants! Wonderful!

    Reply

  • Janis in ID

    |

    Love your project. The raised trunk just exudes so much joy!!
    How interesting abt your family’s connection with elephants. TFS!
    <3 J

    jwoolbright at gmail dot com

    Reply

  • Renee G

    |

    I love your elephant stencil. I too have an affinity for elephants. They seem so majestic. I hope you make a few more. Thank you

    Reply

  • Melissa

    |

    This stencil has my mind whirling with ideas

    Reply

  • Gillian Pearce

    |

    I’m really surprised at how much I’ve enjoyed everyone’s use of this stencil. I’m not normally that keen on animals but this stencil seems to work really, really well.

    Reply

  • Jean

    |

    Love, love, love the elephant stencil! Love the way you have used it. Big fan of elephants–Roll Tide!

    Reply

  • ionabunny

    |

    Great colours, great sentiment, great elephant

    Reply

Leave a comment

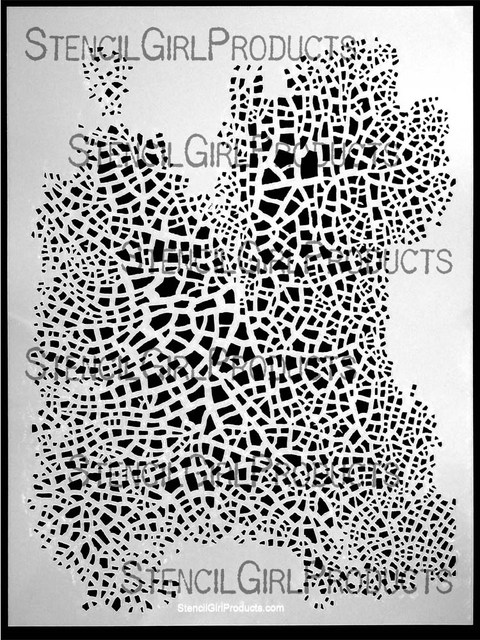
My new Crackle Stencil with Stencil Girl Products

Yeahhhh – my next two stencils are out with Stencil Girl Products. Let me show you the one I am the most excited about- it is my dream stencil- the one I always wanted to have – my Crackle Stencil

NathalieKalbach_CrackleStencil

Here is an art journal page using the stencil with light modeling paste

NathalieKalbach_CrackleRH01

It dries quick and it is a great way to apply the crackle effect to all kinds of surfaces and not just acrylic painted surfaces.

NathalieKalbach_CrackleRH02

The stencil is 9×12 inches and I love that you can use it the size as is or just parts as I did to add some texture and a layer here and there.

NathalieKalbach_CrackleRH03

I so hope you like it too :) Here is what I used to create the art journal spread:

nSupplies

Thank you for letting me share my crazy excitement. Huge hugs and a wonderful day – I cannot wait to show you more!

Nat


Comments (26)

Leave a comment

Stencil Test Drive Cascading Leaves or…Forget Perfection

Jessica Sporn asked me  and some other artists to be part of her Stencil Test Drive featuring her amazing new stencils for Stencil Girl Products.

Stencil Test Drive Logo

Today along with some others I will show you the use of the Cascading Leaves Stencil. I love this stencil. You can either use it as it is in whole or use little parts of it here and there or even make a frame.

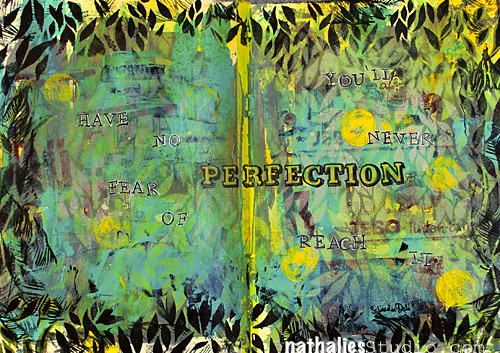
Perfection_NatKalbach

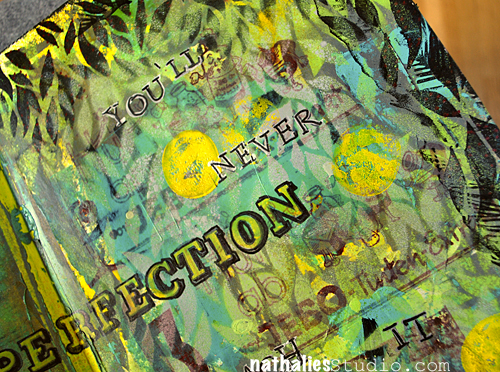
In my art journal spread I used it for the background several times layered up with acrylic spray paints and I loved how beautifully the stencil created a deep dimensional feel. I touched it up with some letterpress images, oil based inks and markers. Then I used the stencil for framing the spread.

Have No Fear Of Perfection. You’ll Never Reach It

Salvador Dali.

PerfectionDetail_NatKalbach

Supplies: Stencil Girl Productions Cascading Leaves Stencil, Letterpress Blocks, Tissue Paper, Liquitex Acrylic Paint, Liquitex Professional Spray Paints, Liquitex Professional Paint Markers, Louise Nelson Feather Stamp, Speedball Oil Base Block Print Ink.

Don’t forget to check what all the other artists created with the stencil and also get the chance to win a giveaway on Jessica’s Blog.

Jessica Sporn

Michelle La Point Rydell

Judy Shea

Roben-Marie Smith

Have a wonderful day

Nat
Comments (17)

Leave a comment

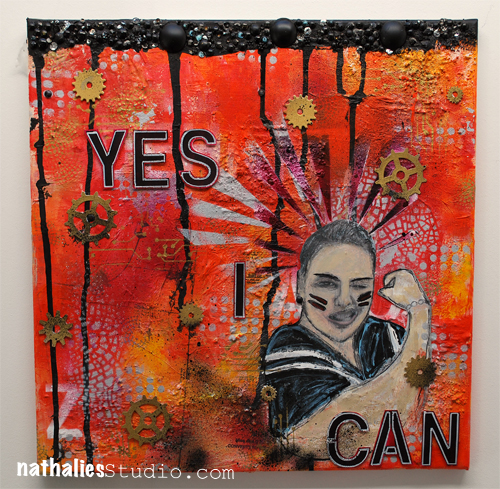
Yes, I Can or…Yes, I can

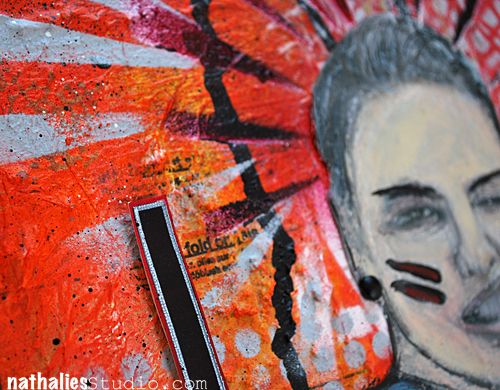
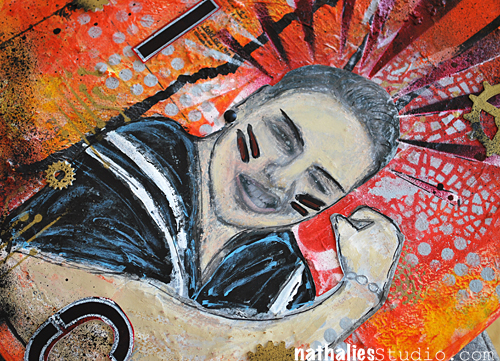
Sometimes it is good to affirm yourself with a little tongue in cheek approach ;)..besides the title is meant to be true ;)

YesICan01

Pretty big canvas I worked on – at least for me and it was a bit hard to adjust…I think a bigger me would have been better design wise – but for my first time working on such a scale I am ok with it ;) …because yes I can…hehehe.

YesICan02

So many things are on my plate right now- in my professional life and my private life…it is good to do something for fun and tell myself that I can do it.

YesICan03

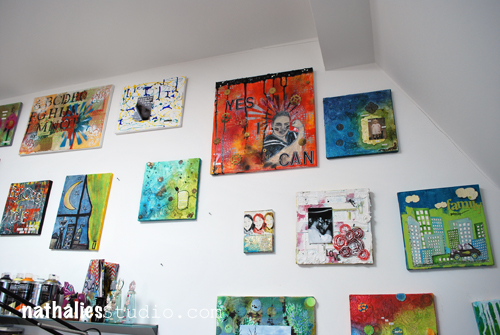
And now it is dooming off my studio wall as a constant reminder…hope it doesn’t fall of the wall- LOL ;)

YesICan04

Have a gorgeous day and don’t forget …YES, YOU CAN!

Nat

uberMedia
Über*Media is my series of online workshops that is dedicated to different kinds of media that cross a variety of materials. I also teach project based online workshops which you can find here.

Comments (9)

Leave a comment

A Good Day or…Spring Texture Canvas

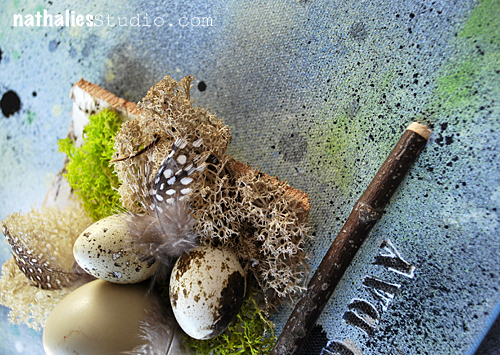
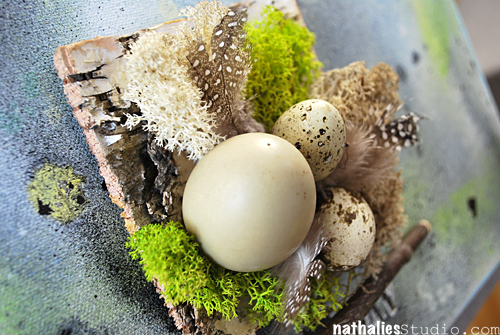
EasterCanvas_NatKalbach02


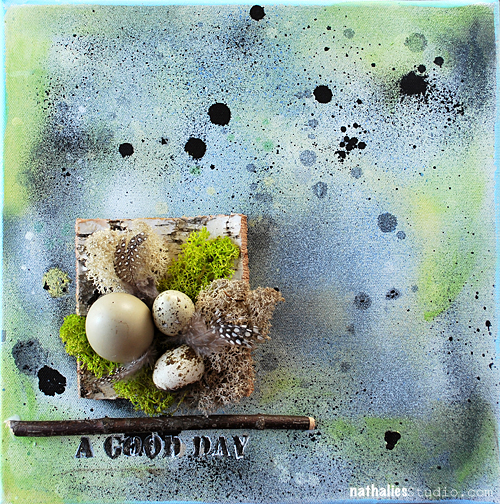
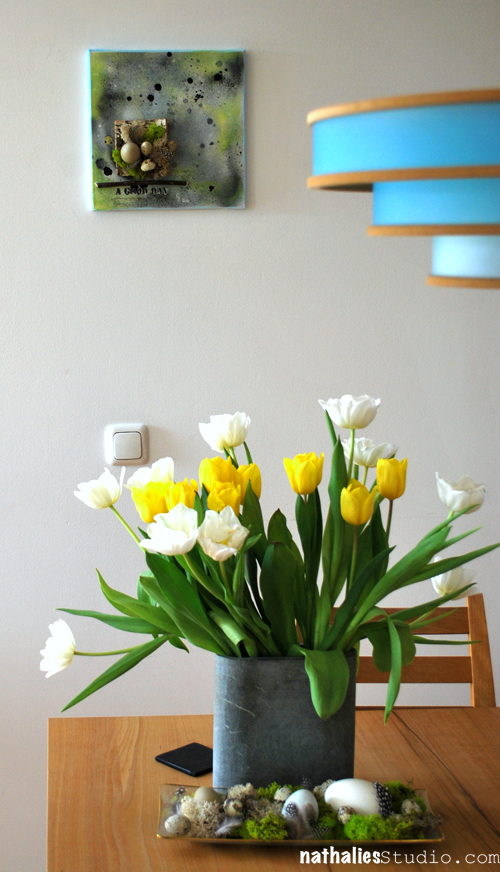
It was time to get some spring feeling into the house. Outside a constant freezing cold breeze alternating with snow flakes make it hard to believe that I am on track with the right date. I might have missed something…probably spring was just postponed this year ;)

I had a lot of fun playing around with some stuff I had at hands though…so that made up for the weather.

EasterCanvas_NatKalbach03


A different kind of texture…making me happy..I am just a dork when it comes to texture- LOL

EasterCanvas_NatKalbach04


Used: Liquitex Professional Spray Paints, Liquitex Acrylic Paints, Liquitex Professional Paint Markers, Liquitex Gel Medium, Signo Pen, Birch Panel, Norwegian Reindeer Moss, Eggs, Feathers, Branch

EasterCanvas_NatKalbach01


I am ready dear spring…VERY ready…

Wishing you a gorgeous sunny spring day :)

Nat


Comments (23)

Leave a comment

It Made Sense to Her…Art Journal

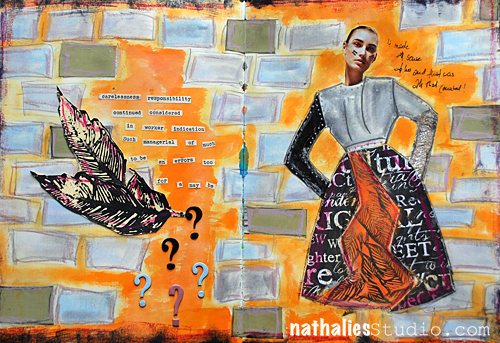
makessense01


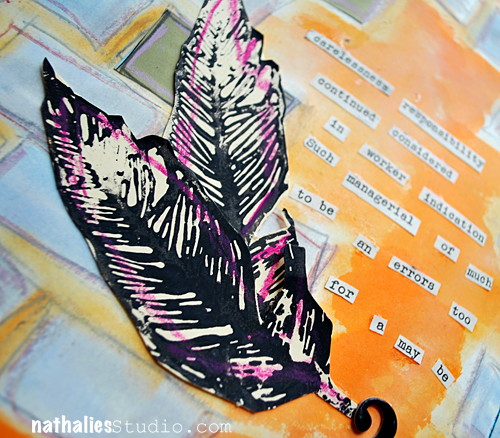
Carelessness responsibility

continued considered

in worker indication

such managerial of much

to be an errors too

for a may be.

makessense02


Supplies: PanPastel, Ranger Dylusions, Ranger Distress Paints, Derwent Artbars, Derwent Sketching Pencils, Posca Markers, Prima Engraver Collection Paper, Louise Nelson Stamp, Heidi Swapp Chipboard Alphas, old book and magazine snippets.

Wishing you a wonderful creative day!

Nat
 

Comments (9)

Leave a comment
My Favorite Mixed Media Essentials: 1. Acrylic Paints

Hands down my all time Mixed Media Essential is Acrylic Paint.

I had a very intense acrylic paint phase a couple of years ago and then I guess I needed a break and neglected those beauties for spray paints for a while. But I am so glad I came back to them!

What I love about Acrylic Paints is:

  • they are fast drying
  • generally cheap – or at least long-lasting even if it is a bit more pricey
  • they have a plastic like surface (due to the plastic polymer emulsion)
  • they can be thinned with water and that could make them almost look like water-color in some cases
  • they are permanent once dried
  • they cover surfaces if opaque
  • you can use other paint media on top of acrylic paints
  • you can use some fun media with them for amazing backgrounds and textures
  • you can create amazing backgrounds and texture with solely acrylic paints

Here are some examples:

beautiful easy background – that can be also used for a scrapbooking layout:

background and texture with acrylic paints:

background and texture using other media and cheap supplies:

texture creating on a scrapbooking layout:

creating some fun handmade embellishments and use it for some accents on a layout:

using them with other acrylic media

using it on difficult surface – like acrylic pages of a minialbum

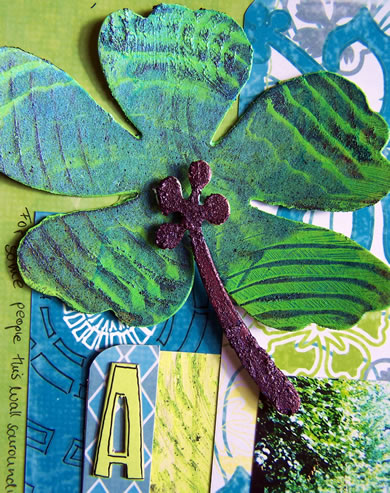
using acrylic paint to make embellishments your own

Pretty amazing what you can do with acrylic paints, isn’t it? And there is way more!!! So yes – just because of it’s versatility it knocks me off my socks and is my all time favorite essential :)

Which acrylic paints I use:

Here comes a saying that I learned when studying law : “It depends” – LOL. Nice one, huh?

Well, I used a lot of acrylic paints. And over the last couple years I learned what I like and what I do not like.What I like, doesn’t have to be necessary what you like.  so just take it as my thoughts and my preferences, ok?

  • So first of all let’s state that I like good quality artist paints. Because I learned over the years that especially when working in an art journal for example that they aren’t that tacky as a lot of the cheaper non artist ones.
  • I also love good quality artist paints because the color shift between wet and dry is not that high. I love to see how my work might look like when it is dry while I’m still working with my paints. I had many disappointments in the past where I was thinking a nice bright red was rocking my socks and then it was dry and a dark bloody mess as the paint shifted a lot when it dried.
  • Highly pigmented colors go a longer way and they are usually also more beautiful. They also can be buffed for a great glossy finish- which for me also is mostly true for more expensive artist paints.
  • I love texture and I love to create texture with paints – so I prefer thicker colors – I can also just thin them down if I want – and so I am a big Lover of Liquitex Heavy Body Acrylic Paints. I also like Winsor & Newton especially when it comes to their translucent acrylic paints. A good bargain and a very good quality are alos the Liquitex Basic Acrylic Paints.

nSupplies

I hope you liked this post- let me know what you think. Next up is Gesso.

huge hugs

Nat

——————————————————————————–

If you want to learn more about acrylic paints- check out my Über*Media Acrylic Paint Online Workshop

Comments (4)

Leave a comment

Sgraffito or Make Your Mark Video

Sgraffito is an art term describing a technique used e.g in plaster, pottery, glass or paint. Basically one or several layers of the medium are revealed by scratching into the top surface. The term comes from the Italian word sgraffiare and means to scratch. Not sure if that will help me with my next Italian vacation but hey… you never know ;)

Now why is that something that might interest me? It is cool because you can create TEXTURE- yum yum! Do you need to have more reasons?

You actually saw some stuff already where I used the sgraffito technique- like on this piece from a post here playing with the Derwent Artbars. I used a tool that Derwent especially made for this, called the scraper.

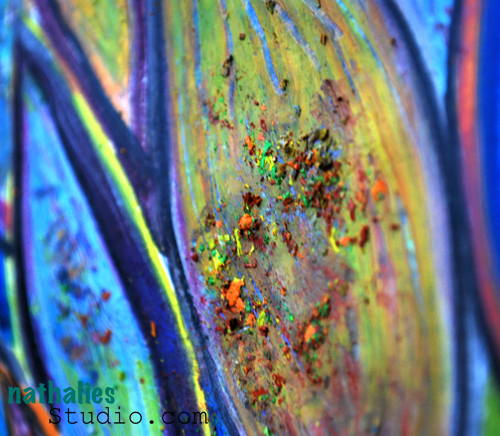
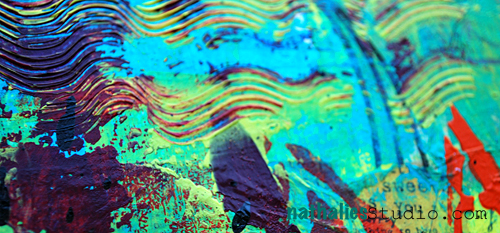
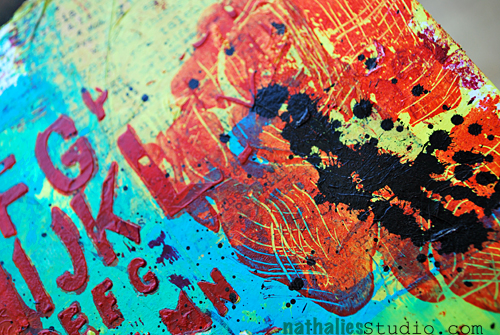
But there is more…Scratching into still wet acrylic paint – Texture heaven. You can use all kinds of tools for it – like a plastic fork, the end of your brush, palette knifes…ah there are many many possibilities.

It is fun to add some sgraffito marks to your backgrounds or art journal pages – Let’s do a quick background video – I have a list of all supplies used below :) :

I love to use Liquitex Heavy Body Paint with the Sgraffito techniques, because they are – as the name might give it away ;) – heavy bodied paint.

I already have something in mind where I will use this background as a foundation – you will see it soon.

And if you want to learn more about acrylic paint techniques and a LOT of background techniques with them…

well….;) I can recommend my Über*Media Acrylic Paint Workshop. You don’t have to have Heavy Body Acrylic Paints….but I will show you how you can overcome that problem of having none anyway so you can still do sgraffito. But hey- Sgraffito is only one of more than a 100 techniques in that workshop :)

I just love Acrylic Paint :)

nSupplies

Hope you enjoyed the little video :)

Nat

Comments (24)

Leave a comment