Blog: Stencil Girl Products

Stencil Blog Hop – Crackle

NatKalbachStencilbloghop


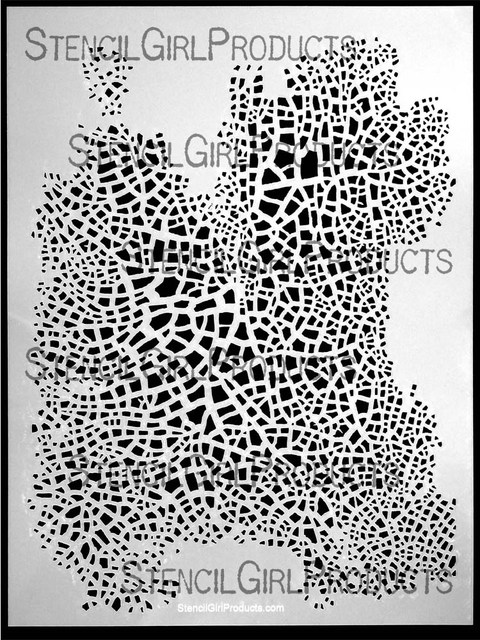
Welcome to my third Stencil  Blog Hop! This time I invited five wonderful artist friends to hop along with me and show case my Stencil Girl Products Crackle Stencil – size 9 x 12 inches.

NathalieKalbach_CrackleStencil


And I give away one Crackle Stencil!Comment here for an entry into this giveaway! And if you also comment on all the other listed blogs I will  give you an entry into the giveaway for each blog you comment on–how cool is that! You have six chances to win it. Leave a comment on each of the listed blogs and on my blog  and let us know how you like the projects and I will pick randomly one lucky winner. You have time to comment till August 13, 2013 – midnight EST.

Edited on August 14, 2013: The winner is Neija, Congratulations. Neija, please email me with your postal address so I can get this stencil sent out to you :) , Nat


Here are my friends joining me:

Carmen Sanchez – aka Cuchy : Cuchy who lives in Madrid and I have been organizing our Art Mesa Mixed Media event in Spain for the third year already and I do love her as a friend and super talented artist too.

Cat Scanlon : one of my oldest artist friends who has released lots of wonderful products lately and wrote two amazing books on Mixed Media in the past too.

Marjie Kemper : Who does stunning work and blew me away already last week when she posted her take on my Circuit Stencil

Louise Nelson : My friend from Australia who has a stunning style in scrapbooking – and who has a wonderful soul too!

Maria Mc Guire: super talented and an ongoing never ending source of ideas and inspiration who also runs the Stencil Girl Talk Blog .


When I was thinking about my stencil designs – I thought about the stencils that I would love to own – and the Crackle stencil idea has been in my head forever! I wanted the closest possible pattern to real crackle effects and also in smaller sized cracks or bigger ones- so that is why there the stencil is 9×12 inch – which gives you lots of options.

Check out some samples here:

Bildschirmfoto 2013-08-04 um 10.48.05


Here is what I created for today:

NatKalbach_Tapetenwechsel

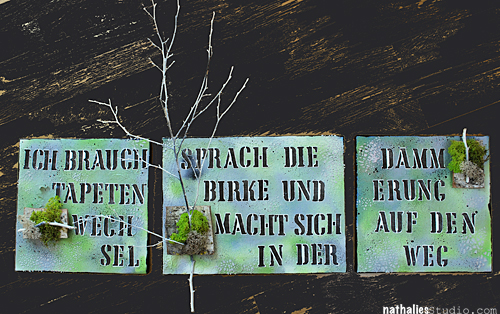
I created these three canvases for the hallway of the place where my exhibition took place last week. The writing is from a German song by Hildegard Knef and it could be translated into:

“I need a change of scenery”, said the birch tree and set off at the crack of dawn

NatKalbach_Tapetenwechsel02


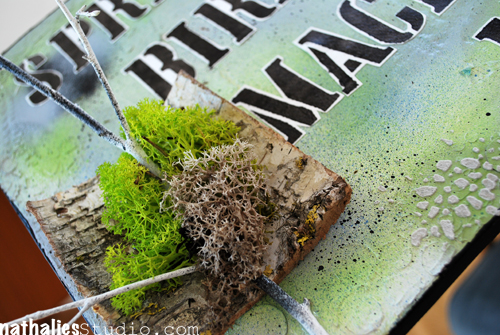
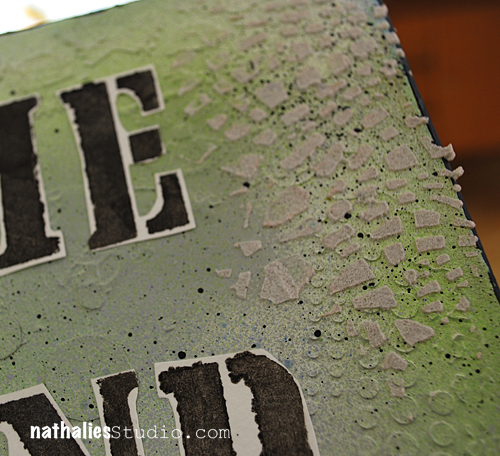
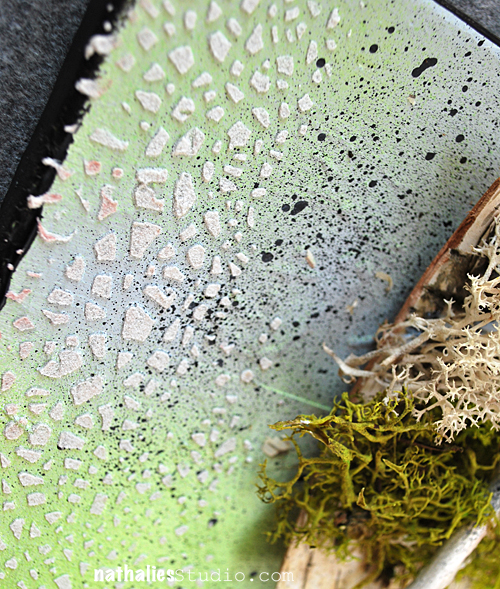
I used the Crackle stencil throughout those canvases in it’s most simple use – with some Liquitex Modeling Paste spread over.

NatKalbach_Tapetenwechsel03

I love the simple texture effect you can archive with it. I had used my What’s The Point Stencil underneath with some heavy gesso directly on the canvas, then spray painted with Liquitex Professional Spraypaint, added the texture with the Crackle Stencil and applied a birch tree panel, some moss and a sprayed tree branch to the canvases.

NatKalbach_Tapetenwechsel04

Here are the supplies I used:

nSupplies


Now hop on over to my friends and check what they did and comment for some changes to win the stencil :)

Carmen Sanchez 

Cat Scanlon

Marjie Kemper

Louise Nelson

Maria Mc Guire

Have Fun

Nat
LogoBlogSignature


Comments (108)

  • Kathy Gledsdale

    |

    How very pretty they are

    Reply

  • Anni

    |

    Hi Nat! The samples in your link are awesome. Thanks for the great ideas.

    Anni

    Reply

  • Sandy Karsten

    |

    I love being inspired by new ideas. These 2 stencils are great. I make painted paper collages and these would be great stencils to use for my papers. I would be thrilled to win! Thanks for the opportunity.

    Reply

  • Pat

    |

    Came back after the blog hop to let you know I love your stencils but this one is the BEST. Also, the other artists creations are such great inspirations. Would be honored to win this stencil!!

    Reply

  • Leann Lindeman

    |

    I love it!!!! Hoping to win!

    Reply

  • Cat

    |

    Nat, I love this stencil….stencils are my latest addiction. Although I have been using them for years, the stencil market is very exciting right now with so many interesting and unique designs out there. Like many of us, I have a long list of art & craft supply wants and stencils make up the majority of that list. I’d love to win this stencil of yours so I’m keeping my fingers crossed!!

    Reply

  • Tameko

    |

    Cool stencil design, and projects. I love the added dimension.

    Reply

Leave a comment

Wasserturm or…today is the day

NathalieKalbach_Wasserturm01
Today is the day of my exhibition – hahaha- you are probably as excited as I am just because you cannot hear the word anymore ;) Well – bah…don’t be too happy I will still post about it ;)
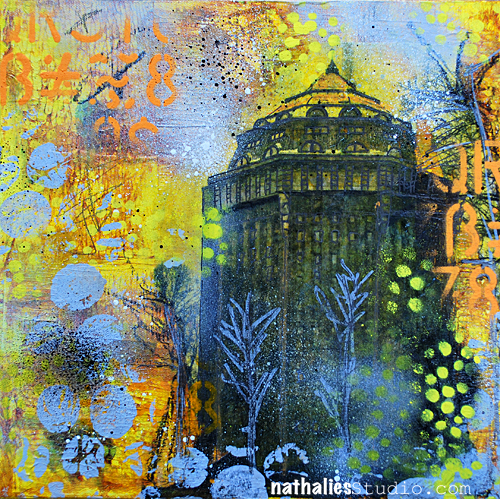
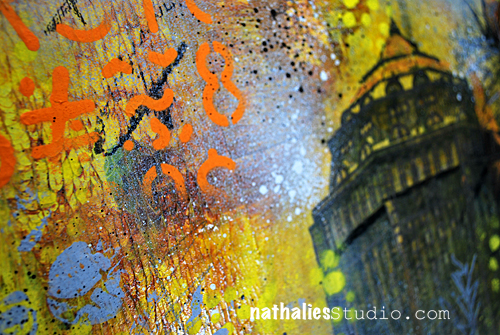
So this is the last canvas in a trilogy I created – I showed you the other two before here and here. The water tower is a very prominent landmark of my hood. It is set in a park and I can see it from our deck and our sleeping room window. I love this old building. They turned it into a 5Star hotel – which caused lot’s of protests …building wise I have to say though they did a really good job inside keeping lot of the old architecture. Otherwise it would have been awesome if this was turned into public space since it is in a public park…but Oh well ;)

NathalieKalbach_Wasserturm02

Wish me luck !

Nat

LogoBlogSignature

Comments (30)

Leave a comment

Stencil Blog Hop – Circuit

NatKalbachStencilbloghop


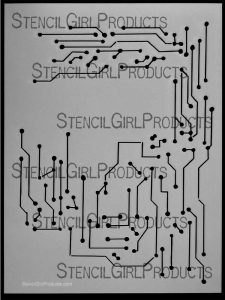
Welcome to my second Stencil  Blog Hop! Again I invited four wonderful artist friends to hop along with me and play with my StencilGirl Products Circuit Stencil which is a 9 x 12 Stencil

Circuit Stencil S161


And I give away one Circuit Stencil!Comment her for an entry into this giveaway! And if you also comment on all the other listed blogs I will  give you an entry into the giveaway for each blog you comment on–how cool is that! You have five chances to win it. Leave a comment on each of the listed blogs and on my blog  and let us know how you like the projects and I will pick randomly one lucky winner. You have time to comment till August 6, 2013 – midnight EST.


Edited August 8, 2013: The winner is Dorothy McCarthy – Congratulations. Dorothy please email me with your postal address so I can get this stencil sent out to you :) , Nat

Edited September 23, 2013: Although I tried hard to get the winner’s addy – I never heard back. I will do a new drawing from a different post soon as I am sure someone else will be happy to receive the stencil :)


Here are my friends joining me:

Stephanie Schütze who joined me last week already and did some amazing cards and a layout- I love her style!

Birgit Koopsen a close friend of mine, not only do I love teaching together with her…she is also super duper colorful in her work!

Marjie Kemper, I met Marjie in NYC a while back when I was teaching workshops- and she is doing amazing things on her blog – check her out!

Samie Harding  – is a huge art journaler who also does a lot of fun videos on her art journaling.


I designed the Circuit Stencil because I do love technical signs in my work -I love when something is whimsy and then you can put some straight technical background to it. I also wanted to have a stencil which you can use as a background stencil but also to frame your work.

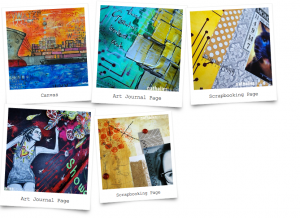
Check out some samples here:

Bildschirmfoto 2013-07-29 um 14.31.15

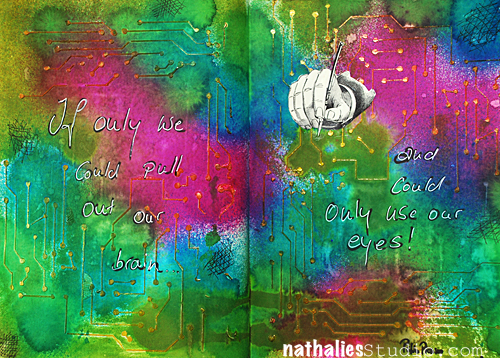
Here is what I created for today:

NatKalbach_CircuitStencil01

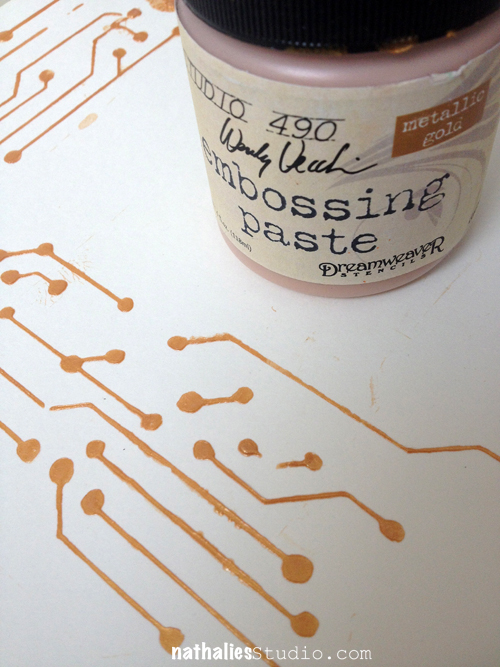
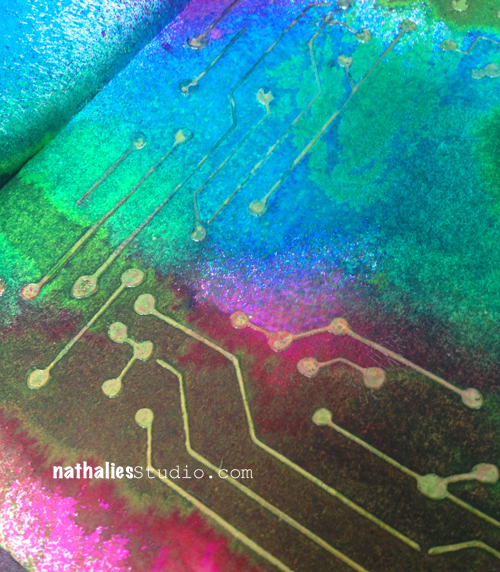
It is a very simple yet colorful sparkling art journaling page :) I used Wendy Vecchi’s Golden Embossing Paste over the Stencil- simply scrape it over with an old credit card or hotel key card.

NatKalbach_CircuitStencil03

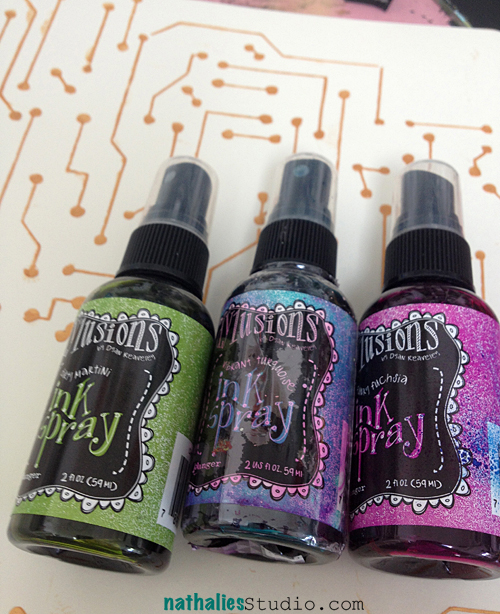
I let it dry and then used three different colors of Dylusion Sprays over it.

NatKalbach_CircuitStencil04

At some areas I dabbed the color off while still wet – so it got sparkly gold again, at some areas I just let the color sit and dry on top of the circuit pattern.

NatKalbach_CircuitStencil05

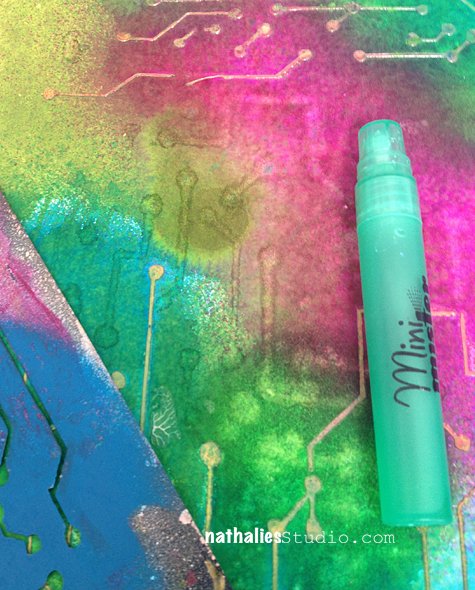
Next I used a water mister and laid out the Circuit Stencil over areas that weren’t covered yet with the pattern, spritzed over the stencil and used a rag to rub through the stencil. As the Dylusions get reactivated by water, you take off some of the colors and get a little Circuit Ghost Effect :)

NatKalbach_CircuitStencil06


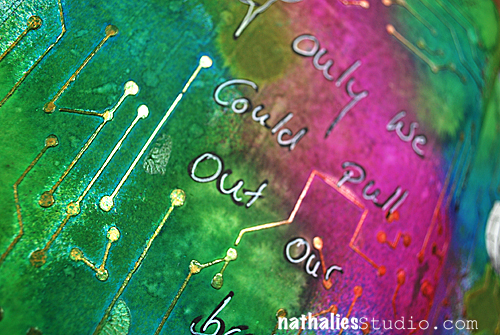
Voila- a nice background that you can add photos, journaling, stamping etc. I simply used a little quote I liked, by Pablo Picasso – I love filling my art journal with quotes.

NatKalbach_CircuitStencil02

Here are the supplies I used:

nSupplies

Now hop on over to my friends and check what they did :)

Stephanie Schütze

Birgit Koopsen

Marjie Kemper

Samie Harding


Have Fun

Nat
LogoBlogSignature

Comments (98)

Leave a comment

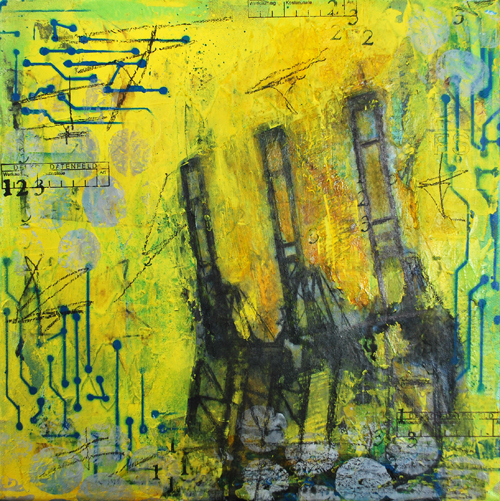
Cranes or…Hamburg*End(si)e Canvas

NatKalbach_Kraene01

Another Canvas for my exhibition- which is going to be part of a small series of three and belongs to this canvas I showed already. I find the Hamburg Harbor very interesting – I love the cranes, the big container ships, the containers. Hamburg is actually called “Tor zur Welt” too, which means “Gate to the World” – a second name of Hamburg which apparently has been mentioned in 1888 already (I didn’t know – LOL). I have to say the harbor has  indeed this little taste of a gate to the world. BTW – if you are ever in Hamburg as a tourist…do not go to the harbour on the weekend – it is unbearably full there in the summer…the best time is in the middle of the week at 10 am – and then take a boats tour – beautiful!

NatKalbach_Kraene02


Off to work on the third canvas in this series.

What second name is there or would you give your home town/city?

Have a gorgeous day

nat

LogoBlogSignature

Comments (13)

Leave a comment

Stencil Hop – Oldtimer

NatKalbachStencilbloghop


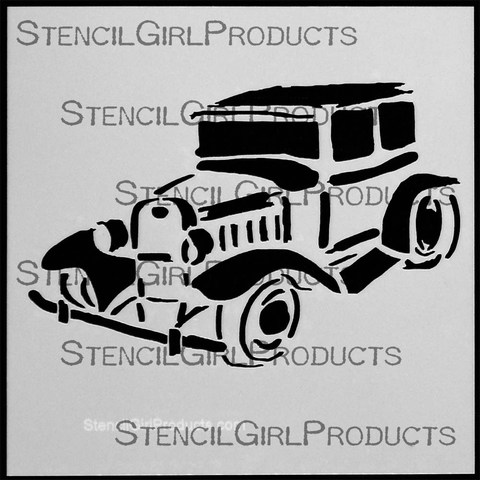
Welcome to my first Stencil Blog Hop! I invited four wonderful artist friends to hop along with me today and play with my StencilGirl Products Oldtimer Stencil which is a 6 x 6 Stencil:

NathalieKalbach_OldtimerStencil


You have four chances to win this stencil. Leave a comment on each of the listed blogs (Jamie’s comment function didn’t work in the morning – so if you posted on all blogs a comment that worked I will count them as if you did comment on hers too;) ) and on my blog  and let us know how you like the projects and I will pick randomly one lucky winner. You have time to comment till July 30th, 2013 – midnight EST.

Edited August 4, 2013: The winner is Gerd Andersen – Congratulations. Gerd please email me with your postal address so I can get this stencil sent out to you :), Nat


Here are my friends joining me:

Jessica Sporn who does wonderful Mixed Media art and has her own amazing range of StencilGirl Product Stencils.

Stephanie Schütze – a super talented Scrapbooker from Switzerland

Jamie Dougherty – who is a super good workshop teacher and does stunning Mixed Media- and Scrapbooking-Projects

Maria McGuire – she does beautiful scrapbooking and Mixed Media Projects and coordinates also the awesome StencilGirl Products Blog called StencilGirl Talk


I am a big fan of oldtimer cars and so I knew I wanted to do this stencil for all kinds of projects. Check out some samples here:

OldtimerStencilProjects


Here is what I created for today:

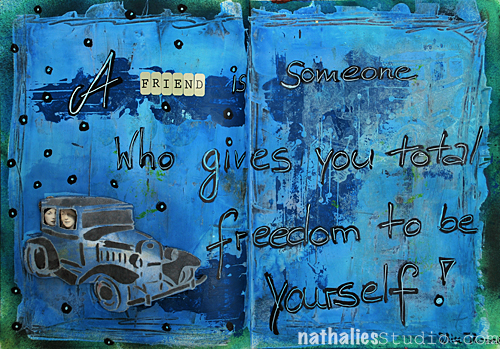
NatKalbach_OldtimerStencil01

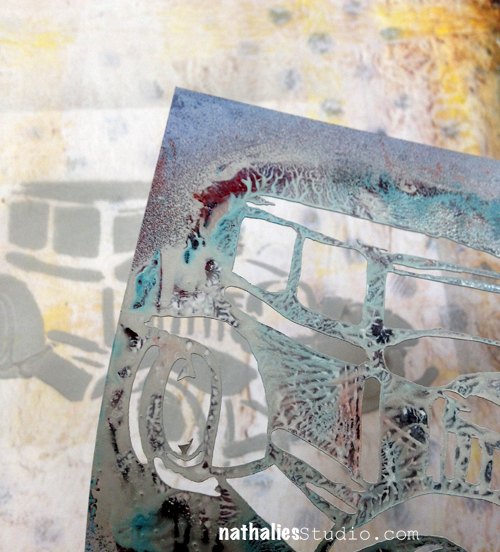
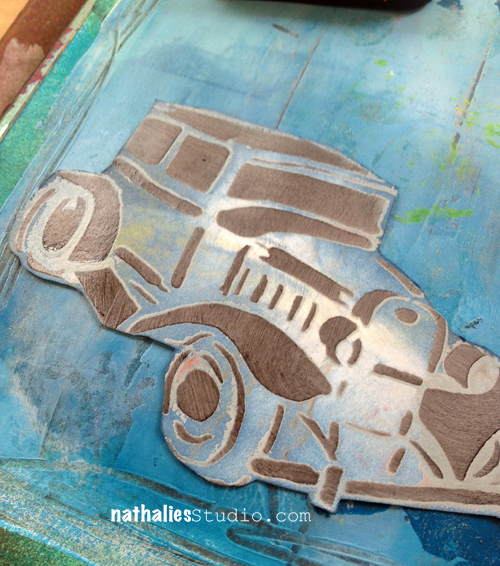
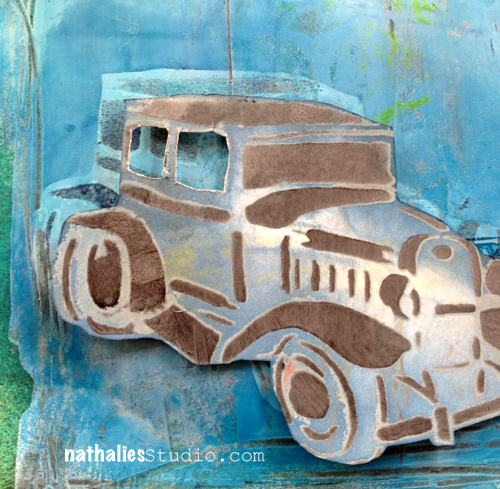
I do love to create some depth with my stencils -so here is how I did it here. I sprayed through the Stencil with Liquitex Spraypaints- but you can use any other paint media.

NatKalbach_OldtimerStencil03


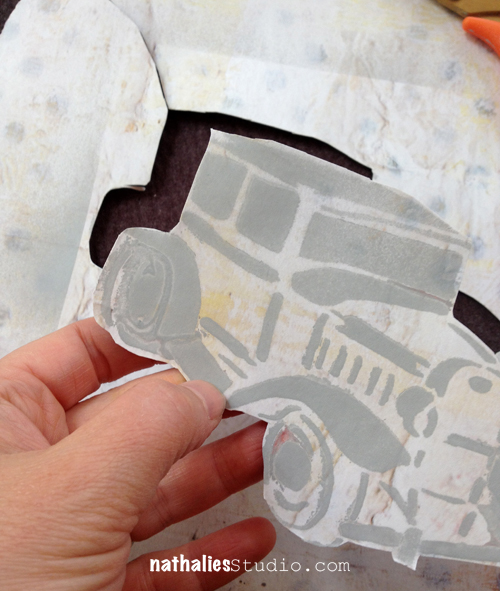
Then I cut out the car – just around the outline

NatKalbach_OldtimerStencil04

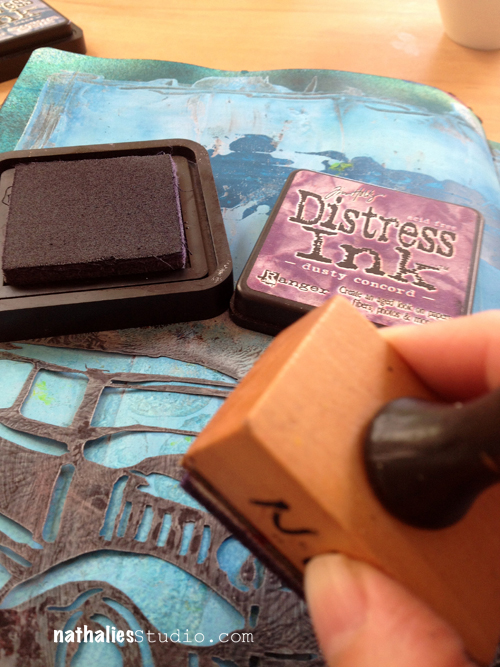
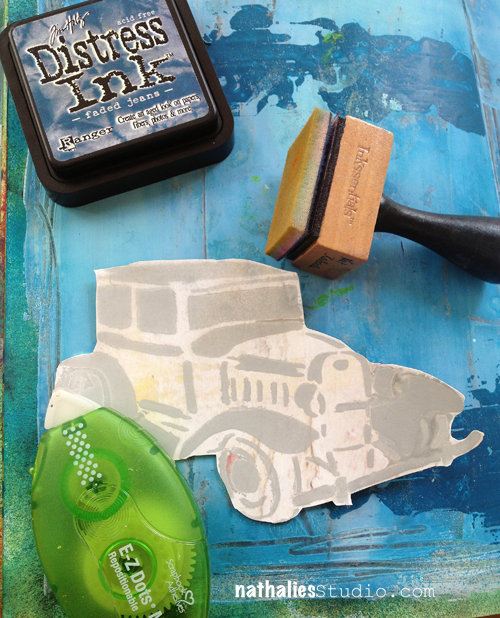
I picked a page in my art journal where I had already played a bit with a background and gathered some repositionable double sided adhesive, distress ink and a blending tool.

NatKalbach_OldtimerStencil05

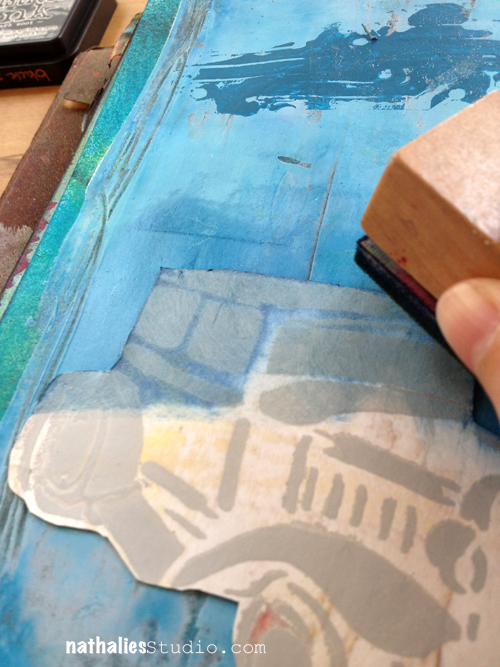
I adhered the old timer with the repositionable adhesive  and then applied a bit darker distress ink with the blending tool – to outline the car.

NatKalbach_OldtimerStencil06


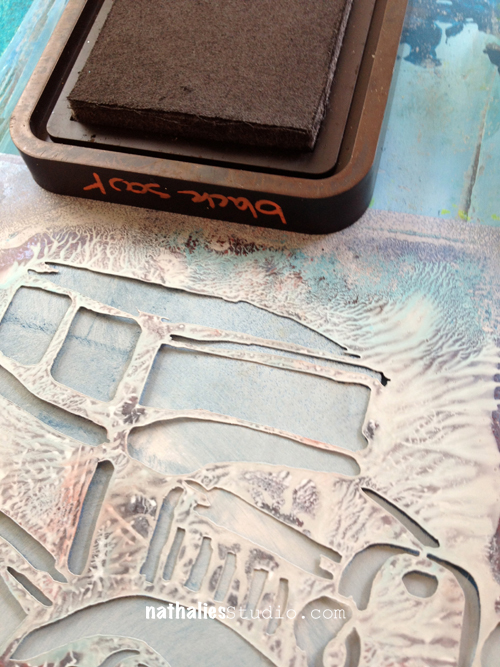
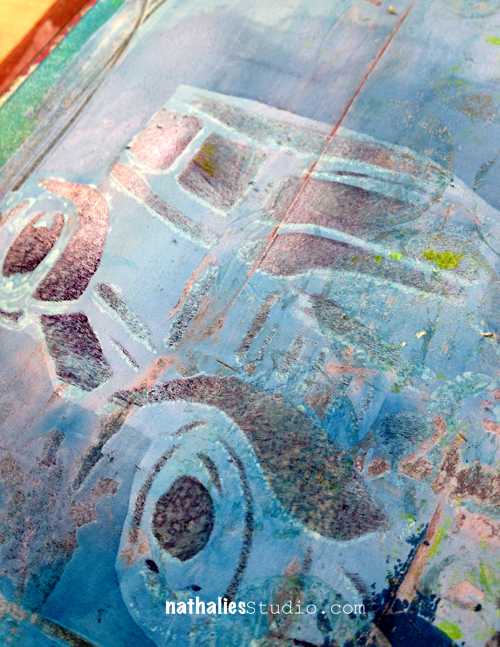
I used another distress ink color and the stencil again, which I laid over the car again and went over it again with the blending tool.

NatKalbach_OldtimerStencil07

As you can see it gave a another shadow- as the first sprayed stencil image still peaks through- and it adds already more depth to the oldtimer

NatKalbach_OldtimerStencil08


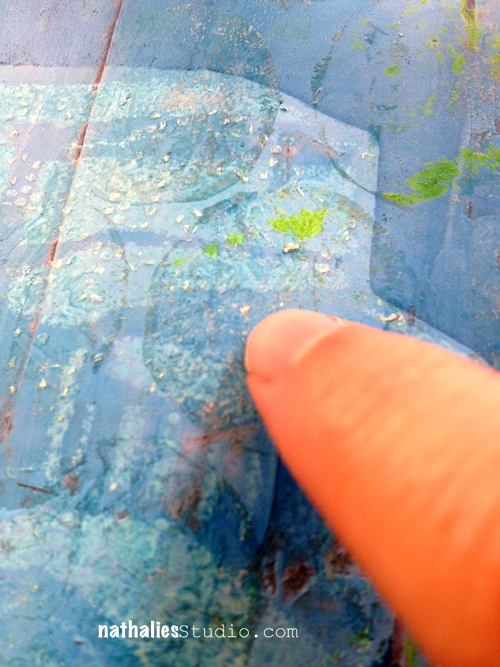
Now I peeled of the oldtimer car and then carefully rubbed off the adhesive dots.

NatKalbach_OldtimerStencil09


Next I placed the car directly onto the background into the before outlined borders-

NatKalbach_OldtimerStencil10


I do this so later when you raise the car with foam pads- there is a shadow visible.

NatKalbach_OldtimerStencil11


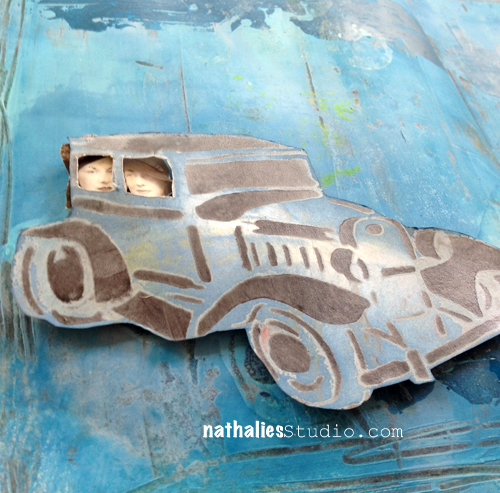
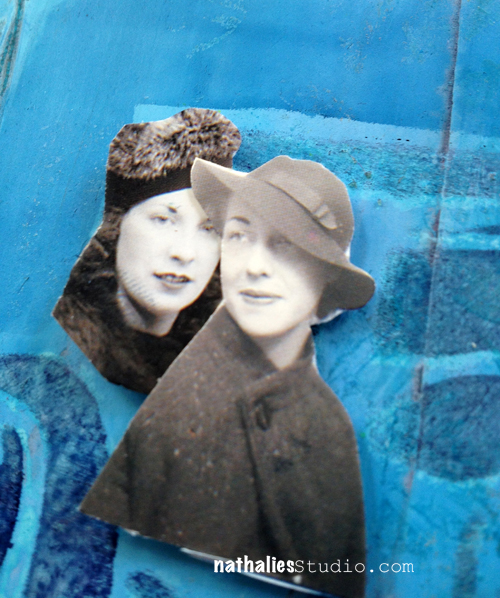
Then I cut out some faces that would fit behind the windows

NatKalbach_OldtimerStencil12


and I cut out two windows of the oldtimer car on the paper

NatKalbach_OldtimerStencil13


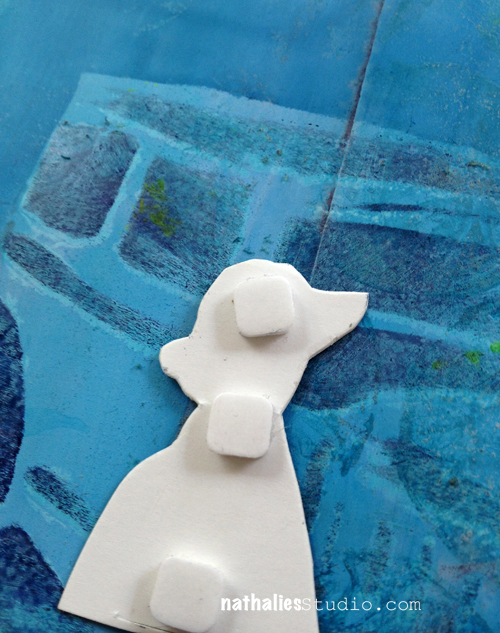
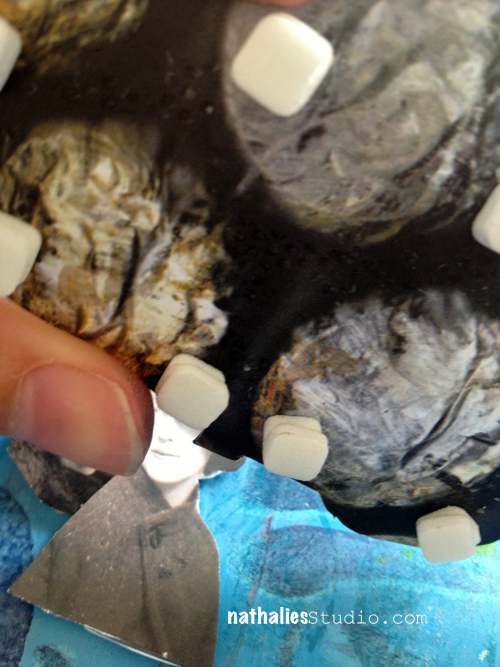
I applied foam pads to the backs of the faces

NatKalbach_OldtimerStencil14


adhered them using the image of the oldtimer on the background and slightly a bit off

NatKalbach_OldtimerStencil15


then I stacked two foam pads on top of each other- to give more height -to the back of the oldtimer car on the paper

NatKalbach_OldtimerStencil16


and adhered the car also slightly off

NatKalbach_OldtimerStencil17


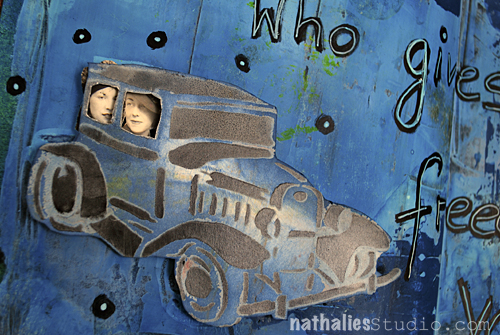
and there you have it :) I think it is a great way to add dimension and depth with stencils.

NatKalbach_OldtimerStencil02


Here are the supplies I used:

nSupplies


Now hop on over to my friends and check what they did and comment for some changes to win the stencil :)

Edited August 4, 2013: The winner is Gerd Andersen – Congratulations. Gerd please email me with your postal address so I can get this stencil sent out to you :), Nat

Jessica Sporn 

Stephanie Schütze

Jamie Dougherty 

Maria McGuire

Nat

LogoBlogSignature

Comments (39)

Leave a comment

Deserted Island Question or…Nat’s Emergency Art Kit

NatKalbachEmergencyArtKit


Have you ever been asked what art supplies you would bring to a deserted island? I always had fun answering this question – of course in a light hearted way *yeah-easy-duh!*. But now…although I am not really going to a deserted island, I actually have to give this question some serious thoughts. In less than nine weeks I will move to the U.S. which means that my art supplies and my whole studio will be in a sea container from 4 to maybe even 8 weeks. I will also not be able to ship certain supplies like my beloved Liquitex Spray Cans, Alcohol Inks, certain adhesives, oil paints etc. which means I will have some serious expenses on art supplies once over the pond. So in a way I am going to a deserted island and I pretty early came up with the thought to put together an emergency art kit to ship ahead of time to the States, to keep me able to work and the costs low in the beginning.

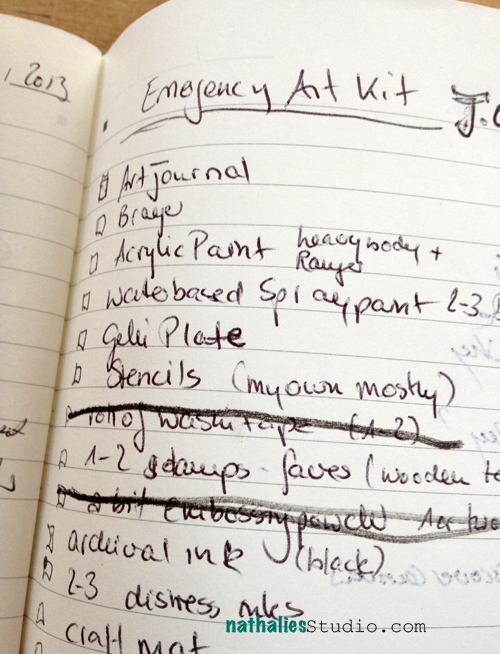
NatKalbachEAK01


As you can see I was going back and forth a bit on my list. For example I decided against taking embossing powders or an embossing ink pad because my heating gun won’t come with me to the States (220V) and I have to buy a new one there- so that can wait a couple weeks. The first item is my art journal- so the surface question is answered right away ;)  I picked a shoe box and a 12×12 flat box to put all supplies safely in, which also makes it safe to ship with some of our other emergency items we need in the first days (some kitchen stuff, towels etc.).

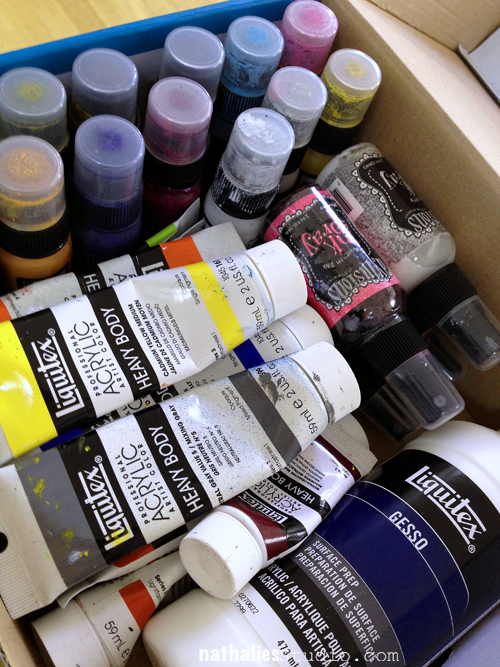
NatKalbachEAK02

I packed some of my favorite Liquitex Heavy Body Paints and then also some of my Ranger Distress Paints-. They are so different that it made sense to pack two different kinds of acrylic paints and they do not take that much space. I packed actually 4 Dylusion Ink Sprays – it was hard to decide on the colors . All these supplies are perfect to use on their own for backgrounds, with stencils, or with each other. The Gesso bottle was actually an extra. I had Gesso along with Gel Medium, Cosmetic Sponges, Liquitex Spraypaints and the Heating Gun on my list to buy in the States, but since this bottle is brand new and still sealed I decided it makes just sense to bring it and safe on that bit of money. Plus remember – Gesso is my Dumbledore ;)

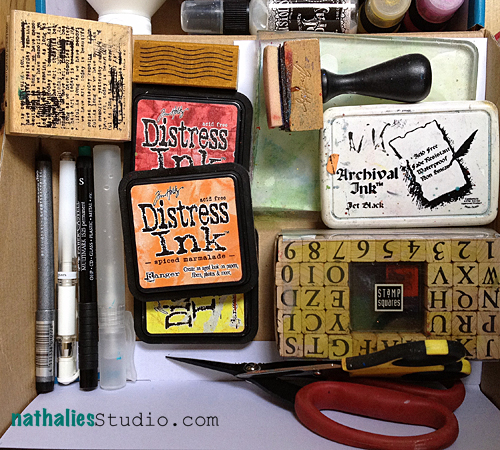
NatKalbachEAK03


I then also packed a Gelli Plate- actually it is a cut piece of a Gelli plate – so just a small piece in order to be able to do some fun things with stencils and perfect also to use with the Ranger Distress Paints. As I always love to incorporate text and lines and love to use alpha stickers for titles, I decided to pack a small text background stamp, a stamp with wavey lines and my wooden alpha stamp set – which gives me more freedom when a couple packs of alphas where I will be missing the most important letters pretty soon. Going along with it, my Archival Ink Pad- of course re-inked. You see my three favorite Distress Inks with a Blending Tool – I love to use it to give depth and it is also perfect for stencils. Then a black journaling pen, my favorite foil writer, a white Signo Pen and a Water Mister -as you can use it with so many techniques for with the Acrylic Paints, the Distress Inks and the Dylusion Sprays in the kit. Furthermore you see in the picture my two favorite scissors – the bee cutter for finer cutting and the Tonic Scissors for heavy duty stuff.

NatKalbachEAK04


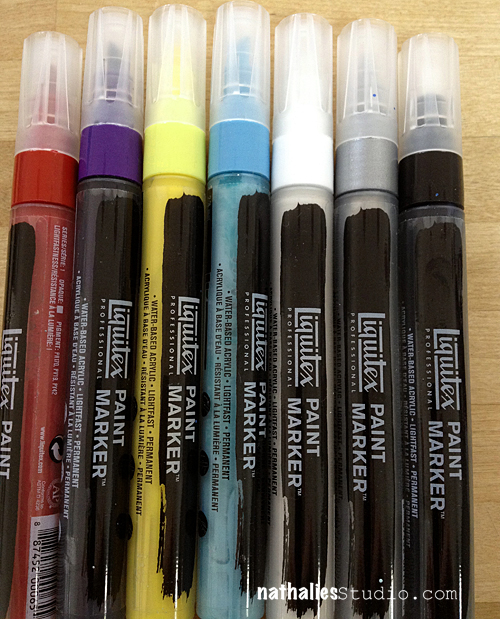
I also packed some of my favorite Paint Markers – as I use them for so many different techniques in my work nowadays and they really do not take that much space.

NatKalbachEAK05


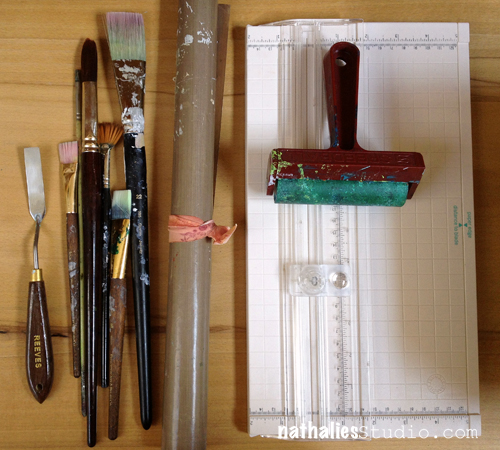
I packed a brayer- I love using a brayer for many different background techniques, with the Gelli Plate and even to smooth out adhesive – so that was a given thing to pack. The Paper Cutter wasn’t actually super necessary but I am a klutz when it comes to cutting straight lines with a craft knife – so I am sure I will be pretty happy to find it in my kit later ;) I also packed a craft mat. Also some brushes – different ones and a palette knife -not a necessity but it really wanted to come with me because I love using this one ;) I also threw in a roll of Crafty Power Tape (not in the picture) – as this is my favorite adhesive for mixed media stuff.

NatKalbachEAK06


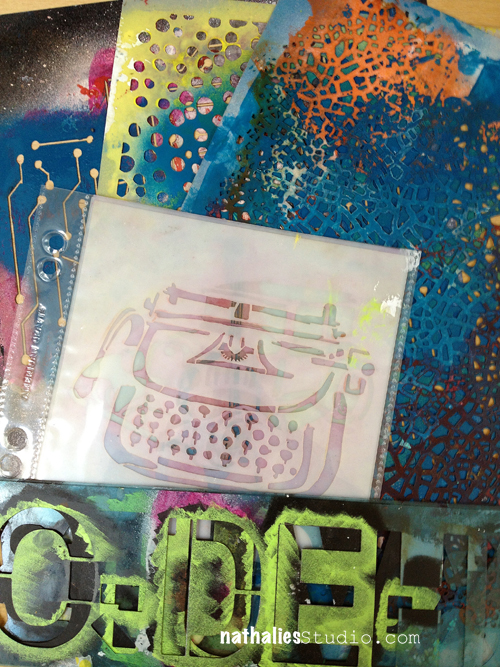
And at last stencils- and I decided to just pack my six stencil designs and a set of alpha stencils. As I am a stencil junky it was hard to leave the others behind for now but I am also looking forward to work on new fun projects with my own stencils.

And here is the whole list of what I take in my emergency art kit:

nSupplies

I hope this will cover me till the container arrives  plus it is going to be fun to be so restricted on supplies :)

What would you take with you ?

LogoBlogSignature

Nat

Comments (28)

Leave a comment

Whatevers Round 2 #1 or Choice

the WHATEVERS 2 A


Are you ready for the 1st of the Second Round of Whatevers? If you missed what the Whatevers is all about or want to see all the past photos and takes…check it out here.

Click here to see what Cat, Vicki, Martha and Cuchy made out of the photo and which story they tell.

Here is my take:

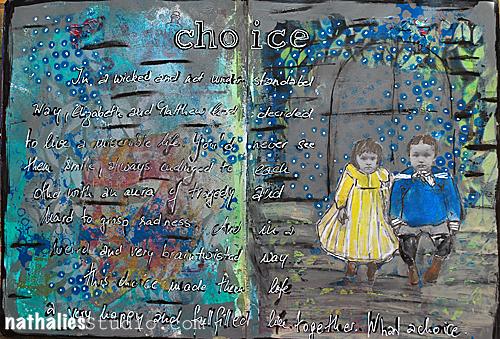
NatKalbach_Choice_05


Journaling:

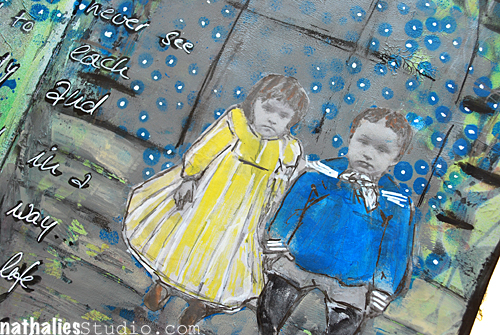
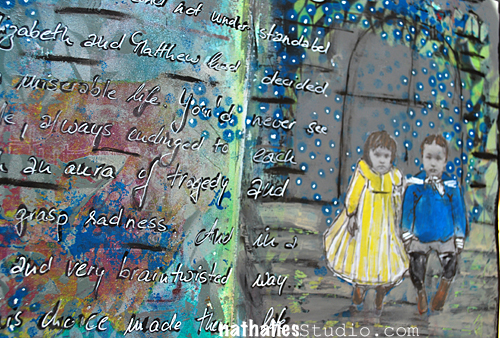
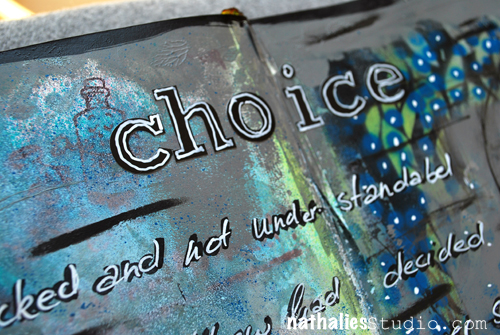
In a wicked and not understandable way, Elizabeth and Matthew had decided to live a miserable life. You’d never see them smile, always clinged to each other with an aura of tragedy and hard to grasp sadness. And in a weird and very brain twisted way…this choice made them life a very happy and fulfilled live together.

NatKalbach_Choice_04


When I saw this picture of the siblings and how sad they looked , this journaling came instantly in my mind. And as you know from the first round of the Whatevers – I like to give my Whatevers a dark twist- LOL- so here we go again.

NatKalbach_Choice_03


I used Liquitex Acrylic Paints, Liquitex Spraypaints and Markers on this art journal page as well as my Stencil Girl- What’ s The Point Stencil and Jessica Sporns Cascading Leaves Stencil. I love white colored journaling and in order to make this work, I usually journal first with a black marker and then go over with a white marker.

NatKalbach_Choice_01

And here is the photo of this month’s Whatever for you:


July2013_Whatevers01


Here is how it works

  • Vicki, Cat, Cuchy (Carmen), Martha and I and I have made a one-year commitment to each other and picked twelve photos with Whatevers whom we will give a story.
  • Every month – if possible always on the 15th –  each of us will do a post with an individual story that goes along for us with the same photo.
  • If you want you can play along and we will have the photo for you to download and show us your version of The Whatevers. The photo will be posted at the end of our blogposts- not on Facebook!
  • There is no rules to the story itself- it can be funny, sad, uplifting, breathtaking- WHATEVER
  • There is no rules on the length or the form of the story– it can be a short sentence, an essay, a poem or a soap opera – WHATEVER
  • There is no rules on the artform you choose – it can be a scrapbook layout, an altered art project, an artjournal page – WHATEVER
  • Here is a rule though: if you take the photo you have to link back to us and show us your story.
  • These pictures are from our personal stash and are for personal use for you only! If you want to use them for a publication whether a book or magazine in print or digital form please ask for permission!
  • If you want to participate we’ll have a linky list for each Whatever Post.
  • You can also join our The Whatevers -Facebook Page


Two Button

Nat
 

Comments (11)

Leave a comment

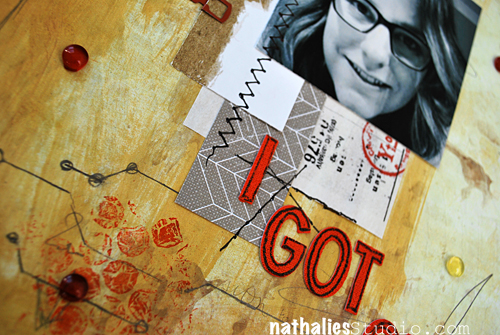
I Got Glasses

NathalieKalbach_IGotGlasses01bl

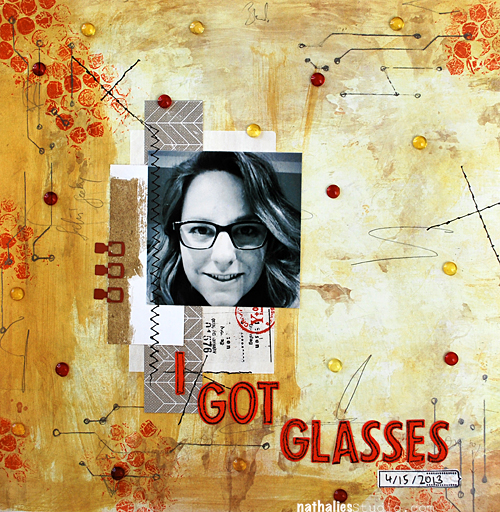
This layout was published last month in the Paperhaus Magazine and I had loads of fun doing it. The picture shows me with my new glasses…I guess my eyes are getting older- snigger

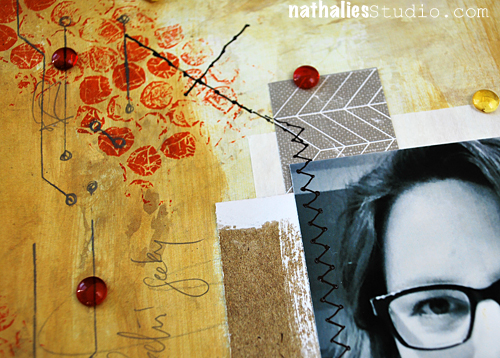
NathalieKalbach_IGotGlasses02bl

I painted the background with Luminarte Silks and also stamped with bubble wrap after applying some of the Luminarte Silk on top- love the effect.  I also used my Circuit Stencil and a pencil and just traced through the stencil -I love the effect.

NathalieKalbach_IGotGlasses03bl

The faux sewing I did with the Sew Easy Tool- which I love a lot- but always forget that I have it. You basically trace the stitching down and then I use a black journaling pen and just trace along- looks pretty real and makes it easy for some small stitching areas ;)
Here is all that I used

nSupplies

Do you have glasses? I actually like mine- although it took me a long time getting used to them and I still get a bit dizzy when the light changes.


LogoBlogSignature

Comments (13)

Leave a comment

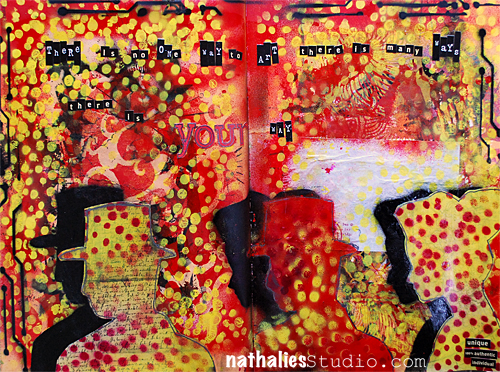
There Is No One Way To Art

There is no one way to art. There is many ways. There is YOUR way. – Robert Ryman

I love this quote and it makes me fall even more in Love with Robert Ryman and his approach to art.

NathalieKalbach_YourWay01

Lot’s of fun playing with my What’s The Point Stencil and some silhouettes I cut.

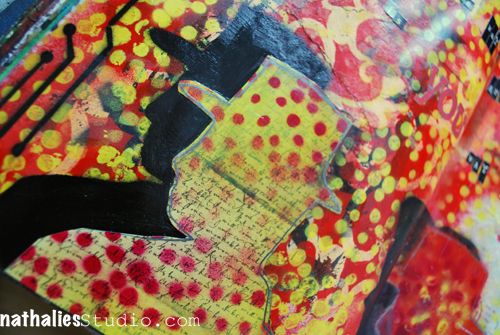
NathalieKalbach_YourWay02

I had cut out the silhouettes and played with the mask and the stencil which I got out of the two figures. I layered the stencil over too and sprayed with Liquitex Spray Paints over it -I like the effect.

NathalieKalbach_YourWay03

For the paper I used some Distress Inks – I just love how the Distress inks make every color pop.

NathalieKalbach_YourWay03

Here is what I used for the page:

nSupplies

Comments (4)

Leave a comment