Hex Marks the Spot – Maura Hibbitts

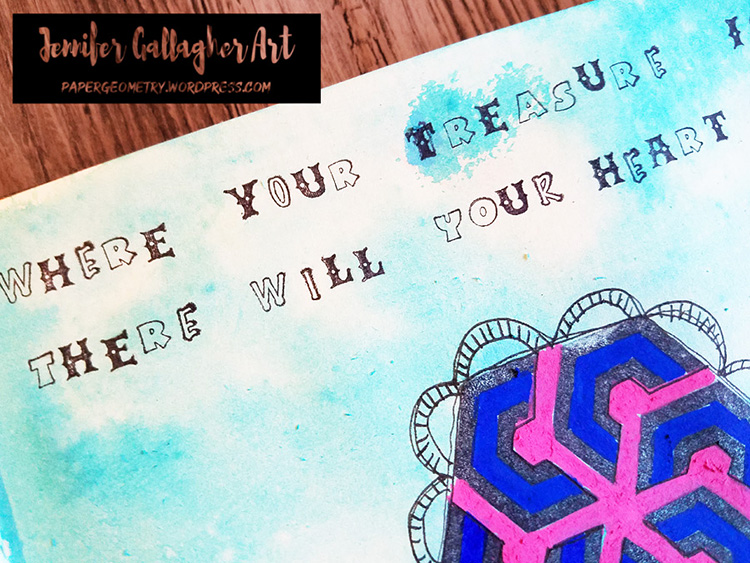
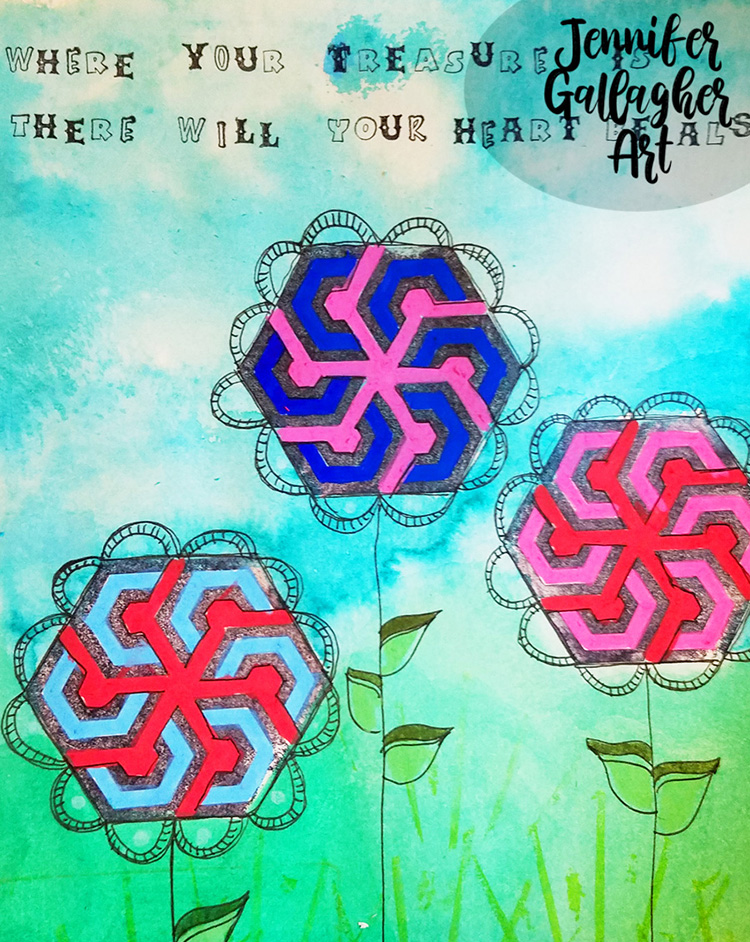
Hello from my Creative Squad today! Here we have a post from Maura Hibbitts, sharing an awesome little stamped pouch with us that will inspire you to get organized! She is using my Hex Set Large and Hex Set Small rubber stamps and this month’s theme: Hex Marks the Spot –In the days of pirates and lost treasure, a map would lead you to gold and jewels. Today we treasure all sorts of things – our family, friends, experiences, meaningful objects, accomplishments, etc. Think about what you treasure and how you found your way there.


I love using pouches and bags to organize my art supplies, and have a wide variety of styles to choose from. Bags to hold pens and pencils, bags to hold paint, papers … you name it, and I probably have a bag for that supply.
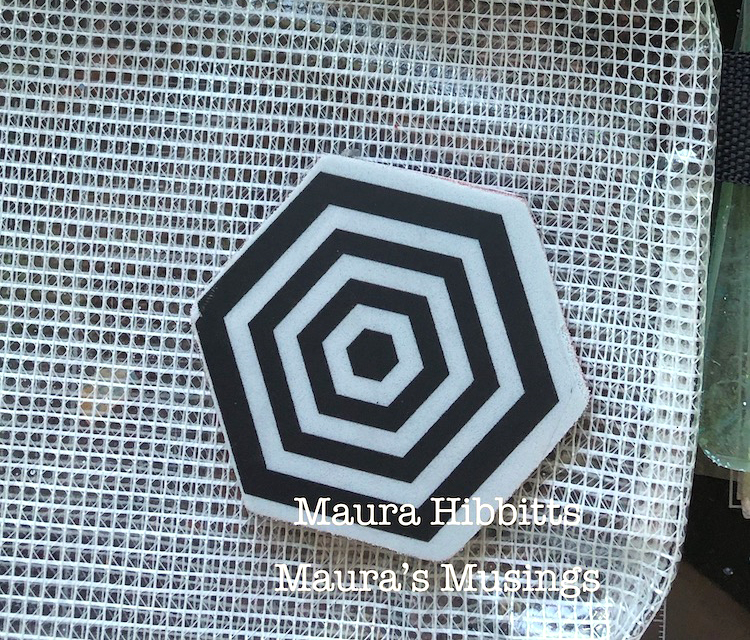
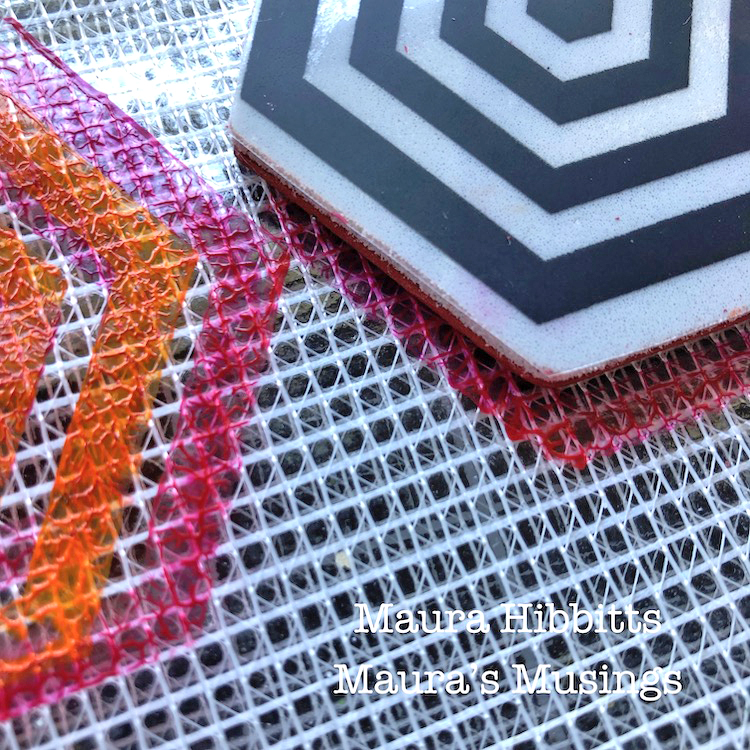
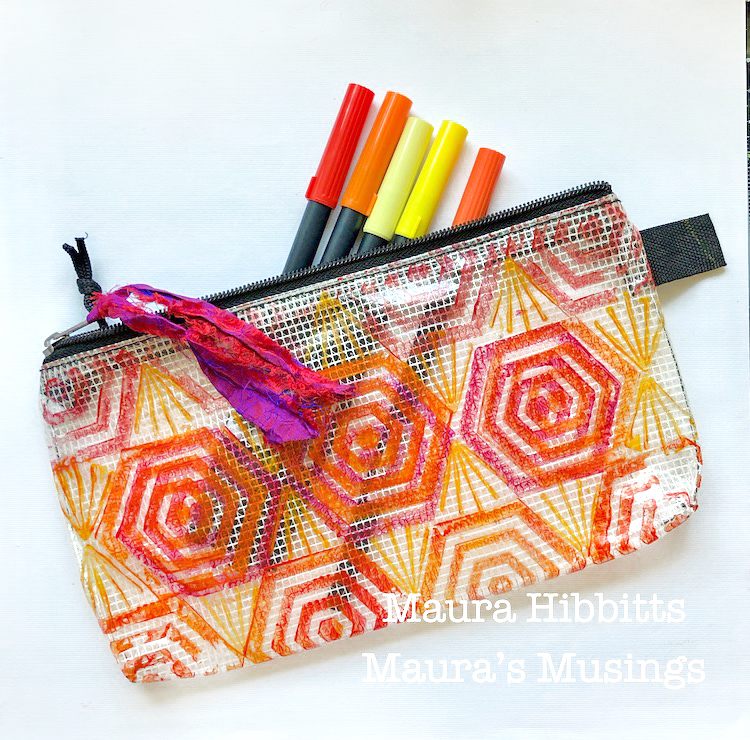
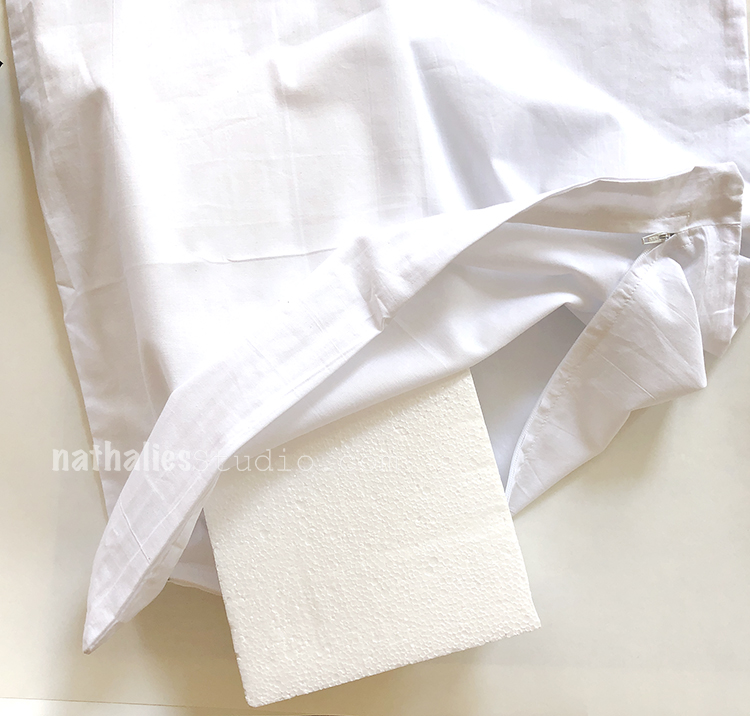
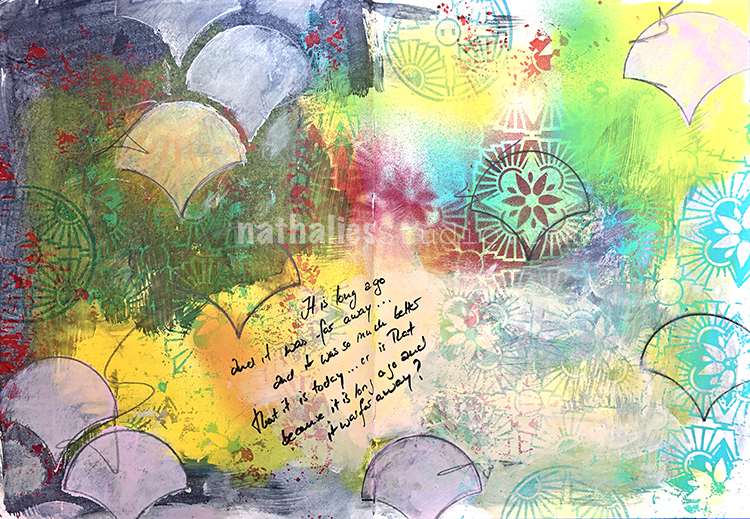
Some bags are boring and plain, like the mesh bag I started with here. It is so easy to transform a plain pouch into a mini work of art with some paint and stamps and make it your own.

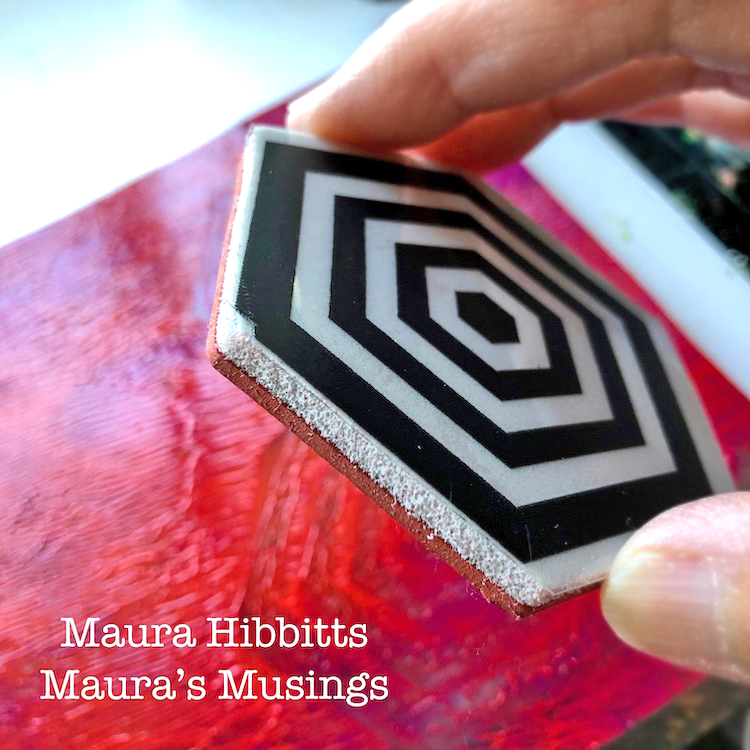
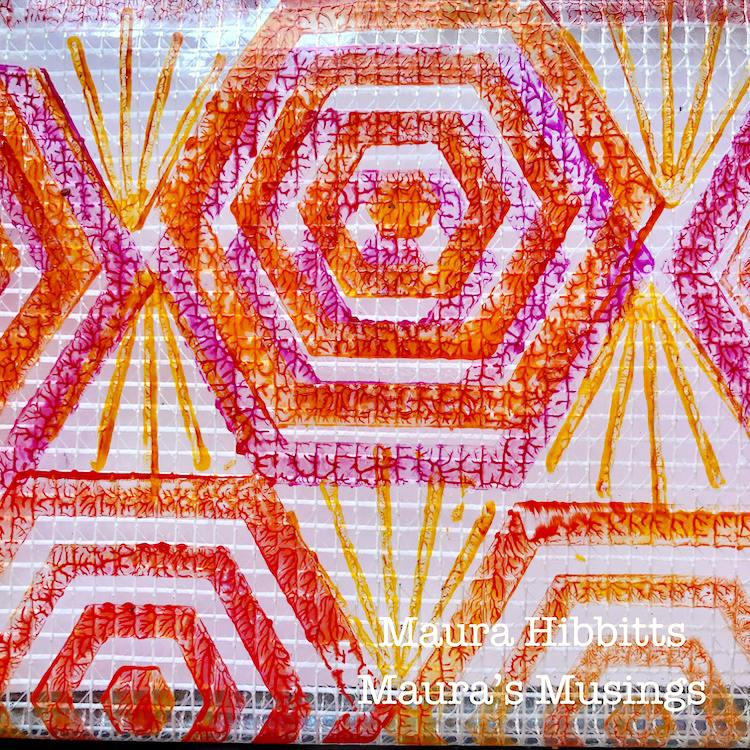
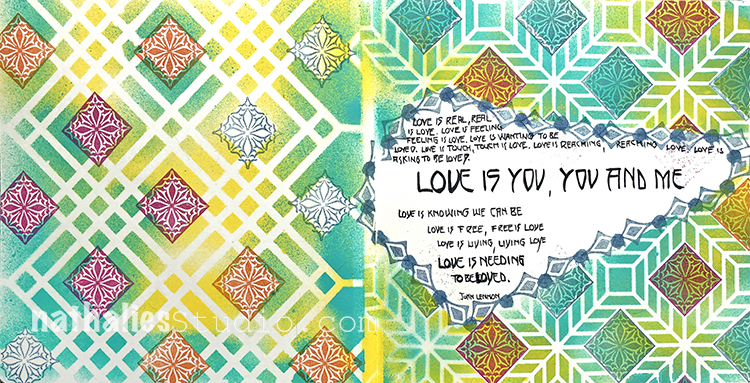
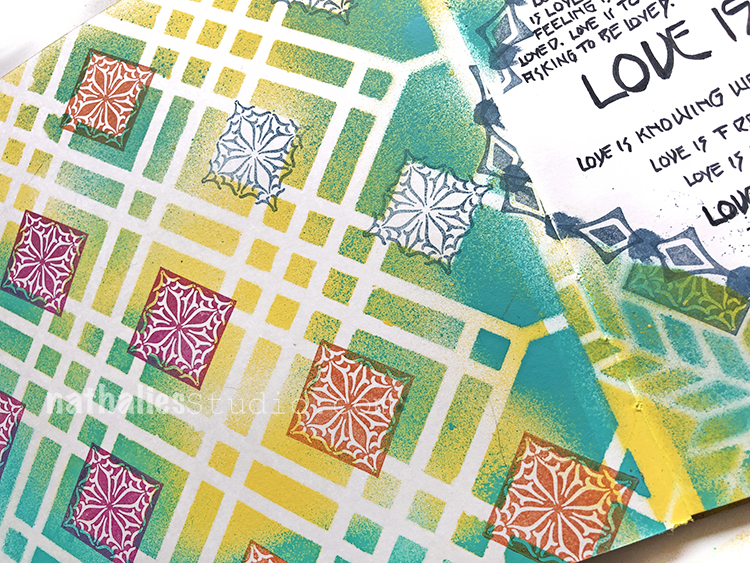
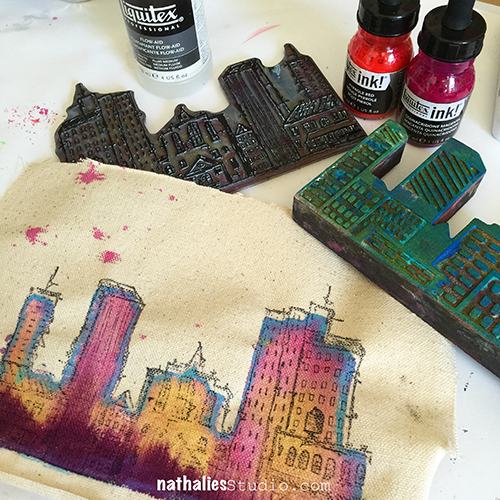
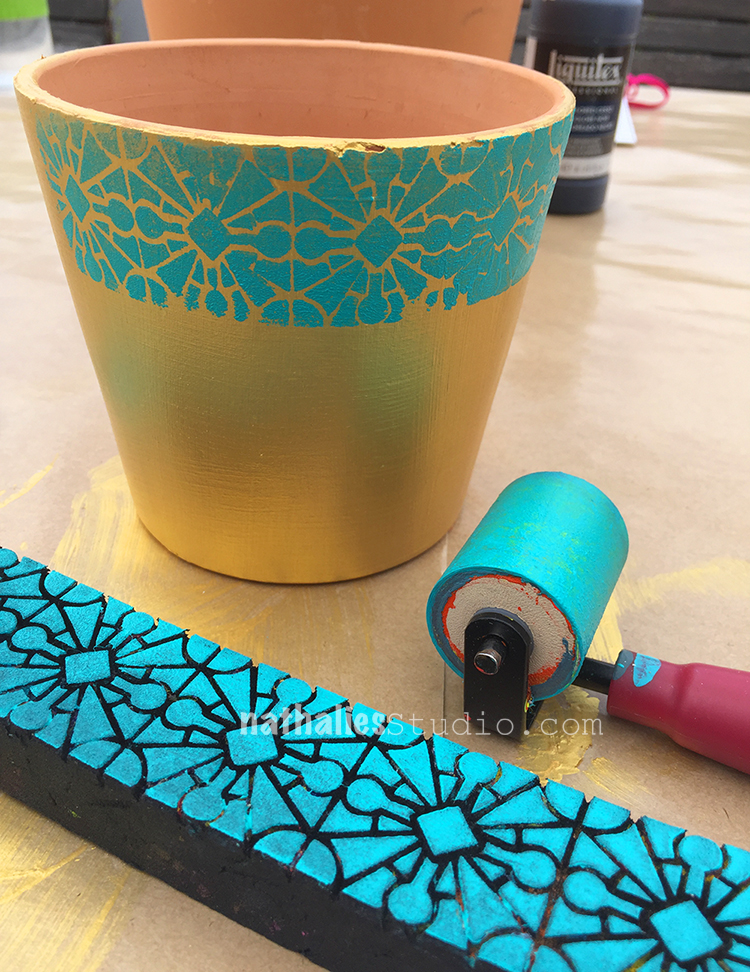
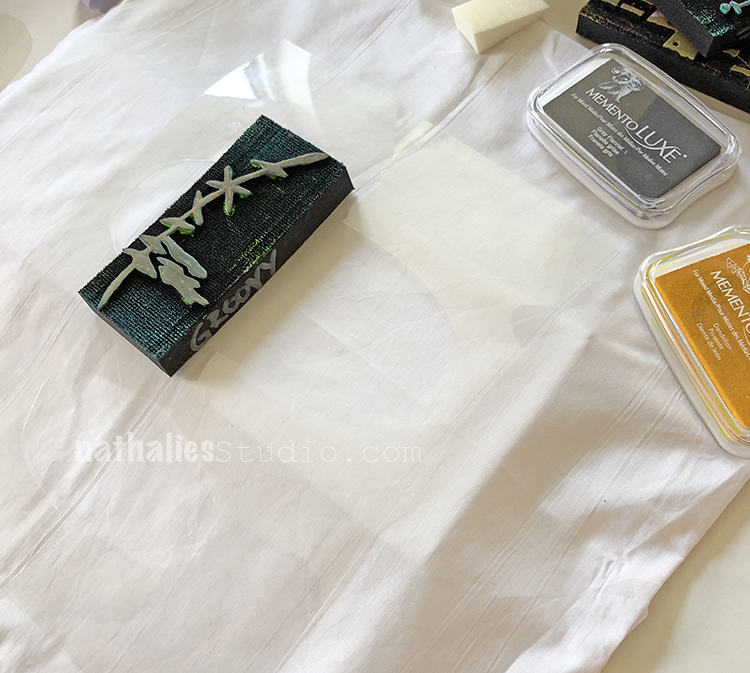
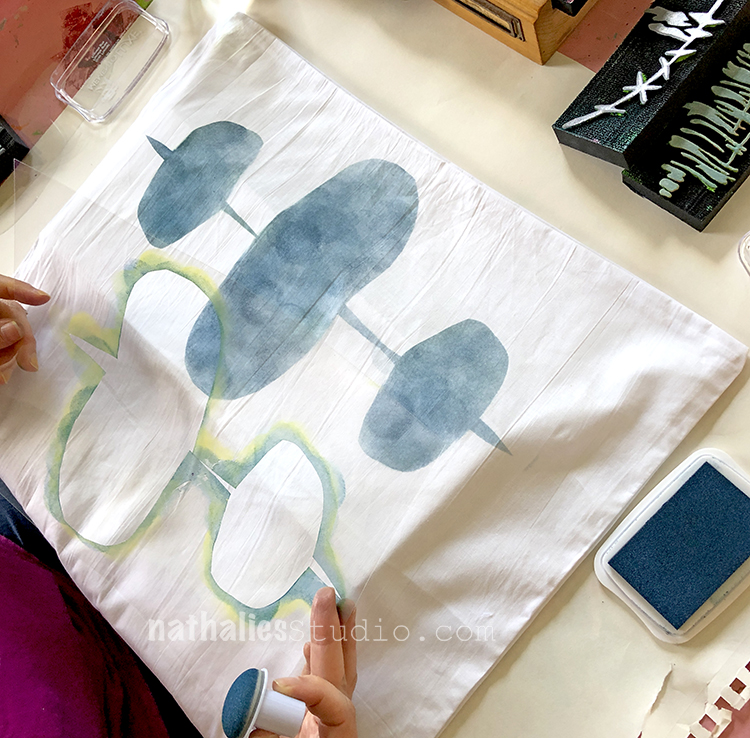
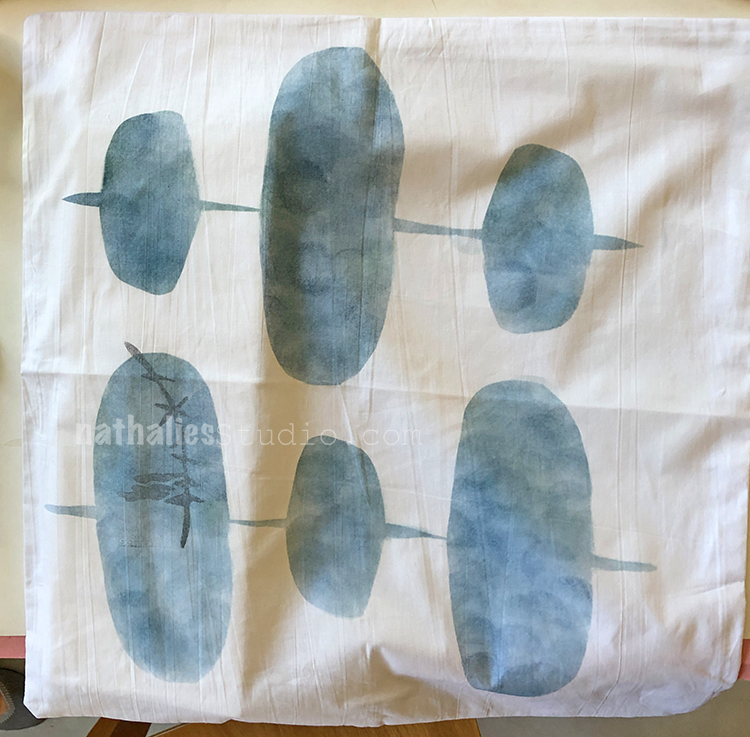
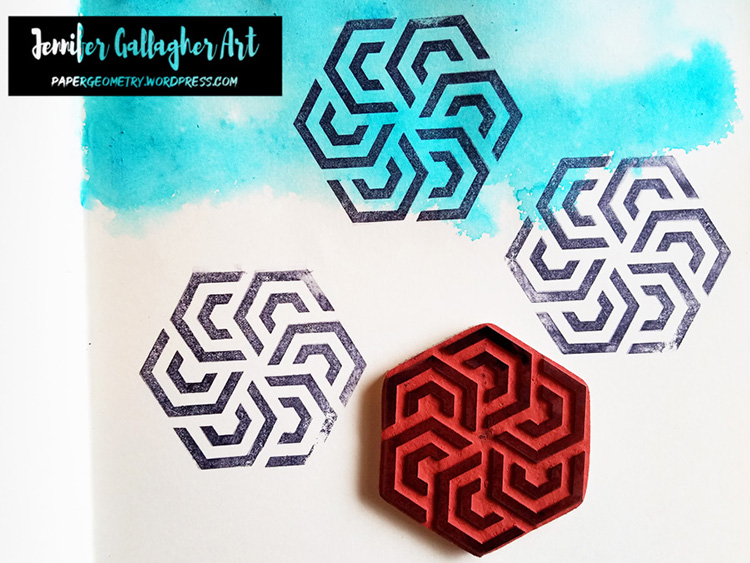
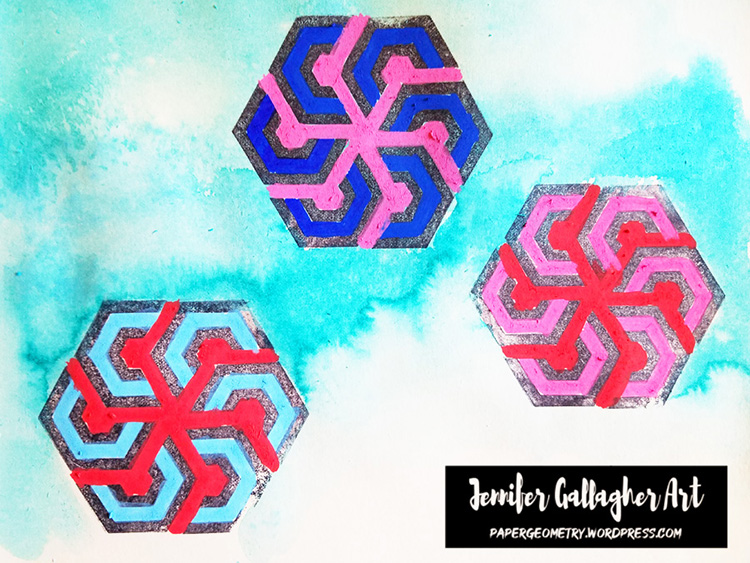
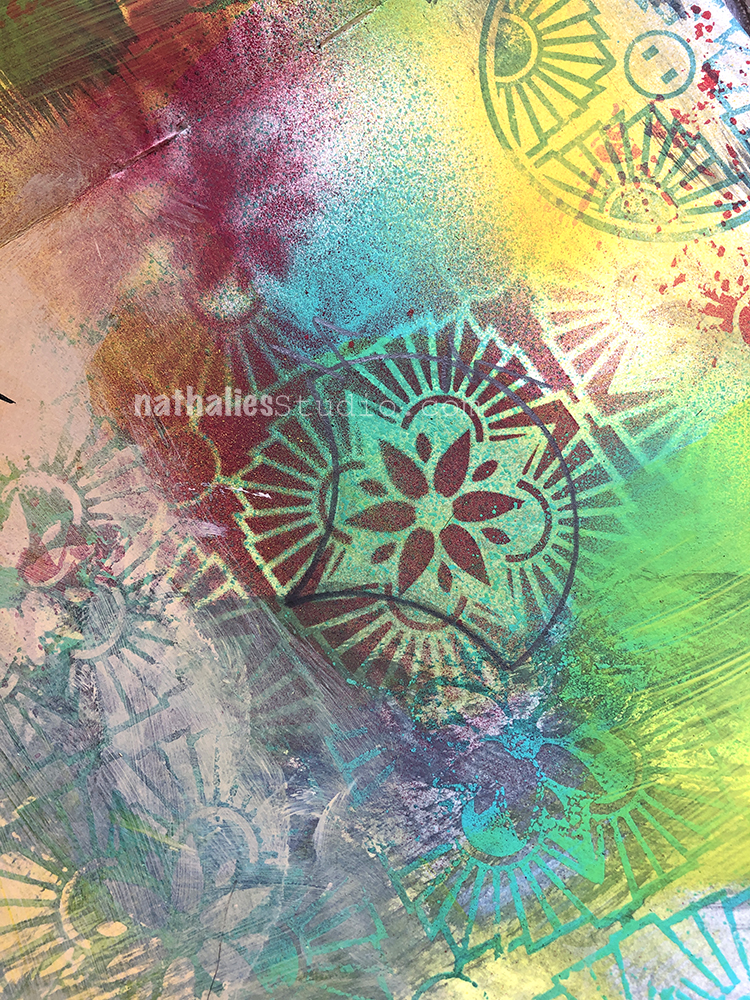
I like to use the gel plate to blend colors. I started with the red and magenta, and stamped the Space Oddity Hex stamp into it, then transferred the paint to the bag and repeated a pattern of three across the bag. Be sure to clean the paint off the stamps after using them. With a large design like these, I just use a baby wipe to clean them.

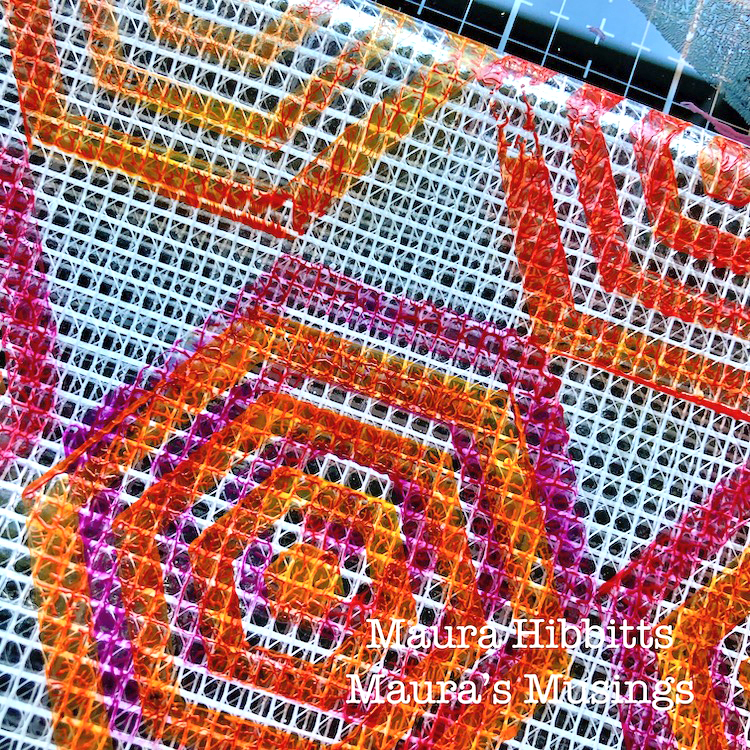
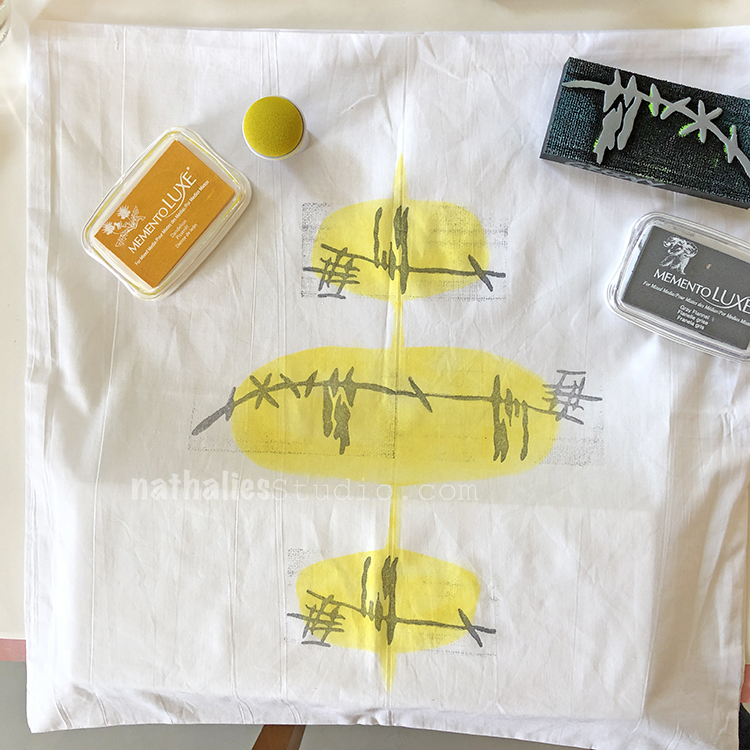
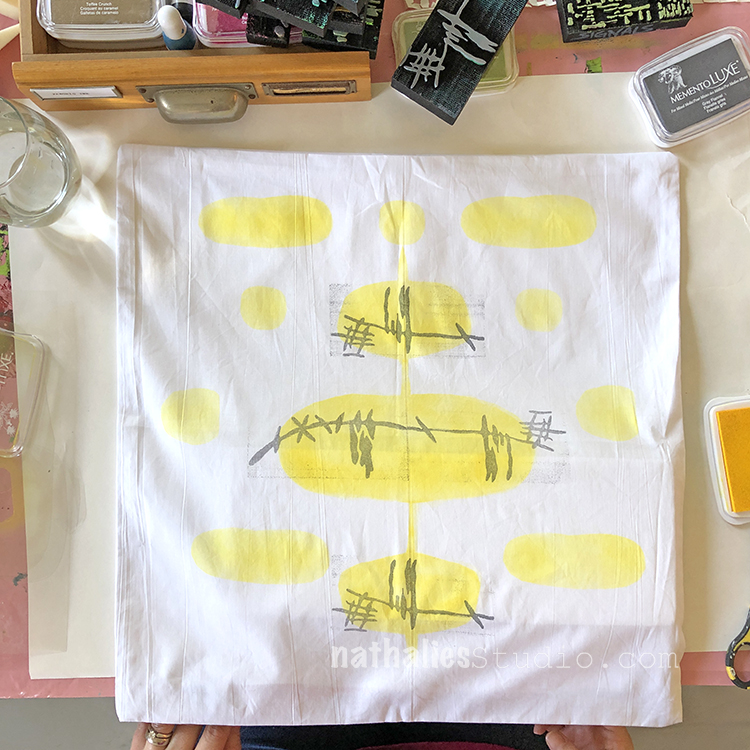
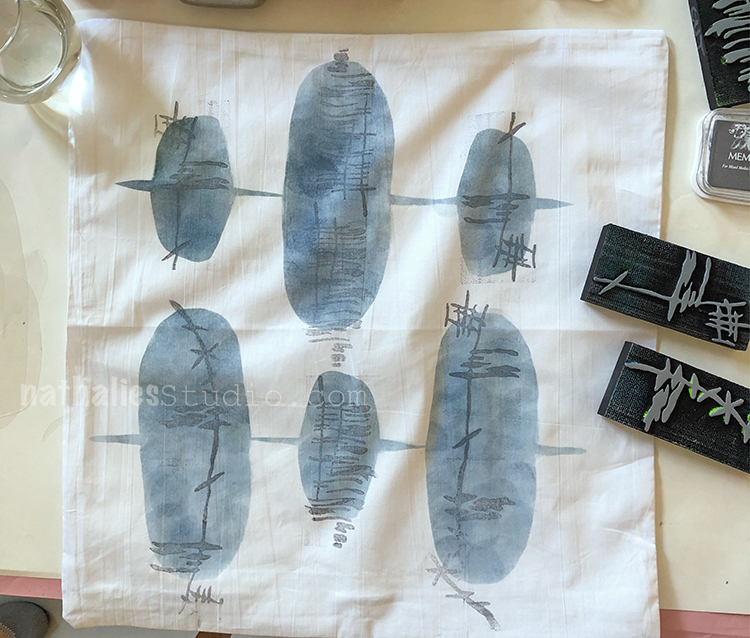
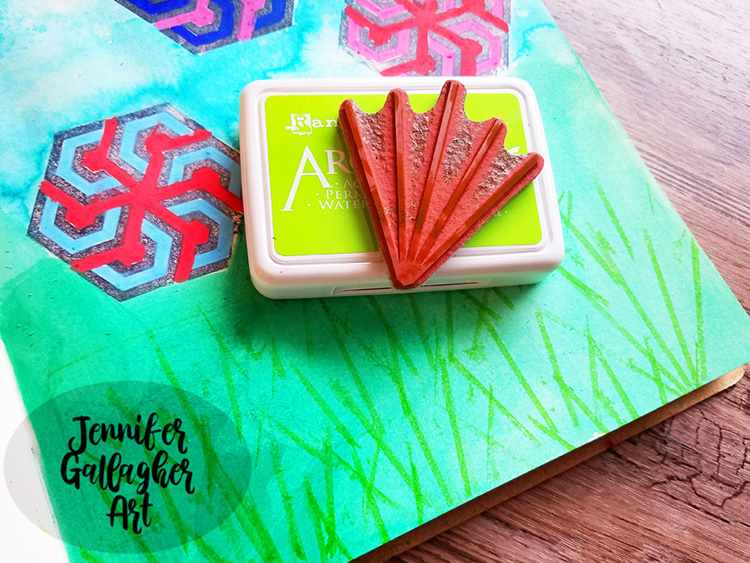
Next, I blended the yellow and orange on the gel plate with the brayer, and laid the stamp into it. I offset the hex stamp this time onto the previous stamped design. I also repeated a partial pattern at the bottom and top of the bag with the yellow/orange and then the magenta.

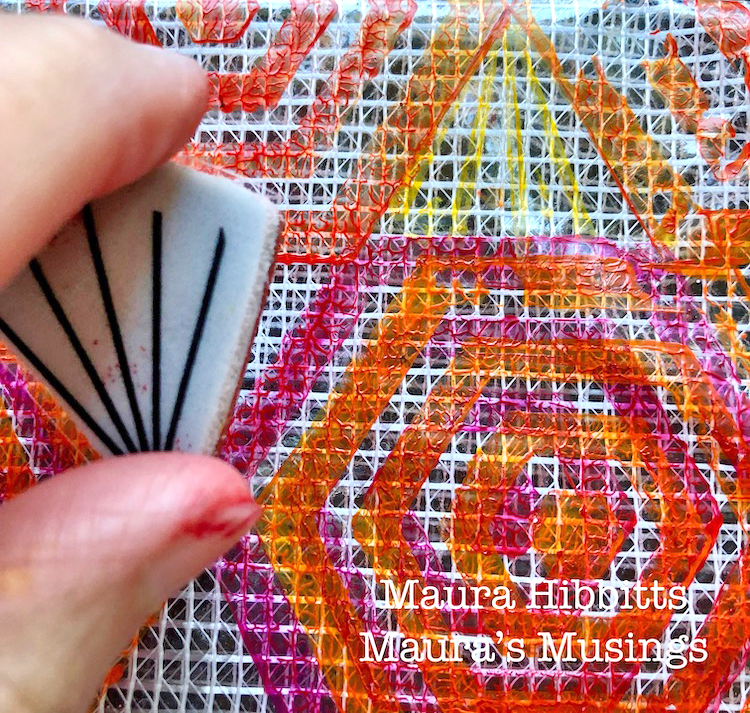
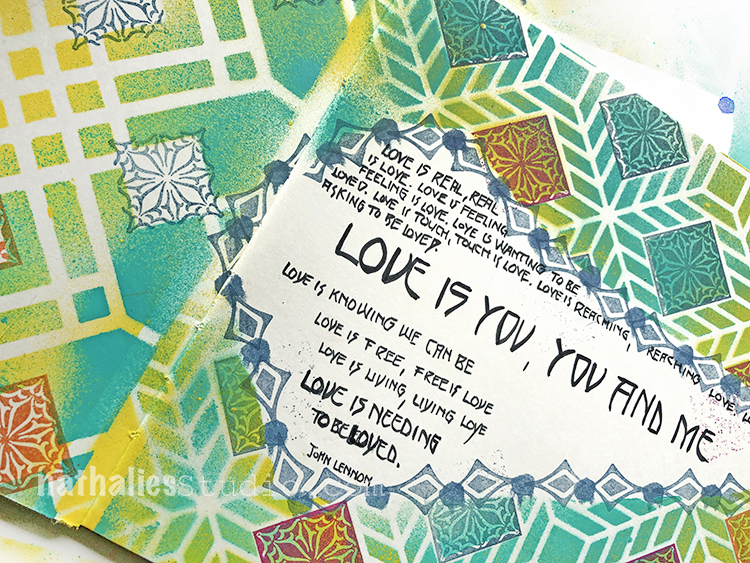
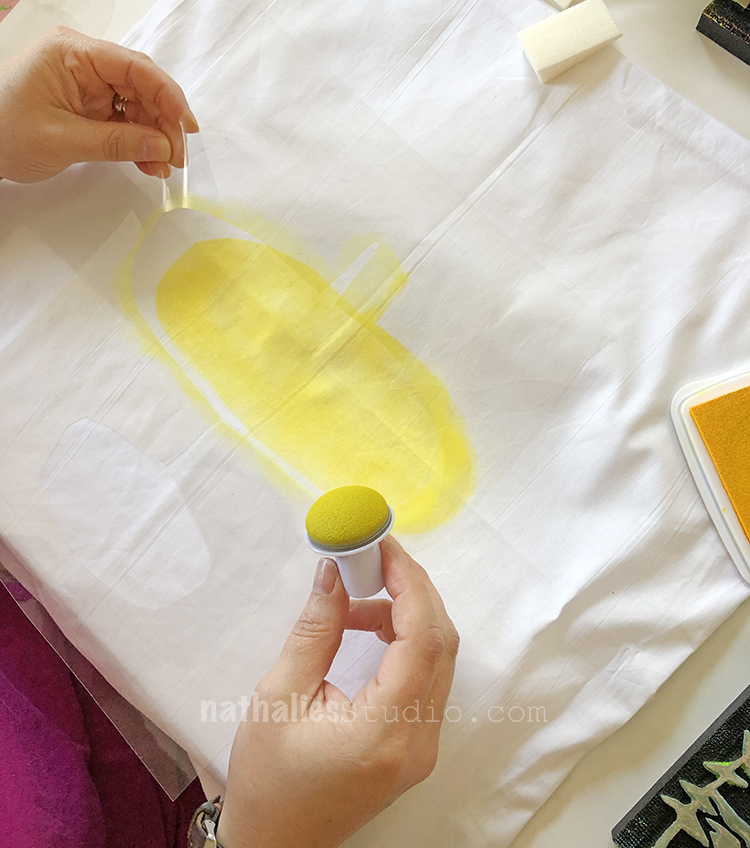
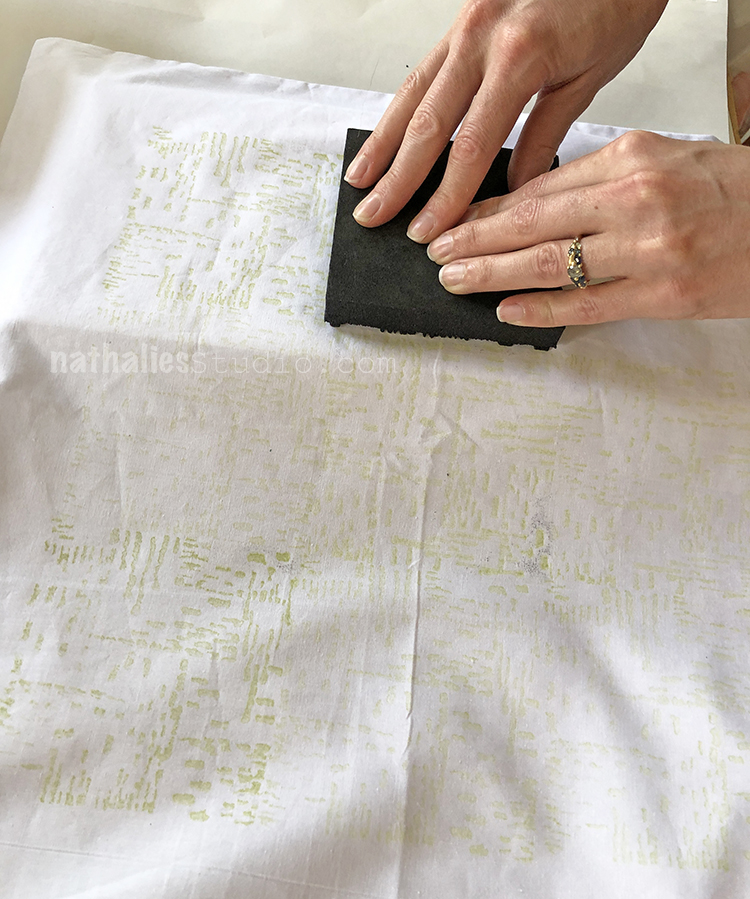
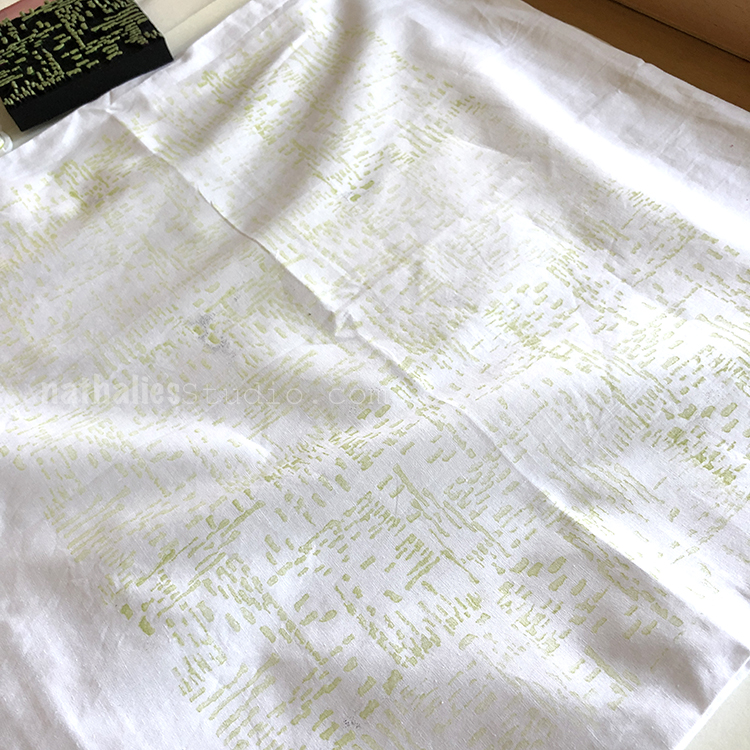
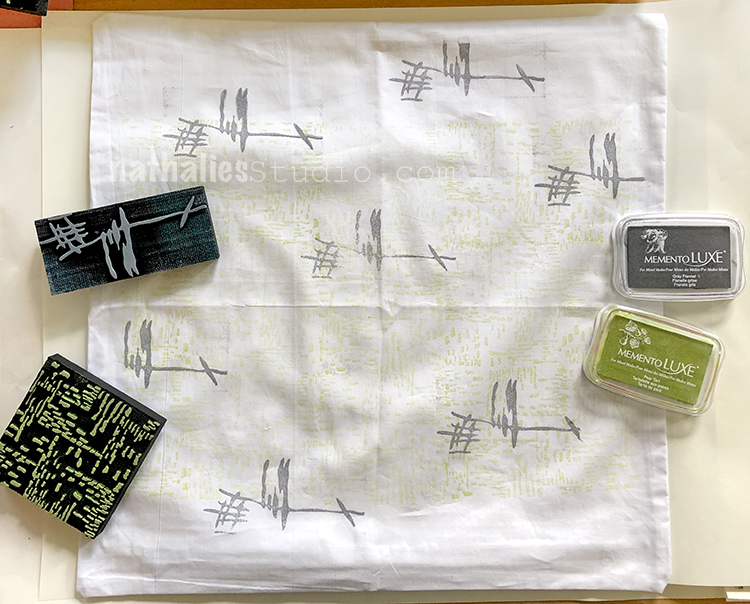
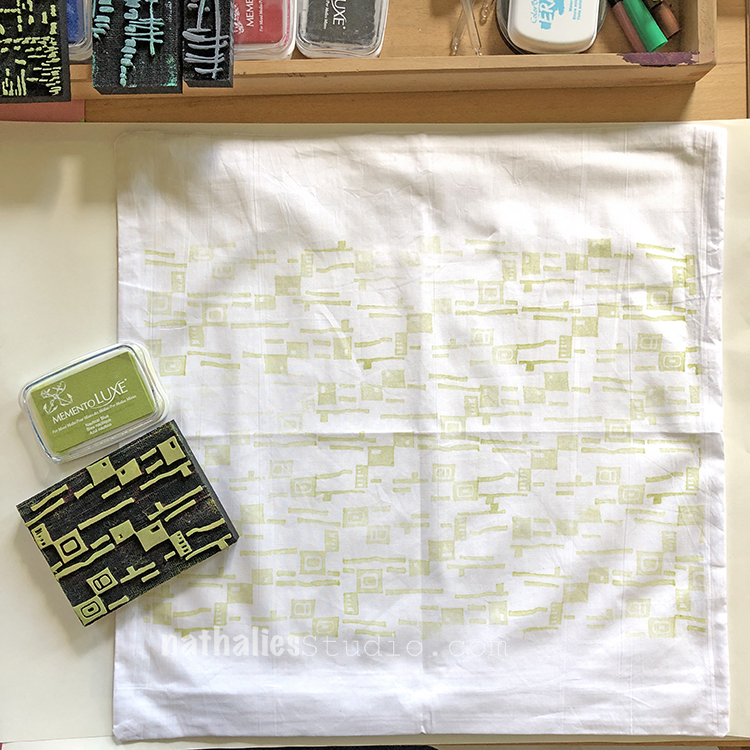
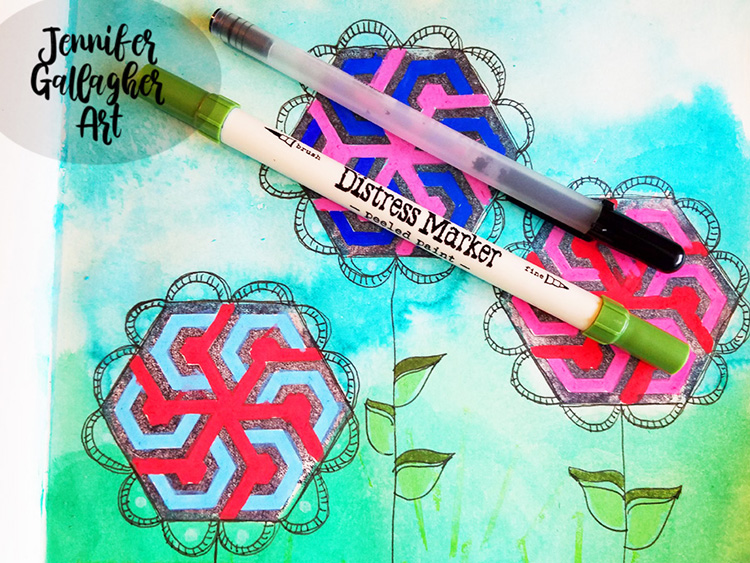
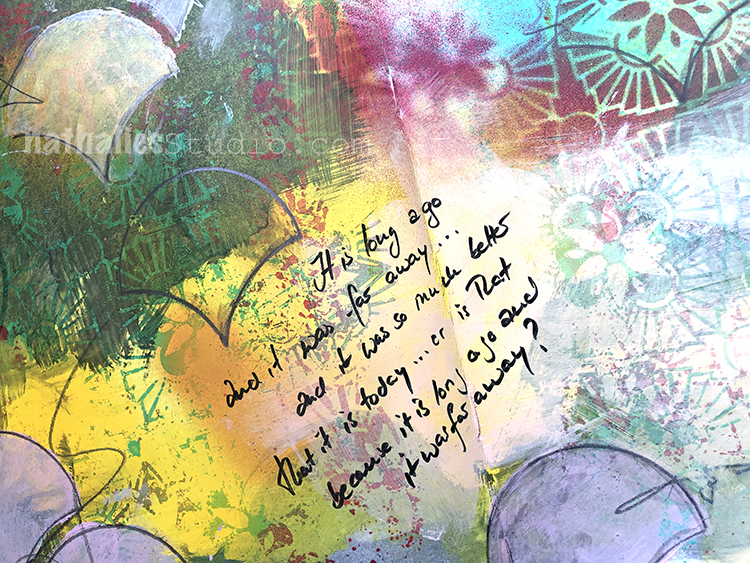
I spread the yellow onto the gel plate with a brayer, and used the small beacon positive stamp to fill in the design between the hexes. Final step once the paint dried was to tie on a bit of sari ribbon.

This is an easy project with minimal supplies. The process will work on any surface that will take acrylic paint.

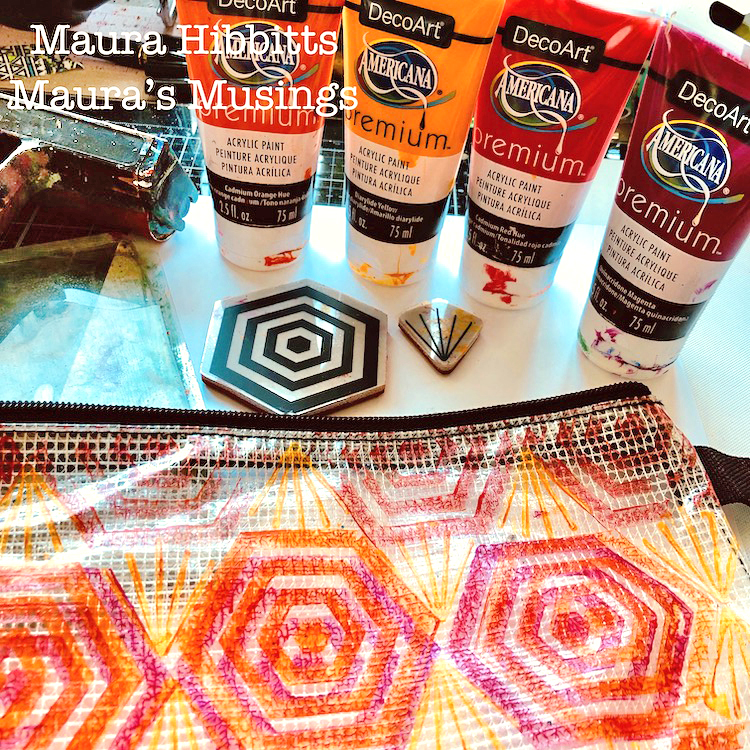
I challenged myself to work outside of my usual color choices, and I like the bright, cheerful feel of the altered bag. It’s ready to be filled with markers, pencils, tools…whatever I might need for a project. One thing is for certain, this bag won’t get lost in a crowd!


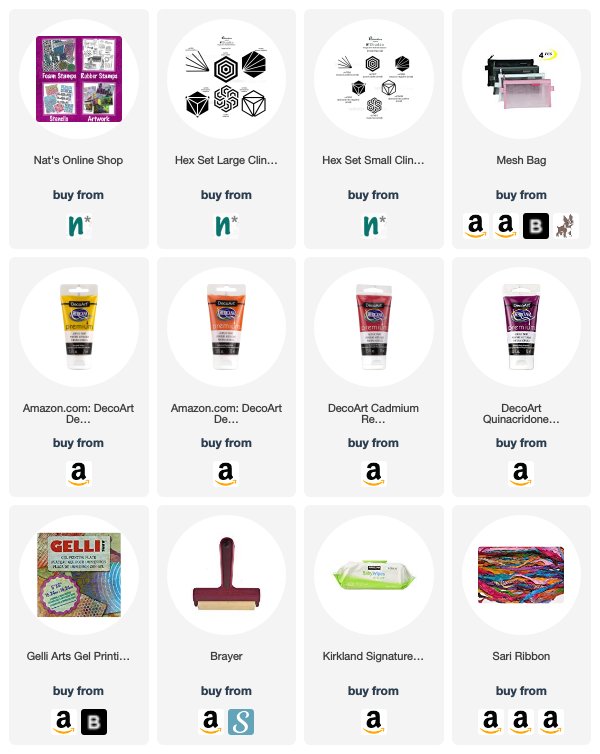
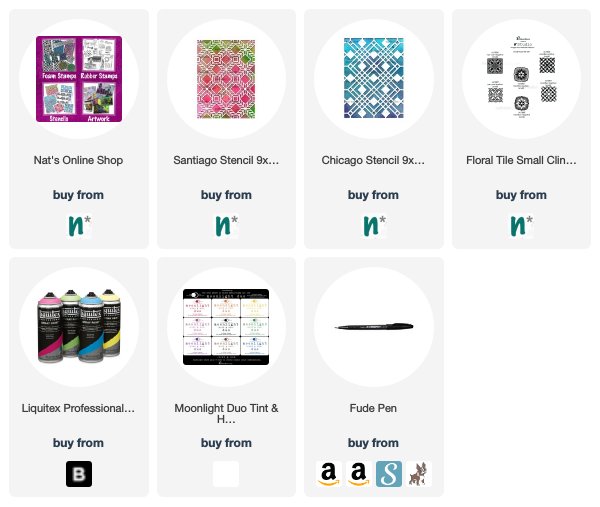
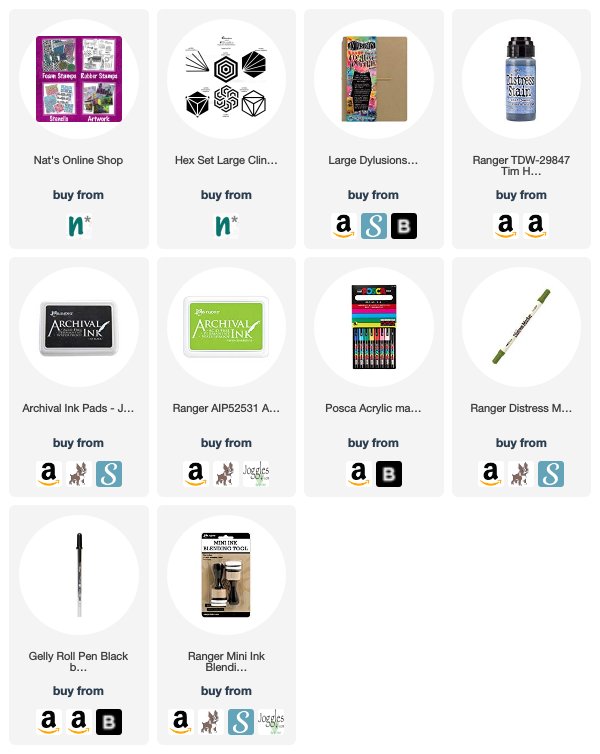
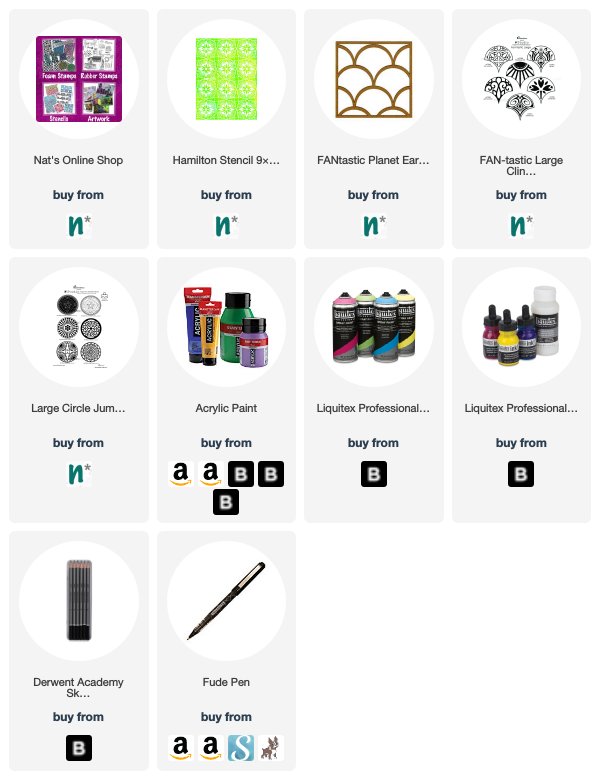
Thank you Maura! What a great looking little bag!!! You can find all of my rubber stamps in my online shop. Here are some of the supplies Maura used:

Feel inspired? Working on something yourself that you’d like to share?  I love to see how you interpret our monthly themes. Email me how you used my stencils and stamps with the theme and email me an image – I would love to share your projects in my next  “n*Spiration From Around the Globe“.

Comments (1)

  • Sue Clarke

    |

    Nice bright cheery colors Maura. What a cute bag and the ribbon pull is a nice addition.

    Reply

Leave a comment

The Stencilfied Journal – Prompt 24

This is the final Stencilfied Journal post. My wonderful friend Tina Walker invited several people to join these prompts. The prompts were all music related and each week she posted a song. We drew inspiration from the lyrics, the video, the album cover or anything related to the song- the only restriction was to use StencilGirl Product Stencils. Here is my take on Prompt 24

This final prompt was a free song – your favorite song – tough one as I have a huge variety of songs I like and a bit of a grungy alternative rock taste- but one song I always loved and once in a while listen to is Love by John Lennon and Yoko Ono.

I covered up the area for the journaling – and then layered my Santiago and Chicago stencils on top and sprayed and stamped.

I love how my Small Floral Tile rubber stamps fit nicely into the squares of the stencil.

Here are some of the supplies I used:

Leave a comment

A Look Back – Cool Stuff You May Have Missed 06

A Look Back – a blog series to show you some projects and posts that you may have missed – sometimes going WAY back in the archive. I think it will be fun to revisit a few ideas that we haven’t seen for a while. I’m excited to see how a little look back might inspire something new in the future :)

This time I’m looking at foam stamps and some ideas for using them in ways you maybe didn’t think about, even with the help of my March Foam Stamplifier Challenge. Here is A Look Back. Enjoy!


You can use foam stamps in the canvas staining technique – just prepare your canvas staining solution (I used Flow Aid by Liquitex in this 2016 blog post) and use with acrylic inks. The canvas readily absorbs the color in a soft, washy way.

You can also paint directly onto a foam stamp with high flow paints as Cheiron Brandon did in 2016 for my Creative Squad. She spritzed the stamp with water and then got multiple colorful impressions from it on watercolor paper. Each was unique and super fun!

I made a little video here that may inspire you to try some different methods of “inking” your foam stamps. It’s nice to find the way that you are comfortable using foam stamps and in the video I show 3 easy methods.

In another helpful video I made back in 2016 I show how to reverse a foam stamp image using a gelli plate. This is an easy technique that you can use to create mirror images or patterns with a reverse.

If you are looking for a summer project with your foam stamps, here is a flower pot decorating tutorial I made. I used standard clay pots and acrylic paint to give my herb pots that summer a bit more personality.


I hope you enjoyed A Look Back through my archive and maybe you are inspired to try some new things with foam stamps.

Here are some of the supplies that were used in these pieces:


Leave a comment

Foam Stamped Pillow Play Date

A couple weeks ago Kim and I got together for a little home decor play date – stamped pillows. We used my newest foam stamps, some fabric ink pads, and white cotton pillow cases (we already had inserts). This was a pretty quick and easy way to refresh the living room.

Take the time to iron your pillow cases first. The stamping will look better if you’re working on a smooth fabric.

Slip something sturdy and smooth into the case before you stamp to prevent the ink from bleeding through to the other side. We used some styrofoam pieces I had laying around.

I made my own stencil out of transparency sheets for a sponged background. It’s hard to see in this photo, but it is a shape that is sort of classic mid century.

I filled in the shape with yellow ink, slowly building up the density of the color on the pillow case.

Then I went back in with gray ink and my Jazzed foam stamp. If you don’t want the edges of the foam stamp to print, press more lightly on the stamp. I like the added visual texture here and the authentic block print look.

I also stamped with my Groovy foam stamp – it connects really well with the Jazzed one to make a longer, continuous design.

I filled in some of the other areas with additional yellow shapes.

Kim stamped a subtle background pattern using a pale green ink and my Signals foam stamp.

Here’s the complete background.

Then she came back and stamped my Jazzed stamp over it using gray ink.

I began a second case using blue ink and the same hand made stencil.

I sponged in the abstract shapes.

And then I added the Far Out, Jazzed and Groovy stamps over the shapes.

Kim’s second case began with a background using my Mid Century Squared stamp.

She finished her second pillow with my Gnarly stamp again in gray. After the cases dry, follow your ink manufacturer’s instructions for setting the ink, end enjoy your new home decor!

Stamped pillow cases are a very quick way to spruce up your sofa.

My cases look great on our teal sofa.

I love how the yellow one compliments some of the books in the background.

And the blue one is definitely my favorite – I might make a second one in this color.

I planned it so they also work with some of my existing pillows.

I hope you try this project – just another way to use foam stamps and fabric inks. Here are the supplies we used:

Comments (2)

  • Sue Clarke

    |

    Love these! Nice way to add a new look for sure with just a fine new pillow with a groovy pattern.

    Reply

  • susan

    |

    oh, Nat, these are adorable! (i have used your elephant stamps to do pillows for a friend.) i love the block print look you got from the foam stamp mounts. now i know my next project!

    Reply

Leave a comment

Stroll Through the Hood – June 2019

Strolls through my hood get me out of my studio, they help me get unstuck and often I get inspired by what I see and get new ideas to create something. It is part of my philosophy about Artful Adventures in Mixed Media – which is the subject of my book. Here are some photos that I gathered in the last couple weeks.

Look at this gorgeous Allium in my garden! LOL- just a couple weeks ago I had no clue what those guys are called when they popped up but you my friends helped me quickly on instagram. I love the purple and green with this kind of fireworks look.

Around Journal Square are a lot of really ugly store fronts …sorry but it is the truth and I have to admit rarely do I look up but one day I did and I saw this gorgeous facade – look at the beautiful tiles with the flowers – I will now be a bit more on the look out and see what other little beauties I can detect there as well.

OK – now as I might have mentioned before I never had a garden, I am a terrible plant mother and I am excited like a little kid about anything that pokes it’s head out in our new garden. The rose bush though – I mean seriously …how gorgeous are those popping bright pink flowers.

And the Wisteria at the front of our house – I love those cute little flower buds -well not soooo little – LOL. They are called Blue Rain Flower in German – which I think is so fitting. I love how some of the colloquial names for flowers are so descriptive and creative.

Speaking of words- LOL – this sign at a dessert bar made me laugh! And yes …I a brie – cheese is dessert.

More NYC views from the routine bike rides through Liberty Park – see the “tiny” Empire State Building and the WTC ?

We also went a bit adventurous and explored the Bergen Arches – a little strip of abandoned railway passage through the Jersey City which is being discussed as a park – we are totally up for it.

Some weathered Graffiti under the bridges

And NATURE – in the middle of a buzzling loud city – crazy – and beautiful and crazy …

Some urban petroglyphs …wonder if in 1000 years someone tries to figure out what the meaning of this is and will call it newspaper rock- hahahah

Here one of the many “arches” on the way

Lot’s of garbage down here too – but there was something about this grungy dirty , colorful area with nature taking it back that I found interesting ….

OK for those of you who might have now wrinkled their nose …smell that rose ;) LOL. Sorry still back to my rosebush – I am sure like totally gaga about it – please don’t let me kill this gorgeous plant!

And we also bought a little buttterfly bush for the front of our house . This was one of our first plant we bought for our roof deck when we moved into our apartment in Hamburg, Germany and you know …we are romantic sentimental fools LOL.

We are still enjoying our deck in our apartment here – and as you can see, so does Niles who turned 19 in May. He loves the deck and as Bobby Pretzel is not allowed yet on the deck because he is a suicide contender, Niles loves the time he has just with us as well. He always just sits on the chair while we eat and talk and pokes his head up to the sun. Wise guy!

I hope you enjoyed the little stroll – until next month!

Comments (2)

  • Jean Goza

    |

    Always love strolling with you!

    Reply

  • Sue Clarke

    |

    Nat, as always I so enjoy your strolls and that you share them with your fans!
    Bobby Pretzel not being allowed on the deck is a riot (in how you described him).
    Yeah for Niles being 19!
    I have a thing for arches as well. They make me think that I can pass through time.
    Keep posting,
    Sue

    Reply

Leave a comment

My Stencils go on Sale at StencilGirl Tomorrow!

StencilGirl Products is having a Summer Solstice SALE starting tomorrow, June 20th and my stencil designs are 21% off! Just use the coupon code SOL21 while shopping at their site.

Here are the official details:

My stencils are on sale for the Summer Solstice!

Thursday, Friday, and Saturday
Save 21% off all* stencils
Use code: sol21
Coupon code expires June 22, 2019, at 11:59 p.m. CST (Central Standard Time) USA

PLUS The 10% discount when you buy 6 stencils of the same size still applies!

Choose 1 FREE large stencil for every $100 spent (after discounts are applied). You MUST specify your choice(s) by L### (such as L048) in the comments section of the cart when you check out or it will be StencilGirl’s choice. Sorry, no exceptions.

SHOP HERE beginning June 20!

*Stencils only. Does not apply to DVDs, books, tools, wholesale orders, StencilClub, or gift certificates. The StencilClub exclusive monthly member discount does not apply.

Leave a comment

Hex Marks the Spot – Jennifer Gallagher

Happy Tuesday folks! It’s time for a post from my Creative Squad and today we have Jennifer Gallagher sharing a beautiful art journal page representing her family. She is using the stamps from my Hex Set Large rubber stamp set and this month’s theme: Hex Marks the Spot –In the days of pirates and lost treasure, a map would lead you to gold and jewels. Today we treasure all sorts of things – our family, friends, experiences, meaningful objects, accomplishments, etc. Think about what you treasure and how you found your way there.


This month we are talking about our treasures. My treasure is my family. It just so happens this week is my wedding anniversary. I decided to create an art journal page that reflects my love of family and how they are my most valued treasures. I have represented my husband and two sons as flowers using Nat’s Maze Hex stamp. I hope you enjoy this quick and easy tutorial for a fun and vibrant art journal page.

Start by applying a layer of distress stain and spritzing it with water. Move the page around the let the water travel. Dab with a paper towel to create extra interest and texture.

Stamp Nat’s Maze Hex stamp with black archival ink. These shapes will become your flowers so place them as your focal points.

Fill in your flowers negative space with posca pen acrylic markers.

Paint the bottom half of your page with green acrylic paint and a mini blending tool. Once dry, stamp Nat’s Beacon Positive stamp in vivid chartreuse archival ink to add blades of grass.

Using a black gelly roll pen, draw in petals around each flower, stems, and leaves. Add as much doodling as you like. Use a distress marker in peeled paint to color in your leaves.

Write in a sentiment that describes what your treasure is. I chose, “Where your treasure is, there your heart will be also.”

I hope this tutorial has shown you a creative way to use some of Nat’s Hex Set Large stamps. The Maze Hex stamp screams flower to me! What about you? What fun ways can you get more out of your n*Studio stamps? Be sure to play along and share your creations with us.


Thank you Jennifer – so cool to see the Maze Hex transformed into flowers! Great idea. You can find all of my rubber stamps in my online shop. In addition to green acrylic paint, here are some of the supplies Jennifer used:

Feel inspired? Working on something yourself that you’d like to share?  I love to see how you interpret our monthly themes. Email me how you used my stencils and stamps with the theme and email me an image – I would love to share your projects in my next  “n*Spiration From Around the Globe“.

Leave a comment

The Stencilfied Journal – Prompt 23

My wonderful friend Tina Walker is at it again – she invited several people to join her Stencilfied Prompts. The prompts are music related and each week she is posting a song. You can be inspired by the lyrics, the video, the album cover or anything related and the only restriction is that you have to use StencilGirl Product Stencils. Here is my take on Prompt 23

This week the song was Paradise by the Dashboard Light by Meatloaf. This is definitely a classic, so I pulled some lyrics and then added my own thoughts :)

I used my Hamilton stencil for the background, with spray paint, then ink and paint on top.

I traced some fan shapes using my Fantastic Mixed Media Chip, and also stamped my Broadway Fan stamp from my FANtastic Large stamp set.

Here are some of the supplies that I used:


Leave a comment

Currently Digging – Creative Squad Edition with Marsha Valk

It’s time for a special edition of Currently Digging – with my Creative Squad! Once in a while I like to share with you some nifty finds – like an Artist whose work caught my eye…, some Inspiration that got my creative juices flowing, and Tools & Techniques I am currently digging. Today I asked Marsha Valk from my Creative Squad what SHE is Currently Digging :) Hope you enjoy this.


Maria Lassnig – I love to go to museums, and it’s more than often the unexpected, bonus exhibitions that take me by surprise. A couple of weeks ago I went to see the Hockney exhibition at the Van Gogh Museum in Amsterdam. The Van Gogh Museum is always quite busy, but this time, the crowd was huge, and I could not get out of there quick enough. The Stedelijk Museum is right next door, so I decided to pop in there to have a look at the Maria Lassnig retrospective. I had no clue of who she was or what she made, except that it had to do with body awareness. I did not expect to be captivated by her art, but I was! Her works of art aren’t always easy to look at (the themes aren’t easy either), but they’re also beautiful and moving. The thing that struck me right away was her stunning colour palette. She used the same palette pretty much throughout her oeuvre. I’m so glad I got to see some of it!

Pippi Longstocking – If you ask me about a particular book or movie that has inspired me to create lately, then it has to be Pippi Longstocking! The movies are pretty much etched into my memory because I must have seen them annually during my childhood. I hardly ever have just one source of inspiration though. In general, you can probably group the things that instantly grab my attention by theme. A major one right now is ‘anything printmaking’, and another one is ‘anything Barcelona’. 

Drypoint needle – This is my favourite drypoint needle. I know it doesn’t look like much, but it’s by far the most exciting tool I have right now. I go to a weekly printmaking class, and I’ve been learning different intaglio and relief printing techniques. There is still lots more to learn, but it seems like I enjoy drypoint, because I’ve been creating drypoints for weeks on end now. It takes me out of my comfort zone, and the needle still doesn’t always do what I have in mind, but I guess that’s half the fun. It takes time to learn a new skill, so I’m taking it!


Thank you Marsha! Stay tuned for the next Currently Digging for more unexpected inspiration!

Leave a comment