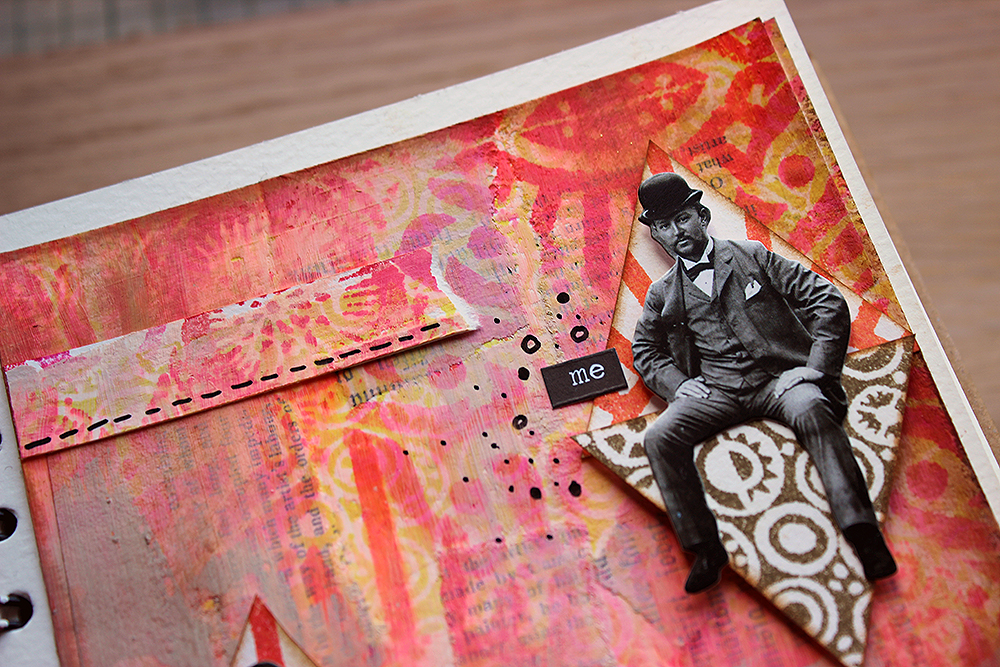
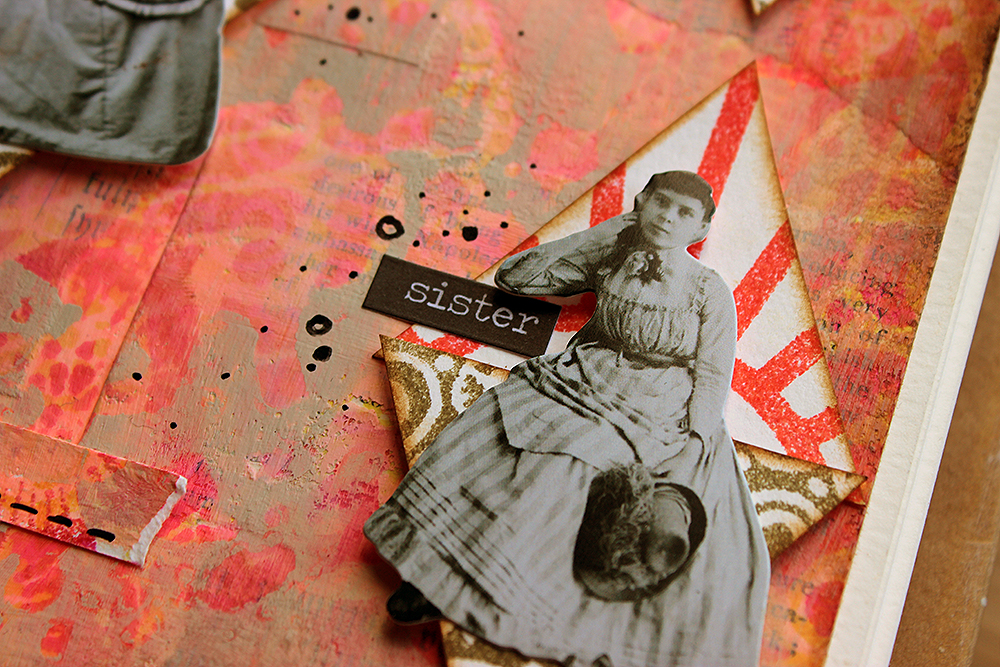
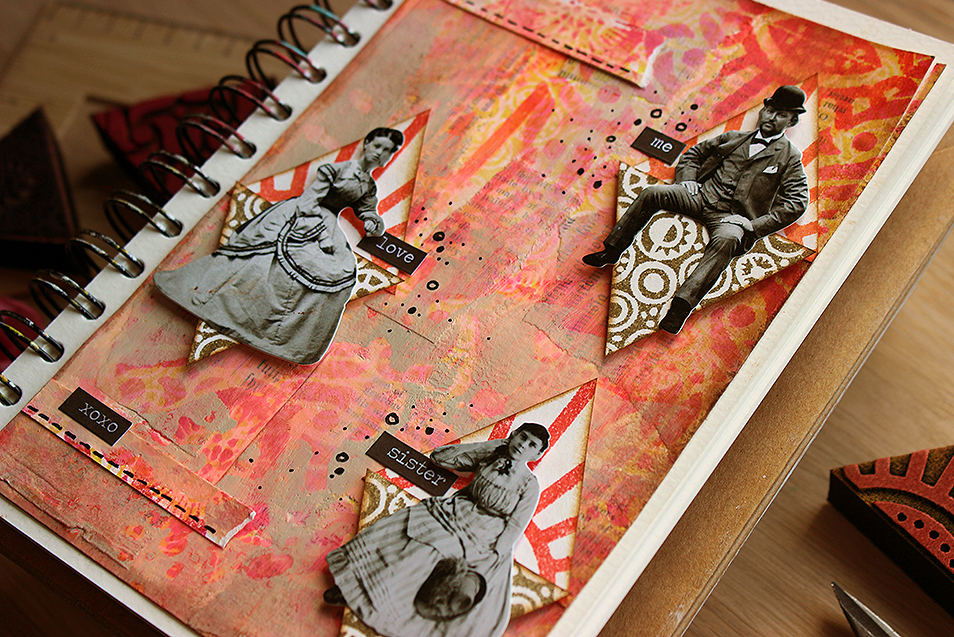
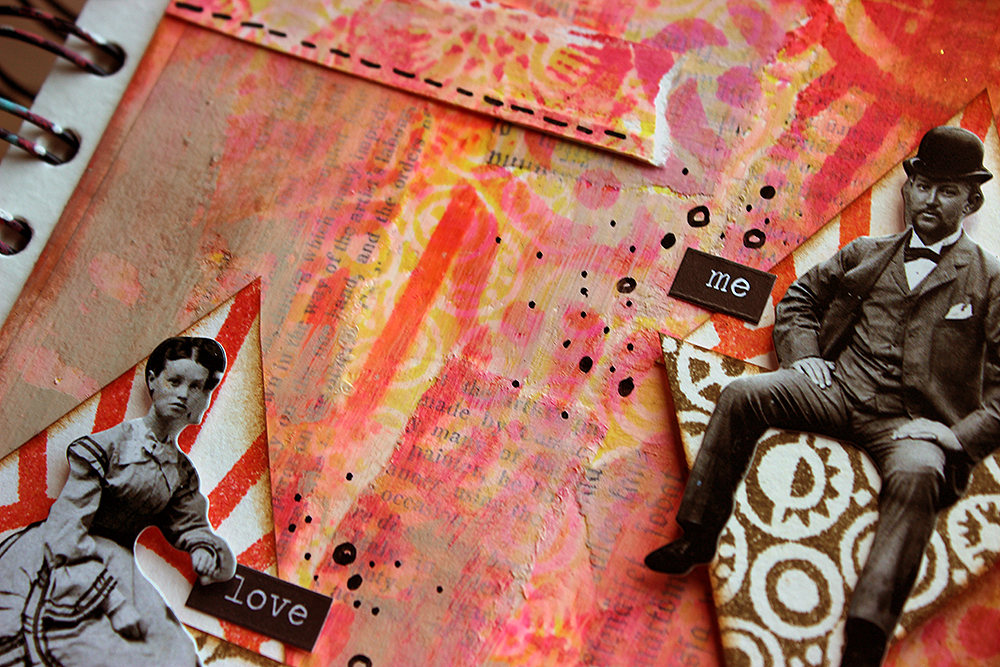
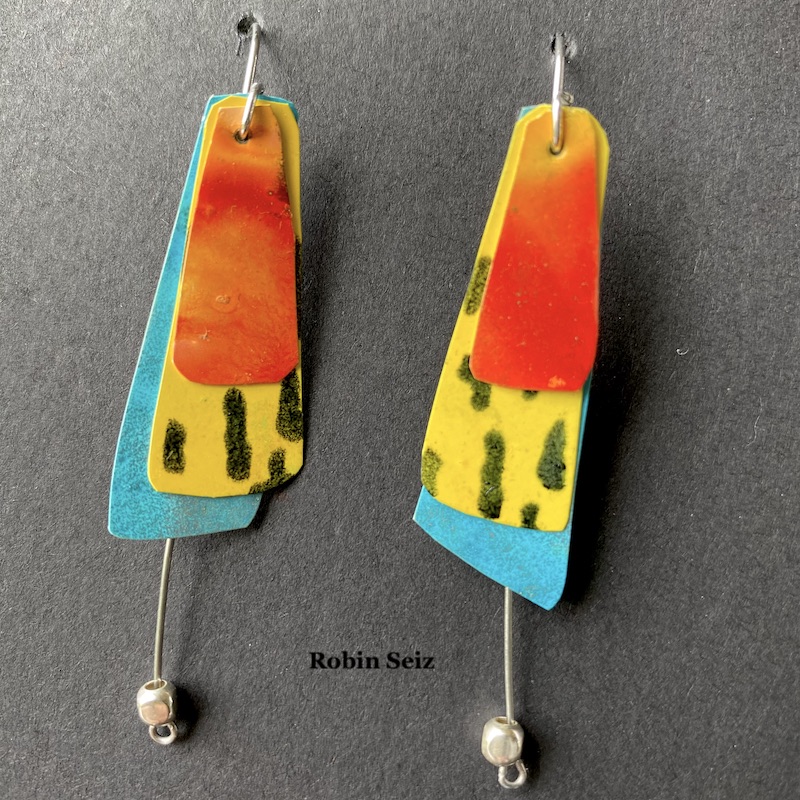
Creative Squad: On Repeat – Robin Seiz

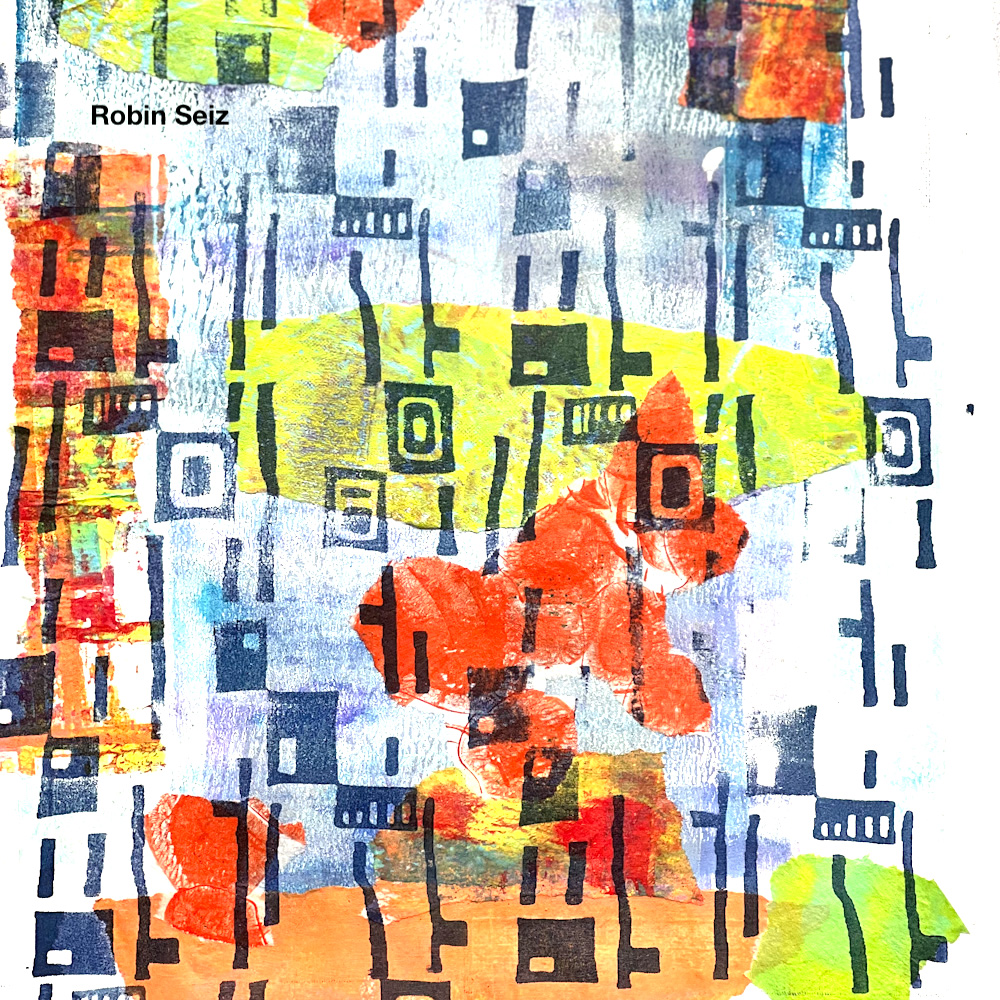
Hello from my Creative Squad! Today we have a post from Robin Seiz who is sharing a project with us beginning with one of her favorite creative techniques – working from a master board. She’s also using my Funky and Mid Century Squared foam stamps and our monthly theme: On Repeat – Let’s play with patterns! Repeat a design motif or shape to create a pattern-inspired project of your choosing.


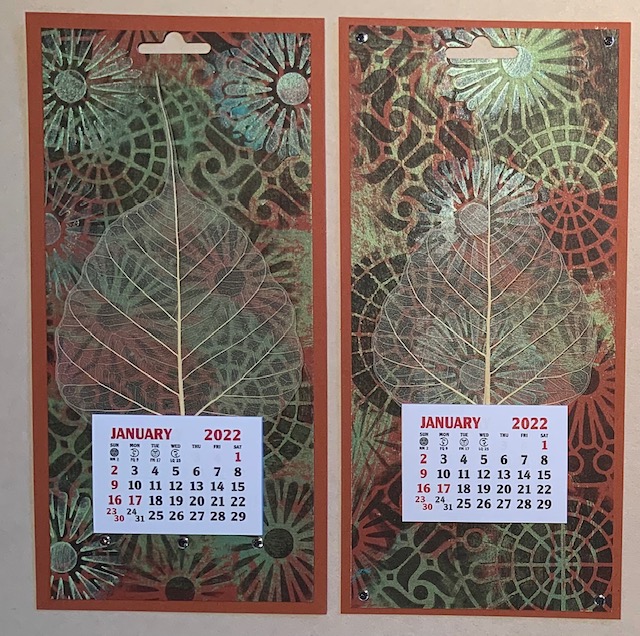
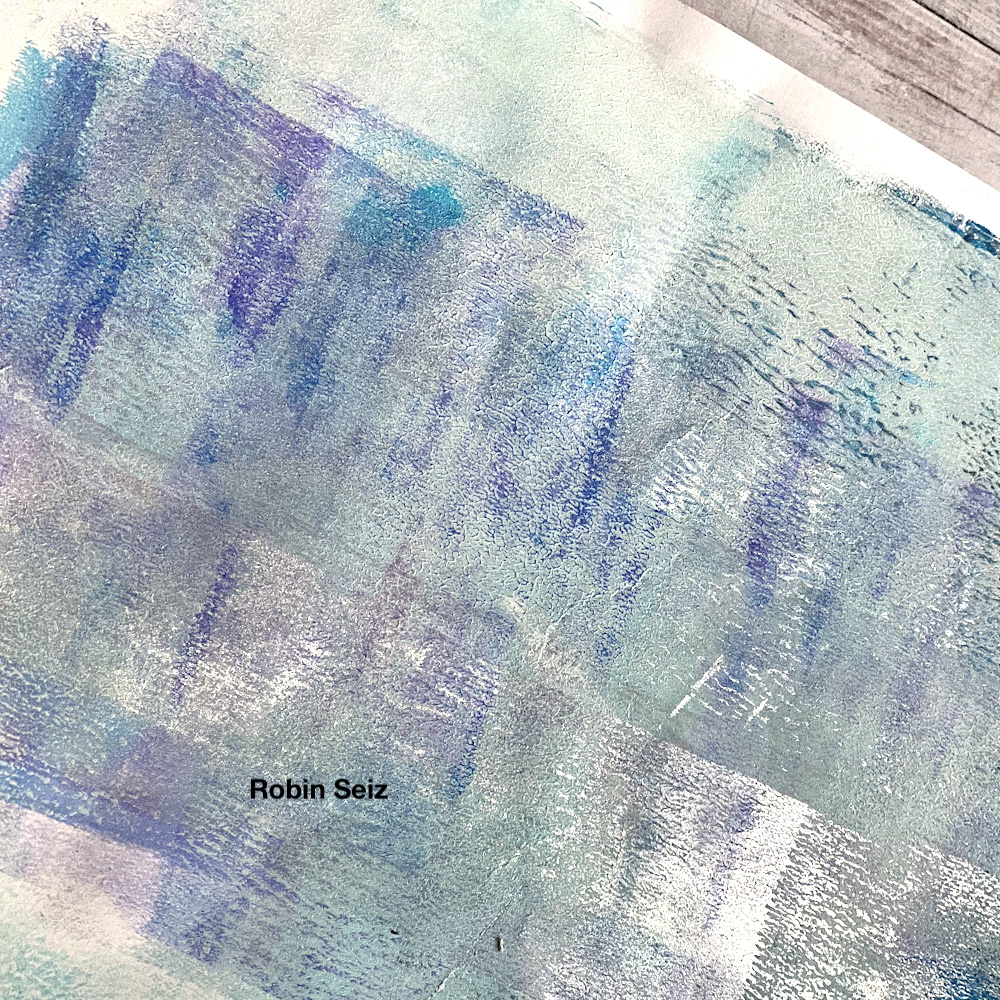
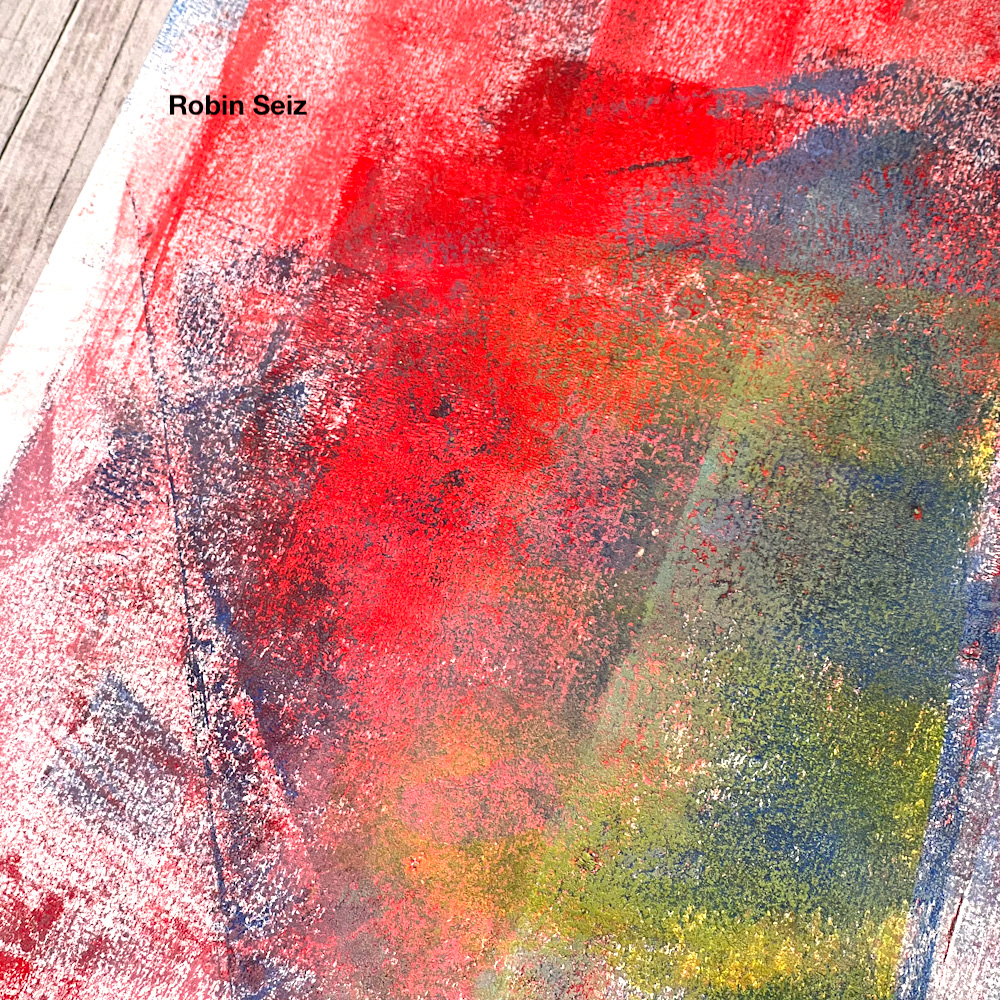
Dear Friends, I’m not exactly sure where June went, but here we are in July already. This month’s theme is patterns, created with foam stamps. I love foam stamps so it’s always fun for me to use them. I also consider myself “earth friendly” composting,  recycling, and reusing things. To start this project I grabbed some clean-up papers (a few that I used to clean off my brayer while gelli printing) They make the perfect beginnings for master boards, my project this month. 

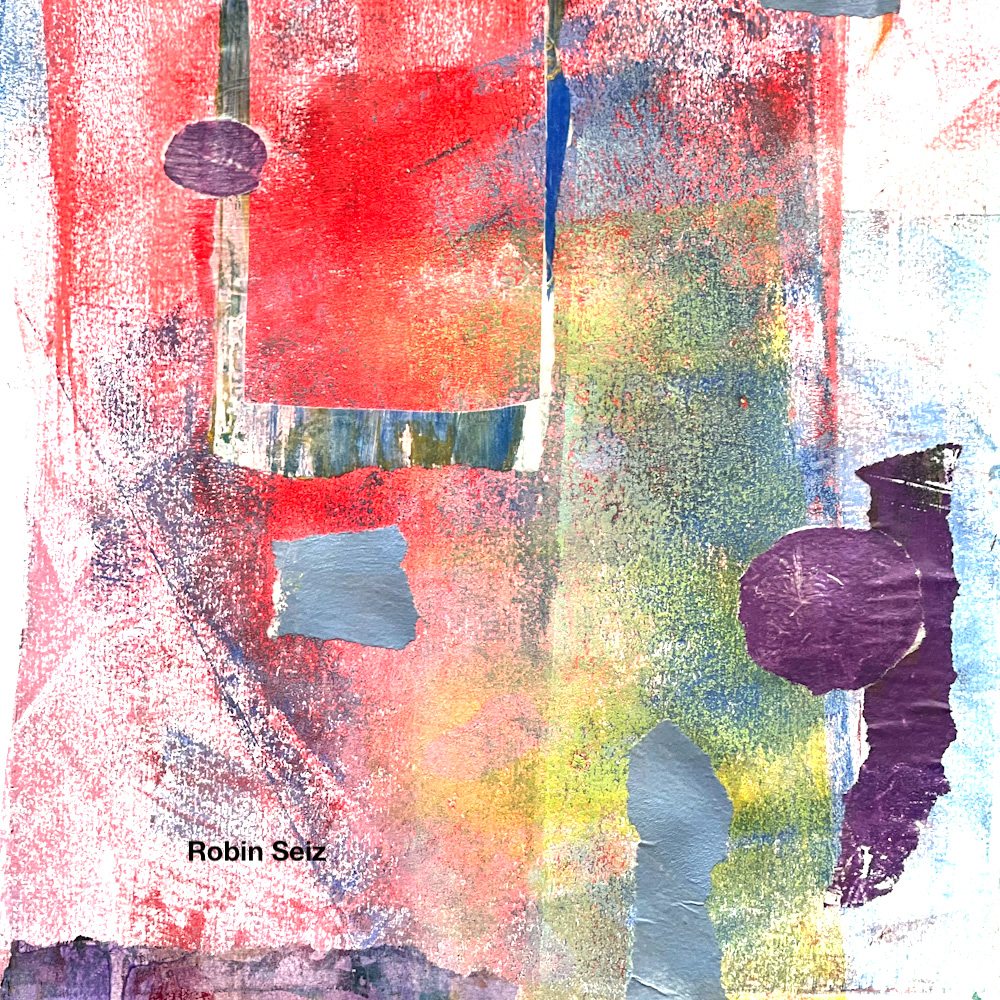
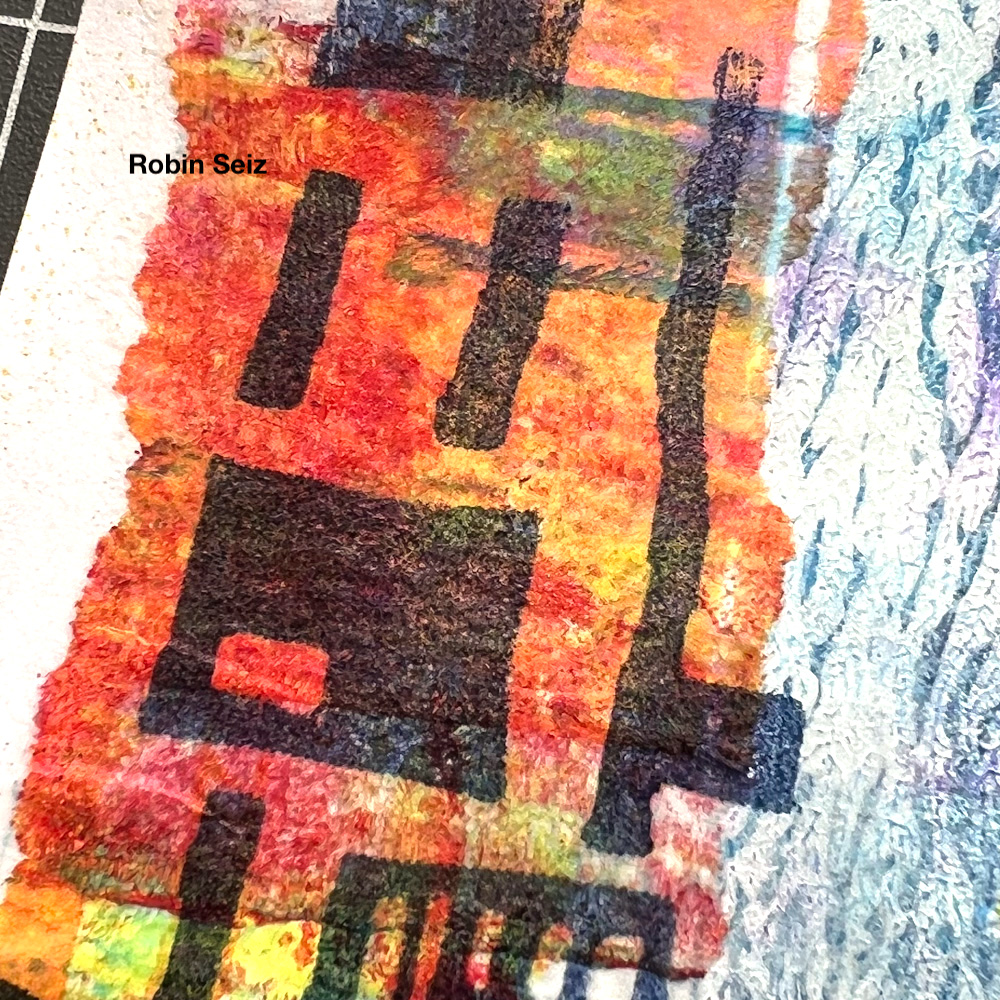
The next thing I did was tear up some colorful deli paper scraps and randomly apply them with clear gesso. This creates a wonderful texture to the paper. You can cover the whole page, or as much or little as you like.

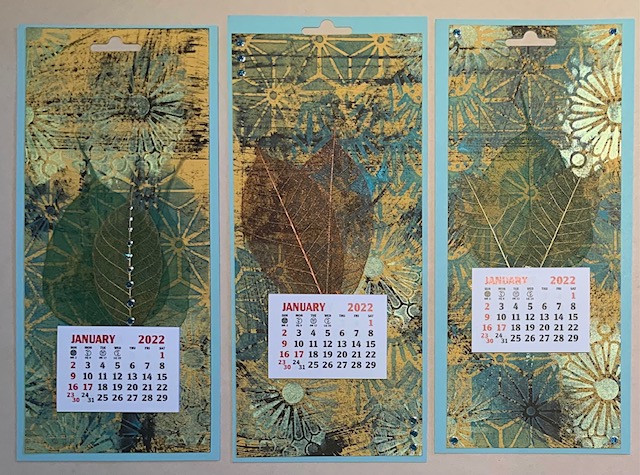
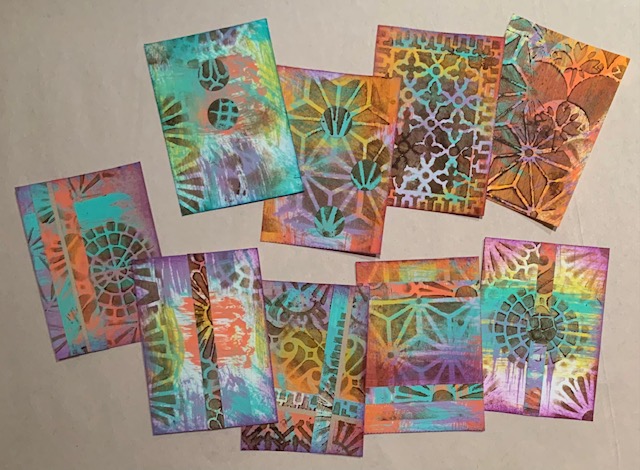
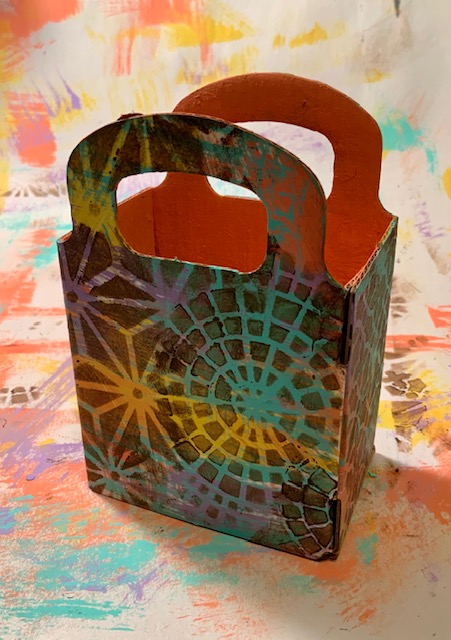
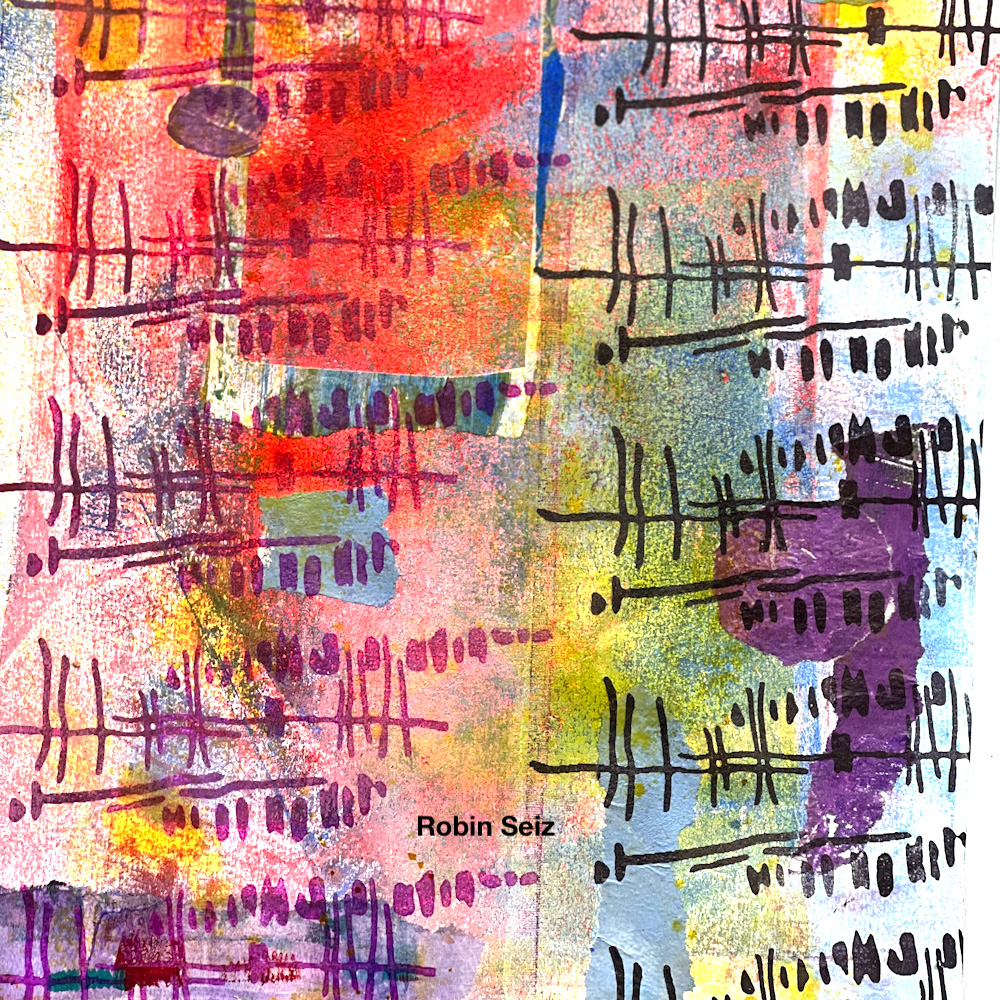
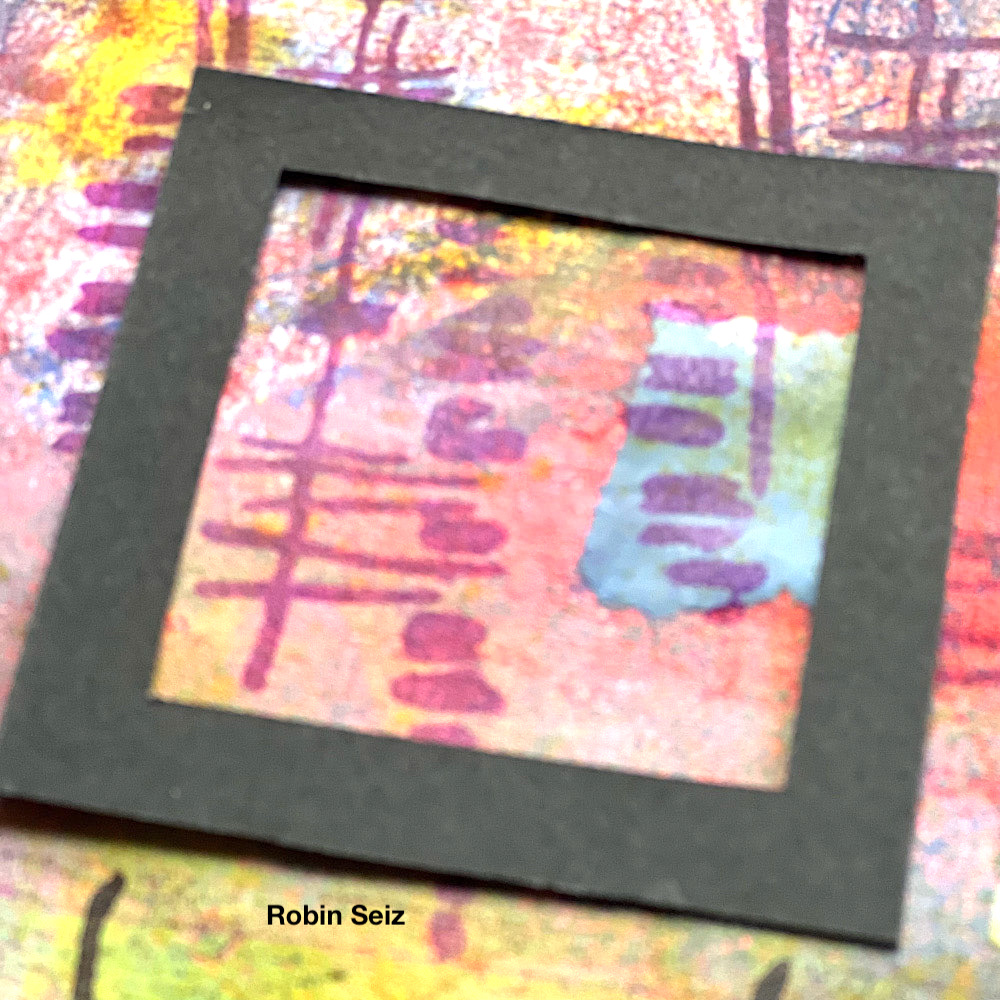
I then used Ranger Archival Ink and Nathalie’s foam stamps ( Funky Foam Stamp and Mid Century Squared) and stamped over the textured paper. I especially love the areas where the ink goes over the deli paper. It creates an imperfect stamp. I love this variation. I sprayed some Distress Spray Stain in Mustard Seed on the finished pieces. It made them pop more.

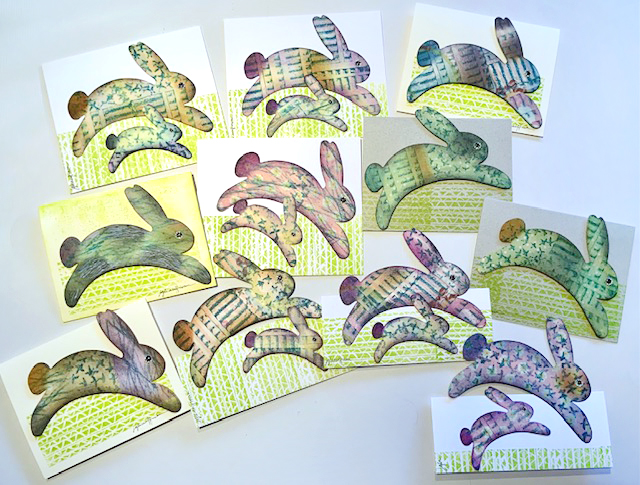
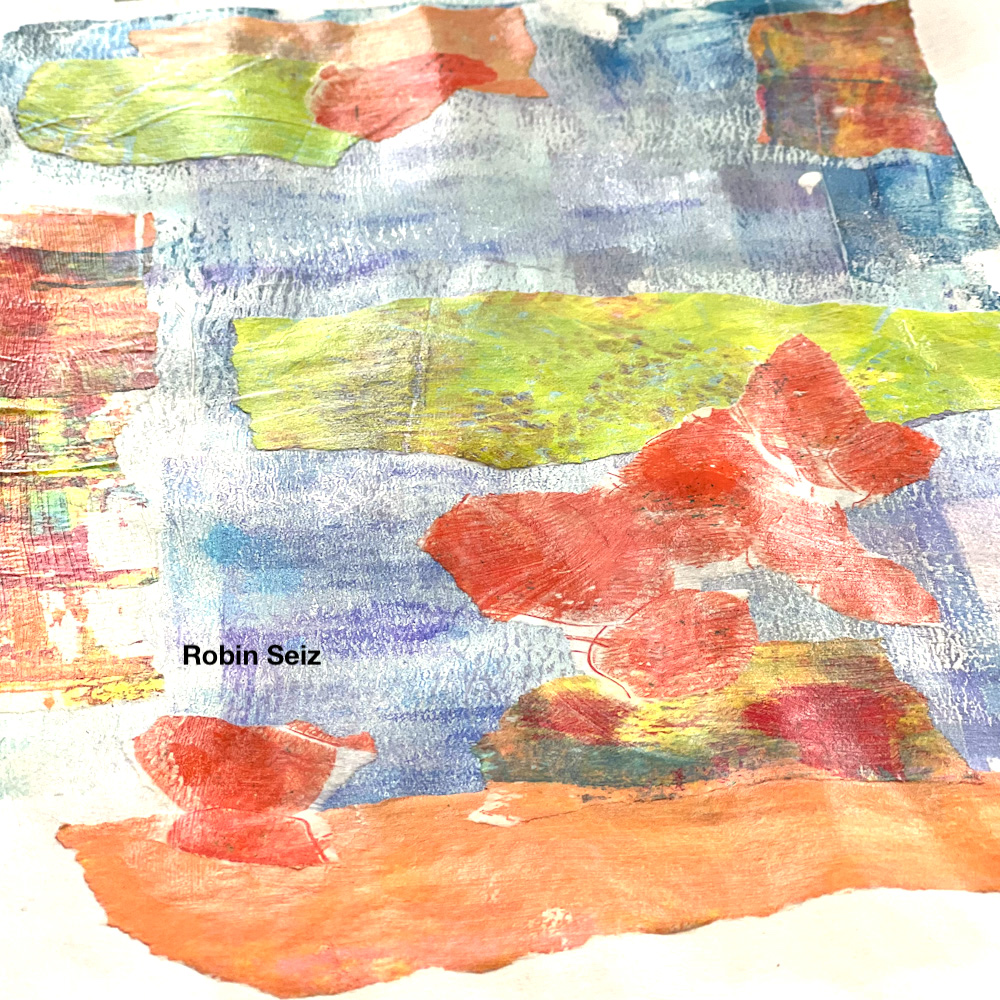
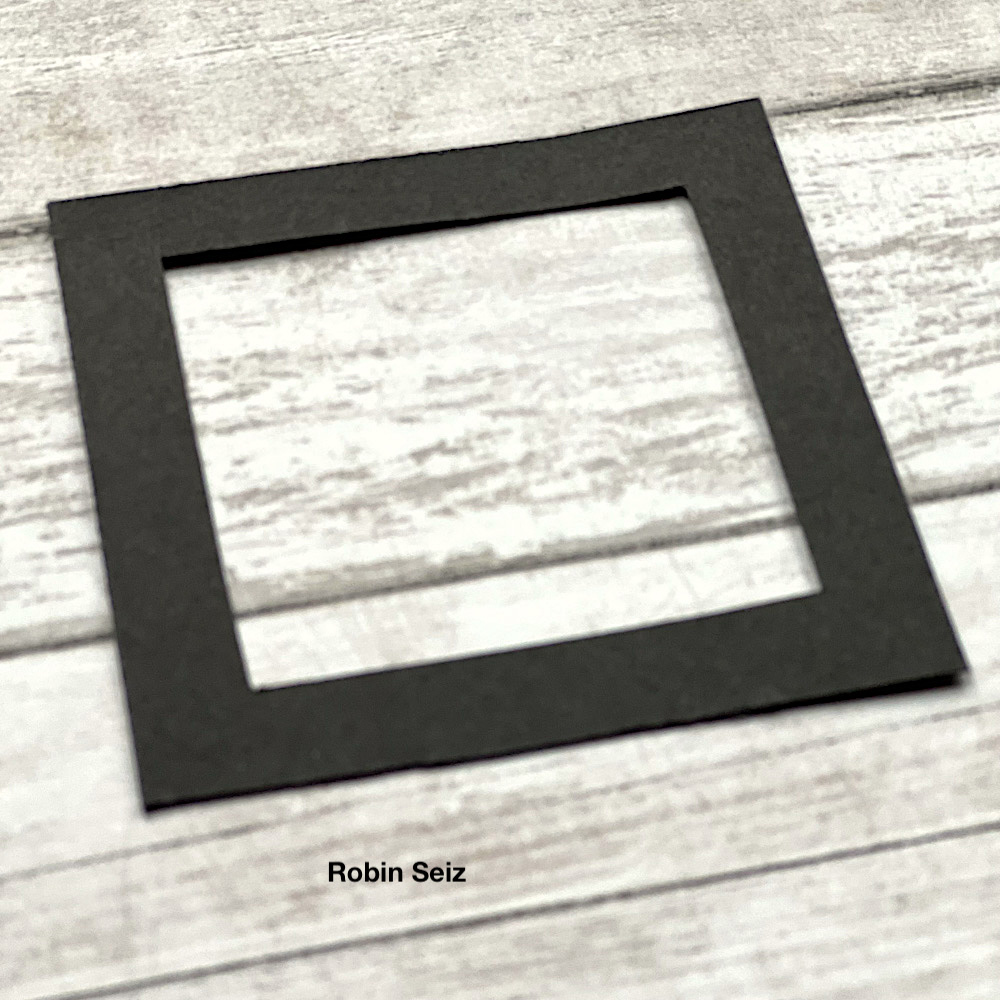
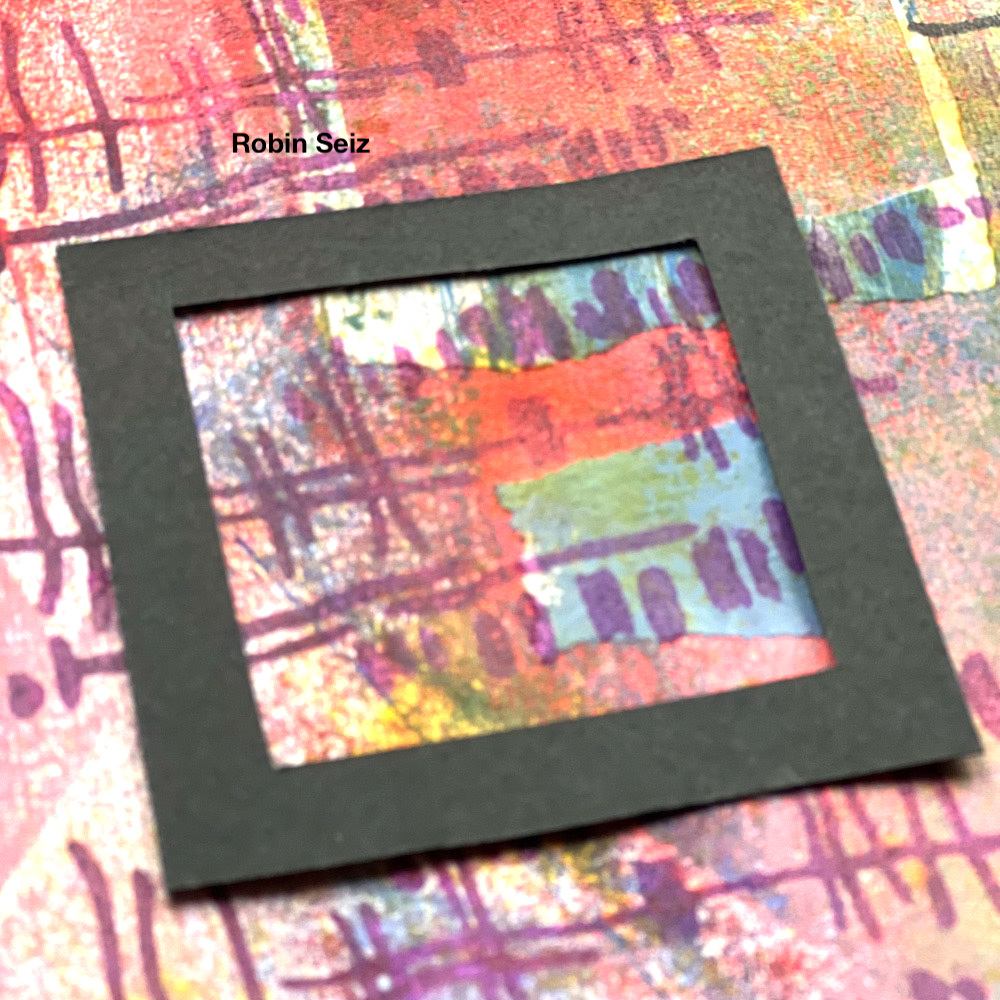
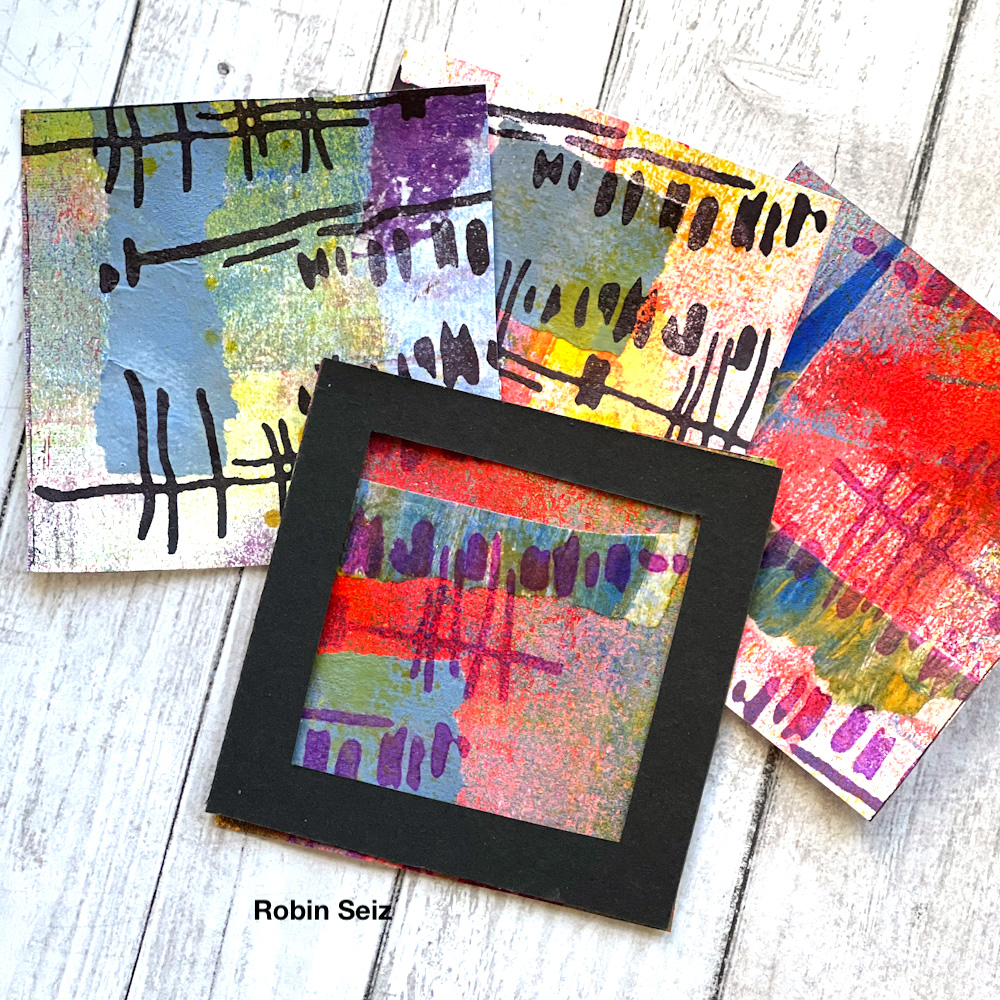
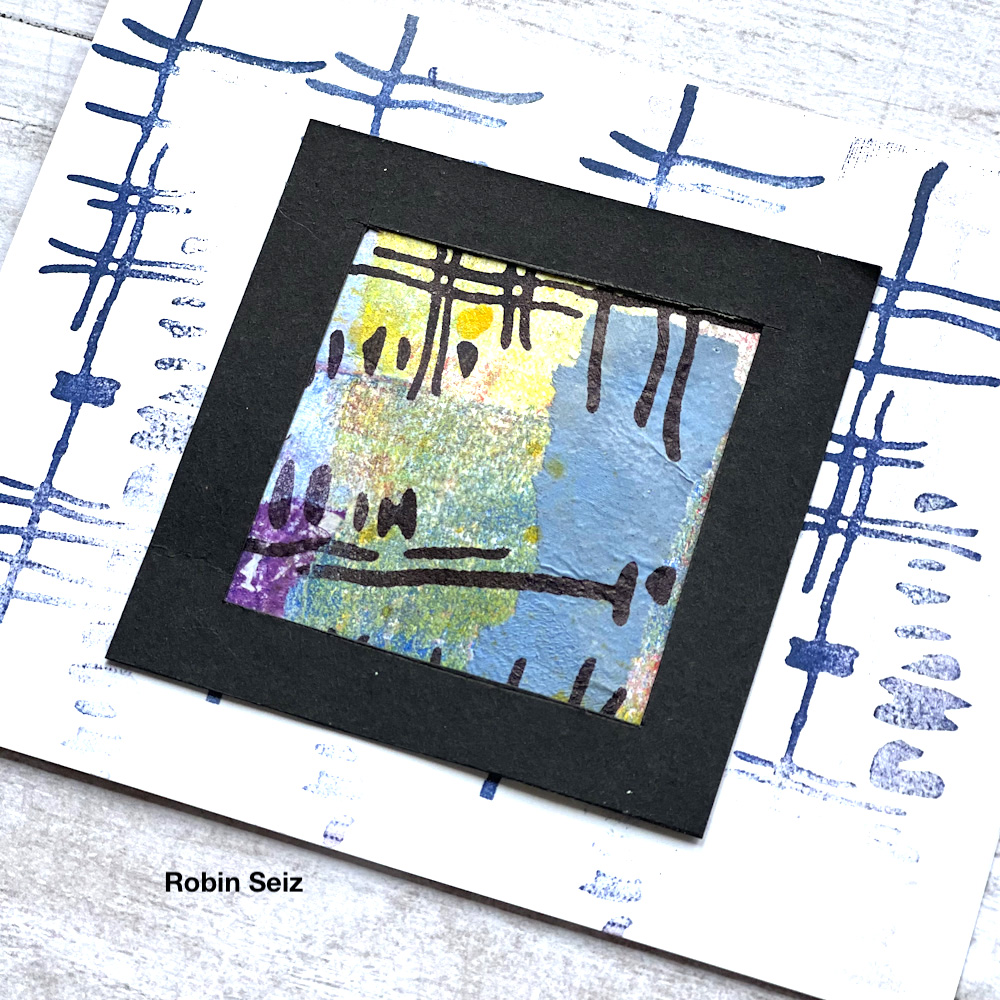
Waiting for the paper to dry (it does take several hours) is the hardest part of this project. Since I knew that I wanted to make some cards and a few little pieces of mini-framed art from this master board, I took the time to cut the little frames with a craft knife using black construction paper.  Once cut, it made it easy to audition the pieces I wanted from the master board. 

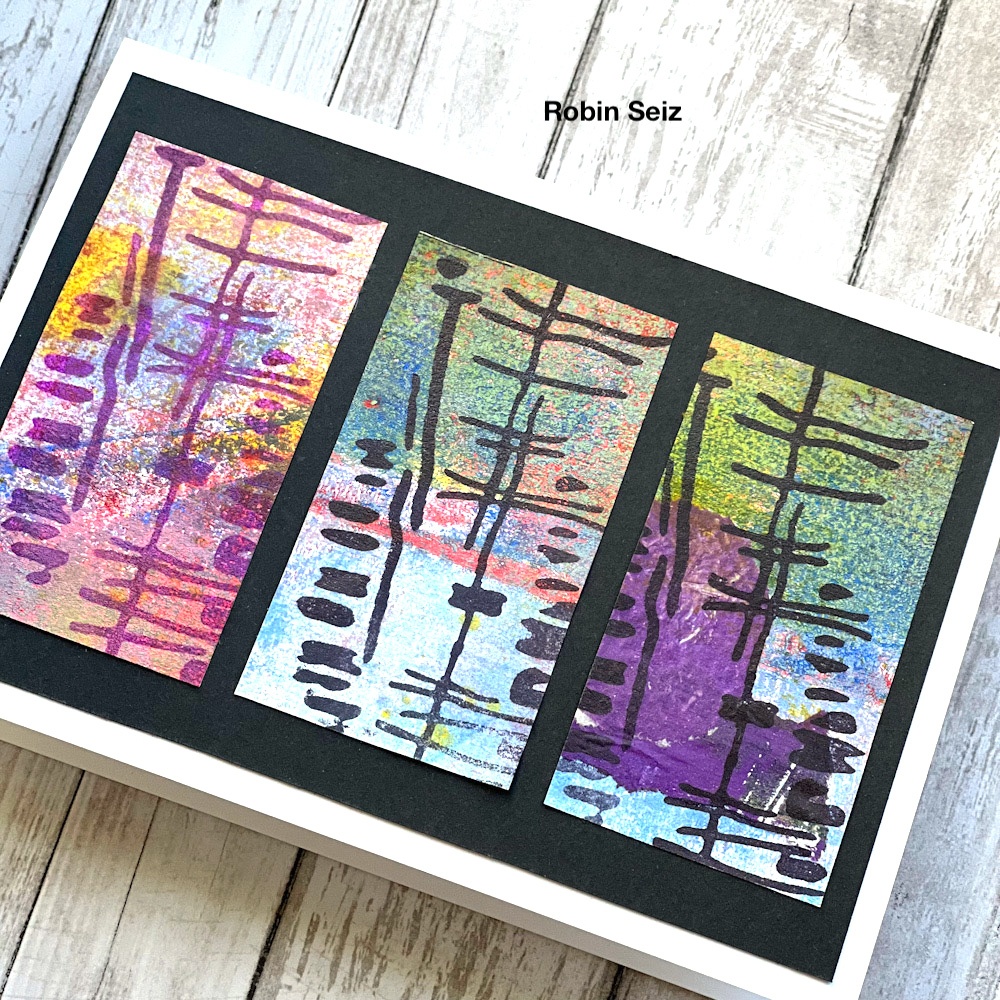
Once the paper was dry, I cut out the pieces and applied them with my Xyron Mega Tape Runner to the black frames and to the card.

Creating a master board allows for so many options. I love having a few of them around for those moments when I don’t have a lot of inspiration or time. They make it easy to create something quickly. It’s also easy to do several of them at one time. Make a day out of making master boards. I can’t wait to see what you create! 


Thank you Robin – love seeing how you build up the colorful master boards and then tie the image together with the repeating foam stamp patterns.

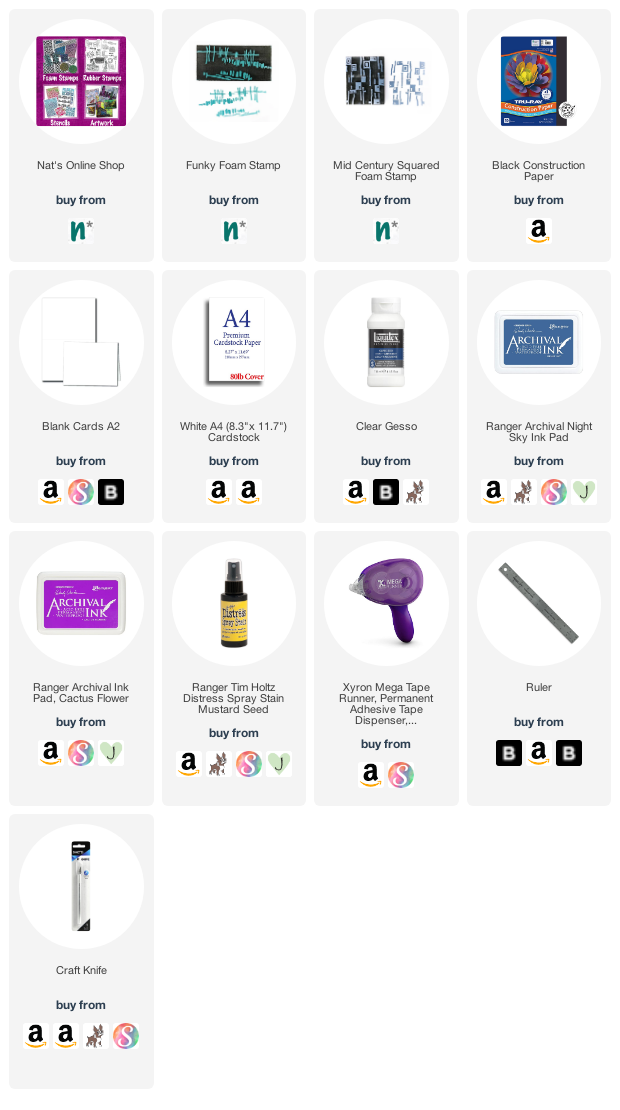
Give it a try: you can find all my Foam Stamps in my Online Shop and in addition to collage papers from her stash, here are some of the supplies Robin used:

Looking for more projects? Follow the Creative Squad on Instagram.

Comments (1)

  • Sue Clarke

    |

    Love these colors and the idea of having some on hand to use as needed.

    Reply

Leave a comment

Stroll Through the Hood – July 2022

Strolls through my hood get me out of my studio, they help me get unstuck and often I get inspired by what I see and get new ideas to create something. It is part of my philosophy about Artful Adventures in Mixed Media – which is the subject of my book. Here are some photos that I gathered in the last couple weeks.

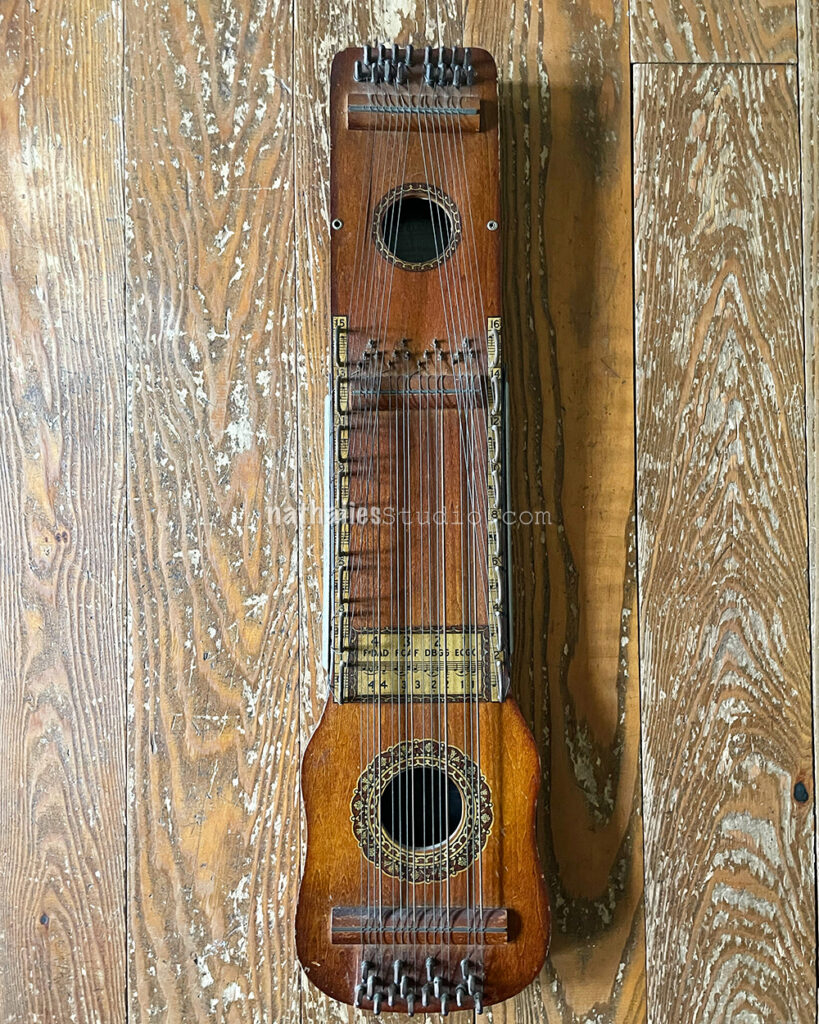
We found this astounding instrument made in our neighbor city Hoboken in an Antique Store – it is a Ukelin – a mixture of violin and a ukulele. “Ukelins were sold to people under the impression that the instrument was easy to play, but this was not the case.” (No joke man.. I can tell from just looking at it LOL) “They were also quite limited as to what they were capable of playing because they were designed as diatonic instruments. As a result, many instruments were returned to the manufacturers, who ended up with piles of instruments that they couldn’t sell. Salesmen misrepresented the instruments to customers, who felt as if they had been tricked into buying a worthless instrument.”

Well – we give it a home …it is fun to look at

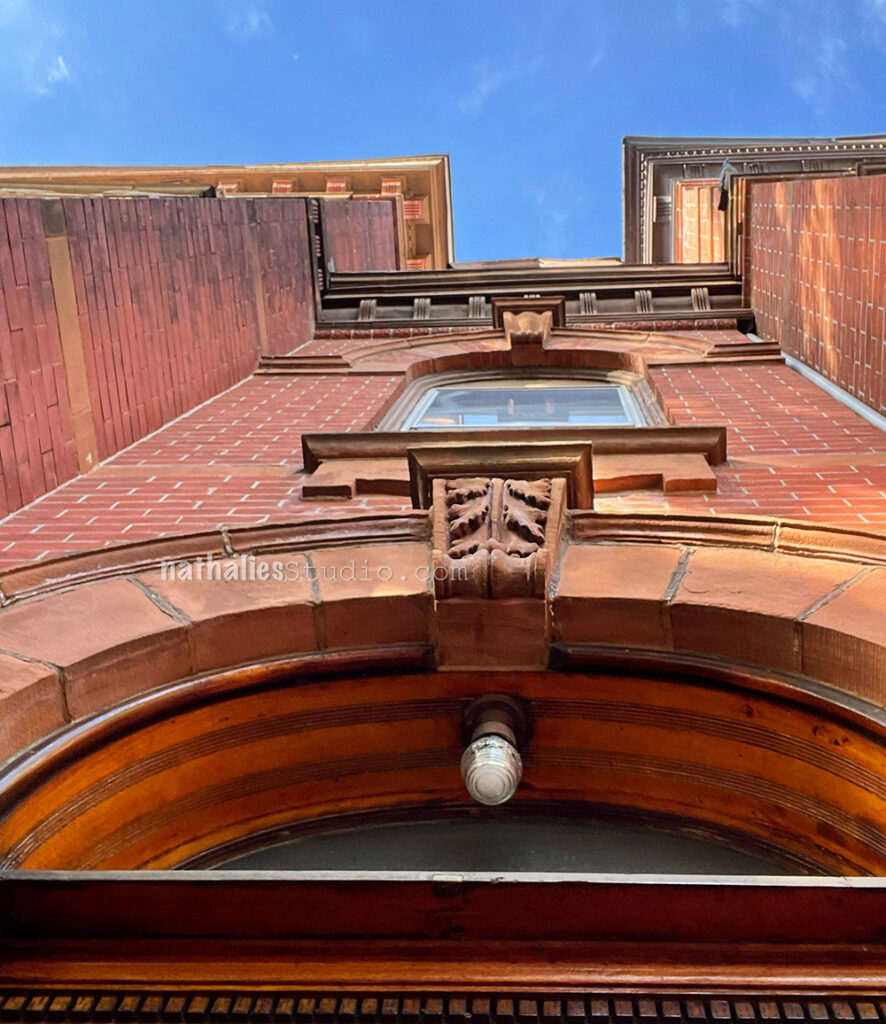
When you sit on your stoop you sometimes have to look up

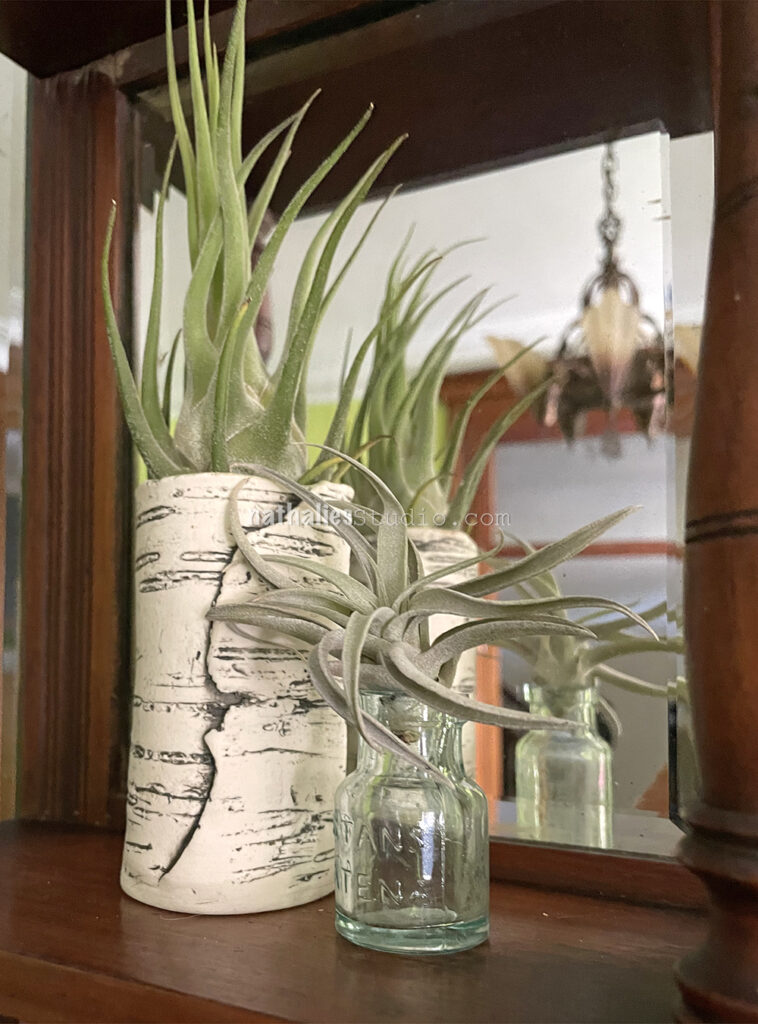
I found this cute little glass bottle on the right in our yard it is from around 1890-1900 and was a glue bottle – so interesting LOL- and of course…also a keeper.

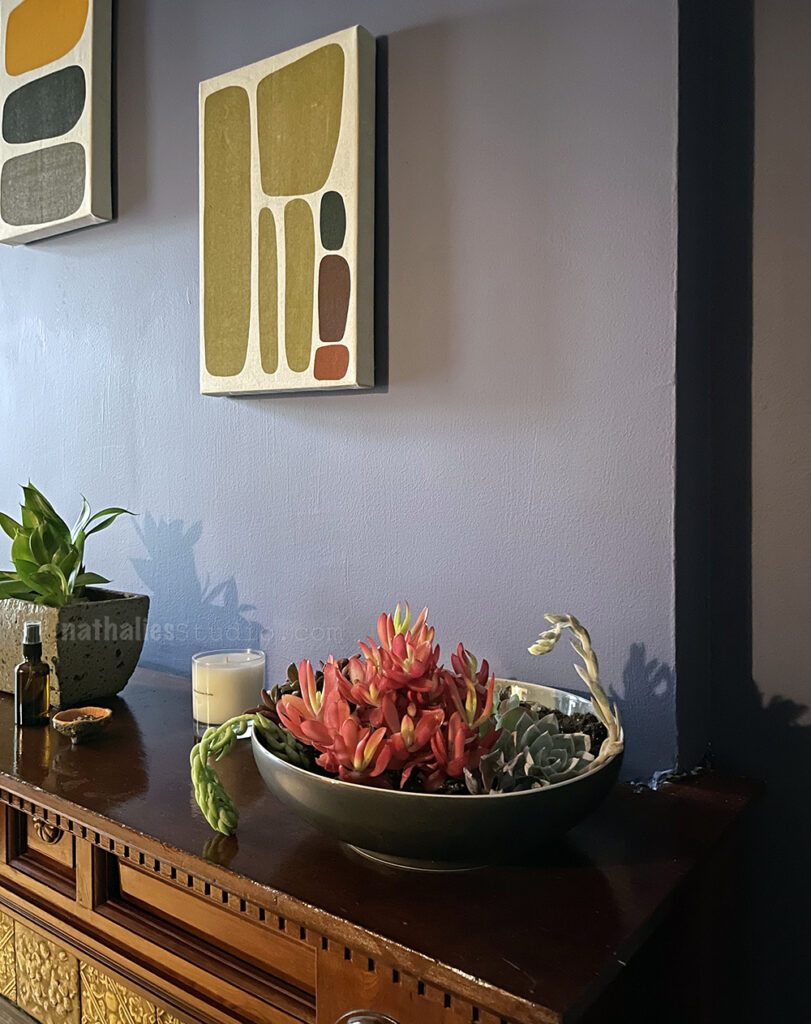
succulents …this red one is so pretty- let’s hope it will survive me

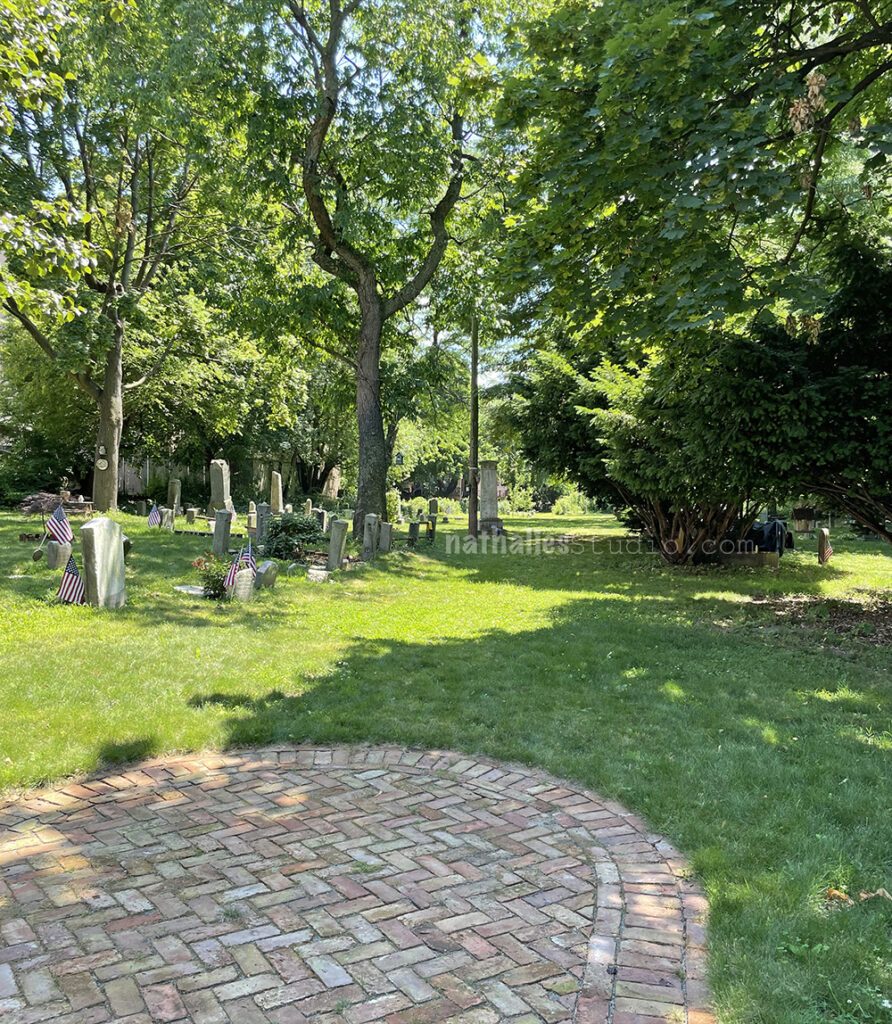
My friend Chelsea and I got lucky recently and got a private tour of this Historic Cemetery. The Speer Cemetery is tucked away in a side street and there is no access to the public as it is taken care for decades now by private groups. It was established as a Burial Ground in 1850 but used as a cemetery extension of the oldest Church in the City since the 1640s.

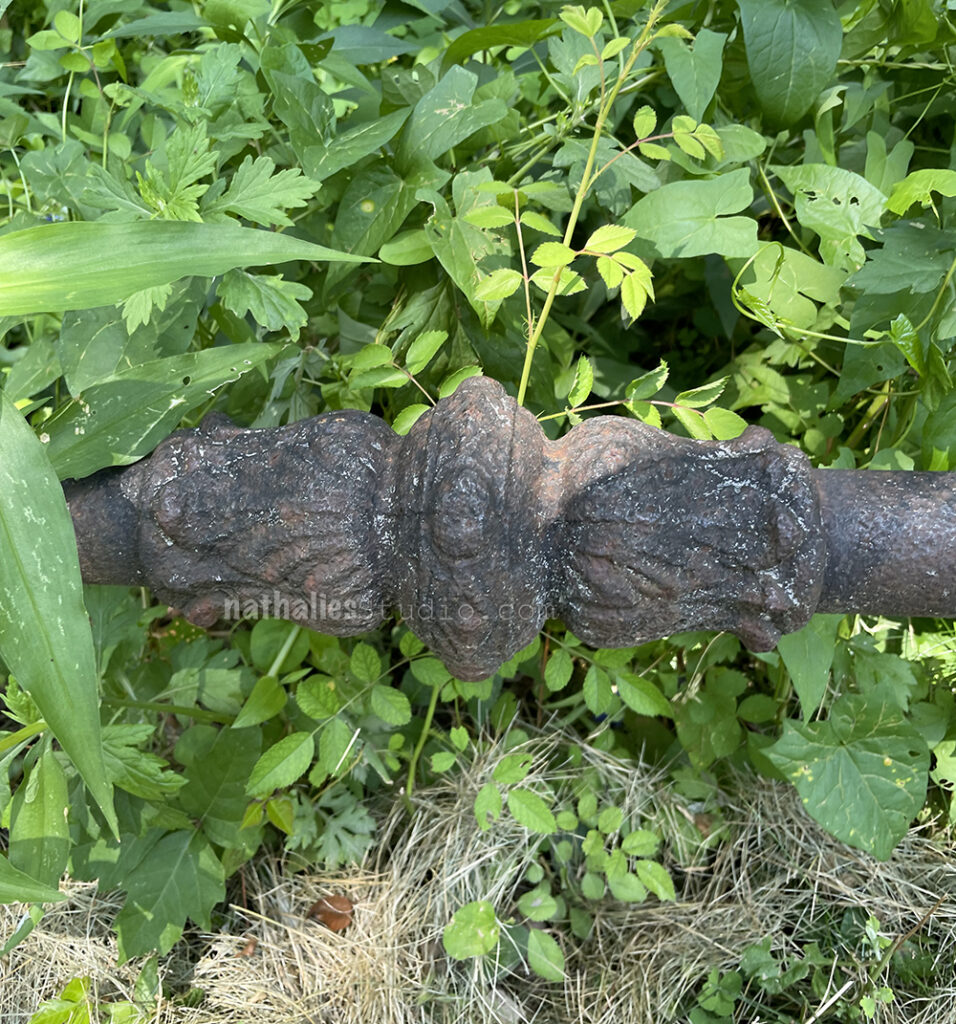
Wherever you look you find some little treasures.

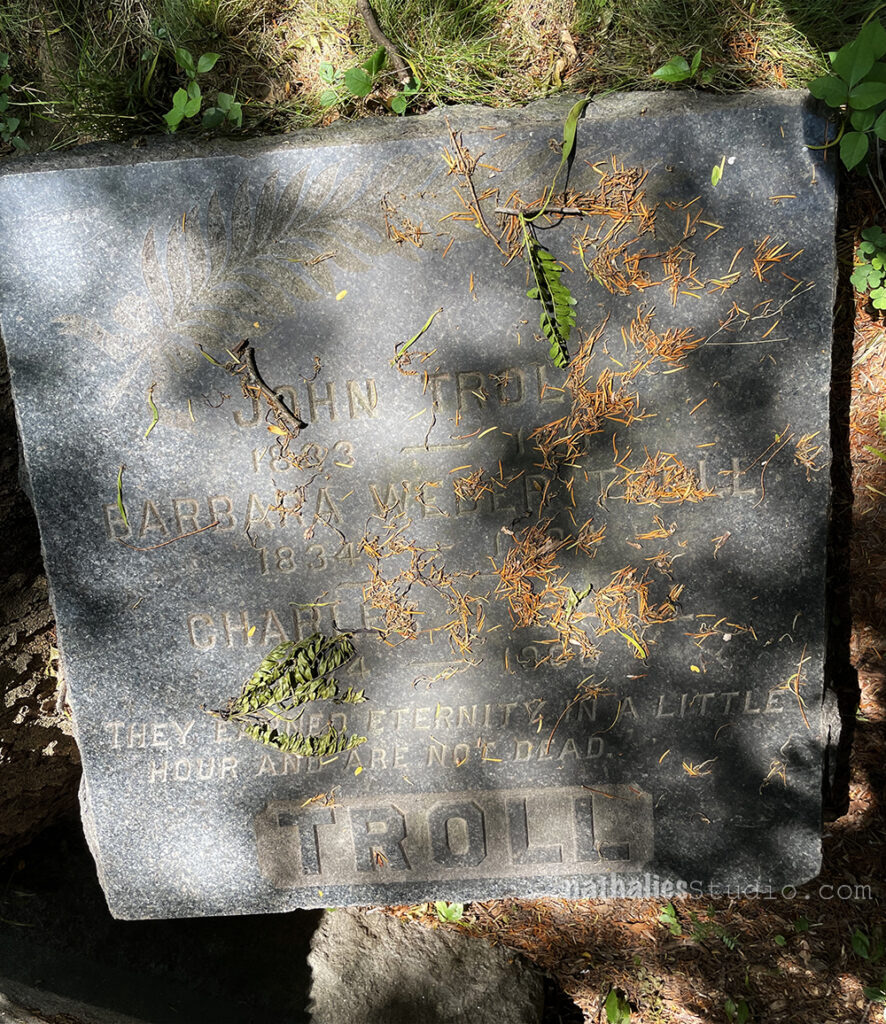
And this sign made me really laugh “They earned eternity in a little hour and are not dead” TROLL…I mean, if this is not the original troll I do not know.

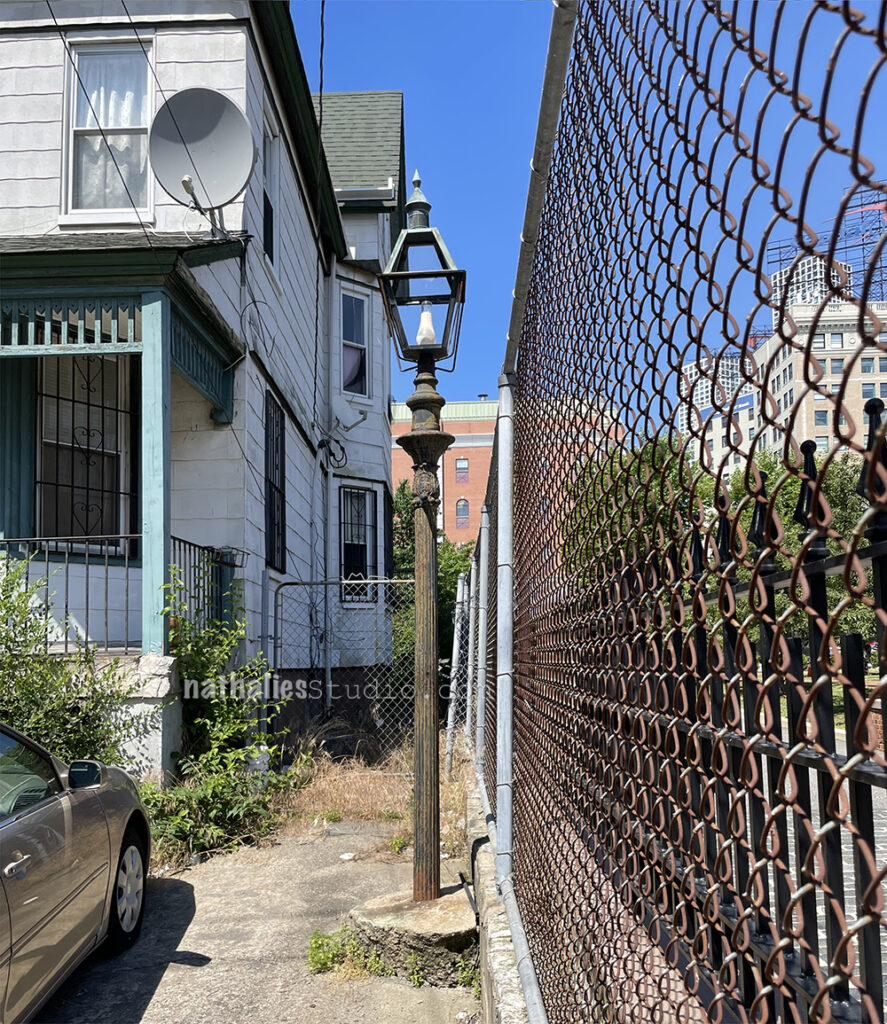
This is one of the few know remaining gas street lanterns now on a private property. Very cool.

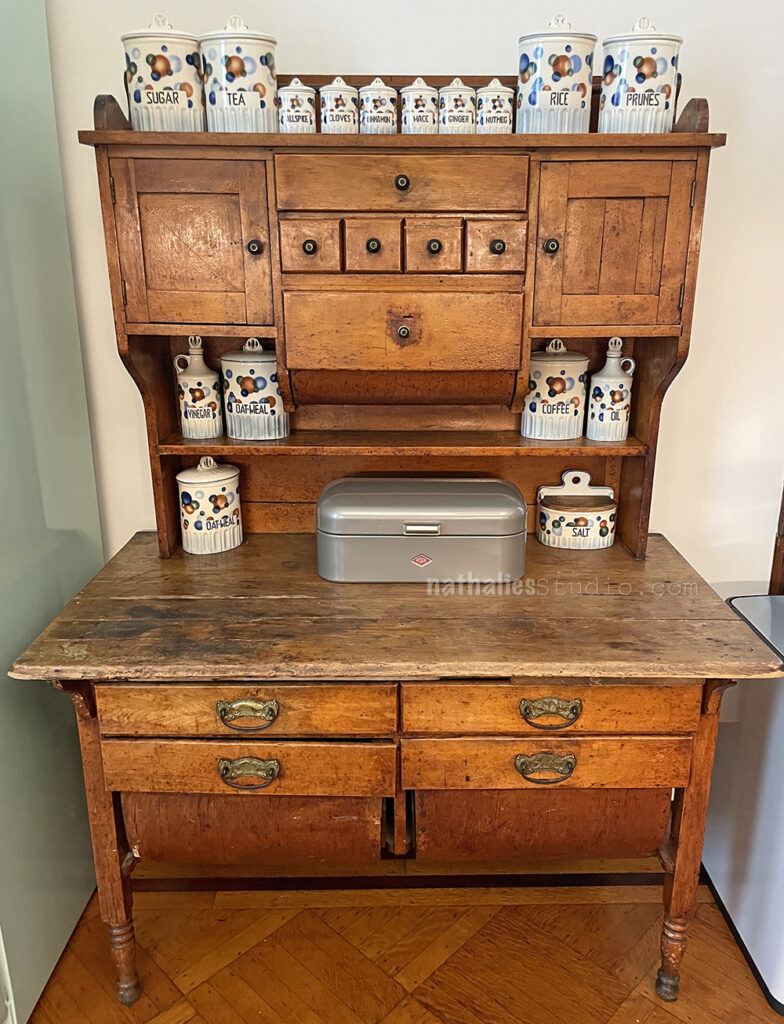
We found a really nice art deco spice jar set for our old possum belly bakers cabinet in the kitchen- love it.

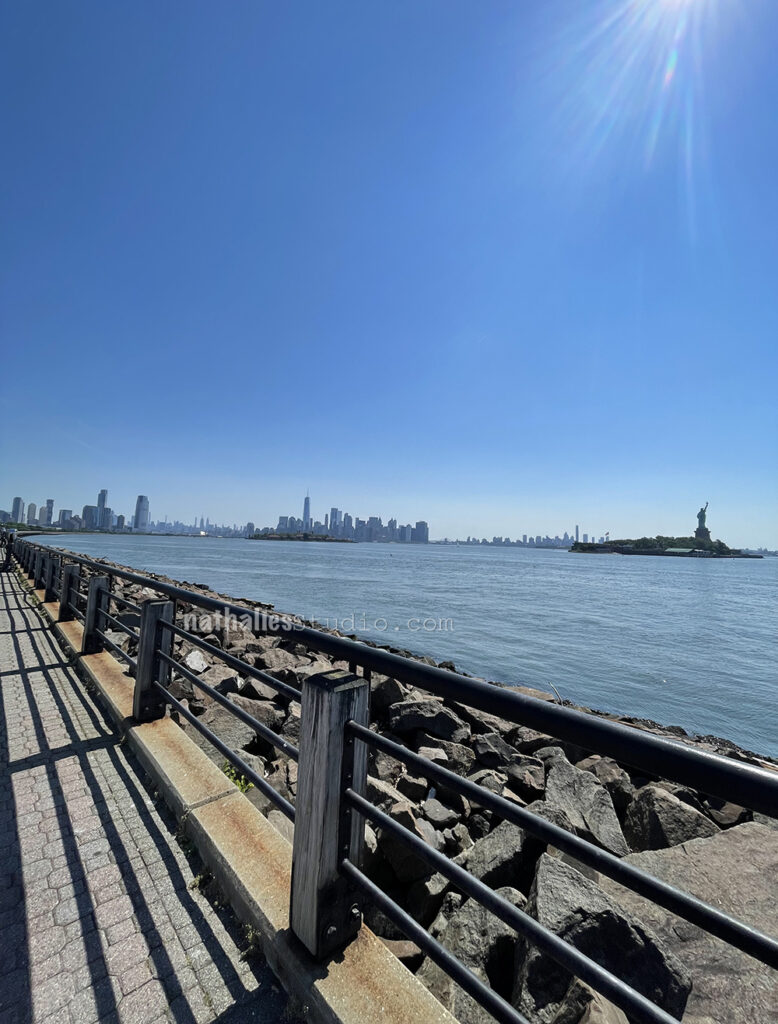
And I finish with the obligatory view from Liberty State Park. Until next month for a new Stroll my friends!

Comments (1)

  • Barbara

    |

    Very nice, great finds this episode. Never heard of the Ukelin, very interesting history. And the spice jar set? Priceless. Who needs that much space to store prunes? I love cemeteries. Must stop and look when we visit small towns. Thank you again for sharing.

    Reply

Leave a comment

Another Trip to the Catskills

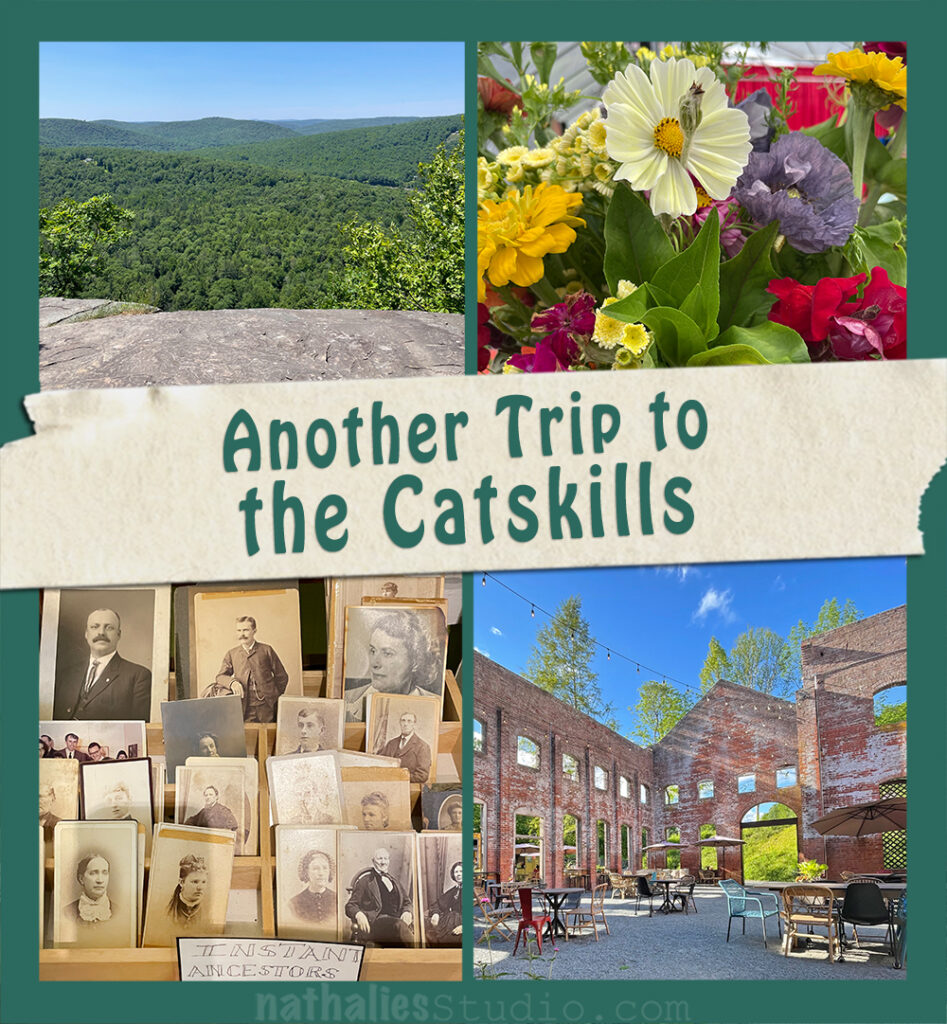
While I really miss going to Germany we decided to still sit this year out – we are getting a bunch of visitors over the next couple months from Overseas and with the house and the crazy travel scene all over the place..the Catskills sounded way more relaxing. And boy it was!

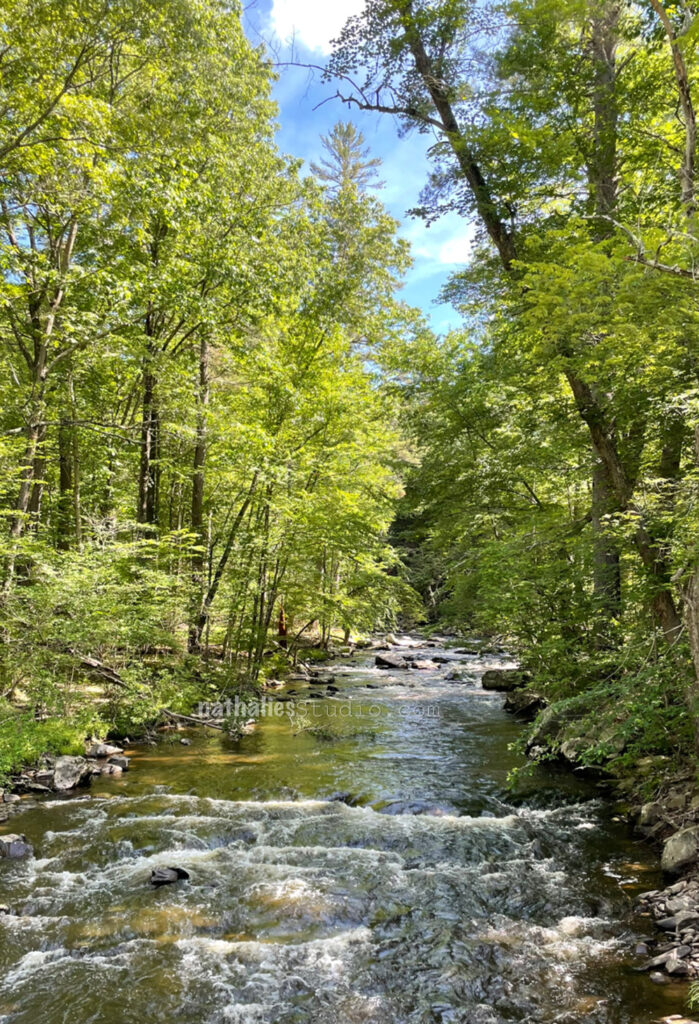
such a lush green everywhere right now and we usually would do a lot in the morning …and then get lazier throughout the day.

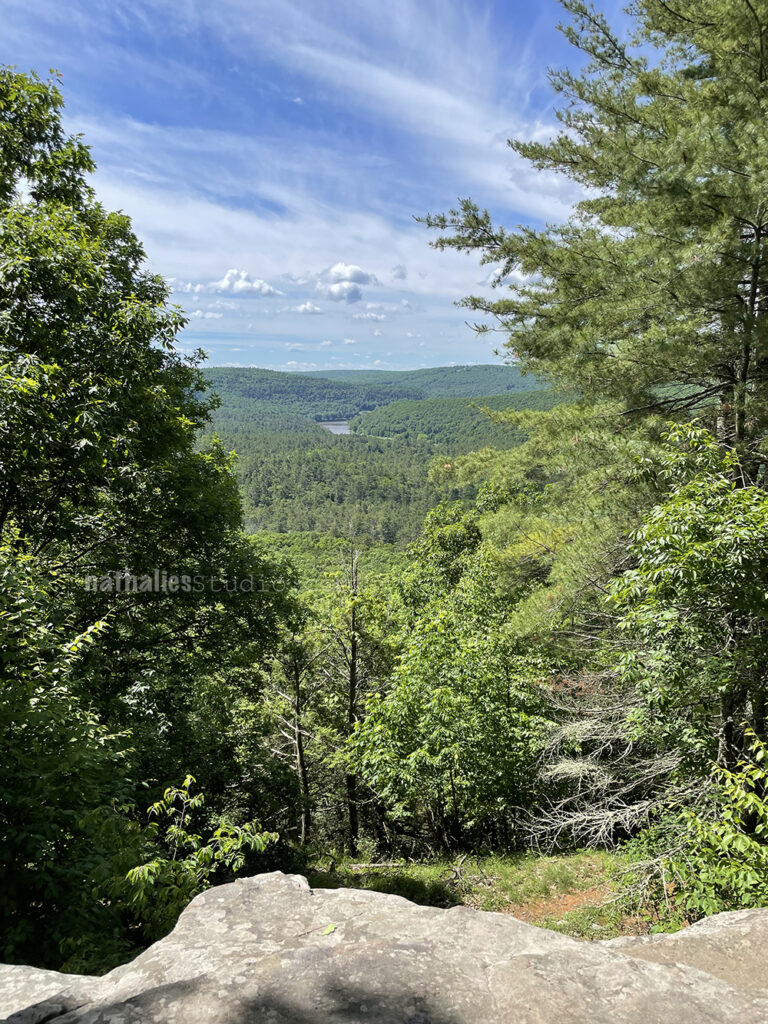
We both love hiking and a nice view at the top and a little snack never hurt ;)

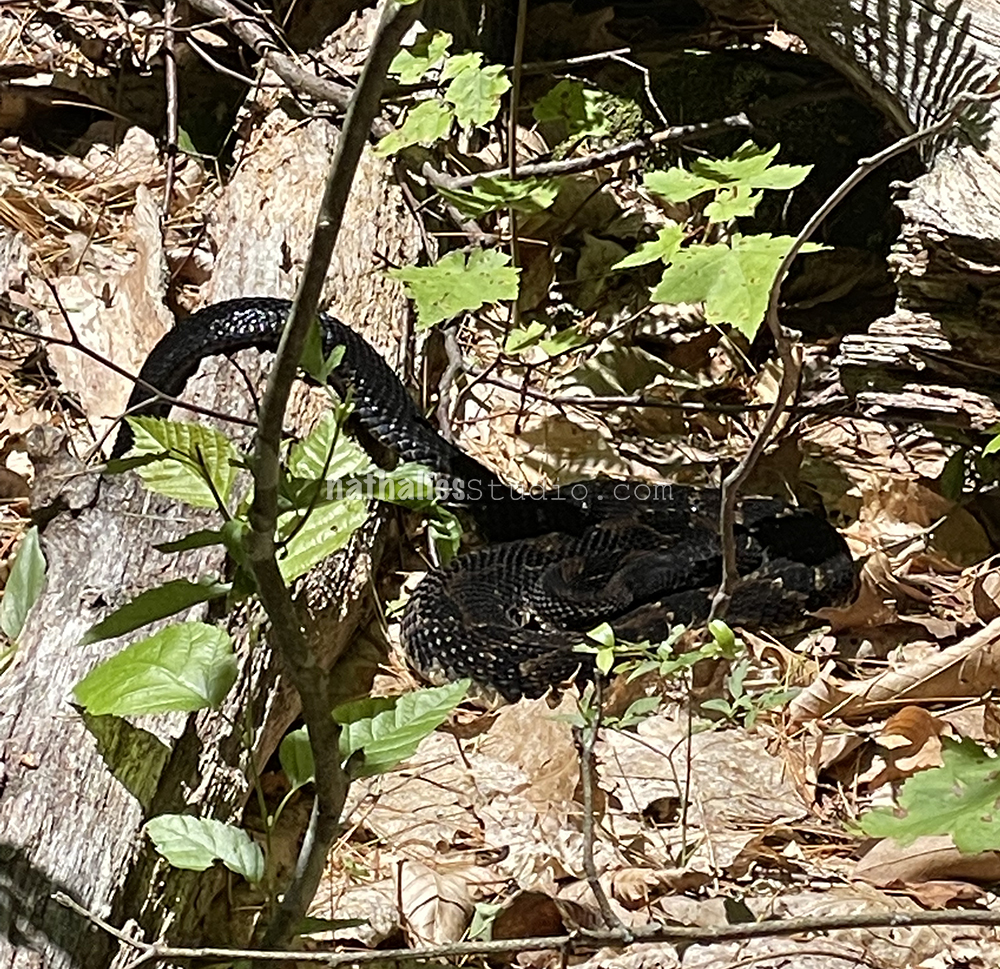
What may hurt is a little snake…boy …I may have added a couple paces walking past it and it is also the fasted walk by picture I have ever taken. On the same hike we saw a bobcat …that was really cool- no picture there.

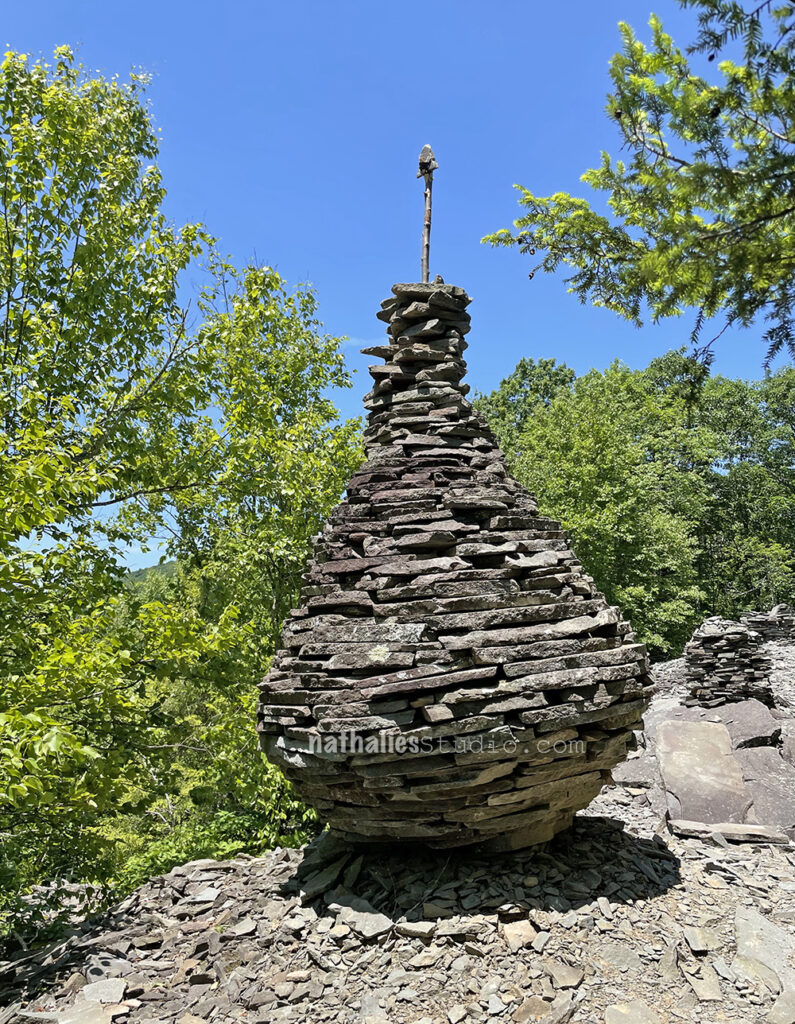
Love those sculptures at the top of one of the trails – the urge to be creative is always there for people

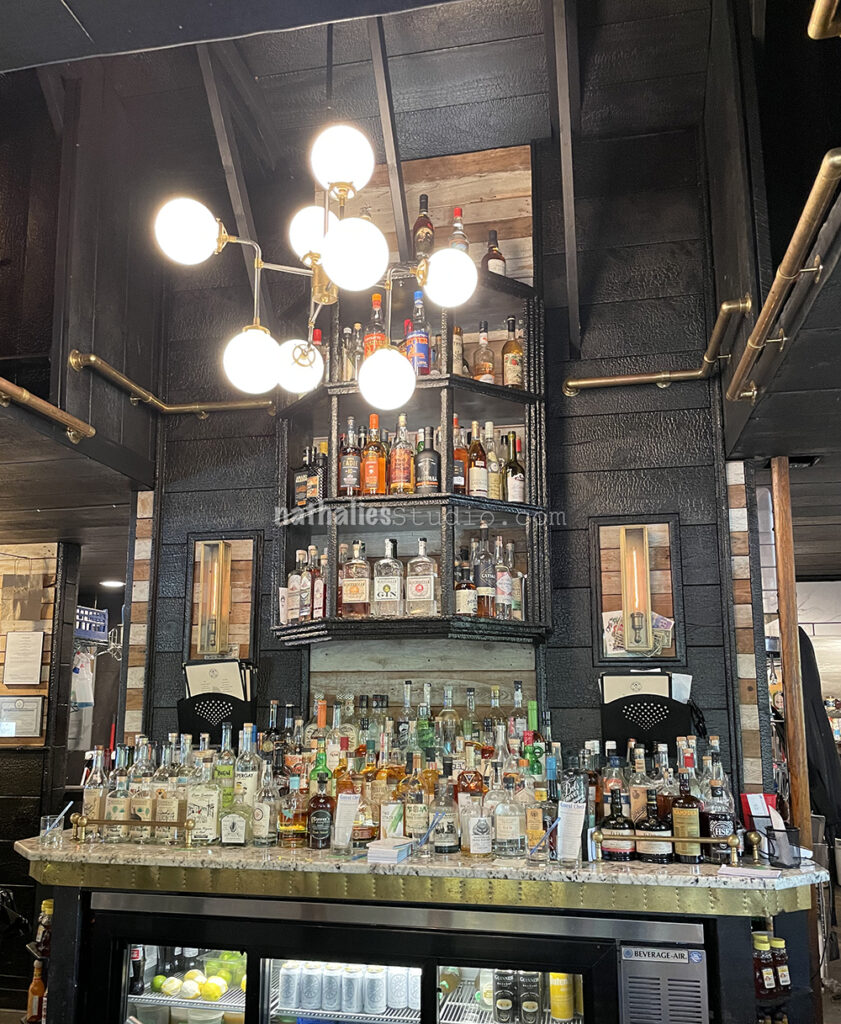
we didn’t just hike of course … we also ate and drunk …this fire station turned bar and restaurant is one of our favorites- I love that they charred the wood in the bar inside.

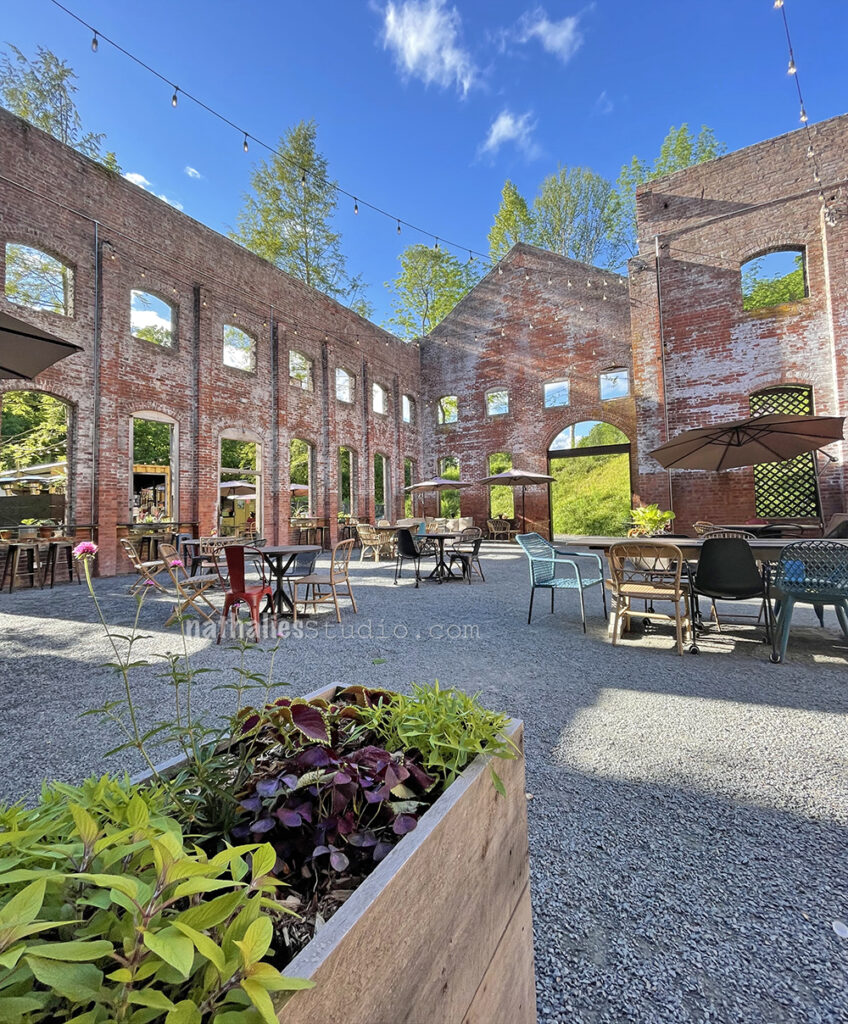
Another great example for repurposing space is this old pump house that is just a really cool ruin – some food stands, a nice little garden area- live music …live is good. And you just now it is there when the weather is good and when it is bad…you figure something else out.

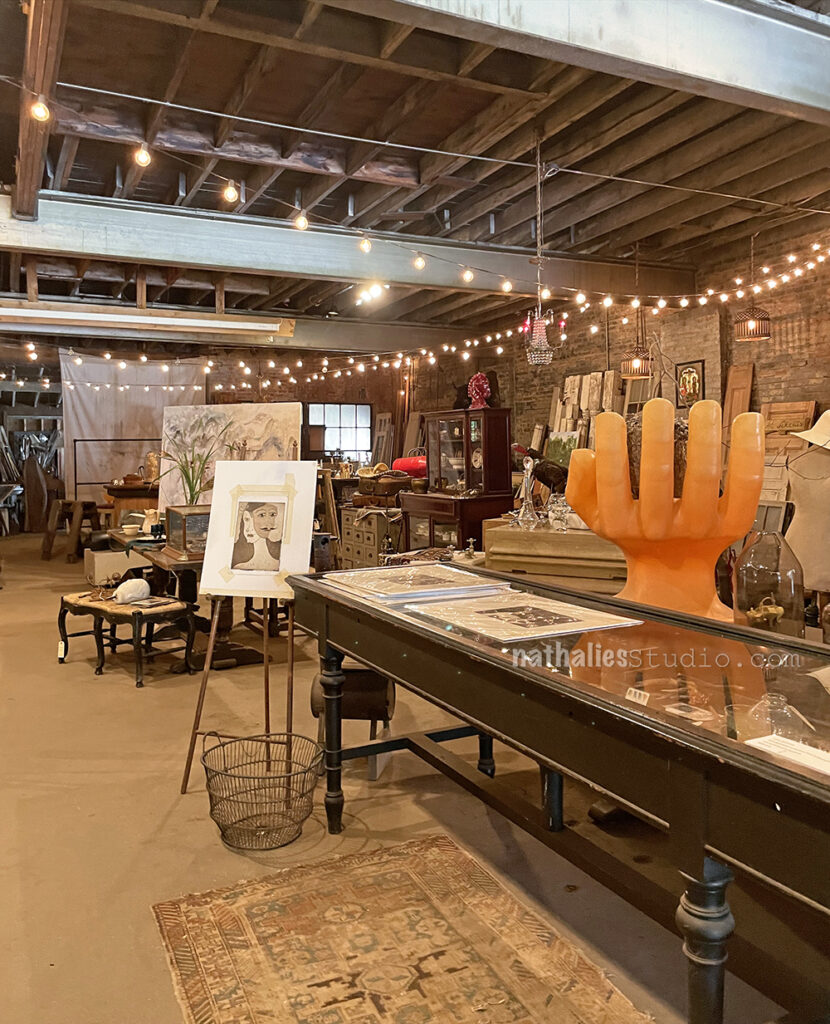
We also hit a ton of our favorite antique stores -it is one of my favorite things to do while there.

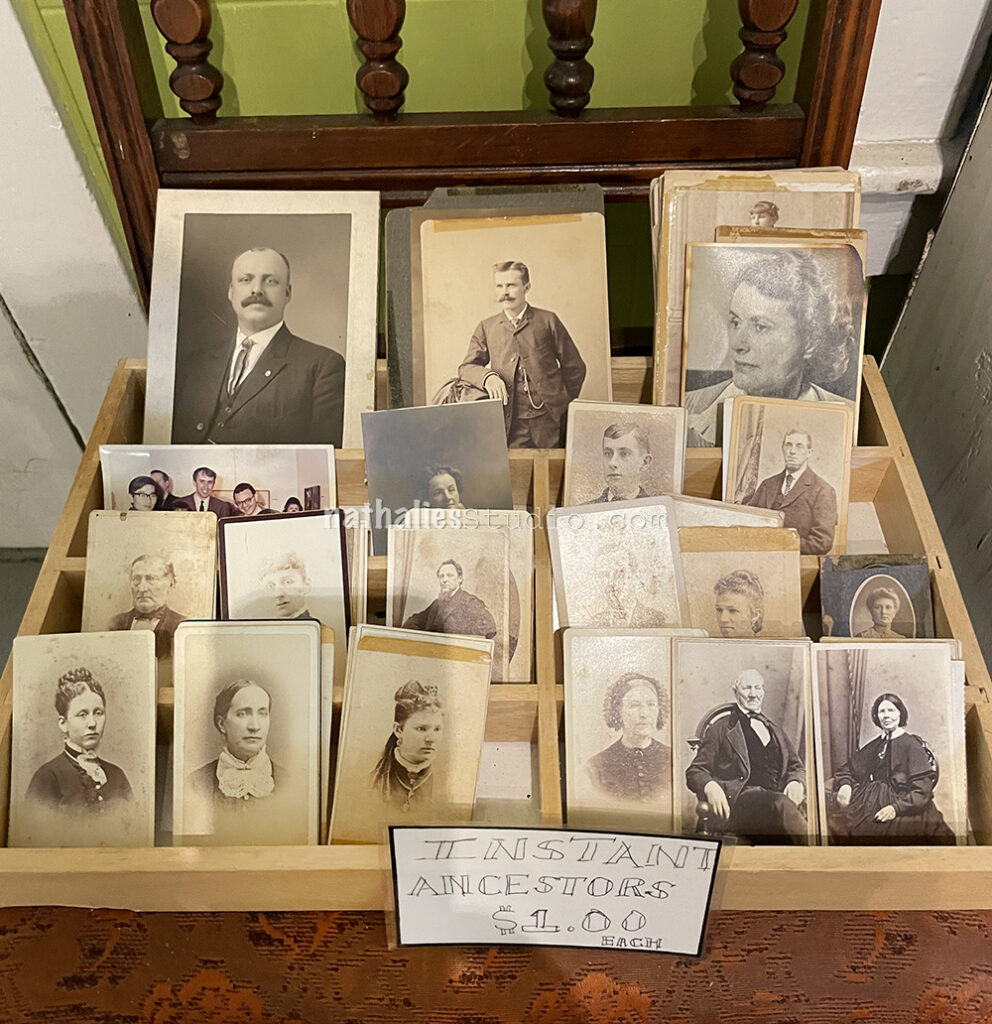
I didn’t adopt any ancestors- but thought that was really cute. It reminded me of the Whatever Series I did with a couple friends years ago – where we shared found photos and then made up art journal pages and stories.

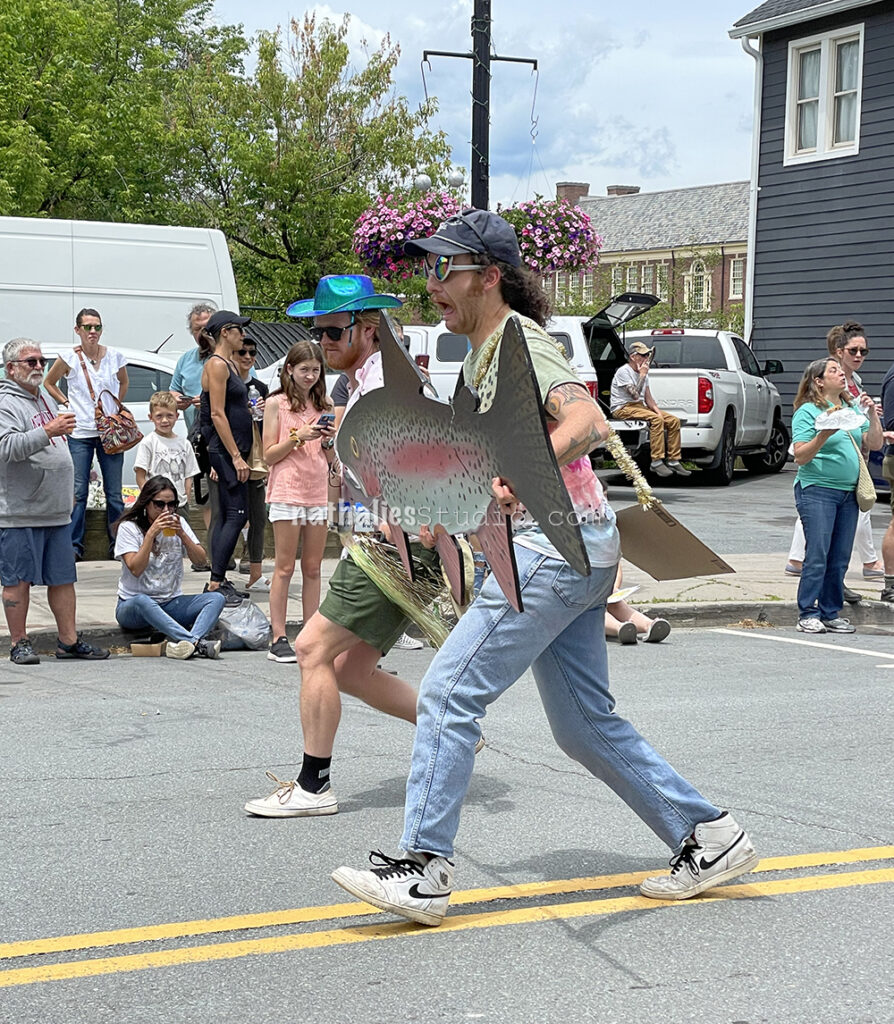
We also did not only eat a lot of trout…we also went to the trout festival .. . total fun

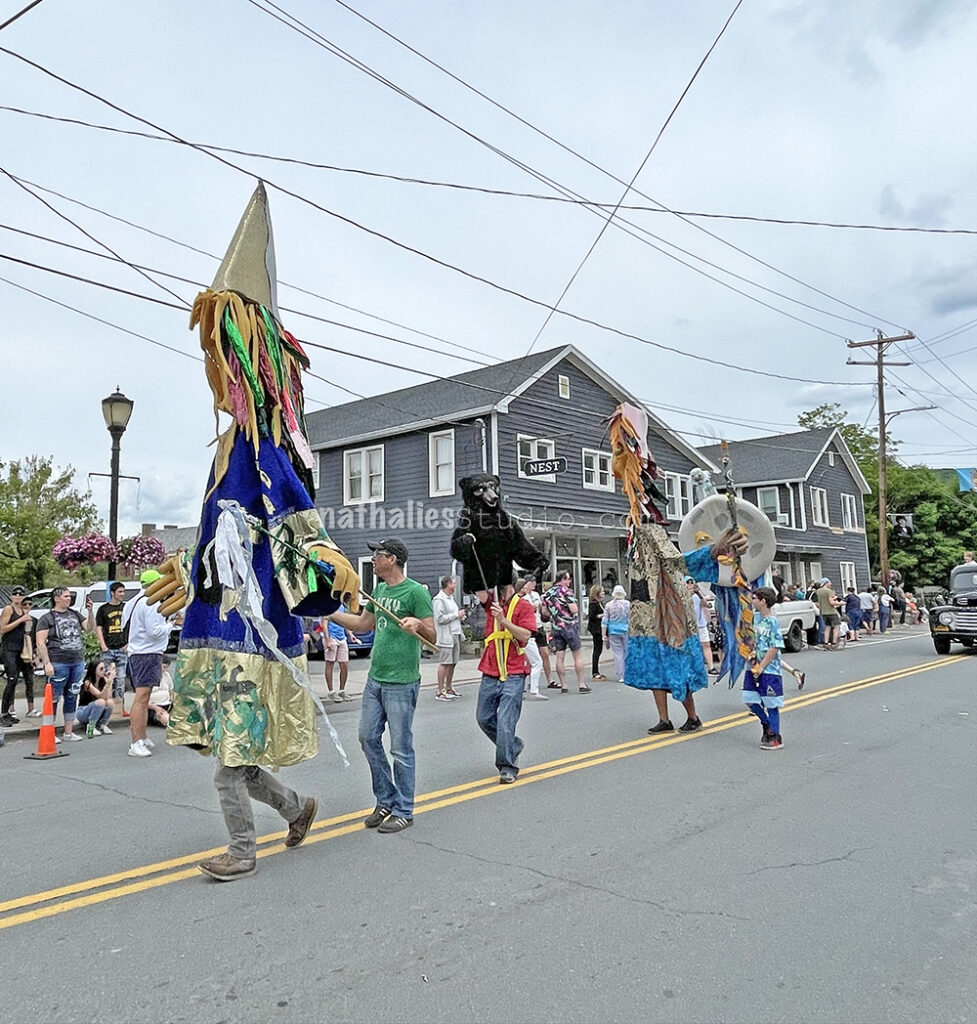
There is something so charming about handmade costumes.

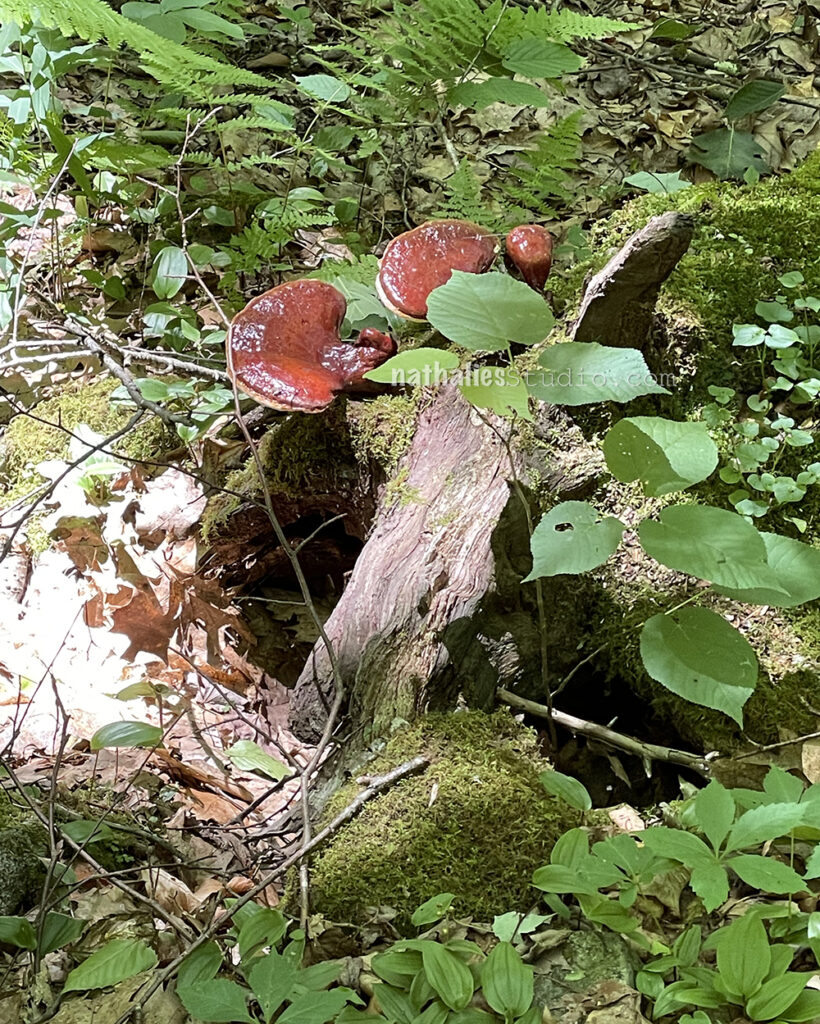
I think this mushroom is called Reishi? In any event – very big and very pretty.

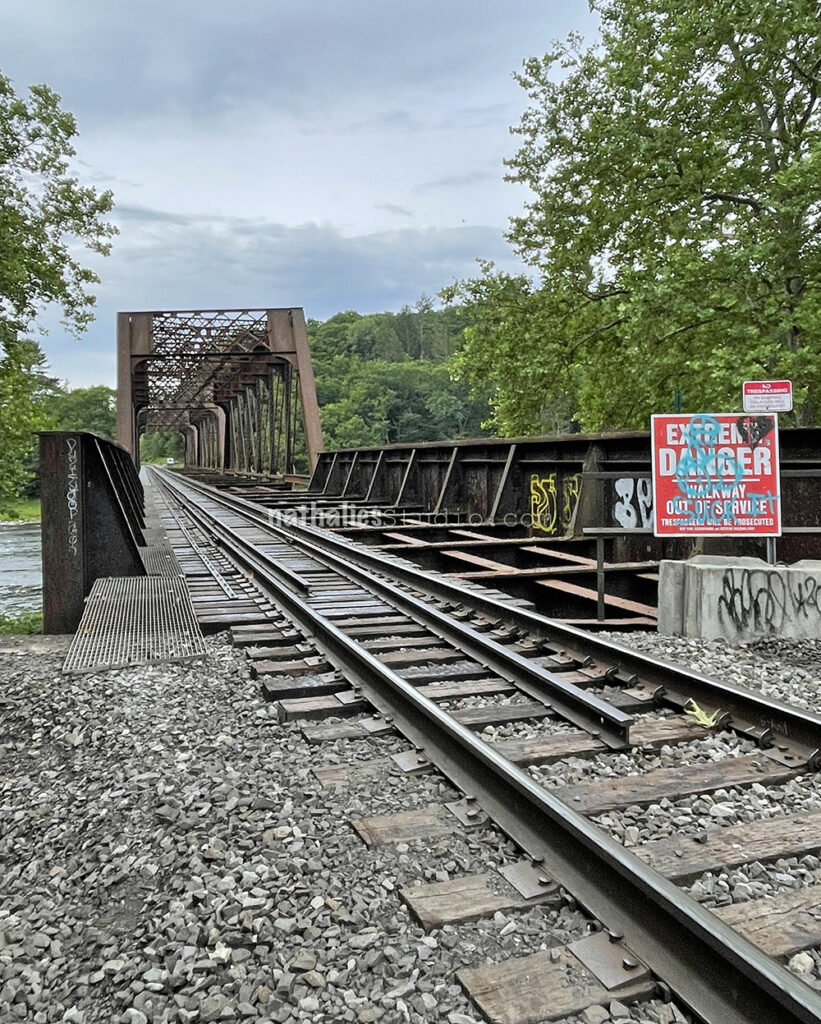
Anyone else getting some “stand by me” vibes?

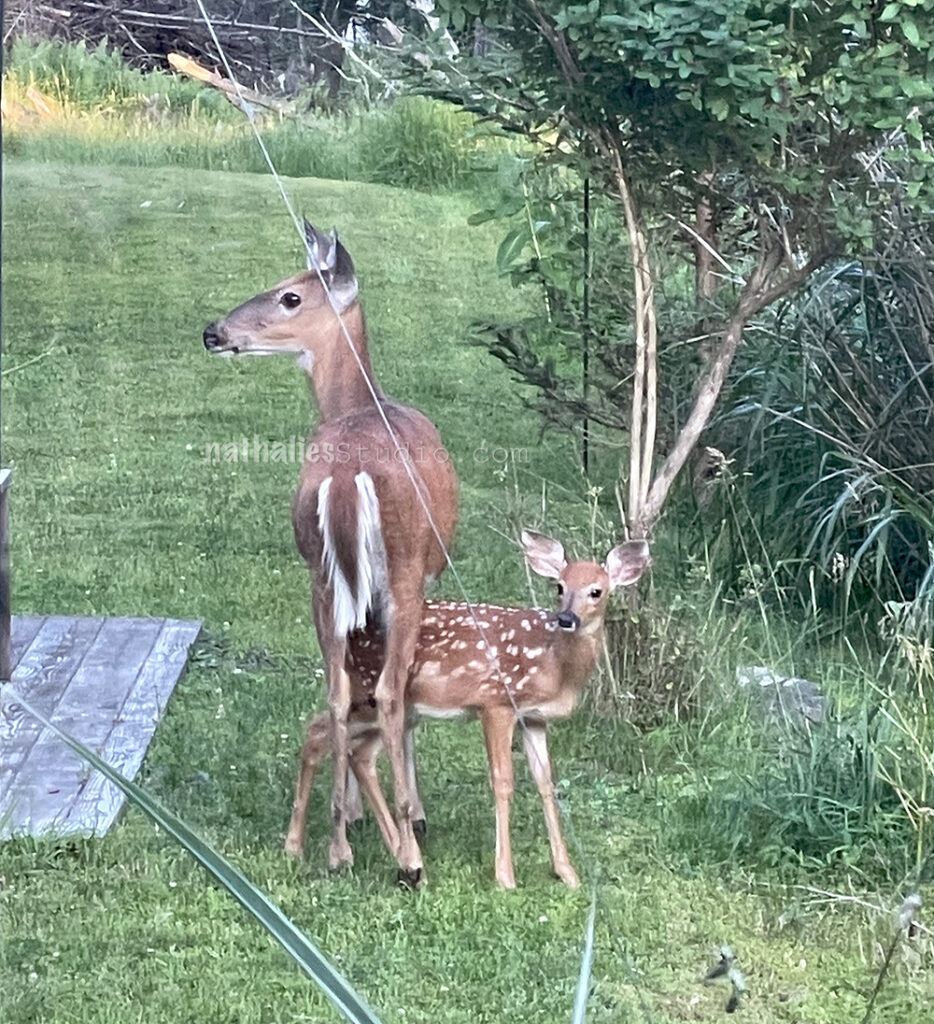
My absolute favorite thing though was watching Bambi …in fact there were two Bambis in the garden. They would get the zoomies …sooo cute and funny. I mean, if you do not find Bambi cute…I do not want to know you ….nuff said ;)

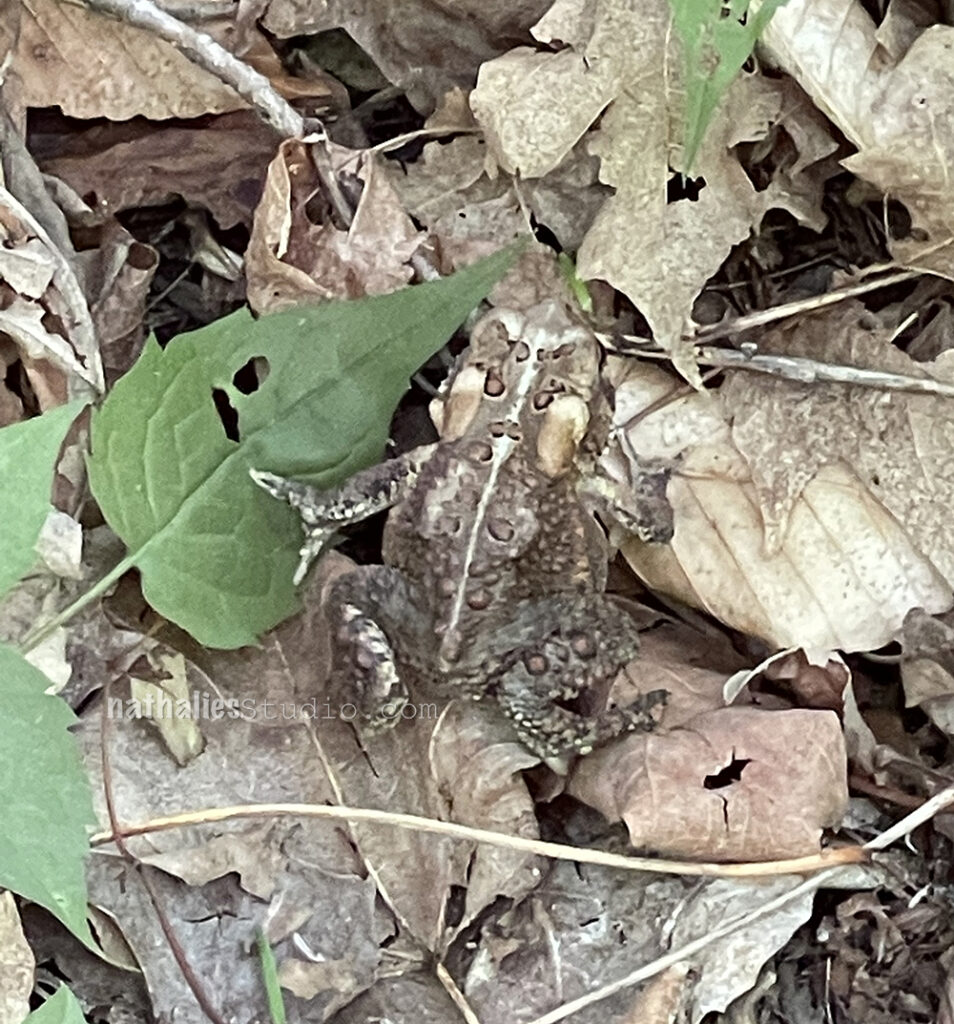
“I thought you was a toad” …more movie references LOL – anyone ever watched O Brother Where Art Thou? Every time my husband and I see a toad we break out into load whispering and cannot stop giggling.

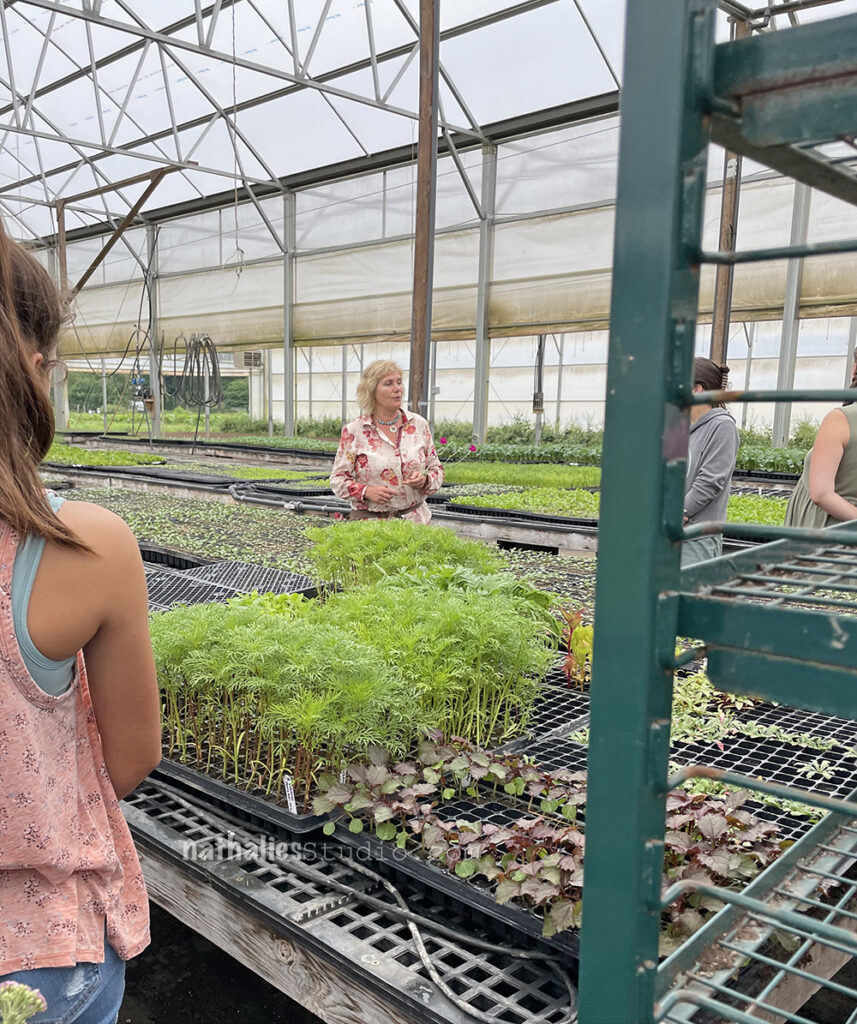
We went to Willow Wisp Farm and saw a bit of the farm but also picked our own flowers and then made some bouquets. Lots of fun.

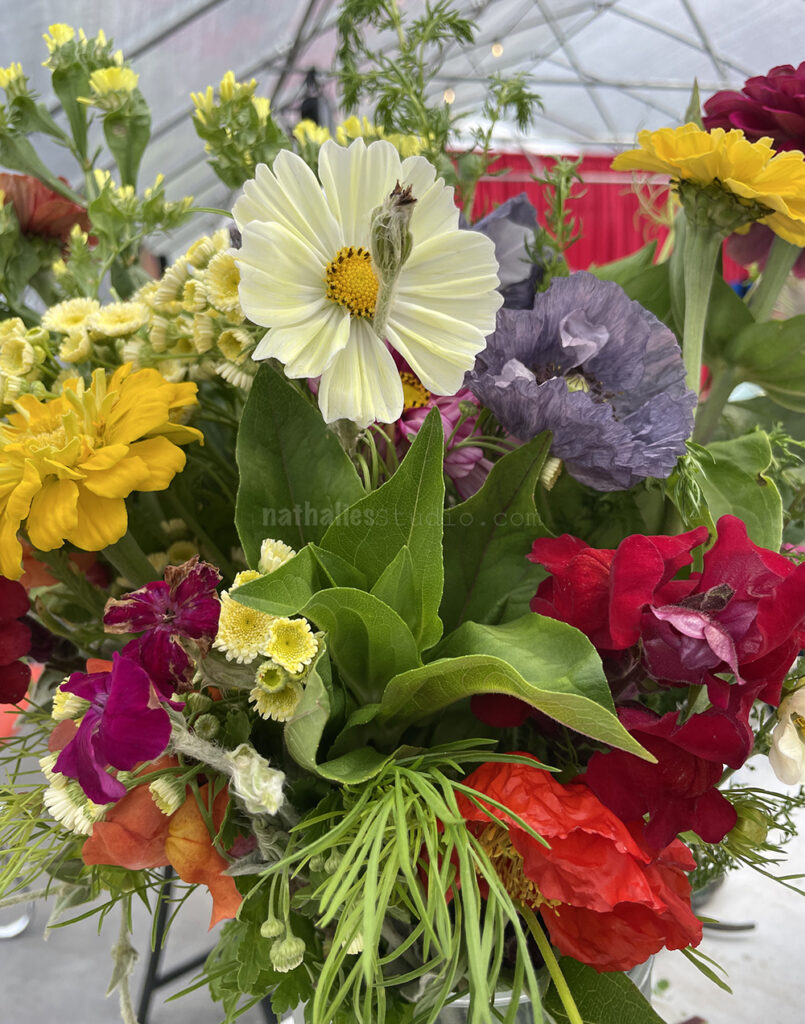
Here the flowers are still in the bucket …see those grey-purple peonies? OMG- soo so so so pretty. Now I am not a person to sketch or paint a lot of flowers but I wanted to sketch those right away – maybe because they are so delicate and so quickly gone.

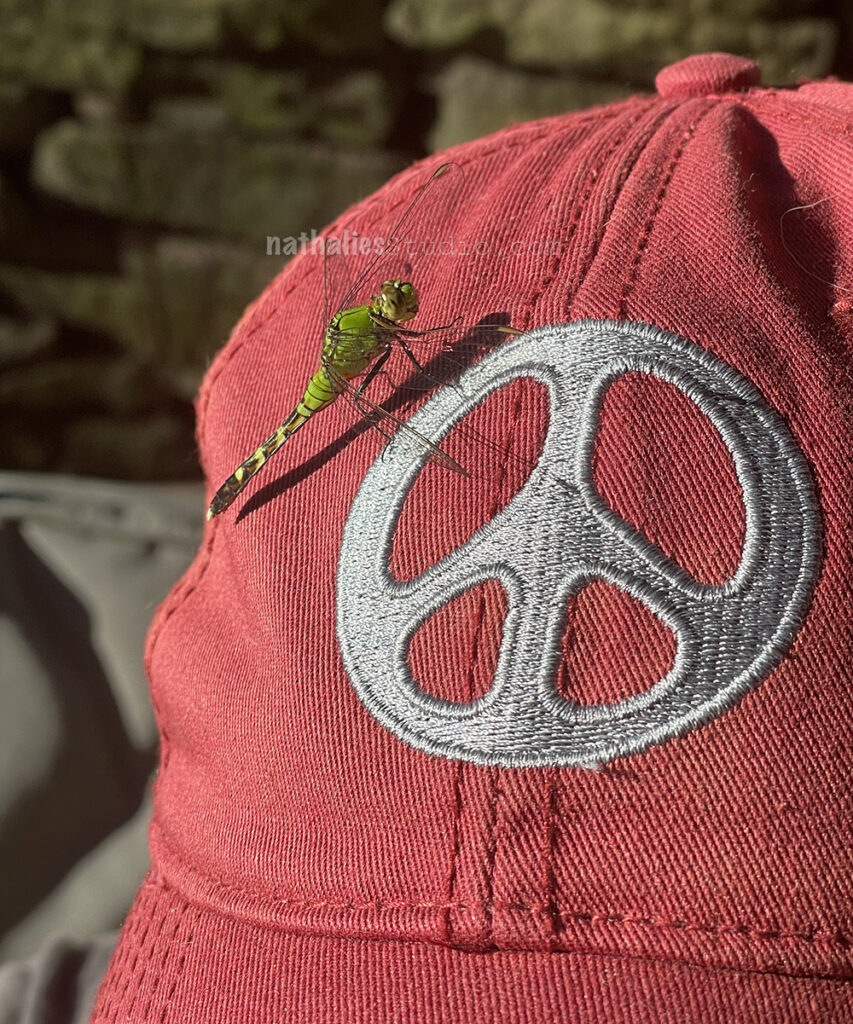
Peace out little dragon fly!

It was such a nice little break from the city, work and house reno stuff …it is hard to believe that all this is just 1 1/2 hours away from the city. I cannot wait to get back – hopefully in the fall for some fall action – but for now…let me munch on the strawberry rhubarb pie I brought home…life is good.

Comments (4)

  • Nancy G.

    |

    Thanks for taking us along on your vacation.I live in the Hudson Vally and there is so much beauty all around this area.

    Reply

  • ARHuelsenbeck

    |

    I’ve never been to the Catskills, but friends of ours had a cabin in the Poconos (not too far from you) and we got to stay there with them once. It was so peaceful.
    Thank you for sharing your gorgeous photos. It was like a mini-vacation for me!

    Reply

  • Sue Clarke

    |

    Yes to Stand By Me reference.
    Awesome dragonfly!
    Love the deer.
    I’ve never been but now I want to go there.
    Instant ancestors…I might have bought them all (I come from a small family)…and I loved the Whatevers!
    Thanks again for sharing your adventures Nat.

    Reply

  • Vee

    |

    Thanks for the visit to.someplace I have not been. Your pictures and comments are memorible.

    Reply

Leave a comment

More Beer – Art Journal

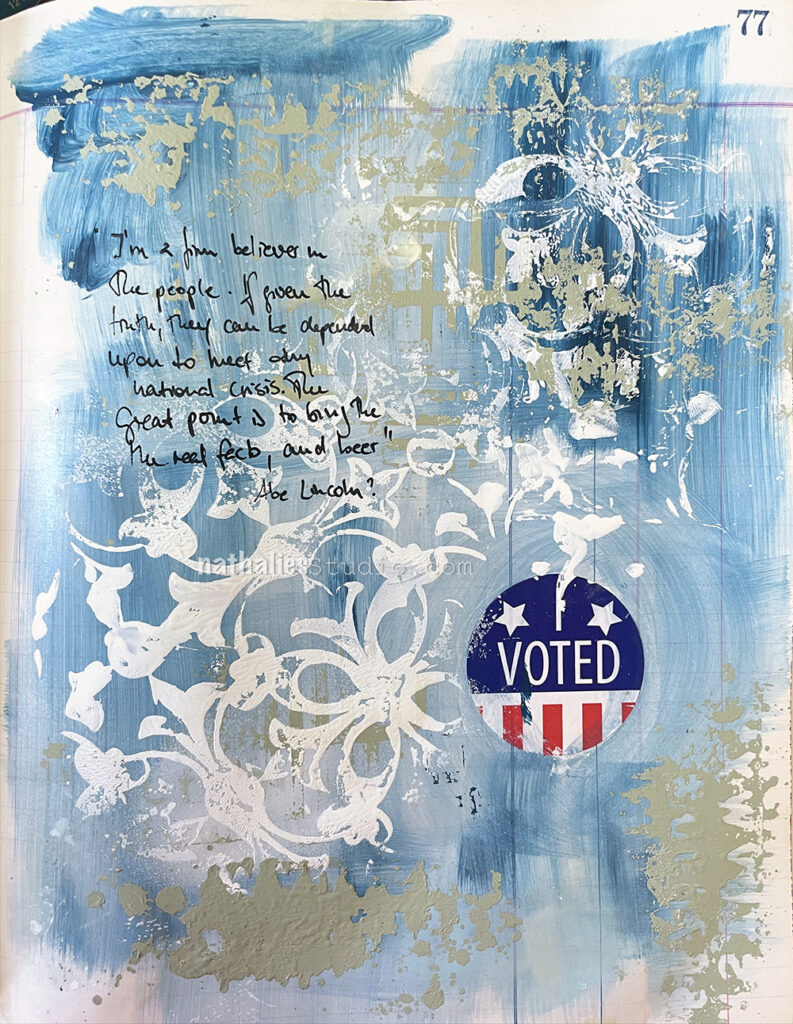
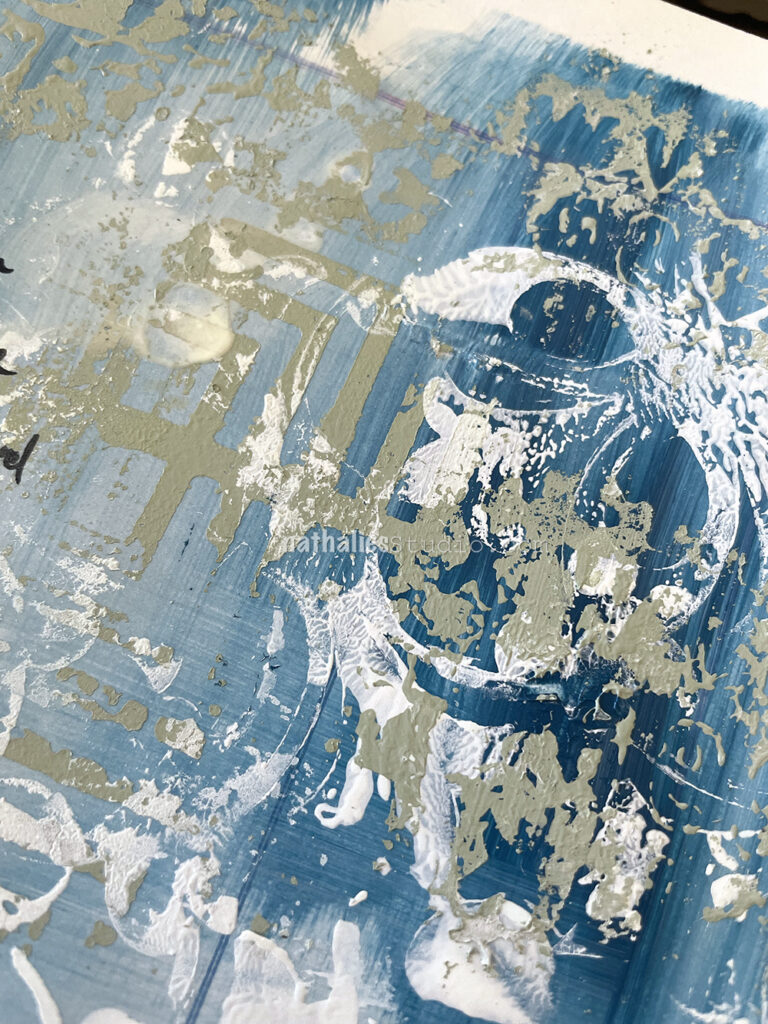
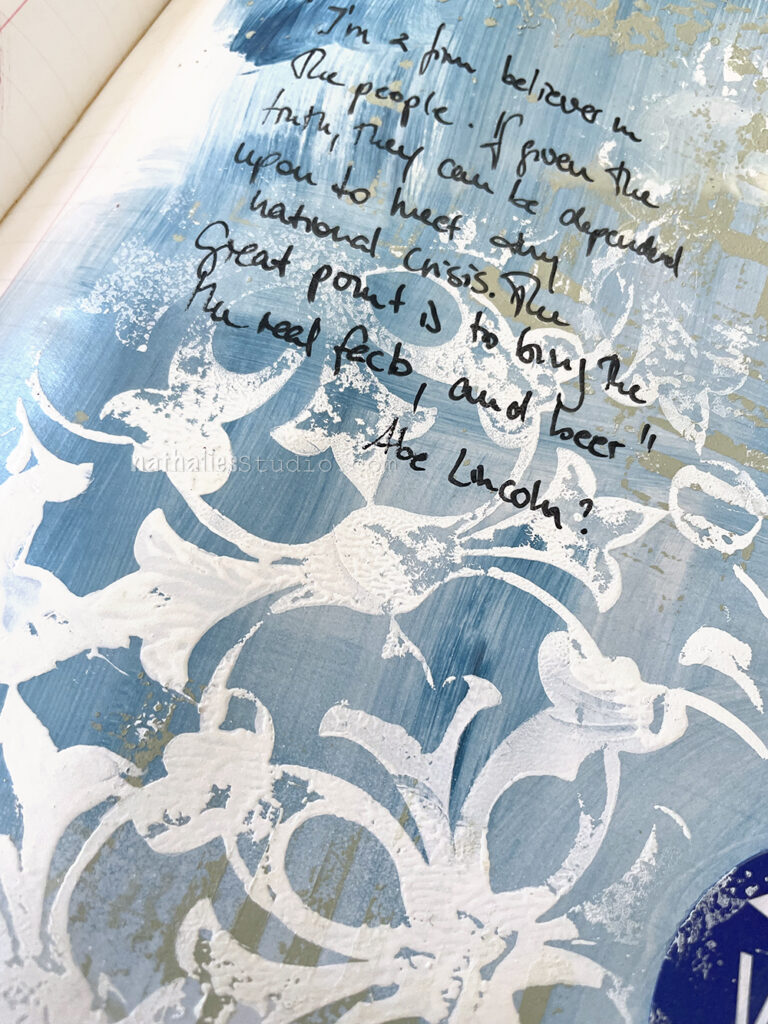
For this page in my vintage ledger journal I used acrylic paint in the background, kind of like a wash. Then I layered in my Manhattan and Versailles stencils that I had been using for a different project with spray paint, and just printed them on top of the page to give a negative image. I also added in a voting sticker.

As for the quote, I am not sure if it is a true Abe Lincoln one but it is attributed to him: “I’m a firm believer in the people. If given the truth, they can be depended upon to meet any national crisis. The great point is to bring the real facts, and beer.”

Ha!!!

Here are some of the supplies I used:

Leave a comment

Creative Squad: On Repeat – Riikka Kovasin

Hello from my Creative Squad! Today we have a post and video from Riikka Kovasin who is sharing an art journal page with a clever way of toning things down while still letting them peek through. She is using my Triple Play foam stamps and our theme: On Repeat – Let’s play with patterns! Repeat a design motif or shape to create a pattern-inspired project of your choosing.


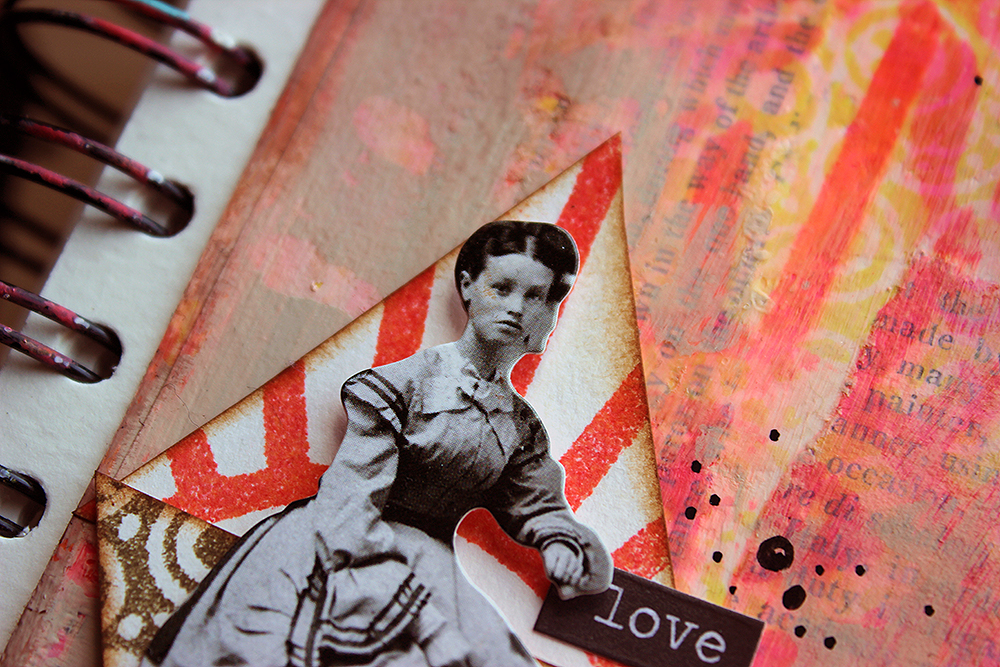
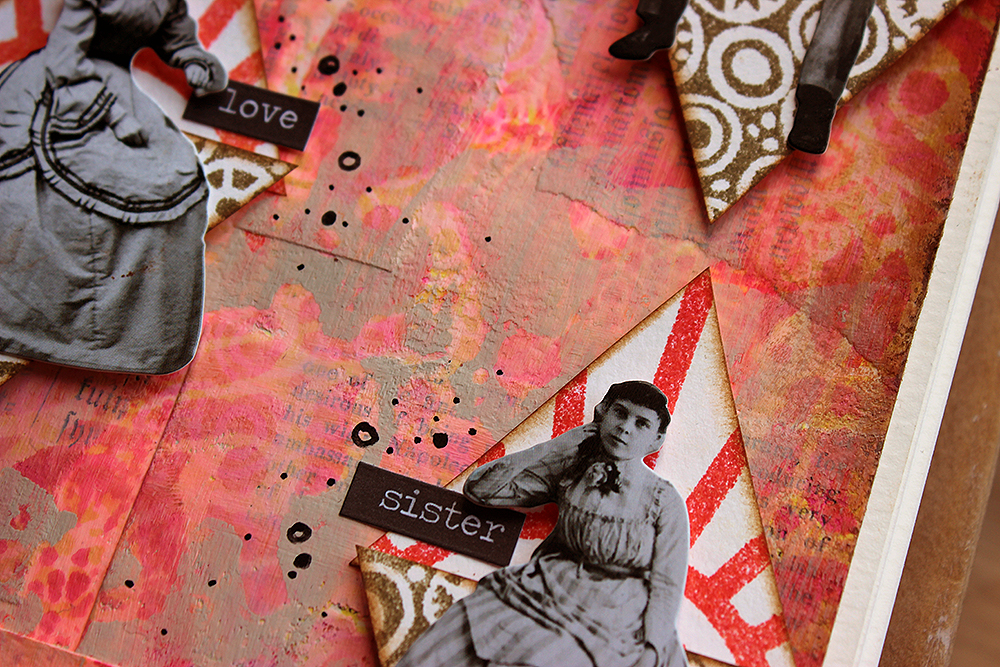
Fiery Love Triangle

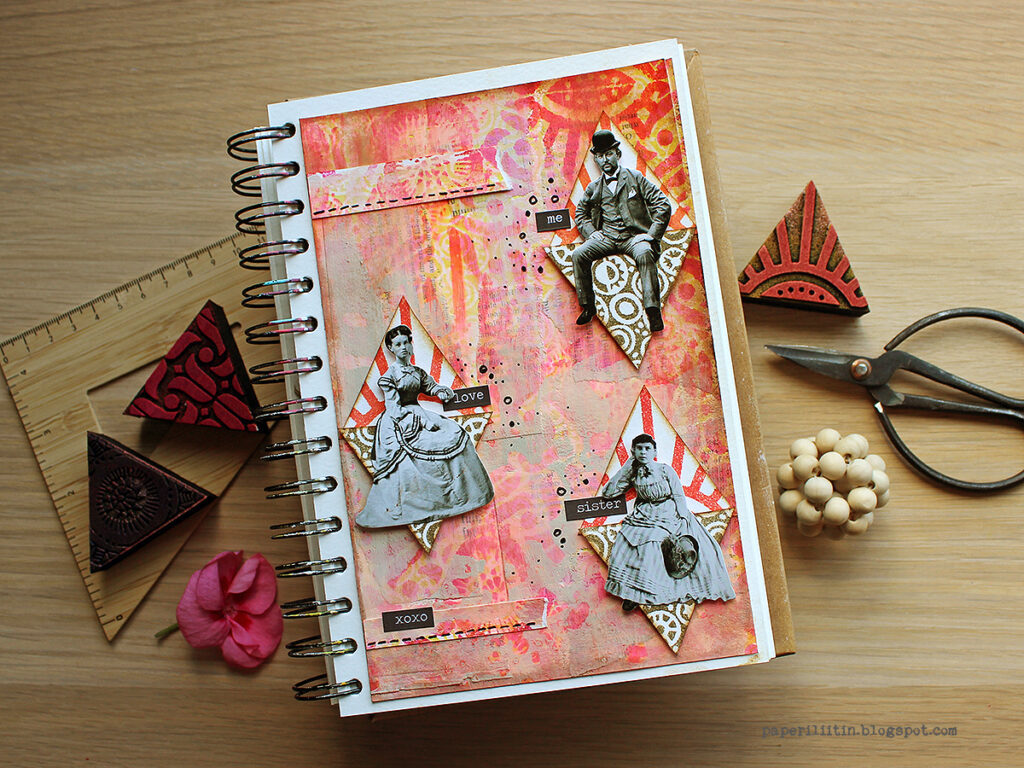
Hi there! It’s Riikka here today sharing my take on the “On Repeat” theme. I chose a triangle as my shape and repeated it in my background as well as topic and focal points. 

I was leaning towards circle, but I have used the “Grove Street” set so much that I wanted to do something else instead. So, I took a look at my foam stamps and the other shape that was present was the triangle in the form of the “Triple Play” stamp set. It was a perfect choice as that gave me a bunch of different patterns to play with, too!

I admire the gorgeous geometrical patterns that Nathalie does to her journals. So, my original idea was to mimic one by using different colors and patterns and layer the stamps. I started a pattern, but it didn’t look pleasing to my eye. And it also didn’t look “me”. So, I started over. Instead of building the background by stamping on a piece of white cardstock, I started instead with some collaging. Even though the book pages I added to the sheet first can’t really be seen in the finished piece, I felt it was “my” way to go. Those old book page hues also played a role on the color palette of the page!

If you want to see how the page came into being, please see the video below. I have to apologize, though, because the video is a bit fuzzy in the beginning. It does get sharper, promise!

As you could see from the video, the bold pattern in the background freaked me out! I guess it’s partly the red color as well, as I seldom use that. But luckily there was a way to make it more subtle. It’s now like fire burning inside, hidden from the prying eyes – the strong reds and pinks underneath a beige surface.

While I could have chosen pyramids or juice boxes or even pizza slices as my topic with the triangle, the first thing that popped into my head was a love triangle. I blame Poirot for that! Or rather, Pamela Lyall as we had just watched (for the thousand time) “Triangle at Rhodes”. It’s an adaptation of the story by the same name, starring David Suchet, and is a part of the “Poirot” series. My husband and I grew up watching Poirot from TV, and nowadays we have the series in DVDs so we are watching them with our kids. In the episode in question Pamela Lyall states that human beings tend to reproduce certain stereotype patterns and draws a triangle in the sand. By the way, if you haven’t seen or read the story, I recommend it. It has a surprising twist, even when triangles are concerned.

Thank you for stopping by today! Wishing you a lovely day! Xoxo Riikka


Thank you Riikka! What a cool solution to work with a bright background – repeating the triangle with little cutout ledges to perch your figures on!

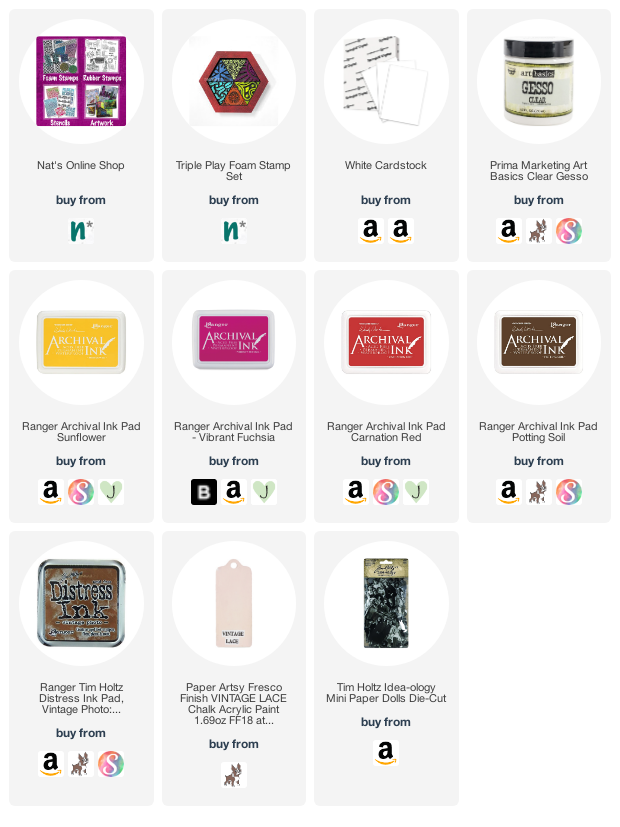
Give it a try: you can find all my Foam Stamps in my Online Shop and in addition to old book pages, here are some of the supplies Riikka used:

Looking for more projects? Follow the Creative Squad on Instagram here.

Leave a comment

Victorian Inspired Paper Lanterns – Play Date

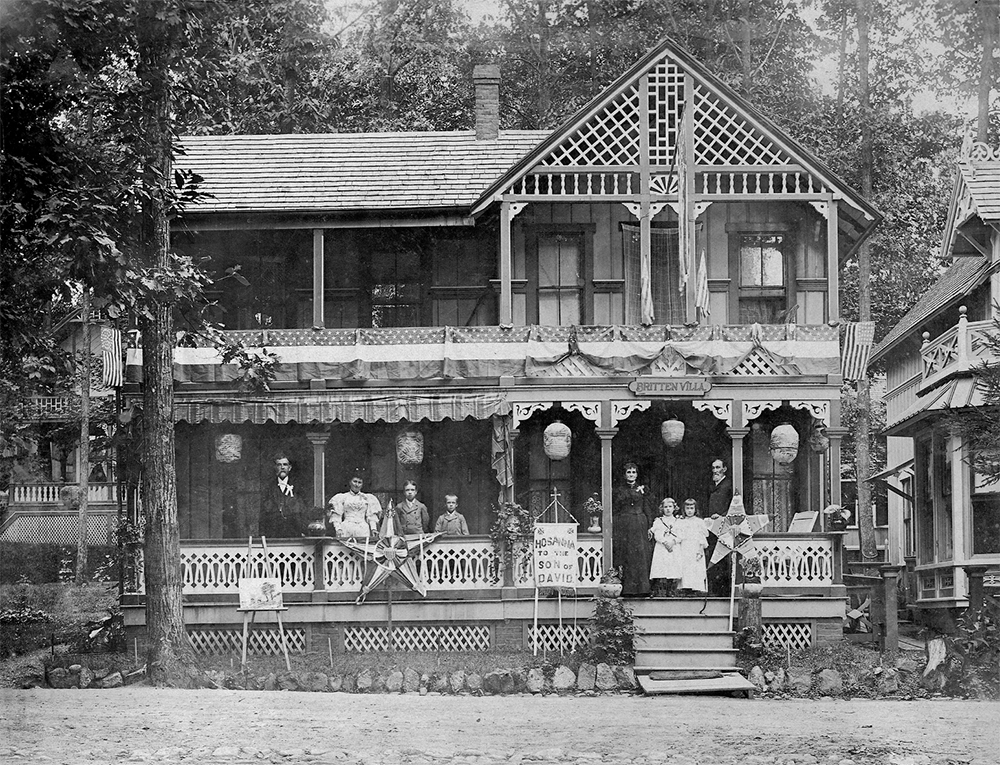
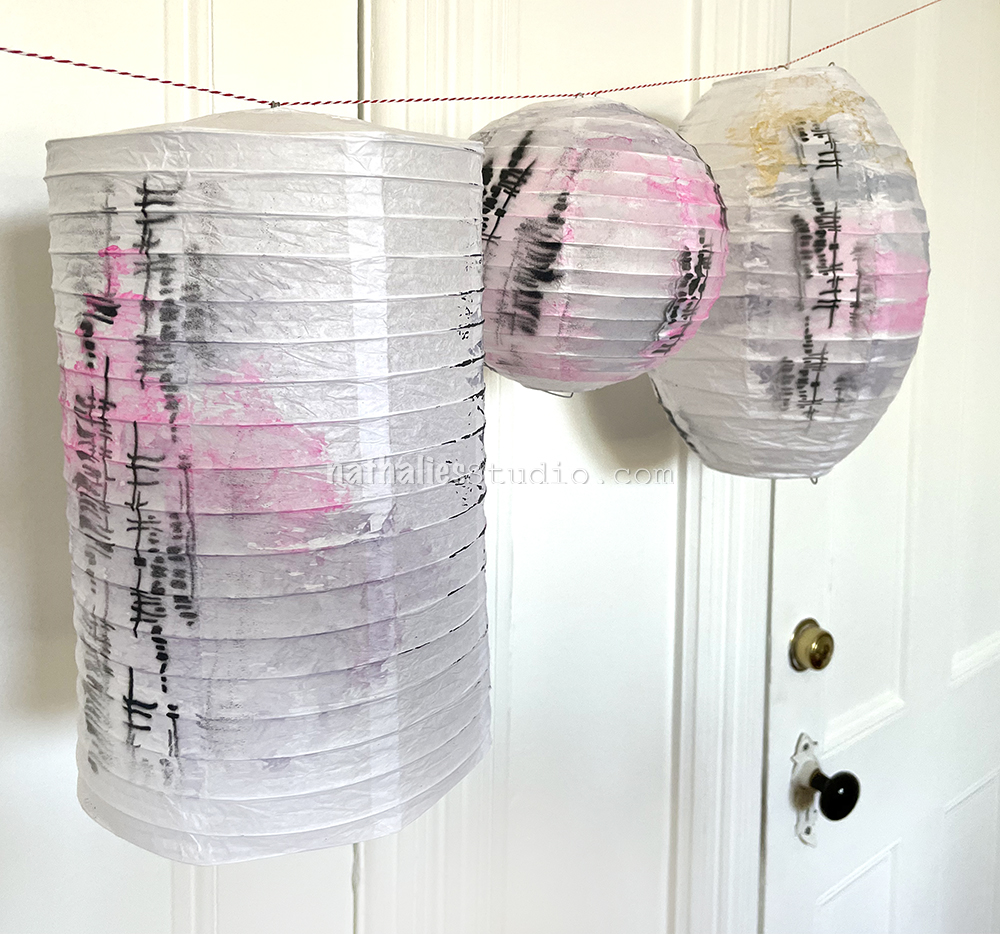
While I was researching some of the previous owners of my home, I came across an image of a place where they would go in the summers for a type of retreat from the city. Each summer the whole family would head out to their cabin in Mount Tabor NJ, and they participated in the tradition of hanging painted paper lanterns along the front porch to celebrate “Children’s Day”.

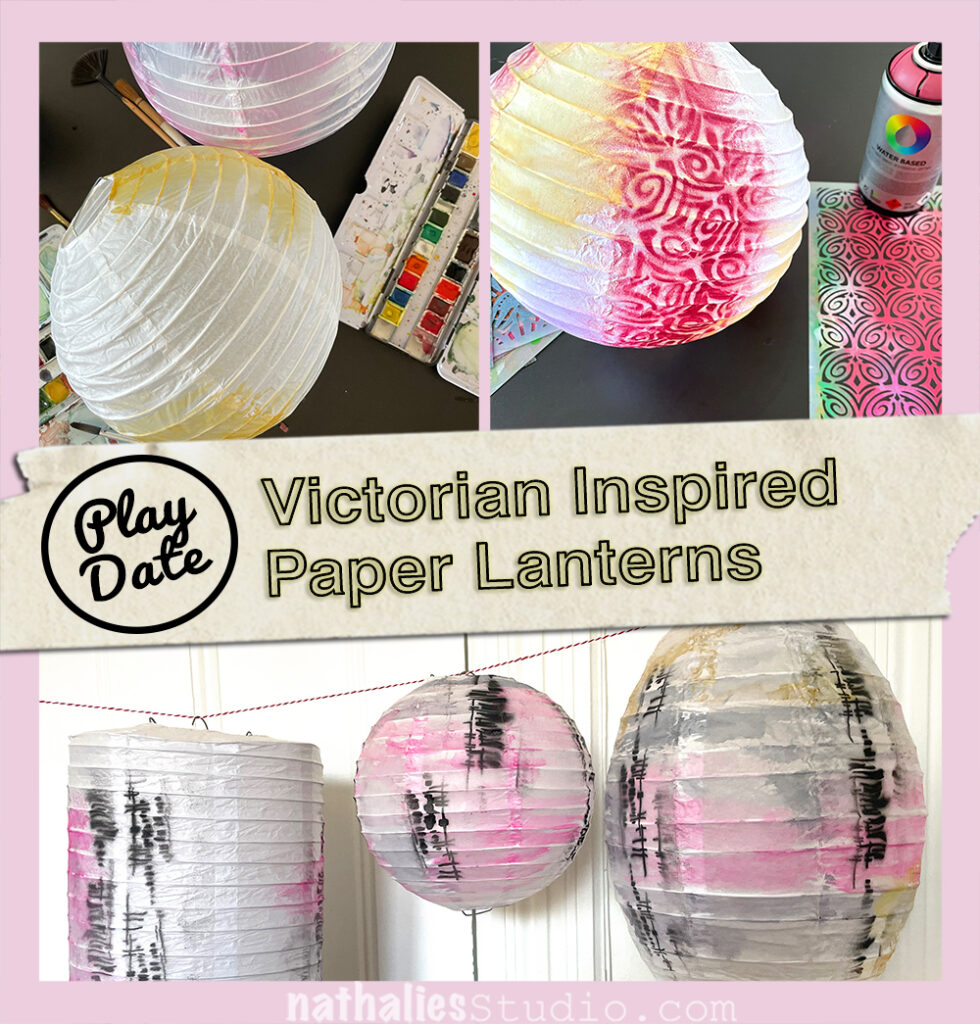
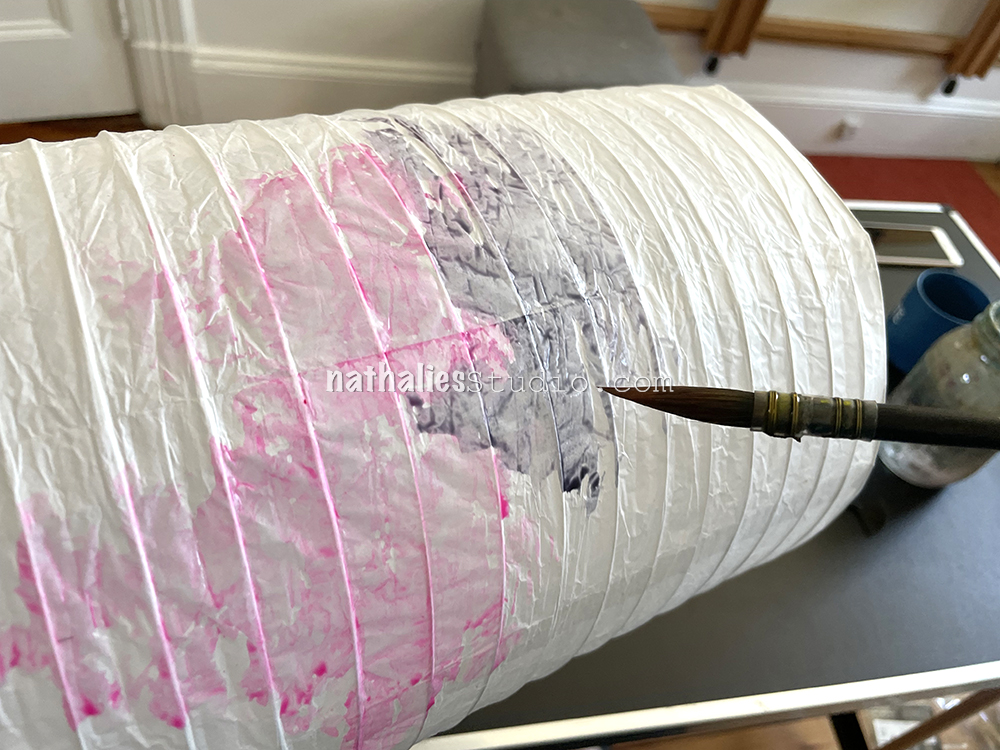
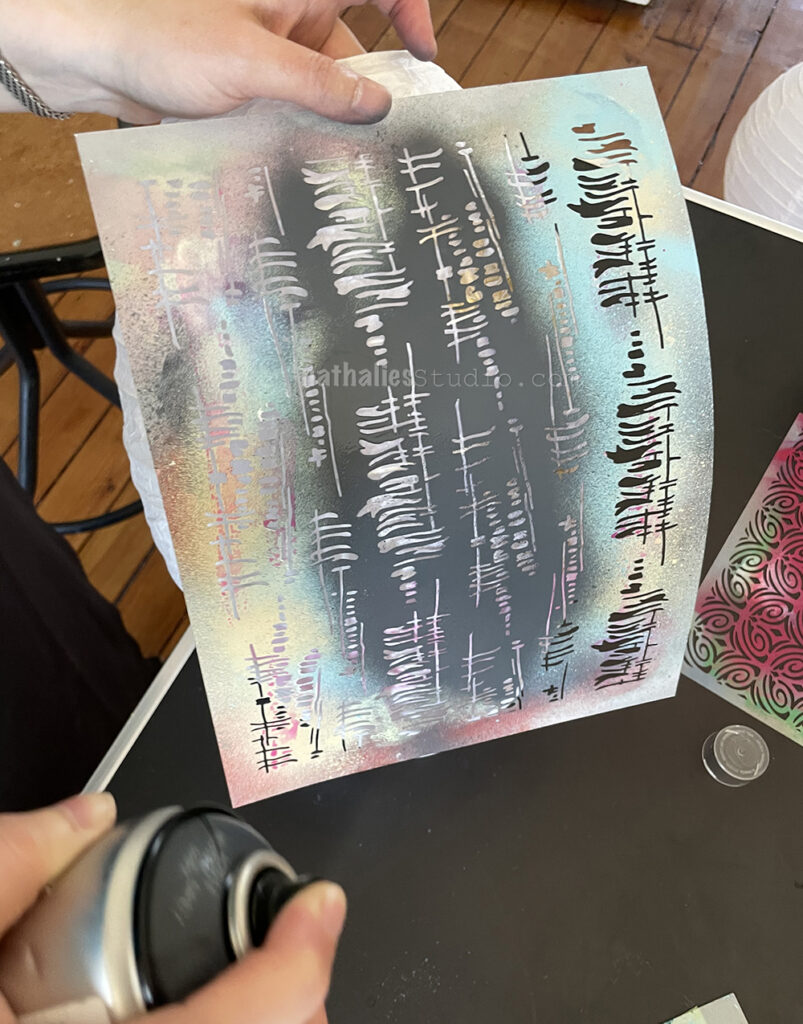
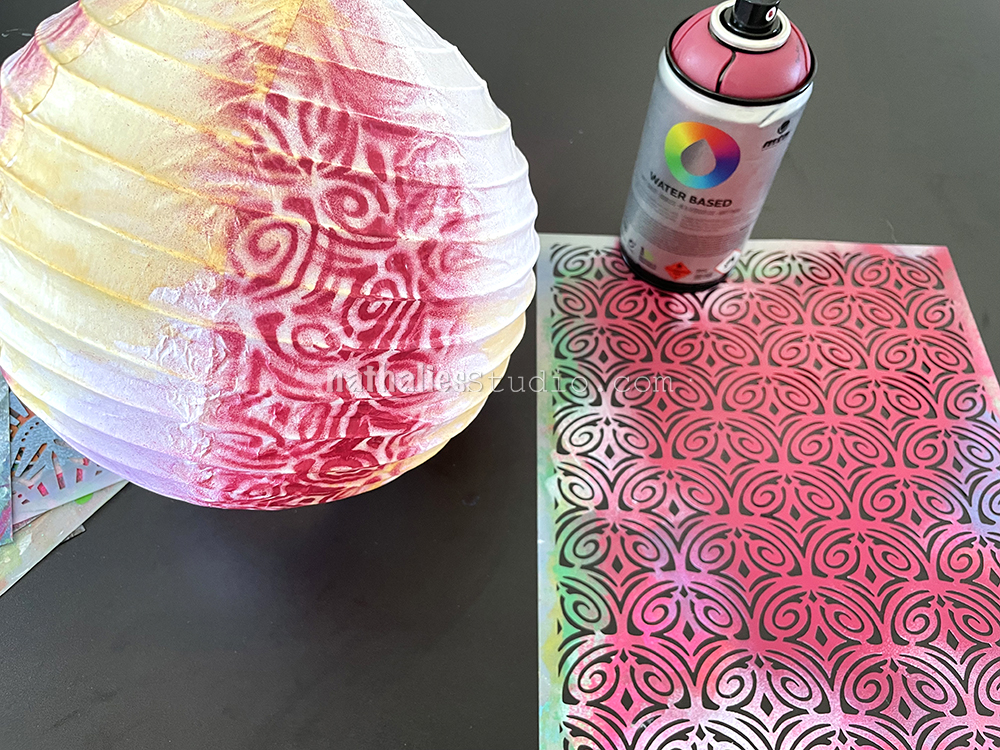
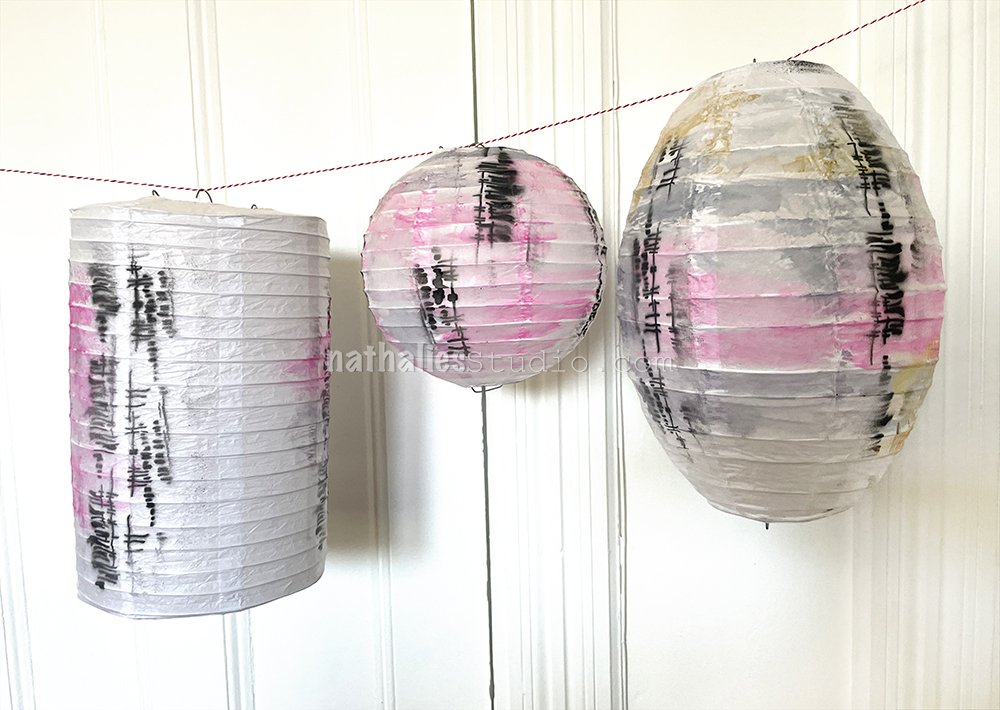
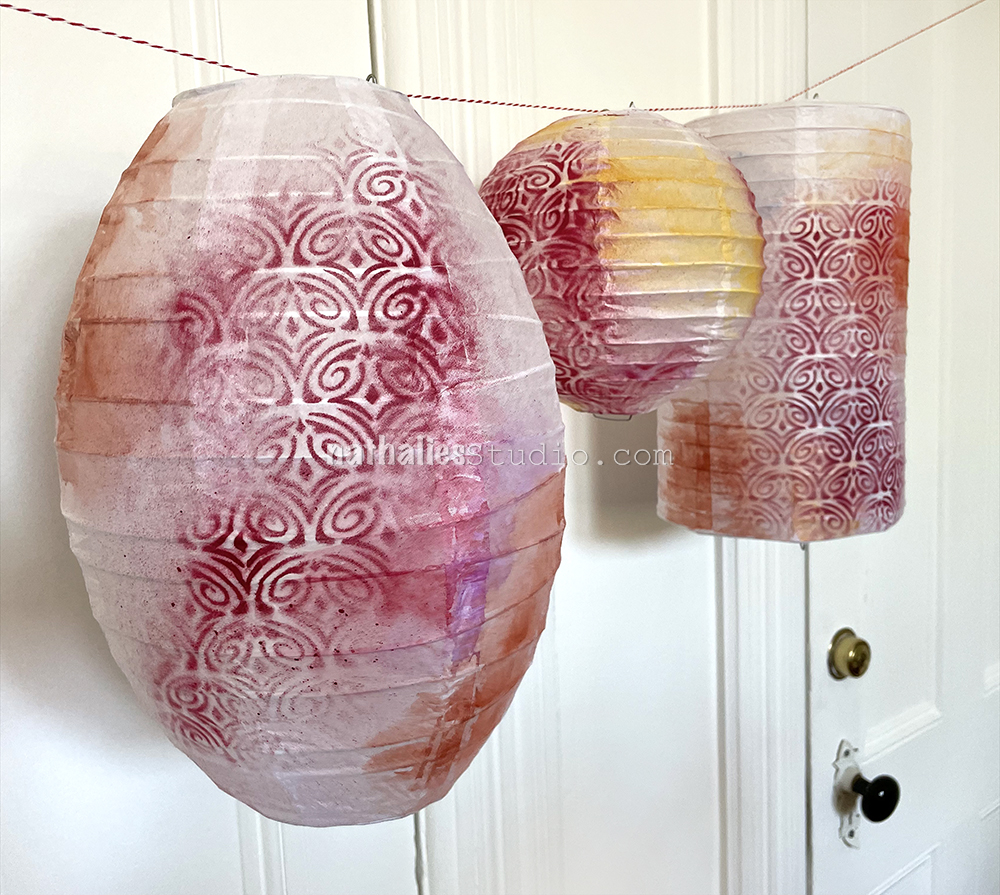
I have since seen examples of these Victorian age paper lanterns in antique stores and thought it would be an excellent Play Date for Kim and I for the summer. Although you could choose to paint or stamp them using a variety of media, we decided to do watercolor washes and then stencil them with water based spray paint.

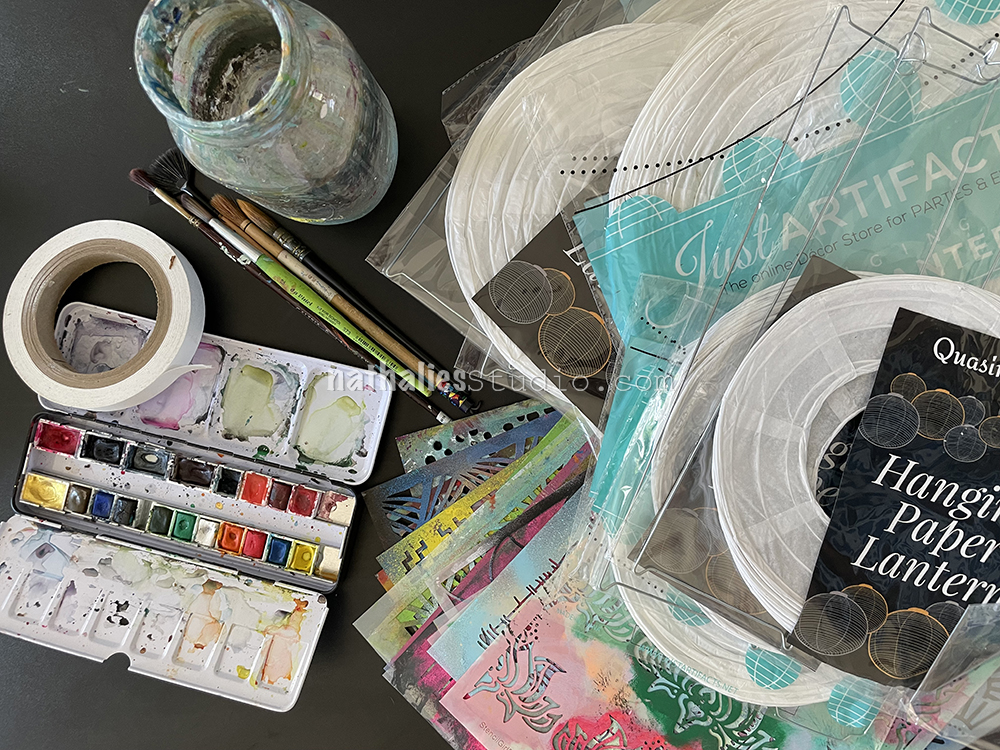
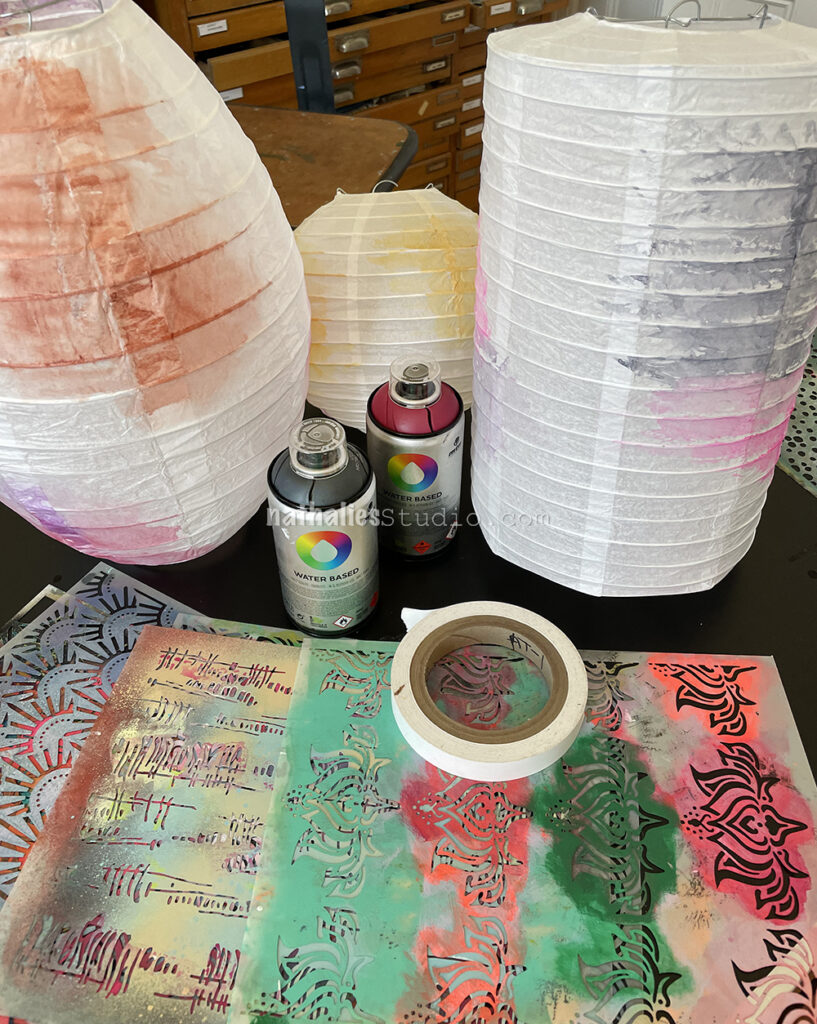
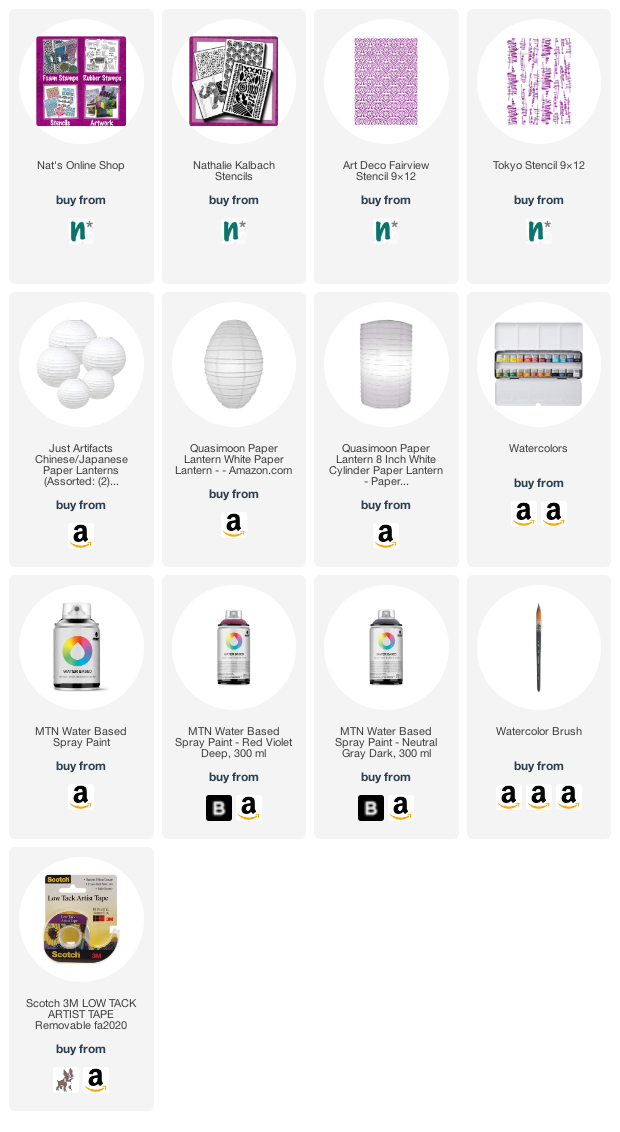
For the version that we did, you’ll need paper lanterns, watercolor paint and large watercolor brushes, water based spray paint, stencils, and maybe low tack tape.

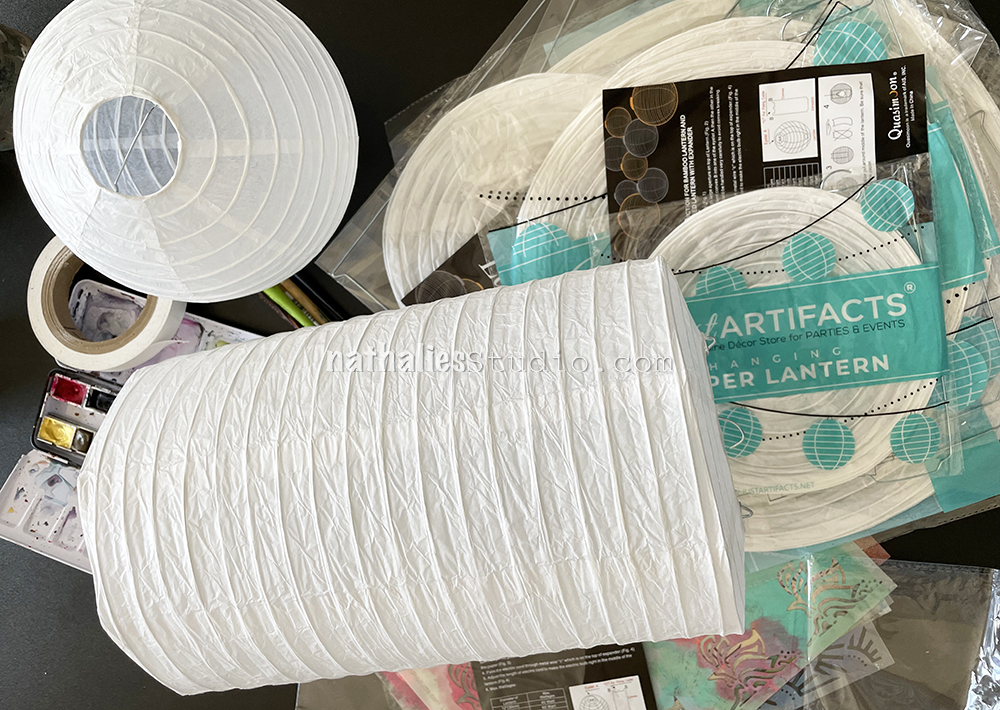
The paper lanterns come in a variety of shapes and sizes and arrive flat. Ours included simple instructions on how to expand them.

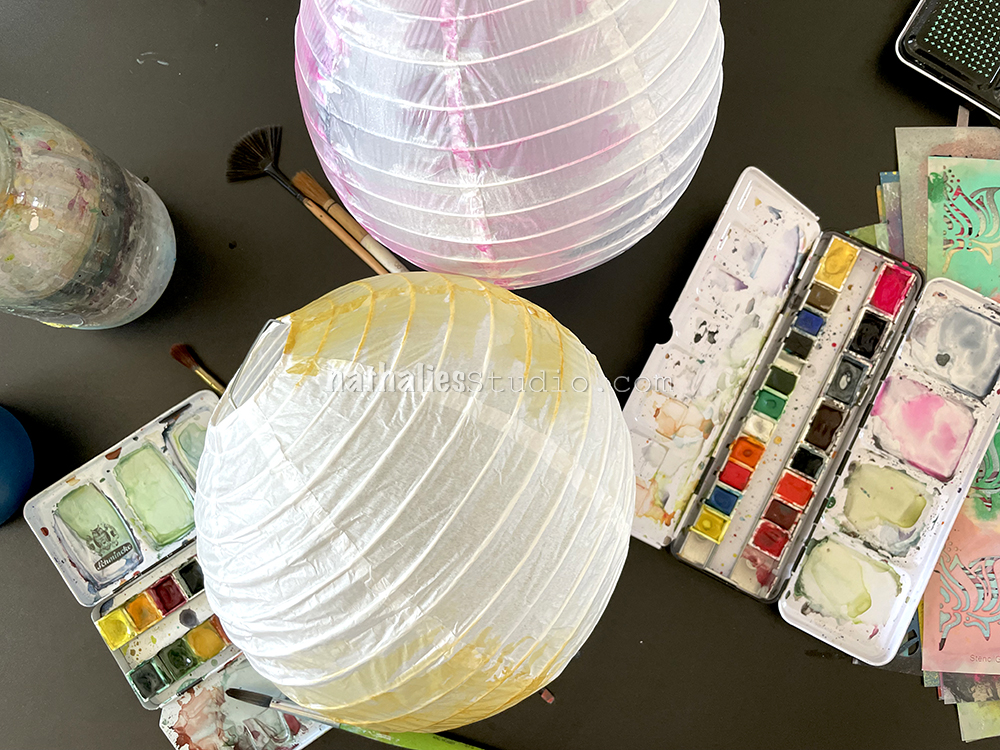
We applied watercolor in large patches but left some blank spots too. Be careful not to work the surface too much or apply too much water – these are made of very thin paper.

We kept this application free and loose and allowed drips and areas of less and more color.

They were already looking great at this point. Our next step was stenciling but from here you could also paint freehand designs on them.

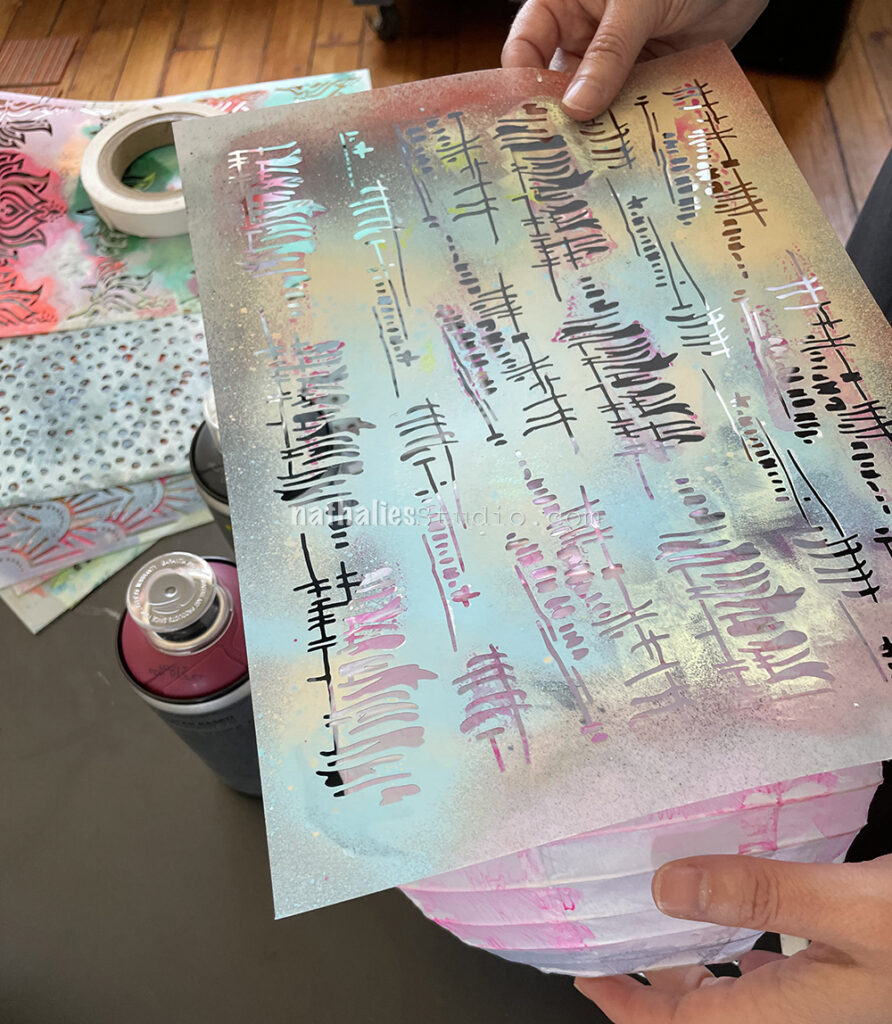
We used a matte finish water based spray paint. You may want to use low tack tape to hold the stencil in place but we also found that holding it with one hand and spraying with the other worked well too.

I decided to use my Tokyo stencil and a gray paint. The scale and pattern worked well on the size of the lanterns.

With the spray paint we found that less is more on these curved surfaces – short light bursts of spray gave the best results.

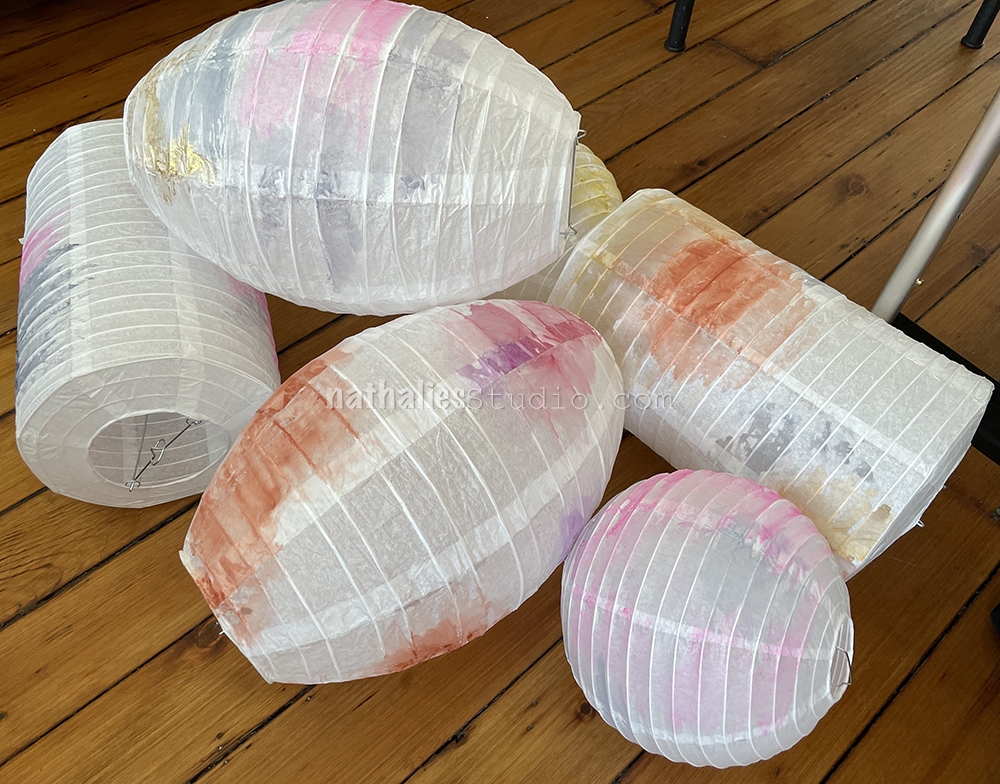
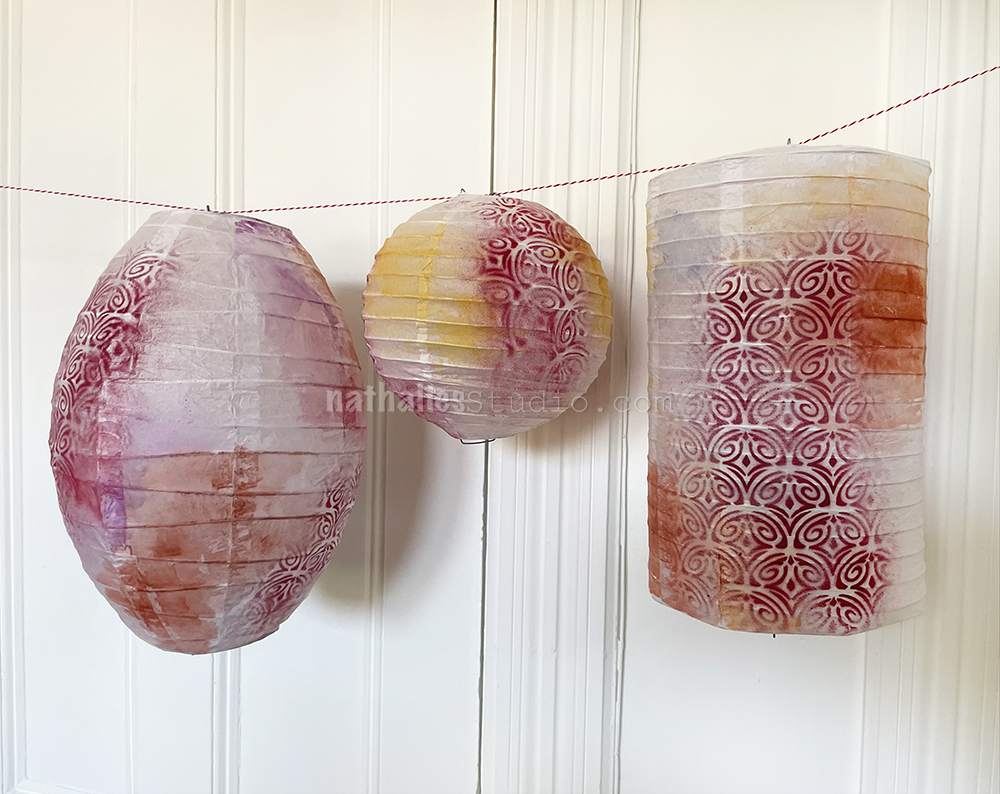
We did not cover the entire surface with stenciling or watercolor, leaving white areas to balance out areas of pattern and color. Here Kim is using a raspberry pink spray paint and my Art Deco Fairview stencil.

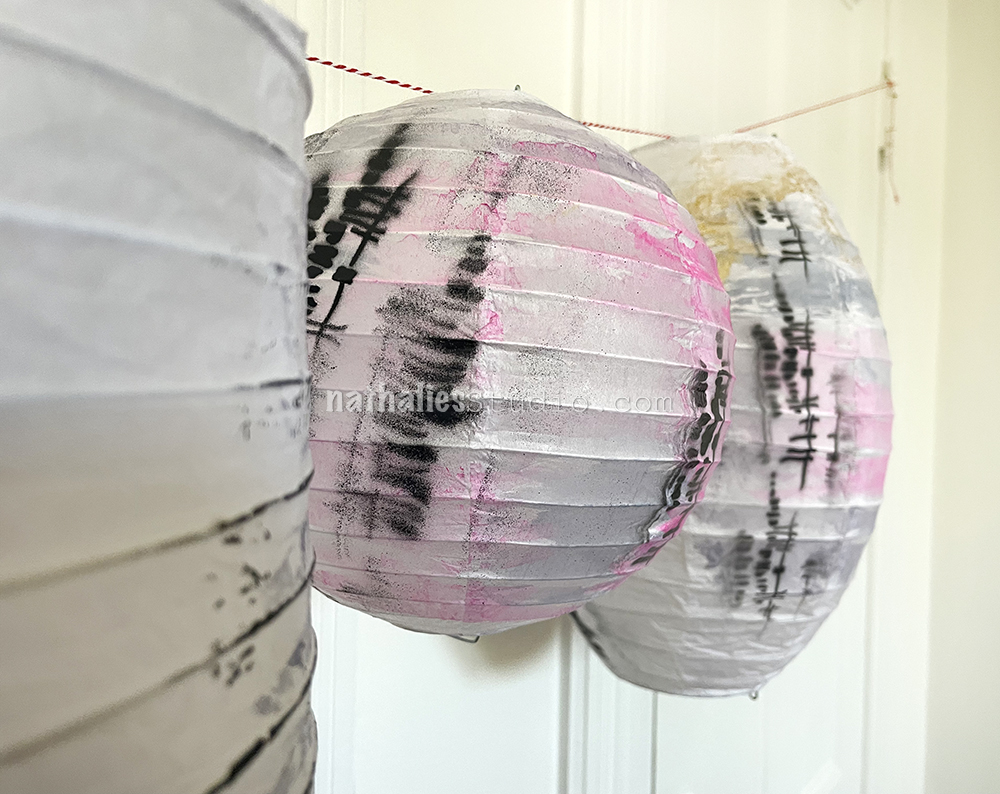
I love the abstract results of these and I think it’s an interesting modern interpretation of an old tradition.

Overspray, drips, and lighter applications of the pattern all look great and add to the character of these decorations.

Depending on your lanterns, you may be able to hang them on cafe lights or add an LED light within to complete the magic.

You can also go with whatever colors and patterns make sense for your decor or maybe a special holiday that you would like to celebrate.

I would love to see these strung up outside for an event and with the lanterns being fairly affordable, it wouldn’t be tough to do a bunch for a real impact. I hope you enjoyed and maybe will give it a try too.

Here are some of the supplies we used:

Leave a comment

A Look Back – Let’s Make Patterns!

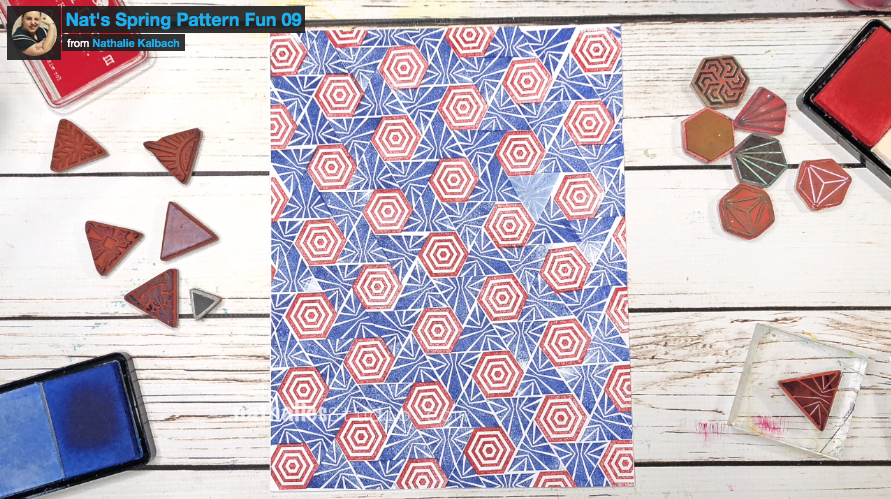
A Look Back – Sometimes I get on a pattern-making kick, either because I come out with new stamps that lend themselves to patterns (like when I released the Triangle Love rubber stamps) or maybe I just need a more meditative art activity than the usual. The repetitious activity can be very relaxing, especially if you don’t get hung up on perfection. Let’s take a Look Back at some pattern fun on the blog through the years:

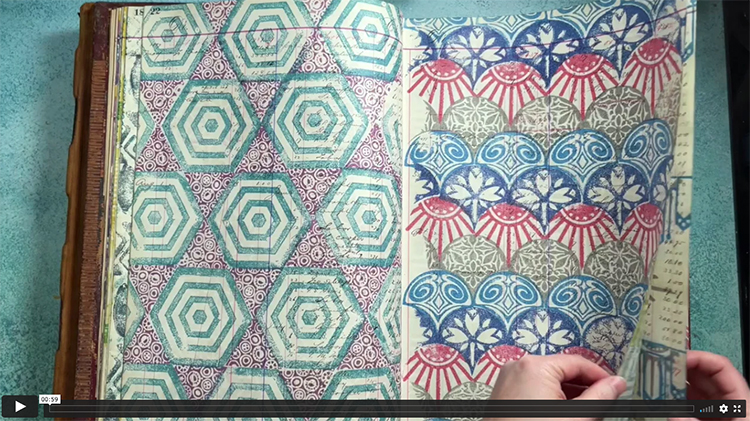
Back in April 2021 my friend Sarah Matthews and I created an April ArtFomies Challenge and I used it as an excuse to make lots of patterns in my big ledger art journal. It became like a guidebook for the stamps and I’m really glad I did it. You can see a flip through of the book I worked in and see the other posts too here on the blog.

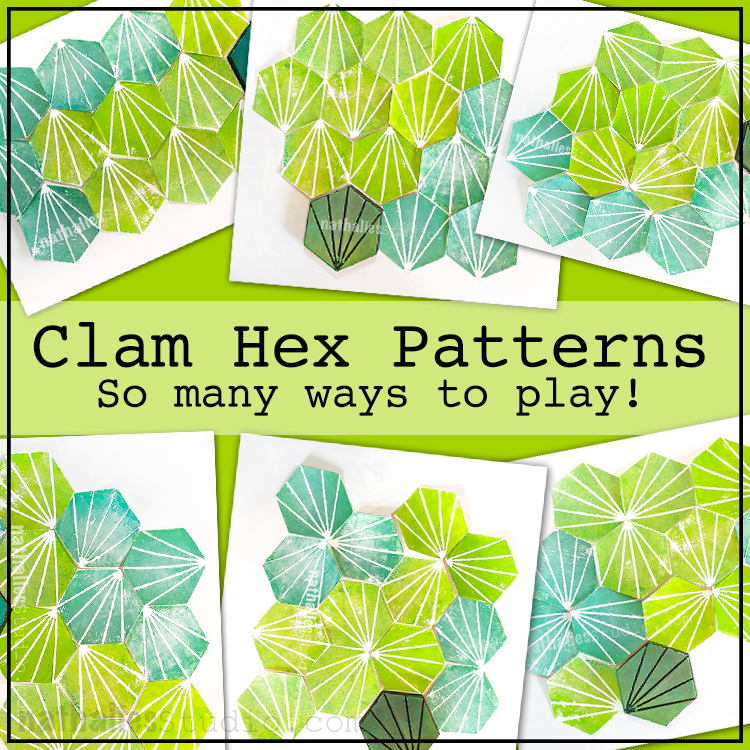
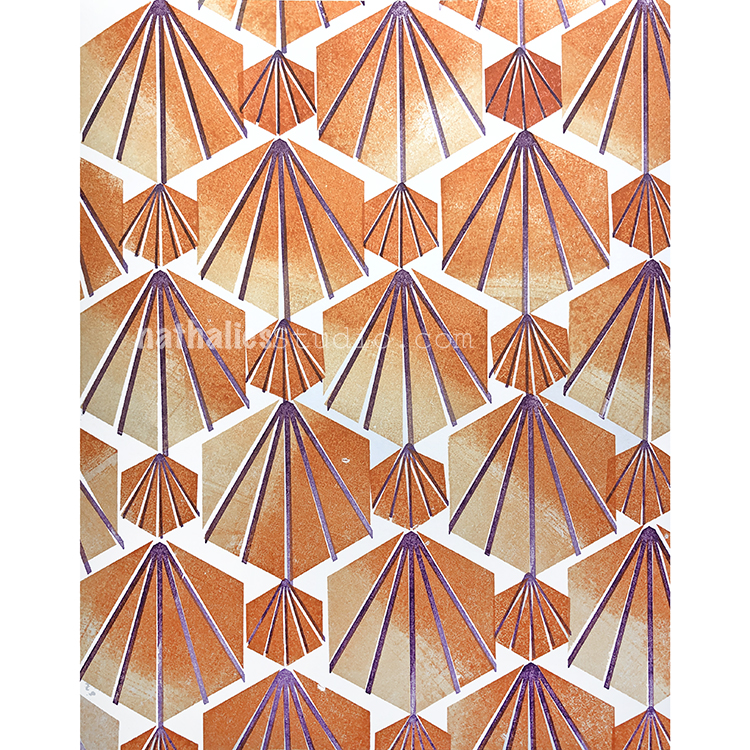
I designed my Mini Hex foam stamp set with patterns in mind and when I finally got the set to try, I couldn’t help myself :) I had to try them all… ALL the pattern possibilities. Just the Clam Hex in the set is a powerhouse.

A similar thing happened when I came out with my Hex Set Small and Large, Fantastic Large and Small, and Floral Tile Large and Small rubber stamp sets. I made patterns. Every day for a month in April 2019 I explored all the different ways these stamps could work together. And I only scratched the surface. But in it I found how nicely shapes can play together and how an exercise like this can open your eyes to color combinations too. Have a look at all my April Patterns here.

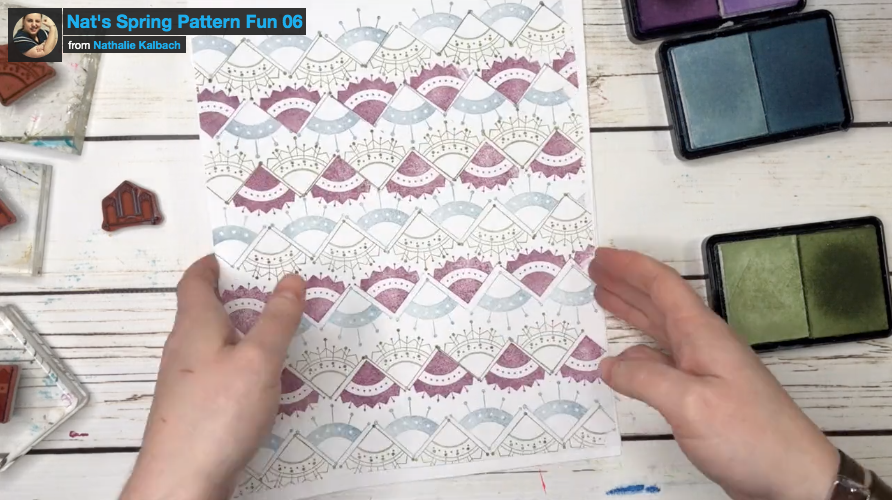
I did it again in 2020 and made some short but sweet videos when I released my Triangle Love and Mini Motifs rubber stamps. Until you really play with your stamps a whole lot, you may not even realize what is possible to make with them. I don’t always know how my designs will work together so making patterns just for the sake of play is very helpful. Watch the first batch of those mini videos here.

I cranked out the patterns for a couple weeks and got to know my stamps better in the process. Here was the second batch of those mini videos.

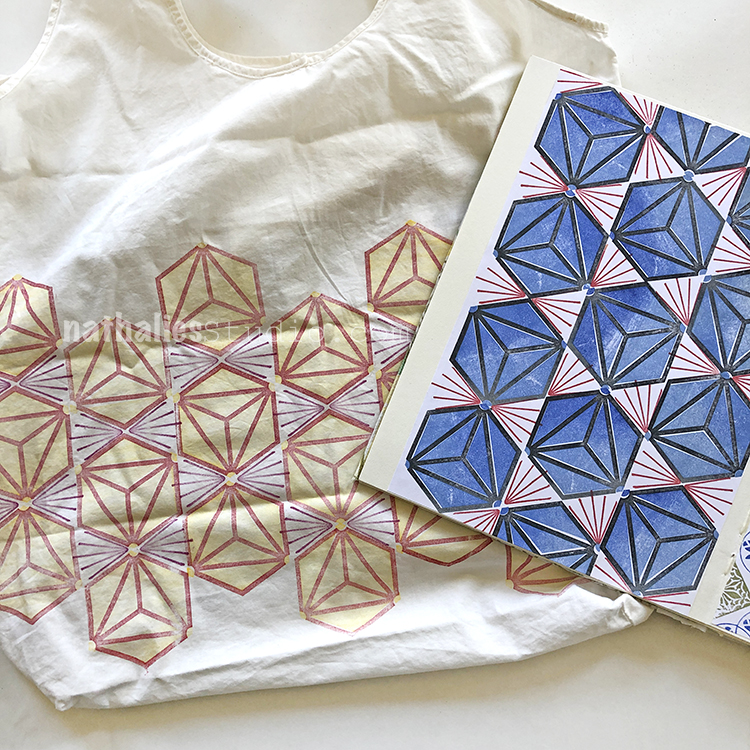
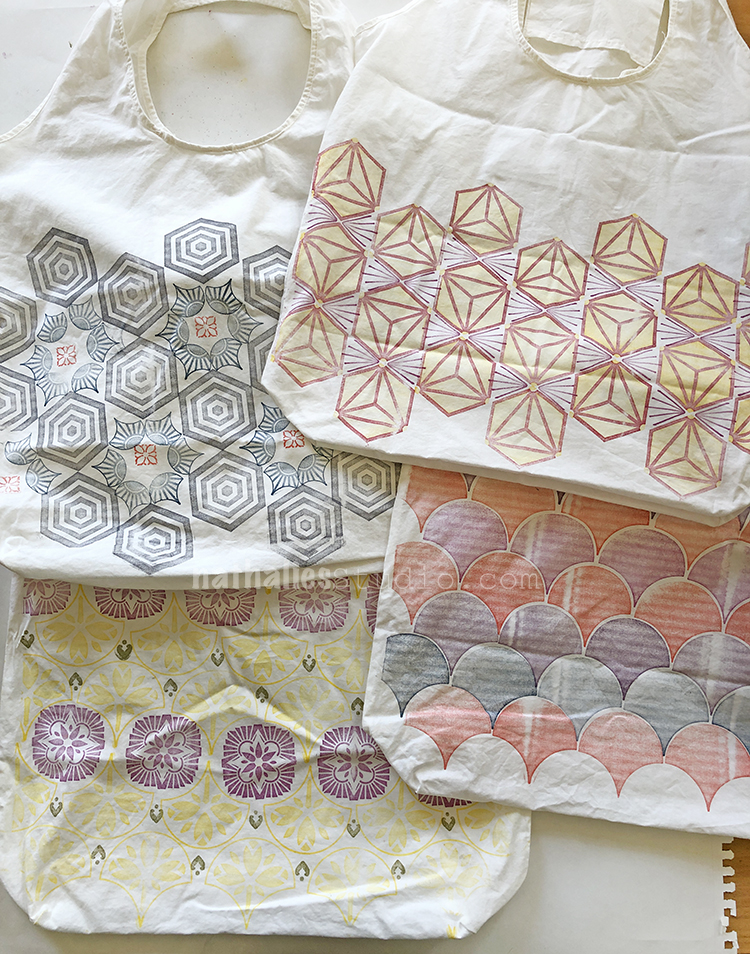
What next you might ask? Well, for this play date Kim and I used one of my pattern books as a reference. We paged through and chose patterns to replicate for stamping on shopping tote bags here. It was fun to see the patterns take on a new life.

I hope you enjoyed this Look Back. Just remember, even stamps that are representational can be worked in this way. Repeat them, rotate them, and flip them in every different way. I do it with rubber stamps and foam stamps alike. You’ll be surprised what happens!

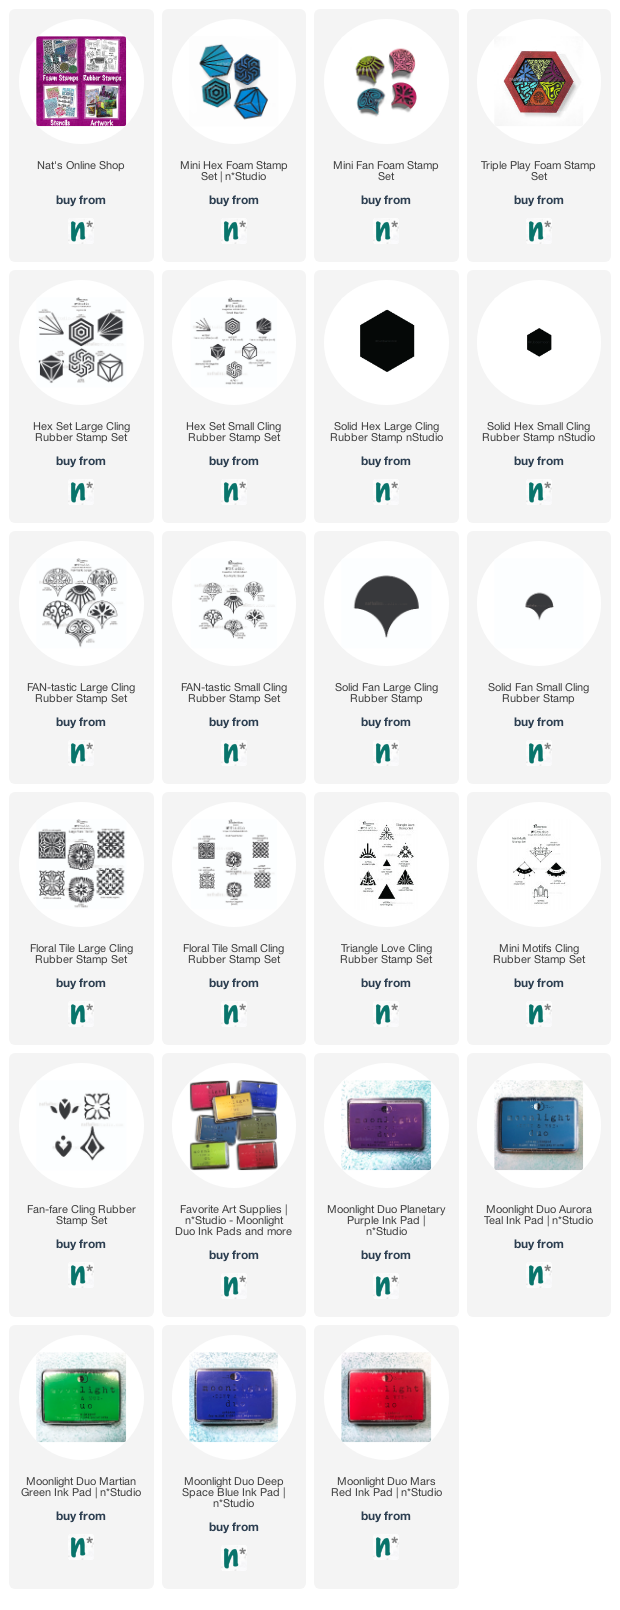
Here are some of the supplies used in these posts:

Leave a comment

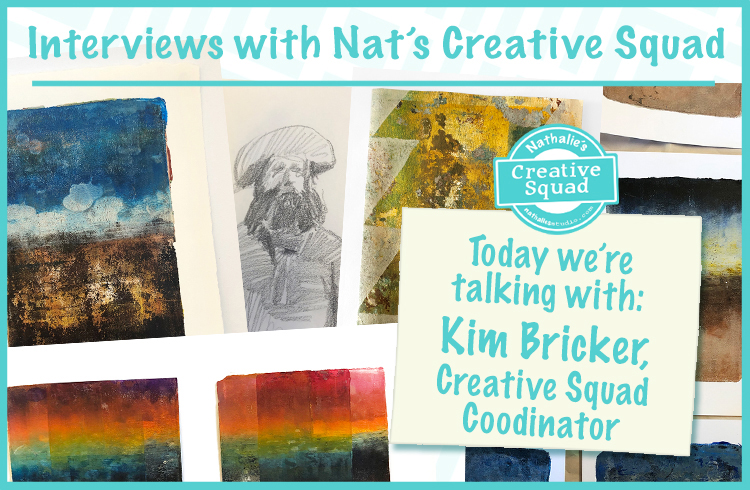
“Gaga for Gelli Plates” – Interview with Squad Coordinator Kim

You probably know our Creative Squad but how about the amazing person organizing stuff behind the scenes? That’s Kim and she’s our Creative Squad Coordinator and very enthusiastic about running the group and supporting the efforts of our artists. After we interviewed all of those talented folks, one of them had the great idea to interview Kim too and we totally agreed. Read on to learn a bit more about her :)

Kim has been with n*Studio since 2016 and in addition to providing graphic design for the website and some administrative services, she manages the Creative Squad – our design team. Each month she creates a new theme for the Squad as a starting point and coordinates the release of these projects on the blog and social media. But beyond these roles, Kim is a practicing artist and has been drawn to the arts her entire life.


1. Kim, you always have such wonderful ideas for our Creative Squad but also for our monthly Play Dates, and it probably comes as no surprise for some of our readers that you also create art and love to craft. How old were you when you first started making art? And what is an early art making memory?

Before there were kits and Pinterest, my mother was a whiz at coming up with art and craft projects for my sister and I. In the summers she would set us up outside on a tiny picnic table in the backyard with something creative that she had dreamed up. It could occupy us for hours and at the end, because in the summer we lived in bathing suits, she would use the garden hose to clean us up. Very early I learned to associate the act of making with joy, comfort, and entertainment. I’m not sure when I started, but it was before I even went to nursery school, so about 3 I guess.

2. When you are not creating for the n*Studio, what are some of the things you love to create and would you share something you made recently with us?

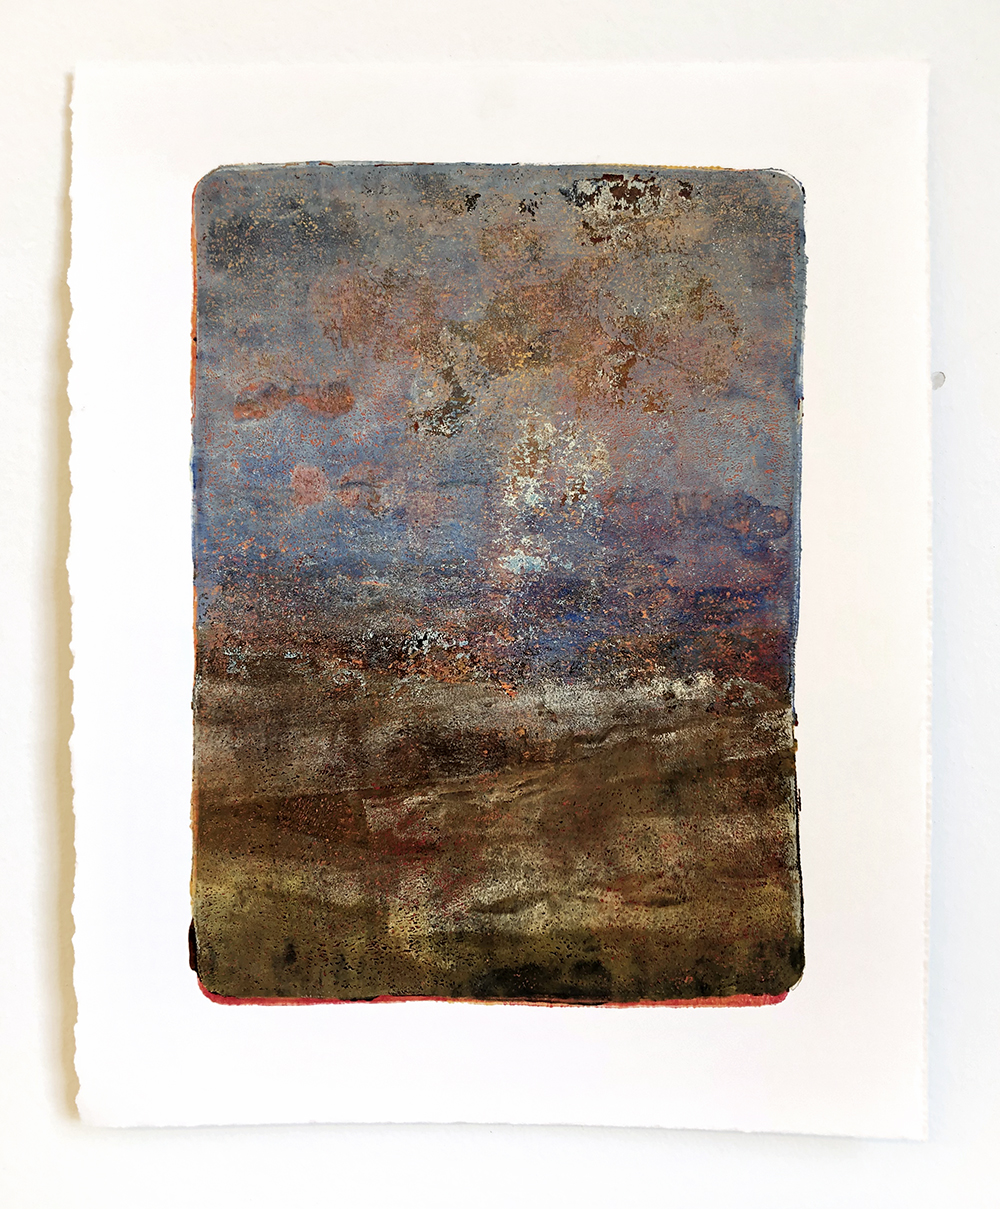
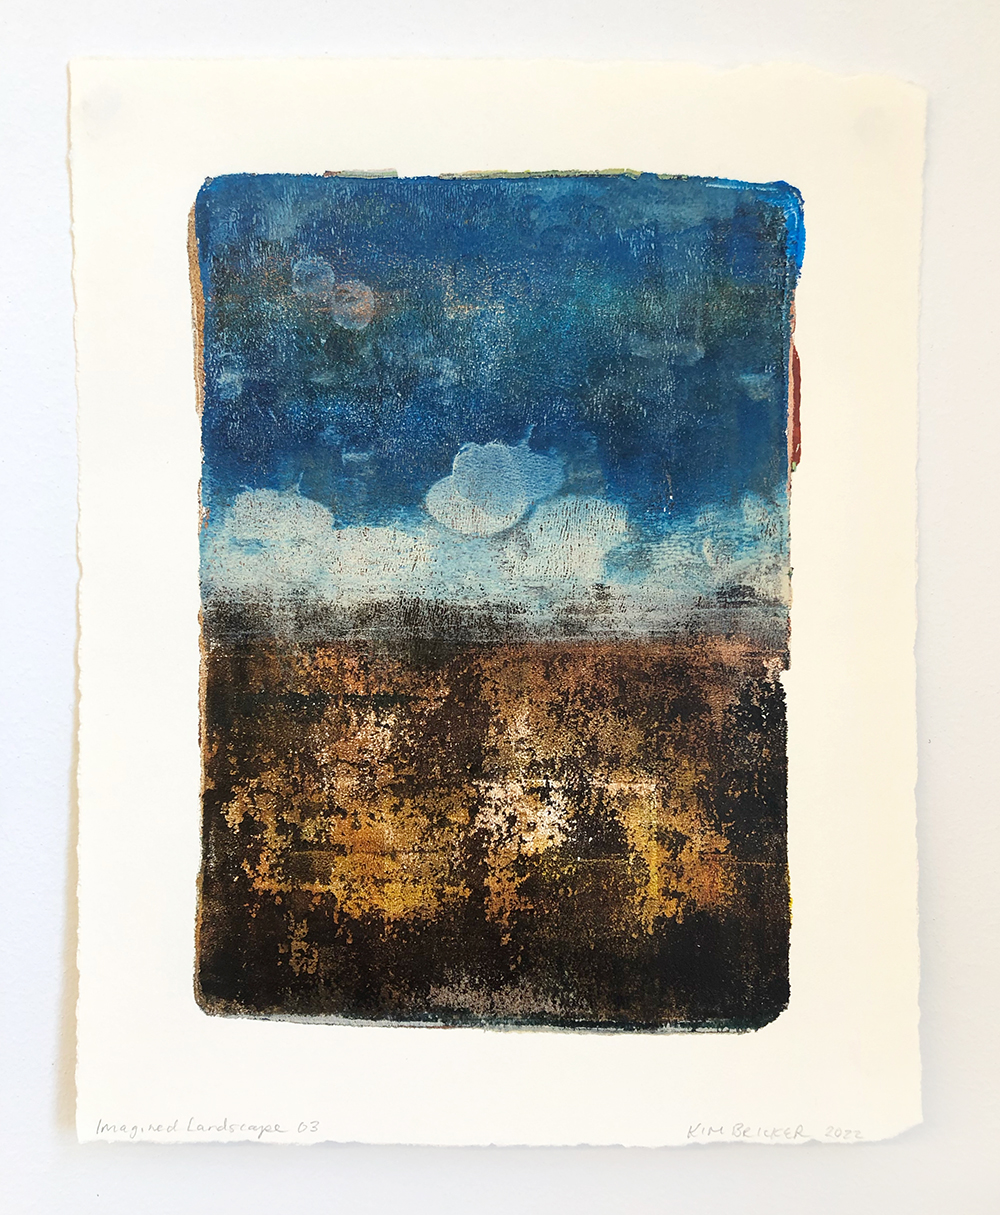
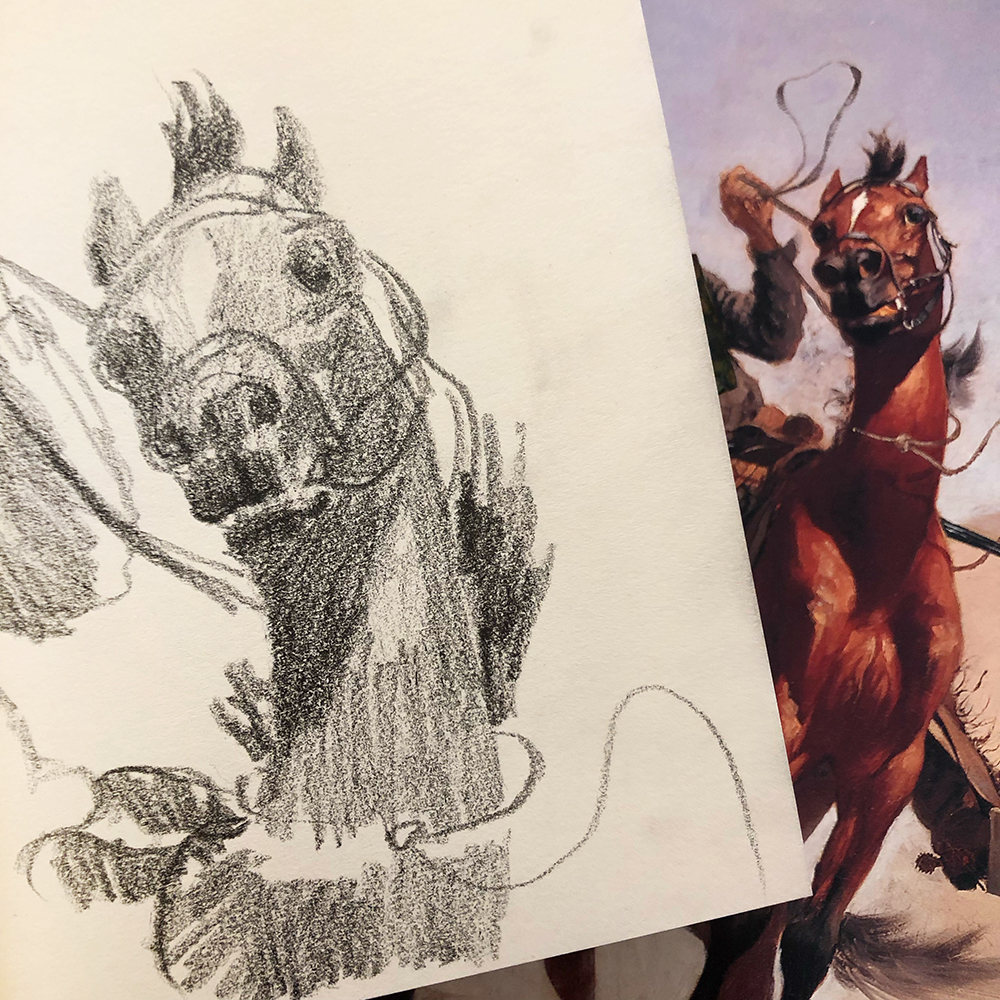
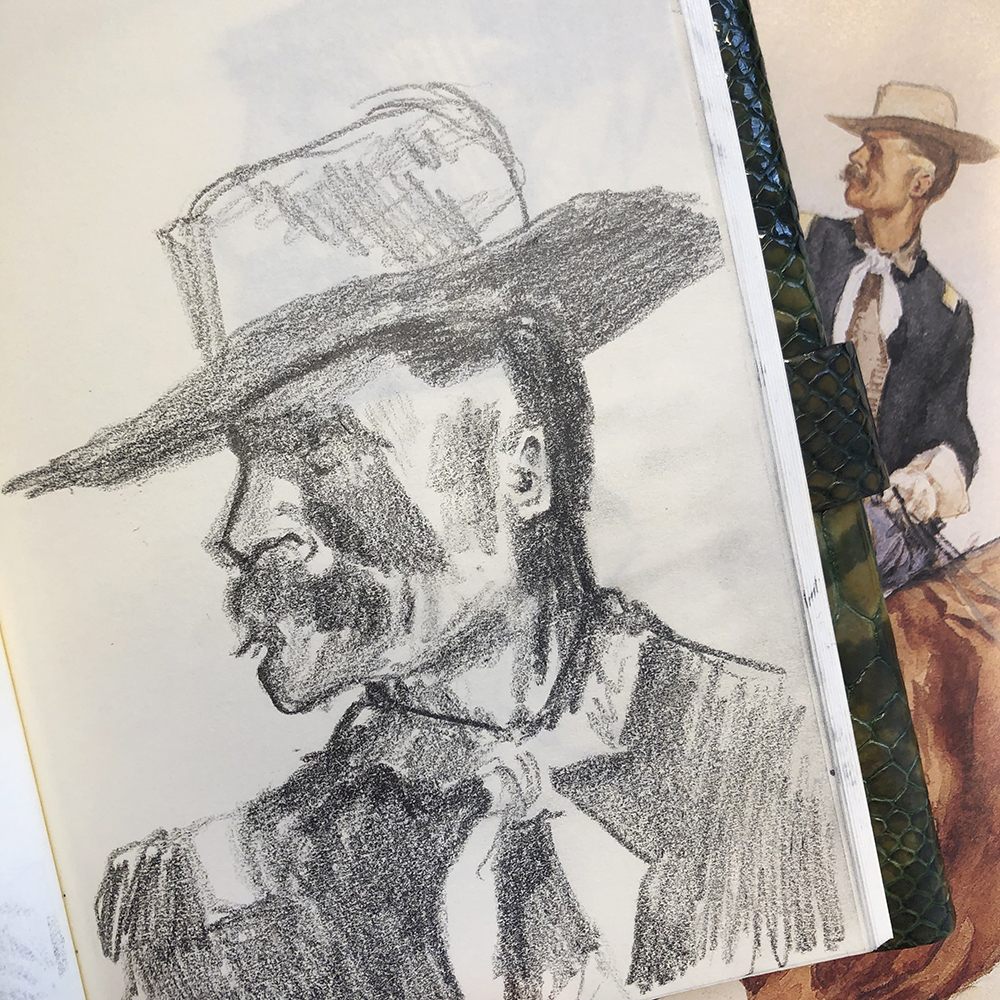
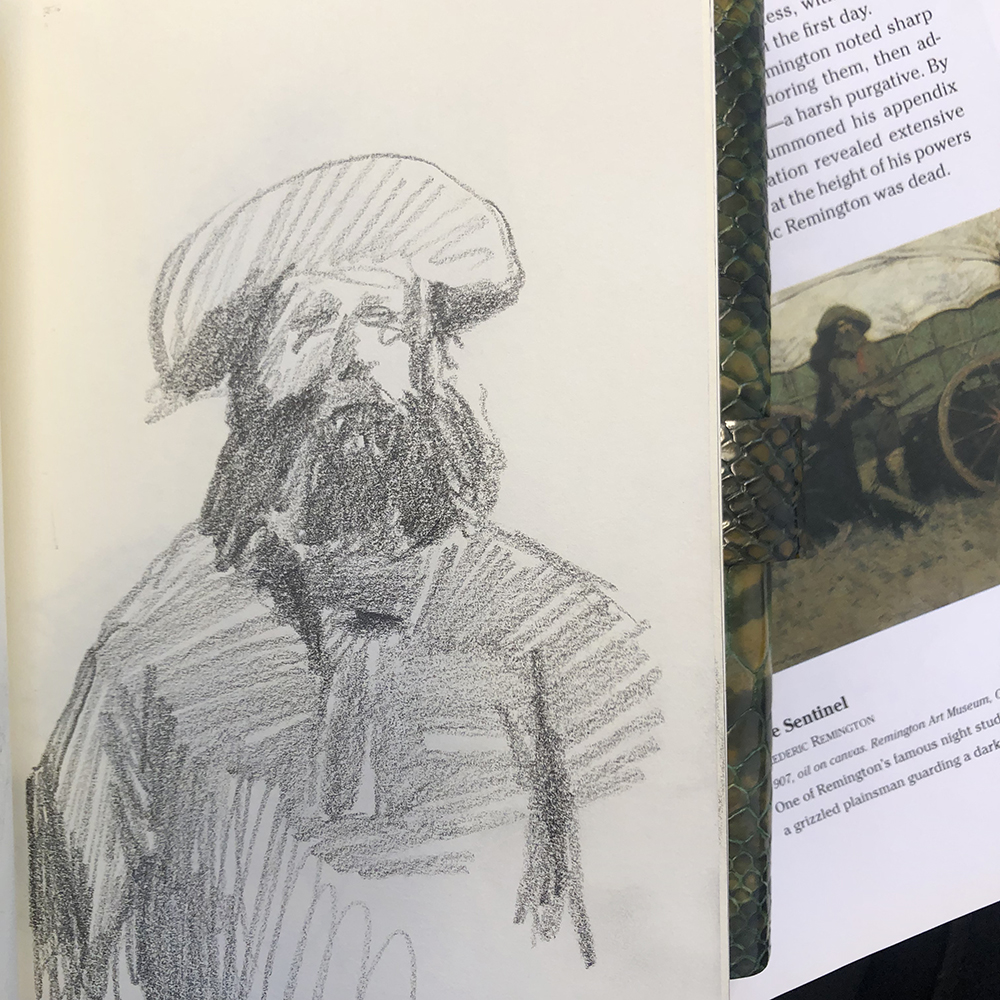
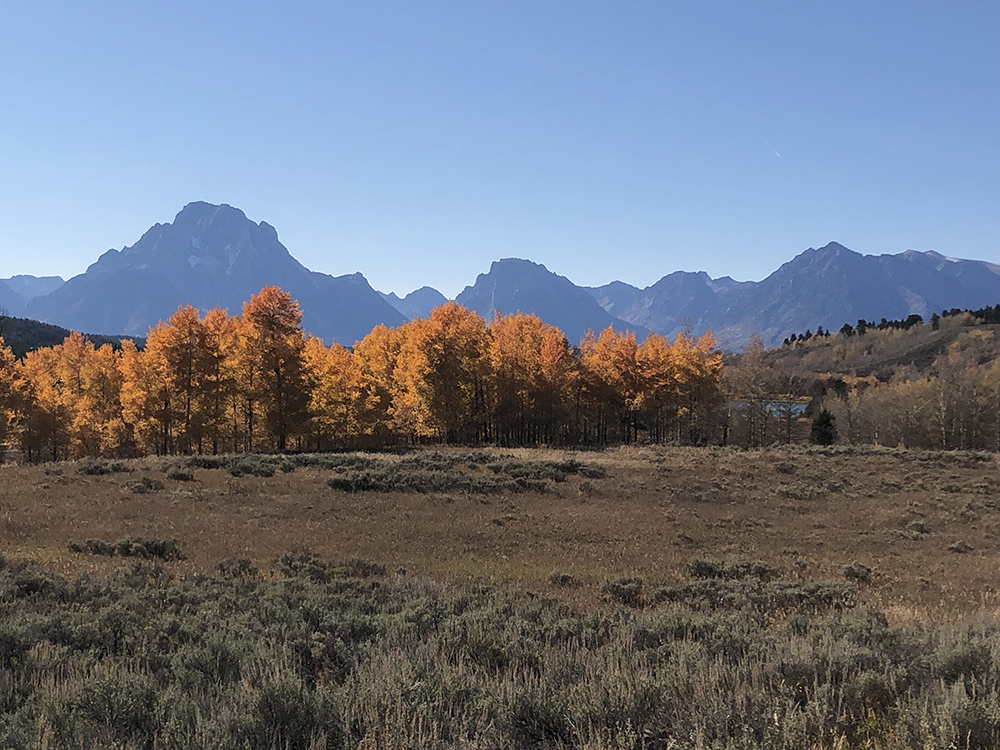
Gosh this is a simple question and yet also a really big one. What exactly AM I doing? I’m working in a lot of different directions at the moment, but overall my art is about the American West. Landscapes, particularly those sweeping dramatic ones in the western US, are my jam these days. 

I also love the mystique of the cowboy. It’s a subject that I’ve been captivated by for a long time and I recently spent a few months sketching paintings by Frederick Remington and Charles Russell to scratch that itch and practice sketching. That part of my work is not so serious, but I can’t deny the appeal of those characters and I don’t think there’s anything wrong with choosing a subject that you just find attractive :)

3. What is a technique you have discovered for yourself since you have been with the n*Studio and play with frequently now? Do you have a project photo to share as an example?

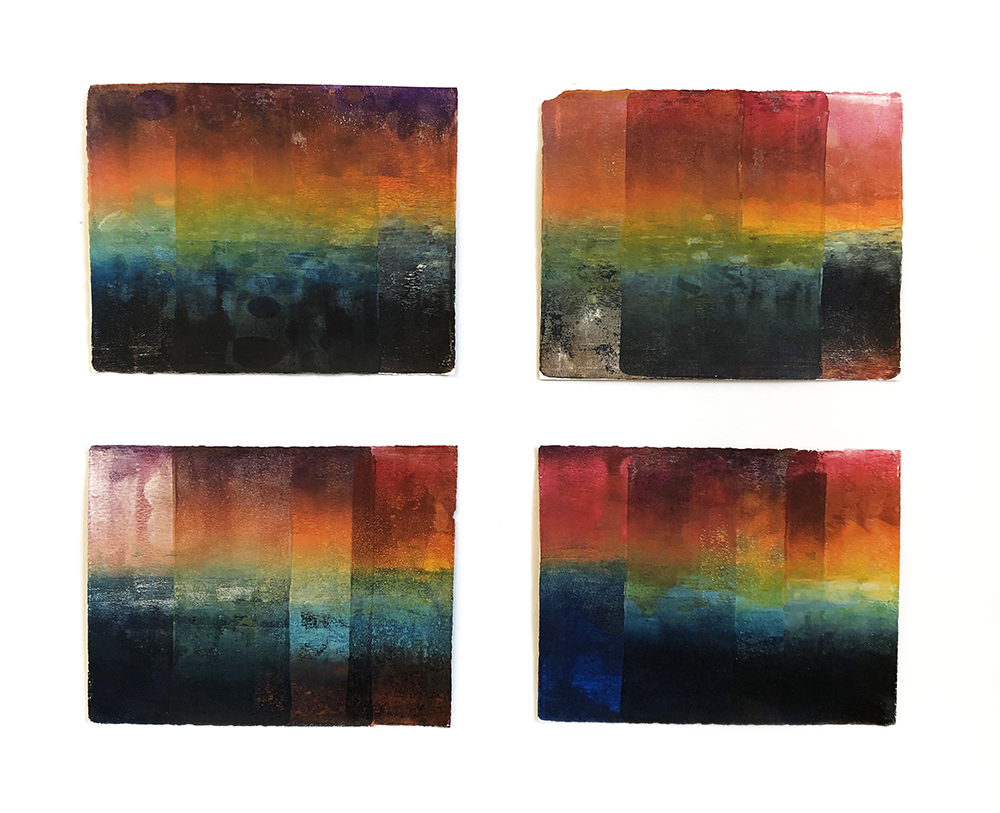
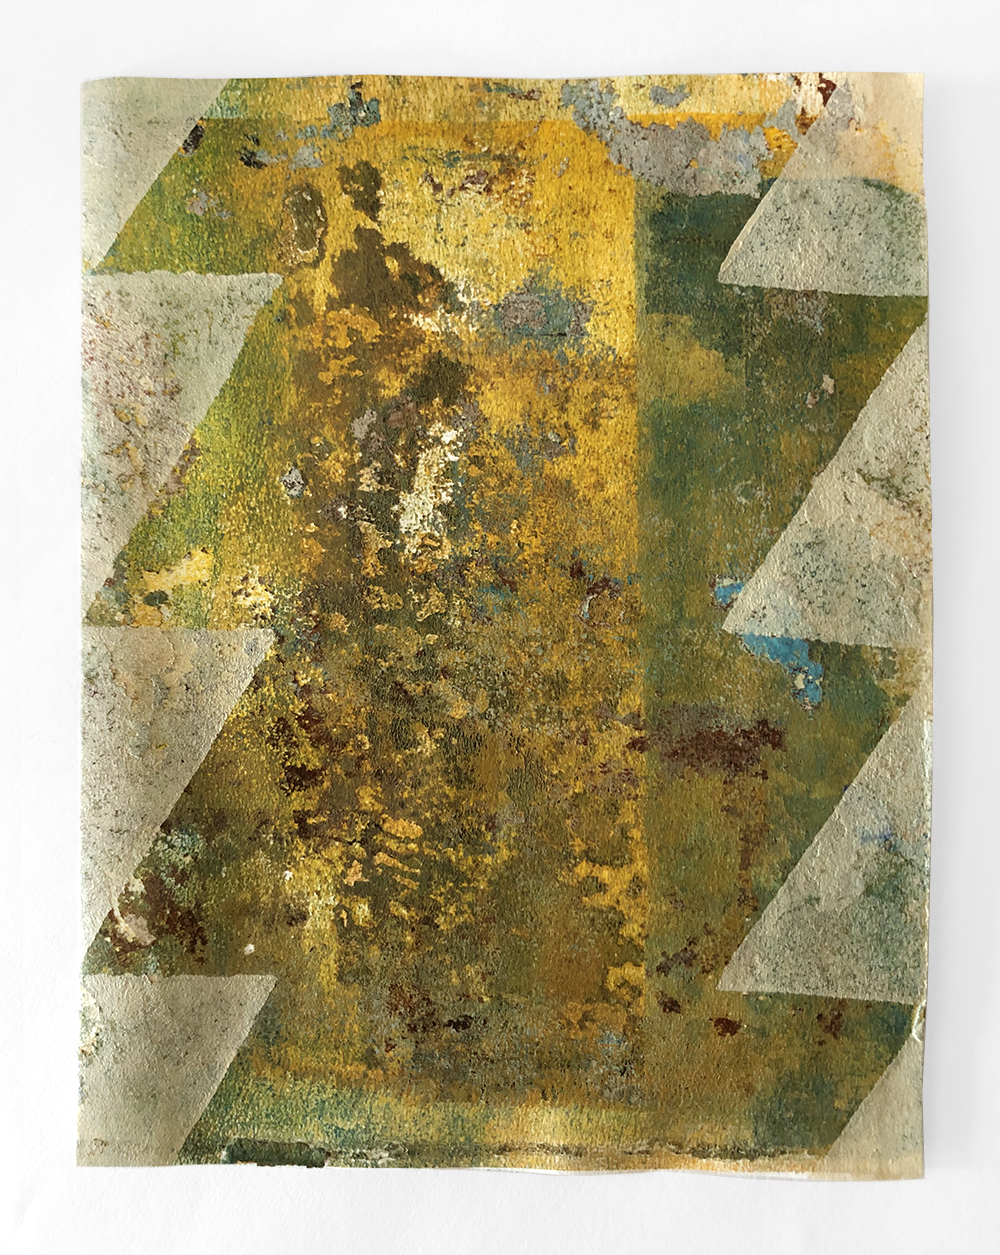
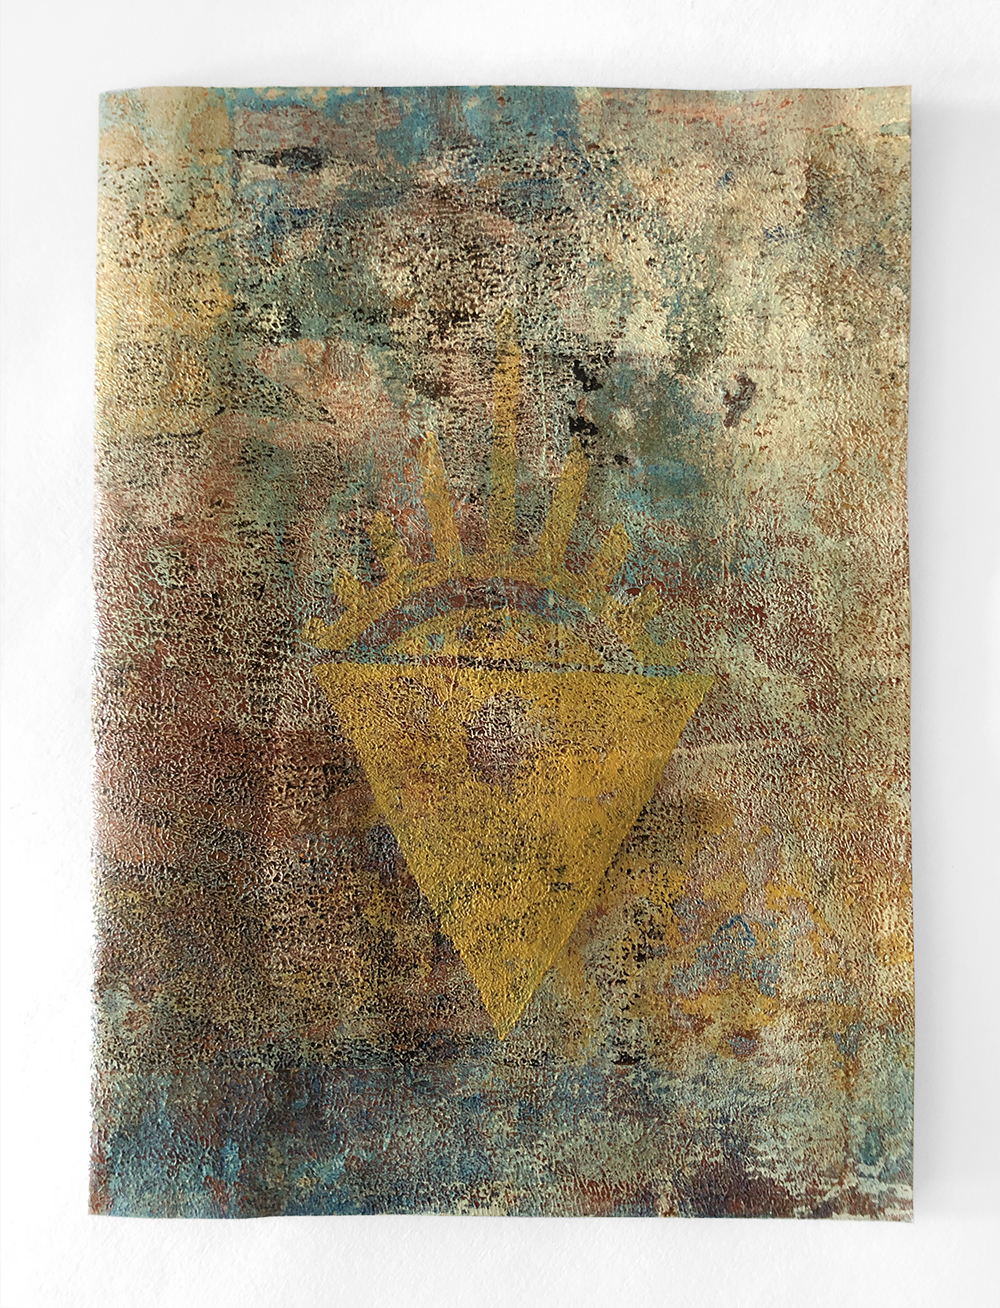
Although I studied printmaking in college, I had never heard of a Gelli Plate until I started working for Nat. During the pandemic I finally ordered one for myself to play with and that was it – I was hooked! I am absolutely gaga for Gelli plates and am in love with what you can create with one. The ability to layer, the history of paint that it collects, the uncertainty of how exactly it will print are all so important to how I like to create and what I am trying to say with my art. And even when I am just playing around, it is a blast to work on and it’s my go-to for card making. I’m big on sending snail mail.

4. Describe your artistic style in 3 words.

Quiet, thoughtful, enigmatic. That’s what I’m going for anyway lol.

5. What are some of the biggest influences on your art?

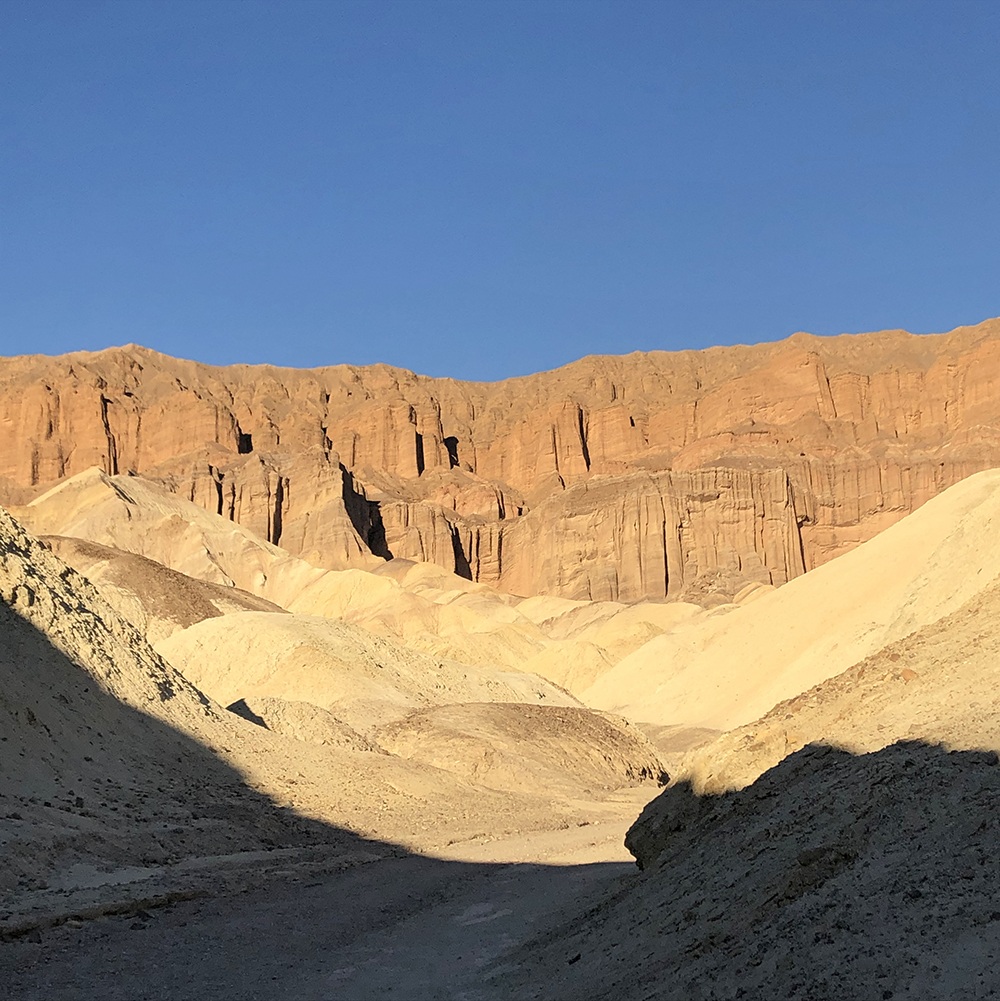
Nothing has influenced my artwork more than travel and nature. When I go to new places and take in the scenery, I tire myself out by LOOKING. I love the shape of the land and notice the unexpected colors and combinations of colors that Mother Nature uses and it’s so inspiring.

6. Show us where you create.

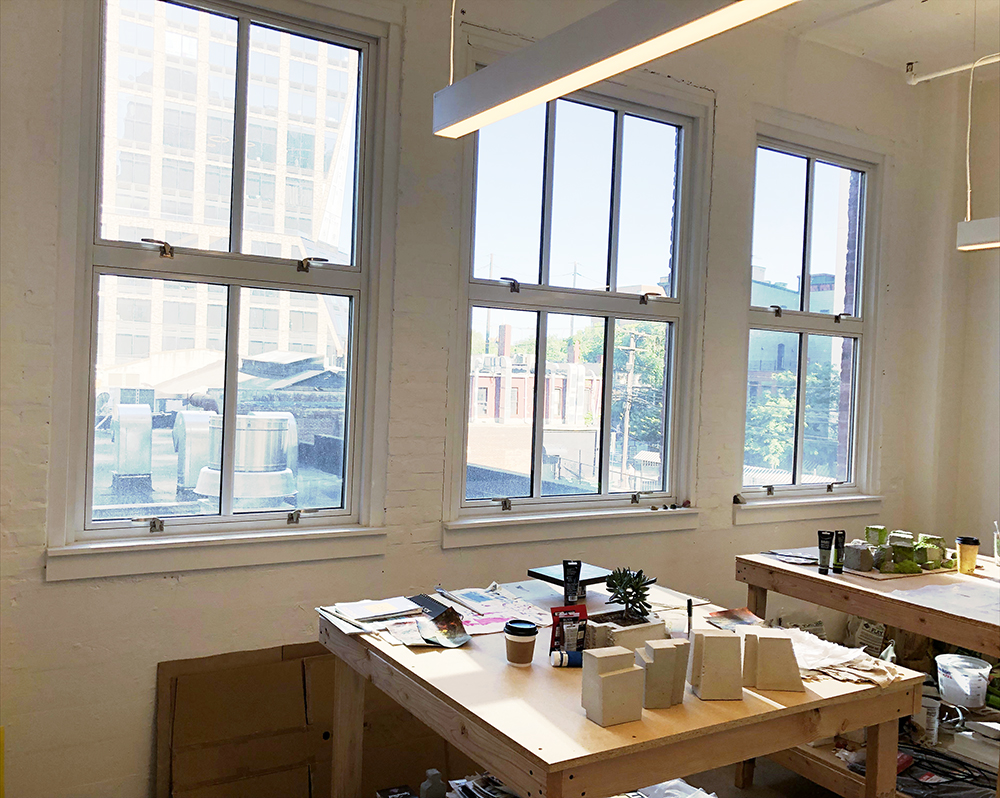
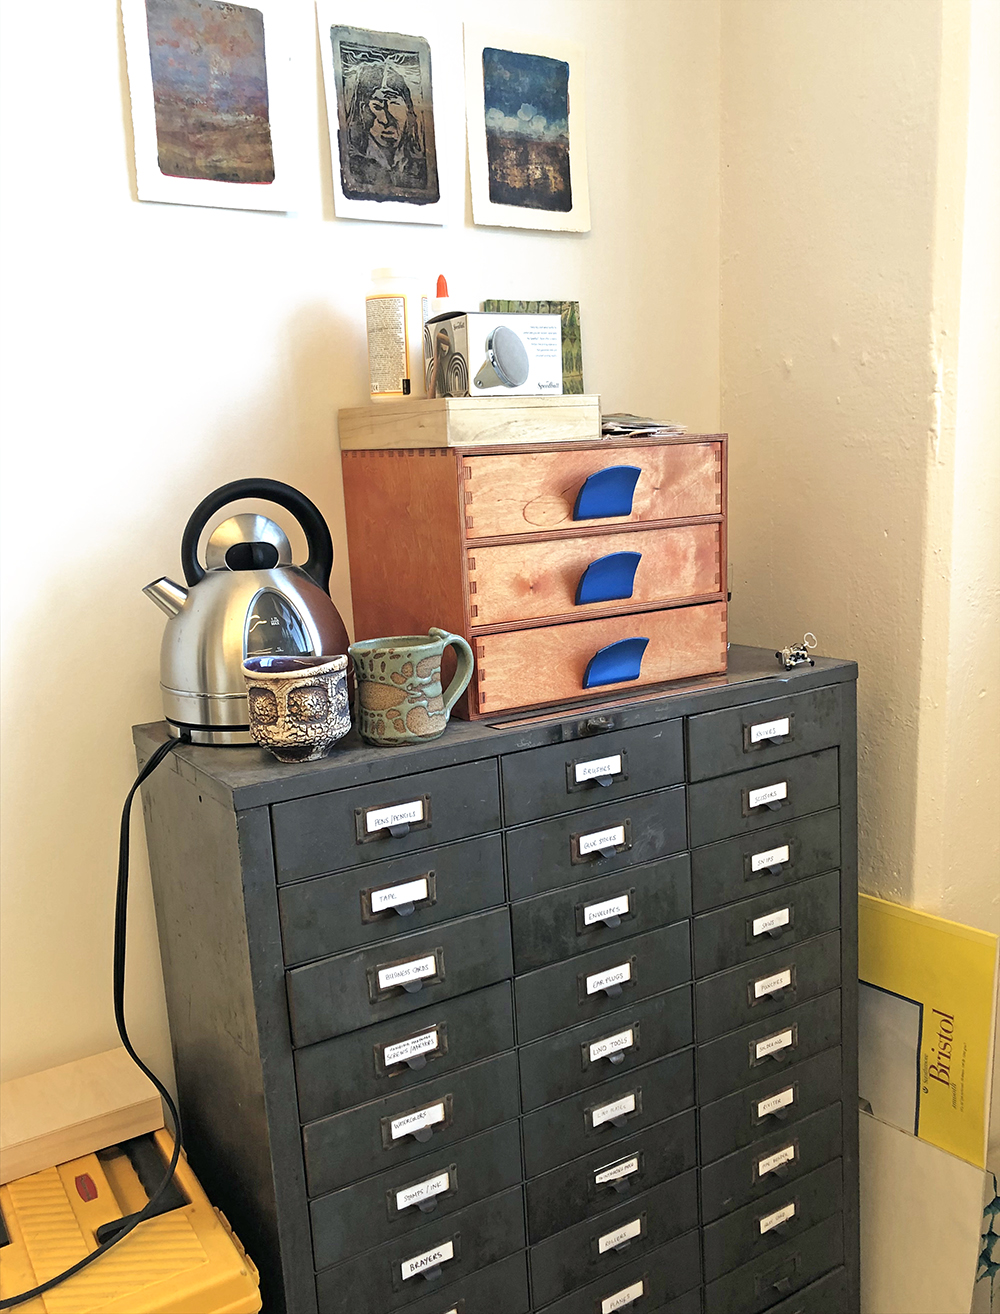
I share a studio space in an old warehouse in Downtown Jersey City with my husband, who is a sculptor. In our space we both have a work table by big windows. I keep a lot of my tools and supplies in an old metal hardware cabinet. We aren’t always in the space at the same time but when we are, it is nice to have another mind to weigh in on what I’m doing.

7. What are 3 of your favorite Creative Squad projects/Playdates/themes – and no worries we know you love them all ;)

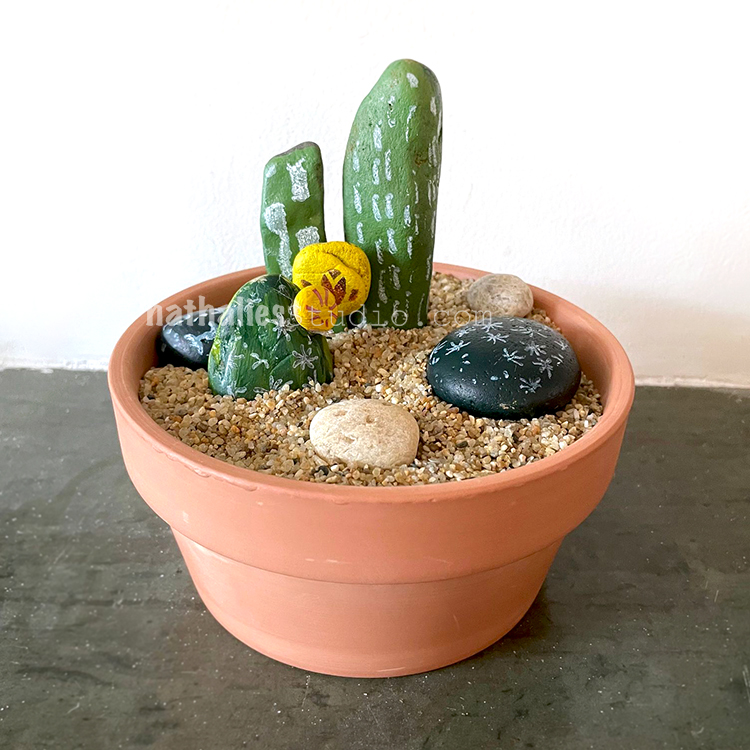
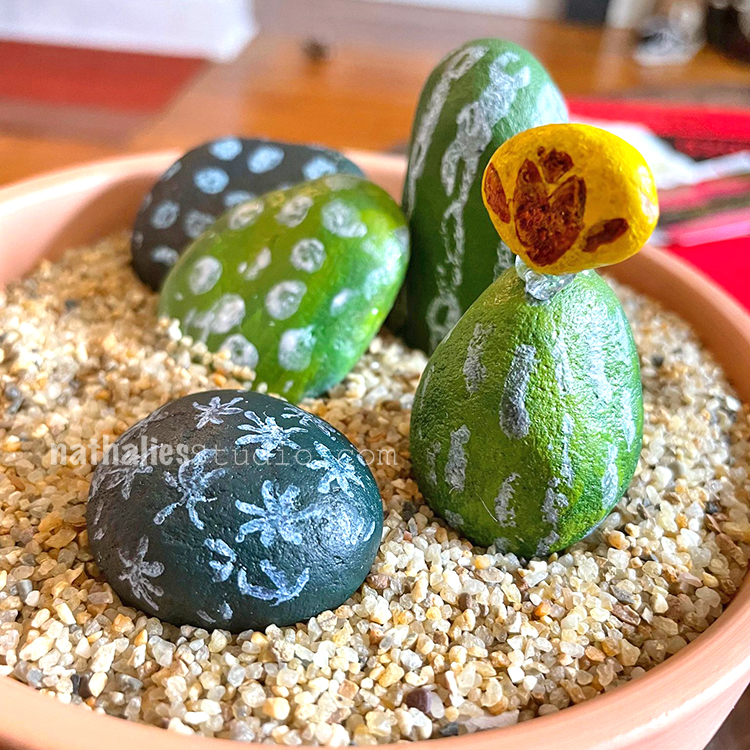
Play dates with Nat are super fun and one of many highlights of working for Nat. One of my favorite play dates was our Faux Cactus Rock Gardens. I have been painting rocks since I was a kid and this project brought back a lot of fond memories. The results were also just so darn cute.

Each week the Creative Squad surprises and delights me with their projects. Our team changes over the years but one thing remains the same: they approach the topics in unexpected ways and teach me something about how ideas and supplies can be used differently. I love all the projects but there are a couple that come to mind:

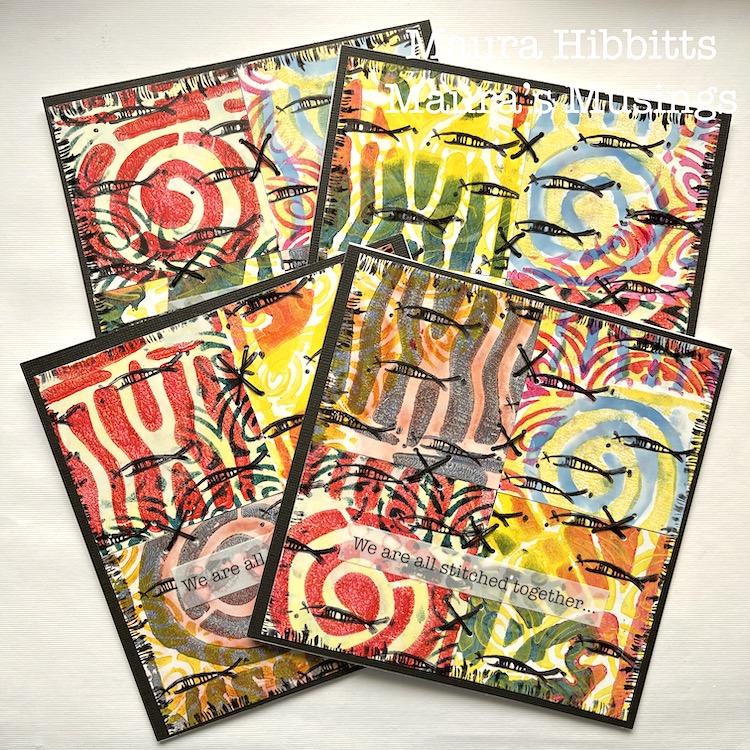
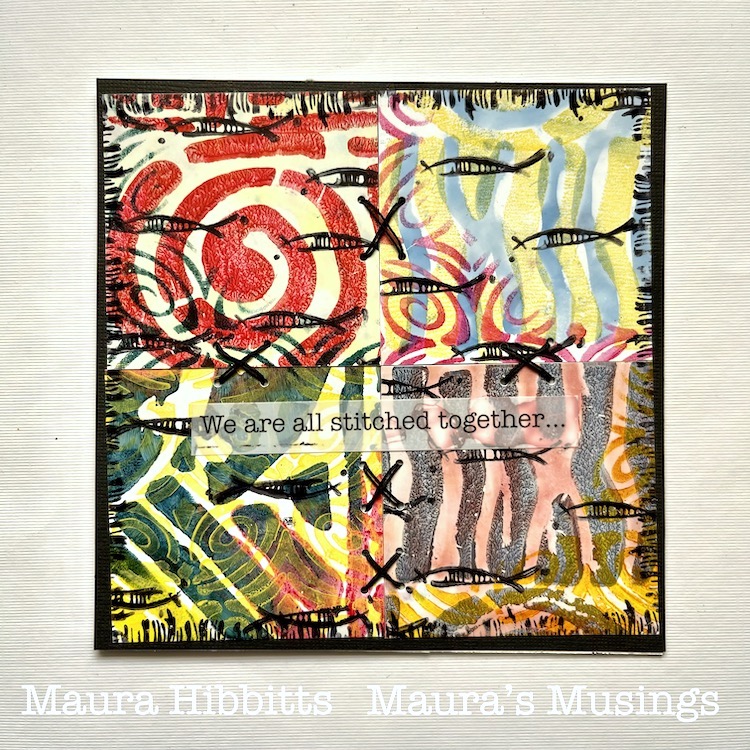
Maura created cards that said “we are all stitched together” for our Primary Colors theme and not only did that message really resonate with me, but I loved how she layered the primary colors, kept the patterns bold, and cut apart and reassembled her pieces with stitching. Here was the post.

In that same theme (Primary Colors) Robin made earrings that I still to this day just want for myself. They are super cool, modern, and artsy and I would totally want to wear them to an art opening or art fair where I know they’d get the same adoration that I feel for them. Here was her post.

8. Describe the perfect non working day but art related day for you.

My Perfect Artsy Day would begin with a delicious coffee and croissant in a quiet sidewalk cafe, then a museum visit to an exhibition of modern art and definitely a sculpture garden too. After a delicious alfresco lunch I’d be instantly transported to a remote spot in Wyoming or Montana with an endless stack of watercolor paper and my fav Kremer paints to spend the afternoon doing plein air painting. Since this is definitely a bit fantastical, I’ll keep going. The evening would include an art opening with a great crowd and a live rock n roll band. And I’d still somehow manage to be in bed by 11 because I’m not really a night owl.


Thank you Kim – so nice to learn some more about you and see what you are working on!

Learn more about our Creative Squad here on our website and them on the Creative Squad Instagram page.
Comments (2)

  • maura

    |

    Kim, I love this! It’s so good to learn about the woman behind the scenes who keeps us all going. You are super supportive of the squad, and it is very much appreciated. Love seeing your art and learning about your love of the West and cowboys. Thanks for sharing yourself with us! Hugs, Maura
    Reply

  • Natalya

    |

    AWWWW!!! So nice to learn about Kim! How about a video interview now?

    Reply

Leave a comment

Nat’s Birthday Sale – Ends TODAY

It’s your last chance to get in on the fun: Nat’s Birthday Sale!!!

I’m celebrating with 20% off foam stamps, rubber stamps, stencils, artwork, books and MORE here in the online shop.

Shop by 11:59pm EDT (NYC time) tonight, July 6 and use the coupon code bdayfun20 to save 20% off physical products. Find the supplies you need to inspire you, help you create, and have FUN this summer :)

Leave a comment