Blog: Foam Stamps

She wished she could go back ….

“She wished she could go back to her younger self and tell her “It’s ok, to be weird, you’ll be fine” ”

This was a demo page from a class and I blocked in some color here and there and stamped with my new Exchange Place ArtFoamies Stamp. I added some stenciling with translucent acrylic paints using my Versailles Stencils – love how this turned out. I added some stamping with my Embroidery stamps to add some more even mark making using different colors of Archival Ink Pads- love those.

I painted the lady with acrylic paints neopastels and used some of the neopastels also here and there on the spread and scratched some writing into it.

I like how the lines of the Exchange Place Stamp and the floral Versailles Stencil work together.

Here are the supplies I used:


Hope you enjoy this page- have a wonderful day!

Leave a comment

You Belong Somewhere Where You Feel Free!

Don’t we all? Loved playing with blue and gold – I am on a weird gold- high – not sure why, as it is not my favorite color, but I guess trends have gotten me too ;)

I stamped with my new Van Vorst Positive and Negative ArtFoamies in blue and gold for the tile background effect. For the city scape I used my new Midtown ArtFoamies set and applied rubbed lightly some Artgraf Chalks on top of the foamstamps. The Artgraf Chalks are water-soluble and make a gorgeous watercolor like effect when stamping. To activate the pigments and have them come off the foam stamp, I slightly sprayed a layer of water on top and then just stamped ahead.

Love how the colors blend. I added some marks with Neopastels and a charcoal pen and wrote the journaling with a blue and white acrylic marker.

Here are some of the supplies that I used for this spread


Leave a comment

Colors Are My Friends – Jennifer Gallagher


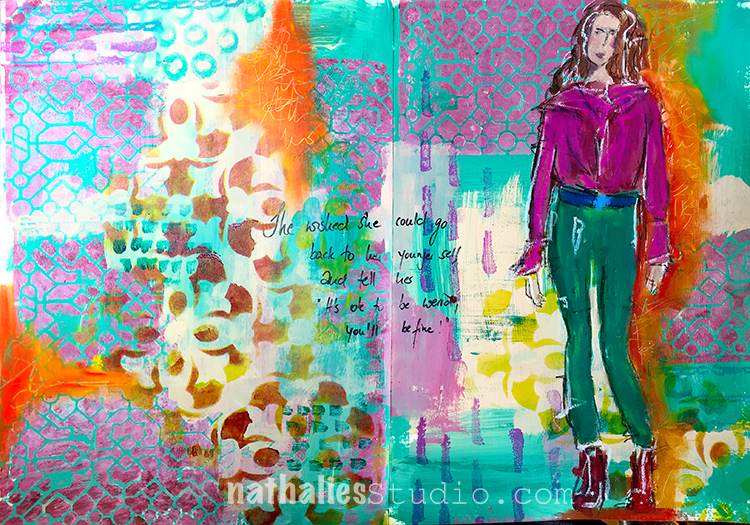
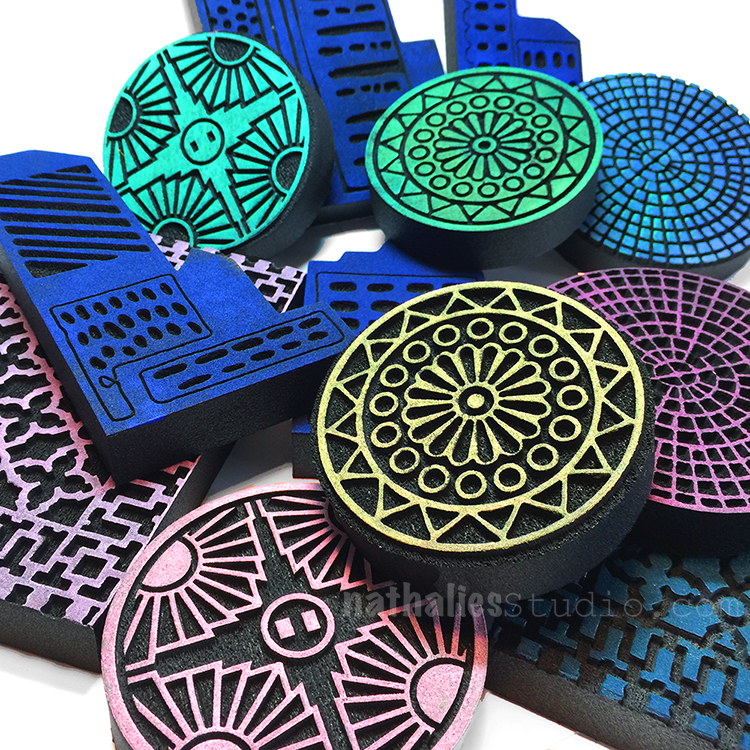
Hello my friends and welcome to a post from my Creative Squad! Today we have a beautiful canvas from new member Jennifer Gallagher. The layering and colors she used are gorgeous and make this a really cool piece for her home. She is using my new ArtFoamies Grove Street stamps, the Kassel Stencil and the theme: Colors Are My Friends – Let’s kick off the new Creative Squad with a celebration of color! What are your favorite, go-to signature hues? Let’s go bold and bright this month and  use color to ring in a new season of inspiring projects!


Colors are my friends! No one loves color more than I do. Personally, I have a very difficult time choosing just one to call my favorite. However, I do tend to have a few must have colors that I cannot live without. Pink and Turquoise are two of those colors.

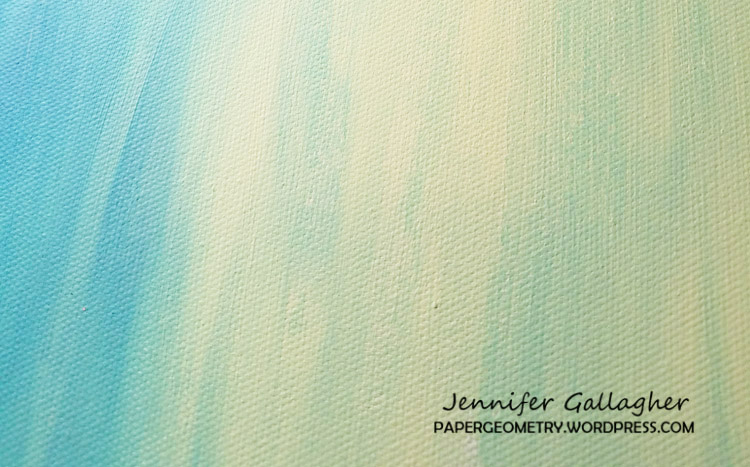
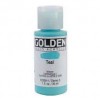
My husband and I have been doing a little work around the house and I now have several bare walls just screaming out for some bold new artwork. So, I started with a twelve inch by twelve inch canvas. I chose two colors of acrylic paint to blend into a lovely, subdued background. I chose Daler Rowney Pistachio Green and Daler Rowney Phthalo Turquoise.

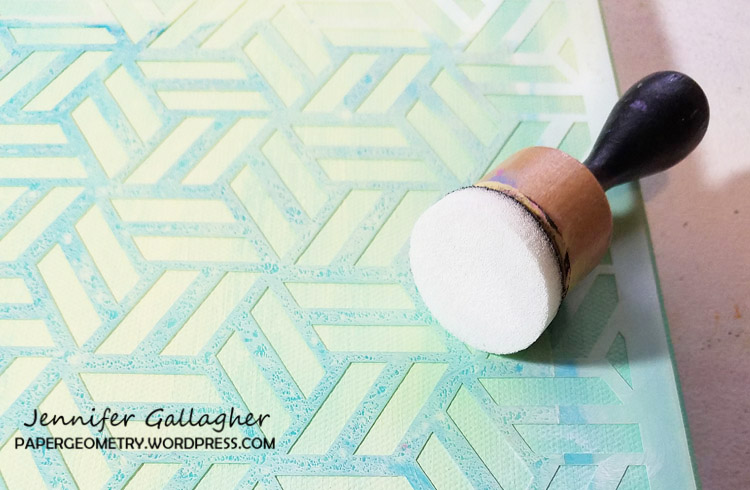
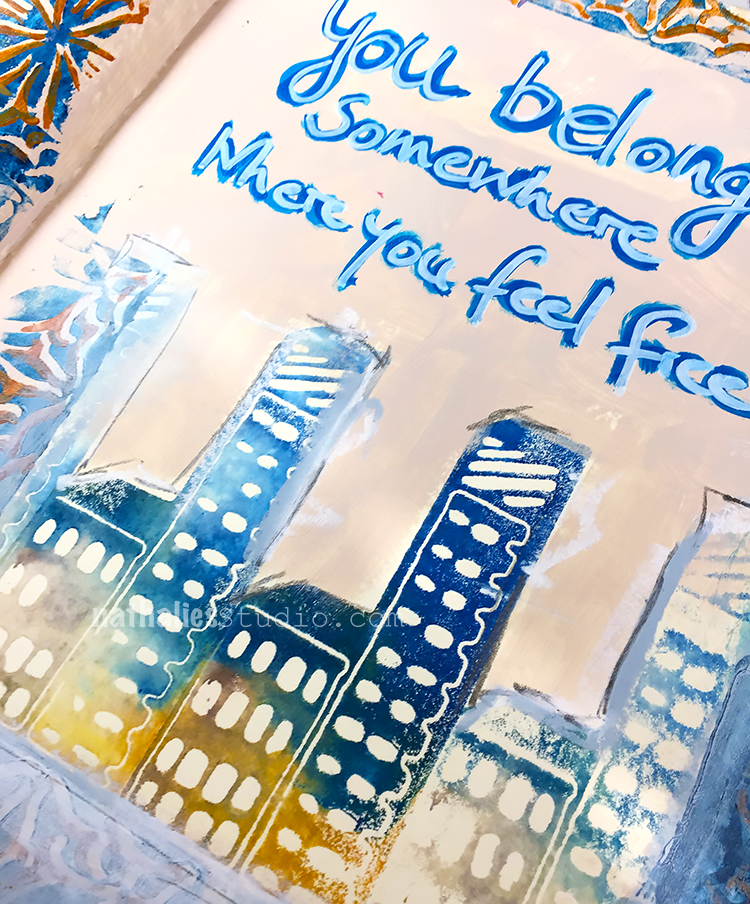
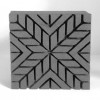
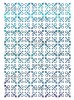
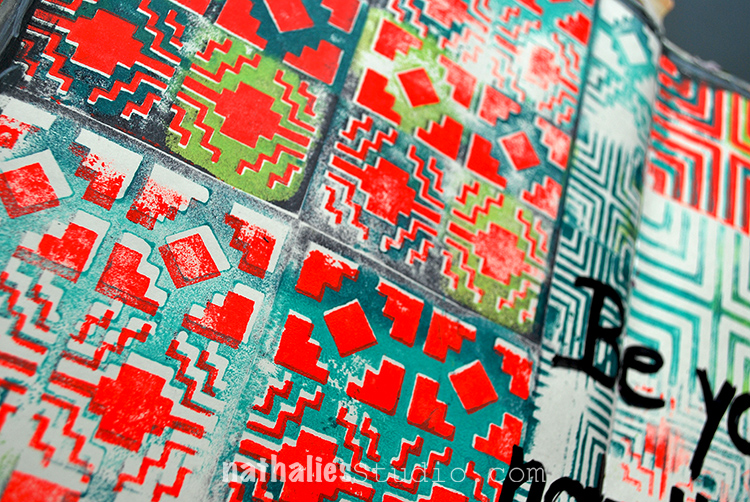
After the background had thoroughly dried I used one of Nat’s stencils, Kassel, and some white acrylic paint from the Dylusions line to overlay a fun geometric print. I did this pretty lightly as I just wanted a hint of the design peeking through. Try using a Tim Holtz mini-blending tool to apply your Dylusions paint. It works great!

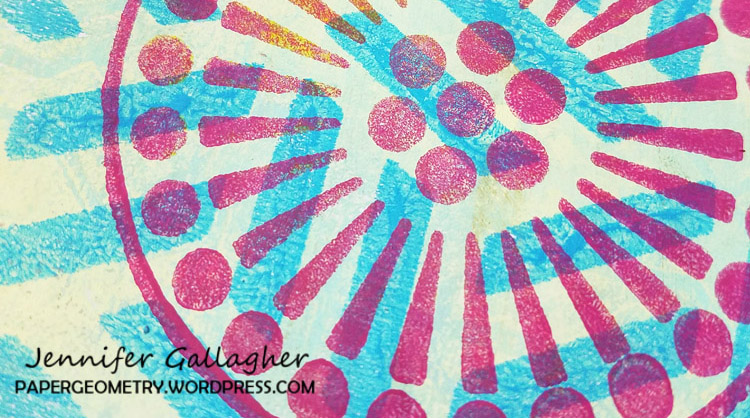
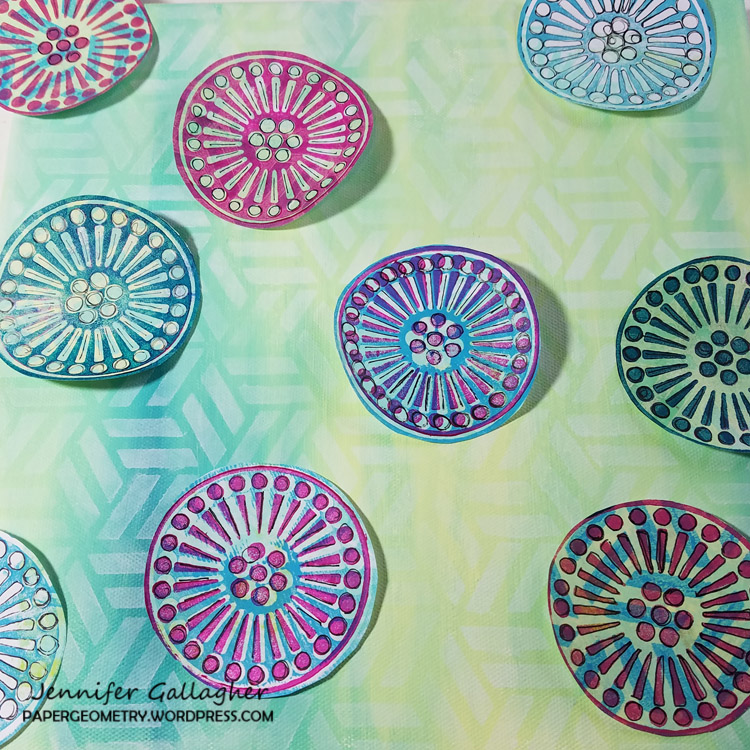
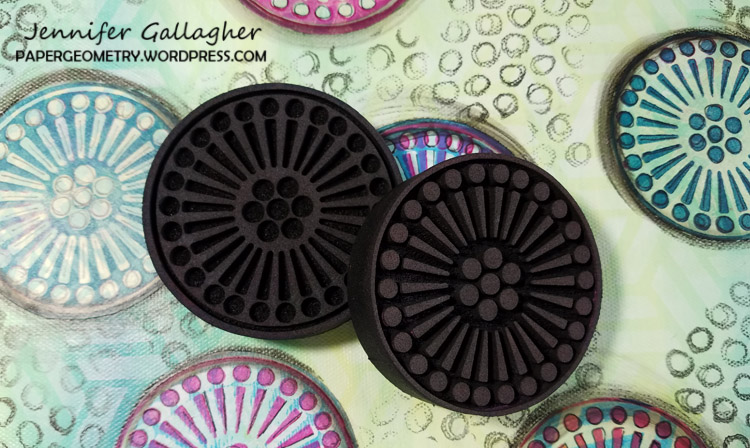
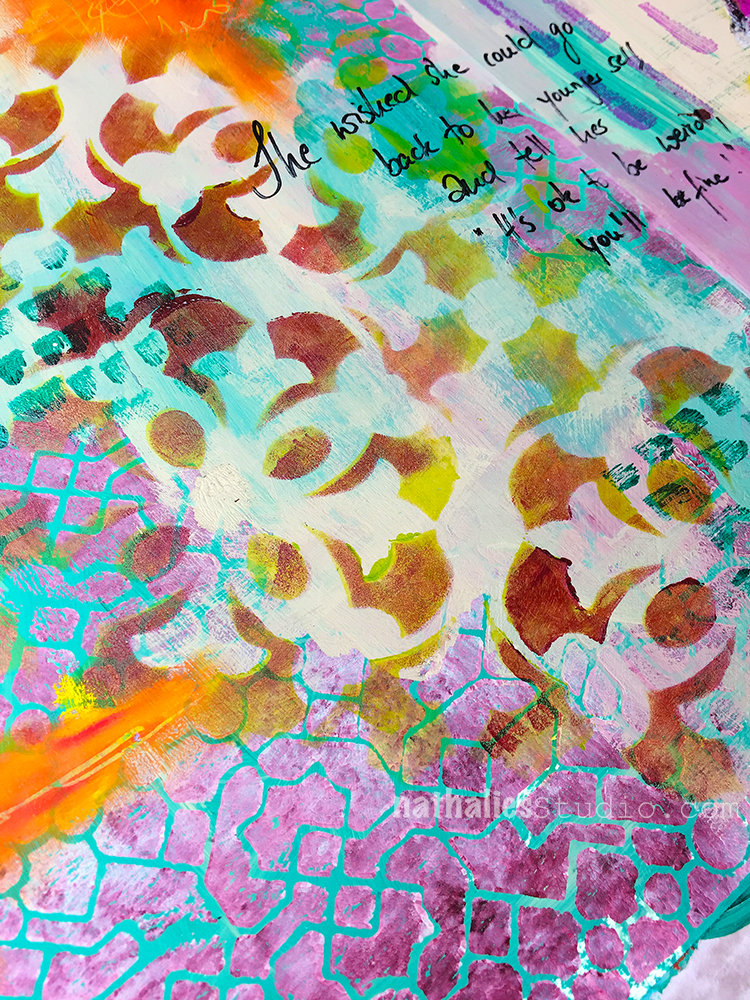
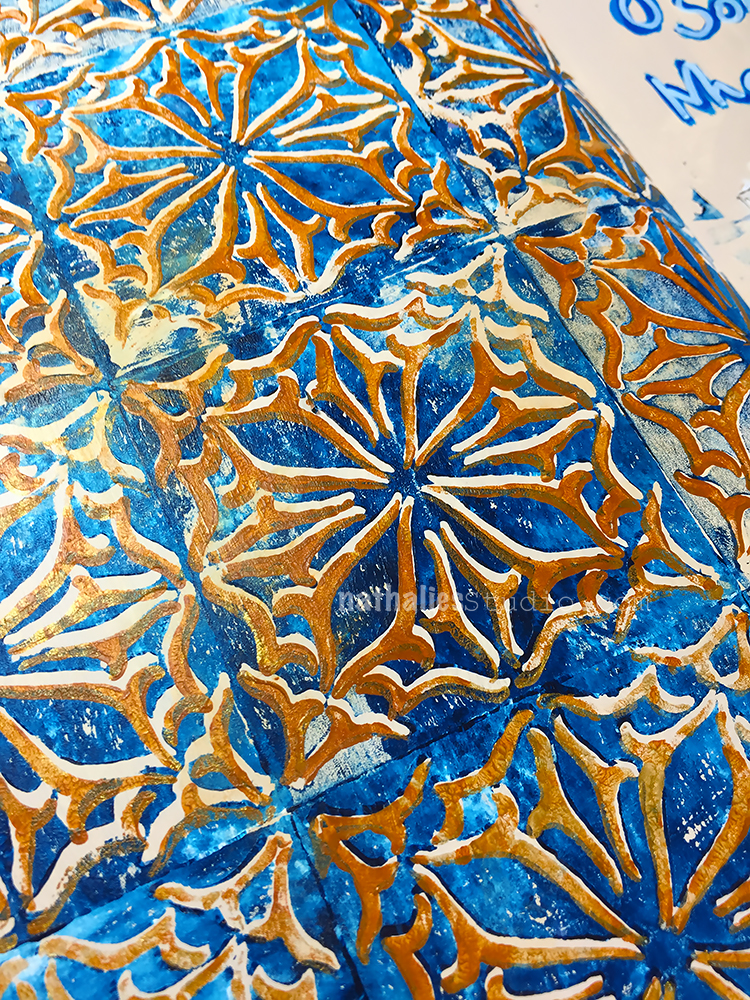
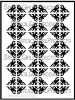
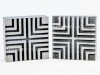
I pulled out my six inch square Gelli Arts Gel Printing Plate. Using the same stencil, I created a series of papers to use on my canvas. I continued using acrylics in Pistacio, Phthalo Turquoise, and also added Anita’s Craft paint in Island Green and Apple Barrel Acrylic in Wintergreen. After creating several papers using the Kassel stencil, I used my gelli plate as a palette to wet my ArtFoamies Grove Street Postive and Negative foam stamp in paint and applied the foam stamp design to the background papers using even pressure. At this point I introduced a new color of paint, Daler Rowney Acrylic in Permanent Rose. The fun thing about the positive and negative stamp sets is you can use them individually, line them up and stamp one over another, or do what I did and mix it up with multiple techniques.

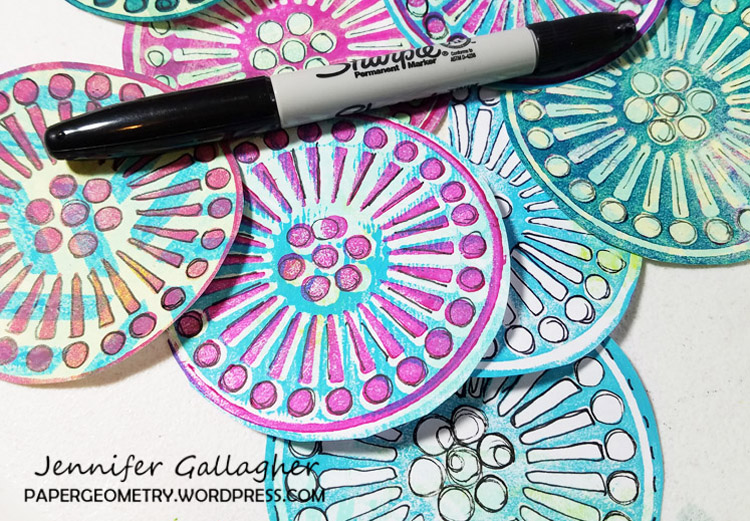
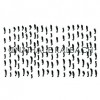
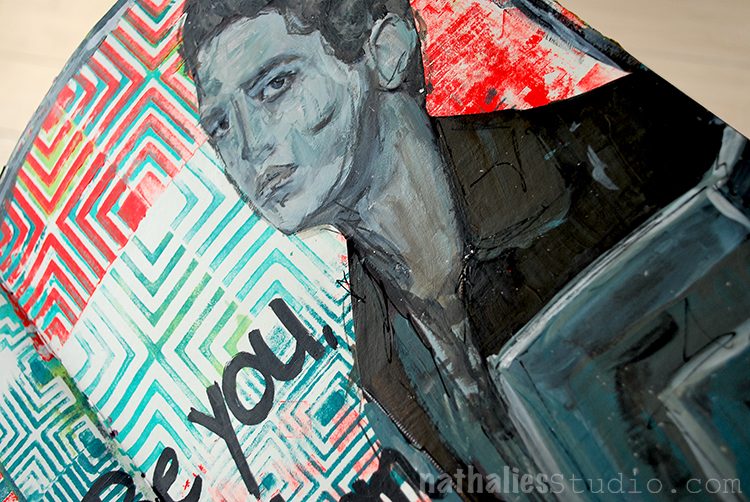
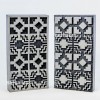
I cut each of the circles out so they could be applied to my canvas. I had about fifteen different circles to choose from. One of my favorite things to do to my art is black line doodling. With a basic fine tip black sharpie, I went over the shapes of the Grove Street stamp to add interest to each circle.


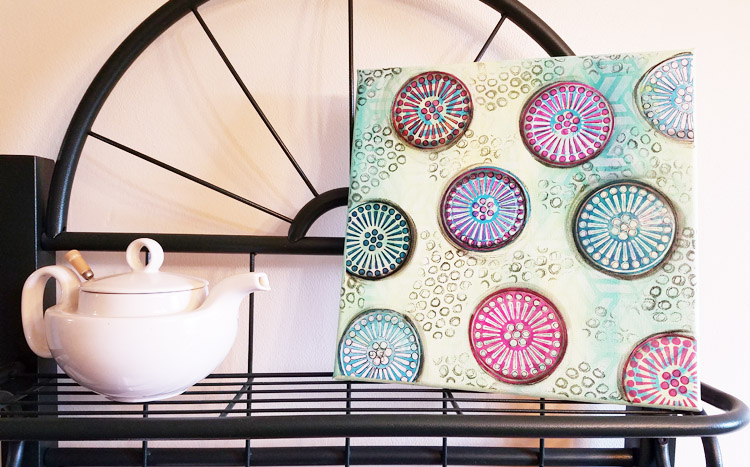
I laid my circles out on the canvas until I was satisfied with the amount and the placement. I then fixed them to the canvas with Mod Podge (the version specifically for paper) in a matte finish. Glue both sides of the paper circles to ensure they stick well onto your canvas. Be sure to let this dry thoroughly before moving on.

Lastly, I used a Dina Wakley Media scribble stick in black to make outlines around each circle. If you don’t have scribble sticks a black paint marker would also work.

I am really happy with how this turned out. I hope you enjoyed this project as much as I enjoyed sharing it with you.

Thank you Jennifer for sharing this lovely canvas and your layering techniques with us! Jennifer used besides a 12×12 canvas the following supplies (some are affiliate links):


Play along with us too: I love to see how you interpret our monthly themes. Email me how you used my stencils and stamps with the theme and email me an image – I would love to share your projects in my next  “n*Spiration From Around the Globe“.

Comments (5)

  • Josefine Fouarge

    |

    Wow, your canvas is really pretty. I love all the colors :)

    Reply

  • Jennifer Gallagher

    |

    I hope all of your readers try this out for themselves. It was a fun project and I cannot wait to try my n*Studio Art Foamies on lots of other upcoming projects. Enjoy!

    Reply

  • n*Studio Creative Squad – Paper Geometry

    |

    […] this link, http://nathaliesstudio.com/creative-squad/colors-are-my-friends-jennifer-gallagher/ , and read all about my painted canvas project for Colors are My Friend month. Then stick around […]

    Reply

  • Steph

    |

    Great article, Jennifer. And your canvas turned out beautiful!!

    Reply

Leave a comment

NEW ArtFoamies Stamps – City Streets


They’re here! My latest foam stamp designs with ArtFoamies are in stock and ready to ship.

Get the City Streets stamps here.  These stamps are all based on manhole covers and grates that I’ve photographed over the years on my Stroll Through the Hood excursions. Many of them are sets of positive and negative designs so you can layer them up in cool ways. All of them are really nifty versatile patterns that could be focal points, backgrounds, you name it. The Midtown Mini Set is 4 stamps that you can arrange any way you like to create a cityscape of your design. Most of the names come from places and streets right around my own Hood.

And… I’ll be introducing the stamps and showing them on my Kaffeeklatsch Facebook Live event this Wednesday, September 20th at 4pm EST. Join me for a chat – it’s been a while!

I’ll also be talking about my inspiring road trip that I took recently in the American Southwest, my upcoming Workshop at Nat’s (Yes, I’m hosting a workshop at my place!), and a couple other things. Drop in, say hello, I’d love to see you there :)

Wednesday, September 20th at 4pm EST.

Comments (4)

Leave a comment

Creative Ice Breaker – Morning Art Journal Play Video #7

In the mornings I play in my art journal to get myself into the creative groove and break the ice – so to speak- and get ready to paint. I recorded and fast forwarded my morning ritual for this video – and hope you enjoy it. Take it as what it is – a morning art journal play- not a tutorial.

Here are the supplies I have used in my Creative Ice Breaker video above – some links are affiliate links.


I hope you enjoyed the little glimpse into my morning warm up play! Have a wonderful and creative day!

Comments (4)

  • stephanie

    |

    Great video! A good way to get warmed up

    Reply

  • Sherry Canino

    |

    What a great video I loved watching you create in your art journal and I love those stamps !!!

    Reply

Leave a comment

Be You, Not Them …or In My Art Journal Today

kalbachajbeyou01

This art journal spread started out as a demo page in a workshop . I was showing how to use the positive and negative Santa Fe and Manhattan Foam Stamp Set with differently colored StampBuddies. (if you missed my short tutorial on this – check it out here) .  A lot of the pages I show techniques on are later a great starting point to turn into a finished art journal page.

kalbachajbeyou02

I like how much depth and dimension you get when stamping offset. I also love how stamping a second time without re-inking shows a lot of texture.

kalbachajbeyou03

And I had a good time playing with the graphites on top of the magazine image. He looks a bit ill – LOL- but maybe just because he isn’t himself ;)

supplies


Hope you have a wonderful day !

Leave a comment