Blog: Rubber stamp

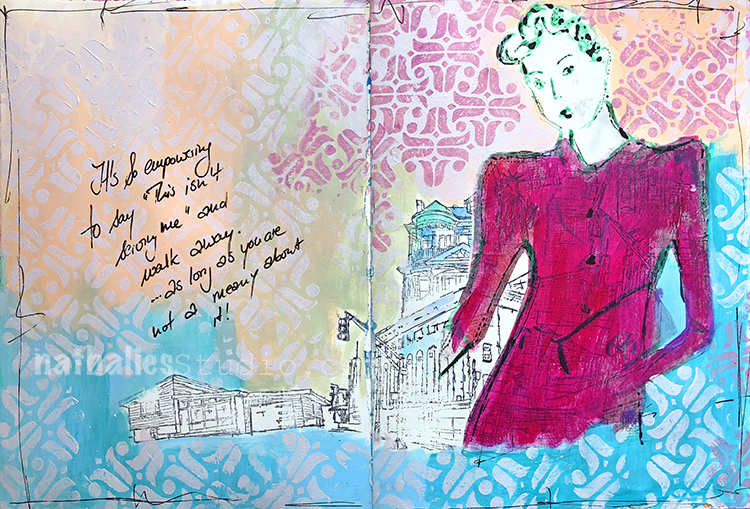
Empowering Art Journal Spread

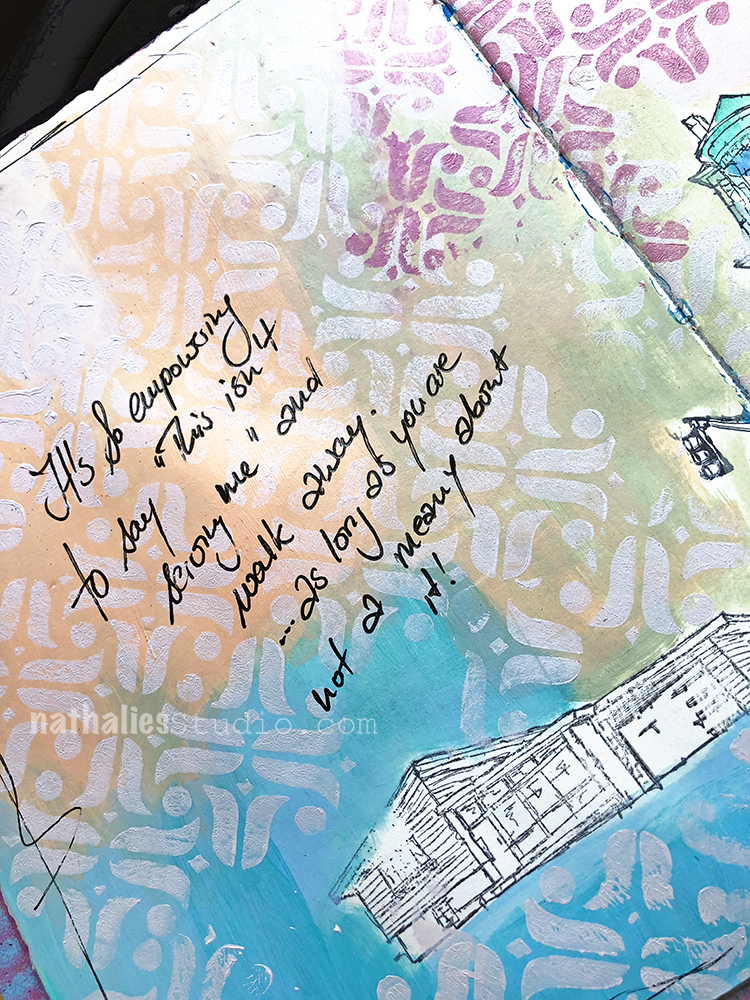
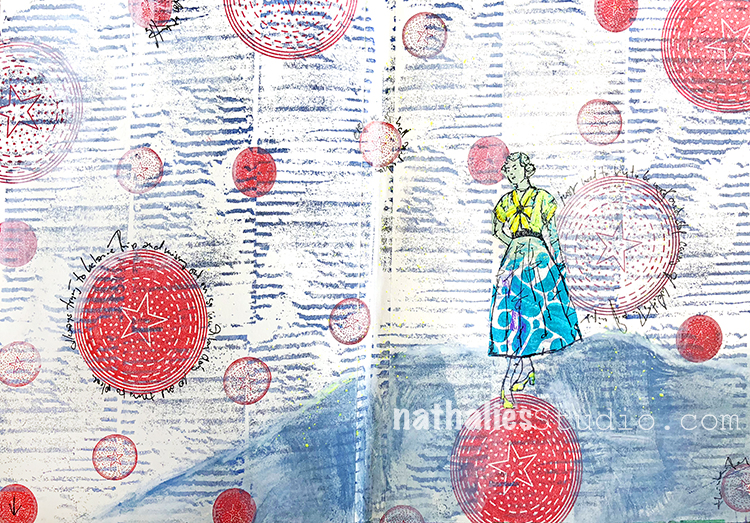
It’s so empowering to say “this isn’t serving me” and walk away…as long as you are not a meany about it.

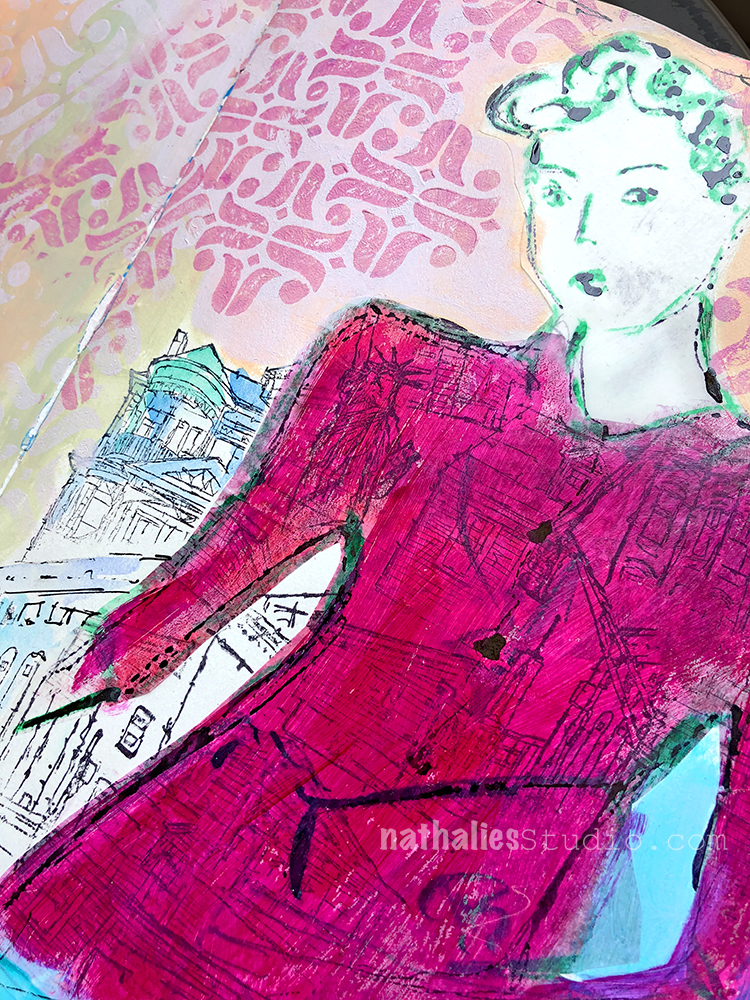
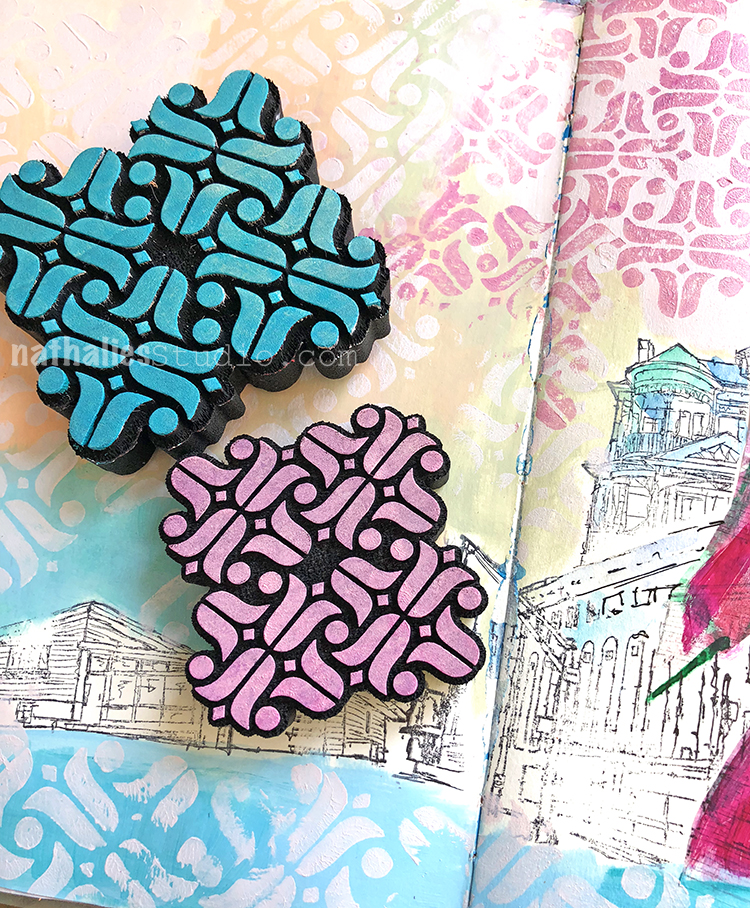
Ha- LOL- this spread is all over the place …but it was fun to play around. I also used my new Amsterdam Foam Stamps – small and big :)

This spread started as a demo page in one of my workshops and I think the lady sketched in green just didn’t really do it for me …but heck …you know ….it is not always about a masterpiece it is also about just trying things and playing. And I also think it is about being kind to yourself – why beating yourself up for something that is supposed to be fun and loose and bring you joy.

Alas: I do love the color combination and the background with the houses and the Amsterdam pattern. There…much better ;)

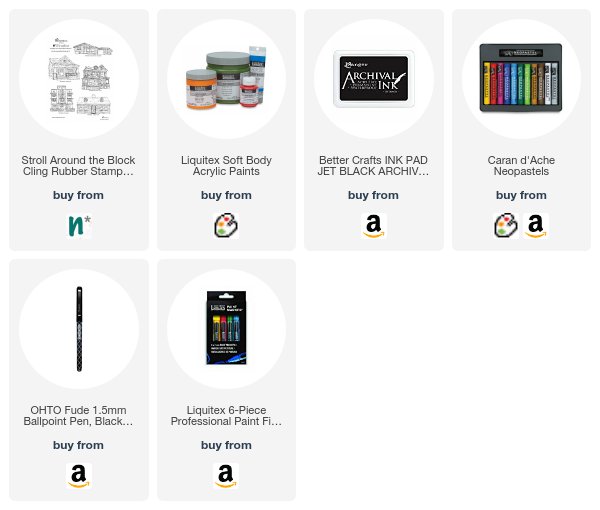
Here are the supplies I used besides acrylic paints


Leave a comment

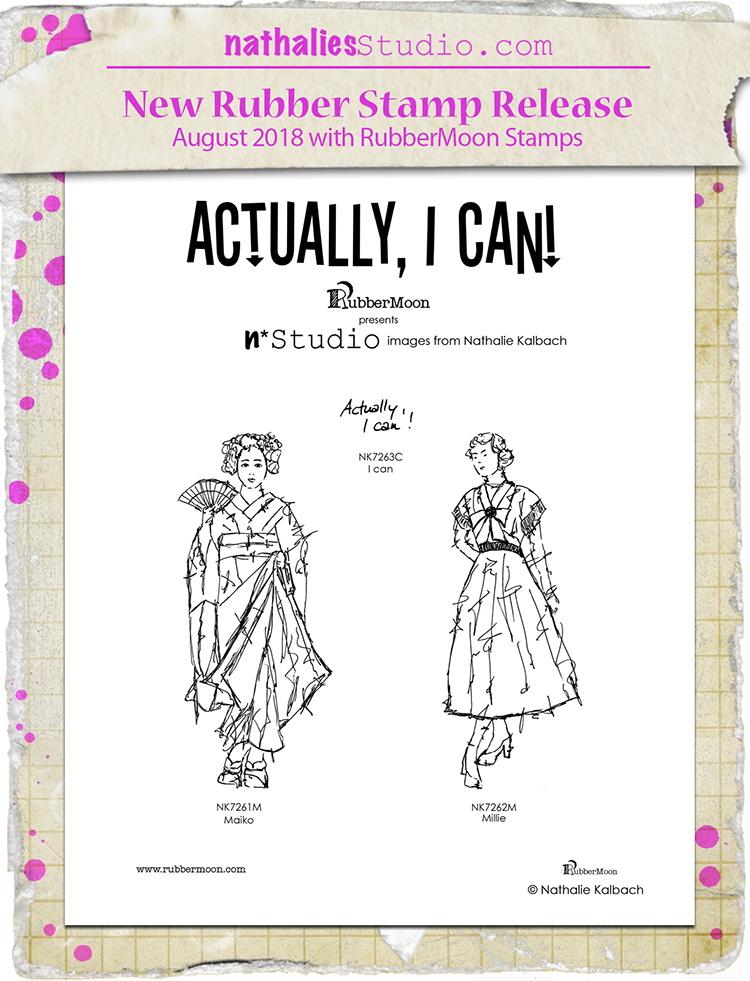
Actually I Can – Special RubberStamp Release

Wohooo – Here you go – a special RubberMoon release of a new set “Actually, I can!” – Meet those two awesome Ladies and my mantra :)

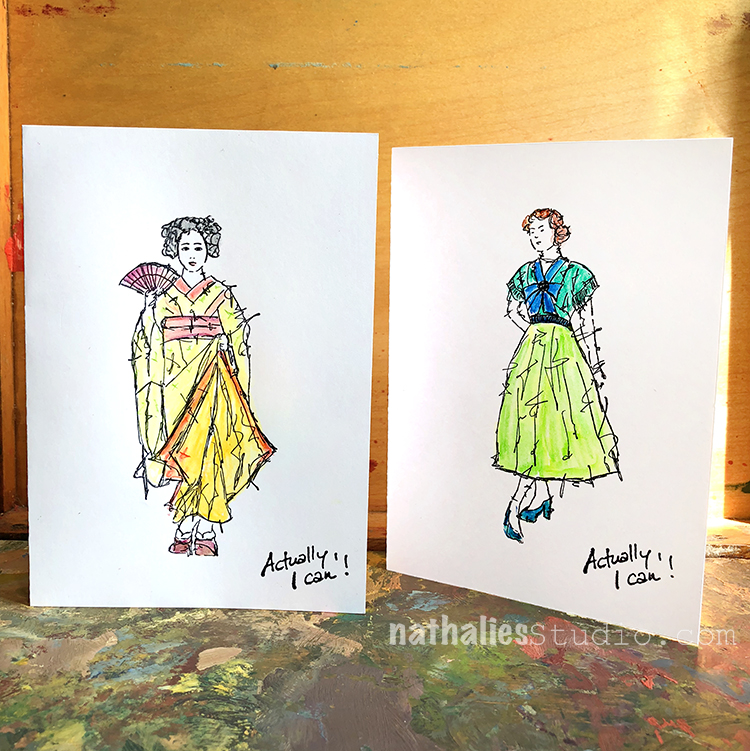
Here are two cards with the Ladies colored in

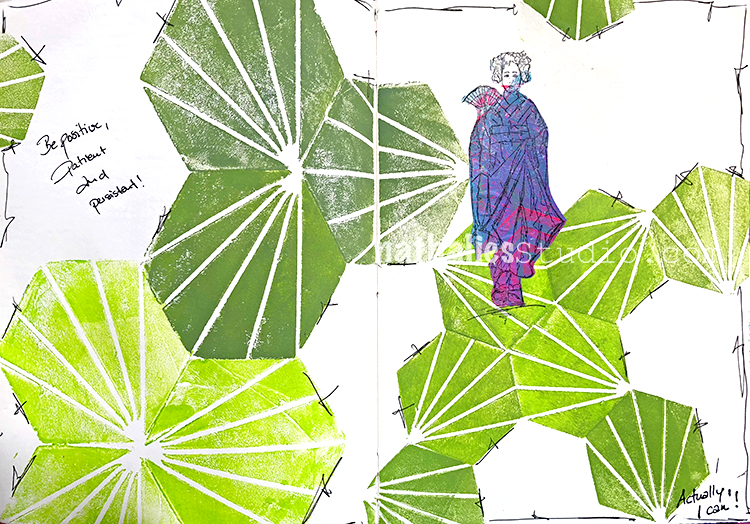
An art journaling page – with Maiko being stamped on some painted deli paper

And one with Millie – also printed on deli paper.

I hope you like the “Actually I can!” Set as much as I do. They are fun for cards, and art journal pages and I cannot wait for you to see more examples and what the design team does with them :)


Leave a comment

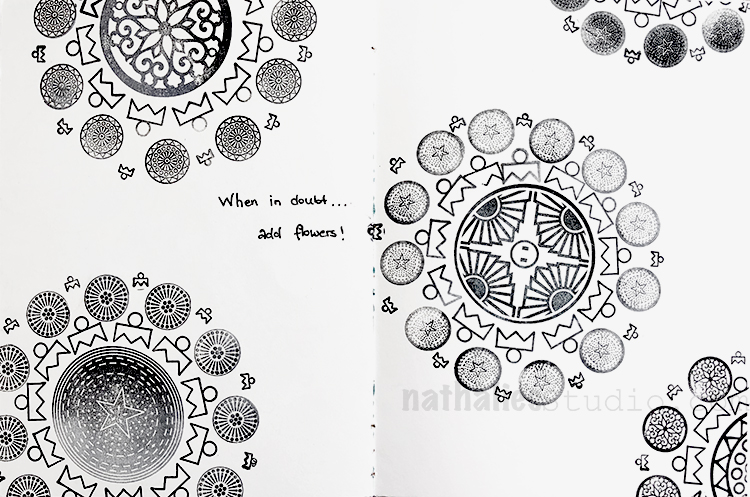
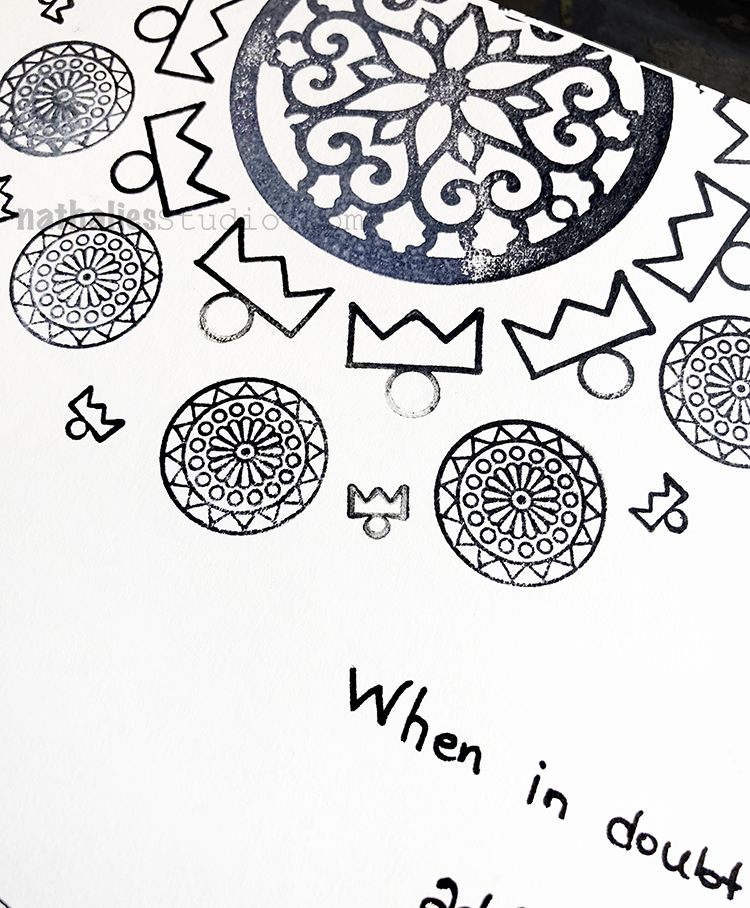
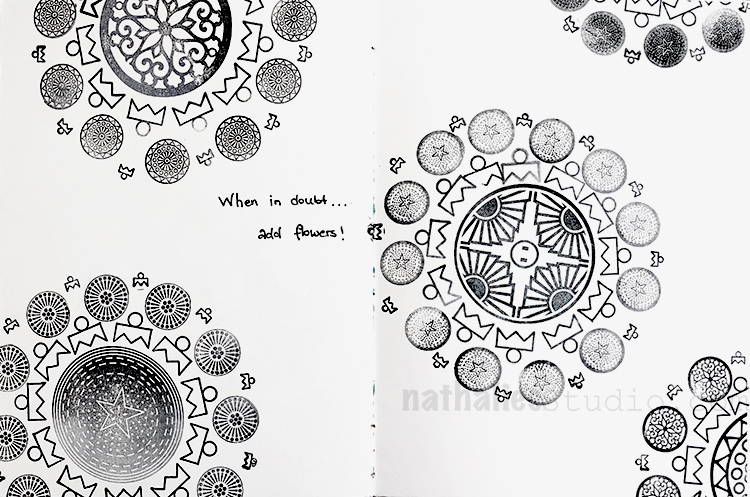
When in Doubt – Art Journal

When in doubt…add flowers!

I was just playing around with my new RubberMoon Circle Jumble Sets. Oh my …I am so in Love with them …

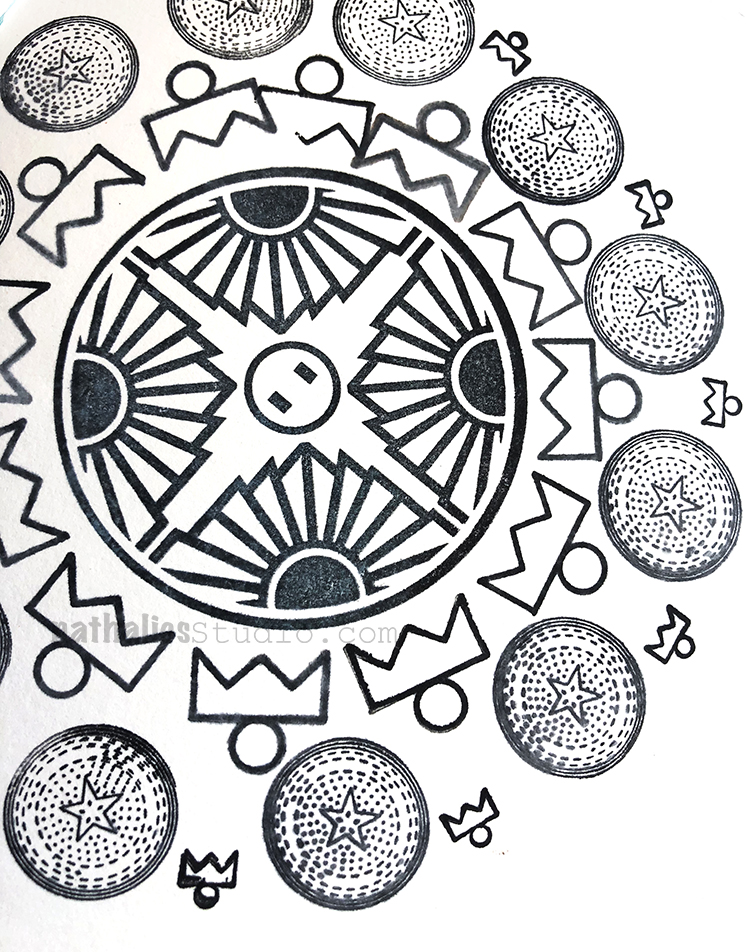
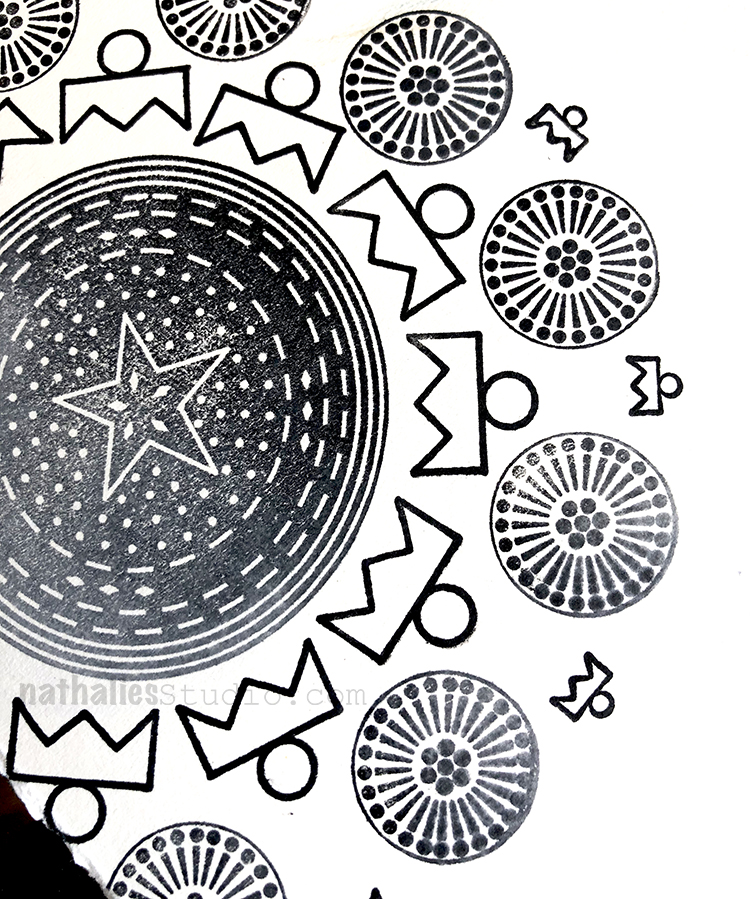
I did those little mandalas using the small and the big set and also incorporating the “topper stamp” which can be used to to turn the circles into ornaments, but also as borders or like here into part of the mandalas.

I used the RubberMoon Moonlight Duo black – I love that you can create black and grey tones with the black and white divided ink pad. I need a lighter hand then stamping – hahahah ;)

Fun fun fun – I could have also colored the mandalas in …but I will do that another time- I really liked the black and white effect.

Here are some the supplies I used


Leave a comment

NEW Rubber Stamps and Mini Foam Stamps!!!

Are you ready for some new releases and samples? – There is a lot fun stuff in this post -but first- the designs :)

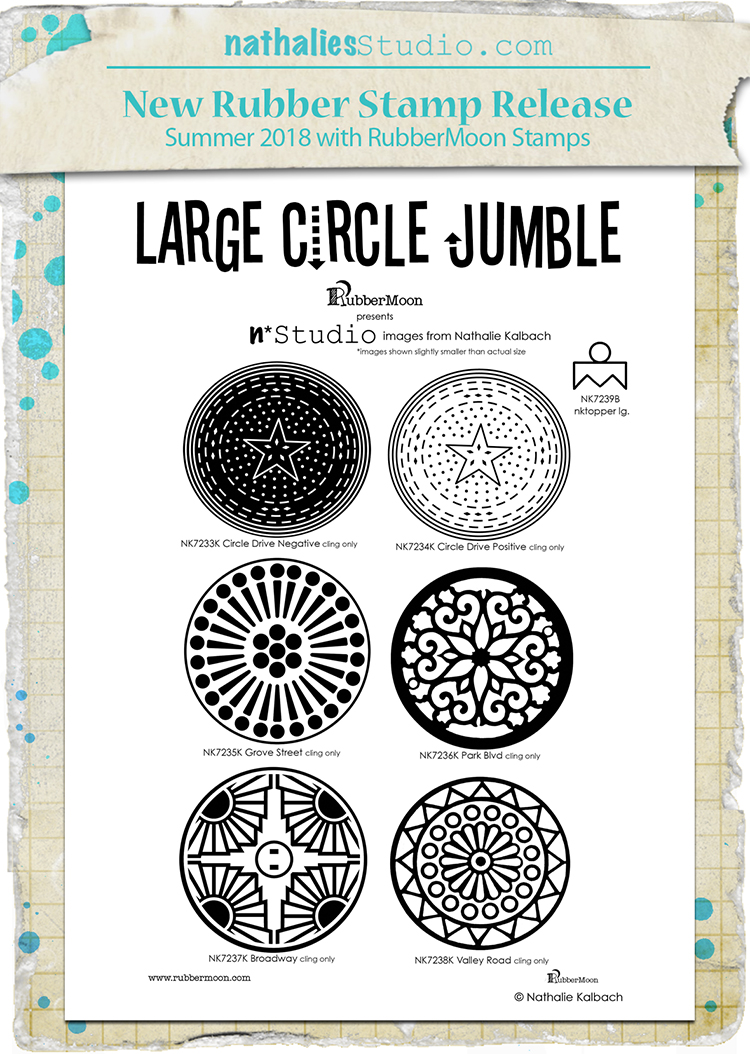
This new RubberMoon cling rubber stamp set includes 6 large circular stamps along with one ornament topper stamp. Circle stamps measure approx. 3″x3″.

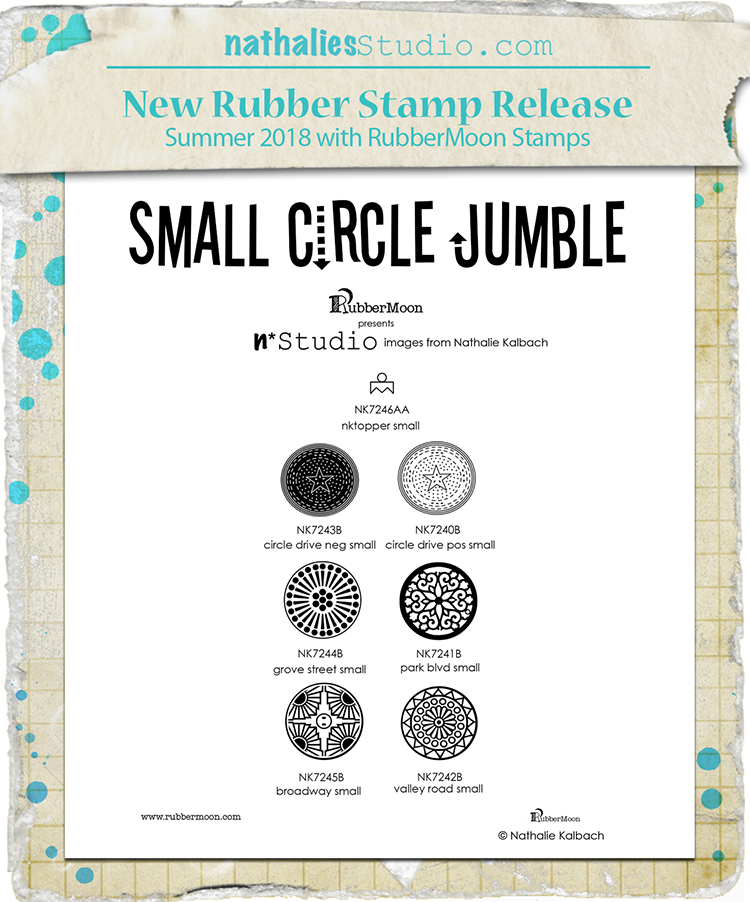
AND …we have those in a smaller size as well  with the circle stamps measuring approx.1″x1″ :)

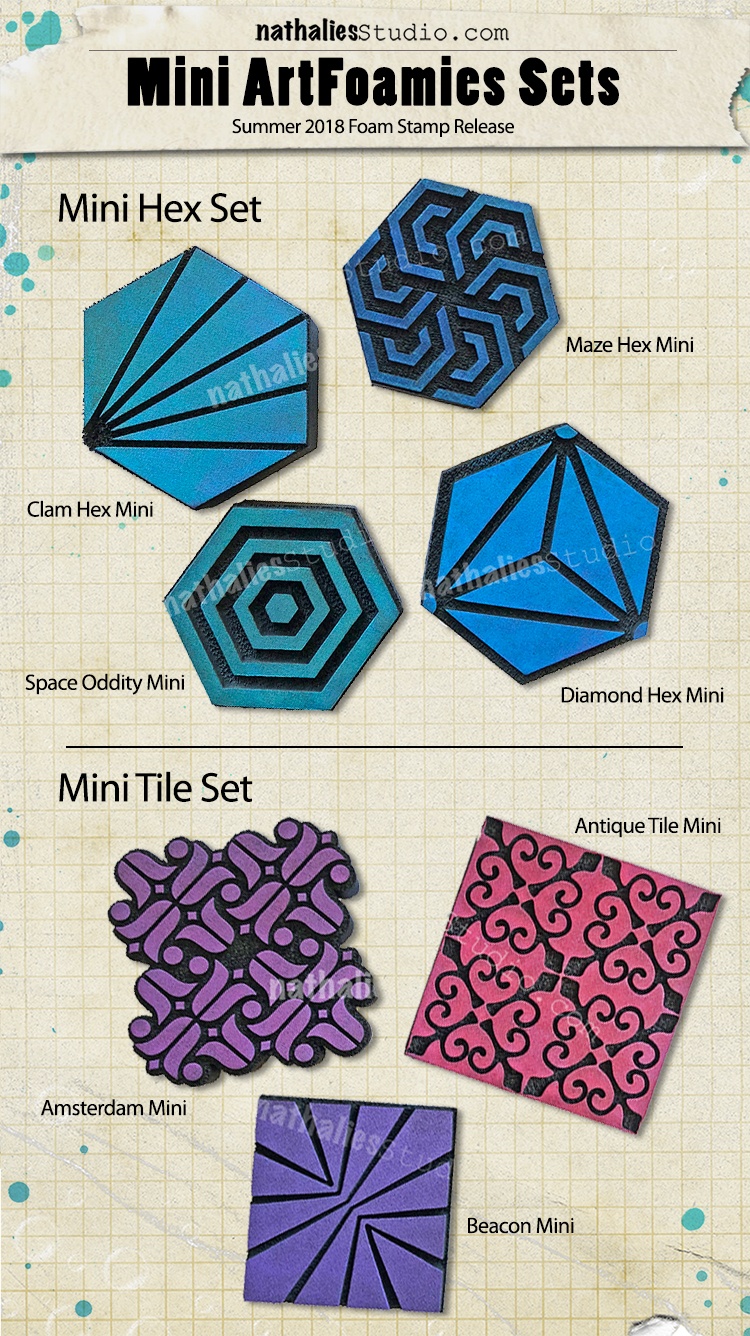
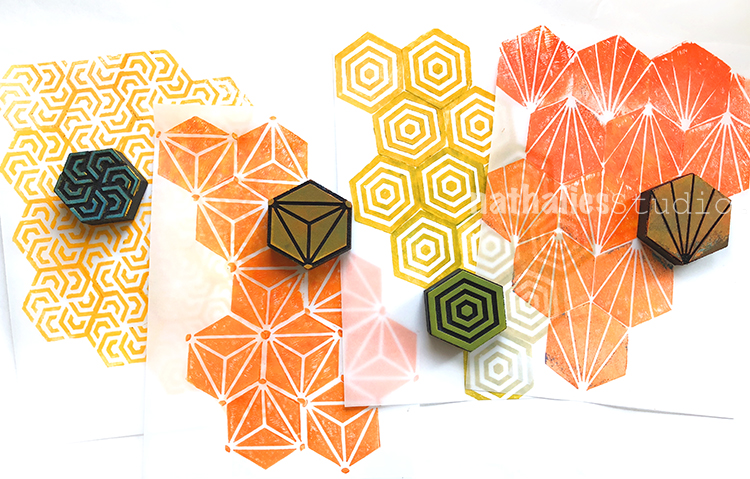
But wait there is more …we also have some new Mini ArtFoamies Sets in the house. A Mini Hex Set with all of my four hexagon stamps in sizes which are between 2.125″x2.5″ and 2.5″x2.75″.

And a Mini Tile Set– with sizes between 2.25″x2.25″ and 2.875″x2.875″.

Let me show you some samples our Creative Squad and I made with the new RubberMoon Stamps :)

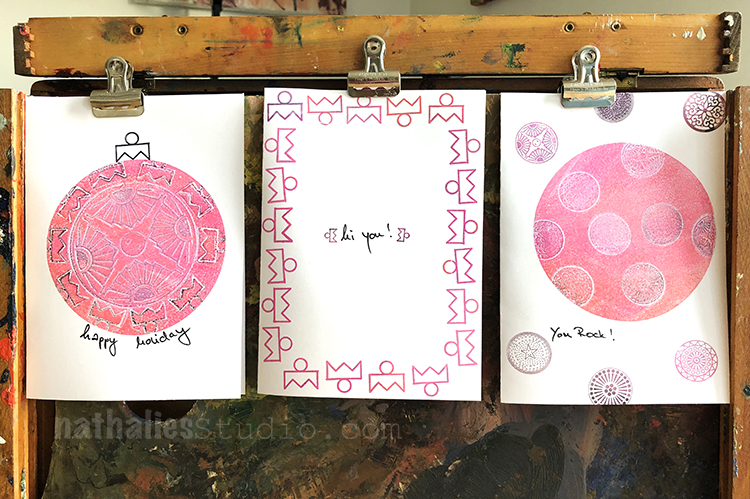
So the fun thing I added to the Circle Jumble Sets is a little topper which gives you the possibility to turn the circles into ornaments or use the topper as a fun little stamp for borders and patterns.

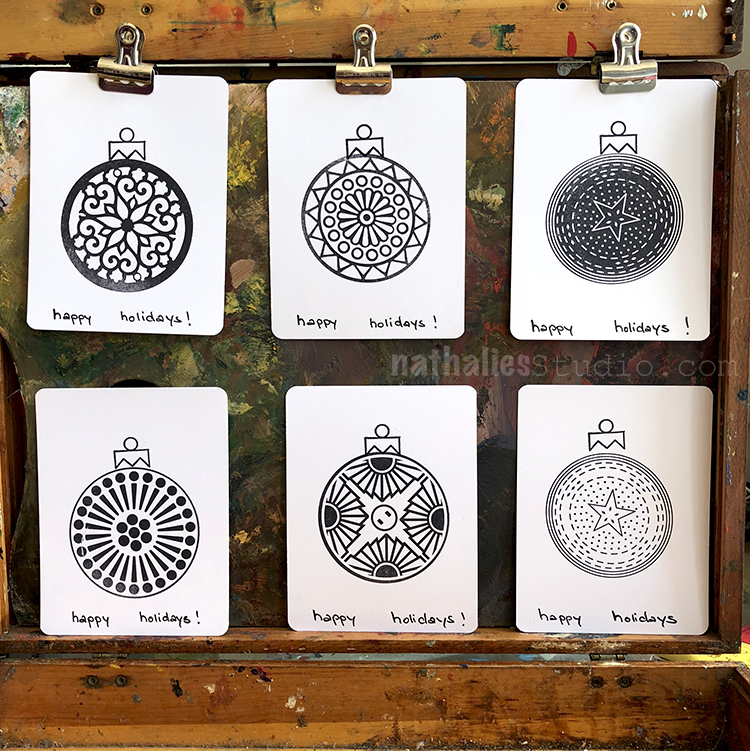
Here I created some super simple Holiday Cards with the Large Circle Jumble Set.

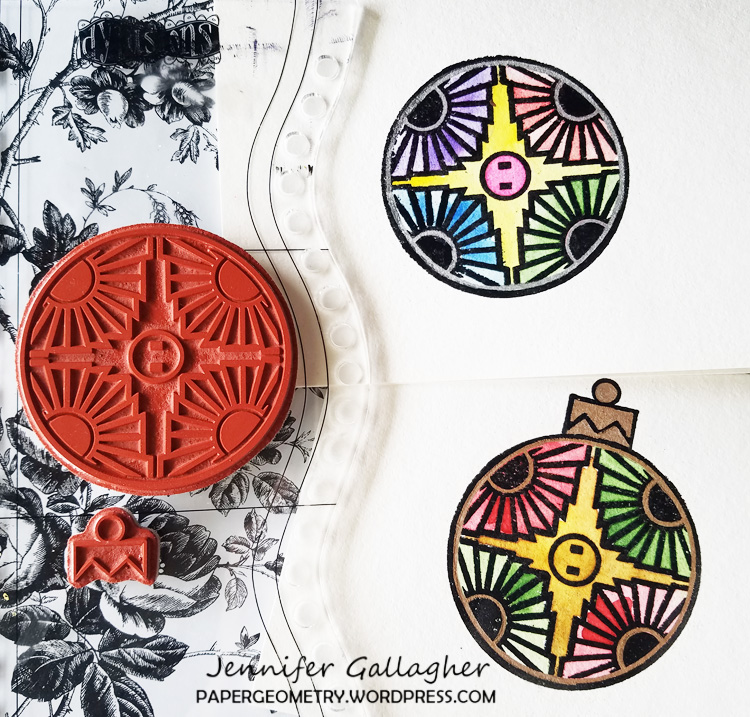
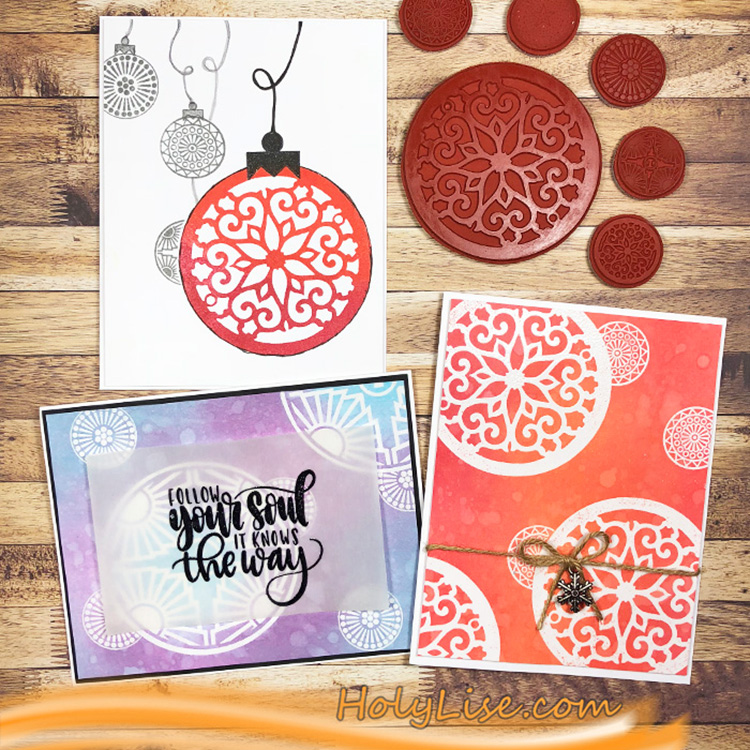
Jennifer created this super cute stained glass ornament using the Broadway Circle and the Topper from the Large Circle Jumble Set as well.

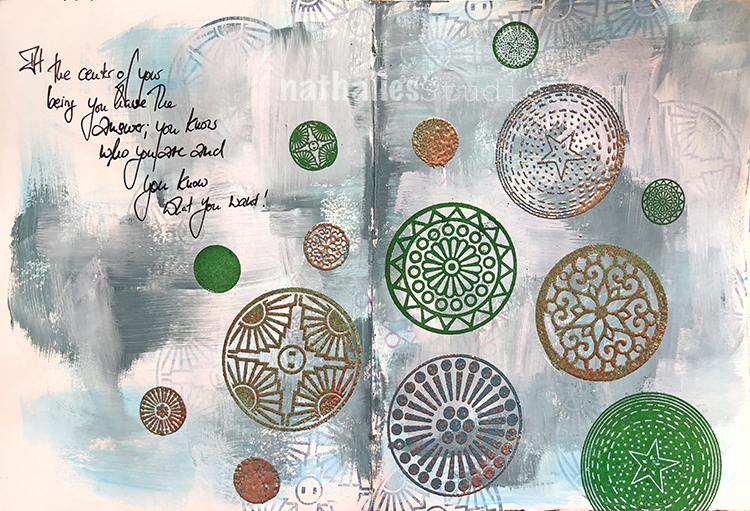
In this art journal spread I am using the Large Circle Jumble Set set as well as the Small Circle Jumble Set with embossing powders.

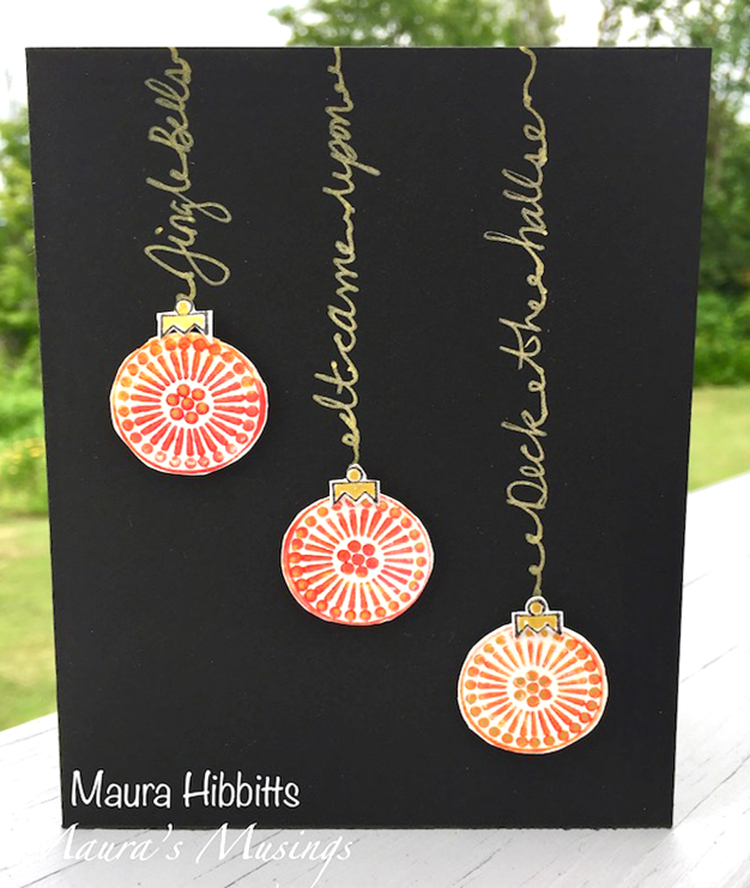
Maura used the Small Circle Jumble Set  for this pretty holiday card and added some pretty writing with a gold pen to “hang them” .

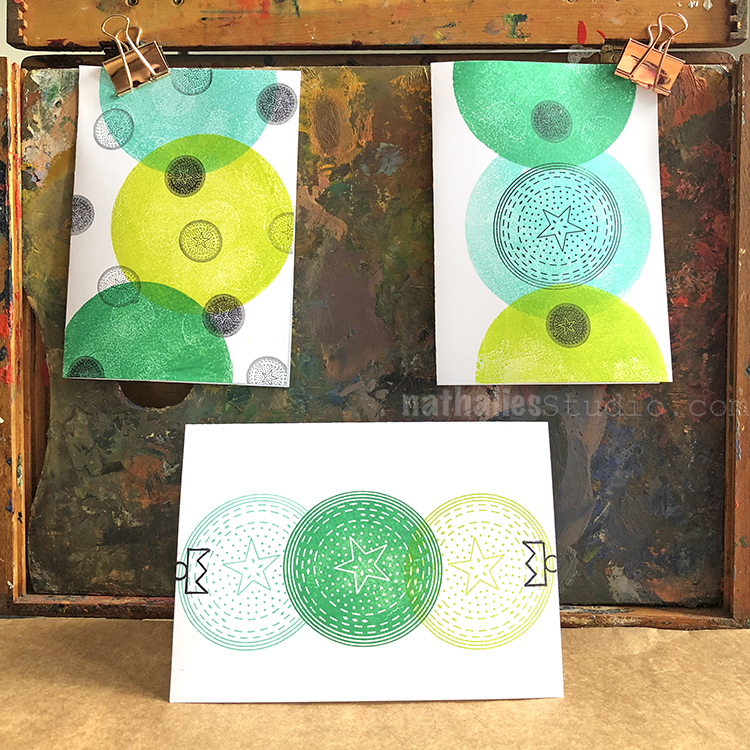
For this mix of cards I used both sets- for the left and middle one creating borders with the topper but also mixing up both sets once again.

For the cards above I played around with both sets and created a cohesive note card sets, which I can use for various occasions.

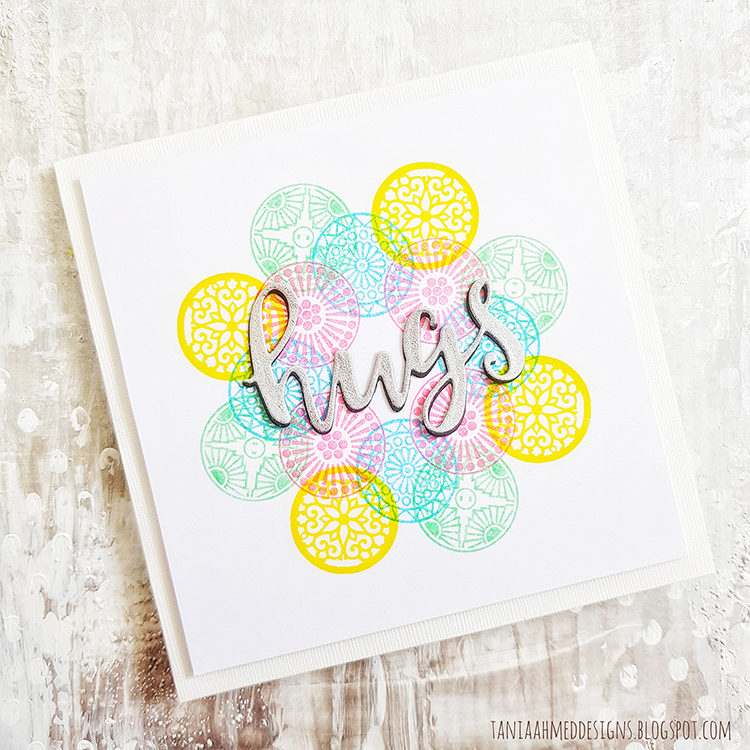
Tania created this gorgeous Small Circle Jumble card overlaying the circles in different colors.

Josefine made a bunch of cards mixing up both the Large and Small Circle Jumble sets for some added dimension.

For the art journal spread above i played with both sets and made some Mandalas. I could have colored them in as well -but I loved the black and white look at the moment more :)

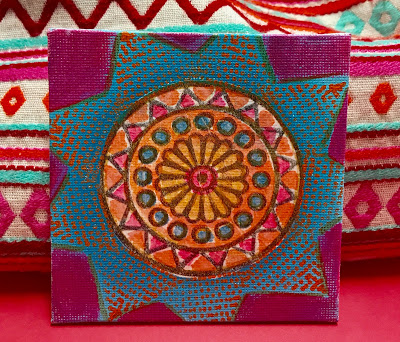
And Kae Pea the owner of RubberMoon made this gorgeous Bohemian Star on a canvas!

Let’s show some samples with the new ArtFoamies Mini Sets

The Mini Hex Set is just super adorable!!! You can mix it with the regular sized Hexes as well.

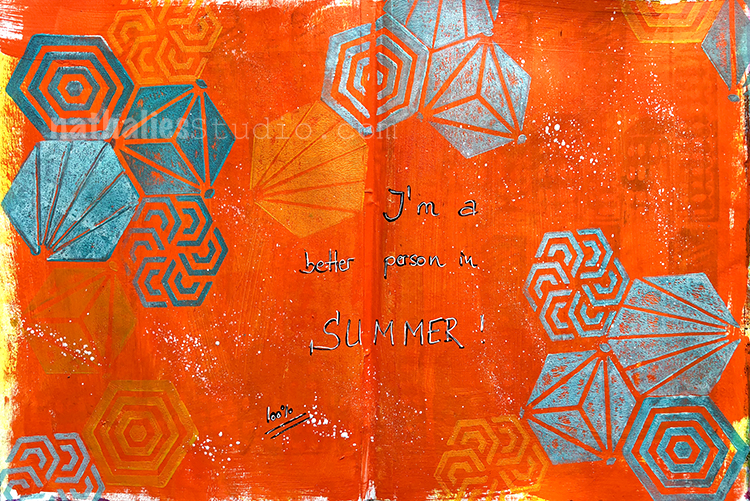
Here is an art journal page where I just used all of them- but of course you can use them individually to create patterns- just like their big sisters :)

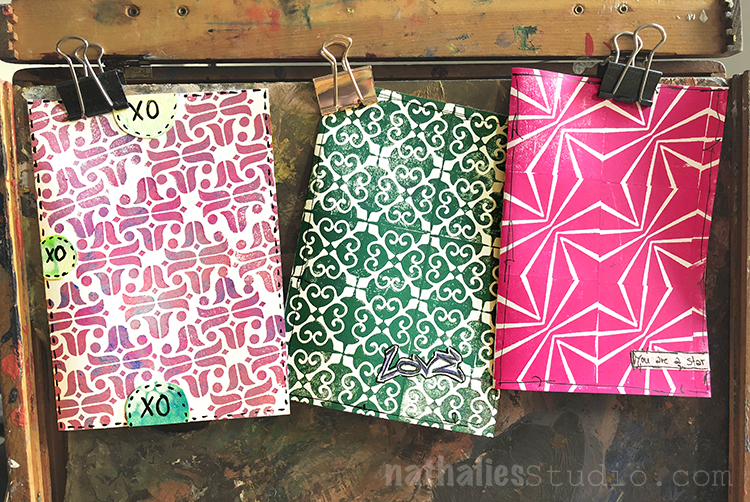
And some cards with the new Mini Tile Set.

Which of the new stamps makes you the most excited? Any favorites?

Pick up the new stamps here:


SaveSave

SaveSave

SaveSave

Comments (6)

  • Maxi Moon

    |

    LOVE how your team used these! They are so versatile and creative!!

    Reply

  • stephanie

    |

    ohhh the possibilities. Can’t wait to get these!

    Reply

    • nathalie-kalbach

      |

      Thank Stephanie , yeah they are really crazy versatile :)

      Reply

  • Sue Clarke

    |

    Love Maura’s card with the words as strings for the ornaments!
    What versatile sets.

    Reply

    • nathalie-kalbach

      |

      I love Maura’s handwriting as a string for the ornaments too – so clever and beautiful :)

      Reply

Leave a comment

Embroidery with Stroll Rubber Stamps

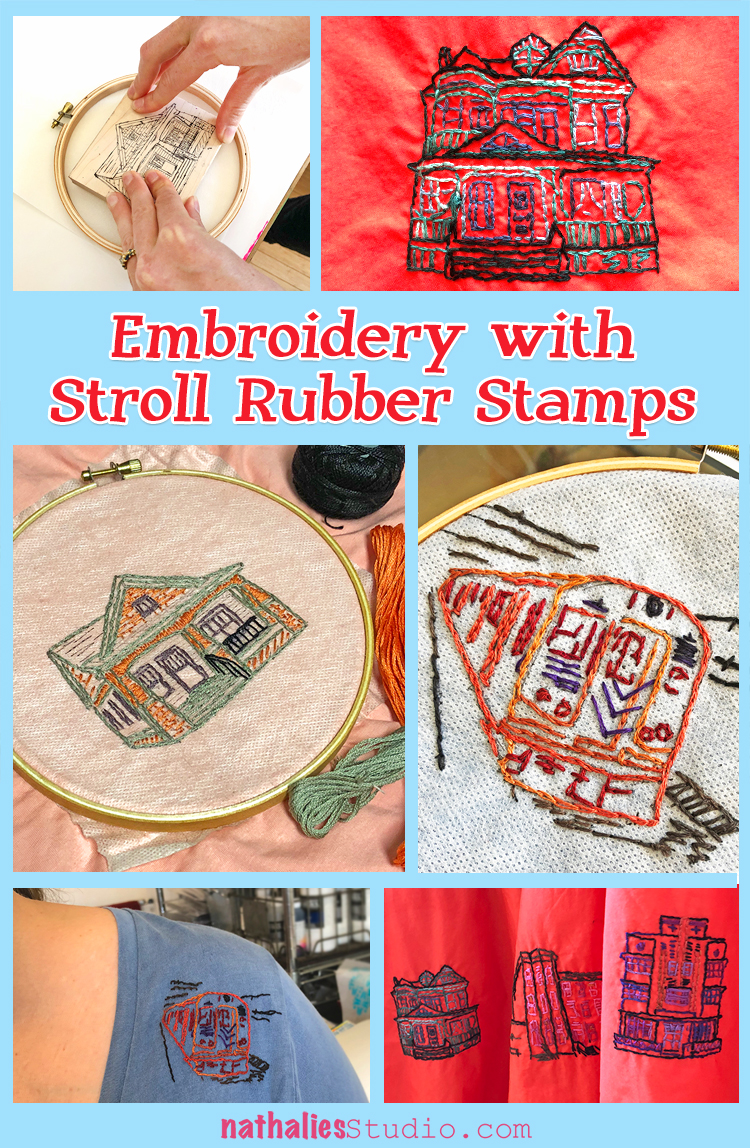
This month my friend Kim and I decided to do an embroidery play date. I am loving this new hobby and it is so nice to settle into a movie at night and do a little bit of embroidery. It’s relaxing, creative, and a fun way to add a personal touch to clothing. Kim and I chose some clothing items to embroider, and went straight to my Stroll Around the Block and Stroll Through the Hood rubber stamps for our designs.
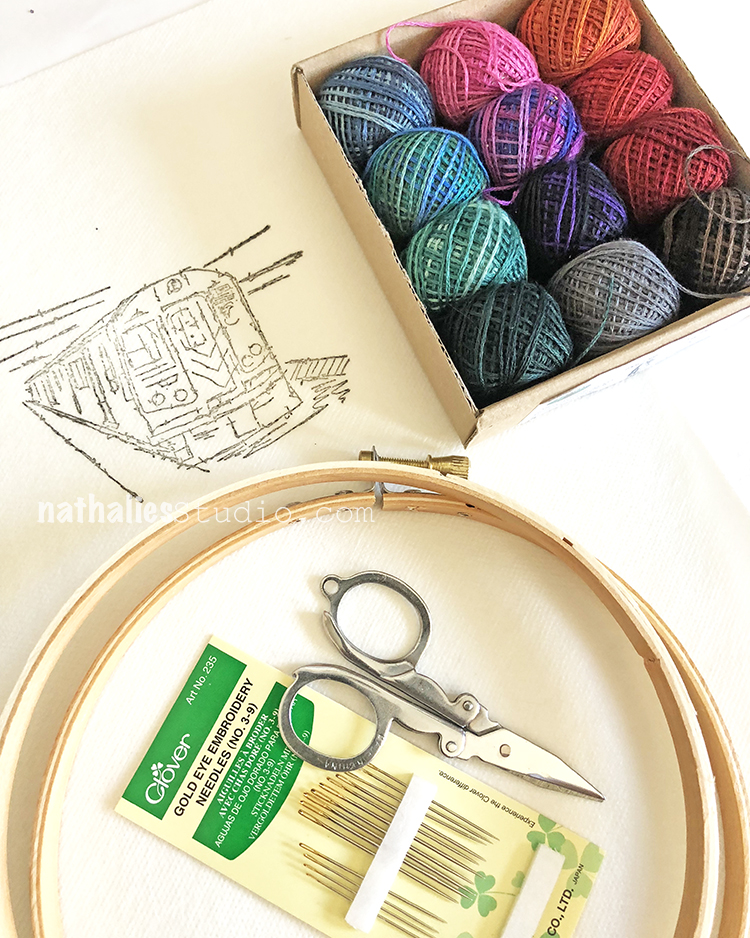
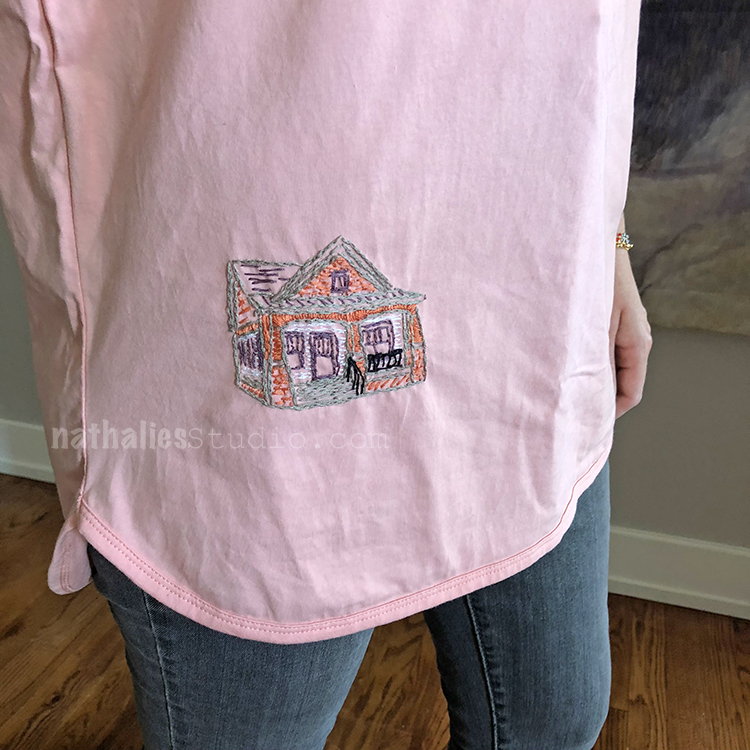
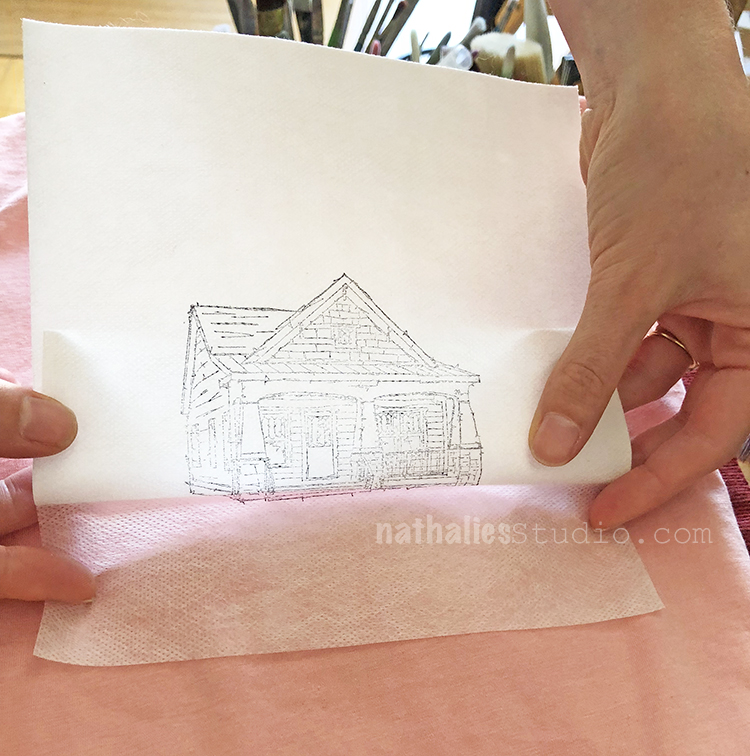
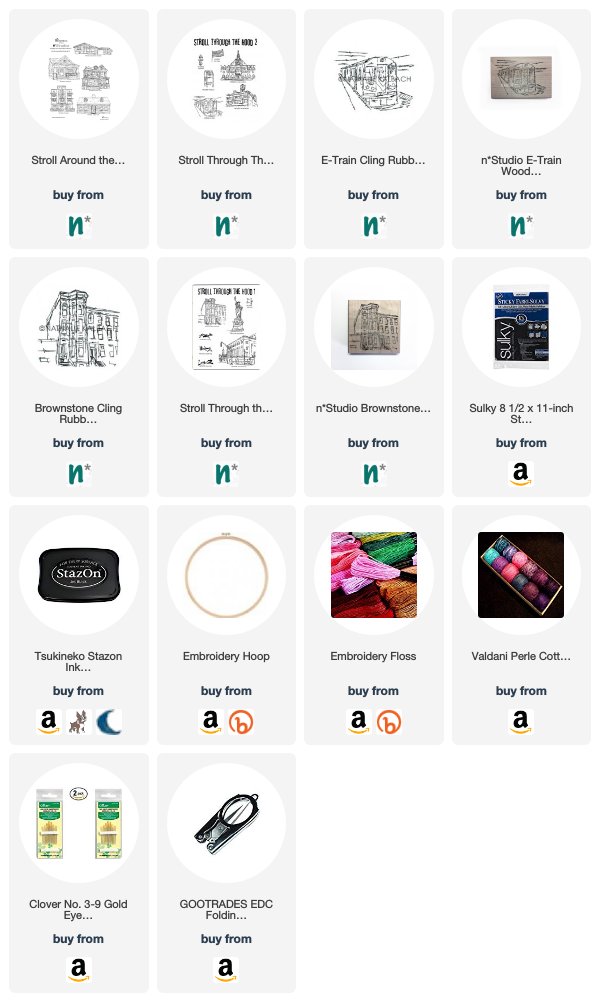
You don’t need much to pull this off: embroidery thread, needles, scissors, a hoop, and a super nifty adhesive fabric stabilizer from Sulky that dissolves in water (see the link in the supplies below). Then you just choose a rubber stamp design and stamp on the fabric stabilizer. Kim chose the Craftsman stamp from my Stroll Around the Block set. It fits right in a 6″ hoop with some room to spare.
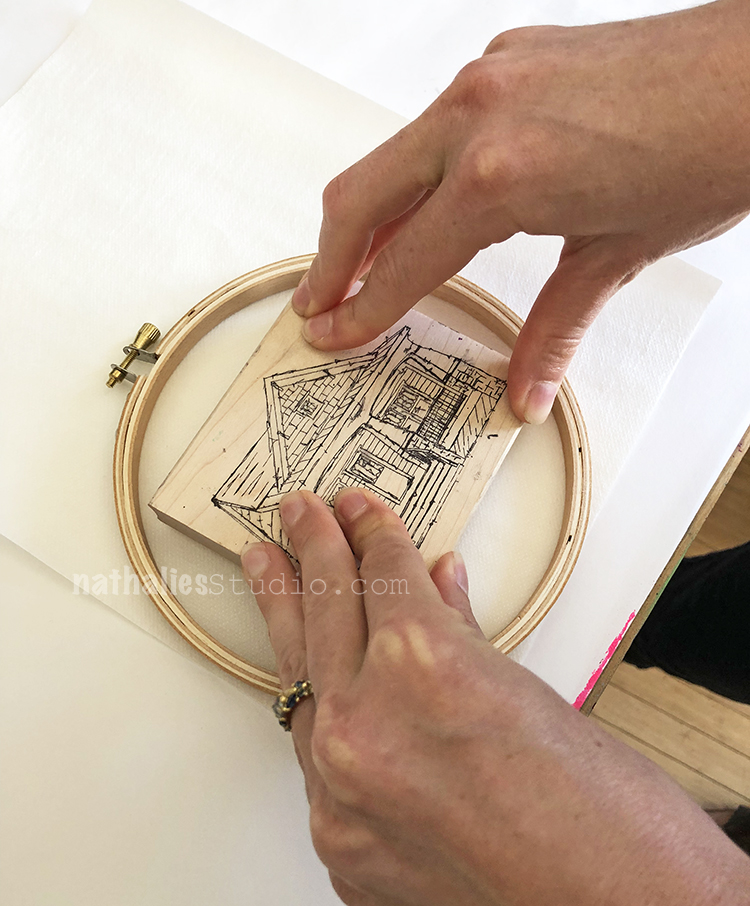
Then she carefully peels the backing off the stabilizer, removing the bottom a little to position and stick onto her tshirt. It is important to make sure the tshirt is flat underneath with no wrinkles and do not stretch the tshirt either. Slowly peel away the backing and press the stabilizer firmly onto the fabric.
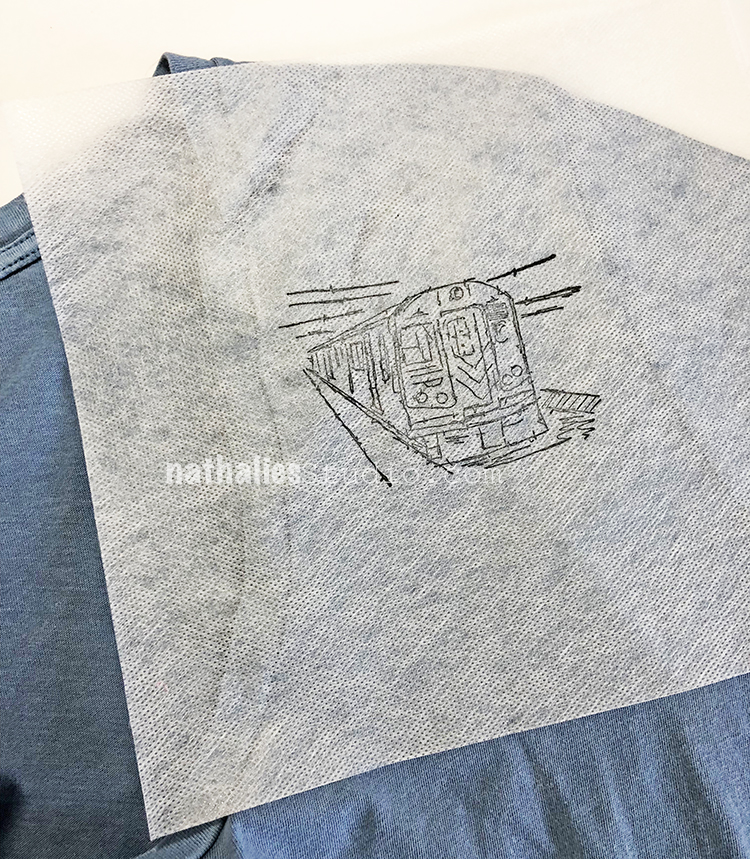
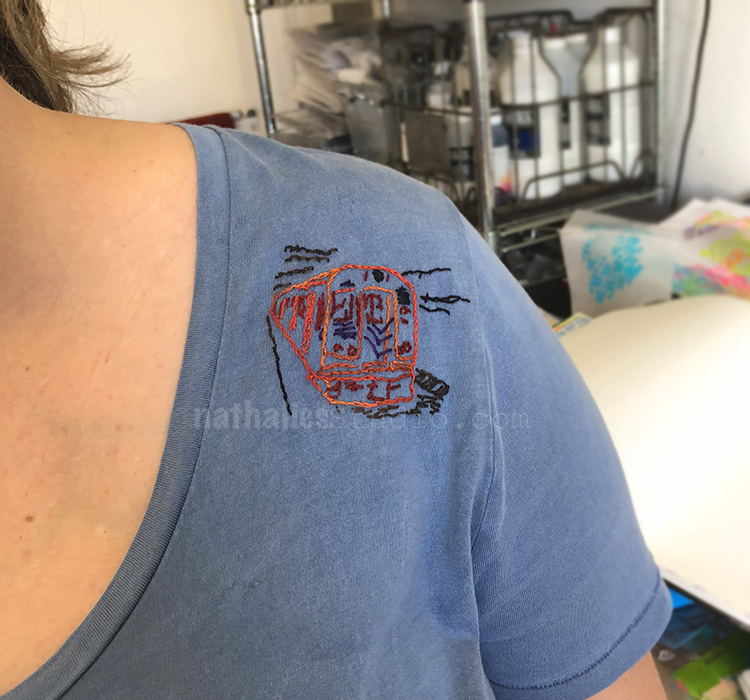
I chose my E-Train rubber stamp from the Stroll Through the Hood 2 set. It fits nicely on the shoulder of this tshirt.
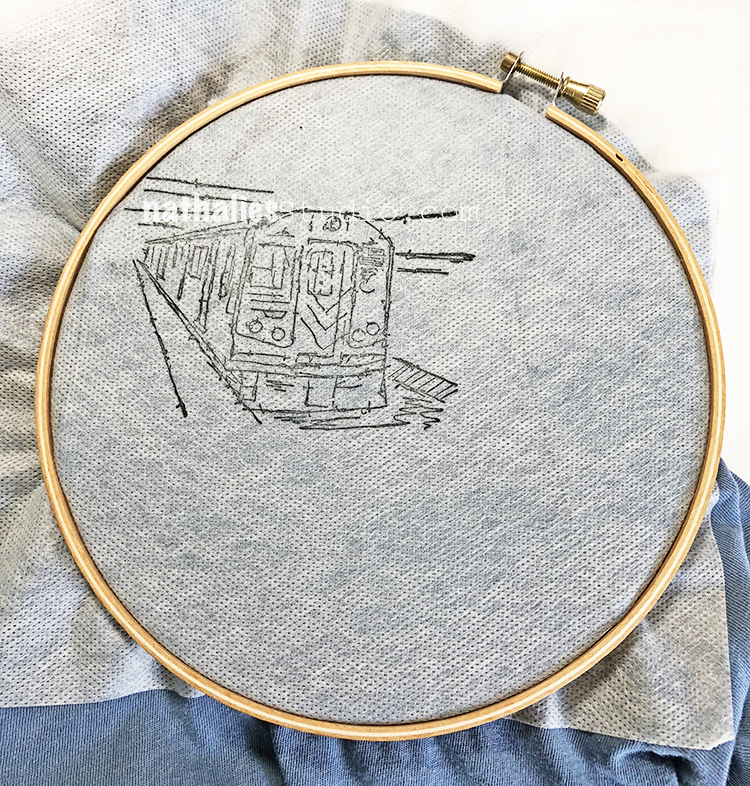
I next put the embroidery hoop on, careful to not stretch or distort the fabric. It should be taut but not stretched. Because of the neck opening, I had to position the image off to one side so that the hoop could grip the fabric all around.
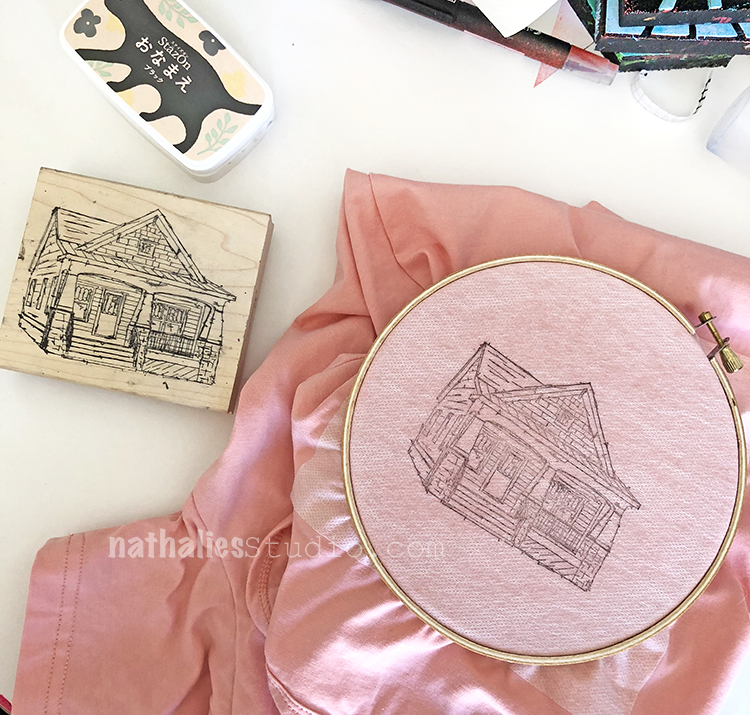
Kim got to use my new StazOn stamp pad that I got in Japan with the cute cat cover…
Now the fun begins, and we begin to embroider, stitching to follow the stamped designs.
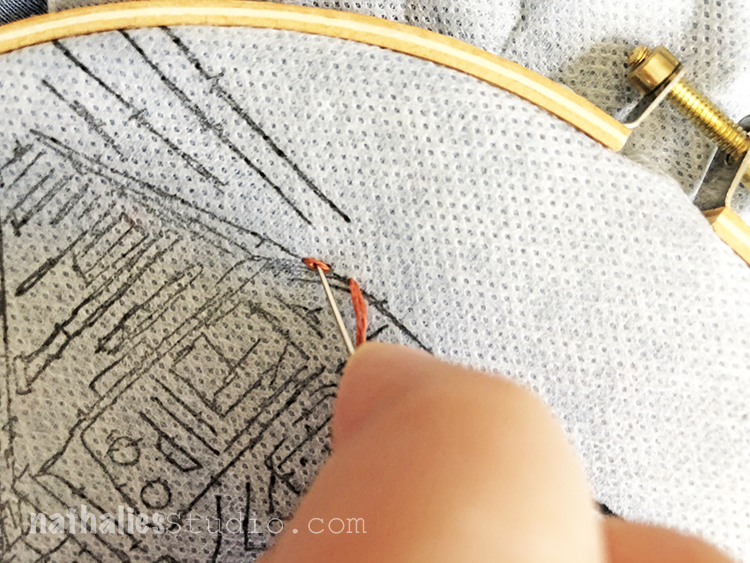
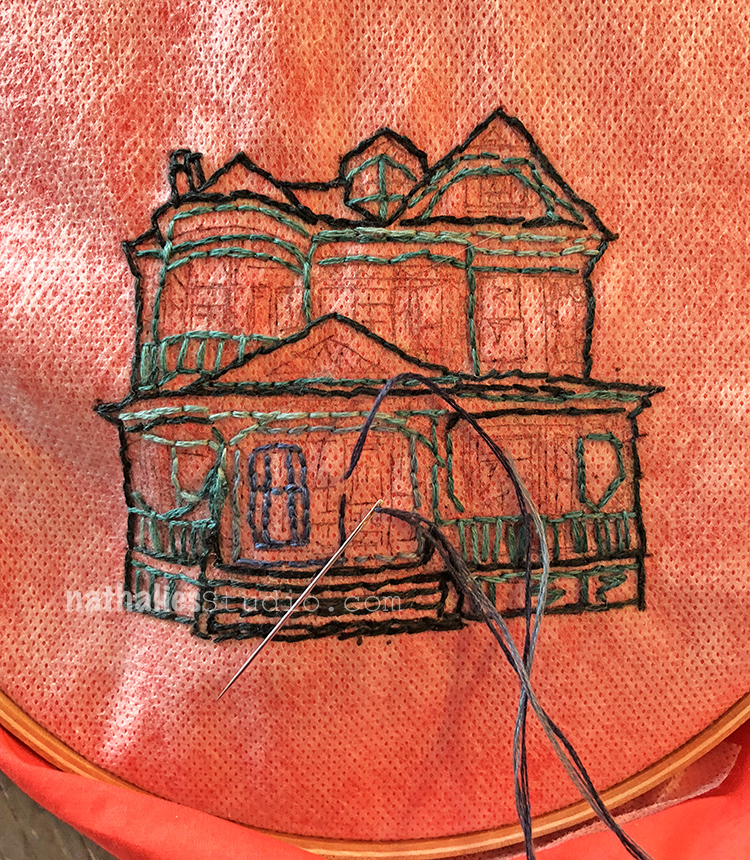
I like to make a stitch, then double back and go through the stitch to make a quasi “split stitch”. I am no expert on embroidery, and the main thing here is that you don’t have to be! Just make stitches and follow the design.
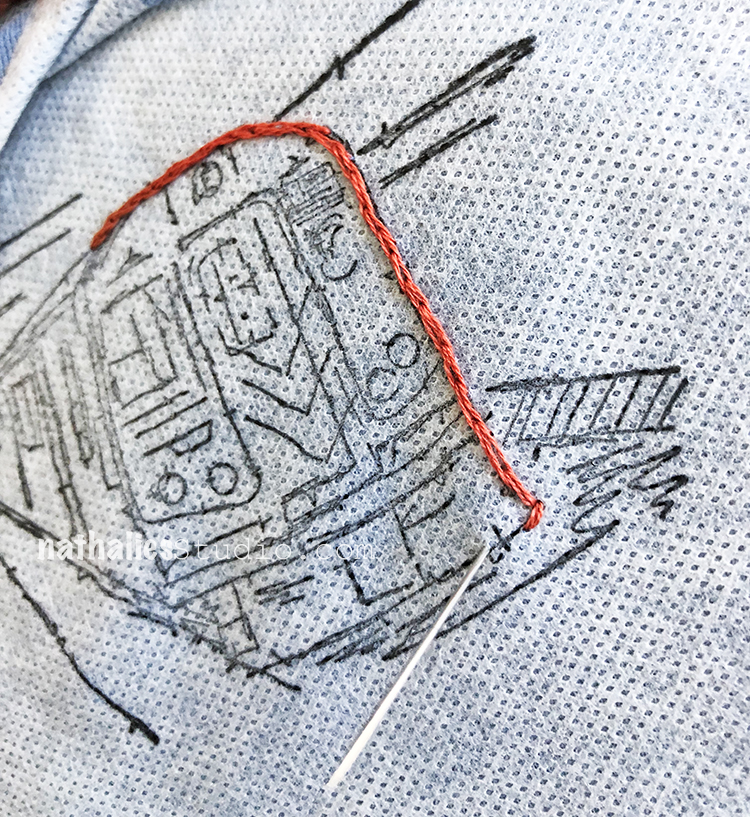
I trace the outline of the E-train stamp and Kim traces the Craftsman house…
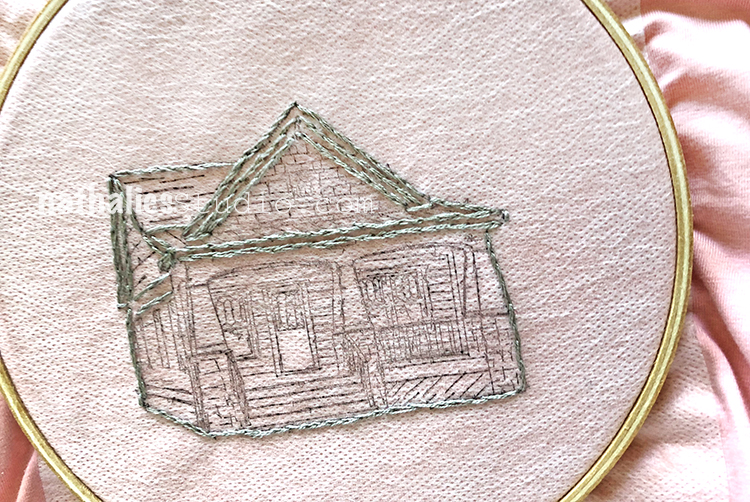
It’s fun to begin to choose colors and mix things up in the design. If you don’t like what you did, you can always gently loosen the stitches back with your needle and cut the threads out. I also found that I could trace the design with a colored pencil to help envision how a color would look.
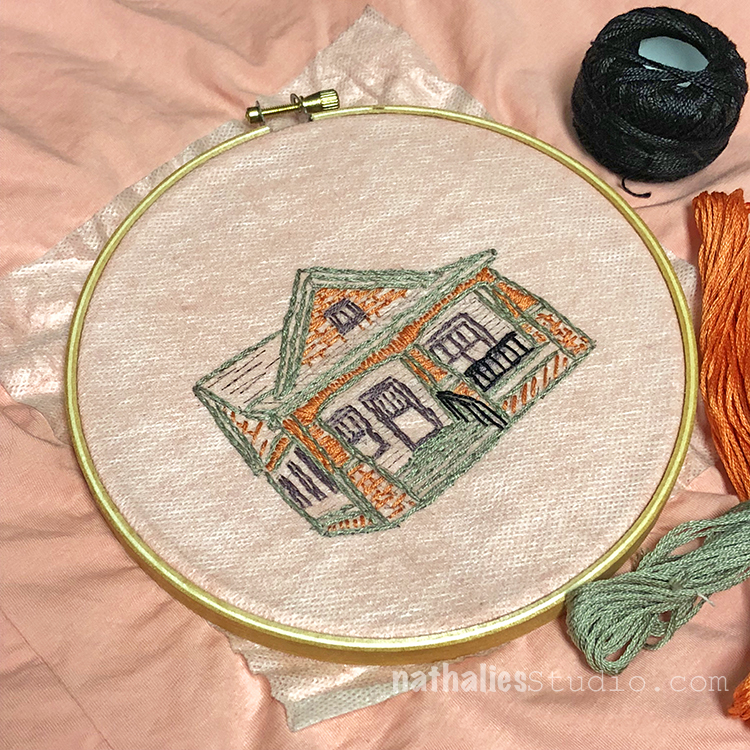
Here are our designs, coming along.
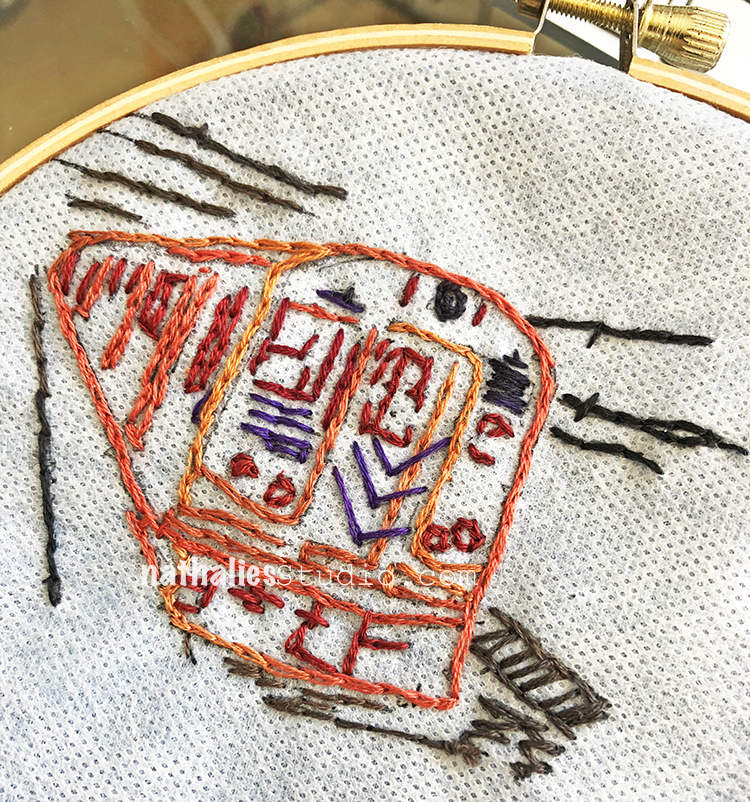
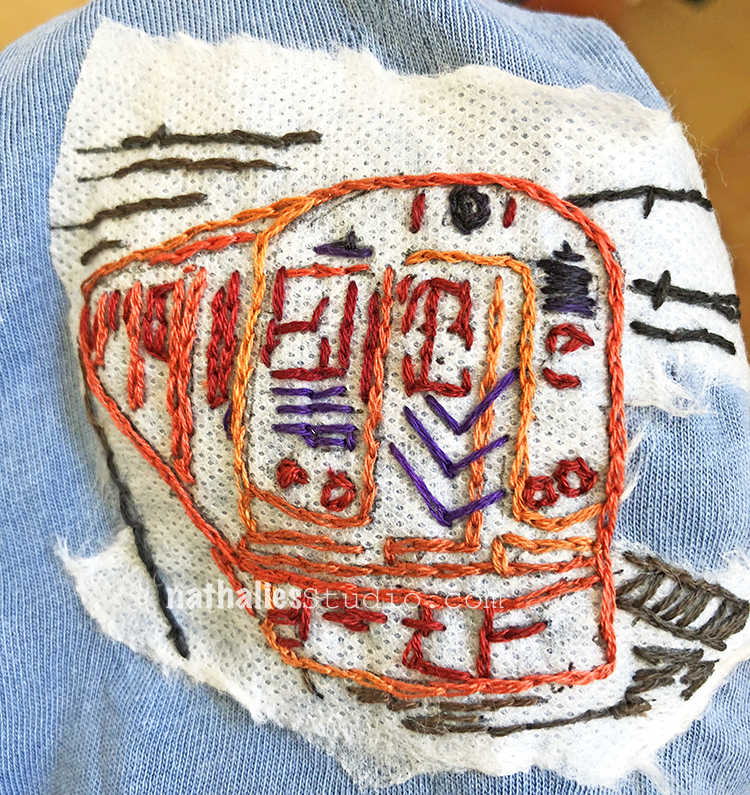
When I finished, I loosened the hoop and slipped it off, and tore off the excess stabilizer.
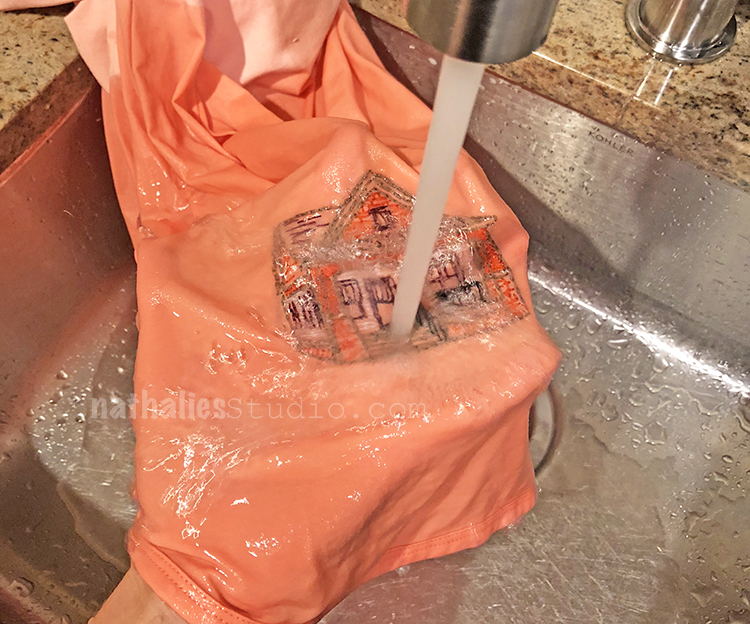
Next you wash it gently under running water and the stabilizer melts away, leaving just the embroidery. Be gentle and make sure to get under the stitches if you have dense areas.
Now your piece is ready to be laundered to take any additional adhesive off.
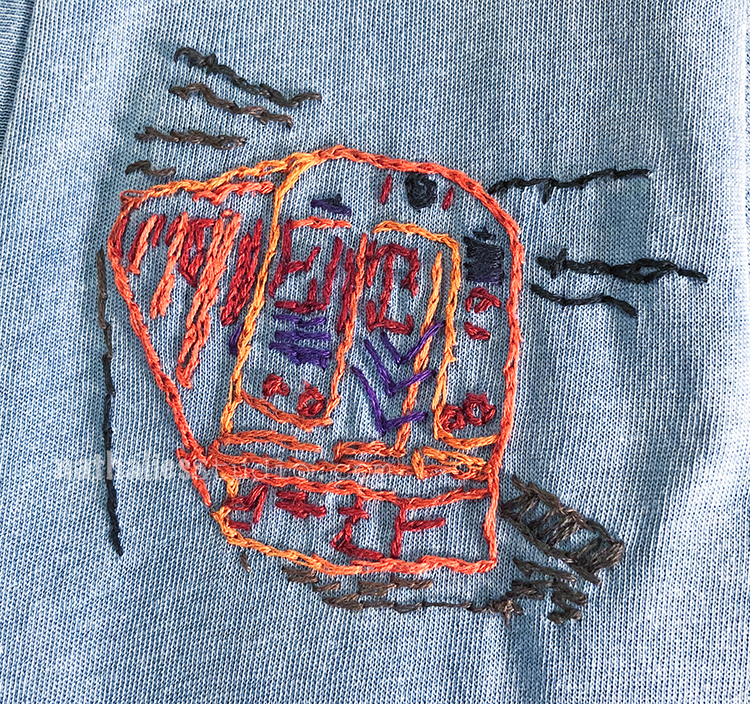
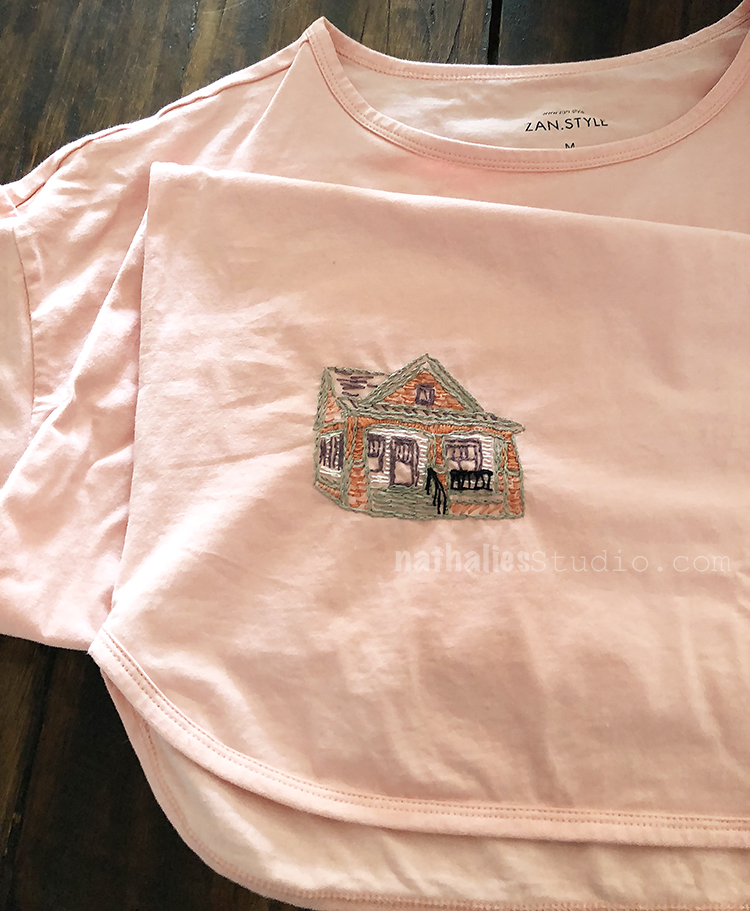
Then you can wear your new personalized shirt :)
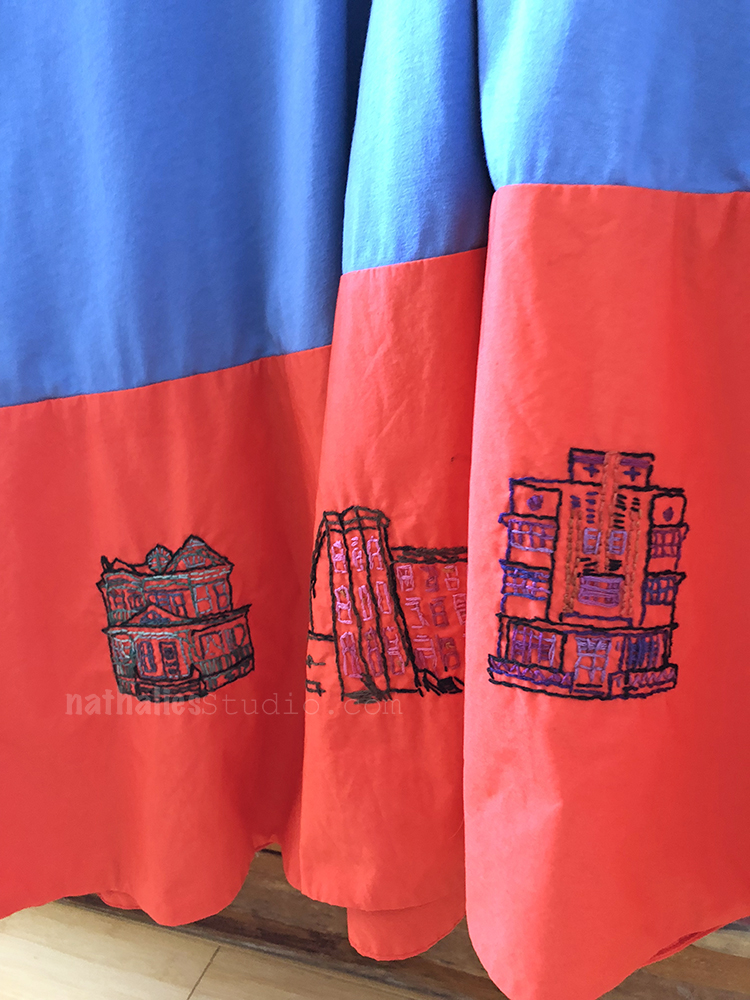
And of course I didn’t stop there. I had a dress with a red hem that was calling for some decoration…
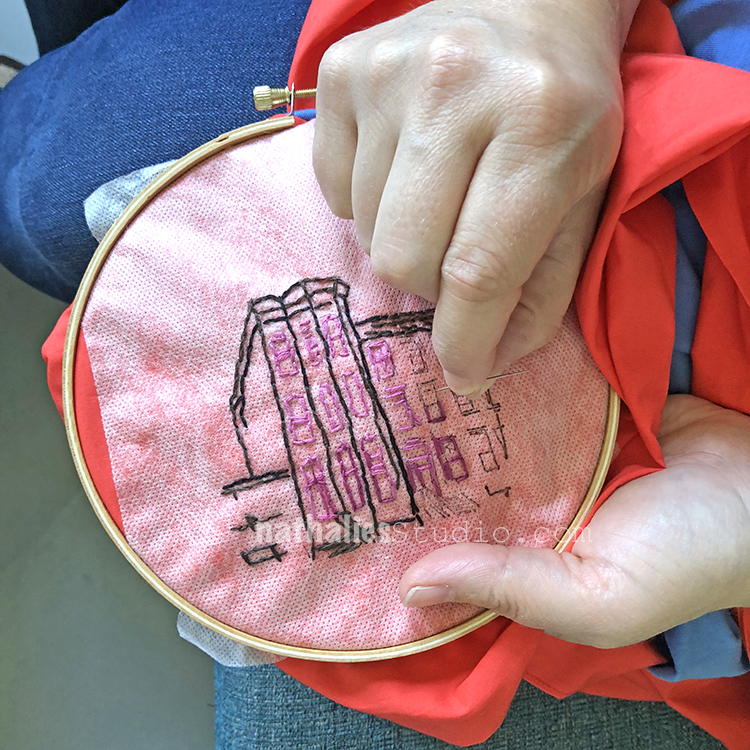
I began with my Brownstone stamp from the Stroll Through the Hood 1 set.
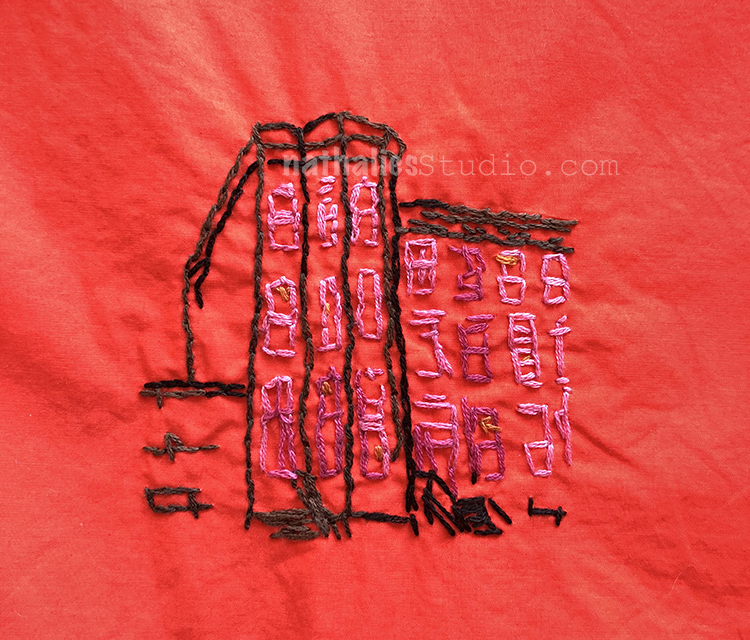
And then the Queen Anne house from the Stroll Around the Block set…
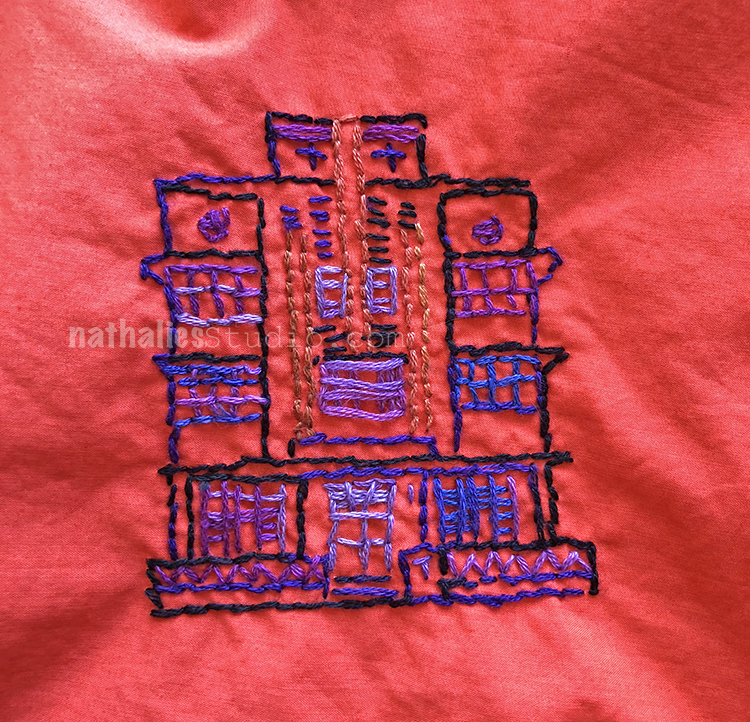
And finally the Art Deco stamp from the Stroll Around the Block set!
Here they are on the hem of the dress:
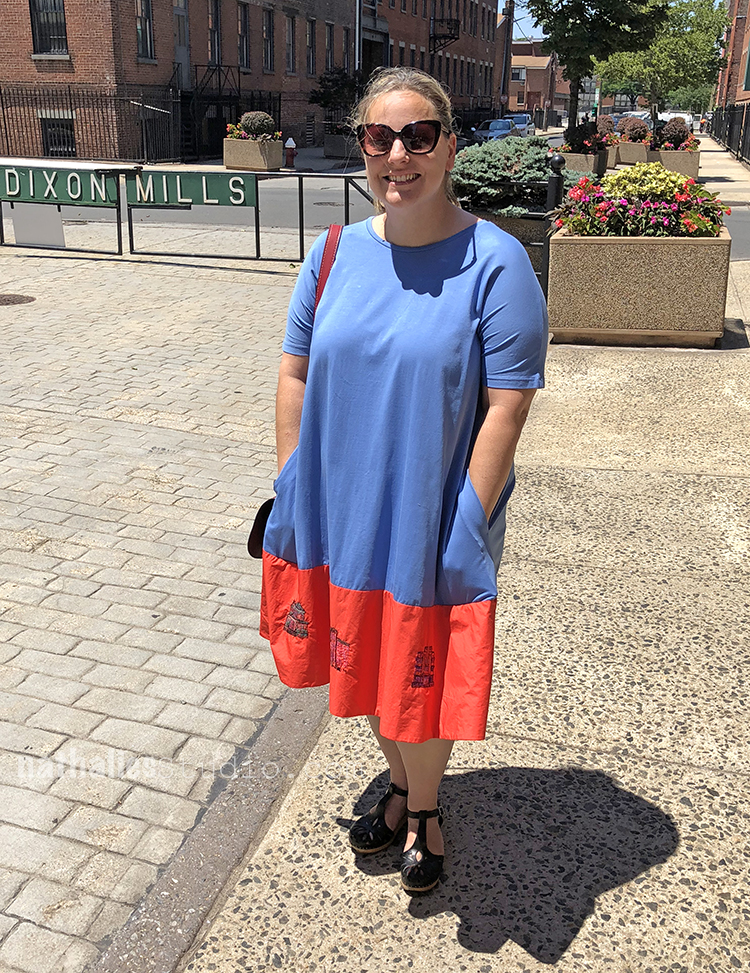
I loved taking some clothing items and making them more interesting so I might now wear them. And the embroidery is so easy to pick up and have fun with, especially if you use the rubber stamped design on the stabilizer sheet. Give it a try! Everything you need to get started is below:

 

SaveSave

SaveSave
Comments (4)

  • Nancy Sapp

    |

    I LOVE, LOVE, LOVE ALL the embroidery ideas from your stamps, Nat!!! I just wish I was good at embroidering!!

    Reply

    • nathalie-kalbach

      |

      thank you so much ! I am not good at embroidery at all and this was really easy- promised!

      Reply

  • Sue Clarke

    |

    Clever…unique…love it!

    Reply

Leave a comment

Be Kind – Art Journal

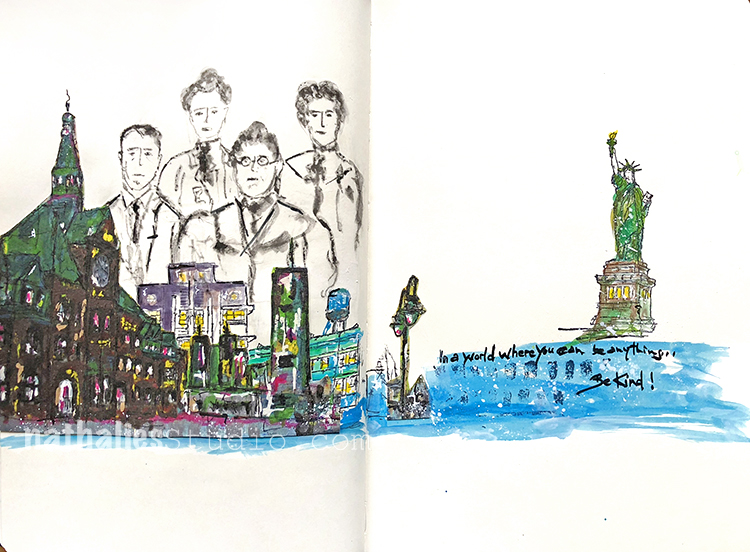
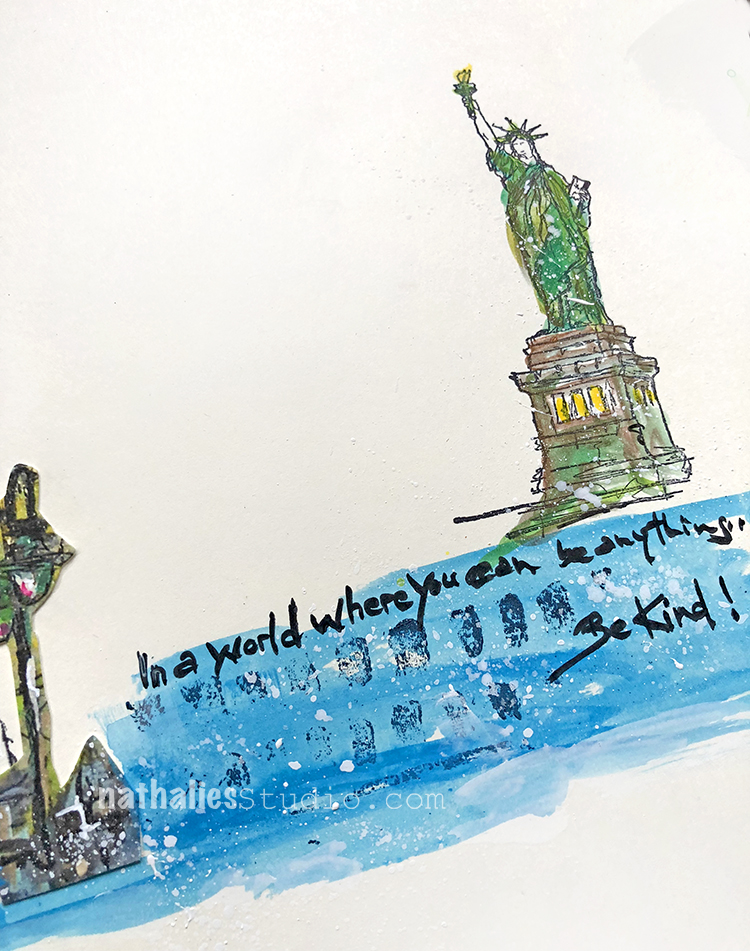
“In a world where you can be anything…Be Kind! ”

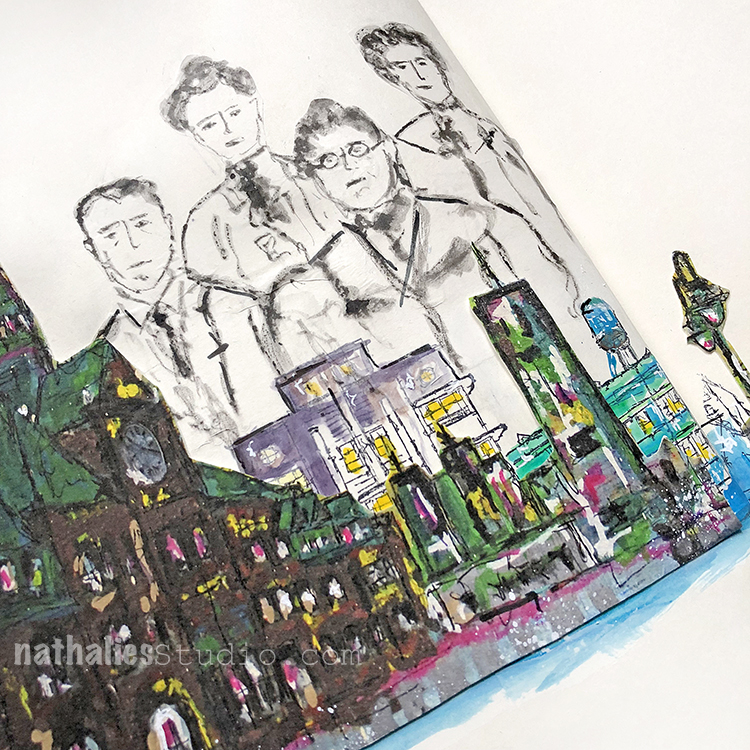
For this art journal spread I once again used some prints of my painting which featured the Liberty State Park train station.

I stamped some buildings in between as well as the Statue of liberty and colored the images in with acrylic paint.

The family was sketched with sumi ink. I like how this came together. I really love using parts of my paintings with the the stamped areas – still exploring this a bit more.

Here are some of the supplies I used


Leave a comment

The Wild and Tame – Art Journal

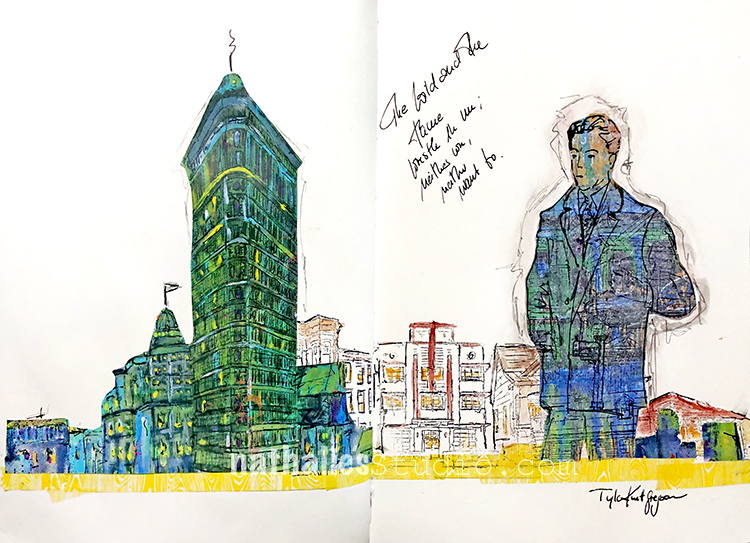
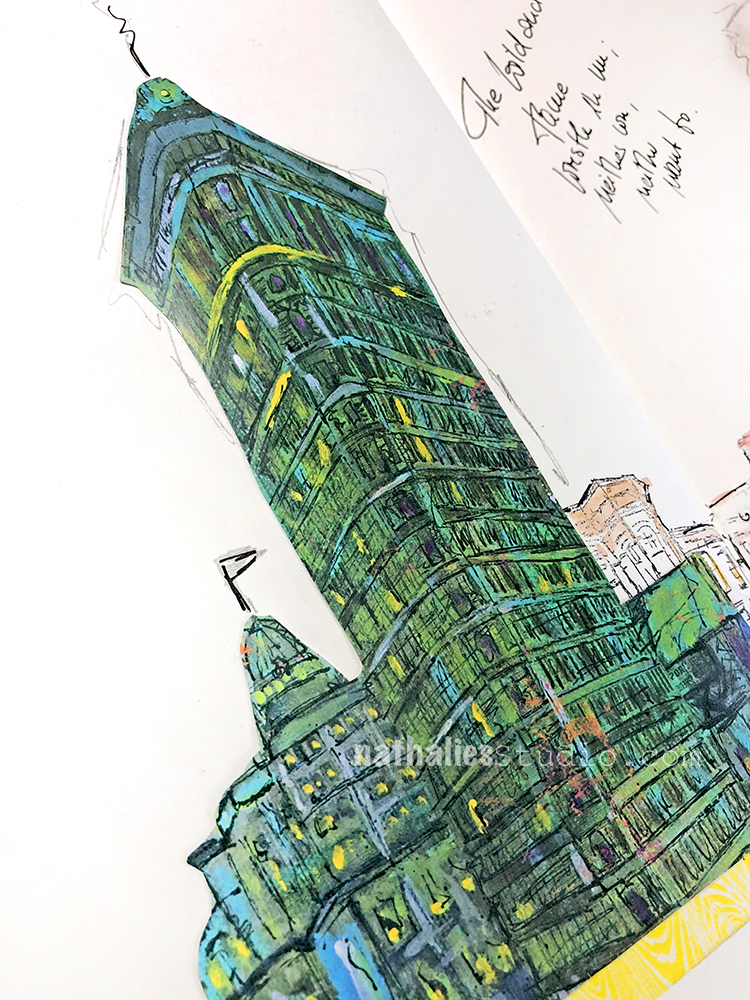
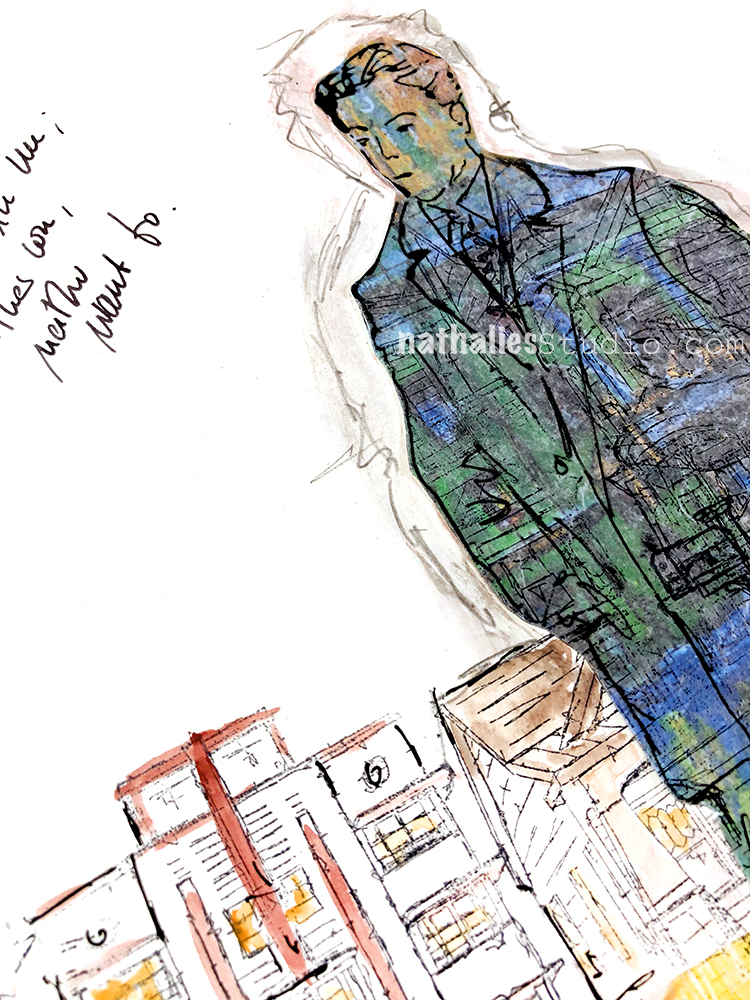
“The Wild and the Tame wrestle in me, neither win, neither want to.” Tyler Knott Gregson

Love this poem – so true!

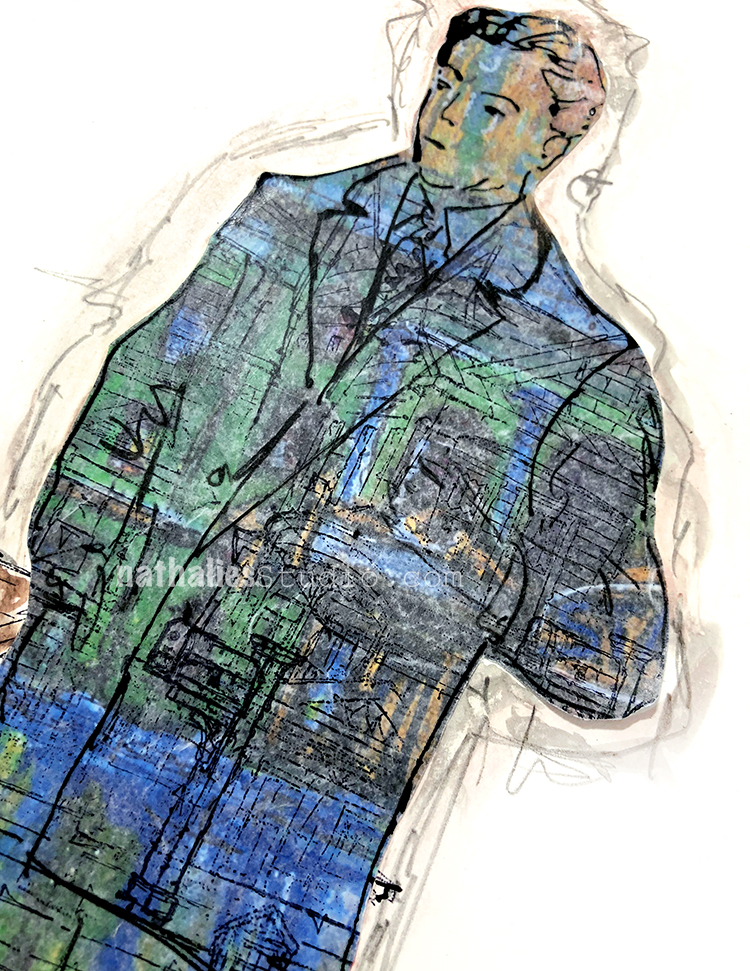
I used some of my old calendar pages with my prints as collage material – and then stamped with some of my buildings stamps. I am trying to make an effort to use more of the stuff I have been collecting for some time …what is the point to wait for the “perfect” moment- just make it the perfect moment and get some space back- LOL

I love how the prints of my painting blend in with the Stroll stamps. The yellow stripe on the bottom is washi tape – I just thought I needed to pick up the yellow of the painting again and I love the effect. Since it is washi tape with really low and bad adhesive I applied some Gel Medium underneath to make sure it sticks.

I added some Viarco Graphite for color inside the buildings- I love using those- the colors are just o beautiful.

Here are some of the supplies I used for this spread


Comments (4)

  • Sue Clarke

    |

    I have started to give any craft supply away that I haven’t used in over 3 years. That includes some of the “saving for the perfect” project items. Silly when I think about it. My washi tape does not stick in my art journal (over paint) so thanks for the suggestion of the gel medium.

    Reply

    • nathalie-kalbach

      |

      I hear you :) It is funny how we are all little magpies collecting shiny objects – but here is to using them :)

      Reply

  • Janene

    |

    I know what you mean about using/using up stuff you already have. I was thrilled to use up 2 glue sticks over the weekend. It’s the little things that make all the difference in my life. :-)

    Reply

    • nathalie-kalbach

      |

      Wow- Janene, that is a lot of glue sticks you used up!!! Go Go Go!!!!

      Reply

Leave a comment

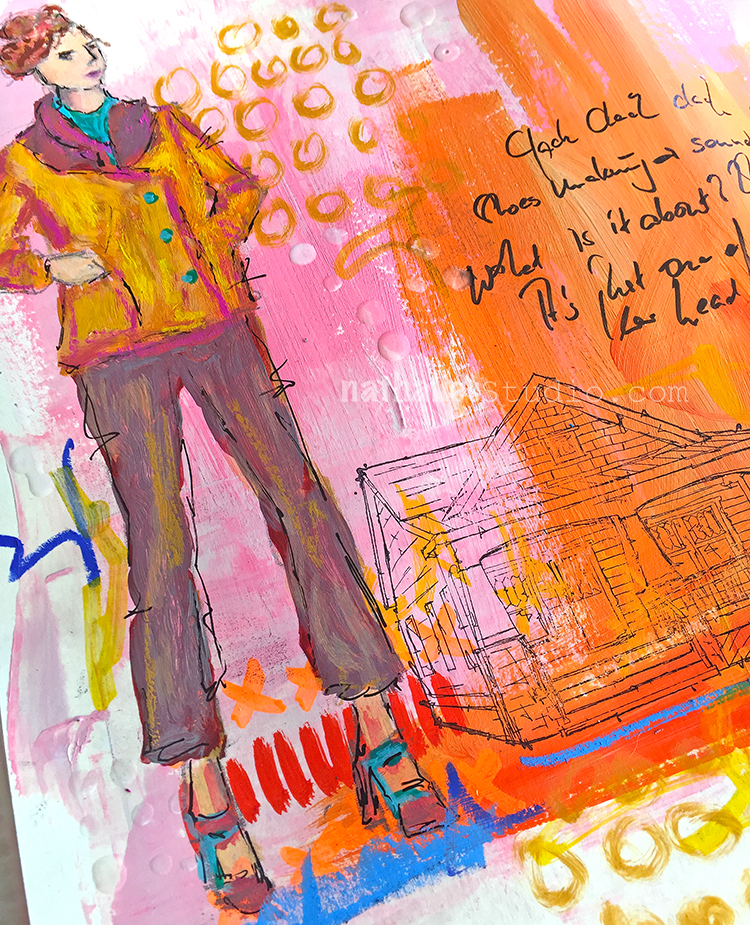
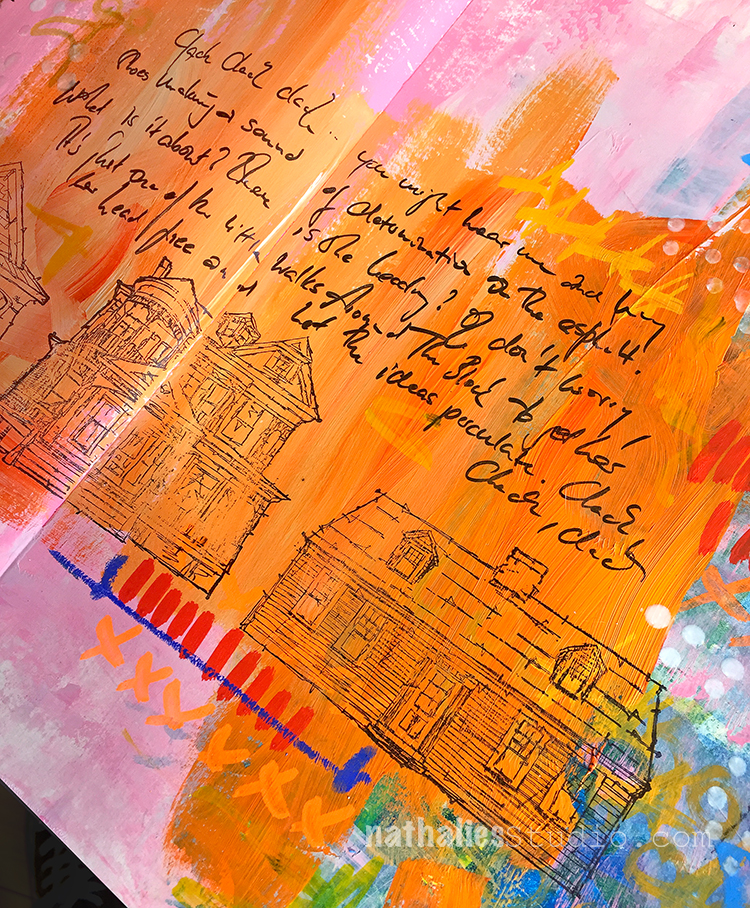
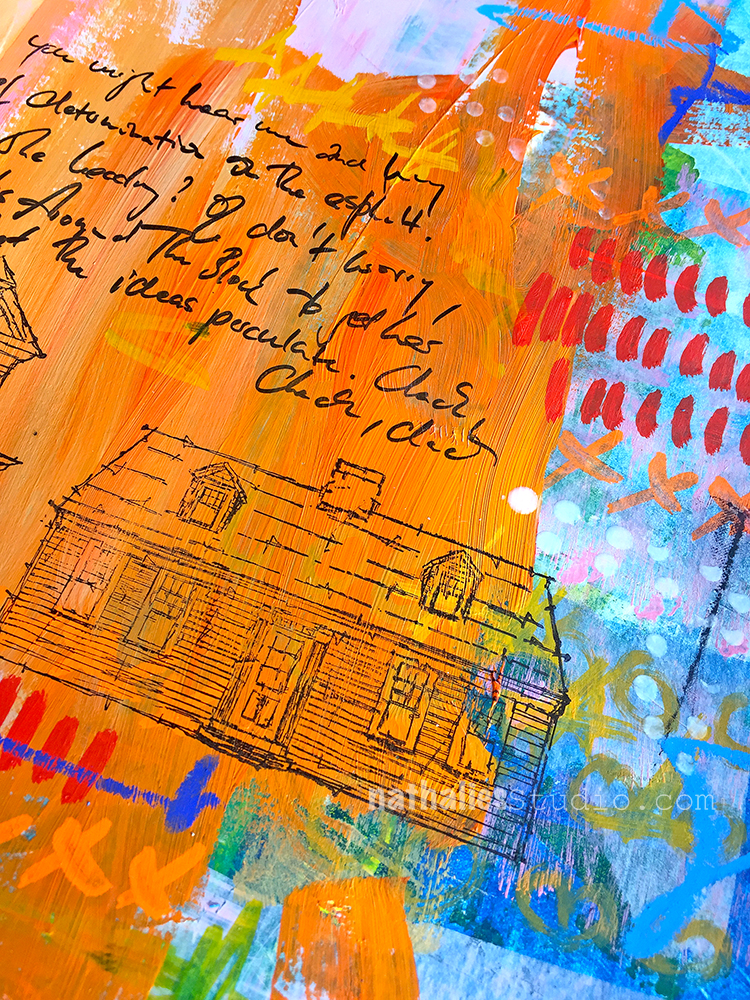
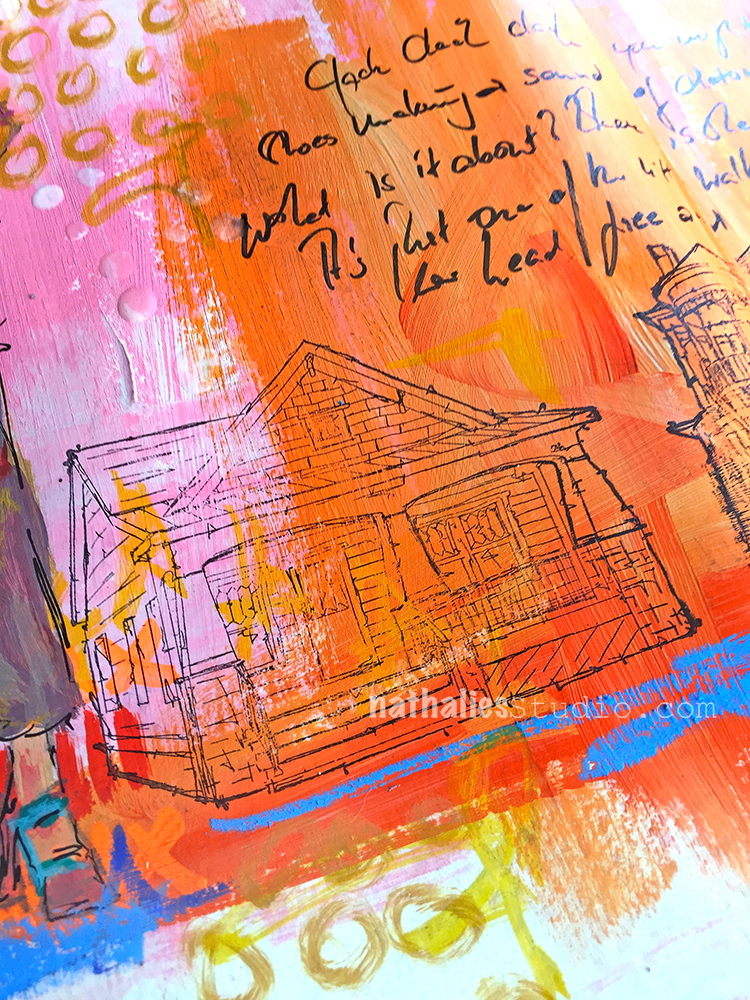
Clack Clack Clack – Art Journal

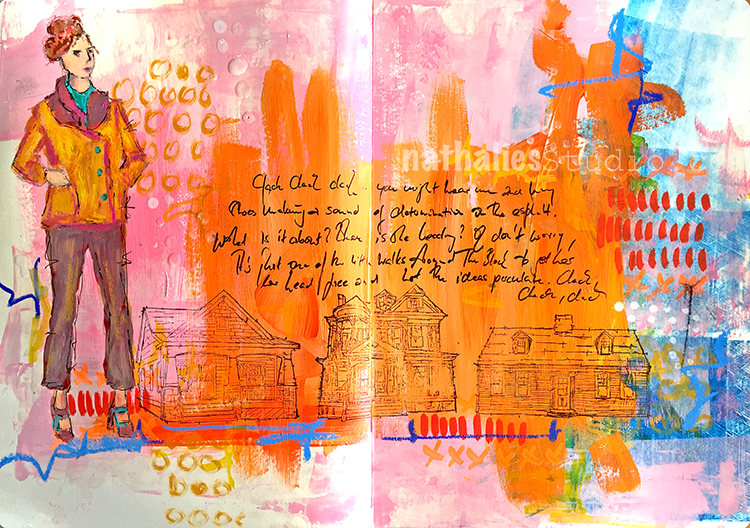
Strolling around the block :) I really love this color combination which is not my usual suspect

I drew the lady with acrylic paints and neopastels and boy- do I want that jacket – LOL. I stamped with some of my Stroll Around the Block houses and made a lot of marks and patterns.

I love how the Neopastels also create a nice textured look (blue line)  in comparison to the smooth look of acrylic markers (red lines and orange x’s).

And of course played with the contrast of colors here too.

Here are some of the supplies I used for this spread


Hope you have a wonderful day and maybe even some time to stroll around the block today :)

Leave a comment

My new RubberMoon Stamp Sets are out!

So stoked for my new RubberMoon Cling Rubber Stamp sets – I just have so much fun with those stamps:

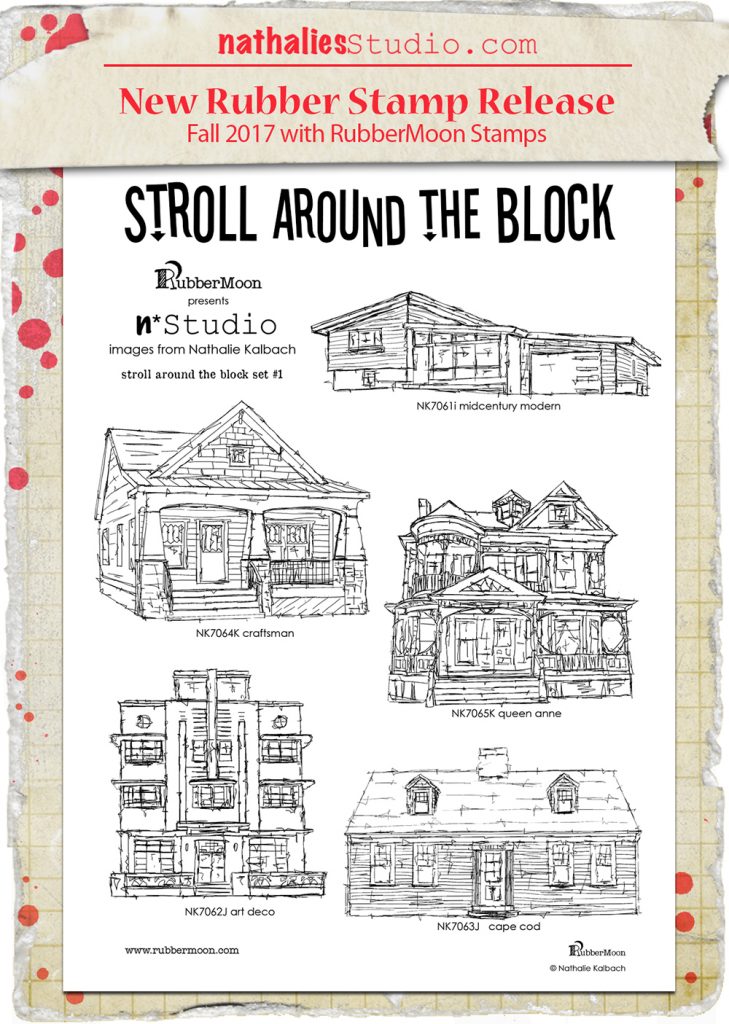
Here is the first one –Stroll Around The Block:

The Stroll Around the Block stamps are inspired by iconic American architectural styles that I saw during my travels around the US. This set includes 5 cling rubber stamps. These original hand sketched stamp designs may remind you of your childhood home, Grandma’s place, or even the house you live in today.

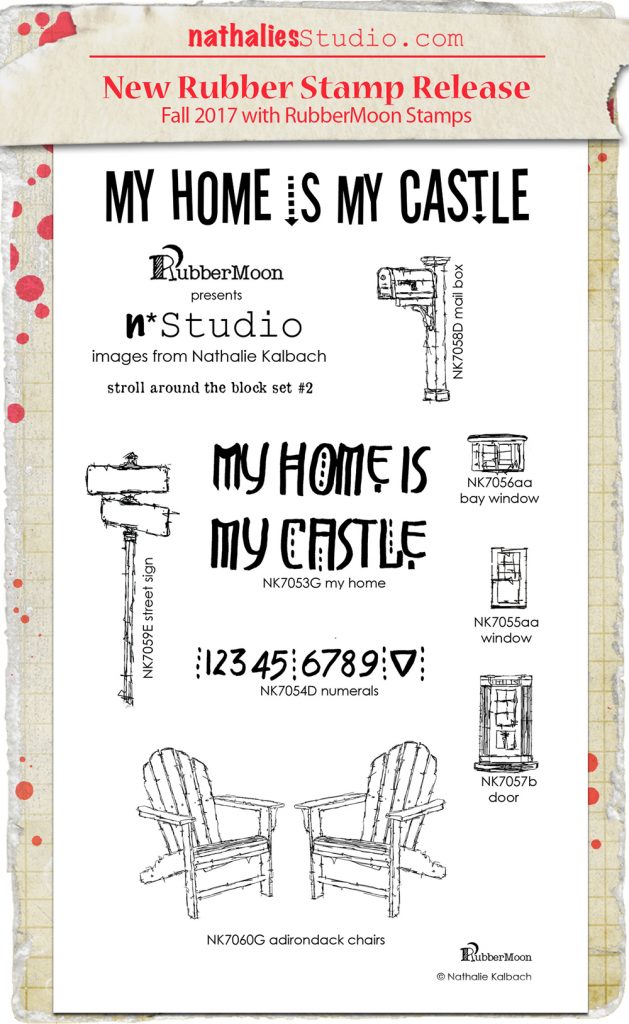
And the second set is called My Home Is MY Castle:

The My Home is My Castle stamps are inspired by the iconic details of American neighborhoods in the US. This set includes 8 cling rubber stamps. It is amazing how some things just never change. Do you remember what street you grew up on? What about the excitement when the mailman came? Or gazing out the window to see who might be at the front door?

Here are some sample cards that I made with both stamp sets- I will show more projects using them,  in the next couple weeks :)

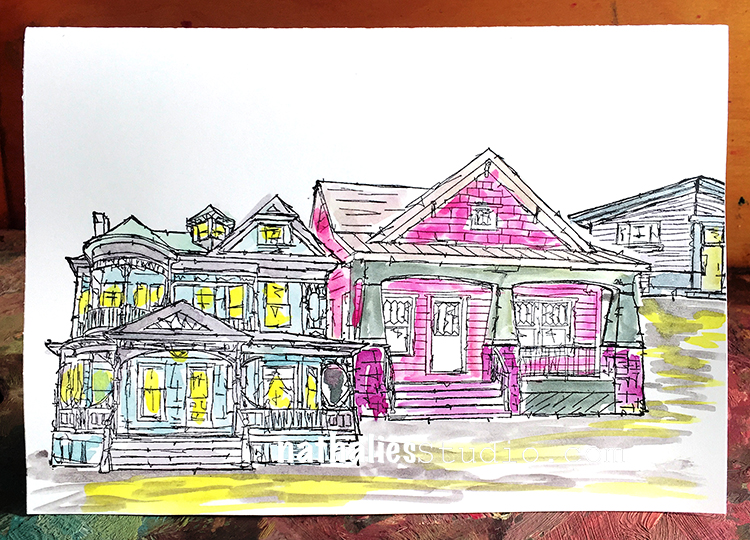
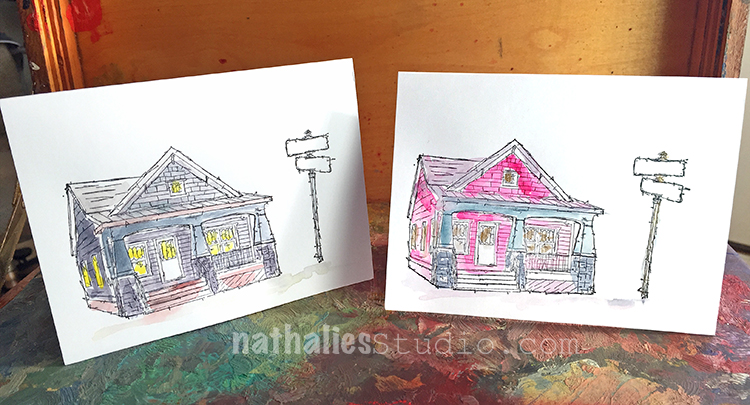
A row of the Queen Anne, Craftsman and the Mid Century. I stamped with some black archival ink and then colored the stamped images in with watercolor. I just loved doing that.

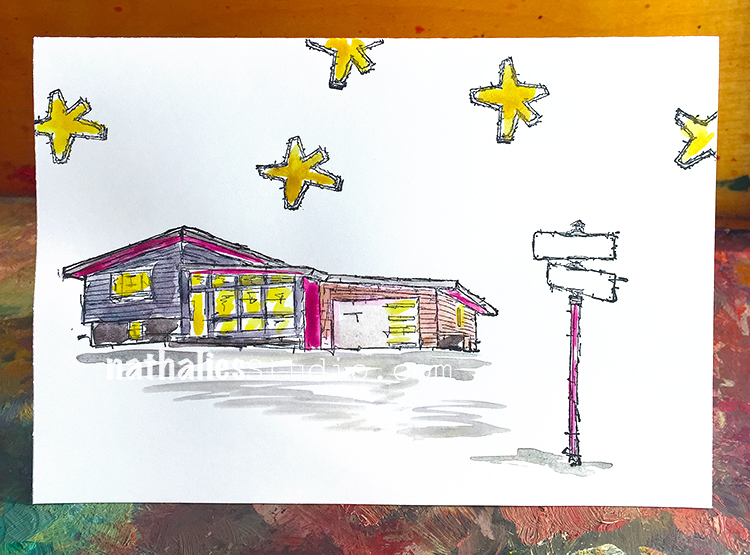
Here is the Midcentury Modern from the Stroll Around the Block Set paired with the Street Sign from the My Home is My Castle set . I also added my Star Tag stamp. I left the street sign empty on purpose so that it can be filled with whatever words or names you would like to use in it.

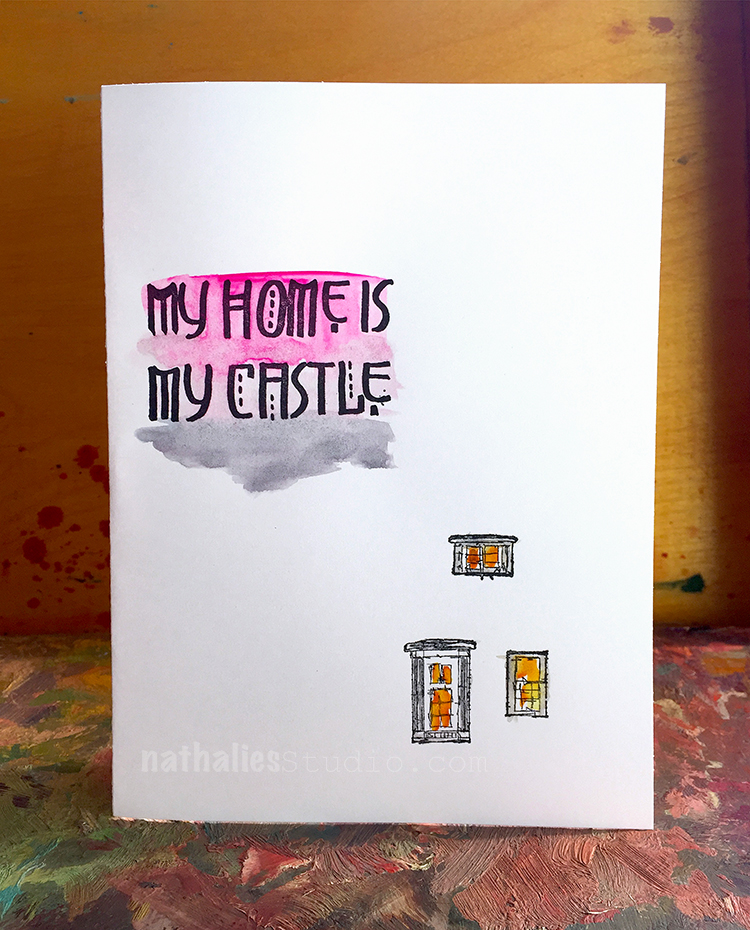
So much fun with the little door and windows of the My Home is My Castle Set

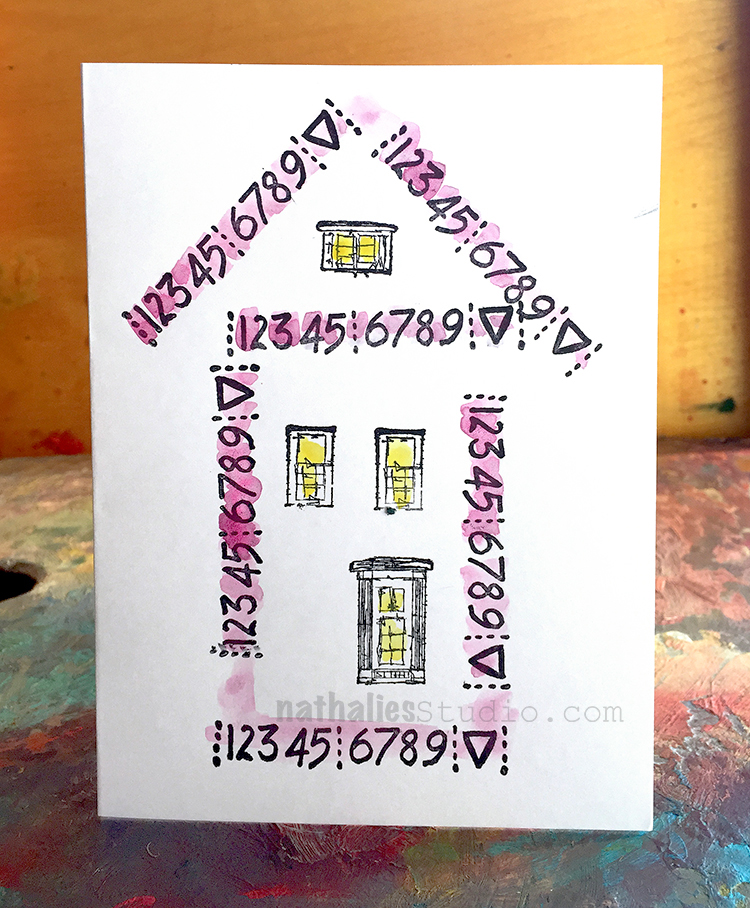
And another one using the stamps from the My Home is My Castle Set

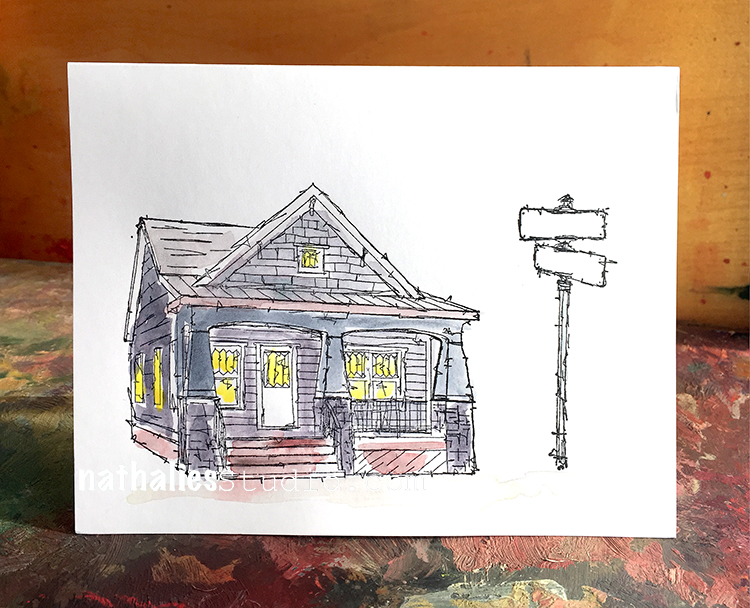
The Craftsman – I think I will fill the street sign in with Happy Holidays and and send it out as a Holiday Card.

You can get them now in my n*Studio Store here.

I so hope you like the sets! Which of the stamps in the set is your favorite?

Comments (4)

  • Sue Clarke

    |

    Stroll Around The Block!!!
    The craftsman is a great style.
    This set is on my wish list for sure.

    Reply

    • nathalie-kalbach

      |

      YEahh- so glad you like it Sue! I would move into the Craftsman if I could right away- LOL

      Reply

  • Sherry Canino

    |

    They are all soo gorgeous!!❤️❤️❤️

    Reply

Leave a comment