Blog: Stencil

Gift Box DIY

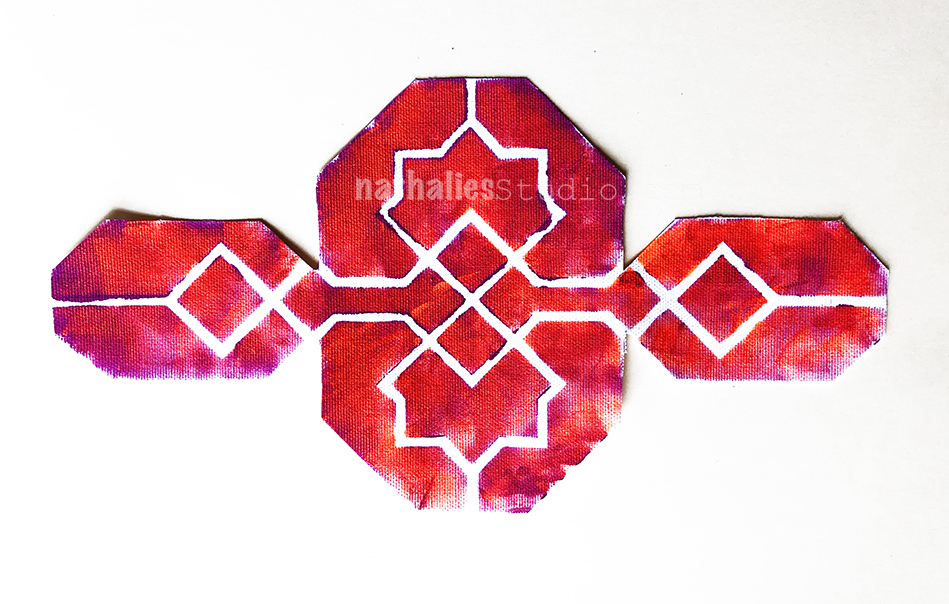
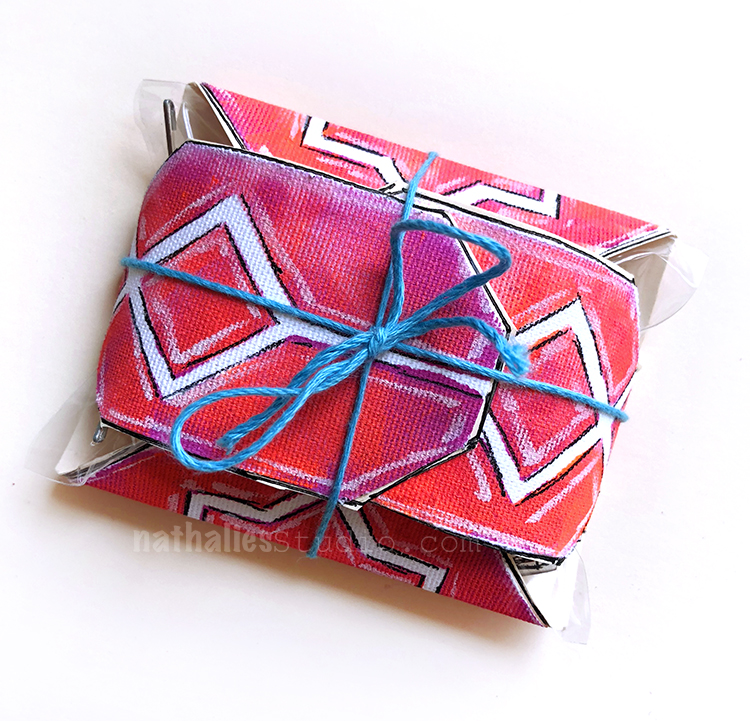
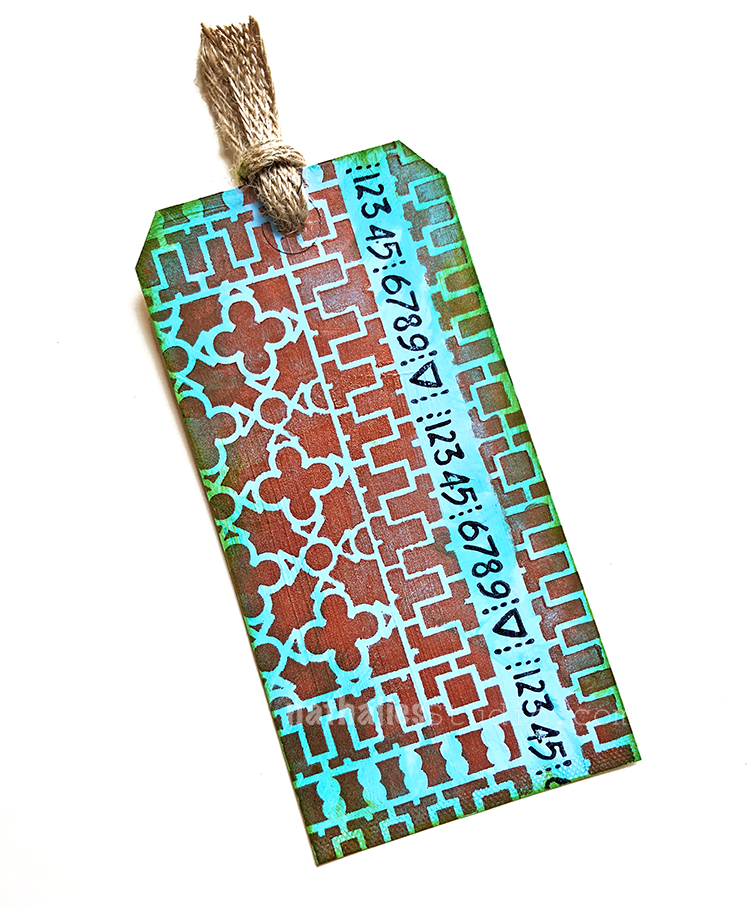
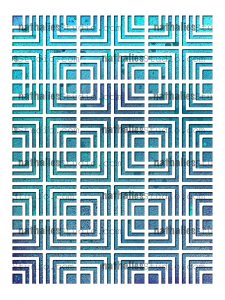
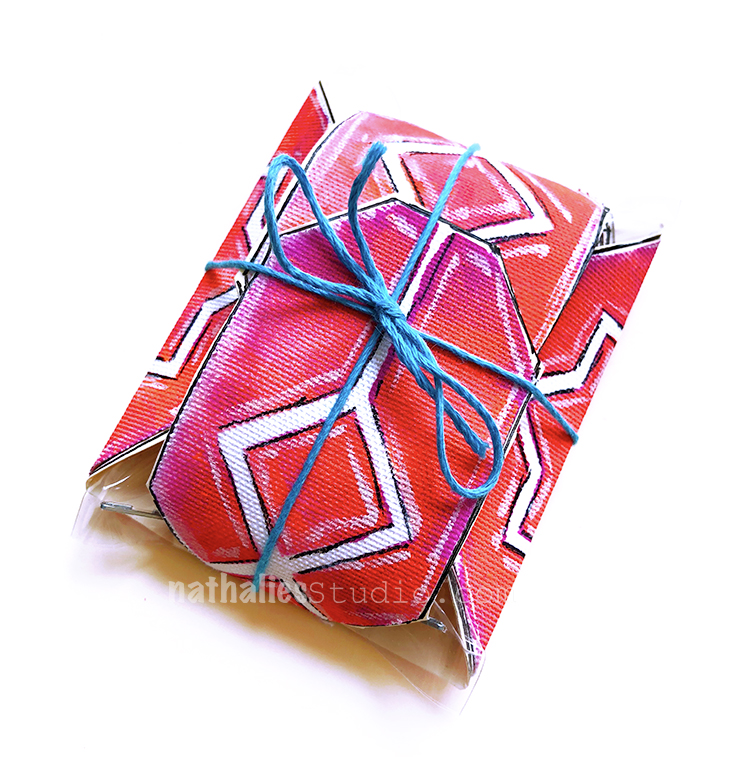
For a little gift I was looking for a gift box and it happened that I had my new Exchange Place Stencil on my workbench and when I looked at the middle I realized that this would make an awesome template for a little gift box.

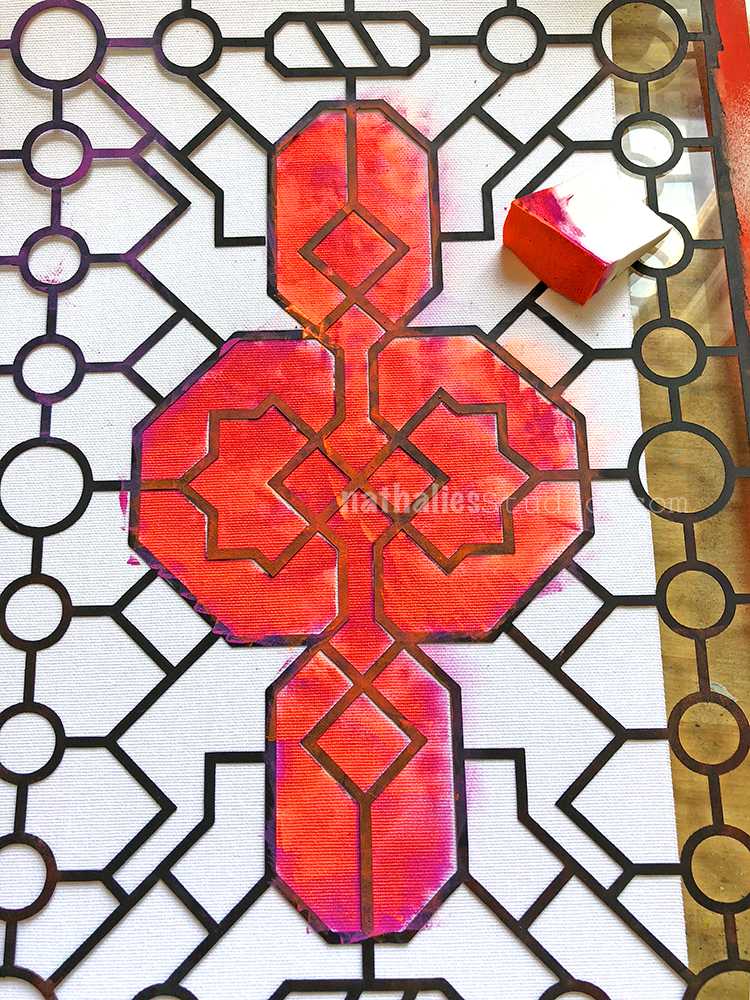
I used a cosmetic sponge and some acrylic paint and dabbed the paint through the Exchange Place stencil through the middle section of the stencil as seen in the photo onto a sheet of self adhesive canvas.

I then cut the canvas piece out, adhered it to a piece of cardstock and then cut along the edges of the cardstock as well.

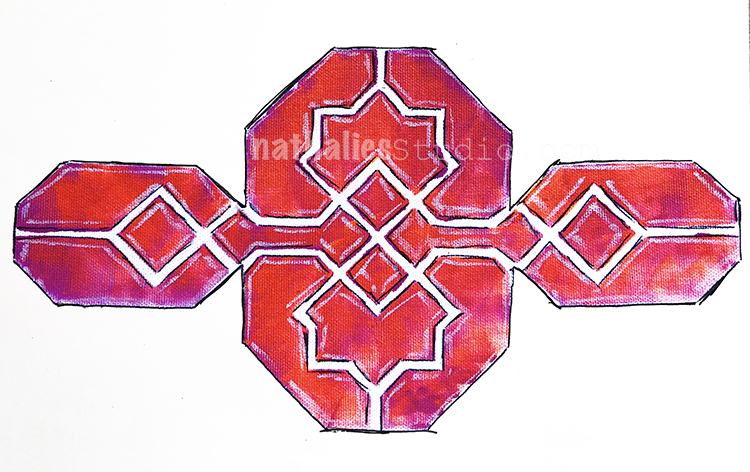
I outlined some of the stenciled areas with black and white.


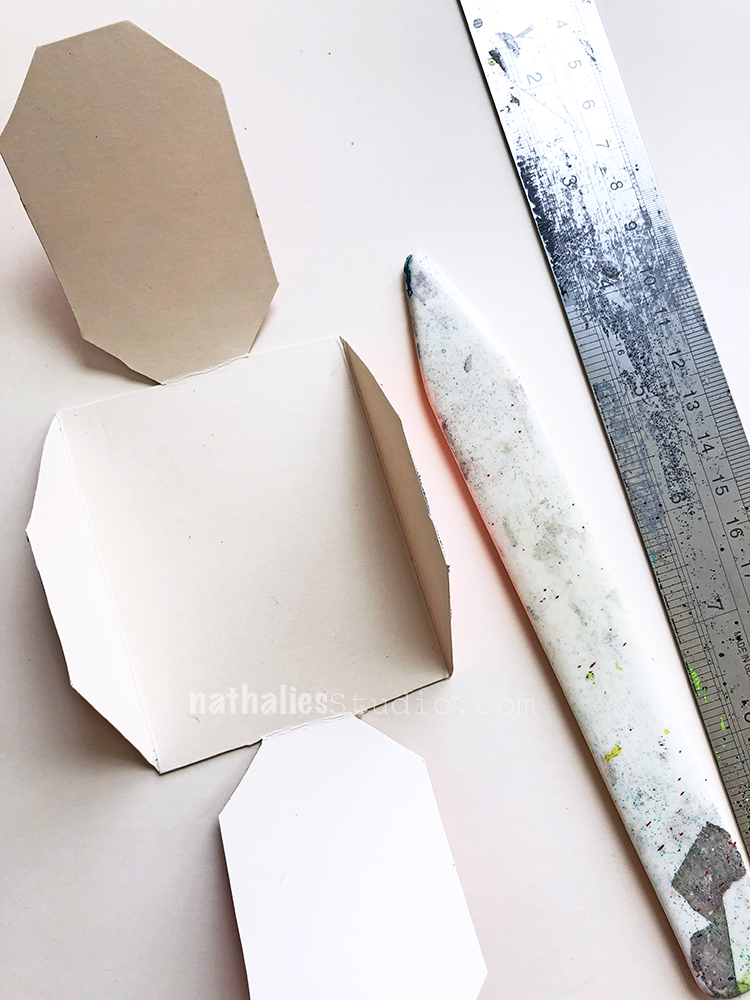
Using a bone folder and a ruler, score the folds

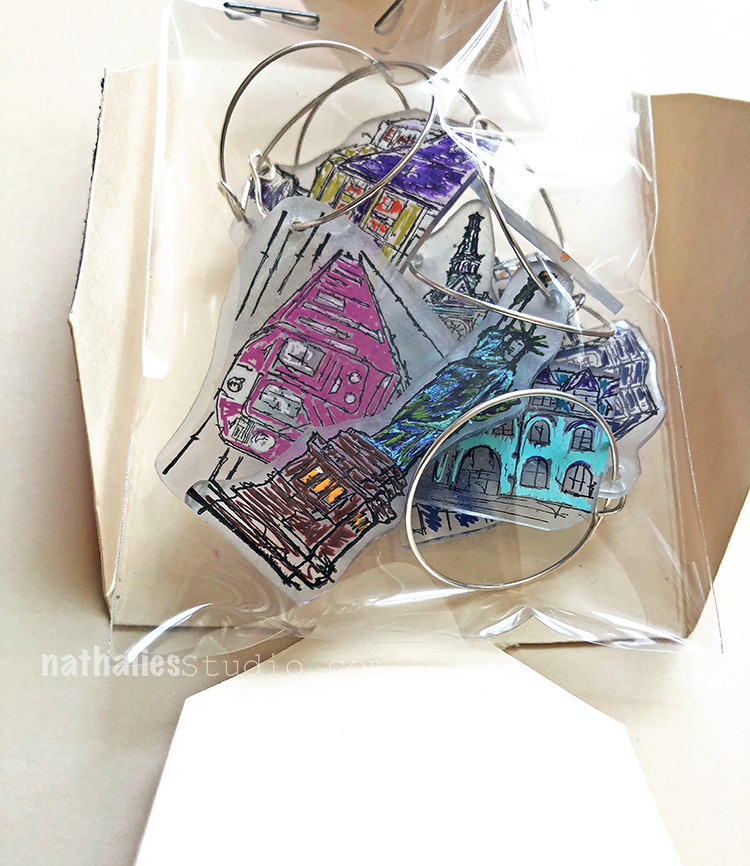
applied my gift and tied it all up for a little package.

Voila. That was fun. The box measures approximately 3″x3.5″x2″

Here are some of the supplies besides Acrylic paint and Cosmetic sponges I used:


Comments (2)

  • Peg Gulrich

    |

    Hi. This looks great. Can you tell me what kind of adhesive backed canvas you used and what the dimensions of the final box you made are?
    Thanks

    Reply

  • Rae Missigman

    |

    I fell in love with this all over again! ❤️

    Reply

Leave a comment

Stenciled Umbrellas for a Rainy Day – DIY Play Date

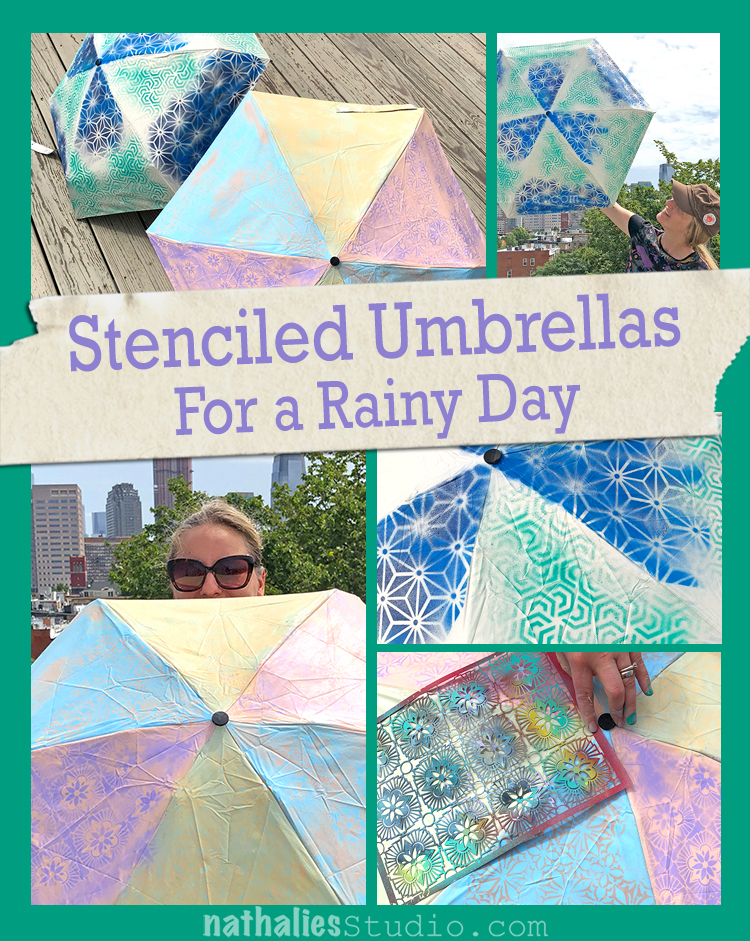
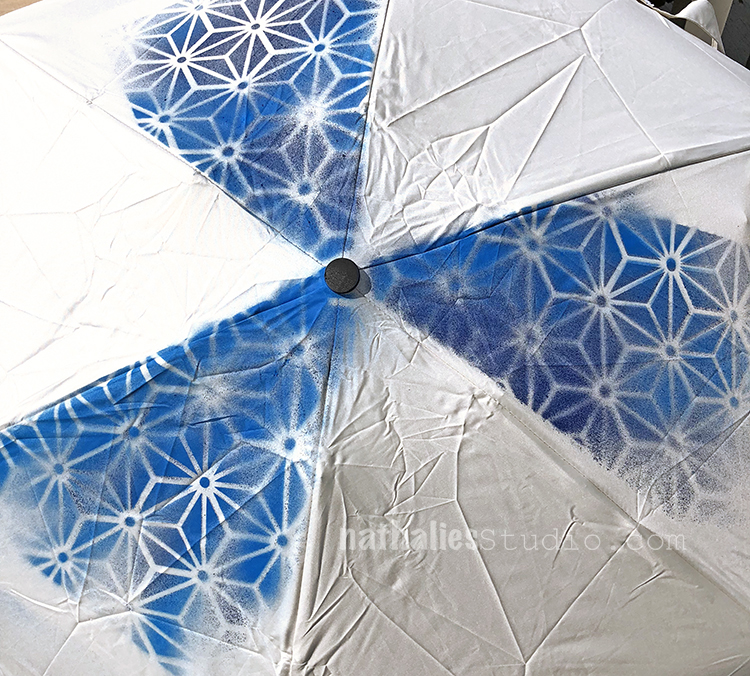
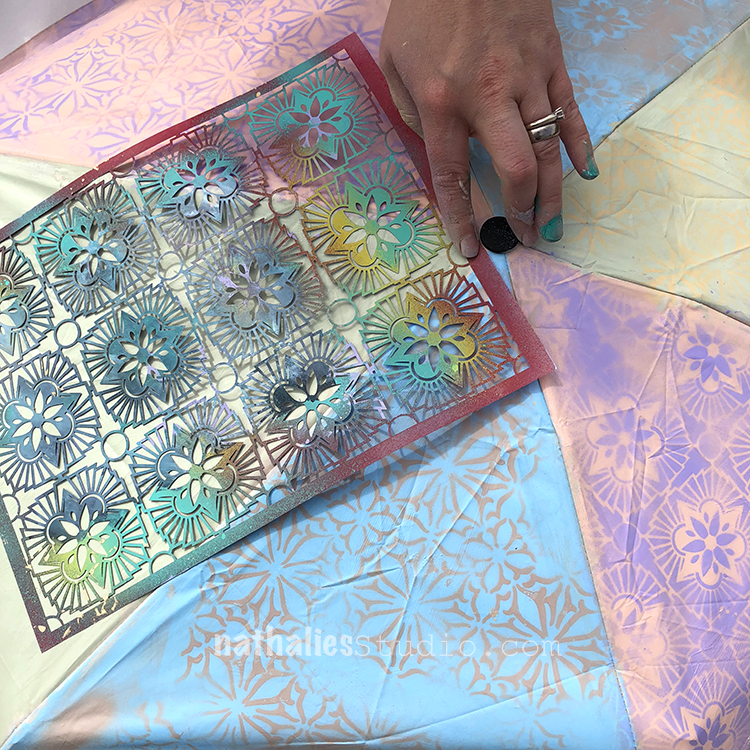
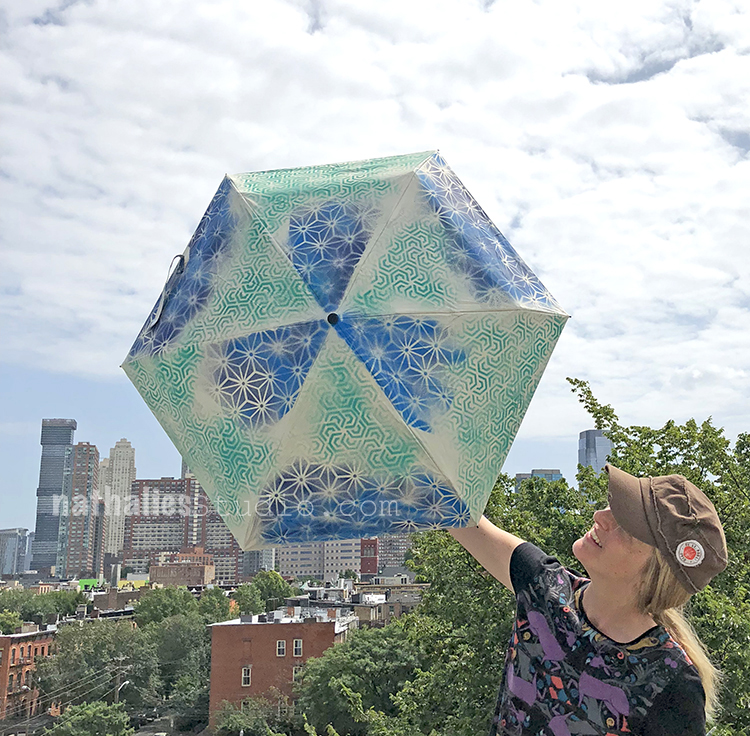
Did you know you can stencil on an umbrella and turn it into a work of art? You can and it is a fun project. Kim and I got together on a sunny day to transform a couple umbrellas into something that will brighten any rainy day we encounter.

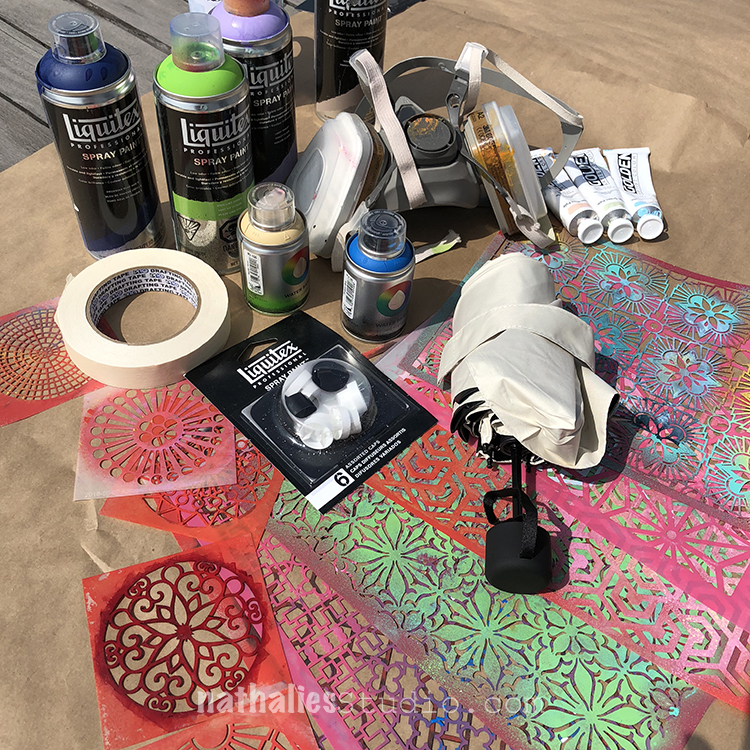
We chose white umbrellas as our “blank canvas” and some of Nat’s new stencil designs. We worked outside with acrylic spray paint (and proper protection – face mask) and each tried a different way to approach the project.

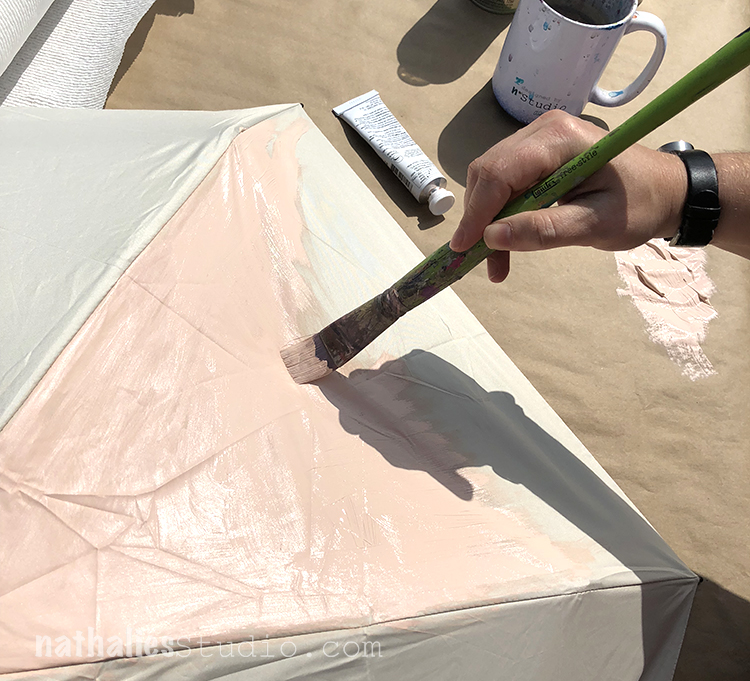
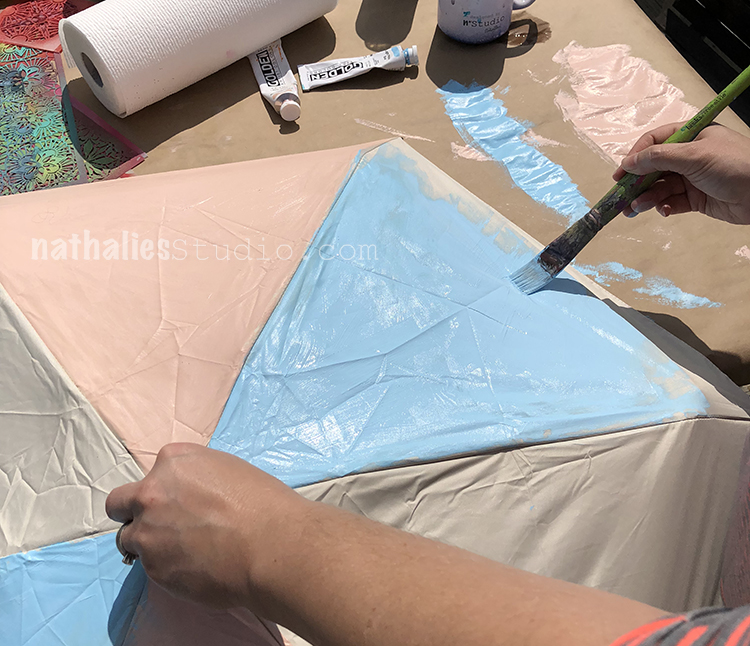
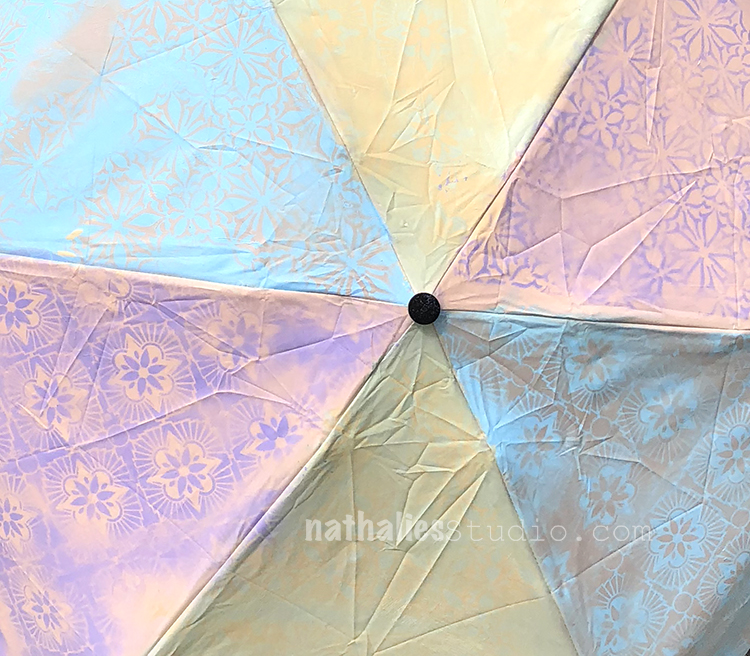
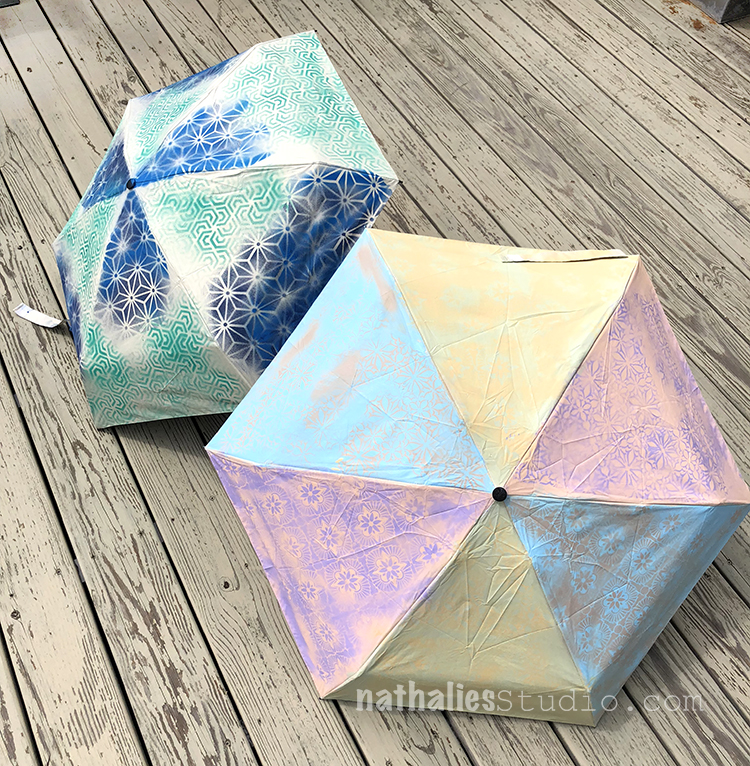
I began by painting my umbrella with heavy body paint to create a new background color.

I chose three different colors to alternate on the panels. This is a great way to make your umbrella any color you want.  BUT I learned the paint definitely stiffens the fabric and makes the umbrella hard to wrap up when you are all finished. I could almost not get the velcro tie around it in the end. Oops. It’s still doable, but tight.

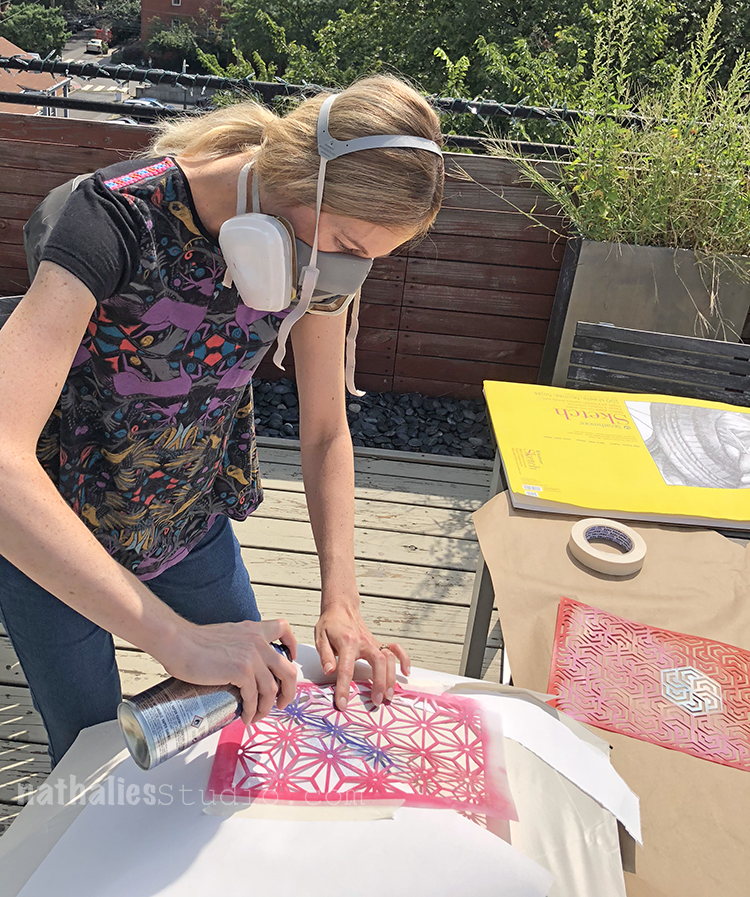
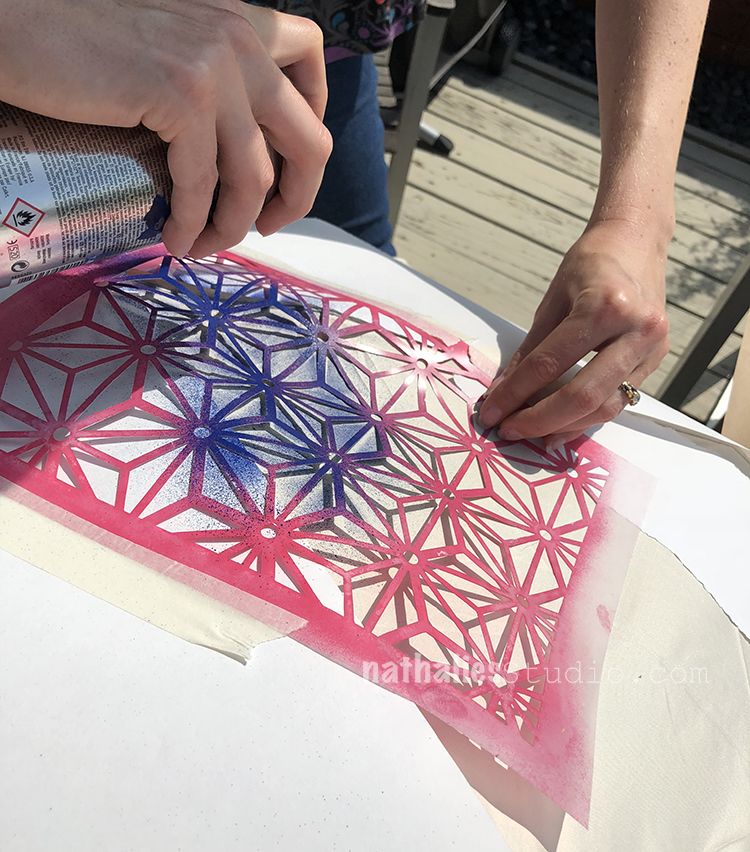
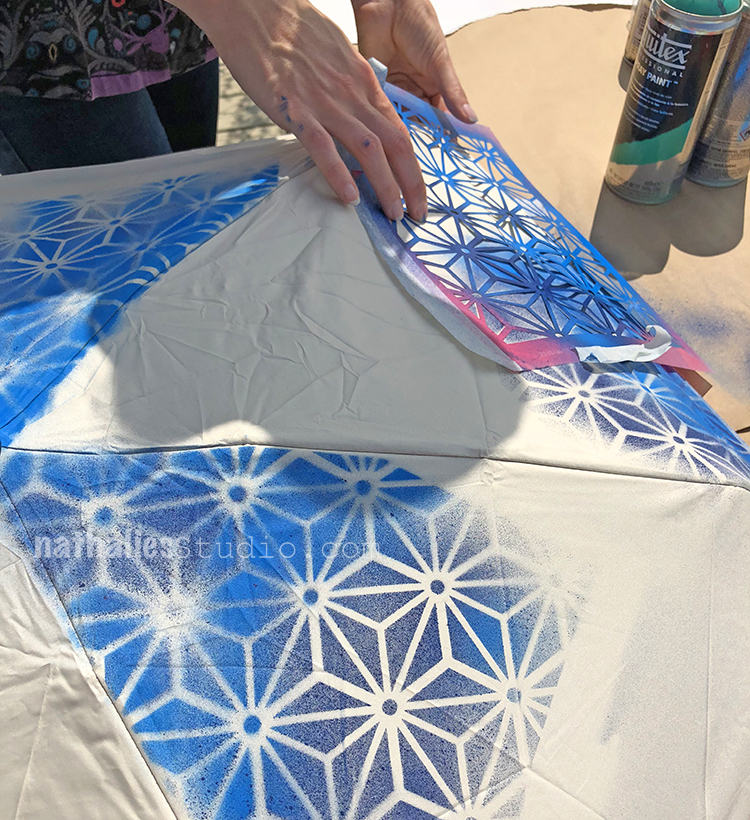
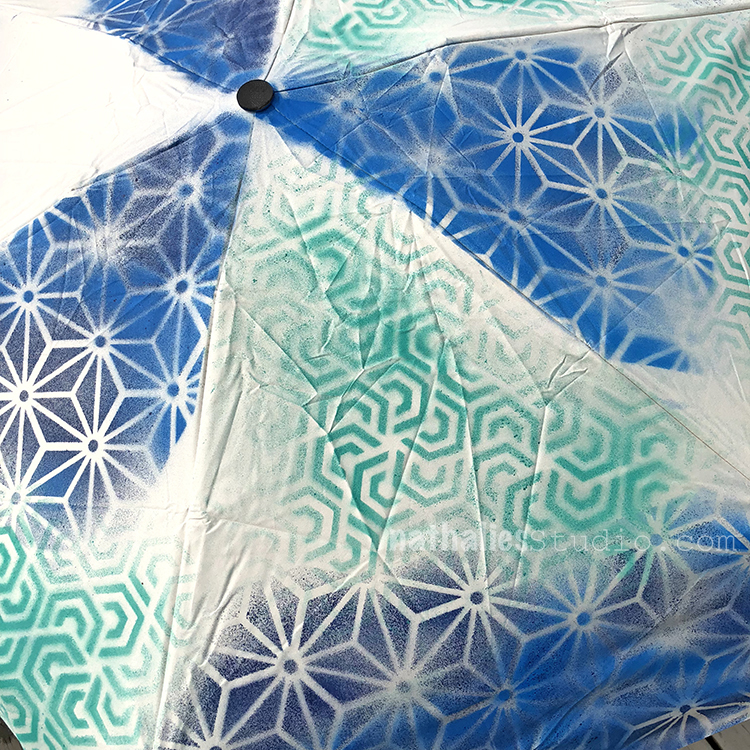
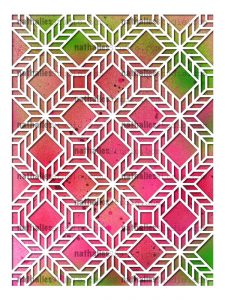
Kim decided to spray paint directly on the fabric. She taped down the stencil and some paper as a mask. She began with my new Star Struck stencil and some blue paint.

The 9×12 stencils are a nice size to cover a large area with color and pattern.

She covered the top of 3 alternating panels with a couple colors of blue. The Star Struck stencil almost looks like umbrellas so it works nicely.

She then moved to the bottom to add more.

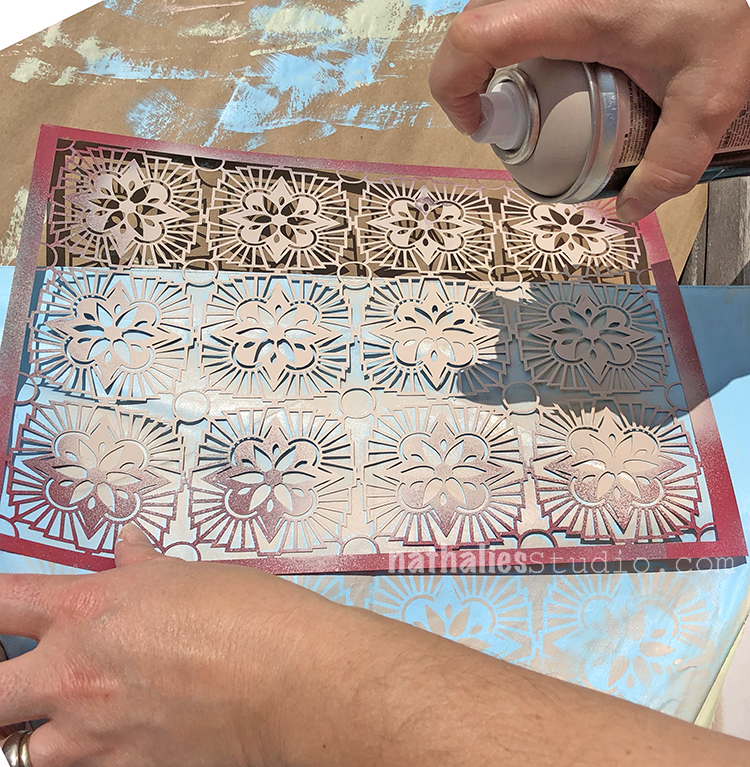
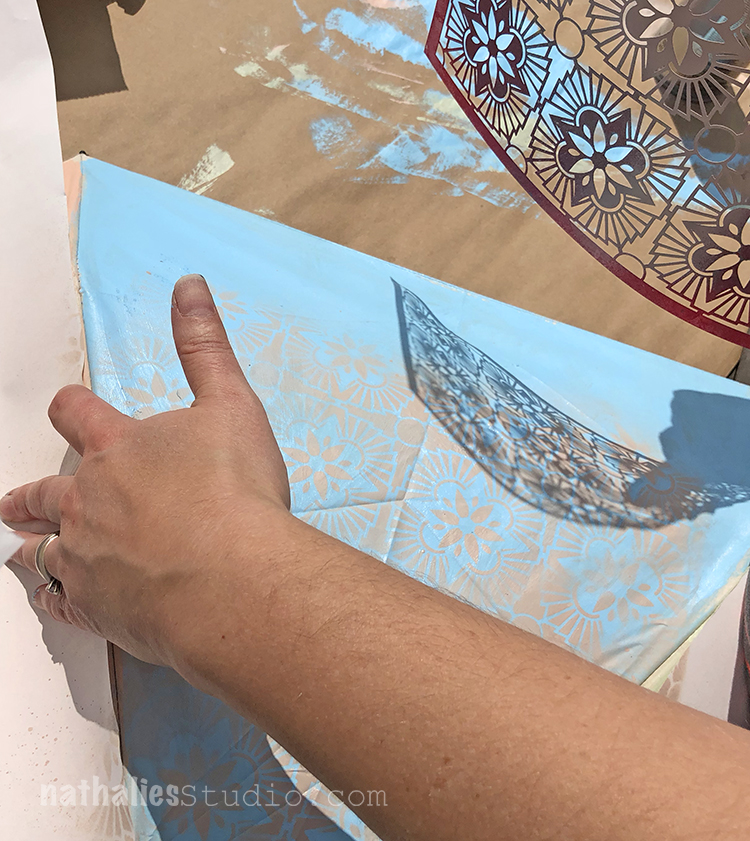
I chose my new Hamilton stencil – absolutely loving this pattern!!! I used a buff color on the blue panels.

I lined up the pattern and covered the whole panel with the design.

On some panels I used Hamilton and on others I used my new Van Vorst stencil – both are beautiful and delicate designs.

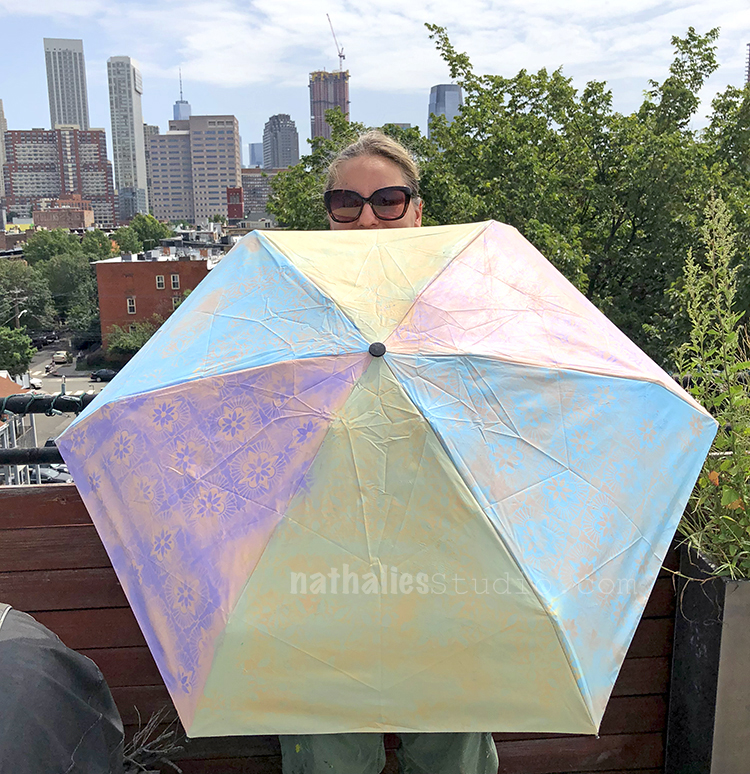
Here is my umbrella with the patterns. I might add more to the yellow panels – I chose a very subtle color for that one and it’s hard to see it once it dried.

Kim added green with my new Flower Maze stencil and just blended one pattern into the other.

Peekaboo :)

Looks great and all ready to brighten up a dreary day!

So you have lots of options when you start with a white umbrella. You could choose colors and coordinate it with your rain coat or rain boots or you could just aim to make something that makes you smile on a rainy day :)

You can find my new stencils in my shop here, as well as all my other products. Here are some of the supplies that we used:


Comments (4)

  • LindaLubovich

    |

    If you add textile medium to the acrylic paint you’ll avoid the stiffness you experienced when you base-coated your umbrella. Hi from San Jose.

    Reply

    • nathalie-kalbach

      |

      Great tip Linda, thank you! In this case on of the main problems was that I used heavy body paint which just made a too thick of a coating so that the string to tie it together became to short. Kim didn’t have the same problems using just spray paint.

      Reply

  • Sue Clarke

    |

    Clever and colorful…did you put anything on to preserve the paint…so it doesn’t run in the rain?

    Reply

    • nathalie-kalbach

      |

      thank you Sue. Since Acrylic paint is water proof I did nothing else to it- it should be stay as is :)

      Reply

Leave a comment

New Stencil Designs! September 2018

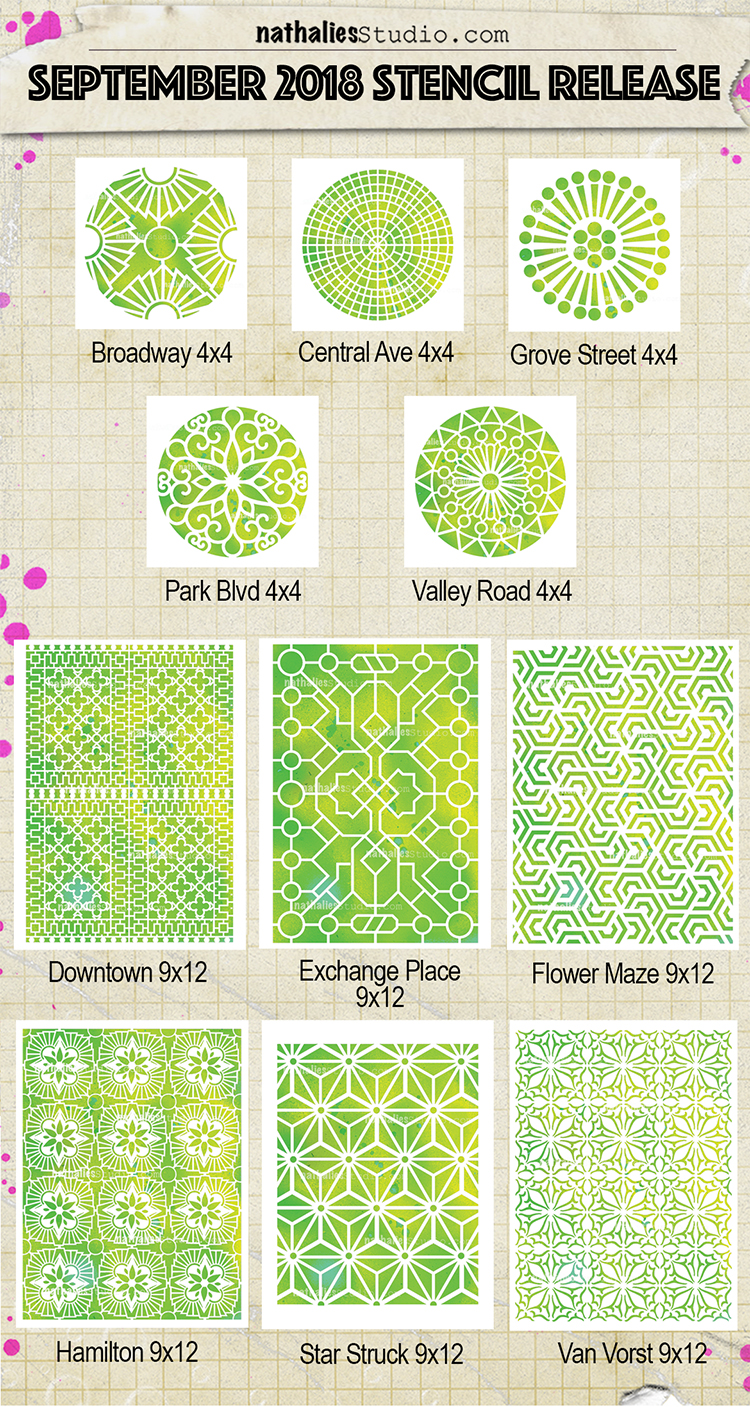
Today I am releasing 11 new stencil designs with StencilGirl Products and am over the moon to be able to share them with you finally! You can check them out now in my Online Shop.  I’ve been playing with them for the past month and wow am I loving these new patterns.

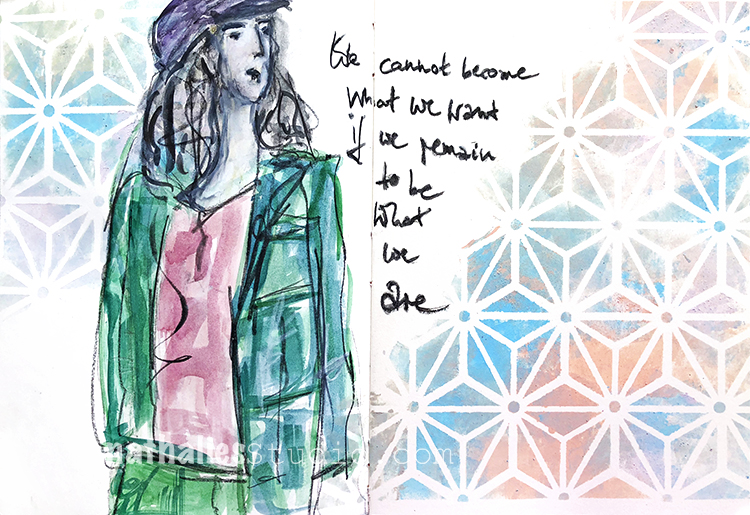
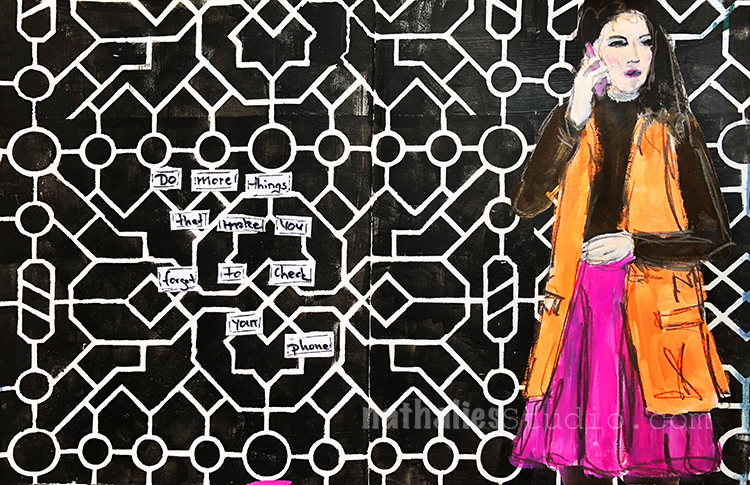
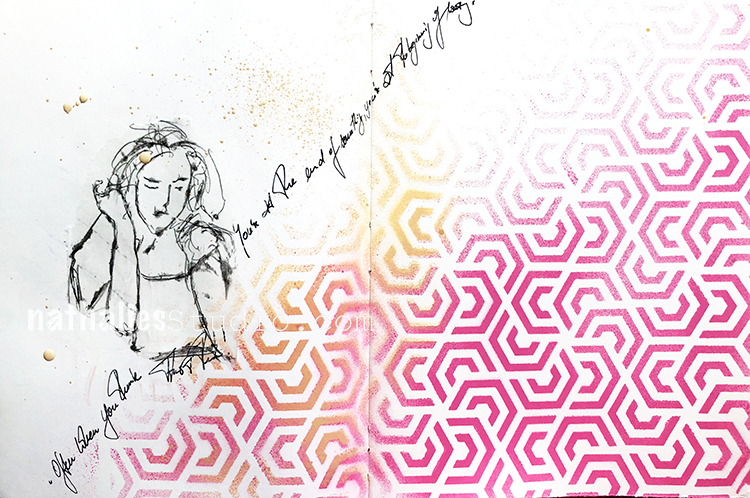
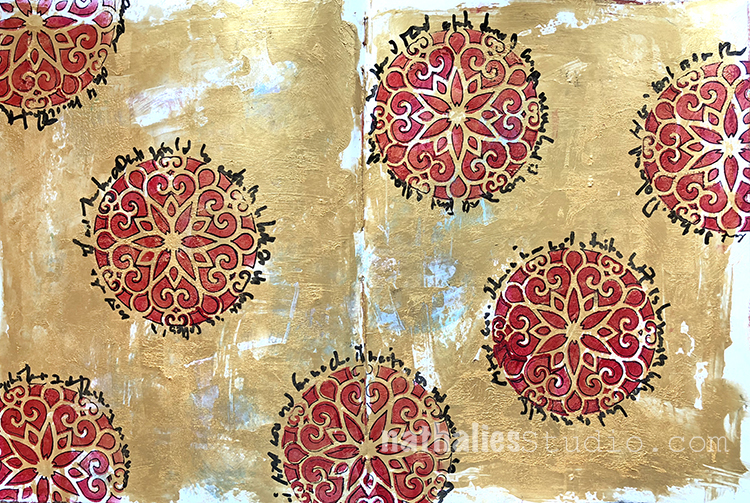
Of course I love using the big ones as backgrounds in my art journal, but you don’t have to stop there with these guys. Here are a couple fun ideas to inspire you – I will show the details later this month:

Star Struck

Above the Exchange Place Stencil – loving it.

Downtown Stencil .

Art Journal Spread using Flower Maze.

Hamilton

Van Vorst


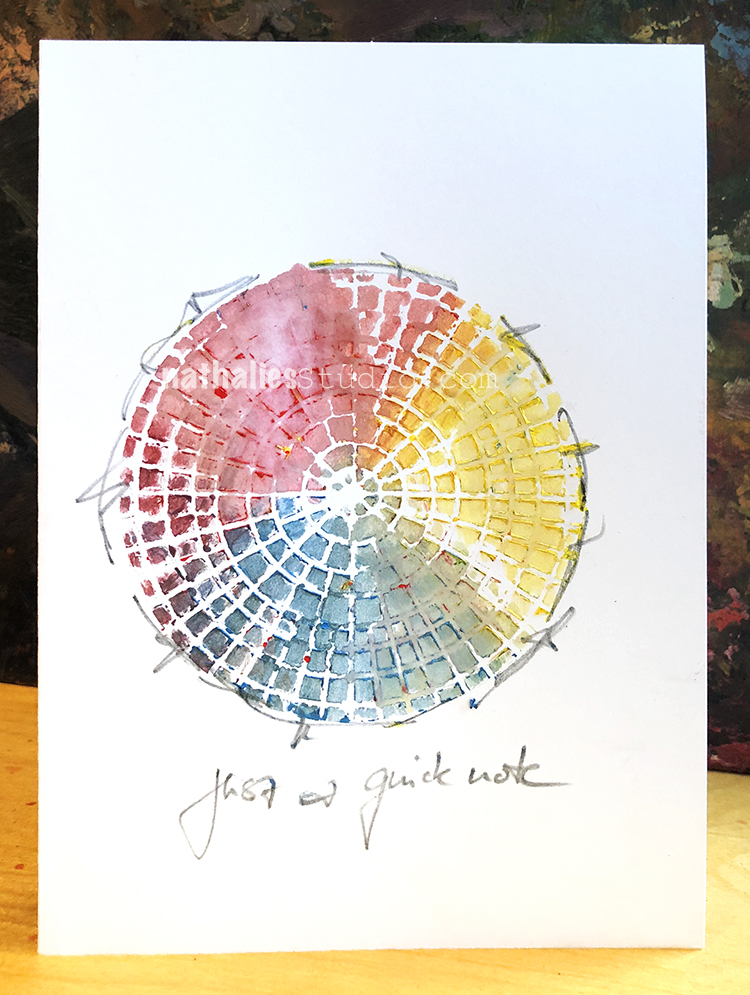
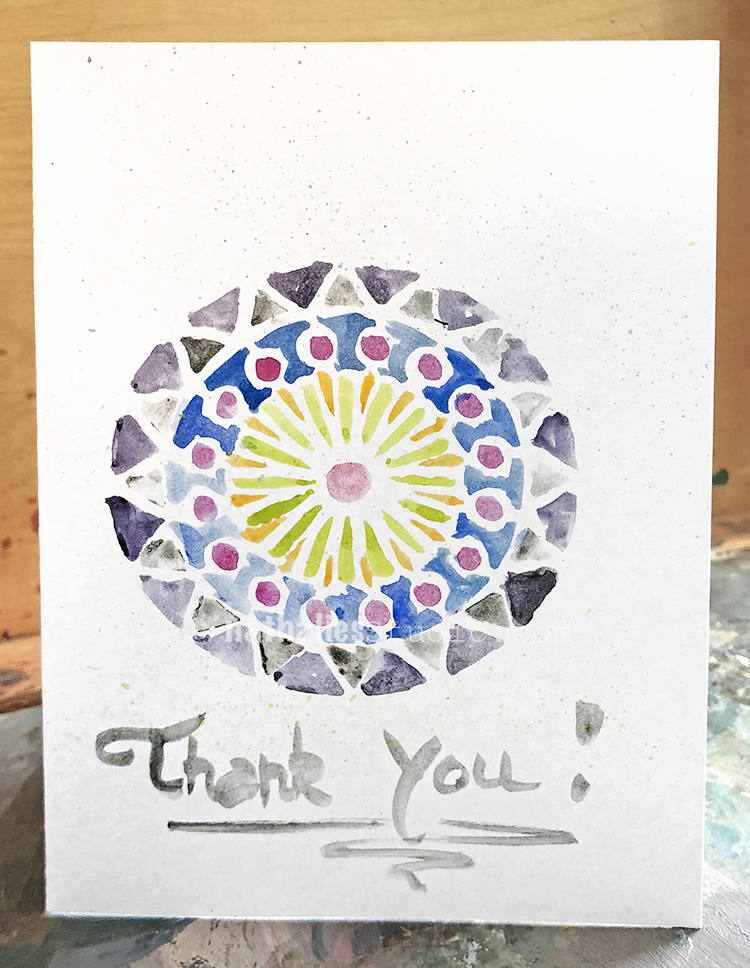
For the small round ones, I created the samples below:

Grove Street.

Broadway

Park Blvd

Central Ave

Valley Road

I hope those new stencils make you as excited as me :) Do you have any favorites???

Come and join me as I talk about the stencils and a few other exciting developments TODAY, September 6th at 2pm EST on Facebook Live:


Comments (4)

  • stephanie

    |

    Congrats! These are great. What did you use for the Central Ave card? Pan pastels?

    Reply

    • nathalie-kalbach

      |

      Hi Stephanie- sorry for the late reply – I used Woody Stabilo Pencils with the stencil- I will show a step-by-step this coming week :)

      Reply

  • Sue Clarke

    |

    Flower Maze and Star Struck if I must just pick one or two.
    I appreciate you showing your samples since it gives me so many ideas on how to use them.
    It’s so wonderful to see your success.
    May you sell many new stencils!

    Reply

    • nathalie-kalbach

      |

      Awe thank you Sue! Love those two too- …well I guess am biased LOL

      Reply

Leave a comment

Endless Summer – Josefine Fouarge


Hello my friends and hope you are enjoying your summer (if you are in our hemisphere I guess lol, otherwise Happy Winter!). Today we have a post from Josefine Fouarge from the Creative Squad, sharing with us some absolutely gorgeous cards using my stencils and the happiest summer colors. This month the squad is using the theme:  Endless Summer – The days are long, the sun is shining, the air is soft… it must be summer! Let’s take a stroll down memory lane and save a summertime memory forever.

Summer has started, it’s official. We are having the first days with over 100 degrees in California, so I spend a lot of time in my pool. When we bought our house, we fell in love with the pool. It is plastered with a variety of blue tiles which shine amazingly when the sun hits them. The colors of the pool were my inspiration for this month’s theme – Endless Summer. But as always, I started with those colors and then couldn’t stop.

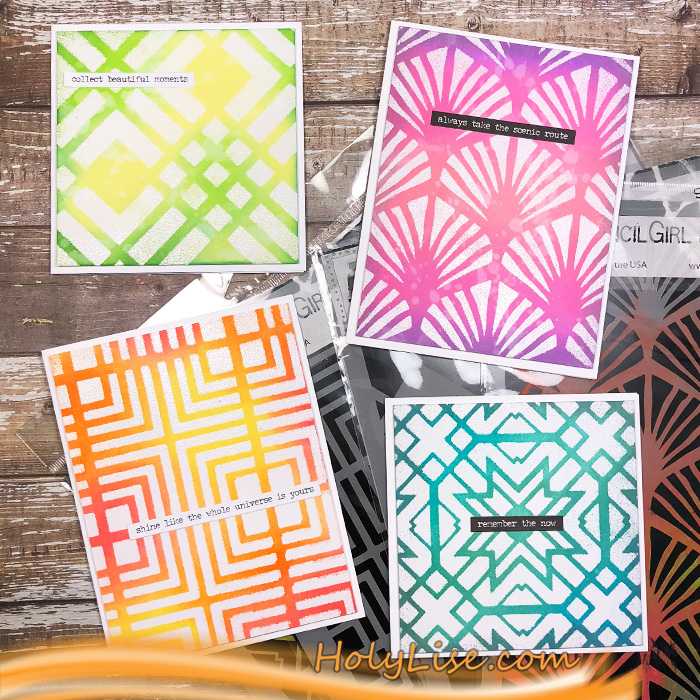
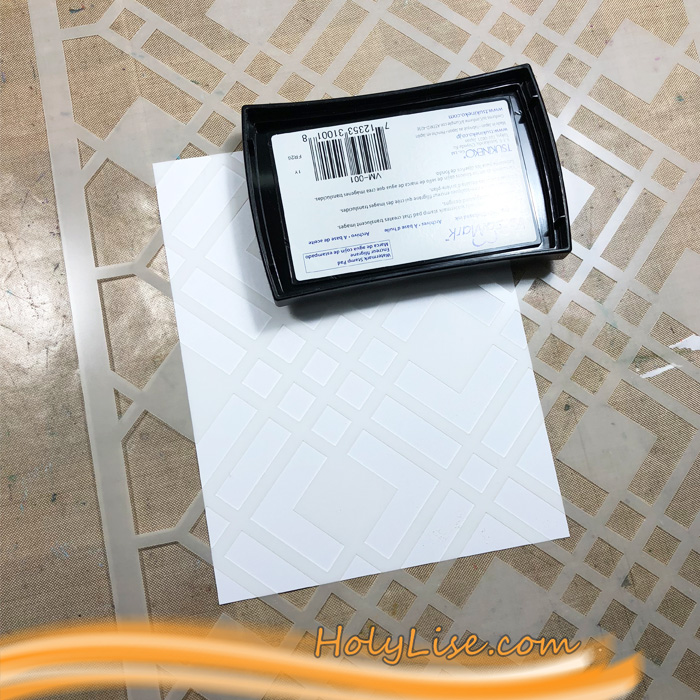
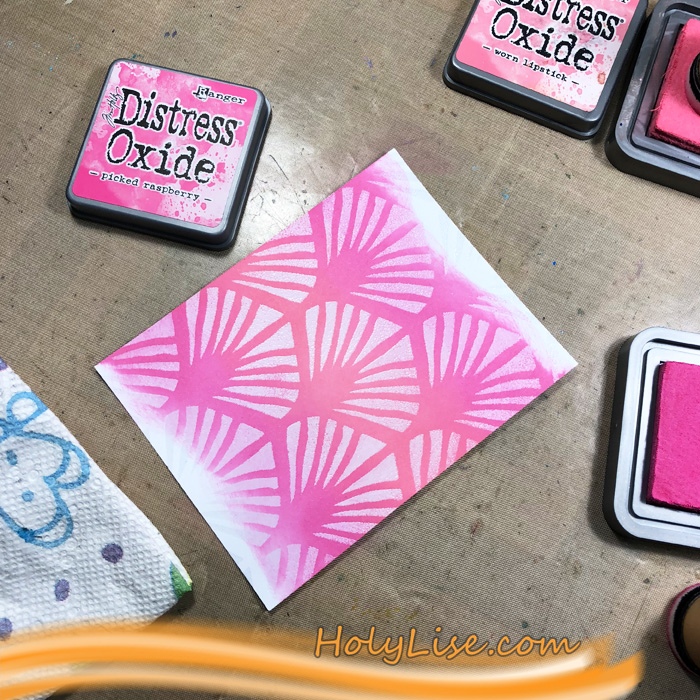
But let’s start at the beginning. I decided to create a few greeting cards. I haven’t done a lot of ink blending lately, so that’s the technique I went for. It all started with picking 4 stencil designs and then heat embossing the patterns with clear embossing powder. For that, I placed the stencil onto a 4 ¼ x 5 ½ piece of card stock, dapped the Versamark ink pad through the stencil, added the powder and heat set it. I did that with the Manhattan, Chicago, Toledo and Art Deco stencils.
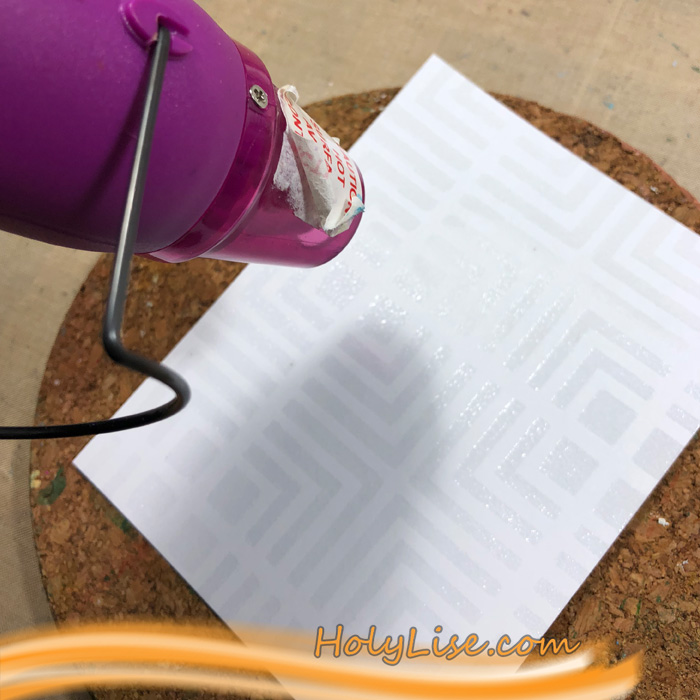
My original plan was to use the same blue shades of Distress Inks and Oxides for the cards (which were inspired by our pool), but after the first card I changed my mind and went all over the rainbow.
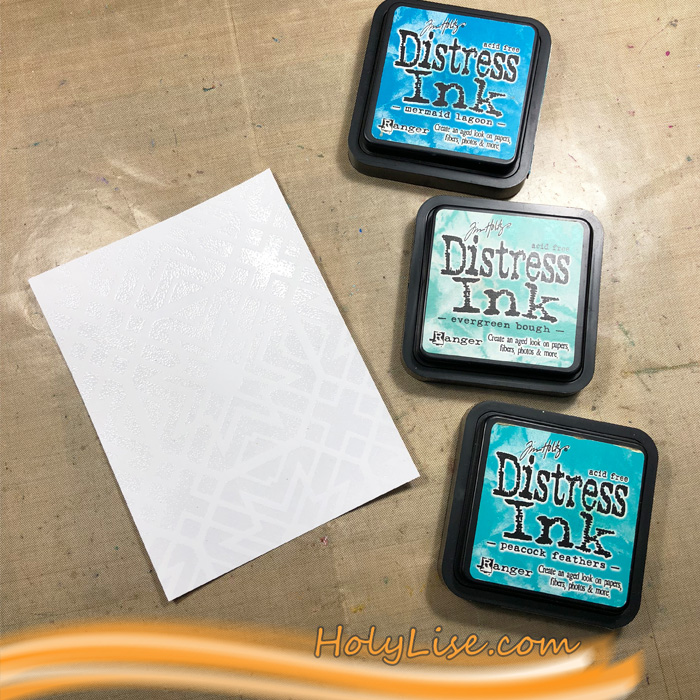
I always started with the lightest color, inked the background up and then switched to the second color. I went over the same areas a couple of times to get a bright color.
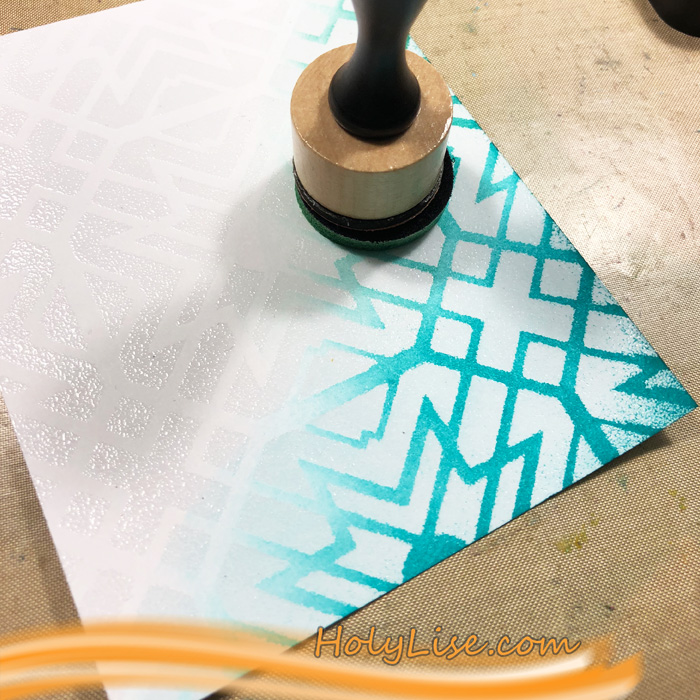
When I added the second color, I always went back to the first color and blended over it.
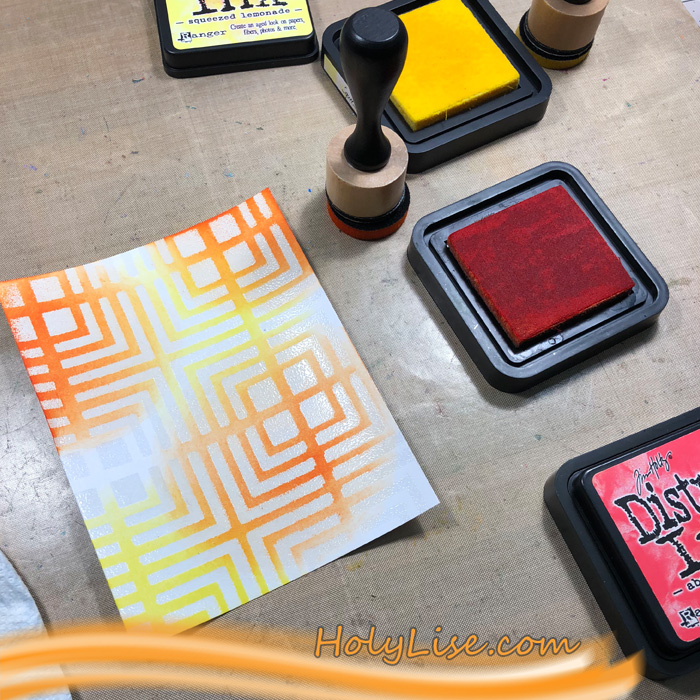
At last, I added the darkest color. Usually, I didn’t ink up the darkest color too much to not overpower the cards with it.
At the end, I cut two of the panels into 4 x 4 squares and adhered them onto a 4 ¼ x 8 ½ card base. The other two are cut to 4 x 5 ¼ and adhered to a 4 ¼ x 8 ½ card base. I also added one sentiment sticker to all of the cards.

Here are all 4 cards with the colors I used:

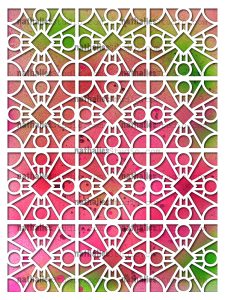
Manhattan stencil with Distress Ink in Squeezed Lemonade, Carved Pumpkin, Abandoned Coral
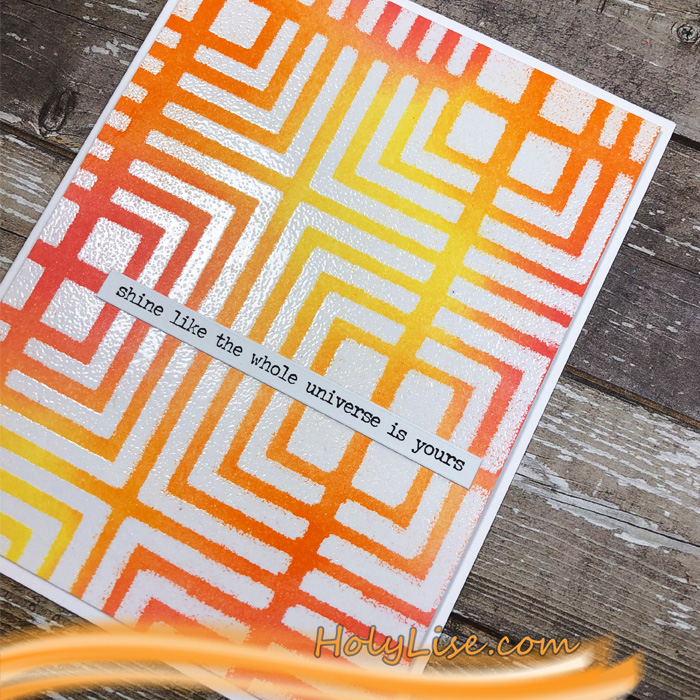
Chicago with Distress Oxide in Squeezed Lemonade and Distress Ink in Twisted Citron and Mowed Lawn
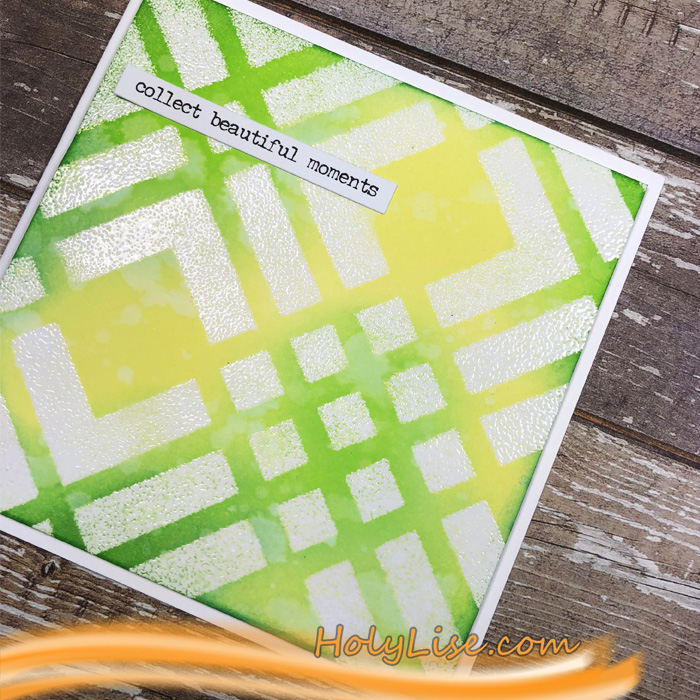
Toledo with Distress Ink in Peacock Feathers, Evergreen Bough, Mermaid Lagoon
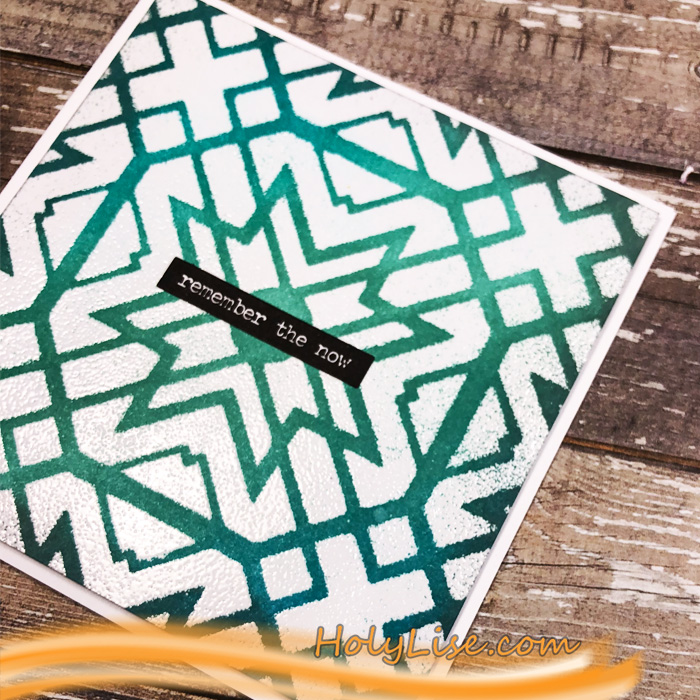
Art Deco with Distress Oxide in Worn Lipstick, Picked Raspberry, Wilted Violet
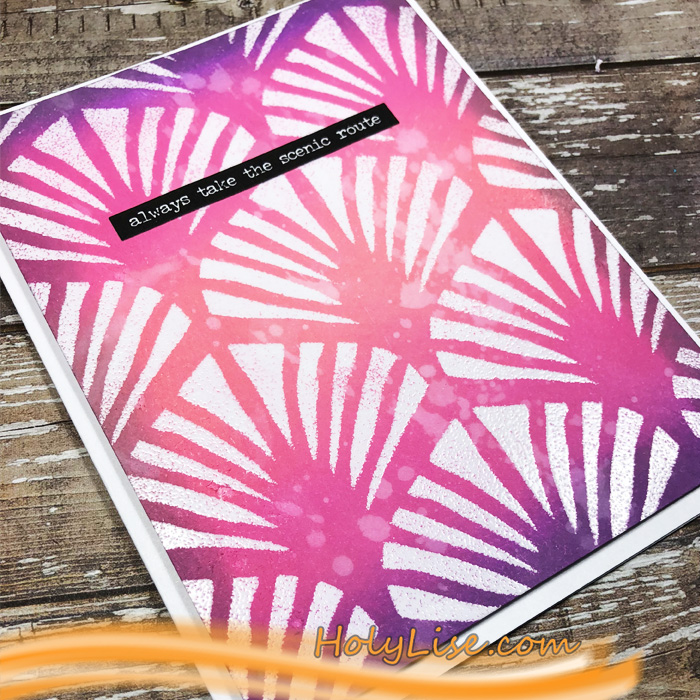
I hope that these colors got you into a summer mood, at least a little ;)

Thanks for stopping by and don’t forget to come back every Tuesday for more inspiration from the Creative Squad.


Thank you Josefine! I love how that embossing sets off those lovely colors. Here are some of the supplies that Josefine used:


Did we inspire you? Working on something yourself that you’d like to share?  I love to see how you interpret our monthly themes. Email me how you used my stencils and stamps with the theme and email me an image – I would love to share your projects in my next  “n*Spiration From Around the Globe“.
Leave a comment

Build a Door – Art Journal

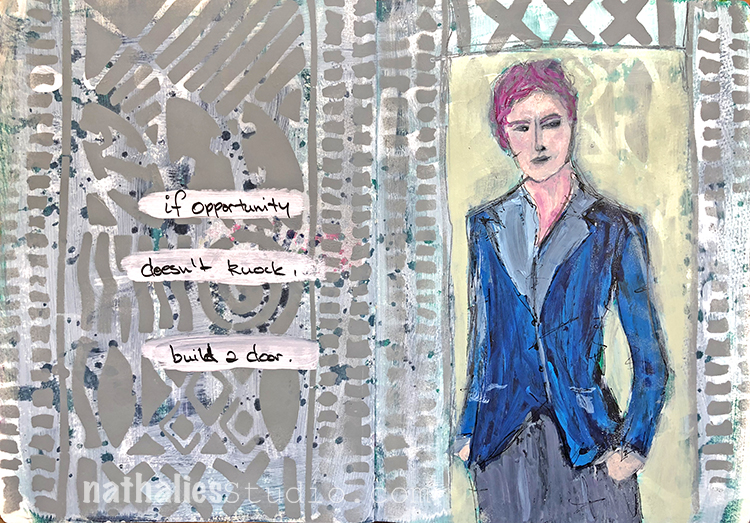
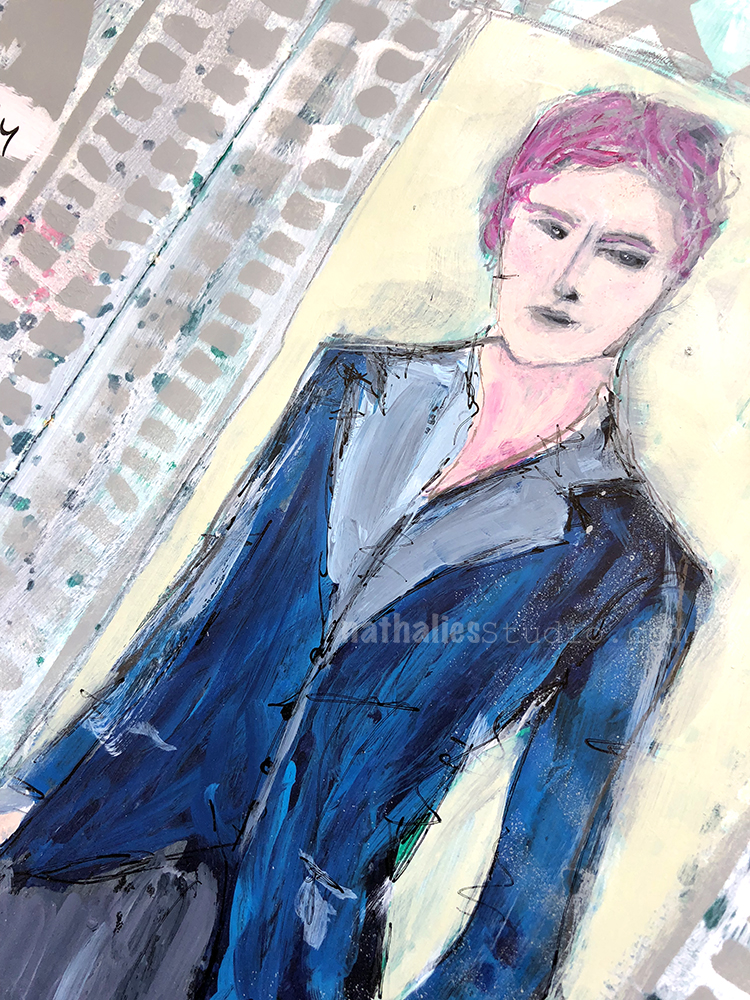
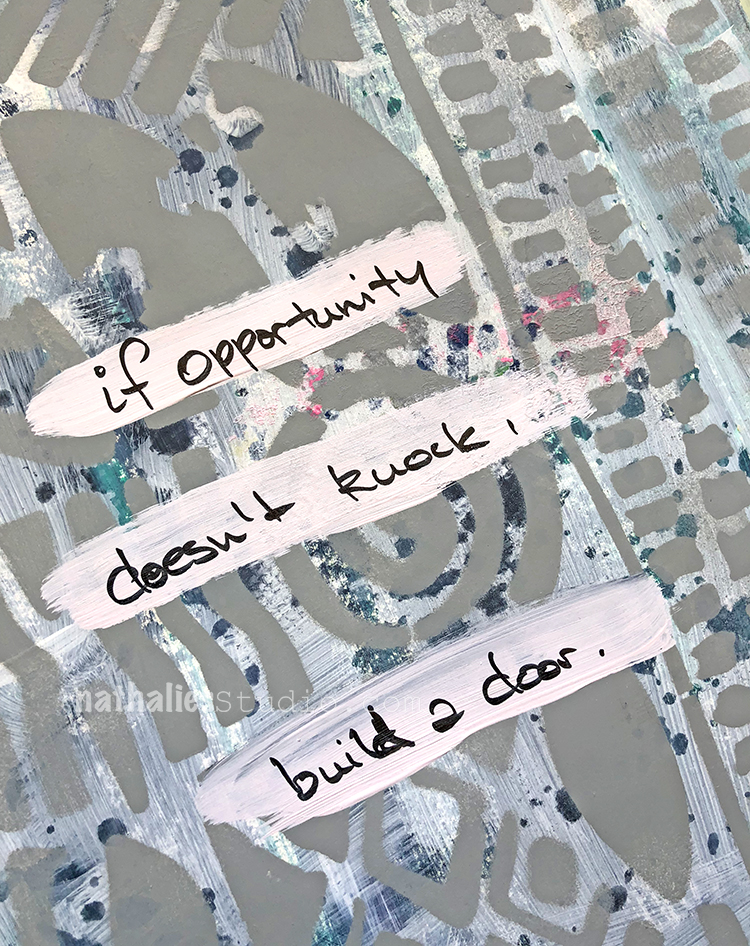
If opportunity doesn’t knock build a door ….yeah that is a good tip but sometimes easier said than done, no? LOL

I covered up most of the background on which I had shown all kinds of different techniques in a class with my Batik Stencil I used spray paint over it. I then covered part of it up for a doorway and pasted a magazine image on top which I overpainted.

for the journaling I simply added some paint stripes and then journaled on top of them. I do that a lot when a pattern is so prominent that the journaling is hard to add – an easy solution.

Here are some of the supplies I used for this spread.


Leave a comment

Important – Art Journal Spread

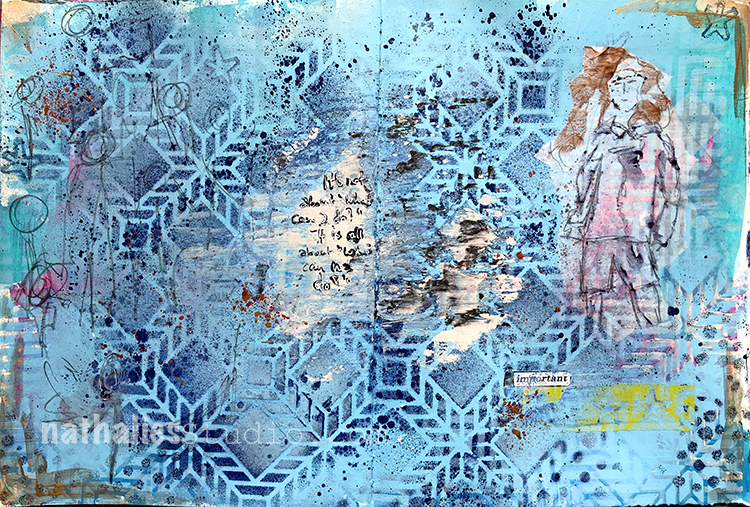
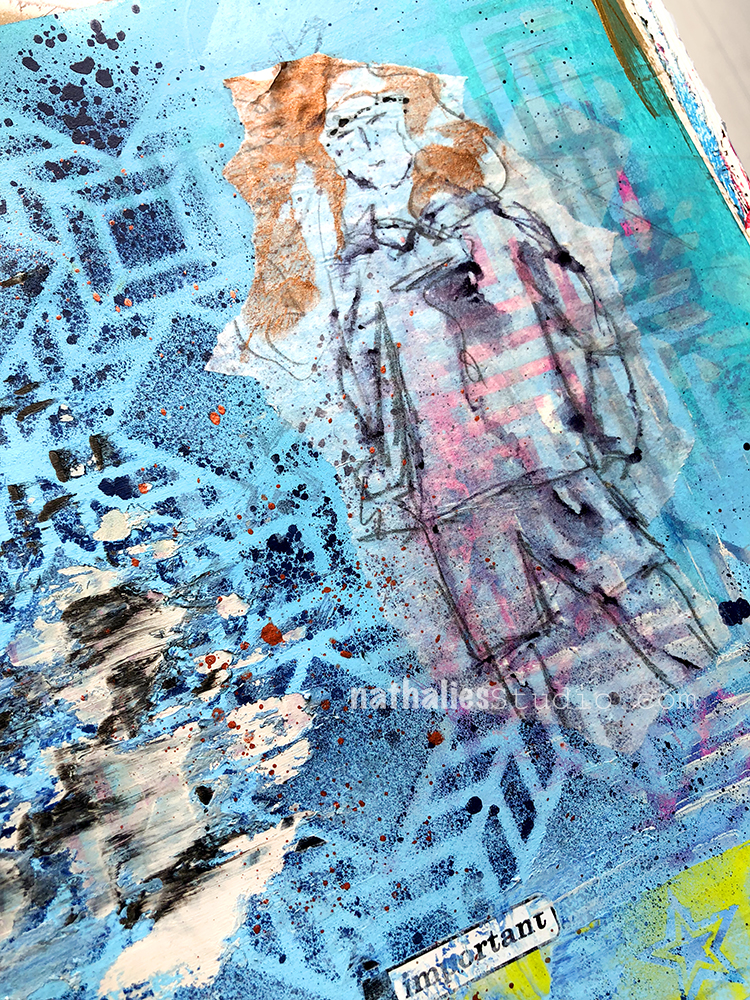
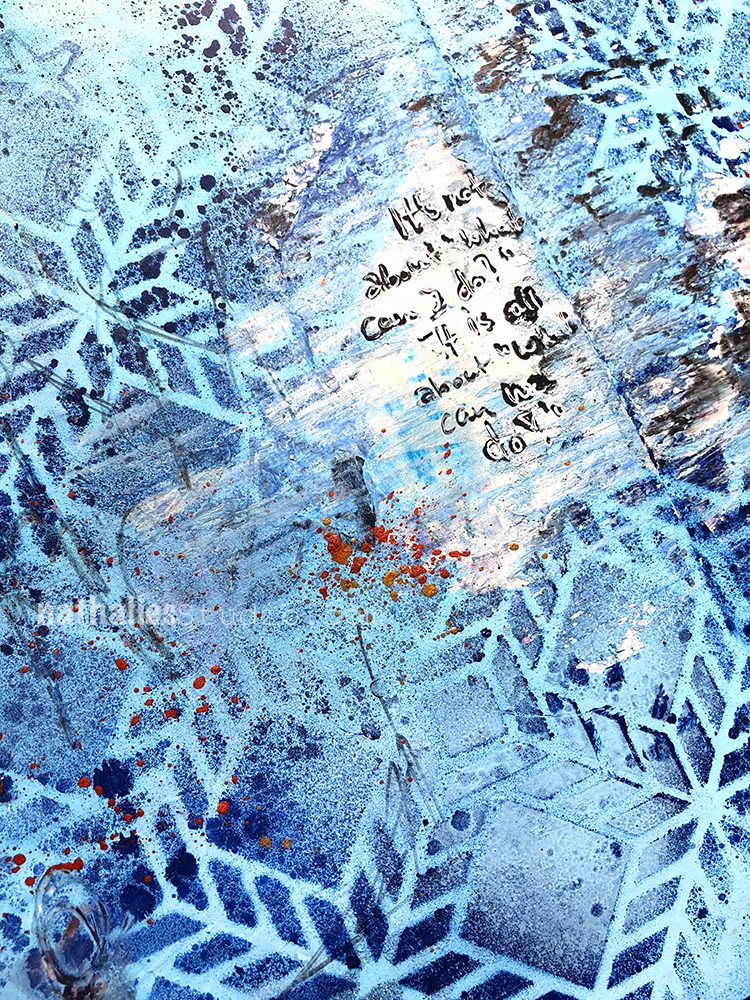
“It’s not about “What can I do?” – It is all about “What can WE do?”.

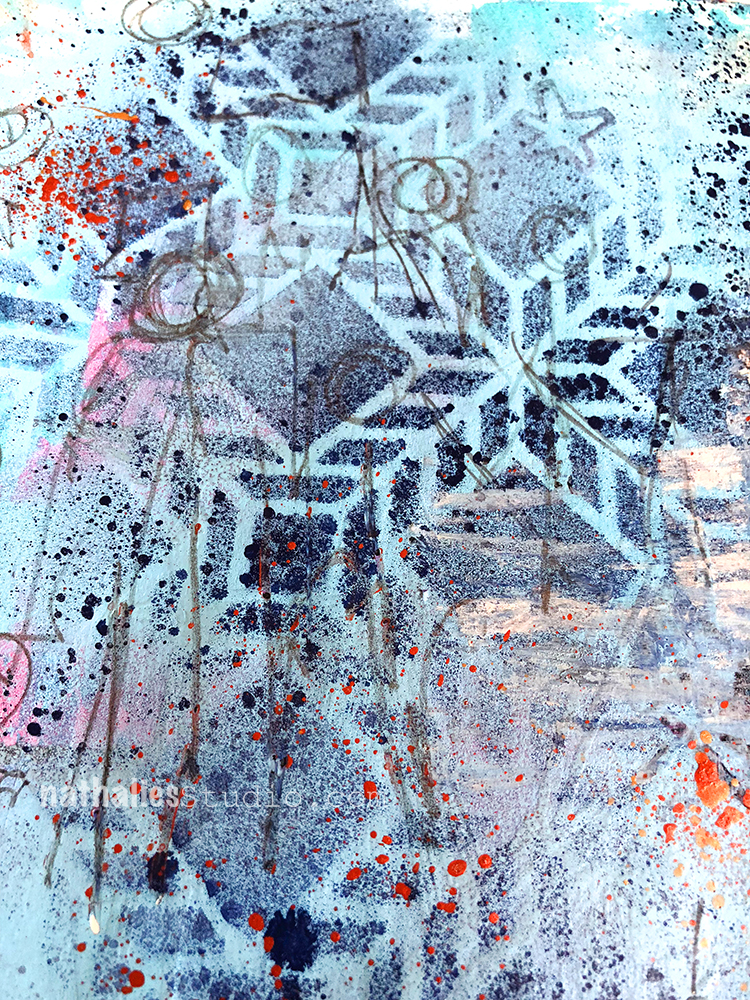
I Used acrylic paints and spray paints with my Santiago and Manhattan Stencil.

I sketched with ink on deli paper and then added it to the page.

while the paint was still wet I added some black and titanium white acrylic paint with a palate knife

I also used some rub ons that I found why cleaning up my studio – the “important” note as well as the green stars are from an old set.

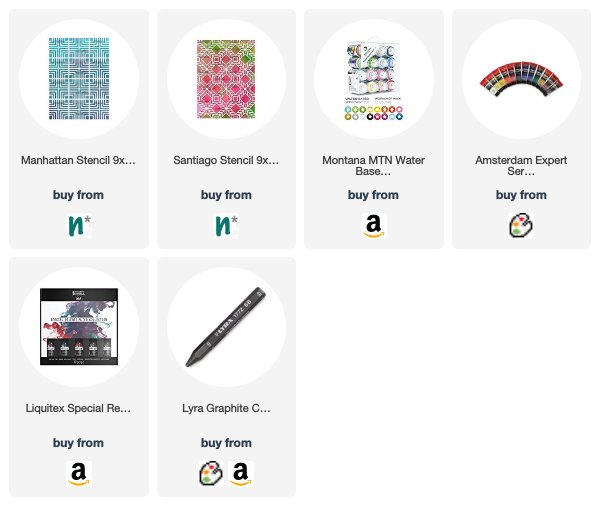
Here are some of the supplies that I used in my art journal:


Leave a comment

Does it really matter? Art Journal

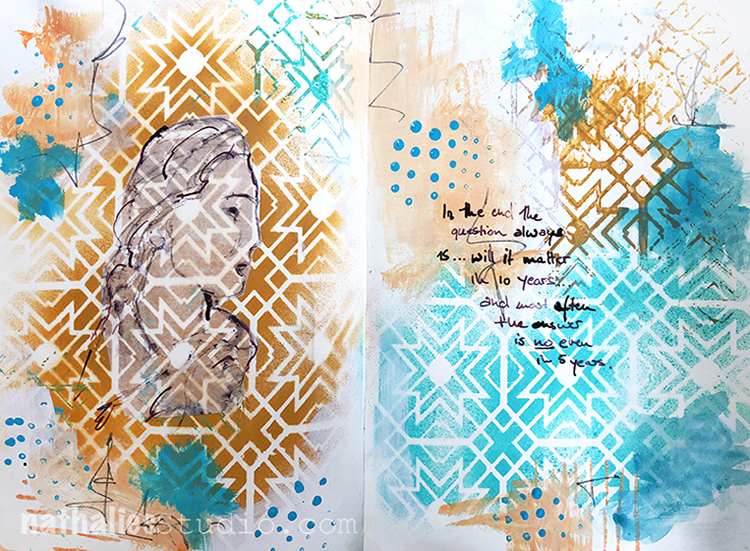
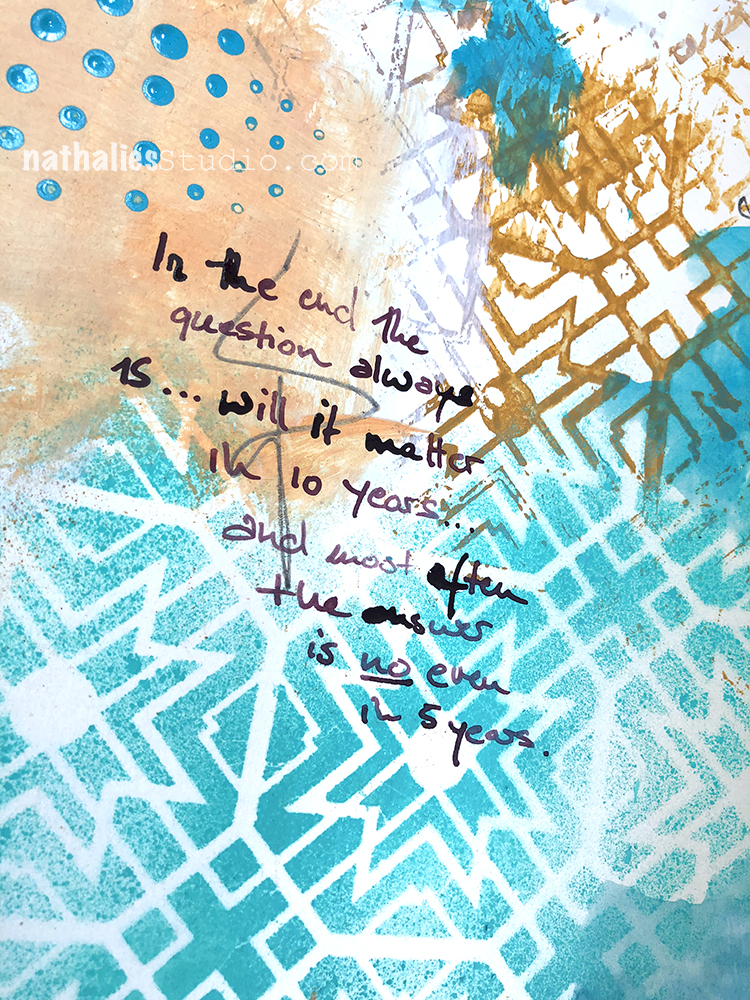
In the end the question always is…will it matter in 10 years?…and most often the answer is NO even in 5 years.

Thoughts that went through my head about something that didn’t work out the way I would liked it to work out- I was actually really disappointed but to be honest …it really won’t matter even in one year …so I will get over it ;) LOL

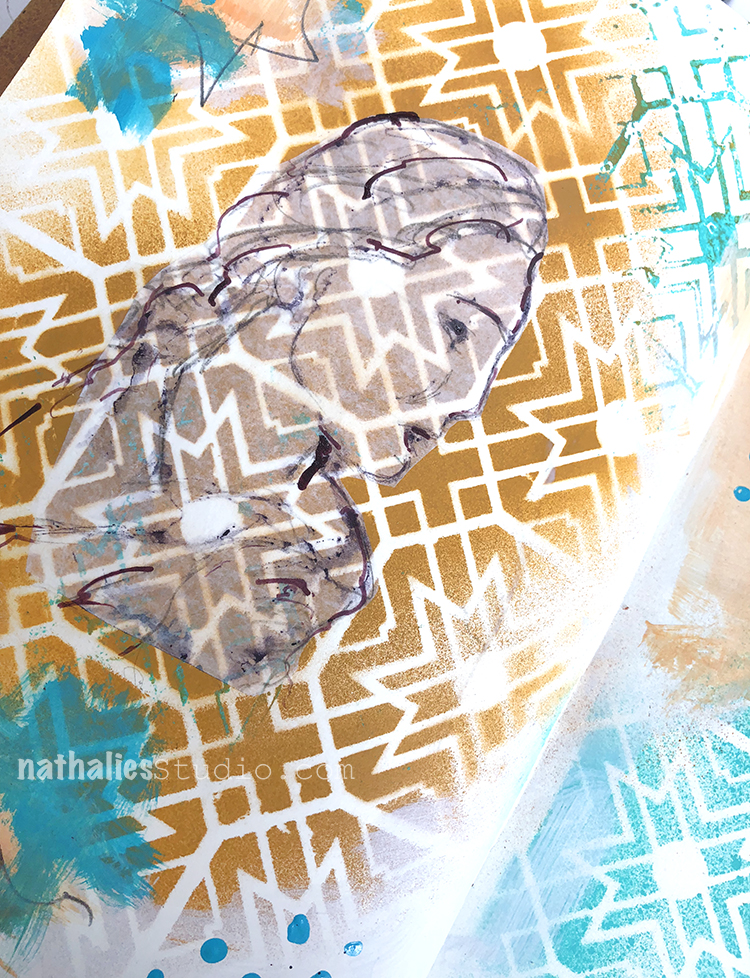
I played with spray paint and tried to keep it just to teal, beige and purple. I used my Toledo Stencil and sprayed over- then flipped the stencil to also get the reverse pattern transferred to the background.

The journaling and sketch on deli paper was done with acrylic ink and a bamboo sketching pen and I added some marks by dipping the end of a pencil into paint and stamping with it.

It was a freeing page to do :) Sometimes art journaling just helps you to get some stuff straight ;)

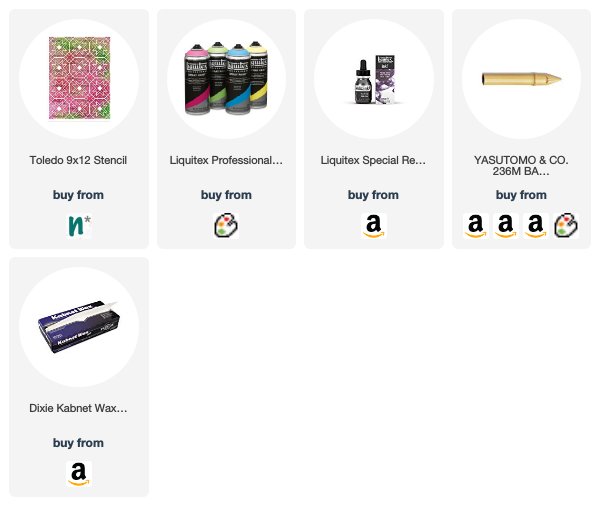
Here are some of the supplies I used


Leave a comment

Nice to Meet You! with Jennifer Gallagher

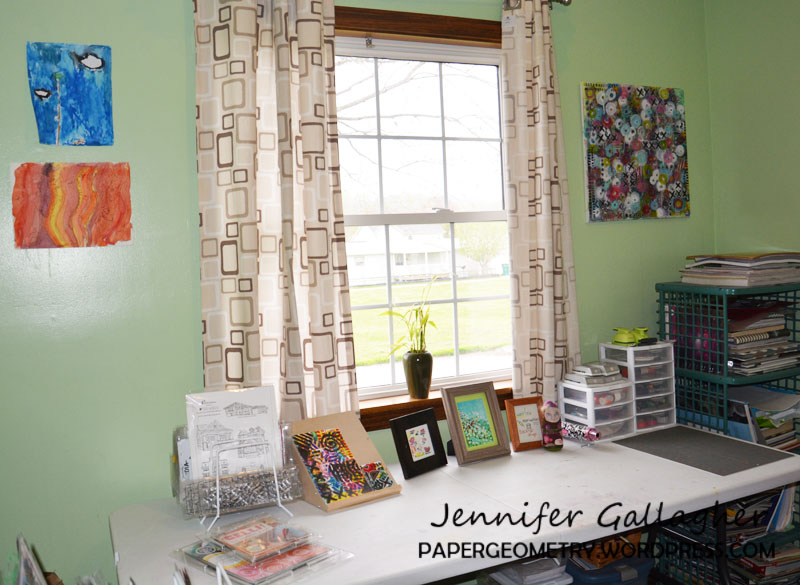
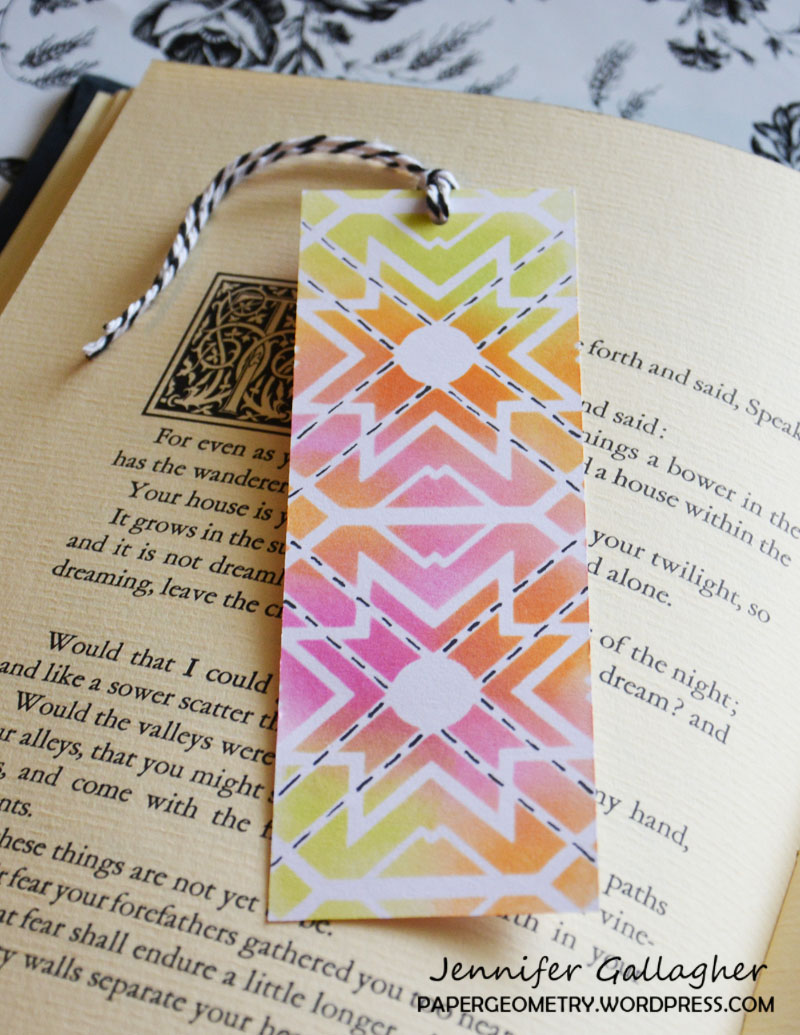
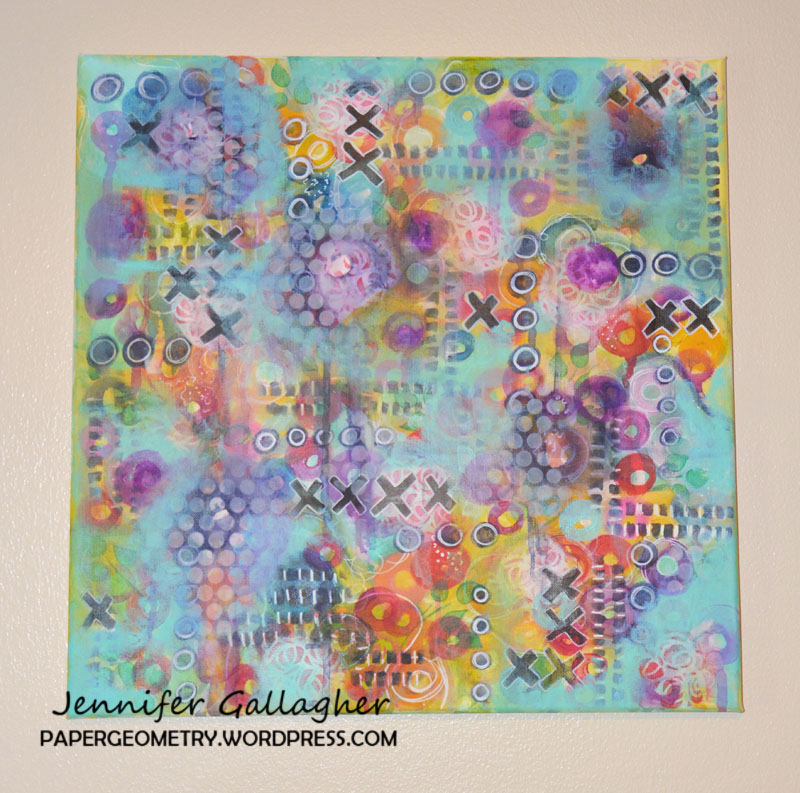
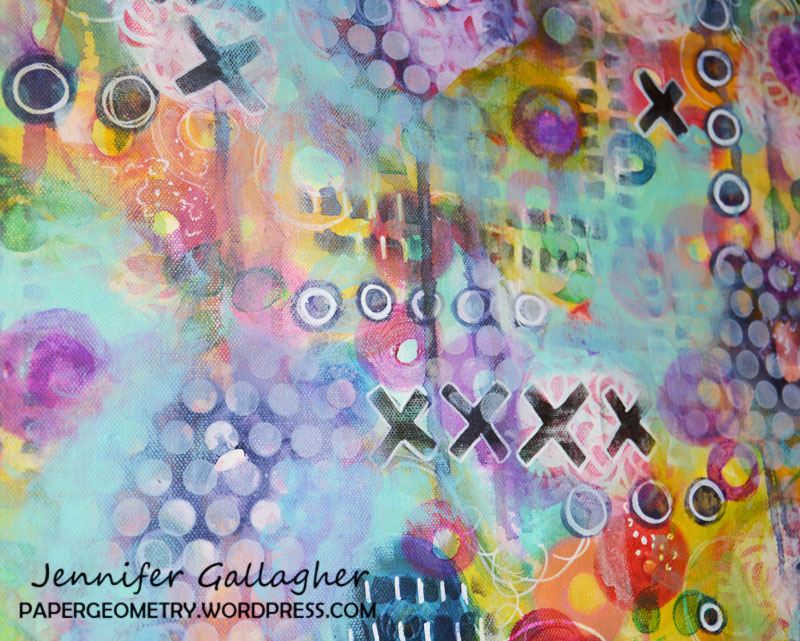
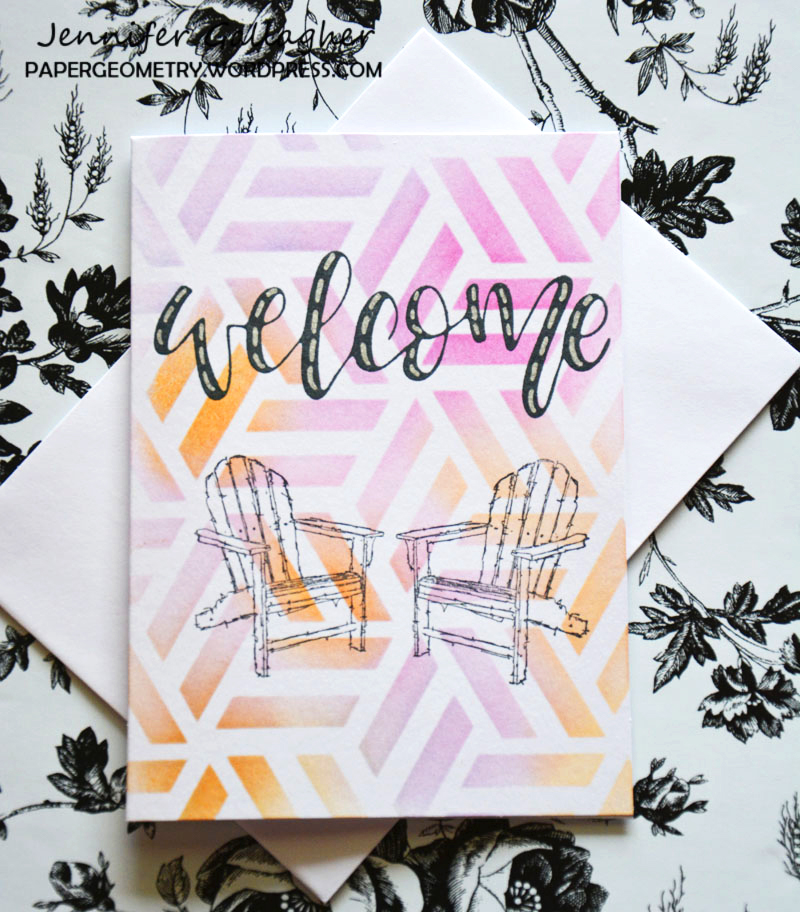
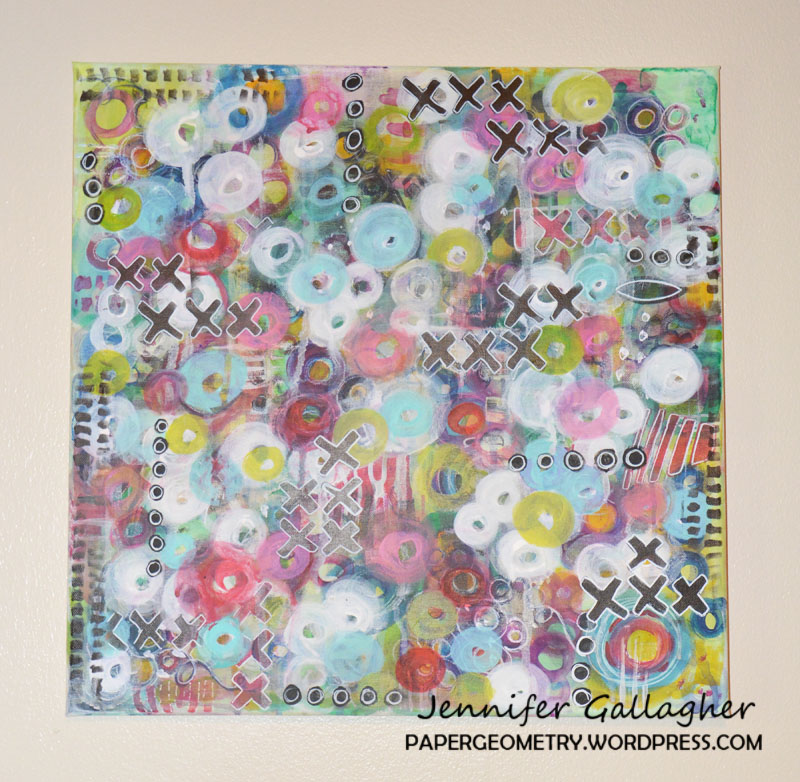
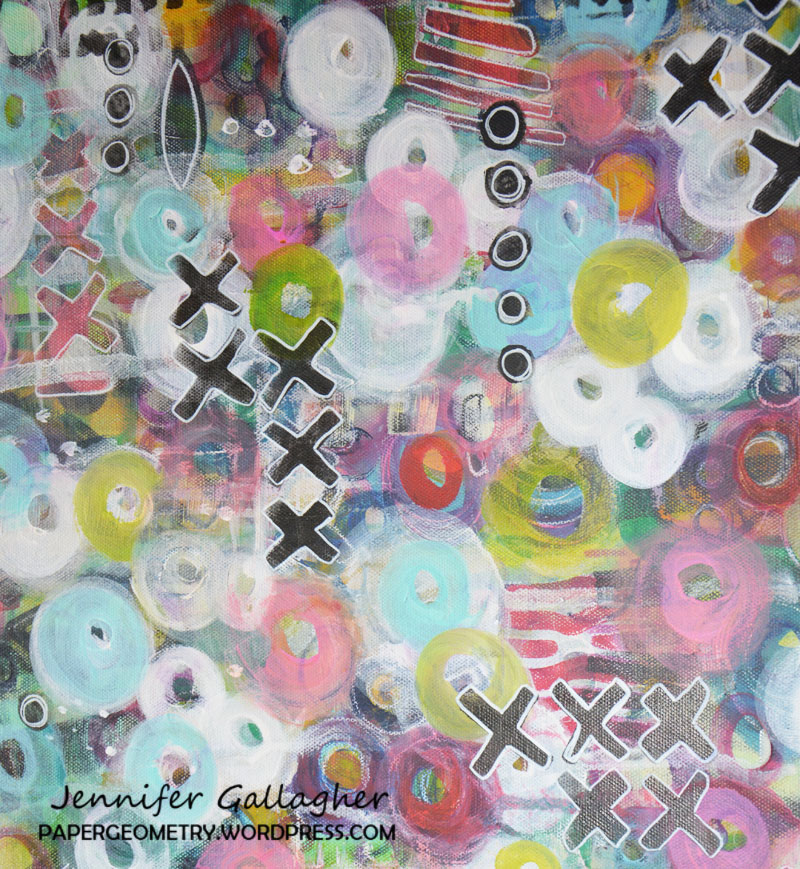
It’s time to get to know an artist with… Nice to Meet You! Today I’d like to introduce you to the inspiring art and story of my Creative Squad member Jennifer Gallagher! Jennifer has been creating for us for several months now and is a master of clean beautiful colors and fresh patterns and layers. Read on to hear her story:


Please introduce yourself to our readers and tell us where you live:

My name is Jennifer Gallagher and I’m a wife, mother to two boys, and an artist. I teach fine art courses for children and adult art journaling classes in my local community. I live in Scott Depot, West Virginia. It’s a small town surrounded by the natural beauty of the mountain state.

How do you make time to be creative?

I look for opportunities to spend time in my studio when the rest of my family is busy. My kids are teenagers now and are involved in activities with sports and friends which allows me to have more creative time. I take advantage of every moment.

What are some of your favorite n*Studio stamps / stencils? 

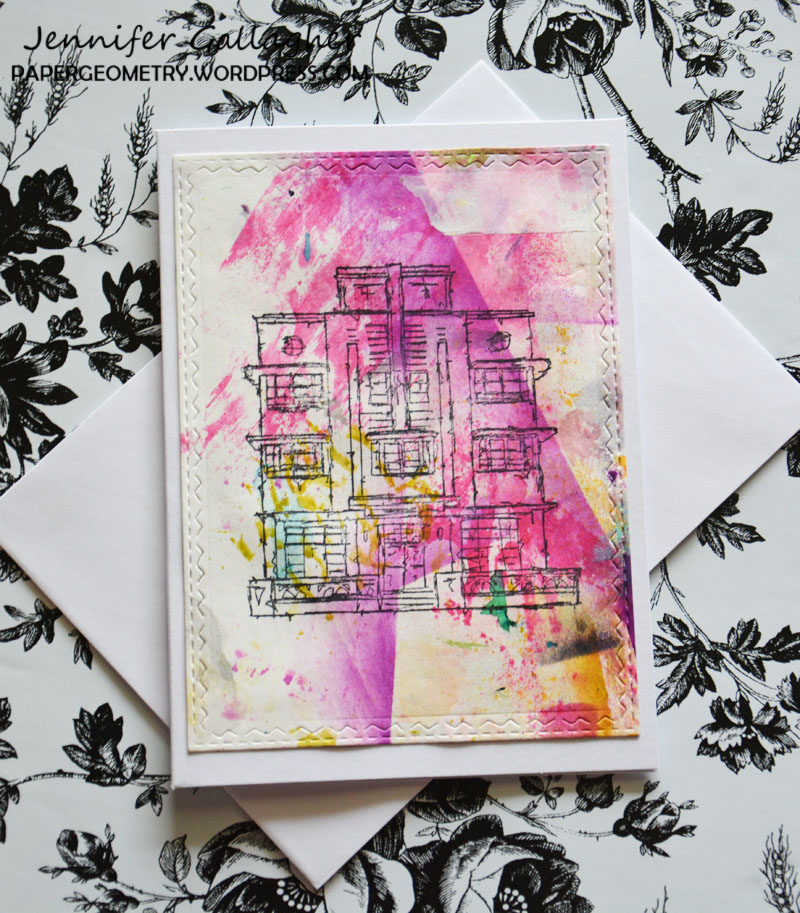
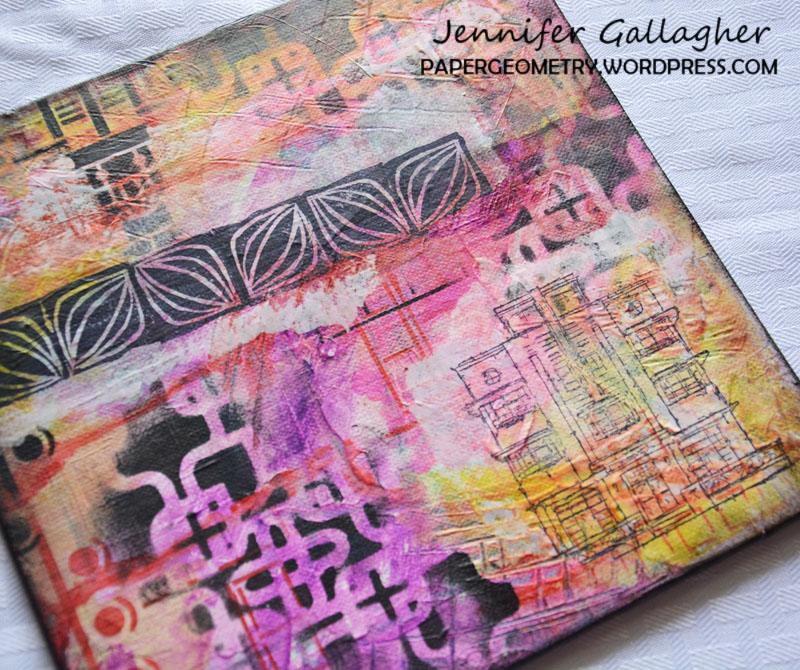
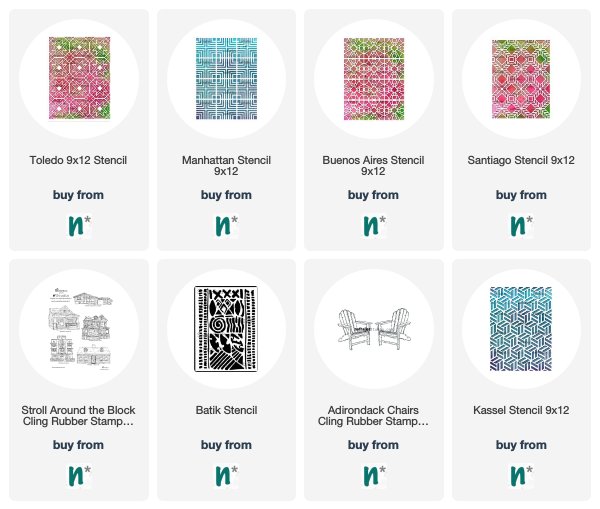
It’s hard to pick favorites! I love the geometric flair Nat’s products have. My must-have stencils include Toledo, Manhattan, Buenos Aires and Santiago. I cannot get enough of the artistic style of Nat’s rubber stamps. I love the Stroll Around the Block series, especially the Art Deco house.

Toledo Stencil
Manhattan Stencil
Buenos Aires Stencil
Santiago Stencil
Stroll Around the Block


How do you love to use them?

I use my n*Studio products in many ways. One of my favorites is to create stunning pates in my art journal. I also use Nat’s stencils religiously when I am gelli-printing and painting canvases.

What is your favorite medium to work in?

Since I consider myself a mixed-media artist, I don’t have one absolute favorite. I try to combine inks, acrylics, paper, and watercolor in almost all of my pieces. I definitely couldn’t live without my inks.


What inspires you to be creative?

Part of my desire to be creative is just a natural part of who I am. I am also very inspired by other artists. I live in a rural community, so social media has become a vital part of my connection with other artists and finding new inspiration.

Do you have a favorite artist?

I love the work of Kandinsky. I also find Albert Oehlen and Willem de Kooning to be wonderful.

How did you get into art-making?

My earliest creative memories include drawing outfits for my barbie dolls and stitching small items like handkerchiefs from scraps of ribbon and cloth. As a teenager, I focused my time on drawing and fashion design. My love of fashion led to me to study design and textiles in college and my progression from fashion into the visual arts has been natural.

In three words, how does art-making make you feel?

Centered
Connected
Fulfilled

Thank you Jennifer! To read more of these inspiring interviews, just click HERE! And if you’d like to try out some of the projects that Jennifer has shown, here are some of the supplies that she used:


Leave a comment

Inside Outside – Tania Ahmed


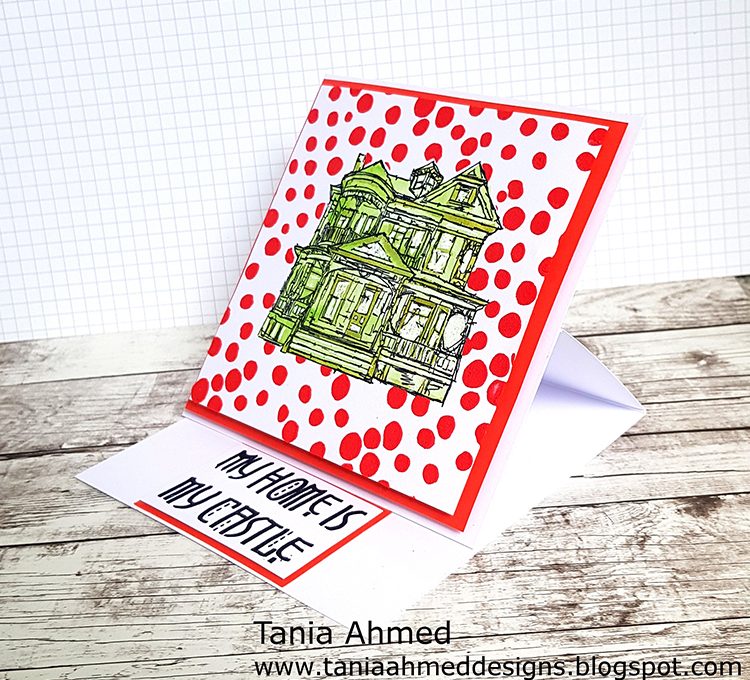
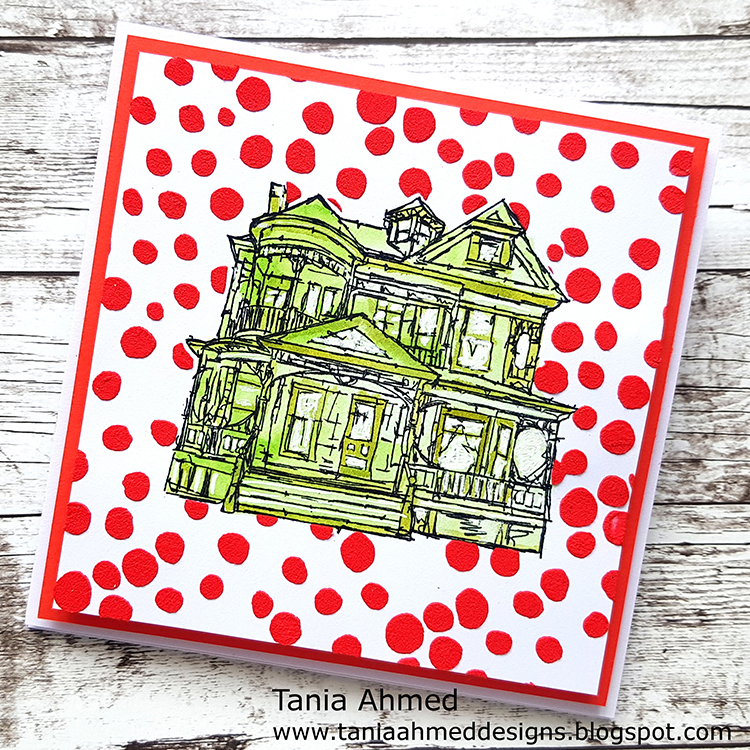
Hello from my Creative Squad and welcome to a project from Tania Ahmed. Tania is bringing us a super fun easel card using my Stroll Around the Block set of house stamps, my My Home is My Castle stamp, and my What’s the Point stencil. Be sure to watch her awesome video for the how-to and join us for this month’s new theme: Inside Outside – Inside can be cozy and warm. Outside is about fresh air and freedom. Are you a homebody or do you suffer from cabin fever? We’re creating with these opposites in mind.


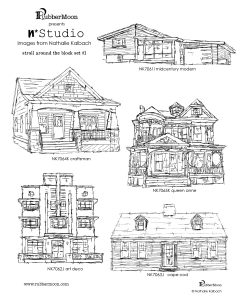
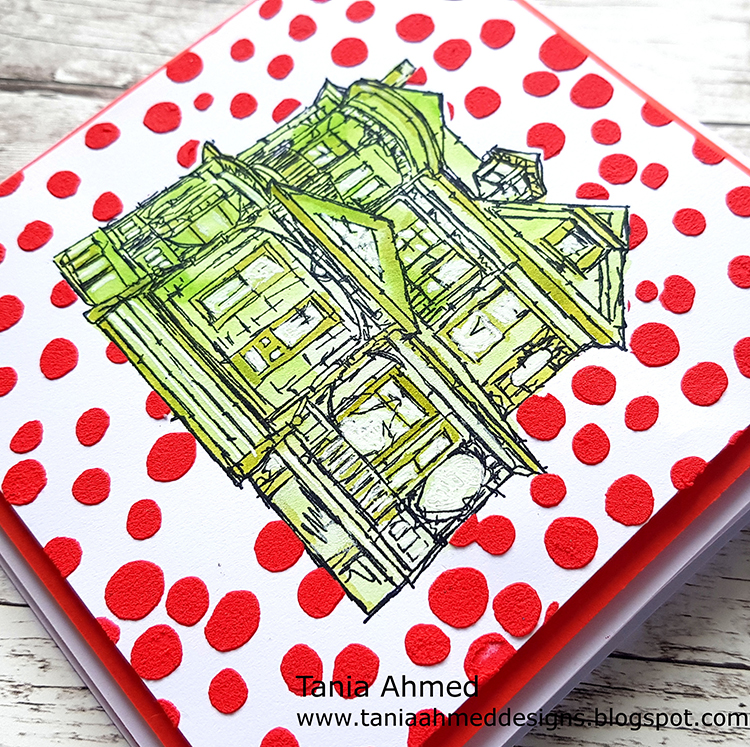
I was inspired by this month’s theme to create an easel card as a play on the “inside Outside” theme! My main focus was the Queen Anne Building stamp which is a part of the Stroll Around the Block Set #1.

The theme made me think about whether I preferred to stay at home or be outside. Did I prefer my own company or to be around people? As I get older I am getting more and more comfortable in my own skin and realising that I can have moments where I prefer one or the other scenario and that it’s okay! I’ll have days where I want to make a clean and simple project and then there will be days when I will be absolutely covered in paint and making happy creative messes!

I decided to make a video tutorial showing how I made this easel card, and I loved how it turned out :) Click on the video below to watch:

Here are also some photos:


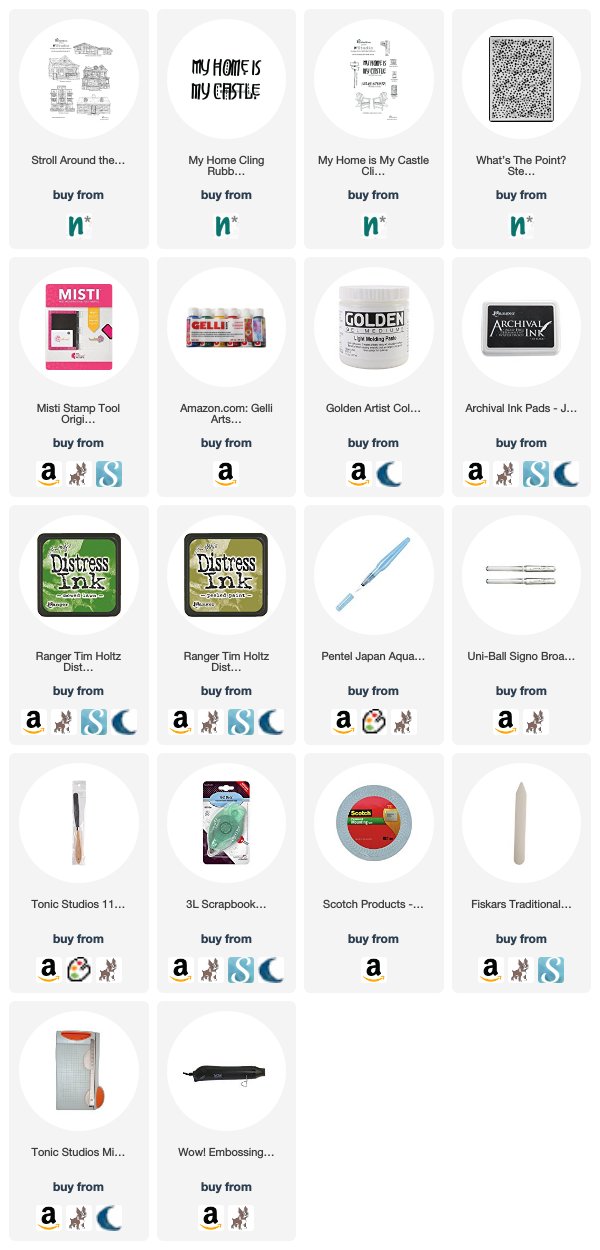
Thank you Tania! I’m just loving your video and seeing the awesome texture you created with my What’s the Point stencil on this card! Also those colors are yum! In addition to various cardstock and papers, here are some of the supplies that Tania used:


Feel inspired? Working on something yourself that you’d like to share?  I love to see how you interpret our monthly themes. Email me how you used my stencils and stamps with the theme and email me an image – I would love to share your projects in my next  “n*Spiration From Around the Globe“.
SaveSave

SaveSaveSaveSave

Leave a comment