One of the things that make me really giddy is when I spy someone using my stamps by Stampendous or also my Stencils with StencilGirl Products  So, once in a while I feature the work of those wonderful talented people with a series called: designed by n*Studio features:…..
And today I feature: Judi Kauffman. Judi has no blog – so please leave some love for her here :)
I am so happy to have my friend Judi Kauffman back for another feature!
Here is what she has to show and tell:
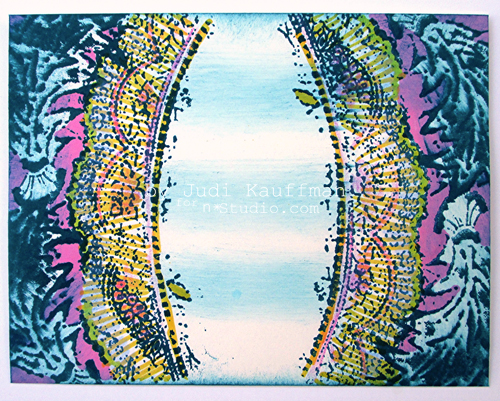
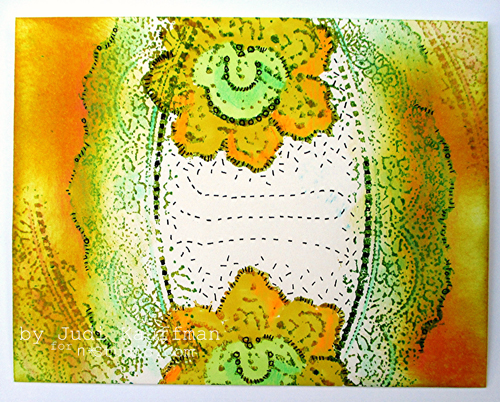
Thank you for inviting me to be your guest designer, Nathalie. When I saw your new Fiesta stamp set, the first thing I thought about was envelopes! A decorated envelope makes any card or letter extra special and the stamps and stencils in the set are the perfect fit in every way.
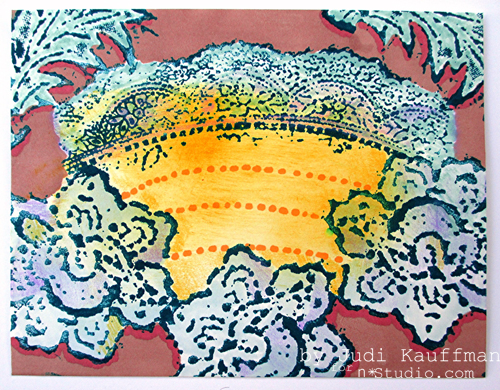
The stamps provide a great combination of lacy and floral elements, bold as well as soft-edge, large and small – just right for mixing and matching, layering and overlapping. The silhouette stencil and masks of a lady and gentleman dressed in their finery sparked all sorts of ideas and added to the possibilities.
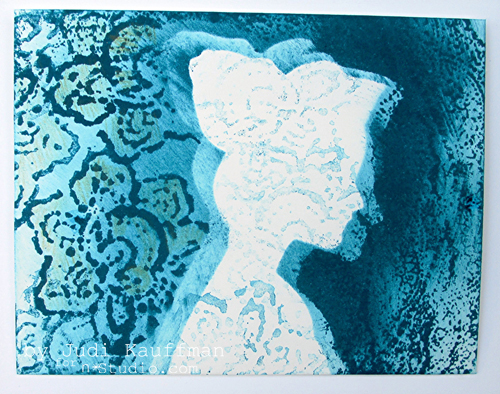
Given that envelopes are meant to be ephemeral, tossed after they’ve done their job of carrying correspondence, I like to decorate them quickly, working in big batches. Ideas beget more ideas; before you know it there are a couple of dozen envelopes ready to use, a series of one-of-a-kind creations that take only a few minutes each.
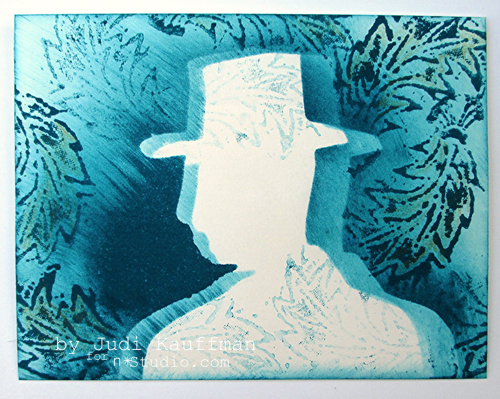
Sometimes all I do is stamp and smudge and call it a day. But other times I take the envelopes beyond the initial stamping and smudging: Markers and pencils and pens come out to play!
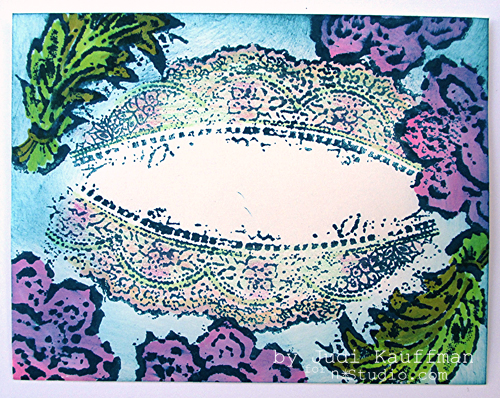
Instructions:
- Spread out some newsprint to protect the work table. (Save the newsprint to use for collage, it will have partially-stamped images and lots of smudged color on it!)
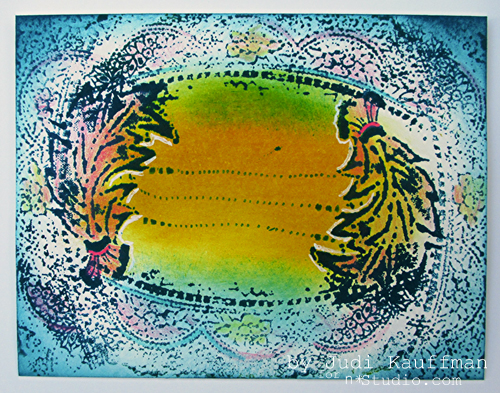
- Temporarily mount the stamps on acrylic blocks. Using a dark color dye-based ink (sepia, stream, or denim, but not black) stamp a series of envelopes making sure to leave an area for writing the recipient’s name and address. Envelopes shown are A2 size. Substitute #10 or any other size you prefer.
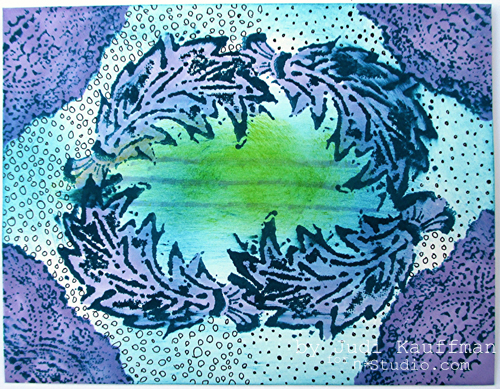
- Using artist’s sponges smudge the same ink and other ink colors over and around the stamped areas.
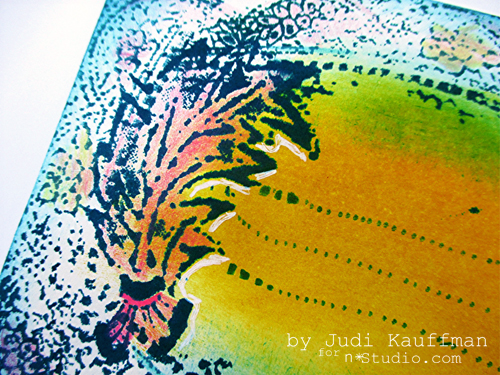
- Use the silhouette masks to create open areas toward the center of some of the envelopes as shown.
- Stamp some more envelopes using lighter colors.
- Use markers, pencils and pens to add bold accents or subtle color blends, highlight and bring out areas within the design, and create doodle patterns. If you enjoy wet media make sure to stamp with permanent inks and use watercolors, acrylic paints, and mists to accent the envelopes (in addition to, or instead of, the markers, pencils and pens).
- For the finishing touch, choose postage stamps that coordinate with the colors and designs on the envelopes.
- While you’re at it: Stamp some cards, create some collage papers, or work on art journal pages using the same design strategies and supplies.
A list of the supplies is at the bottom. Here are some more samples:
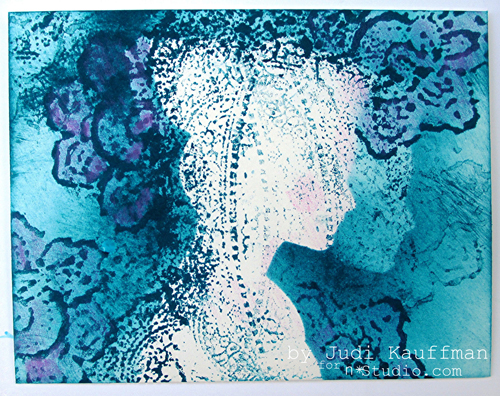
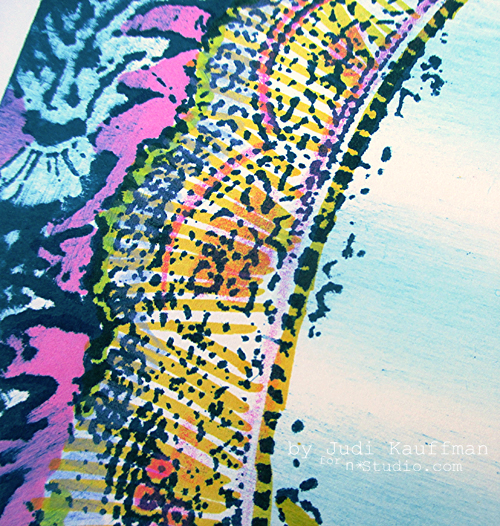
Thank you so much Judi – I love this unique idea for using my stamps for Mail Art! You are amazing!
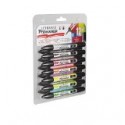
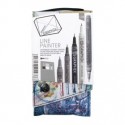
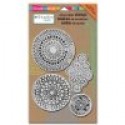
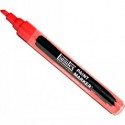
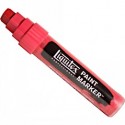
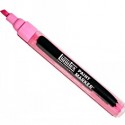
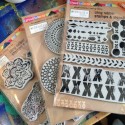
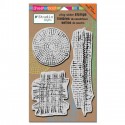
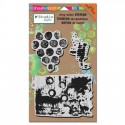
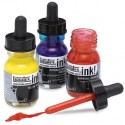
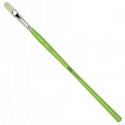
Here are the supplies that Judi used besides Dye-based inks in assorted colors; Artist’s sponges; White, off-white or ivory envelopes in A2 size (or any preferred size); Acrylic blocks, Winsor & Newton ProMarker :






















Comments (4)
Laura Weed
| #
Wow, Nathalie!! What a cool project. I think you did an amazing job with a surprise package! Thanks for sharing!!
Reply
nathalie-kalbach
| #
Thank you Laura :) Thanks for coming by and have a gorgeous weekend!
Reply
Jean Goza
| #
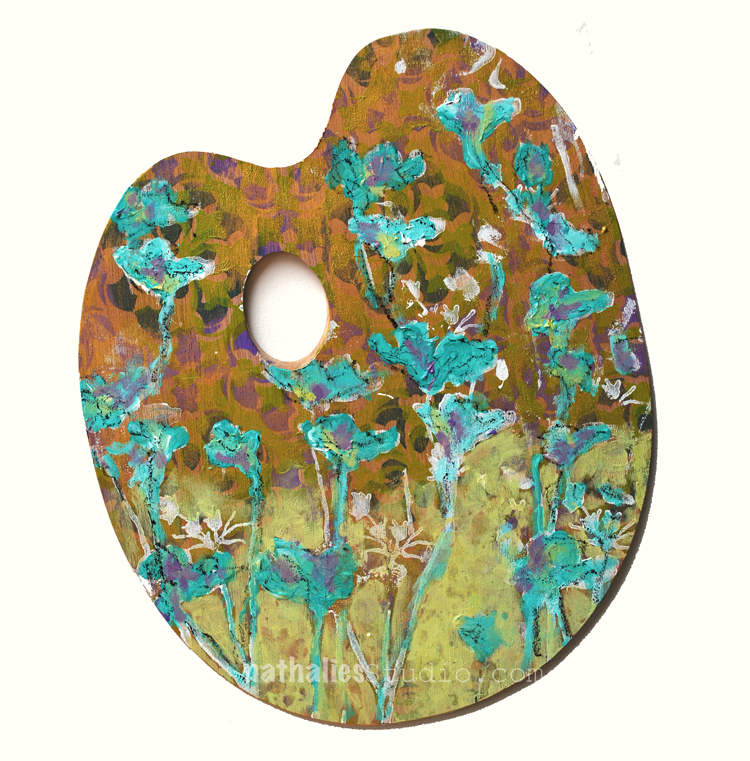
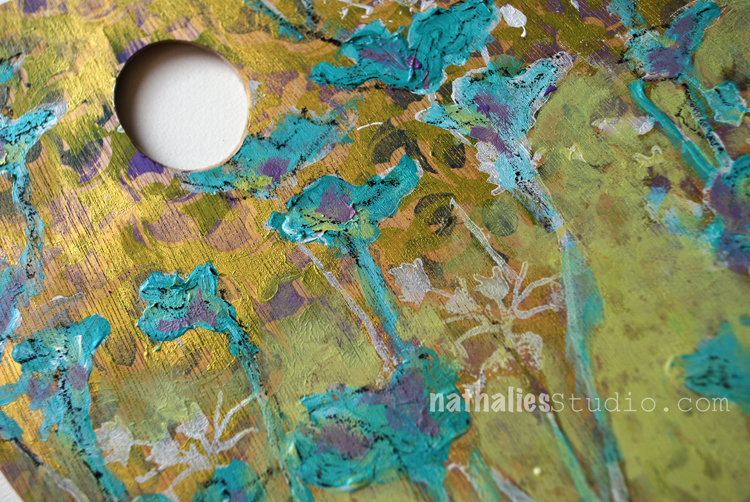
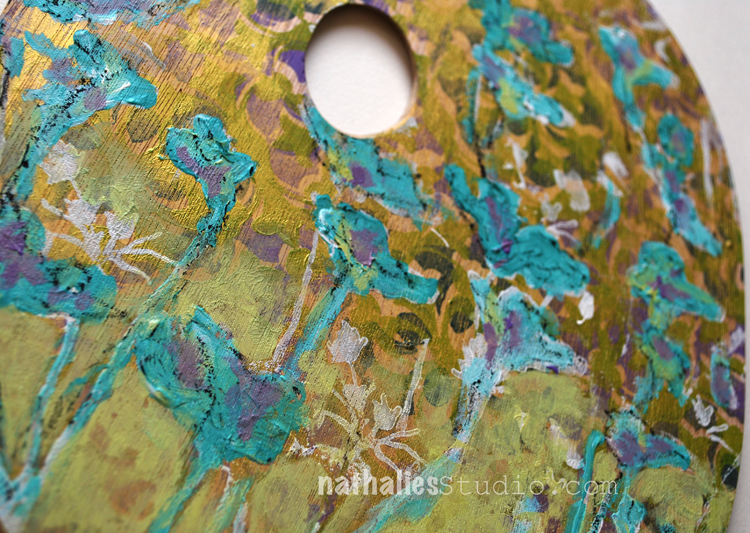
Very cool project! The gold gesso is now on my “want” list. Love the effect.
Reply
nathalie-kalbach
| #
Thank you Jean! The gold gesso definitely is yummie :) I like it a lot!
Reply