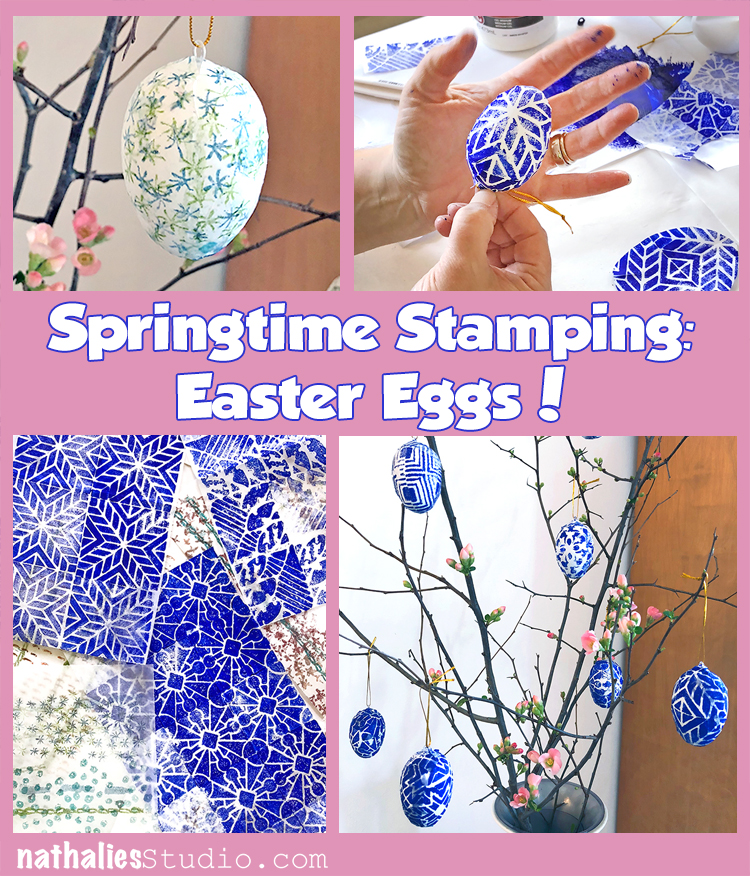
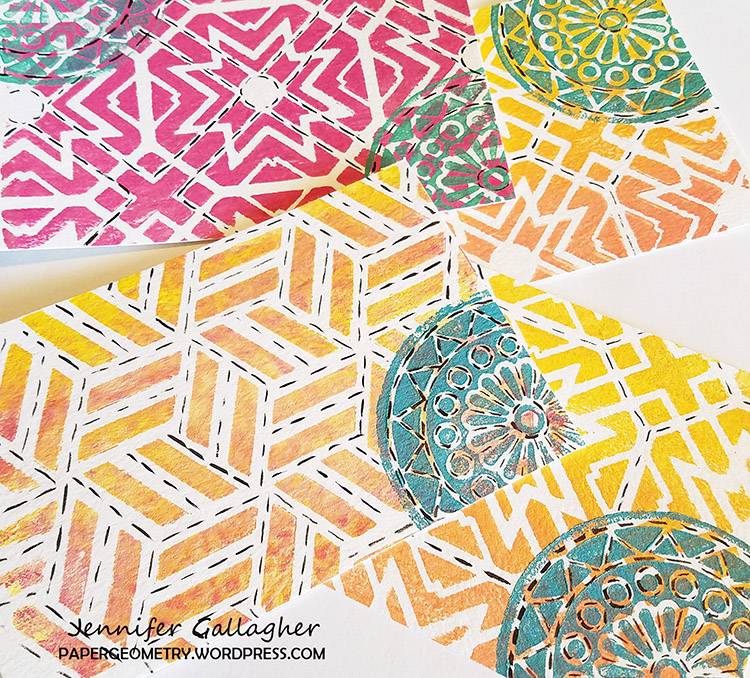
This year I wanted to mix it up with an idea for coloring Easter Eggs and decided that stamping might be fun. So Kim and I had a play date and decorated a bag of plastic hanging eggs with lots of stamped deli papers.
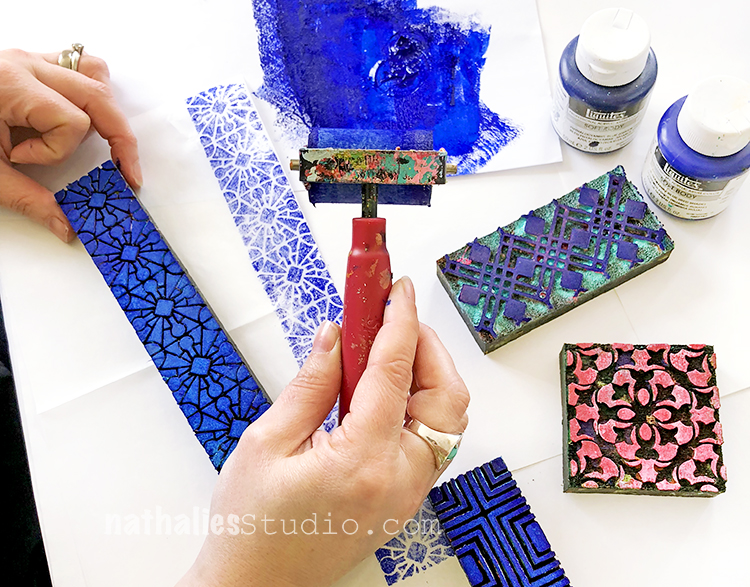
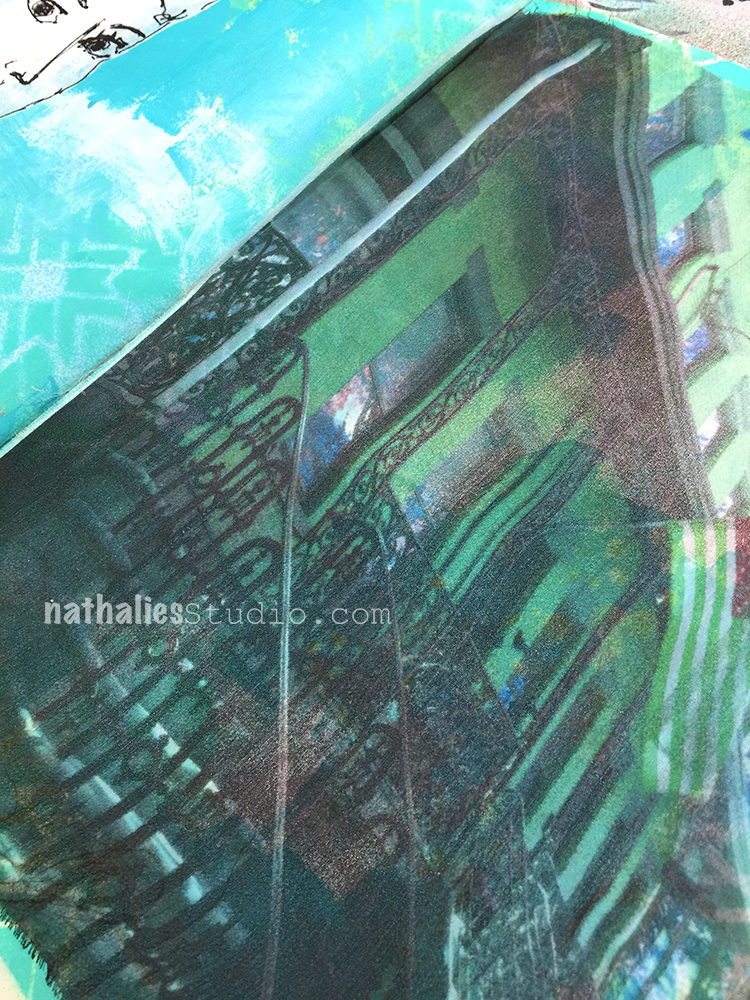
To match my blue and white dinnerware, I decided to use all shades of blue acrylic paint and some of my mini ArtFoamies. Kim chose some cheery colored StazOn and Archival ink pads and stamps from my Embroidery and Marks stamp sets. We found that smaller scale patterns work best for this. This would also be an interesting way to use any collage papers you have been saving that are deli paper or tissue paper – thin paper is easier to decoupage on the eggs.
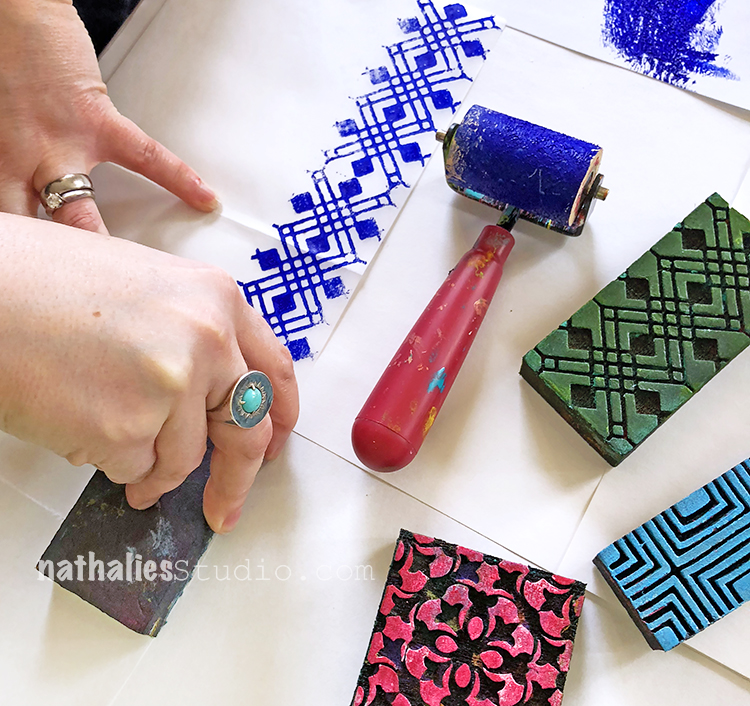
Then we stamped the full length of the deli paper – our deli paper is 6″x10.75″. Here I am using my Mini Chicago foam stamp set.
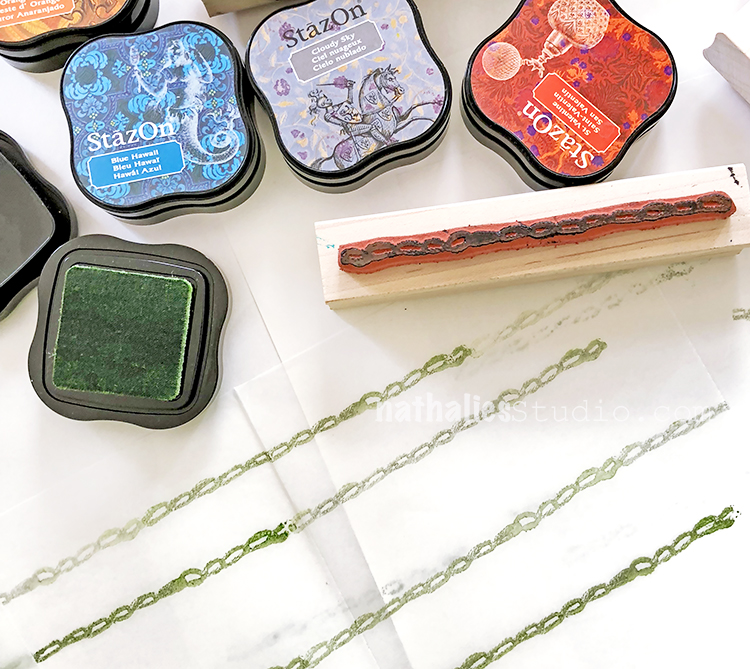
Kim used my Chain Link stamp from the Embroidery set.
More blue soft body acrylic and my Buenos Aires Border foam stamp for me…
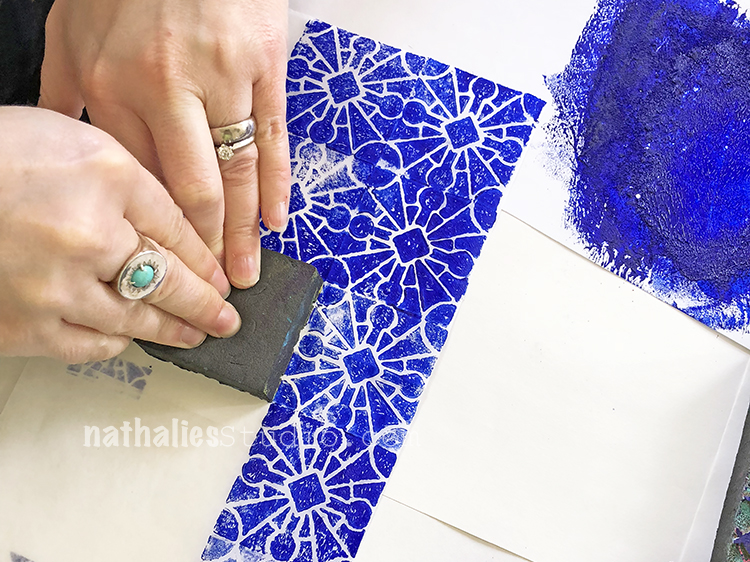
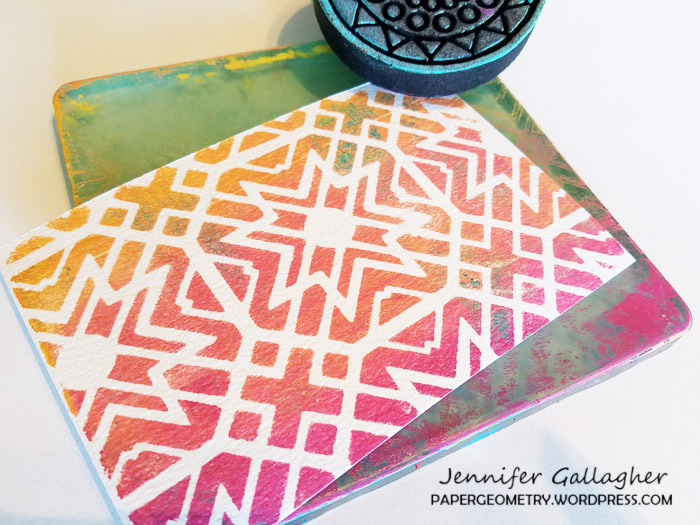
…and then I used the Mini Buenos Aires Tile. Loving how saturated the blue is…
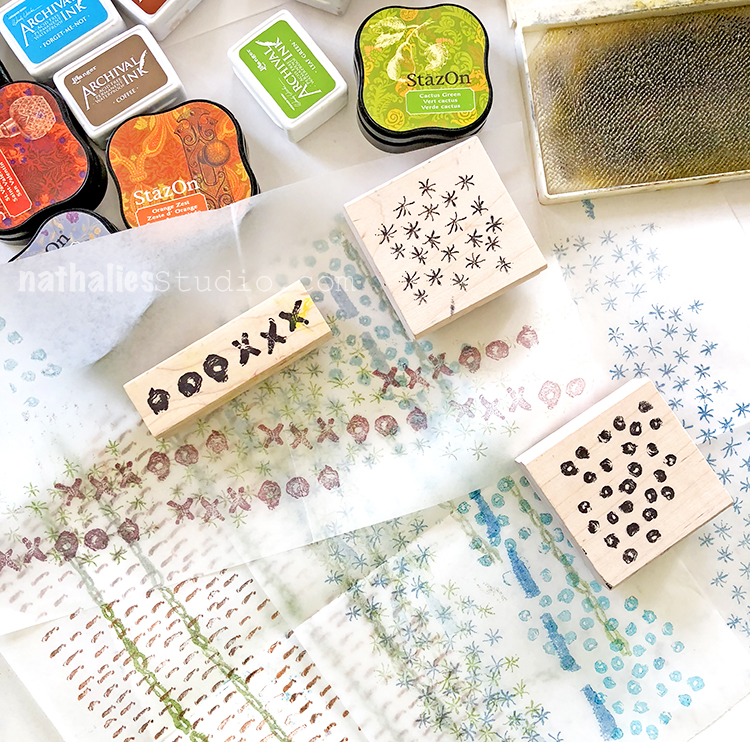
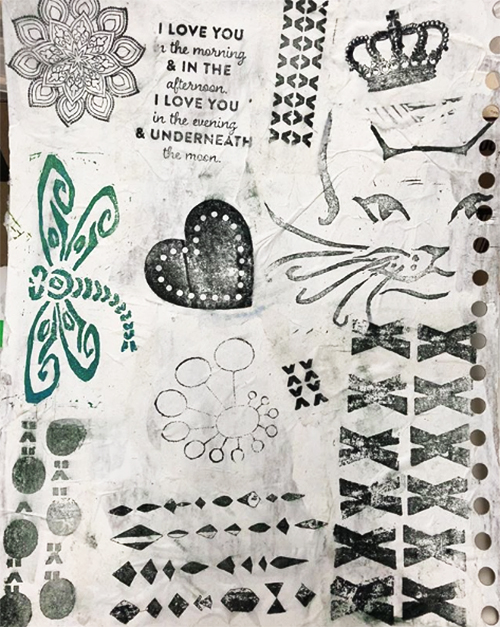
Kim layered up some rubber stamps – here are Love Knots, Starfish, and Grannies…
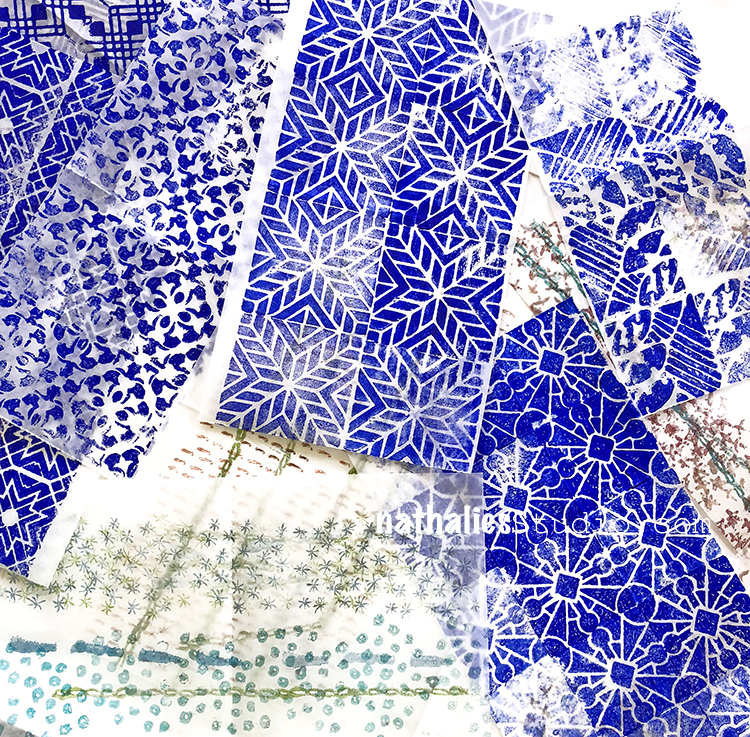
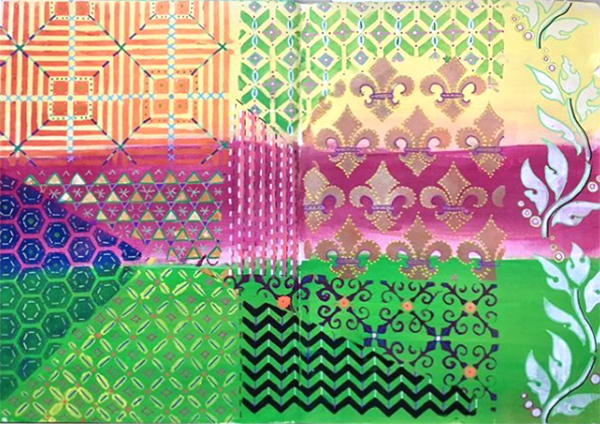
We stamped up a bunch of papers :)
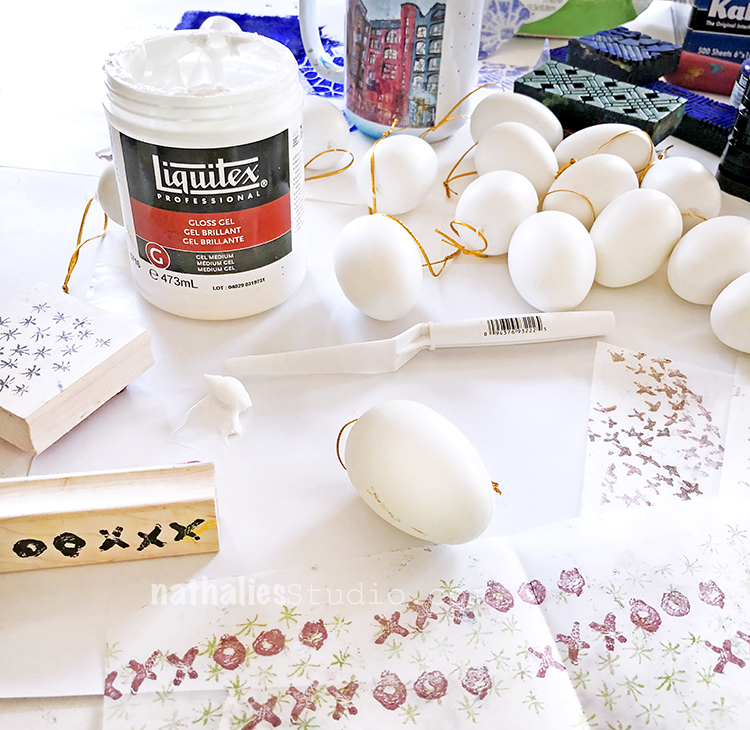
We used Liquitex Gloss Gel Medium to decoupage onto the eggs.
To figure out the best way to cover the eggs, we had some trial runs. You may need to play around with it depending on how big your eggs are. Here I tried a bit of paper stamped with my Mini Batik Pattern 4 stamp.
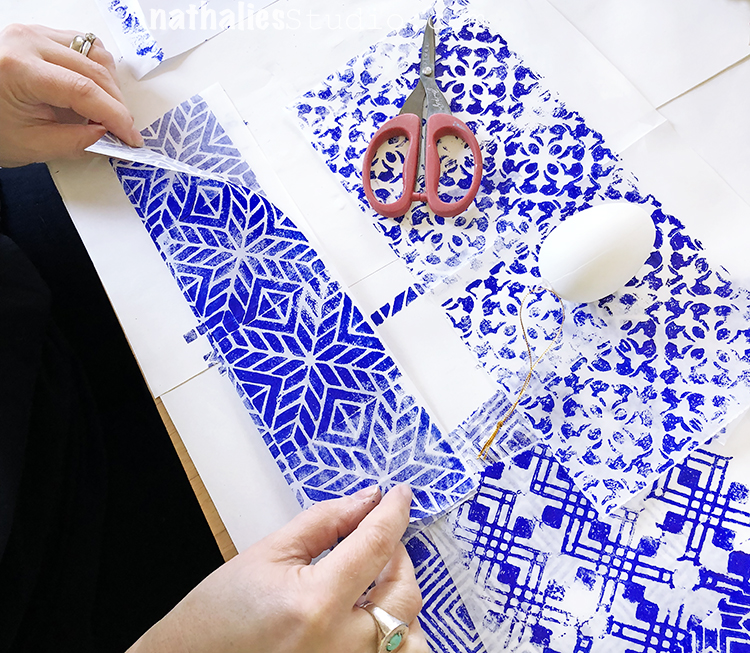
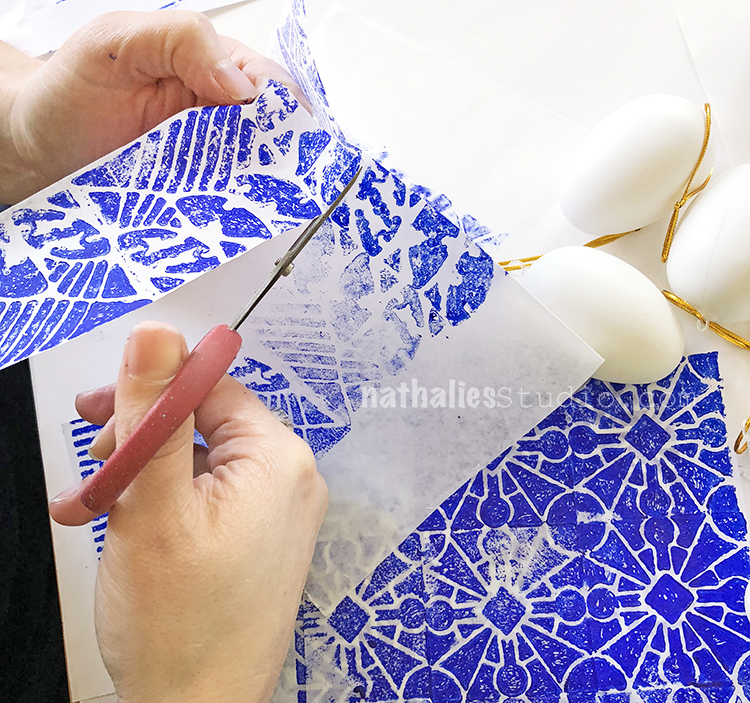
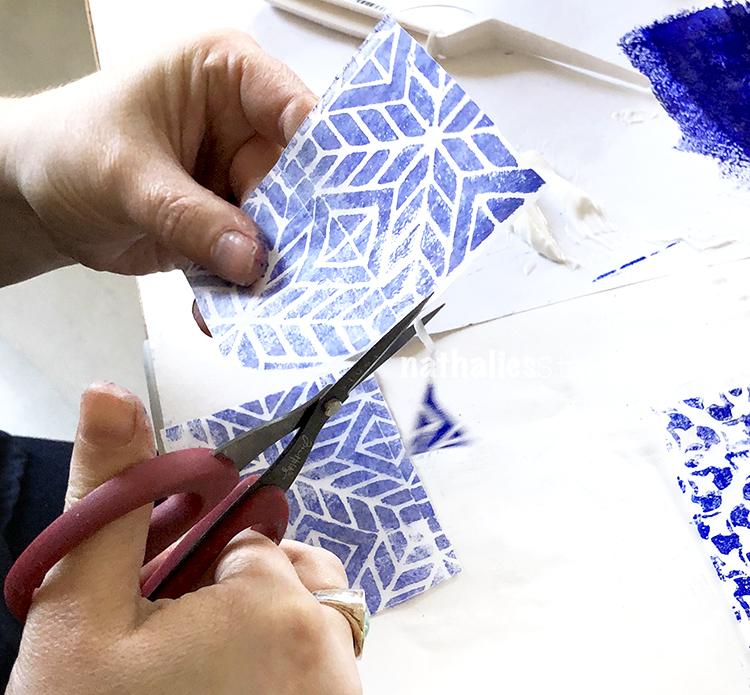
To fit our egg size (see the link at the end of the post for what plastic eggs we used), we folded the deli paper in half lengthwise. I chose a paper stamped with my Santiago foam stamp.
And cut it down the fold to make 2 strips, each 3″x10.75″.

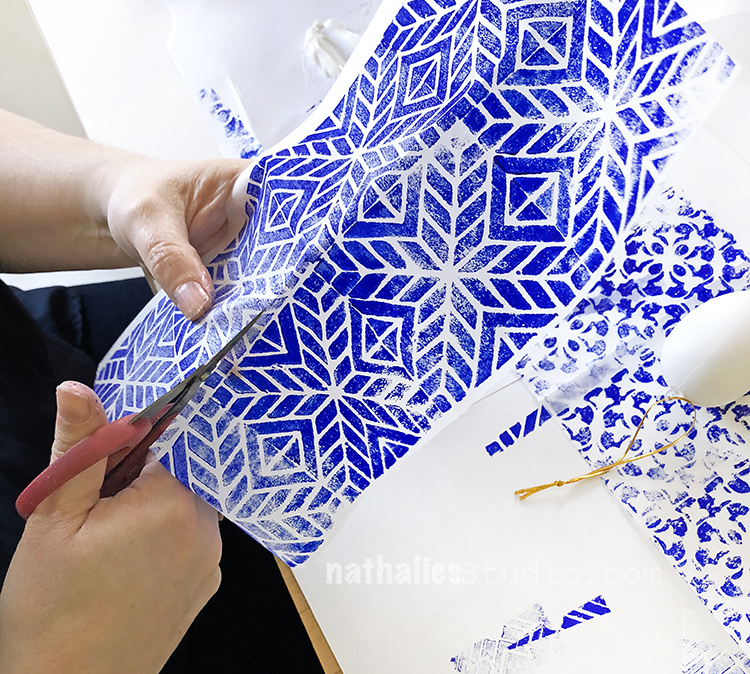
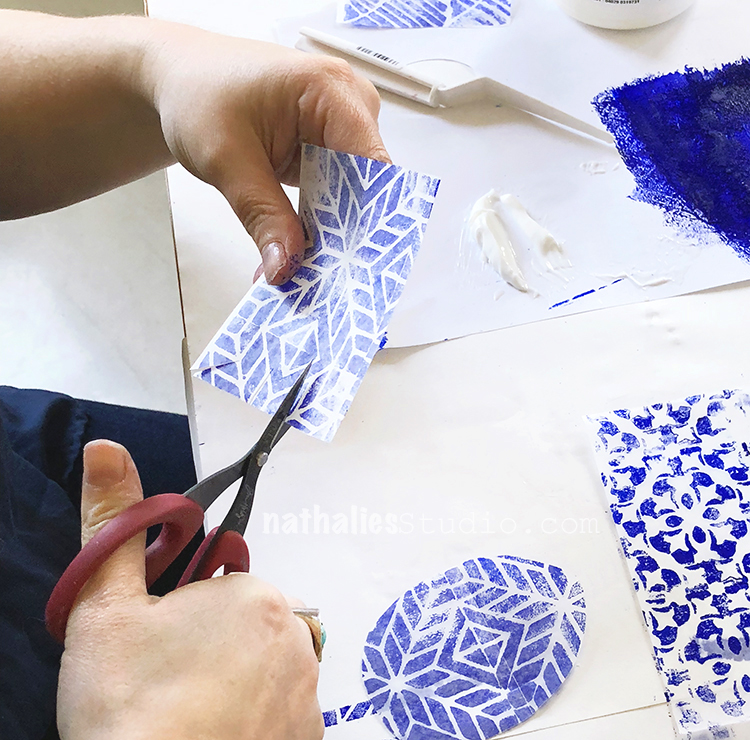
I cut off a 4.25″ long piece. This will be the first piece I decoupage on the egg.
And with the leftover I cut a 3.5″ egg shape.
Both the rectangle and the egg shape get .75″ cuts in them, all around the edges and at the corners. This helps the paper conform to the curve of the egg.
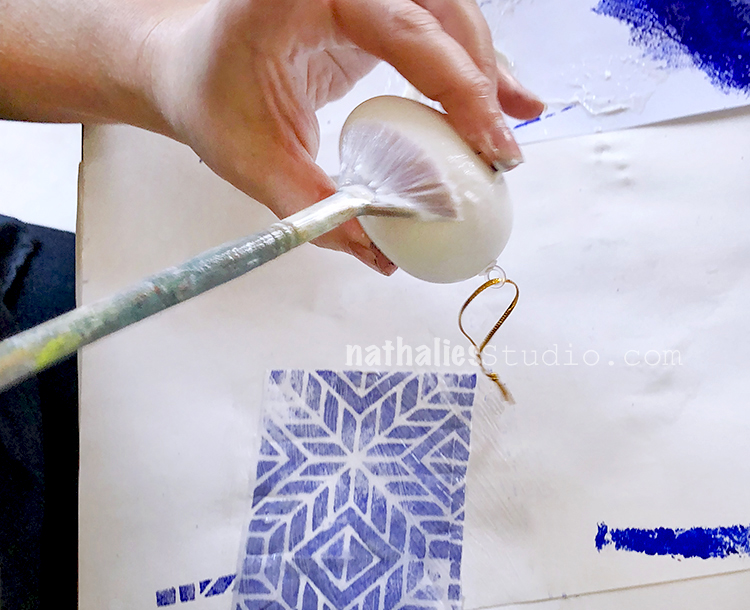
The egg and the paper got a coat of gel medium…
…and then the messy task of applying the paper. First put the rectangle with the 3″ edge at the hook end and go around lengthwise until you wrap over the bottom of the egg. You will be overlapping your cut edges so some of the pattern does get obscured along the edges.
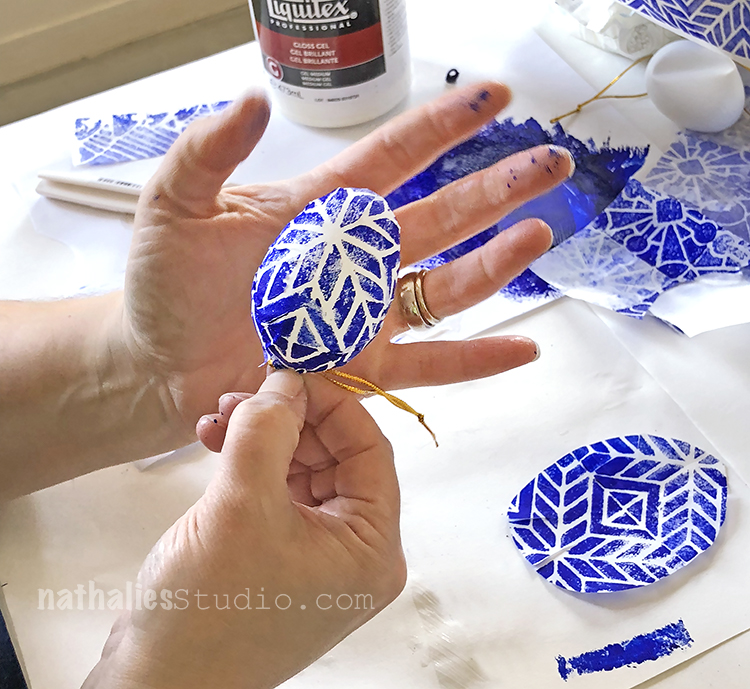
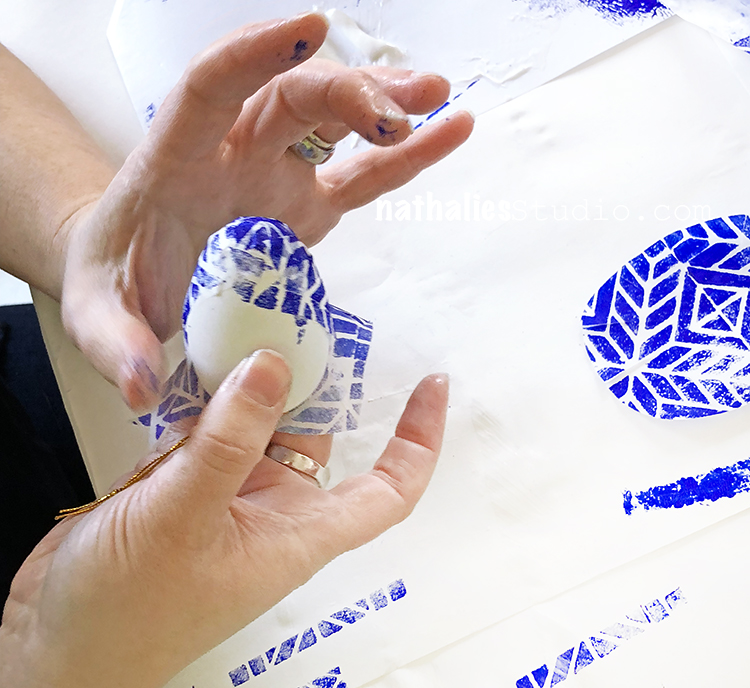
The front face of the egg has the pattern nicely. Next up is the egg shaped paper…
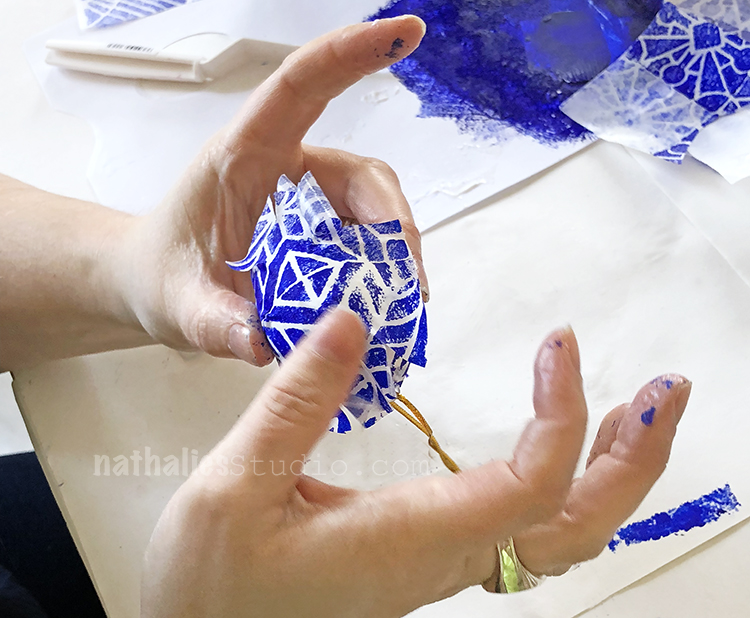
After a coat of gel medium on the back of the paper and egg, apply the egg shaped paper over the gap and again, overlap and smooth the cut edges around the sides.
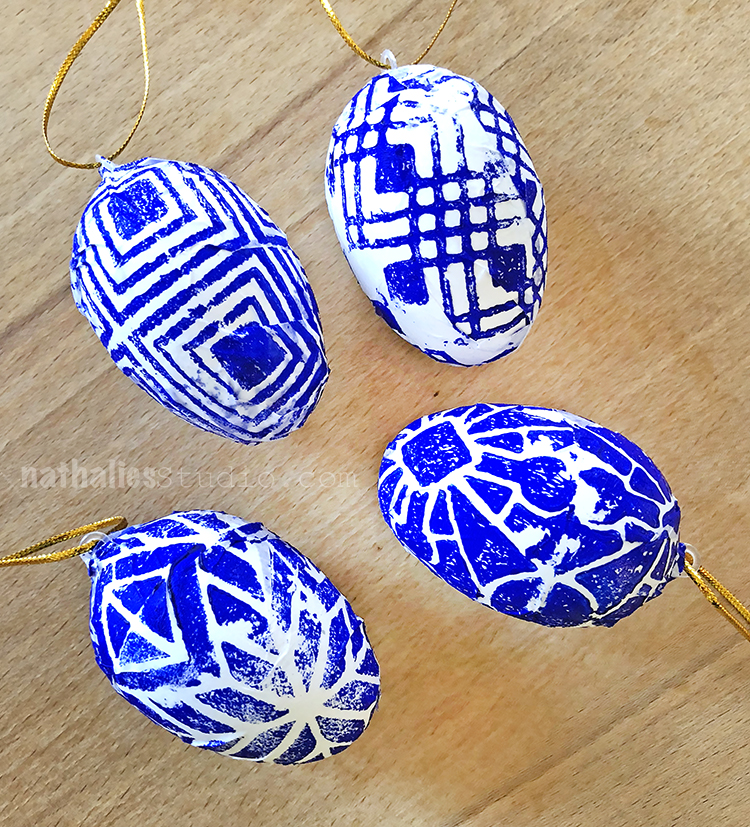
Here are some of the eggs I created, ready to hang. The patterns are (clockwise from top left) Manhattan border, Mini Chicago, Mini Buenos Aires, and Santiago.
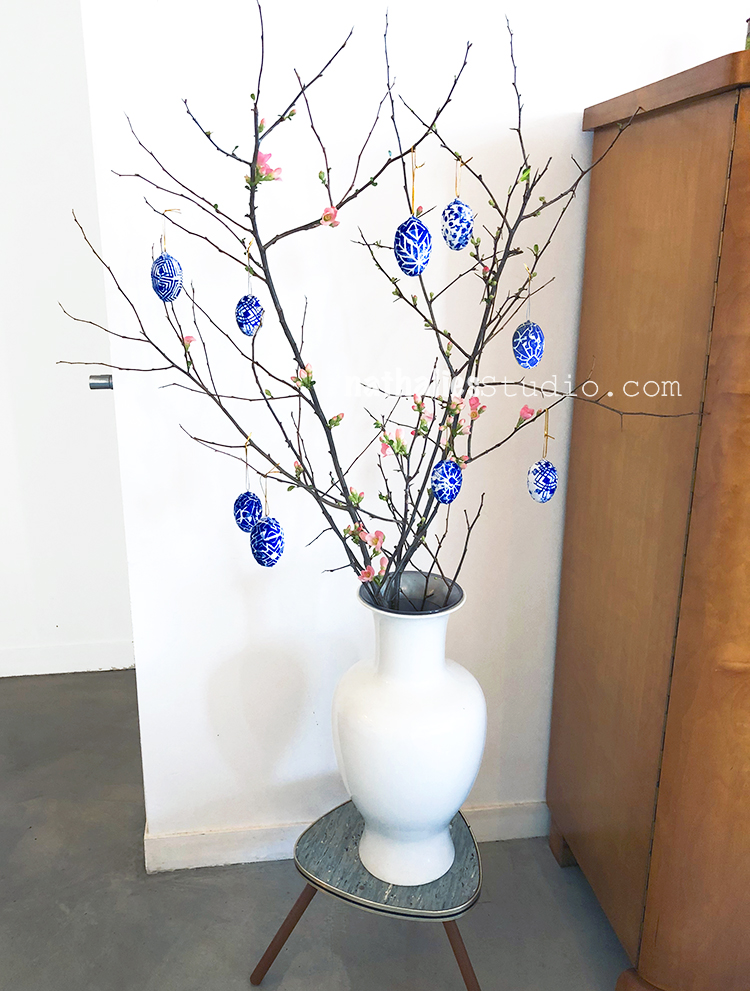
I picked up some flowering branches at the local market (not sure if they are dogwood maybe?) and set up a very lovely display in my dining room.
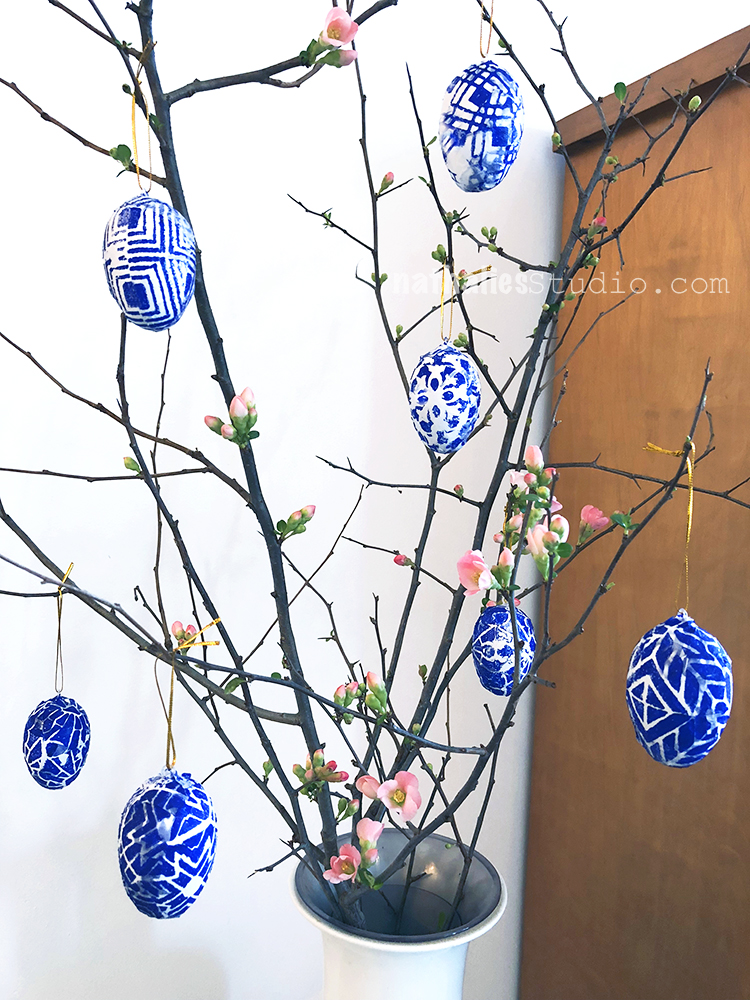
A closer look.
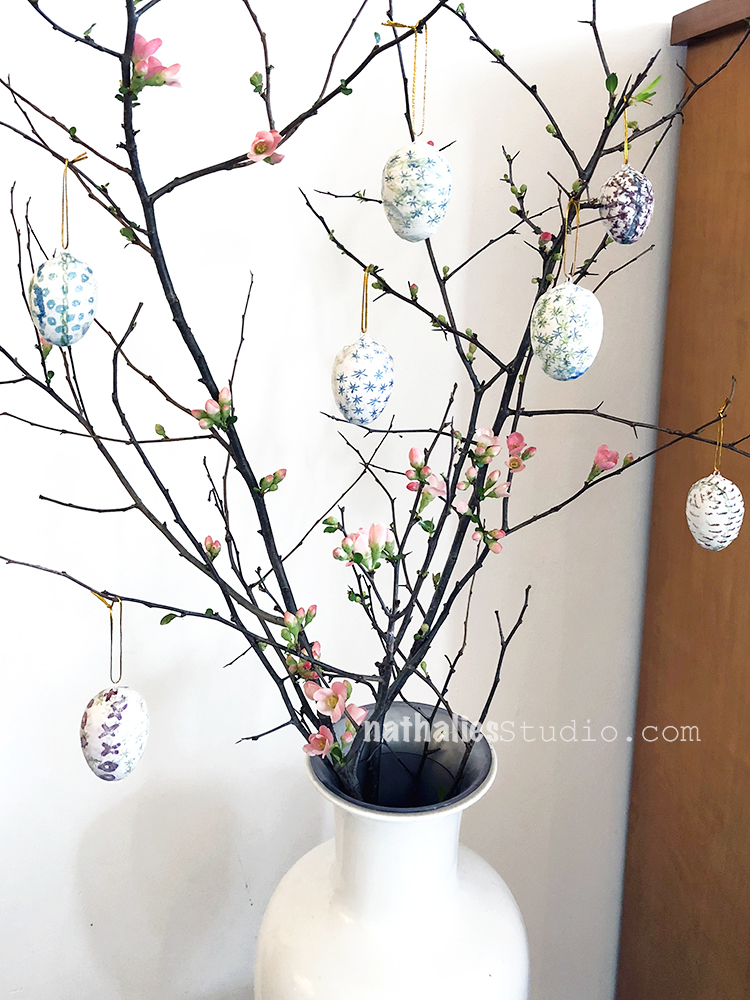
Kim’s set are very pretty too with the delicate patterns.
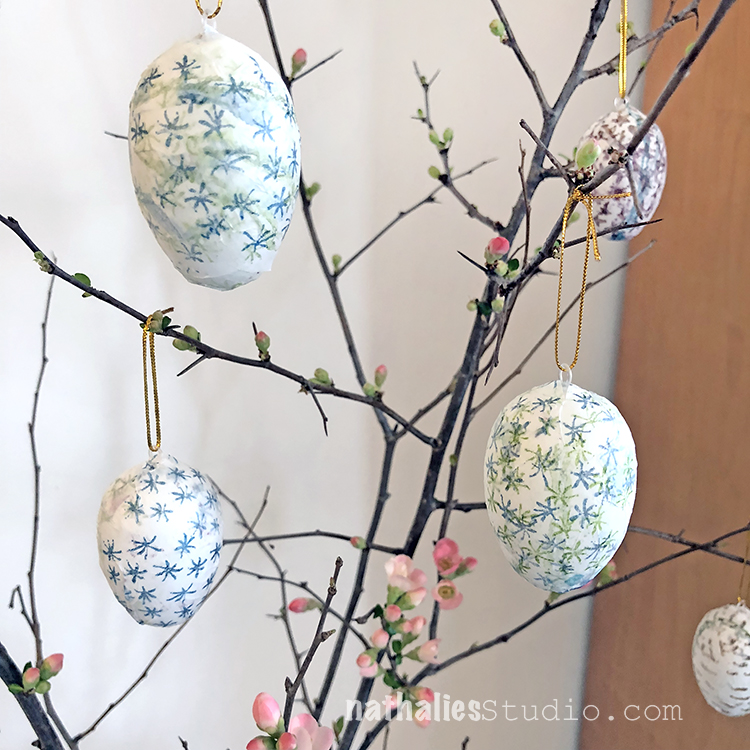
I like how the Starfish stamp ones turned out.
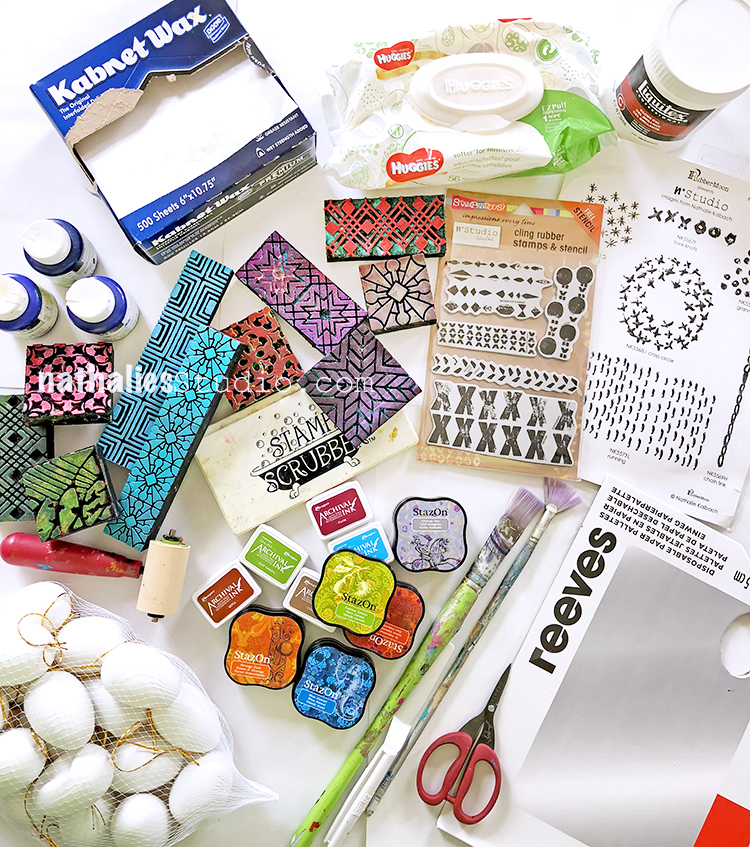
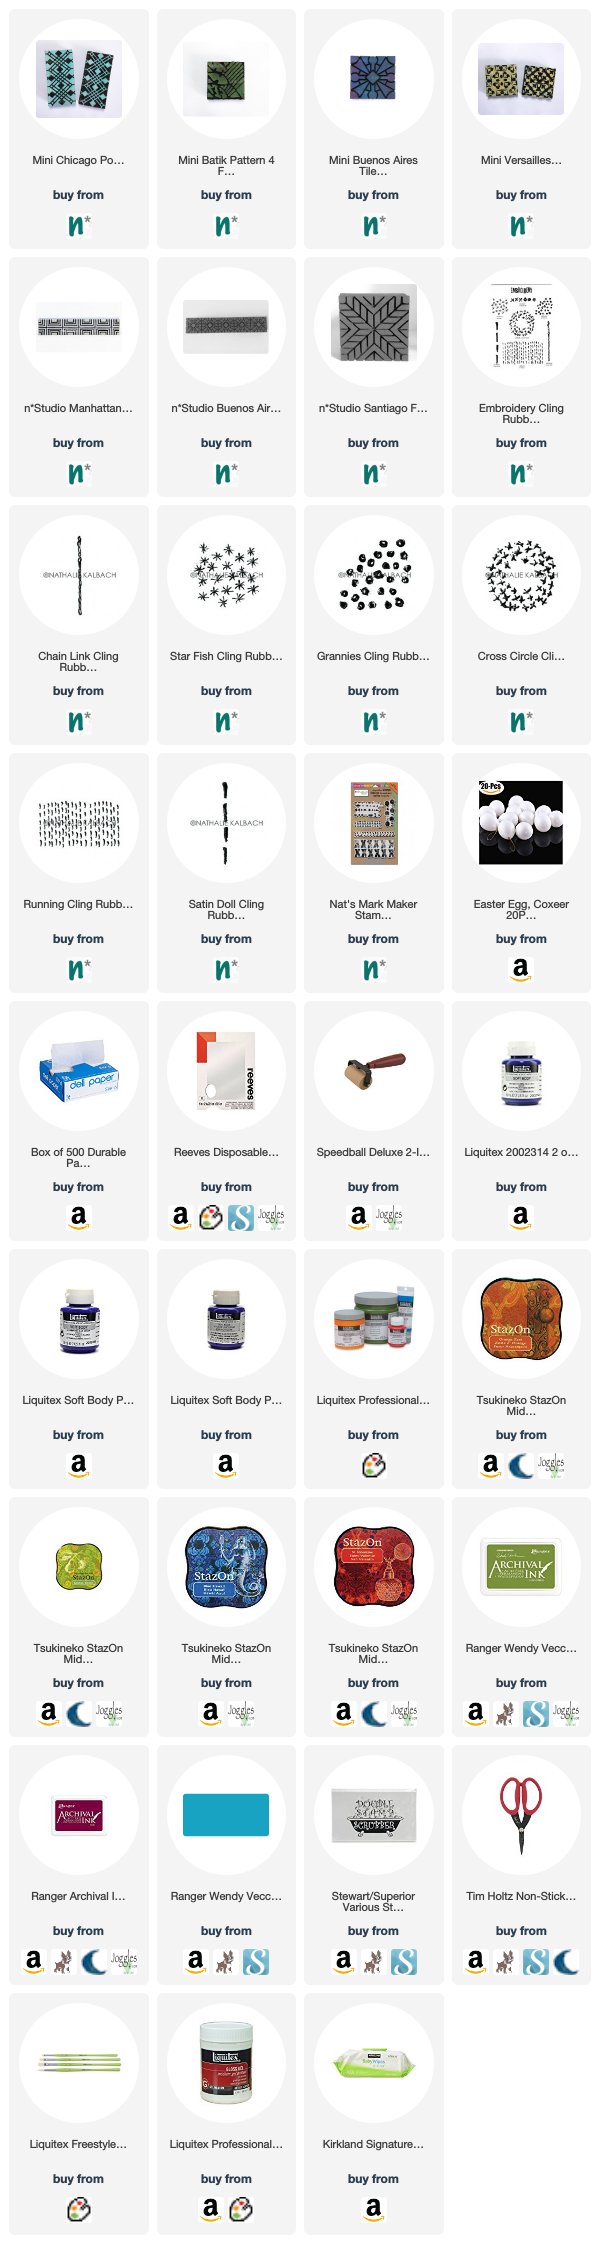
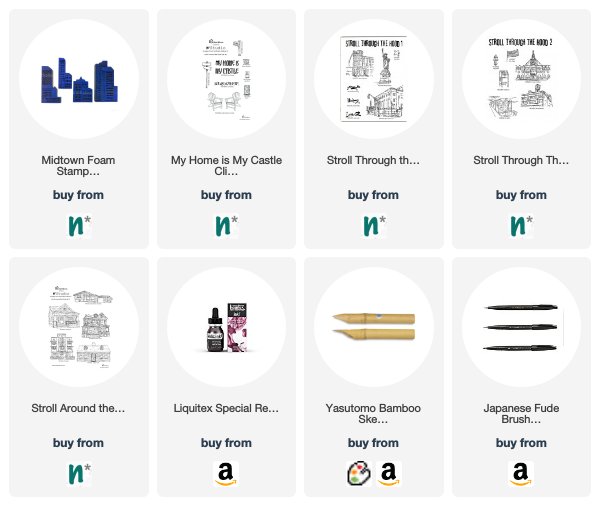
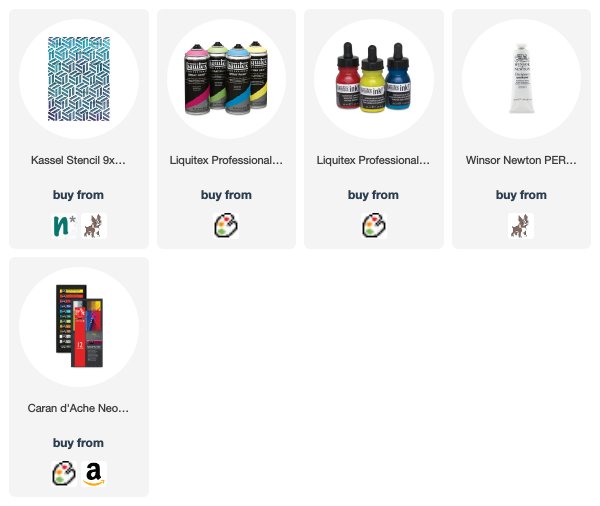
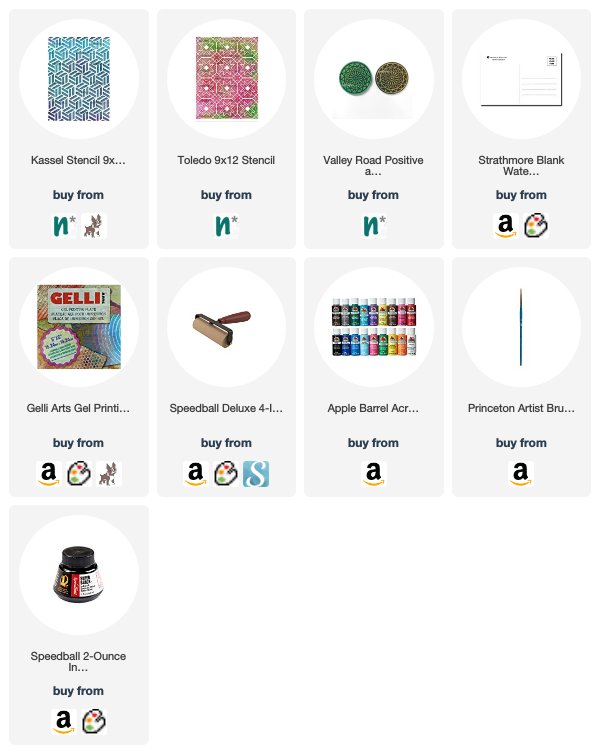
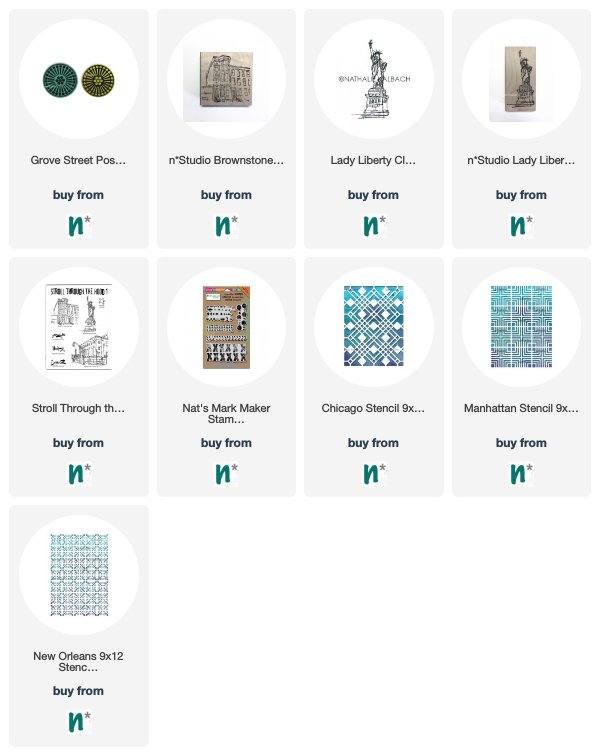
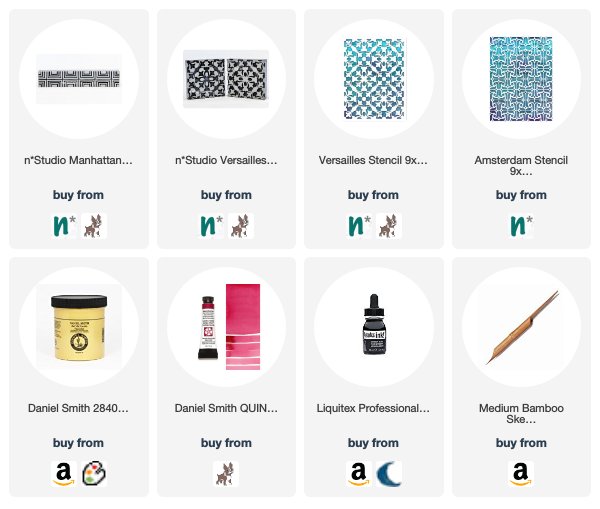
Here are some of the supplies we used:

Hope you stamp some eggs this year too!
SaveSave
SaveSave


Comments (2)
Sue Clarke
| #
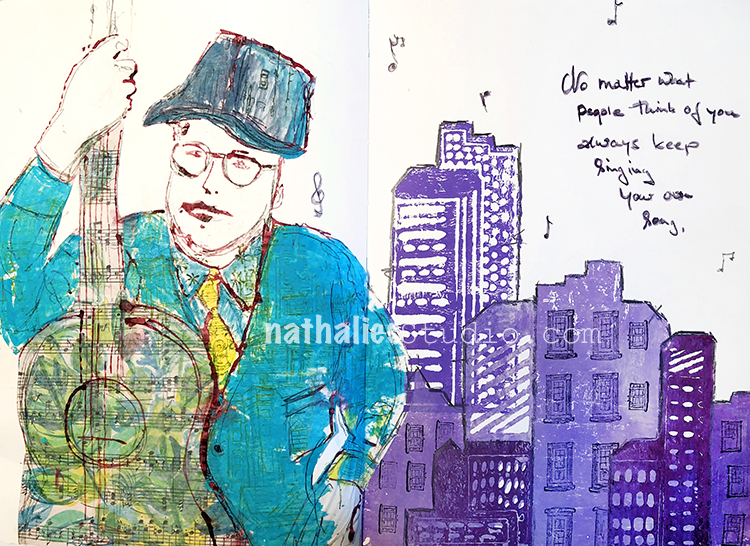
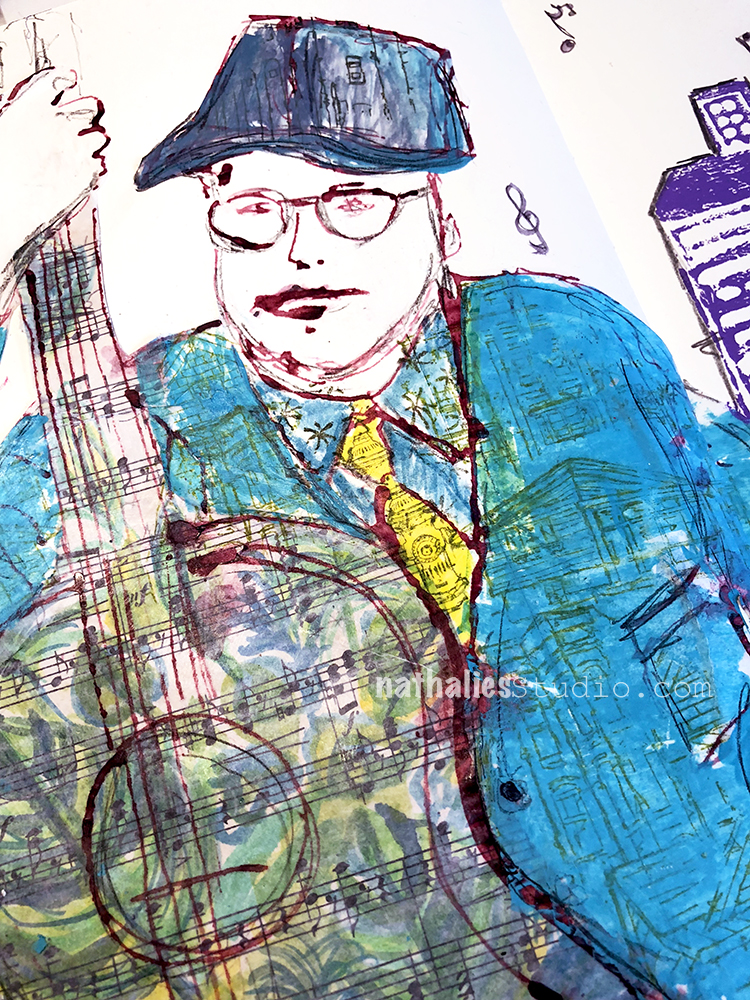
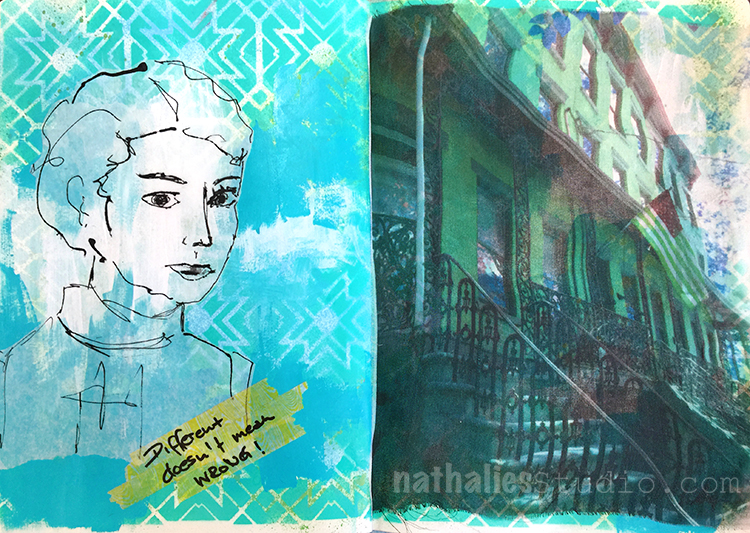
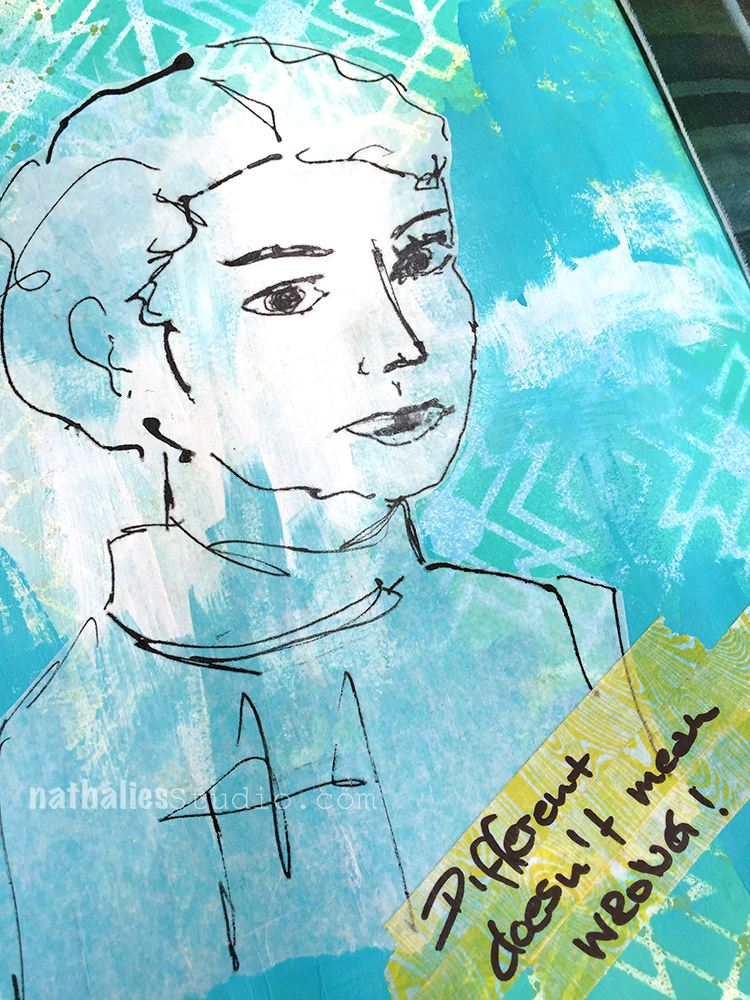
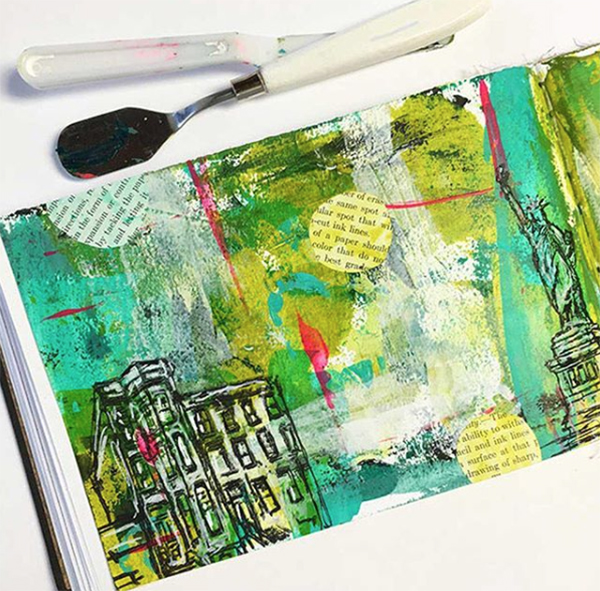
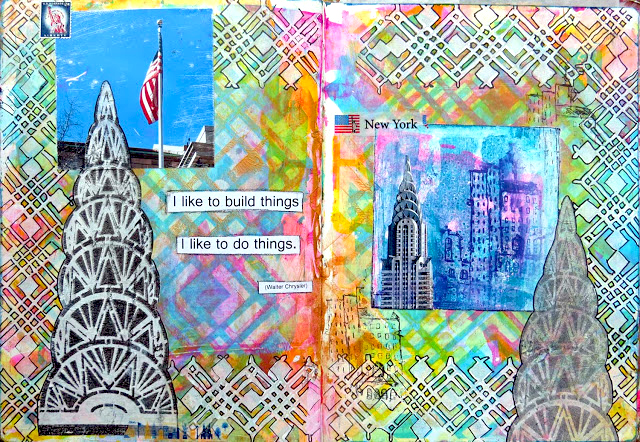
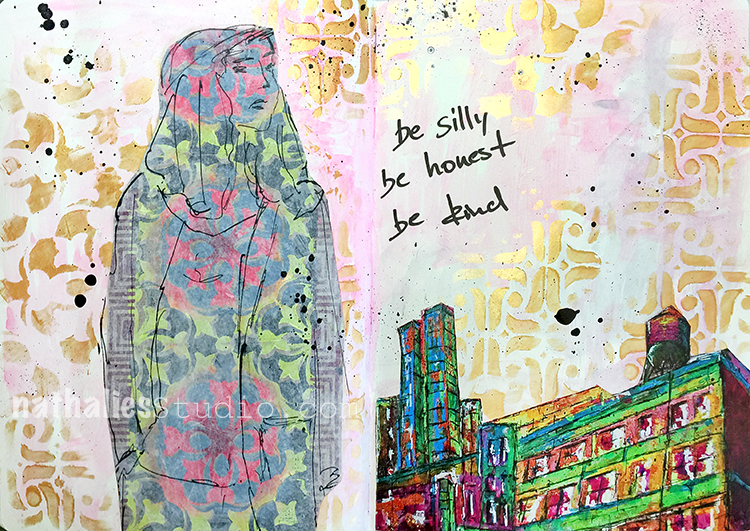
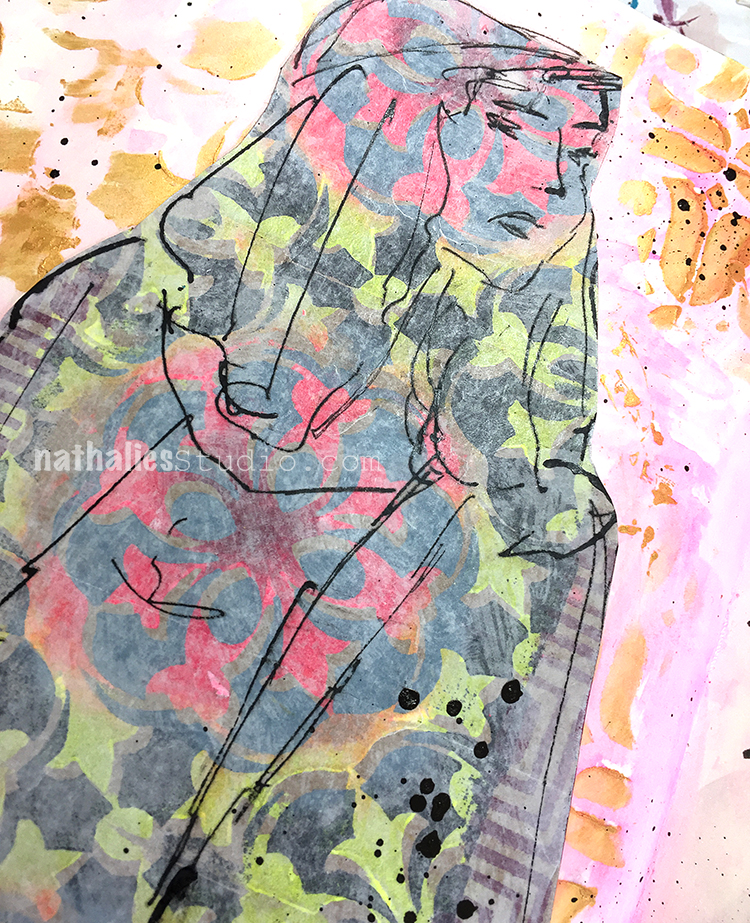
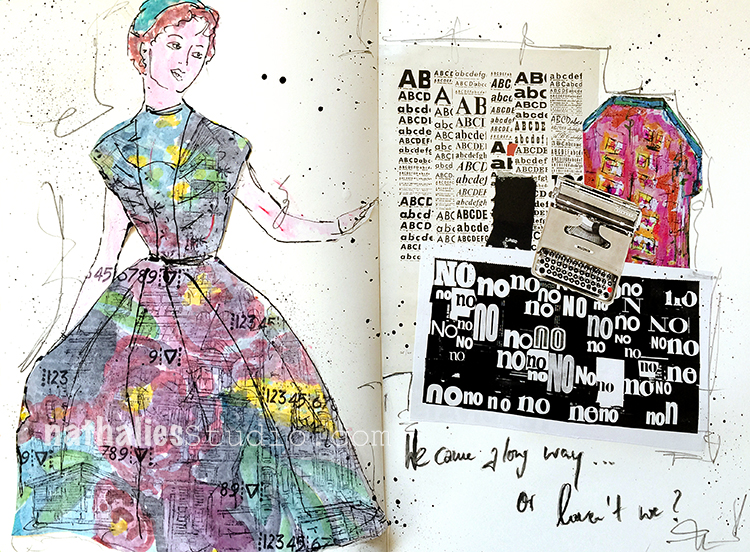
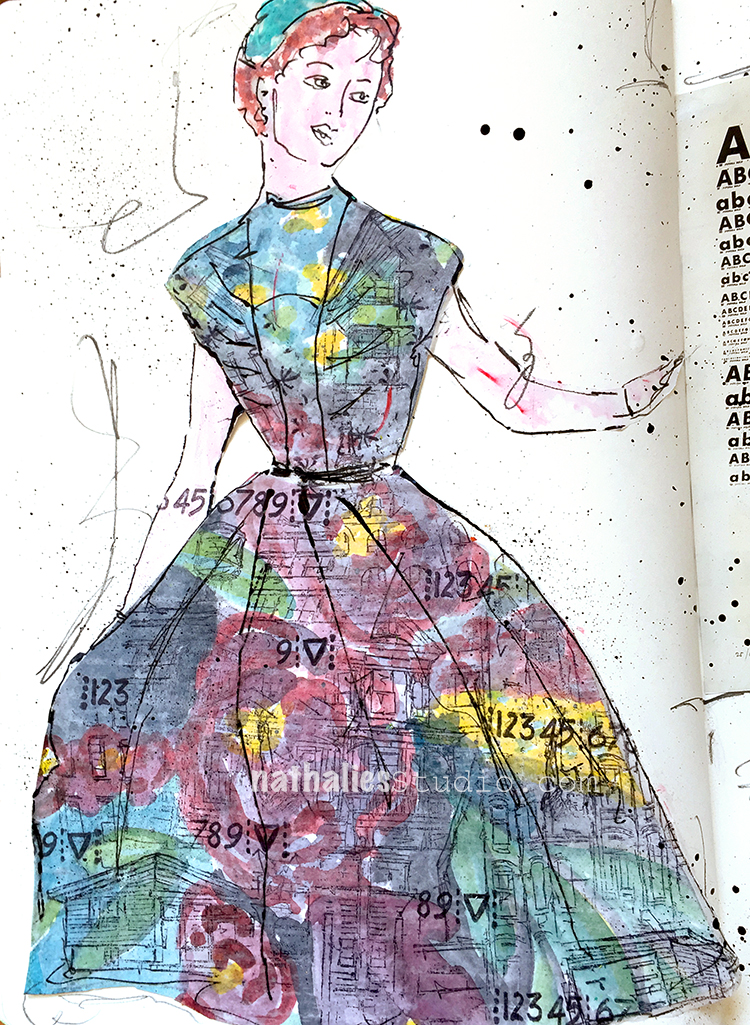
I absolutely love how you’ve been using the building stamps to make clothing patterns.
I never would have thought of doing that and it makes for such an interesting look.
Thanks for your continued inspiration Nat!
Reply
nathalie-kalbach
| #
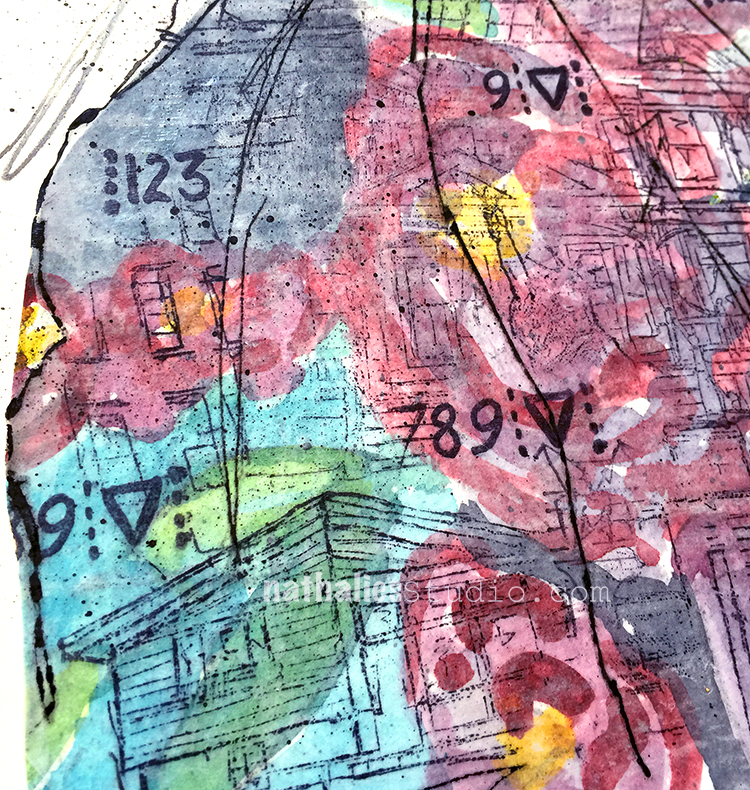
thank you Sue! I am so obsessed with doing those building clothes- cannot stoppppp :)
Reply