Ready for some more Recipe fun? Our Creative JumpStarters thought they would share with you some more of their favorite recipes- from easy to hearty to holiday special. I hope you will also join us for their Mixed Media Recipes at Creative JumpStart 2018 !
Ingredients:
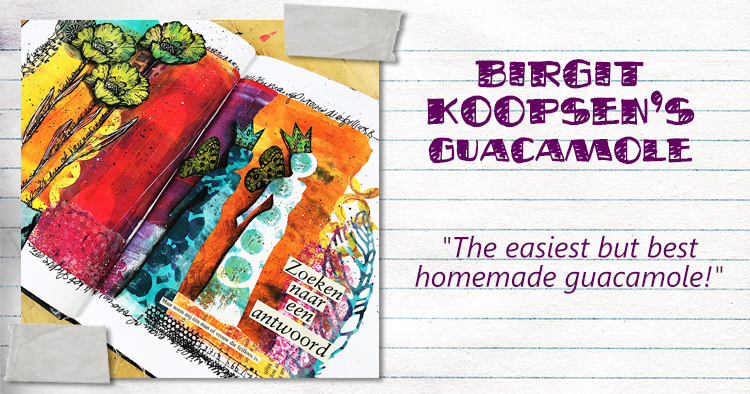
3 avocados, chopped
1 tomato, chopped
1 purple onion, finely chopped
1 lime, juiced
1 chili pepper, seeds removed, minced
garlic clove, minced
With a fork, mash 3/4 of the avocado in a bowl. Scoop all the other ingredients plus the remaining avocado in the bowl, toss and enjoy!
you can download Birgit’s Recipe here: CJS18 Recipes Birgit Koopsen
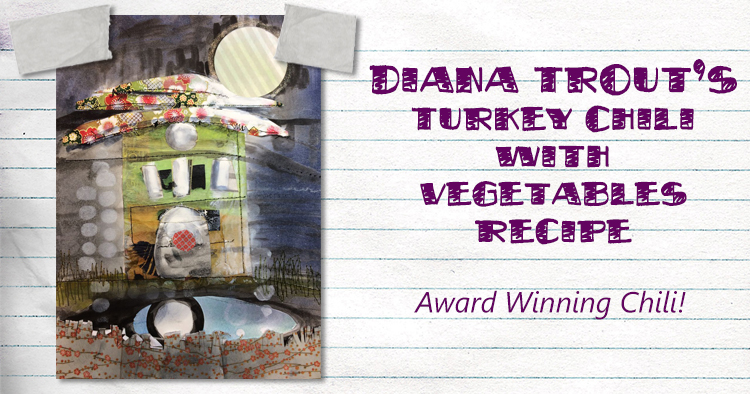
Turkey Chili with Vegetables
Begin by sautéing:
1 large, diced, onion, until translucent
Add (in this order):
1 cup diced carrots
1 cup diced zuke
1 diced pepper (any color)
1 peeled and diced eggplant
Add to taste:
2-3 diced jalapenos
2-3 cloves garlic
If you’d like some added heat, use a couple of canned chipotles in adobe sauce (scrape out the
seeds).
Brown 1 lb ground turkey add that into the veggie mix along with:
2 tsp dijon mustard
2 tbsp. chi li powder
1 1/2 tsp each: oregano, basil, cumin
1 (or so) tsp each ground chipotle and ground ancho chili powder
1 healthy pinch of cinnamon
1 can black beans
1 can cannelloni beans
1 can vegetarian baked beans (These are the beans I use. Use whatever beans are your favorites)
1 large can crushed or diced tomatoes (I like the fire roasted)
Couple tablespoons of tomato paste
Simmer the works for about 1 hour Just before serving add:
juice from 1 lime
1/4 c. grated bittersweet chocolate
a healthy dose of fresh cilantro (1/2 c or so, to taste)
You can download Diana’s recipe here: CJS18 Recipes Diana Trout
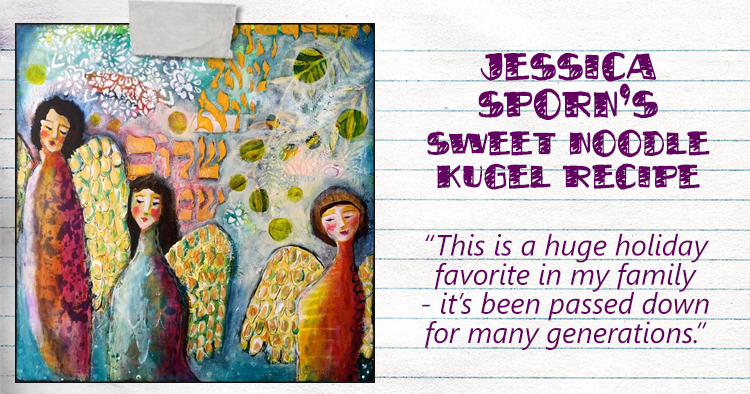
Sweet Noodle Kugel
Serves 10-15
1 cup raisins (optional) – you may substitute other fruits like dried chopped, apricots, or pineapple
12 oz wide egg noodles
6 large eggs
1 lb sour cream (2 cups)
8 oz cottage cheese (1 cup)
8 oz cream cheese, softened – OR farmer’s cheese, crumbled (1 cup)
1 cup sugar
1/4 cup unsalted butter, melted
1/4 tsp salt
Cinnamon and sugar for dusting
Nonstick cooking oil spray
large pot, 9×13 baking dish
optional: food processor or blender
Place a rack in the middle of your oven and preheat to 350 degrees F. Cover the raisins with hot water and let them soak to plump while you prepare the other ingredients.Bring a large pot of water to a boil. Add the noodles to the pot, bring back to a boil, and let them cook until tender (not overly soft), about 5 minutes. Drain and return the cooked noodles to the pot. In a food processor or blender, blend together the eggs, sour cream, cottage cheese, cream cheese, sugar, melted butter, and salt. Drain the raisins. Stir them into the noodles. Spray a 9×13 inch baking dish with nonstick cooking oil. Pour the noodle mixture into the dish. Top the kugel by sprinkling generously with sugar and lightly with cinnamon. Alternatively, you can use your favorite kugel topping (streusel, crushed graham crackers, cornflakes, etc.). Bake the kugel for about 60 minutes, turning once halfway through cooking, till the center of the kugel is set and the tips of the noodles turn golden brown. Remove from the oven. Let the kugel rest for 15-20 minutes before slicing. Kugel can be served warm or cold.
You can download Jessica’s Recipe here: CJS18 Recipes Jessica Sporn

Buttery Pecan Tarts
Coat a 24 count mini cupcake pan with non stick spray
CRUST:
1/2 cup soft margarine
3 oz. soft cream cheese
1 cup all purpose flour
FILLING:
1 egg
3/4 packed cup brown sugar
1 Tablespoon melted margarine
1/2 cup chopped pecans
PREPARE:
1.Mix margarine and cream cheese until combined. Stir in flour. Press a rounded teaspoon of dough into the bottom and sides of each
of the 24 cupcake openings to fully line each opening with dough. (use more or less dough per cup as needed)
2. In a small bowl, combine eggs, sugar, and margarine. Stir in nuts.
3. Fill each cup of dough with one rounded teaspoon of filling.
Bake for 30 minutes at 350*. Cool on wire rack.
You can download Rae’s recipe here: CJS18 Recipes Rae Missigman

Gwen’s Christmas Butter Cookies
Yield: about 2 1/2 dozen
Pre-heat oven to 325 F
Cream together:
1 C softened butter (no margarine or shortening)
3/4 tsp vanilla
1/2 tsp almond extract (if you don’t like almond, just use 1 tsp vanilla and no almond extract)
6 Tbsp powdered sugar
2 Tbsp honey
Add
2 C flour
1 Tbsp milk
Mix just until no trace is left of the flour, then add in 1/4 to 1/2 C finely crushed pecans or walnuts and mix. (Larger nut pieces will make the cookies crumble, so make sure you get them chopped pretty finely.) Roll dough into 1” balls and place about 2” apart – I use a baking stone and cook for about 16-17 minutes, or you can cook on ungreased cookie sheet for about 14 minutes or until very light brown. While warm, roll the cookies in powdered sugar and then set on a cooling rack. Once almost completely cool, roll the cookies in powdered sugar again until thoroughly coated.
You can do download Gwen’s recipe here: CJS18 Recipes Gwen Lafleur
I hope you liked those recipes – see- you cannot make good art with an empty stomach …lol- or so I think ;) See you in the Classroom of Creative JumpStart 2018!


Comments (6)
Clavell
| #
Thanks for the recipes, Nathalie! I can’t wait to try the Buttery Pecan Tarts in my NEW mini tart pan! Perfect timing! :D
Reply
nathalie-kalbach
| #
oh that sounds like perfect timing indeed :) Happy Holidays Clavell!
Reply
Maura Hibbitts
| #
These all look YUMMY!!! I will have to try some! Love this recipe idea, Nat. Looking forward to CJS2018! Merry Christmas! Maura
Reply
nathalie-kalbach
| #
yeah- hope you will try some of them – let us know how they worked out :) Happy New Years, Maura!
Reply
Alisa Barott
| #
Wonderful recipes! Thanks for sharing
Reply
nathalie-kalbach
| #
Thanks for checking them out Alisa!
Reply